Honda Civic: How to Install Gauge Cluster and Dash Switch LEDs
Replacing your existing dash lights with LEDs will bring a whole new look to your ride. Read this guide to find out how to install LEDs to your Honda Civic.
This article applies to the Honda Civic (1992-2000).
LEDs are the sensible route where bright and reliable lighting is necessary. As they are commonly used for exterior lighting, they can also be installed in a car's interior like in the dome lights and/or dash lights. Below is a guide on how to replace your stock dash halogen bulbs with LEDs. This installation requires you to remove some interior panels, and do some wiring, but the process isn't difficult to follow. It only requires some patience and a little time.

Materials Needed
- LED dash kit
- Phillips screwdriver
- Flat head screwdriver
- Razor blade (if necessary)
Step 1 – Disconnect the battery and remove gauge cluster
Before performing any electrical work, always make sure to disconnect the battery terminals.
- Remove the black lead from the negative battery terminal (black cover).
- Then, remove the red lead from the positive battery terminal (red cover).
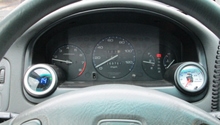
To access the lighting system of your dash instruments, the plastic bezel surrounding the gauge cluster and the gauge cluster itself must be removed.
- With your hands, gently slide out the plastic bezel from the dash. This might require a little force.
- Use a Phillips screwdriver to remove the four screws holding the gauge cluster in place. There are two on top and two on the bottom.
- Carefully wiggle the cluster out.
- Then, unplug the wire connectors attached to the back of the cluster.
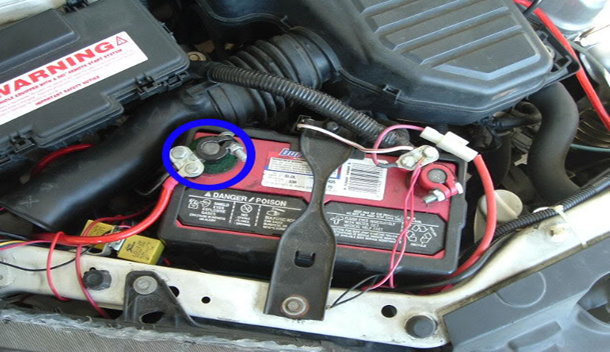
Figure 1. Disconnect the negative (black) battery terminal. 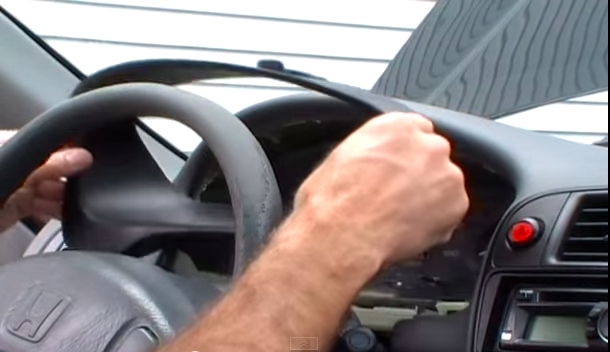
Figure 2. Remove the gauge cluster dash bezel. 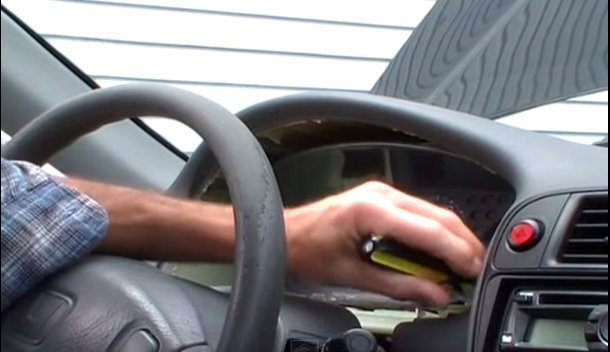
Figure 3. Remove the four Phillips screws. 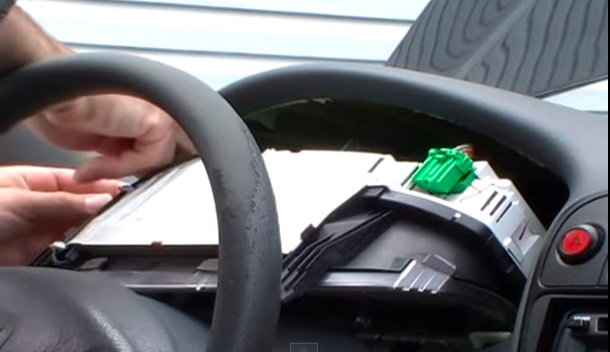
Figure 4. Unplug the gauge cluster connector.
(Related Article: How to Install a New Gauge Cluster - Honda-Tech.com)
Step 2 – Replace the gauge cluster's stock bulbs
When installing the new LED bulbs, all but one of the stock bulbs will not be re-installed.
- Set the gauge cluster down on a neat working space with the face of the cluster facing down.
- Remove the five largest bulb sockets, and dispose of them. Refer to Figure 5.
- Remove the smaller bulb socket from behind the gauge cluster, which is located on the top left corner (see Figure 5). Set this socket aside as it will be needed to install a new LED bulb.
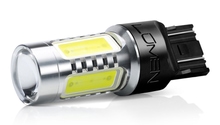
- Install the five new LED bulbs and sockets into the gauge cluster (where the stock bulb sockets were previously removed).
- From the smaller bulb socket, remove the stock blue bulb and replace it with the a new LED bulb.
- Install the socket and new LED bulb into the gauge cluster (where the stock bulb socket was previously removed).
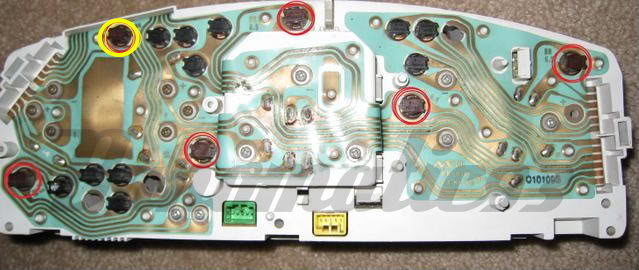
Figure 5. Remove five large bulb sockets (circled in red) and one smaller bulb socket (circled in yellow). 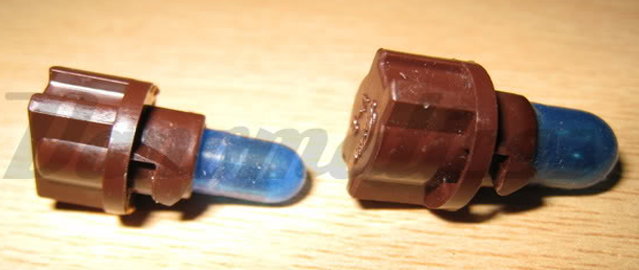
Figure 6. Install new LED bulb into the original smaller bulb socket.
Step 3 – Re-install the gauge cluster
Re-install the cluster in reverse order to the steps above.
- Reattach the gauge cluster connector.
- Secure the gauge cluster with the four Phillips screws.
- Reinsert the gauge cluster plastic bezel into the dash.
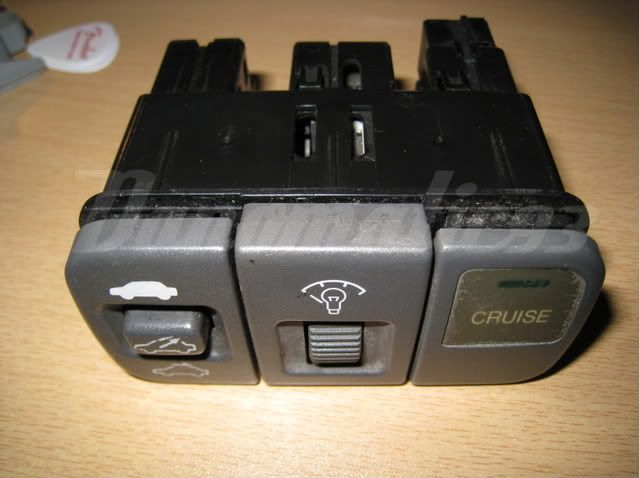
Step 4 – Remove the dash switches
Decide on which switches you want to install new LED bulbs.
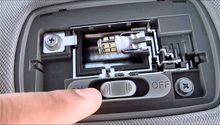
- Gently remove the switches out by carefully leveraging them out with a flat head screwdriver. Be careful not to damage them.
- Pull them out from the center console, and unplug the switch connectors.
Step 5 – Replace the dash switch bulbs
The dash switch housing must be removed before you can access the bulb sockets.
- On the back of the switch are four tabs that hold the switch housing in place.
- Push down on each tab, and slide out the switch from the front of the housing.
- Locate the two bulb sockets on the side of the switch.
- Carefully remove the stock bulbs and sockets with a flat head screwdriver.
- Insert the new LED bulbs and sockets into the switch.
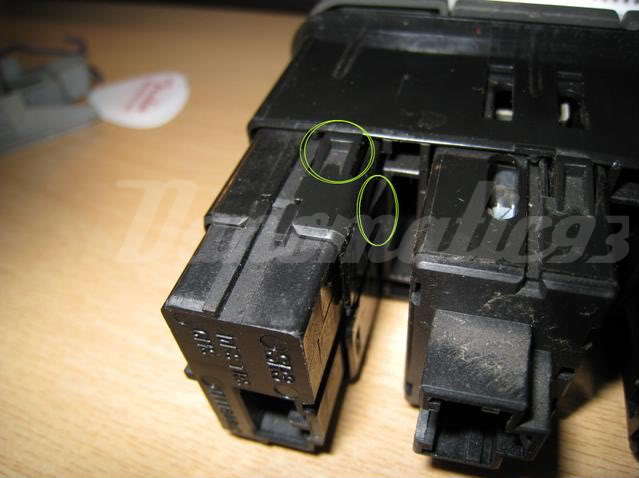
Figure 8. Push on the four tabs. Two are circled in yellow, and two are on the opposite side. 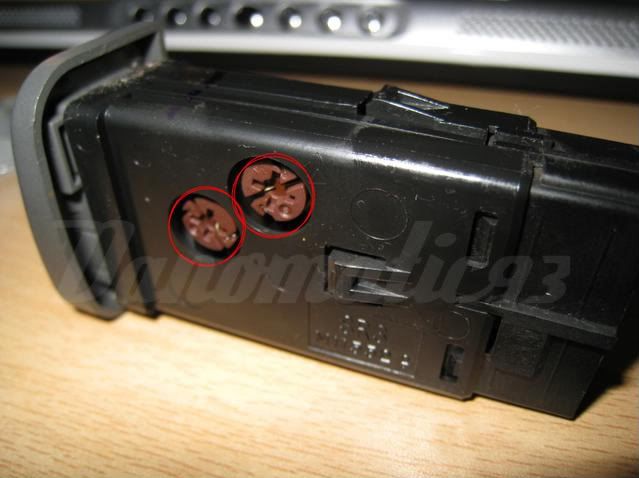
Figure 9. Remove the stock bulb sockets from the switch.
Depending on the year of your Honda Civic, the stock sockets may need to be fitted properly to incorporate the new LED bulbs. If the locking tabs of your stock sockets and the new LED sockets are the same, move on to the following step.
- Wish a razor blade, cut off three spots from the locking tabs of the new LED sockets.
- Refer to the Figures 10, 11, and 12 below, and cut the locking tabs accordingly.
- The locking tabs should match the shape of the stock bulb sockets.

Figure 10. Cut the locking tabs of the LED socket to match the stock bulb socket. 
Figure 11. Diagram of where to cut. LED socket is on the left, and stock bulb socket is on the right. 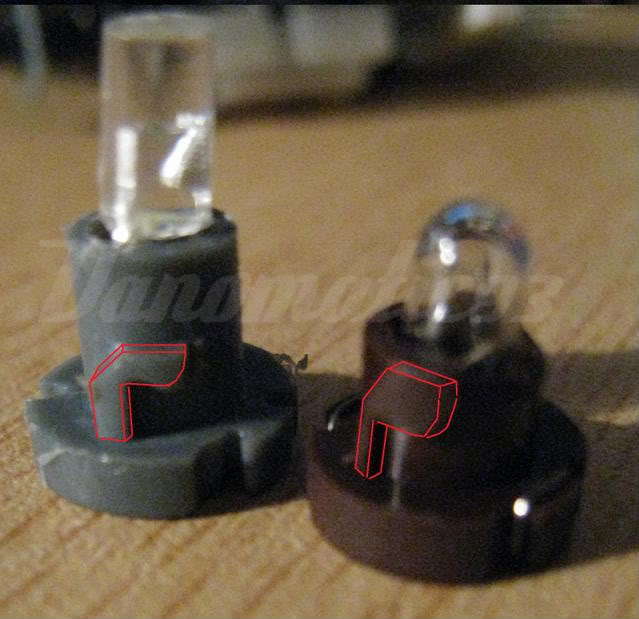
Figure 12. Make sure the locking tabs of the new and old sockets match.
Step 6 – Re-install and test the dash switch LEDs
Re-install the dash switch lights in reverse order to the steps above.
- Re-install the switch housings.
- Reattach the switch connectors.
- Pop the switches back into the center console.
- Reconnect the battery, turn on the car, and test the LED lights.
Featured Video: How to Remove Gauge Cluster
Related Discussion
- DIY: Cluster and Dash LED Installation - Honda-Tech.com