Honda Accord: Why Does My SRS Light Keep Coming On?
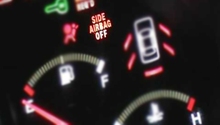
Your SRS light should turn on each time you start your car, and turn off if everything is working properly. An SRS light that stays on indicates a problem with your main SRS unit, airbags, or with the power supply.
This article applies to the Honda Accord (1990-2002).
The Supplemental Restraint System (SRS) light remains on when it is indicating a problem with your car's SRS computer, airbags, the steering wheel, or the driver's seat. A problem with the car's computer often indicates that the light won’t reset on its own. The light also can indicate that something–such as your gauge cluster or SRS harness–is unplugged. Also, keep in mind that simpler problems like a weak or low-voltage battery might cause the SRS light to stay on. You can reset the light on your own; however, this won’t address any underlying issue(s). To properly find out what the cause is, you might want to take it to an auto shop or the car dealership. But if you just want it to turn off, follow these DIY steps.

Materials Needed
- Speaker wire or paperclips
- Wire stripper
- Flashlight
- T30 Torx screwdriver
- Flat head and Phillips screwdriver
- New SRS unit (only if you're replacing the SRS unit)
Step 1 – Reset the SRS light
Resetting the SRS light will get it to remain off, but this does not address any underlying issues.
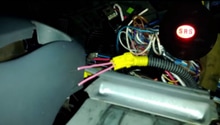
- Locate the Memory Erase Signal (MES) plug. It is under the driver's side dashboard near the fuse panel. The harness is yellow and has two wires coming out of it.
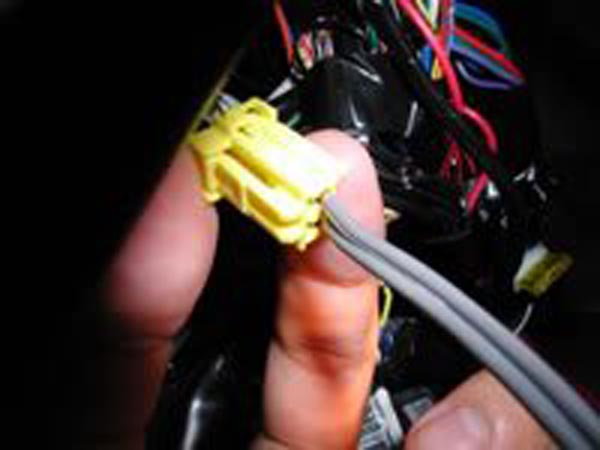
- Disconnect the MES plug from its socket.
- Strip each end of the speaker wires. Then, insert one end of each wire into each plug opening. If you don't have wires, you can use paperclips instead.
- Hold the ends of both wires together, and turn on the ignition. The SRS light will come on, and after a few seconds it will turn off. Once the light turns off, pull the wires apart. The light should turn back on.
- Hold the stripped ends of both wires together again. The SRS light should go off. When the light goes off, pull the wires apart. The SRS light should blink twice.
- Turn off the ignition to start your car as normal. The SRS light should come on, and after a few seconds it will turn off and stay off.
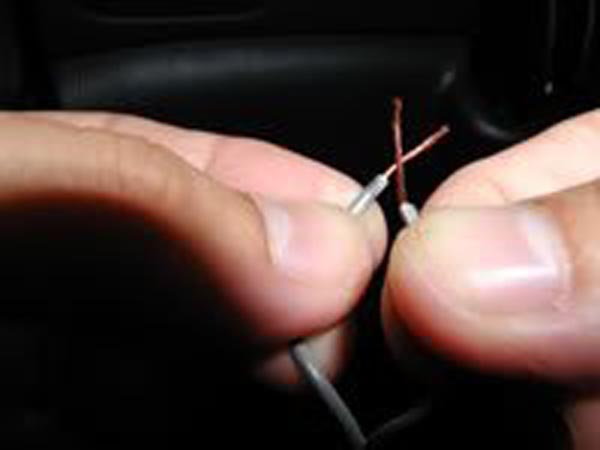
Figure 1. Connect a pair of stripped wires to short the MES. 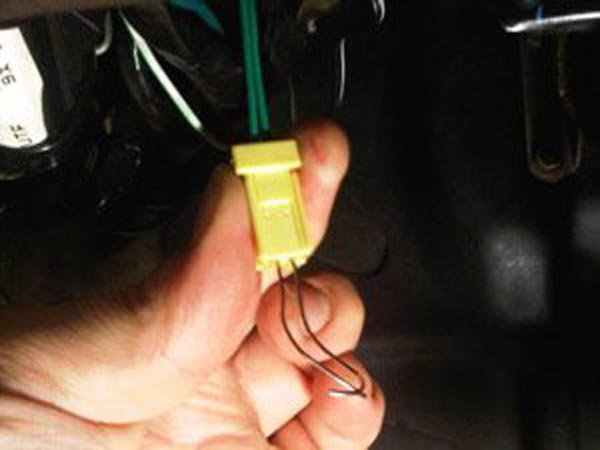
Figure 2. A couple of paperclips will have the same effect.
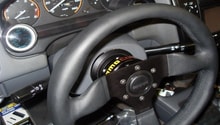
(Related Article: How to Bypass SRS in Aftermarket Steering Wheel - Honda-Tech.com)
Step 2 – Run a diagnostic test
Running a diagnostic test can help you determine why your SRS light is on.
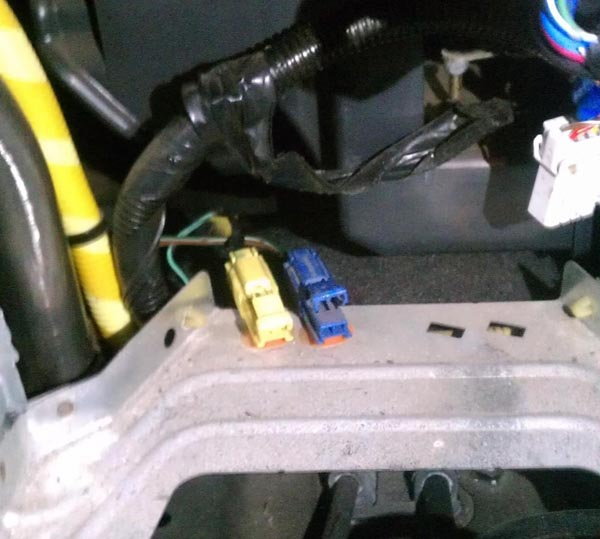
- Remove the glove box so you can reach the two-pin service check connector. You will also see a three-pin data-link connector close by. Do not touch this one because you may accidentally damage the ECU or engine computer.
- Turn the ignition off. Wait 10 seconds, and connect two terminals of the service connector together with a wire.
- Turn the ignition on. The SRS light will come on for about six seconds and turn off. Then, it will come on again and flash. Take note of the flashes because this is how you’ll read the Diagnostic Trouble Codes (DTC). There may be long flashes and short flashes. For example, a long flash would indicate an error code of 10. Three short flashes would indicate an error code of 3. If there is an ongoing failure, the code will flash repeatedly. If the problem is intermittent, the code will flash once, and then the SRS light will just stay on.
- There is a problem with your SRS unit if you get a DTC code of 5, 6, 7, 8, or 10. If you get an error code of 1, there is a problem with the driver's side airbag. An error code 2 signals a problem with the passenger's side airbag. An error code 9 signals a problem in the power supply.
Step 3 – Replace SRS unit
A faulty SRS unit can explain why your SRS light won't stay off, even after you try resetting it. Before replacing the entire unit, make sure all connections are tight. Loose connections can cause the SRS light to stay on as well, and tightening the connections can often resolve the issue.
- Disconnect your battery, and wait between three to five minutes before replacing your SRS unit.
- The SRS unit is mounted on the floorboard near the firewall, which is behind the stock radio. To access the unit, remove the center console and two side panels. There is one screw and one clip on the driver’s side. There are two clips on the passenger's side.
- Use a T30 Torx screwdriver to remove the four screws holding the SRS unit in place. There are two screws on top and two on the side. Be careful not to drop any of these screws into the AC vents.
- Before unplugging the unit, make sure all connections are tight. A loose harness connection can cause the SRS light to turn on, so tightening the connection may resolve the issue without having to install a new one. At this point, reconnect the battery to check if the light turns off. If the connections are tight and the SRS light remains on, disconnect the battery and continue on.
- Unplug the three connectors to the SRS unit. Plug in the new unit and secure it in place with the four screws. Replace the center console, and the two side panels.
- Reconnect the battery and turn the ignition on. The SRS light should now be off.
Related Discussion and Sites
- 1995 Accord SRS Light On Even After Reset - Honda-Tech.com
- Honda Accord SRS Light On - AutoRepairAbout.com
- Honda Accord Has a Flashing SRS Light - AutoRepairAbout.com
- 2002 Honda Accord: SRS Light Comes On - CarComplaints.com