Honda Accord: How to Test and Replace Oxygen Sensor
If you notice a decline in fuel economy or a rougher idle, chances are your O2 sensor needs replacing. Follow these steps to easily DIY.
This article applies to the Honda Accord (1990-2002).
The oxygen sensor looks like a rather simple component, but that couldn't be further from the truth. The oxygen sensor measures how much unburned oxygen is in the exhaust as it exits the engine. It also tells the onboard computer whether the fuel mixture is rich, lean, or well-balanced. Testing your oxygen sensor can take some expertise, but replacing it is straightforward. Visit a repair shop if you need help diagnosing or replacing the sensor.

Materials Needed
- Voltmeter (for diagnosing)
- 7/8" wrench
- Ratchet
Step 1 – Diagnose the sensor
- Warm up the engine to obtain an accurate reading.
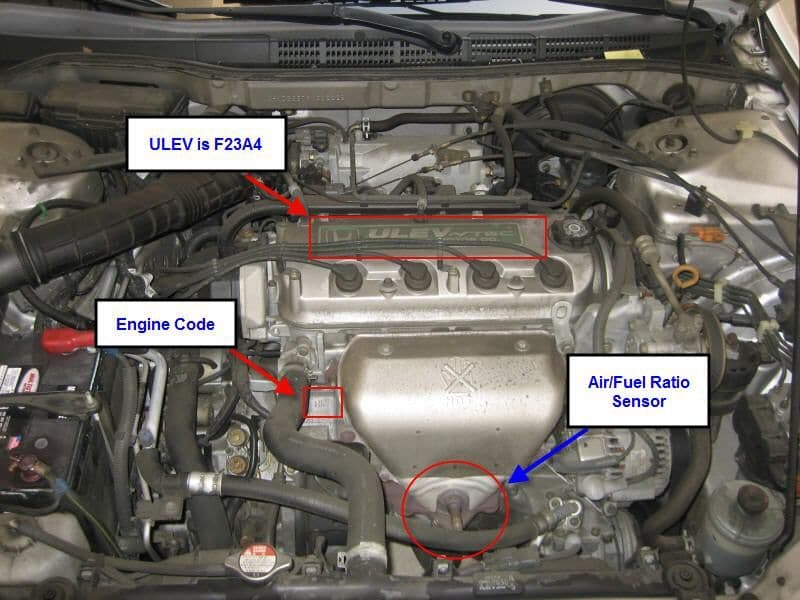
- Locate the oxygen sensor and wiring harness; the O2 sensor is underneath the vehicle where the transmission meets the engine.
- Follow the wire back from the sensor to the wiring harness connector.
- Use the voltmeter to hook up to the signal wire or probe directly into the harness connector.
A balanced air and fuel mixture averages around 0.45 volts.If the steps above don't indicate the ideal results, proceed with replacing the sensor.
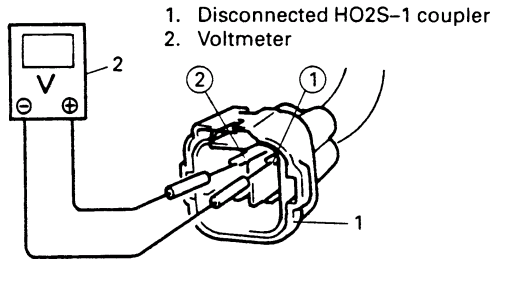
Figure 1a. Connect the voltmeter directly into the harness. 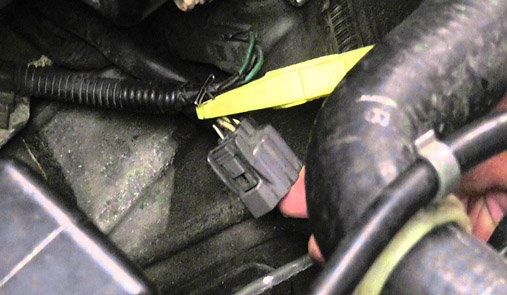
Figure 1b. Connect voltmeter to the lead wire.
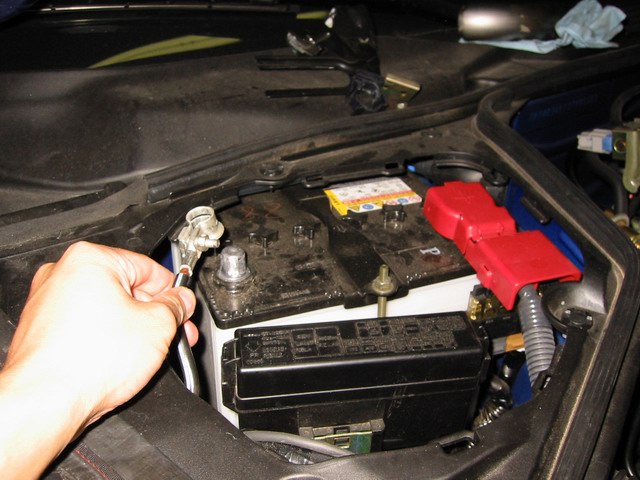
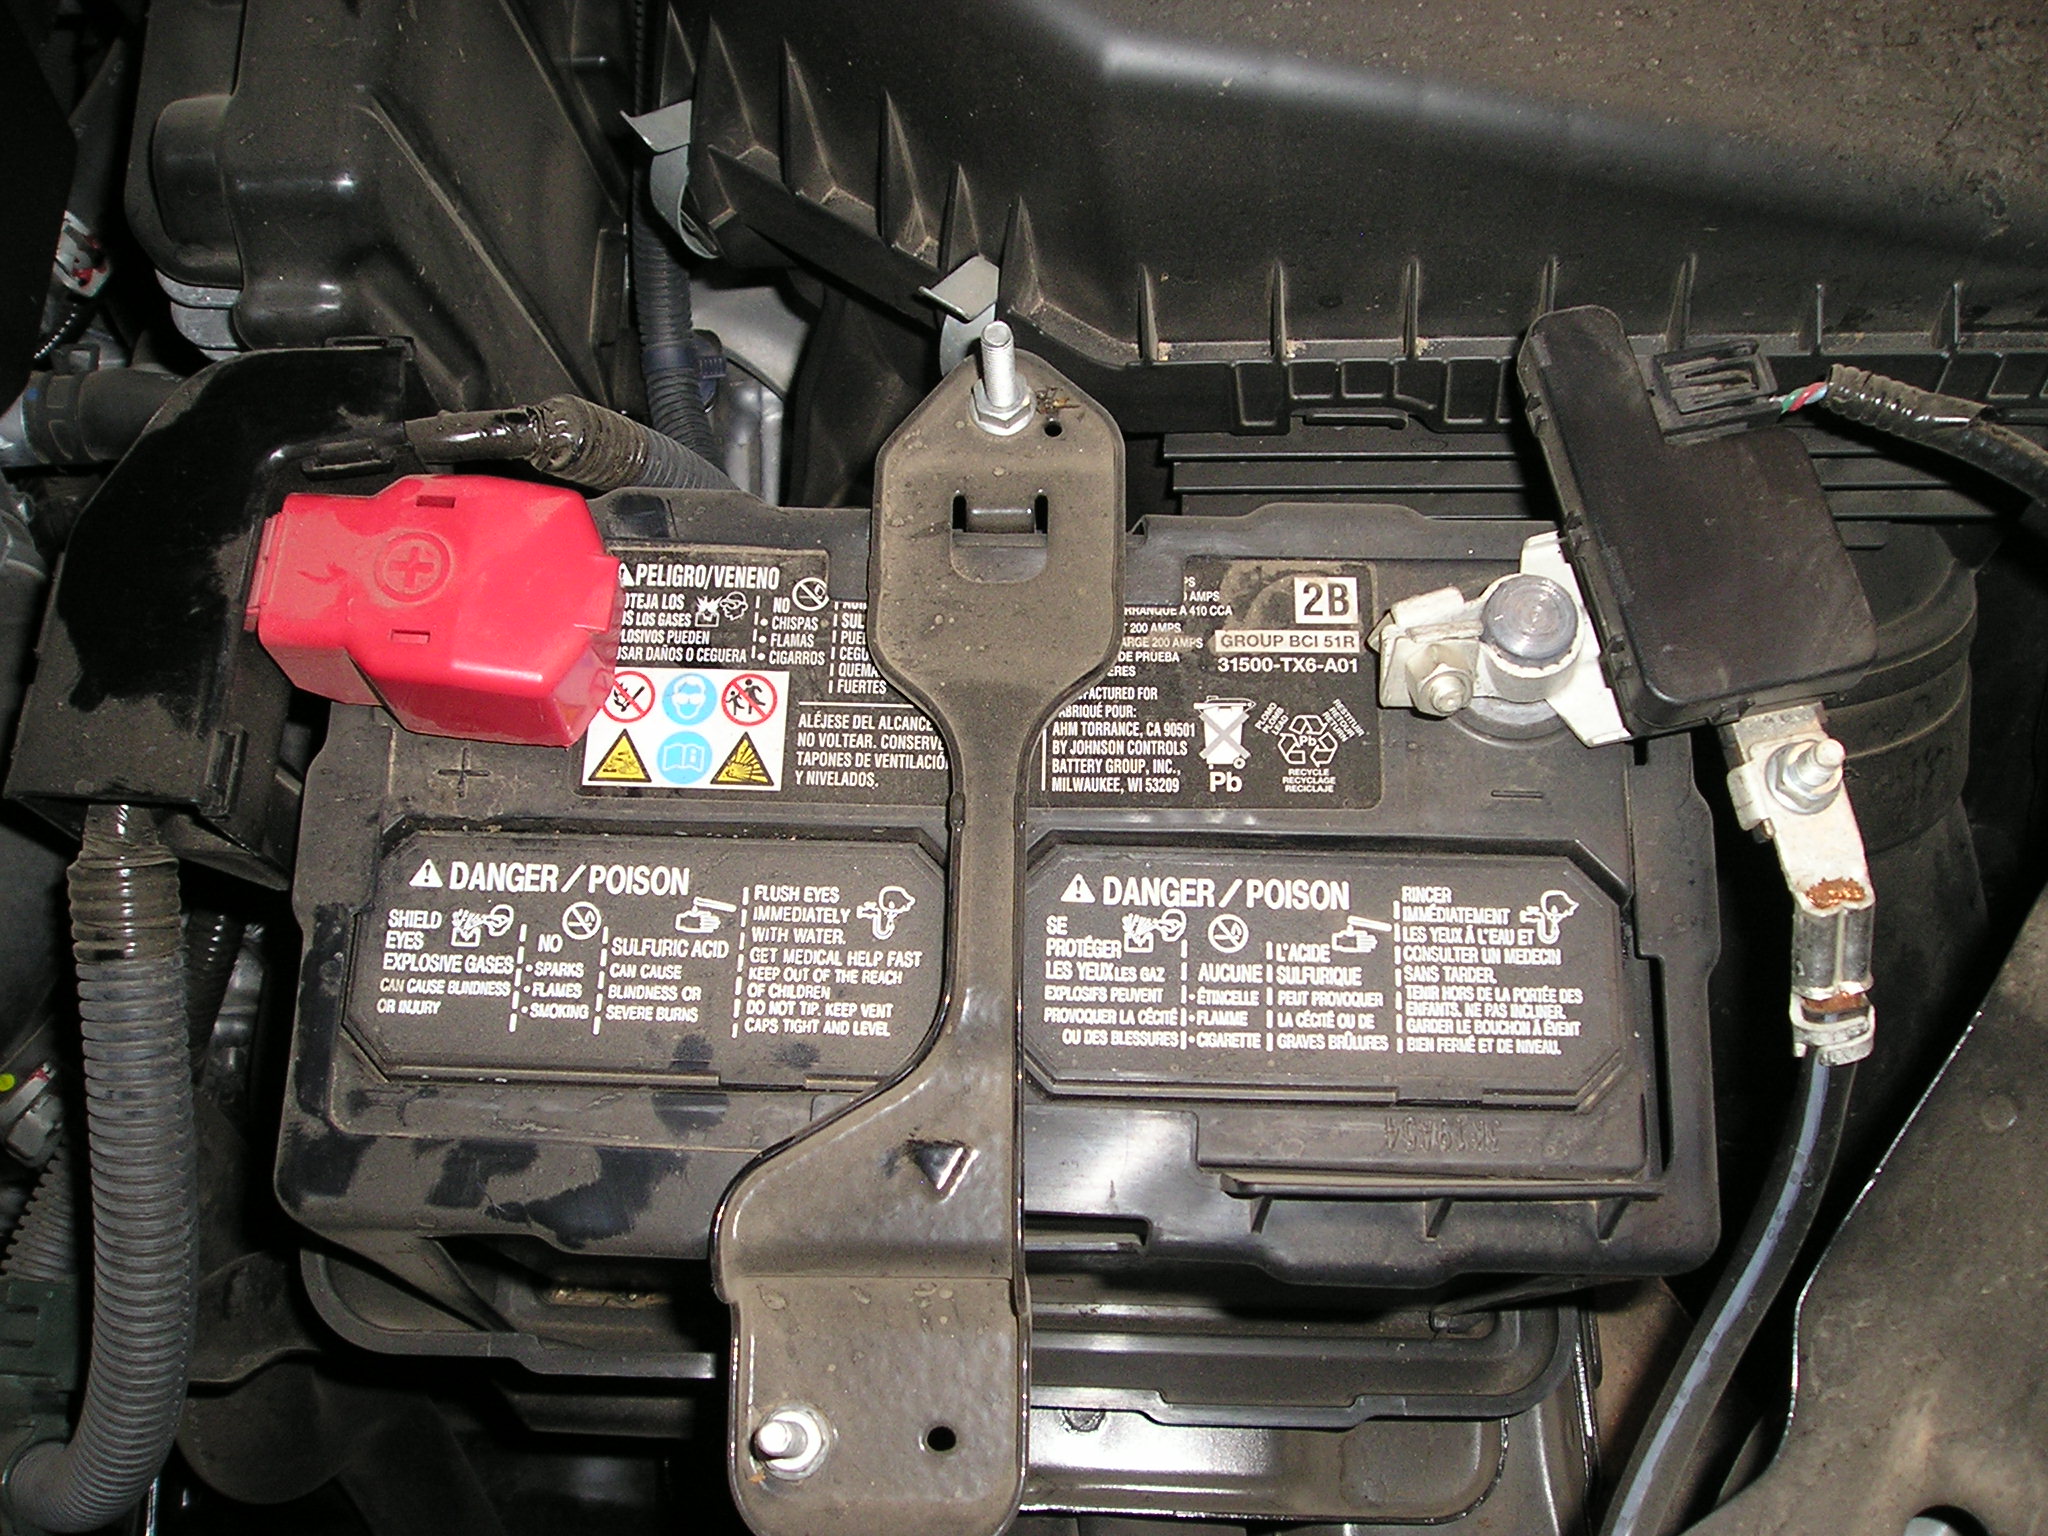
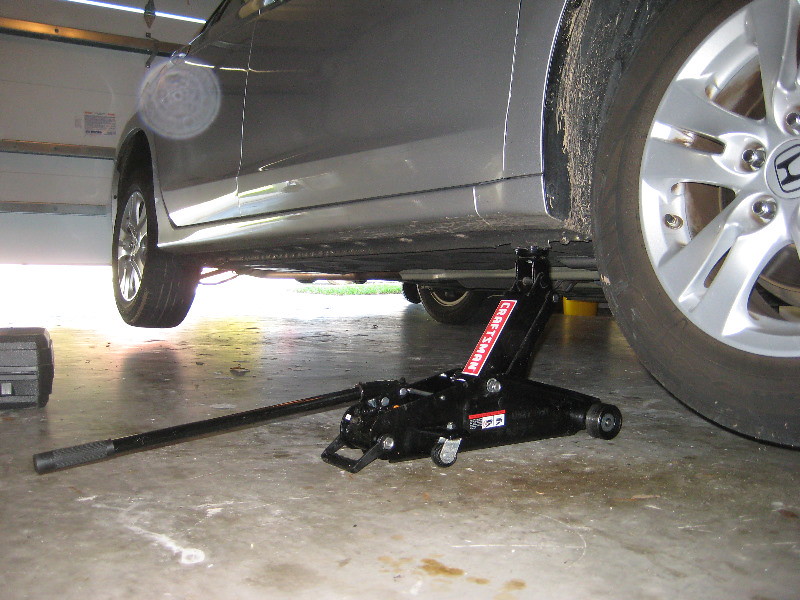
Step 2 – Prep the car
- Disconnect the negative (black cover) battery terminal.
- Jack the car up.
- Secure it with jack stands.
(Related Article: How to Jack Up Your Accord - Honda-Tech.com)
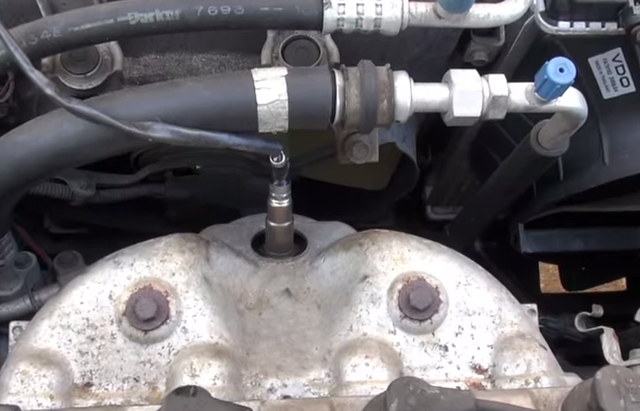
Step 3 – Remove sensor
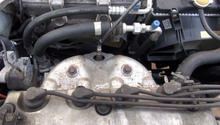
- Locate the O2 sensor, which is on the exhaust headers.
- Use the 7/8" wrench to unscrew the sensor.
Step 4 – Unclip the wiring harness
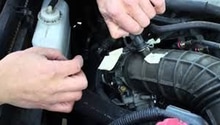
- From the O2 sensor, trace the cable to the wiring harness socket.
- Unclip the connector and remove the old O2 sensor assembly.
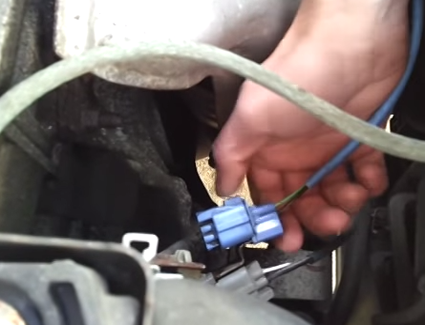
Figure 4a. Unclip the wiring harness. 
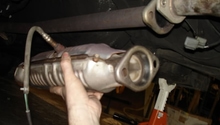
Figure 4b. What the oxygen sensor assembly looks like.
Step 5 – Install new sensor
- Start by clipping the new wiring harness in.
- Screw new oxygen sensor into place, by hand.
- With the 7/8" wrench, tighten the O2 to a snug fit.
Step 6 – Reconnect the battery
- Reconnect the negative (black) terminal that was originally disconnected.
Step 7 – Lower car and start engine
- Remove jack stands.
- Lower the car back to the ground.
- Start the engine.
- Make sure there aren't any warning lights on the dash.
Related Discussion, Site, and Video
- Oxygen Sensor Diagnosing Tips- Akinsautorepair.com
- Oxygen Sensor Testing - Honda-Tech.com
- How to Replace an Oxygen Sensor - Youtube.com