Honda Accord: How to Stop Coolant Leak
If you notice a puddle that is a light color and has a sweet smell, then you likely have a coolant leak. Continue reading to learn how to stop coolant leaks on you Honda Accord.
This article applies to the Honda Accord (1990-2002).
Coolant leaks are common across all vehicle makes and models; however, the causes are not so common. Several components make up the cooling system on different vehicles; therefore, there are several causes of the leak. Everything from a cracked radiator or coolant reservoir to a failed water pump or a worn radiator hose are some of the likely culprits. It's best to narrow down the issue through isolation, and work from there.

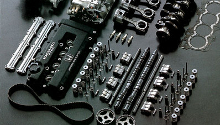
Materials Needed
- Pliers
- Flat head screwdriver
- Drain pan
- Manual pressure tester
- Coolant
- Radiator hoses and clamps
- WD-40 or PB Blaster
- Coolant reservoir
- Radiator (if necessary)
Step 1 – Determine the source of the leak
Pinpoint where the problem is before you decide to flush out, and refill the radiator with coolant.
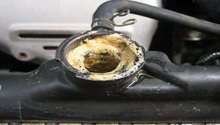
- Visually inspect the leak on the ground to narrow down where the leak originated.
- Inspect the radiator hoses.
- Inspect the coolant reservoir.
- Inspect the bottom edge of the radiator tank.
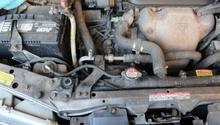
- Attach a manual pressure tester to the coolant cap port on the radiator, and perform an external leak test.
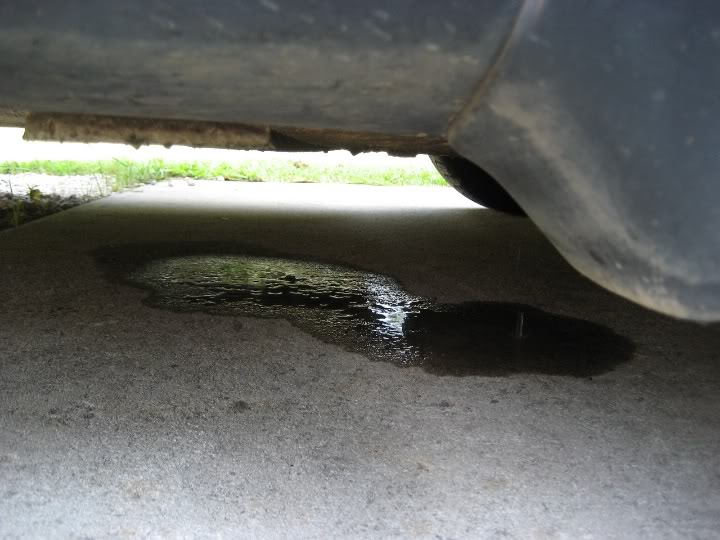
Figure 1. Visually inspect where the leak may be coming from. 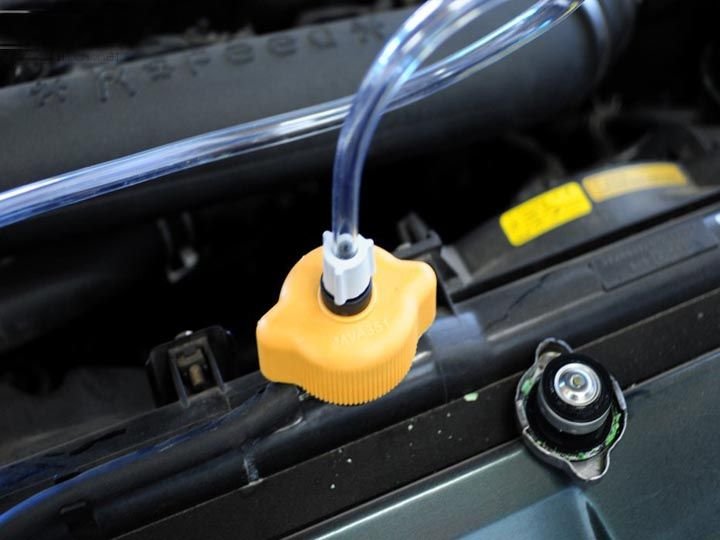
Figure 2. Perform an external leak test.
Pro Tip
Pressure testers can be rented at most auto parts stores, or your local dealer can perform the test.
Step 2 – Drain the coolant system
Once you determine the source of the leak, clear the system of the old coolant.
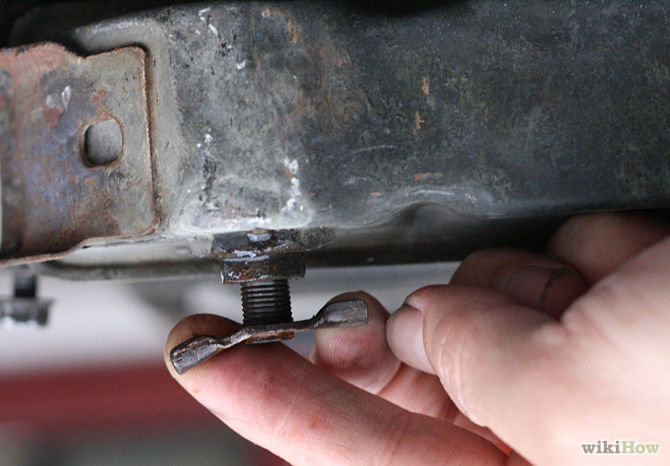
- Place the drain pan under the radiator.
- Loosen the petcock valve by turning it counterclockwise, and release the coolant from the radiator into the pan.
Step 3 – Replace faulty component(s)
Depending largely on which part of the system is the culprit, the procedures may vary. You will need to replace the faulty component before refilling the coolant system.
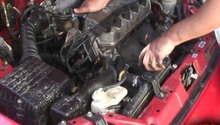
- If you are removing the faulty radiator hoses or the coolant reservoir (overflow tank), release the hose clamps with pliers. Then, separate the hose from its housing.
- Expect some residual coolant to spill when you remove the hoses or reservoir.
- Detach the coolant reservoir, and replace it as well as the radiator hoses.
- Replacing the radiator is a longer and more difficult process, which you can perform yourself or have a professional do it.
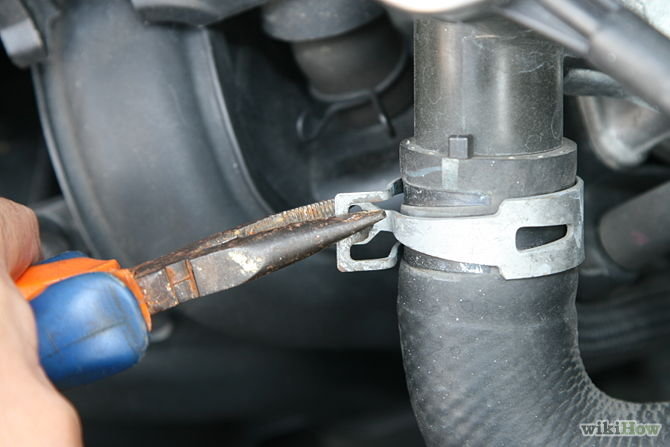
Figure 4. Undo the hose clamps with pliers. 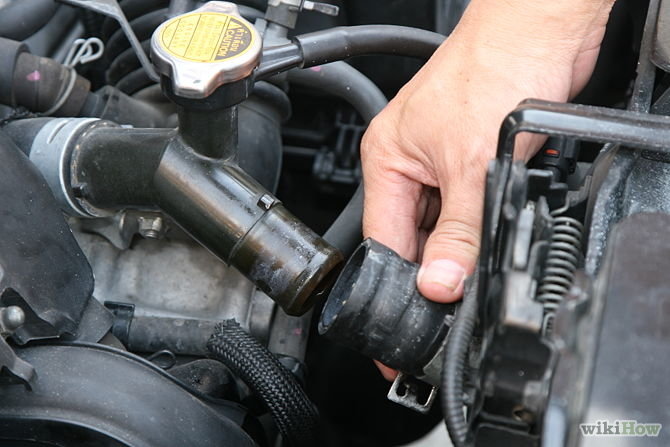
Figure 5. Remove the radiator hose from its housing. 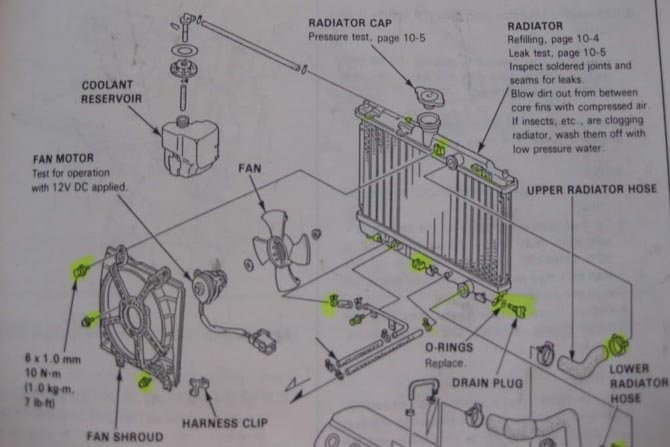
Figure 6. Diagram for radiator removal.
Pro Tip
If you are replacing a radiator, you will need to remove at least 4 to 6 bolts and nuts. These bolts and nuts secure the A/C lines and the cooling fans. Use penetrating lube like PB Blaster or WD-40 prior to its removal.
(Related Article: How to Replace Your Radiator - Honda-Tech.com)
Step 4 – Refill coolant system
Now that the faulty component(s) have been replaced, it is time to refill the system and determine if the leaks have ceased.
- Open the radiator cap and tighten the petcock valve.
- Tightly secure the hoses and re-install the hose clamps.
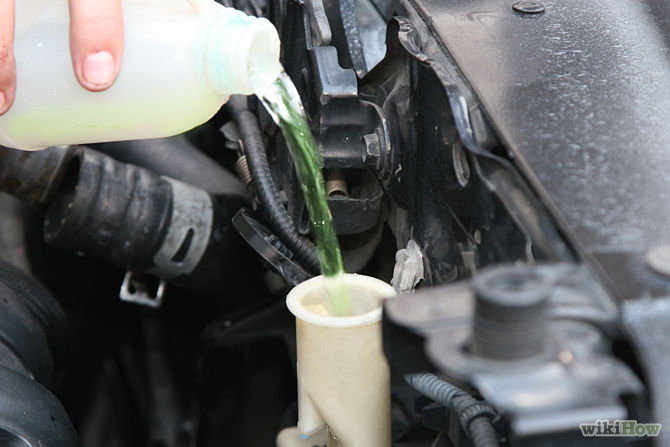
- Pour coolant into the radiator.
- Inspect areas around the radiator, coolant reservoir, and hoses for leaks.
- Start car and let it run to operating temperatures.
- Again, inspect areas around the radiator, coolant reservoir, and hoses for leaks.
- Take the car for a short drive, and check that the temperature gauge holds steady at the appropriate temperatures.
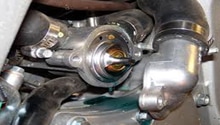
- If the temperature is rising during your short drive, there may be a separate problem with the thermostat or water pump. These issues require further diagnosis, and different procedures for replacement or repair.
Featured Video: Coolant System Pressure Test
Related Discussions, Video and Site
- Coolant Reservoir Leak Diagnosis - Honda-Tech.com
- Diagnosing Coolant Leaks for Accords - Honda-Tech.com
- Faulty Water Pump, Thermostat, and O-rings - Honda-Tech.com
- Test Coolant System with Mityvac Pressure Tester - YouTube.com
- How to Replace a Leaking Radiator Hose - WikiHow.com