Honda Accord: How to Replace Your Catalytic Converters
When your catalytic converter goes bad, it can set an warning light on your dash, cause your engine to stall, or even be responsible for failing an emissions test. Find out how to swap one of these out of your exhaust system when it becomes a problem.
This article applies to the Honda Accord (1990-2002).
Your catalytic converter is located in your exhaust system and is part of your engine's emissions equipment. It is full of chemically treated ceramic plates that the exhaust gasses come into contact with as they pass through on their way to your tail pipe. The chemicals in the plates react with the exhaust fumes which helps to burn off any remaining pollutants before they reach the outside air. Excessive heat and vibrations may damage the catalyst over time. When it stops cleaning the exhaust efficiently, your check engine light may come on, and your Honda can fail an emissions tests. If the internal plates start to break apart and shift, they can create restrictions in your exhaust pipe that will choke out your engine. A worn out catalytic converter needs to be replaced with a new part.

Materials Needed
- 17 mm wrench
- 17 mm socket and ratchet
- Wire Brush
- Jack and stands
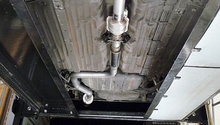
Step 1 - Lift and secure vehicle
Set the parking brake, block the wheels and lift the vehicle. Secure the weight on the jack stands.
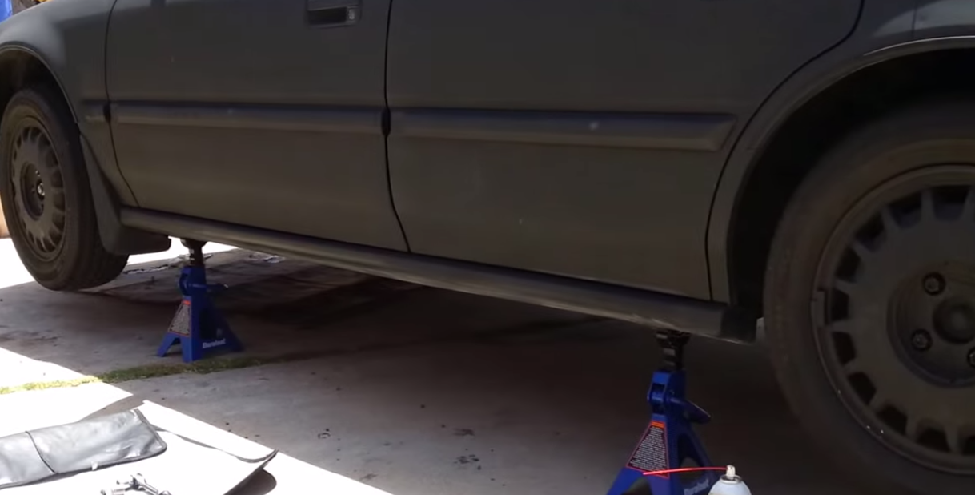
Figure 1. Lift the vehicle high enough to access the exhaust.
Pro Tip
You may need to lift the vehicle completely off of the ground to have enough room to work.
(Related Article: How to Jack Up Your Honda Accord - Honda-Tech.com)
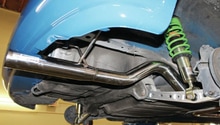
Step 2 - Remove bolts on front and rear flanges
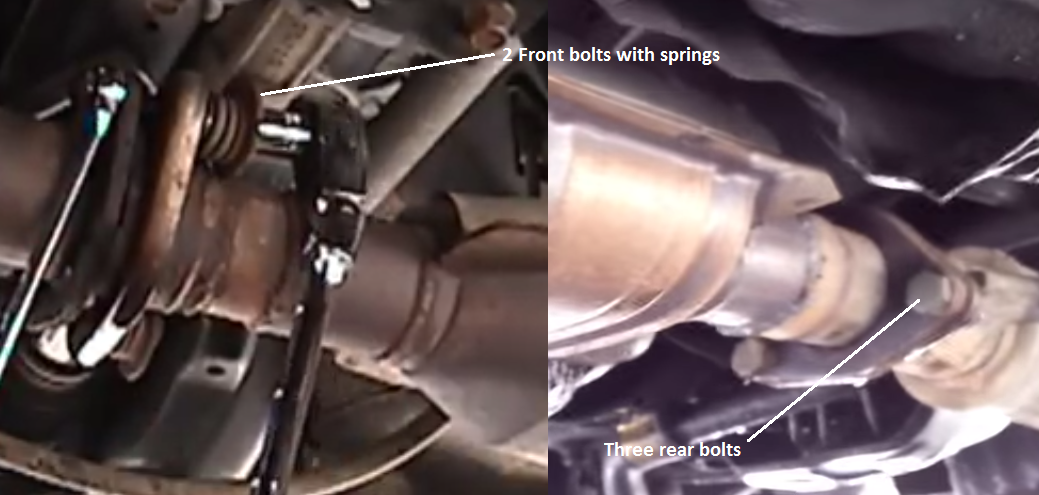
The catalytic converter is bolted in series with the rest of the exhaust system. Using your wrench and ratchet, remove the five bolts that hold the front and rear flanges together. Once it is unbolted, it can be taken down.
Pro Tip
Bolts that are severely rusted may not come loose. A cutting tool, like a hack saw, may be necessary. Sometimes it is possible to remove rusted bolts by breaking them. Simply tighten them down until they snap.
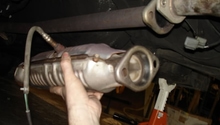
Step 3 - Clean surface area of mounting points
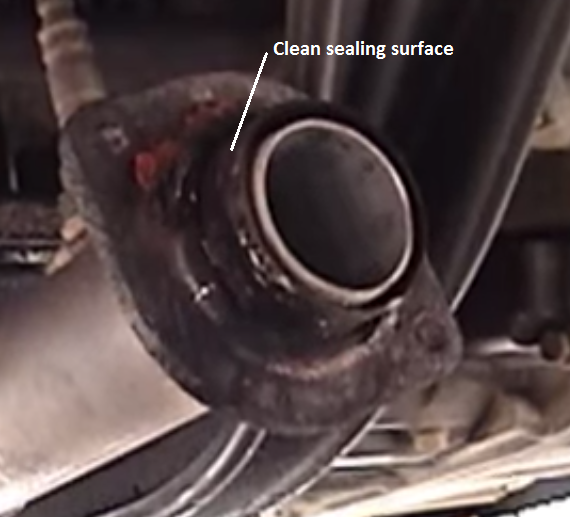
The front and rear mounting surfaces will be covered with rust and debris. Use a wire brush to scrub away excess material. This prepares the surface for new seals and helps to ensure a tight fit.
Step 4 - Install new catalytic converter seals
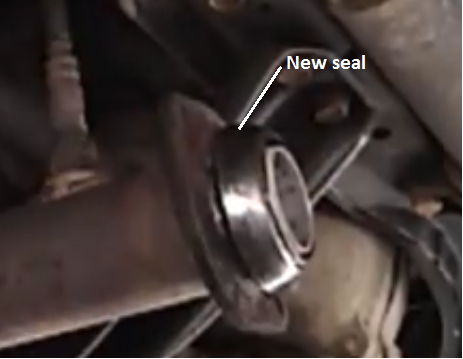
Put a new set of seals on the catalytic converter.
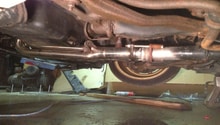
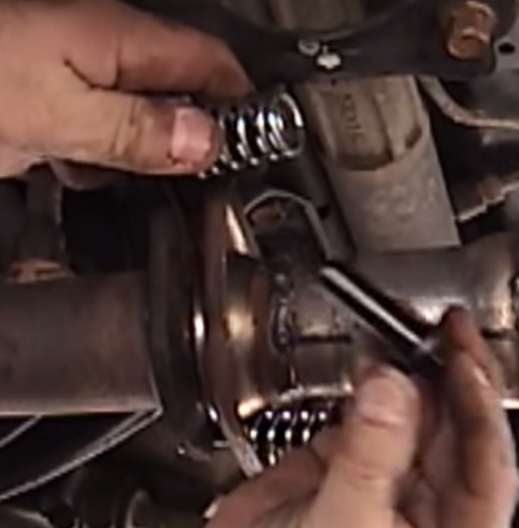
Step 5 - Install new bolts and springs
Add the five mounting bolts to the front and rear flanges. Make sure to use new hardware. The springs on the front flange are inserted between the flange and the washer. They provide tension to keep your exhaust sealed up. After the five bolts are tightened down properly, lower your vehicle off of the jack stands.
Pro Tip
New exhaust seals have a tendency to smoke a little when first heated up. Don't be alarmed if you notice a few little wisps of vapor.
Related Discussions
- Accord Catalytic Converter Replacement Cost - Honda-tech.com
- How Hard to Replace Cat? - Honda-tech.com
- Catalytic Converters - Honda-tech.com