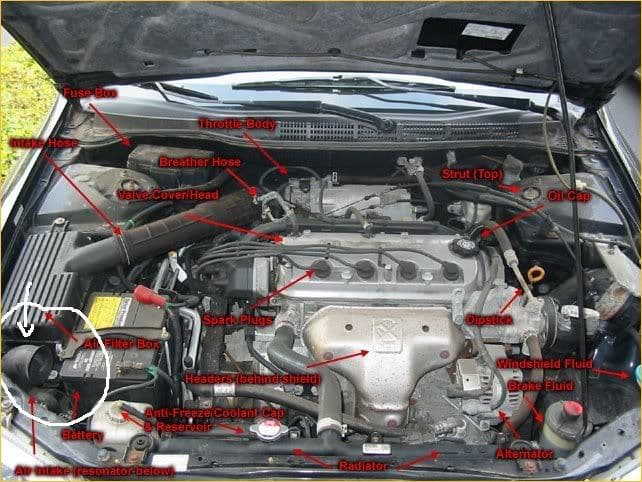
Honda Accord: How to Replace Thermostat
Thermostats are an important part of your car's cooling system. This guide will go over how to successfully replace a thermostat on your Honda Accord before you blow the engine.
This article applies to the Honda Accord (1990-2002).
An important part of a car's cooling system is the thermostat. If your thermostat is bad, then you are probably experiencing overheating issues, which are dangerous because they can lead to an engine damage. If you suspect that you need a thermostat replacement, then be sure to read this article. This article will go over the few steps needed to get this job done.

Materials Needed
- Socket wrench, extension, and 10mm socket
- Phillips screwdriver
- Wobble joint
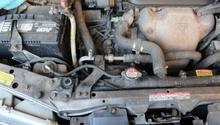
Step 1 – Drain coolant from radiator
First thing you need to do is drain the coolant from the radiator. You will need to do this so that when you remove the thermostat, you wont have coolant spilling all over your engine bay and driveway. You have to remove the drain plug from underneath the radiator. In most cases it will be a plastic drain plug like a wing nut. Turn it counterclockwise. Make sure to place a bucket underneath the plug, so that you can collect all the old coolant. Around two gallons should drain out. If your coolant flow seems slow, remove the radiator cap and coolant reservoir cap to speed up the process. Also, consider gently squeezing any radiator hoses that you can reach to coax any residual stuck coolant out.

Warning
If your car is hot, do not remove your radiator cap. You are in danger of burning yourself, so wait for the car to cool down.
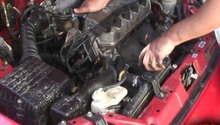
Step 2 – Remove air intake
On the front and back of the air intake box there are 10mm screws. Remove both of these screws. You will probably need the extension for the socket wrench. After that, remove the breather hose from the intake tube. Unplug the mass air flow sensor, so that you don't pull on it by accident. Remove the clamp that clamps the intake tube to the throttle body. You will need a Phillips head screwdriver to do that. Hold on to the screw, so that it doesn't fall after you completely loosen it. Lastly, the throttle cable might be clipped onto the intake tube, so undo that. Now you can remove the entire intake box and tube.
Pro Tip
The removal of the air intake is generally needed to gain access to the thermostat; however, if you feel like you can gain access without removing the air intake, feel free to skip it.
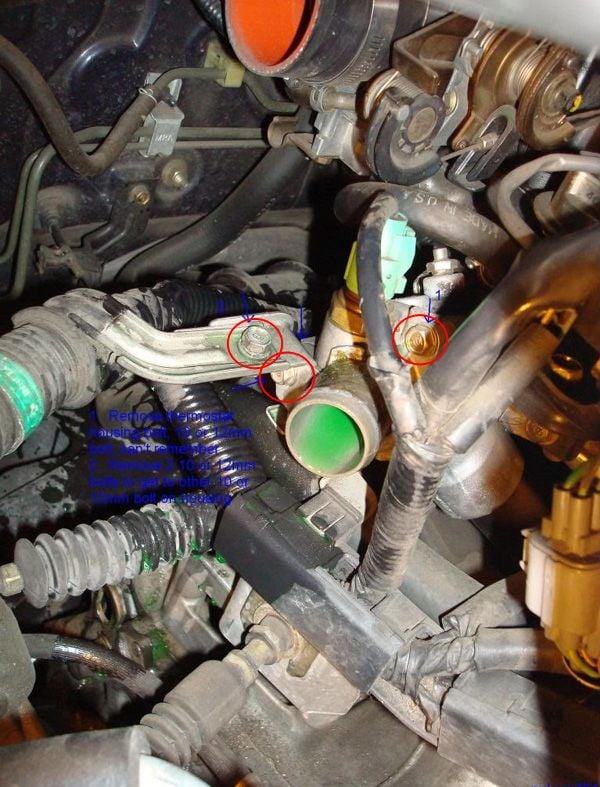
Step 3 – Remove three 10mm bolts
One of these bolts is for the support bracket of the wiring harness, which is to the left of the thermostat. Once you remove that bolt you can move the bracket out of the way. The other two bolts are on the bottom and top of the thermostat, which are actually holding the thermostat in place. You will also want to remove the fan switch, which is easy to disconnect. The two 10mm bolts holding the thermostat housing in place might be a tight fit for your wrench.
Pro Tip
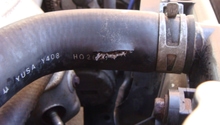
It isn't necessary to remove the lower radiator hose connected to the thermostat housing.
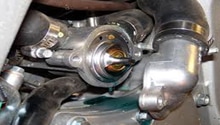
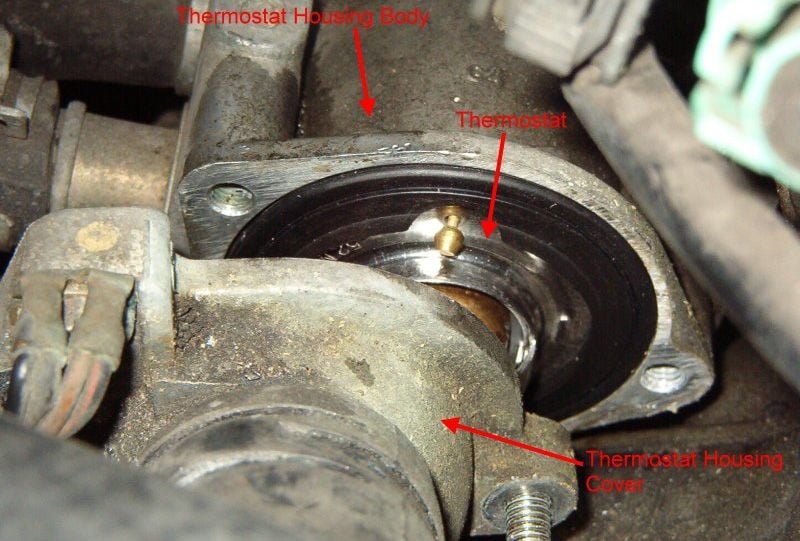
Step 4 – Install new thermostat
Once the thermostat housing bolts are removed, you can proceed to pushing down on the housing with your hands. It should come loose. Once you have nudged it loose, continue to nudge the actual thermostat loose from the thermostat housing. When installing the new thermostat, make sure to put the passing position on the top. In general, you should have noted the placement of the old one. Also, read the instructions that come with the new thermostat for proper positioning. It is important to get this correct. Once you have it correctly placed, set it into the housing and put the cover over it (the part with the lower radiator hose still connected to it). Now you can re-install the two housing bolts. First get the top bolt in, but wait to tighten it in order to secure the bottom bolt. Then you can tighten both bolts all the way.
Step 5 – Re-install
Get the two thermostat housing bolts tightened. Then, re-install the wiring harness support bracket. Plug in the fan switch. After that, go back and install the air intake. Finally, you want to tighten the radiator drain plug, and pour in some fresh coolant. If necessary, you can do a quick bleed of the cooing system by topping off the coolant, and running the motor with the radiator cap off. Then, topping off as necessary. You have now completed the job.
Pro Tip
After you are finish, drive the car around. Then check under the hood of the car for leaks.
Featured Video: Honda Accord Thermostat Replacement
Related Discussions
- Radiator and Thermostat Install - Honda-Tech.com
- Is My Thermostat Stuck? - Honda-Tech.com