Honda Accord: How to Replace the Starter
Should your Honda Accord starter fail, here is how to replace it yourself. There are gains and risks to doing so, but this DIY job definitely saves you money.
This article applies to the Honda Accord (1990-2002).
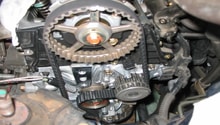
For a vehicle engine to start, it must be turned at a speed that allows air and fuel to be sucked into the cylinders and compressed. The vehicle starter turns the engine when the ignition key is turned on. Hence the starter requires a lot of electric current from the battery so that its gear wheel (pinion) can engage the engine's flywheel. Those charged electric motions make your Honda Accord starter susceptible to mechanical damage. Other damage to the starter can be caused by leaks in the engine, kick backs, loose electrical connections and mountings, and melted starter terminals due to prolonged engine cranking. Should damage happen and your starter require replacement, this step-by-step guide shows you how to replace it yourself instead of having to seek professional help.

Materials Needed
- Socket: 10mm, 14mm
- Wrench
- Socket handle
- Flat head screwdriver
- Pliers
- Nose pliers
- Cleaning rag
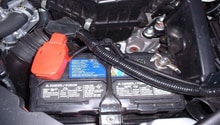
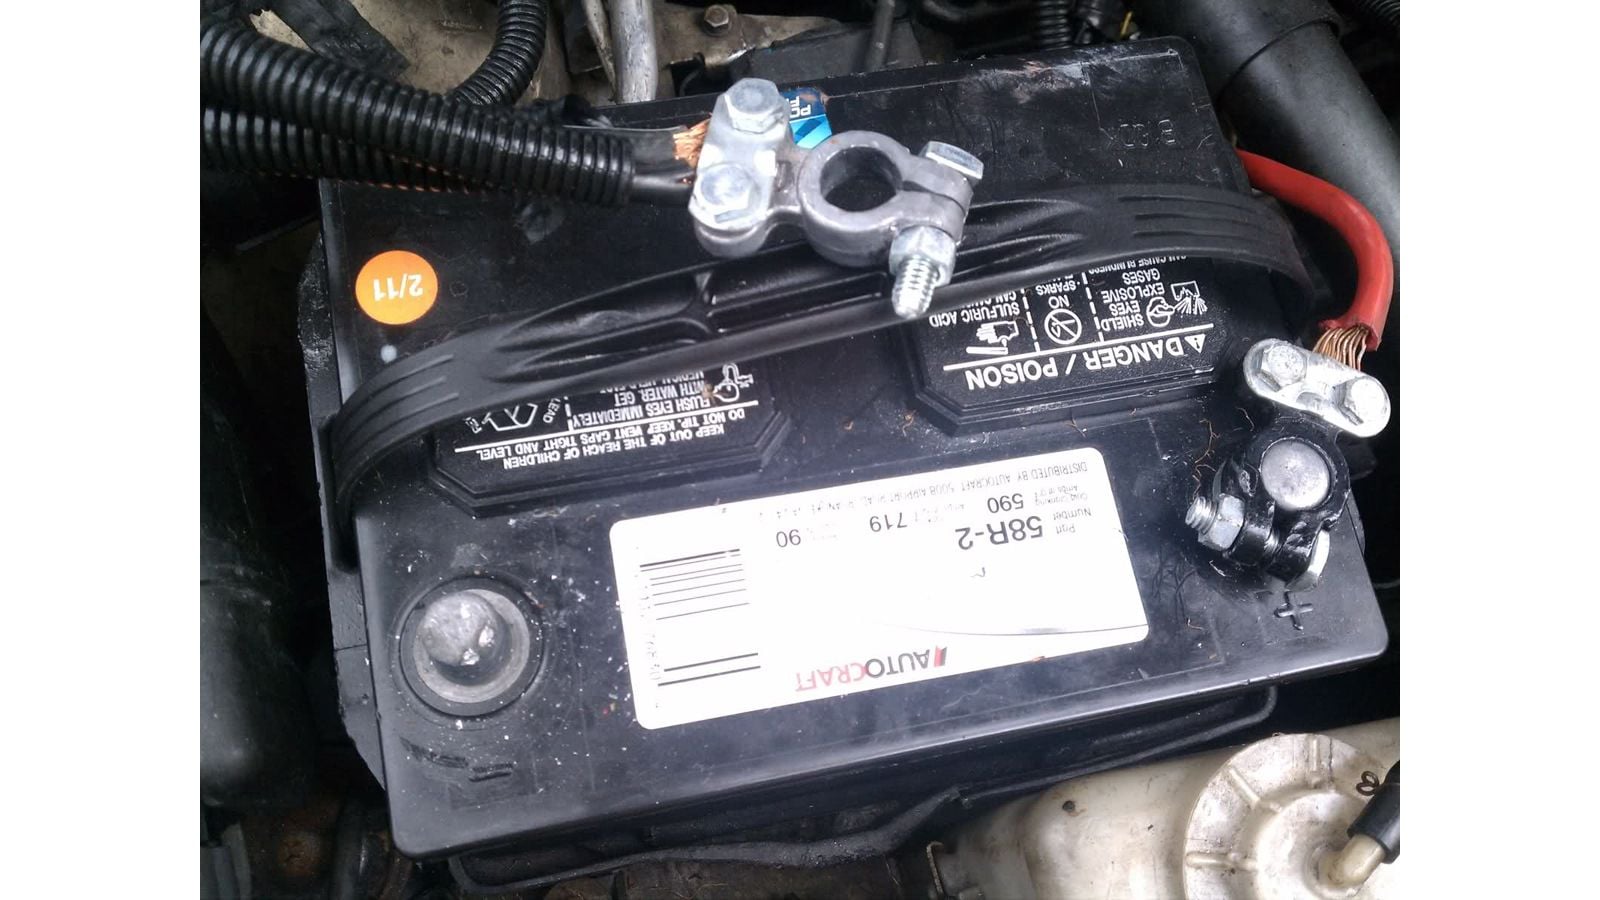
Step 1 – Disconnect the battery
Unplug the negative terminals from the battery to ensure no incidental sparking happens in the process. While you're at it, clean the terminals and the surrounding area by wiping them with a rag. You can use the ordinary and nose pliers to unplug the negative battery terminal.
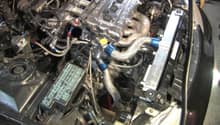
Step 2 – Remove the air intake
Remove the air intake tubing; this gives you enough elbow room to work with. The intake tubing is secured with 10mm bolts, several clips, and worm clamps. You may not find this to be enough working space, in which case the intake manifold can be removed. Using the 10mm and 14mm socket, remove all of the necessary bolts for the manifold. The throttle body can be left on the manifold. This allows access to the starter's two parallel bolts.

Pro Tip
You will encounter many connections in the process of replacing the starter. It's advisable to tag the wires and hoses to show where they are to be plugged. Alternatively, you can take pictures of every connection to help you trace your task steps.
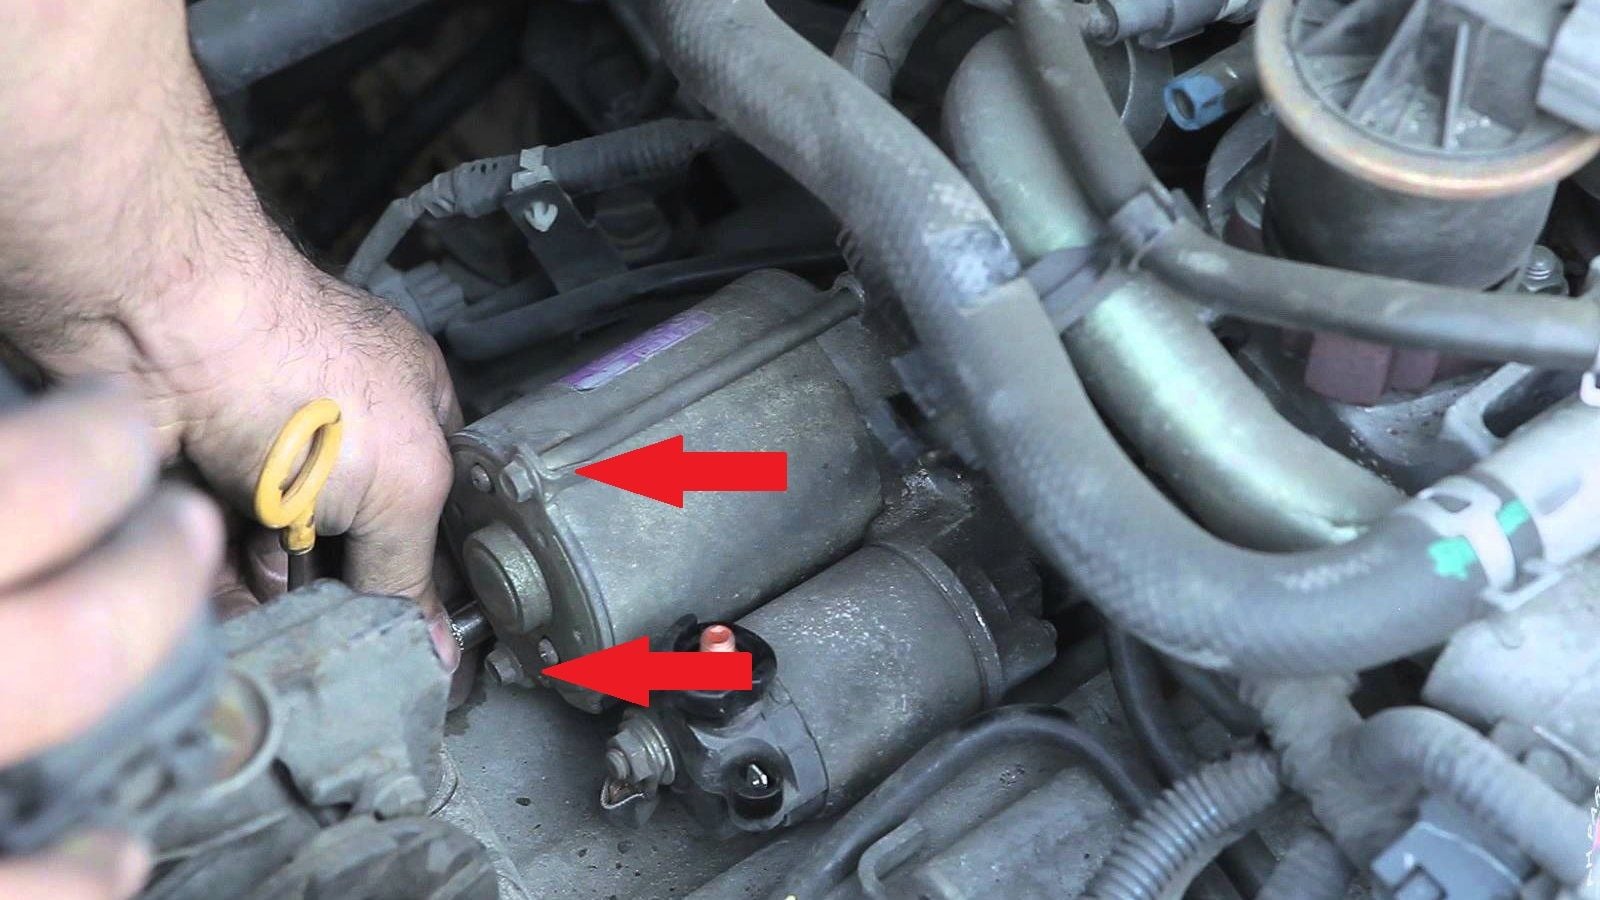
Step 3 – Remove the starter
Remove the two parallel bolts and the plug connected to the starter's solenoid. Doing so completely frees the starter.
Step 4 – Install the new starter
Get the new starter and plug it into the motor using the sockets and wrench. Then, fix back the intake and hoses in the order of how each part was removed but in reverse order. Lastly, plug back the negative terminal. Test that the starting issue has been solved, and let the car run while listening around the engine bay for any possible vacuum leaks or other issues. If everything checks out, then you are finished with this job.
Pro Tip
Apply sufficient torque for every bolt or screw removed to avoid mechanical problems.
Related Discussions
- Starter Issues - Honda-Tech.com
- Replacing the Starter - Honda-Tech.com
- Starter Not Spinning Flywheel - Honda-Tech.com