Honda Accord: How to Replace Radiator
Swapping out an old radiator is much easier than installing a new cylinder head or replacing an engine. When it looks like your old radiator is no longer performing at its best, take the time to replace it. Here is how it's done.
This article applies to the Honda Accord (1990-2002).
A radiator is one of the most sensitive and critical components in your engine. It takes in air to lower the temperatures of the coolant flowing through it, which is then recirculated through the engine. When it is leaking coolant, clogged, or blocked, it no longer has the ability to adequately protect the metal of your engine. At best, an overheated motor simply blows a headgasket, but extreme heat can melt piston rings and warp heads. If you suspect that your radiator is worn out, replace it as soon as possible.

Materials Needed
- 10 mm socket, ratchet and 3 inch extension
- Alligator pliers
- 2 hose clamps
- Funnel
- Coolant drain bucket
- Oil drain bucket
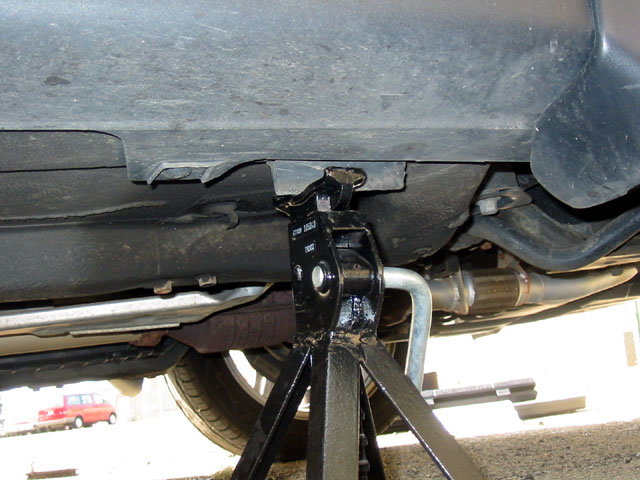
Step 1 – Lift and support vehicle
You will need to access lines and fittings at the bottom of the radiator. Set the parking brake, block the wheels, and secure the vehicle on stands. Make sure it's stable before you get underneath.
(Related Article: How to Jack Up Your Accord - Honda-Tech.com)
Step 2 – Drain the coolant
Remove the radiator cap, and set it to the side. Place your coolant drain bucket underneath, and open the drain valve located on the bottom of the radiator.

Warning
Work on your car while it is cold. Hot coolant can burn you, and many of the parts you will be accessing are right near the exhaust manifold.
Step 3 – Remove electrical fans
Unplug the two electric fans. Remove the four 10 mm bolts from the top of the fans, and lift them out of their slots.

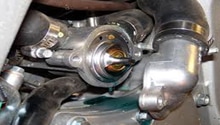
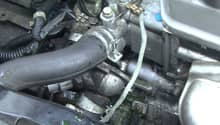
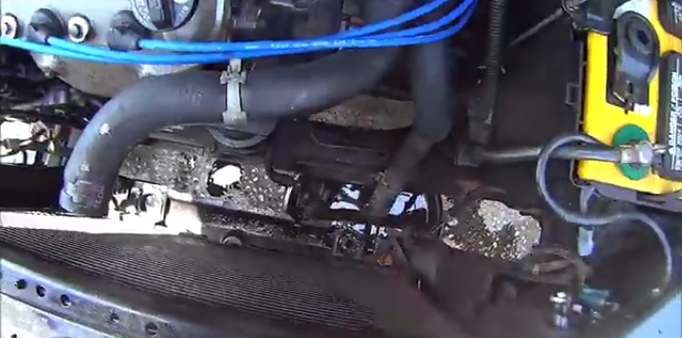
Step 4 – Disconnect lines and hoses
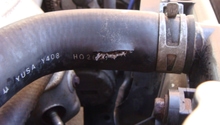
Use your alligator pliers to pinch and slide clamps back along the coolant hoses and transmission lines. There is a clamp on your upper and lower radiator hoses and two smaller clamps on the automatic transmission cooler lines.

Pro Tip
Use hose clamps to pinch the transmission lines shut. This helps to reduce the amount of transmission fluid you will lose and also makes cleanup easier. Also, be sure the release the transmission cooler line retaining bracket from the radiator so that it doesn't get hung up.
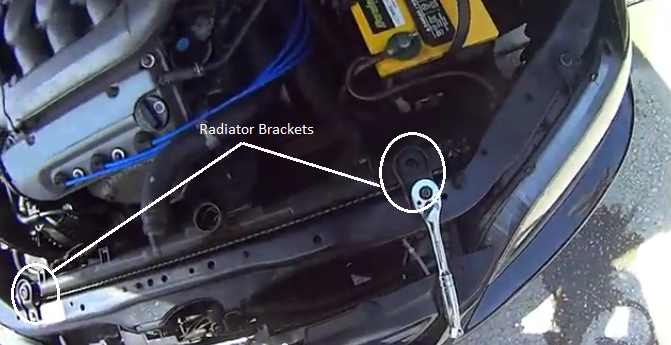
Step 5 – Unbolt and remove radiator
Take the 10 millimeter bolts out of the mounting brackets of the radiator. The brackets come off and will need to be reused. Once it is free, you can lift it out.
Step 6 – Clean up and install new radiator
Clean out any bugs, leaves, or debris before setting the new radiator in its place. Install mounting brackets, and bolt it down. Slip your coolant hoses and transmission lines into place and secure them with the clamps. Install your electric fans and plug them back in.
Pro Tip
Make sure your hoses fit squarely in place and that clamps create a firm seal.
Step 7 – Bleed coolant system
Add coolant to your radiator. Gently squeeze the lower and upper radiator hoses to burp air bubbles out of the system. Lower the car off of the stands, and start your engine. Watch for air bubbles to form at the top of the radiator opening. Rev the motor to dislodge stubborn pockets of air. When you are certain that you have gotten all of the air out, install the new radiator cap.
Make sure you fill your coolant reservoir as well. Watch the temp gauge and bring your engine up to operating temp. If it looks like it is going to overheat, shut it down immediately. After your car has been through a complete hot engine cycle and had time enough to cool down, remove the radiator cap, and inspect the coolant level. Top it up as needed.
Warning
Never open the radiator cap on a hot engine. Wait for it to cool first.
Featured Video: 1999 Honda Accord V6 Radiator Removal and Install
Related Discussions
- Radiator Replacement Cost - Honda-Tech.com
- Accord Radiator and Thermostat Install - Honda-Tech.com