Honda Accord: How to Replace Brake Line
Replacing the brake lines on your Accord doesn't have to be difficult. Read through this article to get an idea of what you'll need to do in order to tackle this project at home.
This article applies to the Honda Accord (1990-2002).
Replacing brake lines in your Accord can be a challenging project to undertake. It really depends on what line or location you are going to be working on. Replacing the front brake lines are not as difficult as replacing the rear. It also depends on if you are able to purchase prefabricated lines or not. Take a read through the article below as we will tackle the front flex lines on the Accord.

Materials Needed
- Penetrating oil
- 14 mm socket wrench
- 12 mm socket wrench
- Flair wrench
- Pan to catch break fluid
Step 1 - Remove the front wheels
I'm going to assume that you already know how to remove the front wheels from the car and therefore will not go in to detail on how to do that. Once you have the car situated on jack stands, and the front wheels removed, move on to step two.
(Related Article: How to Change a Tire - Honda-Tech.com)
Step 2 - Lubrication
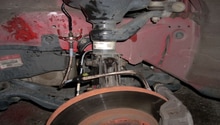
Using penetrating oil and spray all of the bolts/fittings that will be disconnected. There should be three areas, two connection points and one clamp area that is roughly mid-line. Give the oil some time to work in to the fittings.
Pro Tip
It is recommended that you wear plastic work gloves, which will keep the oil and other particulates from getting on your hands. The smell and grime can be difficult to wash off.
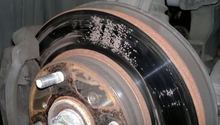
Step 3 - Removing the existing flex tubing
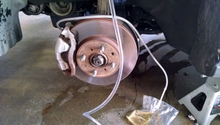
The first section to remove would be the lowest section that is connected to the brake. Doing this first will bleed the line of existing brake fluid. You'll likely need your 14 mm socket wrench for this particular connection. Put the catch pan underneath where you are working as the fluid will start coming out as you disconnect the line. Give it a few minutes to drain.

Step 4 - Remove the mid-line bracket
The mid line bracket is there simply to keep the line in place. You'll likely need your 12 mm socket to remove this connection.
Step 5 - Line fitting from still line to flex line
The last connection from the still line to the flex line is one that you need to be careful of. You will want to use a flair wrench on this area. The reason is that the nut is prone to stripping out and rounding. That's a hassle you don't want to deal with. The bolt and area can be rusty, so work it back and forth so that the penetrating oil you sprayed earlier can work further in to the threads. Once the nut is lose you can use your socket set to finish the job. There is a spring tension clip there that you'll have to remove next, it holds the break line to the bracket. After the clip is out you should be able to remove the hose.
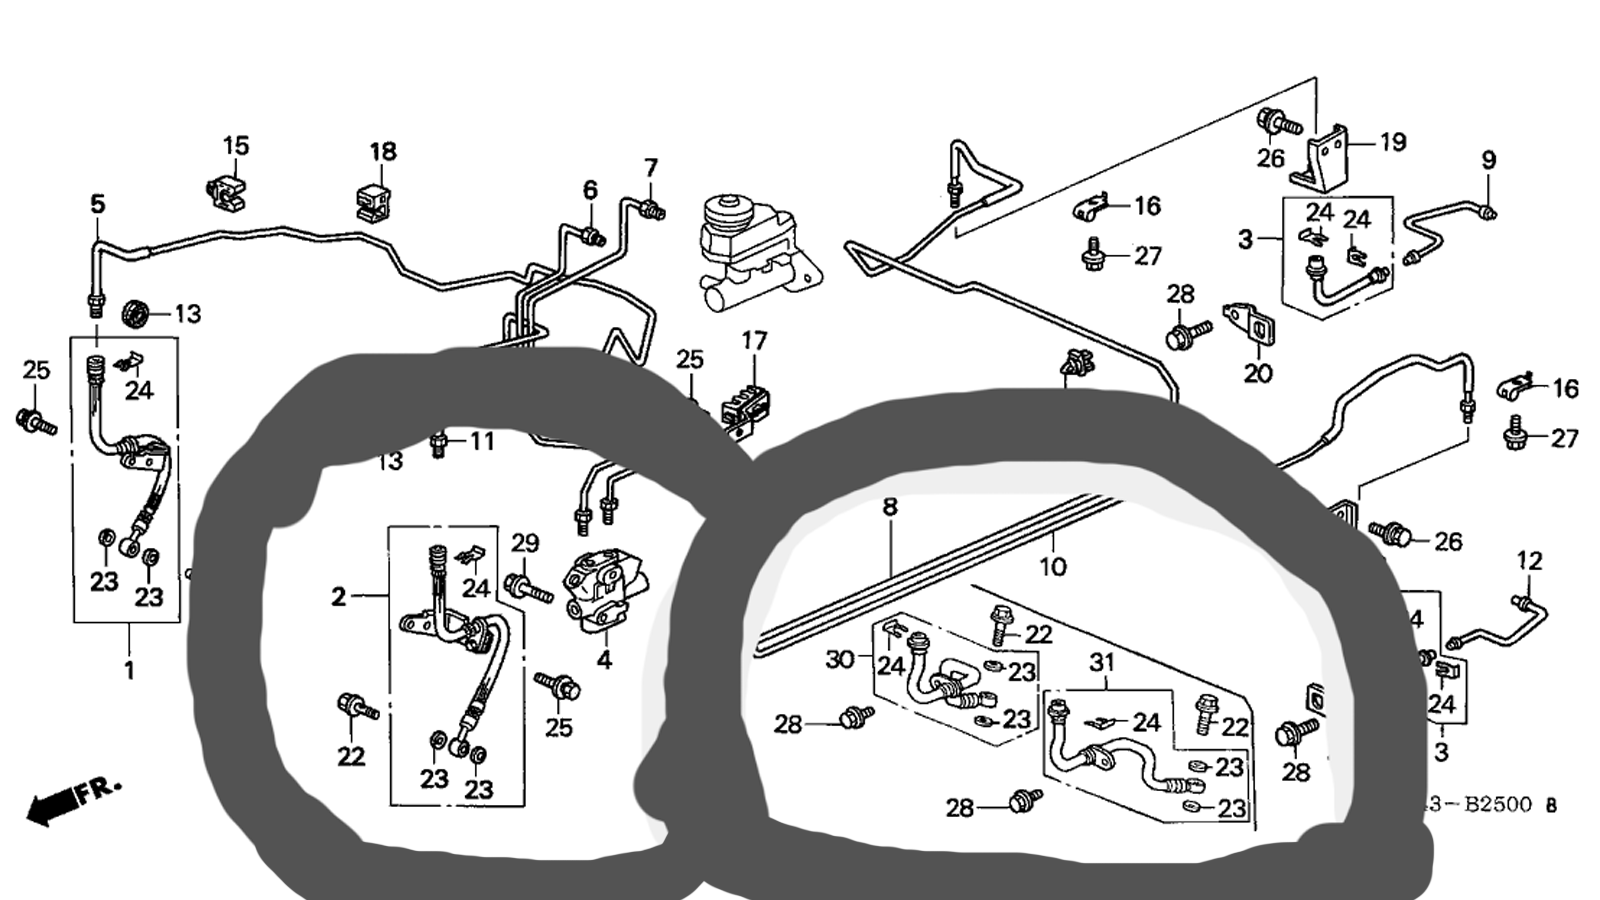
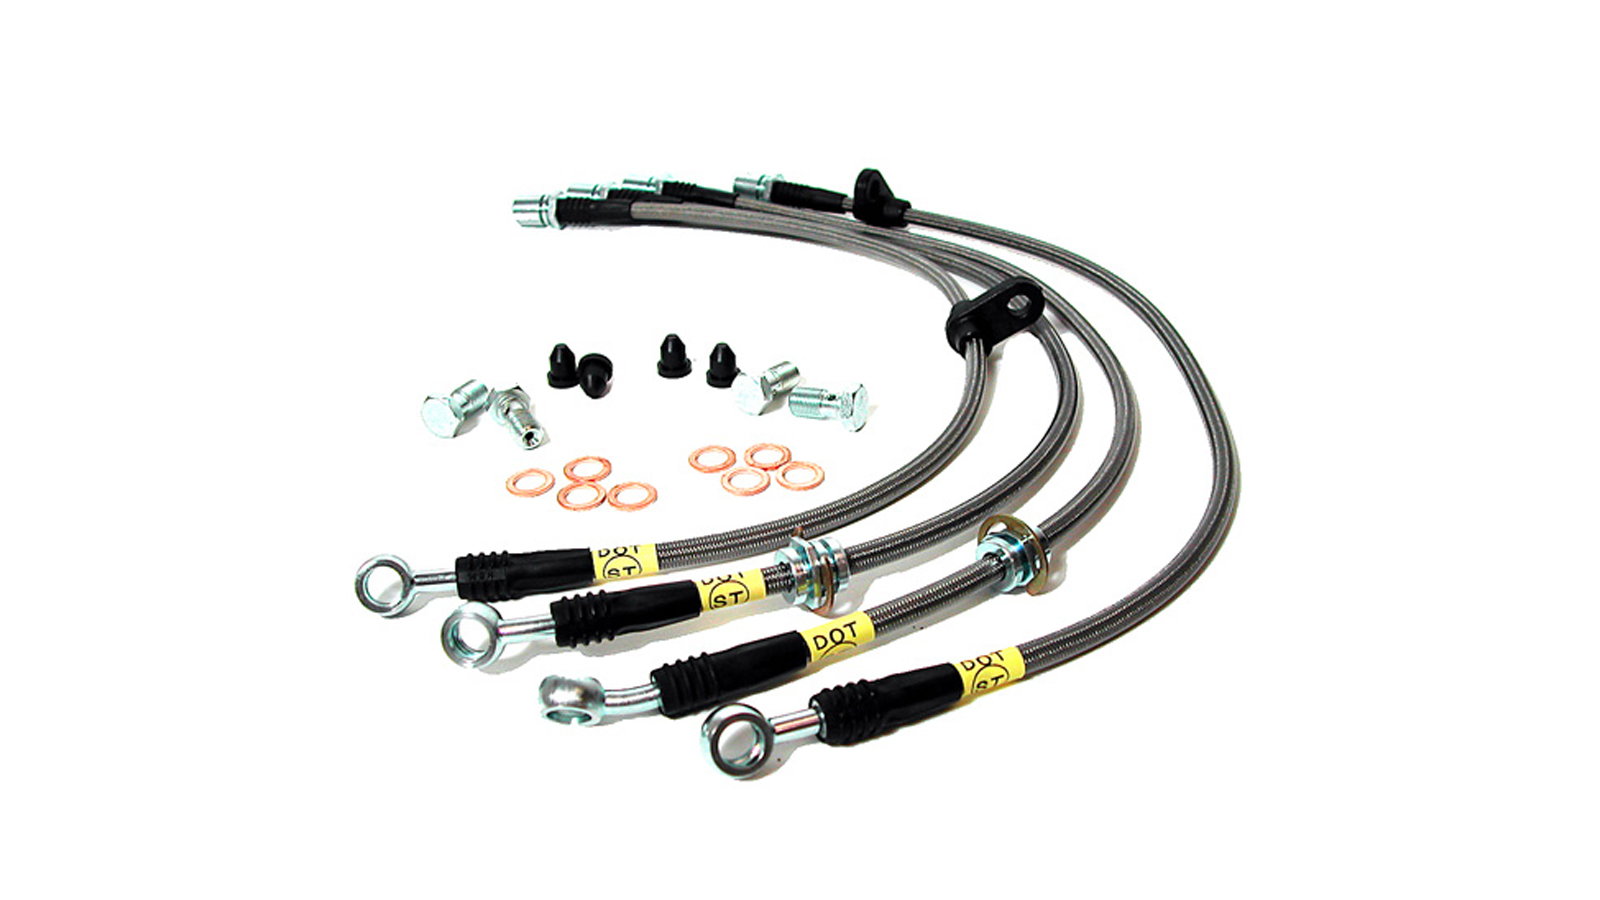
Step 6 - Selection of the correct new hose line
There are several models of brake lines. You may want to take the hose that you just removed down to the auto parts store and compare the various options side to side. The big difference is where that mid-line bracket points or lines up. The other two connection points are going to generally be identical.
Pro Tip
Sealing washers can sometimes get stuck and connected to the calipers. Check to see if that's the case. If so, they will need to be replaced.
Step 7 - Reverse the directions and install the new hose
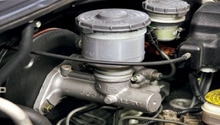
Reversing the directions starting from the top connection to the bottom connection. Once the installation is completed you'll want to get in the car and pump the breaks a few times to push brake fluid back in to the line. Because you didn't replace the entire line you shouldn't need to refill the entire brake fluid. Check the brake fluid reservoir and fill as necessary.
Featured Video - Brake Line Replacement
Related Discussion
- Cost of Replacing Brake Lines - Honda-Tech.com