Honda Accord: How to Recharge Your A/C System
Follow these easy steps to recharge the A/C system in your Honda Accord.
This article applies to the Honda Accord (1990-2002).
Recharging the AC system on your Honda Accord is a fairly easy process, that will only take a few minutes. The important things to keep in mind while charging the AC system, are the use of safety goggles, gloves, using the correct refrigerant (R134A), and upon completion, confirming the correct pressure in the system line. Before starting, review the owner's manual in order to verify the location of the AC system, and to confirm the manufacturer's specifications for optimal pressure readings and refrigerant recommendations.

Materials Needed
- Safety goggles and gloves
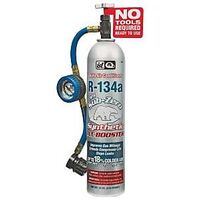
- R134a refrigerant with line sealant, hose and pressure gauge attached.
Step 1 - Review the manufacturer's specifications and operating manual
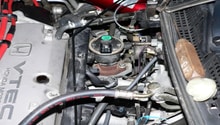
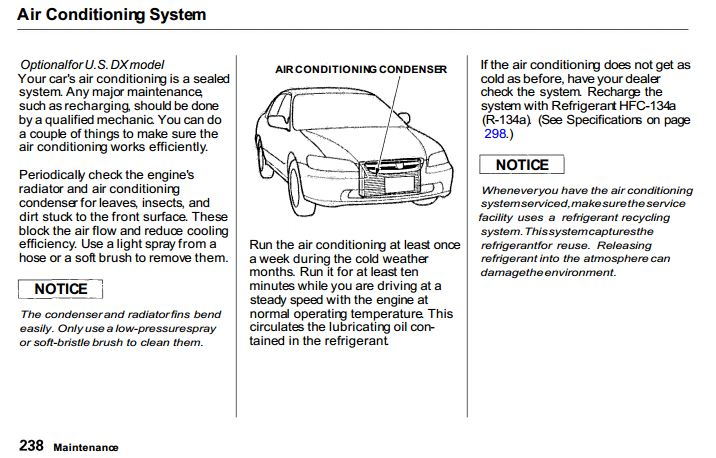
Review the manufacturer's specifications and operating manual for your Honda Accord. It will help you locate the AC system under the hood, specifically the low pressure valve for the AC system, and to confirm the optimal AC system pressure recommended for your vehicle.
Step 2 - Open the hood
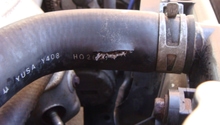
Locate the AC System and unscrew the low pressure plug. The owner's manual will direct you to the location of the AC system in your Honda Accord. The low pressure plug, will have the letter L embossed on it, remove that plug and set aside for reinsertion.

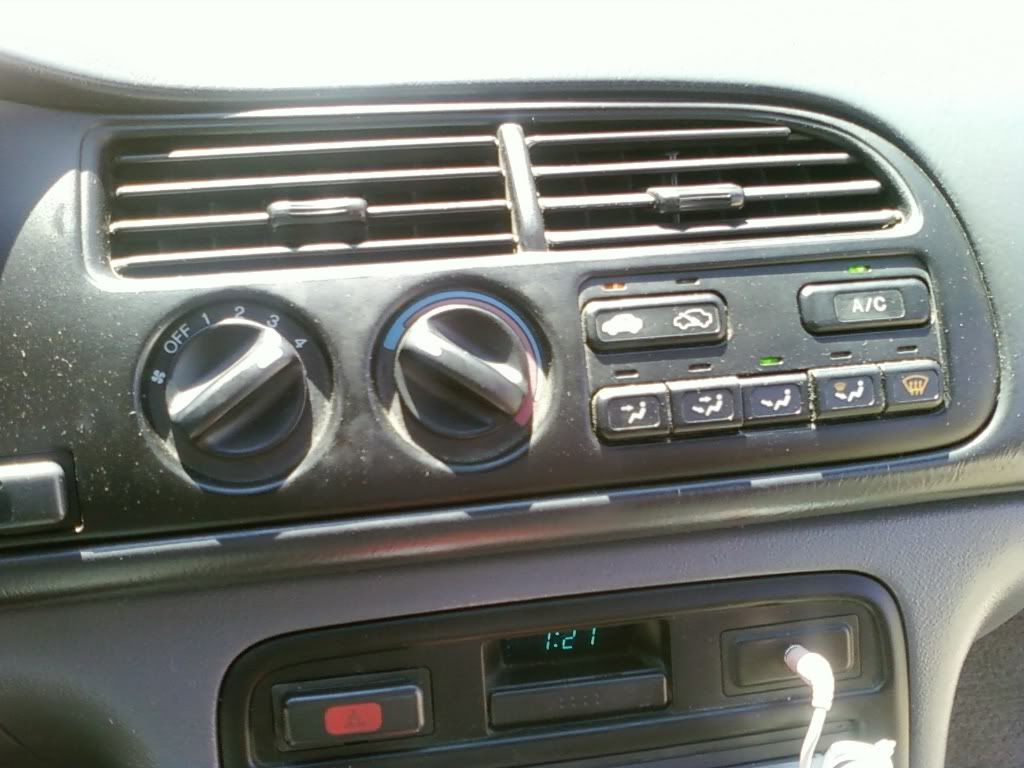
Step 3 - Start the car
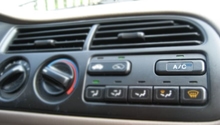
Then set the air conditioning to maximum power and lowest temperature possible.
Step 4 - Insert the new refrigerant in to the low pressure valve
Depending on the brand of R134a that you purchased, you may have to initially remove the safety seal from the canister. Shake the can well before inserting into the AC system. Additionally, some brands will have an exterior temperature gauge, so you can balance the pressure appropriately before putting into the AC system.
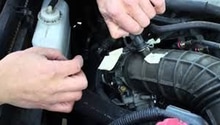
Clamp the refrigerant canister hose onto the low pressure intake in the AC system. If the clamp does not easily attach to the low-pressure intake, do not force it, double check that you have the OEM A/C system in your Honda Accord, and that the clamp is not damaged.
After attaching, and depending on the brand that you purchased, begin to turn the knob on your R134a canister, and begin the process of recharging your AC. Turn the canister upside down and right side up while the refrigerant is going into the system. You should feel the canister getting extremely cold. Monitor the pressure gauge on the canister as you are filling the system, and when you get to the optimal psi, remove the hose, and check the vents inside the car for appropriate AC temperature.
Step 5 - Re-insert the low pressure stopper
Close the hood and you should be good to go.
Related Discussion
- Frequently Asked Questions about A/C Recharging - HondaTech
- Accord-specific How-to - HondaTech
- Discussion on DIY kits available - HondaTech