Honda Accord: How to Repair a Leaking Gas Tank
Smell something funky from the back of your Accord? If it smells like leaking gas, it probably is. Follow along and learn how to plug that leaking gas tank.
This article applies to the Honda Accord (1990-2002).
After 13 to 25 years, you just have to expect things like this. Metal fuel tanks can develop pinhole leaks (or larger ones) from flying rocks that chips away at the galvanizing protection of the metal. Also, moisture can condense on the exposed metal inside the tank or in the seam between the tank halves. You can temporarily repair minor leaks in the comfort of your driveway with just a little prep work, or you can spend hundreds of dollars for a professional to repair it. Most likely you can fix it, but you should also know when it's time to seek professional help. If you do decide on replacing the tank, you should expect to pay $200 or more for a new gas tank, and $500 or more for the cost of labor.

Materials Needed
- Small wire brushes
- Scraper and/or putty knife
- Scrubbing sponges
- Shop rags
- 12 mm socket wrench
- Fluid catch pan
- Chemical-resistant rubber or nitrile gloves
- Penetrating oil (WD-40)
- Acid-based metal cleaner or apple cider vinegar
- Two-part epoxy patch sealer
- RTV sealant
- Fire extinguisher
Warning
Keep a fire extinguisher available. Any automotive repairs that involve gas may ignite and catch fire.
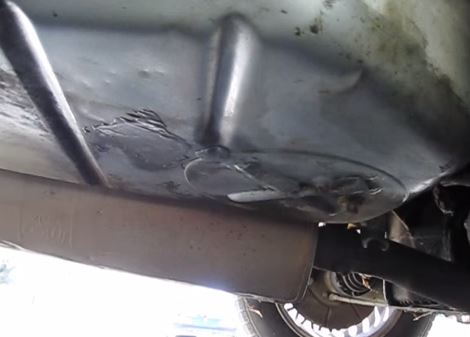
Step 1 – Look (and smell) for the leak
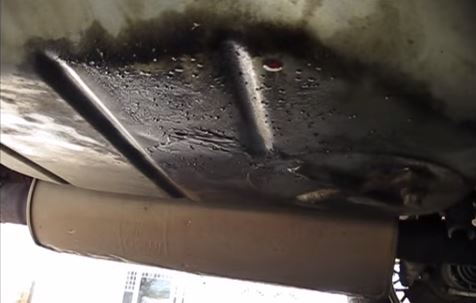
- Get under the car to inspect the gas tank for any visible leaks.
- If there are areas of extensive dirt or rust, scrape off what you can for a better view of the area.
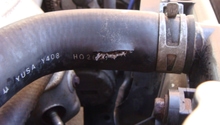
- Check the seams between the upper and lower halves of the tank. Also, check the hoses, seals, and gaskets.
Pro Tips
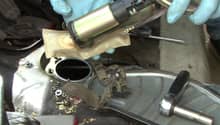
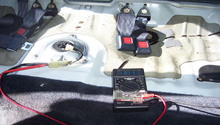
- Check the seals around the fuel pump. If you find the leak in that area, it might need to be replaced.
- You might have to add gas to the tank in order to raise the level above the leak source.
Step 2 – Drain the gas tank
- Place a fluid catch pan underneath the gas tank drain plug.
- Spray the plug with penetrating oil, and let it sit for 5 to 10 minutes.
- With a 12 mm socket wrench, remove the plug. Allow the gas to drain below the level of the leak.
- Apply some RTV sealant to the threads of the plug, and re-install it to the tank.\
Step 3 – Clean area around the leak
- Scrape off old undercoating, gunk, and oil from the area of the leak.
- Use a wire brush to remove any surface corrosion.
- Wipe down the area with a sponge soaked in metal cleaner to remove the leftover dirt.
- Once you are sure the area is clean, wipe it dry with a new rag.
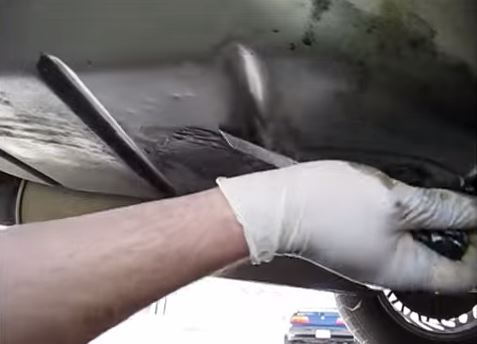
Figure 3. Scrape off the dirt and undercoating. 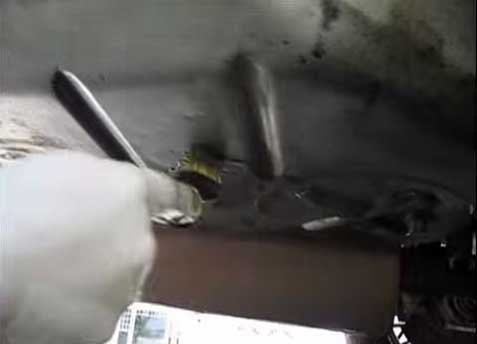
Figure 4. Wire brush the corroded areas of the tank. 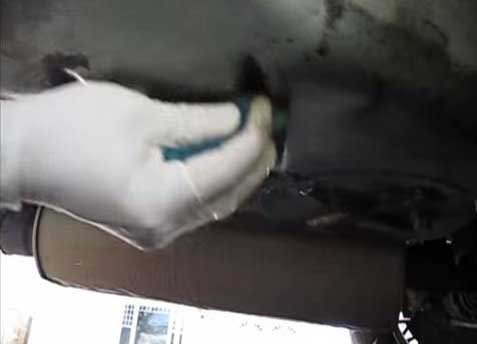
Figure 5. Scrub the area with a metal cleaner.
Pro Tip
Apple cider vinegar also works well for removing rust and corrosion.
Step 4 – Apply the path sealer
- Depending on the two-part epoxy sealer you purchase, you might need to knead or mix it before applying.
- Then, apply the two-part epoxy sealer to the hole where the leak is originating from.
- Hold it over the leak until it fully cures. The curing time depends on the brand of patch sealer.
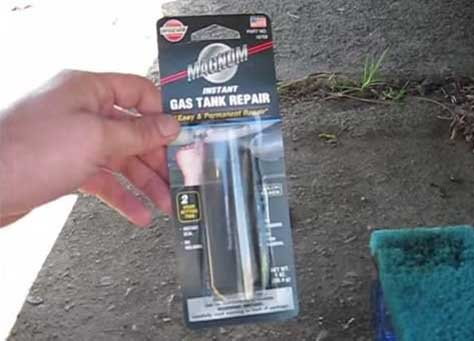
Figure 6. Magnum gas tank two-part epoxy sealer. 
Figure 7. Press the two-part epoxy sealer onto the leak.
Pro Tip
To ensure a good bond between the epoxy and metal, thoroughly clean the leaking area.
Step 5 – Check if patch is holding
- Once the sealer is fully cured, refill the tank above the level of the patch.
- Visually inspect the patch for signs of seepage.
- If there is still gas leaking around the patch, apply more epoxy sealer until the leaking stops.
Featured Video: How to Fix a Leaking Gas Tank
Related Discussions
- Gas Tank Leak - Honda-Tech.com
- Quick Fix for Leaky Gas Tank - Honda-Tech.com
- Honda Accord Fuel Tank Leak - Honda-Tech.com