
Freeman's Ground up Ruck Build
 11-10-2014, 06:37 AM
#1
I know this sub forum is pretty inactive, but I decided I'd post the progress of my Ruck build anyway. I decided to go from the frame up with it since I couldn't find any decent premodded Rucks. It is a 'budget' build. Nothing too crazy, but I didn't skimp on quality where I deemed necessary. This is copied and pasted from TR with some minor editing.
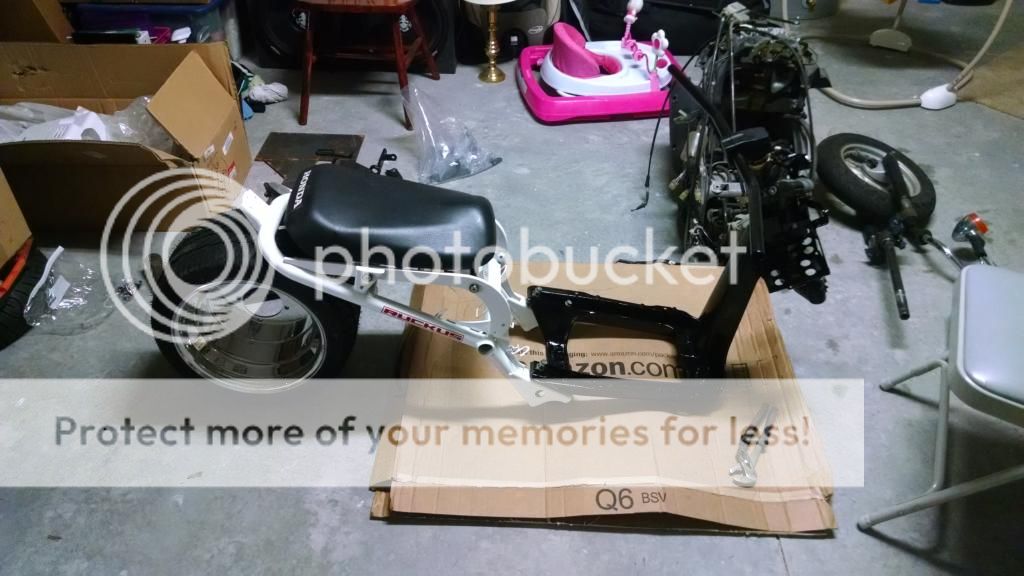
The frame is a 2003 Honda Metro with a clean title. It came with everything to convert it to a Ruckus though. The plastics are all removed and the triple tree was removed to fit it in my back seat. The scoot runs fine.
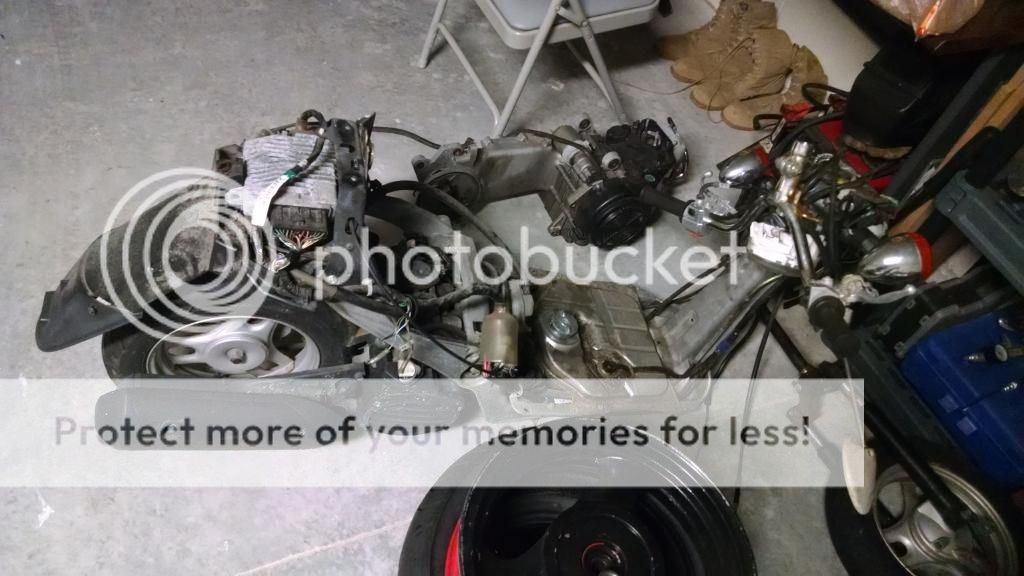
Here is the GY6 I bought. Needs some cleaning up, but should run no problem.
A spare R1 exhaust pipe.
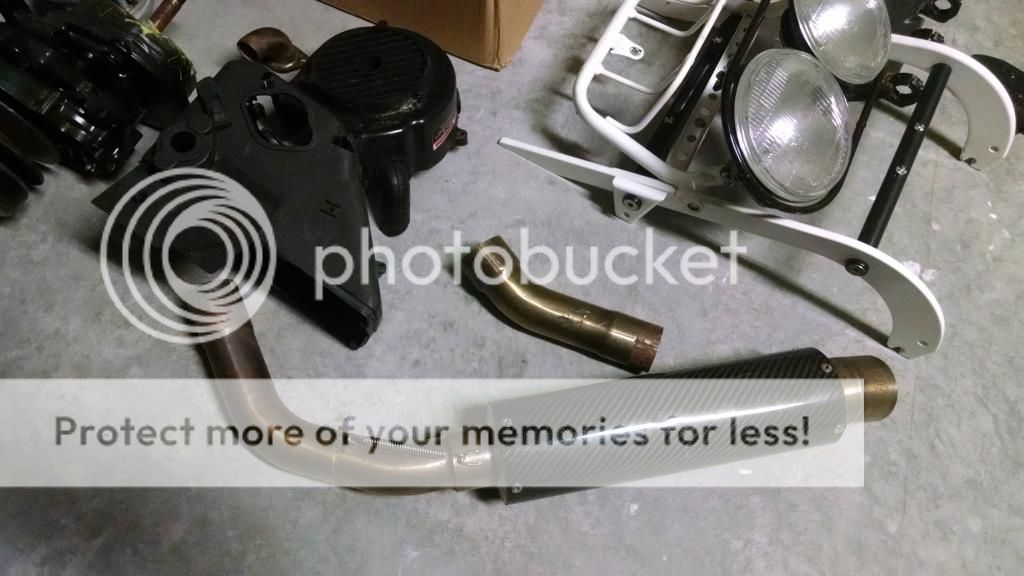
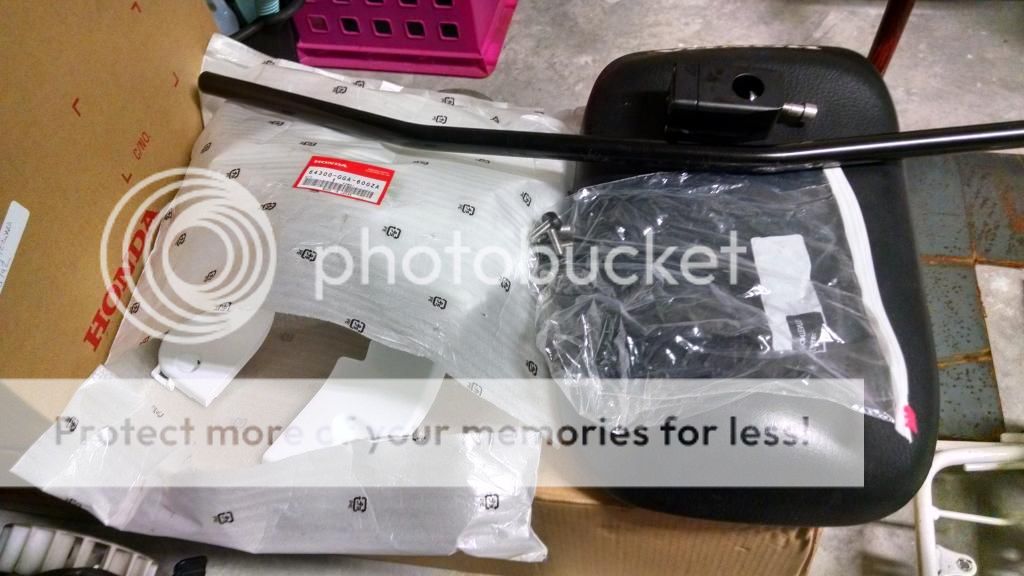
A lowered seat and stock head lights, most likely going to opt for HID 35W 5000k lights and fit them into the stock housing.
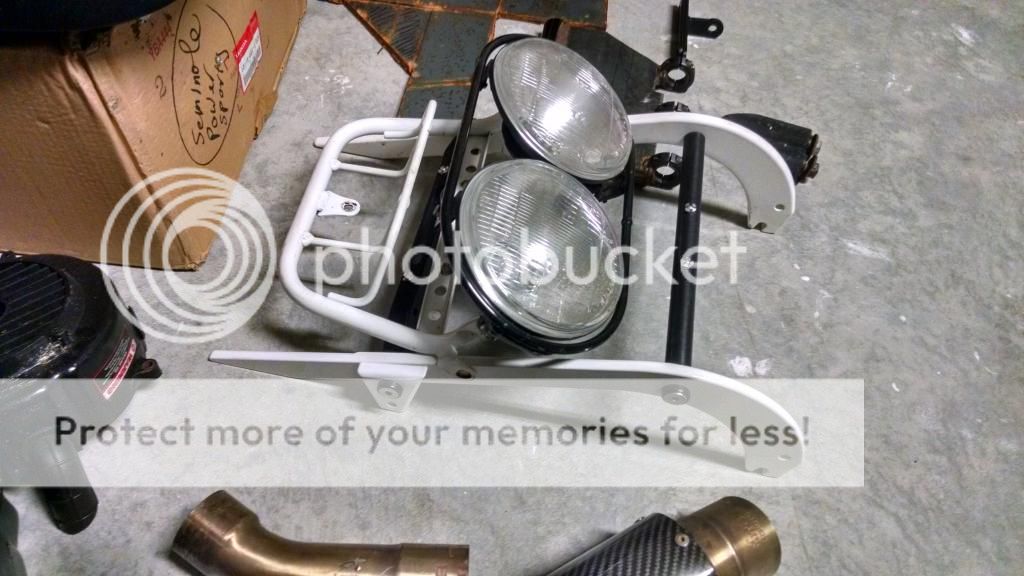
The seat, battery box, and rear frame.
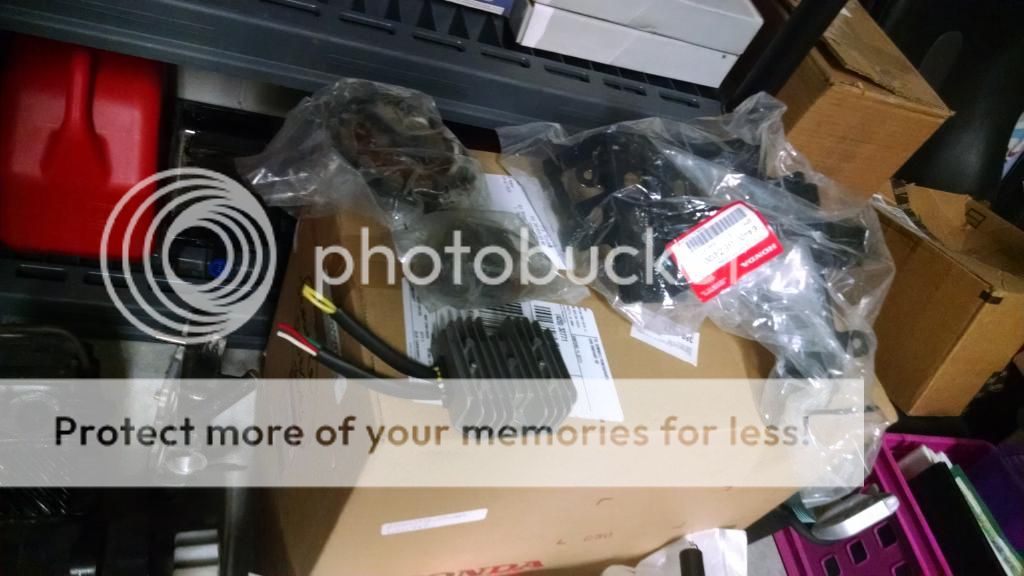
Battery bracket, strator, rectifier, etc.
I ordered some stuff from the Ruck shop. I live about 2 hours away, so I expect that to be here this week.
Planning to strip the frame down, paint the frame black, and start working from there.
------------
I've been tearing down the Metro mostly, so there isn't much to talk about. I have most of the rear frame disconnected (wires, fuel, brakes,etc). I'm working on disconnecting the handle bars from all the stuff I won't be needing. I'm also working on a couple little things in between and I have been ordering parts.
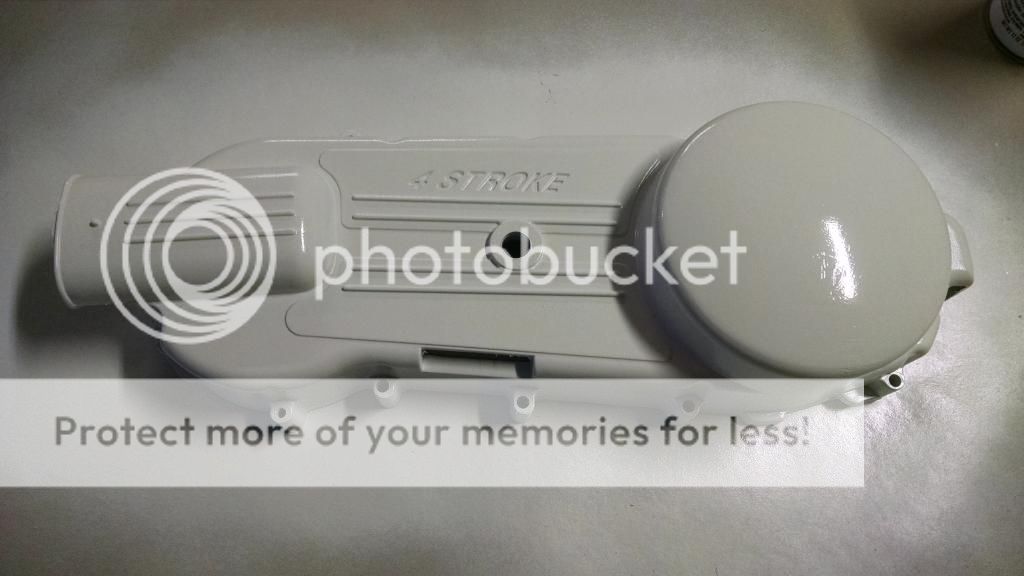
I am also going to paint the cover white to match the frame. Should look good against a black motor.

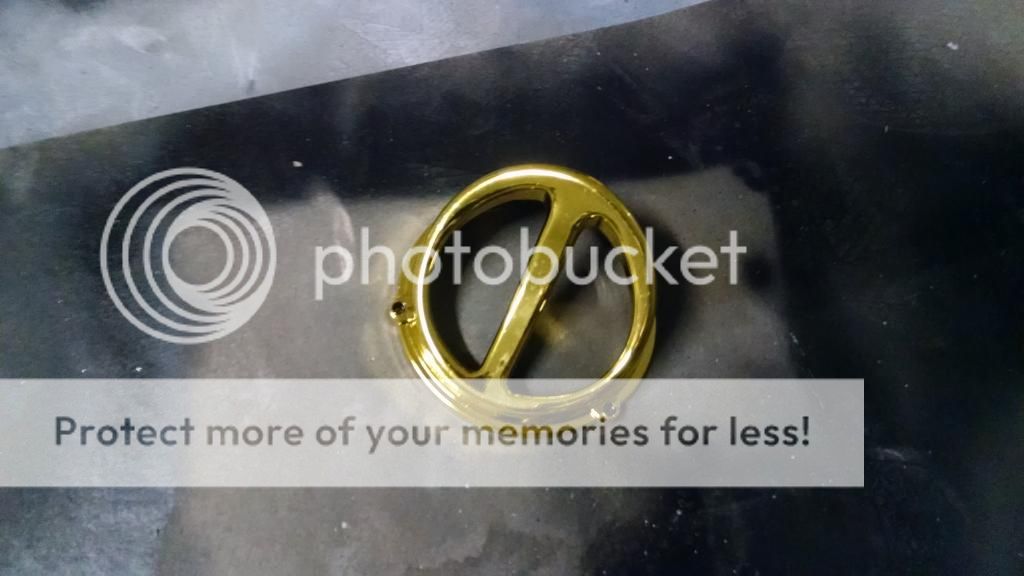
Like everyone, I hate the key for the gas cap but cannot justify spending $40+ on one. So I made one.
Removed the locking mechanism (2 screws, retain everything but that one piece)
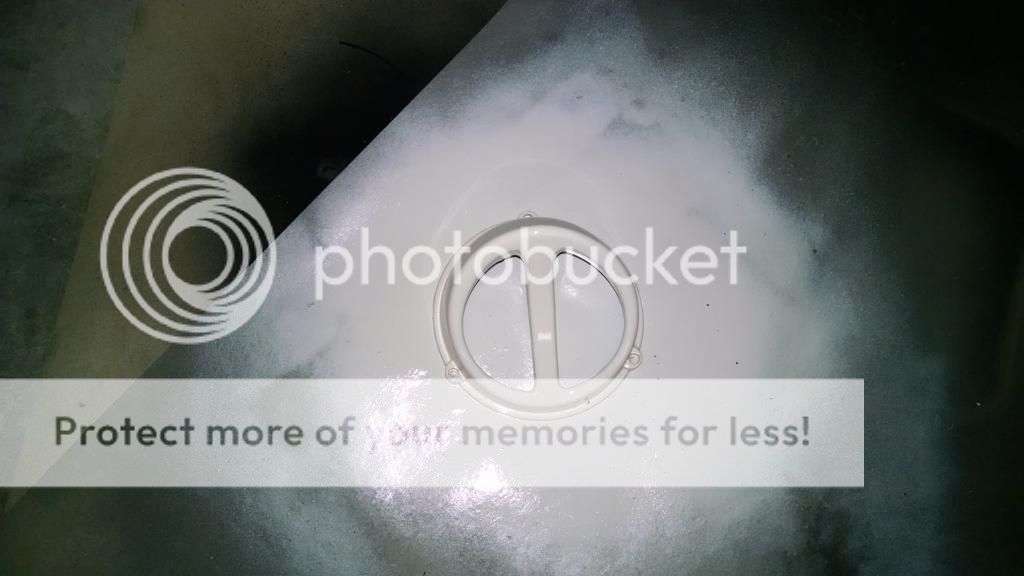
Filled it, did some rough sanding, primed it, going to sand it again and paint it white.
I have my rear wheel, tire, motor mount, ruck triple tree (don't like the met one), alarm, switches, and a few other misc things coming.
------------
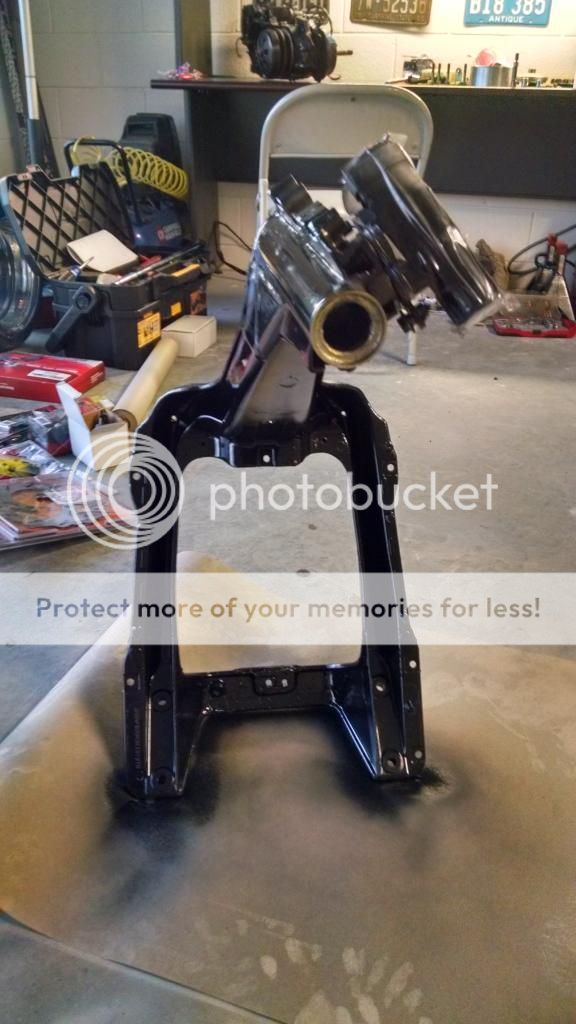
Another day, another couple hours. I didn't get any shots, but I painted and clear coated the gas cap and cleared the cover. But what I did take a photo of is way more exciting. I got the front frame completely removed!
I have to remove the ignition and horn to degrease the whole thing and paint it. Here is the rest of the Met. 4,000 miles and runs pretty good. Putting it on craigslist to make a couple bucks.

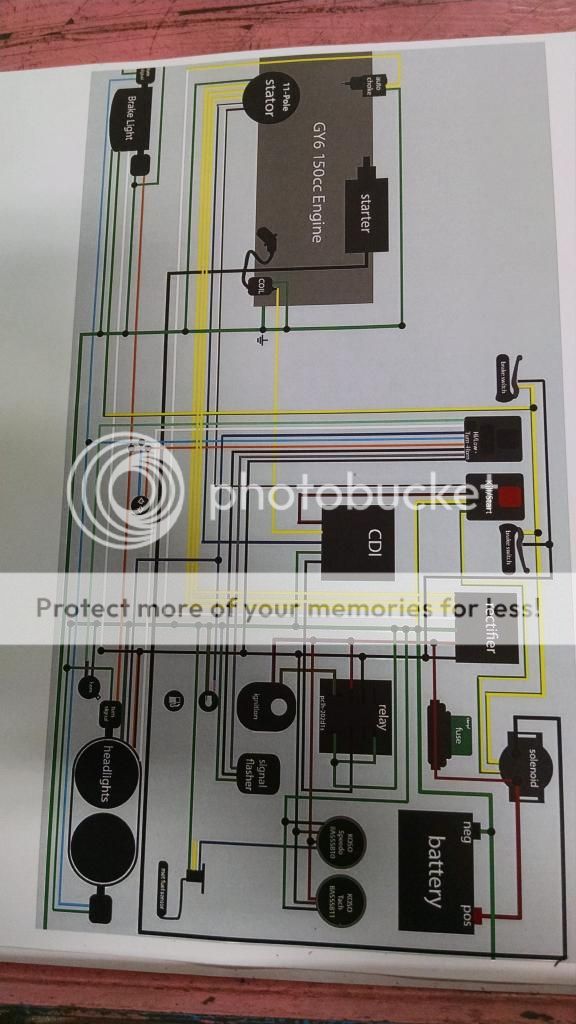
I found a wiring diagram online, looks incredibly simple. Shouldn't be a problem at all. I forgot how simple carb setups were compared to the fuel injected cars of today.
Tomorrow I am getting my wheels mounted (Local guy quoted $15 for the set!). I will also clean the frame and start on painting it and the gas tank.
-----------
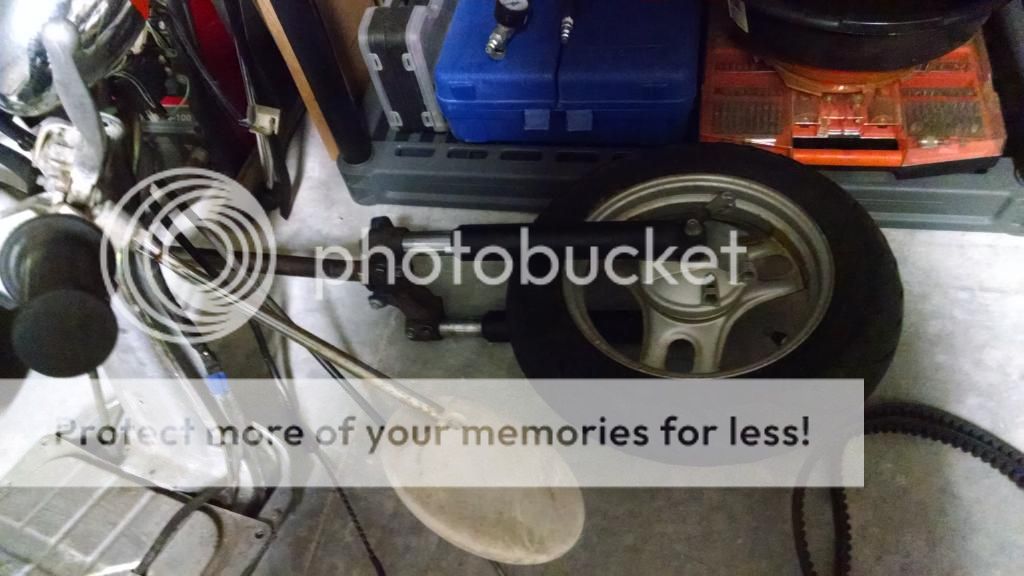
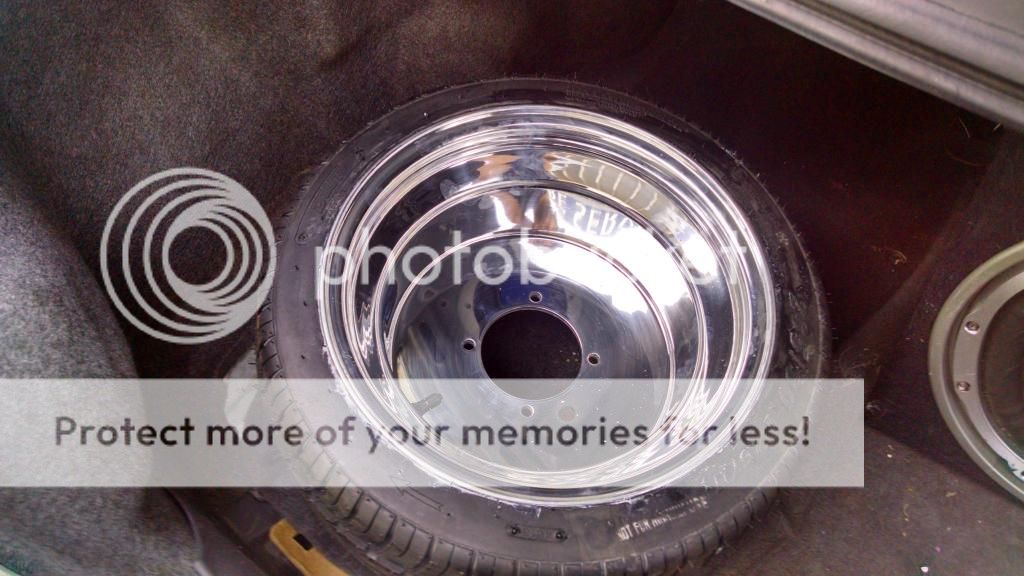
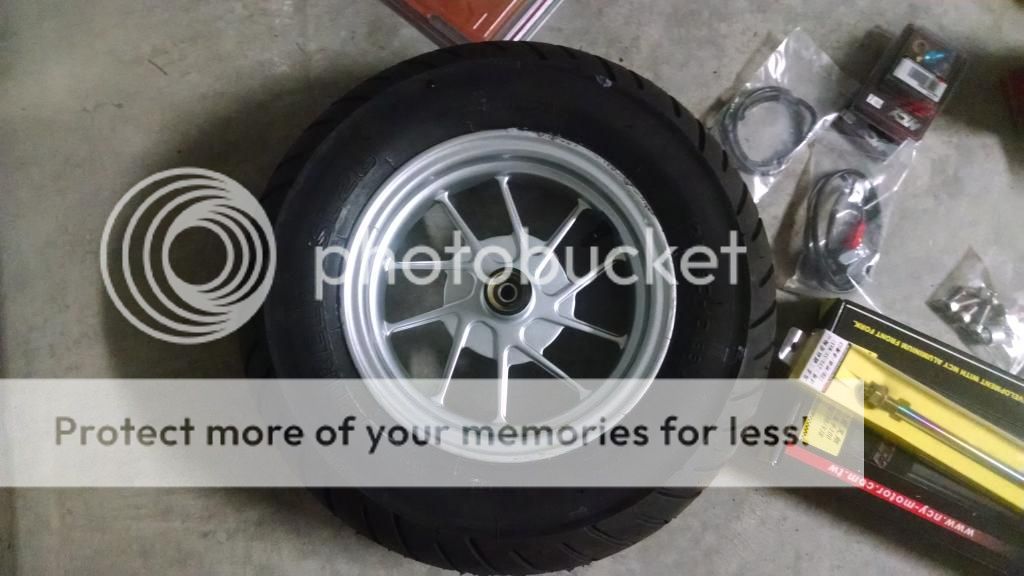
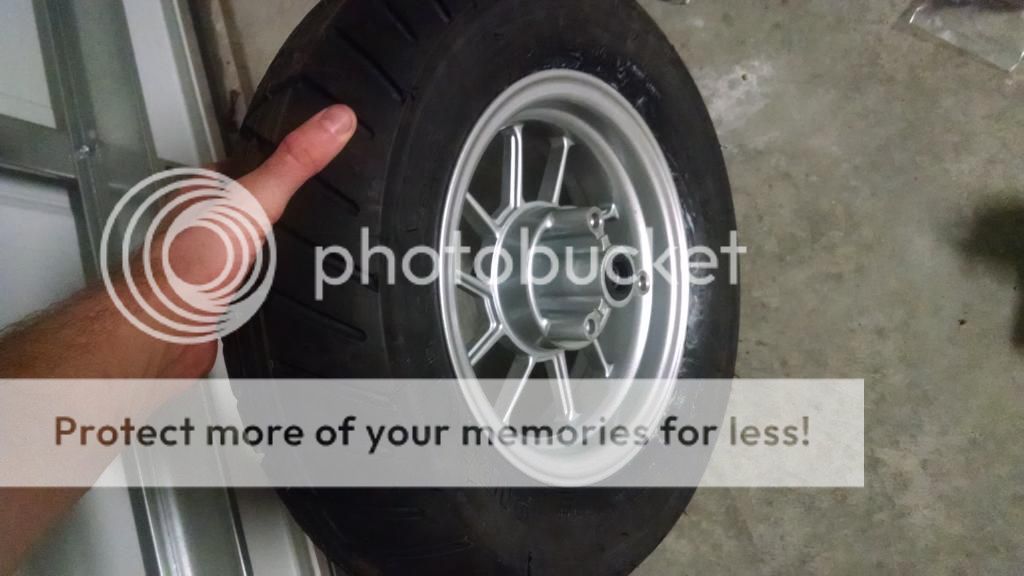
Anyway, got the rear mounted. 12x8 with a 235/30r12!
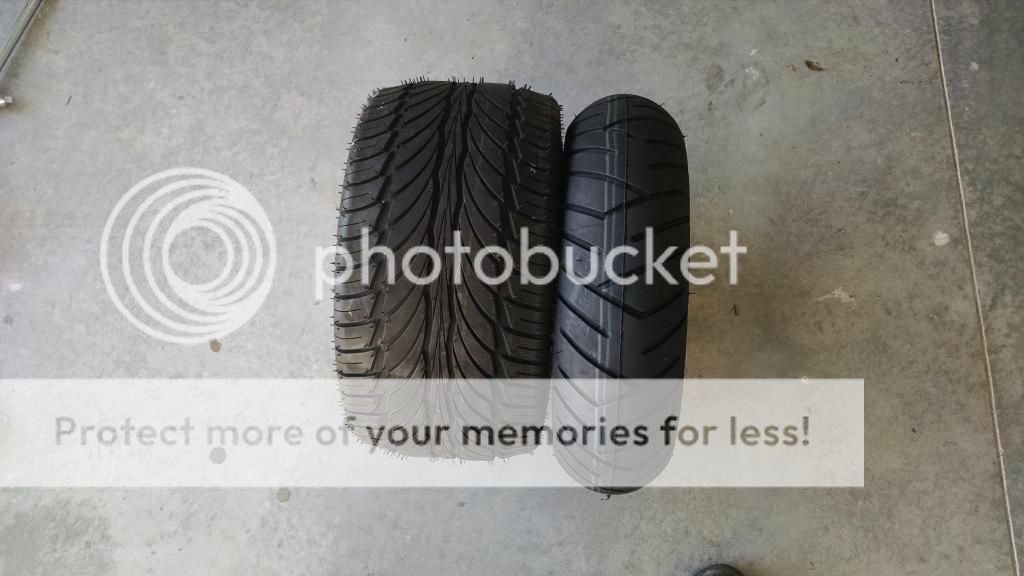
Side by side with my 140/90r10 front wheel.

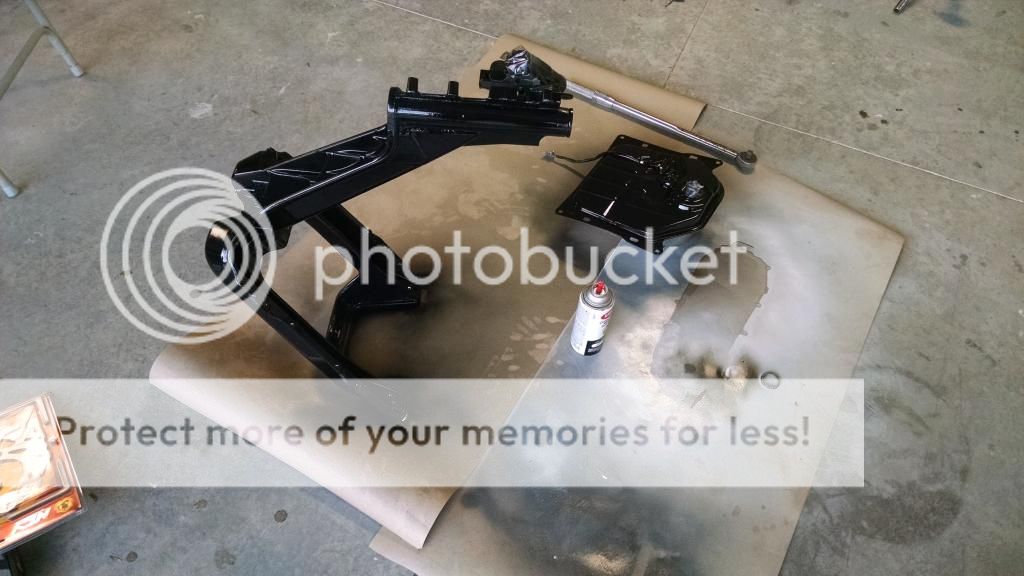
Cleaned up the frame and gas tank. The gas tank has a light coat on it already, so it may look dirty.
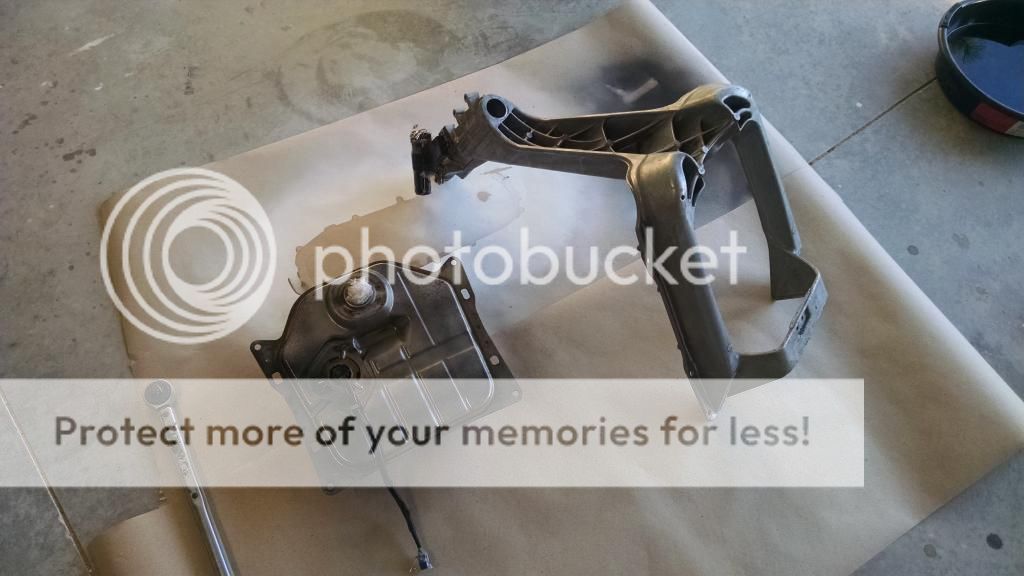
Taped off and starting to spray
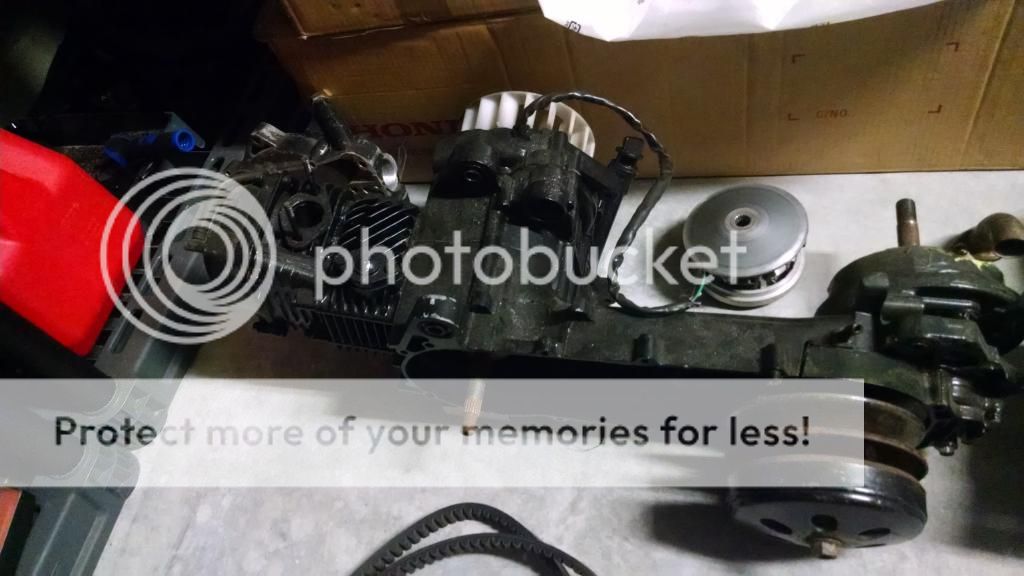
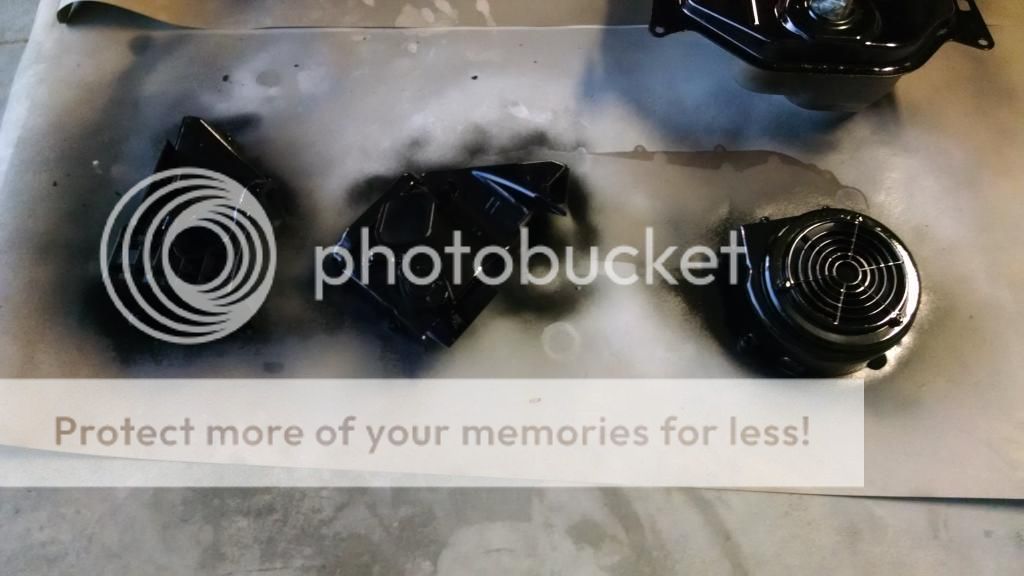
Went ahead and sprayed the engine plastics too.
Next will be clear coat, short axle install, strator install, variator install, and reassembling the kickstart. After that, the motor should be ready to mount and drop into place with the Composimo stretch and new Ruck rear frame I have.
-----------
Updates! :banger: I guess I didn't get photos...but I'll show where I am at for now.
I got the flywheel remover tool in the mail ($10?)
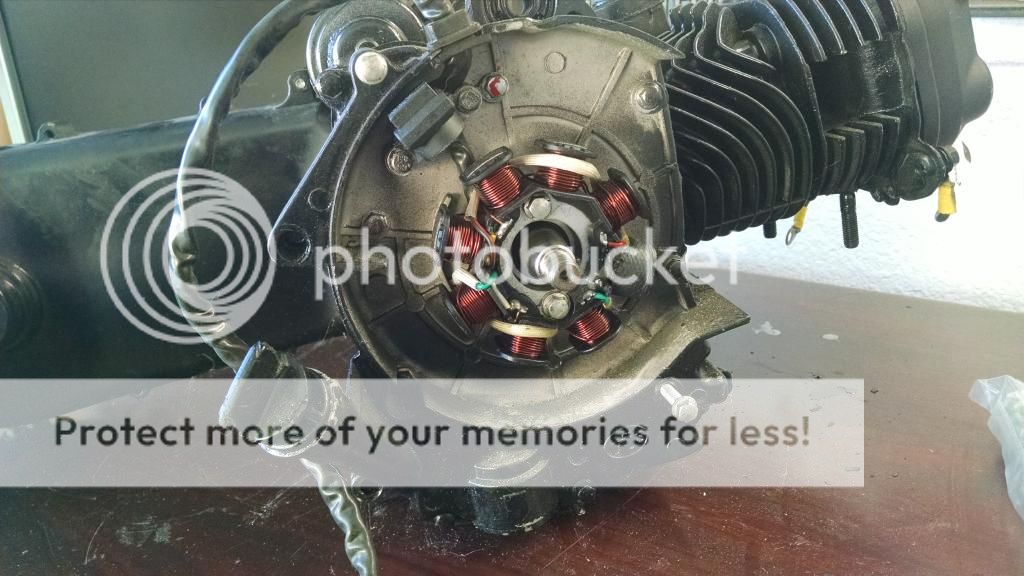
I removed the 8 pole for an 11 pole
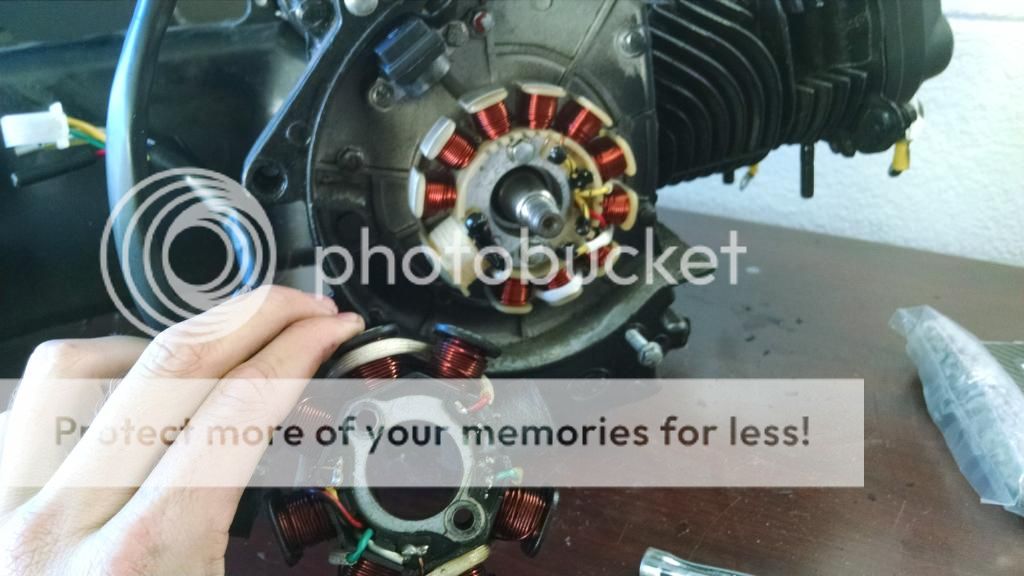
Removed the factory axle for a short axle
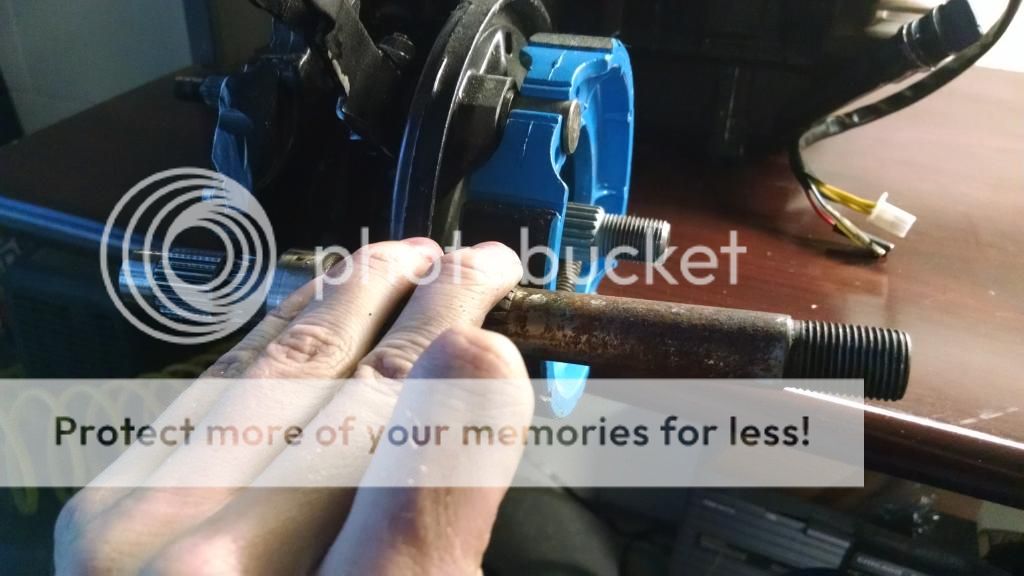
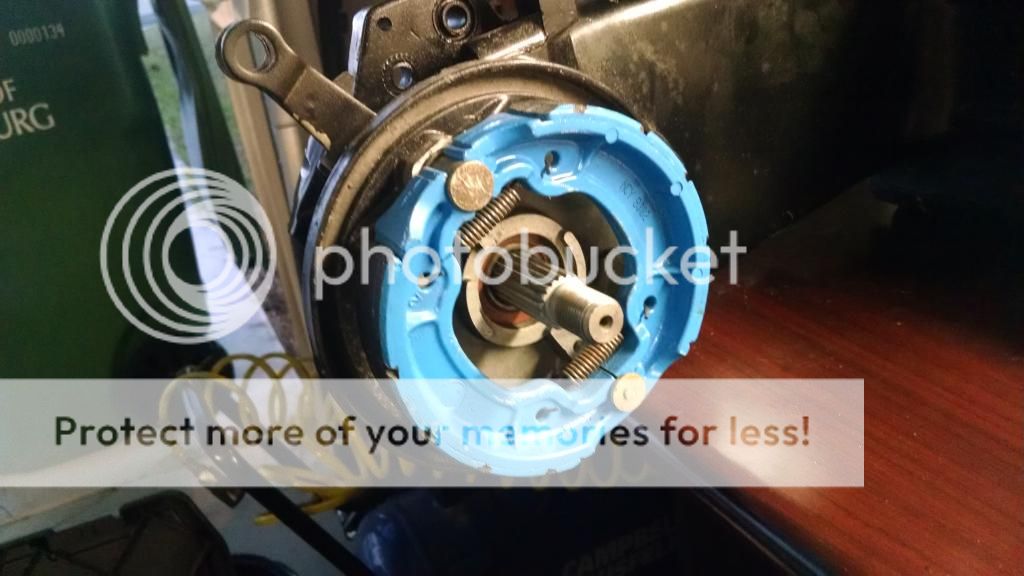
Put the hub on, what a weird sized axle nut by the way!

Connected the frame together and put the low seat on.
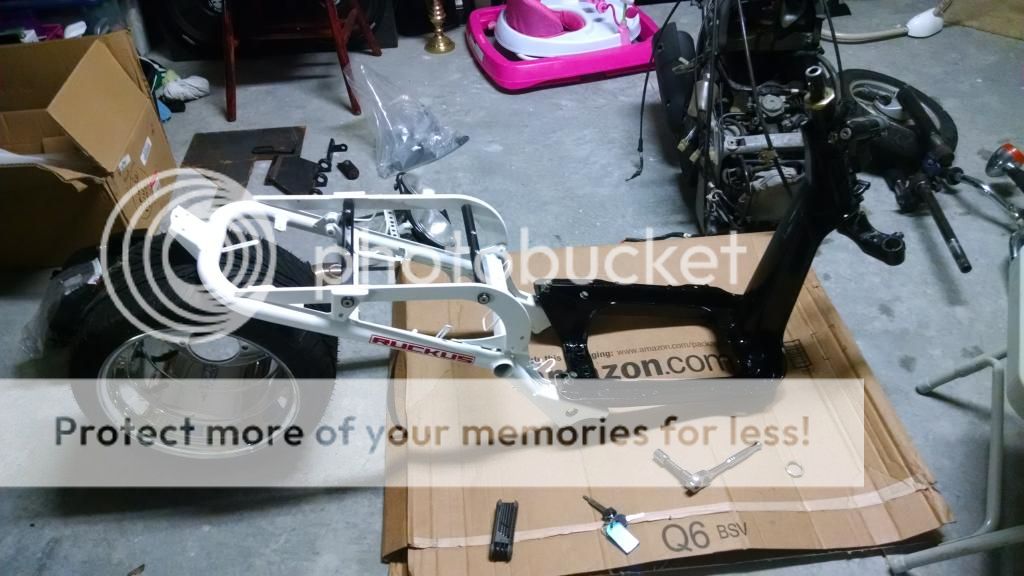
Seat on
You can see I put the battery holder on, but I think I have the handle bars on backwards? Not really sure how the stem mount was suppose to face. I actually got the engine mount installed, but I guess I didn't take any pictures. I'll get some today. I still need to mount the CVT cover, paint the gas tank, and I should be able to assemble the front end today. Had a fun weekend, didn't get much work done.
The frame is a 2003 Honda Metro with a clean title. It came with everything to convert it to a Ruckus though. The plastics are all removed and the triple tree was removed to fit it in my back seat. The scoot runs fine.


Here is the GY6 I bought. Needs some cleaning up, but should run no problem.

A spare R1 exhaust pipe.

A lowered seat and stock head lights, most likely going to opt for HID 35W 5000k lights and fit them into the stock housing.

The seat, battery box, and rear frame.

Battery bracket, strator, rectifier, etc.

I ordered some stuff from the Ruck shop. I live about 2 hours away, so I expect that to be here this week.
Planning to strip the frame down, paint the frame black, and start working from there.
------------
I've been tearing down the Metro mostly, so there isn't much to talk about. I have most of the rear frame disconnected (wires, fuel, brakes,etc). I'm working on disconnecting the handle bars from all the stuff I won't be needing. I'm also working on a couple little things in between and I have been ordering parts.
I am also going to paint the cover white to match the frame. Should look good against a black motor.


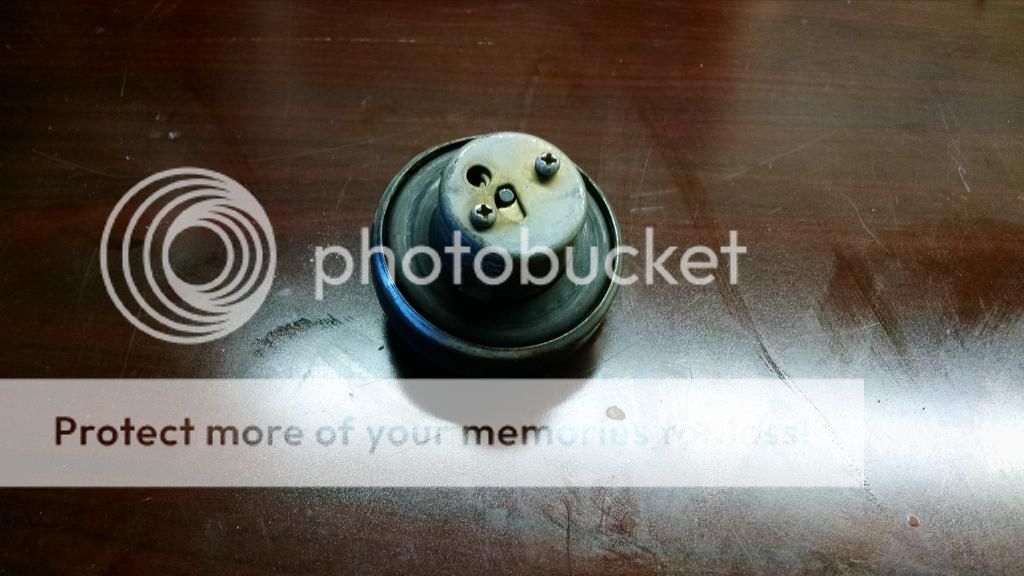
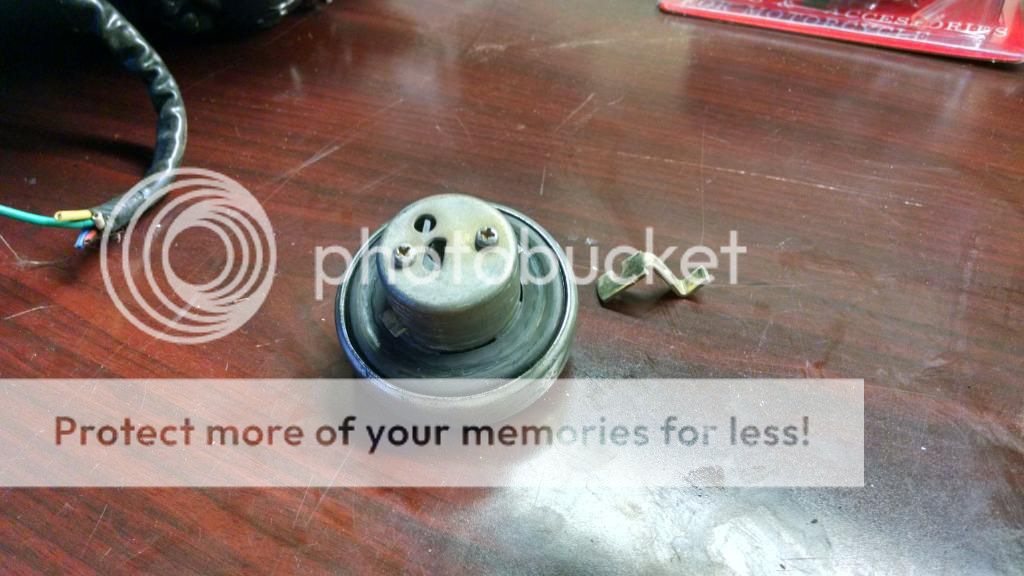
Like everyone, I hate the key for the gas cap but cannot justify spending $40+ on one. So I made one.

Removed the locking mechanism (2 screws, retain everything but that one piece)

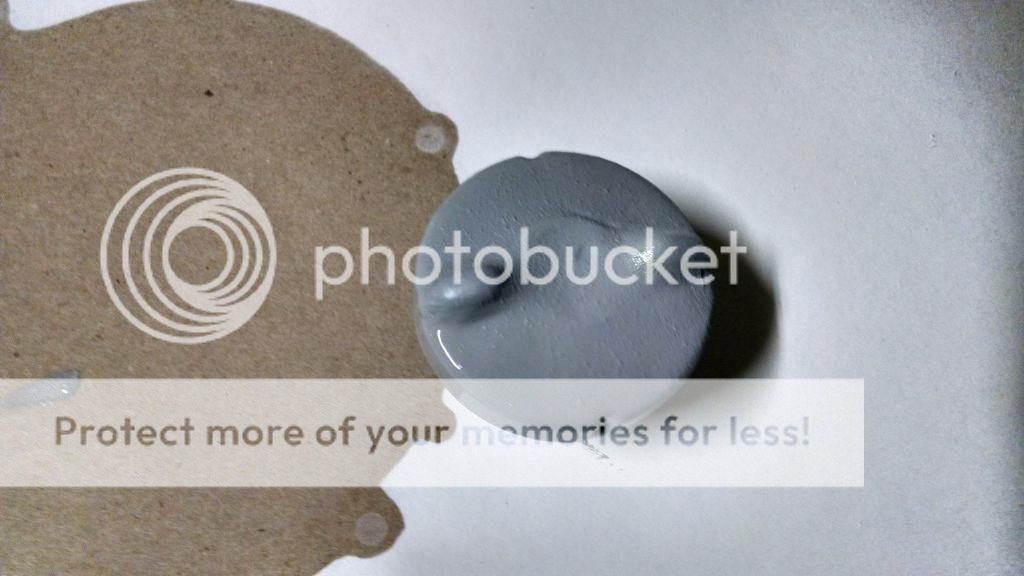
Filled it, did some rough sanding, primed it, going to sand it again and paint it white.

I have my rear wheel, tire, motor mount, ruck triple tree (don't like the met one), alarm, switches, and a few other misc things coming.
------------
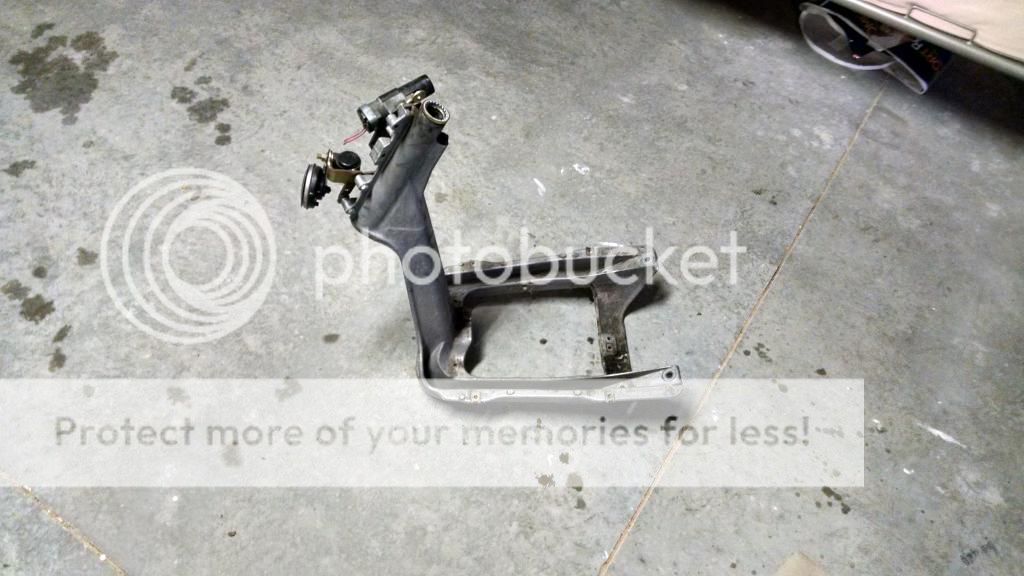
Another day, another couple hours. I didn't get any shots, but I painted and clear coated the gas cap and cleared the cover. But what I did take a photo of is way more exciting. I got the front frame completely removed!

I have to remove the ignition and horn to degrease the whole thing and paint it. Here is the rest of the Met. 4,000 miles and runs pretty good. Putting it on craigslist to make a couple bucks.

I found a wiring diagram online, looks incredibly simple. Shouldn't be a problem at all. I forgot how simple carb setups were compared to the fuel injected cars of today.

Tomorrow I am getting my wheels mounted (Local guy quoted $15 for the set!). I will also clean the frame and start on painting it and the gas tank.
-----------
Anyway, got the rear mounted. 12x8 with a 235/30r12!

Side by side with my 140/90r10 front wheel.


Cleaned up the frame and gas tank. The gas tank has a light coat on it already, so it may look dirty.

Taped off and starting to spray


Went ahead and sprayed the engine plastics too.

Next will be clear coat, short axle install, strator install, variator install, and reassembling the kickstart. After that, the motor should be ready to mount and drop into place with the Composimo stretch and new Ruck rear frame I have.
-----------
Updates! :banger: I guess I didn't get photos...but I'll show where I am at for now.
I got the flywheel remover tool in the mail ($10?)

I removed the 8 pole for an 11 pole

Removed the factory axle for a short axle


Put the hub on, what a weird sized axle nut by the way!

Connected the frame together and put the low seat on.

Seat on

You can see I put the battery holder on, but I think I have the handle bars on backwards? Not really sure how the stem mount was suppose to face. I actually got the engine mount installed, but I guess I didn't take any pictures. I'll get some today. I still need to mount the CVT cover, paint the gas tank, and I should be able to assemble the front end today. Had a fun weekend, didn't get much work done.
 11-11-2014, 03:22 AM
#2
Fish Twig
Join Date: Nov 2005
Location: Still hunting that foo up there
Posts: 15,555
Received 309 Likes
on
285 Posts
I'm never in the sub, but when I saw a ruckus build in the subject line I thought I drop in. Its looking nice I might end up doing one just for ease of transportation around here. Do you have to get those registered and insured? Sorry I'm not a biker type so I don't know.
11-12-2014, 03:04 AM
#3
I'm never in the sub, but when I saw a ruckus build in the subject line I thought I drop in. Its looking nice I might end up doing one just for ease of transportation around here. Do you have to get those registered and insured? Sorry I'm not a biker type so I don't know.
But I have an update.
I got my new FRONT wheel in the mail Tuesday. The shop's machine broke, could not get the tire swapped. Waiting till Monday for that. Lame. But I did do some other minor things. I really just wanted to get this thing up on it's own instead of laying on cardboard.
I couldn't stand looking like an idiot with the bar mount on backwards, so I swapped that around.

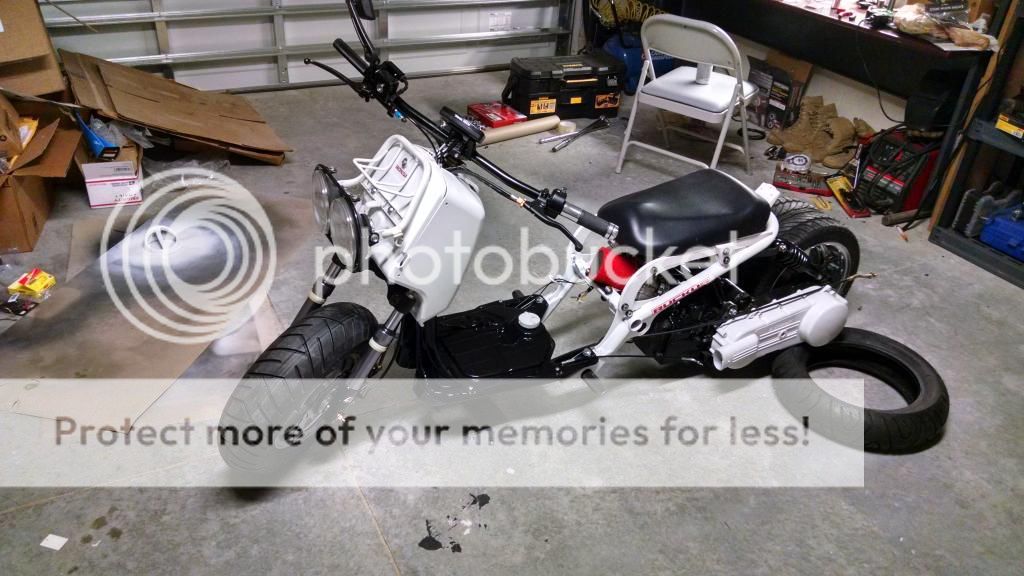
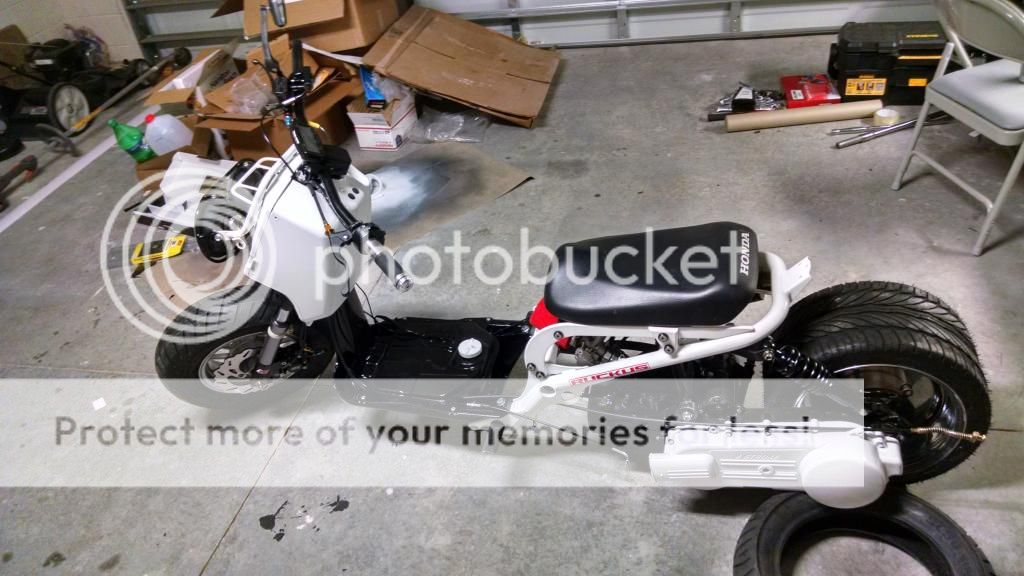
Then I took some 'up to date photos' since I missed them on the last update.


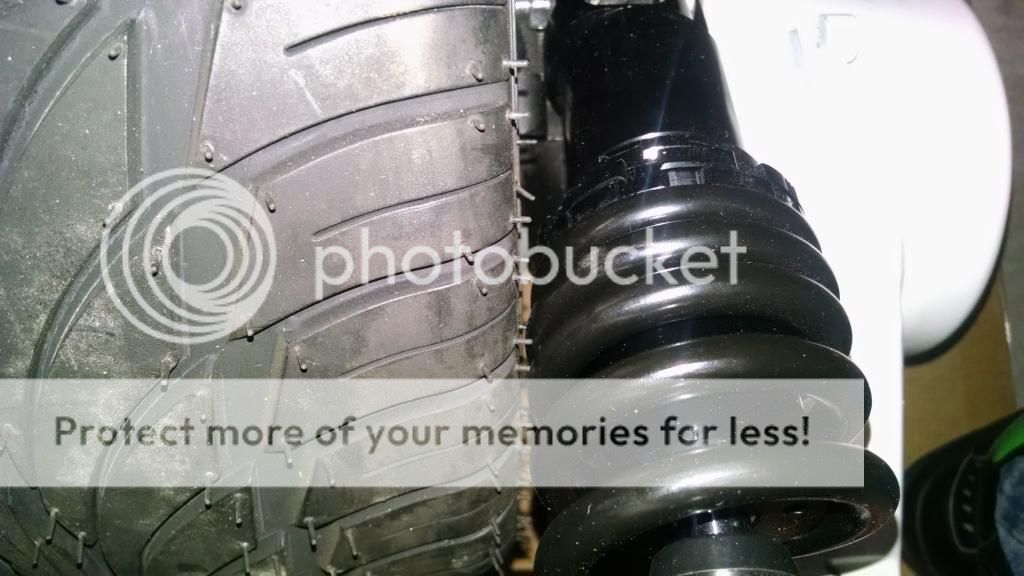
I installed the rear 'low boy' shock

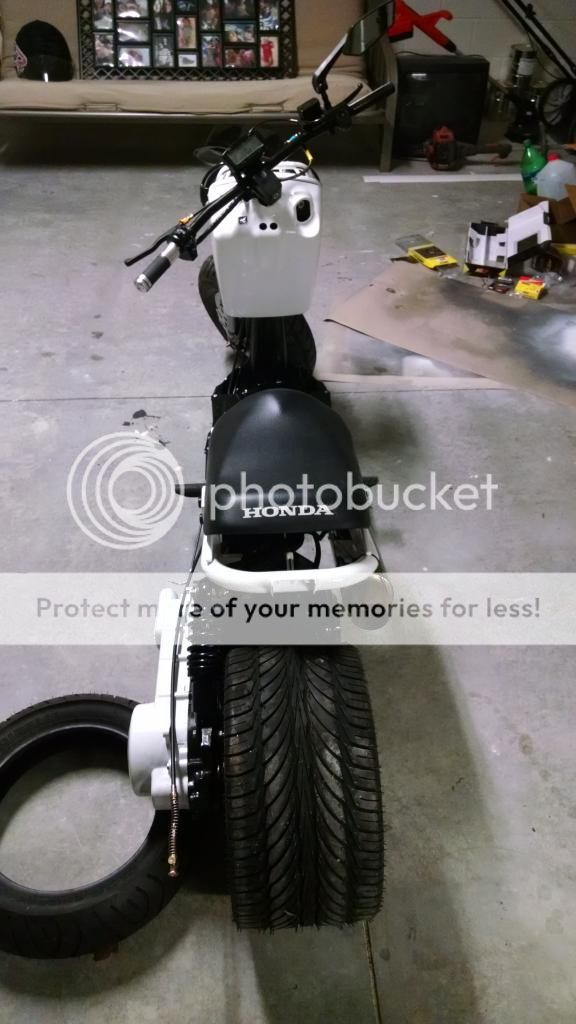
I'm really liking how it looks from behind

Installed the clocking flange. This thing will become an unbelievable pain really soon.

Installed the spark plug, intake, carb, and filter for mock up

30mm Slide carb, UNI filter, billet intake manifold.

I started trimming out the top plastic for the clocking flange. Wish I thought of this before I painted it. I screwed this up about a dozen times before I got the hole big enough. Getting it in there with the stretch on was tricky and I nicked the paint a few times.

I need new screws/fasteners for it, but it looks so much better with the plastics on


Stainless Steel bolts to replace the Metro bolts I was using (much shorter/proper size) and the foot pegs

This is what I'm thinking for the exhaust. It will slide onto a 2" to 1" adapter, then the 1" will bend down and under the motor to the header. I have to make a support that attaches to the motor to support the weight of it, but that shouldn't be tough. I plan on welding it up myself, painting it, and wrapping it in exhaust wrap.

That is where I am at for now.
11-14-2014, 02:42 AM
#4
So my daughter was asleep when I got home, so no grinder/welding action in the garage. Instead, I just played with the HIDs I got in the mail. I hope they are sending me a replacement because one of the bulbs was dead when I got it 
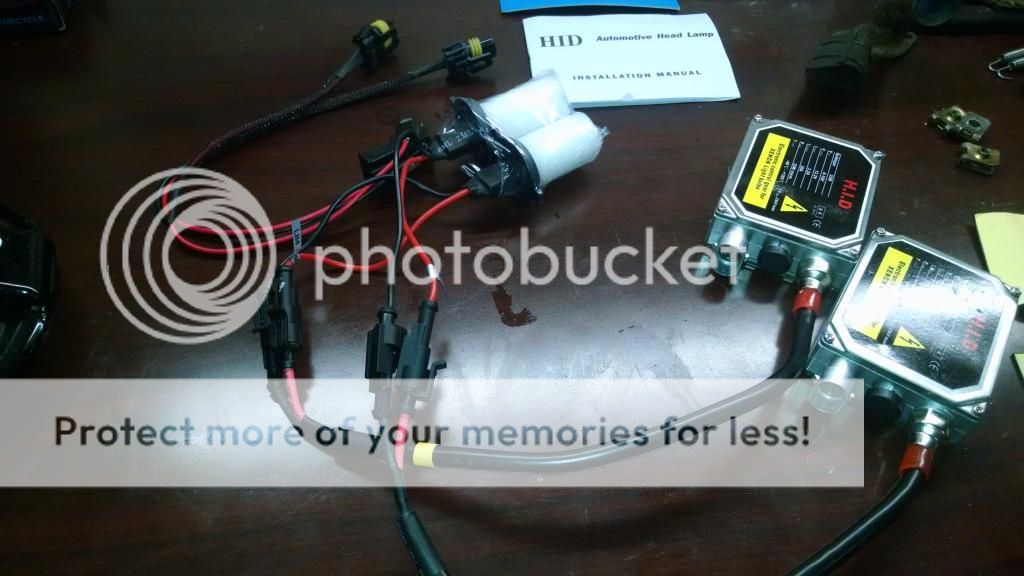
The setup is pretty simple, I took some pictures in case anyone is interested in what comes with a 'kit' and how it goes together.
$25, eBay, 5000k HID, 35W Ballast, H4 style bulb, Low Beam only
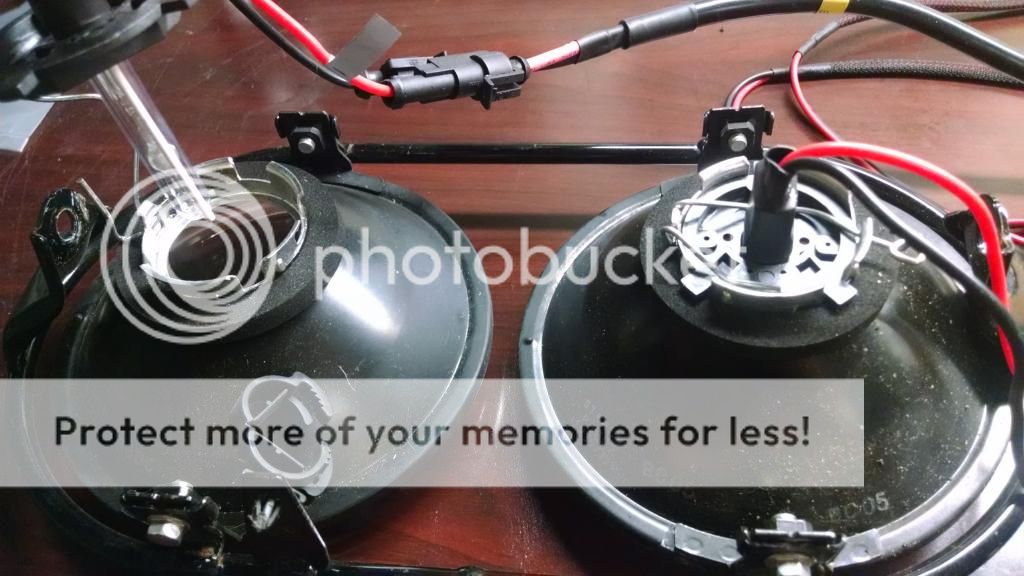
So here are the stock head light housings:
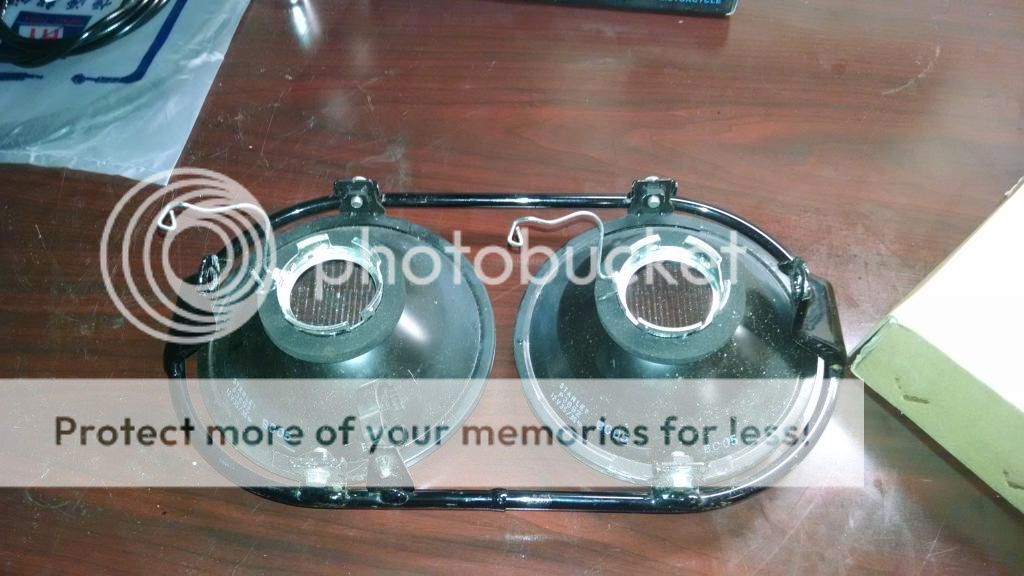
Here is what came in the kit, actually included decent English instructions! :banger:
35W because I hear the HIDs have a tendency to run down the battery. 35W is the stock bulb rating.

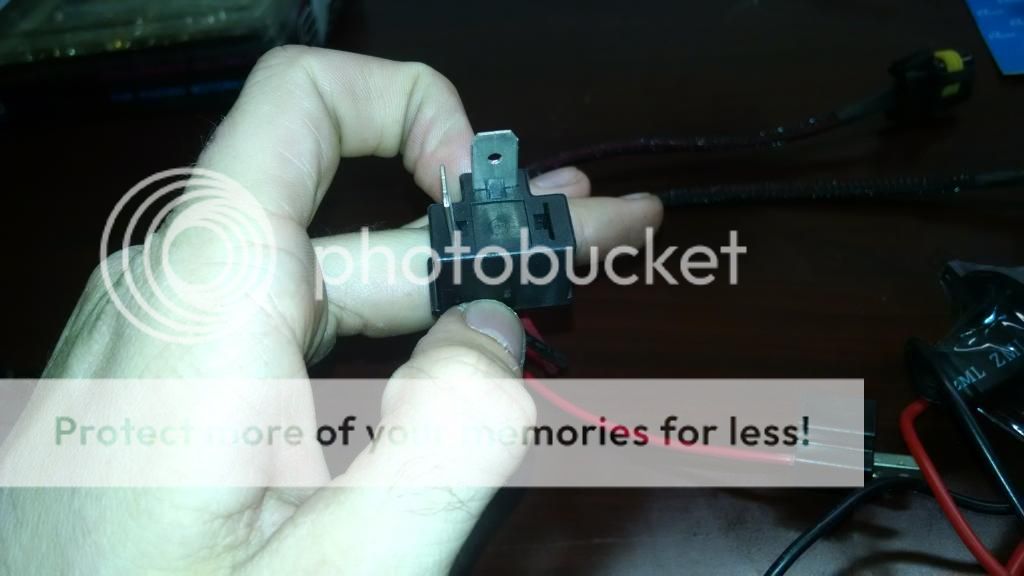
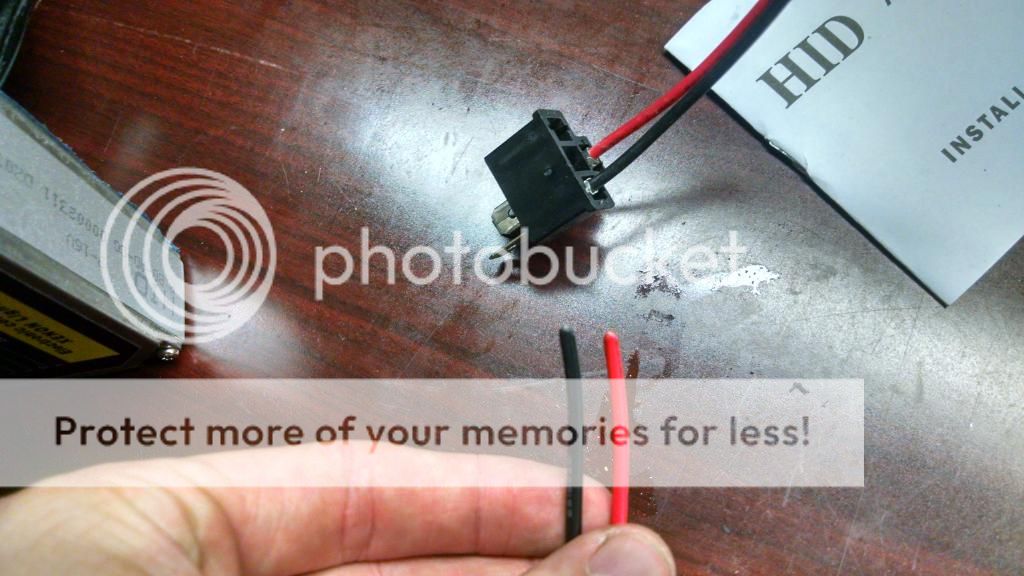
Here is the H4 'low beam only' connection.
Here is the actual HID bulb
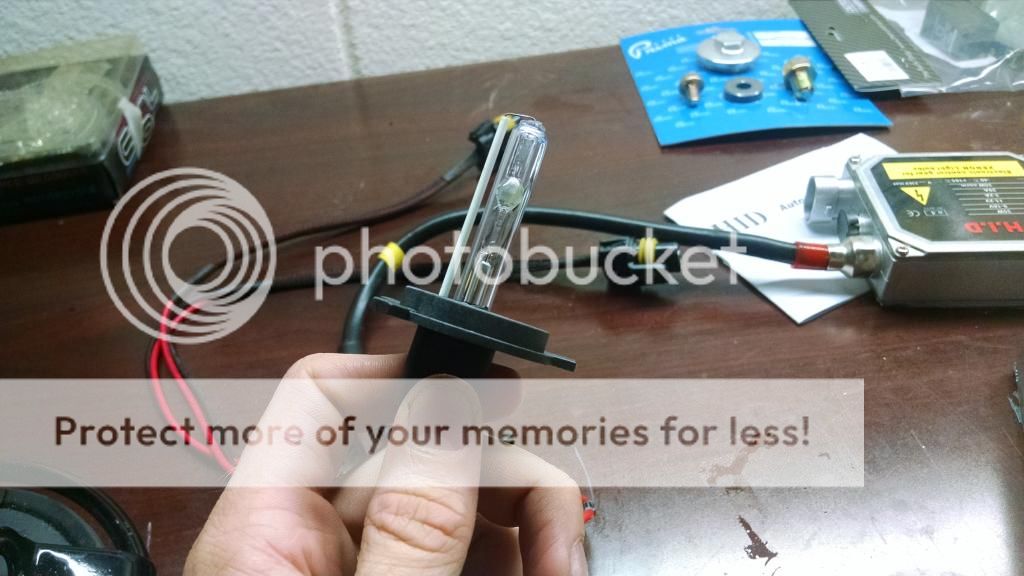
They slide in, only one way, and the retaining clip comes down
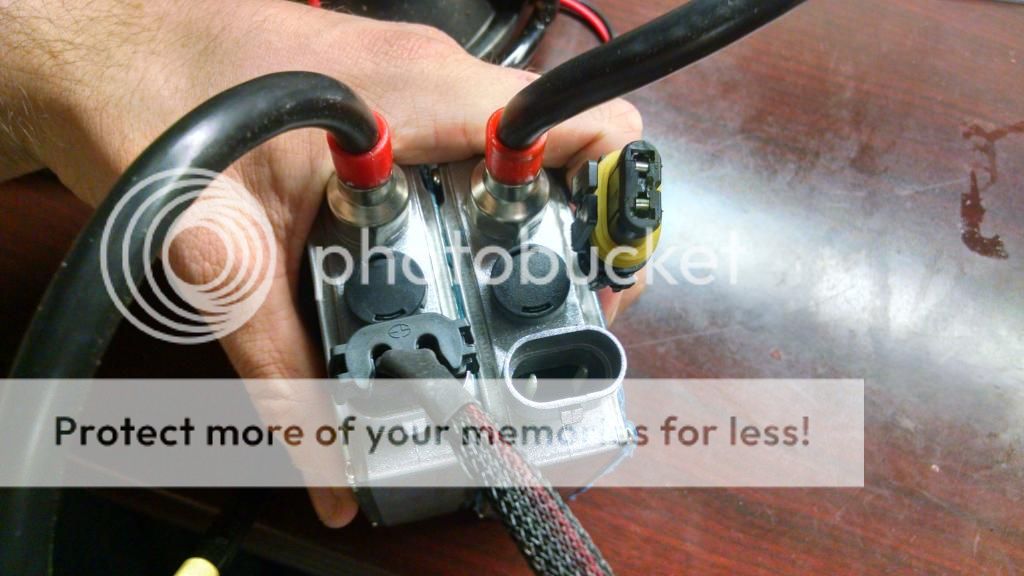
These actually plugged in two different ways, but one made more sense. Regardless, the ballast won't turn on if they are switched so it is an easy test.
I then snipped off the clip so I could wire this to switches, relays, and fuses.
I didn't get any shots, but I hooked it up to my car battery to test them out. Overall, they are a nice pure white and the output is pretty good.
Today should be handle bar controls, tomorrow should be some battery box wiring and battery installation, the weekend should see some customization to the battery box and some tail light/turn signal wiring for the controls along with brake/throttle cables.
The setup is pretty simple, I took some pictures in case anyone is interested in what comes with a 'kit' and how it goes together.
$25, eBay, 5000k HID, 35W Ballast, H4 style bulb, Low Beam only
So here are the stock head light housings:

Here is what came in the kit, actually included decent English instructions! :banger:

35W because I hear the HIDs have a tendency to run down the battery. 35W is the stock bulb rating.

Here is the H4 'low beam only' connection.

Here is the actual HID bulb

They slide in, only one way, and the retaining clip comes down

These actually plugged in two different ways, but one made more sense. Regardless, the ballast won't turn on if they are switched so it is an easy test.

I then snipped off the clip so I could wire this to switches, relays, and fuses.

I didn't get any shots, but I hooked it up to my car battery to test them out. Overall, they are a nice pure white and the output is pretty good.
Today should be handle bar controls, tomorrow should be some battery box wiring and battery installation, the weekend should see some customization to the battery box and some tail light/turn signal wiring for the controls along with brake/throttle cables.
11-17-2014, 03:09 AM
#5
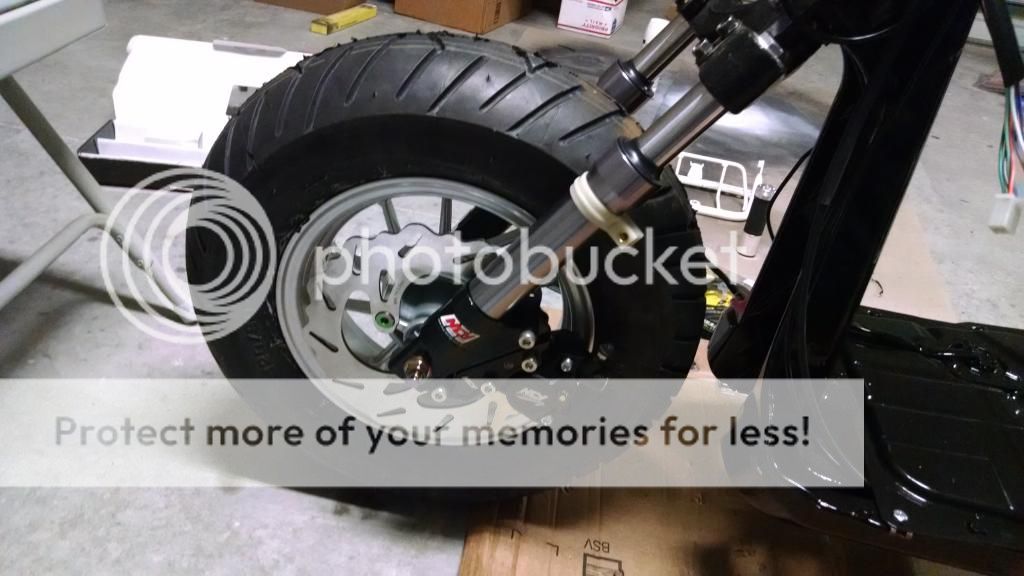
For the fella asking about the wheel clearance. It is hella close. I may space out the wheel with a spacer on top of the hub if I run into any issues.
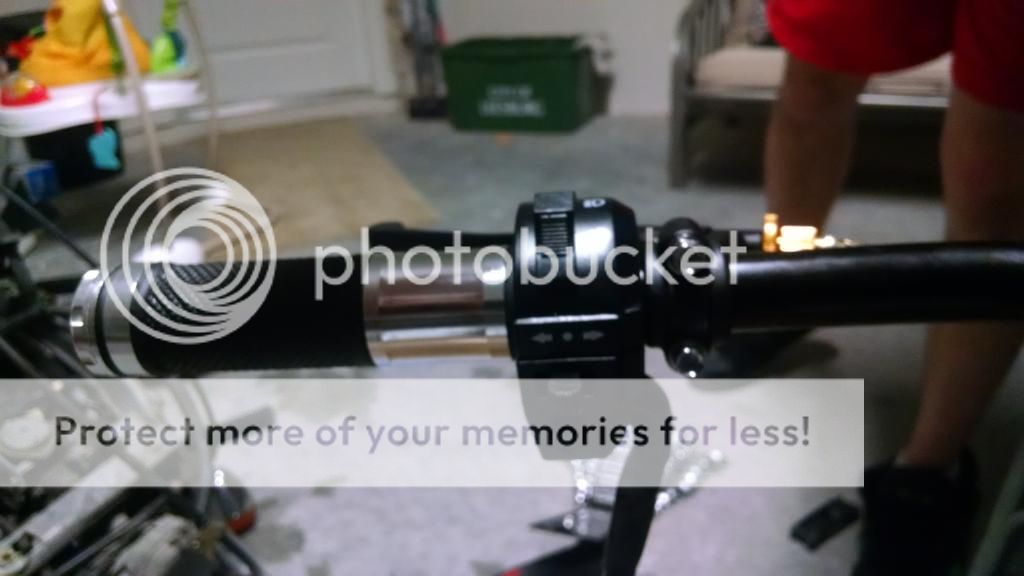
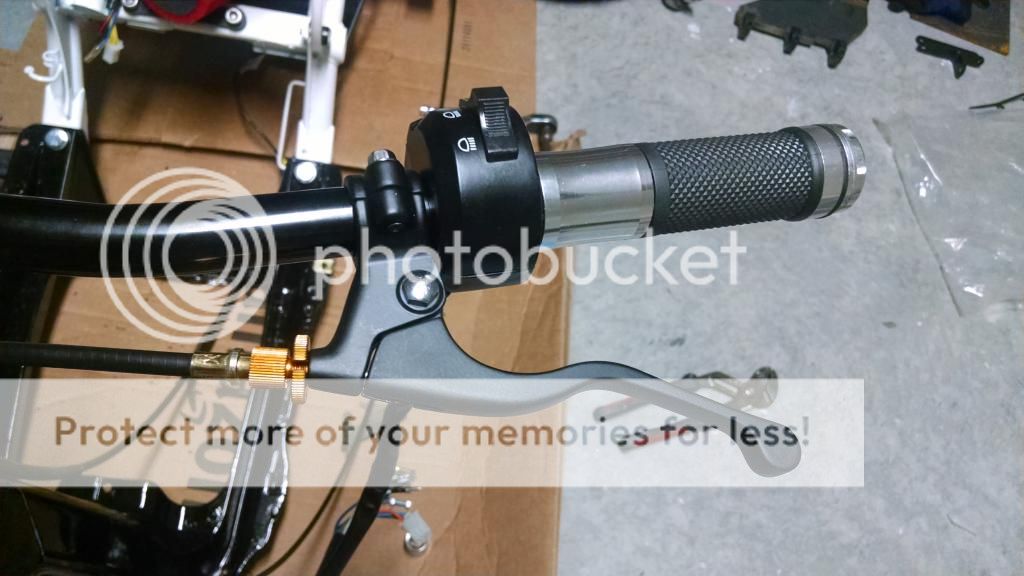
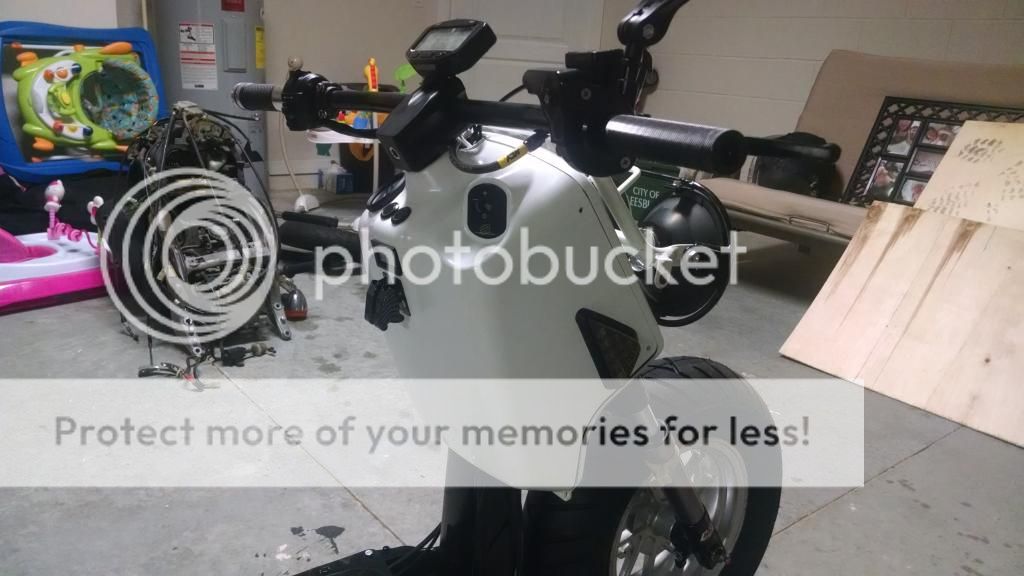
I went with non-stock controls after all. Right side is a quick throttle since I lost my throttle tube. I also have the front disc brake control there and you can see my generic motorcycle mirror I chose. I can't get the grip on the throttle tube though. I tried hair spray, WD40, white lithium grease, etc.
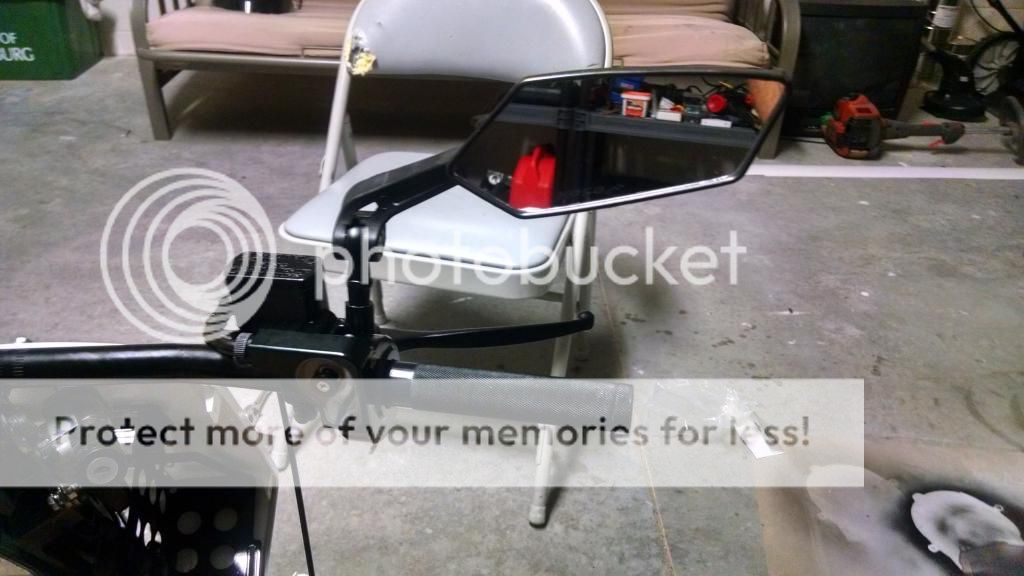
For left side controls I went with some simple stock replacement controls in black. They should all function just the same when I am done. I need to figure out a mounting solution for the mirror on this side.
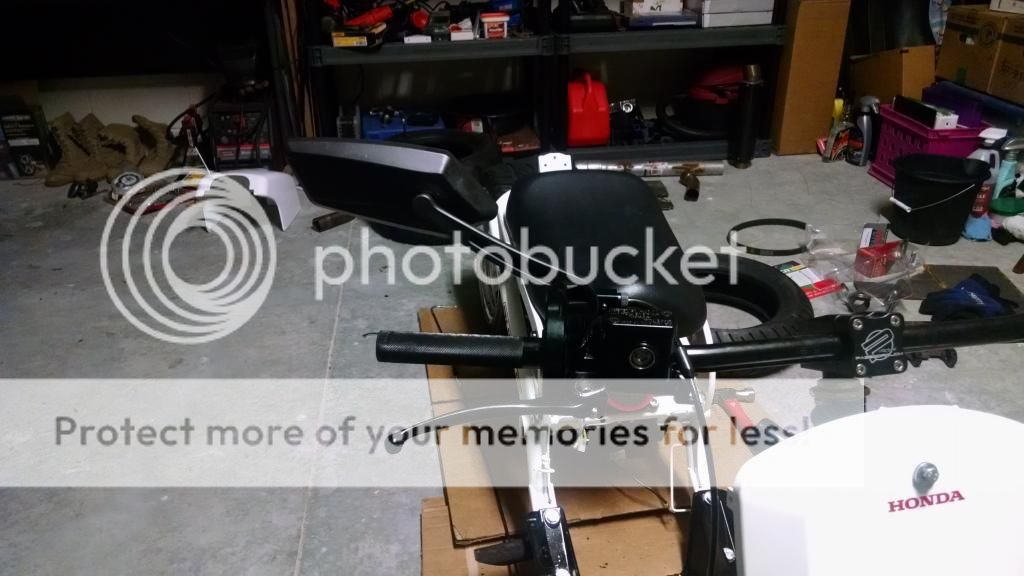
I mounted the Trail Tech Vapor and ran the sensors for everything but power. You can't tell because I took this photo first.

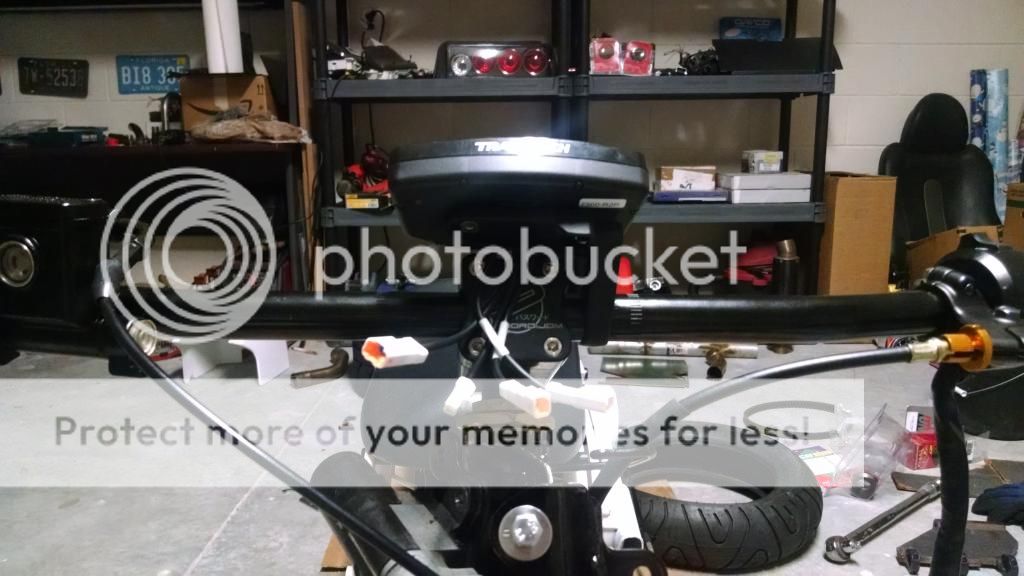
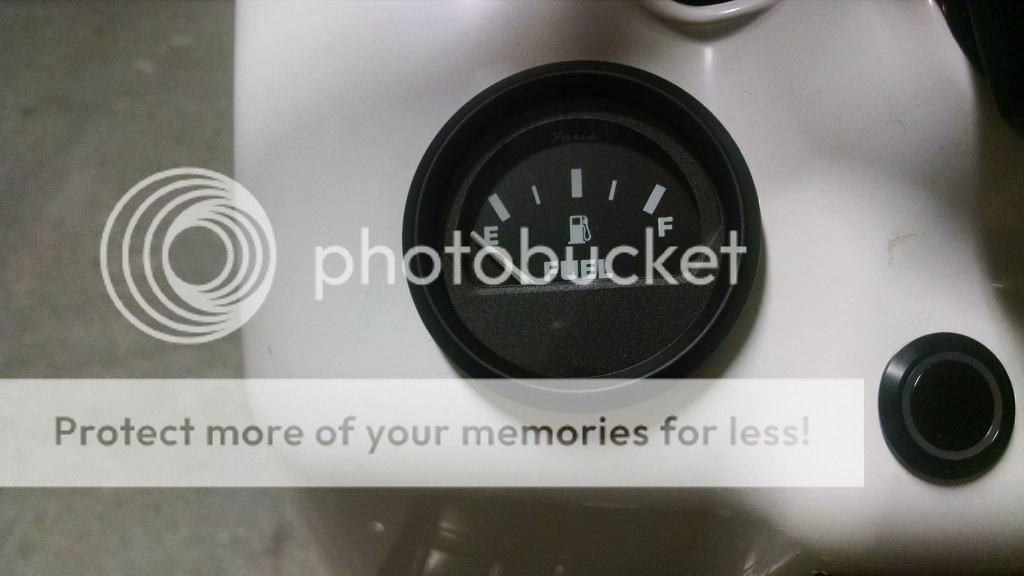
I ran the brake cables, throttle cables, and the wires for the Trail Tech. I started the battery box mods. They will be done this weekend after I get everything in the mail. What is the size of the stock Ruckus speedo? I am putting a 52mm gauge in the gas tank, but I think that is smaller than the stock Ruck gauge so I need to plan my hole a little bit differently than what I have seen done.

I went with non-stock controls after all. Right side is a quick throttle since I lost my throttle tube. I also have the front disc brake control there and you can see my generic motorcycle mirror I chose. I can't get the grip on the throttle tube though. I tried hair spray, WD40, white lithium grease, etc.


For left side controls I went with some simple stock replacement controls in black. They should all function just the same when I am done. I need to figure out a mounting solution for the mirror on this side.


I mounted the Trail Tech Vapor and ran the sensors for everything but power. You can't tell because I took this photo first.


I ran the brake cables, throttle cables, and the wires for the Trail Tech. I started the battery box mods. They will be done this weekend after I get everything in the mail. What is the size of the stock Ruckus speedo? I am putting a 52mm gauge in the gas tank, but I think that is smaller than the stock Ruck gauge so I need to plan my hole a little bit differently than what I have seen done.
11-18-2014, 02:41 AM
#6
Another small update. Really haven't been doing much on the bike, but I've been compiling pieces and information. I'm definitely trying to get it assembled and everything I want before I start the wiring.
I got my battery and I'm going to start with battery terminals when I do the wiring.

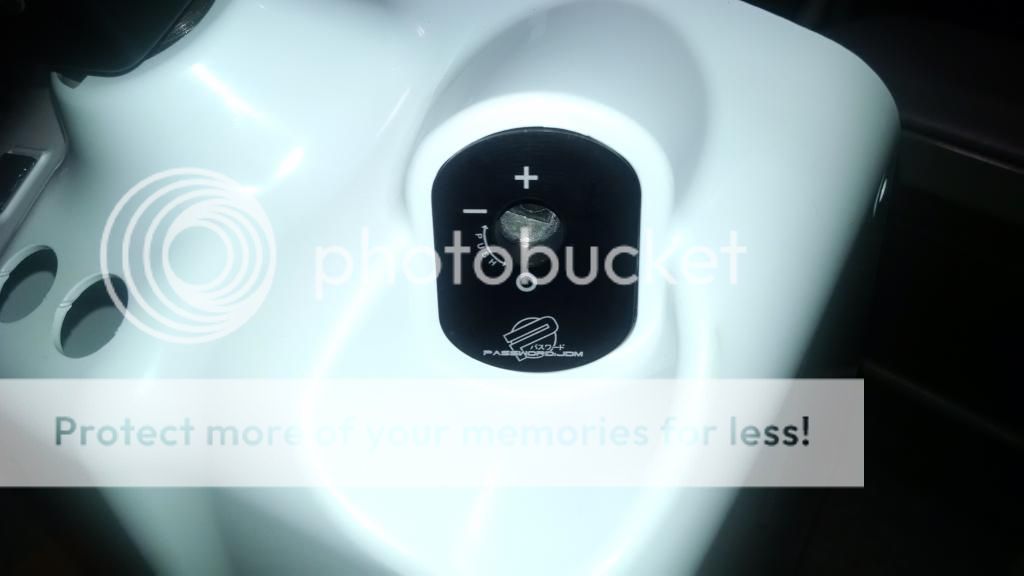
Got my ignition cover. I went with the PWJDM just because I couldn't source a stock one for much cheaper.
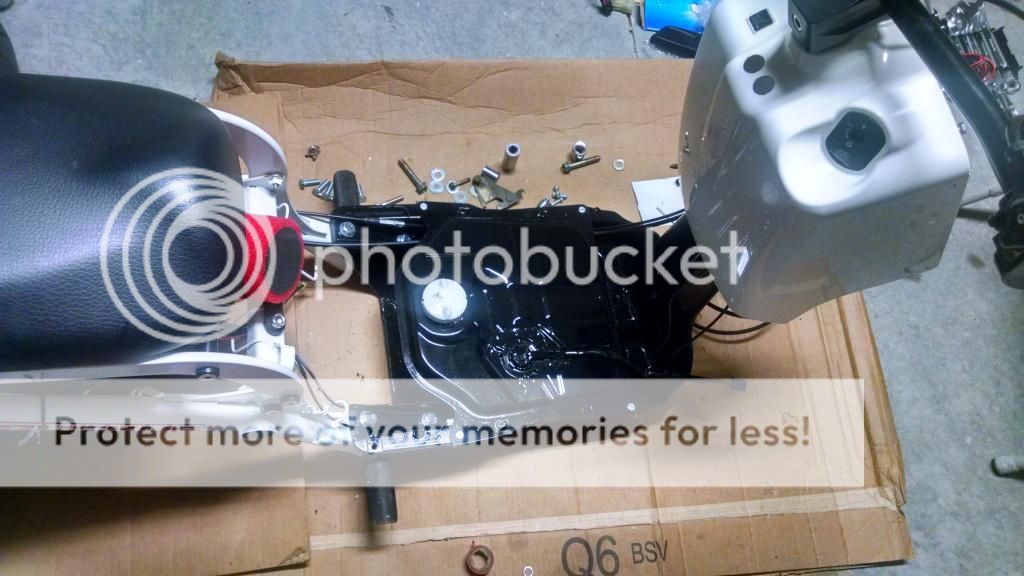
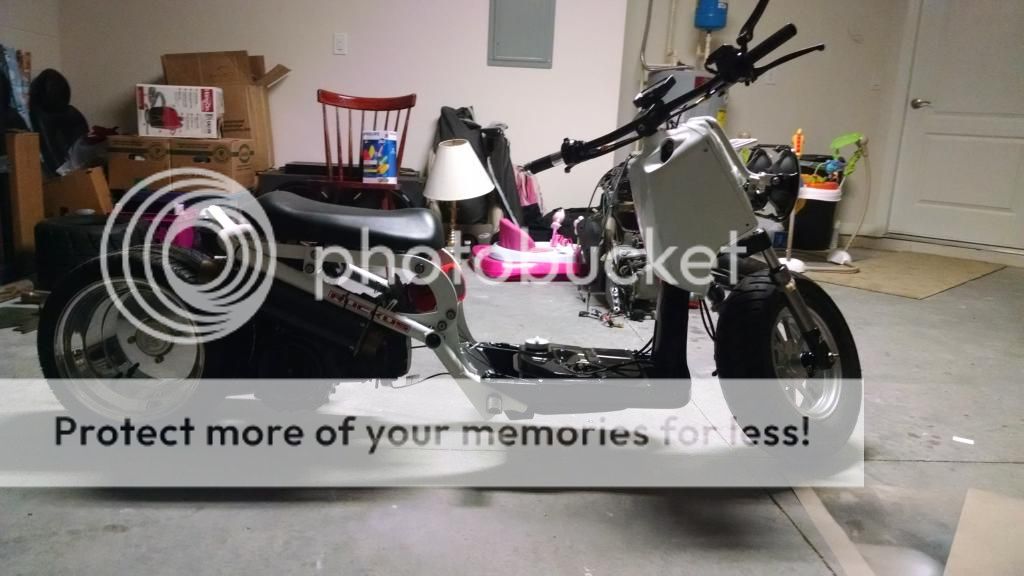
I put the gas tank in and you can see the brake/throttle cables and the wiring for the Trail Tech.
I got my front wheel mounted! Finally!
So today I am going to try and tackle the front wheel. I also need to fab up a kick stand. So those are my goals in the short game. Battery Box should be finished this weekend if everything goes smoothly.
I got my battery and I'm going to start with battery terminals when I do the wiring.

Got my ignition cover. I went with the PWJDM just because I couldn't source a stock one for much cheaper.

I put the gas tank in and you can see the brake/throttle cables and the wiring for the Trail Tech.

I got my front wheel mounted! Finally!


So today I am going to try and tackle the front wheel. I also need to fab up a kick stand. So those are my goals in the short game. Battery Box should be finished this weekend if everything goes smoothly.
11-19-2014, 03:02 AM
#7
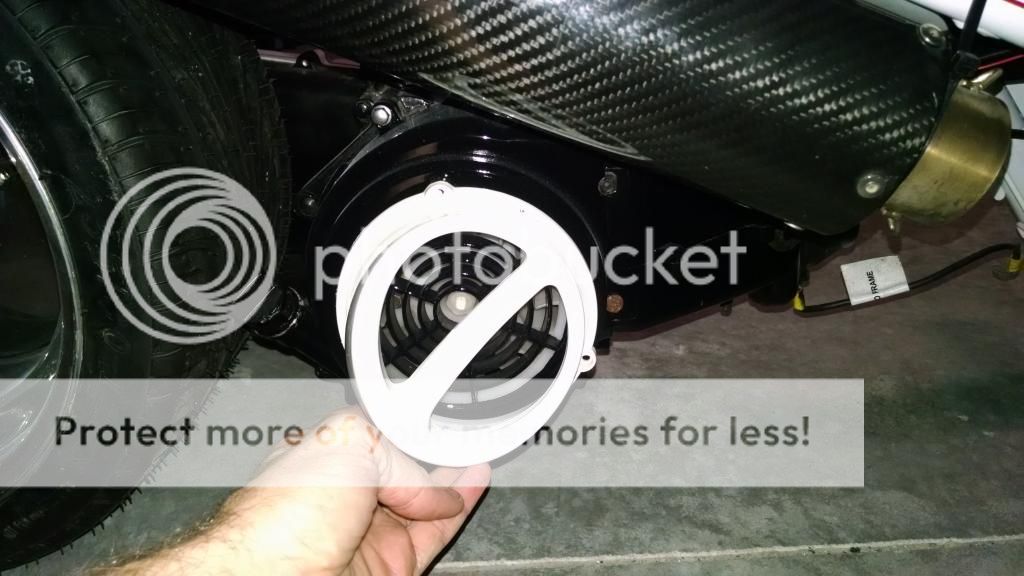
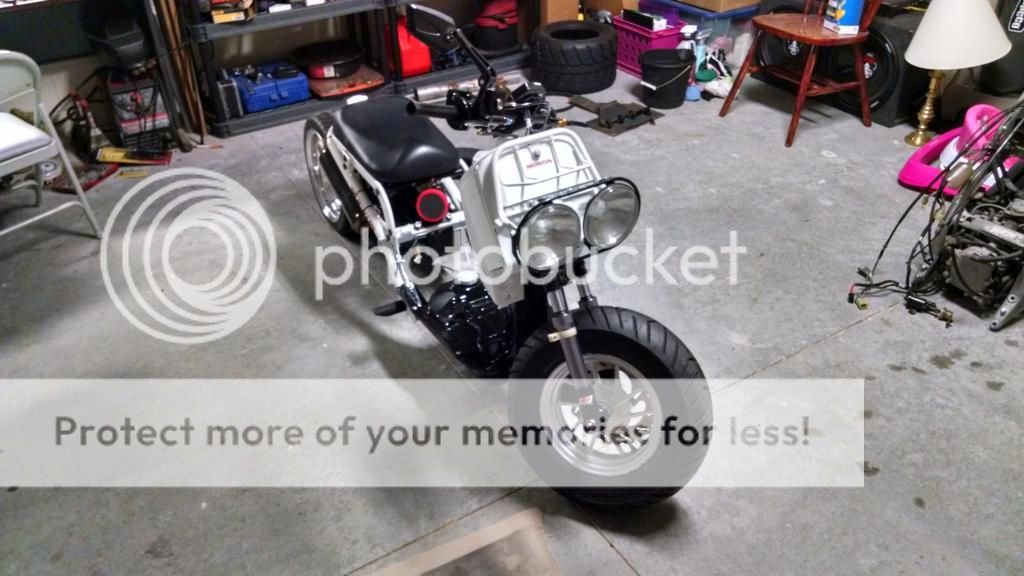
And here we go!
Started off with this gold gross fan scoop.
Painted it white and cleared it
Just a trial fitting. I need to get screws for it
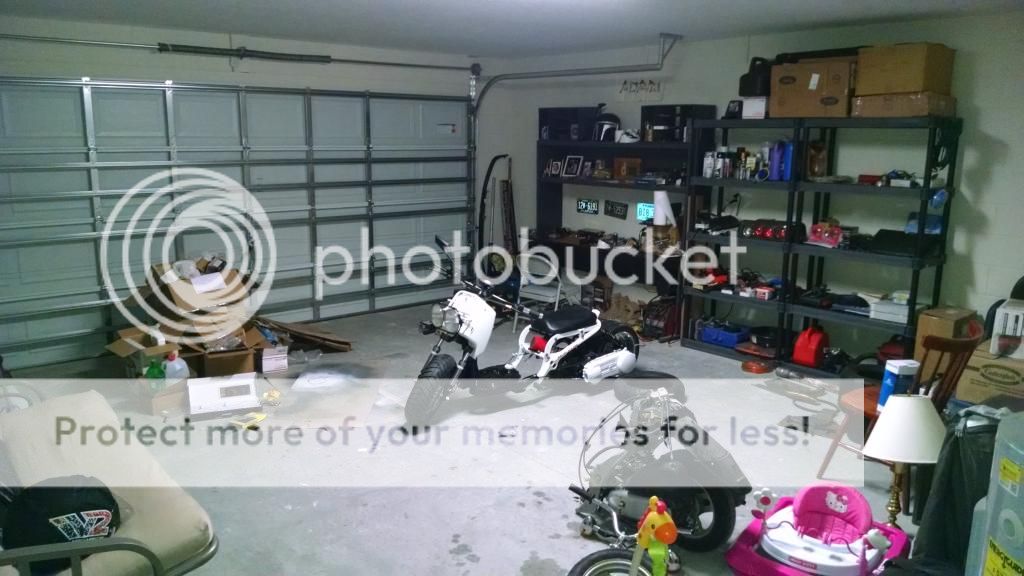
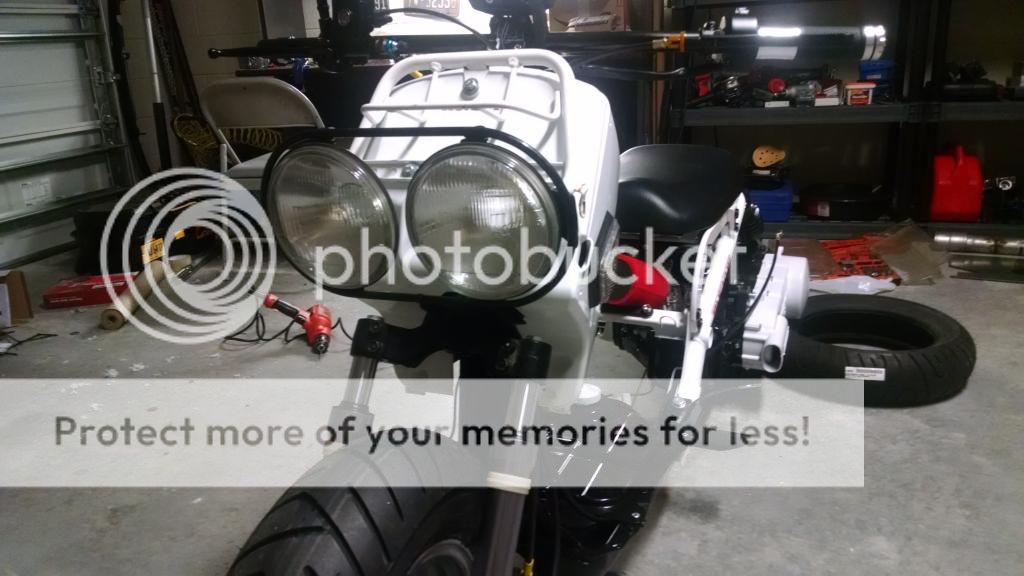
I got the front end on!
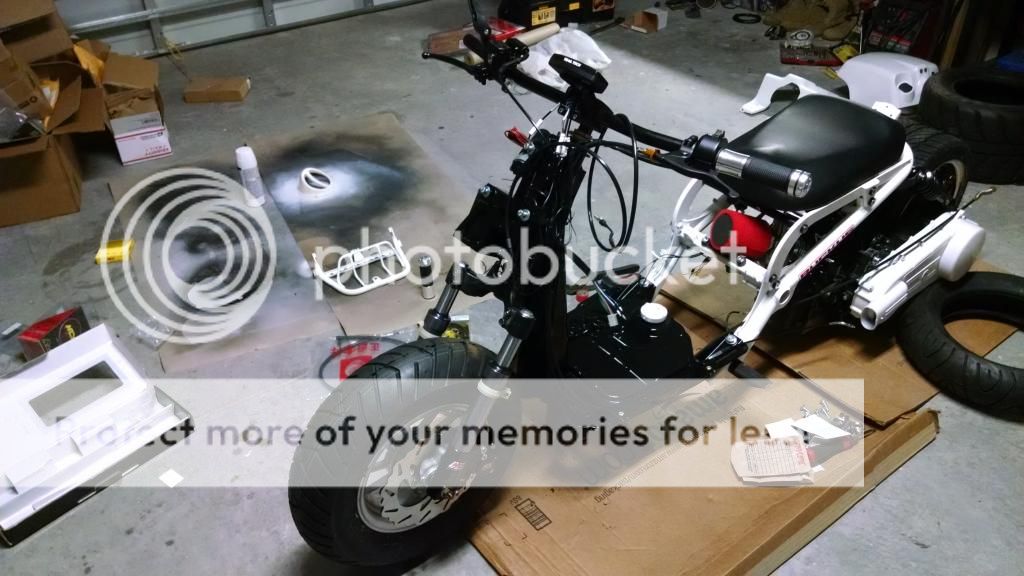
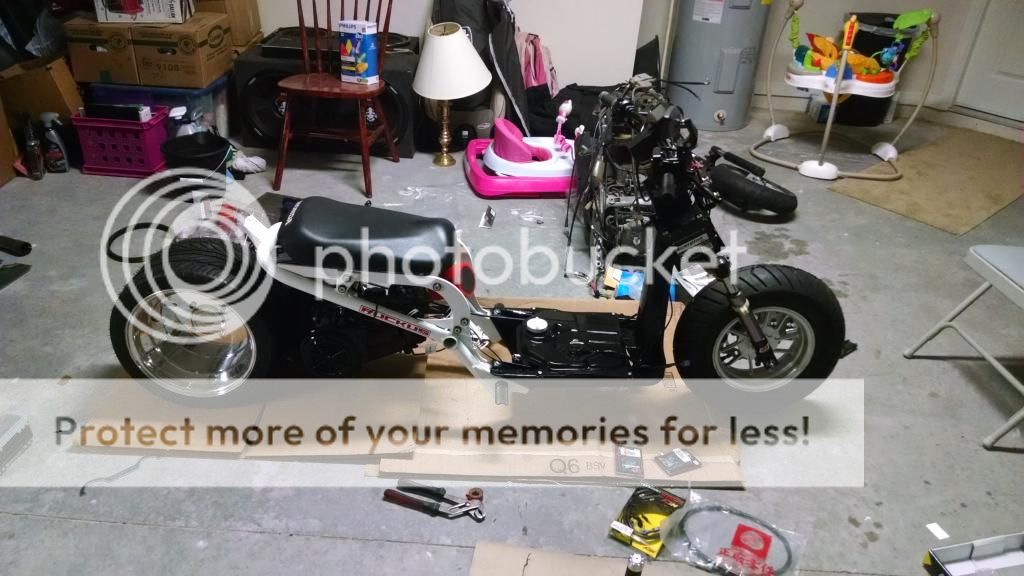
Then it was time to clean it up a little bit and get an idea of the final product
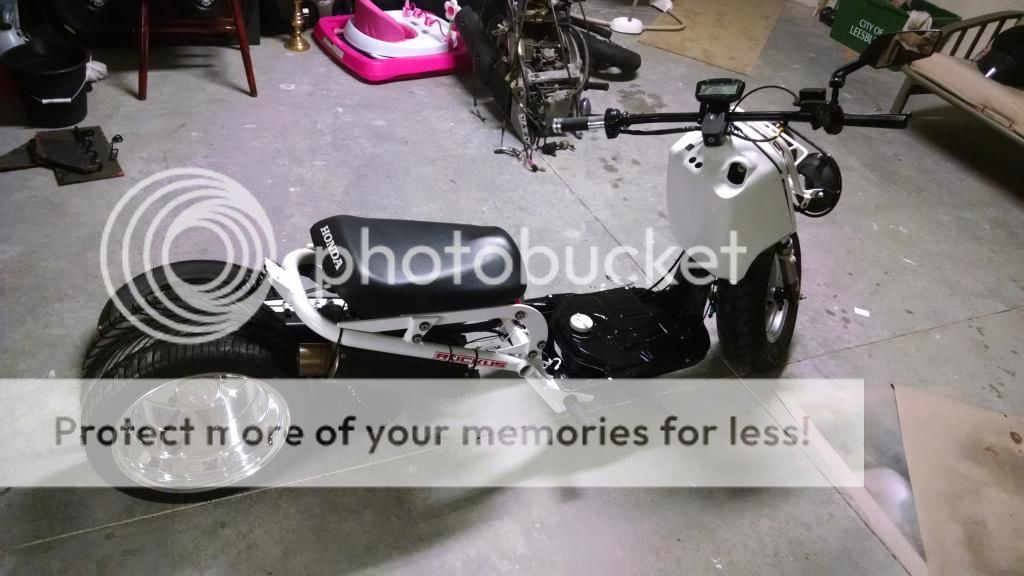
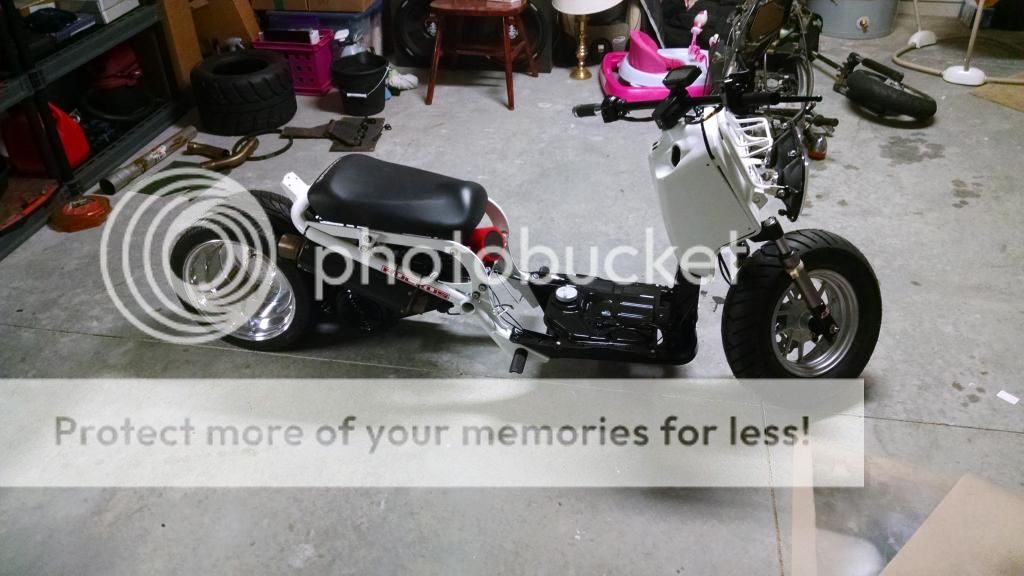
And that's how I ended the evening. Sitting in the garage. Tons of parts on the desk still, mostly electronics though. I still have to fab the exhaust header and kick stand. The bike actually stays standing upright if you **** the wheel to the right a little bit. My wife said it looks like the Batman bike with the big wheel on the back. I think I have a much more custom project in mind for the metro swingarm. It won't be street legal, but it would be a lot of fun.
Started off with this gold gross fan scoop.

Painted it white and cleared it

Just a trial fitting. I need to get screws for it

I got the front end on!


Then it was time to clean it up a little bit and get an idea of the final product


And that's how I ended the evening. Sitting in the garage. Tons of parts on the desk still, mostly electronics though. I still have to fab the exhaust header and kick stand. The bike actually stays standing upright if you **** the wheel to the right a little bit. My wife said it looks like the Batman bike with the big wheel on the back. I think I have a much more custom project in mind for the metro swingarm. It won't be street legal, but it would be a lot of fun.

Trending Topics

 11-21-2014, 04:33 AM
#11
Sounds just like a Grom to me, but it doesn't look like one. This is a 180cc GY6 with a 30mm Slide carb. It SHOULD be quick on it's feet. I know I'll have to do some variator tuning to get the acceleration and top end dialed in, something you don't have to worry about with a real transmission. In the end, I know that rear tire will be slowing me down. Still should be heaps quicker than the stock 49cc Ruckus motor.
11-21-2014, 08:10 AM
#13
I think 24mm is the stock carb size and 28mm is the most common slide carb replacement for the stock GY6. It was highly suggested to use the 30mm slide carb since it is bored out. Plus, if I do rebuild the motor, I would like to go with a stroker on top of the bigger bore. I'm not positive. I'm just going with what I have read. I may go with something smaller in the end. It has been a long time since I've done anything carbureted.
12-03-2014, 02:44 AM
#14
I made the bracket for the kick stand and I have to work on the leg portion. Seems like it should work out just fine. I also got my welder dialed in for my exhaust. Welding 10 gauge pipe to 16 gauge is tough for me. I haven't done any welding in months. I got it figured out though and I have a couple of the bends welded together for the exhaust. I am going with an overhead style header.
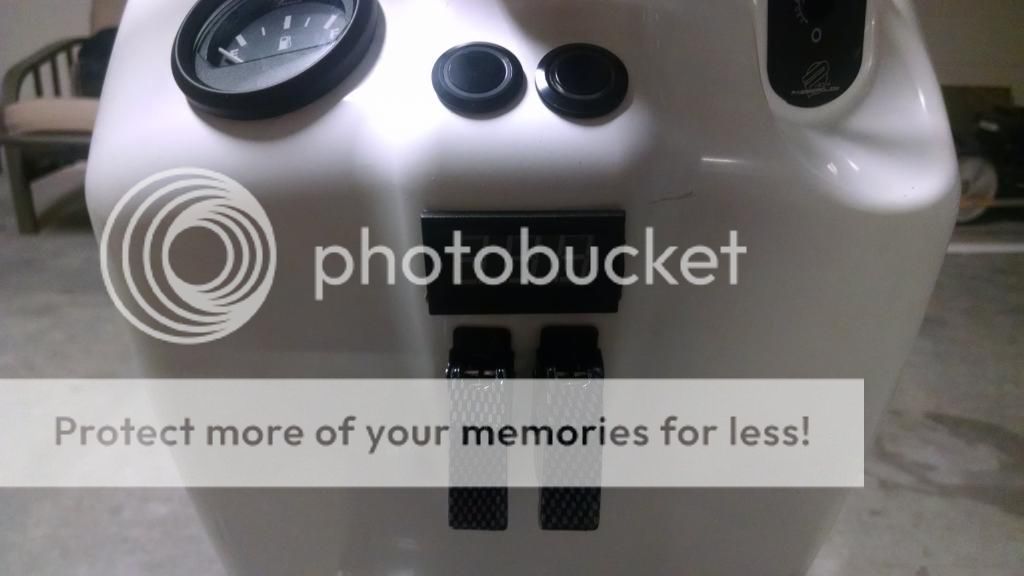
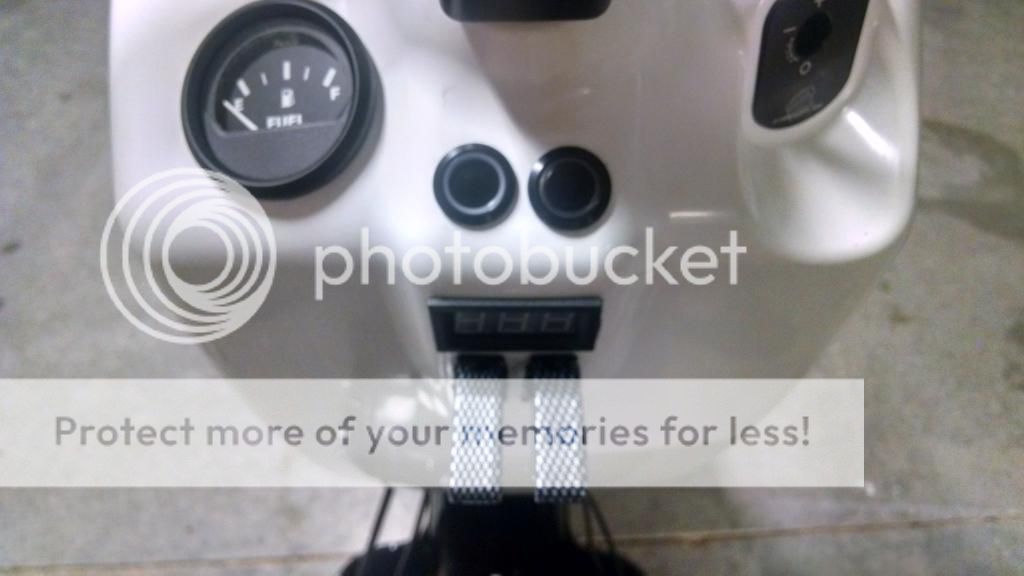
Realized I had some photos before I put this on temporary hold. Here is the battery box! It has the locking push button switch for the kill switch, a momentary button for the starter, a flip toggle for head lights, and another toggle for accent LED lighting. There is an LED Voltmeter because I am running HIDs and accent lighting which worries me. There is a fuel gauge integrated in the battery box and I changed the resistance of the stock Met fuel sender to match the resistance of the fuel gauge. Lastly, there are some smoked integrated LED turn signals to match the smoked LED tail lights and turn signals.

I moved onto the exhaust after that. The 1" header
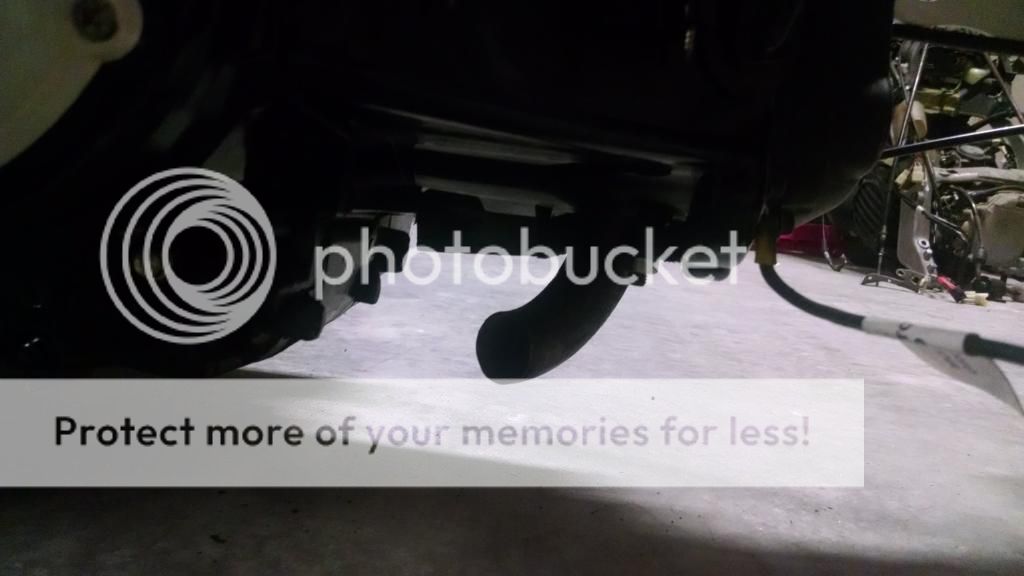
My 1" U pipe
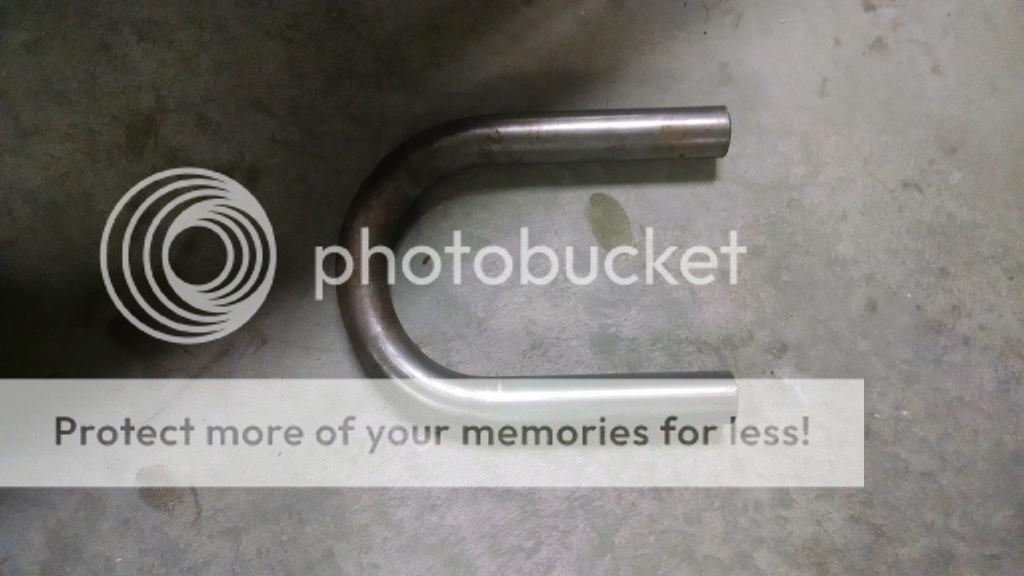
Cut it a couple times to get the bends and length I wanted
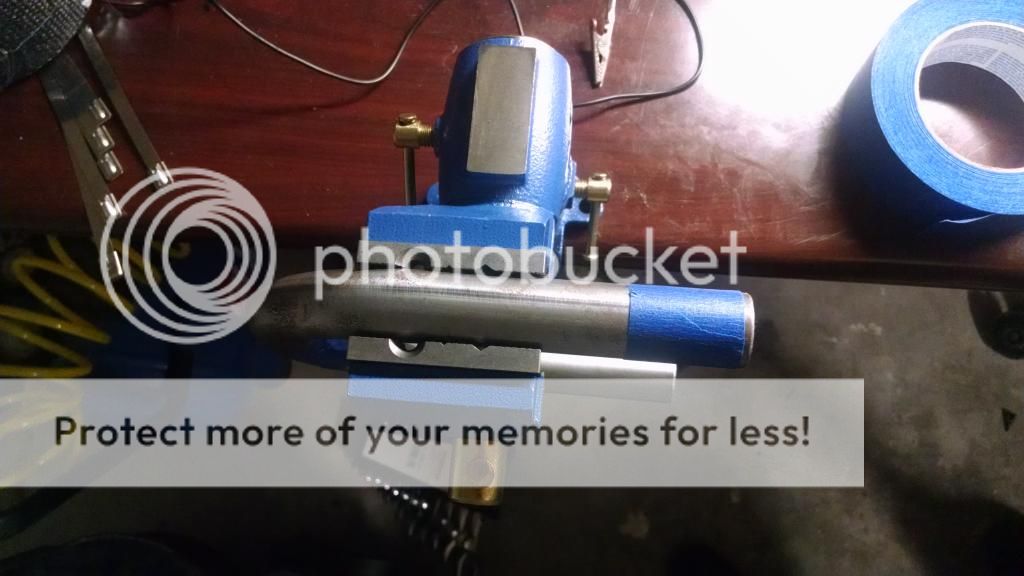
Test fitting my mediocre cutting
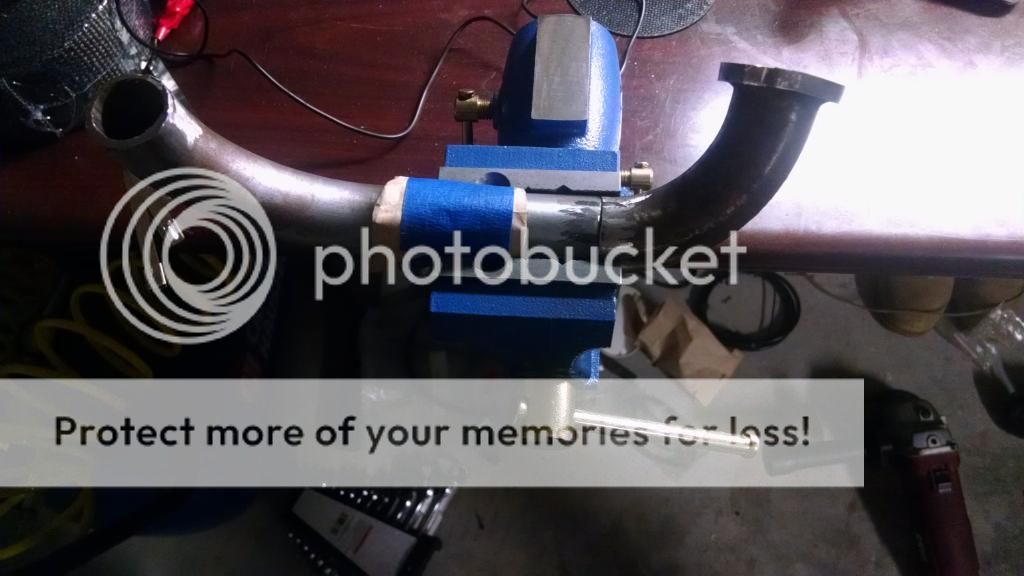
I had to go back and grind back the butts so that it fit better. But I ended up tacking it together and it is pretty spot on. I have one more bend to weld on and then I have to form some sort of adapter to fit the exhaust muffler. Lastly, and most importantly, I have to cut a support or two for it so that the weight is supported by the motor and not the header flange.
Realized I had some photos before I put this on temporary hold. Here is the battery box! It has the locking push button switch for the kill switch, a momentary button for the starter, a flip toggle for head lights, and another toggle for accent LED lighting. There is an LED Voltmeter because I am running HIDs and accent lighting which worries me. There is a fuel gauge integrated in the battery box and I changed the resistance of the stock Met fuel sender to match the resistance of the fuel gauge. Lastly, there are some smoked integrated LED turn signals to match the smoked LED tail lights and turn signals.


I moved onto the exhaust after that. The 1" header

My 1" U pipe

Cut it a couple times to get the bends and length I wanted

Test fitting my mediocre cutting

I had to go back and grind back the butts so that it fit better. But I ended up tacking it together and it is pretty spot on. I have one more bend to weld on and then I have to form some sort of adapter to fit the exhaust muffler. Lastly, and most importantly, I have to cut a support or two for it so that the weight is supported by the motor and not the header flange.
 02-11-2016, 01:07 PM
#17
Fish Twig
Join Date: Nov 2005
Location: Still hunting that foo up there
Posts: 15,555
Received 309 Likes
on
285 Posts
What!?!?! I do care, I guess not alot of members on here with built Ruckus's. What you going with?
Sorry if I never responded much before. I usually sit back with some popcorn and watch the build.
Sorry if I never responded much before. I usually sit back with some popcorn and watch the build.
 02-22-2016, 02:47 AM
#19
Honda-Tech Member
HT is not big on Ruckus' but a lot of people are on totalruckus instead. this is a nice build, i'm in progress of building mine as well. i always have a love for white!


Thread
Thread Starter
Forum
Replies
Last Post
newFitOwner
Honda Fit
0
04-23-2018 09:04 PM
B18C5-EH2
Honda Minivans, Crossovers, and Trucks
39
03-26-2017 04:22 PM

