
DIY - CRV painted headlights.
 10-23-2014, 07:39 PM
#1
Honda-Tech Member
Thread Starter
Hey there Honda tech,
Im doing a write up on behalf of the CRV community and for those who want to do this simple mod by them selves. It was brought to attention by a lot of people on the Honda RD1 CRV Enthusiasts facebook page asking how to do this so i volunteered to do so.
i know this is nothing new for this forum and if you have done it before you may have different methods, steps or products you use and swear by, but this is what i did and have done many times in the past and has worked with out fail. Please feel free to comment and criticize, without it we can not better ourselves.
sorry for the bad quality pictures.
so lets get to it.
Step 1. Removing your headlights. (no pictures but here are the steps)
remove your grill - 5 Phillips head screws need to be removed, 4 along the top and 1 under the inspection cover above the Honda badge on the grill. this can be removed with a small flat head screw driver.
remove your bumper - several clips under the grill need to be popped up and pulled out, these can be removed with two flat head screw drivers. there are two Phillip head screws at the corner of each bumper meeting the fender facing upwards, the inner fender liner may need to be moved aside to gain access to these, then there are a couple of 10 MM (or 12MM) bolts under the bumper at the front.
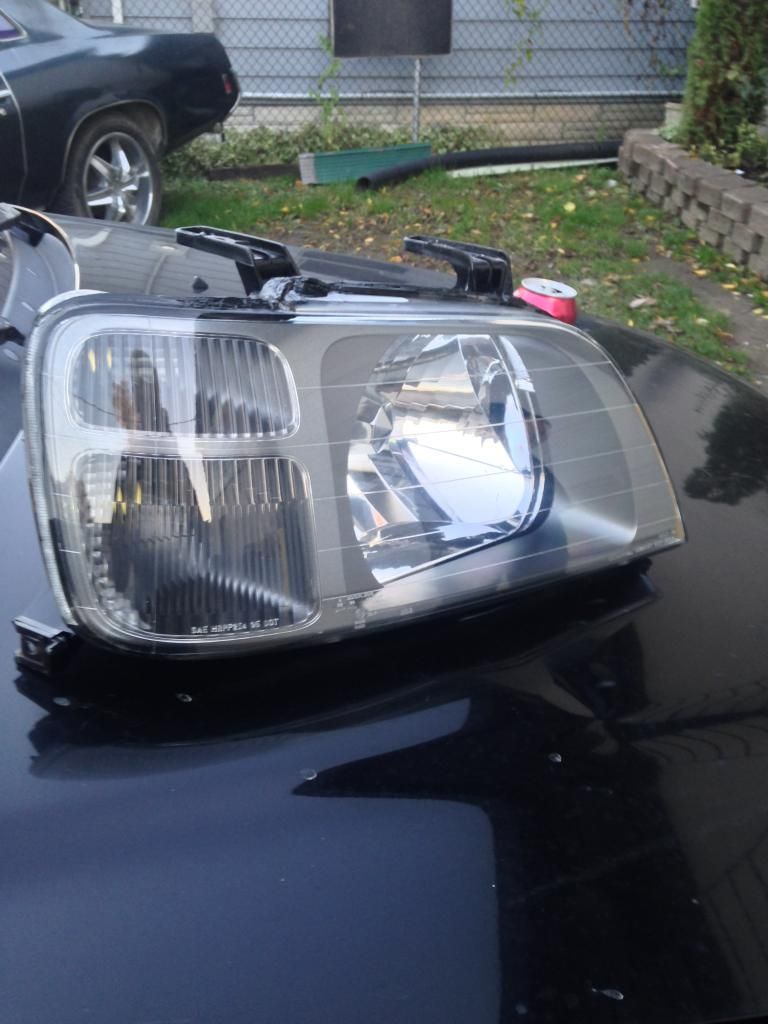
Remove your headlights - there are 4 10MM bolts holding your headlights in, 2 at the top on the rad support, 1 on the inside where the grill would have been and 1 on the bottom corner under your fender. make sure you slowly pull your headlight out first so you have enough room to then undo your 3 bulbs.
Step 2. Pulling apart your headlight
now that your headlights are out you're almost read to put them in the oven, but first there is 2 things you must do.
1. If you live at home or have a spouse.... ASK FOR PERMISSION lol
2. Clean the headlights. If there is any oil, dirt or other foreign mess on them give them a clean so you dont end up baking it and causing gross mess to end up in your oven where you cook food, risk staining the lights or cause harmful chemicals to fill your house.
you can use almost all house hold multi-purpose cleaner and a micro fiber cloth to do so and then wipe over it all with water and a cloth to get the cleaner off.
next step is to make sure your light will actually fit in the oven, if so make sure the oven racks are set to the right height and the lights will not touch anything or be too close to the heating elements.
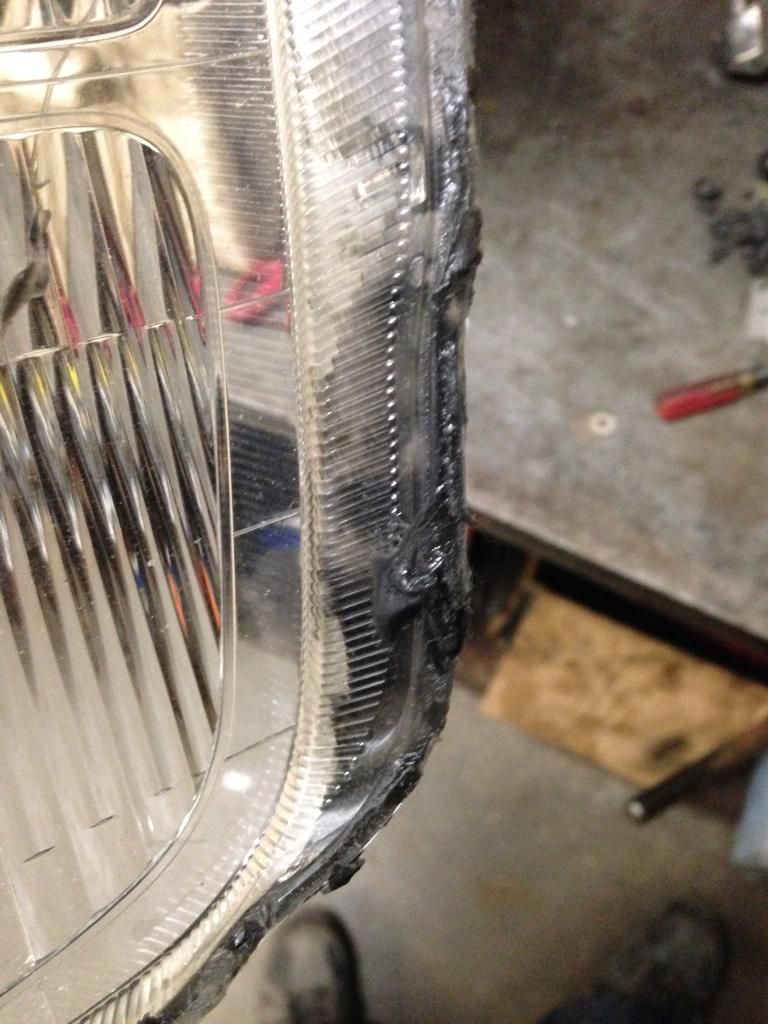
pre heat your oven to 200 degrees F, put your head light on a piece of tin foil on the rack. Once the oven is pre heated stick the light in and wait about 5-7 minutes. using oven mits or a dish towel pull the heat light out, using a couple of pry tools (these may be at your choice, the wider the better, but need to be slim enough to get between the lens and backing and can start to pry them apart, i used a knife with a round end) first pry up the 4 tabs (two at the bottom, one on the side and 3 at the bottom) so that the lens can be freed easier. pry the lens starting from the top and working your way around.
CAUTION !! This may take a few rounds in the oven to soften up the glue enough to finally pull it apart, it took me 3 rounds. the side with the corner lights has a ton of glue compared to the rest and has a thinner amount of pry area SO be careful, do not try and pry here hard or try pull the lens up from the other end to loosen it, this needs to be heated just right to allow it to come out
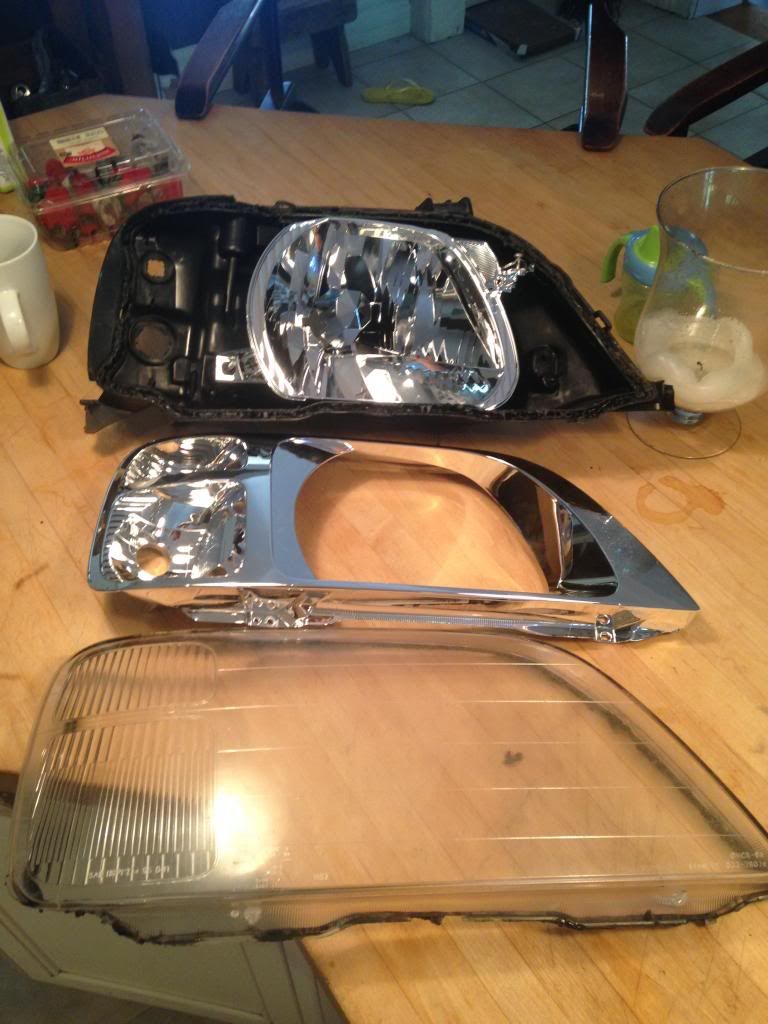
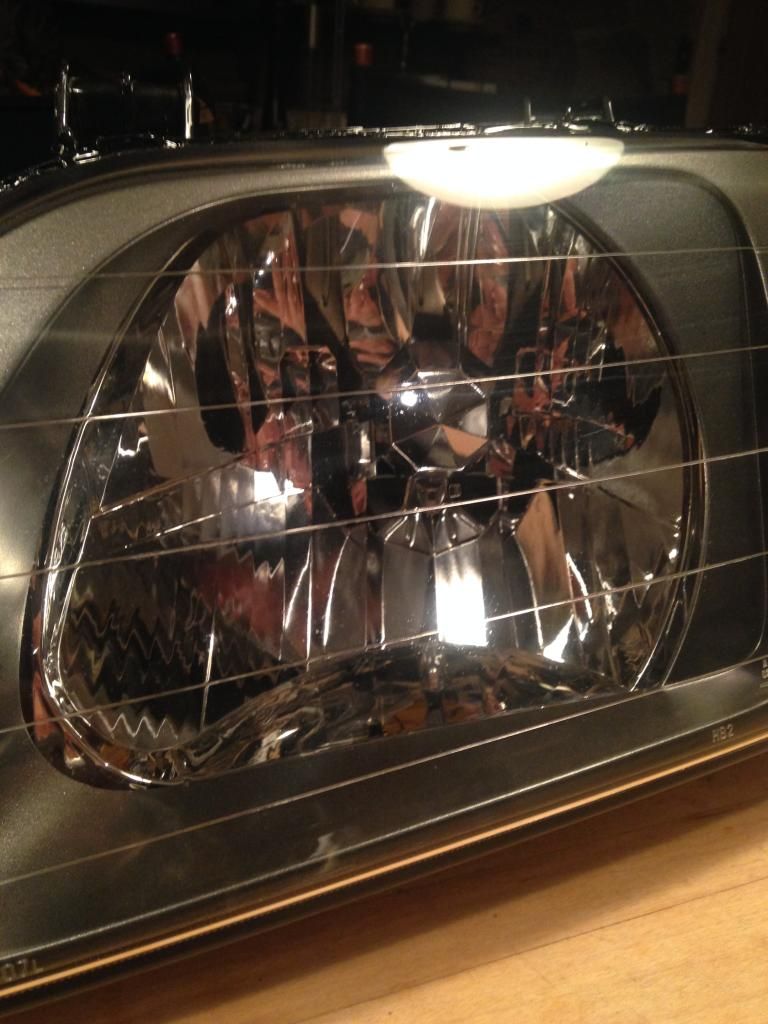
Once the lens is apart there are two Phillip head screws at the bottom holding the housing, remove these and you will have something that looks like this.
Step 3. Prepping and Painting the housing.
This is where the burnt finger tip fun starts to pay off.
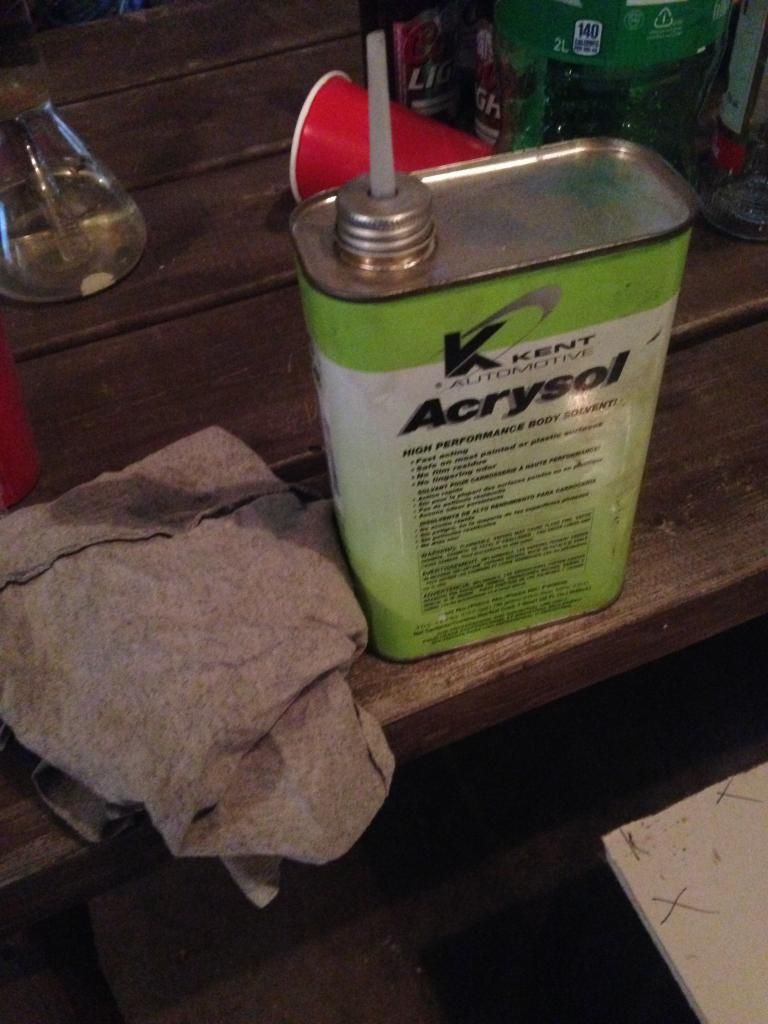
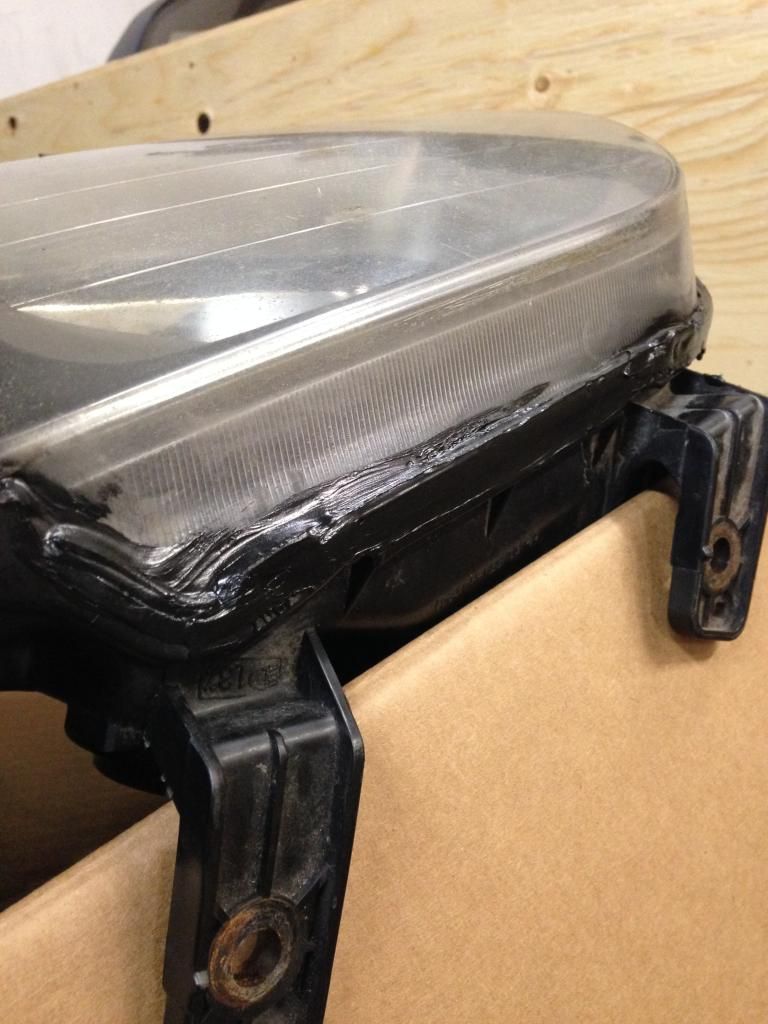
Prepping - before sanding you want to look over the housing itself and check for any grease or sealer that may be on there. for example i had some sealer on my lens
to remove this you need a wax and grease remover and a rag
PLEASE NOTE do not ask me where i got my products from and how much they cost. I live in Southern Ontario, Canada, we may get different products than you and at different prices, all of these products can be found at all your local auto parts stores i am sure of it, the brand may be different but its the key purpose of the products use your are looking for.
wipe down the entire housing, removing all un wanted crud. Once this is done you can start sanding. For this all i used was a red scotch brite pad or scratch pad which ever you call it.
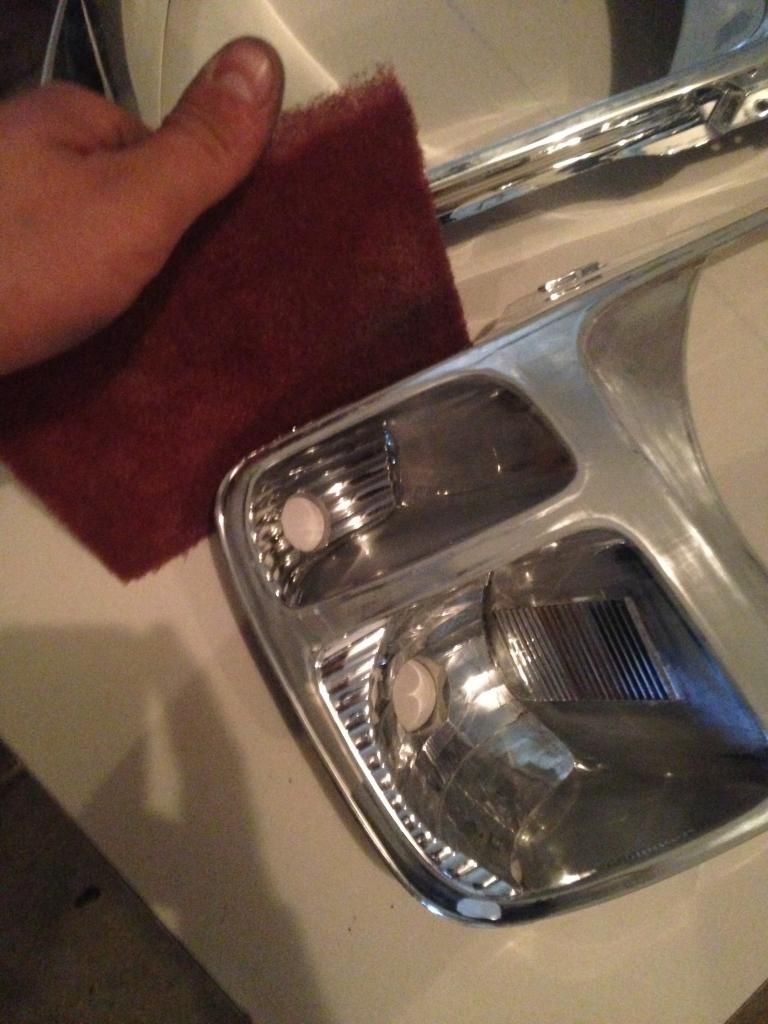
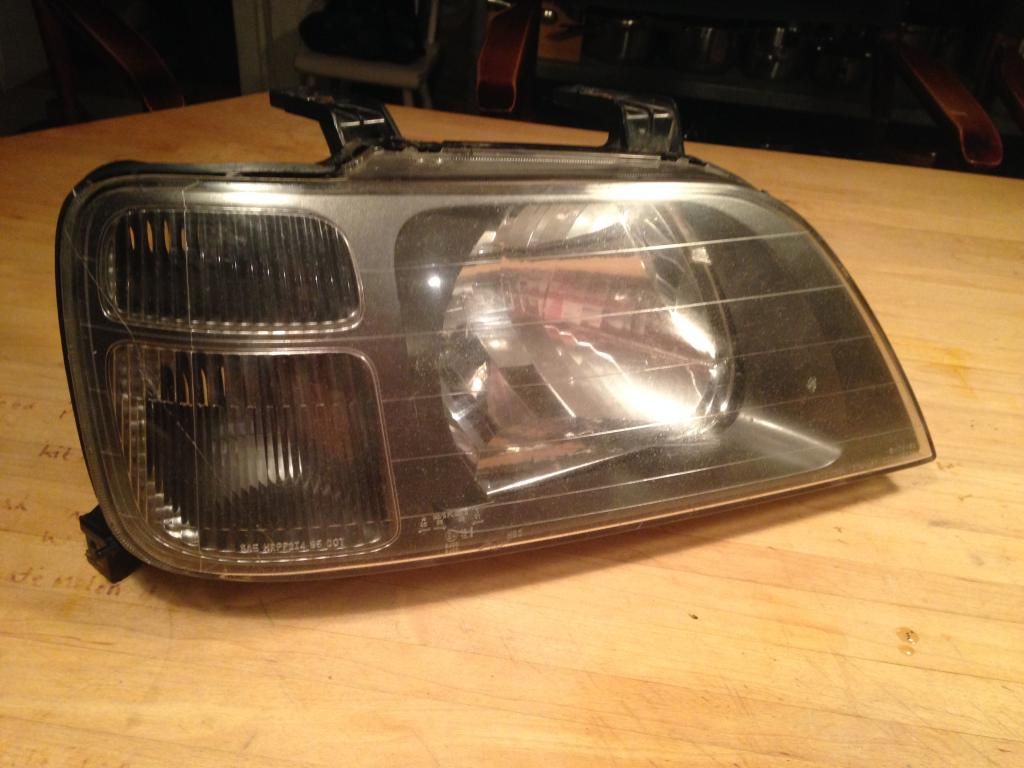
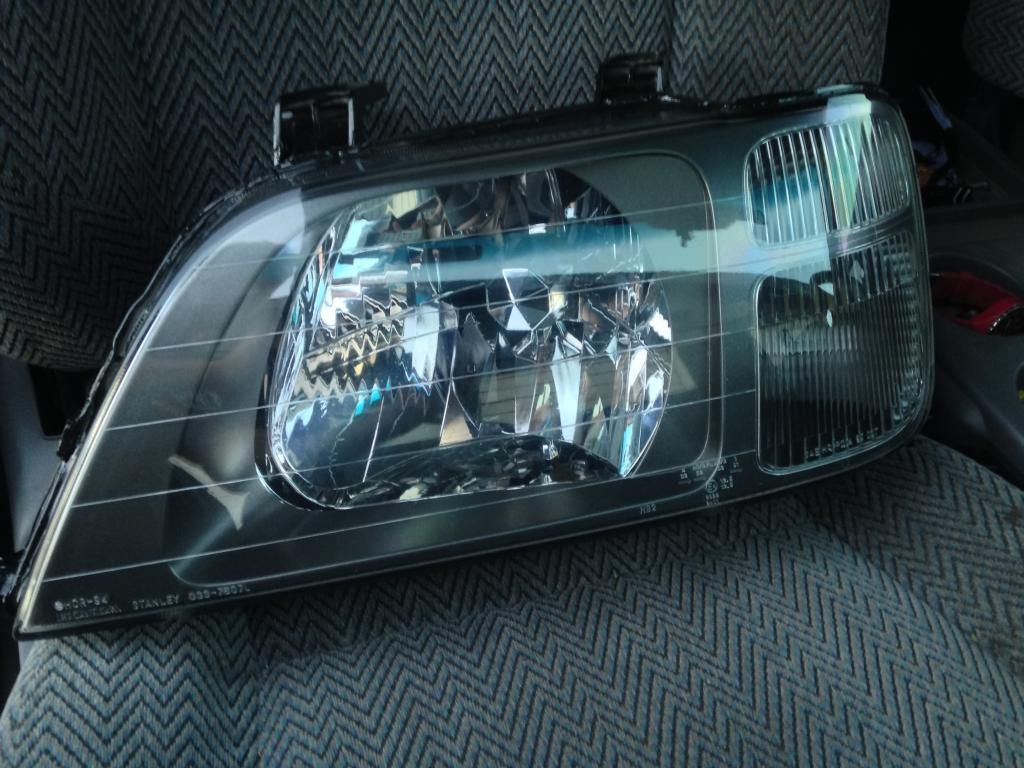
you want to scratch everything up until you don't see the shine from the chrome anymore, if you take the chrome off, that is okay but you're not looking to take it all completely off.
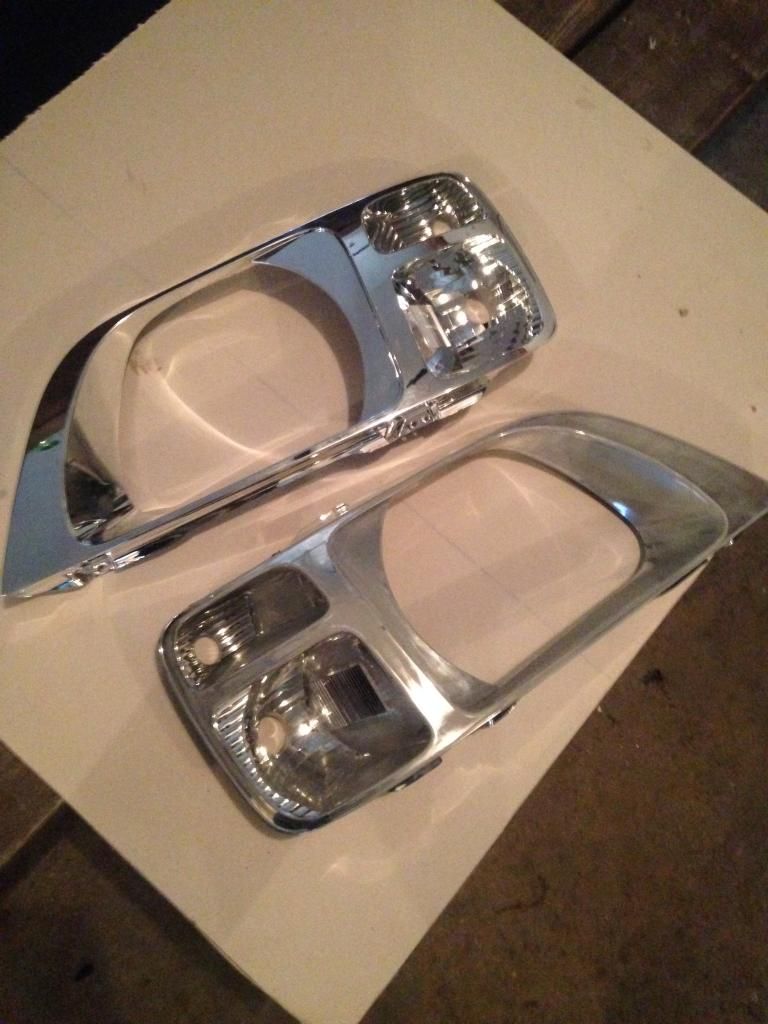
here is one finished compared to one not sanded
next step is to clean the housings ready for primer. All you need to do for this is use the wax and grease remover you have and a clean rag, wipe down the housing to remove all the dust. lay the housings out on a piece of card board in a way that you can get to all the surfaces. Make sure you do this in a well ventilated area and/or use a face mask. make sure you follow all instructions on the spray cans them selves.
Now for the primer. You want to use a self etching primer. starting off hit all the hard to rear areas first before going to the easy stuff, you want the first coat to be a mist coat, you're not looking to cover everything yet so if you see chrome, that okay, the next coat should be a heavier coat, followed buy another mist coat, 3-4 coats should be okay
once the primer is dry use the same method you just used to sand the chrome, but for the primer, scratch pad until all is done, wax and grease remover for getting rid of the dust, and you should have something like this.

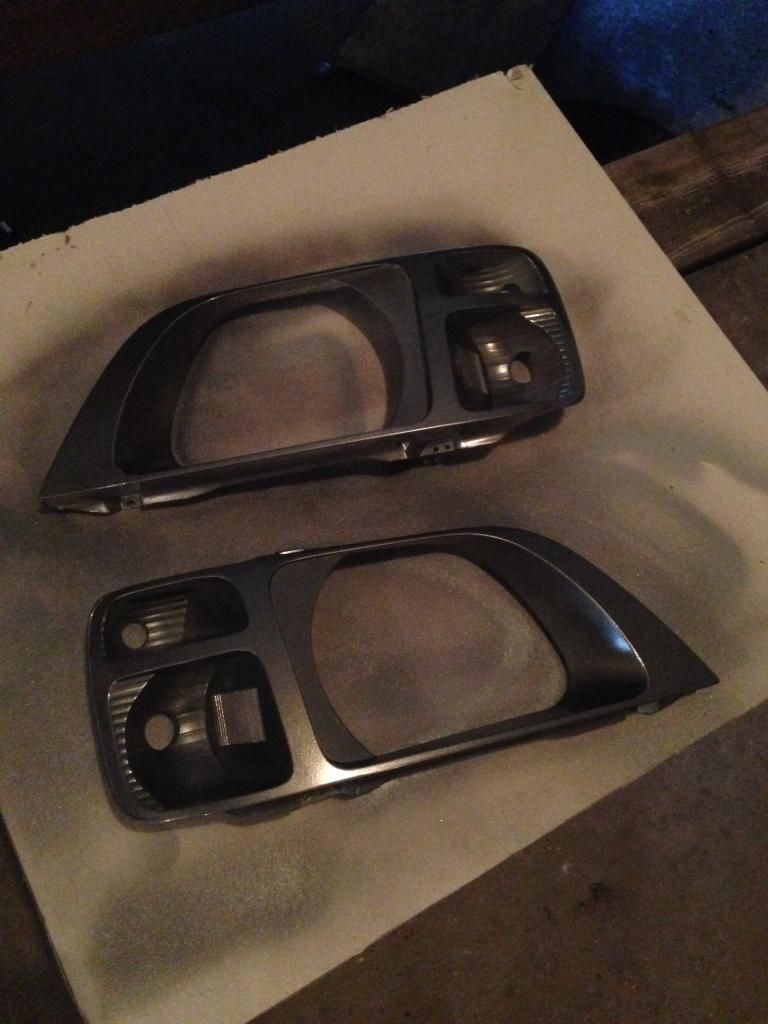
Next step is the painting. this depends on what color you are going but it is now the exact same process as the primering. Hit all the heard to reach places first and then the easy stuff. With this color i used, it being a metallic color the last coat needs to be misted on from a distance so the metallic flakes sit up properly like they are supposed to giving it more of a shine. (if you are clear coating make sure you apply the clear coat (that is compatible with the paint) while the main color is still tacky not fully dry, you do not need to sand before clear coating) i did not use clear coat with mine
and you will have something like this.
Step 4. Cleaning off the OEM sealant.
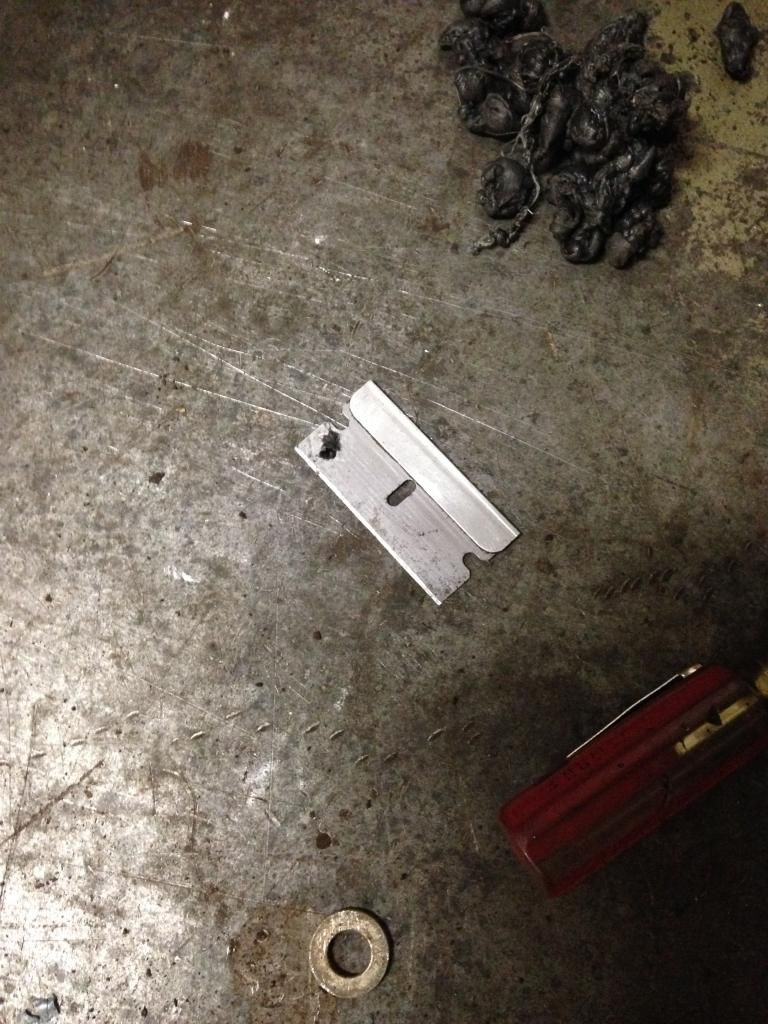
for this you will need a razor blade, a small flat head screw driver and a heat gun.
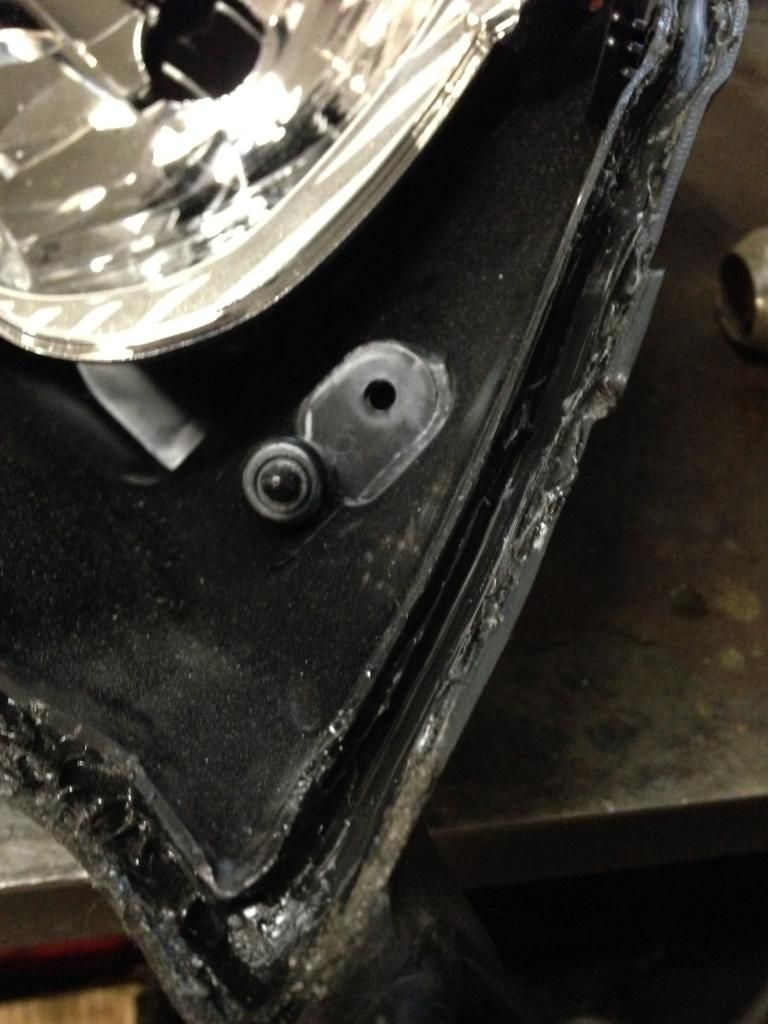
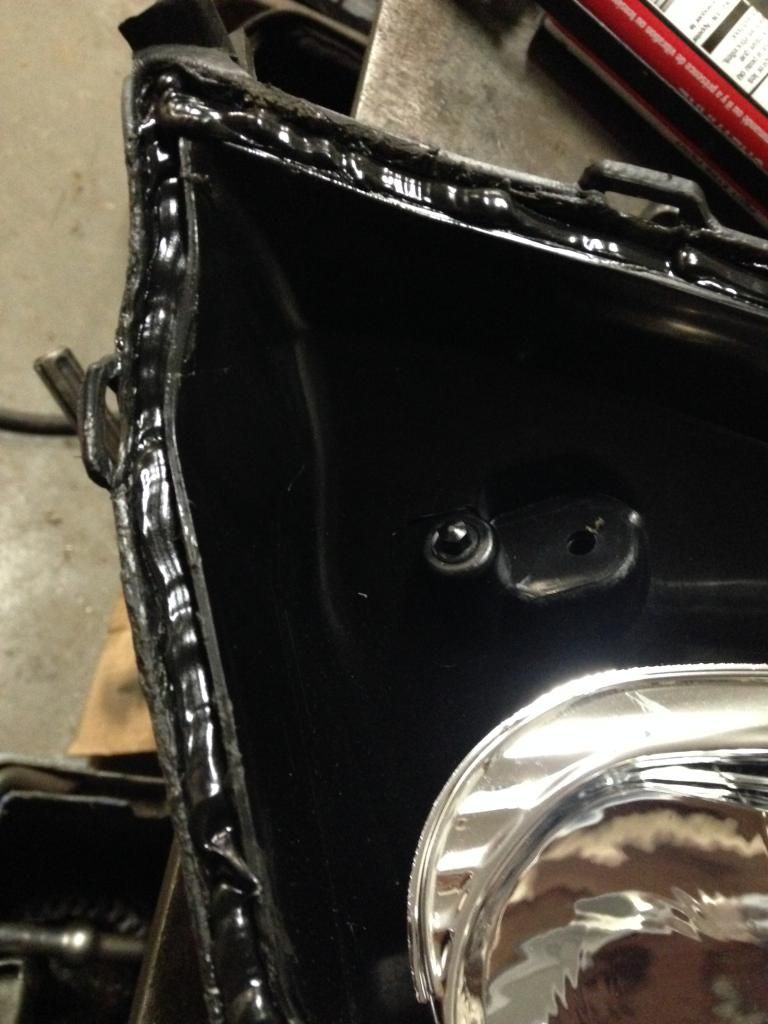
with the heat gun you want to heat up the sealant until it is soft enough to scrape off with the razor blade, you do not need to get it all completely of but just smooth enough to fit back into the backing.
once this is complete you want to turn your attention to the backing, find a screw diver that is wide enough to fit inside the grove.
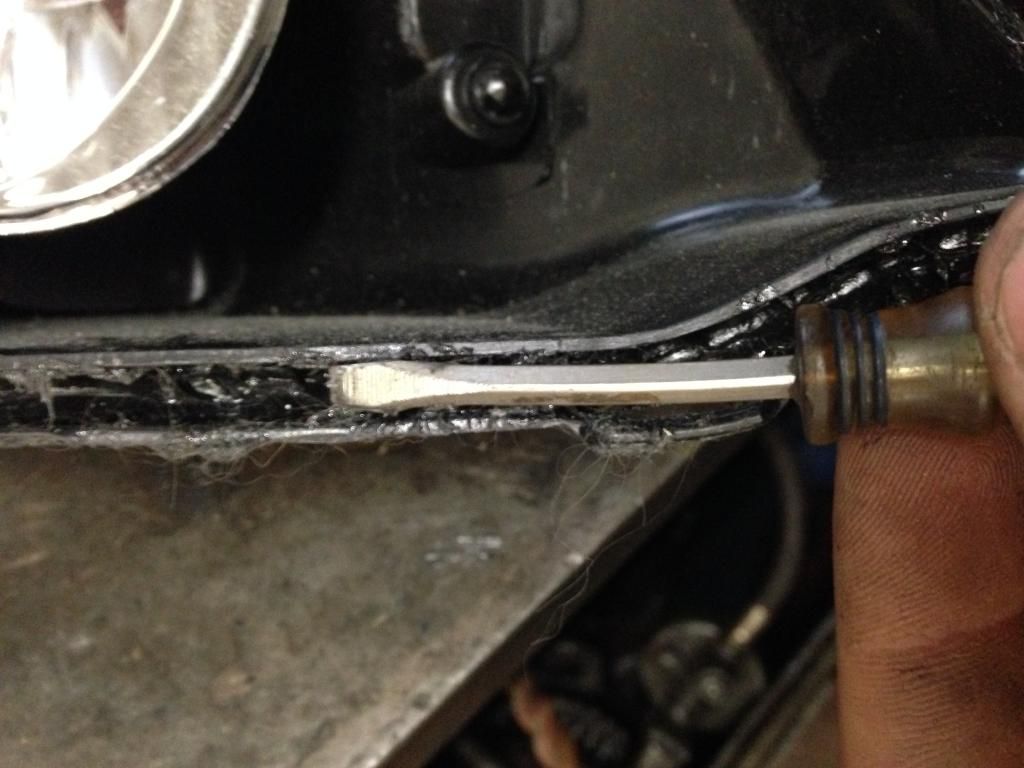
heat up the sealant until soft enough to scrape out , this may take a while so you need to constantly be moving with the heat gun to keep it all soft. you should be left with an open grove.
once both the backings and the lenses are sealant free you want to turn your attention to cleaning! you want to clean the inside of the lens, the backing and the chrome part of your lights before you put these back together, there would be nothing worse then finding dirt on the inside once its all said and done. So using windex and a micro fiber clean the areas until no smudges, dust or finger prints are left
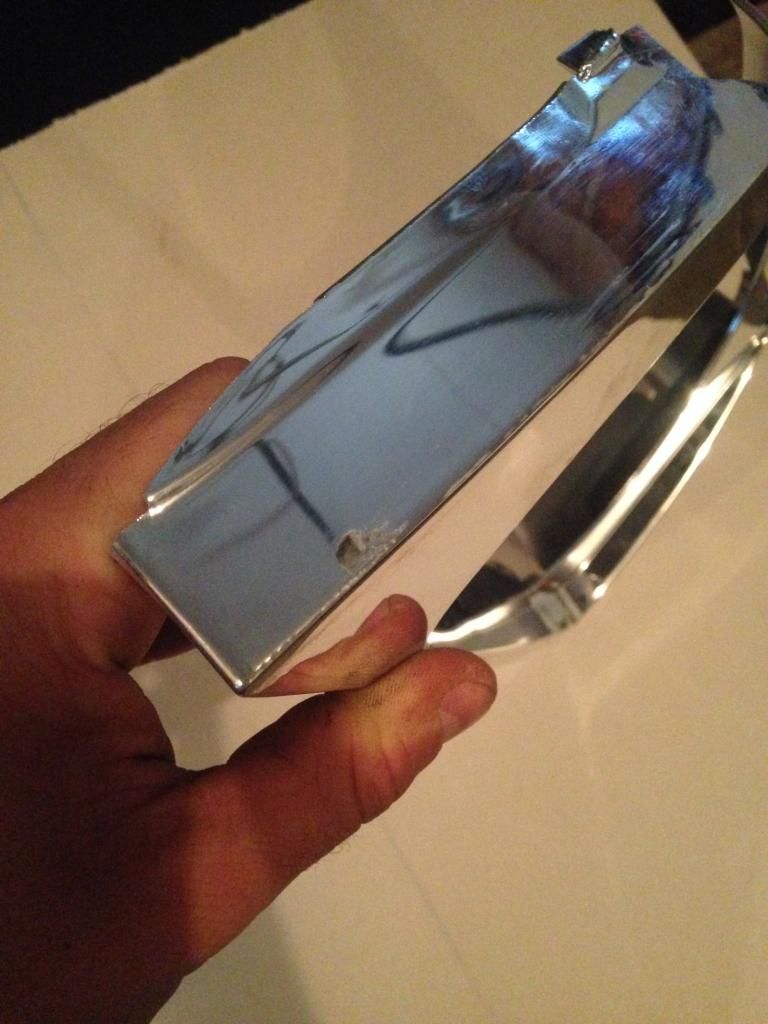
PLEASE NOTE! be very very very light with windex and the pressure you apply when cleaning the chrome part of the backing, it is very thin and you can burn through it easily, so be very gentle and use a tiny bit of windex
Once the parts are clean install the housing back into the lens, and don't forget the two Phillips screws you took out!, its easier to install if you put the corner light side in first.
Step 5. Re sealing your headlights.
For this you're going to need a tube of windshield urethane. Its a bit extreme But you don't want these to leak and get moisture in them, but be warned, you're never getting these apart again. and don't forget to wear rubber gloves, this stuff is a mess.
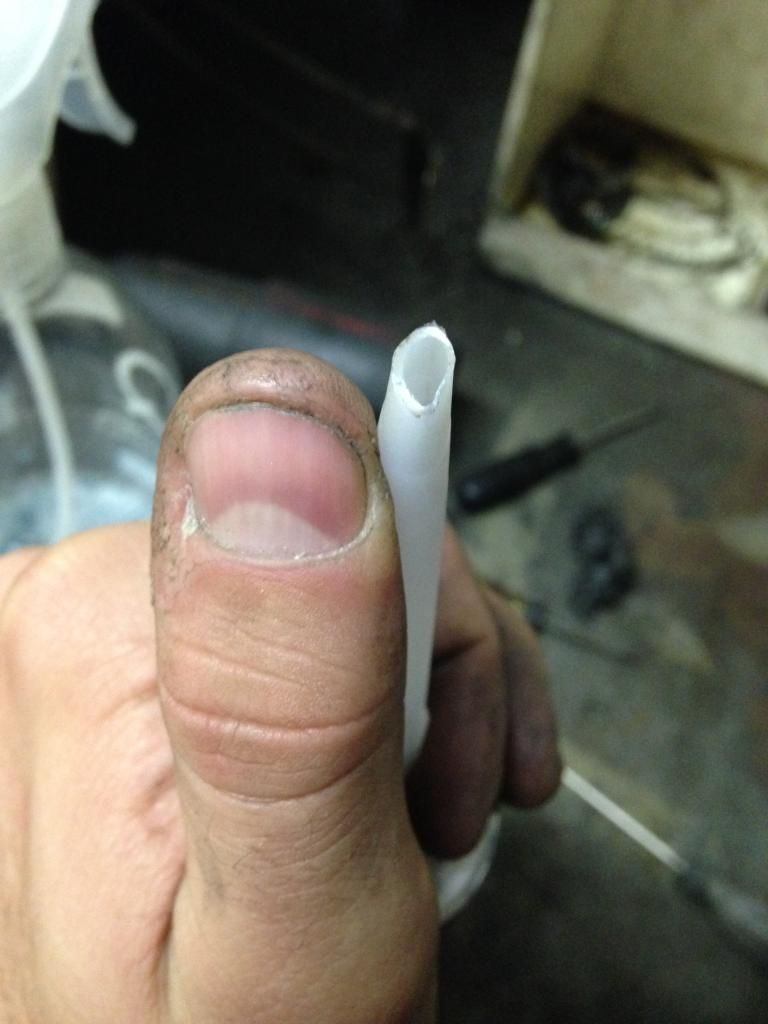
with a pair of side cutters cut the tip of the nozzle to the size of the grove (maybe a tiny bit smaller so the tip can sit in the grove nicely)
Run a nice continuous sized bead in the grove, if you come up thin or the bead breaks start again but with a bit of an over lap to the existing bead.
once this is done, double check the bead, if all is okay place the lens into place and lower it down into place evenly and then press down hard ensuring the lens sits all the way down, remember those little tabs... make sure they don't get in the way so you might have to bend them up again so the lens snaps into place.
Now that the lens is in place, run a tiny bead around the gap where the lens and backing meet, and around/ under the tabs, using your finger (still wearing the gloves) smooth it all out sealing the whole joint.
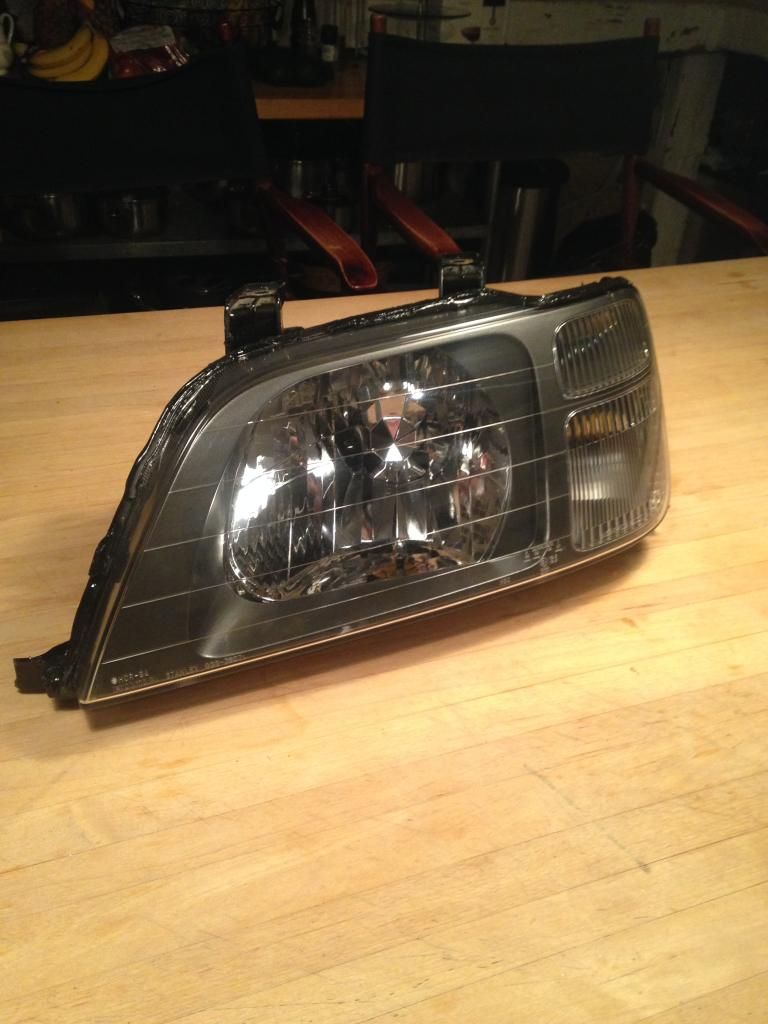
Let the head light sit for 24 hours to let the sealant cure fully.
Now you should be done and have a result just like this. (not actual finished product just an example picture)
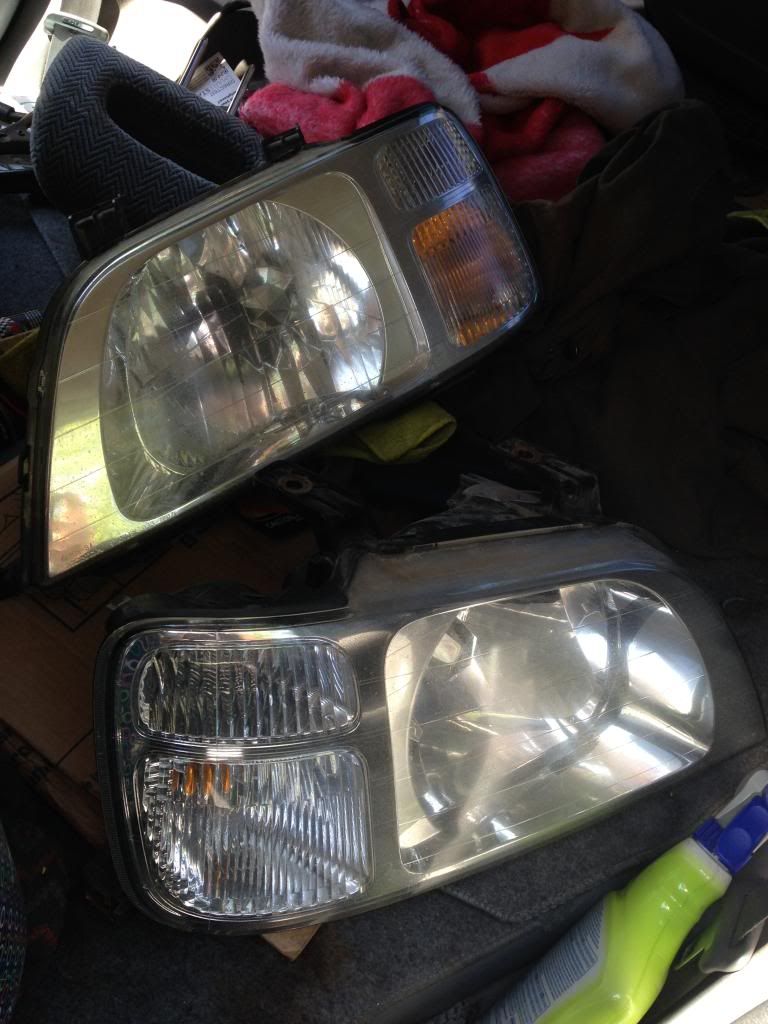
Now comes the extra part! the outer lens is obviously crappy, its either yellowing, scratched or stone chipped , in my case all of them.
there are two approaches you can take,
1. go to your local auto parts store and buy the meguires head light restoring kit (unless you already know how to do so, go for it)
2. Take the lights to your local body shop and get them to clear coat the lenses, i wouldn't suggest spray bombing them with clear, it would most likely start flaking off within a few months.
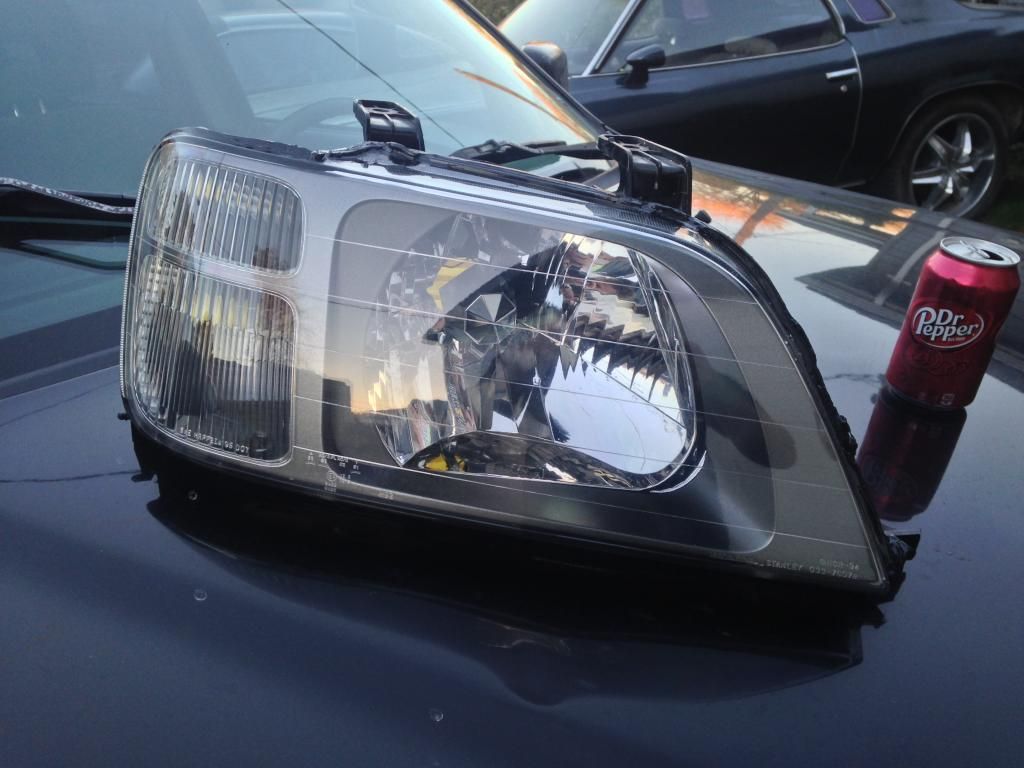
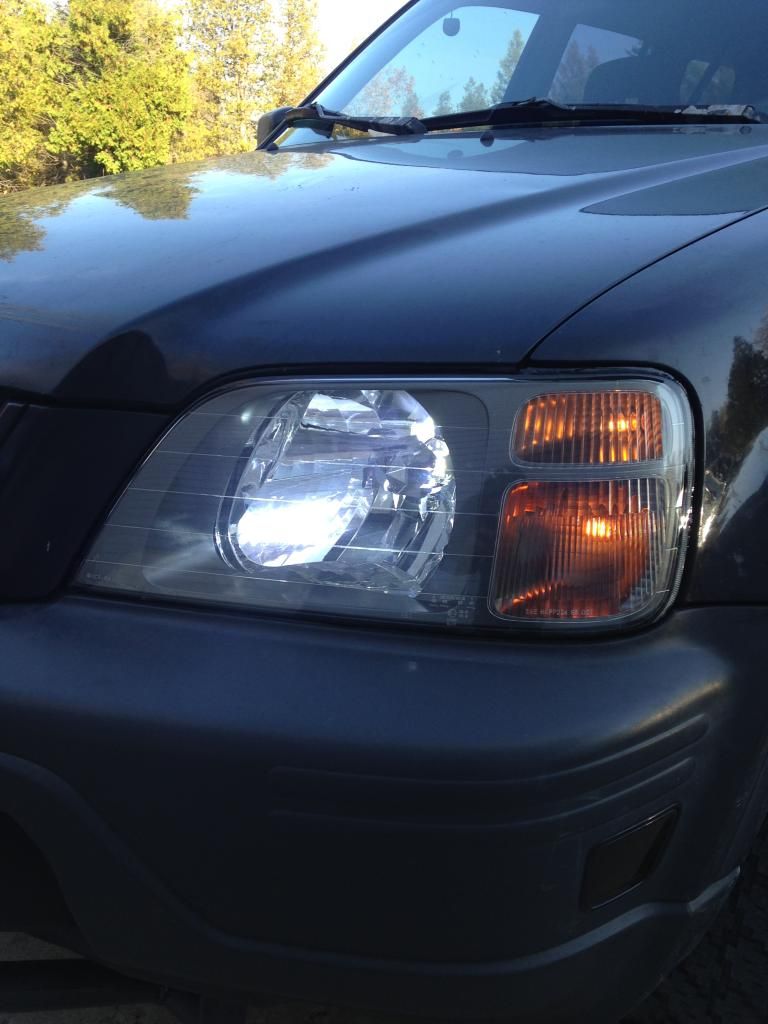
My end result.
And of course, re install the lights, bulbs, bumper, grill using the same steps and removing but in reverse order ! for the end result of! .....
Thanks for reading and i hope it helps!, if there are any questions / concerns feel free to comment and ill try my best to answer!
Happy Modding!
Im doing a write up on behalf of the CRV community and for those who want to do this simple mod by them selves. It was brought to attention by a lot of people on the Honda RD1 CRV Enthusiasts facebook page asking how to do this so i volunteered to do so.
i know this is nothing new for this forum and if you have done it before you may have different methods, steps or products you use and swear by, but this is what i did and have done many times in the past and has worked with out fail. Please feel free to comment and criticize, without it we can not better ourselves.
sorry for the bad quality pictures.
so lets get to it.
Step 1. Removing your headlights. (no pictures but here are the steps)
remove your grill - 5 Phillips head screws need to be removed, 4 along the top and 1 under the inspection cover above the Honda badge on the grill. this can be removed with a small flat head screw driver.
remove your bumper - several clips under the grill need to be popped up and pulled out, these can be removed with two flat head screw drivers. there are two Phillip head screws at the corner of each bumper meeting the fender facing upwards, the inner fender liner may need to be moved aside to gain access to these, then there are a couple of 10 MM (or 12MM) bolts under the bumper at the front.
Remove your headlights - there are 4 10MM bolts holding your headlights in, 2 at the top on the rad support, 1 on the inside where the grill would have been and 1 on the bottom corner under your fender. make sure you slowly pull your headlight out first so you have enough room to then undo your 3 bulbs.
Step 2. Pulling apart your headlight

now that your headlights are out you're almost read to put them in the oven, but first there is 2 things you must do.
1. If you live at home or have a spouse.... ASK FOR PERMISSION lol
2. Clean the headlights. If there is any oil, dirt or other foreign mess on them give them a clean so you dont end up baking it and causing gross mess to end up in your oven where you cook food, risk staining the lights or cause harmful chemicals to fill your house.
you can use almost all house hold multi-purpose cleaner and a micro fiber cloth to do so and then wipe over it all with water and a cloth to get the cleaner off.
next step is to make sure your light will actually fit in the oven, if so make sure the oven racks are set to the right height and the lights will not touch anything or be too close to the heating elements.
pre heat your oven to 200 degrees F, put your head light on a piece of tin foil on the rack. Once the oven is pre heated stick the light in and wait about 5-7 minutes. using oven mits or a dish towel pull the heat light out, using a couple of pry tools (these may be at your choice, the wider the better, but need to be slim enough to get between the lens and backing and can start to pry them apart, i used a knife with a round end) first pry up the 4 tabs (two at the bottom, one on the side and 3 at the bottom) so that the lens can be freed easier. pry the lens starting from the top and working your way around.
CAUTION !! This may take a few rounds in the oven to soften up the glue enough to finally pull it apart, it took me 3 rounds. the side with the corner lights has a ton of glue compared to the rest and has a thinner amount of pry area SO be careful, do not try and pry here hard or try pull the lens up from the other end to loosen it, this needs to be heated just right to allow it to come out
Once the lens is apart there are two Phillip head screws at the bottom holding the housing, remove these and you will have something that looks like this.

Step 3. Prepping and Painting the housing.
This is where the burnt finger tip fun starts to pay off.
Prepping - before sanding you want to look over the housing itself and check for any grease or sealer that may be on there. for example i had some sealer on my lens

to remove this you need a wax and grease remover and a rag
PLEASE NOTE do not ask me where i got my products from and how much they cost. I live in Southern Ontario, Canada, we may get different products than you and at different prices, all of these products can be found at all your local auto parts stores i am sure of it, the brand may be different but its the key purpose of the products use your are looking for.

wipe down the entire housing, removing all un wanted crud. Once this is done you can start sanding. For this all i used was a red scotch brite pad or scratch pad which ever you call it.

you want to scratch everything up until you don't see the shine from the chrome anymore, if you take the chrome off, that is okay but you're not looking to take it all completely off.
here is one finished compared to one not sanded

next step is to clean the housings ready for primer. All you need to do for this is use the wax and grease remover you have and a clean rag, wipe down the housing to remove all the dust. lay the housings out on a piece of card board in a way that you can get to all the surfaces. Make sure you do this in a well ventilated area and/or use a face mask. make sure you follow all instructions on the spray cans them selves.
Now for the primer. You want to use a self etching primer. starting off hit all the hard to rear areas first before going to the easy stuff, you want the first coat to be a mist coat, you're not looking to cover everything yet so if you see chrome, that okay, the next coat should be a heavier coat, followed buy another mist coat, 3-4 coats should be okay
once the primer is dry use the same method you just used to sand the chrome, but for the primer, scratch pad until all is done, wax and grease remover for getting rid of the dust, and you should have something like this.

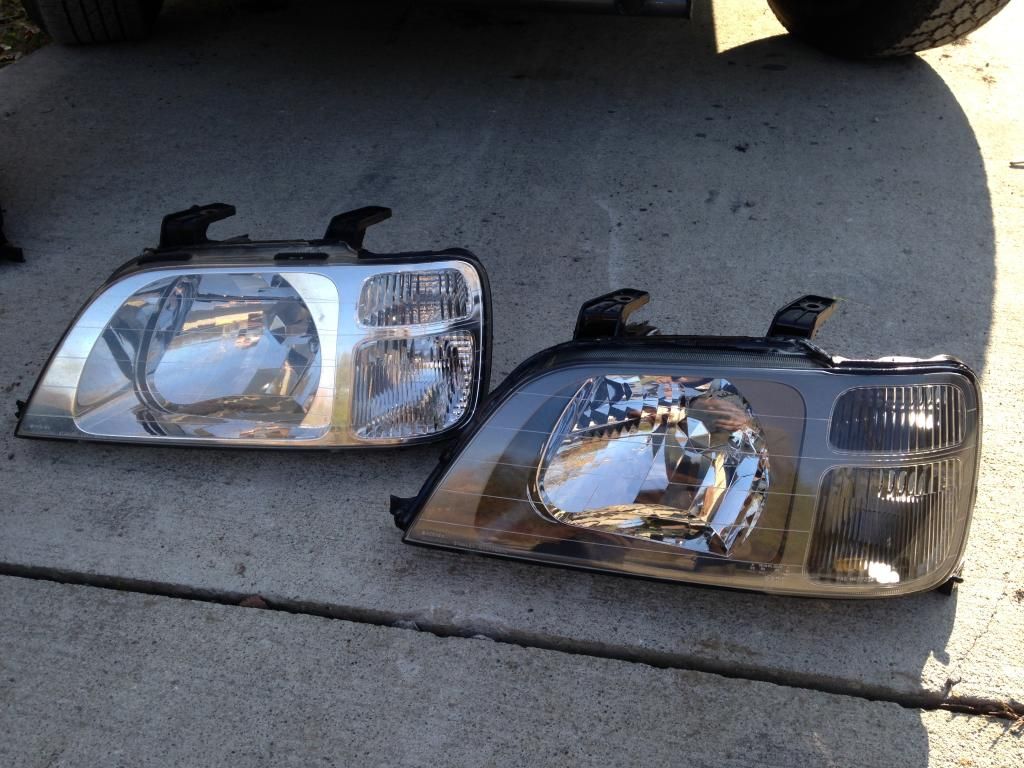
Next step is the painting. this depends on what color you are going but it is now the exact same process as the primering. Hit all the heard to reach places first and then the easy stuff. With this color i used, it being a metallic color the last coat needs to be misted on from a distance so the metallic flakes sit up properly like they are supposed to giving it more of a shine. (if you are clear coating make sure you apply the clear coat (that is compatible with the paint) while the main color is still tacky not fully dry, you do not need to sand before clear coating) i did not use clear coat with mine
and you will have something like this.

Step 4. Cleaning off the OEM sealant.
for this you will need a razor blade, a small flat head screw driver and a heat gun.
with the heat gun you want to heat up the sealant until it is soft enough to scrape off with the razor blade, you do not need to get it all completely of but just smooth enough to fit back into the backing.


once this is complete you want to turn your attention to the backing, find a screw diver that is wide enough to fit inside the grove.

heat up the sealant until soft enough to scrape out , this may take a while so you need to constantly be moving with the heat gun to keep it all soft. you should be left with an open grove.

once both the backings and the lenses are sealant free you want to turn your attention to cleaning! you want to clean the inside of the lens, the backing and the chrome part of your lights before you put these back together, there would be nothing worse then finding dirt on the inside once its all said and done. So using windex and a micro fiber clean the areas until no smudges, dust or finger prints are left
PLEASE NOTE! be very very very light with windex and the pressure you apply when cleaning the chrome part of the backing, it is very thin and you can burn through it easily, so be very gentle and use a tiny bit of windex
Once the parts are clean install the housing back into the lens, and don't forget the two Phillips screws you took out!, its easier to install if you put the corner light side in first.
Step 5. Re sealing your headlights.
For this you're going to need a tube of windshield urethane. Its a bit extreme But you don't want these to leak and get moisture in them, but be warned, you're never getting these apart again. and don't forget to wear rubber gloves, this stuff is a mess.
with a pair of side cutters cut the tip of the nozzle to the size of the grove (maybe a tiny bit smaller so the tip can sit in the grove nicely)

Run a nice continuous sized bead in the grove, if you come up thin or the bead breaks start again but with a bit of an over lap to the existing bead.

once this is done, double check the bead, if all is okay place the lens into place and lower it down into place evenly and then press down hard ensuring the lens sits all the way down, remember those little tabs... make sure they don't get in the way so you might have to bend them up again so the lens snaps into place.
Now that the lens is in place, run a tiny bead around the gap where the lens and backing meet, and around/ under the tabs, using your finger (still wearing the gloves) smooth it all out sealing the whole joint.

Let the head light sit for 24 hours to let the sealant cure fully.
Now you should be done and have a result just like this. (not actual finished product just an example picture)

Now comes the extra part! the outer lens is obviously crappy, its either yellowing, scratched or stone chipped , in my case all of them.
there are two approaches you can take,
1. go to your local auto parts store and buy the meguires head light restoring kit (unless you already know how to do so, go for it)
2. Take the lights to your local body shop and get them to clear coat the lenses, i wouldn't suggest spray bombing them with clear, it would most likely start flaking off within a few months.
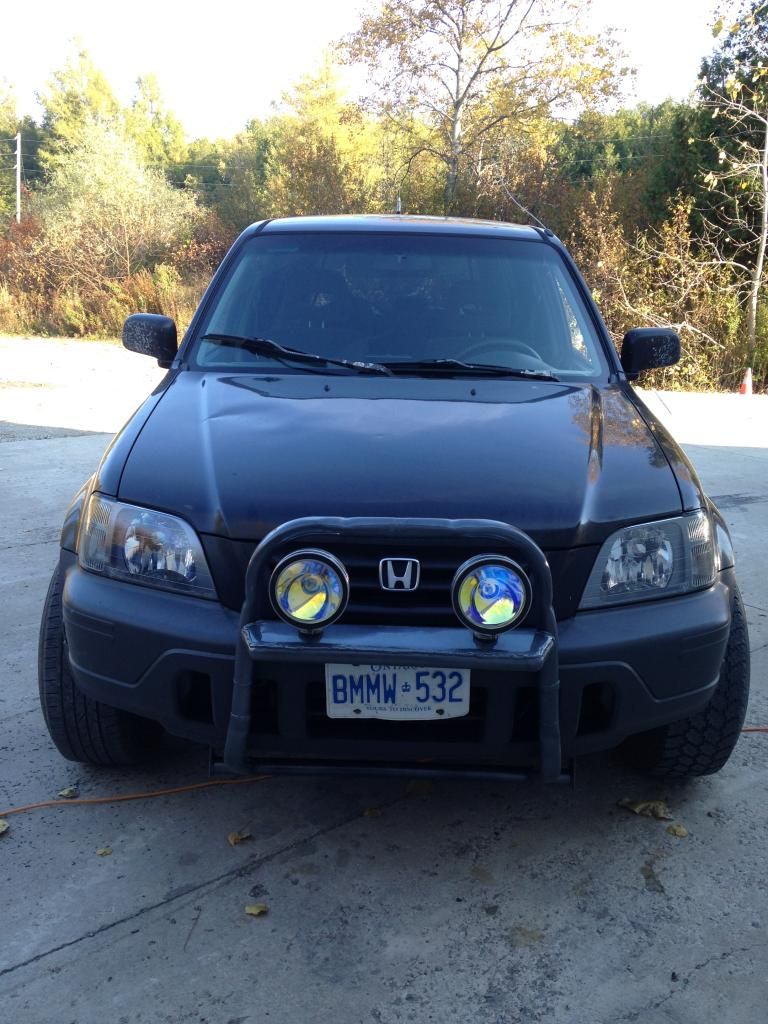
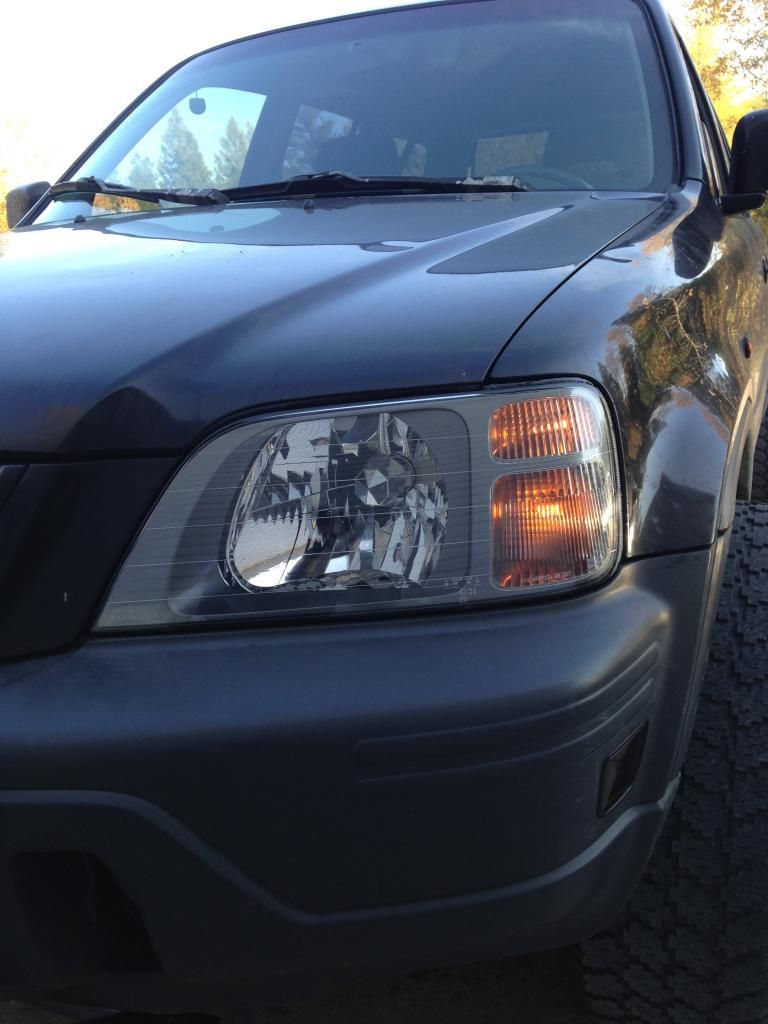
My end result.


And of course, re install the lights, bulbs, bumper, grill using the same steps and removing but in reverse order ! for the end result of! .....


Thanks for reading and i hope it helps!, if there are any questions / concerns feel free to comment and ill try my best to answer!
Happy Modding!
Last edited by JDM.RoRo; 10-24-2014 at 01:59 PM.
 10-24-2014, 06:09 AM
#2
DO IT ON ALL FOURS
Very nicely done. Thanks for taking the time to make and post this. I did mine slightly different, but your way works just fine as well. My constructive criticism is correcting the grammar for a smoother flow. All in all Great Job!
10-24-2014, 12:32 PM
#3
B*a*n*n*e*d

Join Date: Jan 2002
Location: 99th level of hell, where all roads only go straight, where curves go to die. Houston Texas
Posts: 1,225
Likes: 0
Received 0 Likes
on
0 Posts
Nice write up. Very detailed. We should sticky this! Now that my CR-V is officially the guinea pig miester, could be something fun to do as a future project. Good work.
All in while dodging bullets, racial slurs, and constant gender inequality in Houston Texas.
Did I mention Ebola?
All in while dodging bullets, racial slurs, and constant gender inequality in Houston Texas.
Did I mention Ebola?
10-24-2014, 12:34 PM
#4
B*a*n*n*e*d
Join Date: Jan 2002
Location: 99th level of hell, where all roads only go straight, where curves go to die. Houston Texas
Posts: 1,225
Likes: 0
Received 0 Likes
on
0 Posts
What do you think of rattle canning the lenses with clearcoat? Not suggested? I might be able to make it pass the parking lot this time without being held up at gunpoint again.
10-24-2014, 02:02 PM
#5
Honda-Tech Member
Thread Starter
Thanks guys and you're welcome, i just went through the post and fixed some spelling mistakes and grammar, as well as a couple of other things, included final install pictures!
rattle can clear for the lenses isnt the best idea, it isnt as durable, since it will be prone to stone chips / bugs, it will just start getting scratched easy, chipping and flaking within months
rattle can clear for the lenses isnt the best idea, it isnt as durable, since it will be prone to stone chips / bugs, it will just start getting scratched easy, chipping and flaking within months

Trending Topics
10-29-2014, 02:34 AM
#8
Honda-Tech Member

Join Date: Jan 2014
Posts: 40
Likes: 0
Received 0 Likes
on
0 Posts
Looks good. What type of paint did you use? By the way, you can also wetsand the headlight cover then apply clear coat. Much cheaper than taking it to a body shop.
10-29-2014, 05:28 PM
#9
Honda-Tech Member
Thread Starter
I just used an off the shelf spray can, don't even know any brand.
that's what the body shop did, wet sanded it and clear coated the lens. i just paid them to do it since it would have cost me the same amount + my time
that's what the body shop did, wet sanded it and clear coated the lens. i just paid them to do it since it would have cost me the same amount + my time
10-31-2014, 12:41 PM
#10
Honda-Tech Member
Join Date: Mar 2008
Location: Jeresy
Posts: 81
Likes: 0
Received 0 Likes
on
0 Posts
Very cool write-up. I did something similar when I put in a set of projectors on my DD. I didn't use window weld as I wanted to be able to pull it apart again for whatever reason. In fact, I just reused the old glue, and reheated it in the oven, and quickly pressed it together. It's been in snow, rain and outdoors ever since (18 months) and have had no issues with rain or moisture getting into the housings.
The black housings really set up off the headlights, especially in black. I also taped off the reflectors for the side-markers and indicators for that JDM style.


The black housings really set up off the headlights, especially in black. I also taped off the reflectors for the side-markers and indicators for that JDM style.

Thread
Thread Starter
Forum
Replies
Last Post
Azn Mug3N (01 em2)
Honda Civic (2001 - 2005)
2
05-19-2007 05:38 PM