
[CRX B20v JRSC Build]
 01-13-2013, 10:22 PM
#1
Honda-Tech Member
Thread Starter
Wow. Here we go again. This go-fast addiction is becoming an obsession.
With that said - I urge each and every one of your reading this to find a better hobby than modding Honda cars. Building a fast Honda is a waste of your time and money. I don't recommend that anyone reading this follows in my footsteps. Find different things to focus your time/money on. Owning a fast Honda will not get you paid, laid, or obeyed. Proceed with caution and keep things in perspective.
And with that said. Welcome to my build thread. This will be a hard road to walk, and I share this in hopes that the folks at home can be inspired and educated on the specifics of how to accomplish what I will depict within this thread.
Welcome to the party! Stay tuned for updates!
We all love ripping through the turns and pushing the car and driver to the absolute physical and mental limit. It's what makes us feel alive, and that's why we're here.

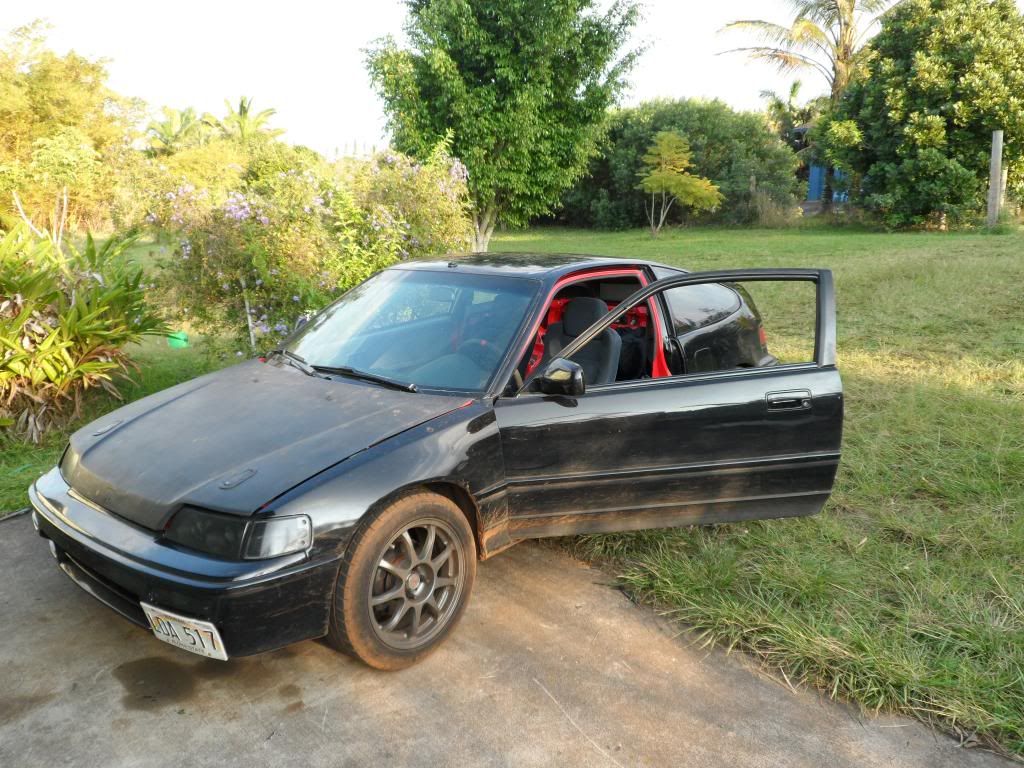
This is what I'm starting with. A 1988 Honda CRX DX chassis. I have my sights set on a mint 91 DX shell which is ironically owned by an elderly woman who happens to be the original owner - but that's phase FOUR of the project, and we aren't there yet.
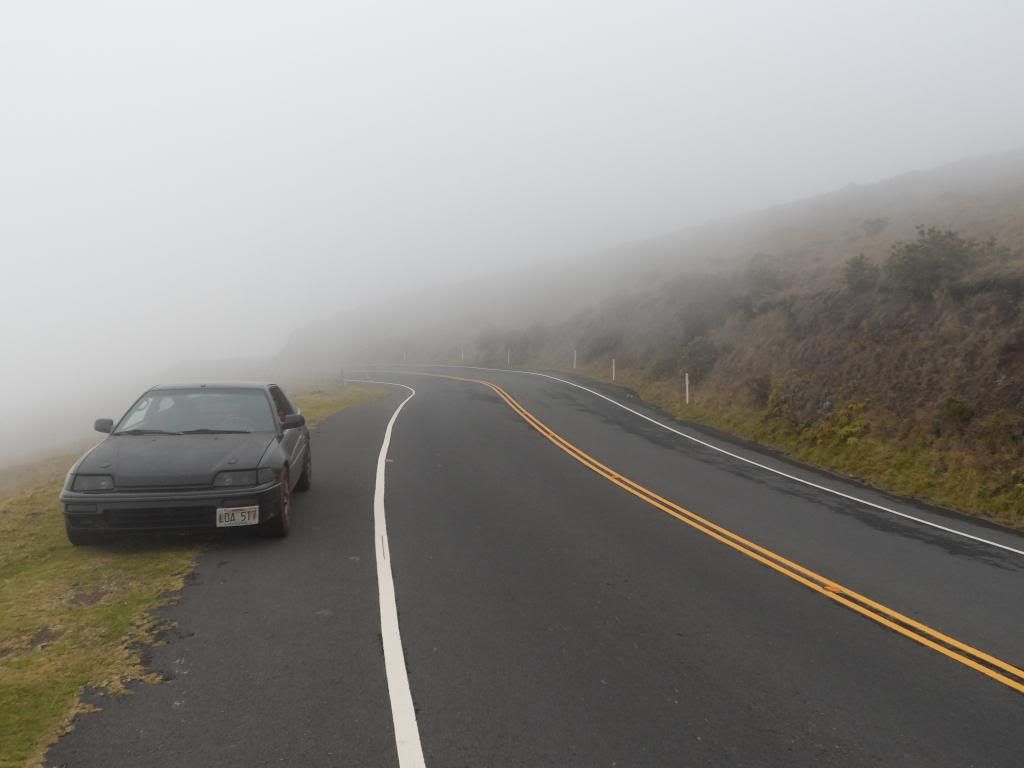
The roads out here aren't great, but there are a few mountain roads that are wide and curved enough to really let the car come alive. This is my playground.
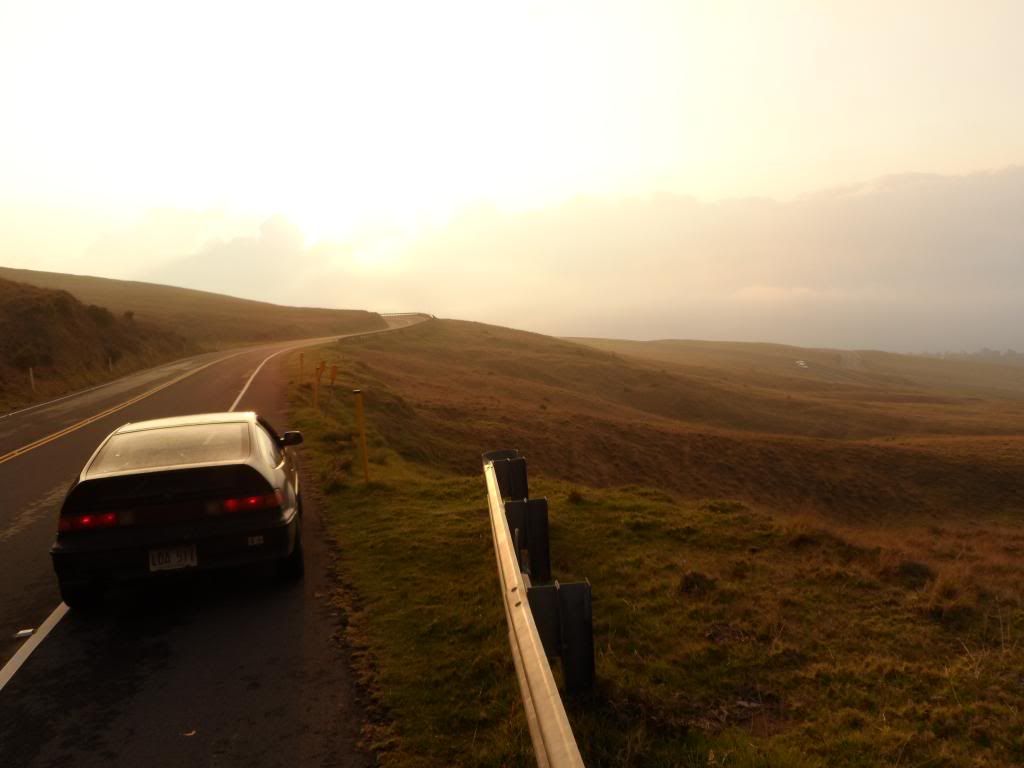
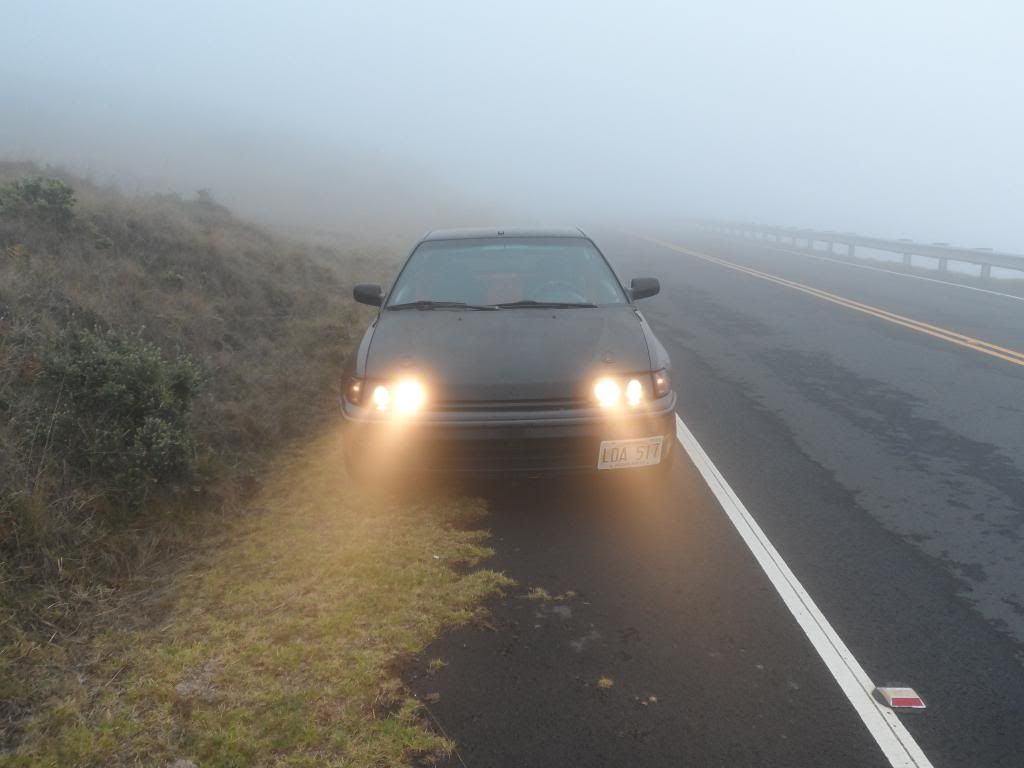
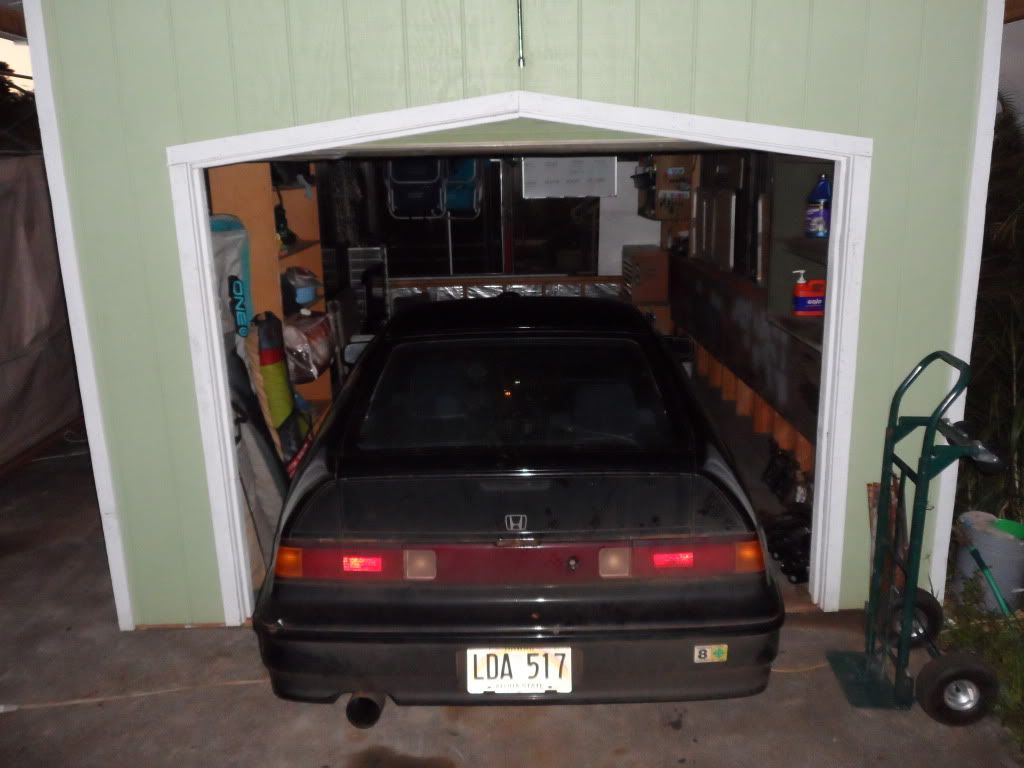
The car currently sits outside my window as a daily-driven B20v CRX. It sees aggressive driving on the weekends with a full moon, and gets me to/from work in the mean-time. This pic was taken a few days ago, excuse me while I drive off into the sunset.

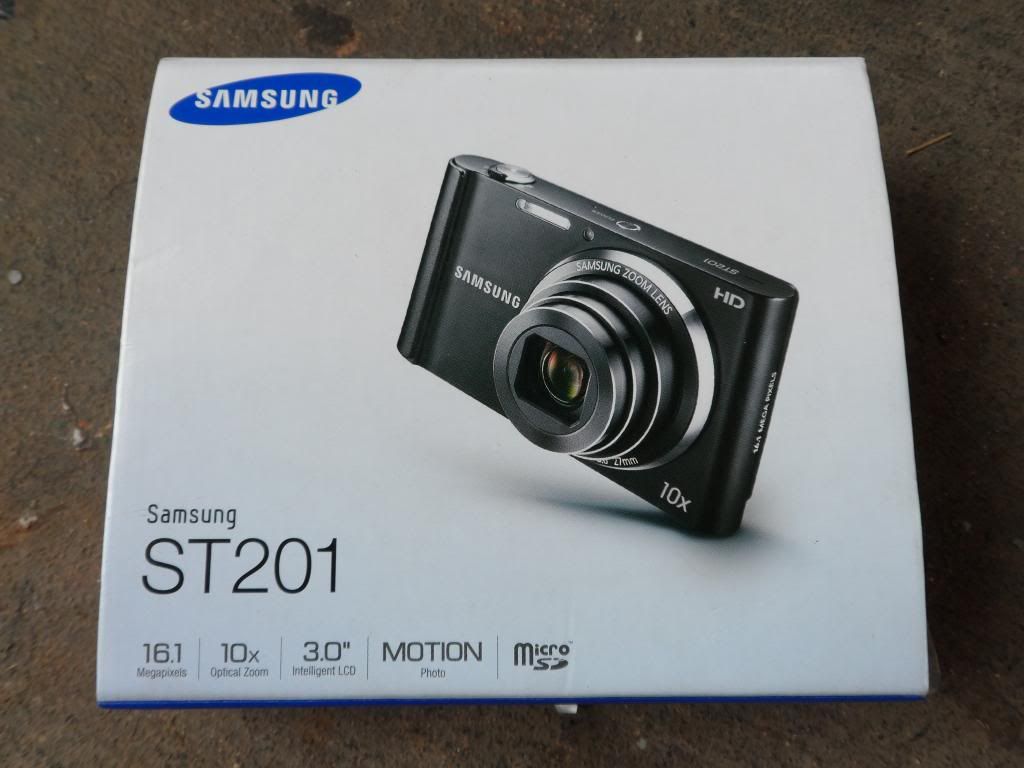
This thread is brought to you by Samsung. 100 dollars later and I can afford to share these pics. [Don't host with photobucket like I did, they are constantly under new management and lots of other things to b!tch about that I won't share here.]
Have a final picture of the car before it gets taken off the road and hibernates in the shop for a few weeks until it emerges with +100whp.

She isn't pretty but she sure hauls a$$ with the B20v currently making 182whp. No dyno sheets available, you'll have to trust my modest estimate. There isn't a dyno within 3000 miles. Dy�na�mom�e�ter for the scientists - "An instrument that measures the power output of an engine."
Yeahhhh moving right along here. Not pretty. Maybe when I can afford a ferrari I'll take better pics of it. Until then I'm saving 100/run in my 'ferrari' bank account every time I find a rich a$$hole dumb enough to run his 'luxury' car against mine. I do not condone street racing. Take it to the track and let your car speak for itself.
I'll post up detailed pics of my parts pile tomorrow night - but for now I'm getting tired and have to get up for work in the morning at dawn.
This thread is sponsored by RAMEN - Oodles of noodles! For the very best in your dining pleasure, look no further than Maruchan brand Ramen noodle. Tasty hot noodle for one quarter - cutting costs in other areas of your life [especially food] allow you to build fast honda cars very rapidly with the money saved. If anyone is curious, Maruchan is a subsidary of Nissin - the same company that manufactures brake calipers for our honda cars. Gotta love the Japanese..

Stay tuned guys. This thread is a photodump for my progress and innovation. I am pioneering new territory - going where no man has gone before, one small step for Honda modification, one giant leap for mankind. ONWARD TO 300WHP!
With that said - I urge each and every one of your reading this to find a better hobby than modding Honda cars. Building a fast Honda is a waste of your time and money. I don't recommend that anyone reading this follows in my footsteps. Find different things to focus your time/money on. Owning a fast Honda will not get you paid, laid, or obeyed. Proceed with caution and keep things in perspective.
And with that said. Welcome to my build thread. This will be a hard road to walk, and I share this in hopes that the folks at home can be inspired and educated on the specifics of how to accomplish what I will depict within this thread.
Welcome to the party! Stay tuned for updates!
We all love ripping through the turns and pushing the car and driver to the absolute physical and mental limit. It's what makes us feel alive, and that's why we're here.
This is what I'm starting with. A 1988 Honda CRX DX chassis. I have my sights set on a mint 91 DX shell which is ironically owned by an elderly woman who happens to be the original owner - but that's phase FOUR of the project, and we aren't there yet.
The roads out here aren't great, but there are a few mountain roads that are wide and curved enough to really let the car come alive. This is my playground.
The car currently sits outside my window as a daily-driven B20v CRX. It sees aggressive driving on the weekends with a full moon, and gets me to/from work in the mean-time. This pic was taken a few days ago, excuse me while I drive off into the sunset.
This thread is brought to you by Samsung. 100 dollars later and I can afford to share these pics. [Don't host with photobucket like I did, they are constantly under new management and lots of other things to b!tch about that I won't share here.]
Have a final picture of the car before it gets taken off the road and hibernates in the shop for a few weeks until it emerges with +100whp.
She isn't pretty but she sure hauls a$$ with the B20v currently making 182whp. No dyno sheets available, you'll have to trust my modest estimate. There isn't a dyno within 3000 miles. Dy�na�mom�e�ter for the scientists - "An instrument that measures the power output of an engine."
Yeahhhh moving right along here. Not pretty. Maybe when I can afford a ferrari I'll take better pics of it. Until then I'm saving 100/run in my 'ferrari' bank account every time I find a rich a$$hole dumb enough to run his 'luxury' car against mine. I do not condone street racing. Take it to the track and let your car speak for itself.
I'll post up detailed pics of my parts pile tomorrow night - but for now I'm getting tired and have to get up for work in the morning at dawn.
This thread is sponsored by RAMEN - Oodles of noodles! For the very best in your dining pleasure, look no further than Maruchan brand Ramen noodle. Tasty hot noodle for one quarter - cutting costs in other areas of your life [especially food] allow you to build fast honda cars very rapidly with the money saved. If anyone is curious, Maruchan is a subsidary of Nissin - the same company that manufactures brake calipers for our honda cars. Gotta love the Japanese..
Stay tuned guys. This thread is a photodump for my progress and innovation. I am pioneering new territory - going where no man has gone before, one small step for Honda modification, one giant leap for mankind. ONWARD TO 300WHP!
 01-14-2013, 02:35 AM
#2
Honda-Tech Member
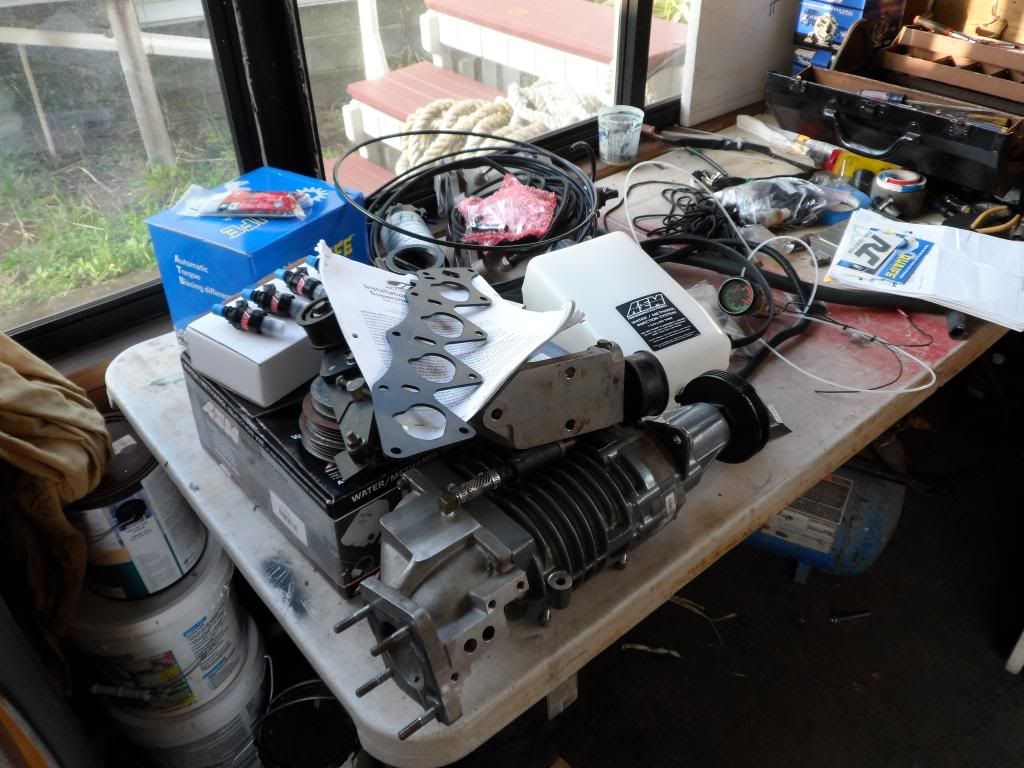
hmmmmmmmmm i see water/meth (car is goin on drugz?? whyyyyyyyyyy??  ) a baller lookin super charger of some brand, a boost gauge, some hard core injectors, and some pulleys
) a baller lookin super charger of some brand, a boost gauge, some hard core injectors, and some pulleys
01-14-2013, 07:33 AM
#3
Honda-Tech Member
Thread Starter
This will be a long thread with lots of high-resolution photos. If you have a slow internet connection, gtfo of here now.
Currently the car sits with the following as a daily driver.
Engine
-b20z2 block oem-spec
-b16a3 pr-3 head oem-spec
-blackworks racing b20v conversion kit
-b16 p30 intake manifold/tb
-PLM 4-2-1 header w/2.5" collector
-custom 2.5>3" test pipe
-3" thermal r&d b137-c134 exhaust
-4" whale ***** intake
-avid EF b-series hydro mounts
Drivetrain
-y21 hydro trans
-sonem hydraulic pedal conversion
-ACT 7.5lb flywheel
-exedy stage 1 organic clutch
-ac delco axles
-kosei K4r rims 16x7
-205/60/16 tires
Brakes
-93 DA integra knuckles
-DA 10.3" front disc
-DA 4040 prop
-1" master cylinder
-1" brake booster
-EG2 RTA
-EG2 9.5" rear disc
-stainless braided softlines
-custom hardlines (prop under dash)
-powerstop z16 pads (fnt/rr)
-all 4 brand new nissin calipers/rotors
Chassis
-function7 RLCA
-ES master kit poly bushings
-sonem RTA bushing
-megan racing chassis 'braces'
-koni yellow dampers
-ground control springs (500ft/450rr)
-skunk2 front/rear camber kits
Other
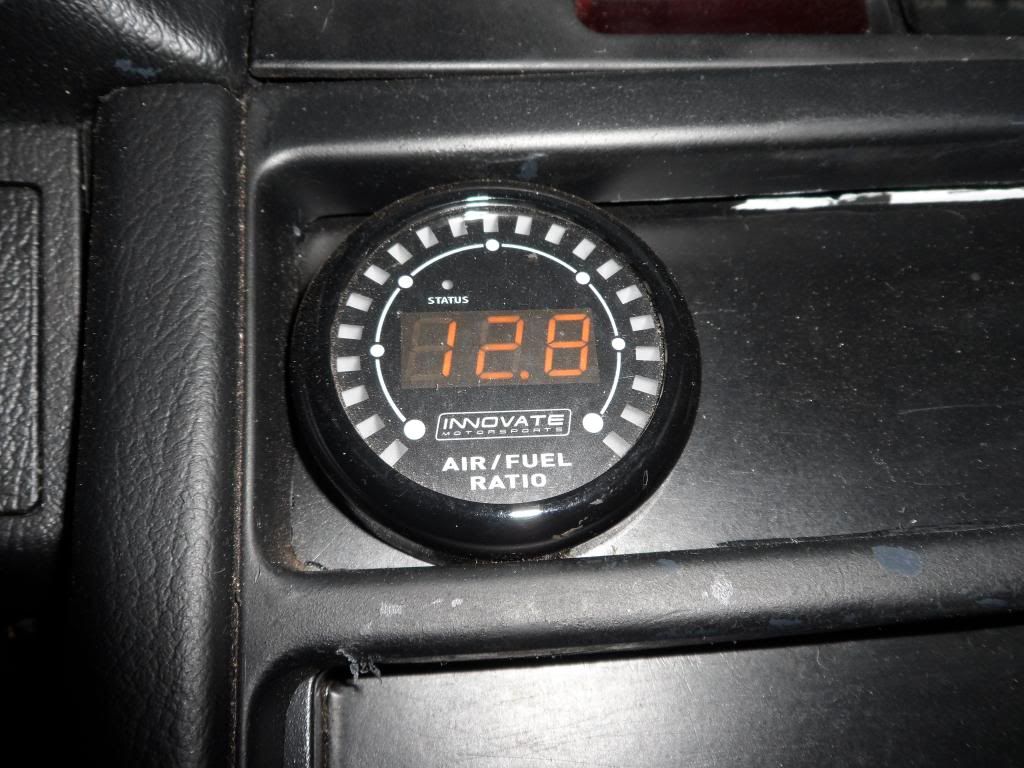
-MTXL wideband o2 w/AFR gauge
-hondata s300
-walbro 255lph
-custom harness
-EDM 150mph cluster/cover
I am probably forgetting quite a few things. I have taken every single component of this apart atleast once. If you want to read about how the car sits now, go read my build threads. This is phase 3 of the project - and will be about supercharging.
Here's the car
and here's the motor
Currently the car sits with the following as a daily driver.
Engine
-b20z2 block oem-spec
-b16a3 pr-3 head oem-spec
-blackworks racing b20v conversion kit
-b16 p30 intake manifold/tb
-PLM 4-2-1 header w/2.5" collector
-custom 2.5>3" test pipe
-3" thermal r&d b137-c134 exhaust
-4" whale ***** intake
-avid EF b-series hydro mounts
Drivetrain
-y21 hydro trans
-sonem hydraulic pedal conversion
-ACT 7.5lb flywheel
-exedy stage 1 organic clutch
-ac delco axles
-kosei K4r rims 16x7
-205/60/16 tires
Brakes
-93 DA integra knuckles
-DA 10.3" front disc
-DA 4040 prop
-1" master cylinder
-1" brake booster
-EG2 RTA
-EG2 9.5" rear disc
-stainless braided softlines
-custom hardlines (prop under dash)
-powerstop z16 pads (fnt/rr)
-all 4 brand new nissin calipers/rotors
Chassis
-function7 RLCA
-ES master kit poly bushings
-sonem RTA bushing
-megan racing chassis 'braces'
-koni yellow dampers
-ground control springs (500ft/450rr)
-skunk2 front/rear camber kits
Other
-MTXL wideband o2 w/AFR gauge
-hondata s300
-walbro 255lph
-custom harness
-EDM 150mph cluster/cover
I am probably forgetting quite a few things. I have taken every single component of this apart atleast once. If you want to read about how the car sits now, go read my build threads. This is phase 3 of the project - and will be about supercharging.
Here's the car
and here's the motor
01-14-2013, 10:04 PM
#4
Honda-Tech Member
Thread Starter
Another update. This stuff won't be ending for a long time. 400k views on my last build, I hope to hit 1mil on this project. Now if I could only find a way to monetize this. A penny per click... think of the possibilities.
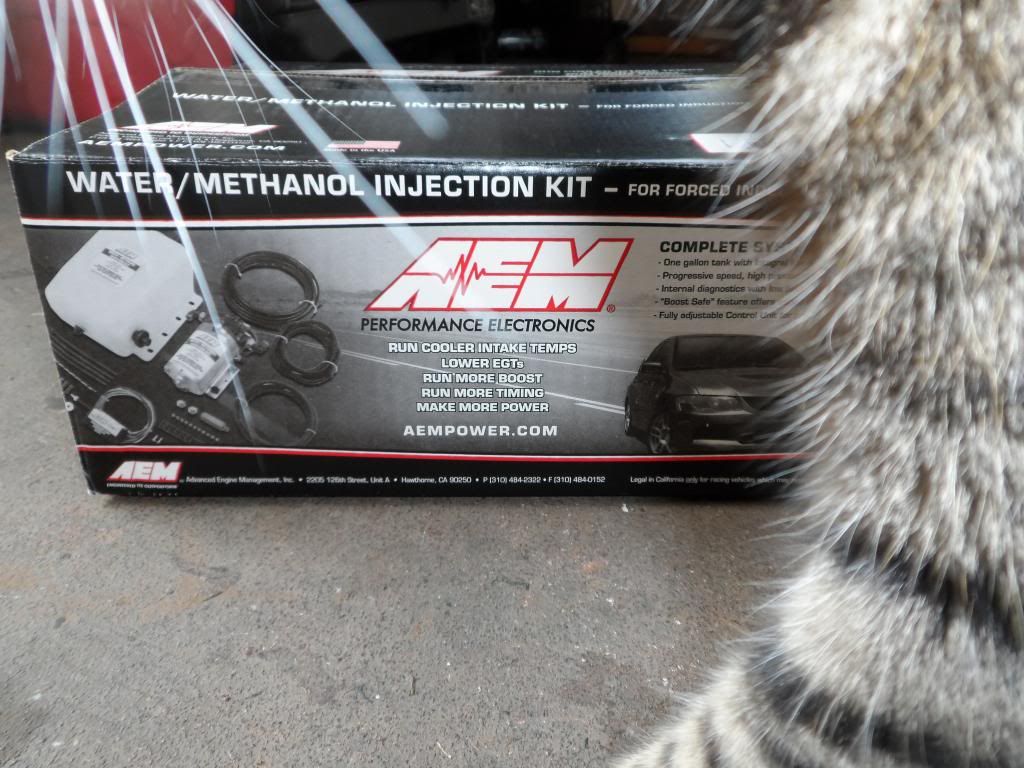
The rumblefish returns! And he is meaner and more foul-tempered than ever. Do not try to mess with my parts because the rumblefish has talons that are sharp and fangs harder than diamonds. His foul demeanor is only exceeded by his evil. Here we see him defending a methanol injection kit.
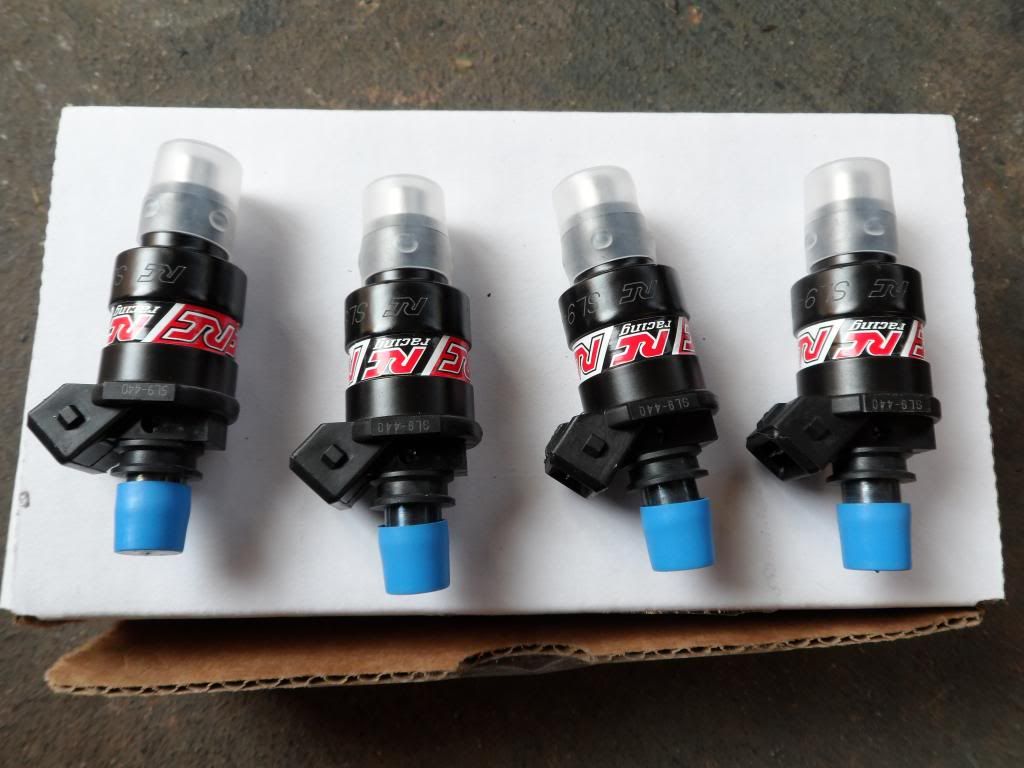
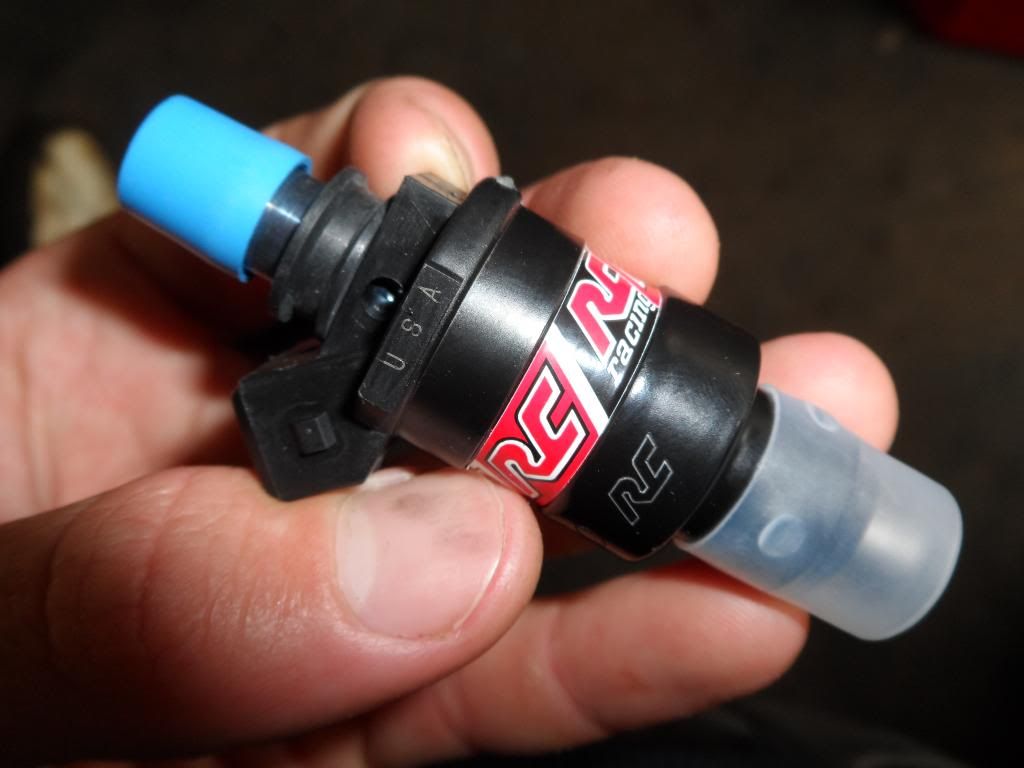
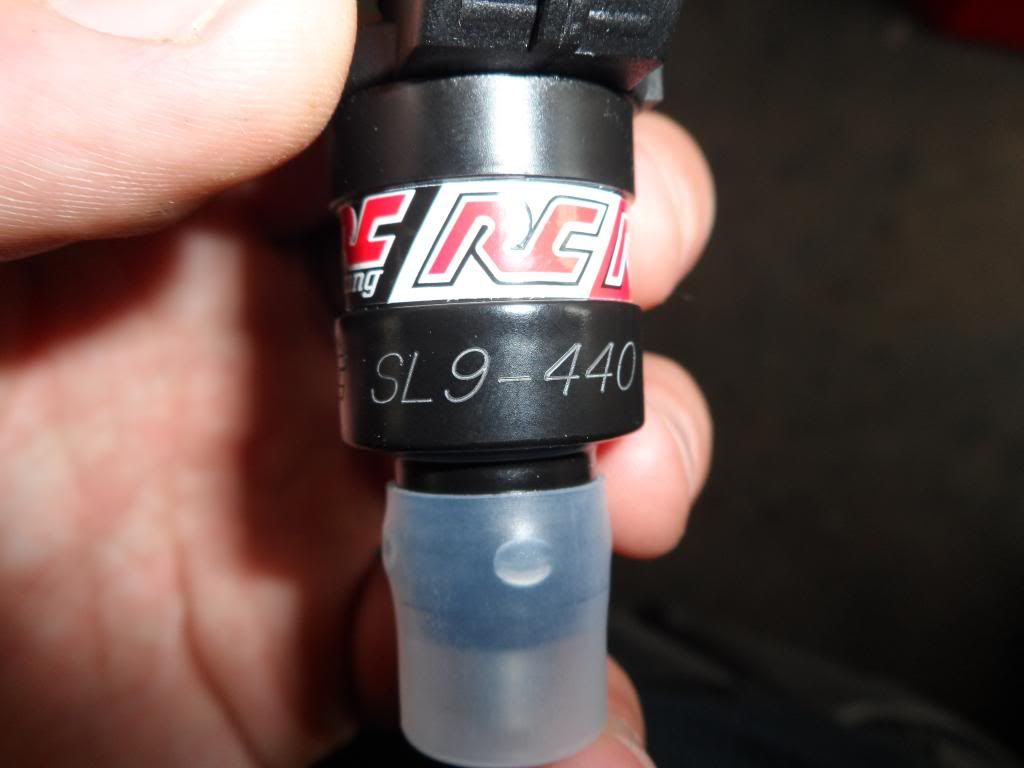
RC-440 injectors, rated for 320whp and that is a modest estimate.
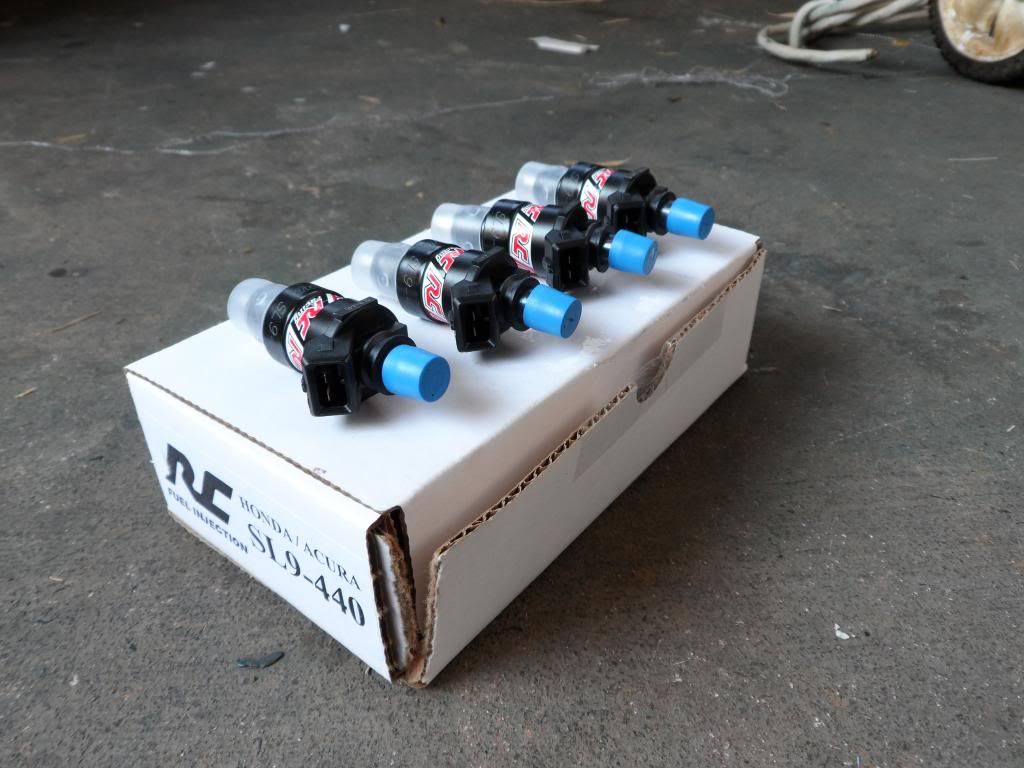
I can't wait to install these babies.
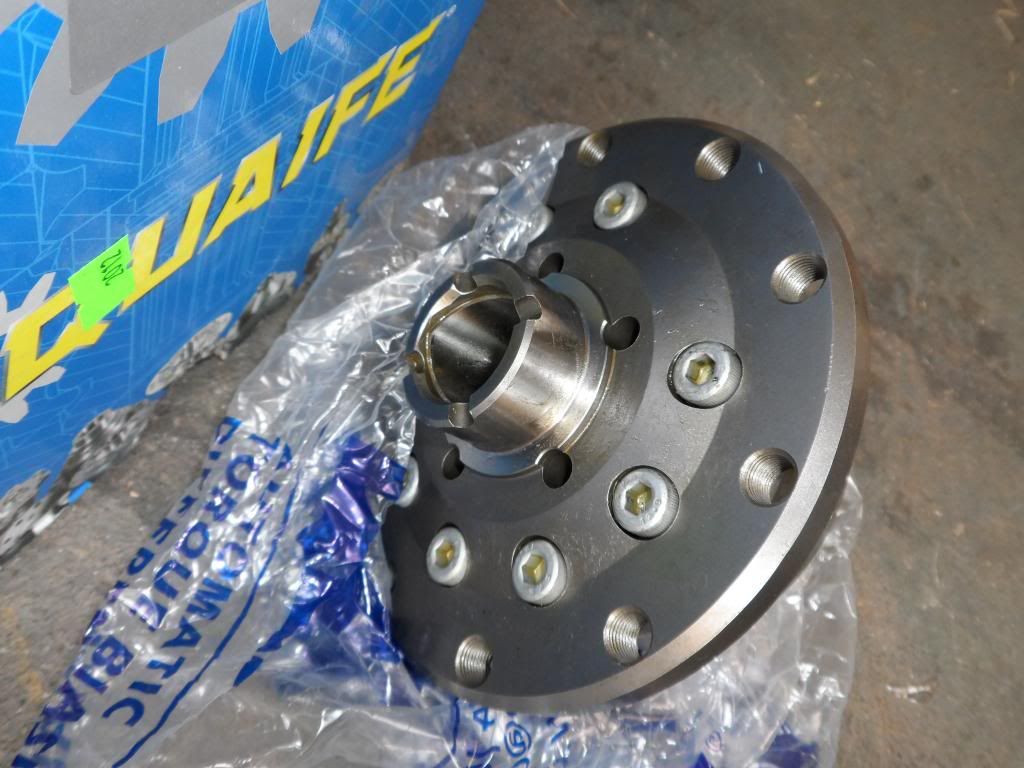
And I'll be needing a queeef to get my power to the wheels without spinning a tire with no traction. QDF1U for the 94 Del sol VTAK y21 hydro transmission.
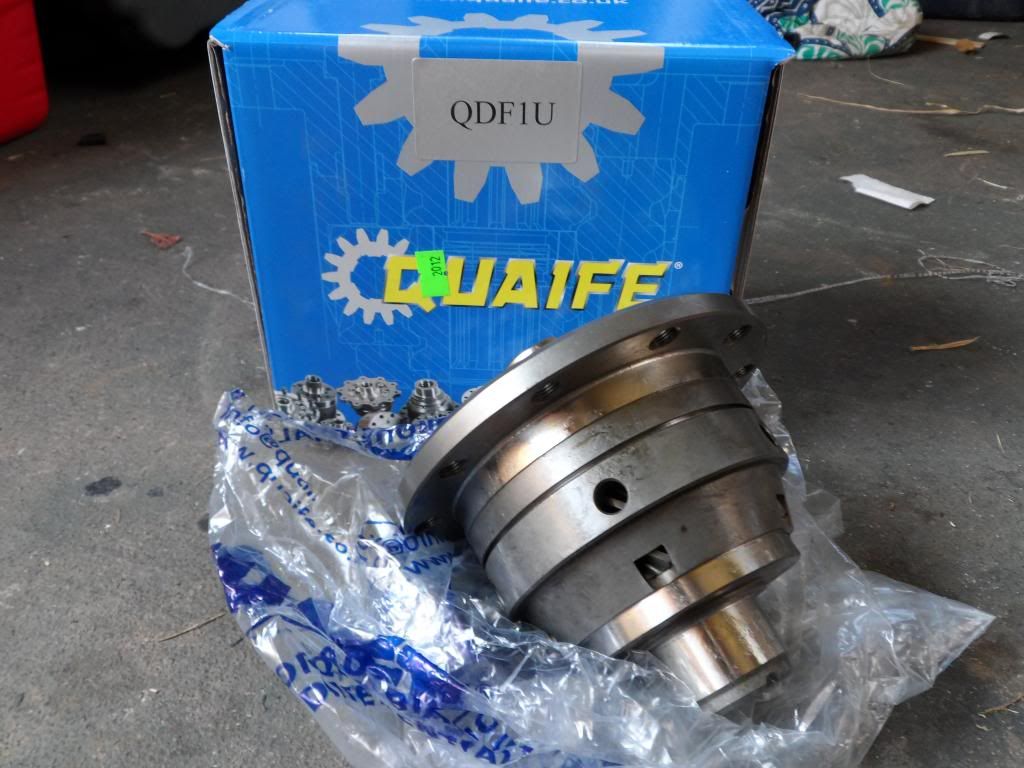
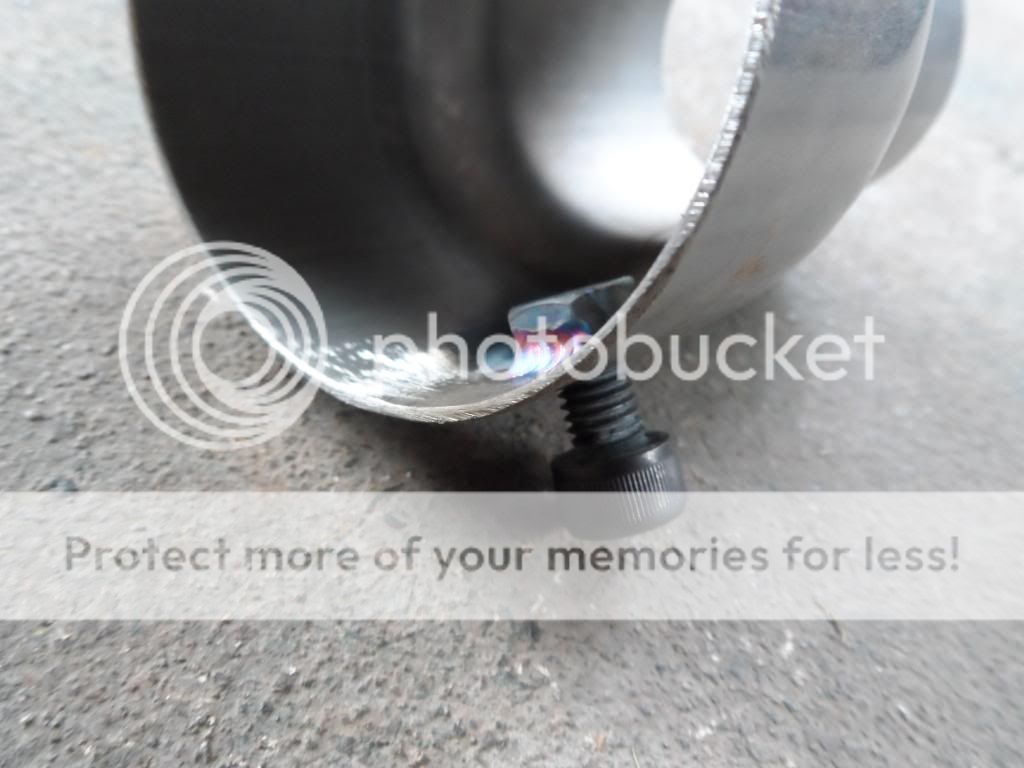
Those allen bolts are grade 12.9 --- this is quality stuff here. Only the best for my baby.
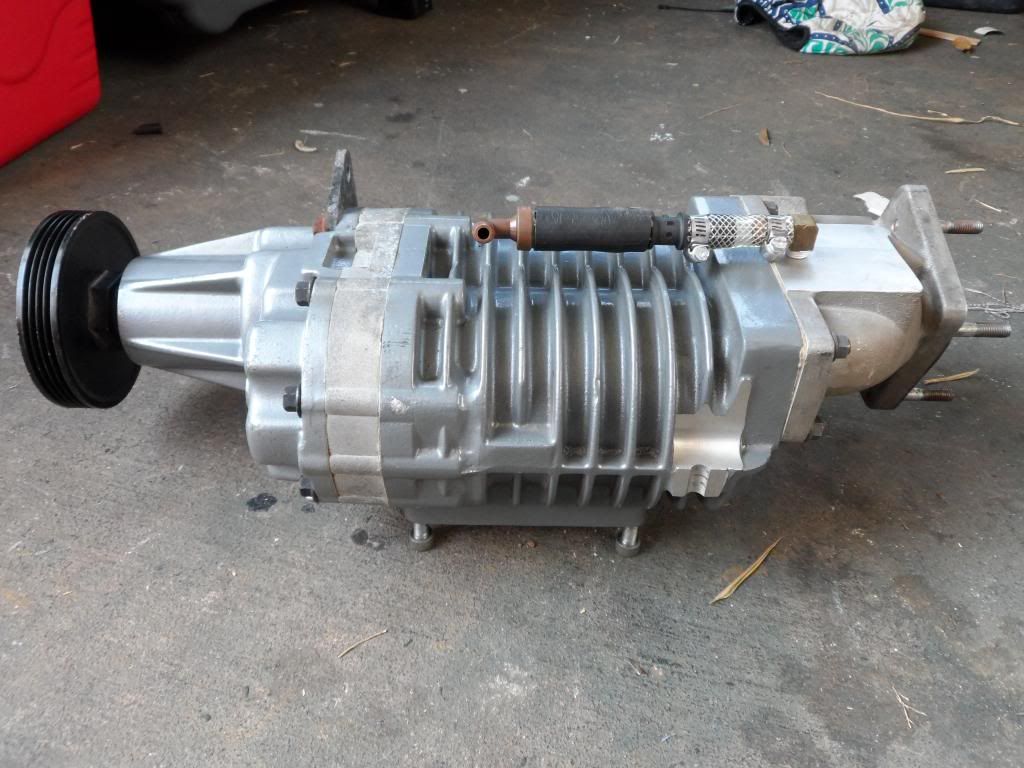
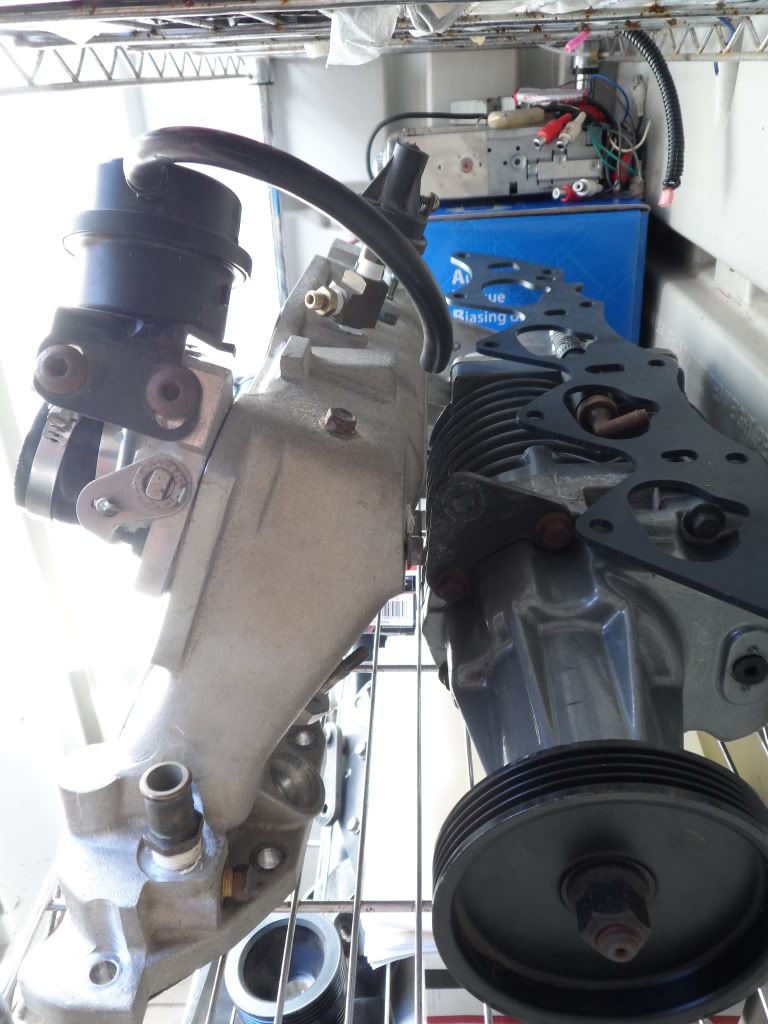
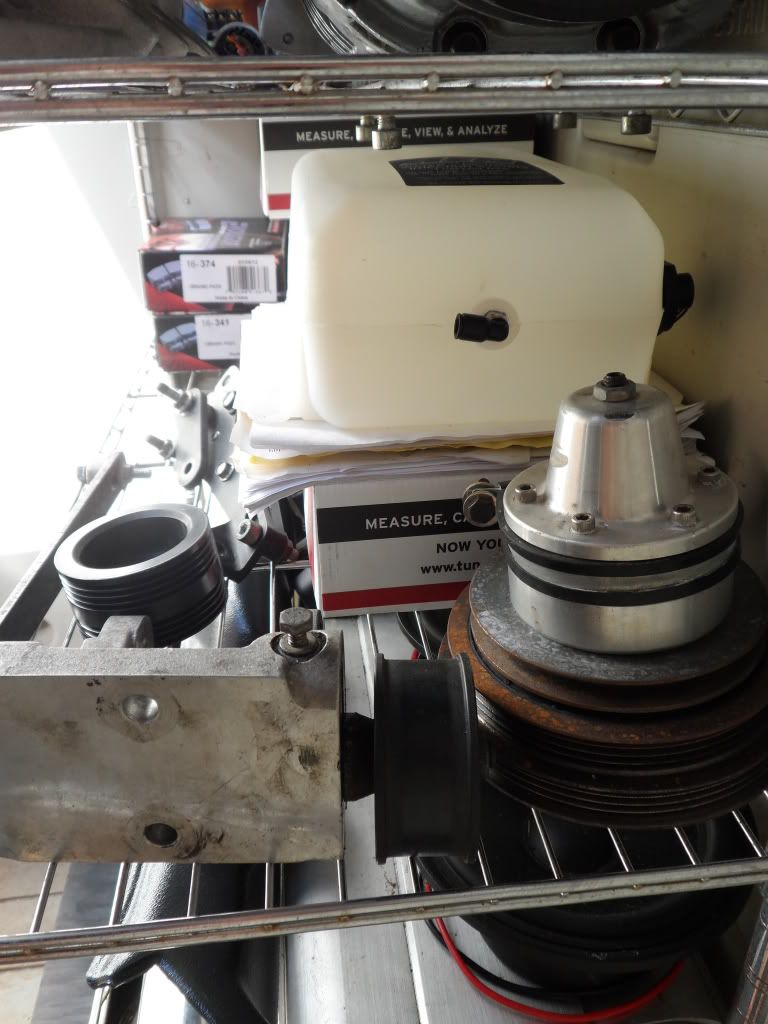
A healthy M62 blower sits ready and waiting. This thing is in mint condition with less than 5k miles on it. {actually I have no proof of mileage, but it's in perfect condition [thanks CL dude] and I'm being optimistic.}
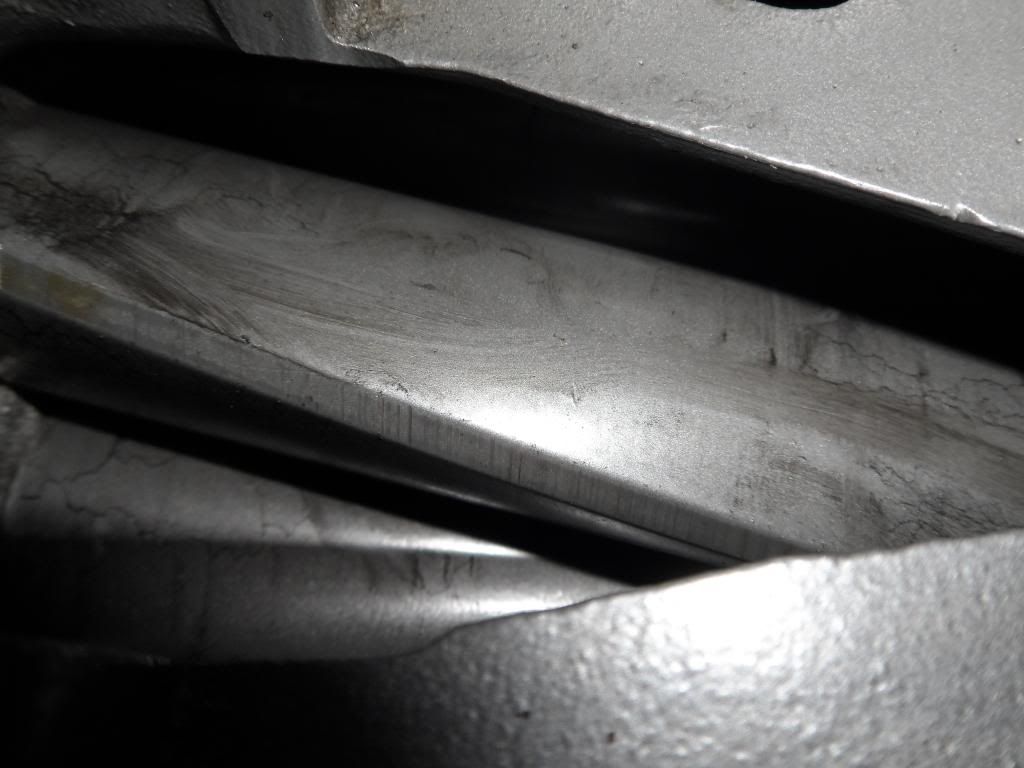
These look to be tiny hairline fractures in the teflon coating on the turbines. Actually they are nice oil-slick sheen of blowby oil vapor that keeps the JRSC blower in perfect condition. I'll be injecting meth AFTER the blower, possibly in the manifold and hopefully directly into the I/M runners right next to the injectors. Still working out the logistics.
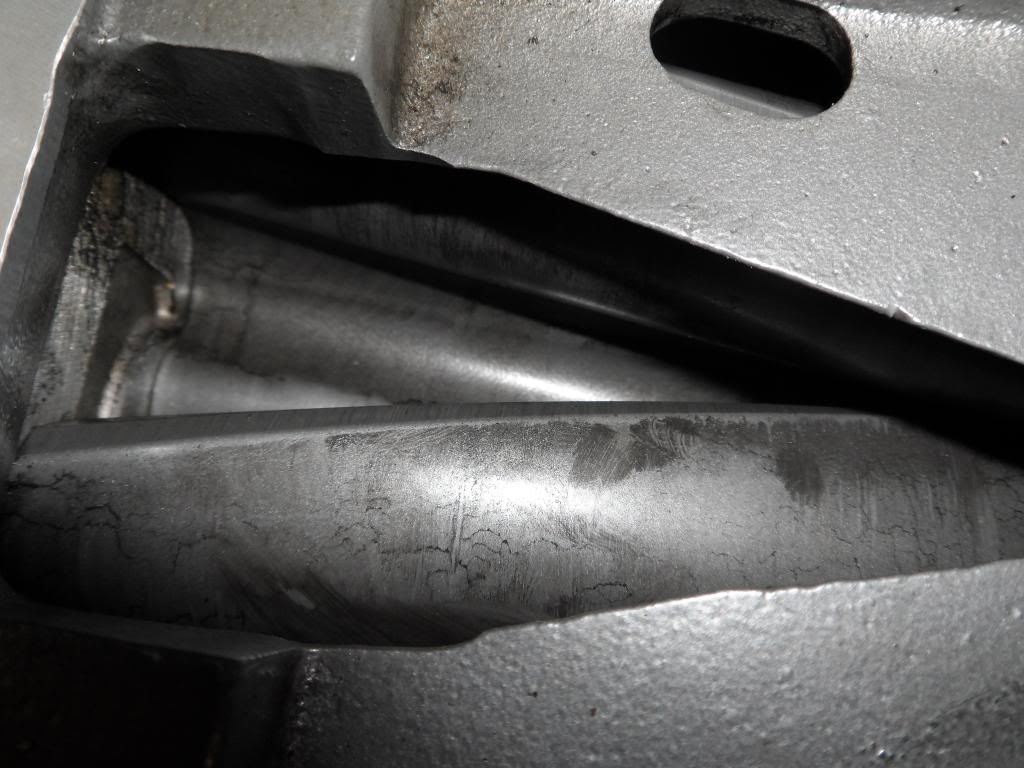
You can see the finger-smear in the oil coating the turbines. Like I said - near mint condition - no hairline fractures in the teflon.
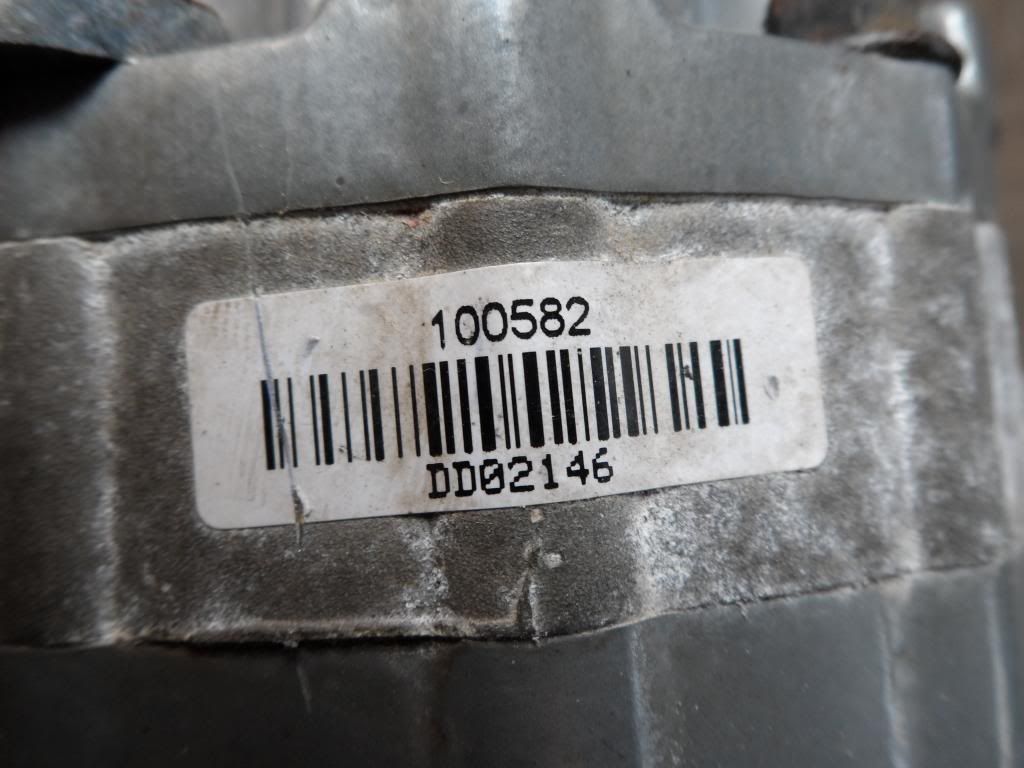
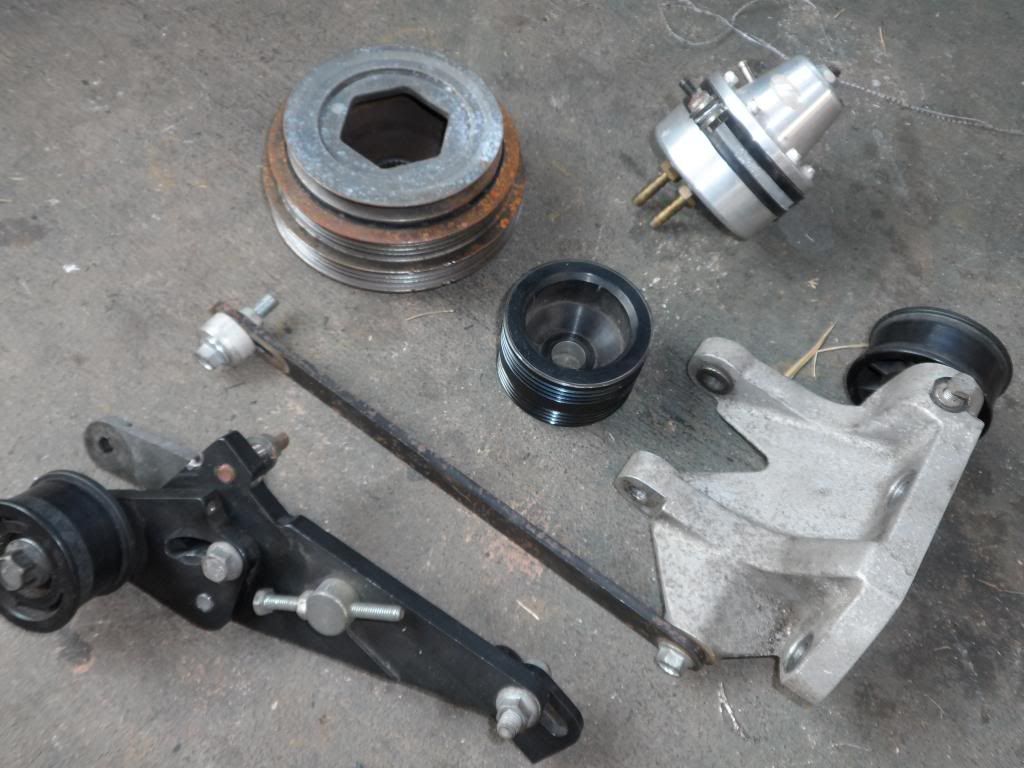
Straight off the production line and into my engine bay. Blower number 100,582 -- if anyone can tell me exactly how many of these blowers have been produced, I'd be curious to know. This isn't the old-style blower without the brace to the alternator, so it's relatively 2002 modern but I can't be too sure when it was made.
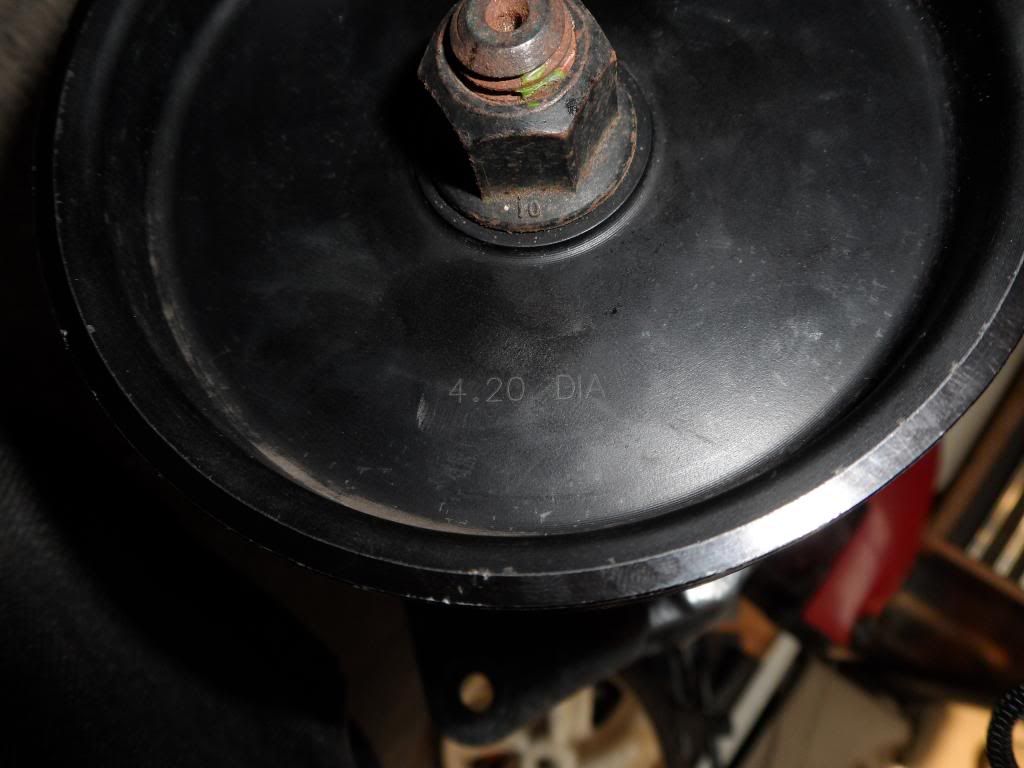
Currently the blower sits with a 4.2" nose pulley. This will be swapped out with a 3.8" nose pulley, coupled with LS crank and MVM stepper pulley {thanks Jim, I paid you for it today and I hope to see it within a week.}
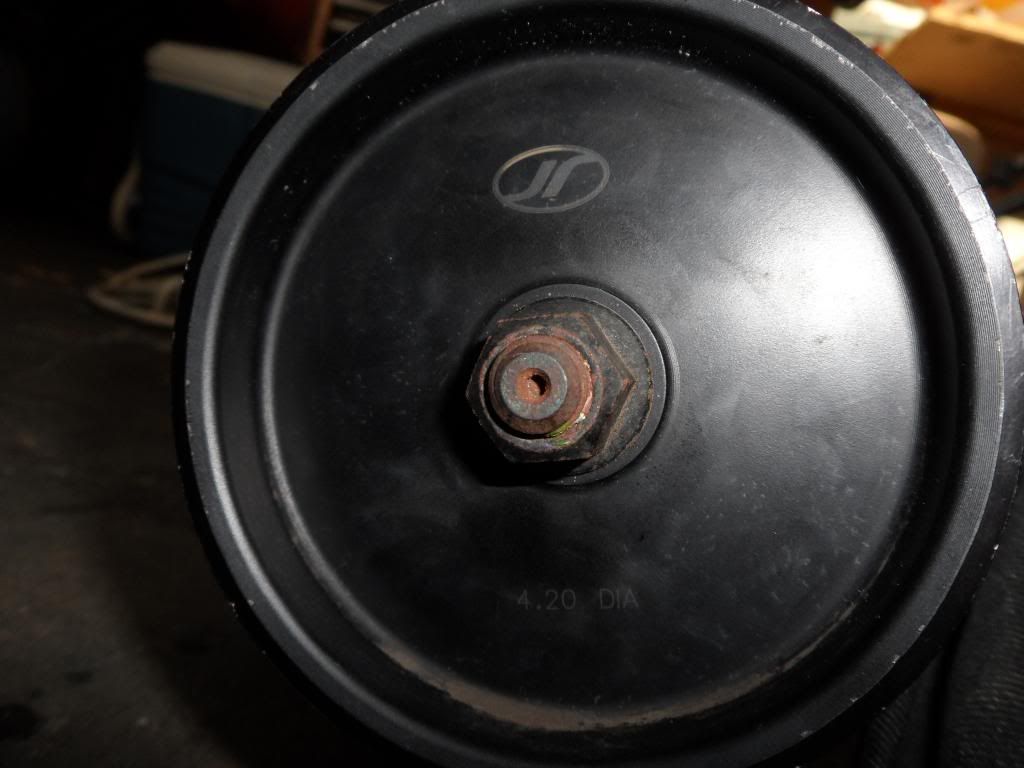
As you can see, 4.2" -- the 4.2 and 4.0 will both hit the oversized 1" MC/booster which I will be changing out for a different integra model and shimming to clear the 3.8" nose pulley I am currently attempting to buy on ebay. IF THIS A$$HOLE WILL STOP TRYING TO OUTBID ME I WILL WIN THE AUCTION. AND THIS IS FOR YOU, YOU UFCKIN ***** STOP MAKING THIS HARD ON YOURSELF MY BUDGET FOR THAT PULLEY IS OVER 9000 AND I HAVE MORTGAGED MY HOUSE AND SOLD MY LEFT ******** ON THE BLACK MARKET SO I CAN AFFORD TO OUTBID YOU. STOP BIDDING BECAUSE THAT PULLEY IS MINE. DO YOU HEAR ME?!
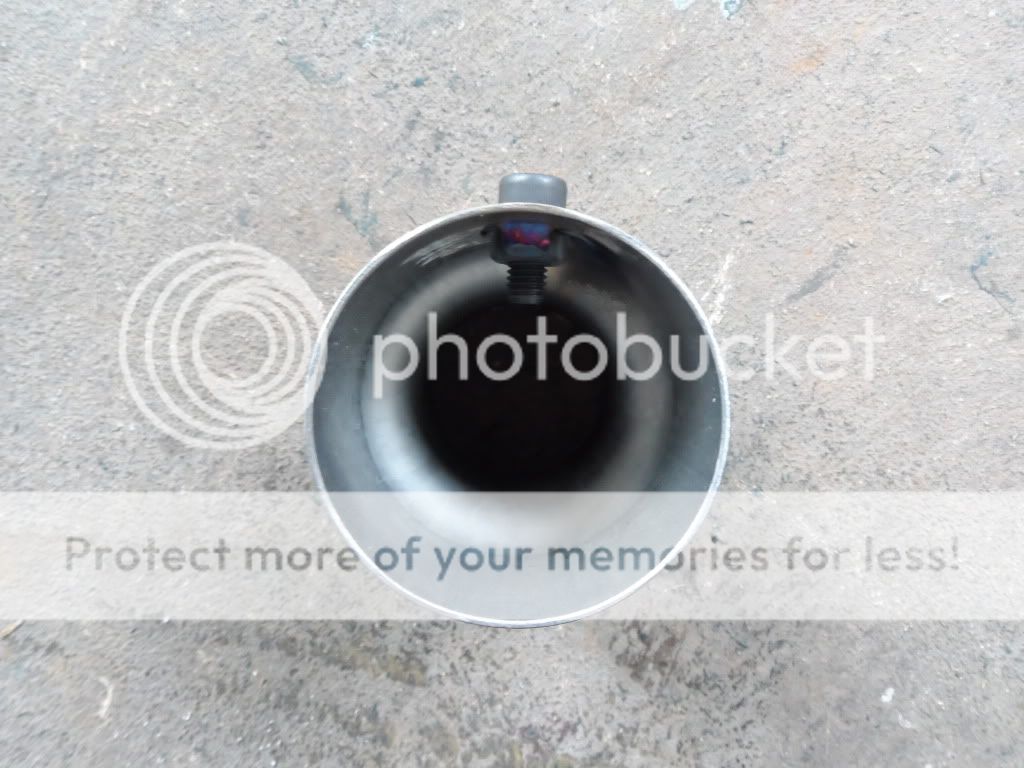
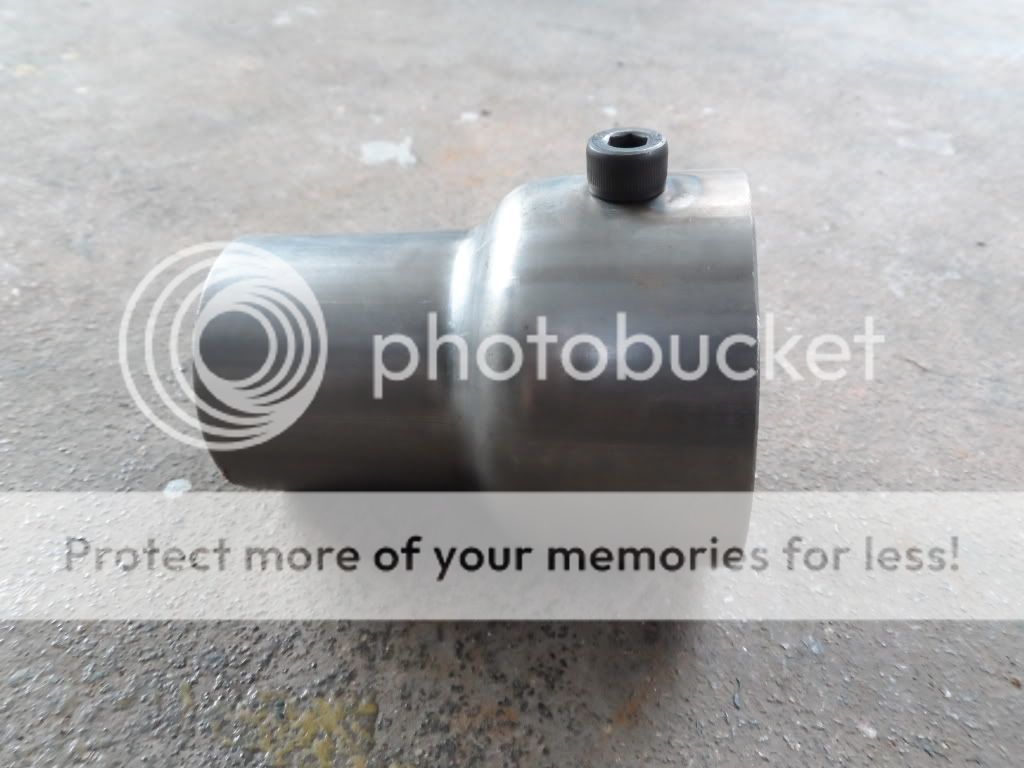
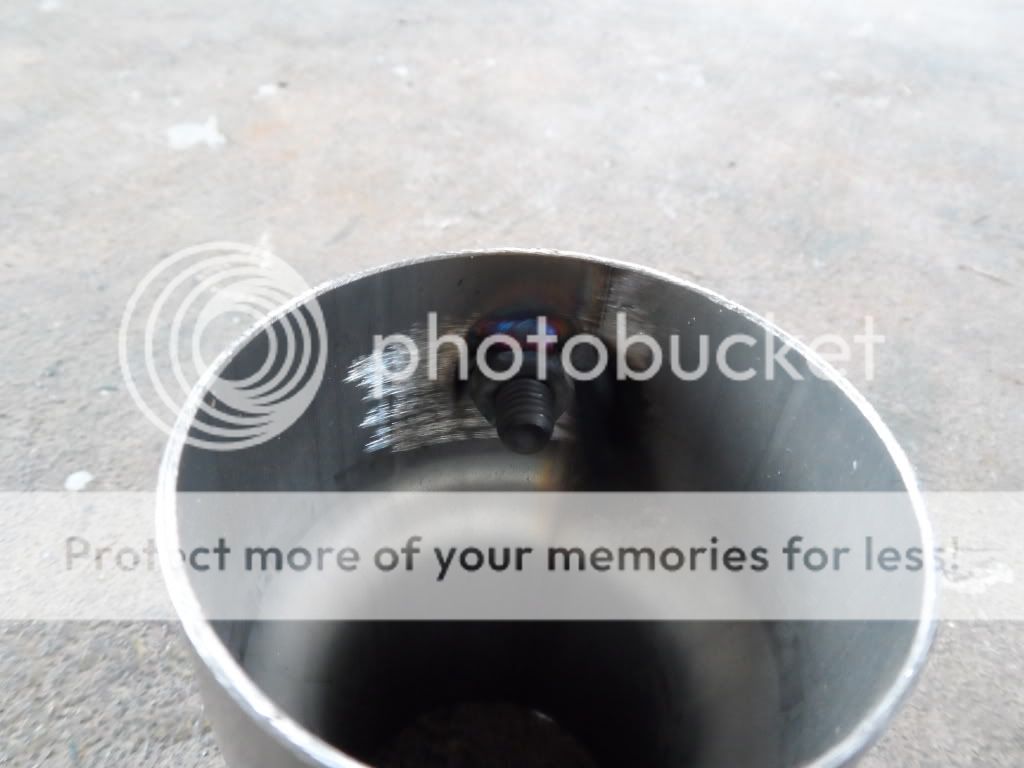
I'm considering having my s-tube ported along with my manifold and having the LHT intercooling mods done, but I cannot live on ramen for more than 3 months because malnutrition causes gangrene and money is always tight.
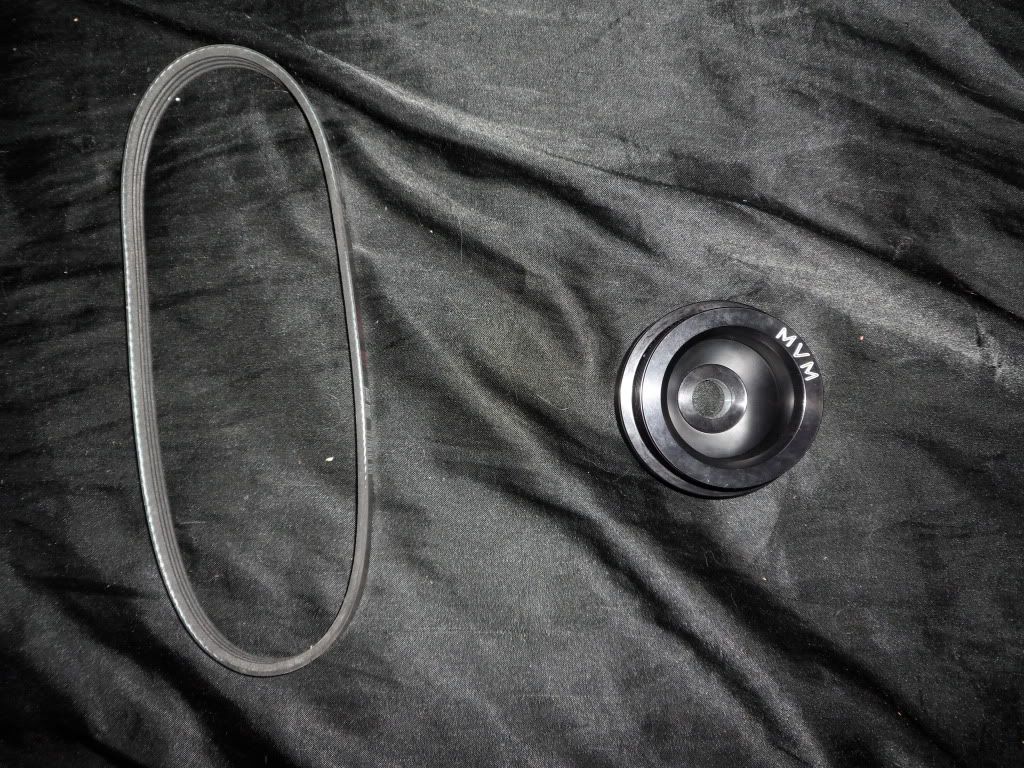
B16 crank pulley, standard alternator pulley will be replaced with the 15.5% stepper MVM pulley, FMU will be sold off/thrown away because I am running s300 and a walbro 255lph w/supporting mods - alternator bracket and blower brace, JR belt adjuster.. More parts.
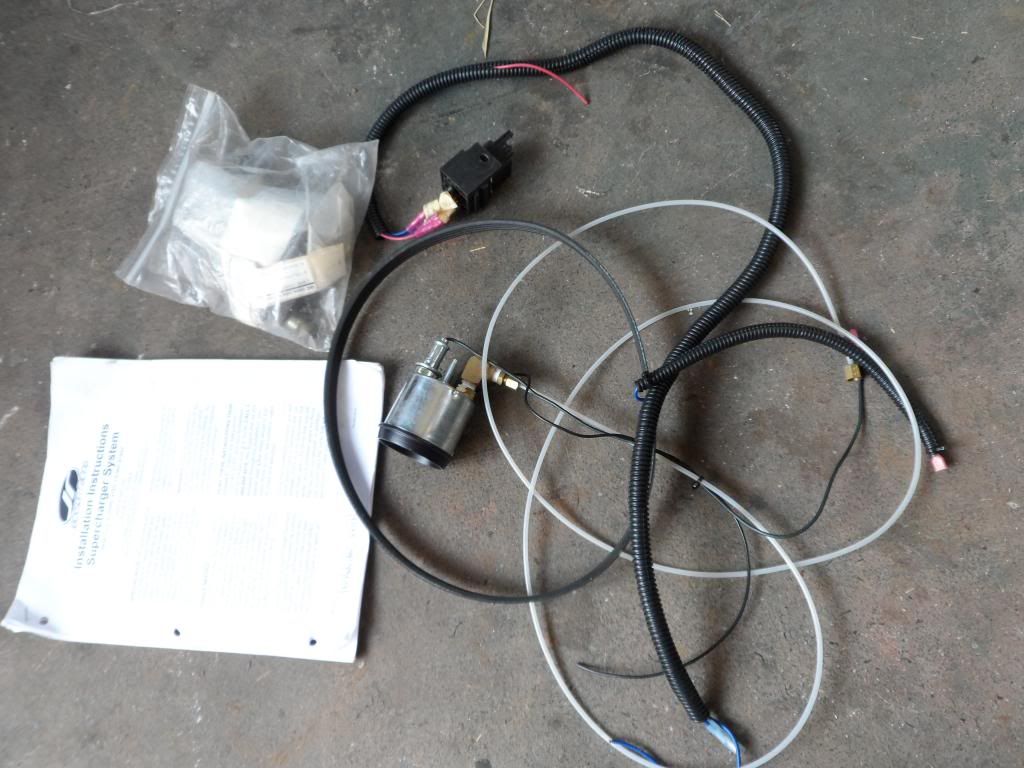
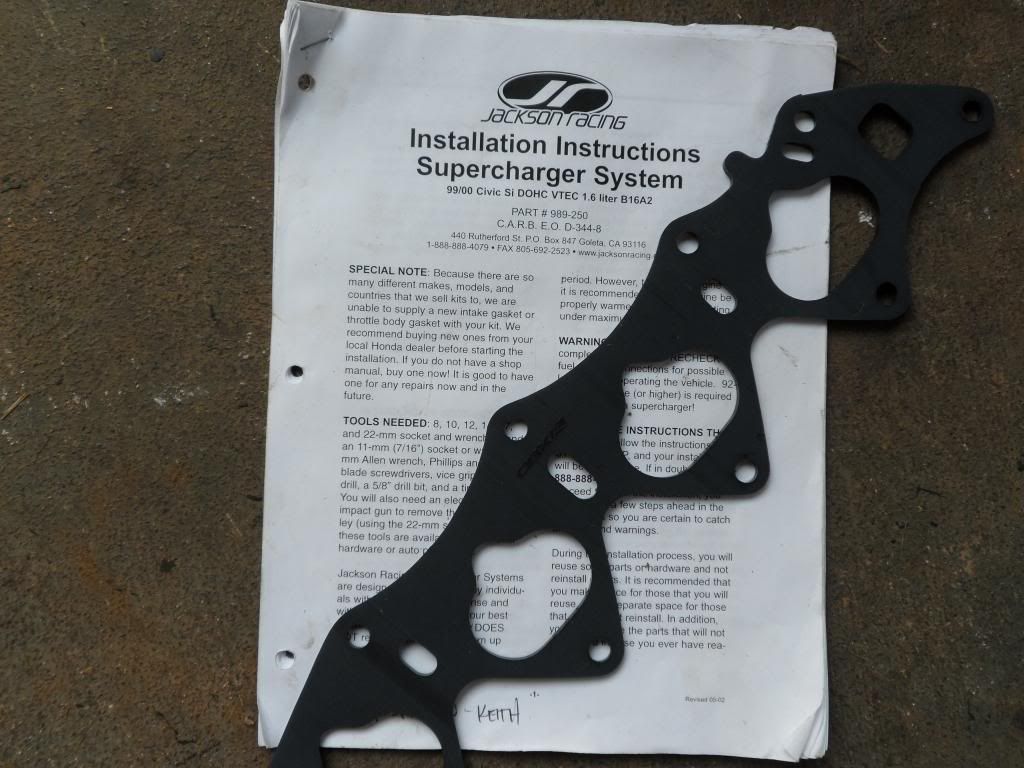
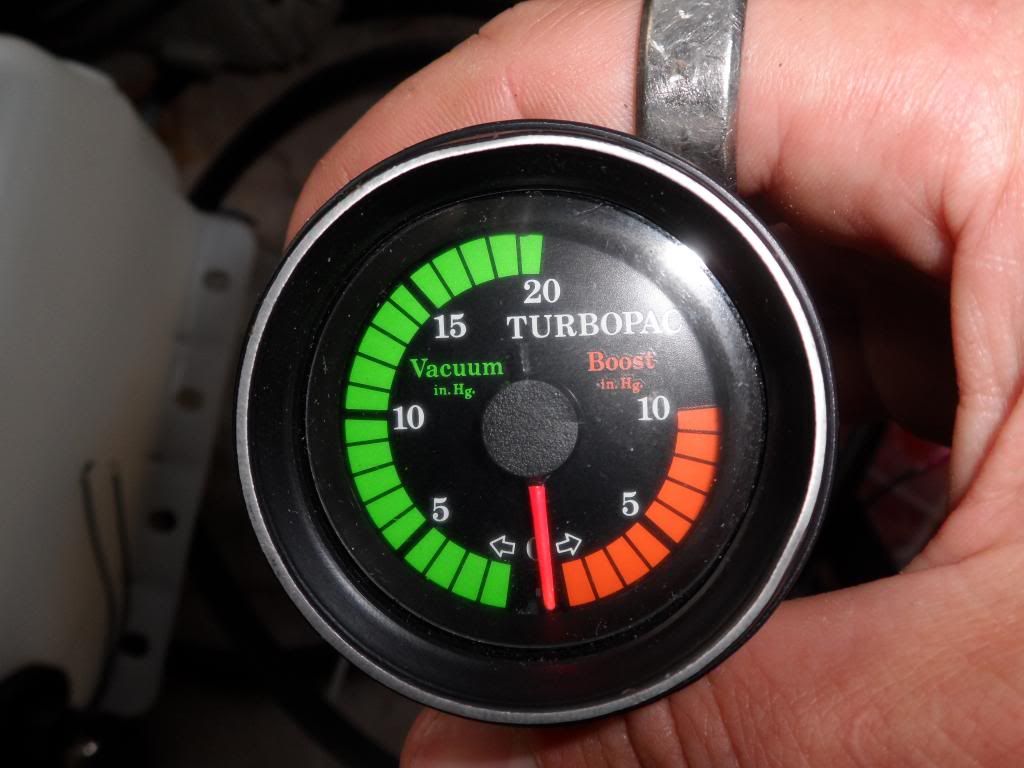
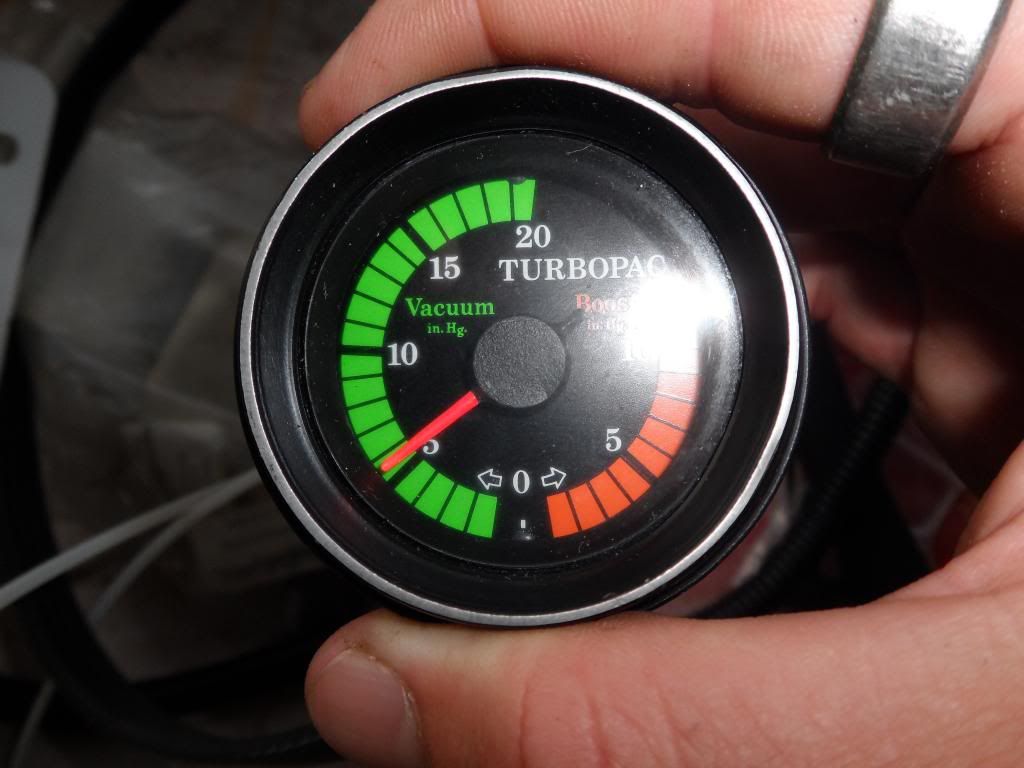
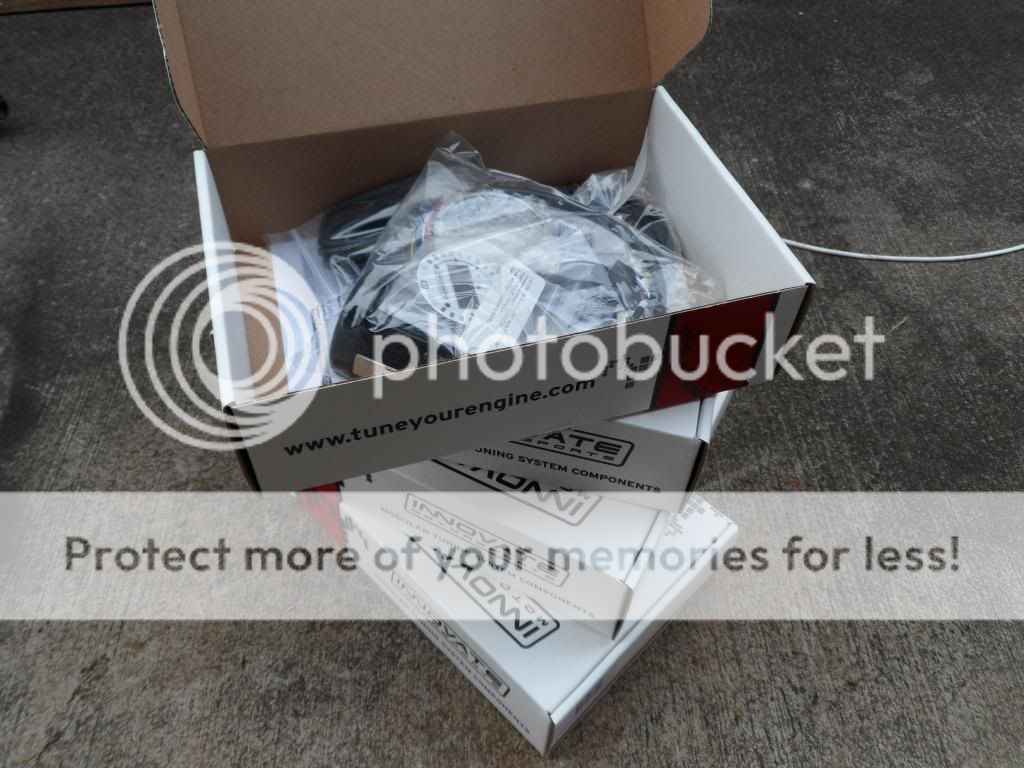
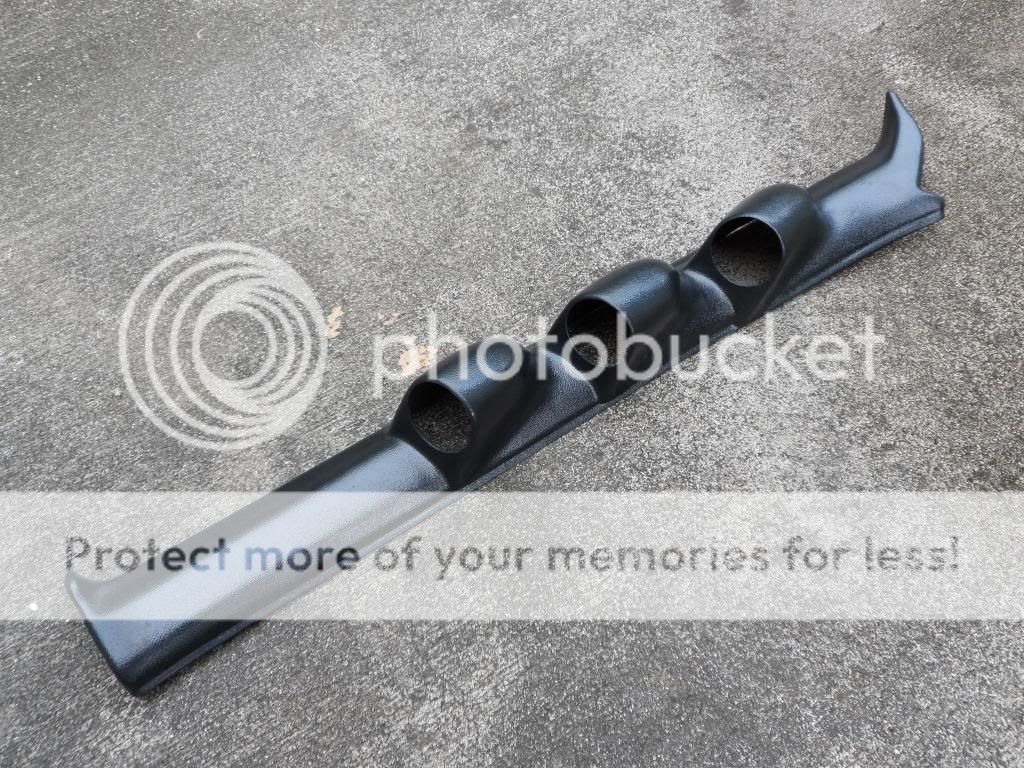
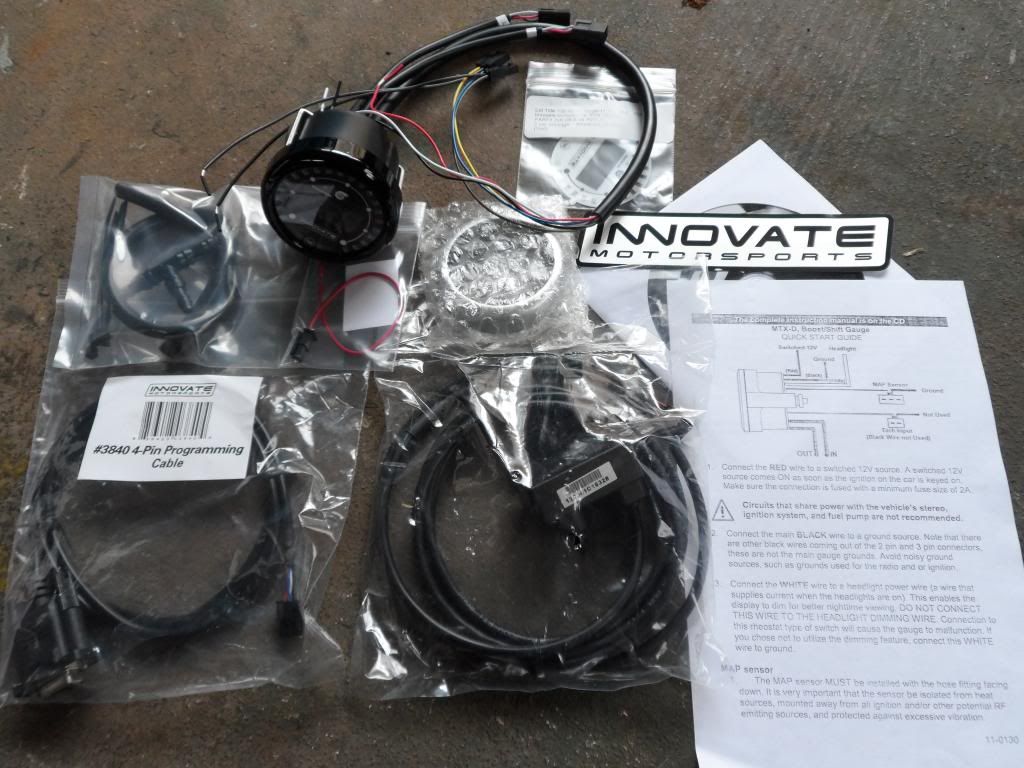
I scored a very complete JRSC kit that included 20 pages of instructions for an EK that don't really help, a bag of bolts, boost gauge and relay, and even enough vacuum line to run the gauge in the dashboard. Innovate motorsports gauges purchased today... EGT, boost, water temp, oil temp, oil pressure, shift light, coolant temp, battery voltage, wideband AFR... I'm forgetting a few. They were the MTX-D series of gauges hooked up by John @ phearable.net [that guy is so on point it's not even funny, I wouldn't be here today if it weren't for him. Also picked up an A-pillar 52mm three-gauge pod on ebay yesterday - pics incoming once it arrives at my shop.
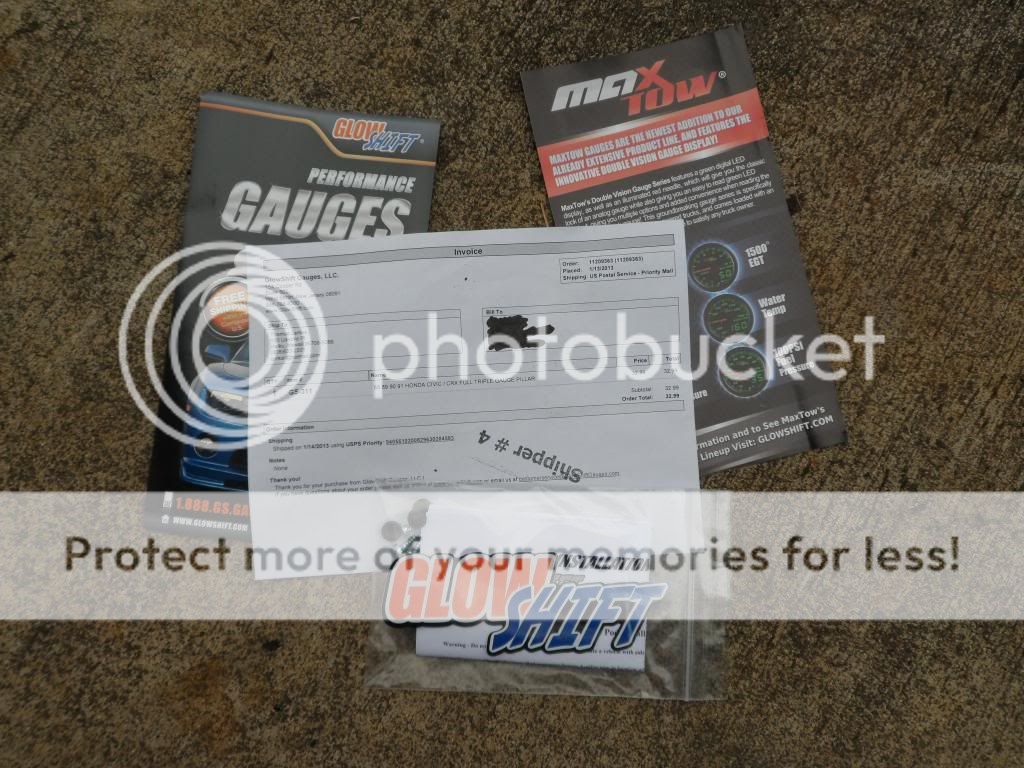
This gauge won't be used - lol PM me if you want it - I'll be replacing it with the MTX-D gauge.

20 pages of toilet reading and OBX thermal intake manifold gasket to prevent heatsoak from the head/manifold. The head gets hot and bothered, and so does the blower - last thing I need is them conspiring to raise my IAT temps above 200*F. Heat is already a problem @ 9.8psi of boost - invest in one of these thermal gaskets if you are building something similar. Detonation and pre-ignition are no fun, especially with forced-induction. You won't hear a 'ping' --- your piston will turn into a molten metal slug rocketing through your valvetrain and destroying everything in it's path before it blows a hole in the hood/block/firewall and sends searing molten metal shrapnel into your body. SIDE NOTE - to properly run a thick thermal I/M gasket you will need to upgrade your OEM manifold studs. A thicker thermal gasket won't give you enough thread to catch and properly torque the manifold to the head. I'll post a link to my longer studs when I figure out which ones and have them shipped out.
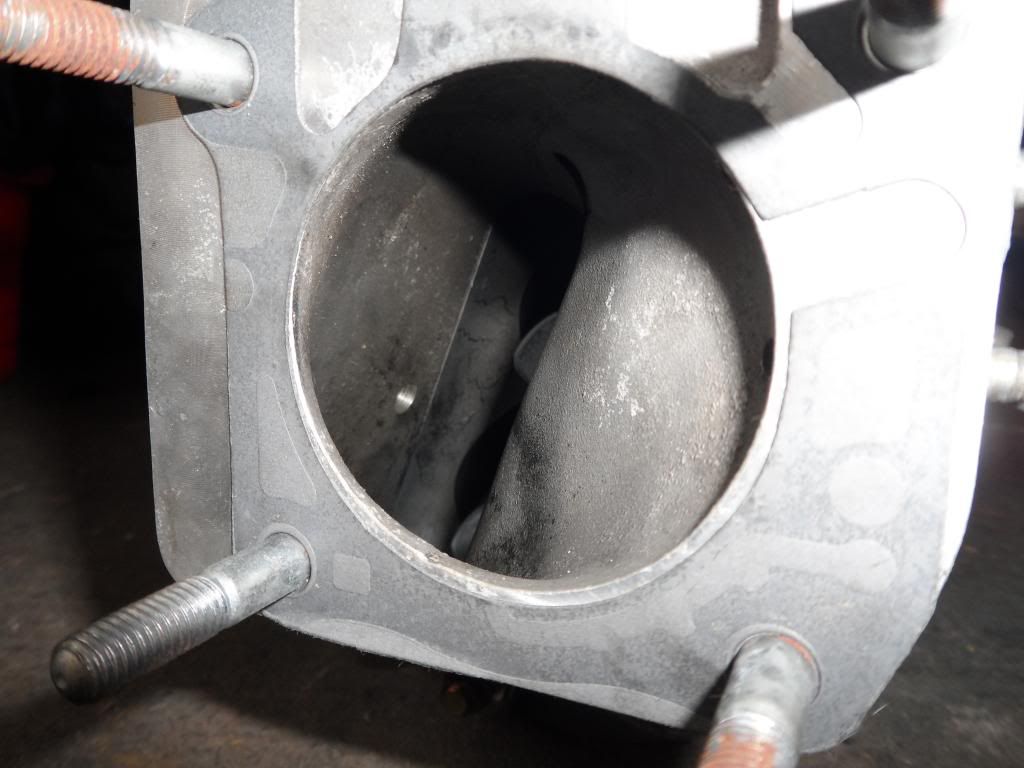
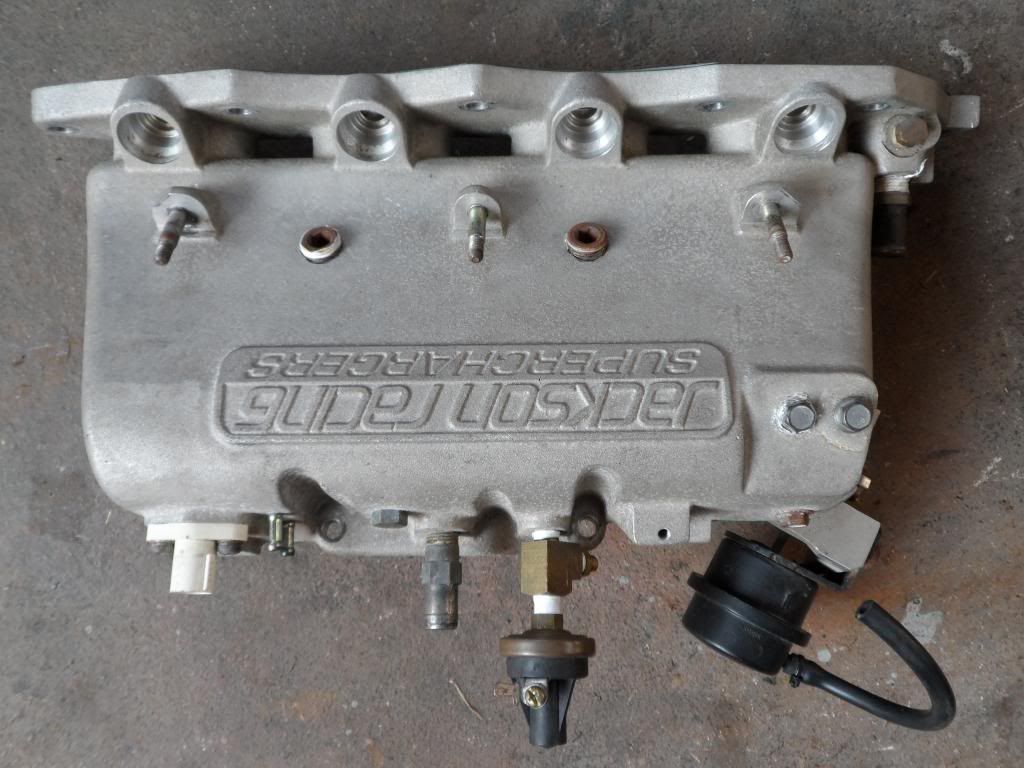
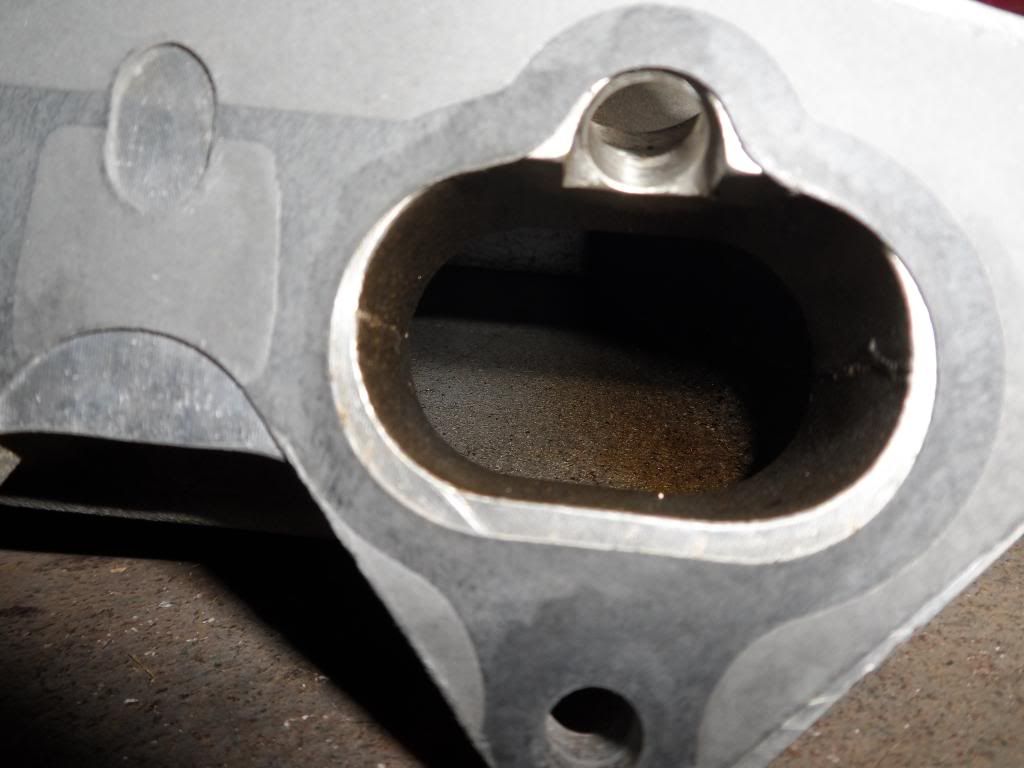
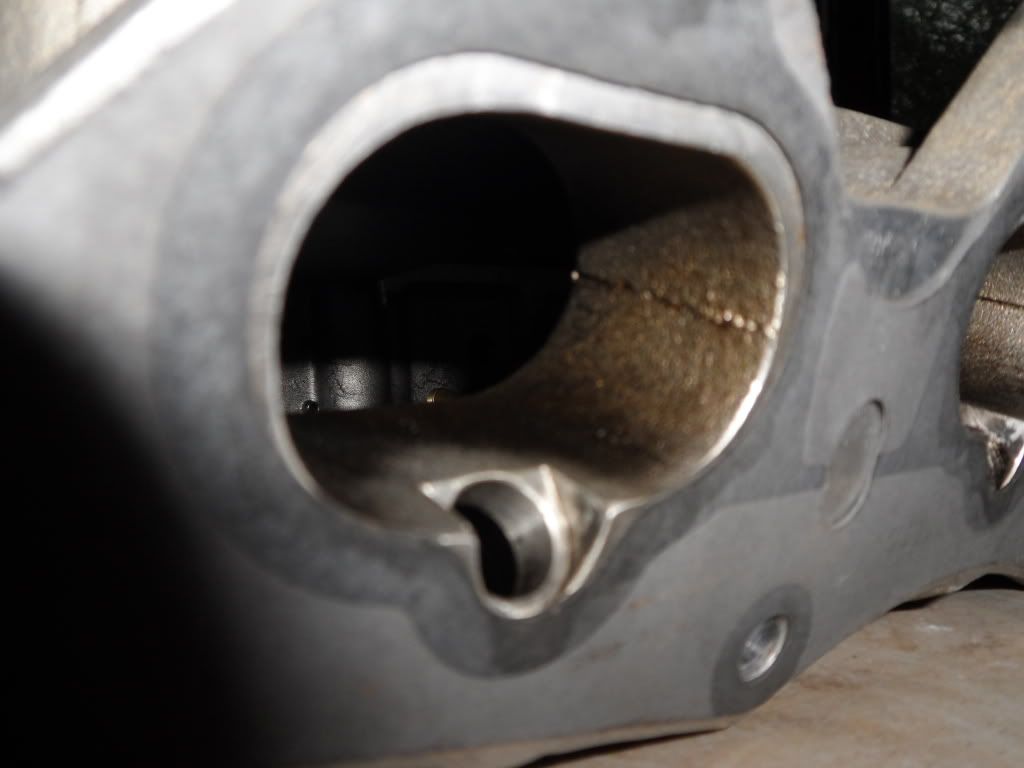
And with no futher ado.. The manifold.

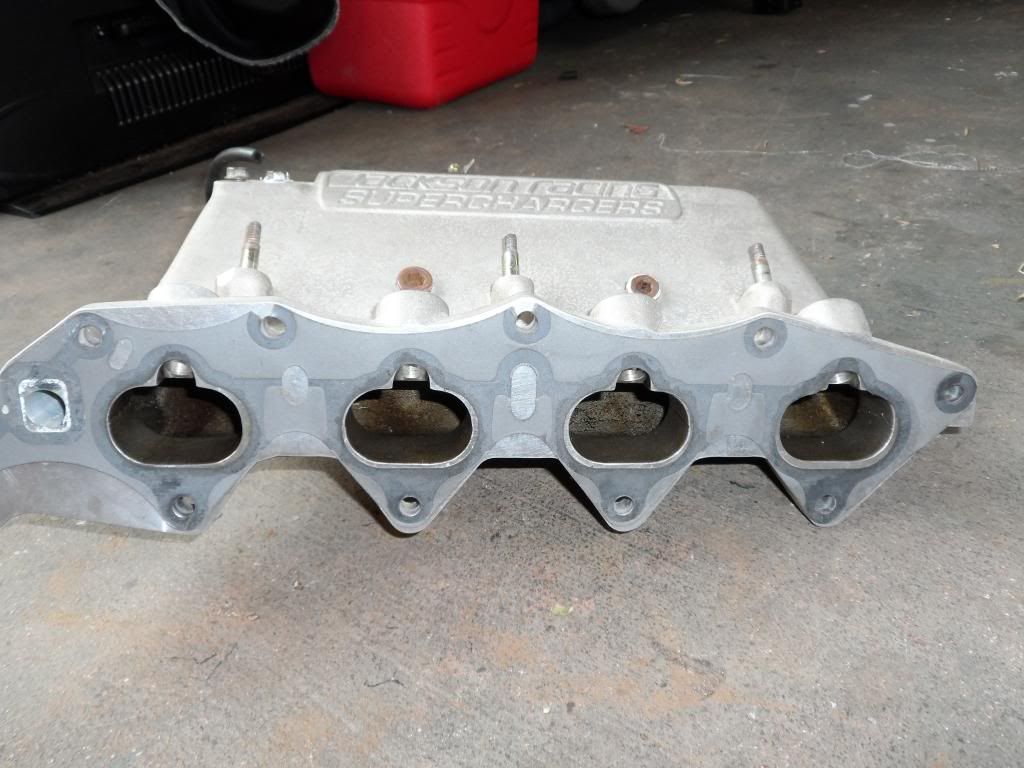
Note the bypass valve pictured on the right.
Manifold internals look to be in near-perfect condition minus the blow-by crankcase vapor.
I'm considering having this manifold/blower ported by LHT along with their intercooling mods but price is no option and the cost is through the roof. BRB making ramen for dinner.

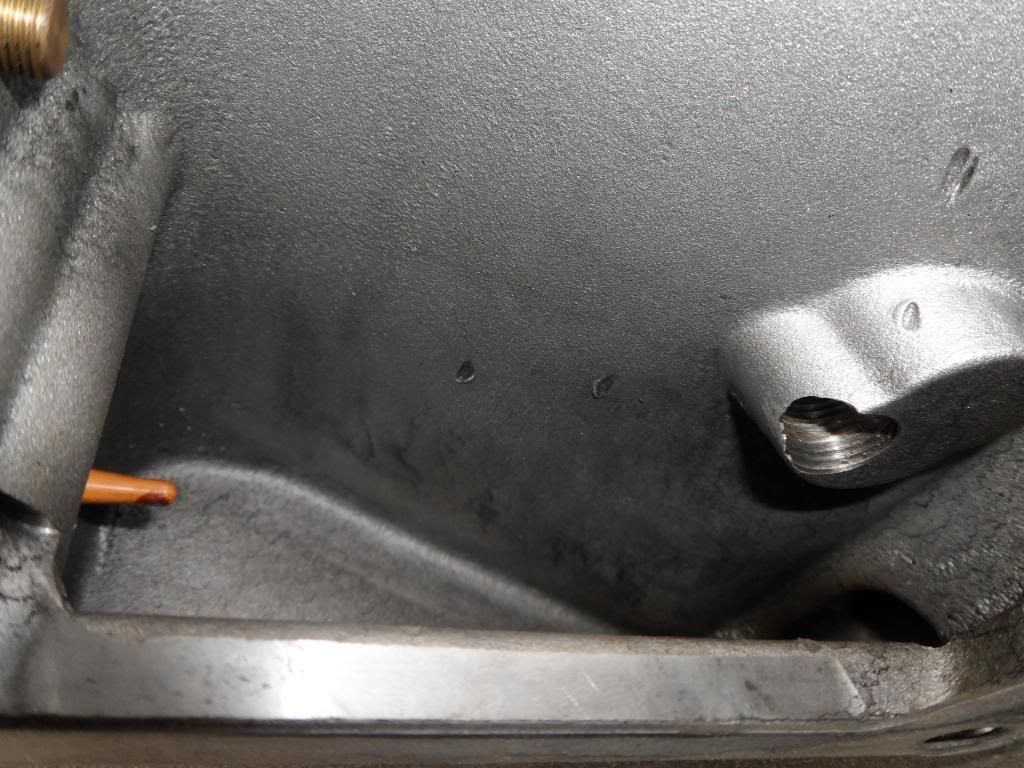
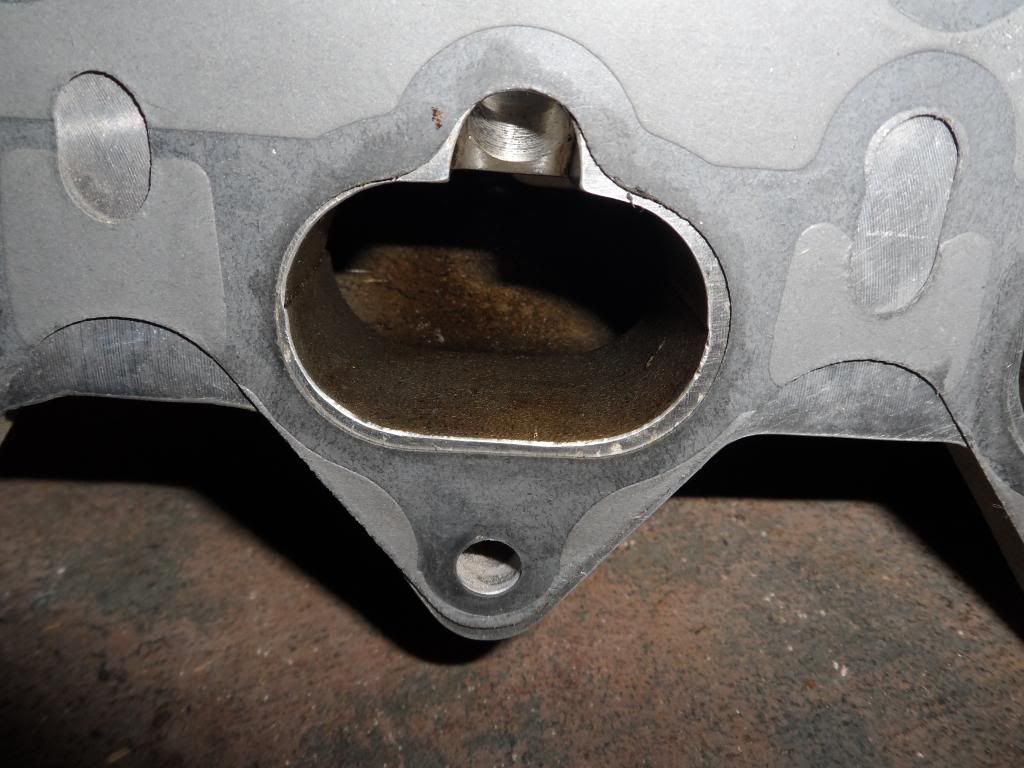
IAT pictured left, weird bolt [not pictured] poking through on the right causing manifold turbulence on the right. Remind me to trim that bolt or find a better one before I put this all together. Fast Fact - If you mix up the plugs on your IACV and IAT {both are two-pin and interchangeable plug} you will burn out your IAT sensor by applying +12v to it. I burned through 3 IAT sensors before I learned that one.
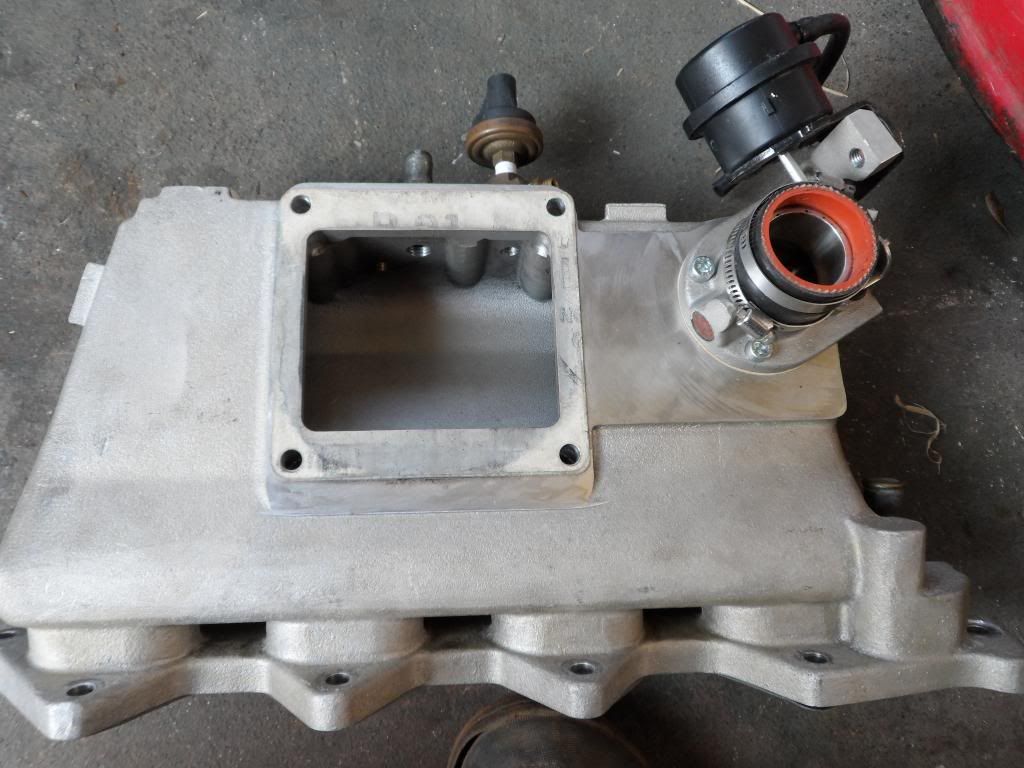
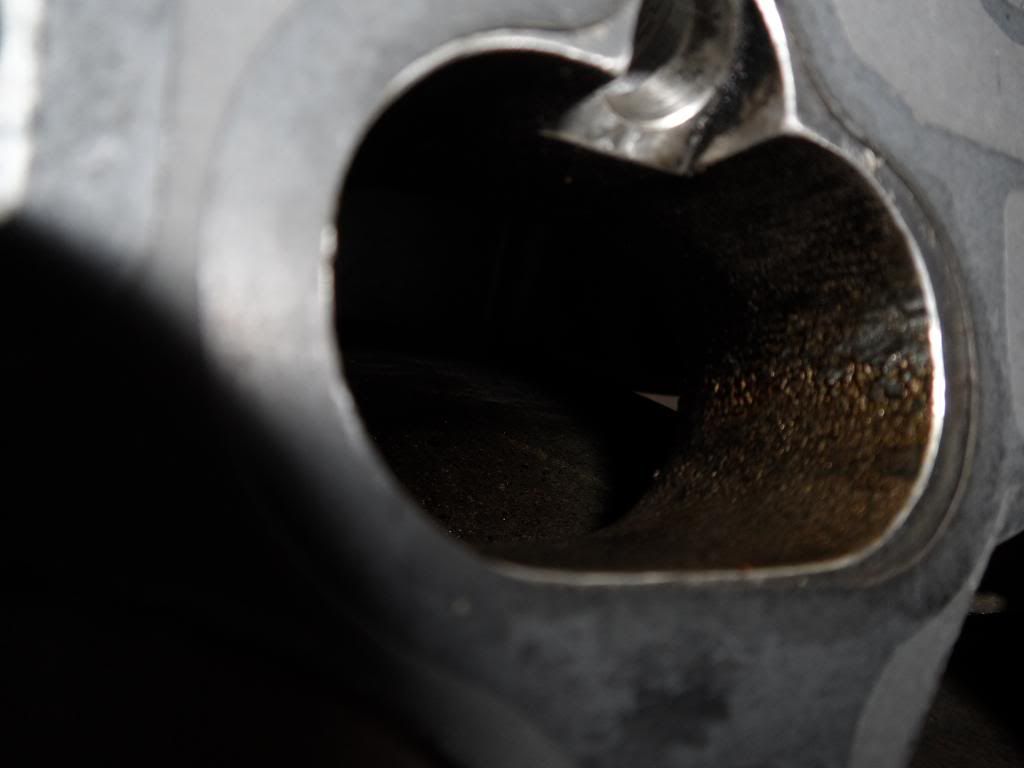
Rear view of manifold.

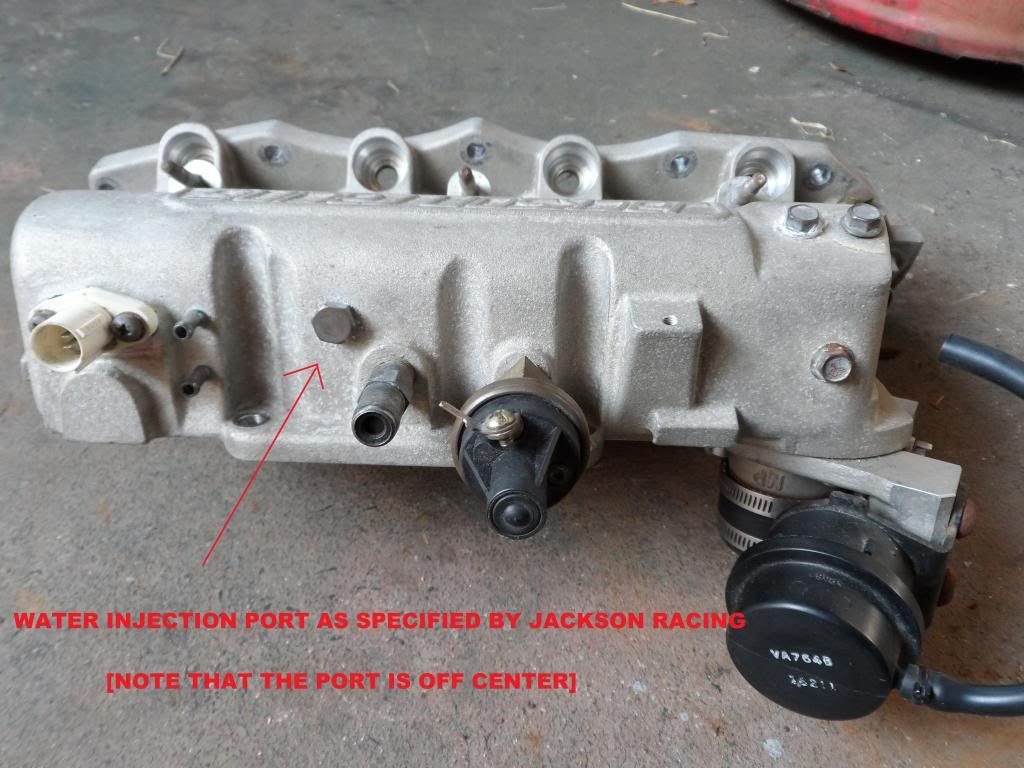
Another view. Notice the 'water injection port' is off center and will NOT guarantee equal water/meth concentrations make it into each cylinder. Currently planning a direct-port meth injection system that will spray in the individual runners of the manifold ensuring equal water/meth injection for each cylinder. Stay tuned for updates.
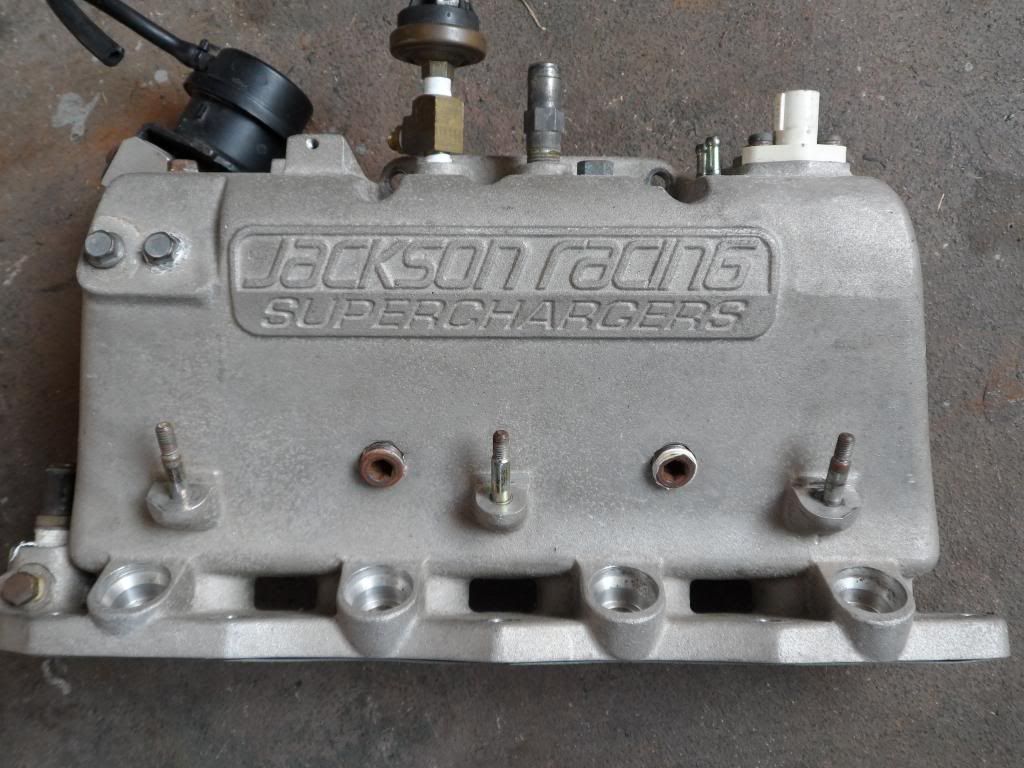
Top view
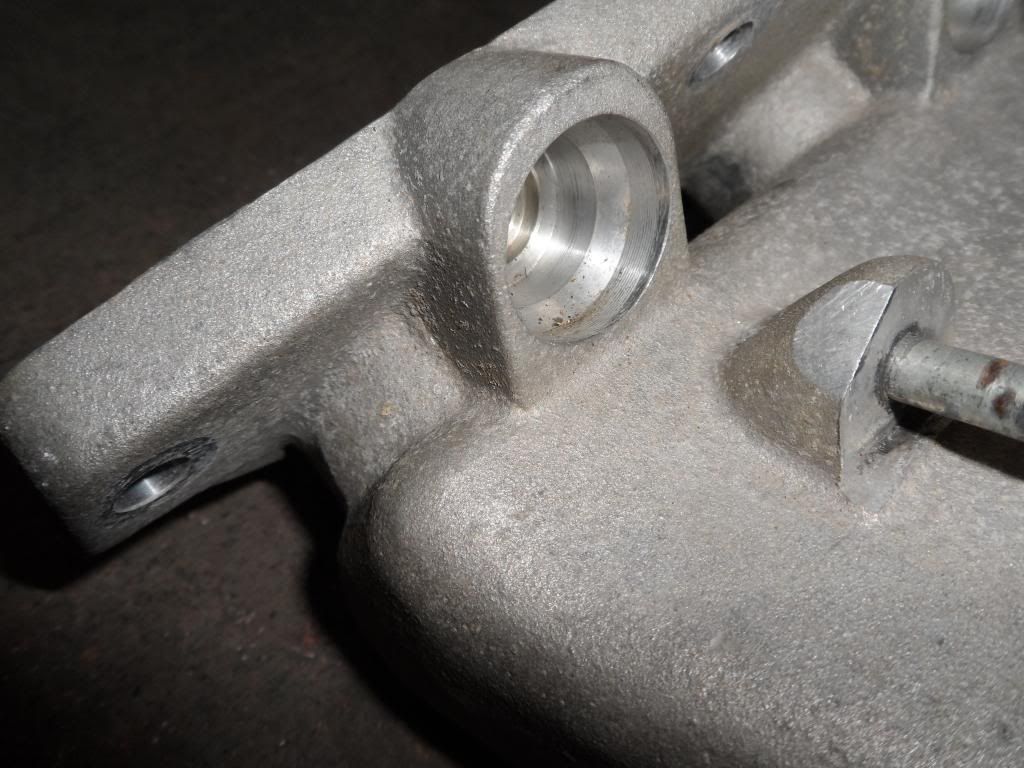
I might drill/tap individual ports for the meth injection at a 45* angle below the injectors -- but that could mess up the flow pattern of the injectors and I'm not done doing research yet. Also have to consider clearance issues with the fuel rail and I/M studs/bolts. It also looks like someone has 'trimmed' the fuel rail mount in the casting... Hmmm what could that be about?
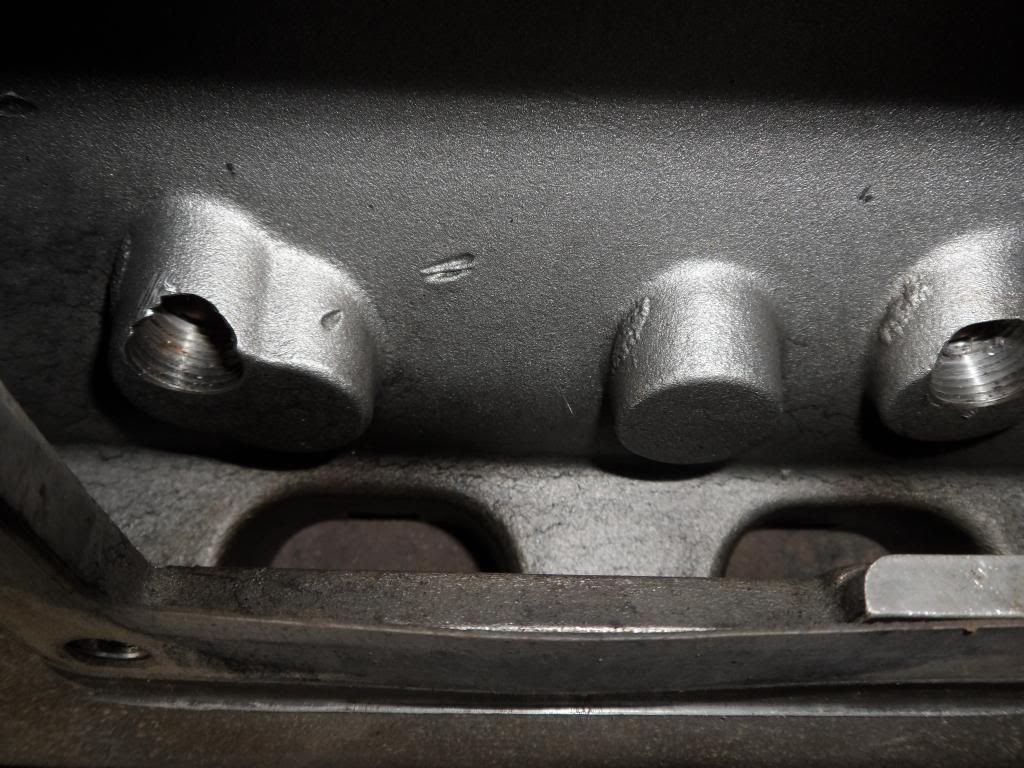
Ishtty picture of the intake runner.
Another ishty picture
Currently planning on port-matching the gasket/manifold/head so they all flow smoothly. You can see that the old OEM gasket doesn't line up properly.
Here, have another look at my wheel horsepower. Brb ferrari killer.
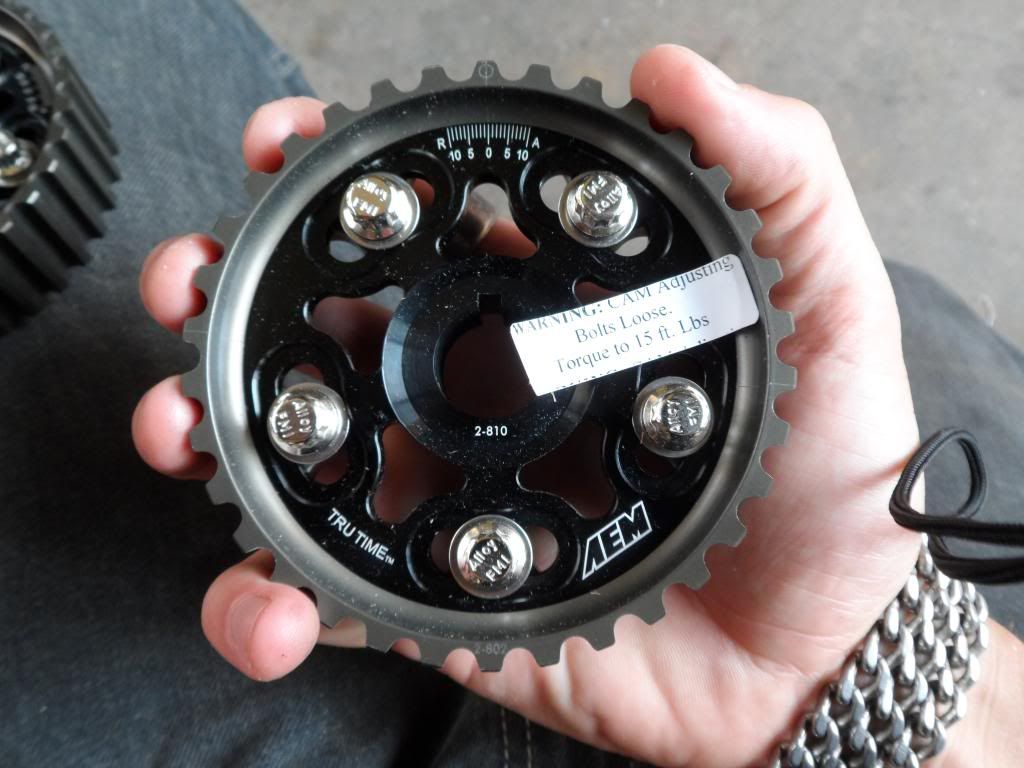
AEM tru-time cam gears. Planning a GSR intake cam running 3* mechanical ignition advance and CTR/ITR exhaust cam running 1* retard to keep overlap low and valve lift/duration high.
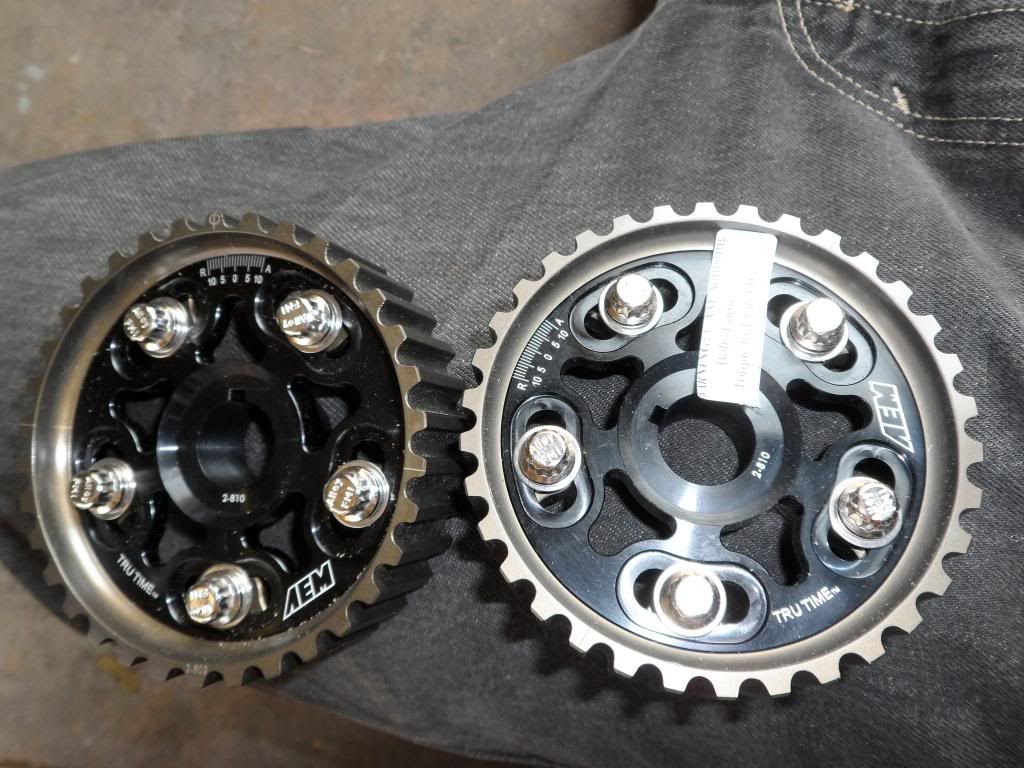
DISCLAIMER - Torque your shiz BEFORE you try to make 300whp otherwise your cam gears will slip and you will be in a world of hurt with no one to blame but yourself.
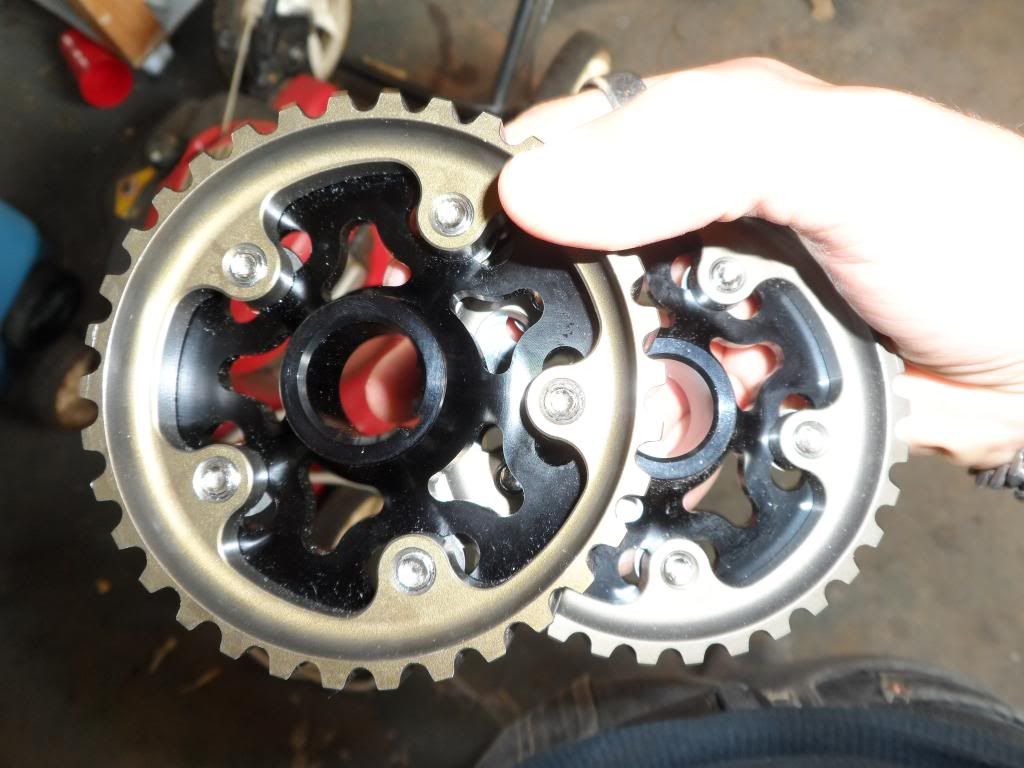
Another ishty pic of the backside of random chunks of metal.
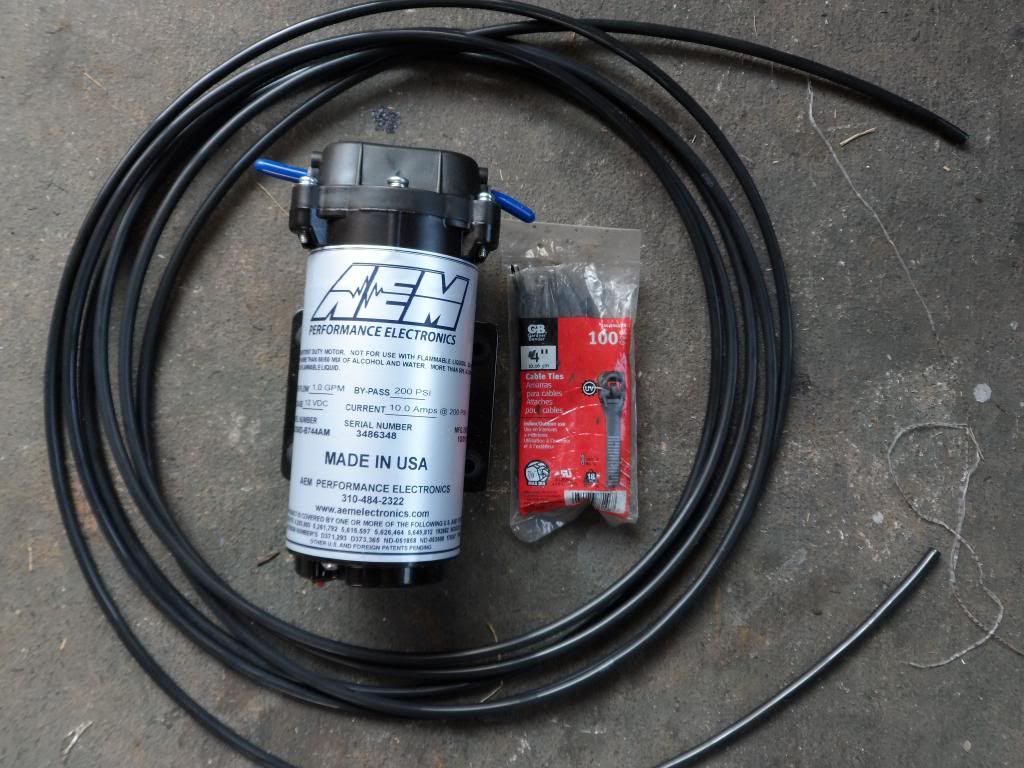
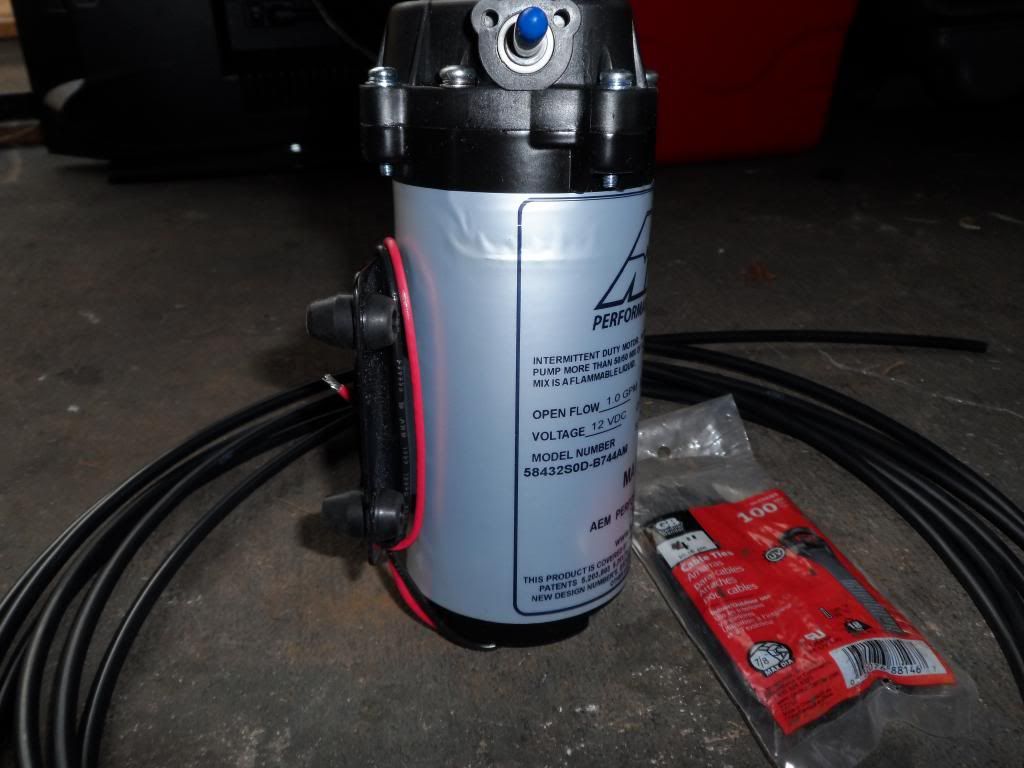
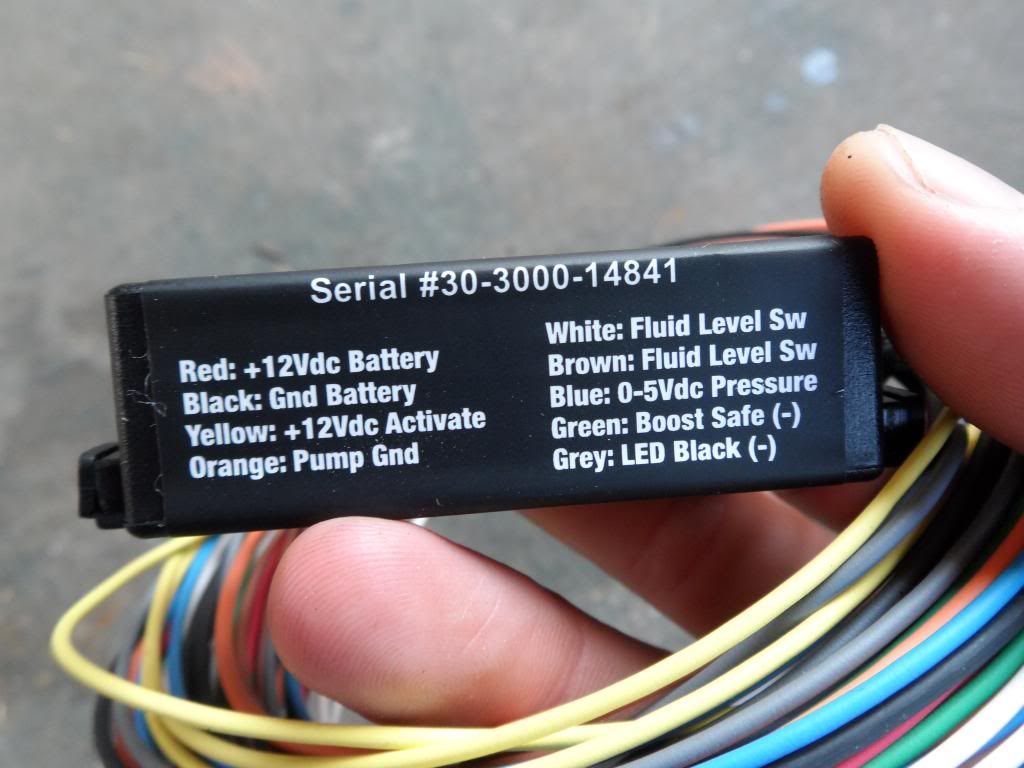
Moving right along.. water/meth injection kit controller, wiring, and a bit of wire-loom and vacuum line. Also pictured - 315cc/m [5gph] injection port and a larger port rated for 350+hp. Both of these ports will hopefully be un-used in favor of a direct-port meth injection custom setup. I'll post up the details when I figure them out. Also pictured are the included hardware with the meth injection kit - I'll snap a better picture when I tear into the bag and start hooking things up.
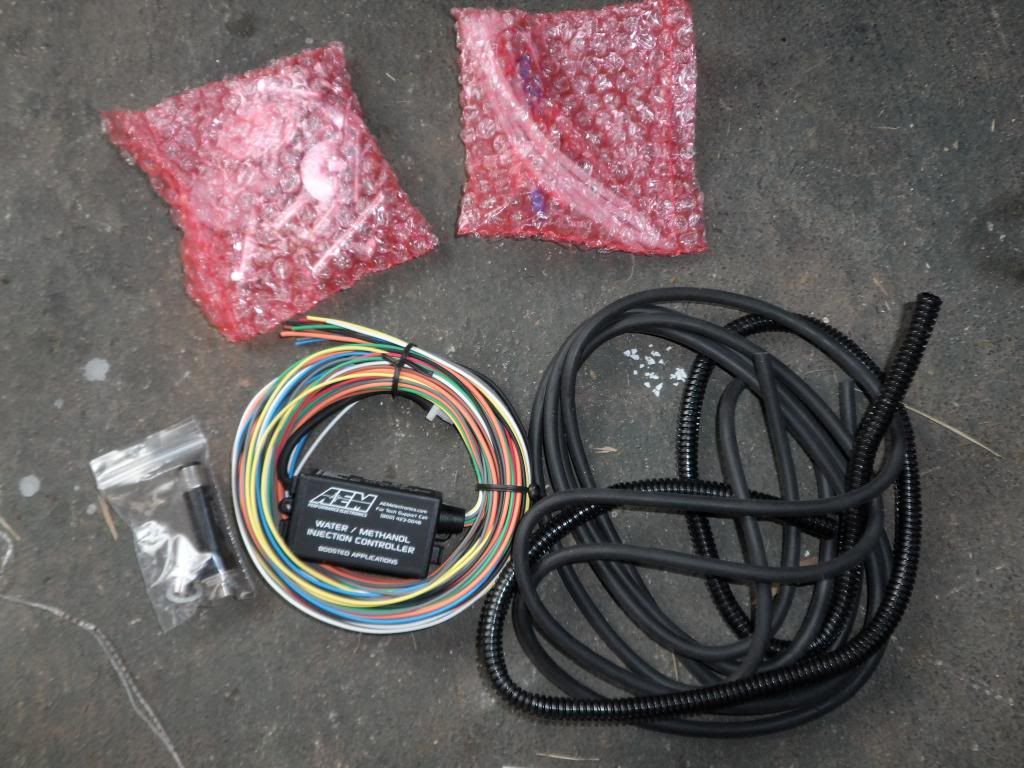
AEM included pump and water/meth injection tubing.
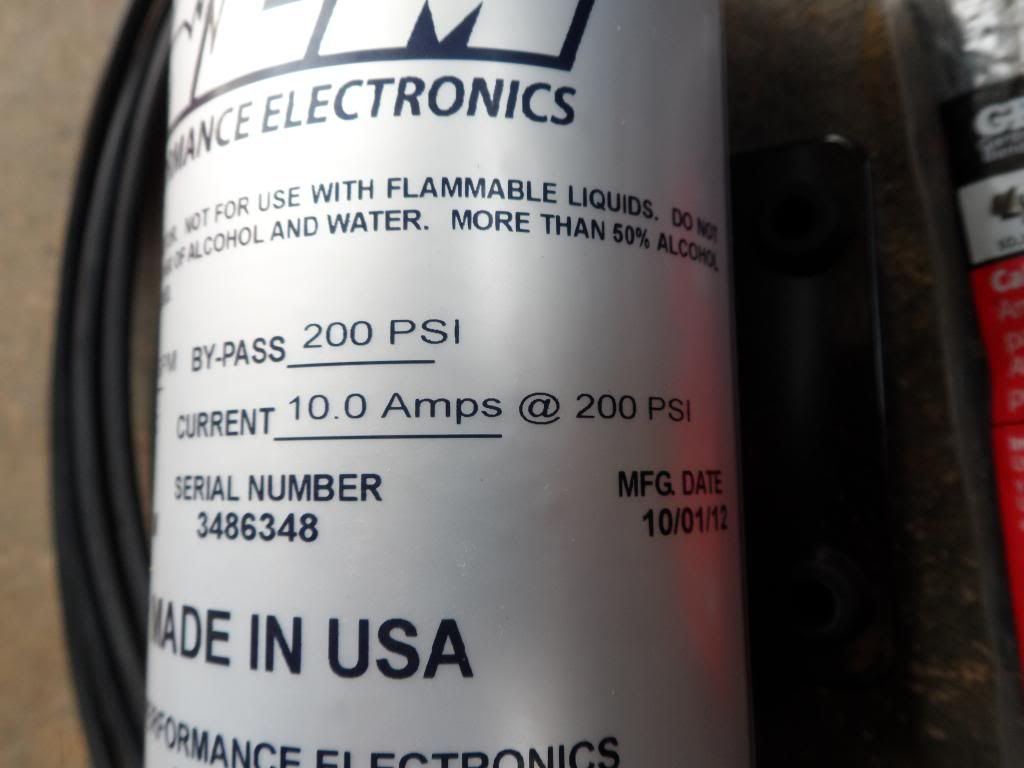
Specs on pump.
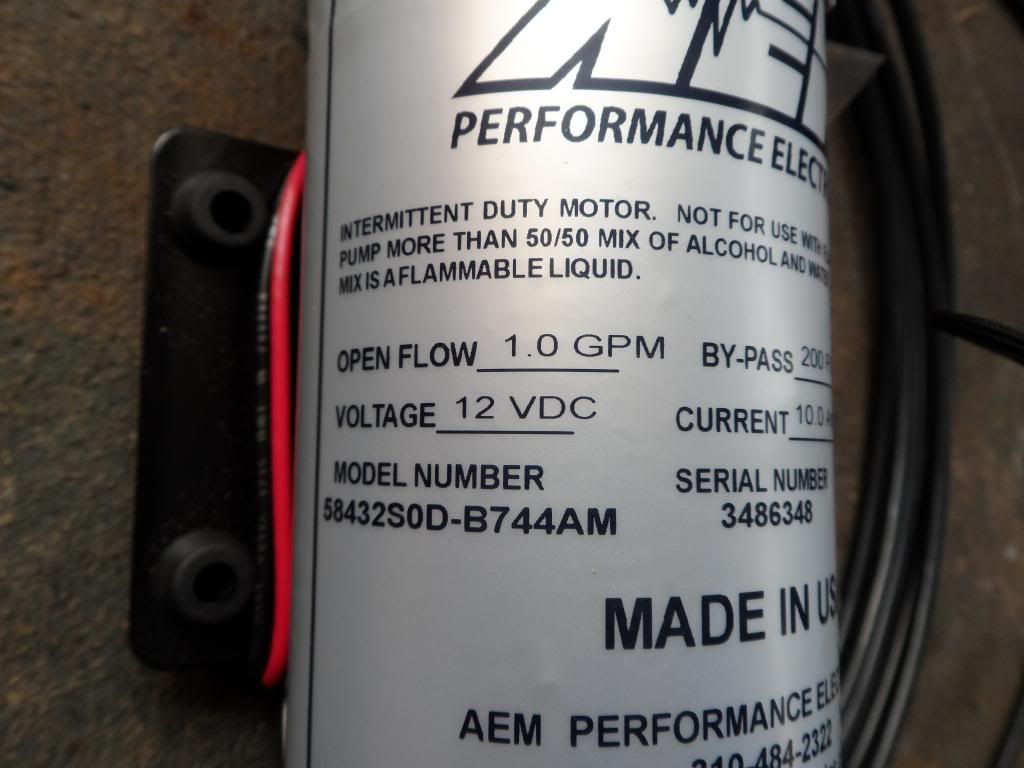
DO NOT RUN MORE THAN 50/50 METH:WATER SOLUTION.
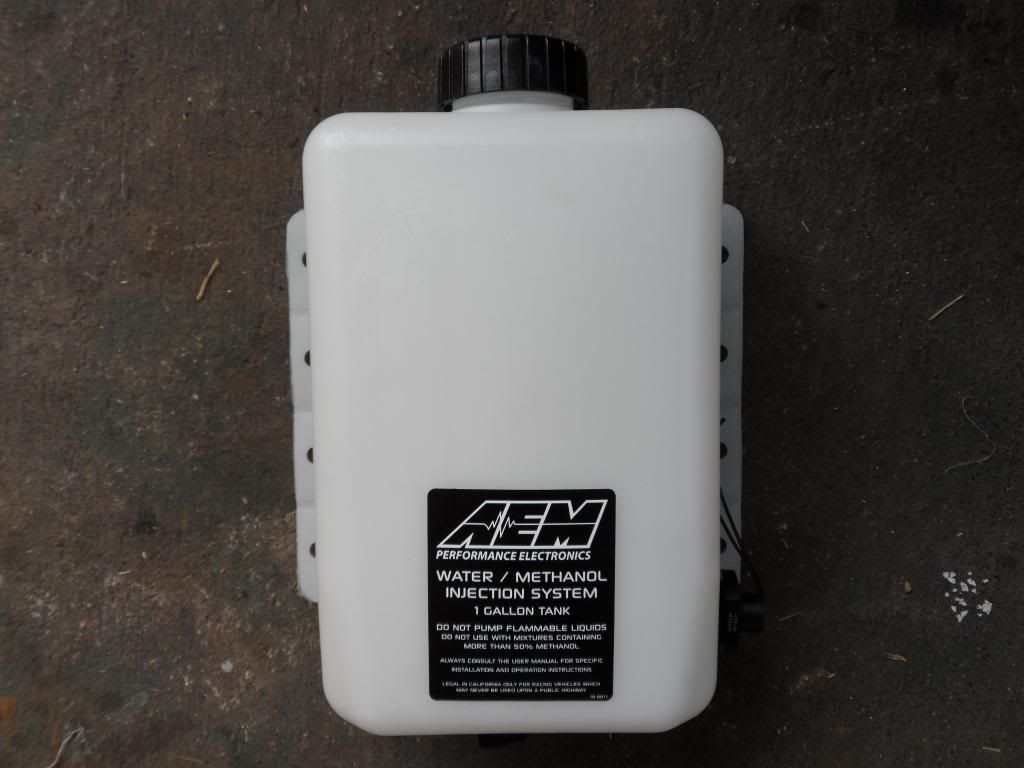
Top view of pump
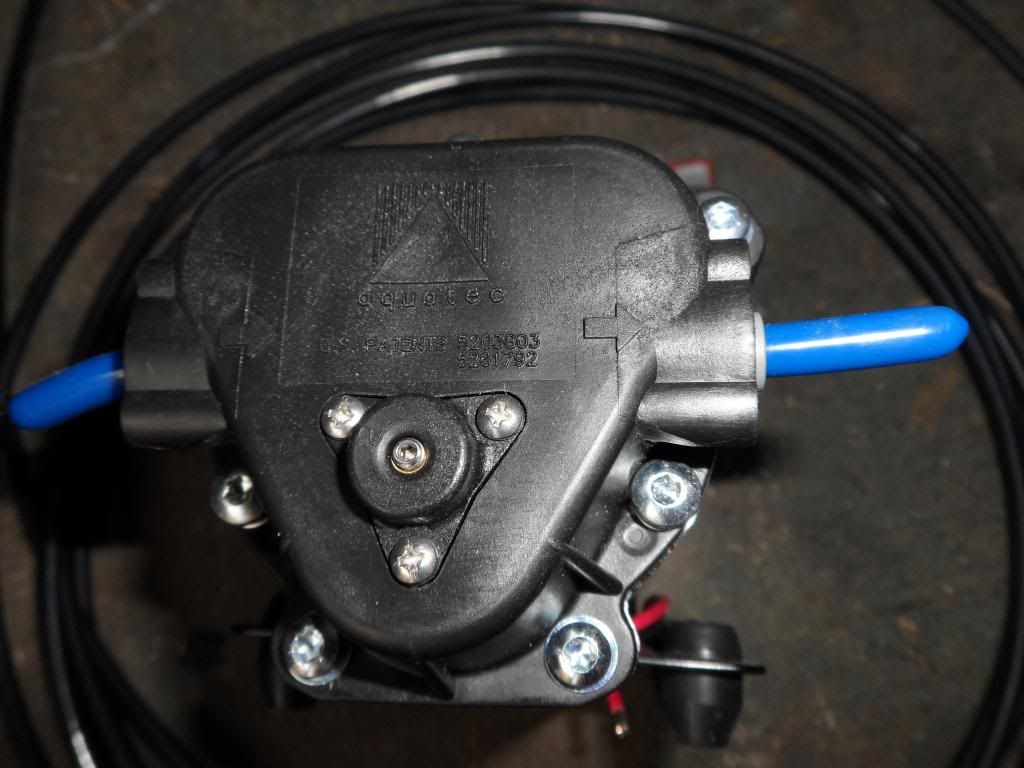
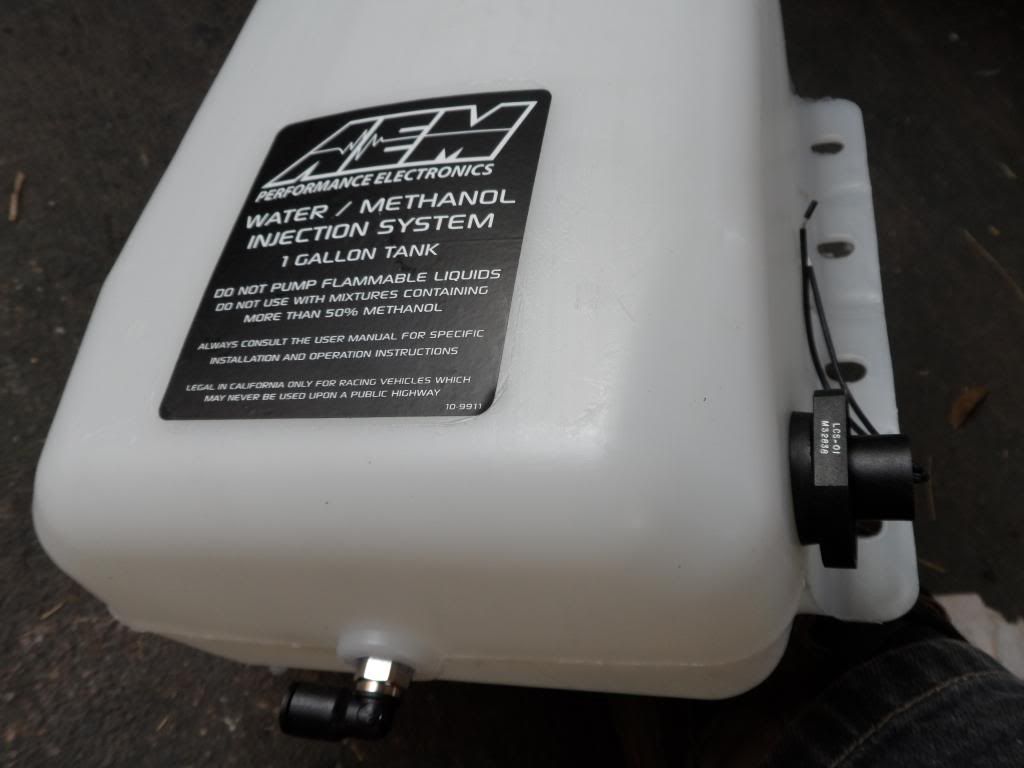
Side view.. pump sits about 9in tall. Not sure where I'll mount it yet.
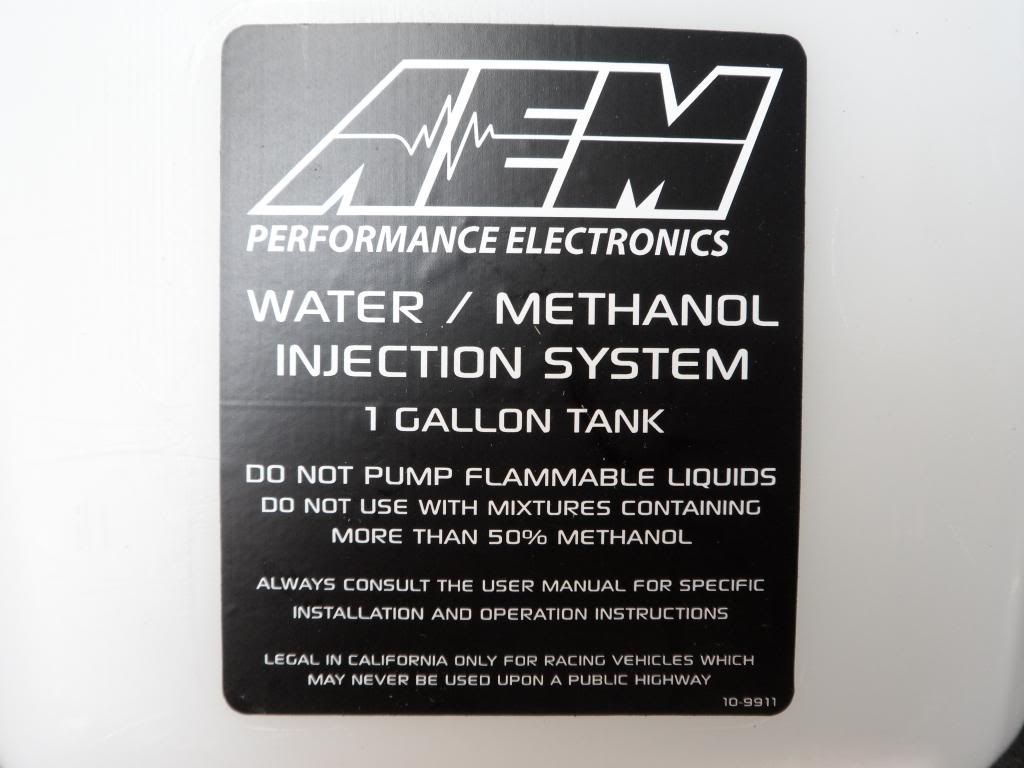
Rubber baby buggy bumpers
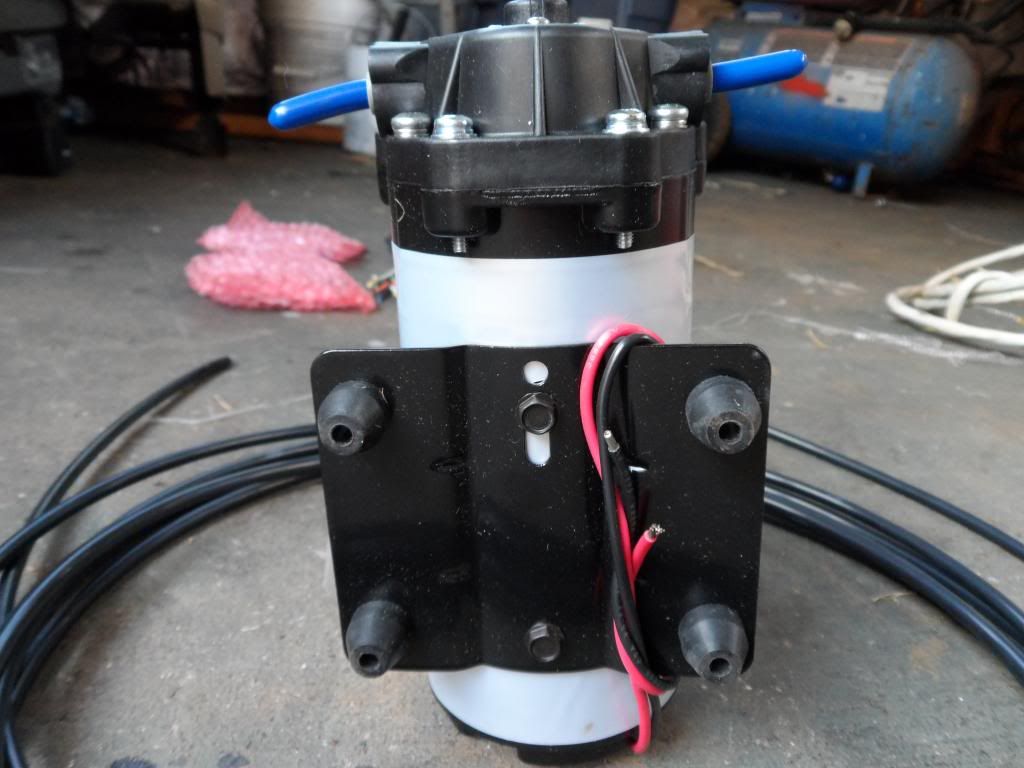
Self-explanatory
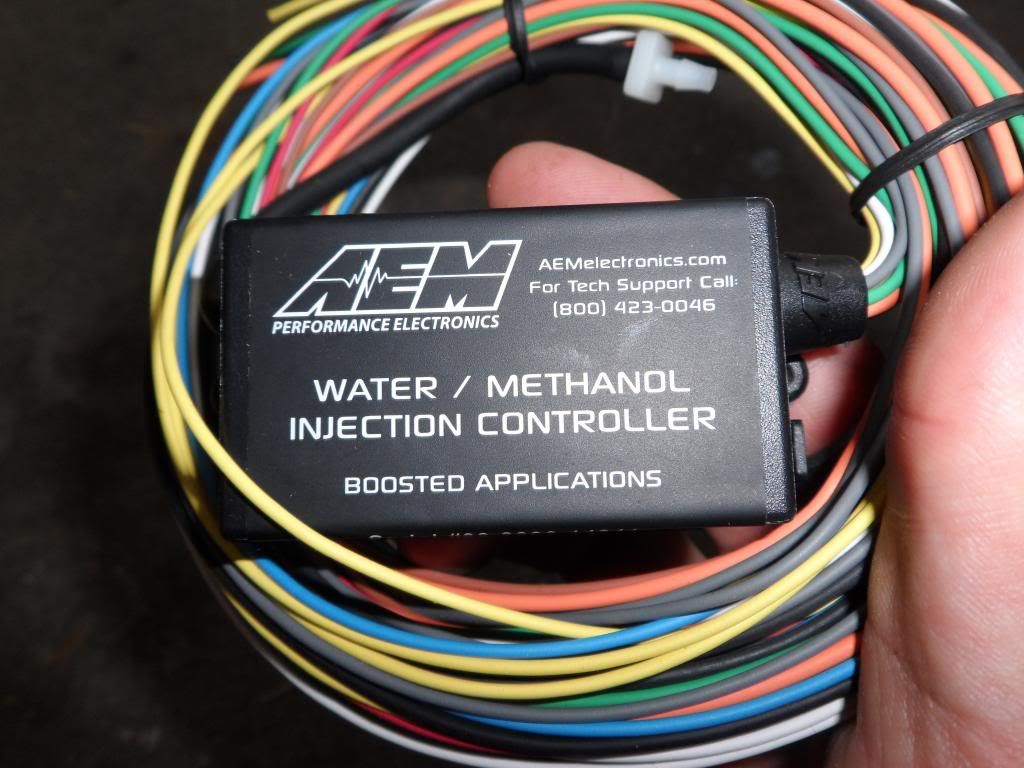
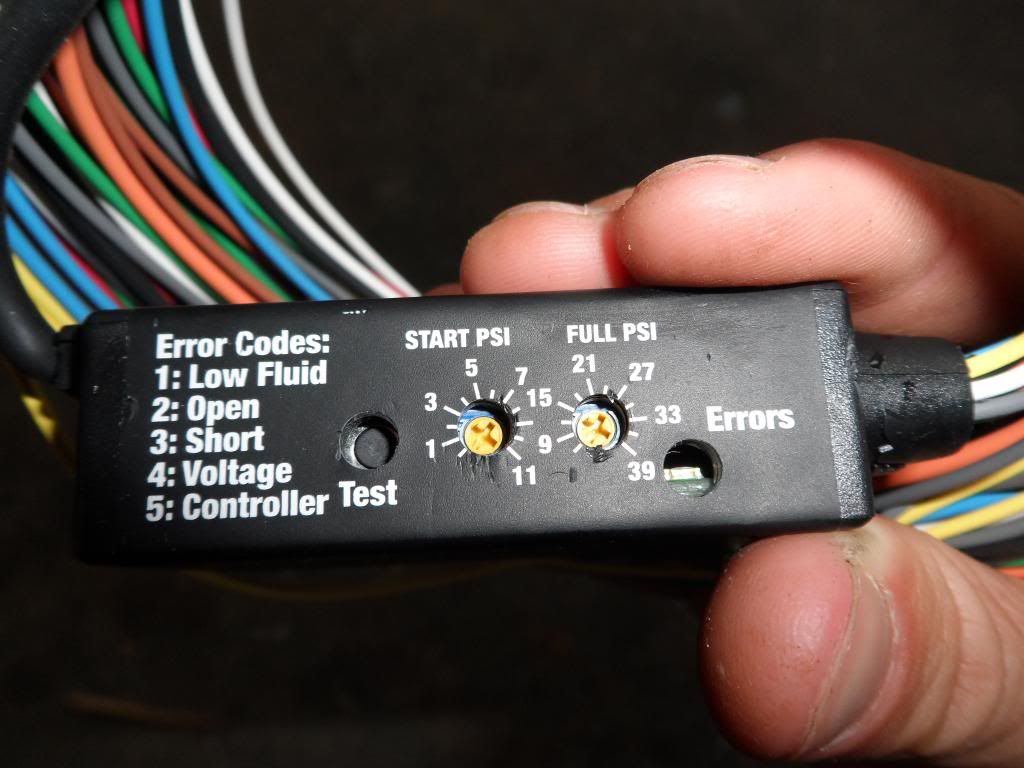
If you want to know the details - AEM's installation manual is available from their website in PDF format. It's a rising-rate system -- in other words -- the amount of water:meth at idle is different from the WOT injection rate.
Hopefully this is in the manual because I'm not too good on the details.
I opted for the 1gal meth injection system - hiding the 5gal tank on the car would mean I have to put a large 5 gallon plastic tank full of corrosive/poisonous/flammable liquid in the cabin which just doesn't sit right with me.
The kit comes with a built in fluid level sensor which trips an LED light which plan to place somewhere obvious in my dashboard so I never run out of fluid and lean out my motor without noticing the flashing LED light.
Please obey all installation instructions - and by-all-means - take it one step further and plan for failure. If you're prepared for the worst, you'll be happy to see how things actually turn out. I recommend anyone installing a similar setup invests in atleast a 2L fire extinguisher, preferably mounted somewhere easy to reach in case of disaster.
Toilet reading.
I'll post up pics of the gauge that will replace this one when it shows up in the mail.
BRB planning on boosting over 9000
And yeah, like I said in the original post - Building a fast honda won't get you paid, laid, or obeyed. I recommend you guys get a new hobby because all the stuff in my part pile just melts down into a smoldering hunk of toxic plastic and metal if your are dumb enough to crash your car and lucky enough to make it out of the driver's seat alive.
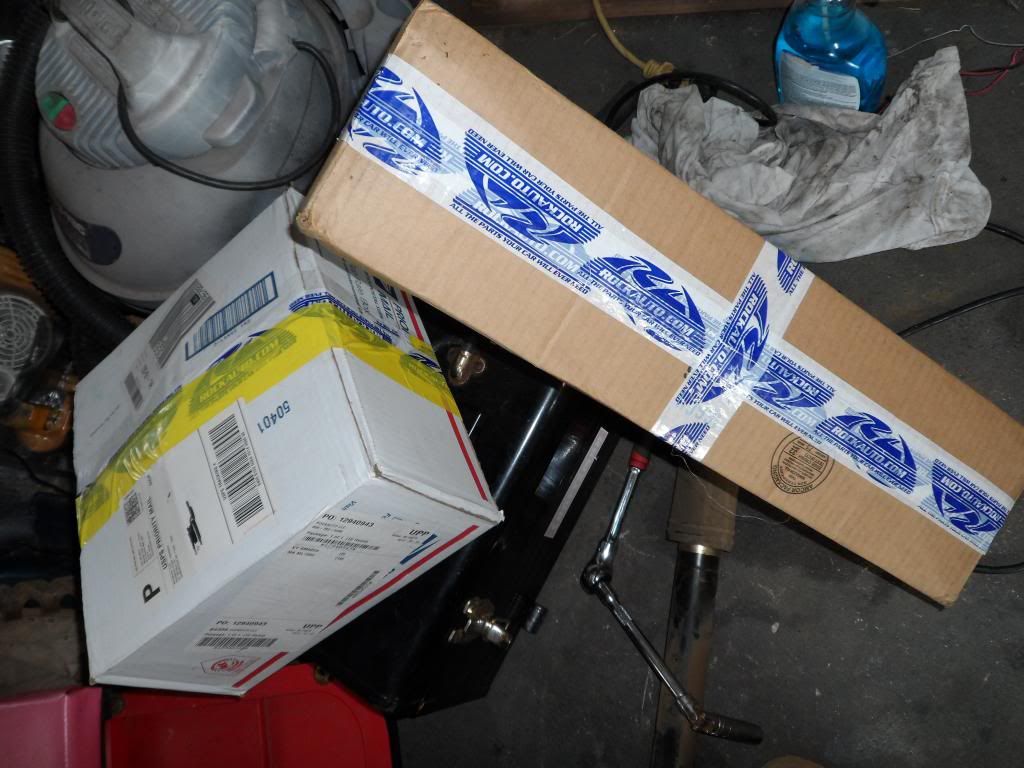
BONUS PICS
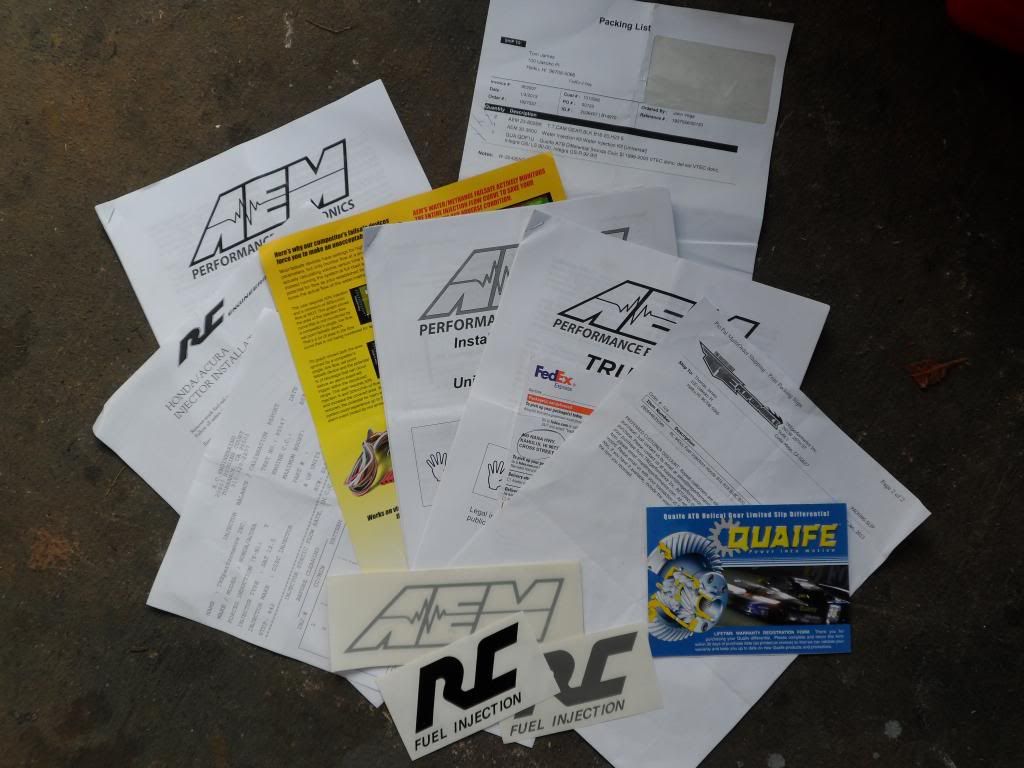
Part numbers if you're building something similar.
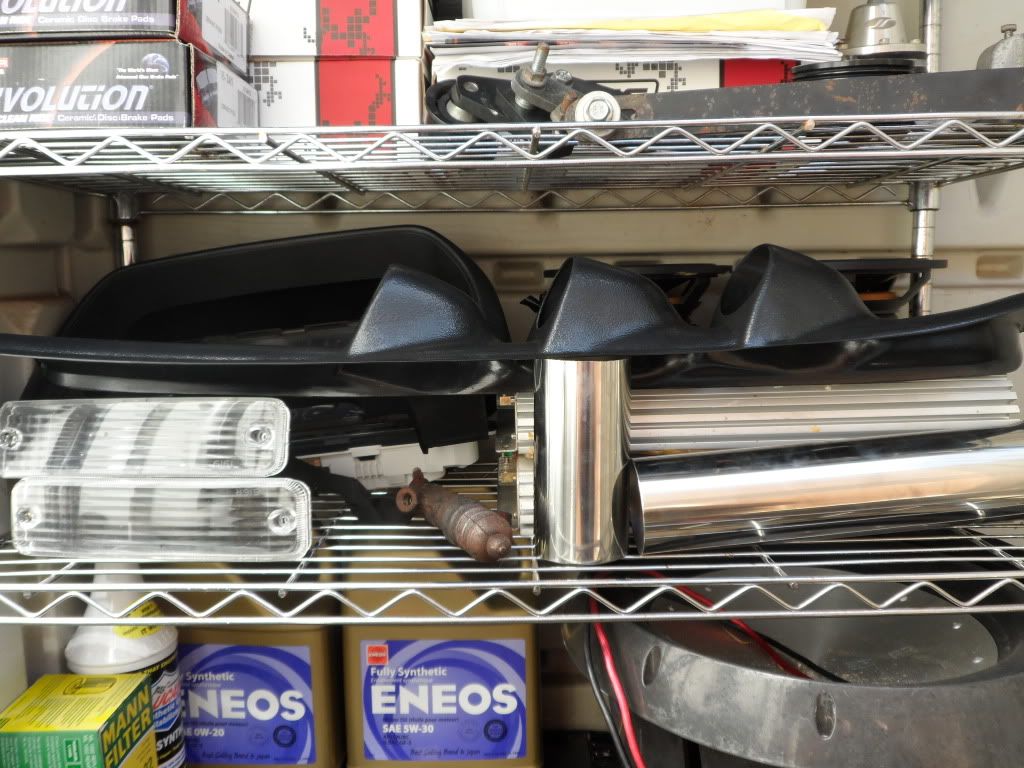
Mystery parts. I'll keep you guessing and coming back for more.
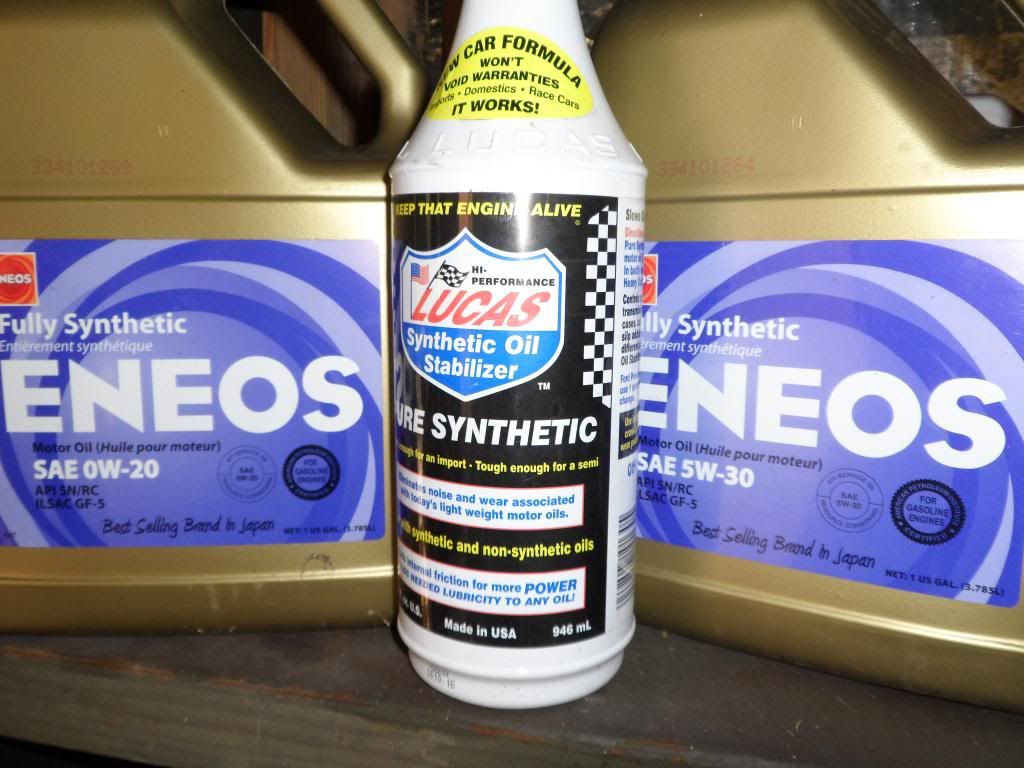
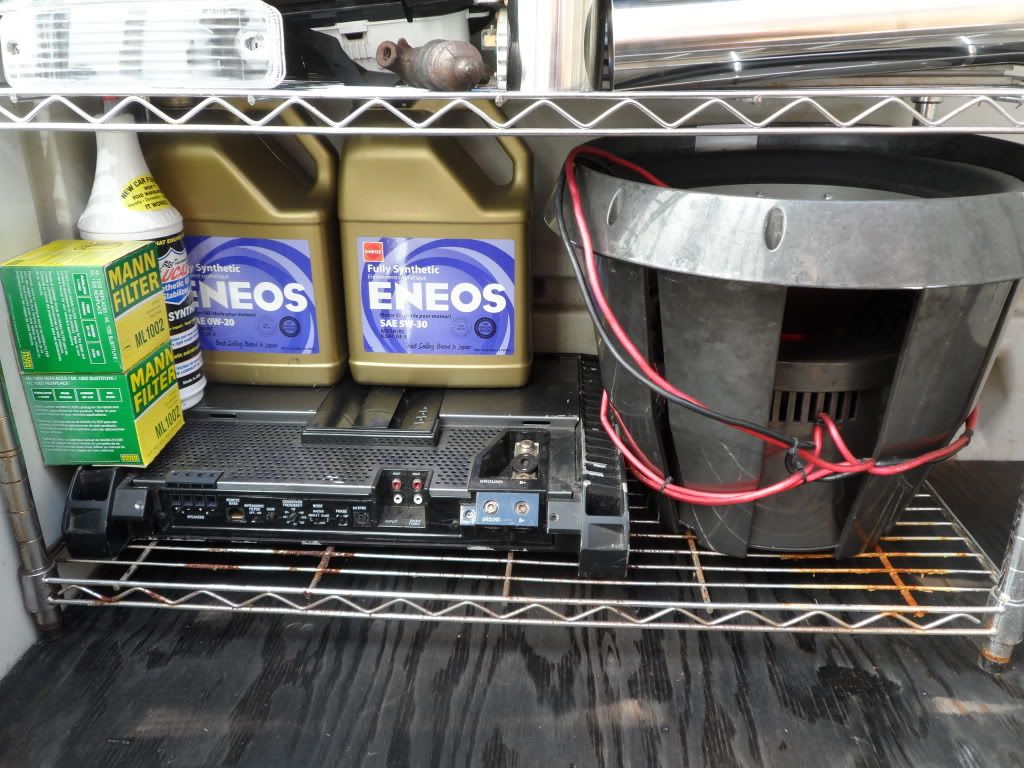
5w-30 for the transmission, 0w-20 for the engine blood/oil. Lucas in both, but different ratios. I'll post up the optimal ratios when I finish my testing and experimentation.
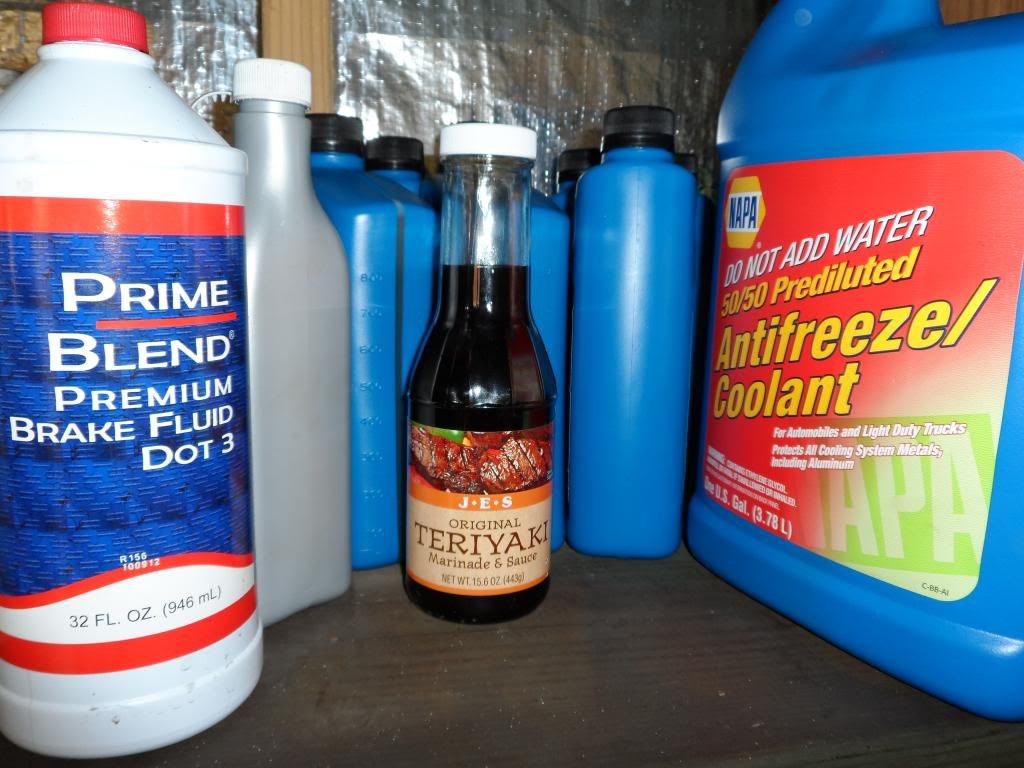
Let's not forget about the other essential fluids.
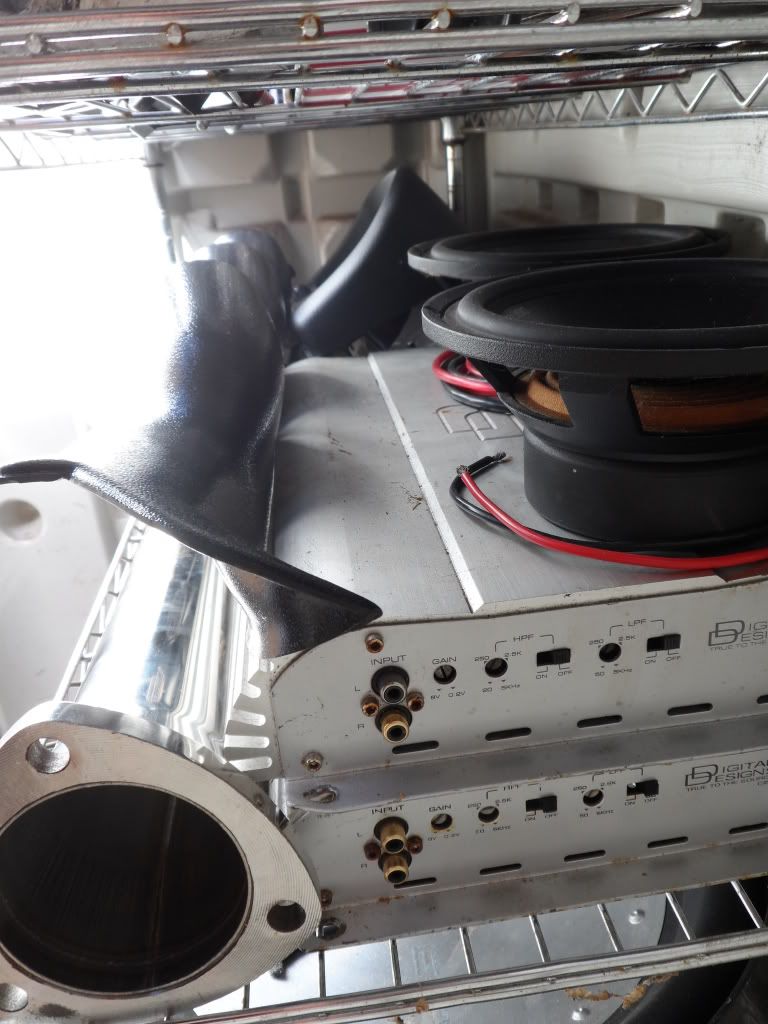
NEXT TO COME - SOUND SYSTEM SPECIFICS AND PICTURES.
stay tuned.
The rumblefish returns! And he is meaner and more foul-tempered than ever. Do not try to mess with my parts because the rumblefish has talons that are sharp and fangs harder than diamonds. His foul demeanor is only exceeded by his evil. Here we see him defending a methanol injection kit.
RC-440 injectors, rated for 320whp and that is a modest estimate.
I can't wait to install these babies.
And I'll be needing a queeef to get my power to the wheels without spinning a tire with no traction. QDF1U for the 94 Del sol VTAK y21 hydro transmission.
Those allen bolts are grade 12.9 --- this is quality stuff here. Only the best for my baby.
A healthy M62 blower sits ready and waiting. This thing is in mint condition with less than 5k miles on it. {actually I have no proof of mileage, but it's in perfect condition [thanks CL dude] and I'm being optimistic.}
These look to be tiny hairline fractures in the teflon coating on the turbines. Actually they are nice oil-slick sheen of blowby oil vapor that keeps the JRSC blower in perfect condition. I'll be injecting meth AFTER the blower, possibly in the manifold and hopefully directly into the I/M runners right next to the injectors. Still working out the logistics.
You can see the finger-smear in the oil coating the turbines. Like I said - near mint condition - no hairline fractures in the teflon.
Straight off the production line and into my engine bay. Blower number 100,582 -- if anyone can tell me exactly how many of these blowers have been produced, I'd be curious to know. This isn't the old-style blower without the brace to the alternator, so it's relatively 2002 modern but I can't be too sure when it was made.
Currently the blower sits with a 4.2" nose pulley. This will be swapped out with a 3.8" nose pulley, coupled with LS crank and MVM stepper pulley {thanks Jim, I paid you for it today and I hope to see it within a week.}
As you can see, 4.2" -- the 4.2 and 4.0 will both hit the oversized 1" MC/booster which I will be changing out for a different integra model and shimming to clear the 3.8" nose pulley I am currently attempting to buy on ebay. IF THIS A$$HOLE WILL STOP TRYING TO OUTBID ME I WILL WIN THE AUCTION. AND THIS IS FOR YOU, YOU UFCKIN ***** STOP MAKING THIS HARD ON YOURSELF MY BUDGET FOR THAT PULLEY IS OVER 9000 AND I HAVE MORTGAGED MY HOUSE AND SOLD MY LEFT ******** ON THE BLACK MARKET SO I CAN AFFORD TO OUTBID YOU. STOP BIDDING BECAUSE THAT PULLEY IS MINE. DO YOU HEAR ME?!
I'm considering having my s-tube ported along with my manifold and having the LHT intercooling mods done, but I cannot live on ramen for more than 3 months because malnutrition causes gangrene and money is always tight.
B16 crank pulley, standard alternator pulley will be replaced with the 15.5% stepper MVM pulley, FMU will be sold off/thrown away because I am running s300 and a walbro 255lph w/supporting mods - alternator bracket and blower brace, JR belt adjuster.. More parts.
I scored a very complete JRSC kit that included 20 pages of instructions for an EK that don't really help, a bag of bolts, boost gauge and relay, and even enough vacuum line to run the gauge in the dashboard. Innovate motorsports gauges purchased today... EGT, boost, water temp, oil temp, oil pressure, shift light, coolant temp, battery voltage, wideband AFR... I'm forgetting a few. They were the MTX-D series of gauges hooked up by John @ phearable.net [that guy is so on point it's not even funny, I wouldn't be here today if it weren't for him. Also picked up an A-pillar 52mm three-gauge pod on ebay yesterday - pics incoming once it arrives at my shop.
This gauge won't be used - lol PM me if you want it - I'll be replacing it with the MTX-D gauge.
20 pages of toilet reading and OBX thermal intake manifold gasket to prevent heatsoak from the head/manifold. The head gets hot and bothered, and so does the blower - last thing I need is them conspiring to raise my IAT temps above 200*F. Heat is already a problem @ 9.8psi of boost - invest in one of these thermal gaskets if you are building something similar. Detonation and pre-ignition are no fun, especially with forced-induction. You won't hear a 'ping' --- your piston will turn into a molten metal slug rocketing through your valvetrain and destroying everything in it's path before it blows a hole in the hood/block/firewall and sends searing molten metal shrapnel into your body. SIDE NOTE - to properly run a thick thermal I/M gasket you will need to upgrade your OEM manifold studs. A thicker thermal gasket won't give you enough thread to catch and properly torque the manifold to the head. I'll post a link to my longer studs when I figure out which ones and have them shipped out.
And with no futher ado.. The manifold.
Note the bypass valve pictured on the right.
Manifold internals look to be in near-perfect condition minus the blow-by crankcase vapor.
I'm considering having this manifold/blower ported by LHT along with their intercooling mods but price is no option and the cost is through the roof. BRB making ramen for dinner.
IAT pictured left, weird bolt [not pictured] poking through on the right causing manifold turbulence on the right. Remind me to trim that bolt or find a better one before I put this all together. Fast Fact - If you mix up the plugs on your IACV and IAT {both are two-pin and interchangeable plug} you will burn out your IAT sensor by applying +12v to it. I burned through 3 IAT sensors before I learned that one.
Rear view of manifold.
Another view. Notice the 'water injection port' is off center and will NOT guarantee equal water/meth concentrations make it into each cylinder. Currently planning a direct-port meth injection system that will spray in the individual runners of the manifold ensuring equal water/meth injection for each cylinder. Stay tuned for updates.
Top view
I might drill/tap individual ports for the meth injection at a 45* angle below the injectors -- but that could mess up the flow pattern of the injectors and I'm not done doing research yet. Also have to consider clearance issues with the fuel rail and I/M studs/bolts. It also looks like someone has 'trimmed' the fuel rail mount in the casting... Hmmm what could that be about?
Ishtty picture of the intake runner.
Another ishty picture
Currently planning on port-matching the gasket/manifold/head so they all flow smoothly. You can see that the old OEM gasket doesn't line up properly.
Here, have another look at my wheel horsepower. Brb ferrari killer.
AEM tru-time cam gears. Planning a GSR intake cam running 3* mechanical ignition advance and CTR/ITR exhaust cam running 1* retard to keep overlap low and valve lift/duration high.
DISCLAIMER - Torque your shiz BEFORE you try to make 300whp otherwise your cam gears will slip and you will be in a world of hurt with no one to blame but yourself.
Another ishty pic of the backside of random chunks of metal.
Moving right along.. water/meth injection kit controller, wiring, and a bit of wire-loom and vacuum line. Also pictured - 315cc/m [5gph] injection port and a larger port rated for 350+hp. Both of these ports will hopefully be un-used in favor of a direct-port meth injection custom setup. I'll post up the details when I figure them out. Also pictured are the included hardware with the meth injection kit - I'll snap a better picture when I tear into the bag and start hooking things up.
AEM included pump and water/meth injection tubing.
Specs on pump.
DO NOT RUN MORE THAN 50/50 METH:WATER SOLUTION.
Top view of pump
Side view.. pump sits about 9in tall. Not sure where I'll mount it yet.
Rubber baby buggy bumpers
Self-explanatory
If you want to know the details - AEM's installation manual is available from their website in PDF format. It's a rising-rate system -- in other words -- the amount of water:meth at idle is different from the WOT injection rate.
Hopefully this is in the manual because I'm not too good on the details.
I opted for the 1gal meth injection system - hiding the 5gal tank on the car would mean I have to put a large 5 gallon plastic tank full of corrosive/poisonous/flammable liquid in the cabin which just doesn't sit right with me.
The kit comes with a built in fluid level sensor which trips an LED light which plan to place somewhere obvious in my dashboard so I never run out of fluid and lean out my motor without noticing the flashing LED light.
Please obey all installation instructions - and by-all-means - take it one step further and plan for failure. If you're prepared for the worst, you'll be happy to see how things actually turn out. I recommend anyone installing a similar setup invests in atleast a 2L fire extinguisher, preferably mounted somewhere easy to reach in case of disaster.
Toilet reading.
I'll post up pics of the gauge that will replace this one when it shows up in the mail.
BRB planning on boosting over 9000
And yeah, like I said in the original post - Building a fast honda won't get you paid, laid, or obeyed. I recommend you guys get a new hobby because all the stuff in my part pile just melts down into a smoldering hunk of toxic plastic and metal if your are dumb enough to crash your car and lucky enough to make it out of the driver's seat alive.
BONUS PICS
Part numbers if you're building something similar.
Mystery parts. I'll keep you guessing and coming back for more.
5w-30 for the transmission, 0w-20 for the engine blood/oil. Lucas in both, but different ratios. I'll post up the optimal ratios when I finish my testing and experimentation.
Let's not forget about the other essential fluids.
NEXT TO COME - SOUND SYSTEM SPECIFICS AND PICTURES.
stay tuned.
Last edited by Corksil; 01-14-2013 at 10:28 PM.
01-15-2013, 08:50 AM
#5
Honda-Tech Member

Join Date: Mar 2011
Posts: 1,382
Likes: 0
Received 0 Likes
on
0 Posts
I was going to skip this build...
...but then I saw Rumblefish. He commands my presence.
Also, if you ever do get a Ferrari, you'd better grow a mustache like Tom Seleck.
...but then I saw Rumblefish. He commands my presence.
Also, if you ever do get a Ferrari, you'd better grow a mustache like Tom Seleck.
01-16-2013, 01:08 PM
#6
Honda-Tech Member
Thread Starter
right on. stay tuned. gauge pillar arrived today, exhaust silencer yesterday, intake camshaft tomorrow, gauges on friday, alternator stepper pulley arriving hopefully soon, along with LS crank pulley and ITR intake camshaft. Parts are in the mail en masse.

Trending Topics
 01-17-2013, 10:43 PM
#10
Honda-Tech Member
Thread Starter
Welcome to photobucket. Please pursue other hosting options.
Looking west. The little hill.

Looking south-east. The big hill.

Looking west with the sunset.

Exhaust silencer from thermal R&D - thanks chuck.
It looks like I should bolt it sideways underneath the exhaust tip to help the gravitational pull of the exhaust waves resonating across the tarmac and rekindling the breeze of the port flow through the resonation turbulence. I'll post before and after sounds once it's installed.
Nice welds.
This build sponsored by Phearable.net

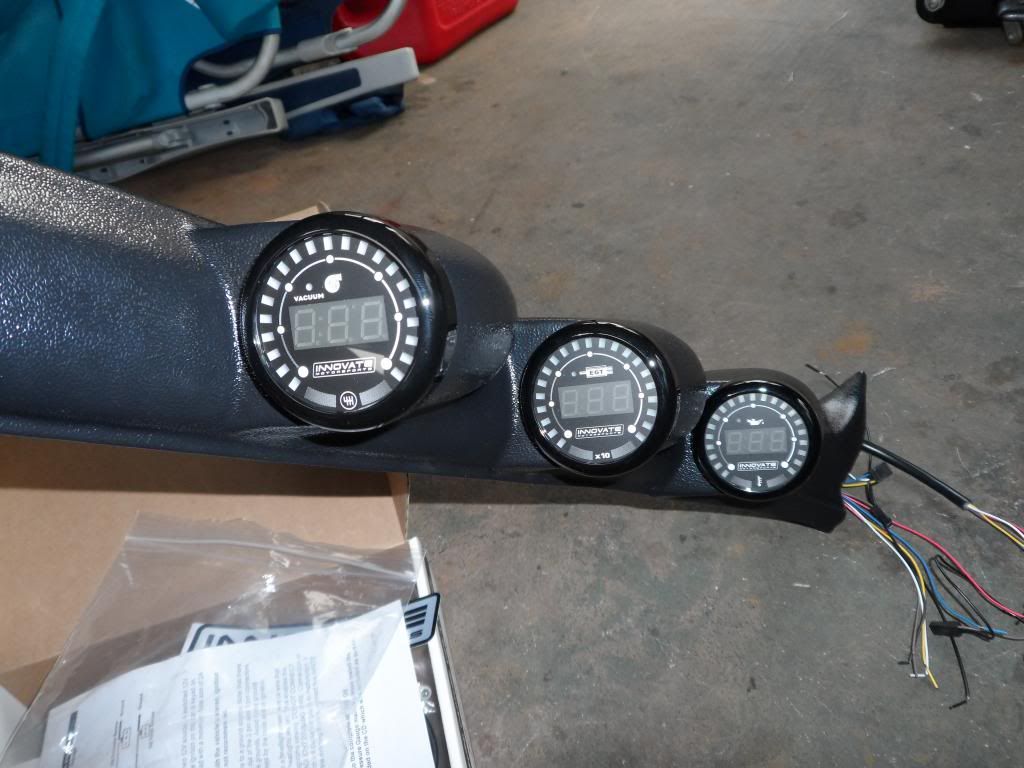
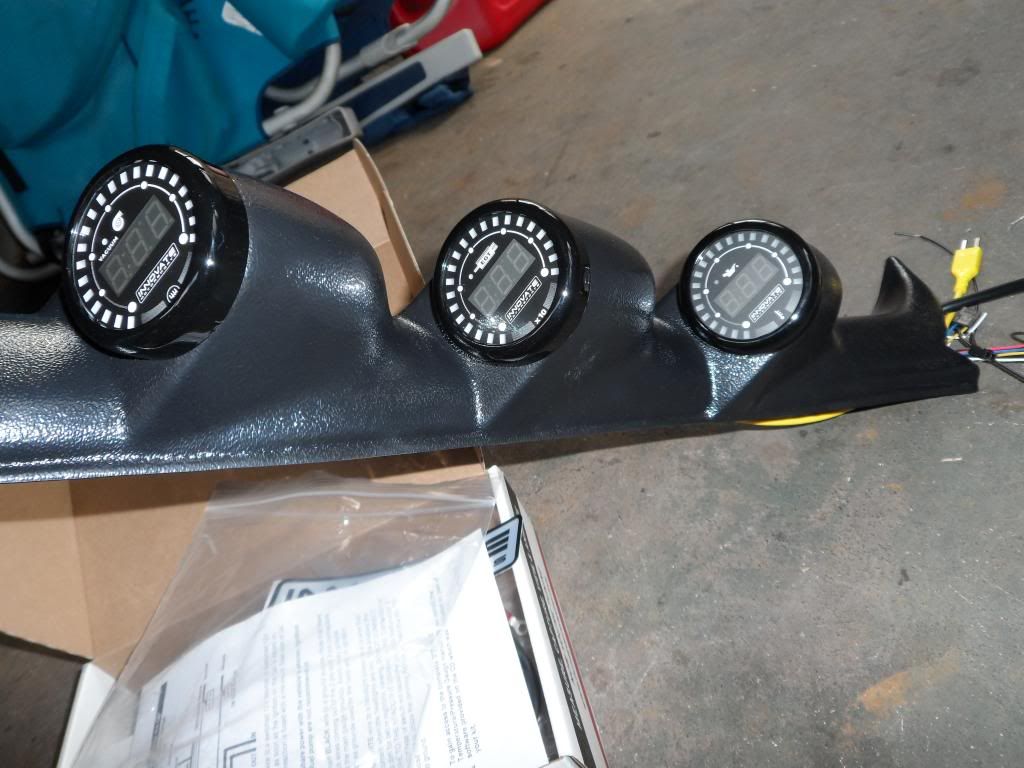
New gauges!
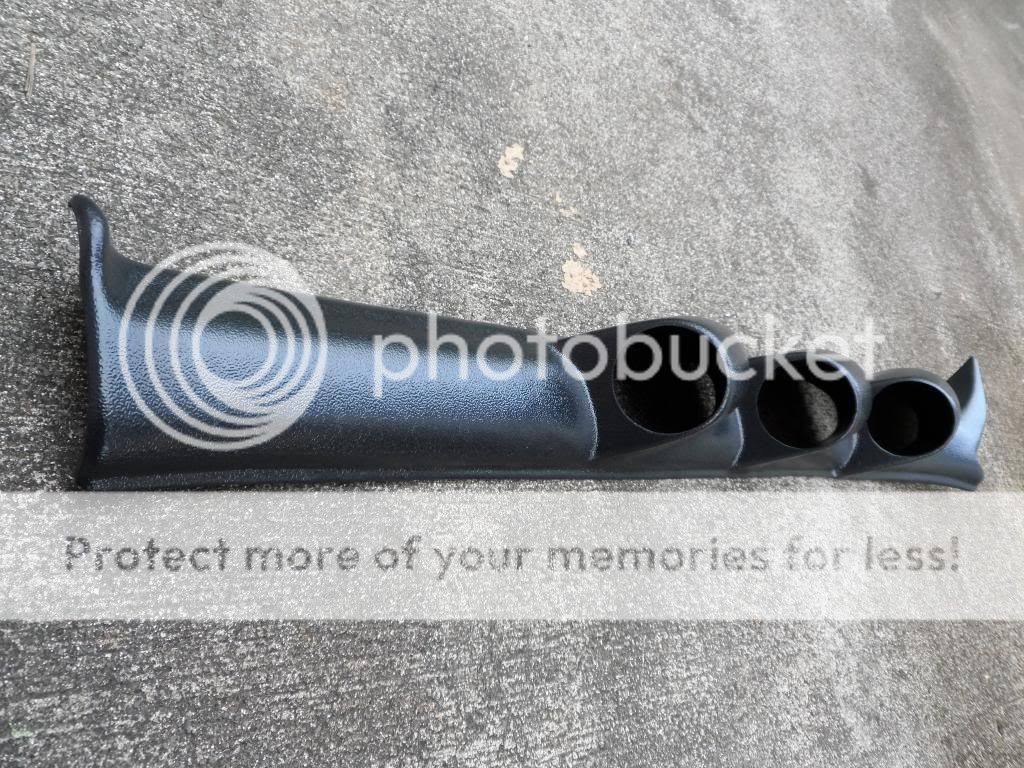
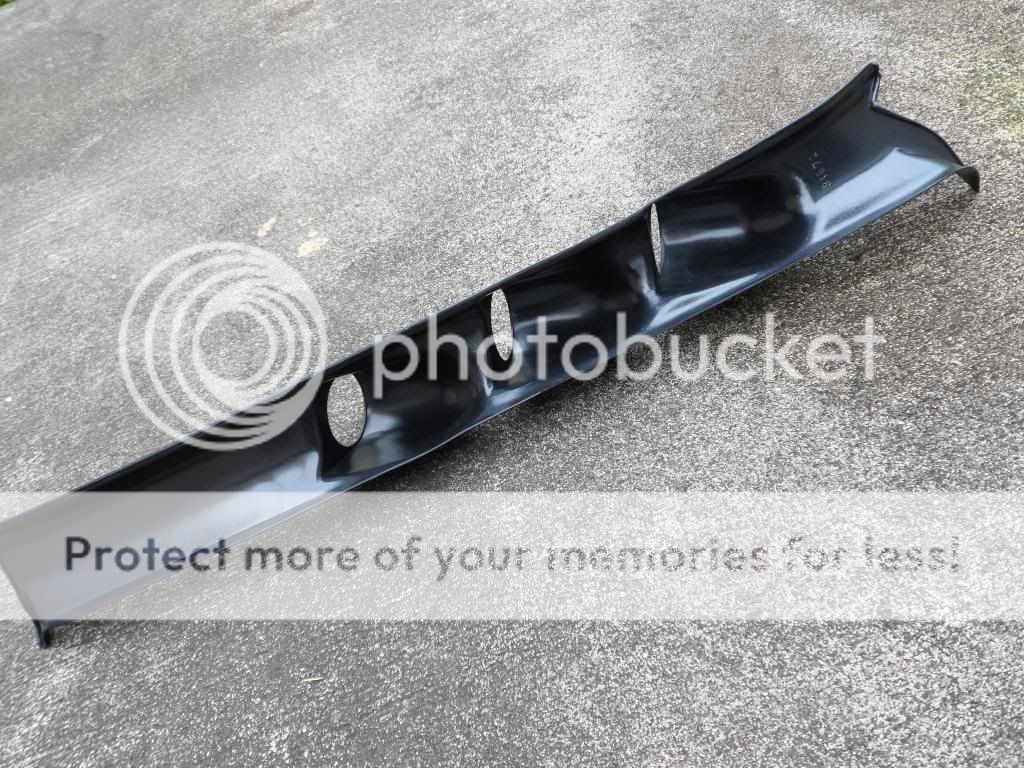
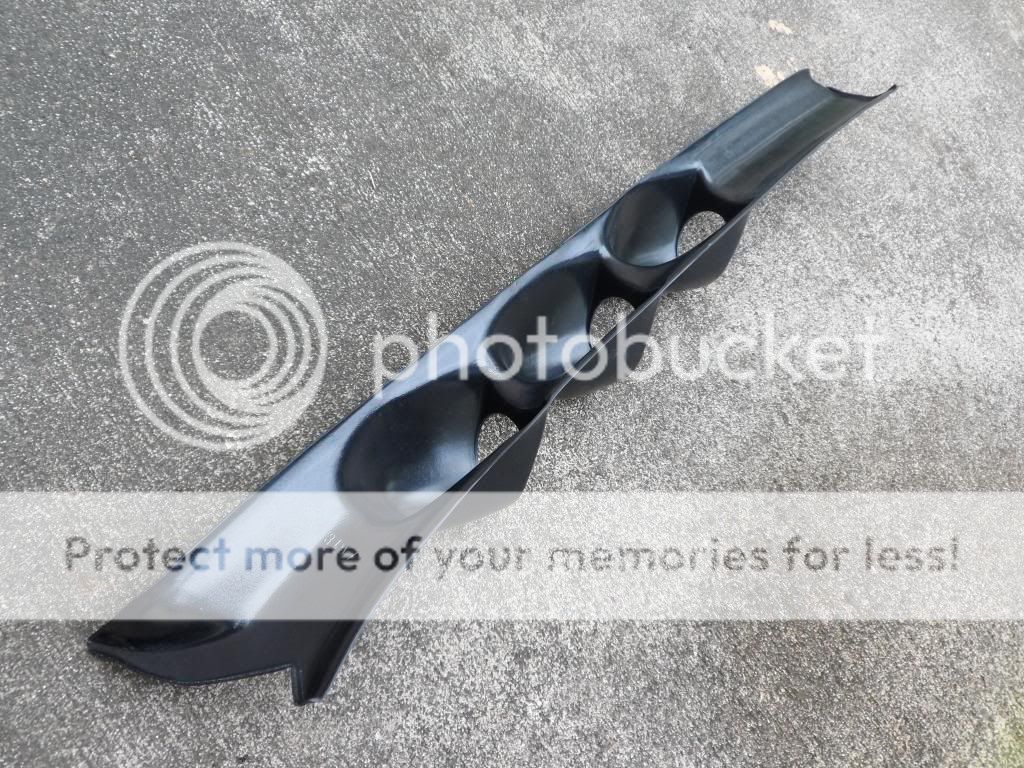
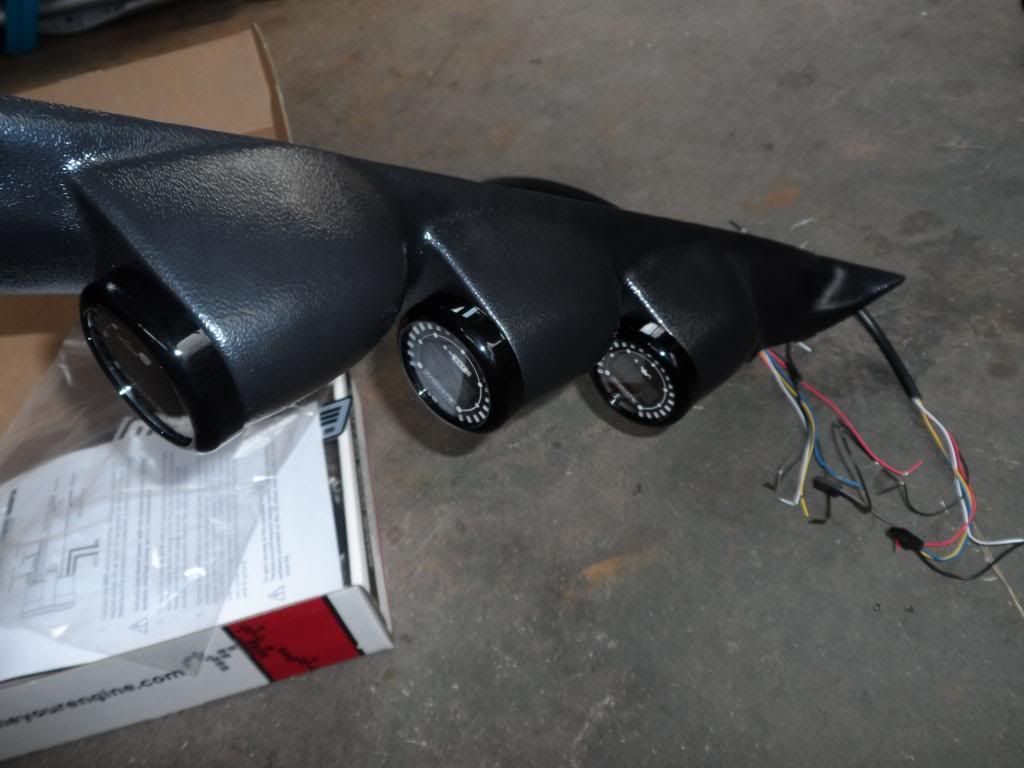
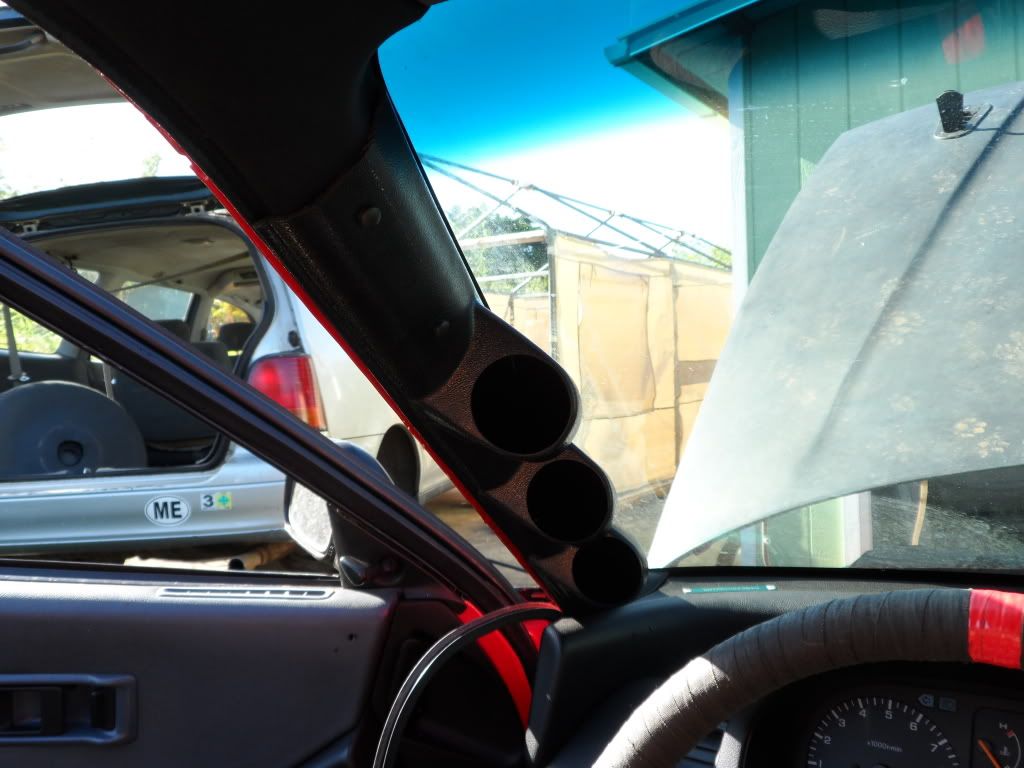
Gauge A-pillar pod
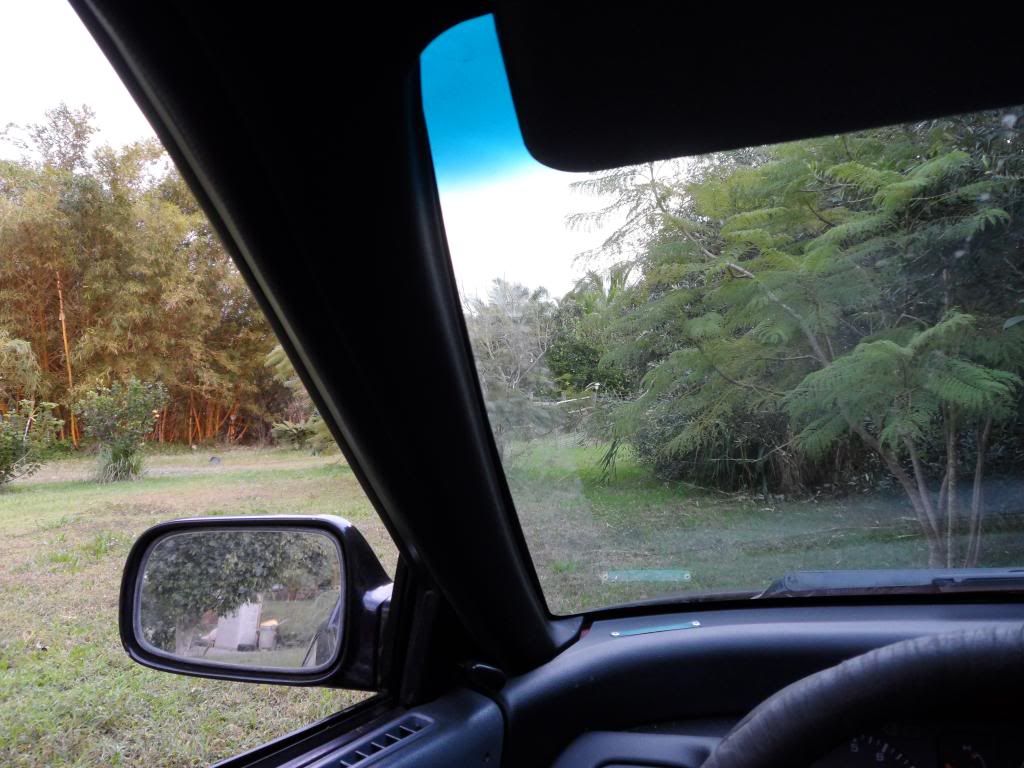
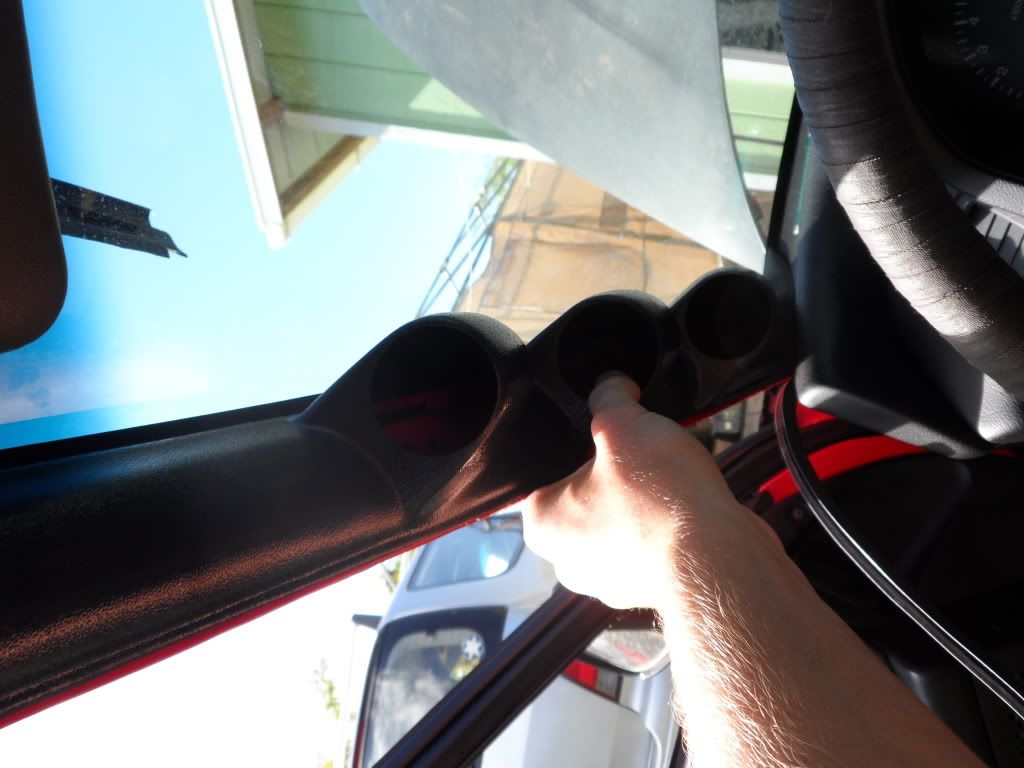
Interior view..
Looking west. The little hill.
Looking south-east. The big hill.
Looking west with the sunset.
Exhaust silencer from thermal R&D - thanks chuck.
It looks like I should bolt it sideways underneath the exhaust tip to help the gravitational pull of the exhaust waves resonating across the tarmac and rekindling the breeze of the port flow through the resonation turbulence. I'll post before and after sounds once it's installed.
Nice welds.
This build sponsored by Phearable.net
New gauges!
Gauge A-pillar pod
Interior view..
Last edited by Corksil; 01-18-2013 at 08:02 AM.
01-18-2013, 09:02 AM
#11
Honda-Tech Member
Thread Starter
Water temp/battery voltage gauge
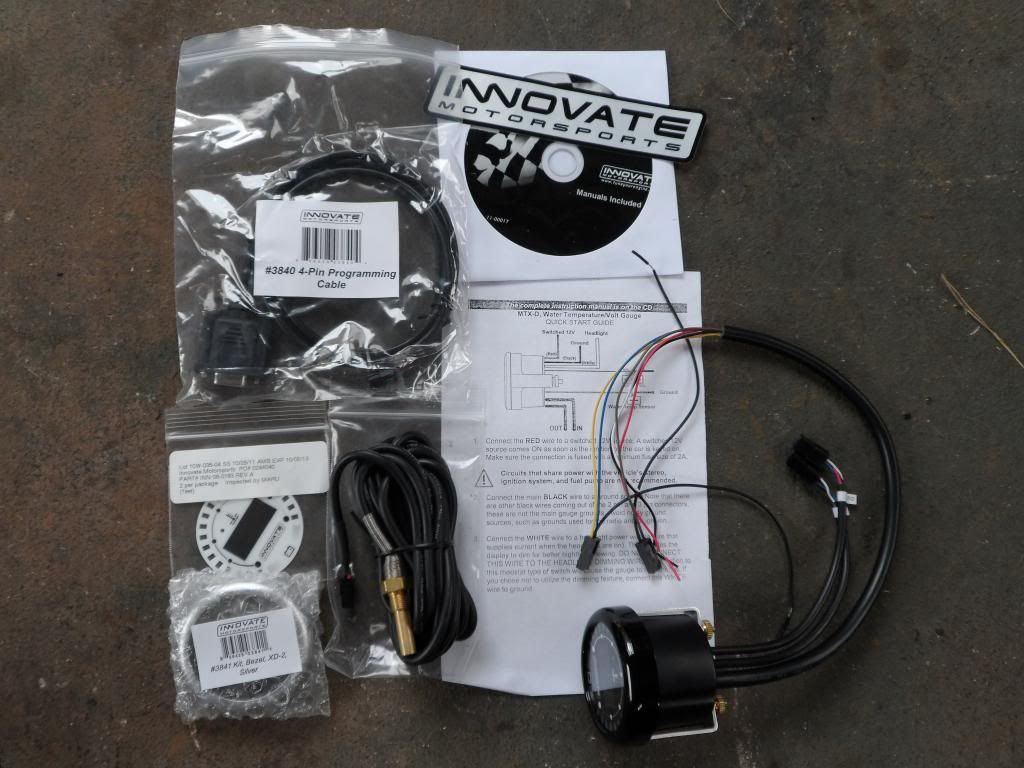
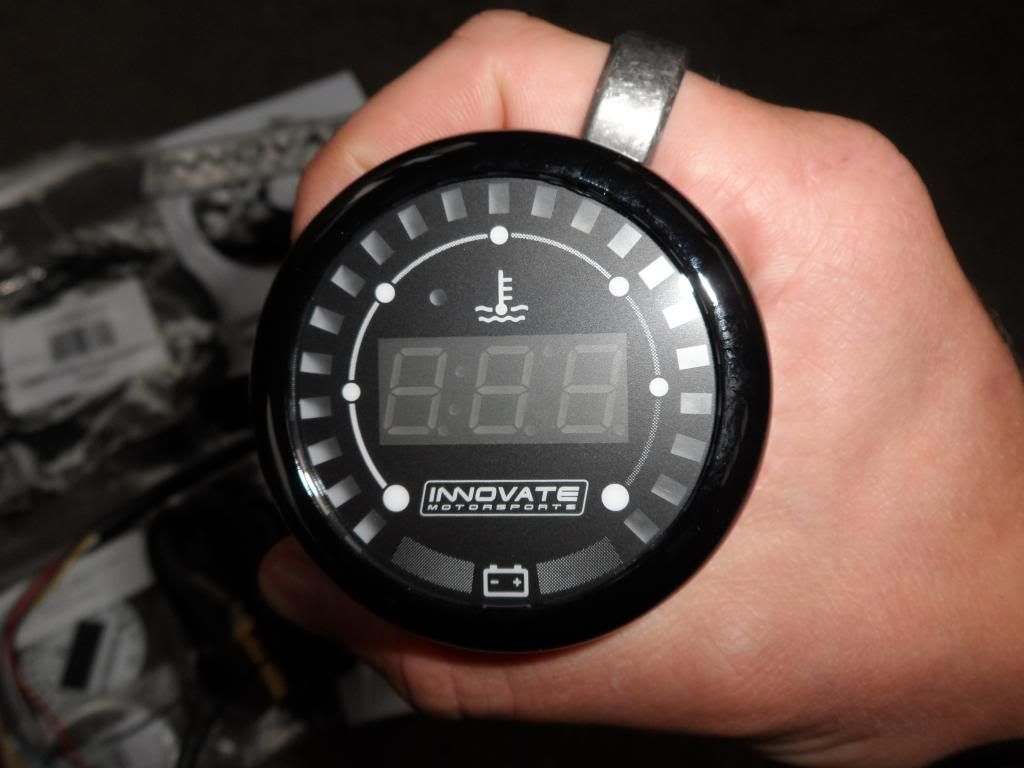
Brief instructions
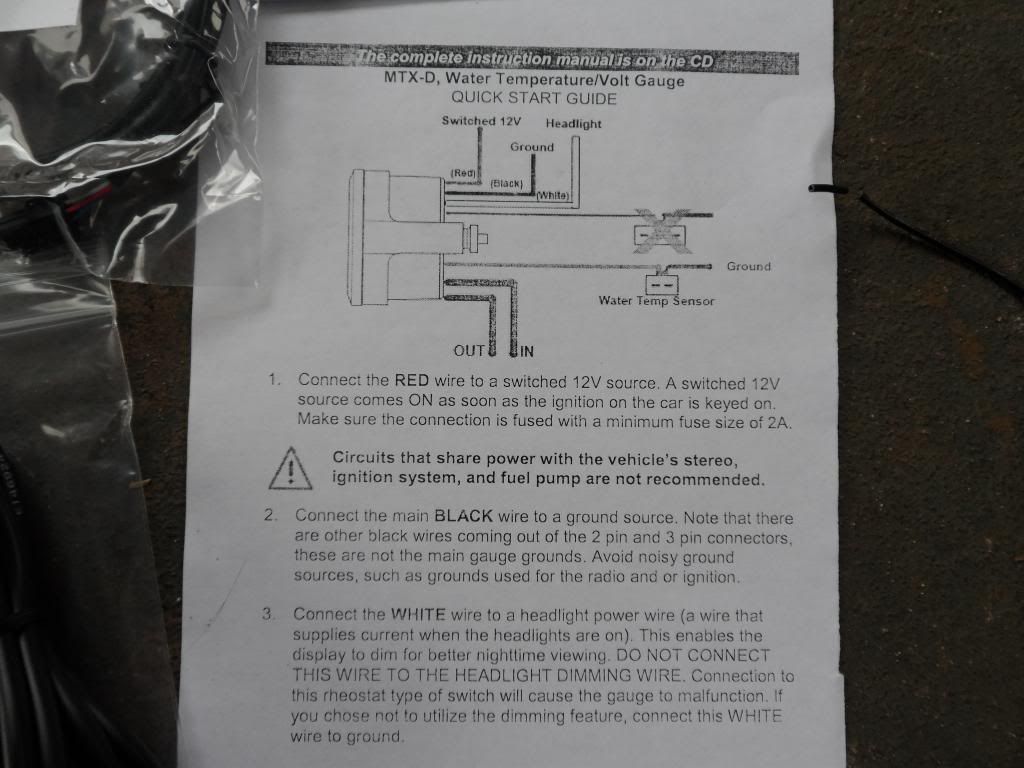
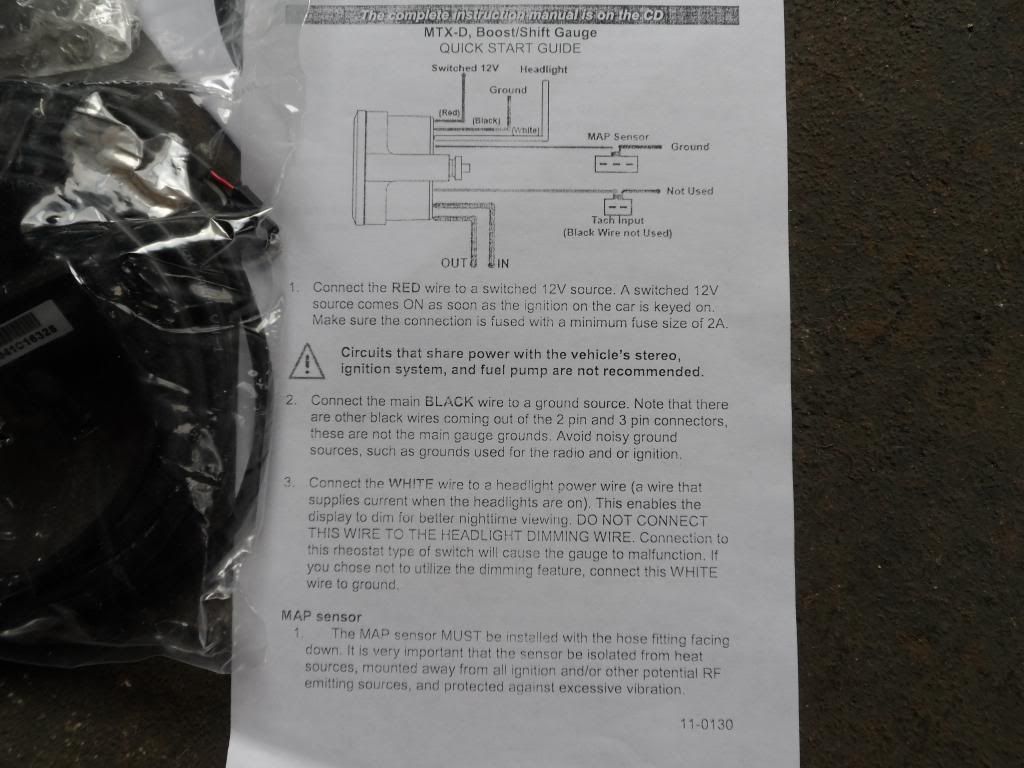
Vacuum/boost and shift light gauge
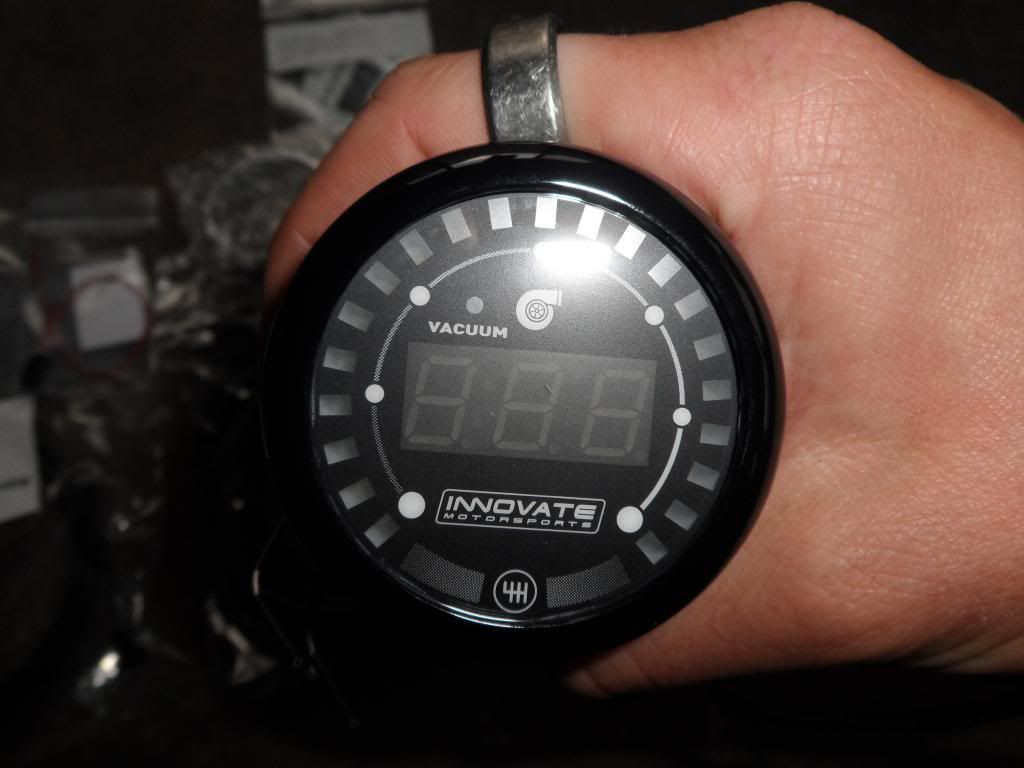
Brief instructions
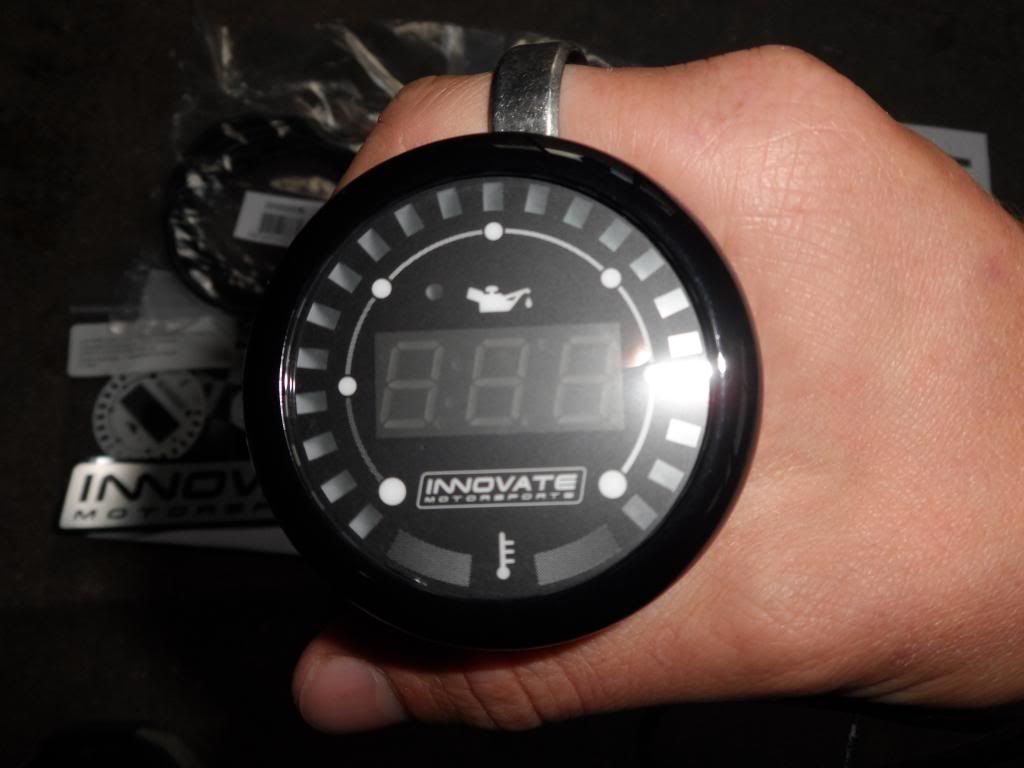
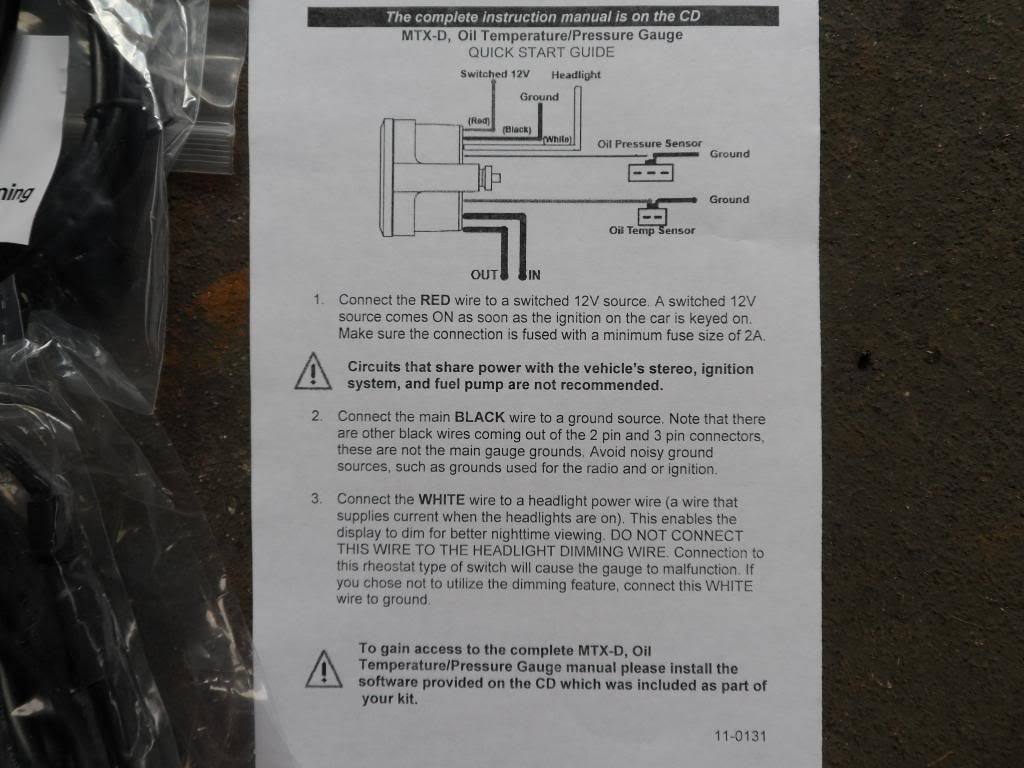
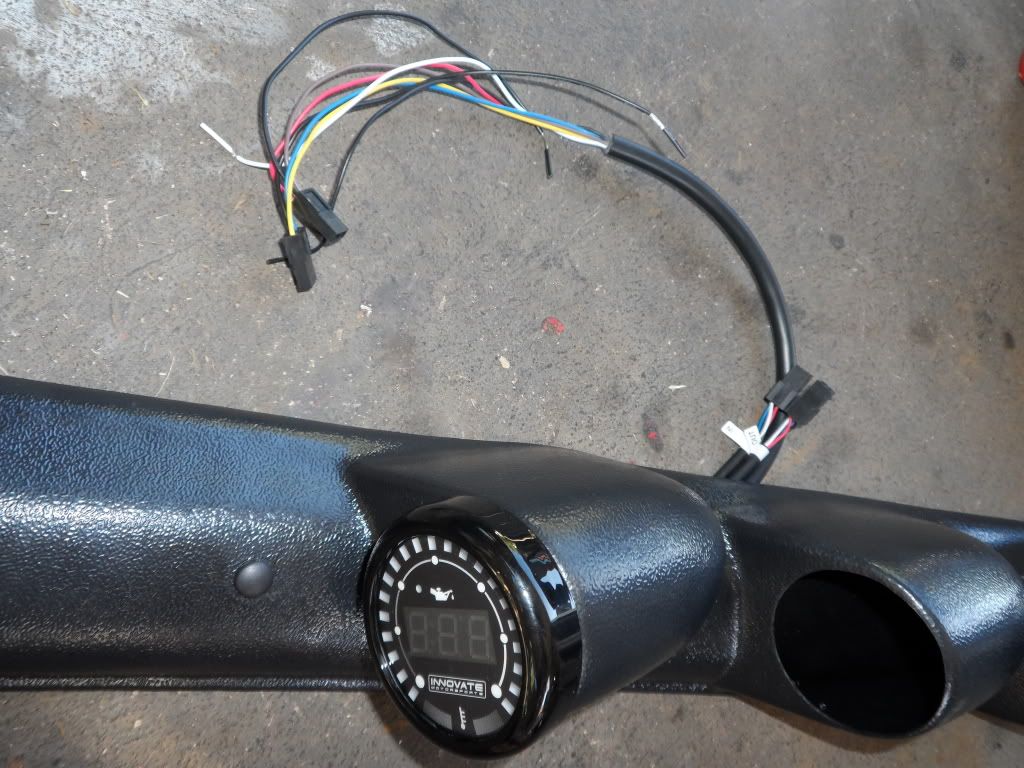
Oil pressure and temperature gauge
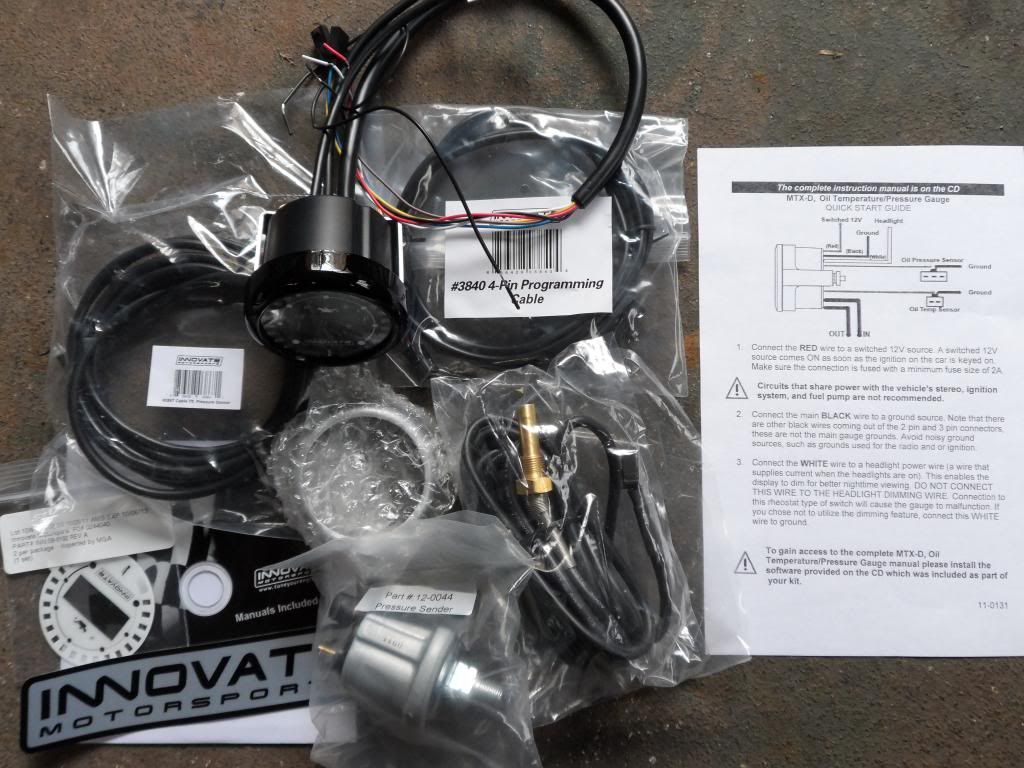
Brief instructions
EGT gauge

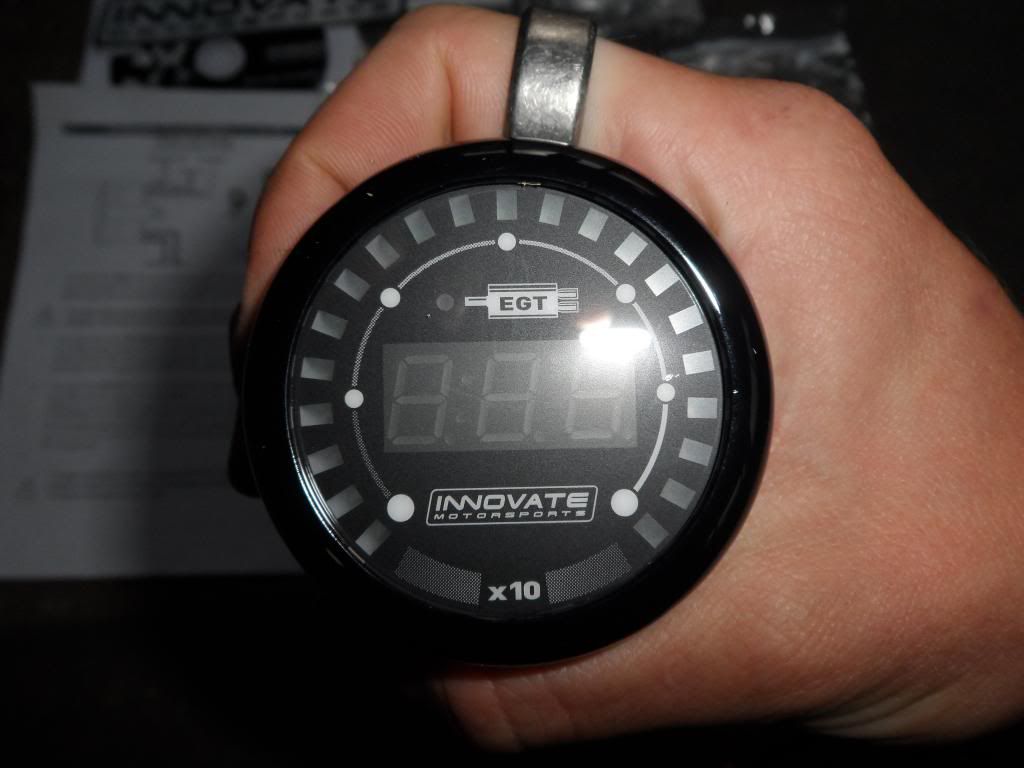
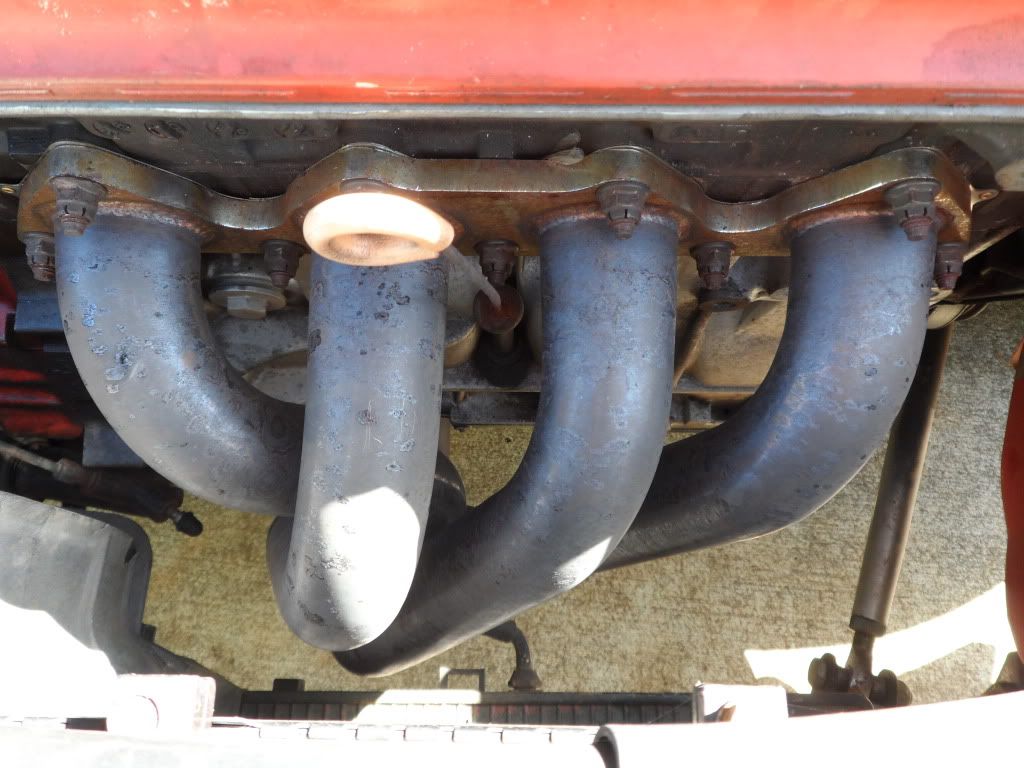
I'll need a bung welded on my exhaust header... Trying to find someone locally who can do it...

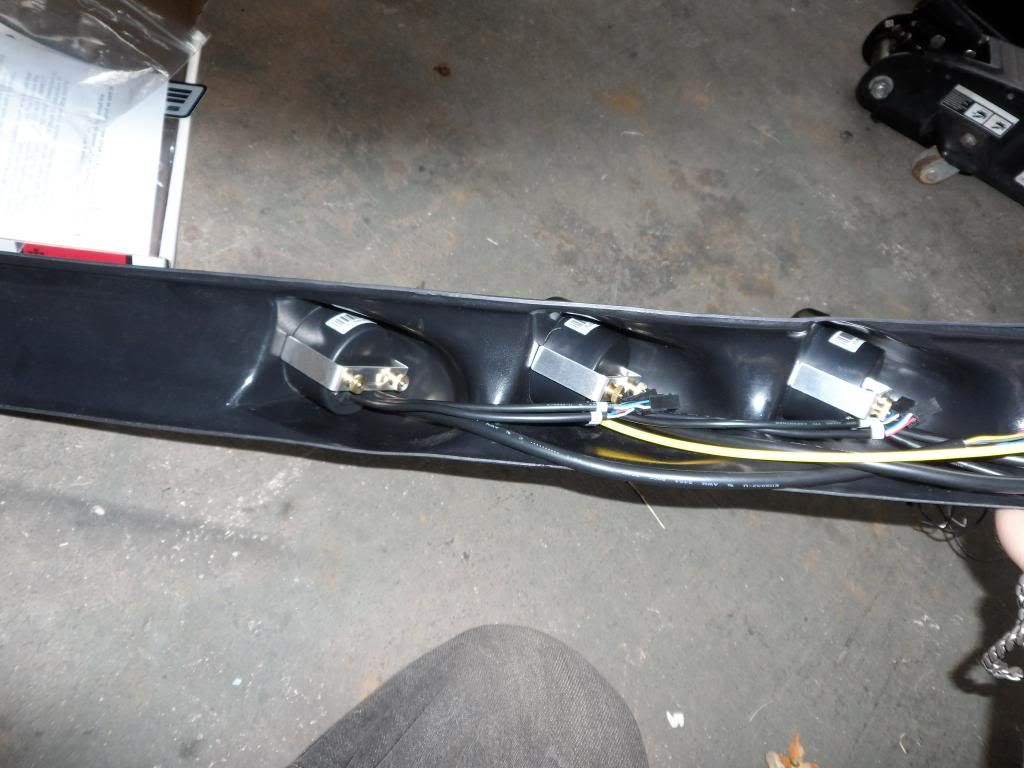
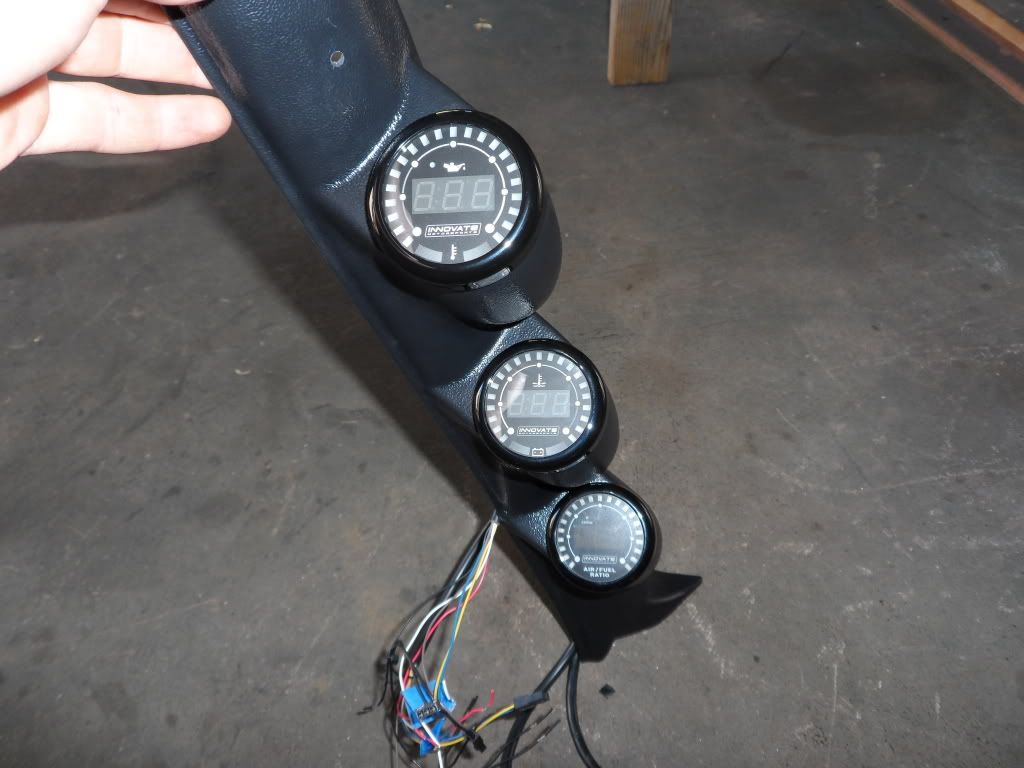
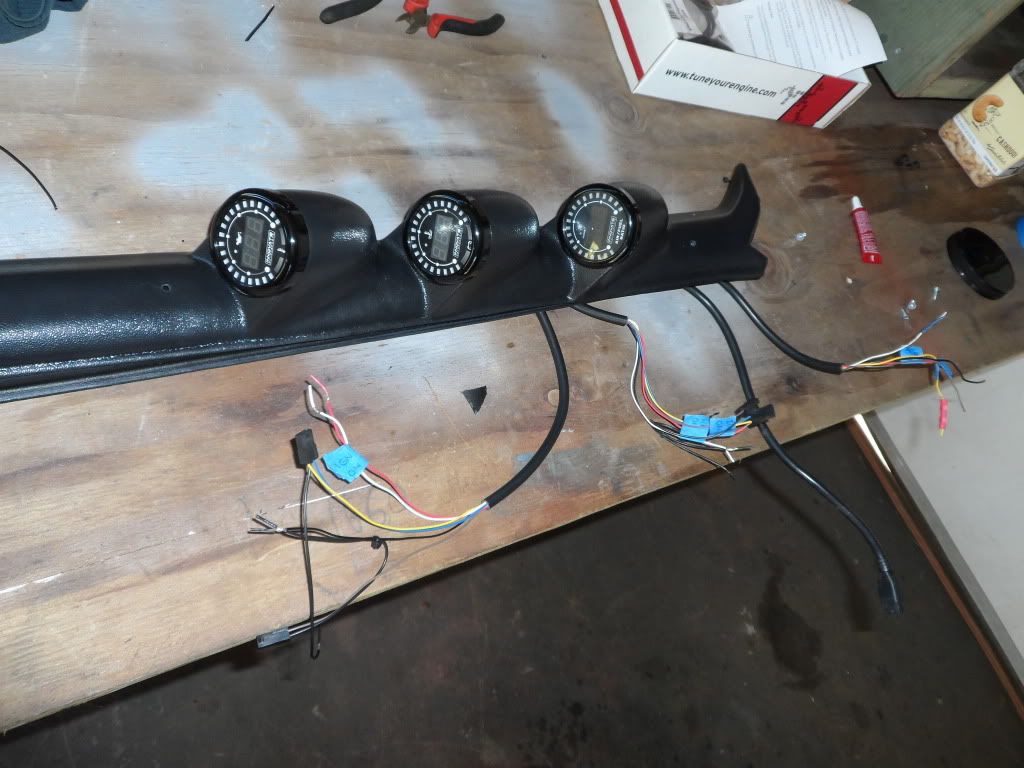
Test fit.. still figuring out which gauges will go where. I think oil-temp/pressure on top, AFR in the middle, and coolant/battery on the bottom. That leaves EGT and boost/shift-light in the dashboard.
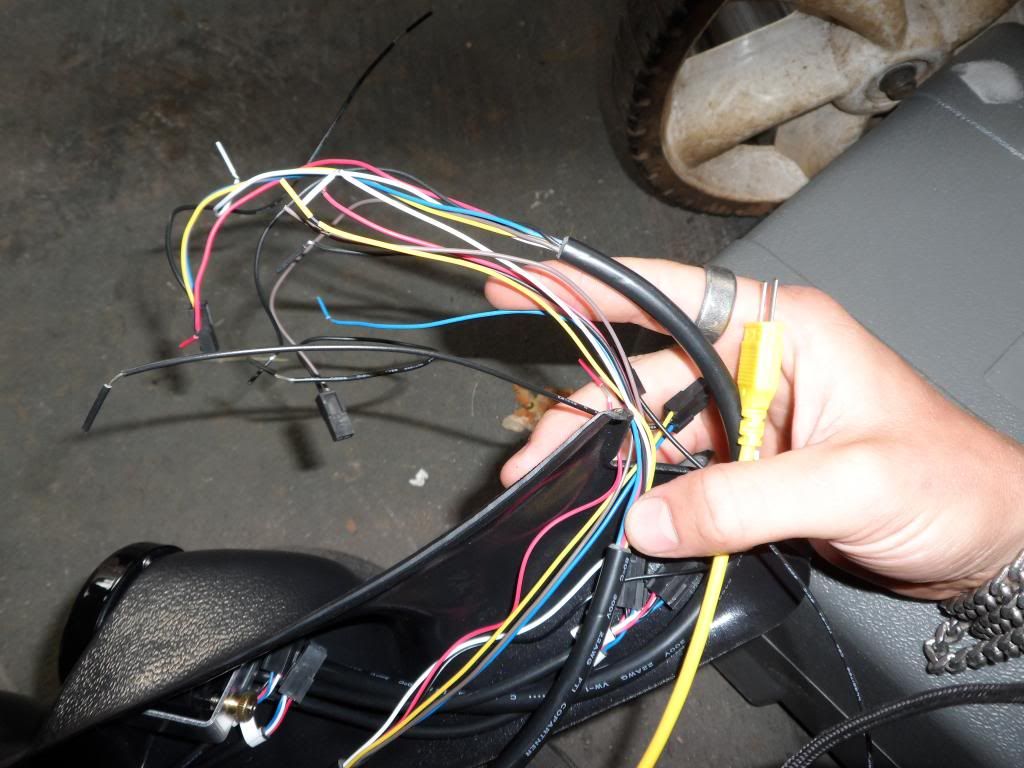
It's going to be a royal PITA to wire all this up..
Woo hoo!
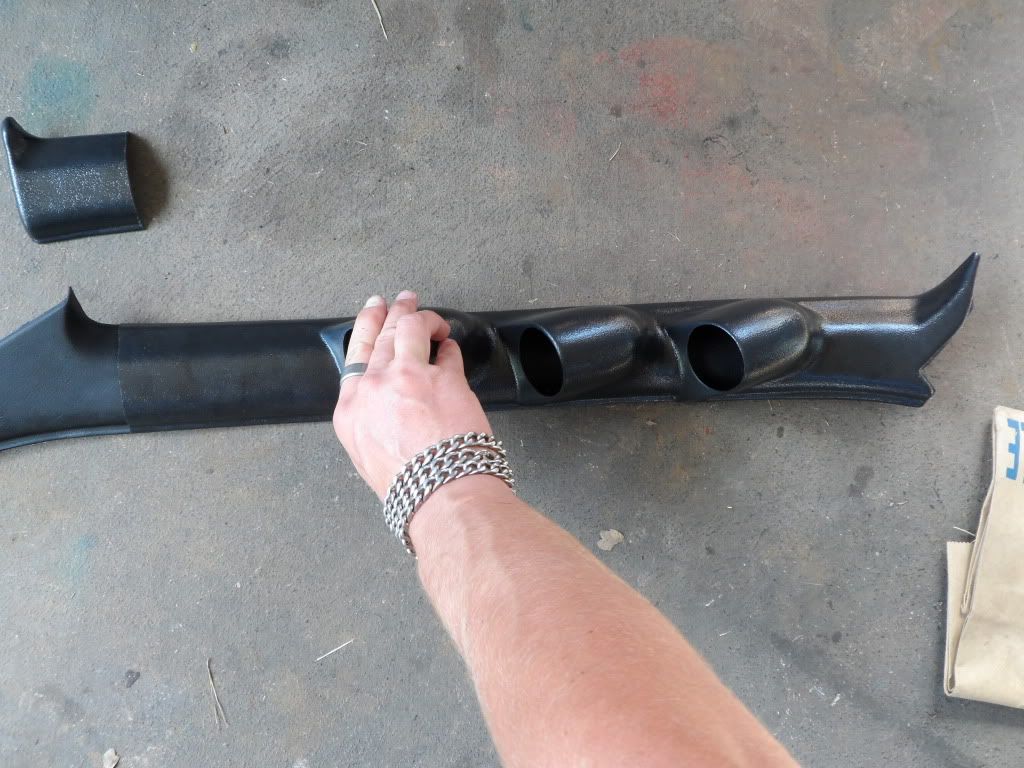
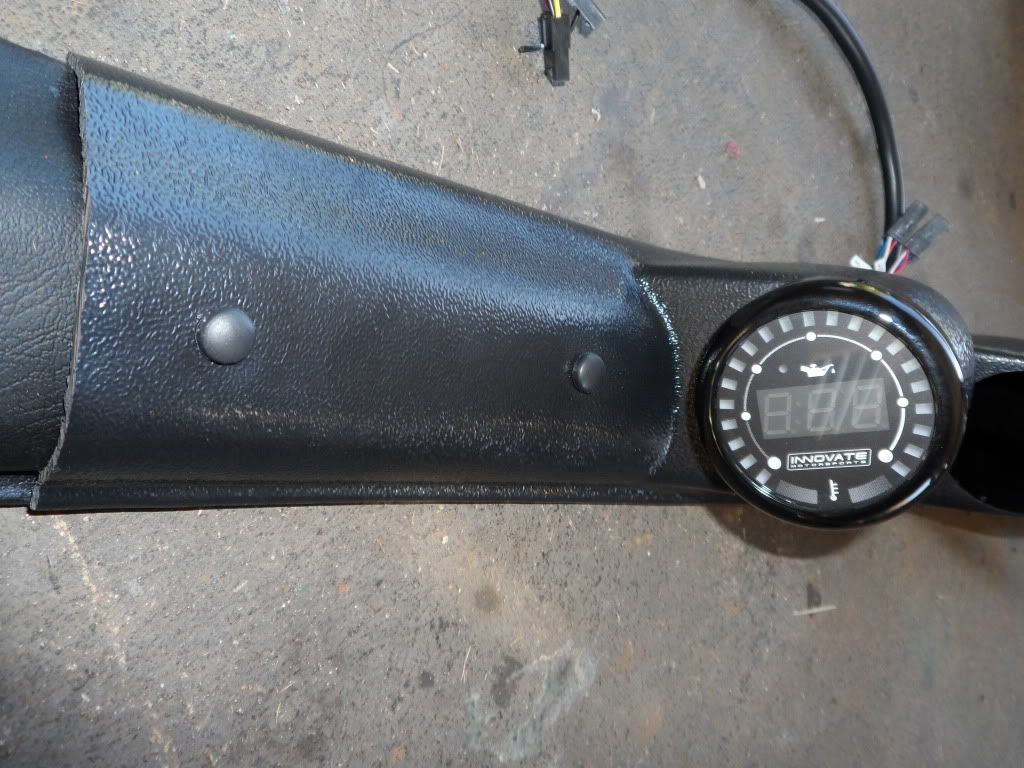
Mockup..
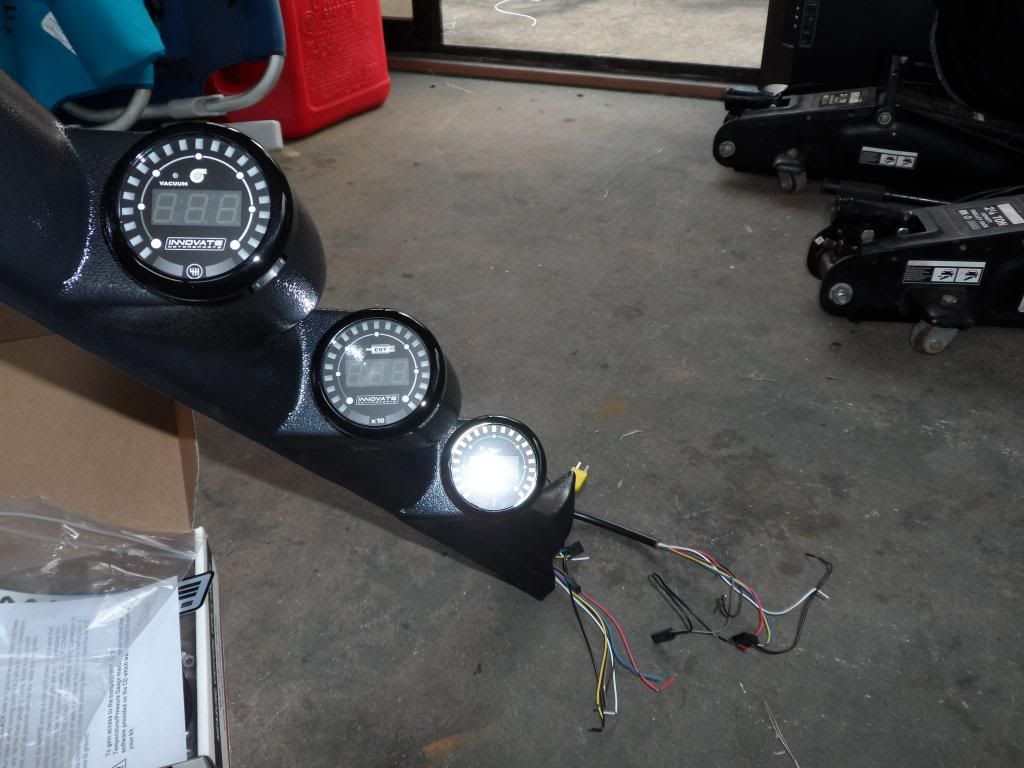
Nice and firmly mounted in the tough ABS plastic... So if I ever crash my ride I will get three 52mm core samples taken out of the side of my face..
Looks like fun.
BEFORE
I'll also have a chance to clean up my sloppy dashboard gauge install. Where the AFR currently sits..
Oh and by the way - some indian guy from photobucket called me up the other day trying to ask me about my user experience and he was quite rude and eventually hung up on me when I told him that I wasn't interested in anything he was selling and I didn't have the time to discuss some internet shenanigans. Lol ufck photobucket. I'd switch if it weren't such an impossible chore.
Brief instructions
Vacuum/boost and shift light gauge
Brief instructions
Oil pressure and temperature gauge
Brief instructions
EGT gauge
I'll need a bung welded on my exhaust header... Trying to find someone locally who can do it...
Test fit.. still figuring out which gauges will go where. I think oil-temp/pressure on top, AFR in the middle, and coolant/battery on the bottom. That leaves EGT and boost/shift-light in the dashboard.
It's going to be a royal PITA to wire all this up..
Woo hoo!
Mockup..
Nice and firmly mounted in the tough ABS plastic... So if I ever crash my ride I will get three 52mm core samples taken out of the side of my face..
Looks like fun.
BEFORE
I'll also have a chance to clean up my sloppy dashboard gauge install. Where the AFR currently sits..
Oh and by the way - some indian guy from photobucket called me up the other day trying to ask me about my user experience and he was quite rude and eventually hung up on me when I told him that I wasn't interested in anything he was selling and I didn't have the time to discuss some internet shenanigans. Lol ufck photobucket. I'd switch if it weren't such an impossible chore.
01-18-2013, 09:46 PM
#13
Honda-Tech Member
Thread Starter
Yes things are moving forward.
JRSC 3.8 pulley found today, plans to pay for it in the morning.
Both used and new ITR exhaust camshafts hve been located.. just deciding which one I want to buy..
Work hard and you can afford to do [some] of the things that make you happy. Work work work all weekend and all through the next few months.
01-18-2013, 10:51 PM
#14
Honda-Tech Member
Thread Starter
UPDATE! THE MAD SCIENTIST HAS FOUND A SUPPLY OF PURE, PHARMACEUTICAL GRADE METHANOL OF HIGH PURITY!
For anyone else running methanol injection - first and foremost I am jealous of your ease of access to methanol - you probably live in a cold climate with an abundance of cheap below-freezing wiper fluid (containing ~50% methanol} and cheap gas-line antifreeze HEET product.
Secondly - for anyone having trouble finding a source of pure, clean, high-potency, laboratory-grade methanol in all of it's nerve-damaging, highly flammable, toxic and explosive form --- listen up.
Methanol is used in the production of bio-diesel fuel - use this information to your advantage.
After 20+ calls to local biodiesel refineries I have sourced a connection for pure 99%+ methanol. (100% purity cannot be guaranteed due to it's volatile and water-absorbing nature.}
BRB buying a 55gal drum of this stuff and building a secluded bomb-proof holding shed near my shop to store my methanol stockpile in case it decides to spontaneously combust - which isn't unheard of..
BRB buying dry-chemical fire extinguishers and installing a fire-retardent nozzle system to flood my engine bay if I'm stupid enough to crash my car and find myself facing a fire situation.
BRB BRBING BBL stay tuned!
01-19-2013, 03:40 PM
#15
Honda-Tech Member
Thread Starter
I am considering buying a couch. It looks to be a very comfortable low mileage couch with a nice floral print on the covering.

The couch has a fold-out bed with three cushions and lots of pillows.
The couch is in decent condition, it has scratches in the fiberglass resin but the cloth appears to be un-molested.
The couch only comes with two cushions and for that reason I don't think it's worth the money.
stay tuned for updates.
01-19-2013, 04:23 PM
#16
Honda-Tech Member
Thread Starter
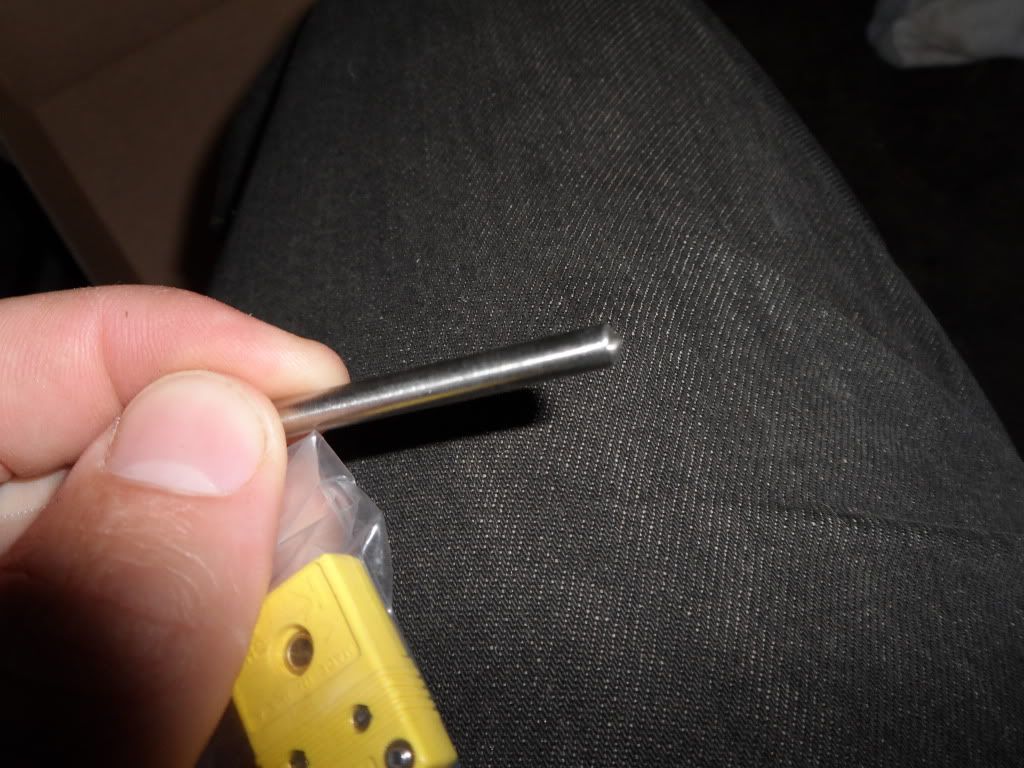
So I'm having trouble figuring out the optimal probe location for the EGT gauge - I could follow the instruction manual but I'd rather get the opinion of someone familiar with the b-series setup who has installed and run EGT gauges in the past. Naturally you would look on HT for such advice, but the ppl with real world experience must be lurking or have me blacklisted. You can comment here and here.
The damn probe is too long. (That's what she said)
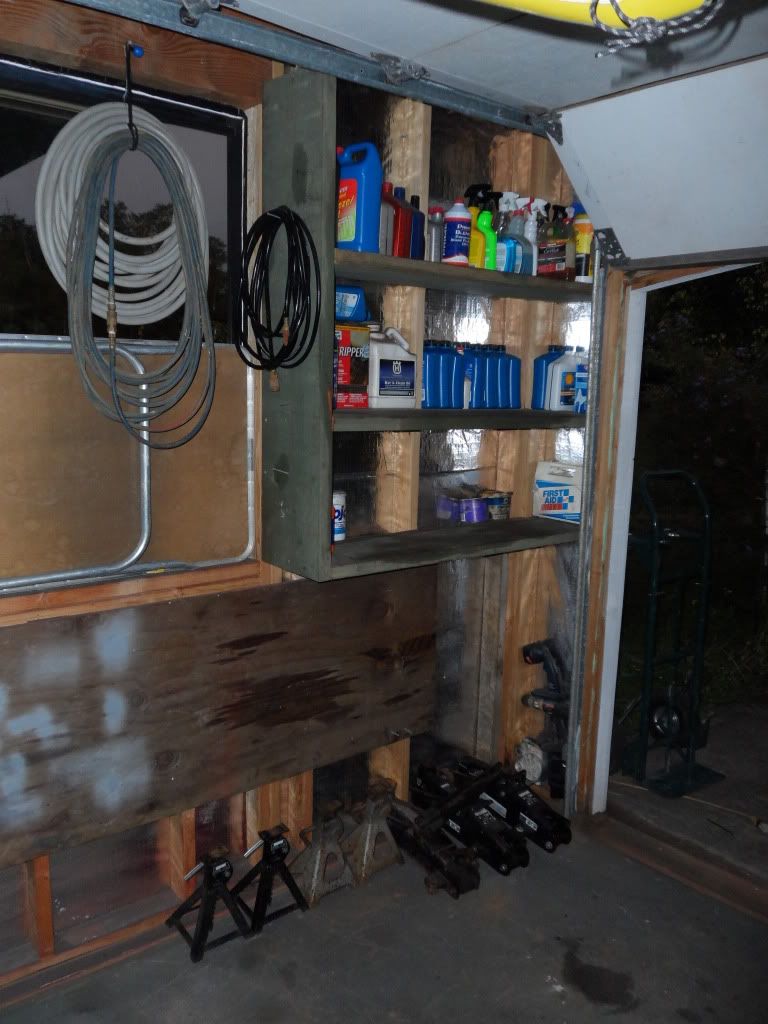
I decided to take all of my parts out of my shop and relocate them to a friend's house where they will be safer in case any ******** reading this want to try and rip me off. If you are a thief, please read this several times - Thieves are the scum of the earth. Thieves do not deserve to reproduce. If you are a thief, go cut off your ***** and bleed to death.
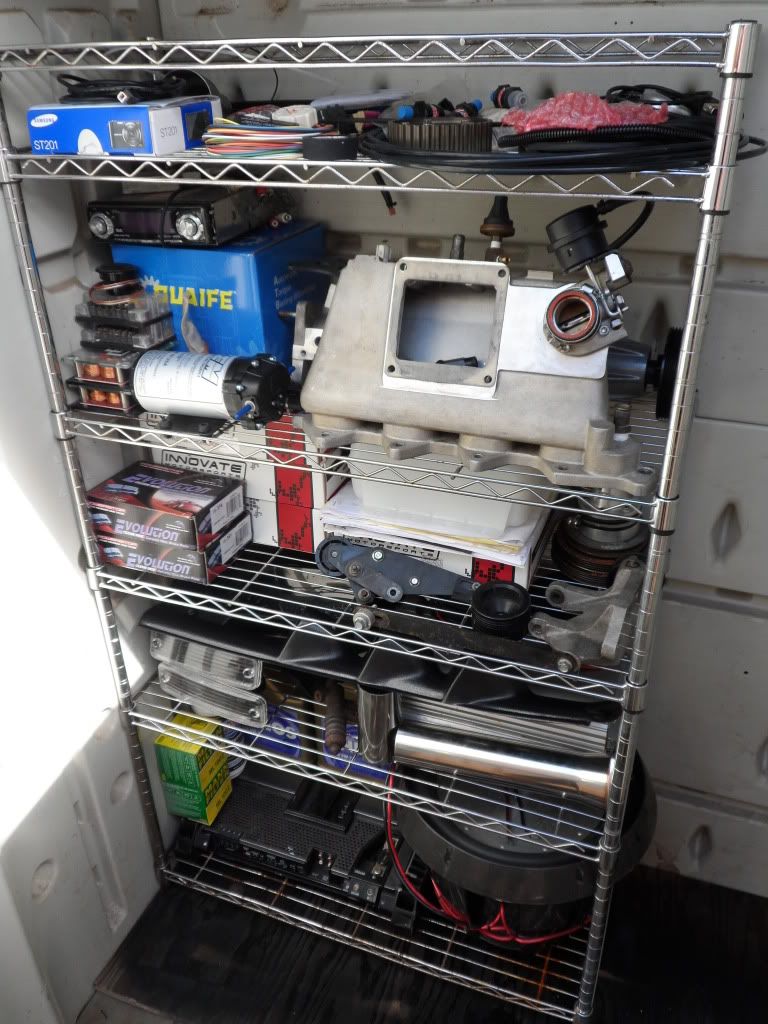
Lots of goodies all finally consolidated into one condensed location. No I did not win the lottery, some of this stuff I have been collecting since I was 19..
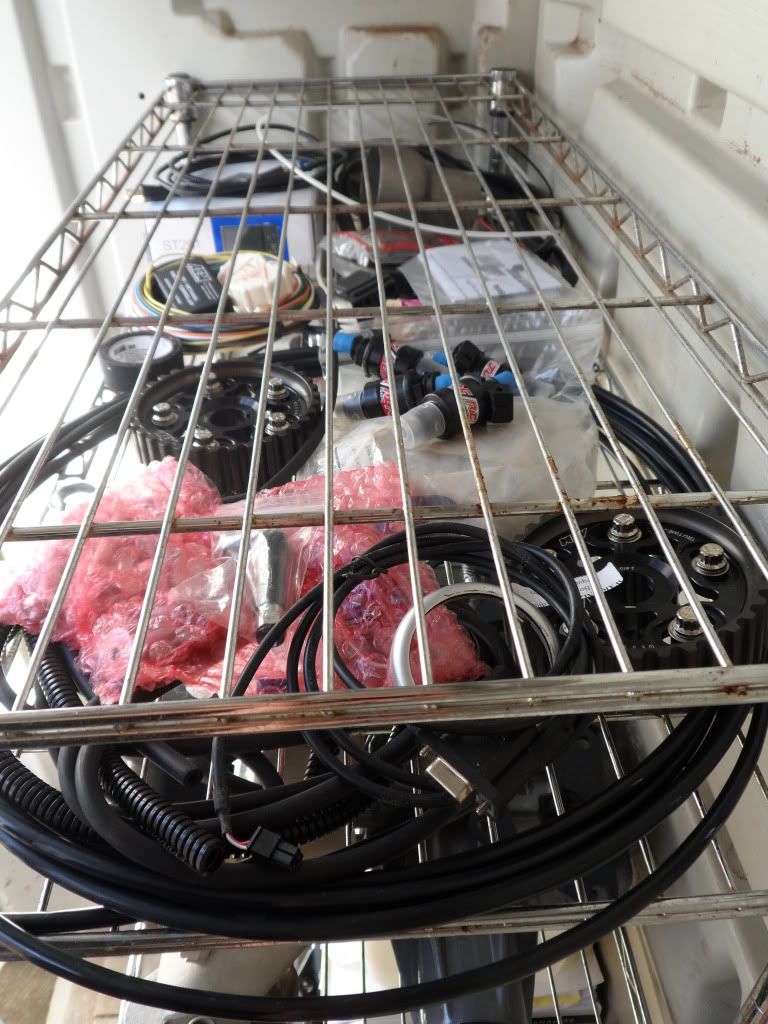
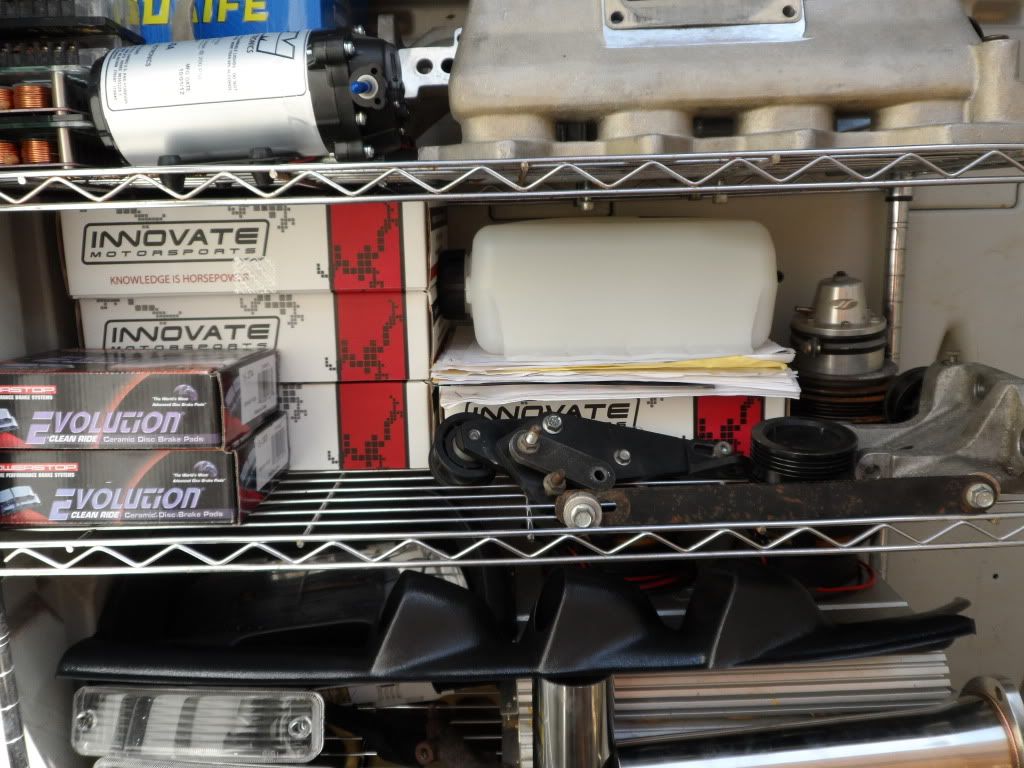
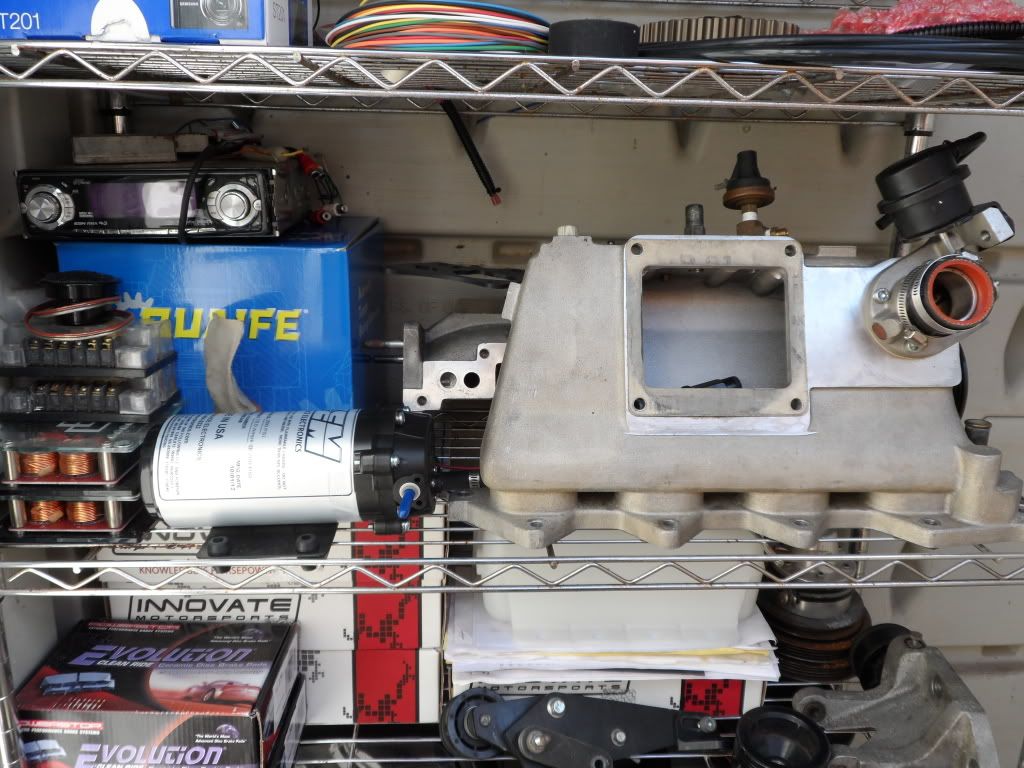
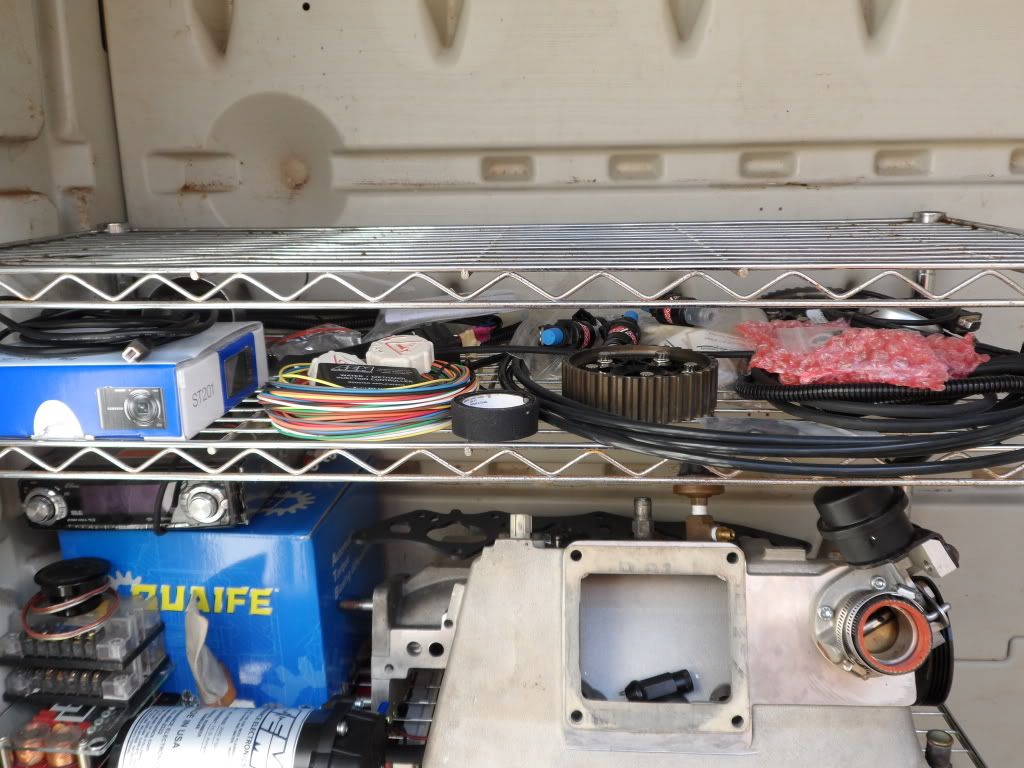
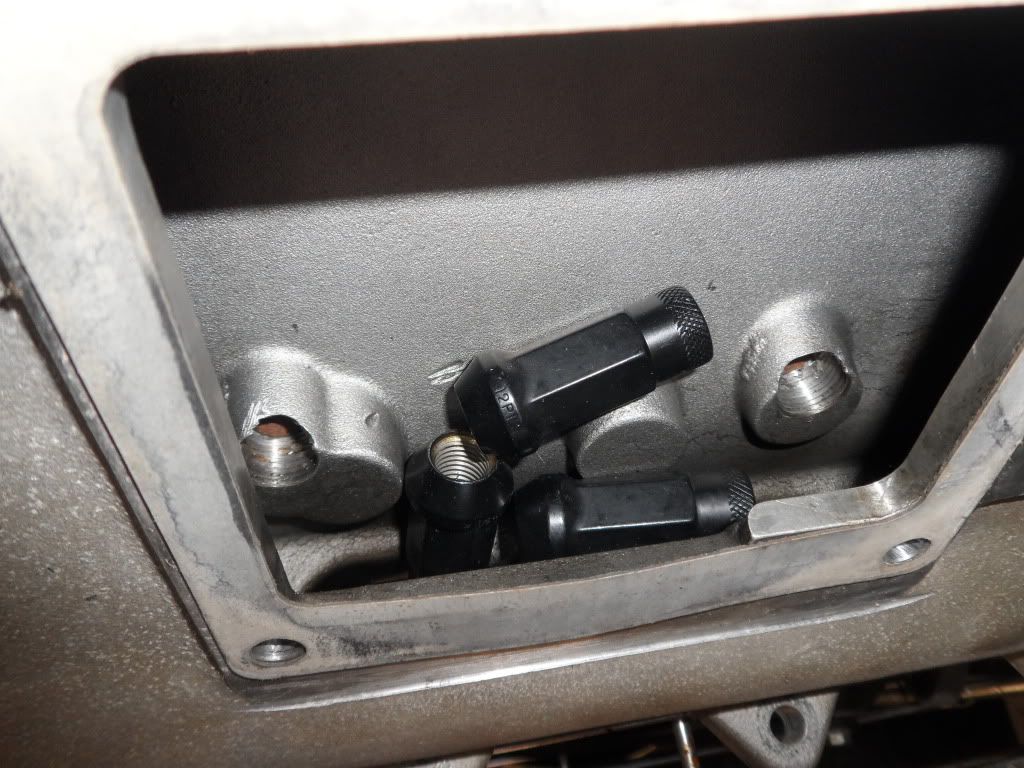
I even have parts hiding inside of my parts!
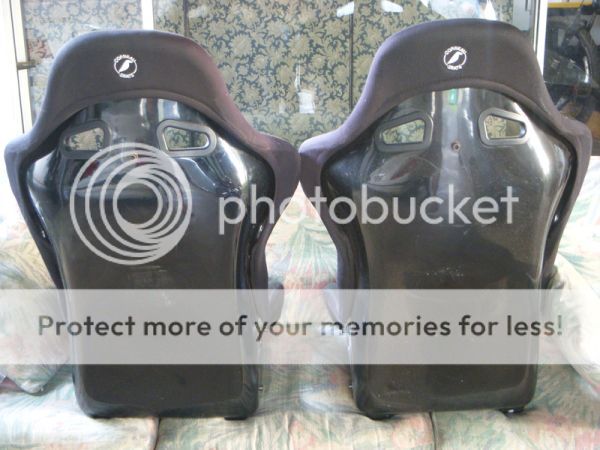
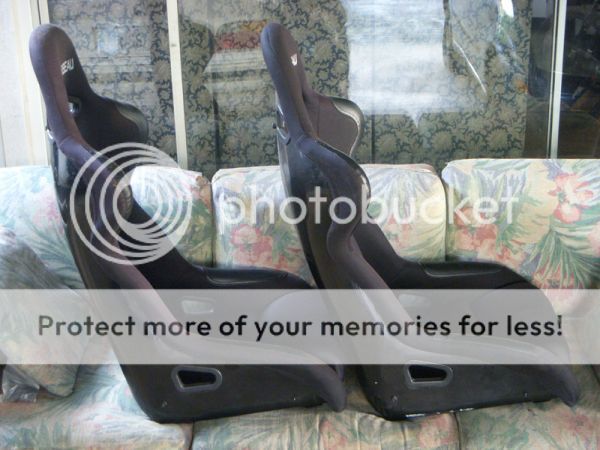
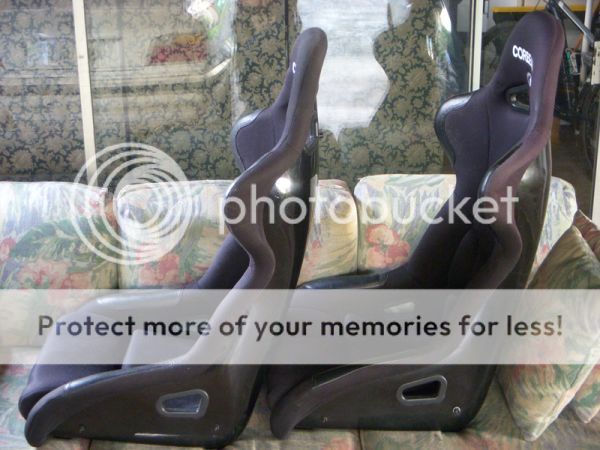
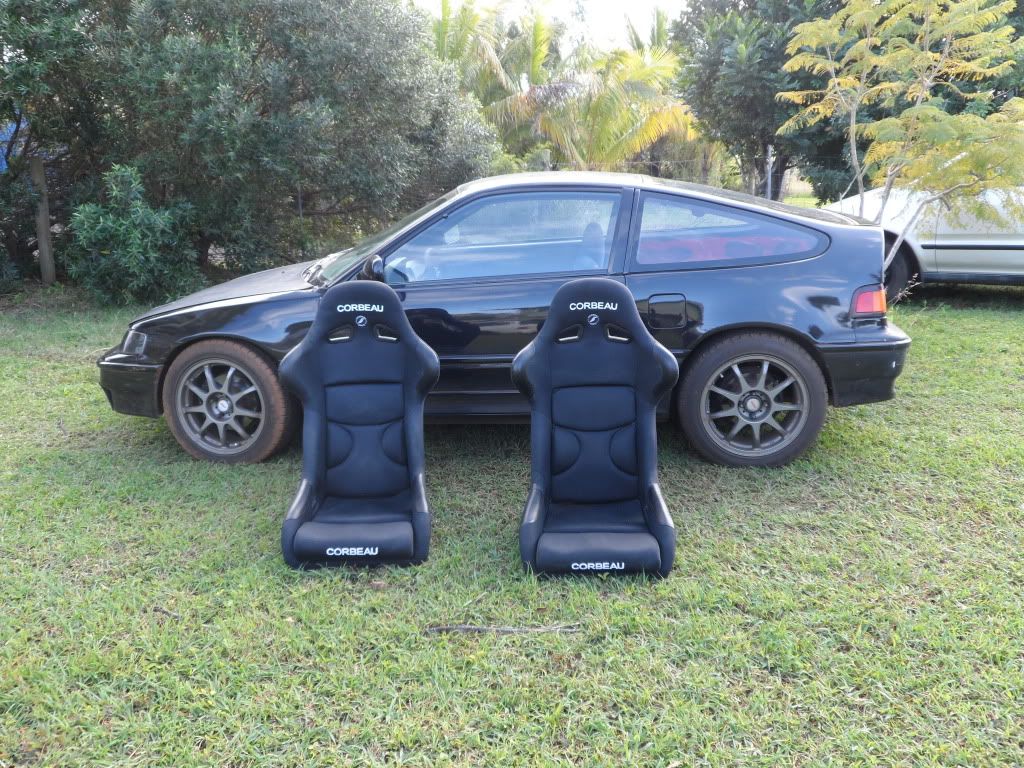
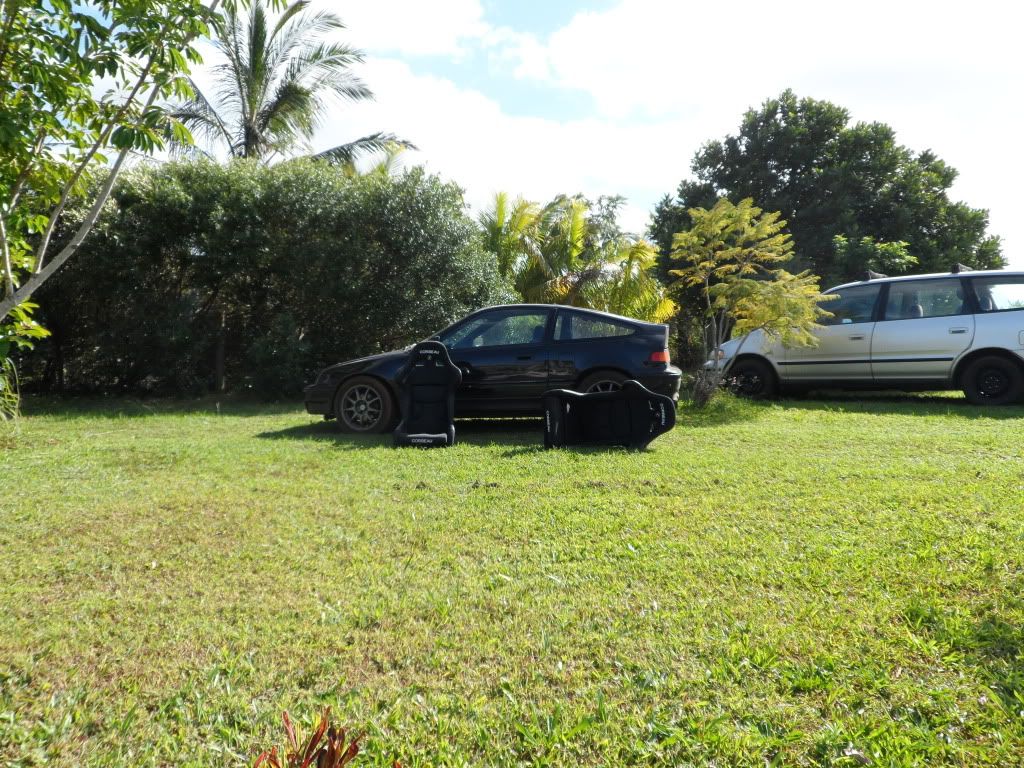
And if anyone read the captions they would have seen that I was considering buying a floral print couch that popped up on CL. I went and looked at the couch today and the guy also had some corbeaus for sale which were in better condition than the couch so I bought them. I'll need to fabricate some rails now. I might head back there tomorrow and take the momo volante wheel off his hands once i figure out which hub I need.
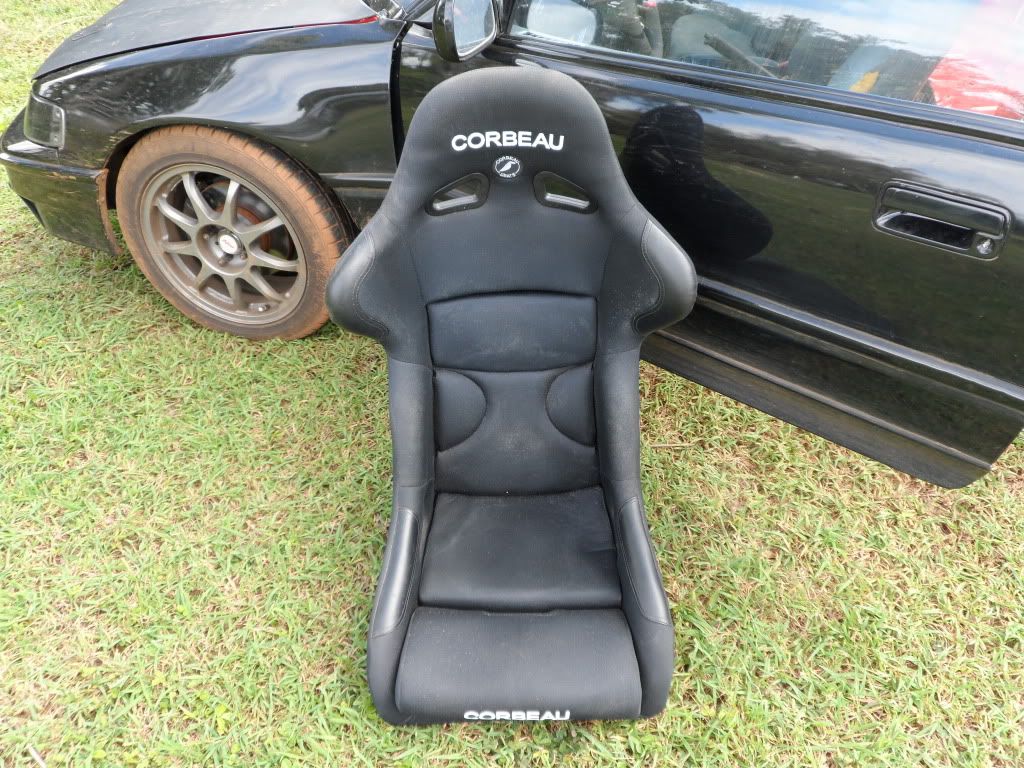
They are in damn good condition. With a little mold due to the recent flooding monsoon rain.
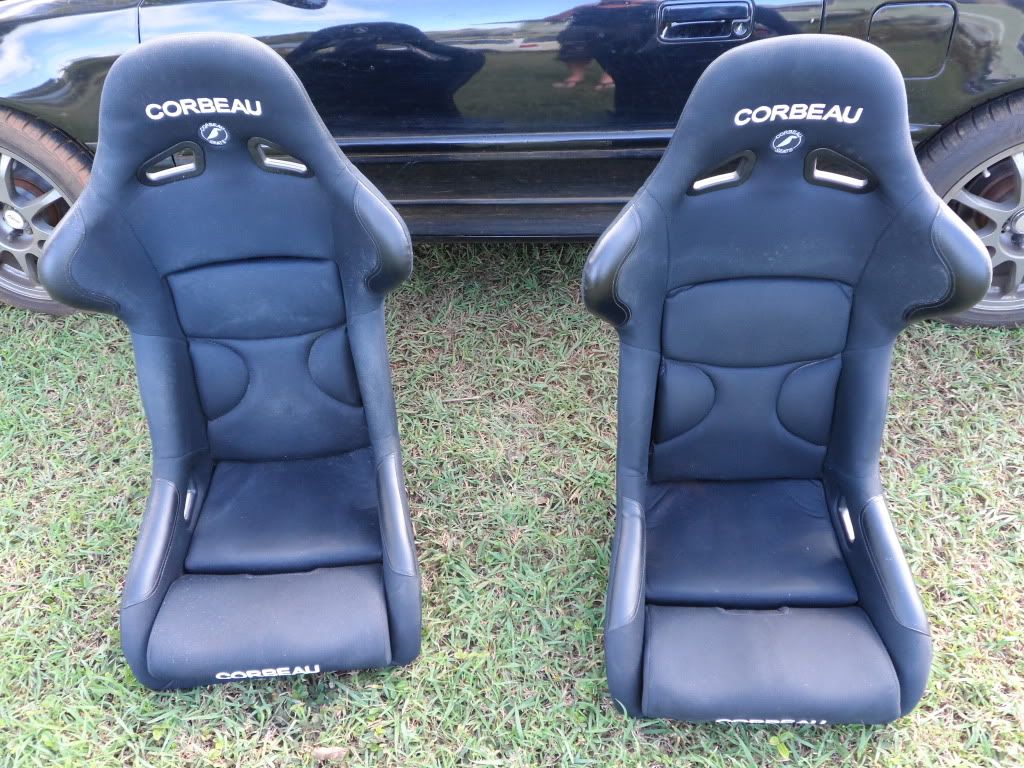
Pretty dusty however.
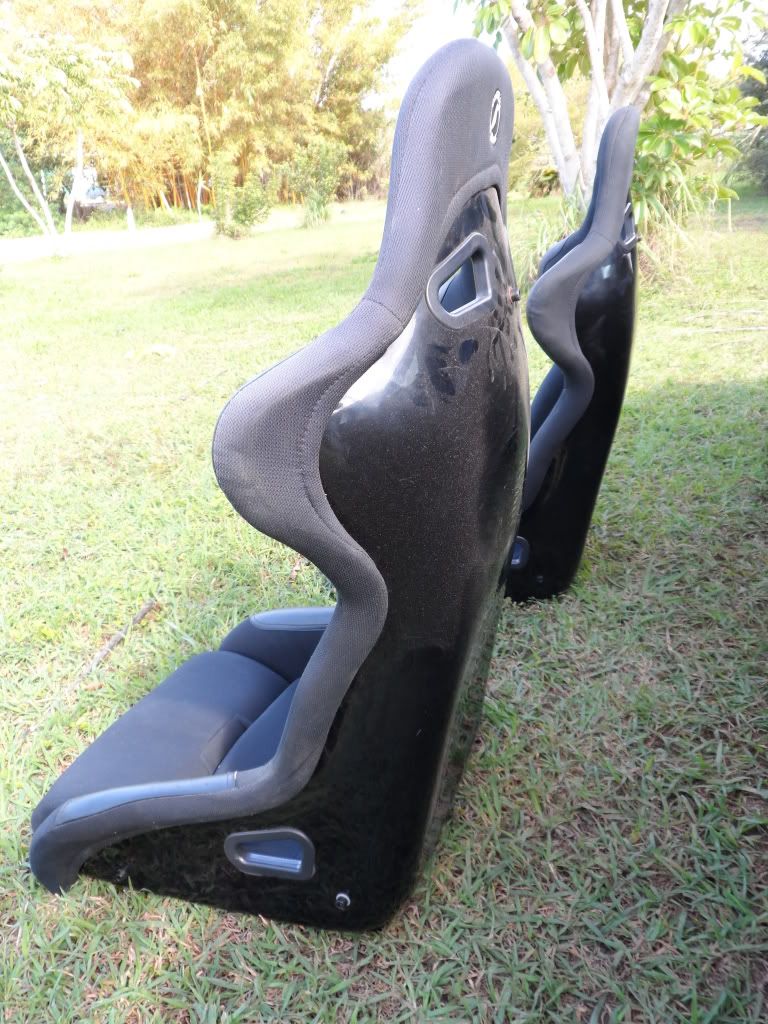
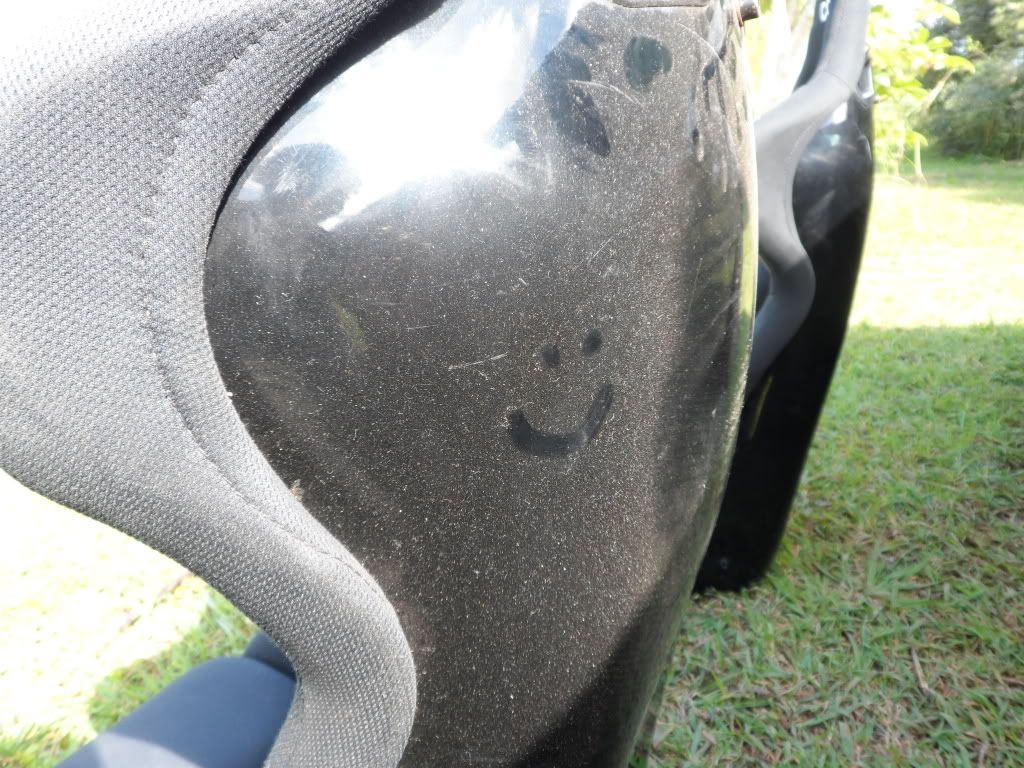
A few scratches near the base.
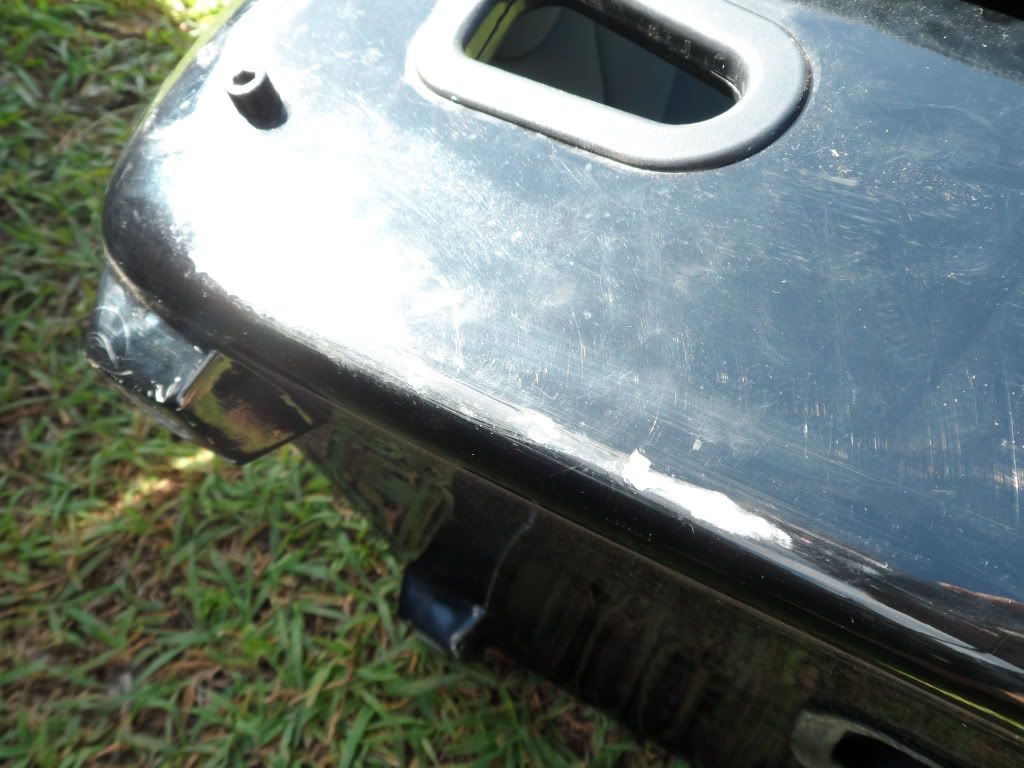
And some wear on the rail mounts but nothing is physically wrong with the function or operation of the seats.

Cute little gokart is only getting faster.
Yeah it's a seat. How many pictures do you want me to post of it. Yeah just look at that seat. It's just sitting there... like a seat. Yeah, moving right along.
The damn probe is too long. (That's what she said)
I decided to take all of my parts out of my shop and relocate them to a friend's house where they will be safer in case any ******** reading this want to try and rip me off. If you are a thief, please read this several times - Thieves are the scum of the earth. Thieves do not deserve to reproduce. If you are a thief, go cut off your ***** and bleed to death.
Lots of goodies all finally consolidated into one condensed location. No I did not win the lottery, some of this stuff I have been collecting since I was 19..
I even have parts hiding inside of my parts!
And if anyone read the captions they would have seen that I was considering buying a floral print couch that popped up on CL. I went and looked at the couch today and the guy also had some corbeaus for sale which were in better condition than the couch so I bought them. I'll need to fabricate some rails now. I might head back there tomorrow and take the momo volante wheel off his hands once i figure out which hub I need.
They are in damn good condition. With a little mold due to the recent flooding monsoon rain.
Pretty dusty however.
A few scratches near the base.
And some wear on the rail mounts but nothing is physically wrong with the function or operation of the seats.
Cute little gokart is only getting faster.
Yeah it's a seat. How many pictures do you want me to post of it. Yeah just look at that seat. It's just sitting there... like a seat. Yeah, moving right along.
01-20-2013, 09:56 PM
#17
Honda-Tech Member
Thread Starter
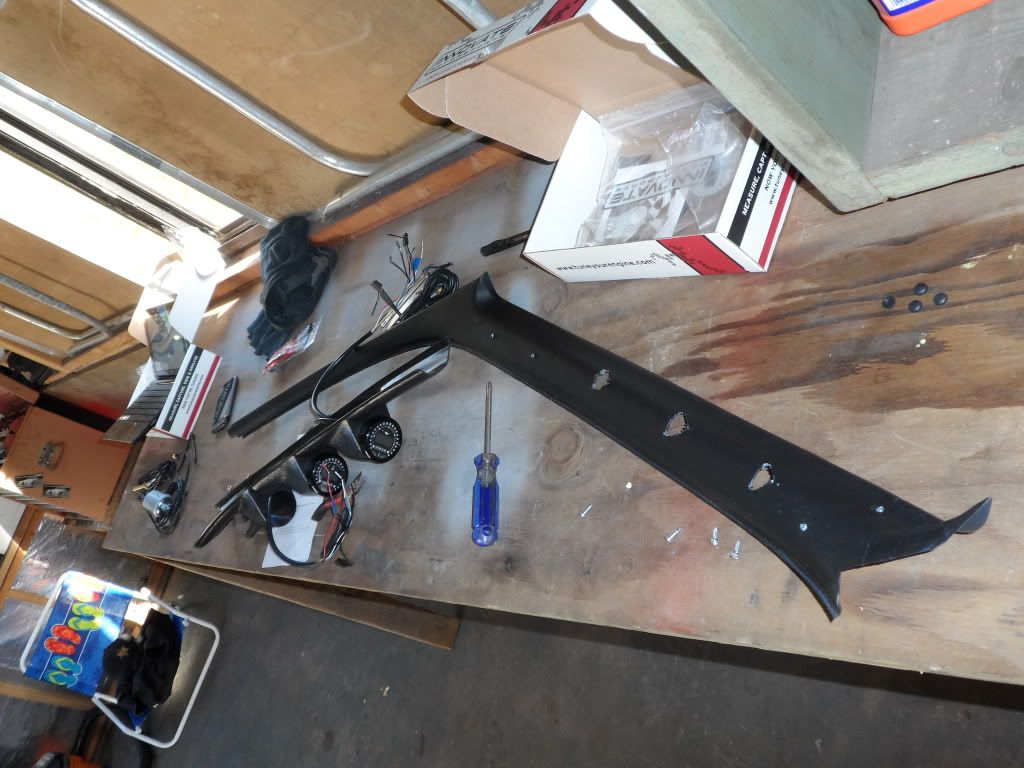
Alright here we go again. An update before a hard week of long hours to fund this whole mindfart.
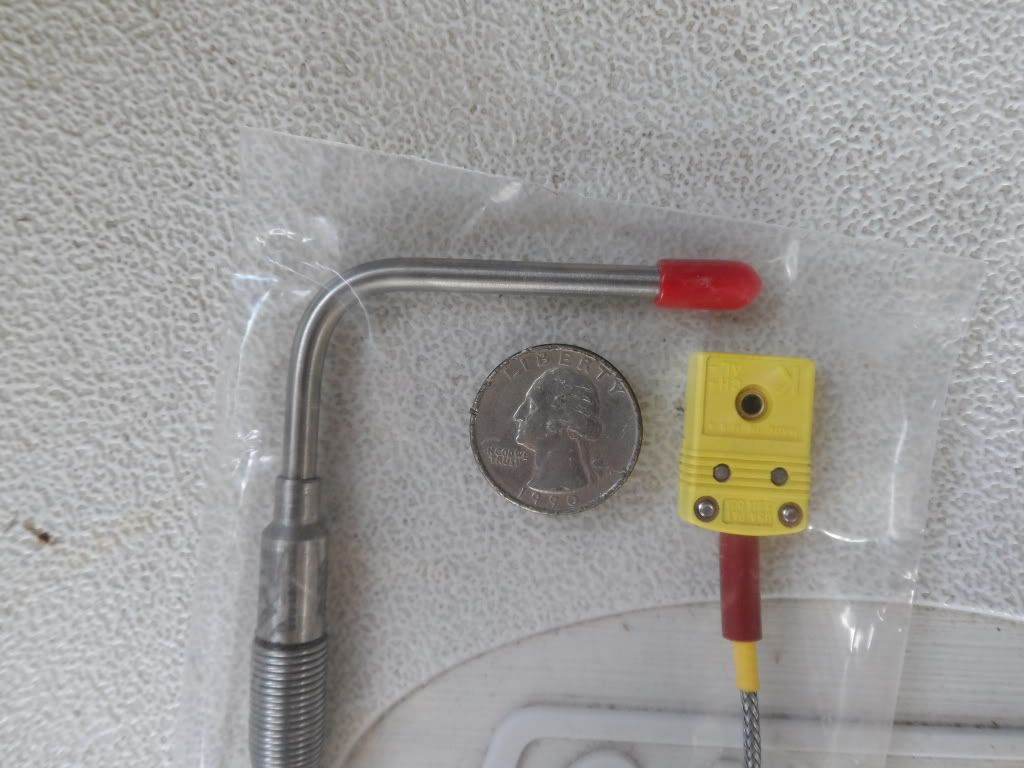
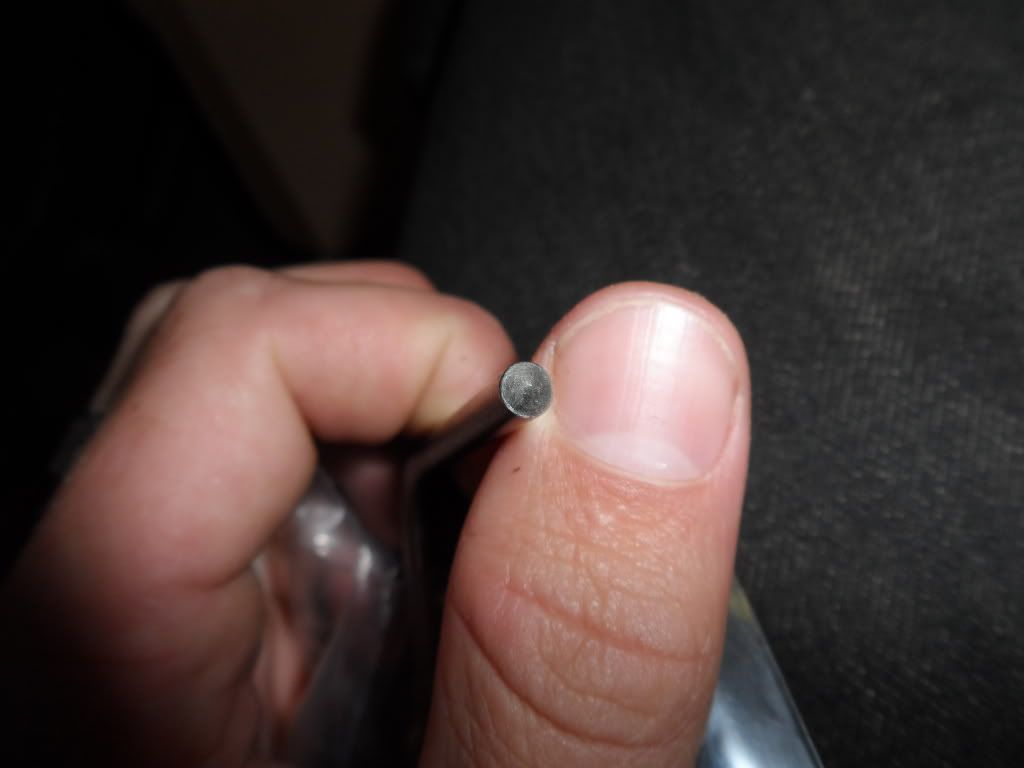
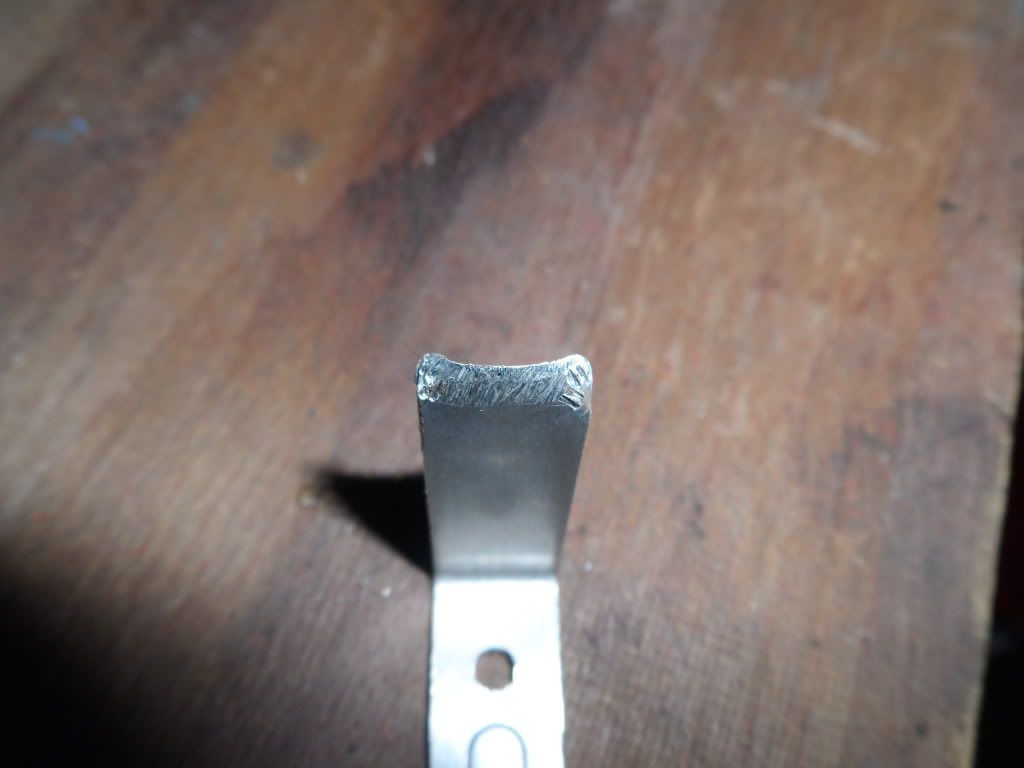
Tip of my EGT probe with plastic cap removed. Can anyone tell me if this is the enclosed or exposed probe type?
Under the third runner mounted on the inside of the manifold on the back so the signal wire can get through the heatwrap.
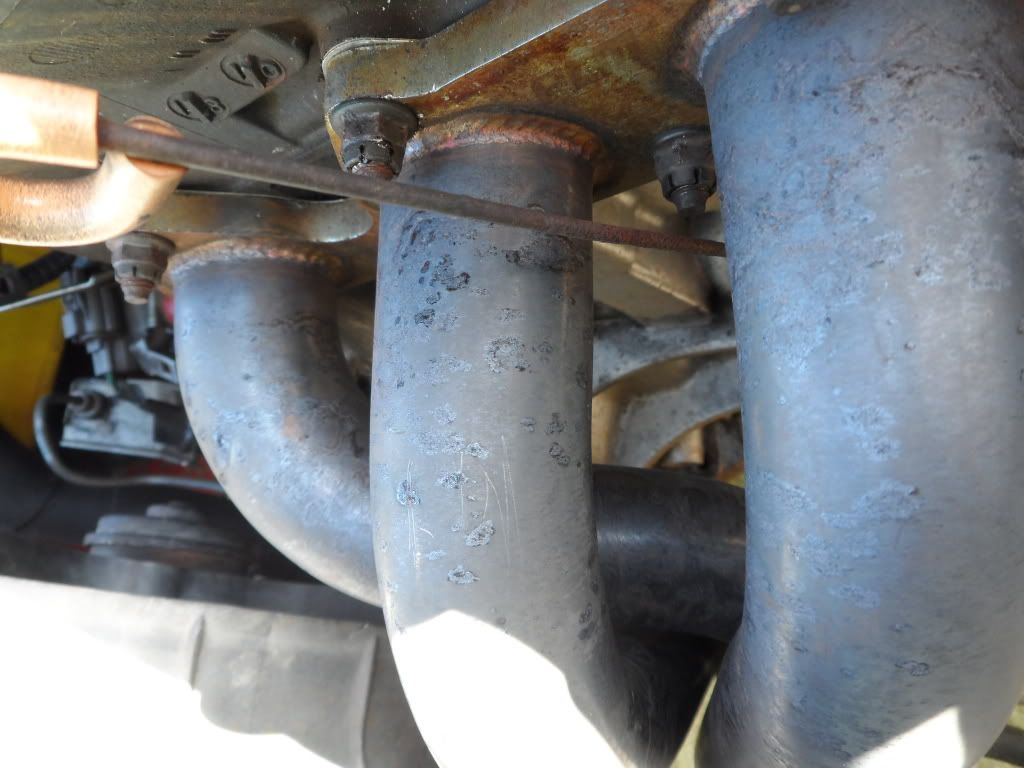
clearance = fuuuuuuuuu
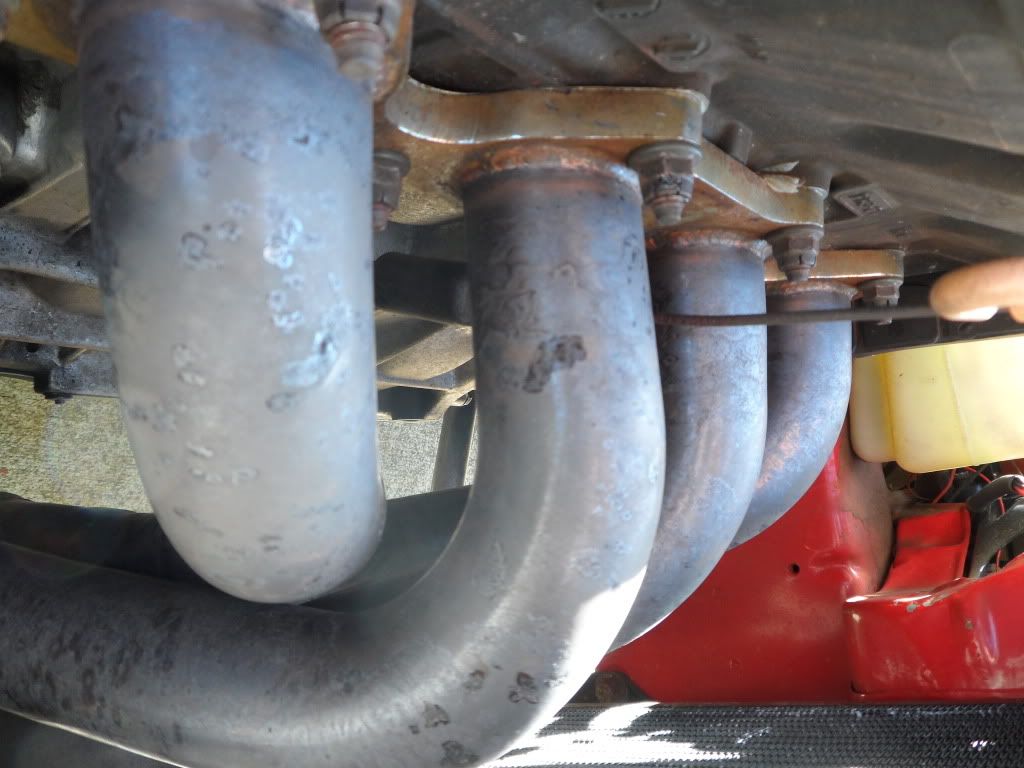
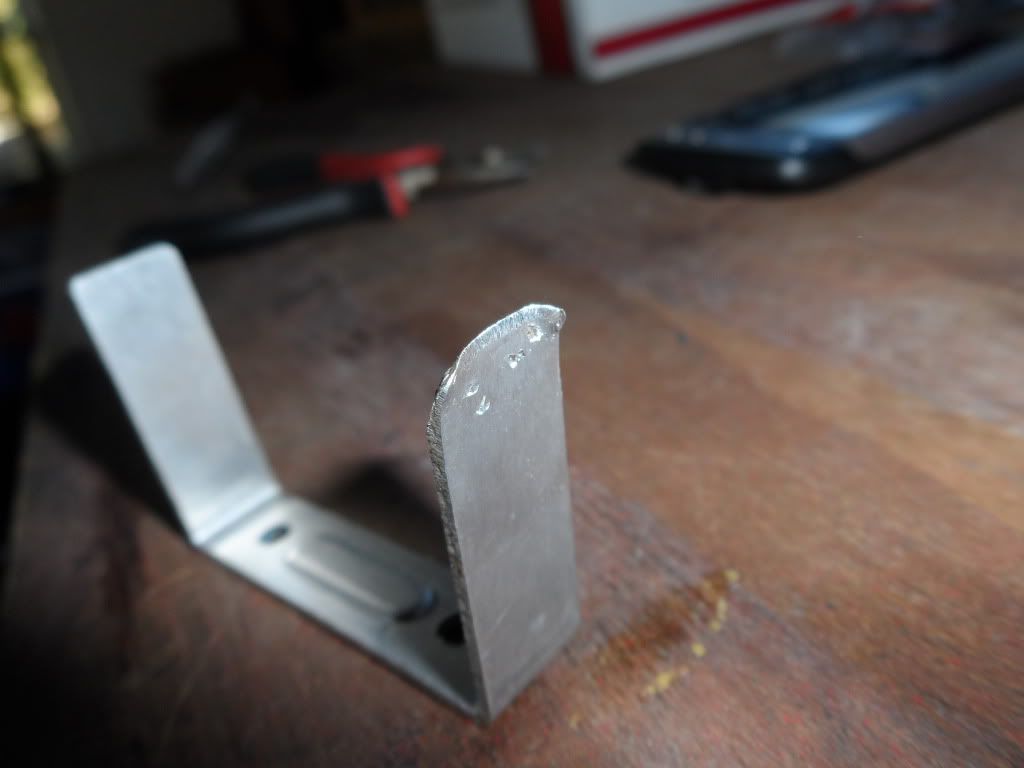
test fit

that is a very high-tech tool, commonly known as 'hacksaw'
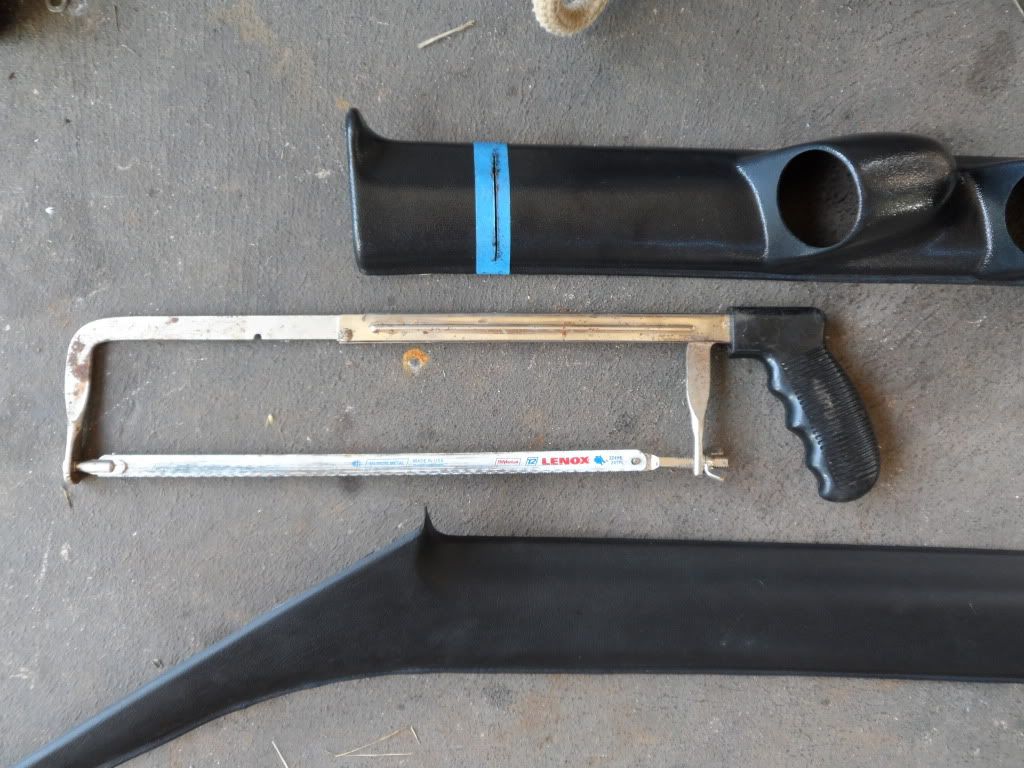
1/1 = 2... I just disproved mathematical theory.

mockup
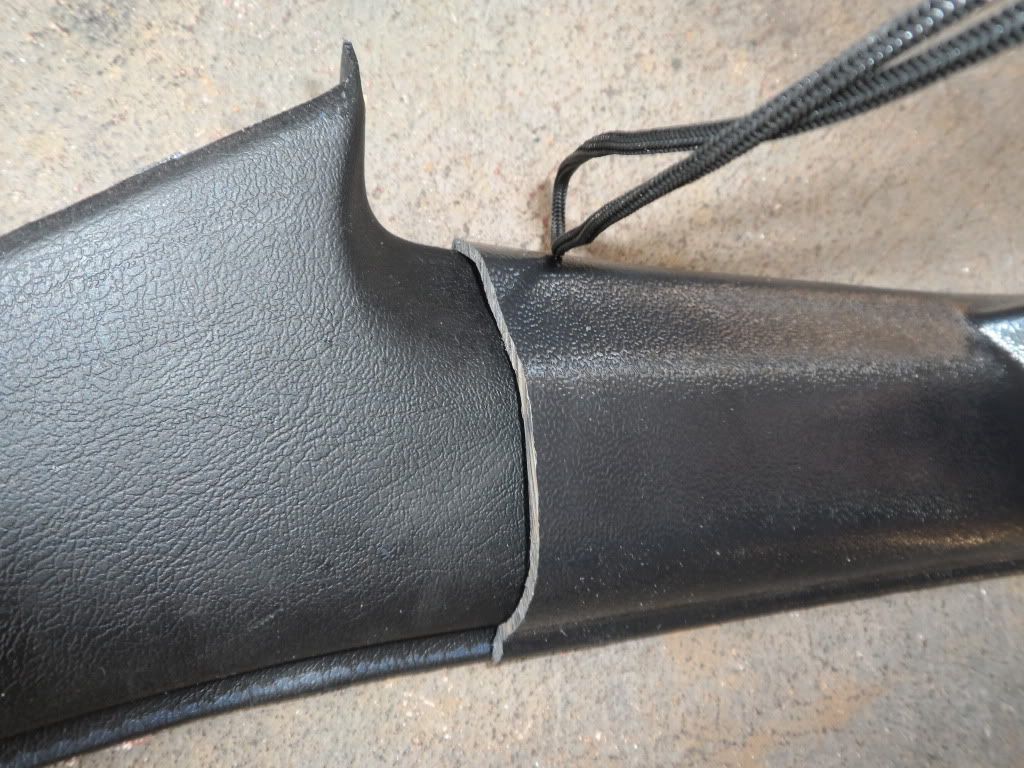
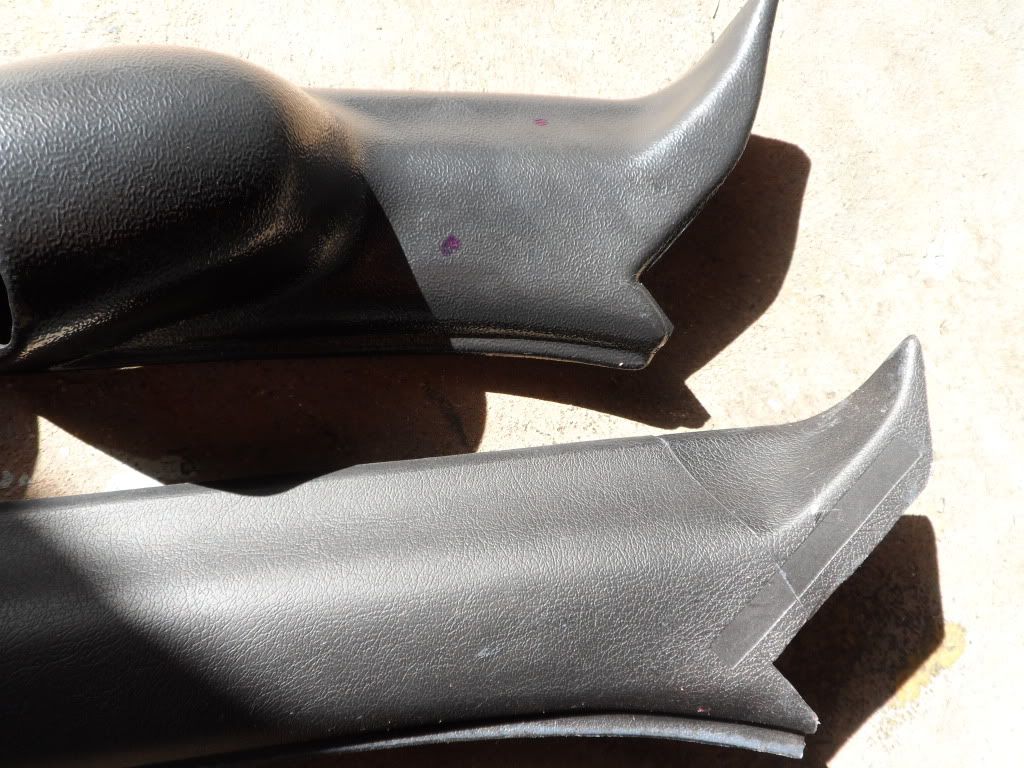
The abs of the pillar pod was slightly off and had to be torqued over to line up with the original piece.
mockup for wire clearance check
More high-tech tools being used.
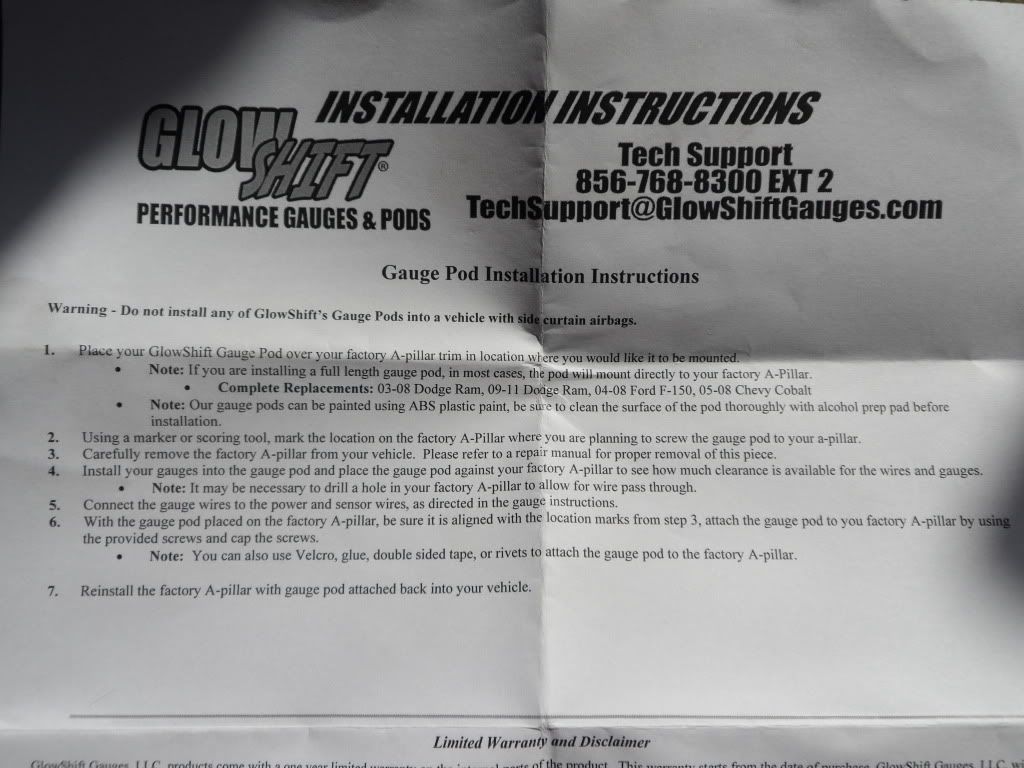
What is this paper that always comes with the product? Every damn time I buy something I get a few pieces of paper.. who reads this stuff?
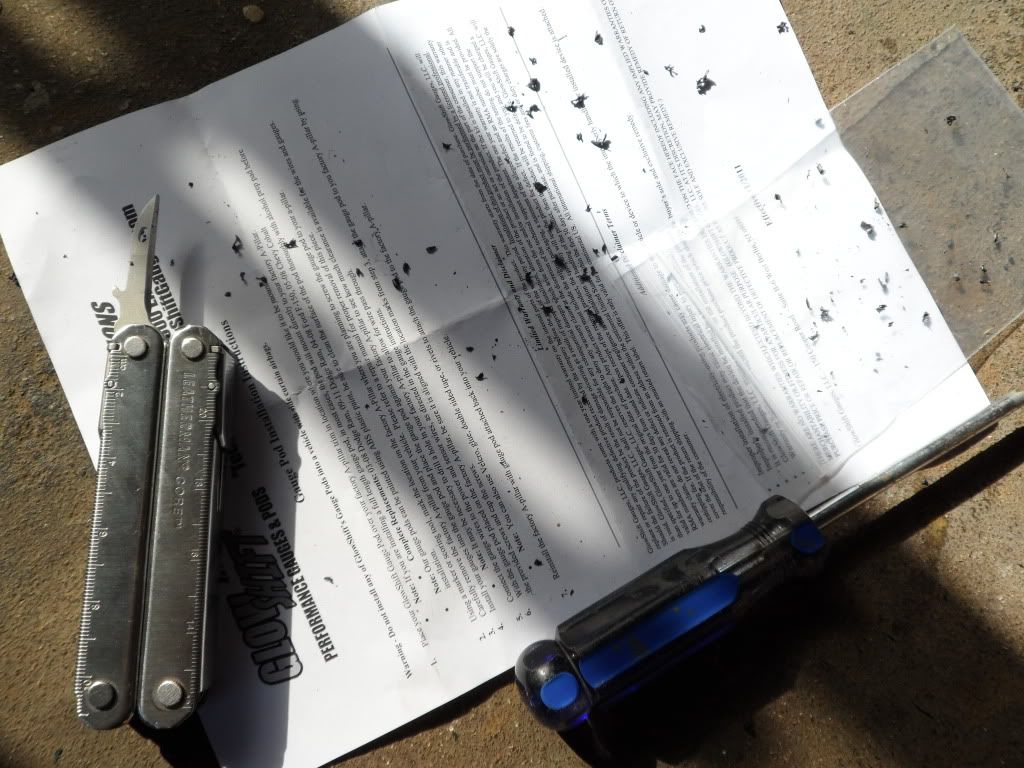
More high-tech tools, these are called 'awl,' and 'screwer.'
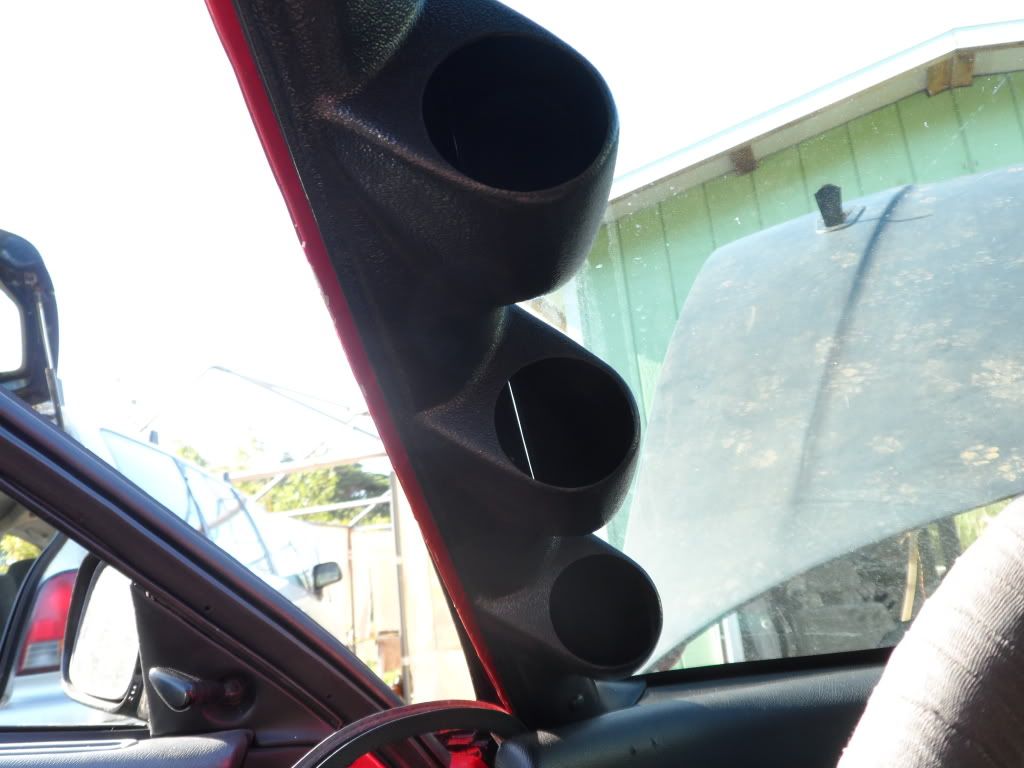
Mounted
gotta find a way to turn down the brightness of the gauge faces. Perhaps I can work up a resistor box on the headlight dimmer wire.
I have ten thousandths of an inch between the a-pillar and the trim piece.. no room for wires FUUUU might have to run the gauges through the inside of the a-pillar.
I screwered it.
First I used the driller awl tool. Wow this is complicated brb taking notes.
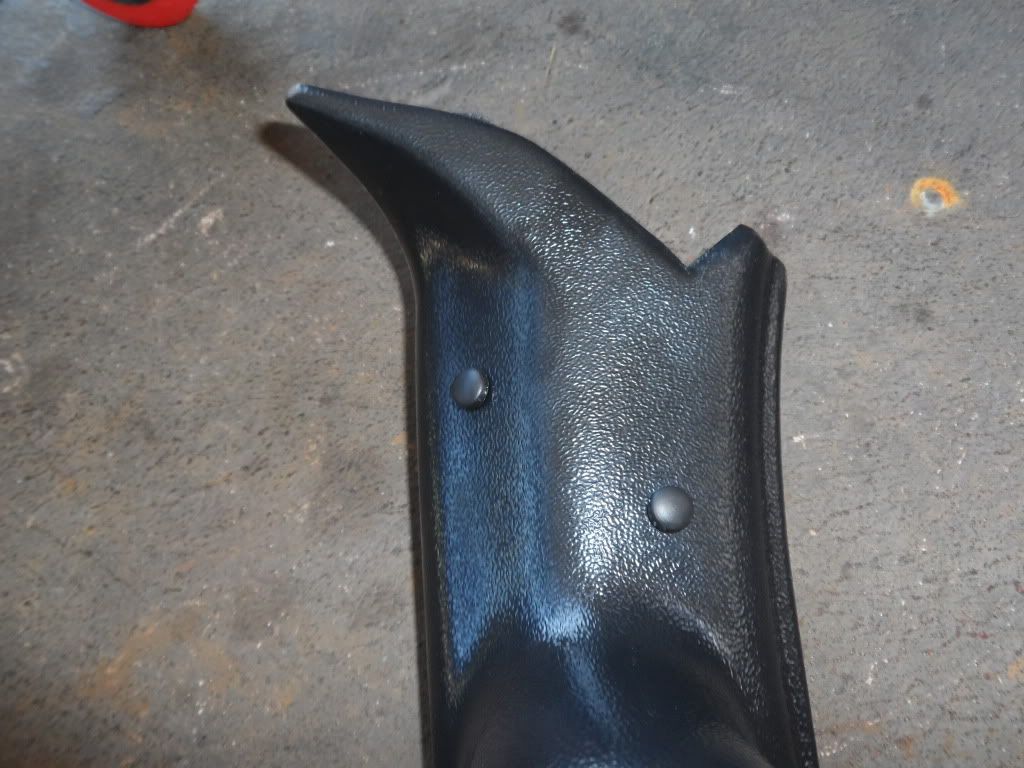
Screw caps were nice but I recommend you go with the jegg part that supposedly replaces the entire trim piece instead of needing to be 'installed' like this.
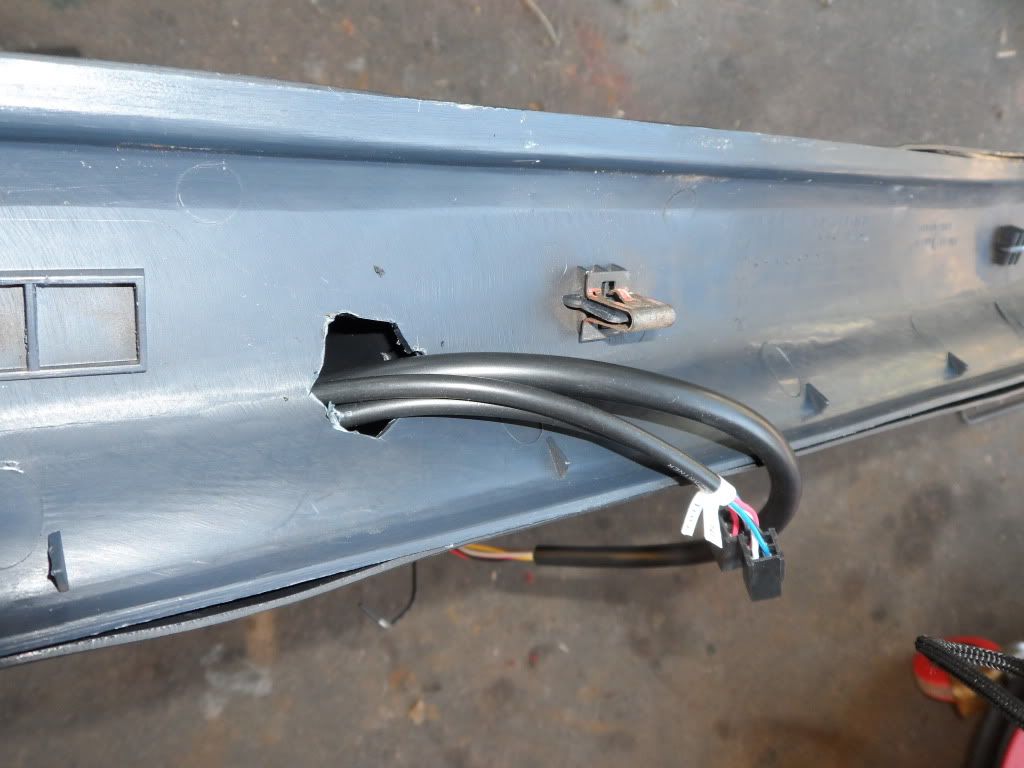
Rumblefish chewed a hole in the precisely marked location.
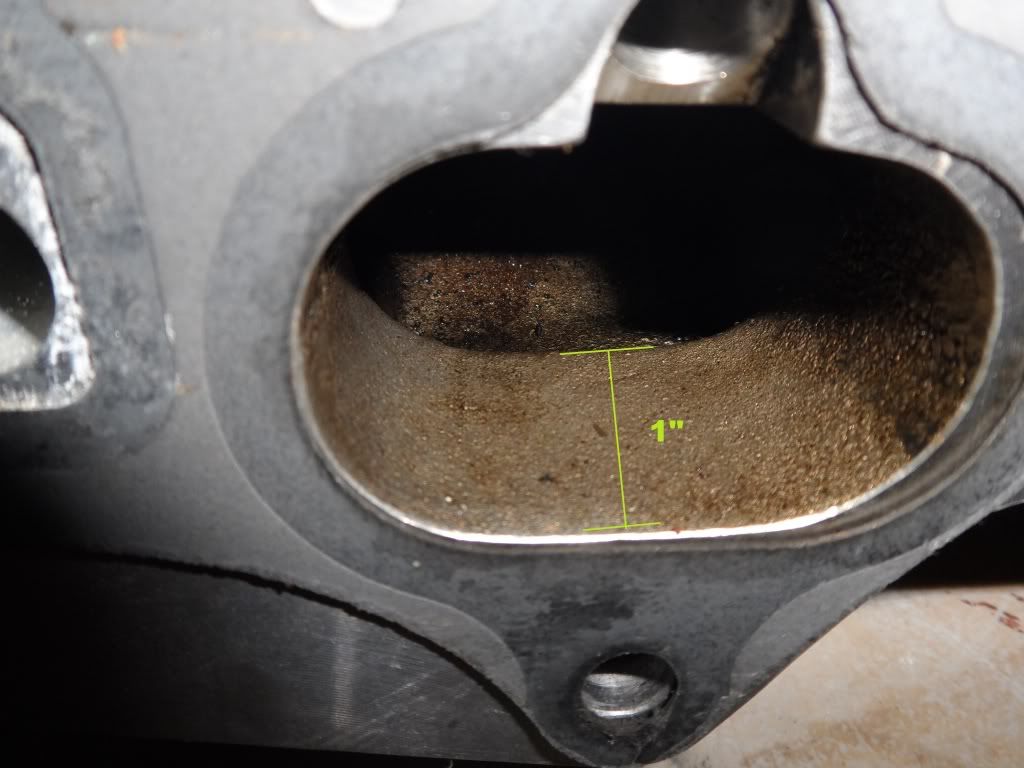
One inch of runner length doesn't leave much room for tapping direct port methanol injection nozzles between the injectors and the head.
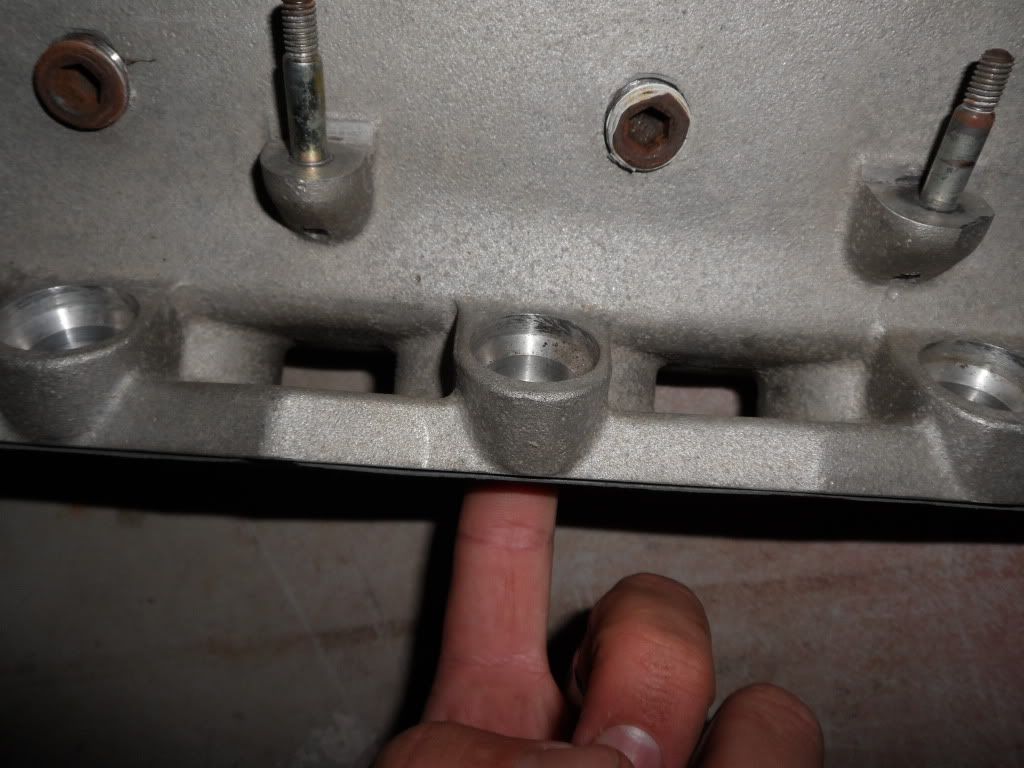
Tapping the intake runners for methanol ports would mess with the spray pattern and atomization of the fuel mixture.
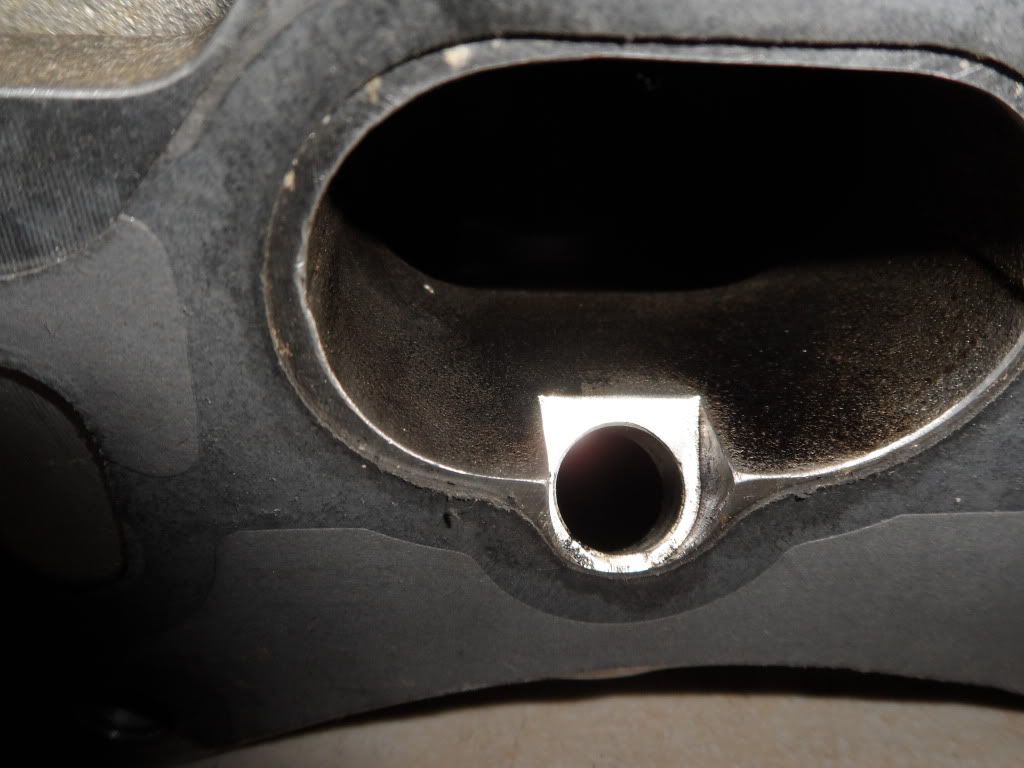
Can't tap the ports from the bottom because the blower is too close to the manifold. Researching a custom spacer sandwich plate between the manifold and the head..
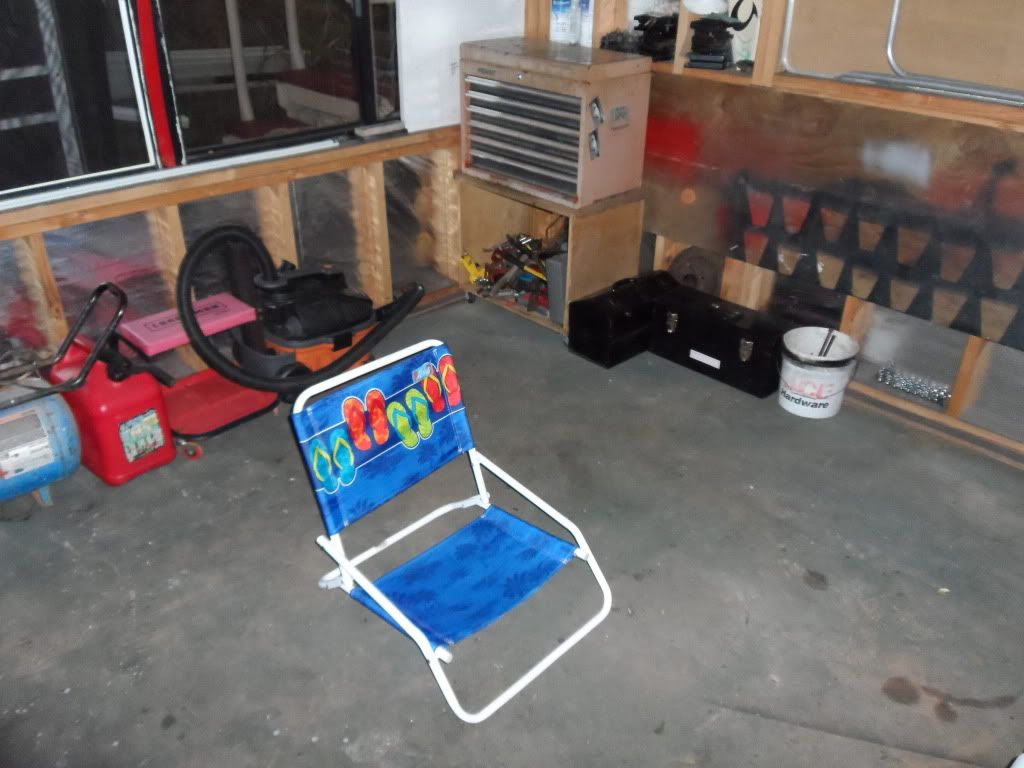
This is the most ergonomically incorrect chair ever produced and sold. I sat in the chair for 12 seconds and I need a chiropractic realignment.
A mad scientist needs a lab
Soon...

soon

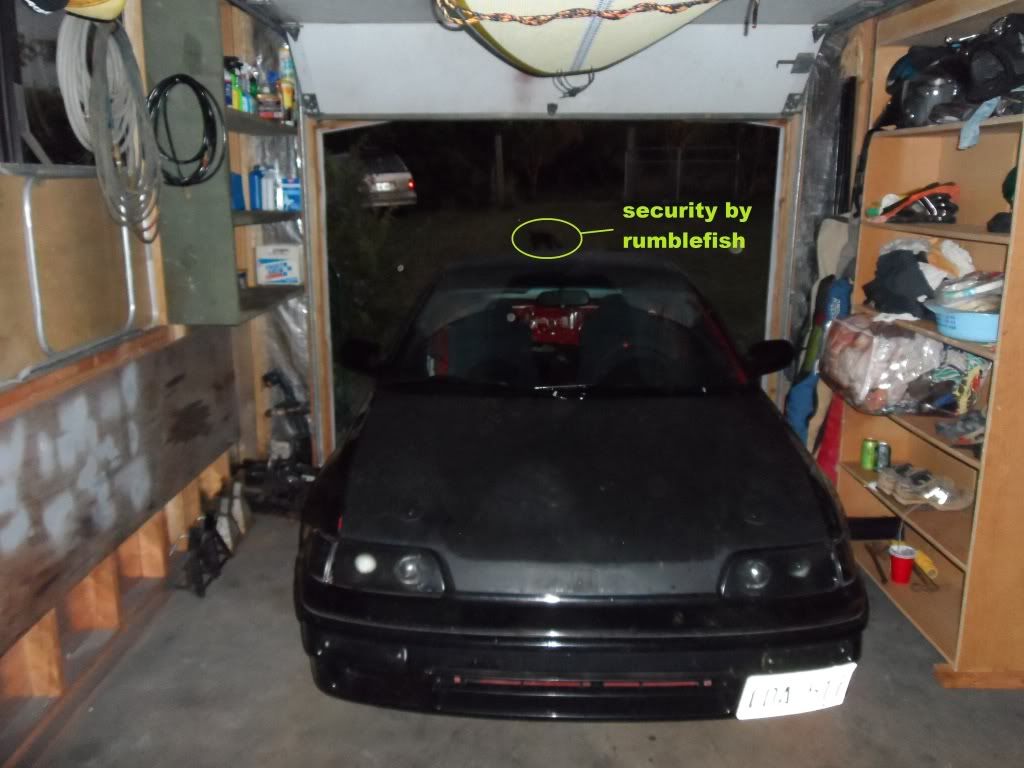
Soon the beast enters it's cave. brb must find new daily driver.
Stay tuned.
Tip of my EGT probe with plastic cap removed. Can anyone tell me if this is the enclosed or exposed probe type?
Under the third runner mounted on the inside of the manifold on the back so the signal wire can get through the heatwrap.
clearance = fuuuuuuuuu
test fit
that is a very high-tech tool, commonly known as 'hacksaw'
1/1 = 2... I just disproved mathematical theory.
mockup
The abs of the pillar pod was slightly off and had to be torqued over to line up with the original piece.
mockup for wire clearance check
More high-tech tools being used.
What is this paper that always comes with the product? Every damn time I buy something I get a few pieces of paper.. who reads this stuff?
More high-tech tools, these are called 'awl,' and 'screwer.'
Mounted
gotta find a way to turn down the brightness of the gauge faces. Perhaps I can work up a resistor box on the headlight dimmer wire.
I have ten thousandths of an inch between the a-pillar and the trim piece.. no room for wires FUUUU might have to run the gauges through the inside of the a-pillar.
I screwered it.
First I used the driller awl tool. Wow this is complicated brb taking notes.
Screw caps were nice but I recommend you go with the jegg part that supposedly replaces the entire trim piece instead of needing to be 'installed' like this.
Rumblefish chewed a hole in the precisely marked location.
One inch of runner length doesn't leave much room for tapping direct port methanol injection nozzles between the injectors and the head.
Tapping the intake runners for methanol ports would mess with the spray pattern and atomization of the fuel mixture.
Can't tap the ports from the bottom because the blower is too close to the manifold. Researching a custom spacer sandwich plate between the manifold and the head..
This is the most ergonomically incorrect chair ever produced and sold. I sat in the chair for 12 seconds and I need a chiropractic realignment.
A mad scientist needs a lab
Soon...
soon
Soon the beast enters it's cave. brb must find new daily driver.
Stay tuned.
 01-21-2013, 05:42 AM
#19
Honda-Tech Member
Thread Starter
cool. I hope to get some time in the shop before work. it's 430am lol waiting for the sun to come up..
just paid for my 3.8" nose pulley it should be arriving by the end of the week.
and ups tells me that the MVM stepper pulley has arrived. pictures incoming.
and usps tells me that my gsr intake camshaft hit honolulu on saturday morning so it should be arriving tomorrow. damn holidays and the banks/post offices/business all closed down :@
01-21-2013, 09:18 PM
#20
Honda-Tech Member
Thread Starter
Bright and early in the shop after 4am wakeup and 3 hours of reading about methanol injection and tuning forced-induction theory.
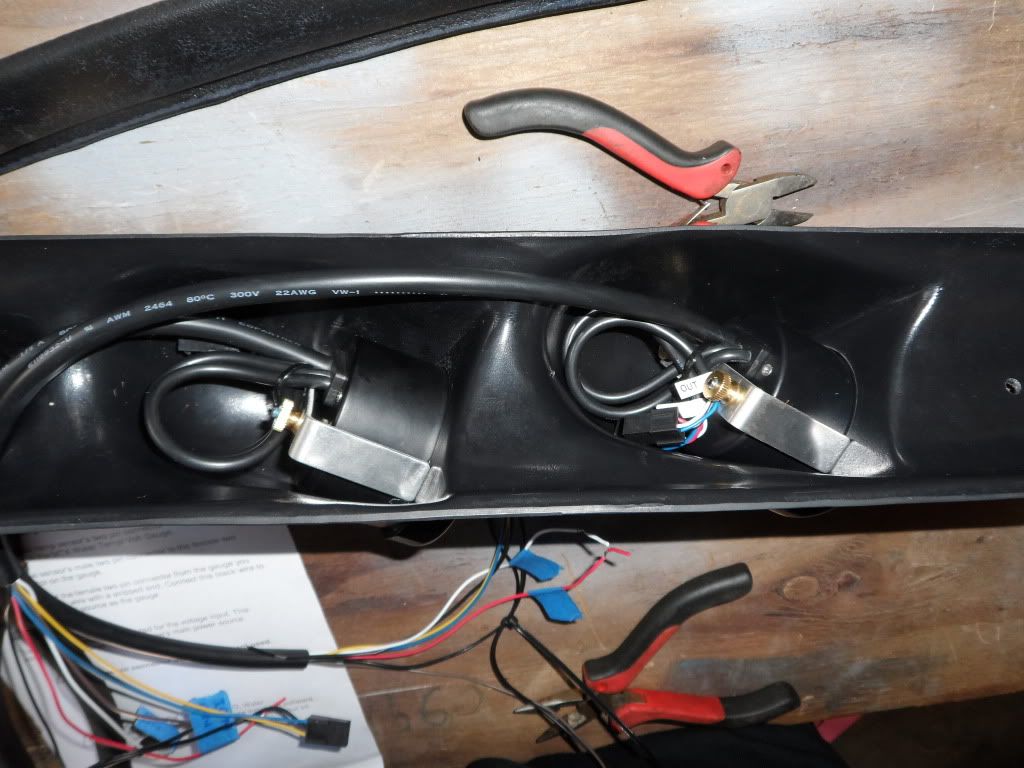
Working on gauges.
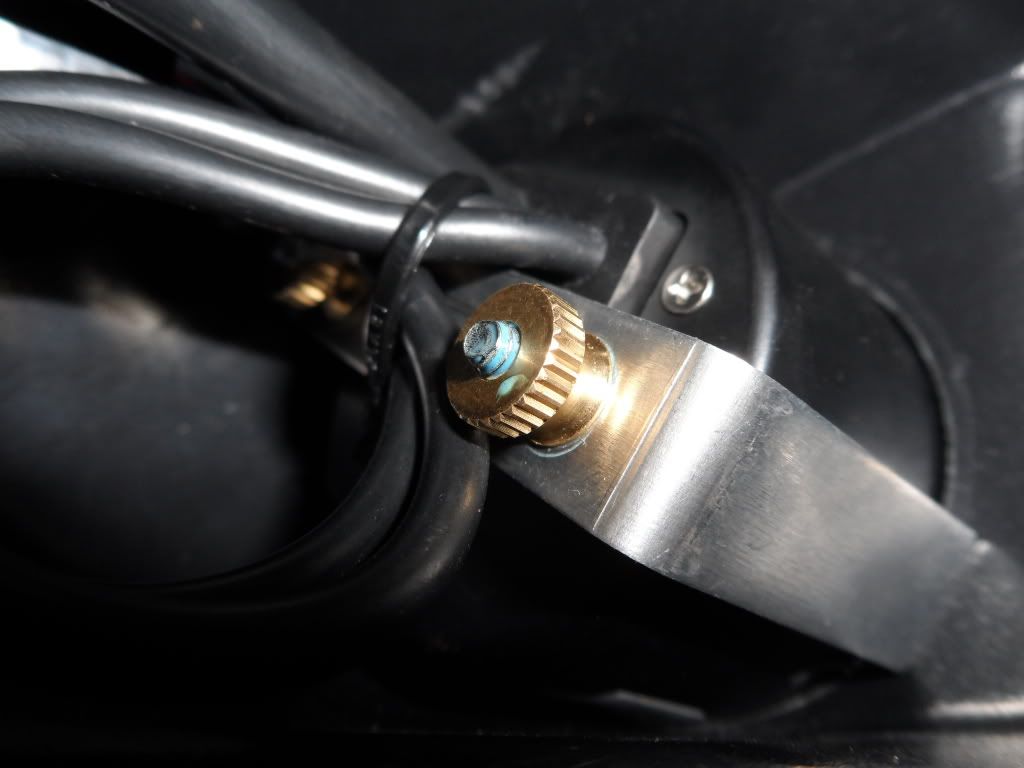
For the trouble it's worth, locktite your gauges before the vibration of stiff mounts rattles them out of the pillar pod.
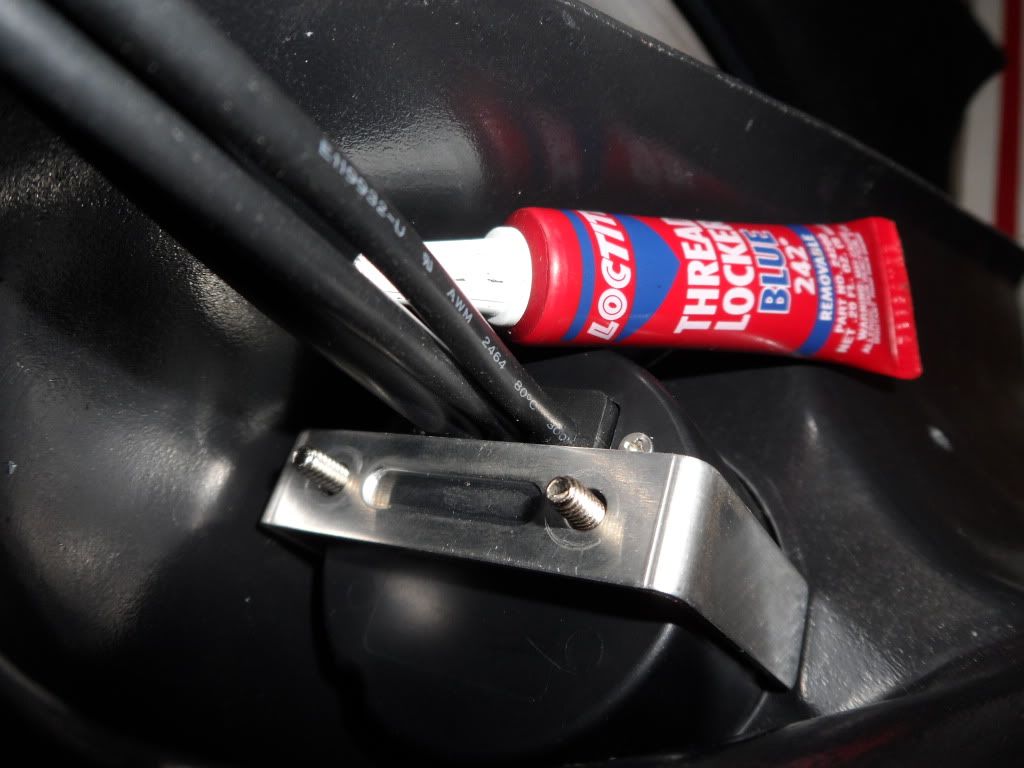
Didn't believe me eh? Damnit this locktite really grabs. 20 minutes set-up time and pulling a gauge back out for fitment was hell.
snip and tuck, rinse and repeat.
Didn't want to get this deep, but a screw slipped into the wrong place and I had to tear down the AFR gauge. I was expecting a hamster running in a wheel to power the gauge but I didn't see any in there..
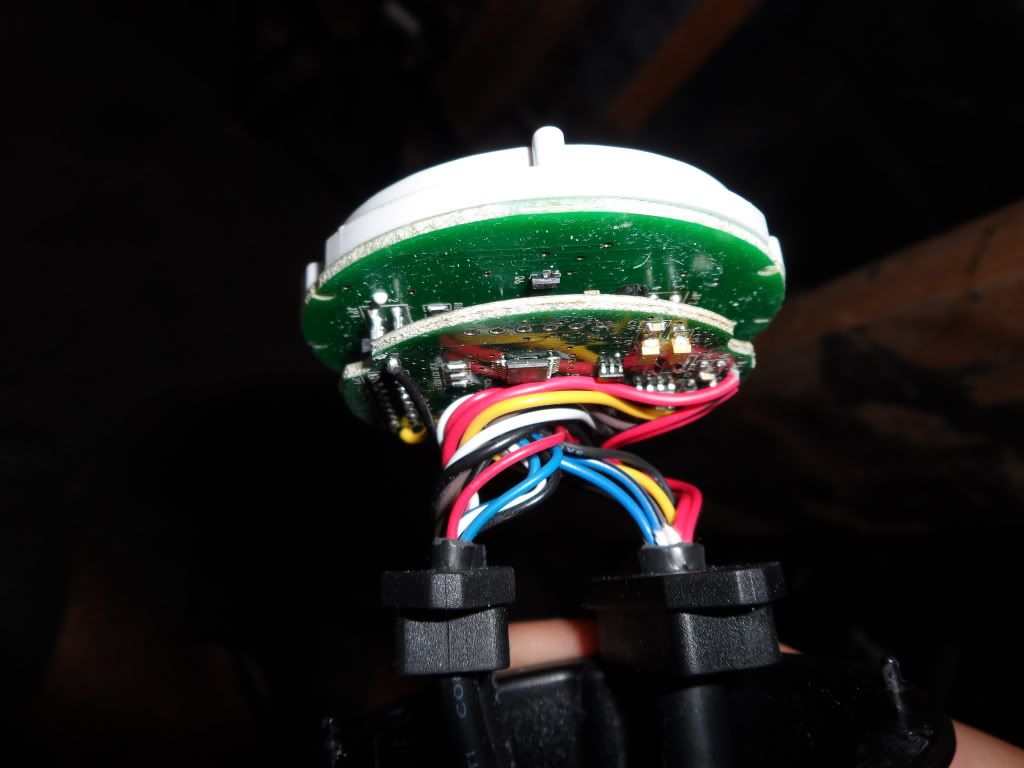
Snip snip.
And tucked.
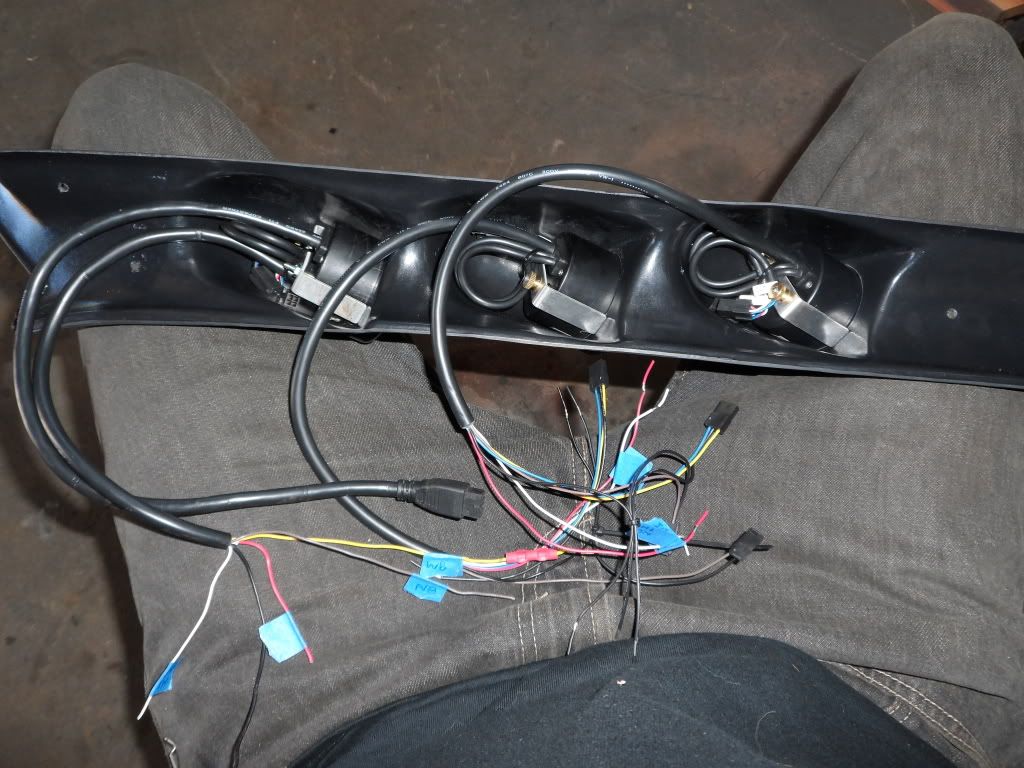
Had to modify a mounting bracket because there was no flange on the pillar pod to hold the gauge.
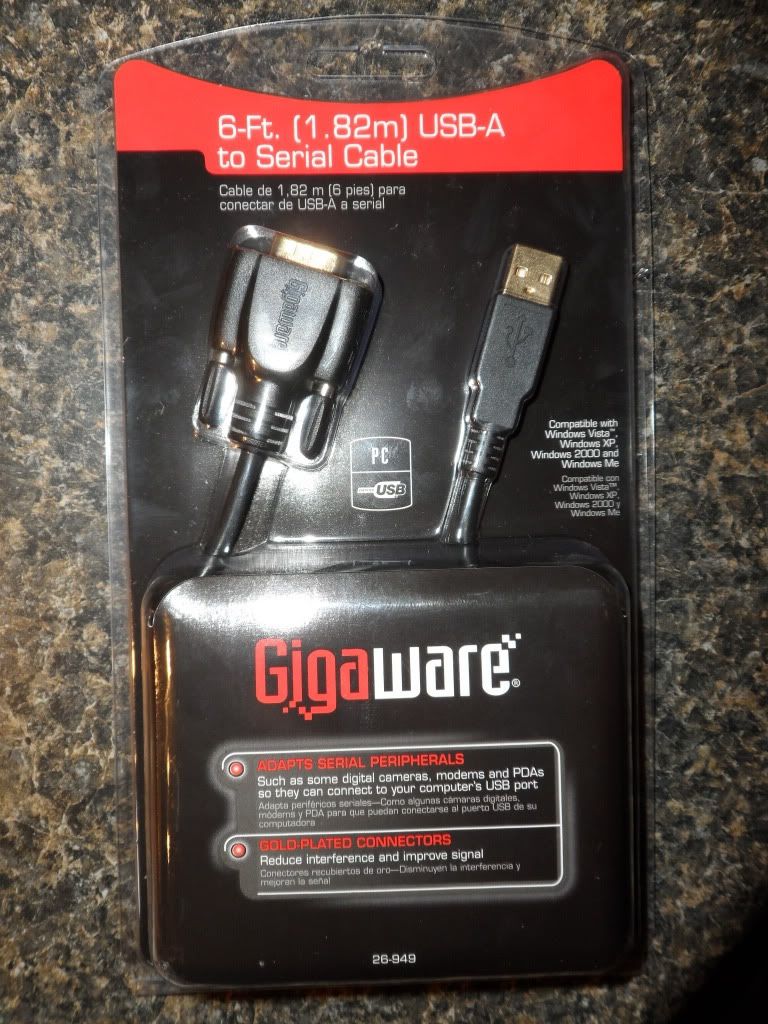
I must source a serial/usb adapter to program the gauge warning activation points before I can proceed. Once this all gets installed it will be tighter than uh.. yeah nevermind.
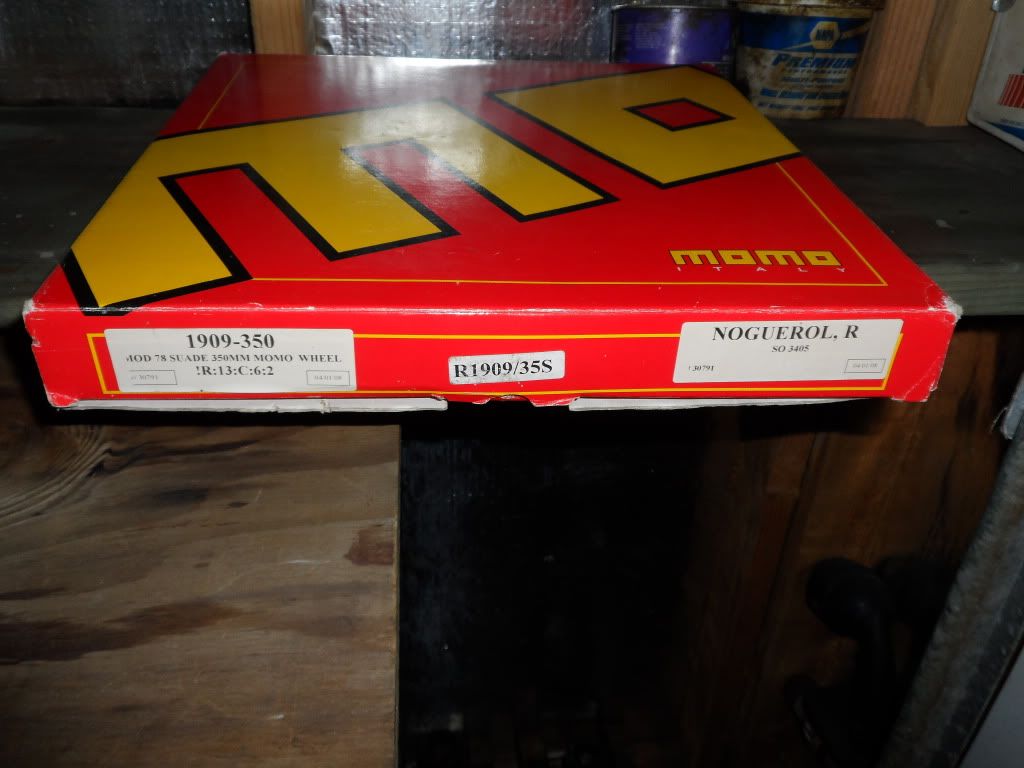
Picked up a momo
Thanks dude. Good deal. Little worn, but friction tape covers the imperfections with function at the expense of form.
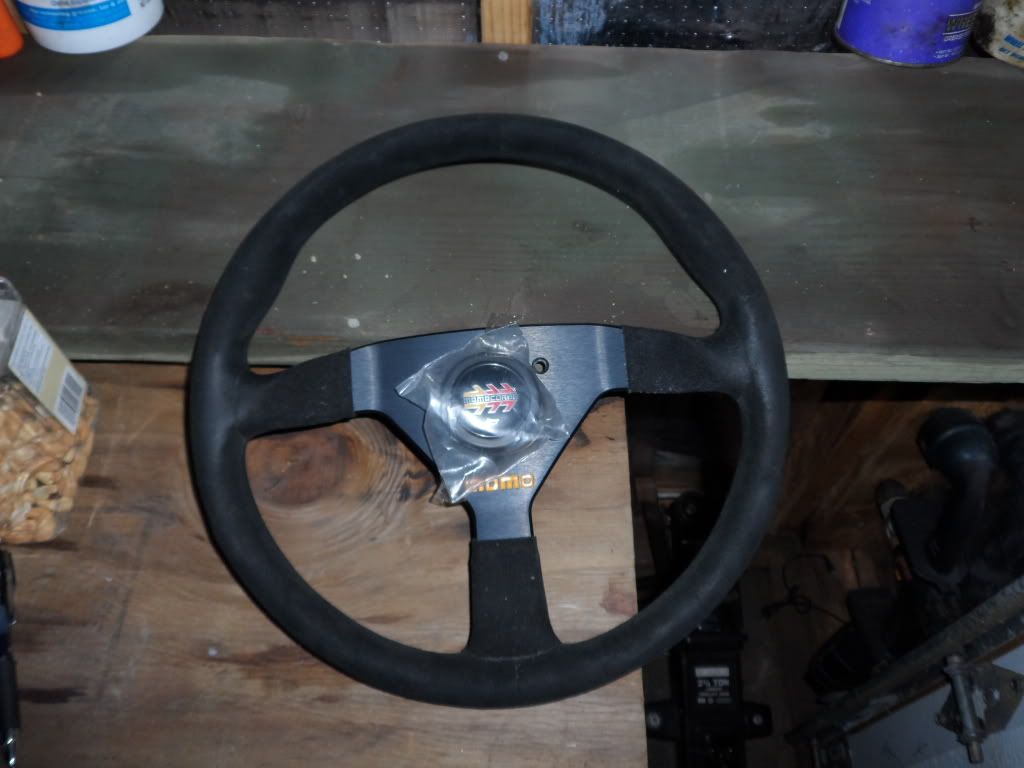
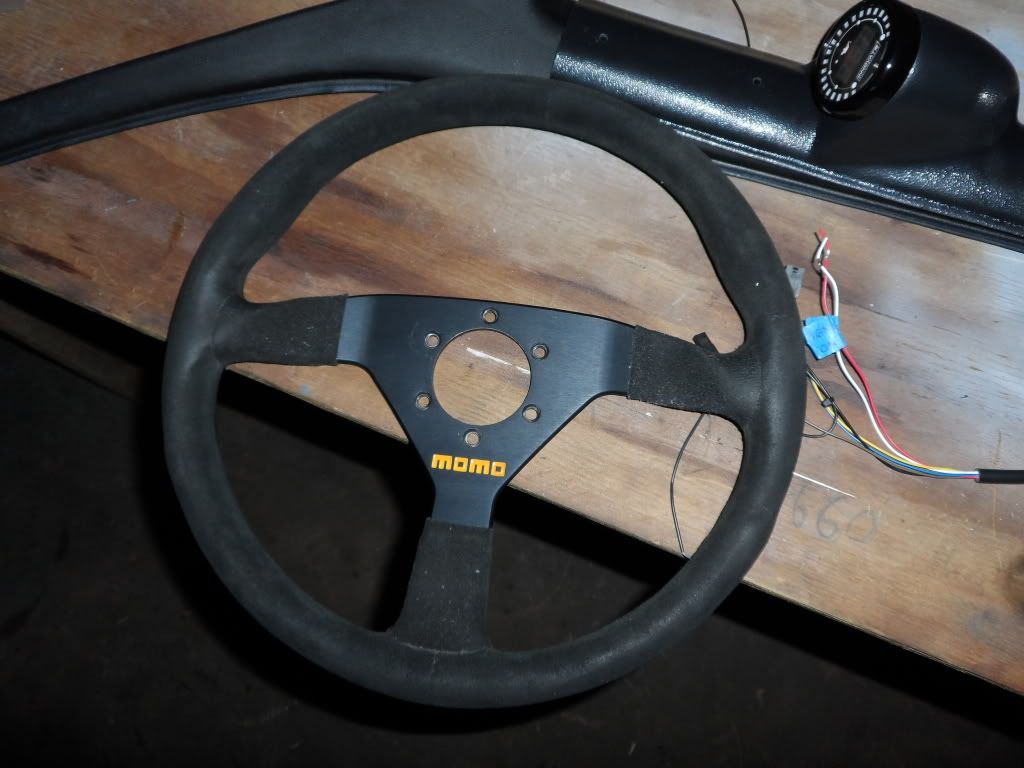
Excuse me while I pinstripe my centerline on the top of the wheel.
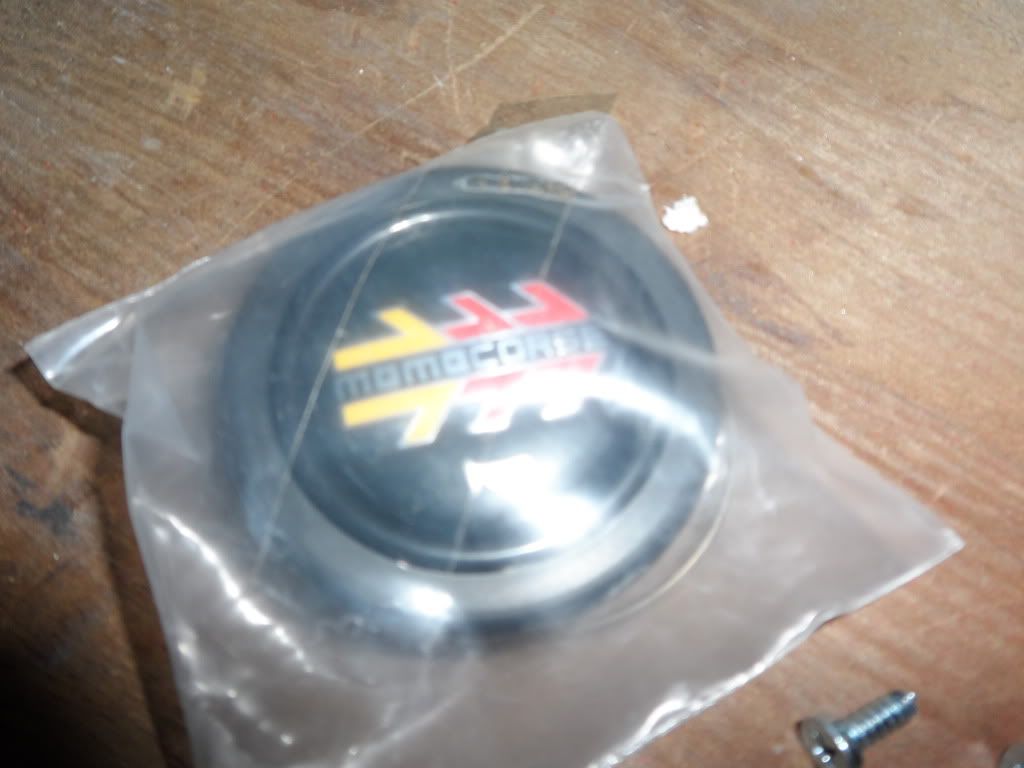
Horn button..
MVM 15.5% stepper alt pulley and complimentary belt. Thanks dude. Unfortunately belt will be unused if I have my mad scientist machinist make up a custom sandwich plate thick enough to tap in my direct-port methanol injectors.
Yeah and that's it for now. Long day. Another long day tomorrow.
Stay tuned.
Working on gauges.
For the trouble it's worth, locktite your gauges before the vibration of stiff mounts rattles them out of the pillar pod.
Didn't believe me eh? Damnit this locktite really grabs. 20 minutes set-up time and pulling a gauge back out for fitment was hell.
snip and tuck, rinse and repeat.
Didn't want to get this deep, but a screw slipped into the wrong place and I had to tear down the AFR gauge. I was expecting a hamster running in a wheel to power the gauge but I didn't see any in there..
Snip snip.
And tucked.
Had to modify a mounting bracket because there was no flange on the pillar pod to hold the gauge.
I must source a serial/usb adapter to program the gauge warning activation points before I can proceed. Once this all gets installed it will be tighter than uh.. yeah nevermind.
Picked up a momo
Thanks dude. Good deal. Little worn, but friction tape covers the imperfections with function at the expense of form.
Excuse me while I pinstripe my centerline on the top of the wheel.
Horn button..
MVM 15.5% stepper alt pulley and complimentary belt. Thanks dude. Unfortunately belt will be unused if I have my mad scientist machinist make up a custom sandwich plate thick enough to tap in my direct-port methanol injectors.
Yeah and that's it for now. Long day. Another long day tomorrow.
Stay tuned.
 01-22-2013, 09:35 PM
#23
Honda-Tech Member
Thread Starter
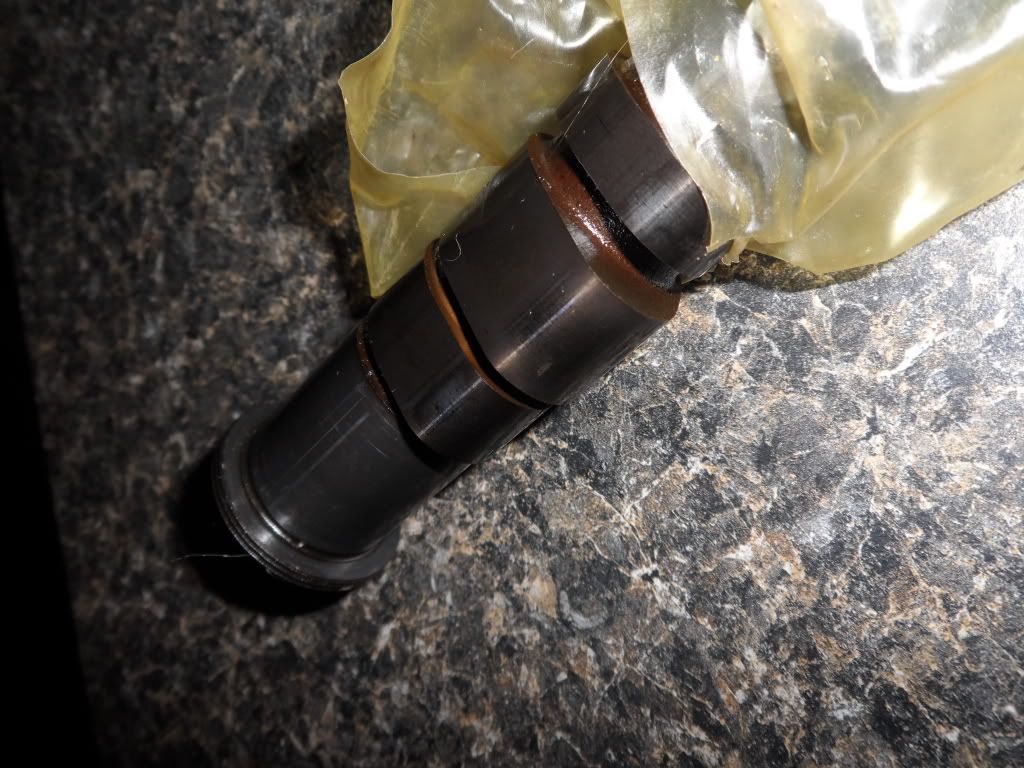
GSR intake cam arrived today. Didn't have time to inspect nor did I feel like it because my ******* co-worker dropping the damn cam on the floor and cracked a few tiles before it finished bouncing and rolled under the car... ufcking imbeciles I swear. Atleast I know it probably isn't prone to cracking under load.
Picked up a cable for programming the gauges. Thanks dude. You'll see me in a day or three once I'm done with the cable and looking to get my money back for it. Heh, for 50 bucks I could have made my own cable with paperclips and it would have worked fine.
Answer my programming question here
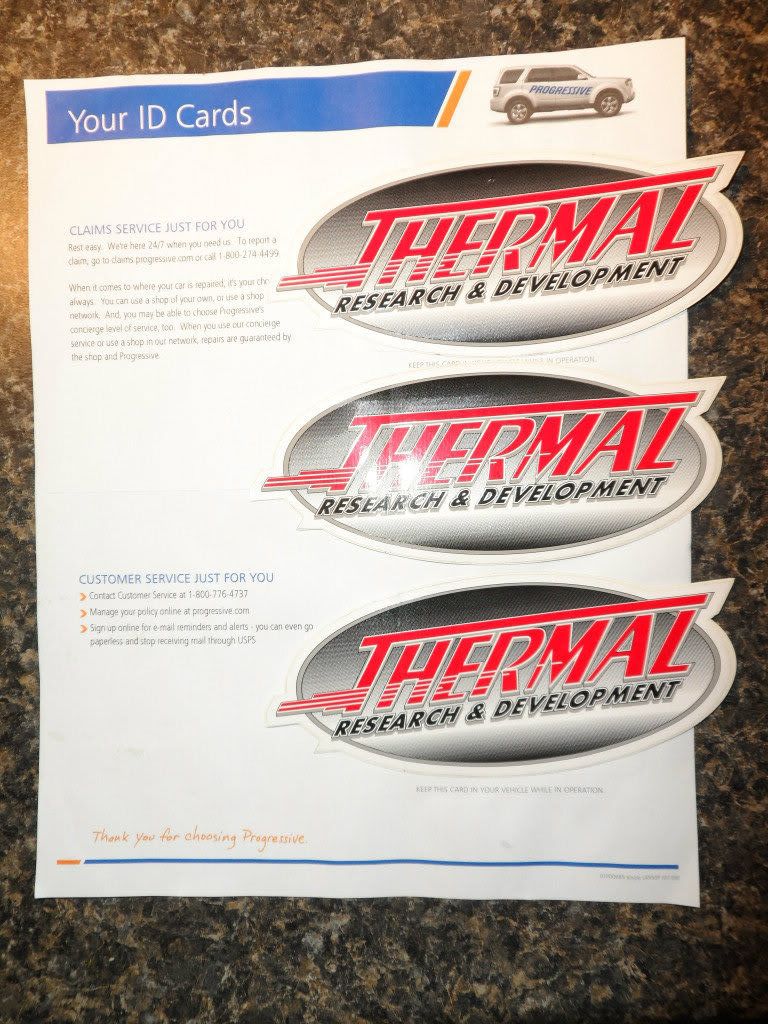
Got a few stickers in the mail and time to renew the insurance again. Heh, anyone wondering why I'm still modding this old car? brb >200usd for six months. If the insurance company only knew... (shh don't tell them) *ID cards hidden for obvious reasons.
Stay tuned.
Picked up a cable for programming the gauges. Thanks dude. You'll see me in a day or three once I'm done with the cable and looking to get my money back for it. Heh, for 50 bucks I could have made my own cable with paperclips and it would have worked fine.
Answer my programming question here
Got a few stickers in the mail and time to renew the insurance again. Heh, anyone wondering why I'm still modding this old car? brb >200usd for six months. If the insurance company only knew... (shh don't tell them) *ID cards hidden for obvious reasons.
Stay tuned.
01-23-2013, 06:06 PM
#25
Honda-Tech Member

Join Date: Mar 2012
Posts: 29
Likes: 0
Received 0 Likes
on
0 Posts