
[88' CRX B20v Build]
 12-07-2011, 09:46 PM
#1
Honda-Tech Member
Thread Starter
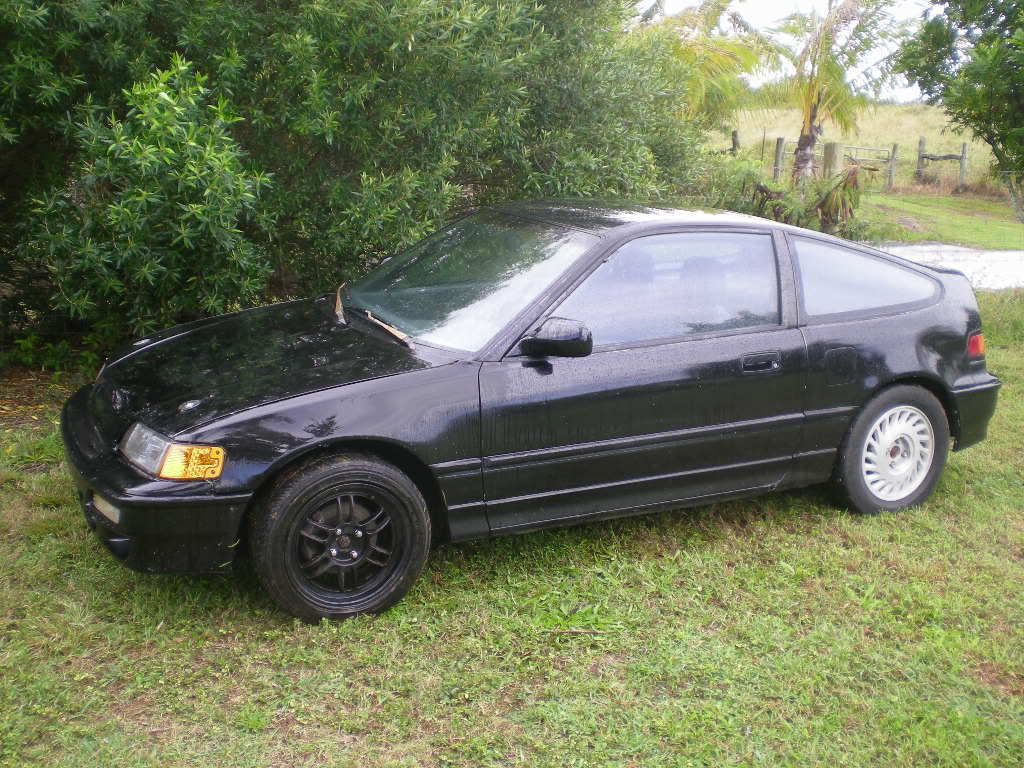
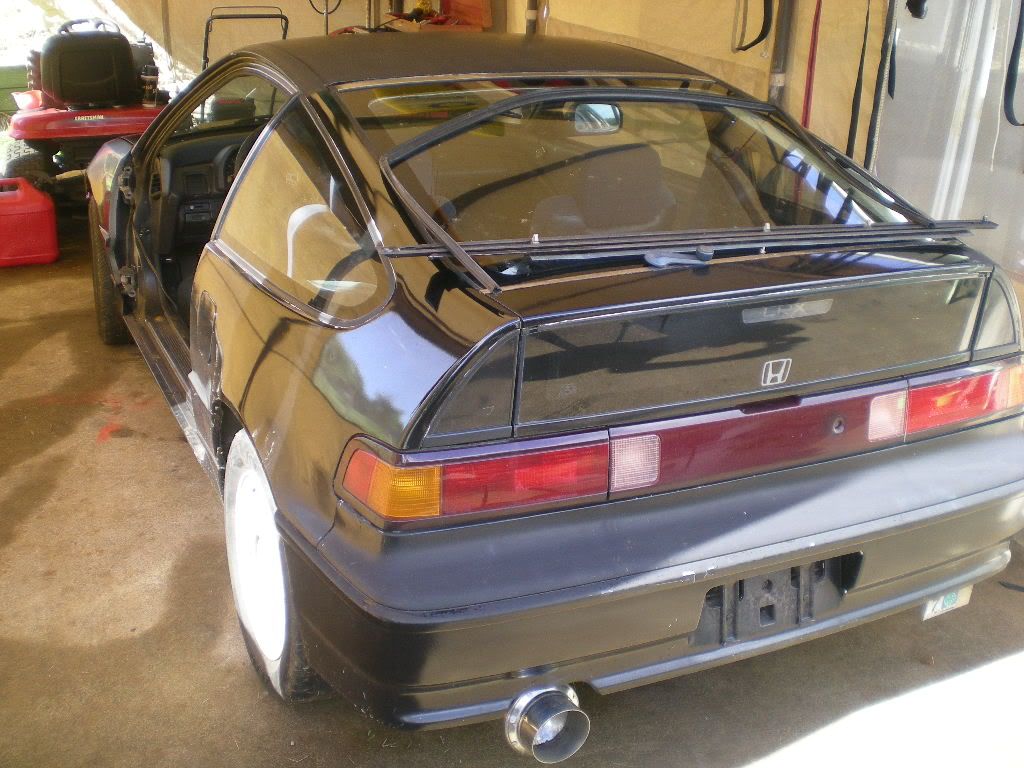
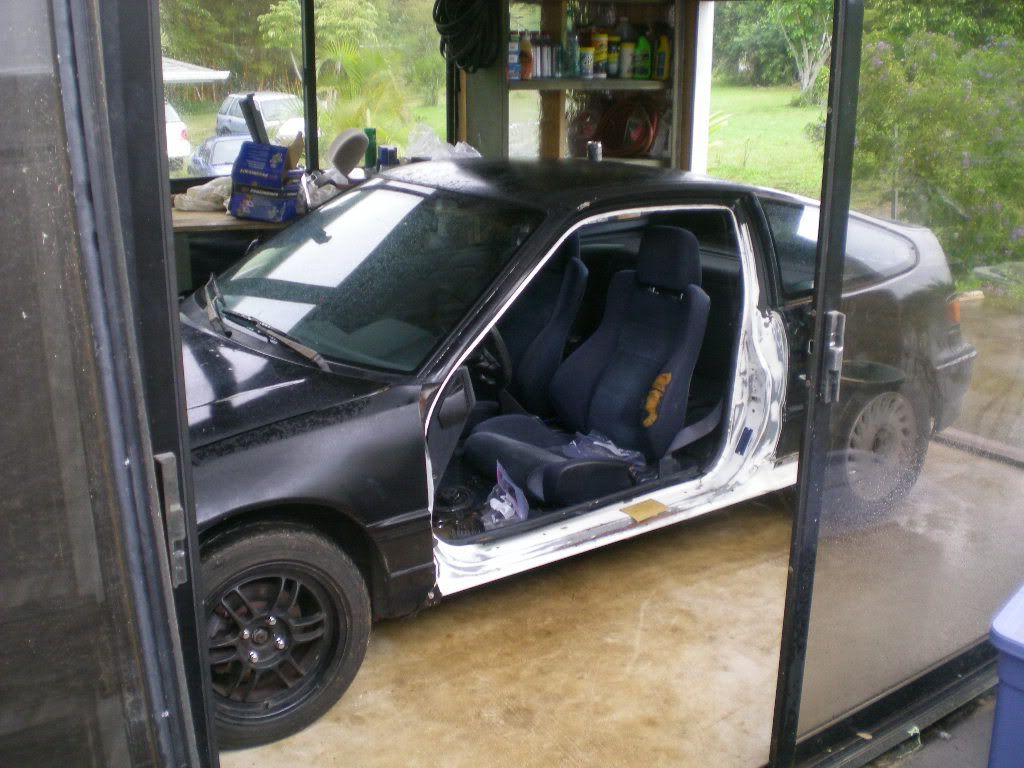
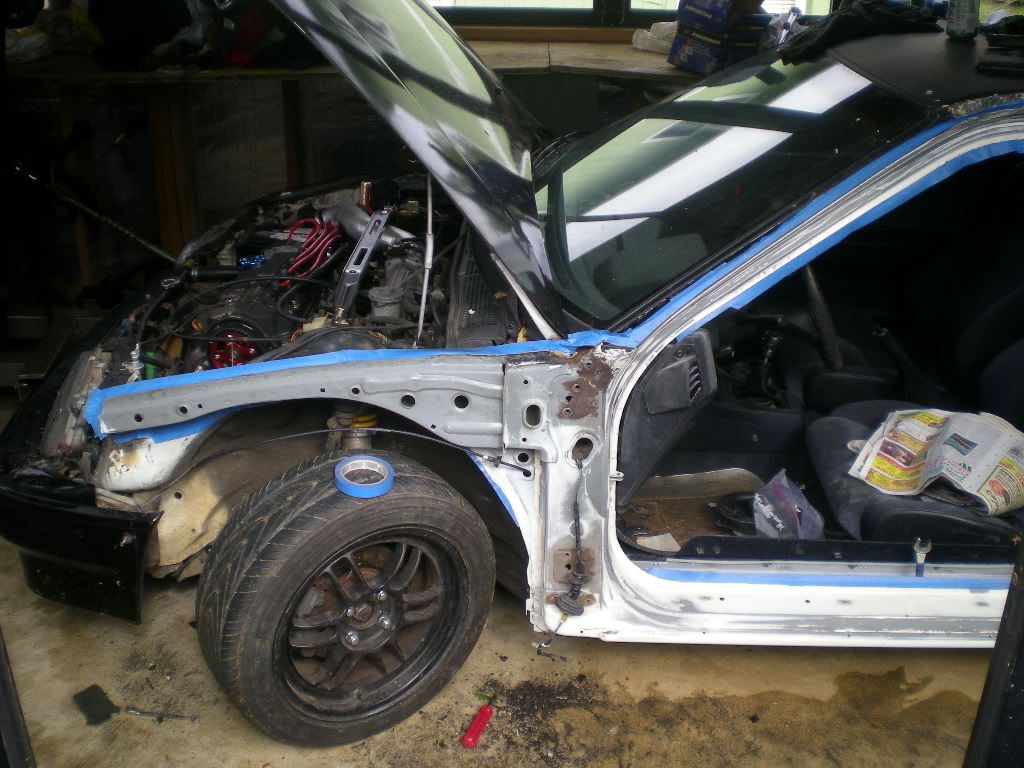
Whuddup HT. I bought a CRX recently.
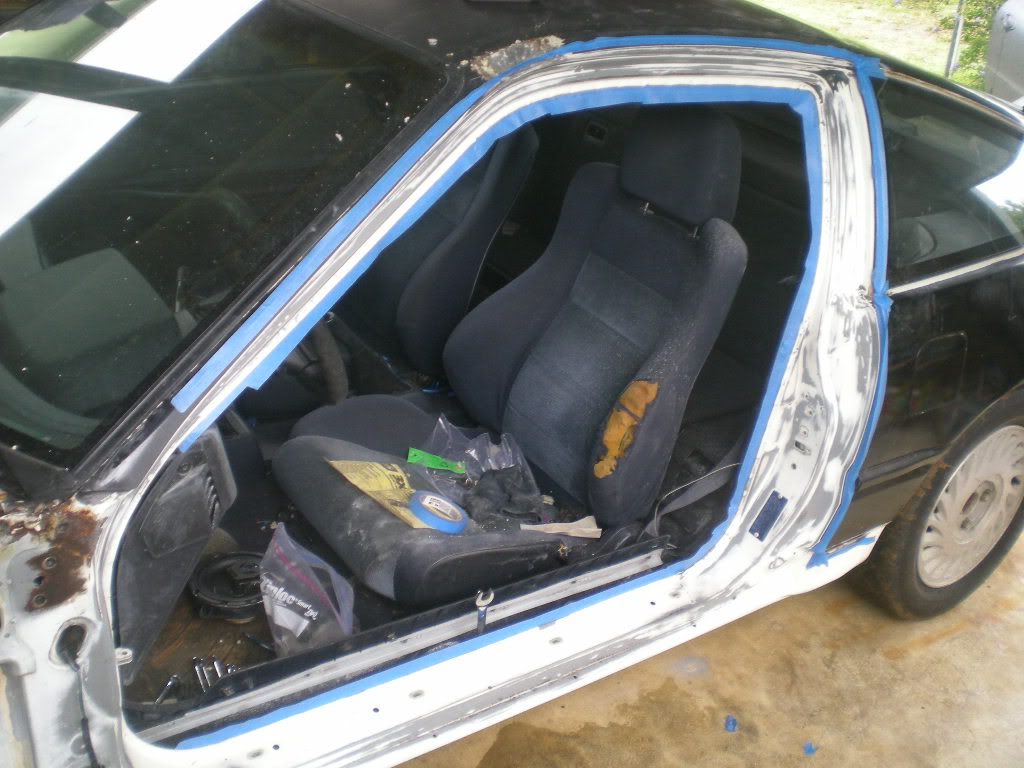
This is what it looks like.
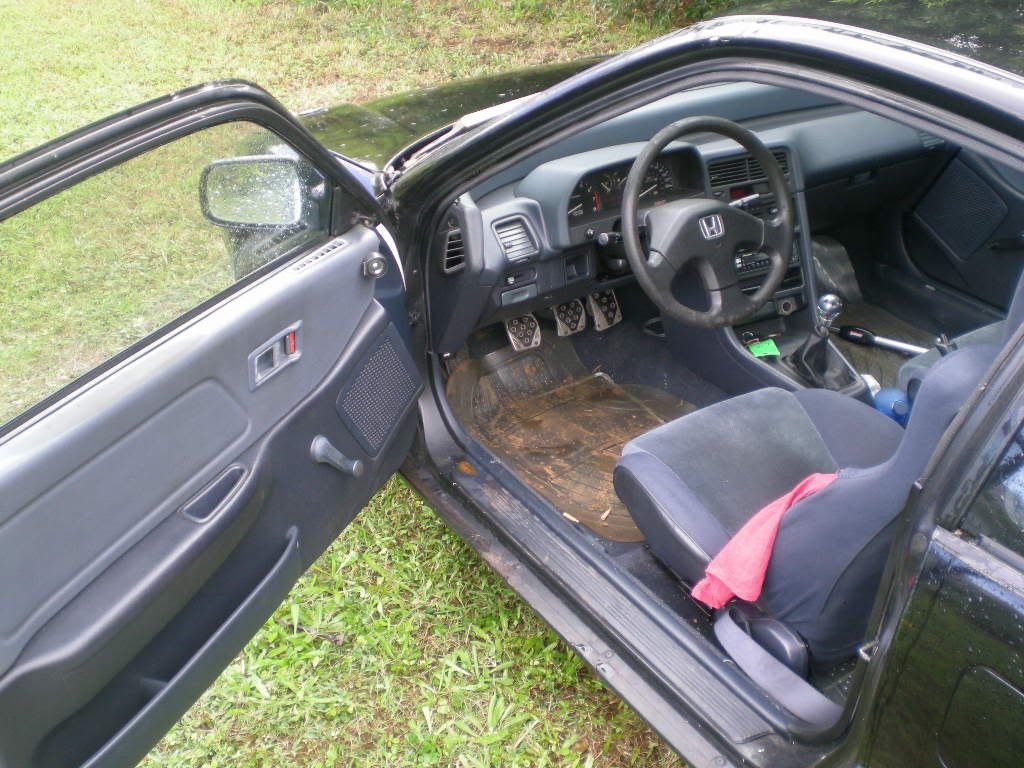
Interior
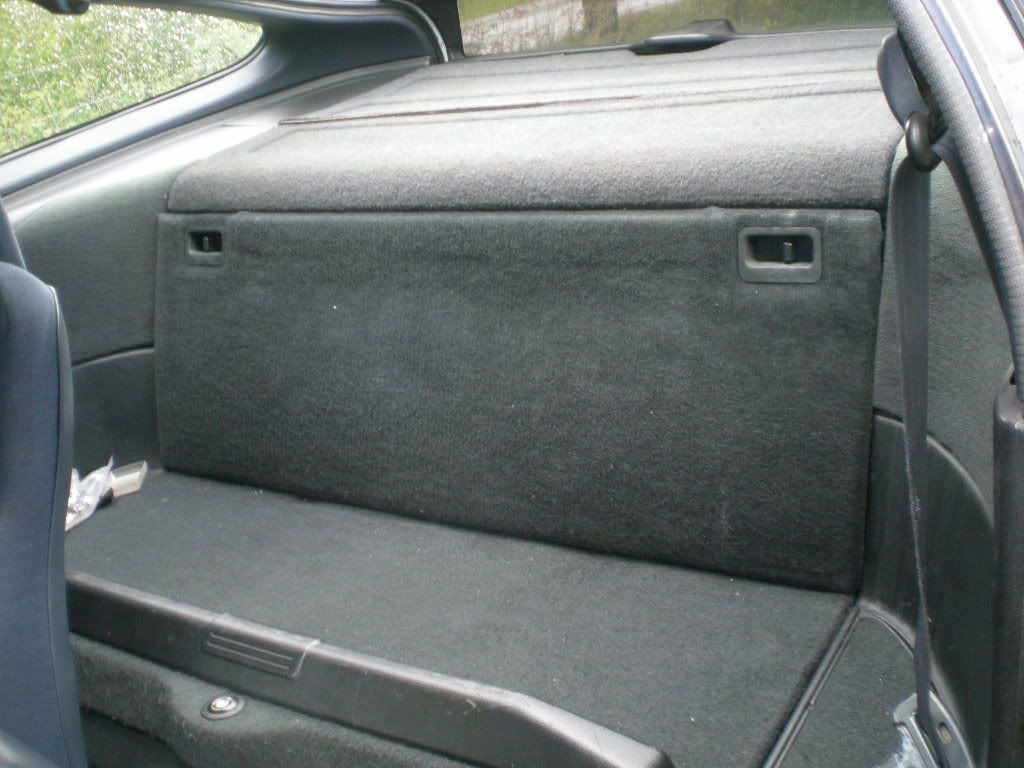
All interior will be removed behind driver seat. 6pt rollcage will be welded for rigidity.
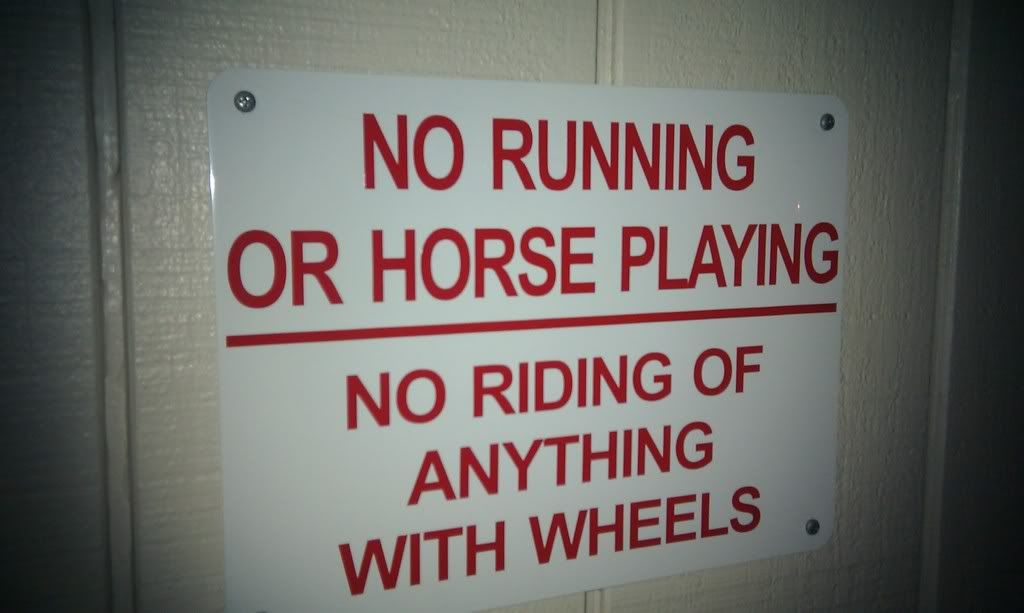
Horses were illegal in the area I bought the car - wheeled vehicles too.
Will update with more pics tomorrow after progress.
Build Will Include
- 6pt roll cage w/custom chassis reinforcement
- built b20v (280hp NA)
- CF seats/hood/trunklid/fenders for weight reduction
- 11.1" front/9.5" rear brake upgrade
- Flux-capacitor for time travel etc..
stay tuned
This is what it looks like.
Interior
All interior will be removed behind driver seat. 6pt rollcage will be welded for rigidity.
Horses were illegal in the area I bought the car - wheeled vehicles too.
Will update with more pics tomorrow after progress.
Build Will Include
- 6pt roll cage w/custom chassis reinforcement
- built b20v (280hp NA)
- CF seats/hood/trunklid/fenders for weight reduction
- 11.1" front/9.5" rear brake upgrade
- Flux-capacitor for time travel etc..
stay tuned
Last edited by Corksil; 12-09-2011 at 08:00 PM.


 12-08-2011, 08:10 PM
#6
Honda-Tech Member
Thread Starter
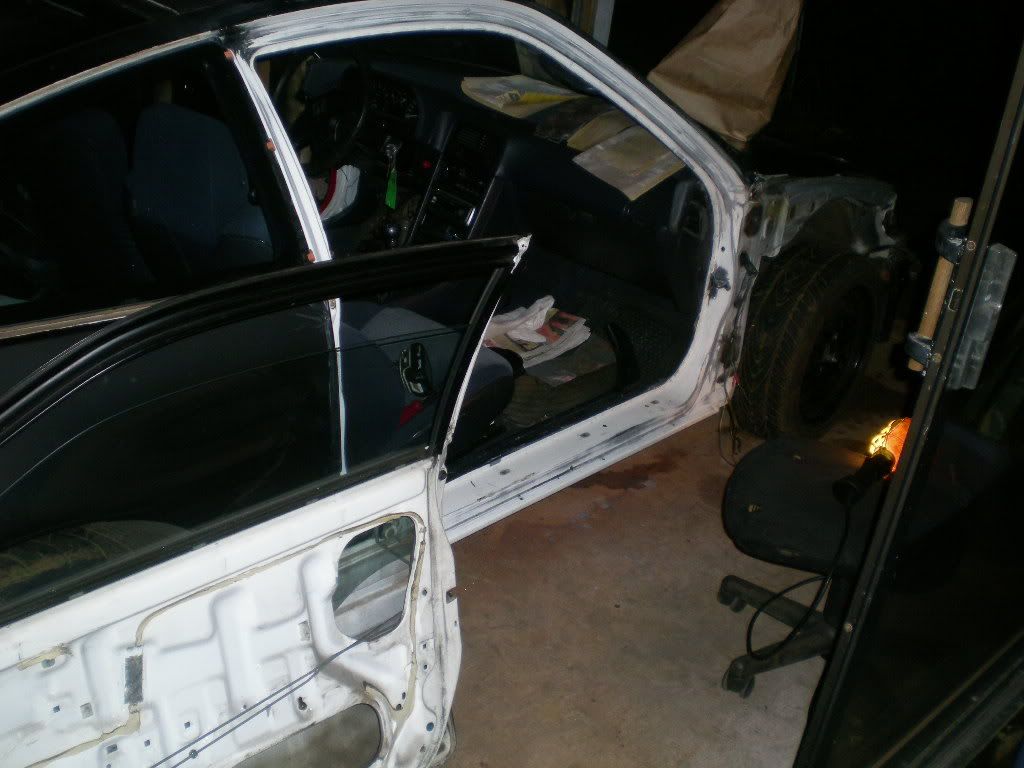
Window moudlings will be removed.
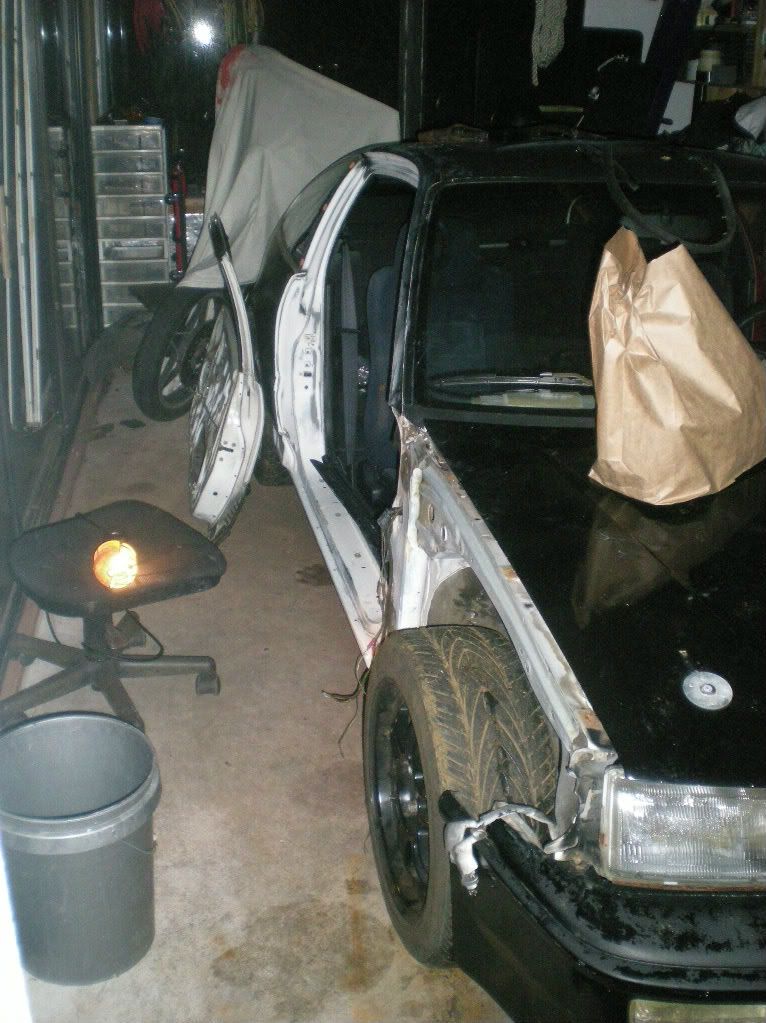
In the shop.
Removing doors for weight reduction. No jokes here.
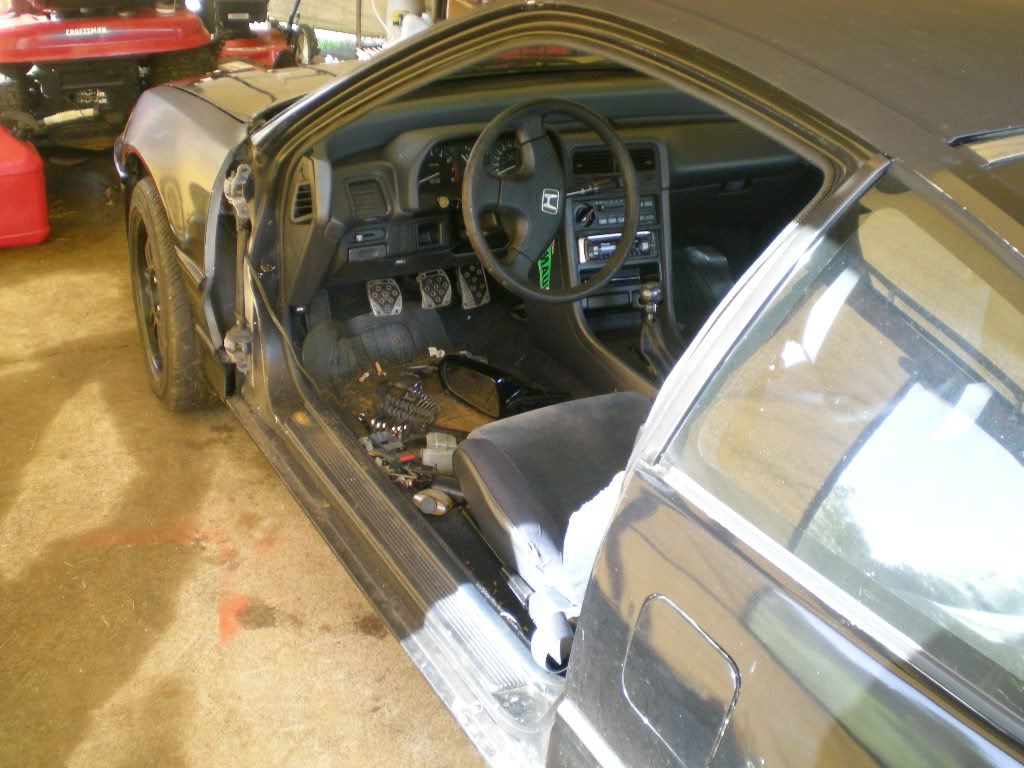
Door hinges will be reinforced with chassis stiffening.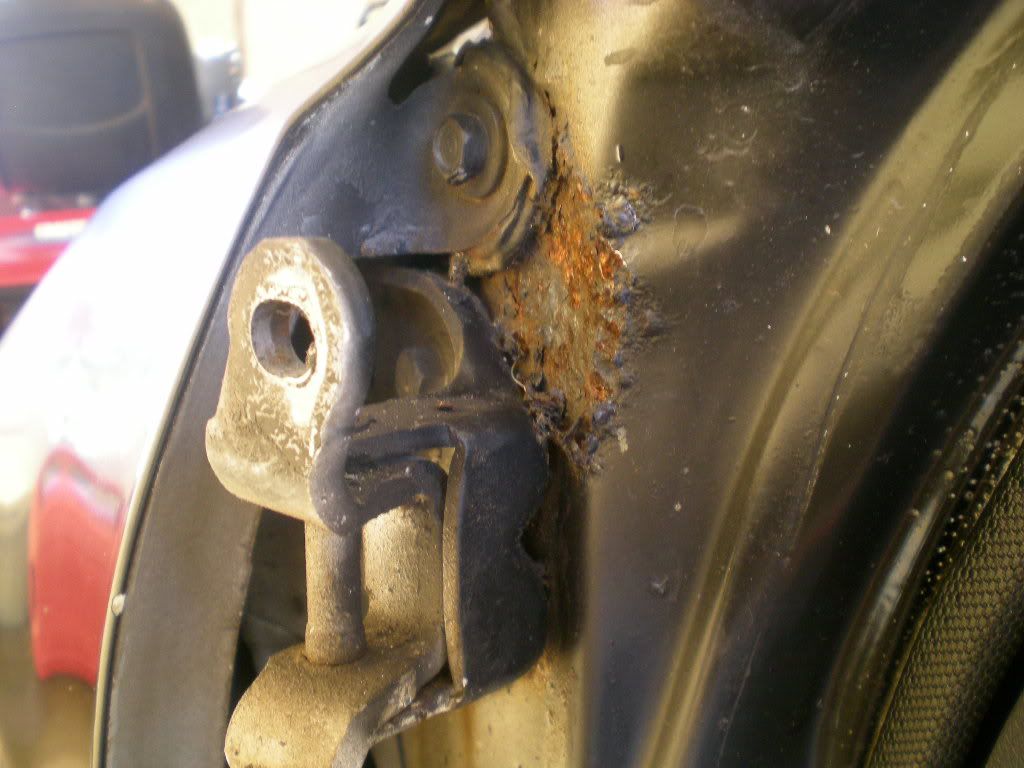
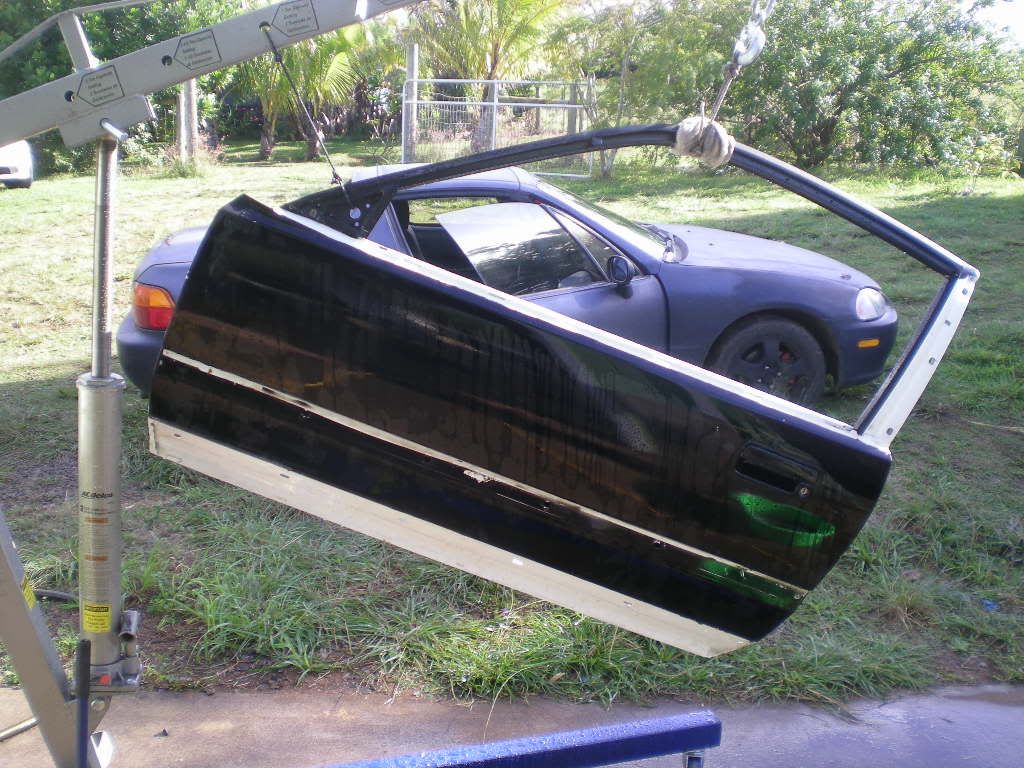
Doors are more fun off the car.
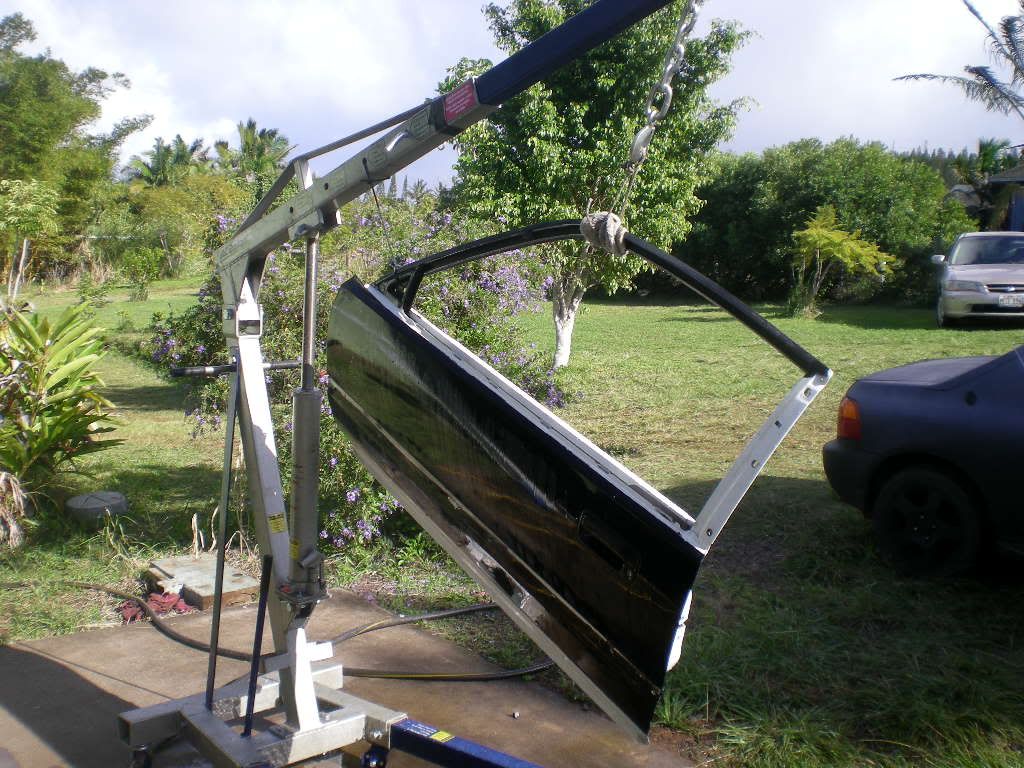
Especially hovering doors with the B20v through the window.
Prep for paint.
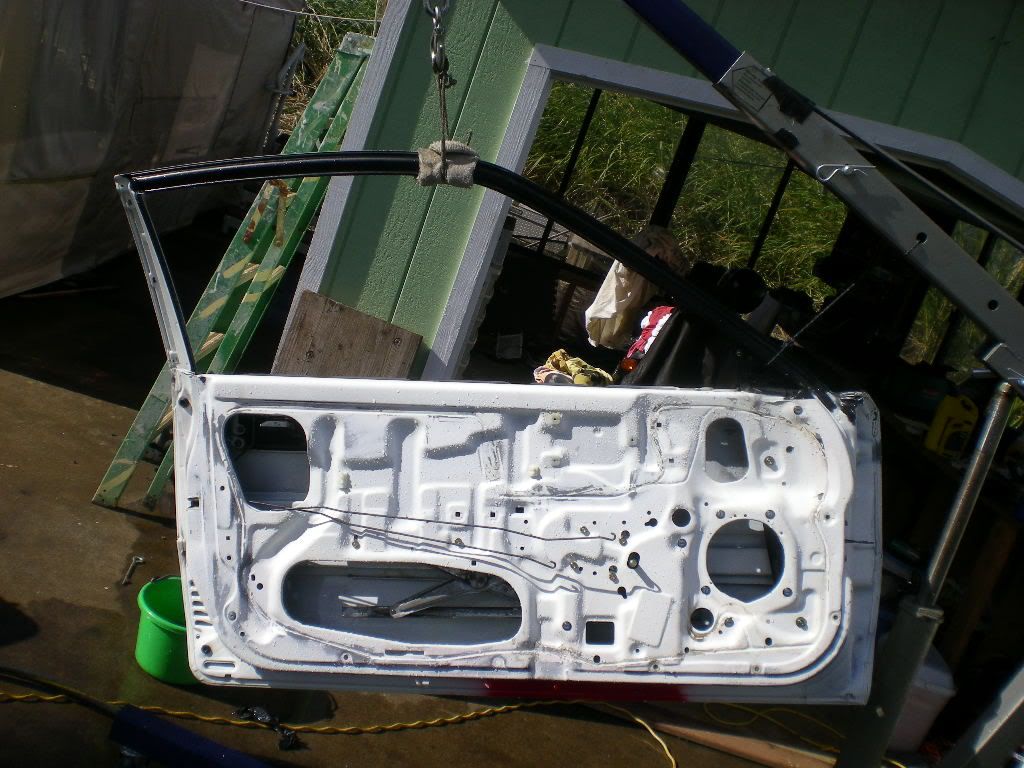
Treating rust around hinges.
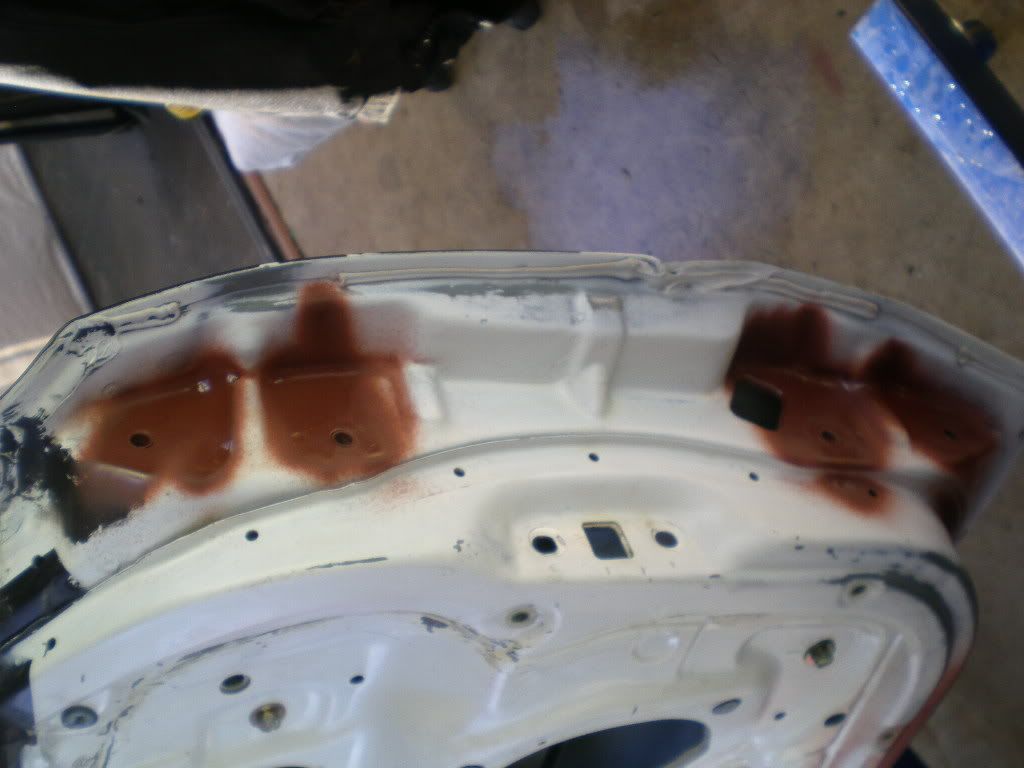
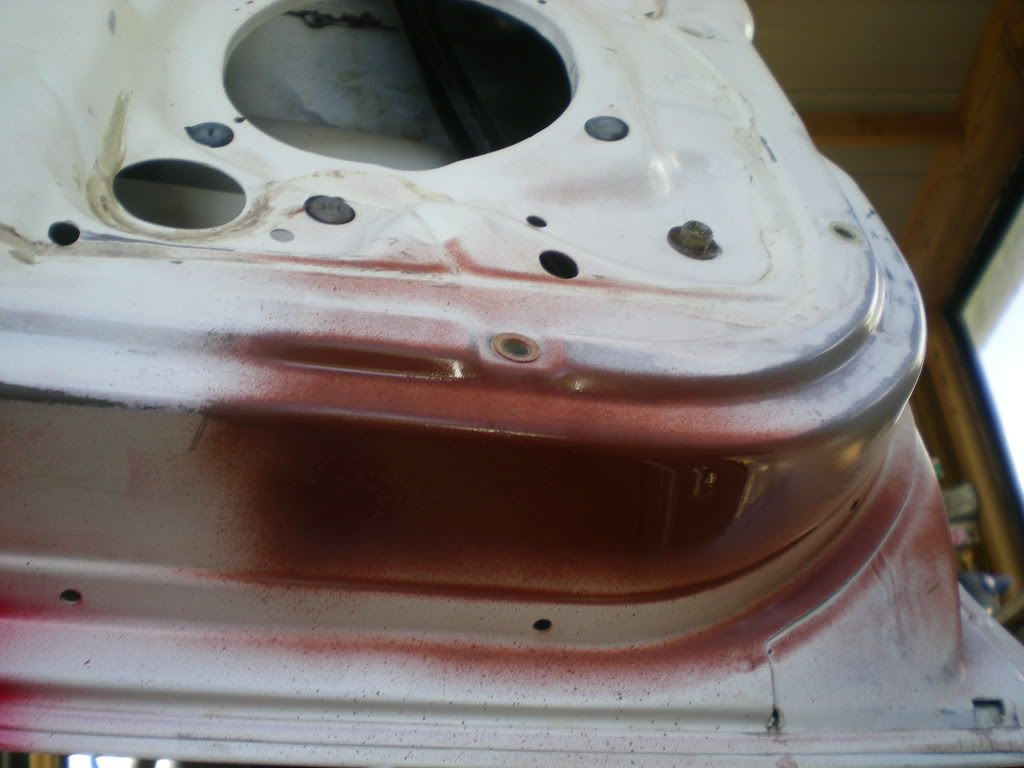
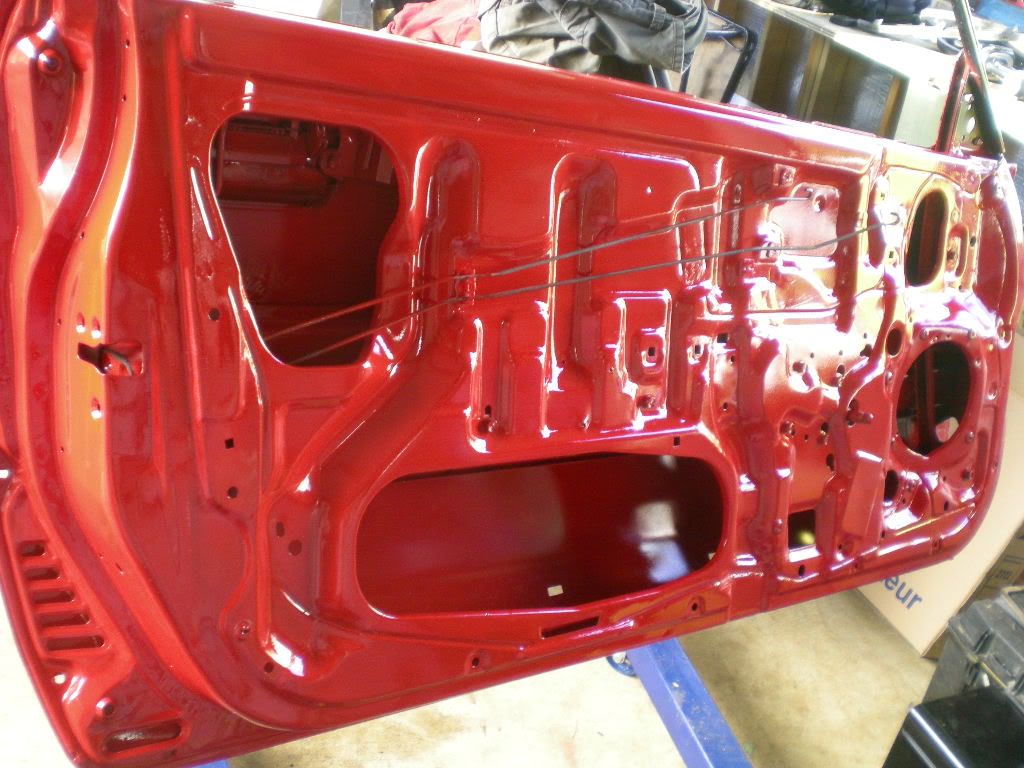
Candy red first coat.
In the shop.
Removing doors for weight reduction. No jokes here.
Door hinges will be reinforced with chassis stiffening.
Doors are more fun off the car.
Especially hovering doors with the B20v through the window.
Prep for paint.
Treating rust around hinges.
Candy red first coat.
Last edited by Corksil; 12-09-2011 at 08:02 PM.
12-09-2011, 08:09 PM
#7
Honda-Tech Member
Thread Starter
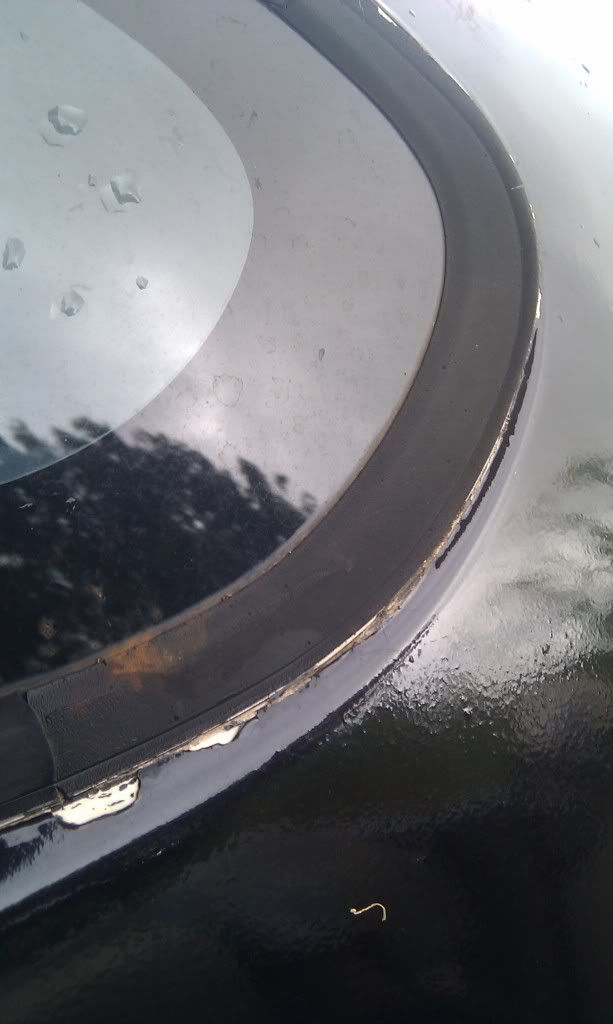
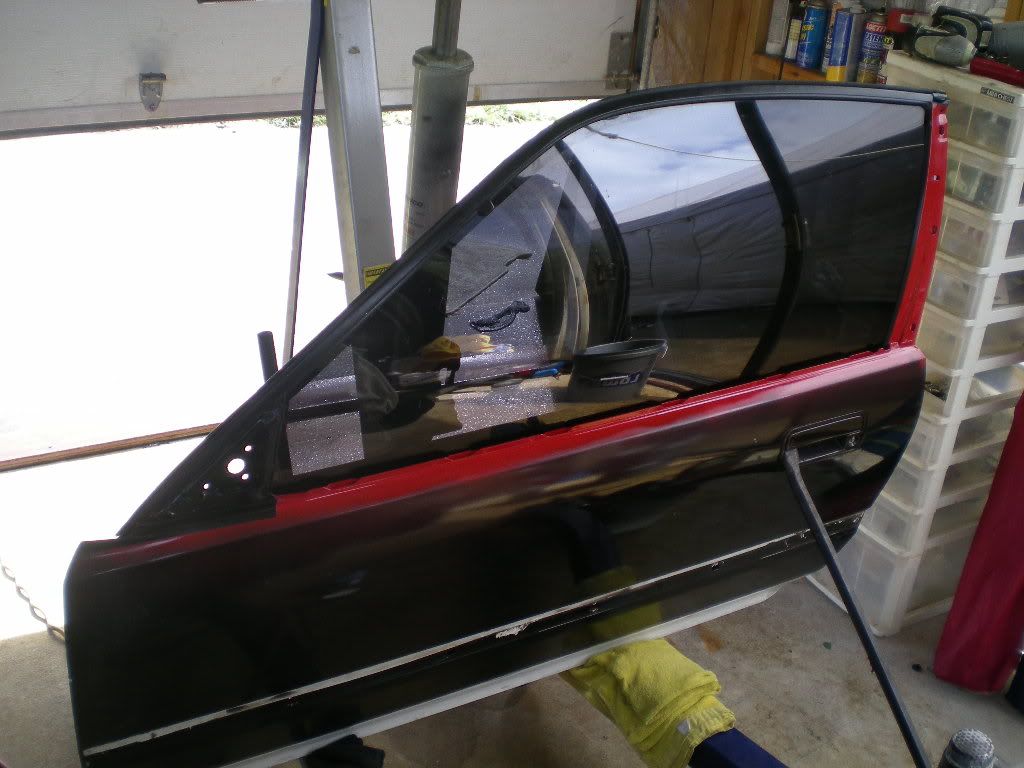
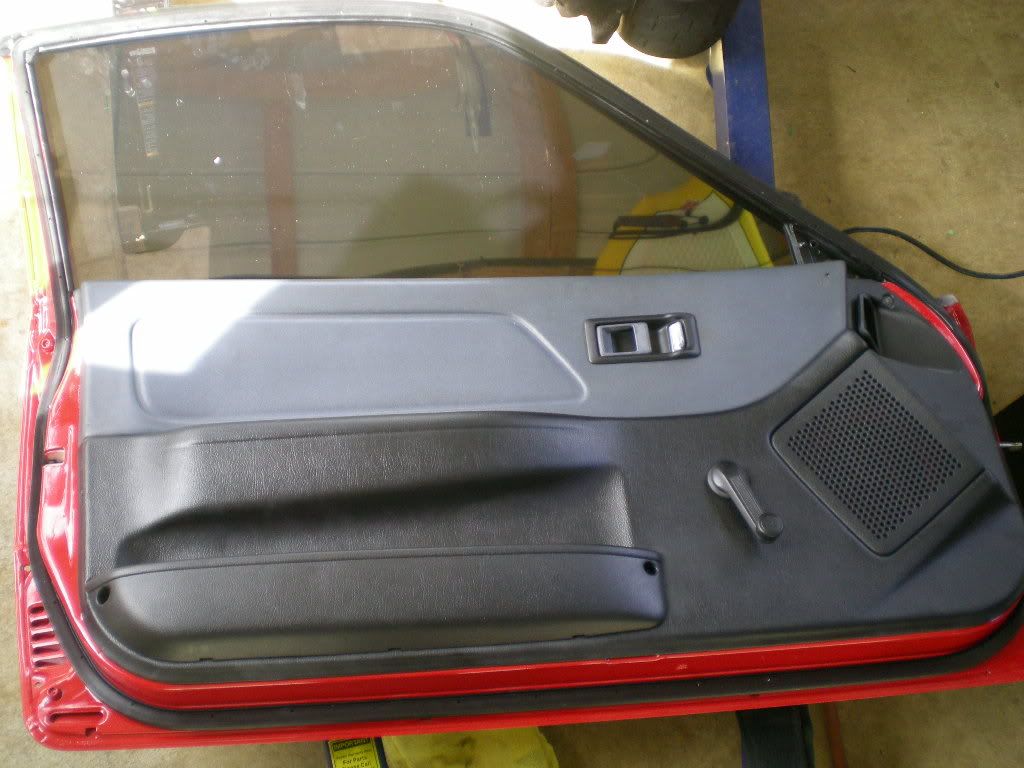
Driver door almost complete. Window glass tinted.
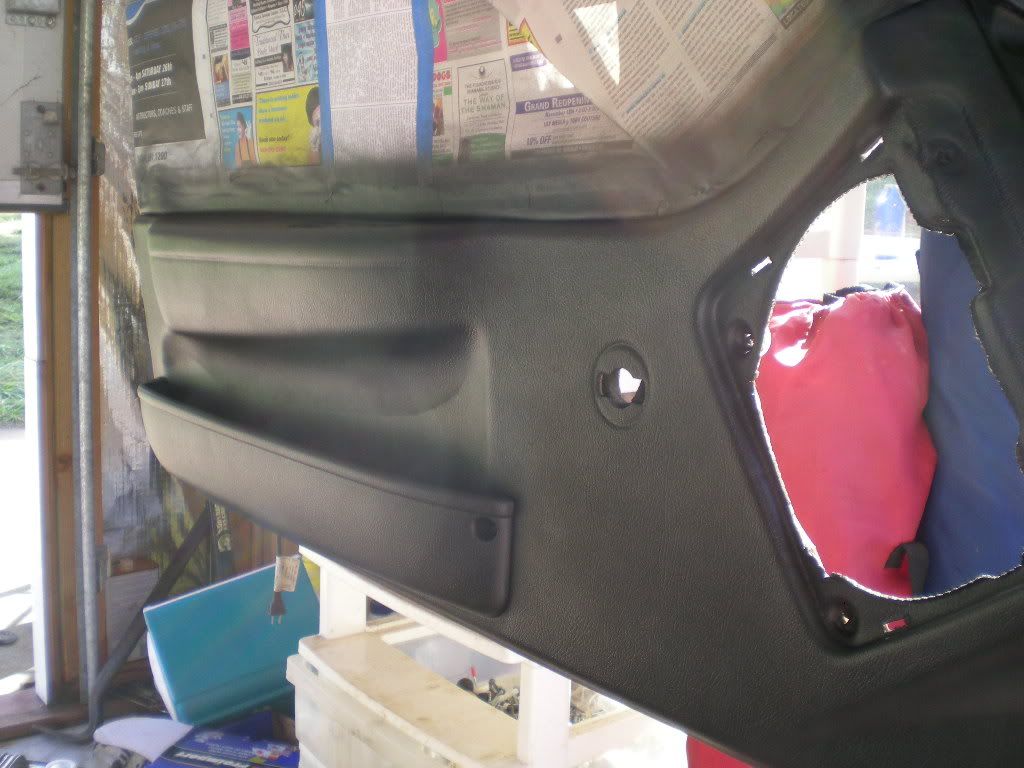
The interior is 88' CRX DX blue - door panel testing 1st coat.
Reconditioning weatherstrip with di-electric grease and solvents.
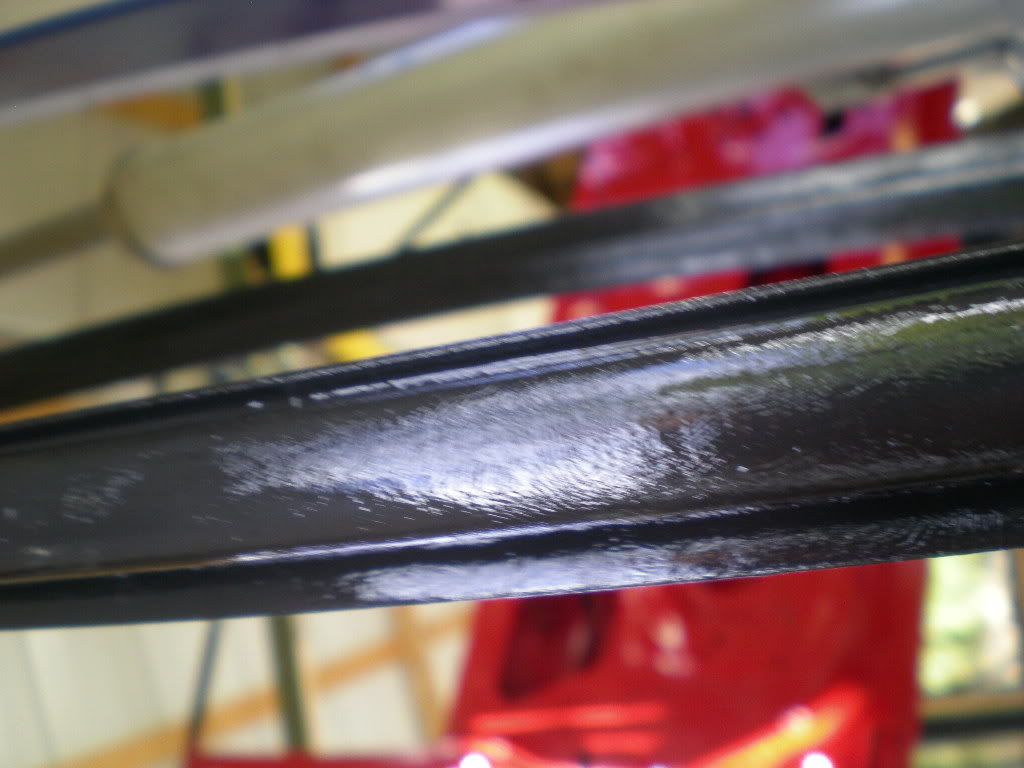
Fresh and so clean, after degreasing and conditioning.
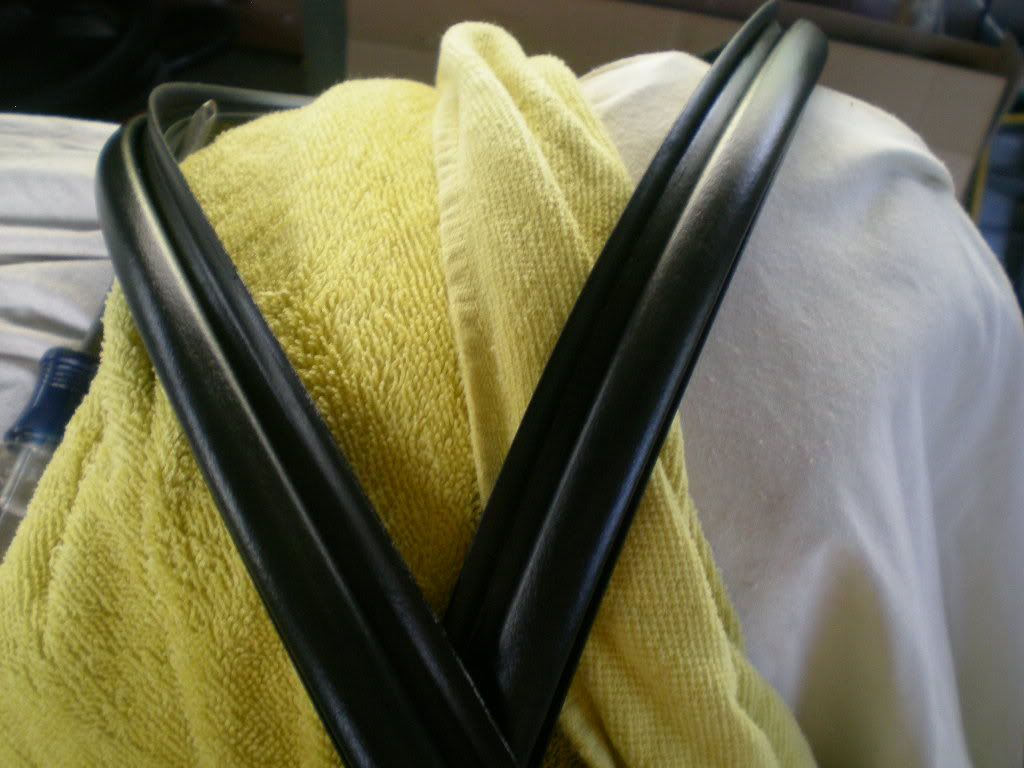
The interior is 88' CRX DX blue - door panel testing 1st coat.
Reconditioning weatherstrip with di-electric grease and solvents.
Fresh and so clean, after degreasing and conditioning.
Last edited by Corksil; 12-10-2011 at 08:57 PM.
Trending Topics
 12-10-2011, 03:52 PM
#9
Honda-Tech Member
Thread Starter
Window glass reinstalled.
Weatherstrips cleaned and reconditioned, reinstalled.
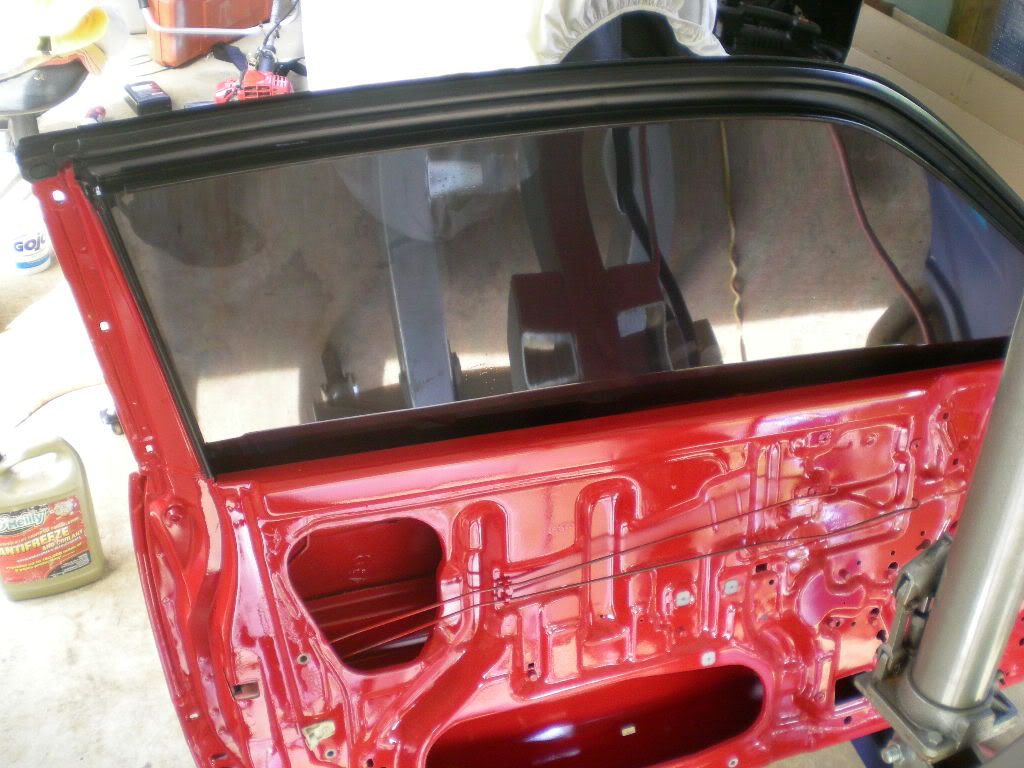
Except door handle still needing dye, door is 'complete' for now. Will need a good coat of protectant to bring the shine up to an even gloss. Next time this door comes apart will be for dynamat/service hole blockoffs/speakers - that or power window motors, power locks, and door handle shave w/door pops in doorjamb.
Next steps include..
-'recondition' passenger door (same procedure as driver door already completed)
-strip interior behind seats, treat all rust and begin welding rollcage/reinforcements
-remove all sound deadening with dry ice, clean and paint interior candy red to match
-paint rollcage (flat black/matte silver/undecided)
-strip engine bay of d15, clean and paint candy red to match, fill holes for wire tuck etc
B20v installed is priority over sound system but audio will be 1500wrms RF1001bd and 15" T2D4 sub I already have. For the front will be DD-C2a amp (200wrmsx2) and DDC-6.5 splits. Rear will be DD-C2a amp and DDW-6.5LT woofers with same tweet/XO as front stage. All equipment is purchased and waiting.
May do 5-lug conversion before installing B20v as to simplify axel selection etc etc.
Weatherstrips cleaned and reconditioned, reinstalled.
Except door handle still needing dye, door is 'complete' for now. Will need a good coat of protectant to bring the shine up to an even gloss. Next time this door comes apart will be for dynamat/service hole blockoffs/speakers - that or power window motors, power locks, and door handle shave w/door pops in doorjamb.
Next steps include..
-'recondition' passenger door (same procedure as driver door already completed)
-strip interior behind seats, treat all rust and begin welding rollcage/reinforcements
-remove all sound deadening with dry ice, clean and paint interior candy red to match
-paint rollcage (flat black/matte silver/undecided)
-strip engine bay of d15, clean and paint candy red to match, fill holes for wire tuck etc
B20v installed is priority over sound system but audio will be 1500wrms RF1001bd and 15" T2D4 sub I already have. For the front will be DD-C2a amp (200wrmsx2) and DDC-6.5 splits. Rear will be DD-C2a amp and DDW-6.5LT woofers with same tweet/XO as front stage. All equipment is purchased and waiting.
May do 5-lug conversion before installing B20v as to simplify axel selection etc etc.
12-10-2011, 08:41 PM
#10
Honda-Tech Member
Thread Starter
wooooo updates.
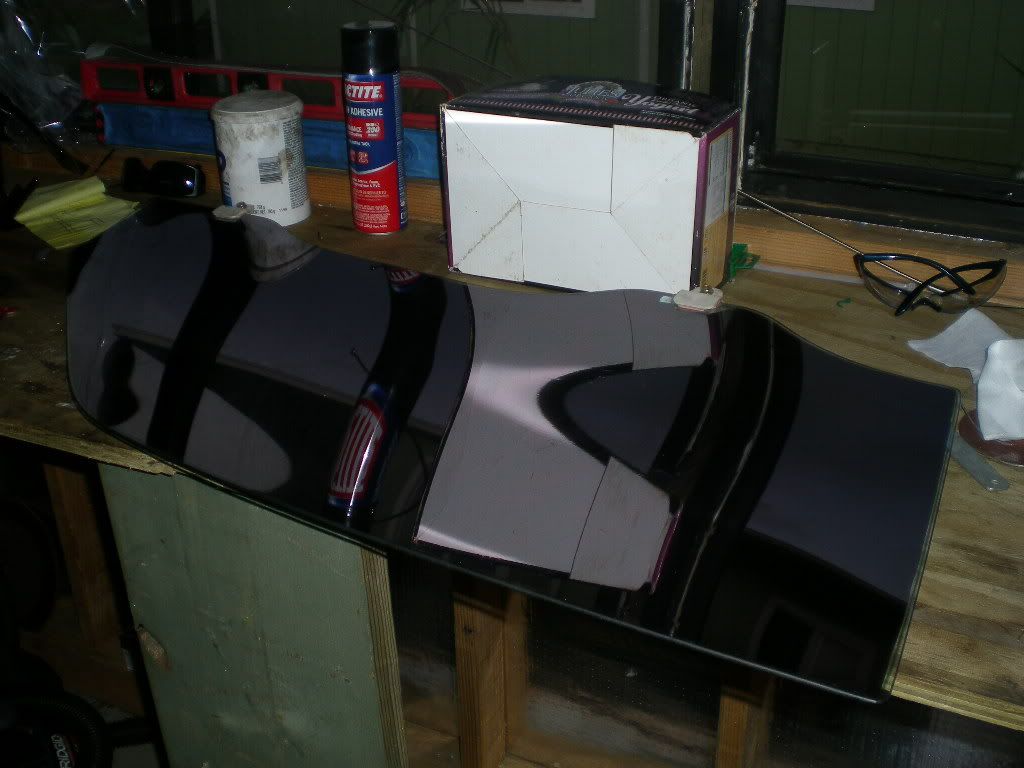
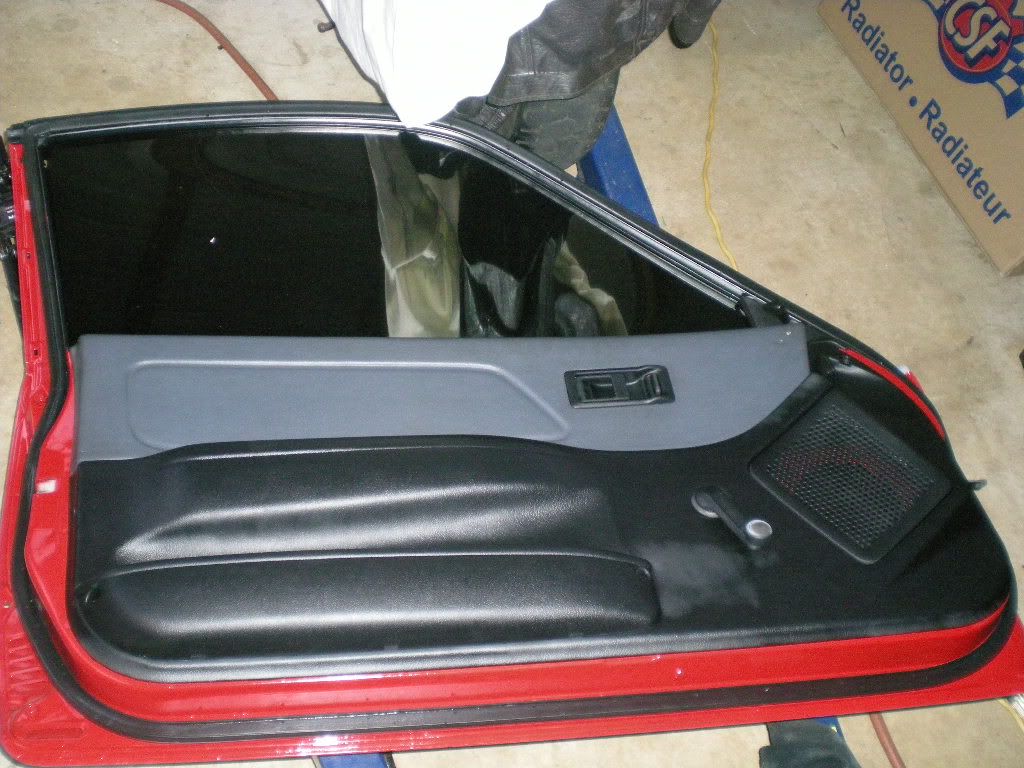
Product used to convert from ghei-blue to pimp-black door panel cover. The entire dashboard/interior trim is next.
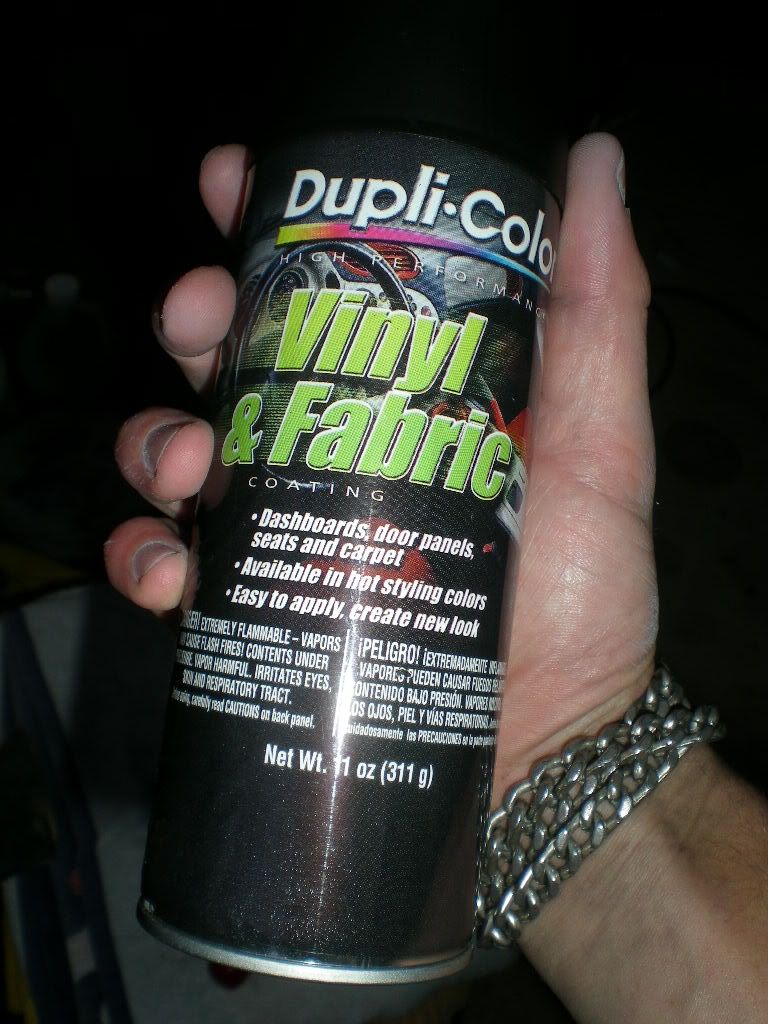
The completed door with handle done up in same ^^ dye.
Color - championship white? Not anymore. Pic taken after an hour of removing old black attempted-paint-job.
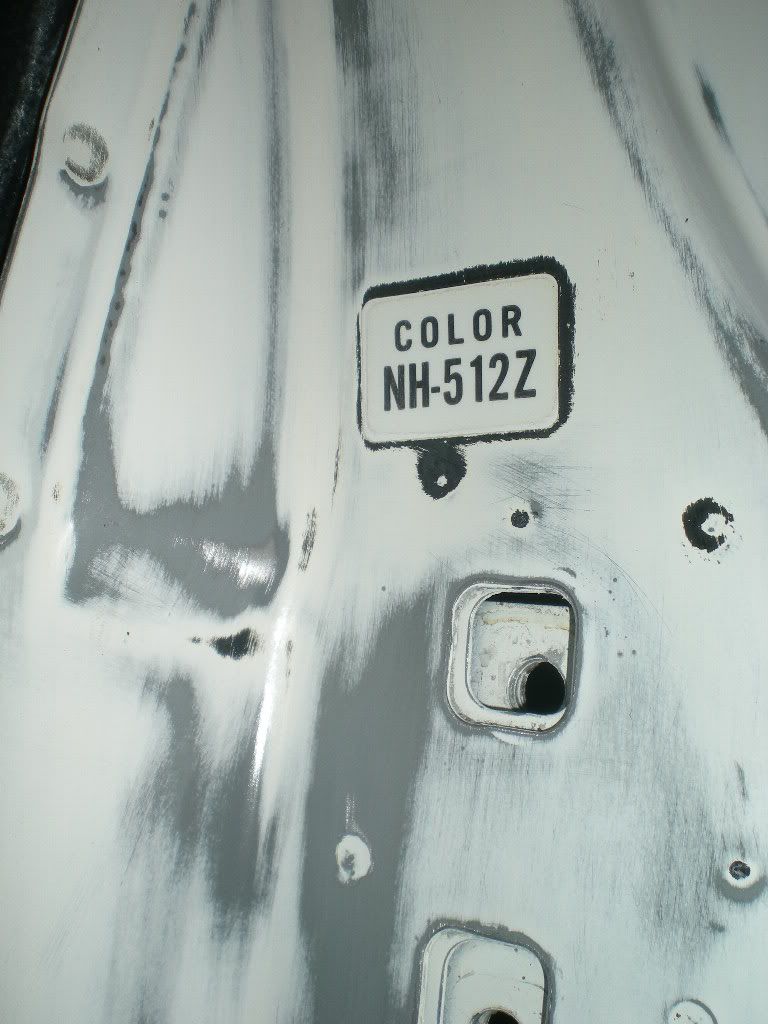
Black paint was removed to reveal primer and original honda white underneath. 100gt sanding block with wet sanding was used to establish this point in restoration.
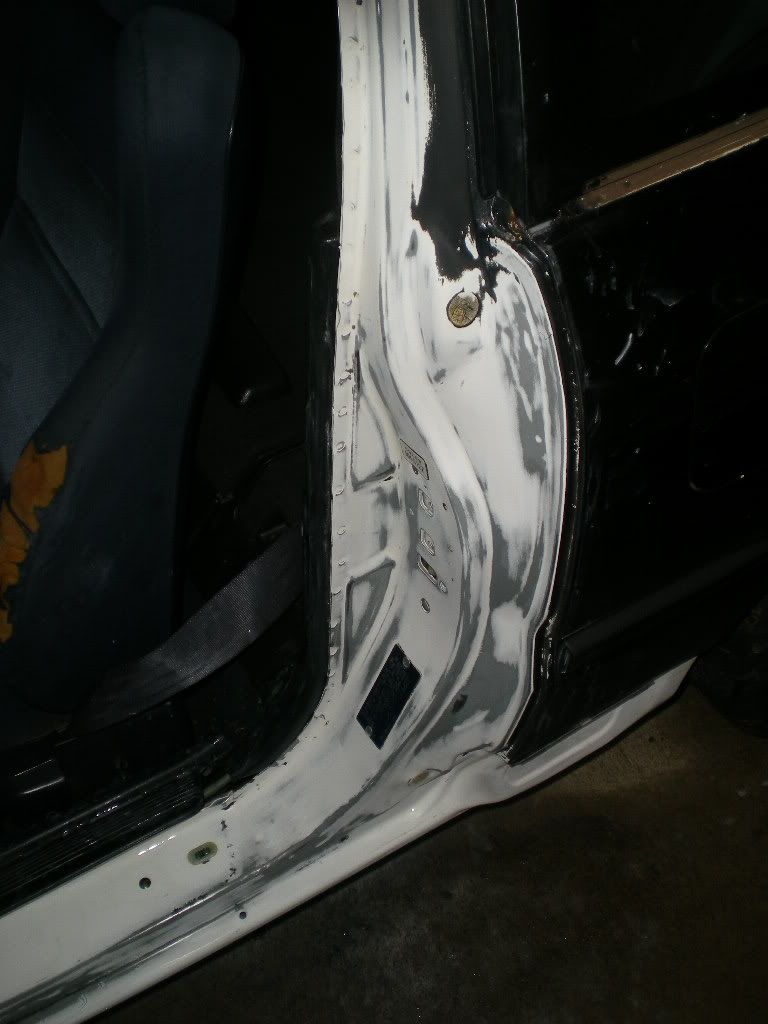
I had to sand through to bare metal in some places to remove old oem white paint for proper bonding of primer coat.

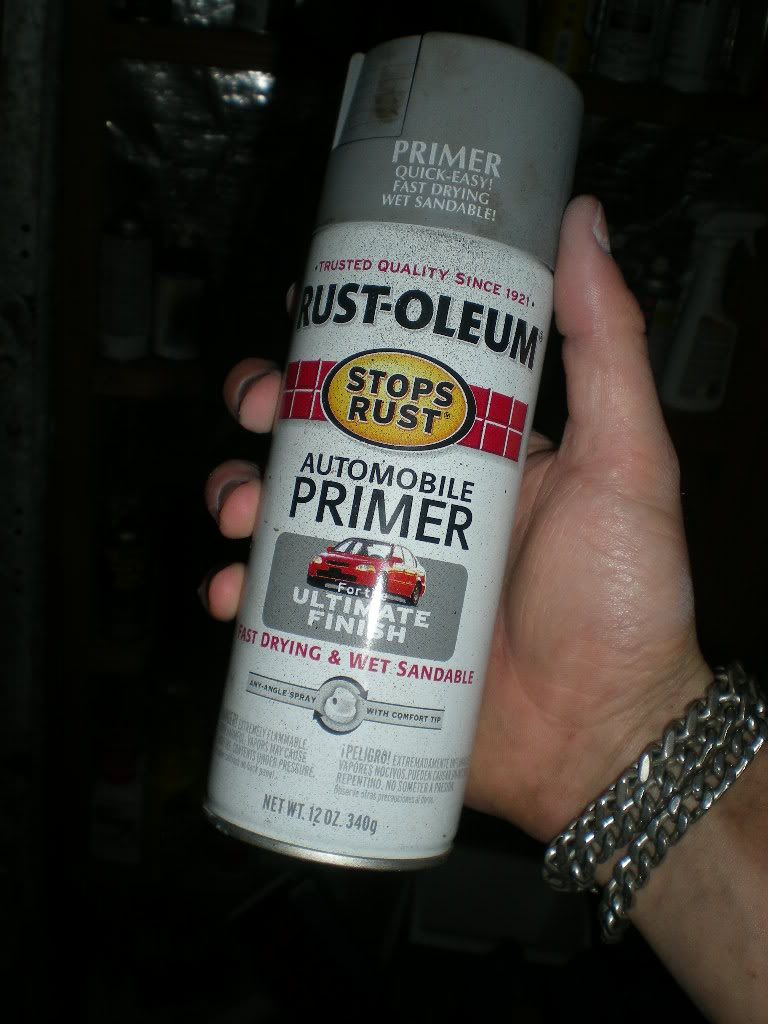
Primer to be used as base coat (with 400gt wet-sand prior to topcoat.)
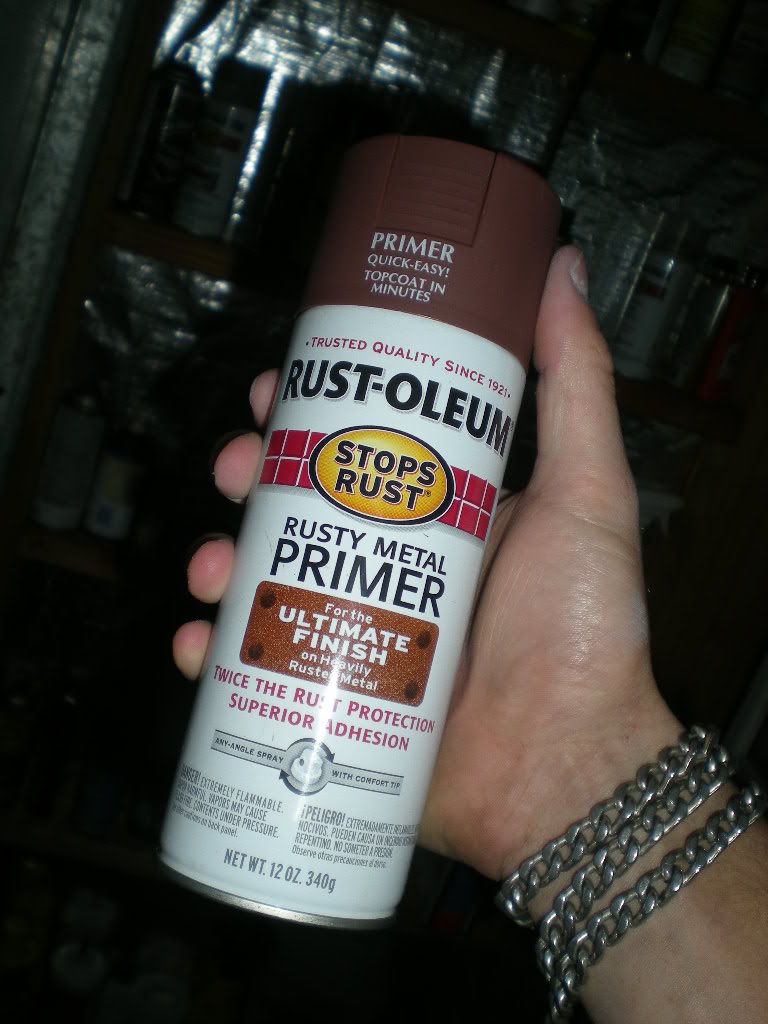
In the areas with rust, this primer will be used after treating with rust-converting compound.
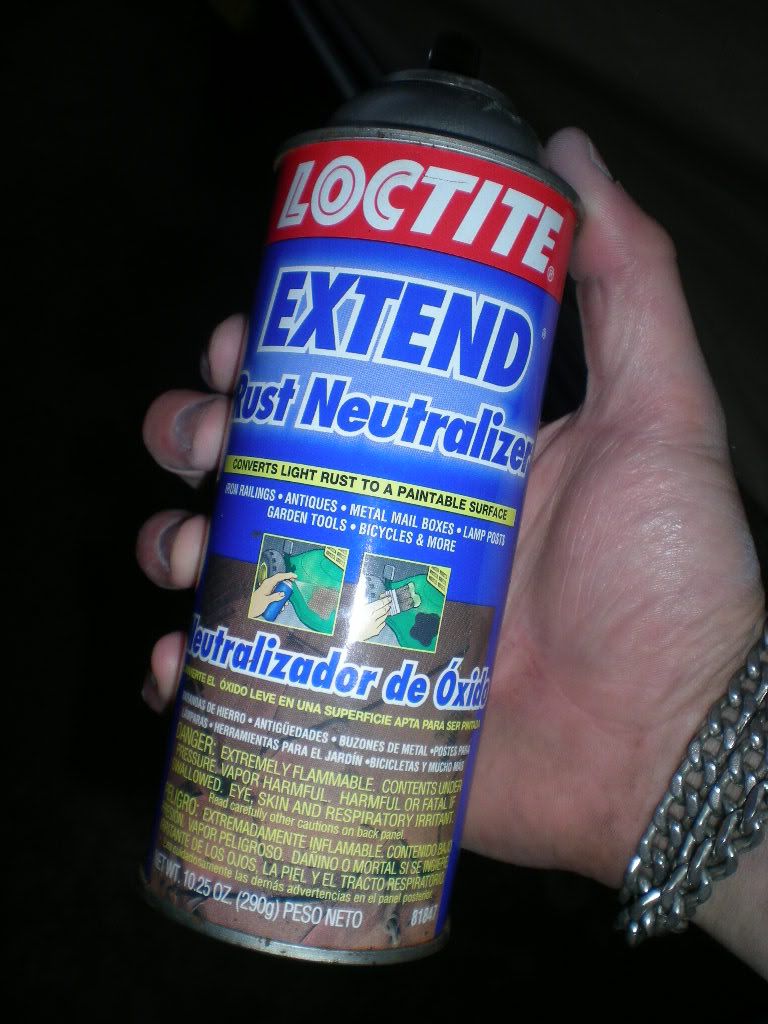
Rust-converter.
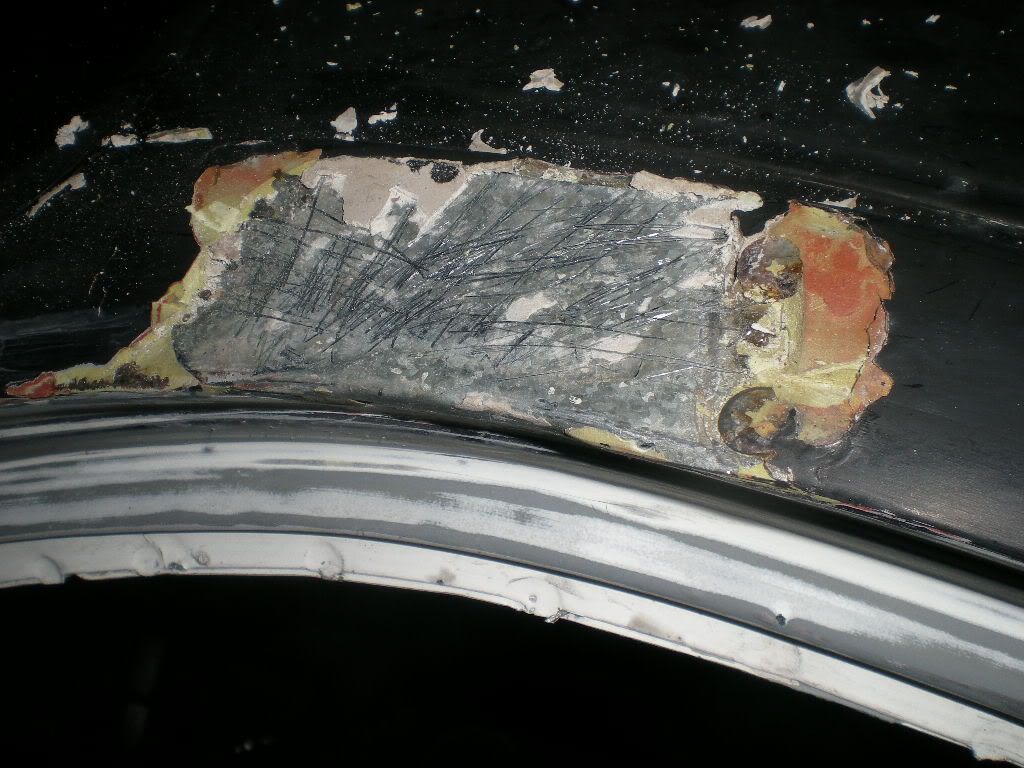
After removing the quarter panel trim under the door sill, surface rust was found.

Underneath the car, no rust was found on quarter panels. Amazing, given the car is 23yrs old.

Paint strippers, degreasers and lots of scrubbing might negate tomorrows work due to lack of fingerprints/lack of hand traction. Stay tuned for updates.
Product used to convert from ghei-blue to pimp-black door panel cover. The entire dashboard/interior trim is next.
The completed door with handle done up in same ^^ dye.
Color - championship white? Not anymore. Pic taken after an hour of removing old black attempted-paint-job.
Black paint was removed to reveal primer and original honda white underneath. 100gt sanding block with wet sanding was used to establish this point in restoration.
I had to sand through to bare metal in some places to remove old oem white paint for proper bonding of primer coat.
Primer to be used as base coat (with 400gt wet-sand prior to topcoat.)
In the areas with rust, this primer will be used after treating with rust-converting compound.
Rust-converter.
After removing the quarter panel trim under the door sill, surface rust was found.
Underneath the car, no rust was found on quarter panels. Amazing, given the car is 23yrs old.
Paint strippers, degreasers and lots of scrubbing might negate tomorrows work due to lack of fingerprints/lack of hand traction. Stay tuned for updates.
12-11-2011, 09:26 PM
#11
Honda-Tech Member
Thread Starter
I worked most of the day cleaning out the shop/paint booth. It's the rainy time of year and painting outside is impossible. There are flood warnings in effect throughout next week straight, some of the roads were flooded when I left home to work on the CRX today.
Finally a dry place to work!
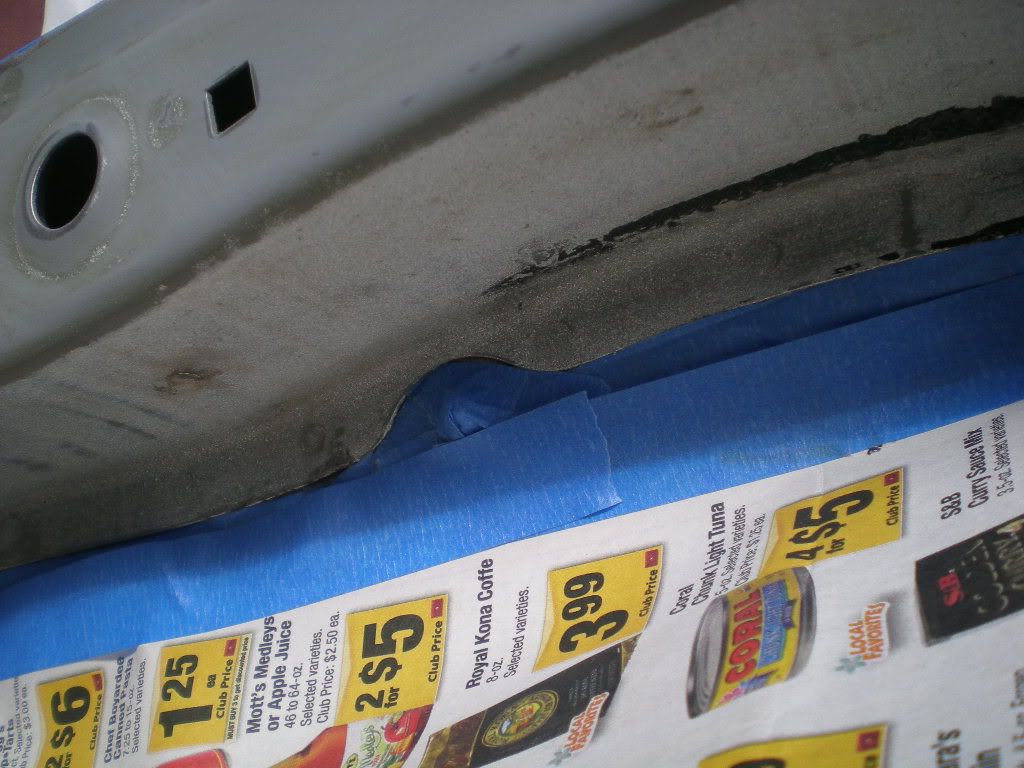
I did some digging around where the antenna used to protrude. Looks like standard bodywork but it will all be stripped and I will be redoing it up to better specifications.
It's time to find a welder, because after this rust is taken care of, 1/8'' plate steel will be welded over for reinforcement and chassis rigidity.
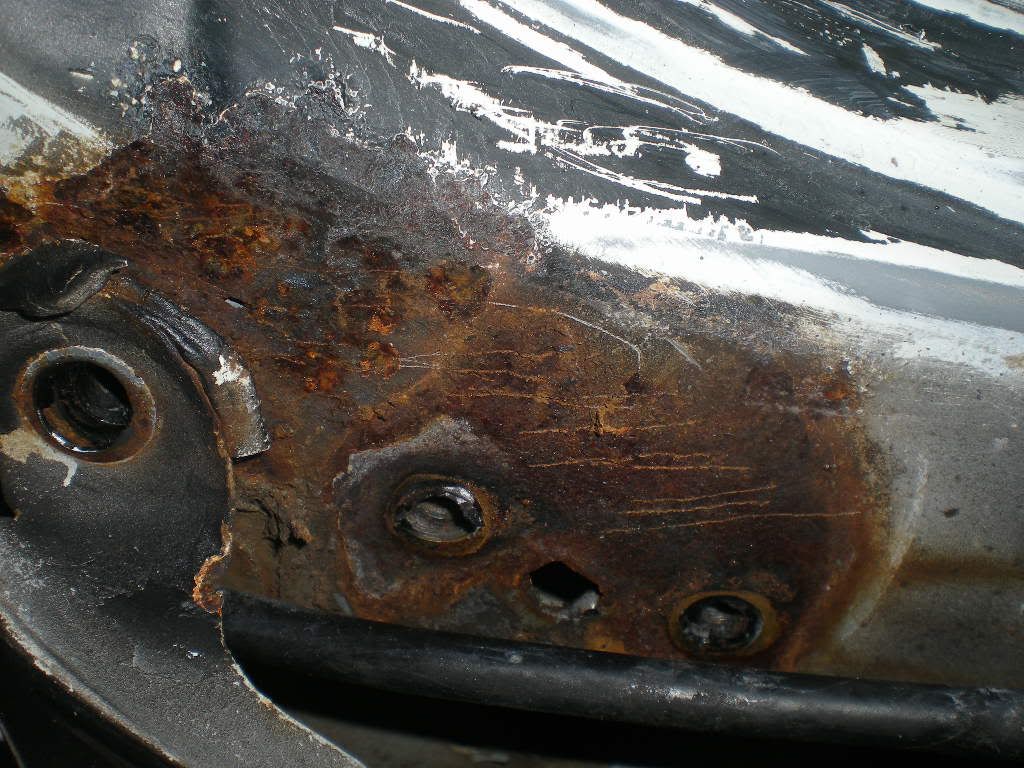
No rust has eaten through to the other side of the subframe near antenna, so it can't be too hard to fix.
That's all for now, not too much progress today. Will be back at it tomorrow as time permits.
Finally a dry place to work!
I did some digging around where the antenna used to protrude. Looks like standard bodywork but it will all be stripped and I will be redoing it up to better specifications.
It's time to find a welder, because after this rust is taken care of, 1/8'' plate steel will be welded over for reinforcement and chassis rigidity.
No rust has eaten through to the other side of the subframe near antenna, so it can't be too hard to fix.
That's all for now, not too much progress today. Will be back at it tomorrow as time permits.
12-12-2011, 08:37 PM
#14
Honda-Tech Member
Thread Starter
More updates.
This little crx was on a boat. It required an inter-island crx buying month. Then it was shipped home....

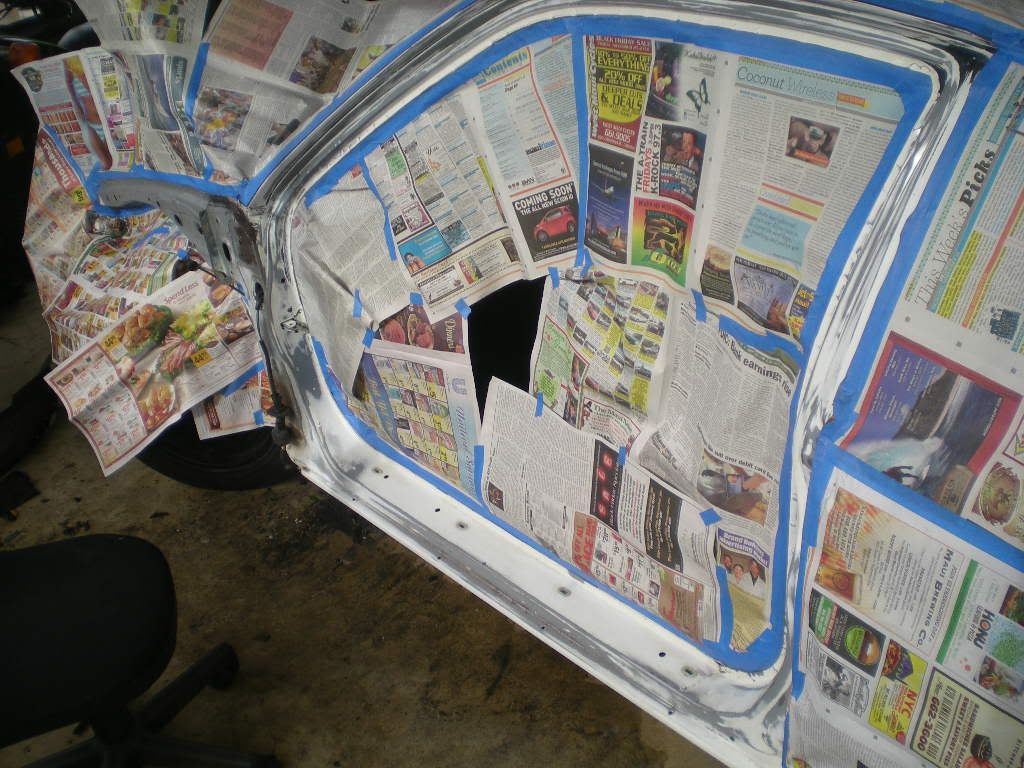
Starting to get close to paint, masking begins...
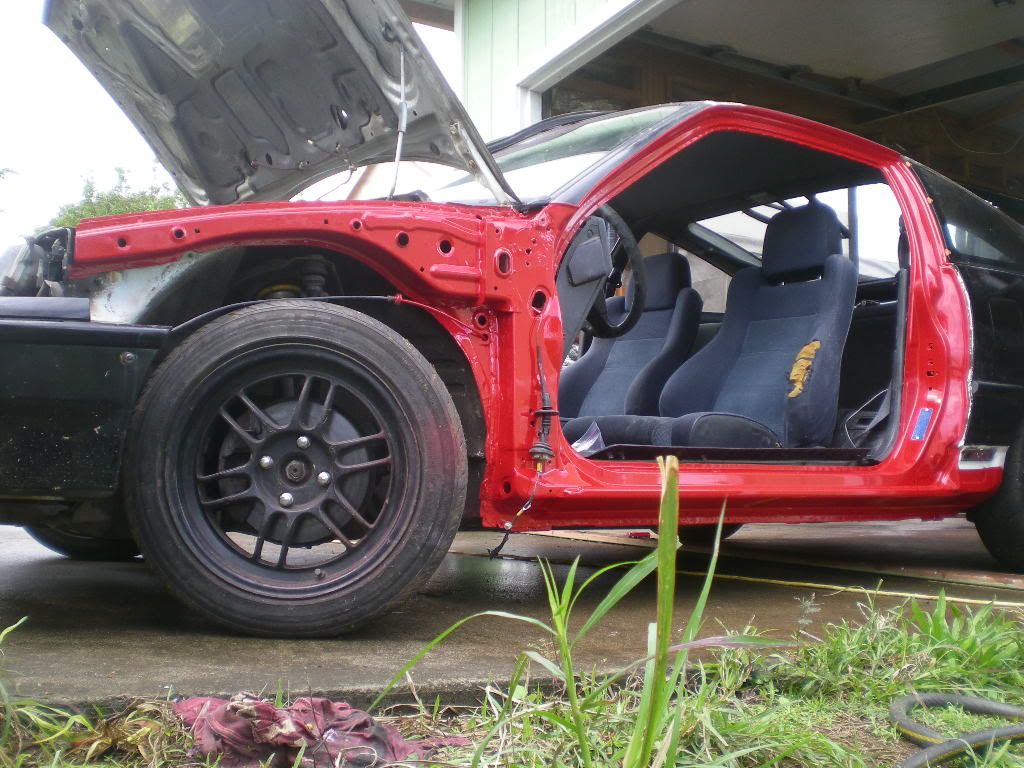
Removed the front fender and started cleaning...
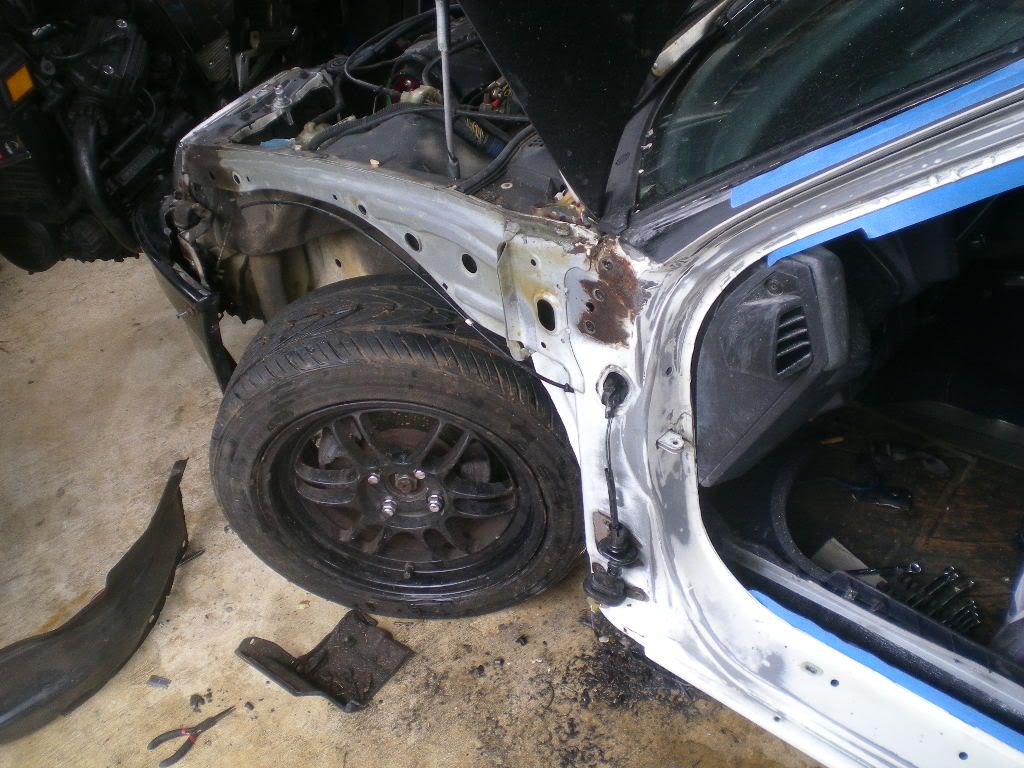
Welded braces will connect the upper and lower hinge to the front fender above the wheel.
Rust on the hinge points has been coverted and will be painted over for aesthetics.

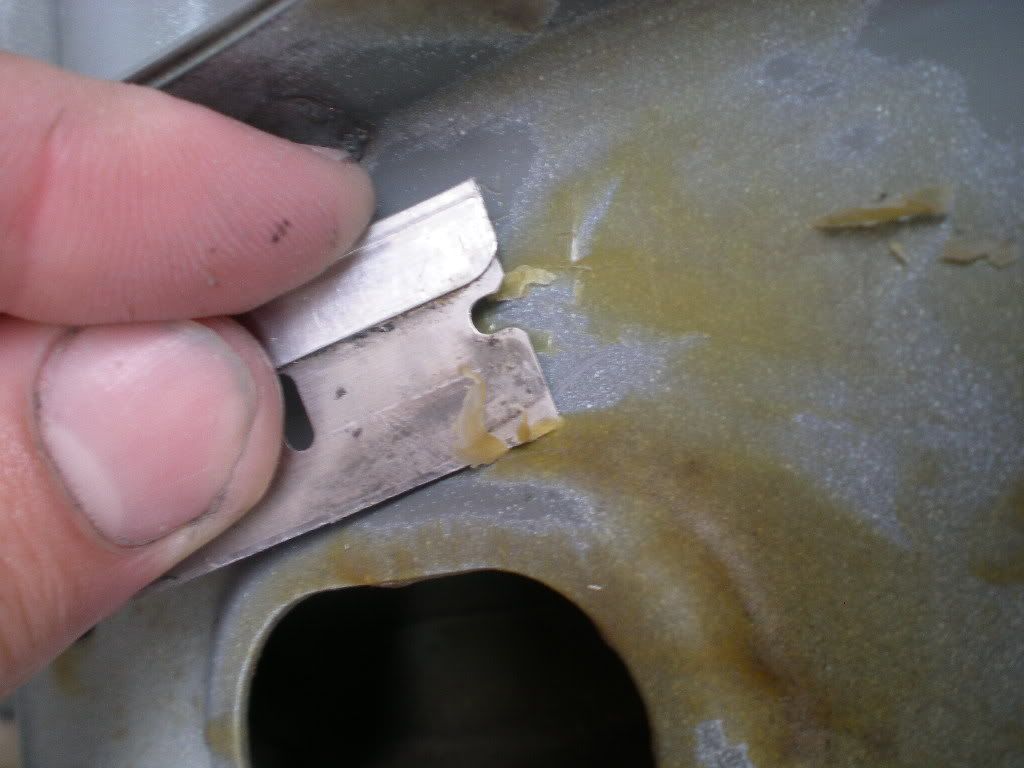
What is this crap? It's the consistency of thick wax, and sucks to remove. All I want for x-mas is my thumbnail back.. my thumbnail back.. my thumbnail back..
Working that masking around for a nice color split..
Yay masking is almost complete.
This is how I see the build fanbase. A buncha kids sittin at home eatin spaghetti living vicariously through this build.

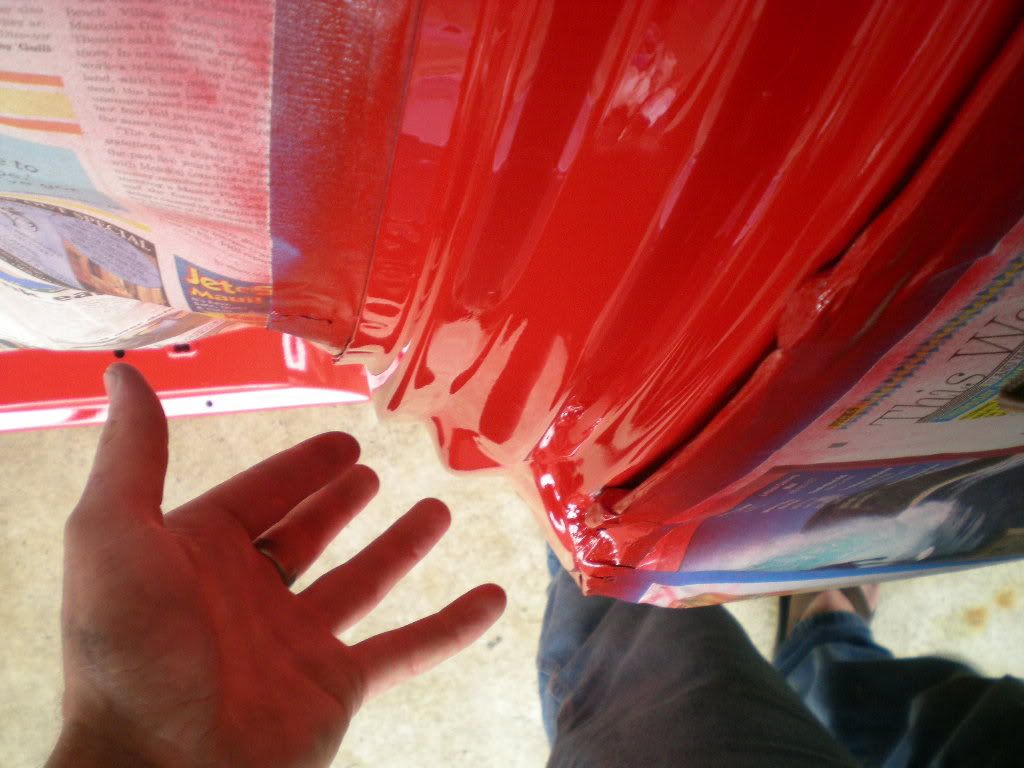
Perfect masking color split especially under the fender where it will never be seen by a single person. Because my attention to detail is on point like that. By the way for the ppl who PM'd me asking what the 'cost of living in hawaii is like' - there you go. Read the newspaper.
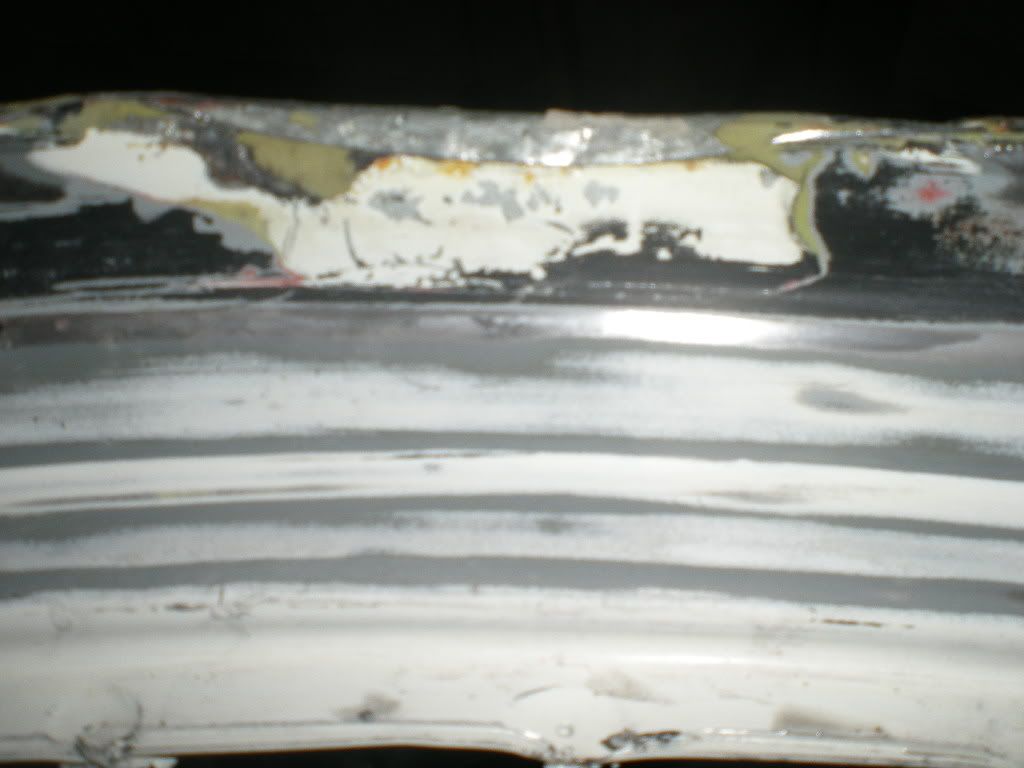
1st coat of candy red. Looks a lot better than it did in the pic.
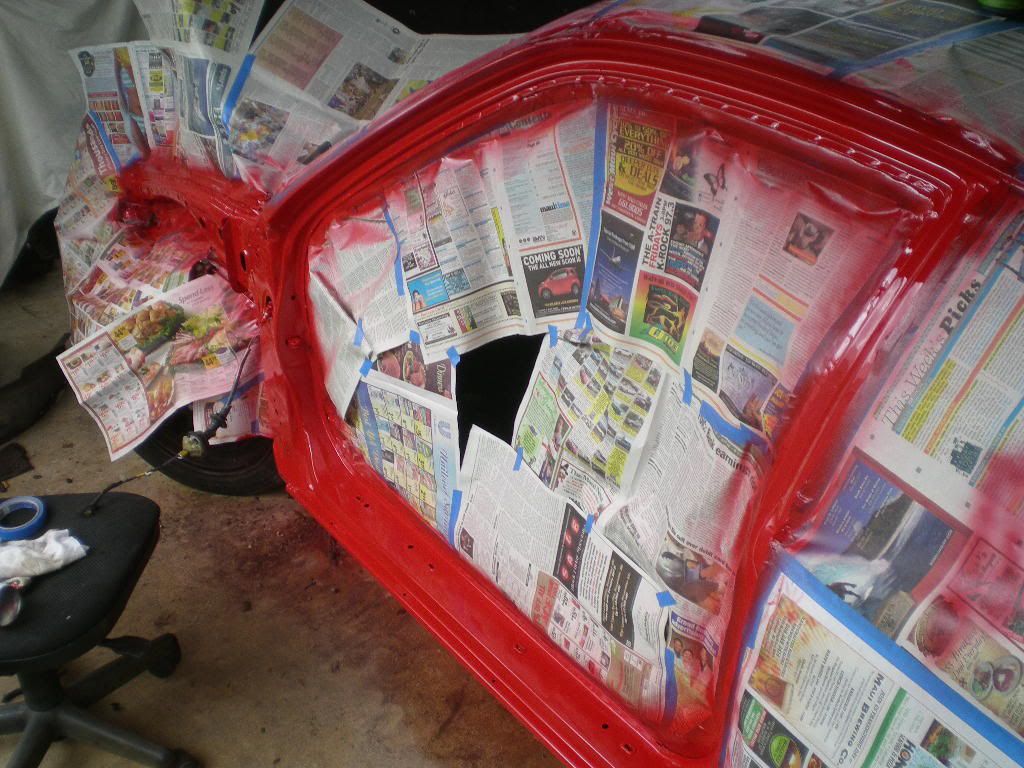
After the second coat, check out that shine. Clearcoat comes next, after this paint dries in the middle of a rainstorm... This paint will be tacky for a week.....
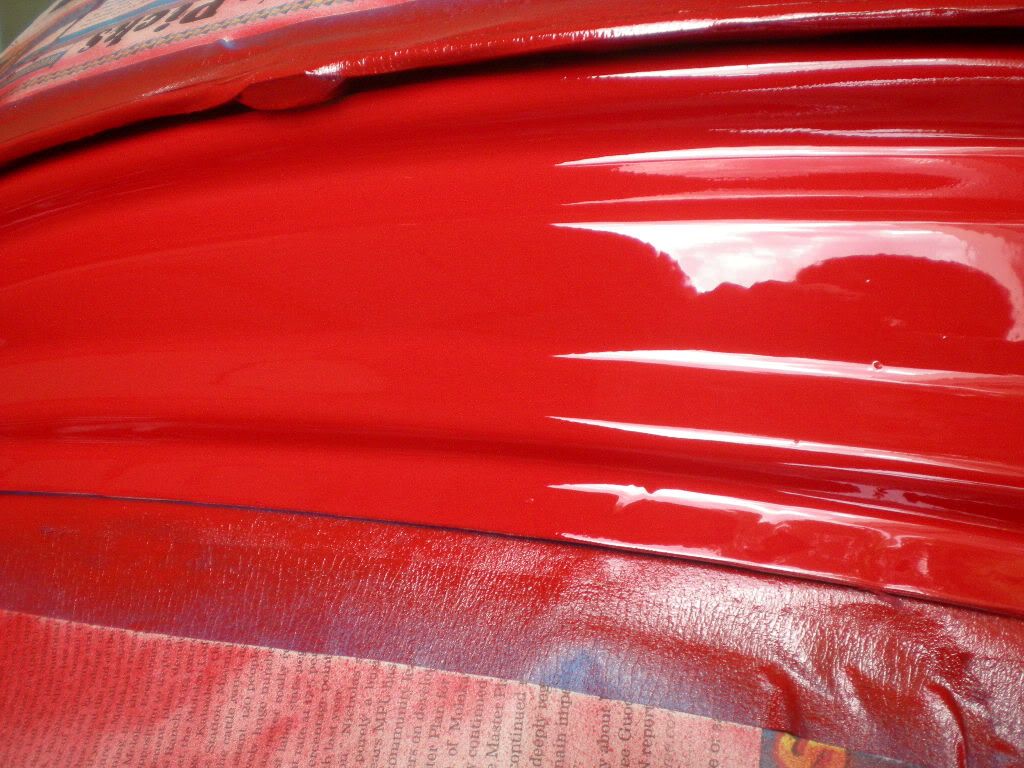
Notice the nice finger reflections on that perfect gloss...
More updates when there is something exciting to update.
shoooooots
This little crx was on a boat. It required an inter-island crx buying month. Then it was shipped home....
Starting to get close to paint, masking begins...
Removed the front fender and started cleaning...
Welded braces will connect the upper and lower hinge to the front fender above the wheel.
Rust on the hinge points has been coverted and will be painted over for aesthetics.
What is this crap? It's the consistency of thick wax, and sucks to remove. All I want for x-mas is my thumbnail back.. my thumbnail back.. my thumbnail back..
Working that masking around for a nice color split..
Yay masking is almost complete.
This is how I see the build fanbase. A buncha kids sittin at home eatin spaghetti living vicariously through this build.
Perfect masking color split especially under the fender where it will never be seen by a single person. Because my attention to detail is on point like that. By the way for the ppl who PM'd me asking what the 'cost of living in hawaii is like' - there you go. Read the newspaper.
1st coat of candy red. Looks a lot better than it did in the pic.
After the second coat, check out that shine. Clearcoat comes next, after this paint dries in the middle of a rainstorm... This paint will be tacky for a week.....
Notice the nice finger reflections on that perfect gloss...
More updates when there is something exciting to update.
shoooooots
 12-13-2011, 09:12 PM
#16
Honda-Tech Member
Thread Starter
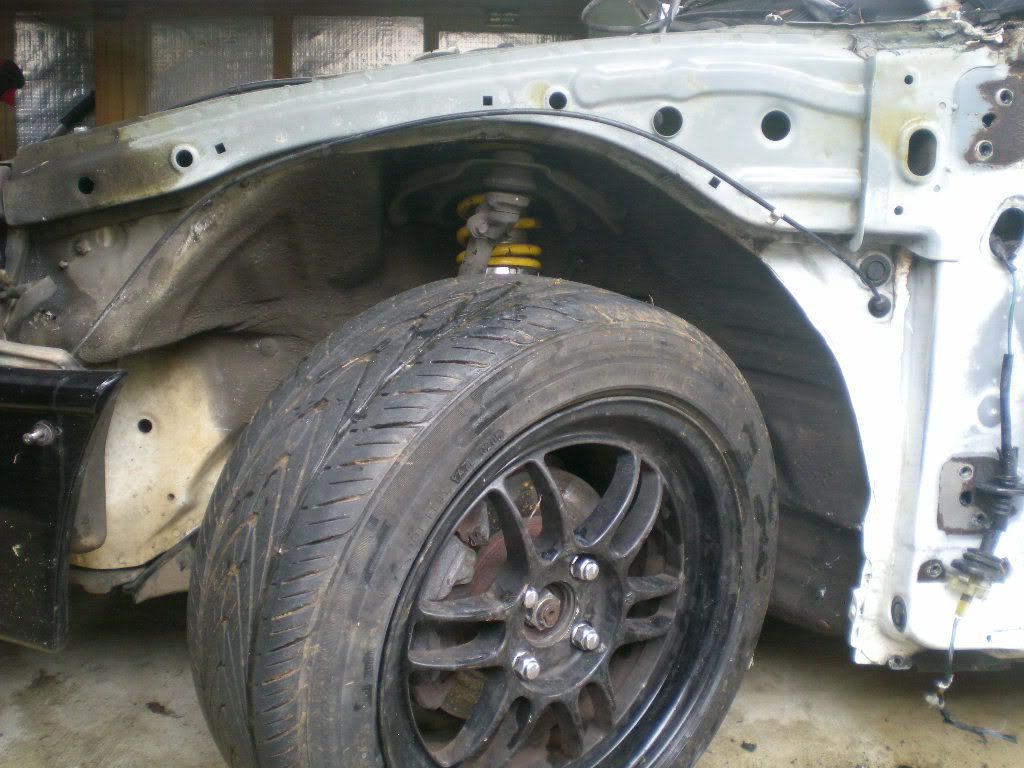
Next up, same red on passenger side door and subframe. Underneath the front/rear wheel wells will be stripped and inspected - then re-undercoated with nice matte black rubberized finish.
I got the door off and the weatherstrips are ready for the same reconditioning procedure.
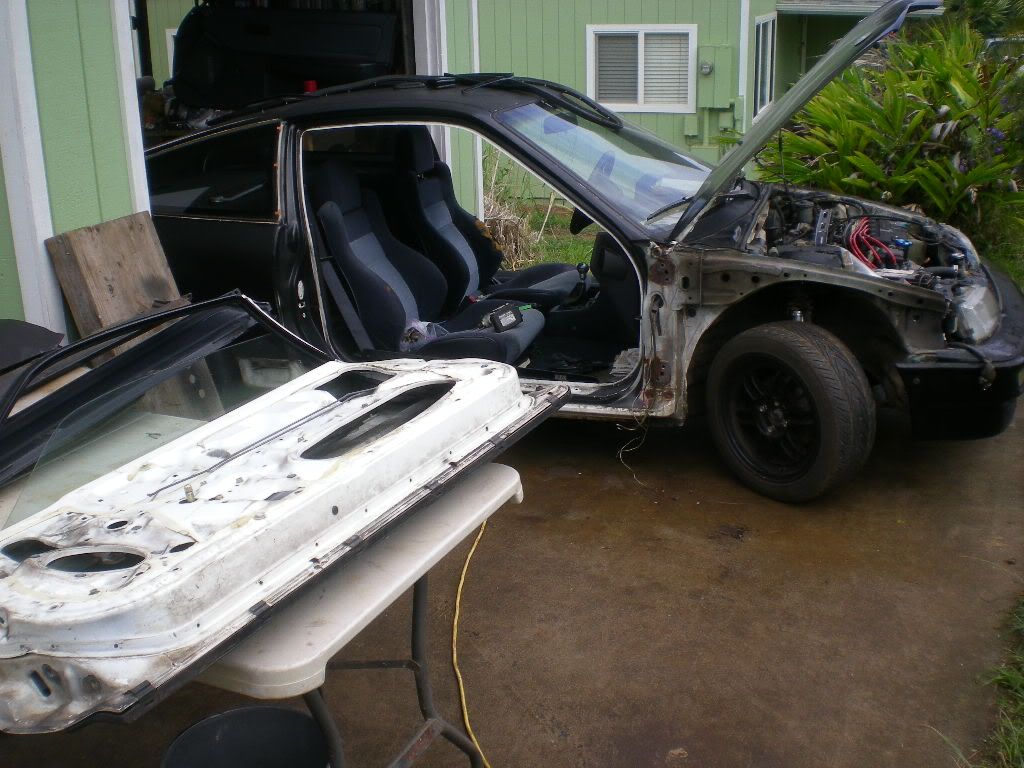
Same surface rust as on driver side door hinge points. Not as bad on the passenger side.

Here she sits until tomorrow.
More candy red, some new scotch-brite stripping pads and some meaty new 100gt sanding blocks will speed things up for tomorrow.
I got the door off and the weatherstrips are ready for the same reconditioning procedure.
Same surface rust as on driver side door hinge points. Not as bad on the passenger side.
Here she sits until tomorrow.
More candy red, some new scotch-brite stripping pads and some meaty new 100gt sanding blocks will speed things up for tomorrow.
12-15-2011, 07:48 PM
#19
Honda-Tech Member
Thread Starter
Alright here we go again.
Straight to bidniz.
I decided to do a wire tuck, i'm talkin complete wire tuck - no crap mucking up my bay. First are the wires.. The inside is always ugly (before I get done with it.)
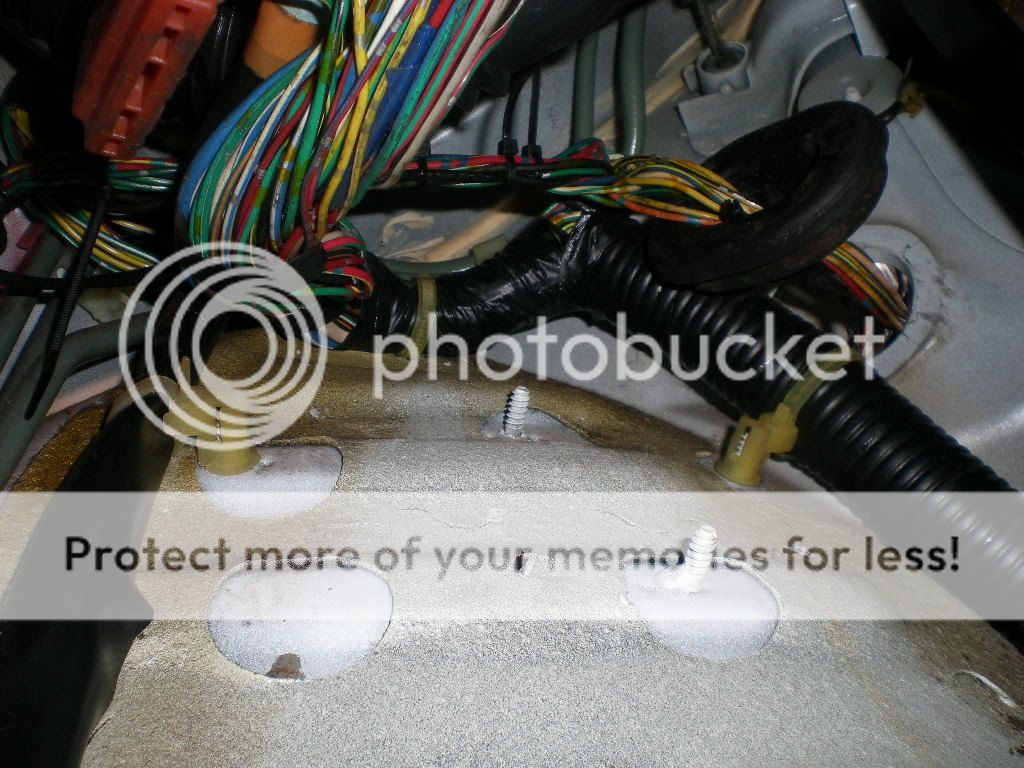
After pulling the wires through I reinstalled the grommet and screwed those wires home for the rest of their days.
I will be adding hermetic sealing electrical heat-tape around the wires for added durability. But this is how we solder wires. Perfectly.
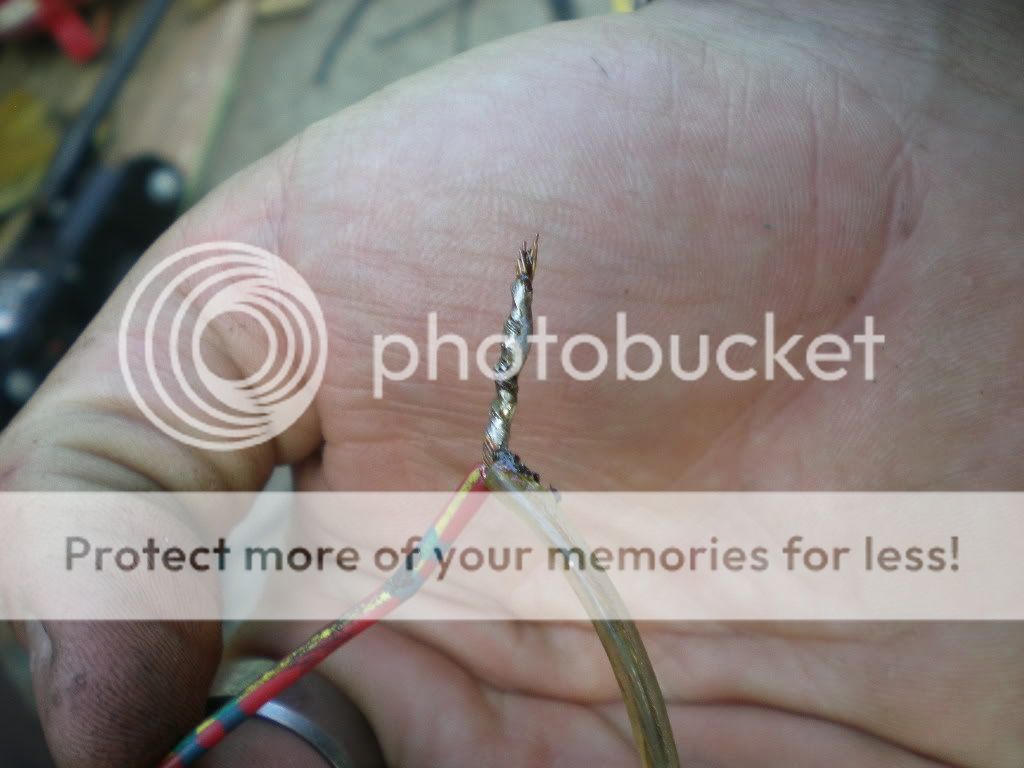
Then we heatshrink the wires to perfection (notice the melted-closed ends for short-protection.)
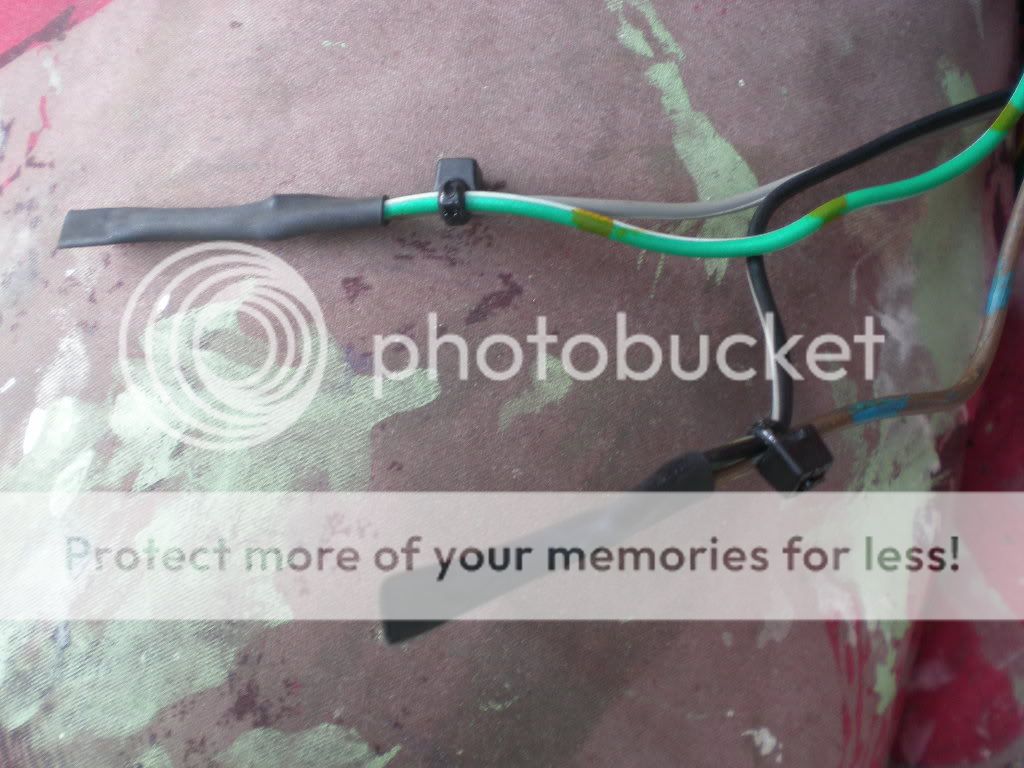
Then we cable-tie and wrap the wires with 932 layers of vinyl electric tape.
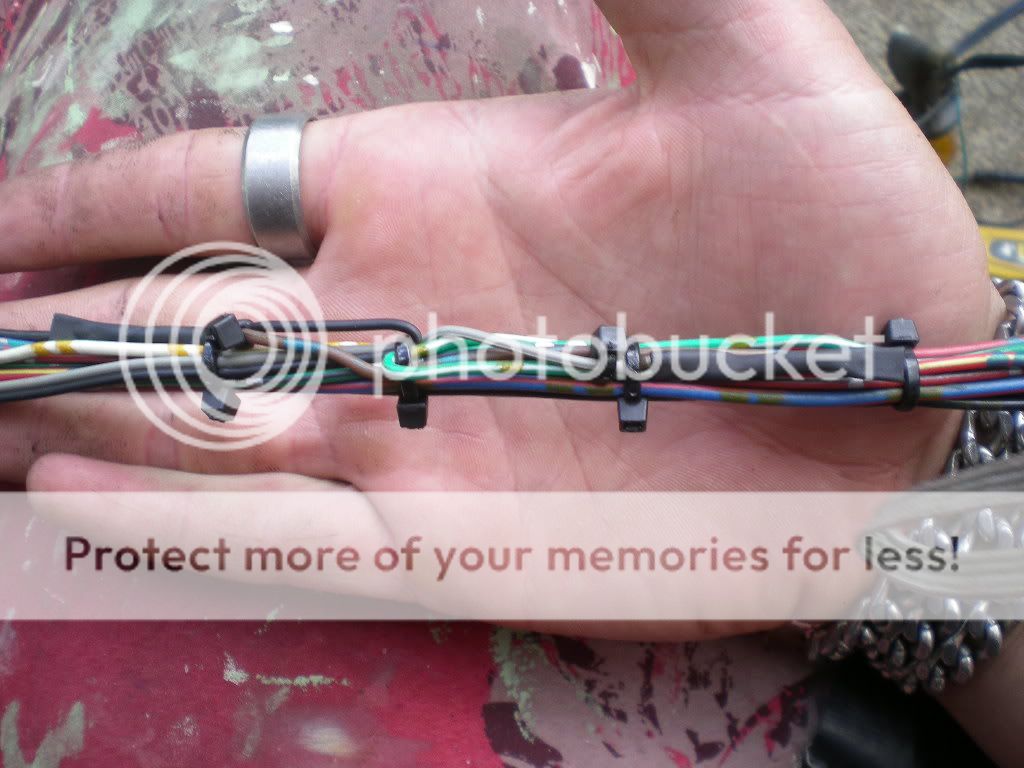
Then we properly tuck the wires out of the way for high-impact driving.
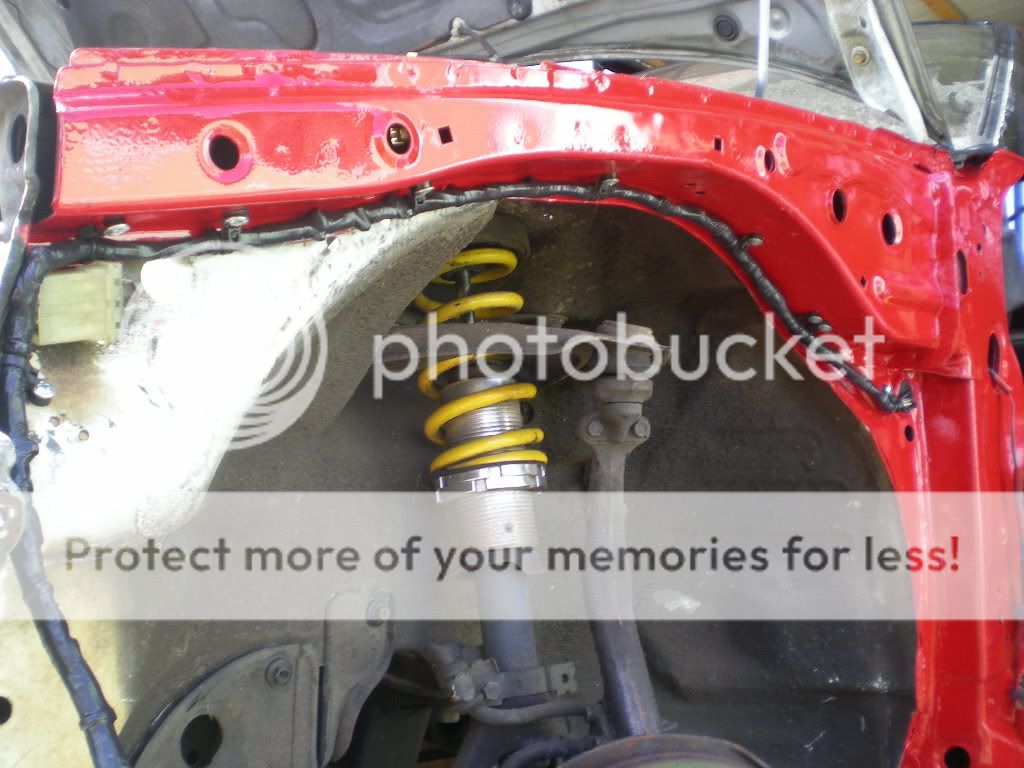
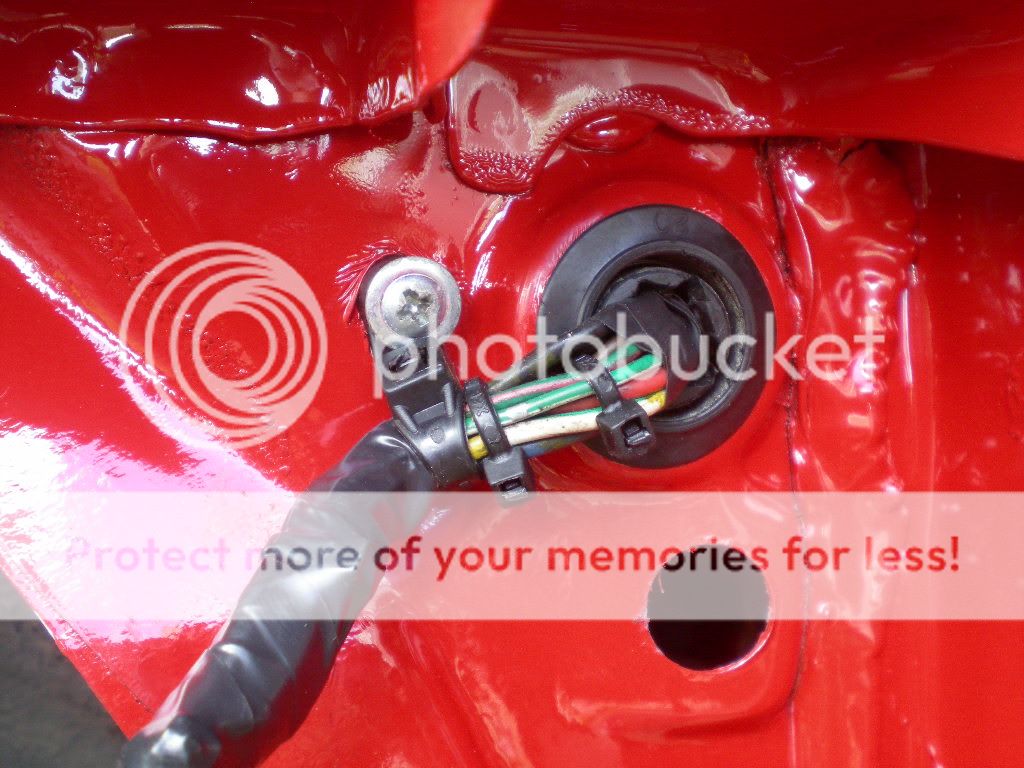
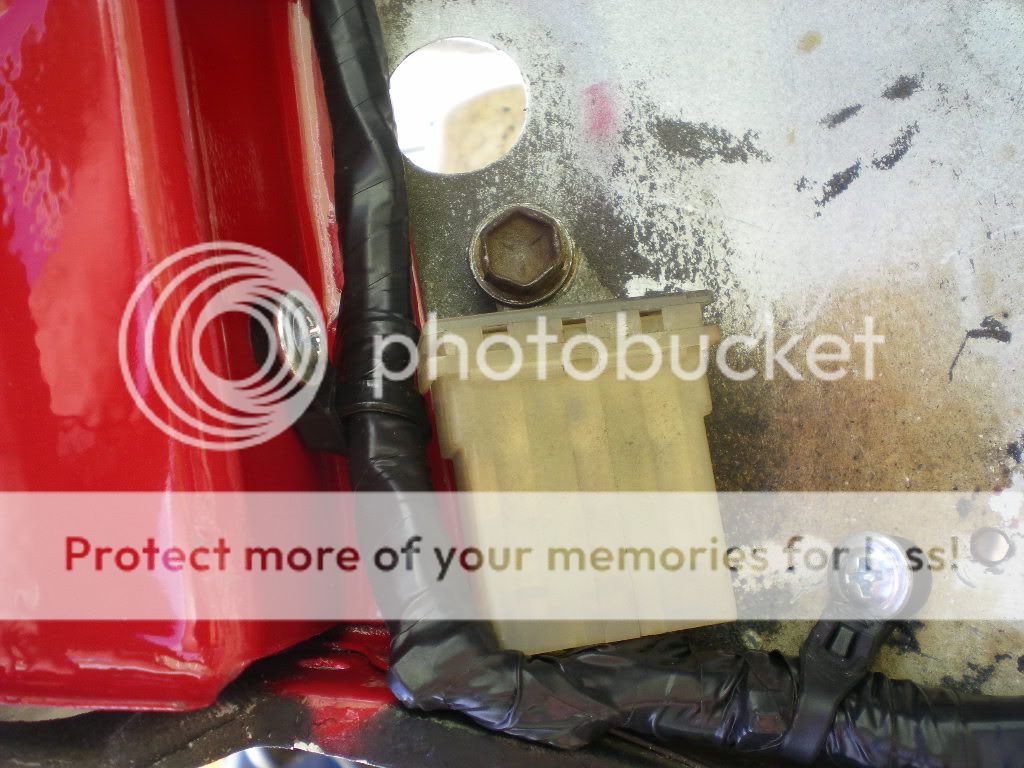
Tilt your head sideways for this pic, i'm too lazy to rotate the image. The ground-connector goes right back where it came from... on the OTHER side of the bay. (This means outside the engine bay for all you neanderthals.)
Now for the other side..... uhhhhh I'm deep here. Really deep. I'll post the finished pics after I figure out how to delete my A/C and about nine other things including DP-to-MP fuel injection.
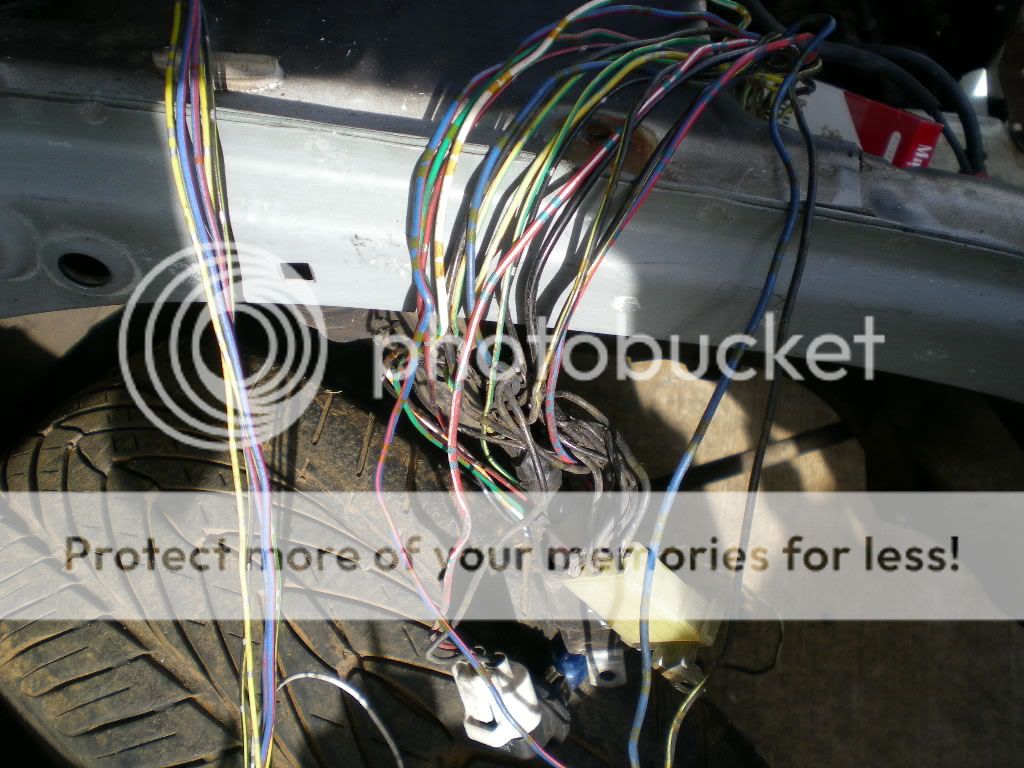
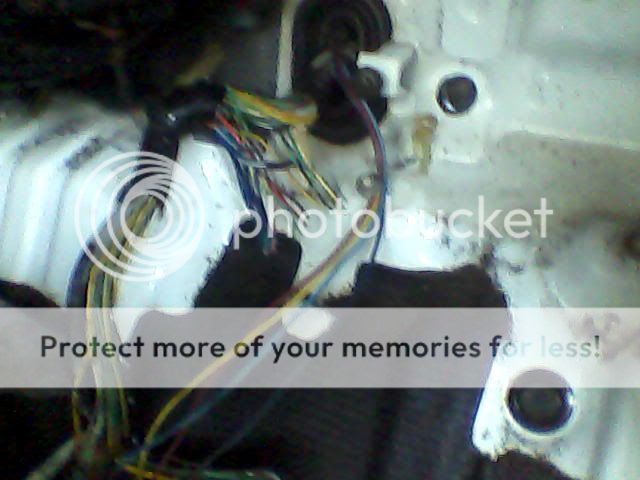
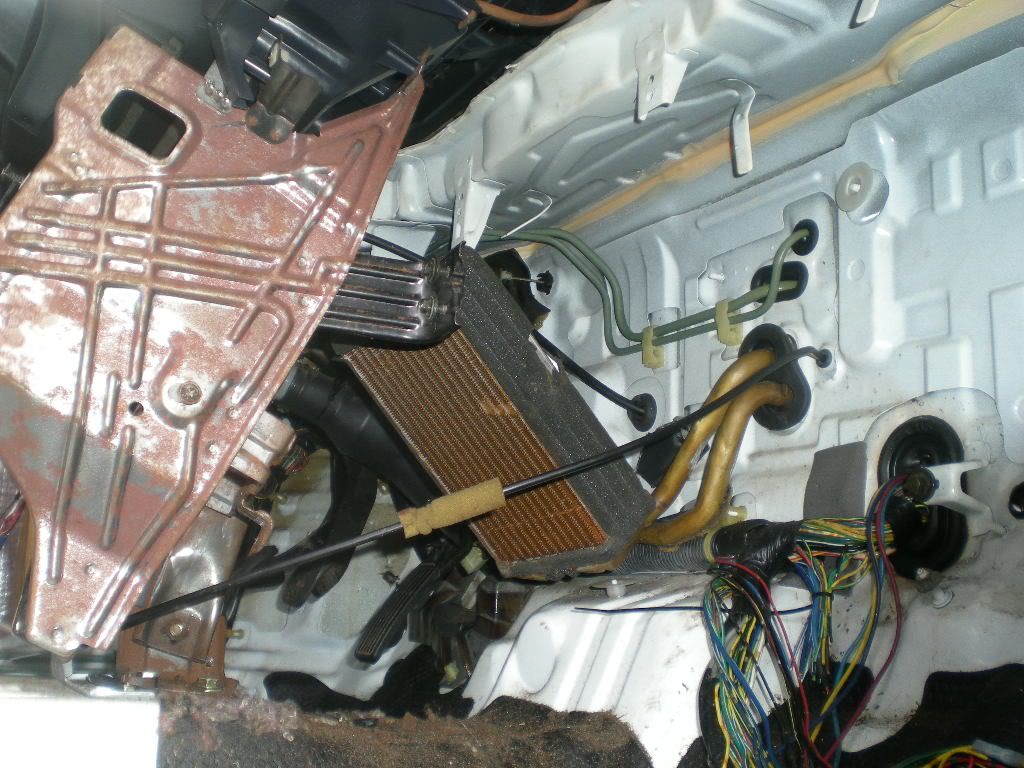
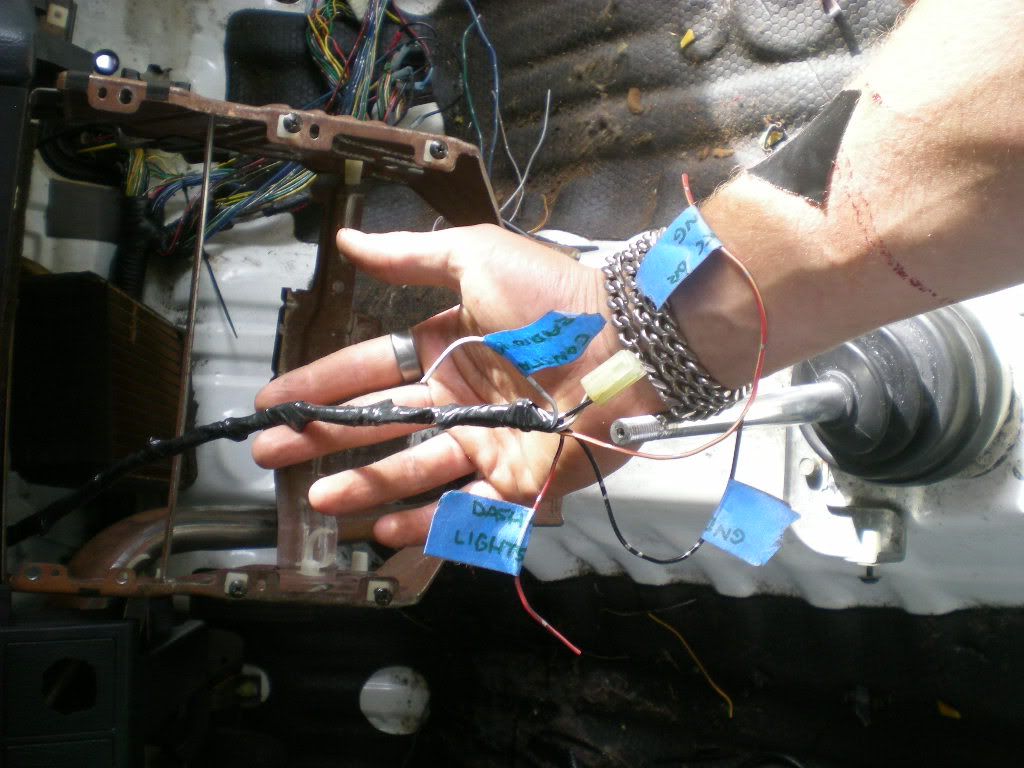
Seeing as you all don't have anything else to look at, here's a sh!tty pic of the A/C climate control deletion in progress. After the car gets a nice haircut, things will be pretty again. (Note:I removed 2.63 ounces of weight with this climate control harness removal.)
more updates tomorrow. Daaaaamn my hands are fcked up from all this. No rest for the wicked.
Thanks for peepin' my most-excellent build!
Straight to bidniz.
I decided to do a wire tuck, i'm talkin complete wire tuck - no crap mucking up my bay. First are the wires.. The inside is always ugly (before I get done with it.)
After pulling the wires through I reinstalled the grommet and screwed those wires home for the rest of their days.
I will be adding hermetic sealing electrical heat-tape around the wires for added durability. But this is how we solder wires. Perfectly.
Then we heatshrink the wires to perfection (notice the melted-closed ends for short-protection.)
Then we cable-tie and wrap the wires with 932 layers of vinyl electric tape.
Then we properly tuck the wires out of the way for high-impact driving.
Tilt your head sideways for this pic, i'm too lazy to rotate the image. The ground-connector goes right back where it came from... on the OTHER side of the bay. (This means outside the engine bay for all you neanderthals.)
Now for the other side..... uhhhhh I'm deep here. Really deep. I'll post the finished pics after I figure out how to delete my A/C and about nine other things including DP-to-MP fuel injection.
Seeing as you all don't have anything else to look at, here's a sh!tty pic of the A/C climate control deletion in progress. After the car gets a nice haircut, things will be pretty again. (Note:I removed 2.63 ounces of weight with this climate control harness removal.)
more updates tomorrow. Daaaaamn my hands are fcked up from all this. No rest for the wicked.
Thanks for peepin' my most-excellent build!
12-18-2011, 10:36 PM
#20
Honda-Tech Member
Thread Starter
updates for all two of my build followers. Try not to pop any b0ners here..
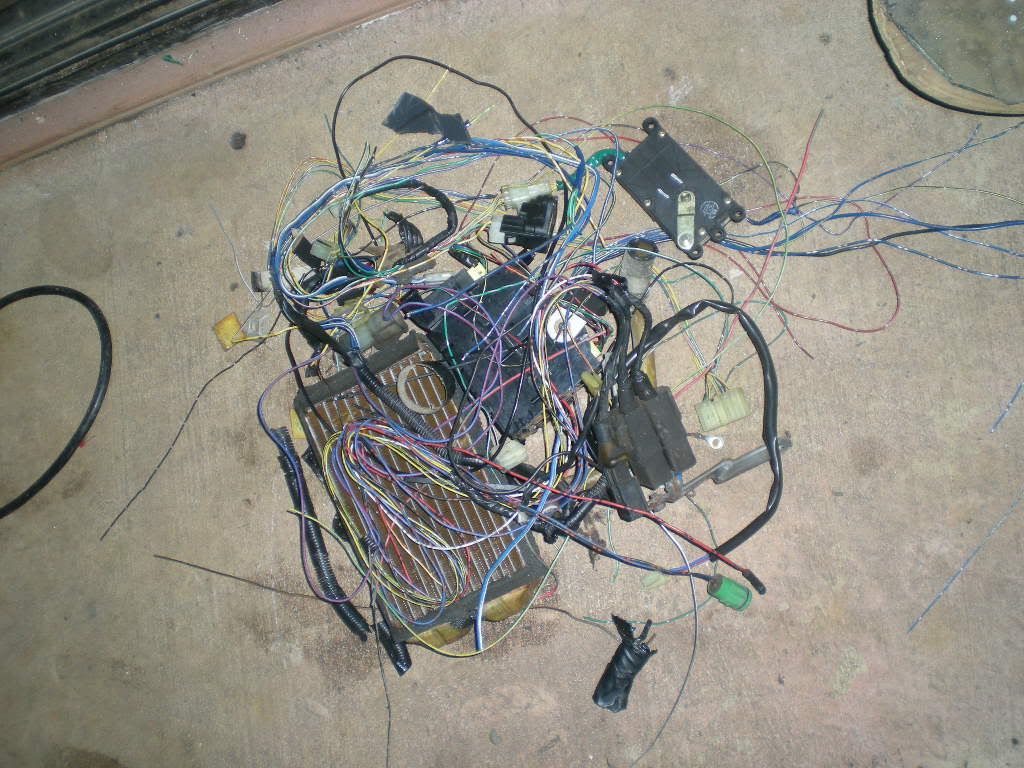
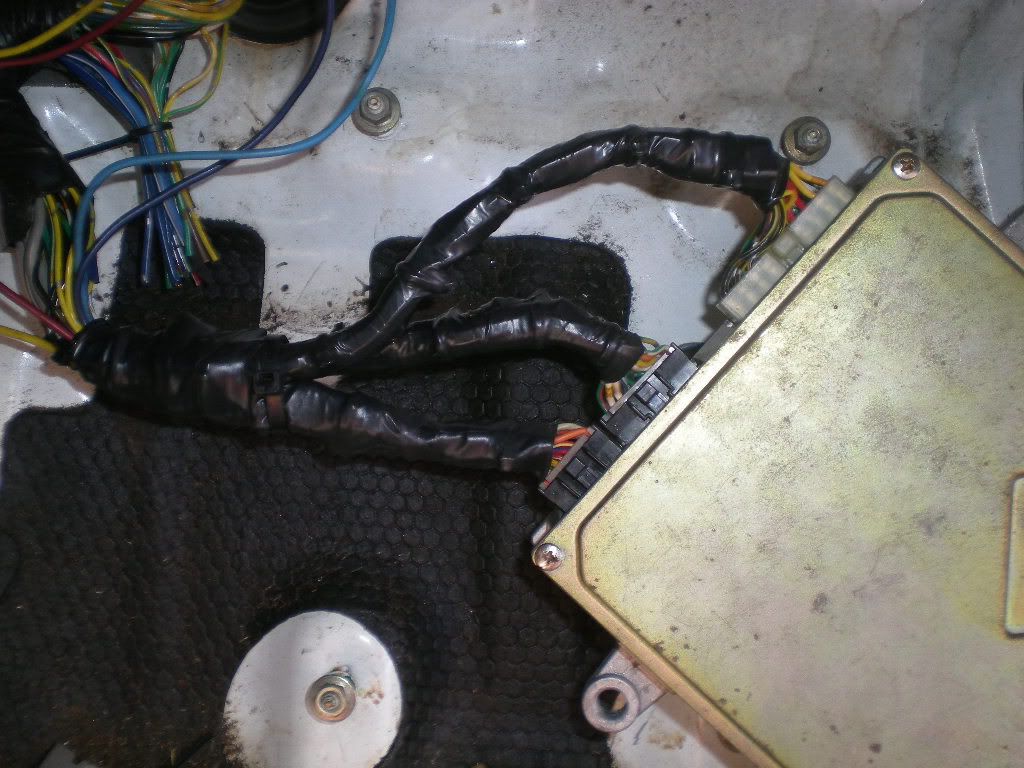
It's hard to believe I deleted this much OEM honda wiring from my CRX harness. And the d16 still runs... scary...
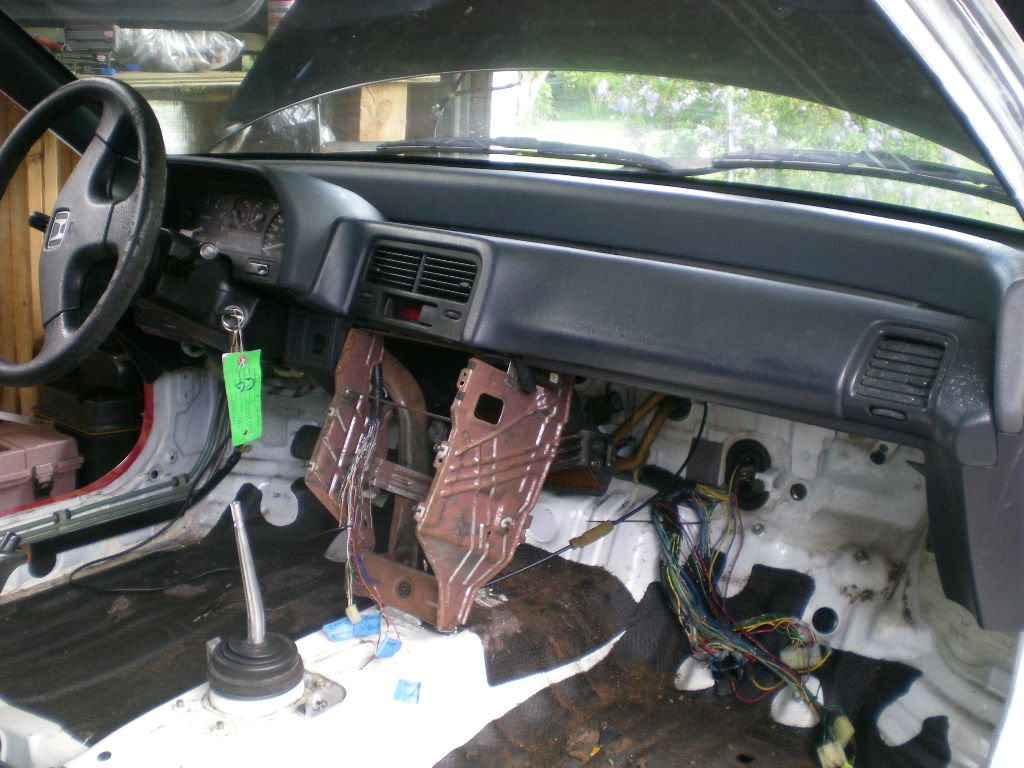
I got the climate control system removed, another few pounds (not that it's enough to make a difference, motivations were removed from that motivation.)
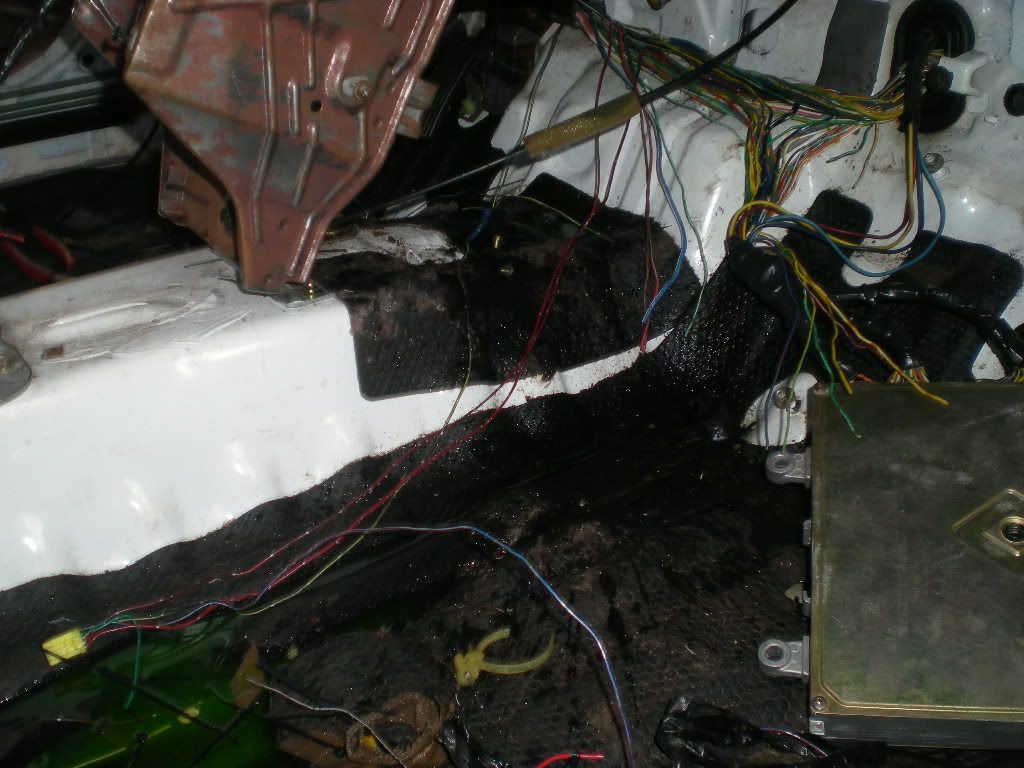
Underneath the dashboard is looking nice and clean. Lots of room for the electronics I'm about to add. Side note: Proper weight distribution is more important than weight reduction; most of the car's 'electronics' will be added under the dash, not aft of the driver seat like most people do. Keep the back end of the car under 100lbs, and handling will be easier to manage without understeer.
30amp fused wiring has been sorted and will remain for peripherals. Retaining OEM wiring is easier than a piggy-back system in terms of understanding things. In other news... I HIGHLY recommend anyone building up a CRX acquire an OEM honda wiring manual for their build.
This is how we rebuild a wiring harness after deleting the unnecessary extremities and switch-legs. First it looks like a porcupine got attacked by a rumblefish under the dash...
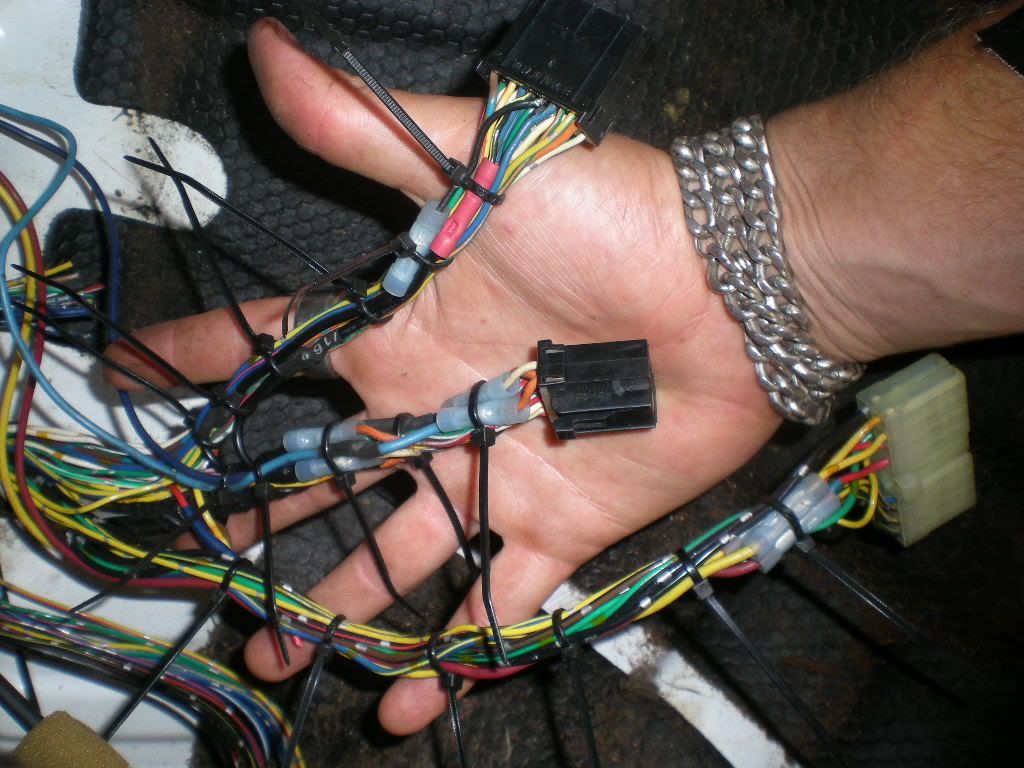
Then we remove the extra length from the cable ties...
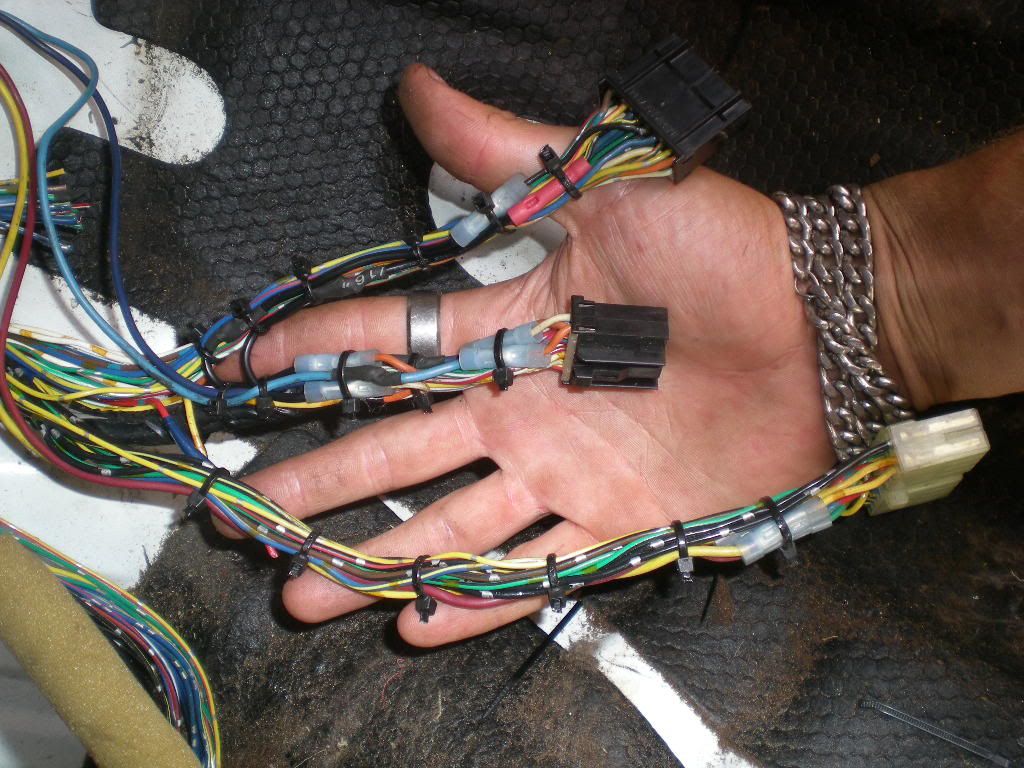
Wrap the wires up tight (don't do this unless you've properly terminated all loose wires and re-routed the wires still in use.)
Btw remember to drain your coolant before attempting to remove (read:tear-out) the heater core.
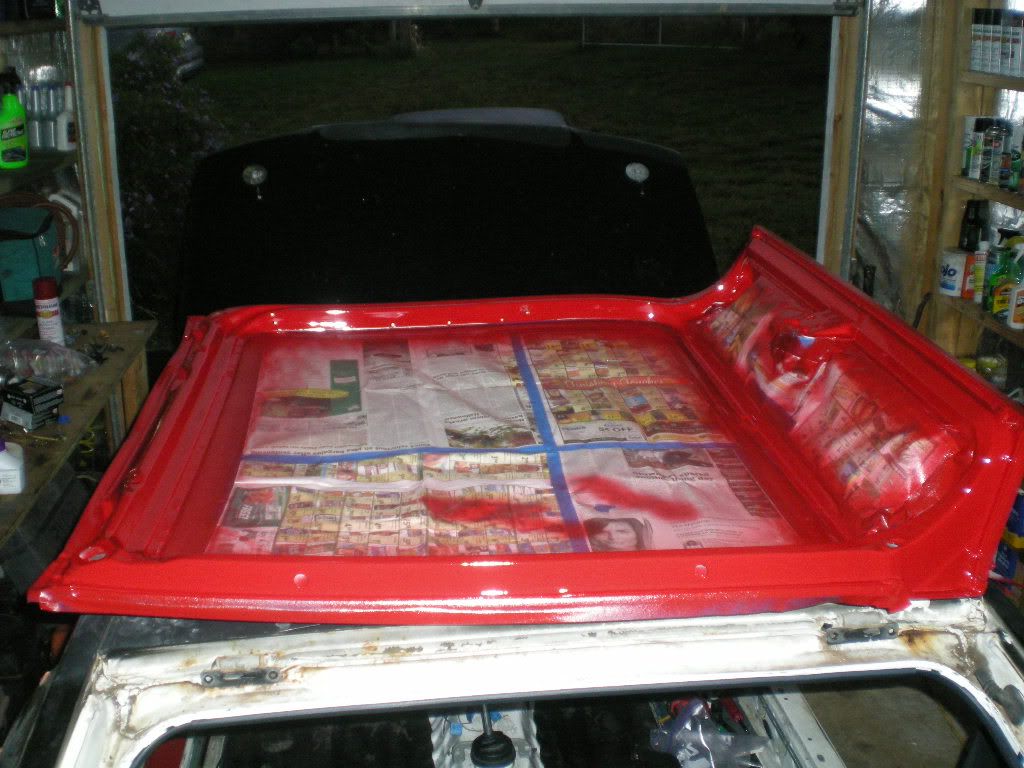
On a side note, I got my hatch painted up and reconditioned back to OEM standards (weatherstrips excluded.)
I also did some reconditioning on the passenger door to follow suit with the driver side... pics will be posted tomorrow.
Parts arriving soon for 11.1" disc front brakes and 10.3" rear brakes. Not because a 1800lb car needs the same stopping power as a 3600lb car.... just cuz.
Peace.
It's hard to believe I deleted this much OEM honda wiring from my CRX harness. And the d16 still runs... scary...
I got the climate control system removed, another few pounds (not that it's enough to make a difference, motivations were removed from that motivation.)
Underneath the dashboard is looking nice and clean. Lots of room for the electronics I'm about to add. Side note: Proper weight distribution is more important than weight reduction; most of the car's 'electronics' will be added under the dash, not aft of the driver seat like most people do. Keep the back end of the car under 100lbs, and handling will be easier to manage without understeer.
30amp fused wiring has been sorted and will remain for peripherals. Retaining OEM wiring is easier than a piggy-back system in terms of understanding things. In other news... I HIGHLY recommend anyone building up a CRX acquire an OEM honda wiring manual for their build.
This is how we rebuild a wiring harness after deleting the unnecessary extremities and switch-legs. First it looks like a porcupine got attacked by a rumblefish under the dash...
Then we remove the extra length from the cable ties...
Wrap the wires up tight (don't do this unless you've properly terminated all loose wires and re-routed the wires still in use.)
Btw remember to drain your coolant before attempting to remove (read:tear-out) the heater core.
On a side note, I got my hatch painted up and reconditioned back to OEM standards (weatherstrips excluded.)
I also did some reconditioning on the passenger door to follow suit with the driver side... pics will be posted tomorrow.
Parts arriving soon for 11.1" disc front brakes and 10.3" rear brakes. Not because a 1800lb car needs the same stopping power as a 3600lb car.... just cuz.
Peace.
Last edited by Corksil; 12-19-2011 at 12:16 PM.


 12-20-2011, 09:09 PM
#23
Honda-Tech Member
Thread Starter
Wooooo updates ...For my millions of fans.

Some ppls wanted weatherstrip reconditioning pixorzes @ HT so here's the best I can do with a cheap camera. Check out the yogurt that the camera decided was more important to focus on!
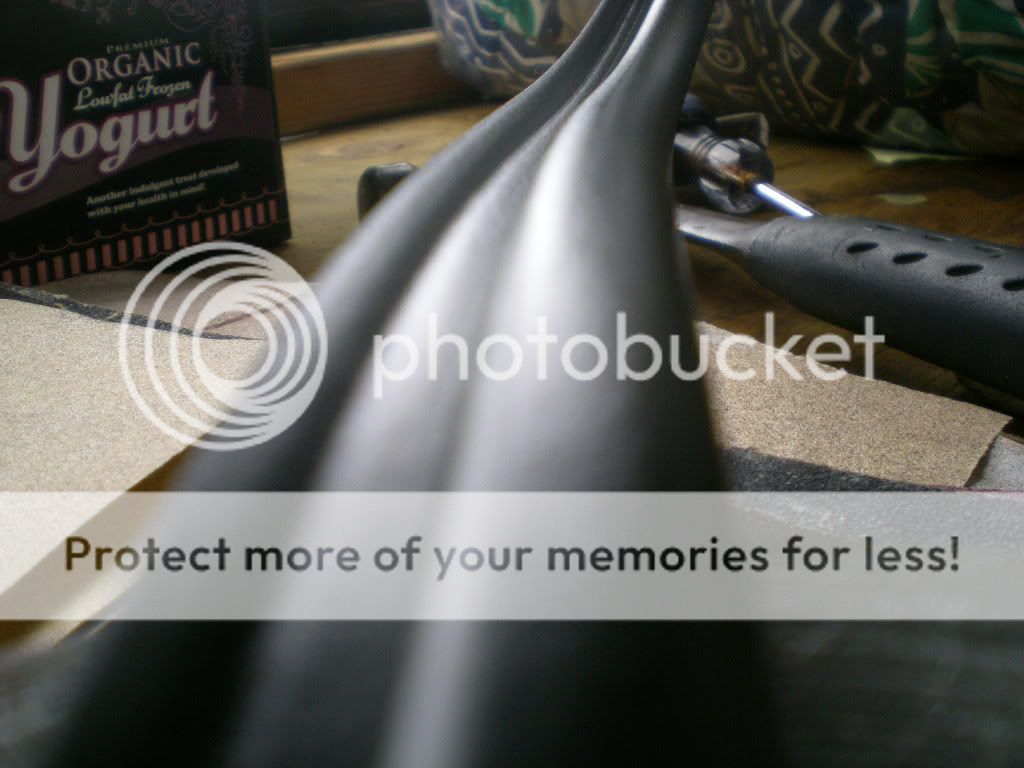
Another angle... As we just begin to wipe off the di-electric grease (after letting it permeate for 18hrs.)
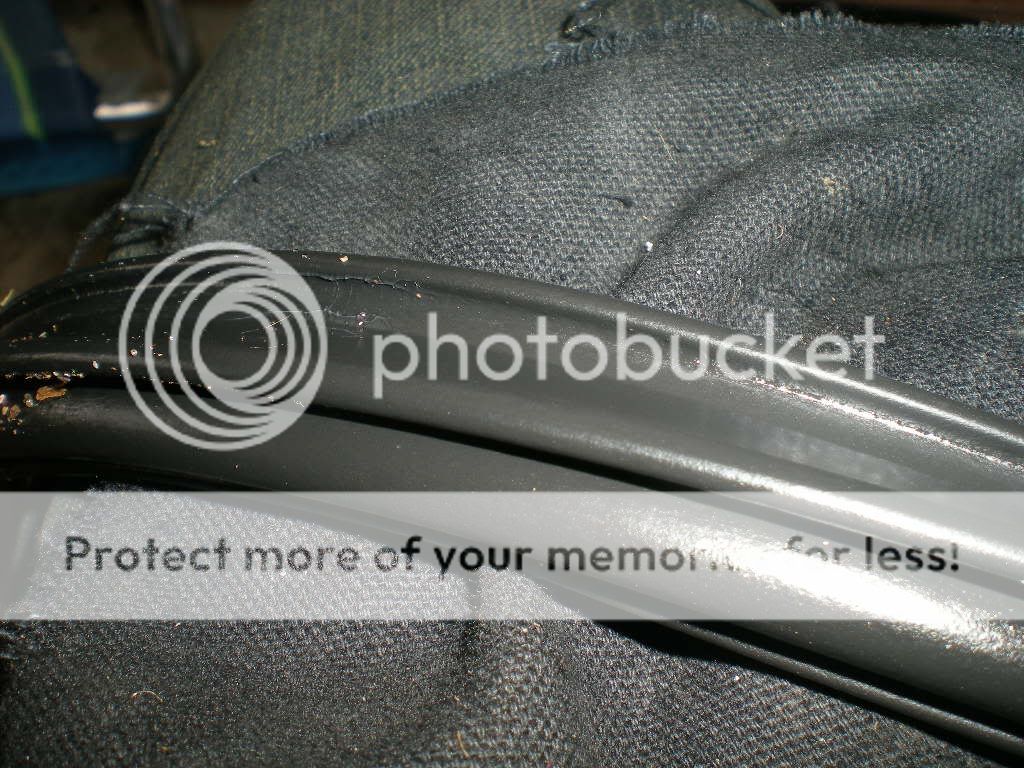
Don't these beautiful weatherstrips look so glorious and happy!
All jokes aside, here is that horrible factory sound/heat/vibration deadening. It's been installed to lower the resonant frequency of the floor panel. (Go look up what that means if you don't know - in a nutshell it makes ur shiz not vibrate as much when u be hitten dat vtack crack yo.)
First we buy dry ice. This came from the local Gaspro/Airgas/W.e-the-fug-u-call-its
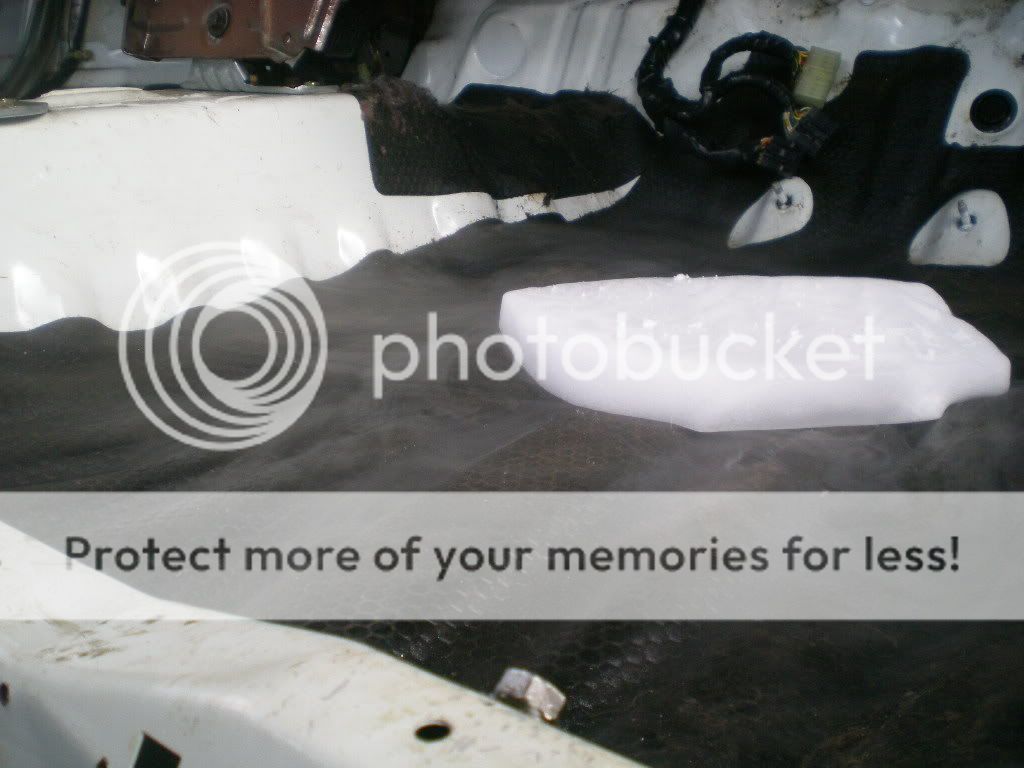
Break up the dry ice and spread it evenly over the floor panel.

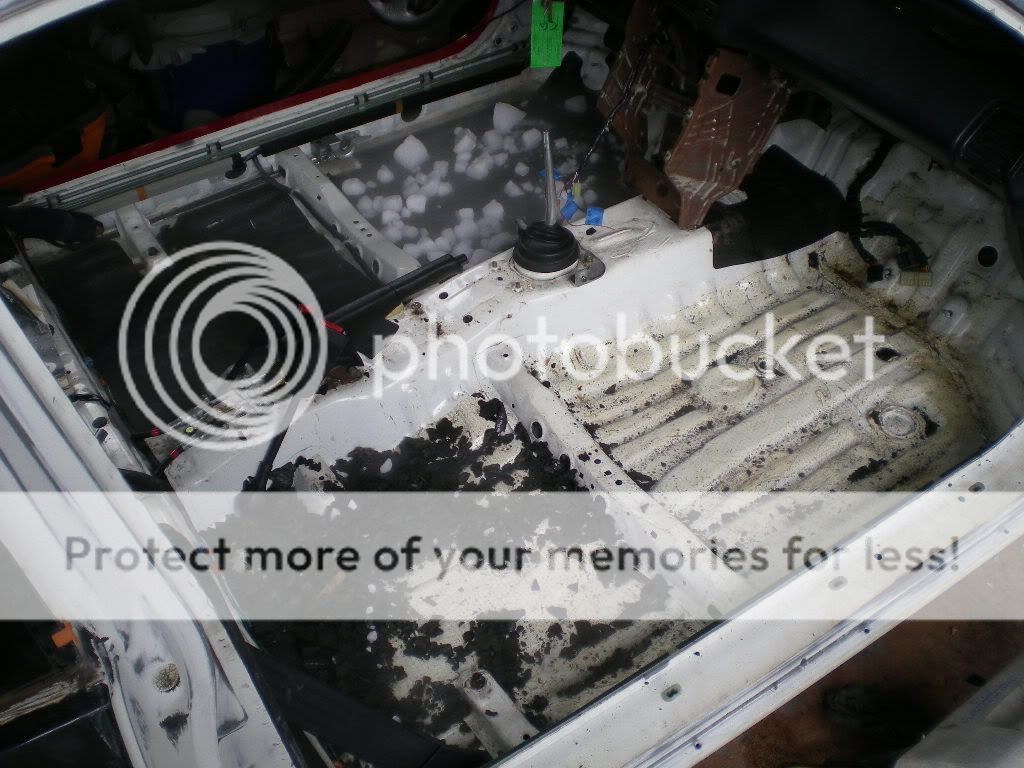
After the dry ice chills for a bit (ahahahha so FUNNY get it? Chills! AHAHAHA) hit that sheet with a big hammer until your sound deadening gives up and breaks free of it's 23 year home.

There was a strange hooded figure hangin around the outside of my garage door earlier today. He kept mumbling to himself and I told him to fckoff... He looked at me and shouted.... YOU SHALL NOT PASSSSSSSS! (with factory sound deadening still installed..

So I started to vacuum that shiz out of my car...
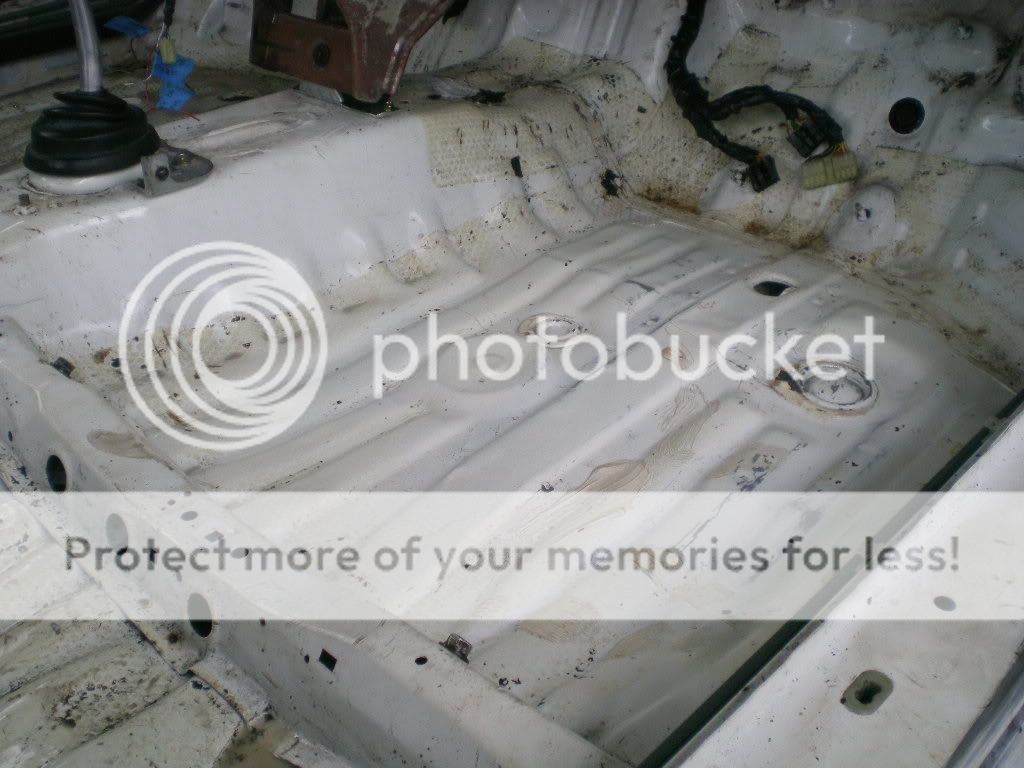
Then we clean up the panel with solvents/scotch-brite/stripping pads (INTENSE DEGREASER SOLUTIONS GLOVES ARE RECOMMEND.)
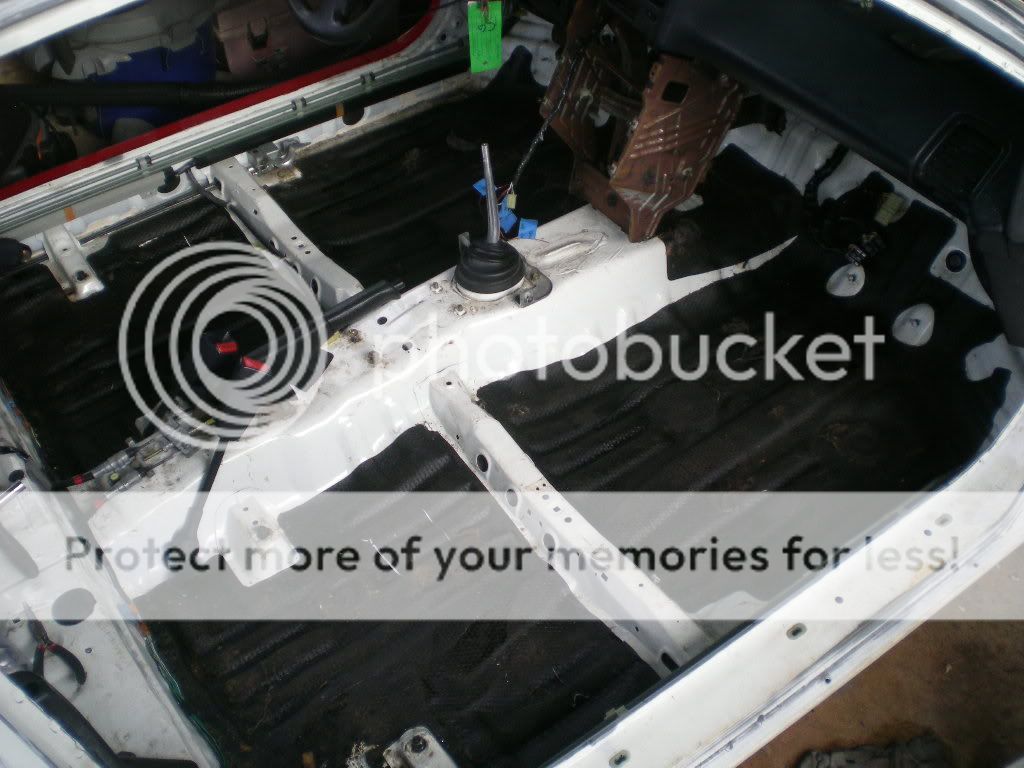
And here is how your glorious bare floor panels look after a little cleanup. The paint is untouched and factory (quick fact, car paint is very soft compared to other paints - that's why it can take panel flex and be crunched up in an accident without cracking. CLEARCOAT is hard and brittle. That's why it scratches so easily with sharp objects IE KEYS.)
Links to youtube vids of me destroying this factory OEM sound deadening shiz with a hammer on second page. If anyone knows how to embed..... PM me, it's not as easy as on HT.
Some ppls wanted weatherstrip reconditioning pixorzes @ HT so here's the best I can do with a cheap camera. Check out the yogurt that the camera decided was more important to focus on!
Another angle... As we just begin to wipe off the di-electric grease (after letting it permeate for 18hrs.)
Don't these beautiful weatherstrips look so glorious and happy!
All jokes aside, here is that horrible factory sound/heat/vibration deadening. It's been installed to lower the resonant frequency of the floor panel. (Go look up what that means if you don't know - in a nutshell it makes ur shiz not vibrate as much when u be hitten dat vtack crack yo.)
First we buy dry ice. This came from the local Gaspro/Airgas/W.e-the-fug-u-call-its
Break up the dry ice and spread it evenly over the floor panel.
After the dry ice chills for a bit (ahahahha so FUNNY get it? Chills! AHAHAHA) hit that sheet with a big hammer until your sound deadening gives up and breaks free of it's 23 year home.
There was a strange hooded figure hangin around the outside of my garage door earlier today. He kept mumbling to himself and I told him to fckoff... He looked at me and shouted.... YOU SHALL NOT PASSSSSSSS! (with factory sound deadening still installed..
So I started to vacuum that shiz out of my car...
Then we clean up the panel with solvents/scotch-brite/stripping pads (INTENSE DEGREASER SOLUTIONS GLOVES ARE RECOMMEND.)
And here is how your glorious bare floor panels look after a little cleanup. The paint is untouched and factory (quick fact, car paint is very soft compared to other paints - that's why it can take panel flex and be crunched up in an accident without cracking. CLEARCOAT is hard and brittle. That's why it scratches so easily with sharp objects IE KEYS.)
Links to youtube vids of me destroying this factory OEM sound deadening shiz with a hammer on second page. If anyone knows how to embed..... PM me, it's not as easy as on HT.
12-20-2011, 09:10 PM
#24
Honda-Tech Member
Thread Starter
Here are vids. If someone wants to embed, do it up.
Destroying shiz with hammer. If anyone knows how to embed, do tell.
http://youtu.be/lmw-3UK6s40
Dry ice makes things brittle. Sound deadening is no match...
http://youtu.be/rdZUoXETZQ4
DESTROY IT ALL!
http://youtu.be/pPZ8B1uP2PA
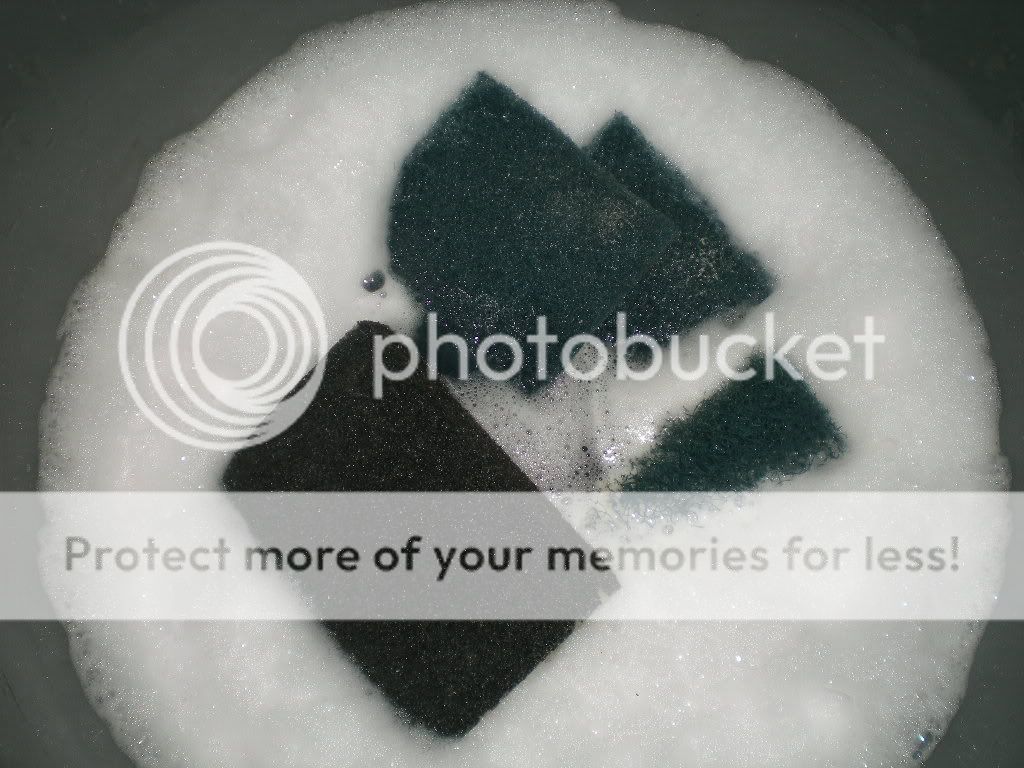
This is how we make dry ice bombs. We break up dry ice, put it in a plastic bottle, add water, and screw the lid on tight. Then we throw it and run away, denying any involvement with the resulting noise and explosion. For best results, tie to a stick and hold bomb underwater (before it explodes.) DISCLAIMER: I AM NOT RESPONSIBLE FOR DESTROYING YOUR HOTTUB/POOL ETC.
http://youtu.be/kqkRPu1thyw
Destroying shiz with hammer. If anyone knows how to embed, do tell.
http://youtu.be/lmw-3UK6s40
Dry ice makes things brittle. Sound deadening is no match...
http://youtu.be/rdZUoXETZQ4
DESTROY IT ALL!
http://youtu.be/pPZ8B1uP2PA
This is how we make dry ice bombs. We break up dry ice, put it in a plastic bottle, add water, and screw the lid on tight. Then we throw it and run away, denying any involvement with the resulting noise and explosion. For best results, tie to a stick and hold bomb underwater (before it explodes.) DISCLAIMER: I AM NOT RESPONSIBLE FOR DESTROYING YOUR HOTTUB/POOL ETC.
http://youtu.be/kqkRPu1thyw