
Wheel Refinishing
 09-24-2012, 05:48 PM
#1

Hey guys took one of my old steelies and decided to practice doing some painting over the weekend and do a write-up on it. Let me know what you think.
Tools Needed
• Primer- Rustoleum All Purpose Sandable Primer
• Paint- (Center) Rustoleum Painter’s Touch Gloss Dark GrayUltra Cover
(Lip) Rustoleum Metallic
• Clear Coat- Dupli-Color Perfect Match Protective Clear Coat
• Notecards
• Electric Sander
• Dremel with sanding bits
• Aircraft Remover
• Wire Brush
• Cleaner/Degreaser
• Fine Grit Sanding Pad
• Plastic Bag
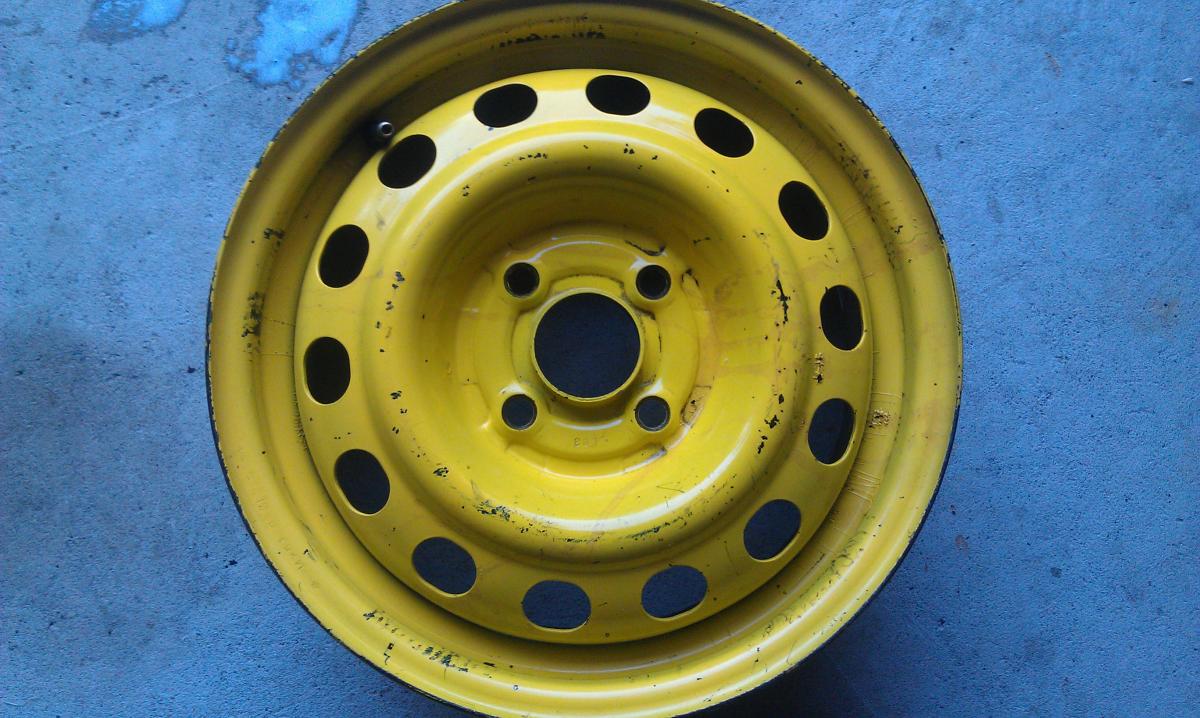
This is what I had to start with so I began by removing the Valve Stem from the wheel (Pulled it out with a pair of Vice Grips
since I didn’t plan on reusing it). I used the Electric Sander to sand down the larger,
more accessible areas and the Dremel for most of the crevices. For the areas that were hard to reach
with the Dremel, I poured on some Aircraft Remover and took the Wire Brush to them.
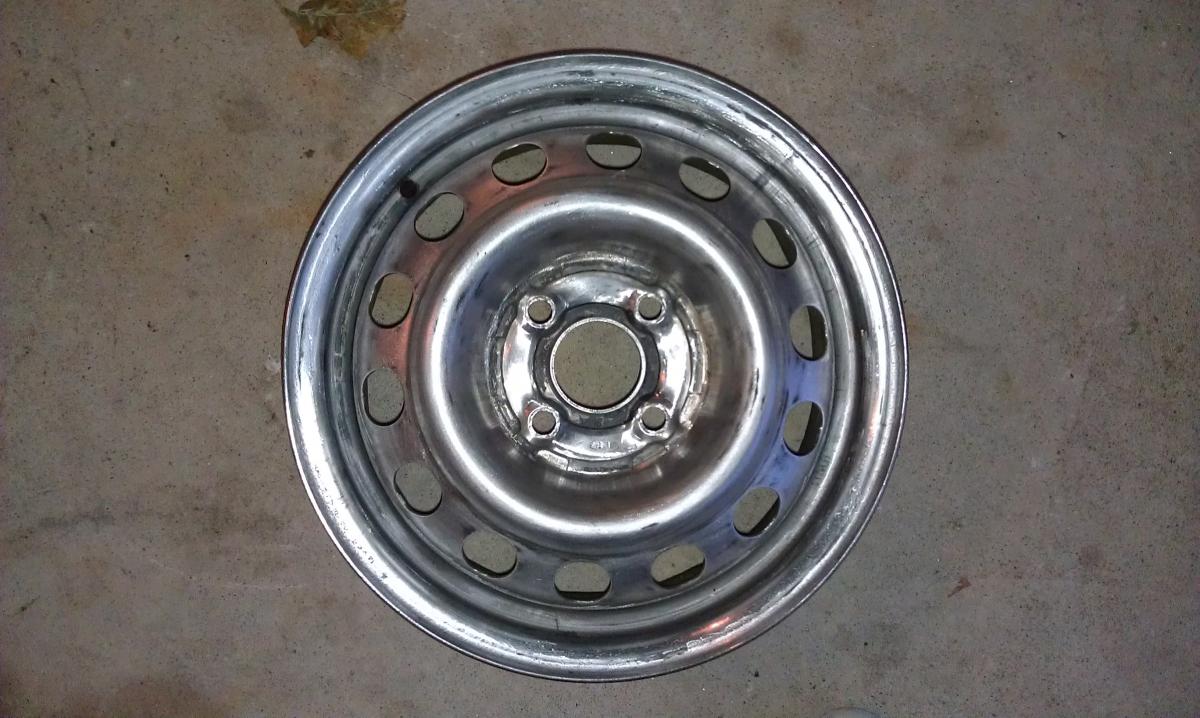
This is what I was left with when that was all said and done. Next I cleaned the surface
really well with some Purple Power Cleaner/Degreaser. Once I had a good clean surface to work on
I applied about 3-4 coats of the Rustoleum Sandable Primer.
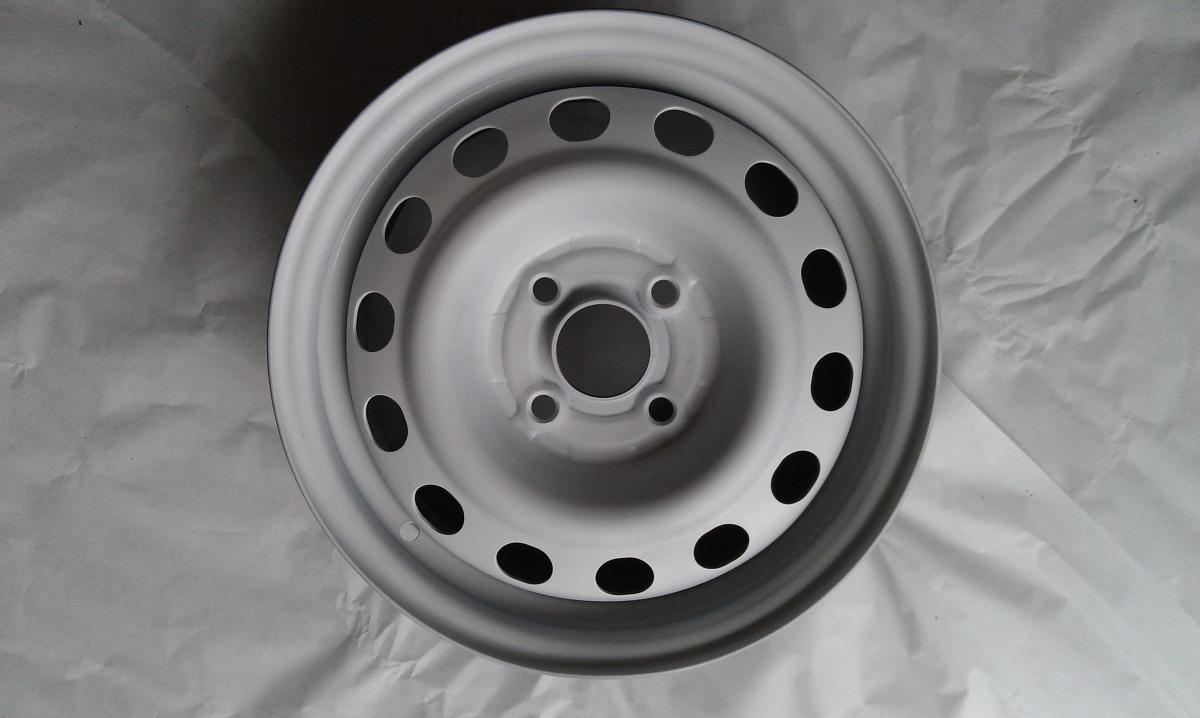
Looks better already right??? After the primer had dried I did a very light sanding with a Fine Grit Sanding Pad
(Not sure if it was 100% necessary since the surface was pretty smooth but better to be safe than sorry).
Next, I placed the Notecards into the crevice around the center. Once they were all arranged without any gaps
between I applied 4 coats of the Rustoleum Painter’s Touch Gloss Dark Gray Ultra Cover.
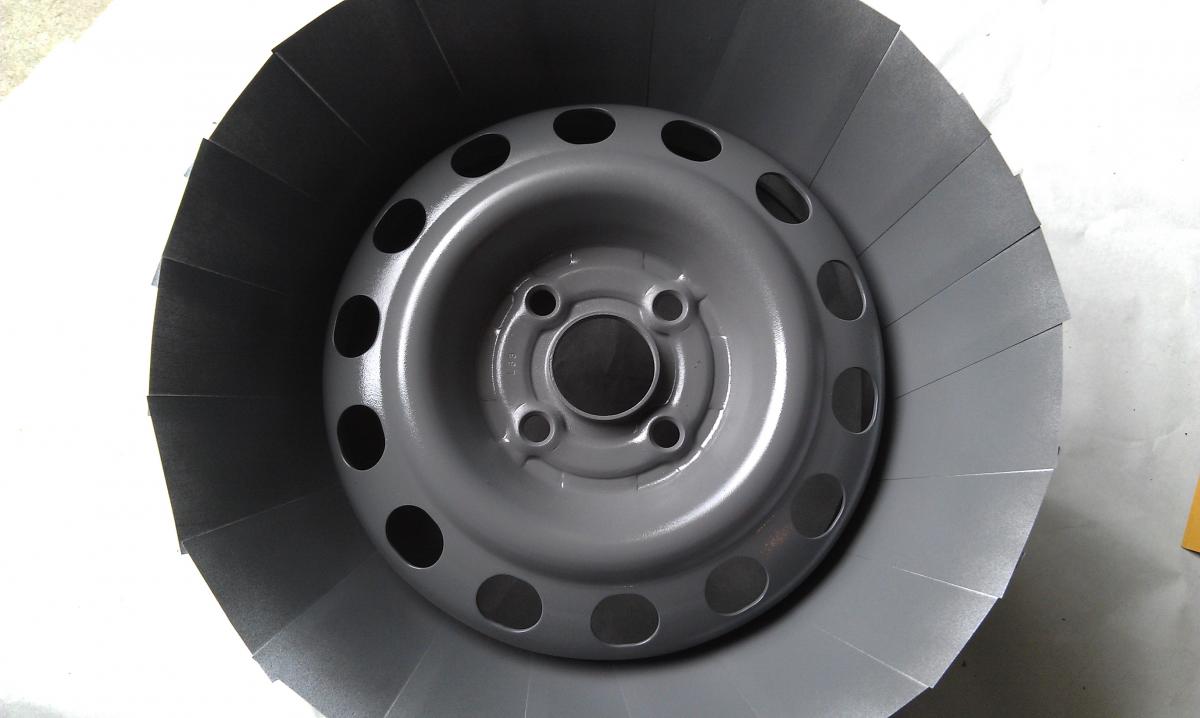
Once that dried it was time to remove the Notecards.
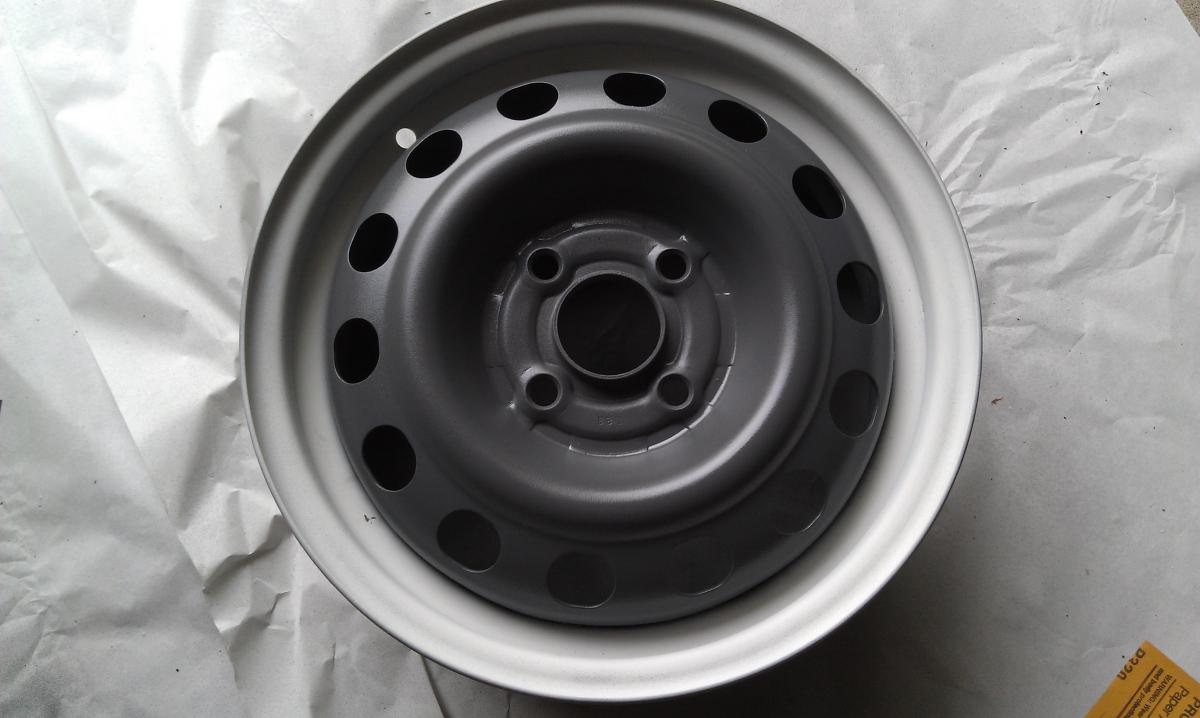
Now that the Center was done I began placing the notecards back into the crevice, horizontally this time,
so that I would have more access to paint the Lip. I apologize for not having a photo of this but when I placed the Notecards
in I taped a Plastic Shoprite Bag to them to cover the center of the wheel. I then applied the Rustoleum Metallic paint.
The Lip was a little difficult to get access to due to the notecards standing in the crevice so I probably should
have started with the Lip but it still came out fine. I then hit it with 3 coats of the Dupli-Color Perfect Match Protective Clear Coat and this was my end result.
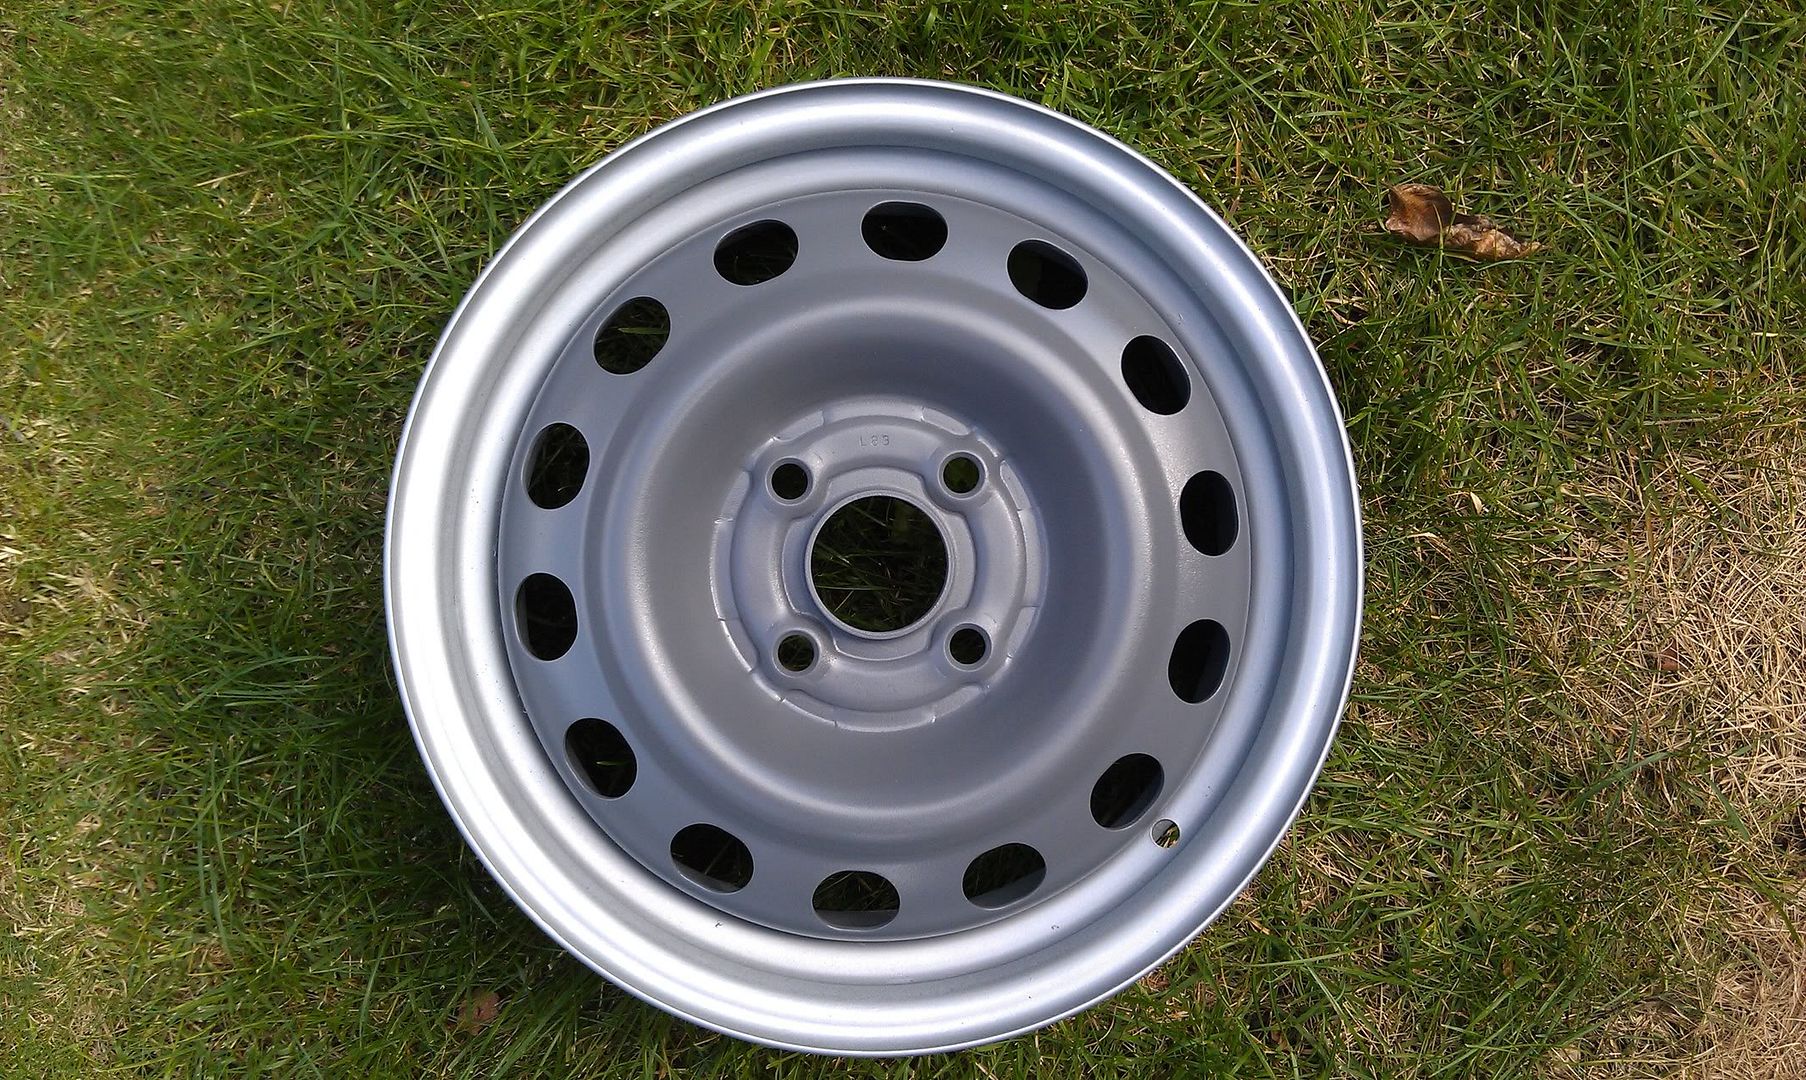
Brought it out into the sunlight to get a clearer picture.
Thanks for reading hope you enjoyed it!!!!!
Tools Needed
• Primer- Rustoleum All Purpose Sandable Primer
• Paint- (Center) Rustoleum Painter’s Touch Gloss Dark GrayUltra Cover
(Lip) Rustoleum Metallic
• Clear Coat- Dupli-Color Perfect Match Protective Clear Coat
• Notecards
• Electric Sander
• Dremel with sanding bits
• Aircraft Remover
• Wire Brush
• Cleaner/Degreaser
• Fine Grit Sanding Pad
• Plastic Bag
This is what I had to start with so I began by removing the Valve Stem from the wheel (Pulled it out with a pair of Vice Grips
since I didn’t plan on reusing it). I used the Electric Sander to sand down the larger,
more accessible areas and the Dremel for most of the crevices. For the areas that were hard to reach
with the Dremel, I poured on some Aircraft Remover and took the Wire Brush to them.
This is what I was left with when that was all said and done. Next I cleaned the surface
really well with some Purple Power Cleaner/Degreaser. Once I had a good clean surface to work on
I applied about 3-4 coats of the Rustoleum Sandable Primer.
Looks better already right??? After the primer had dried I did a very light sanding with a Fine Grit Sanding Pad
(Not sure if it was 100% necessary since the surface was pretty smooth but better to be safe than sorry).
Next, I placed the Notecards into the crevice around the center. Once they were all arranged without any gaps
between I applied 4 coats of the Rustoleum Painter’s Touch Gloss Dark Gray Ultra Cover.
Once that dried it was time to remove the Notecards.
Now that the Center was done I began placing the notecards back into the crevice, horizontally this time,
so that I would have more access to paint the Lip. I apologize for not having a photo of this but when I placed the Notecards
in I taped a Plastic Shoprite Bag to them to cover the center of the wheel. I then applied the Rustoleum Metallic paint.
The Lip was a little difficult to get access to due to the notecards standing in the crevice so I probably should
have started with the Lip but it still came out fine. I then hit it with 3 coats of the Dupli-Color Perfect Match Protective Clear Coat and this was my end result.
Brought it out into the sunlight to get a clearer picture.
Thanks for reading hope you enjoyed it!!!!!


Thread
Thread Starter
Forum
Replies
Last Post
InTheZoneAC
Paint and Body
2
03-14-2013 01:42 AM
professorman
Welding / Fabrication
12
11-06-2006 06:26 PM