
1999 Civic DX Hatch Build/Rebuild Thread
 03-16-2014, 09:20 PM
#1
Honda-Tech Member
Thread Starter
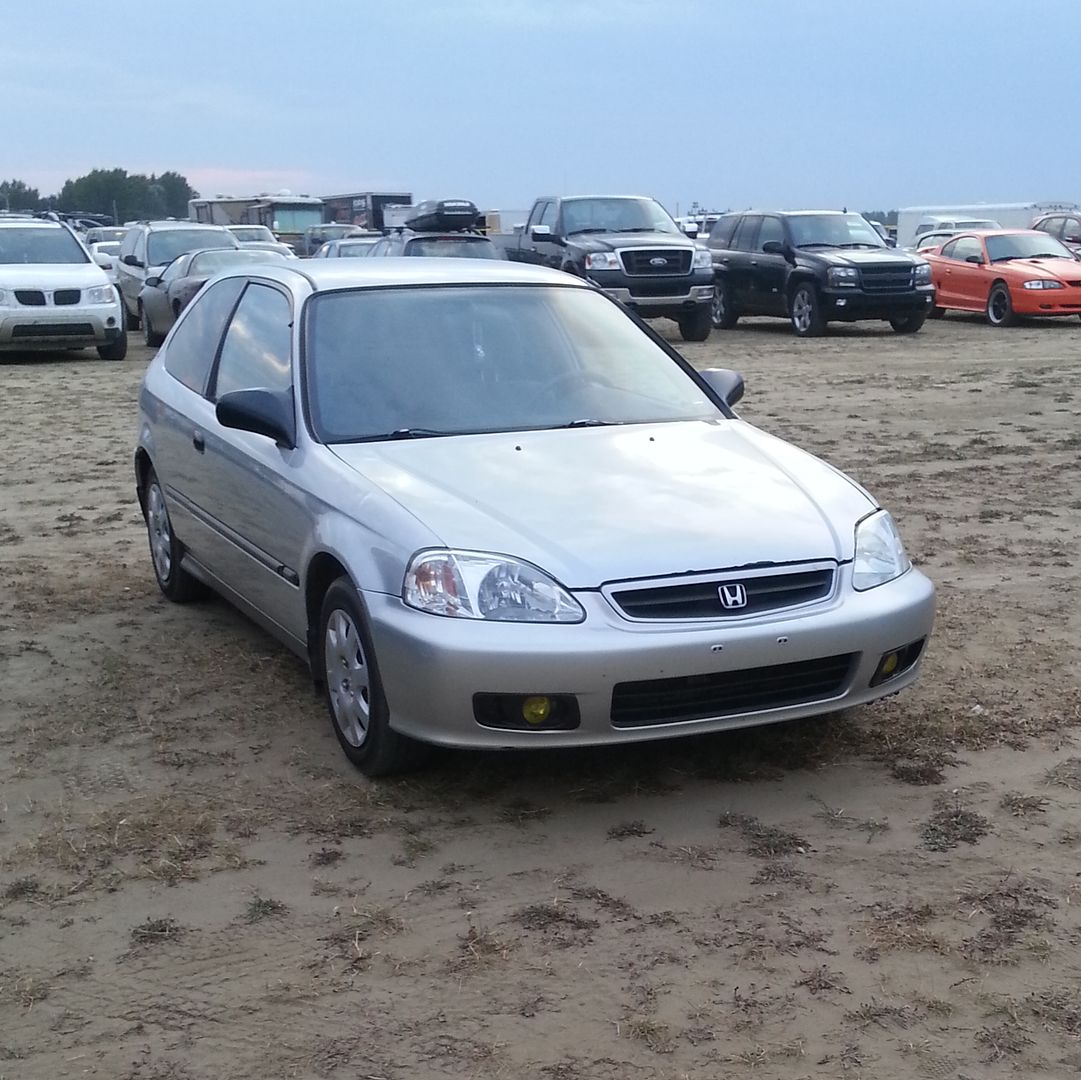
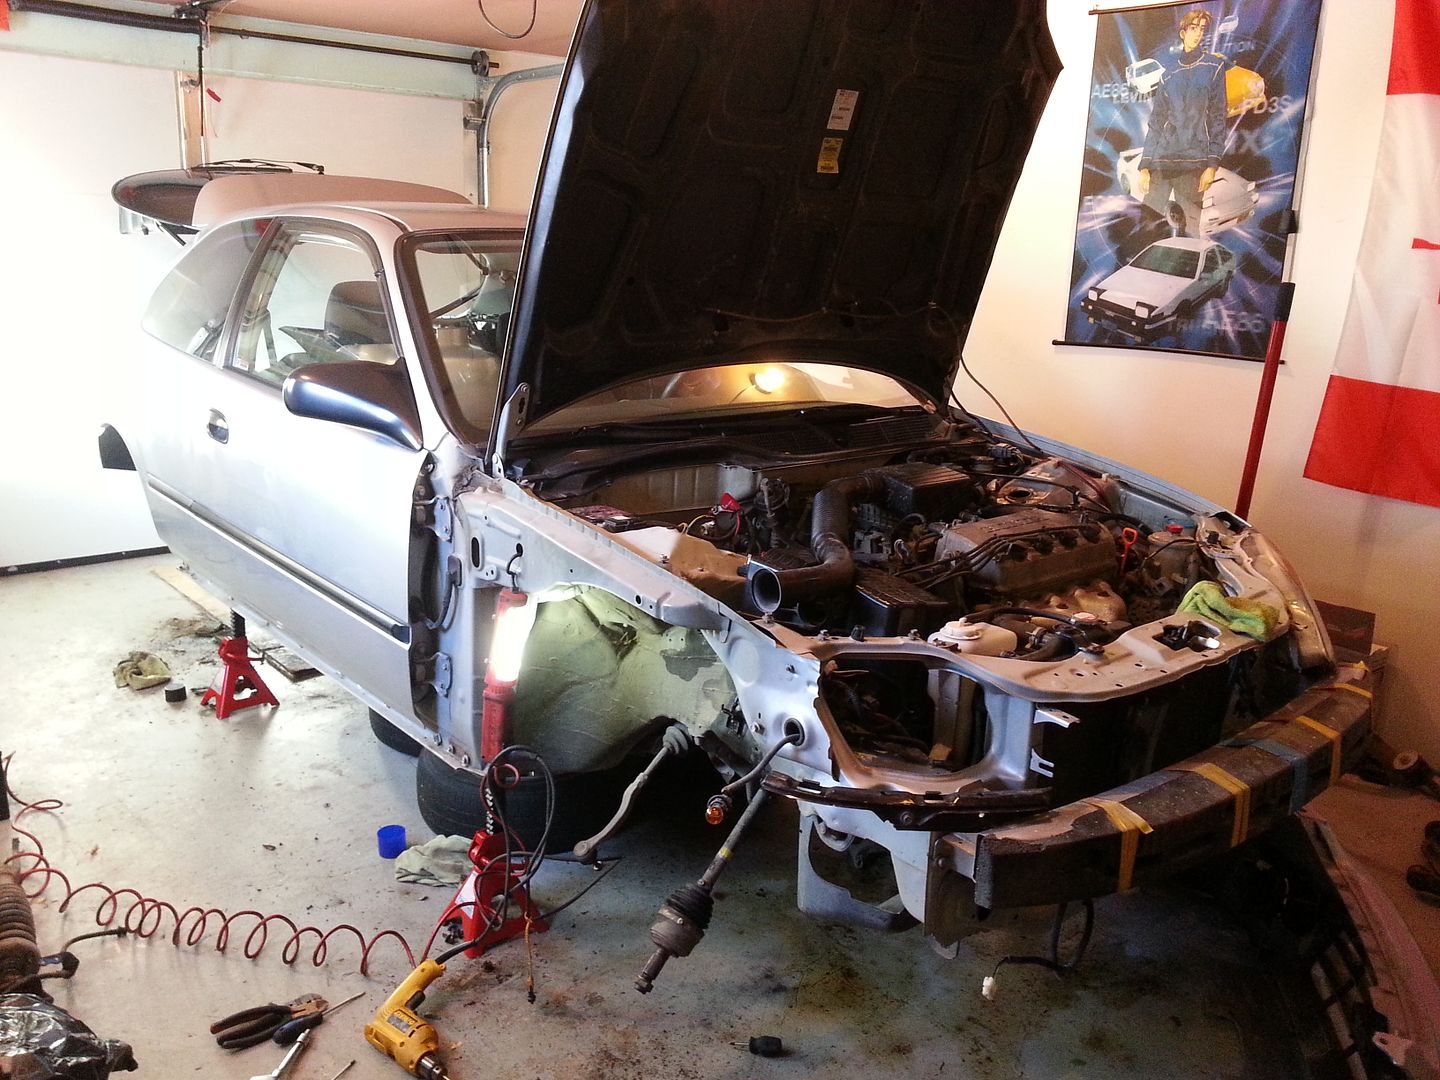
I purchased a '99 Canadian  DX hatch in summer 2013. Aside from an over sized muffler and eBay fog lights it was unmutilated! My hope is to create a decent autoX car that I could drive to and from events.
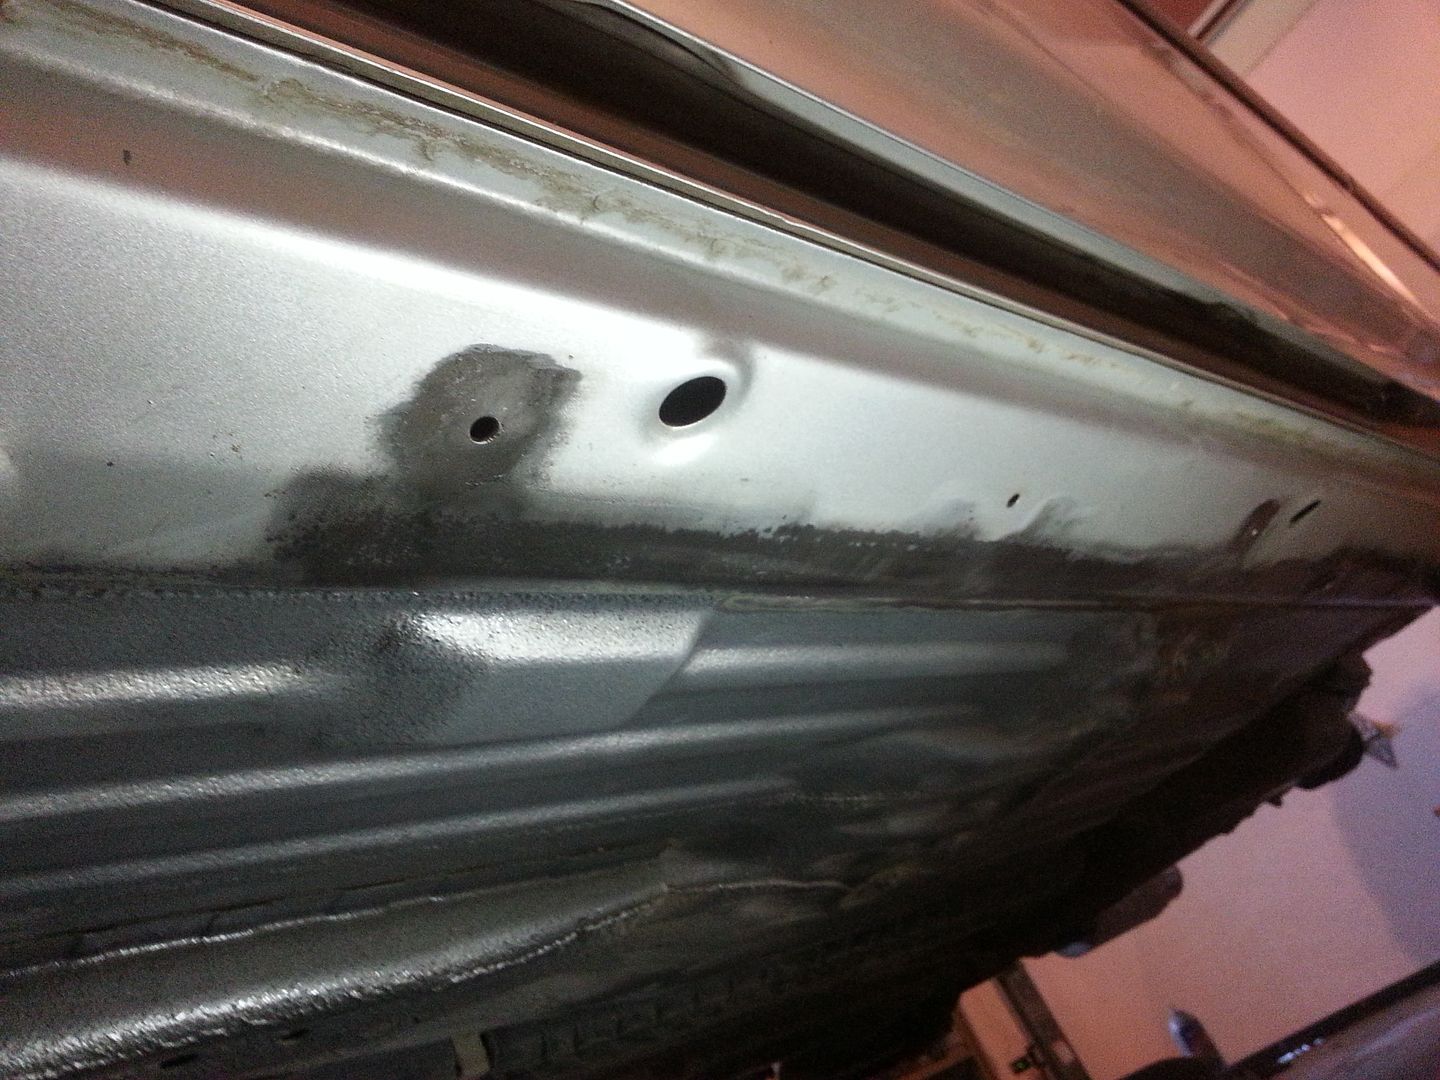
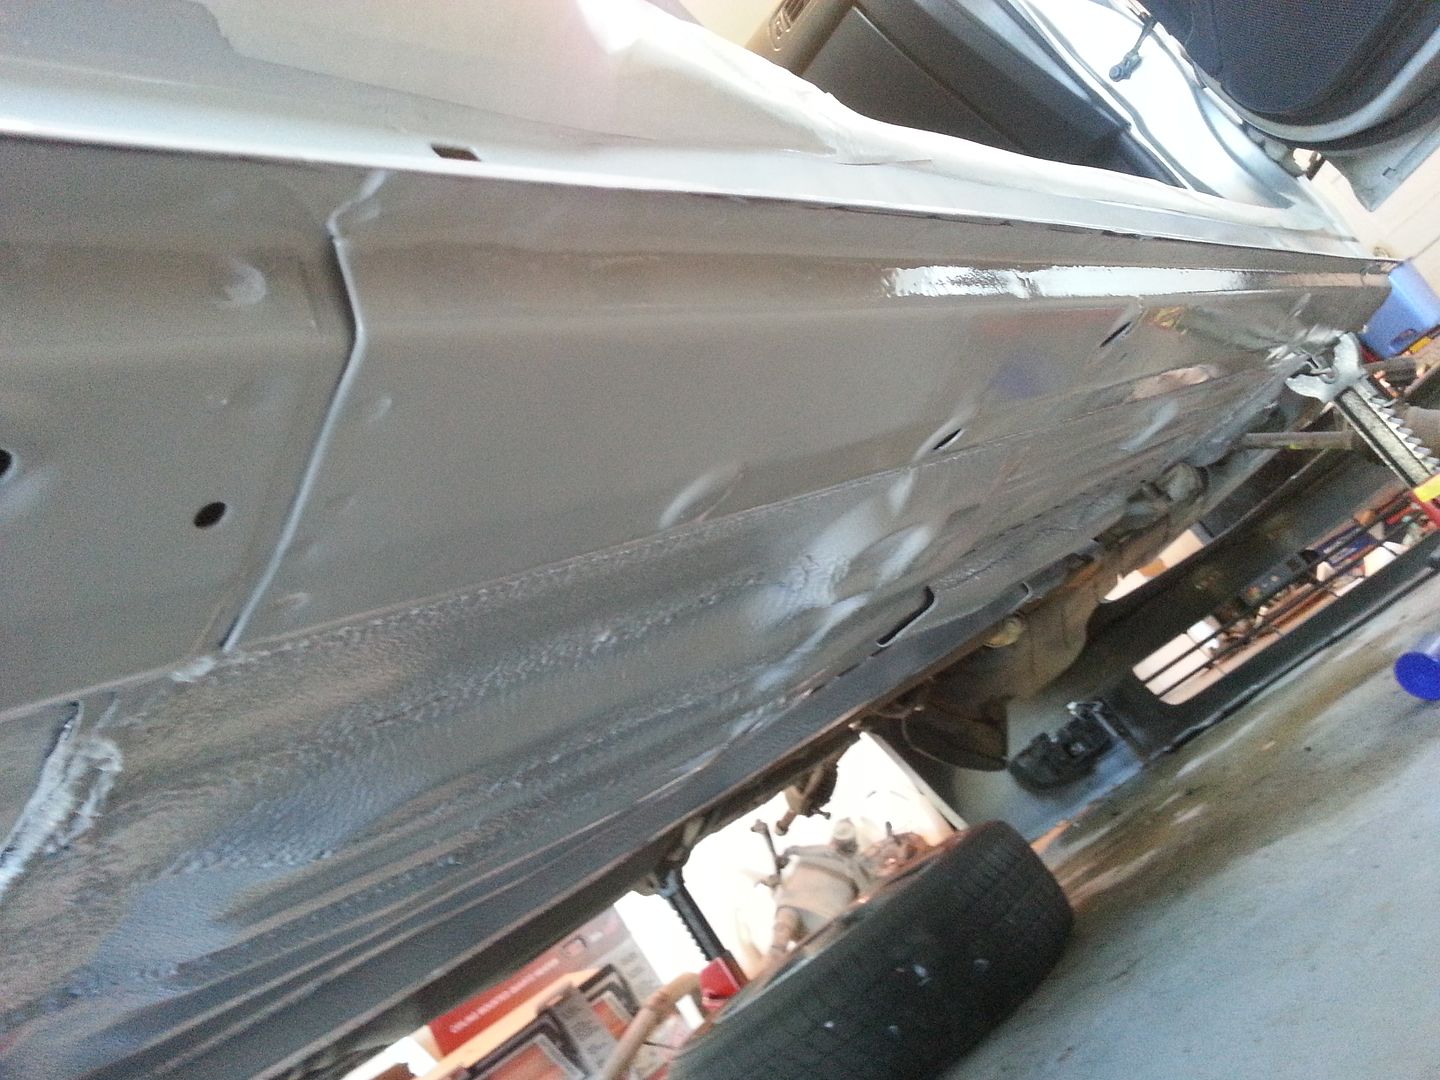
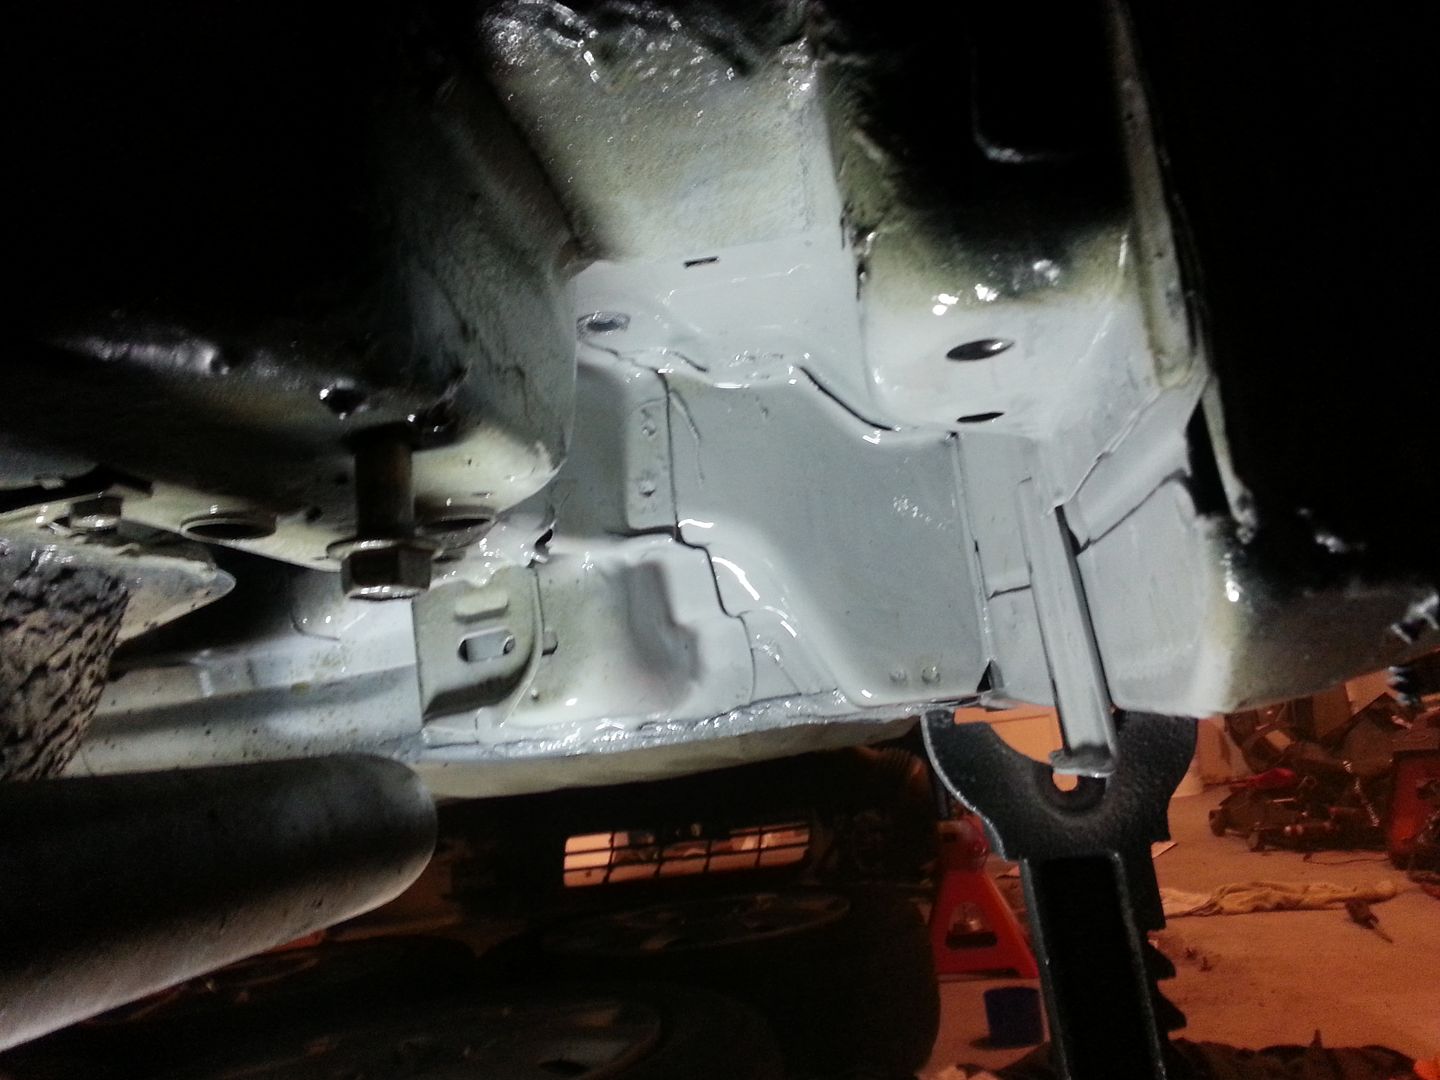
The first thing to note is the minimal amount of rust for its age. Because of this I decided to remove the little surface rust I found, rust protect, and undercoat it.
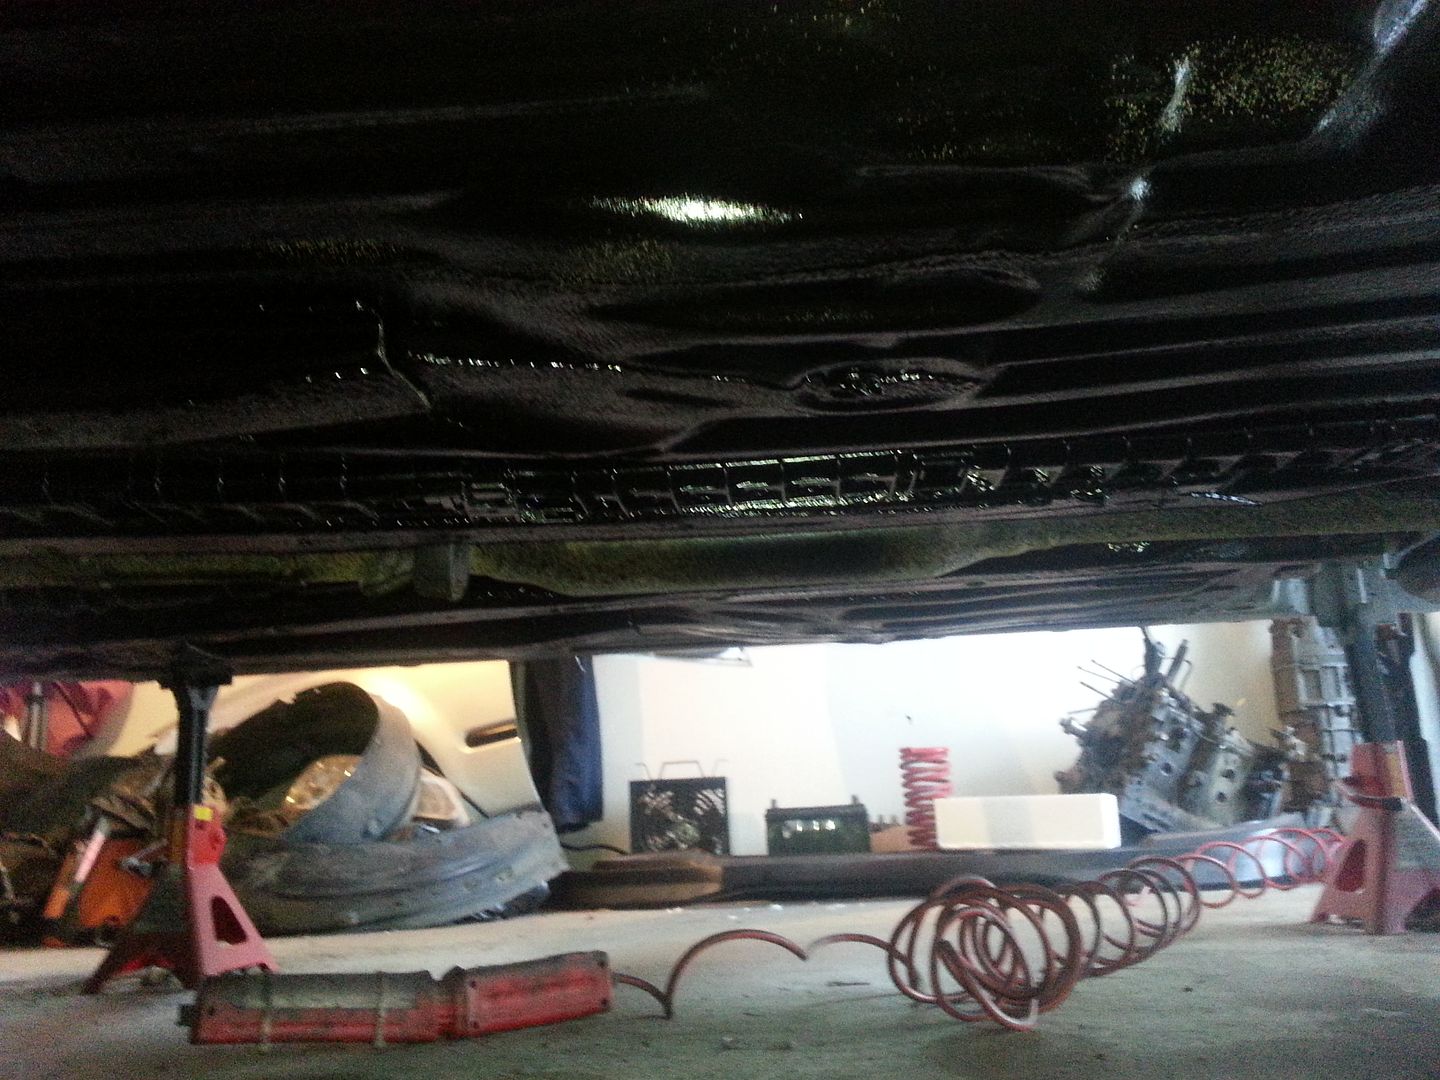
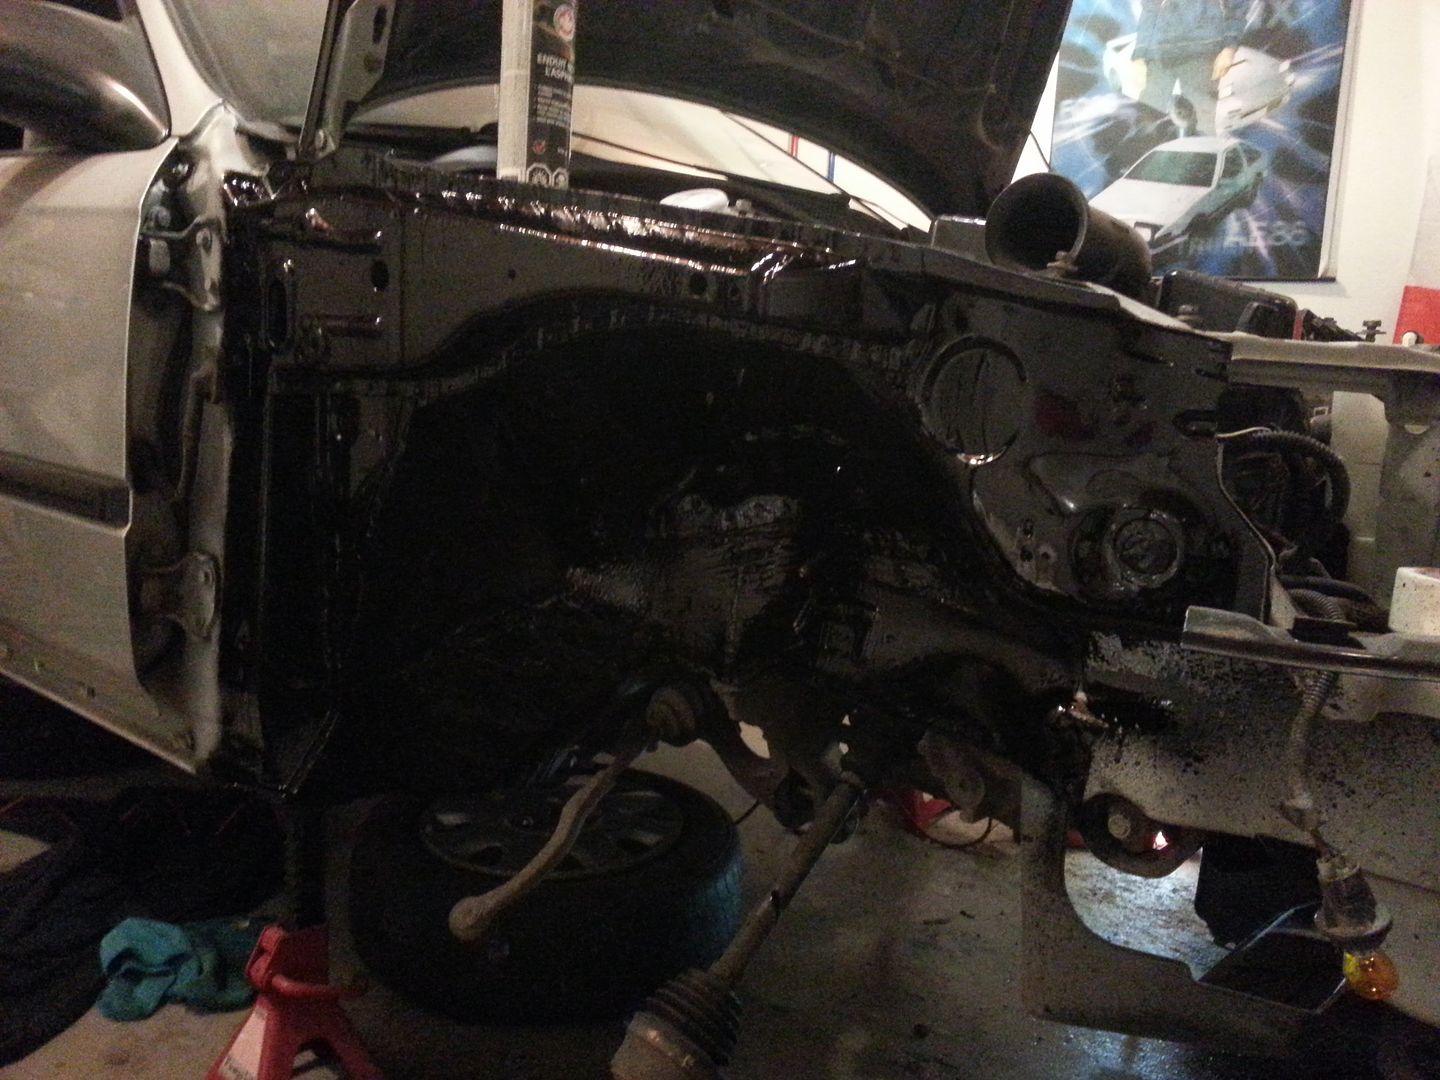
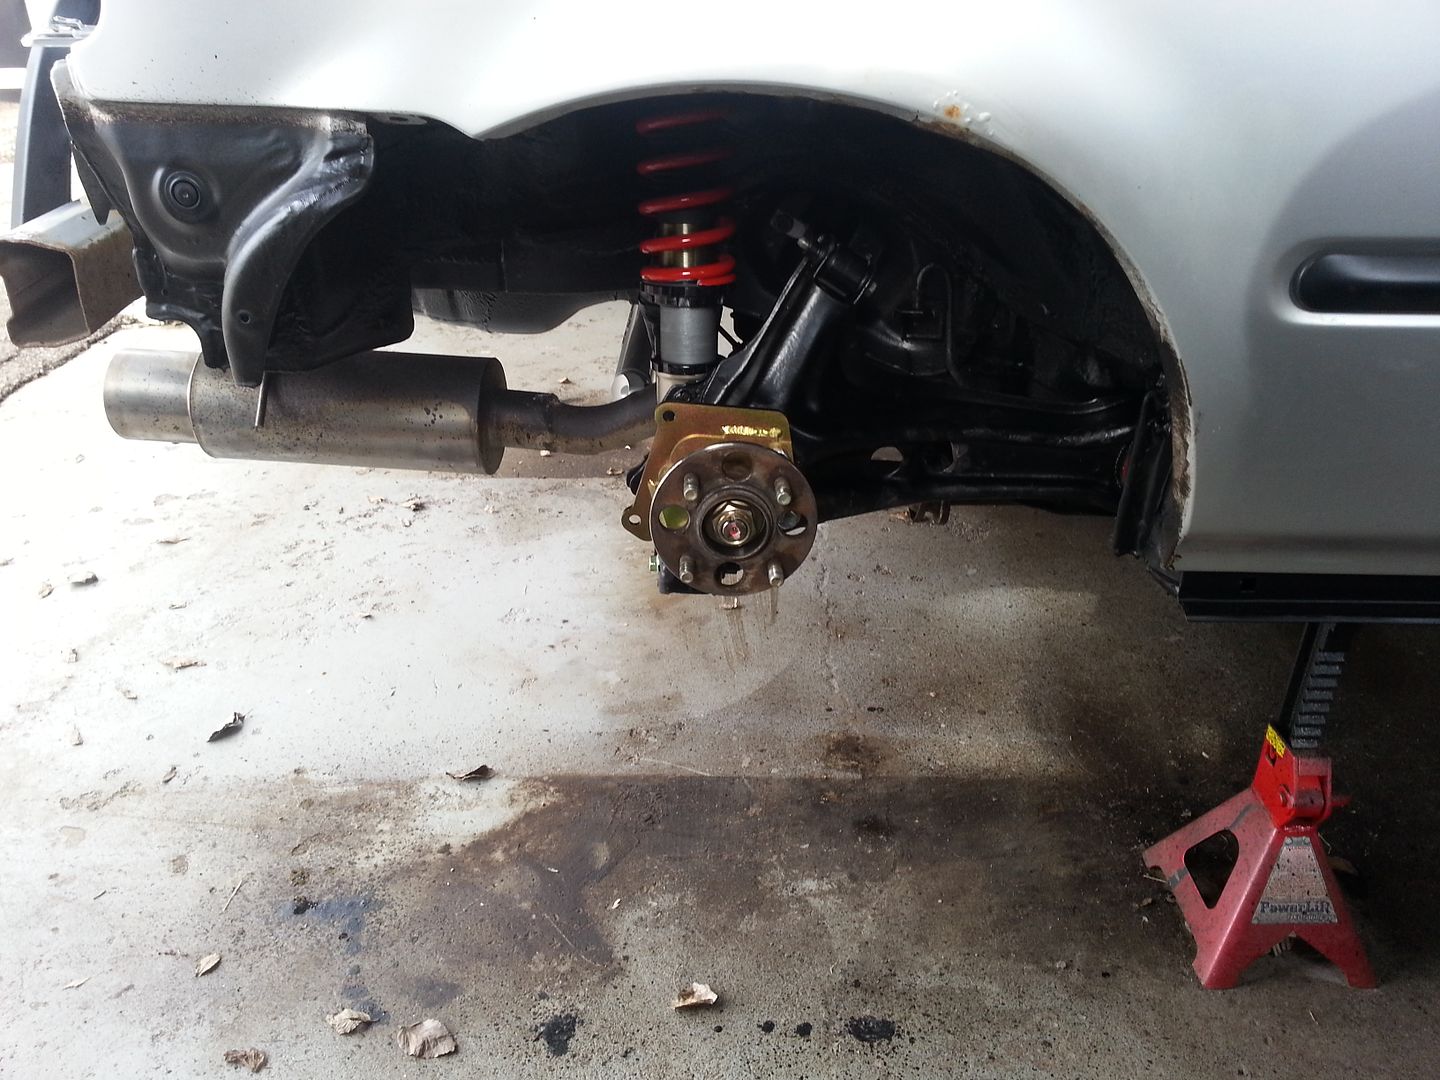
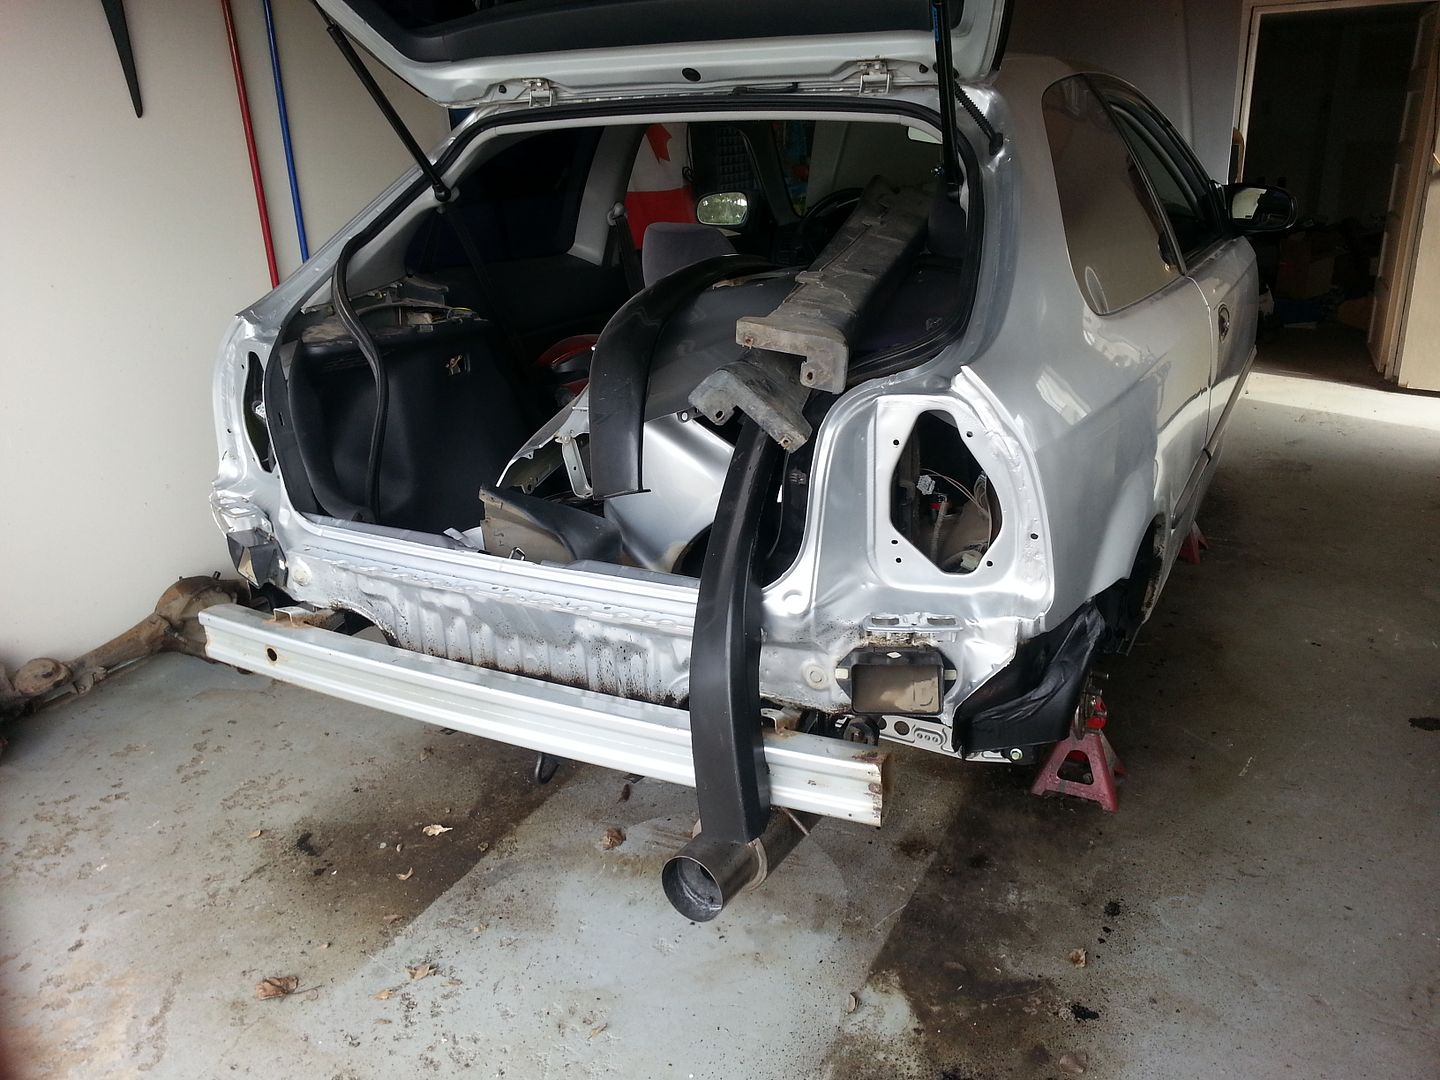
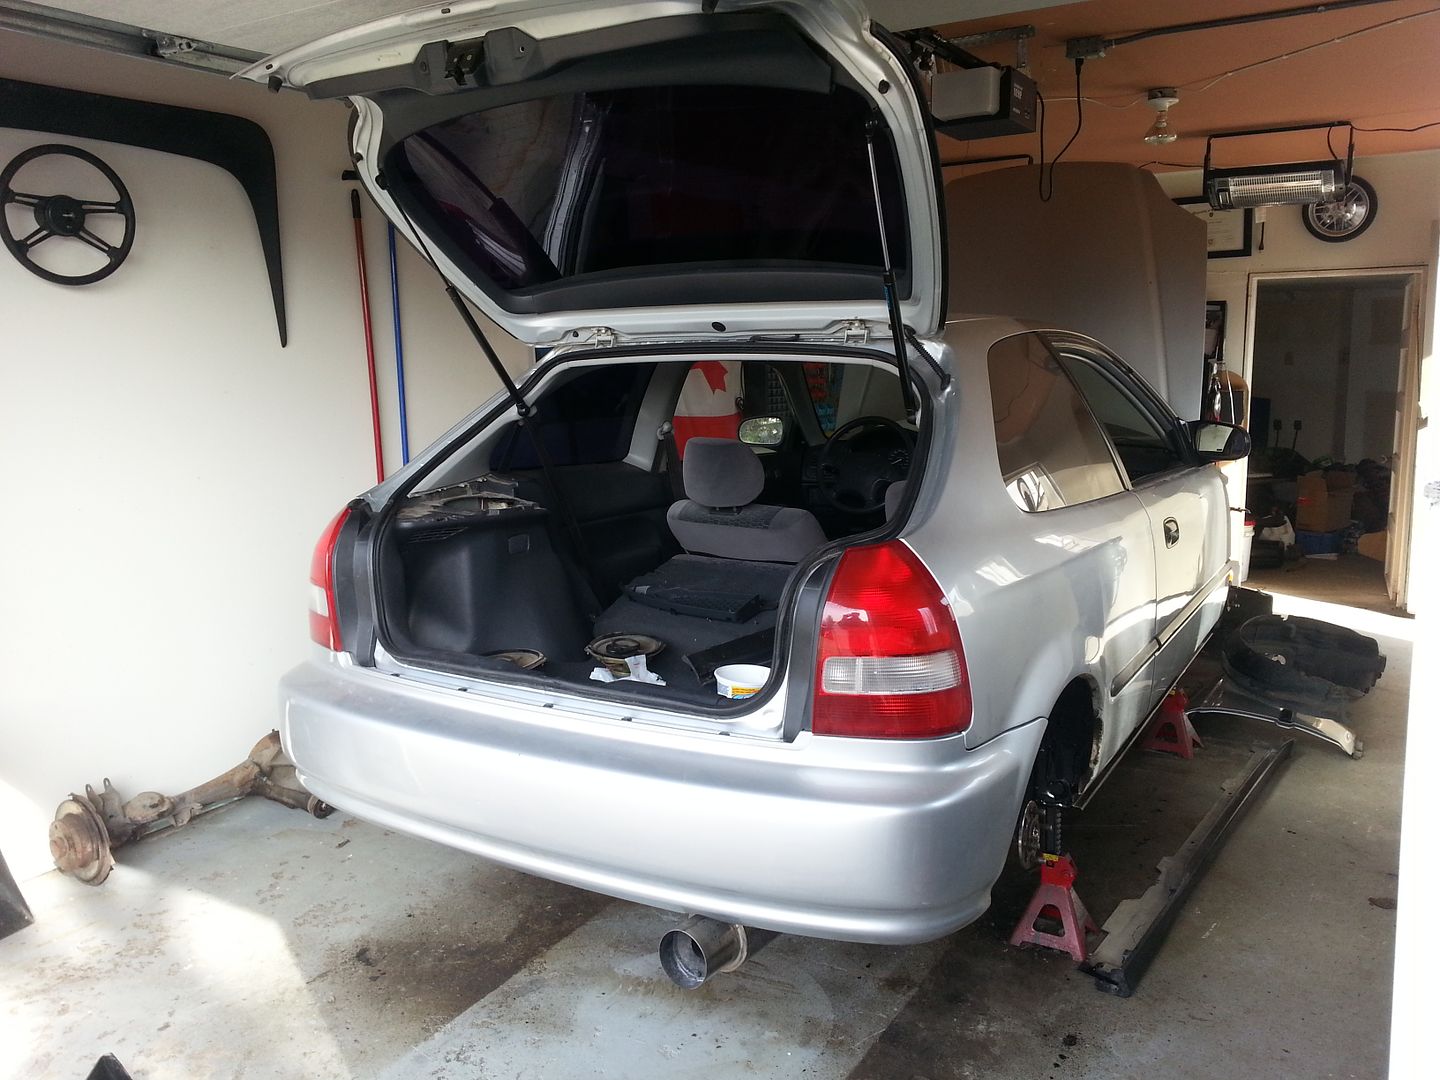
I started by stripping wheels, brakes, suspension, control arms, etc. It went fairly smooth with the exception of a few rusted and broken bolts in the rear. Due to the headache from the drivers side I decided to take everything out as one piece with the rear trailing arms.
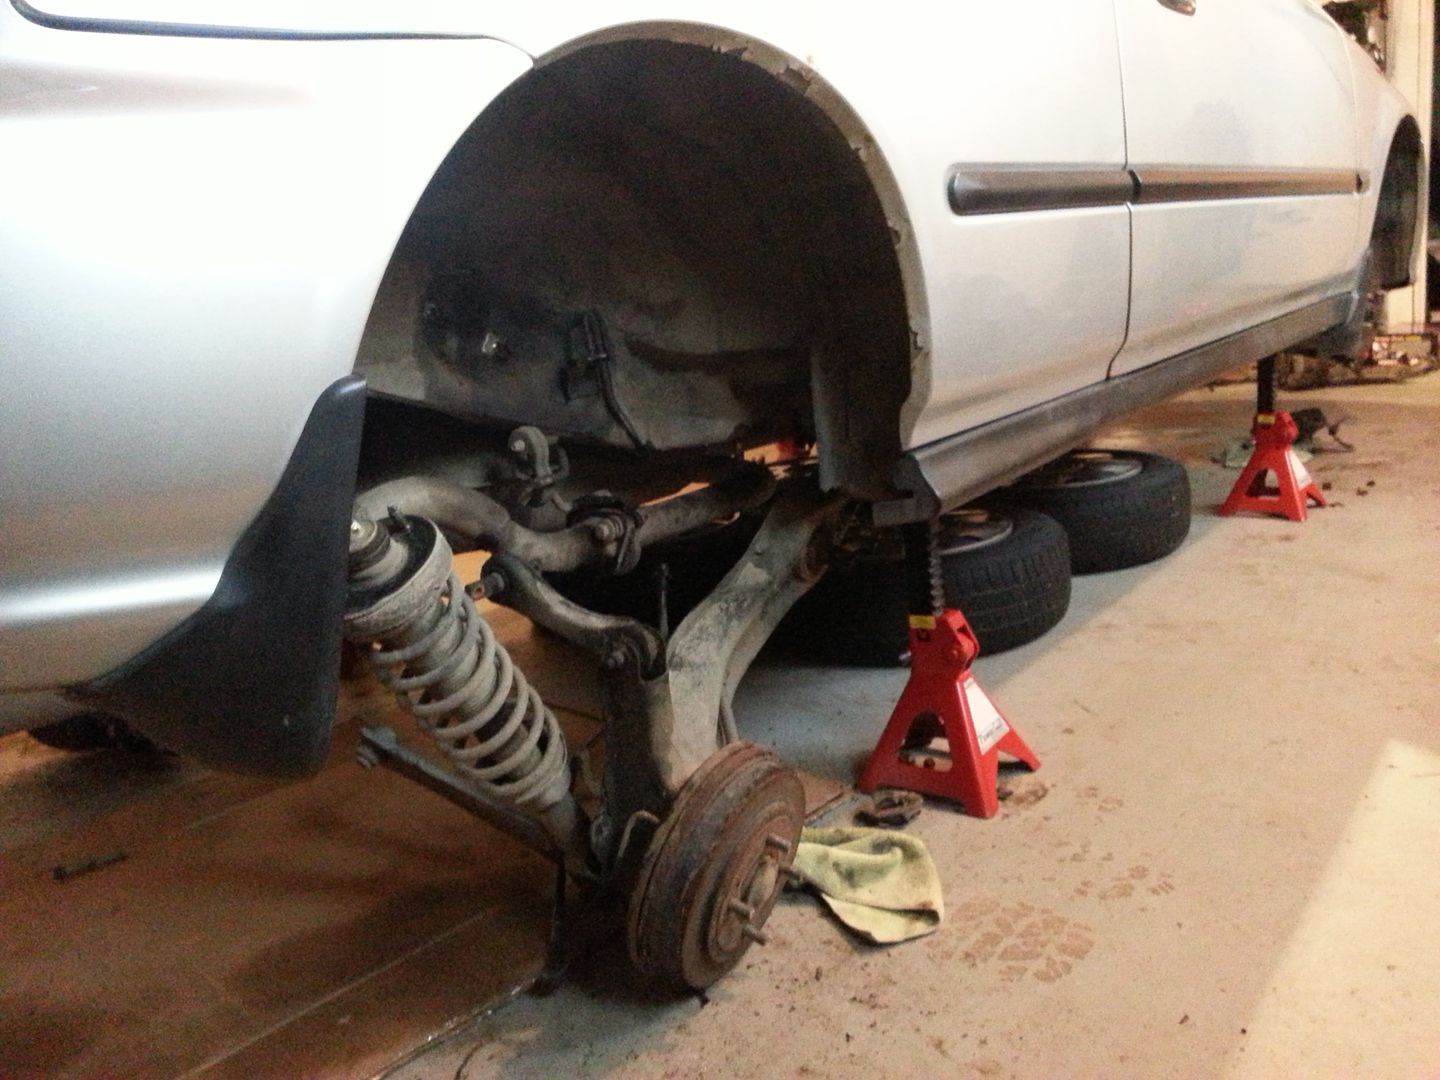
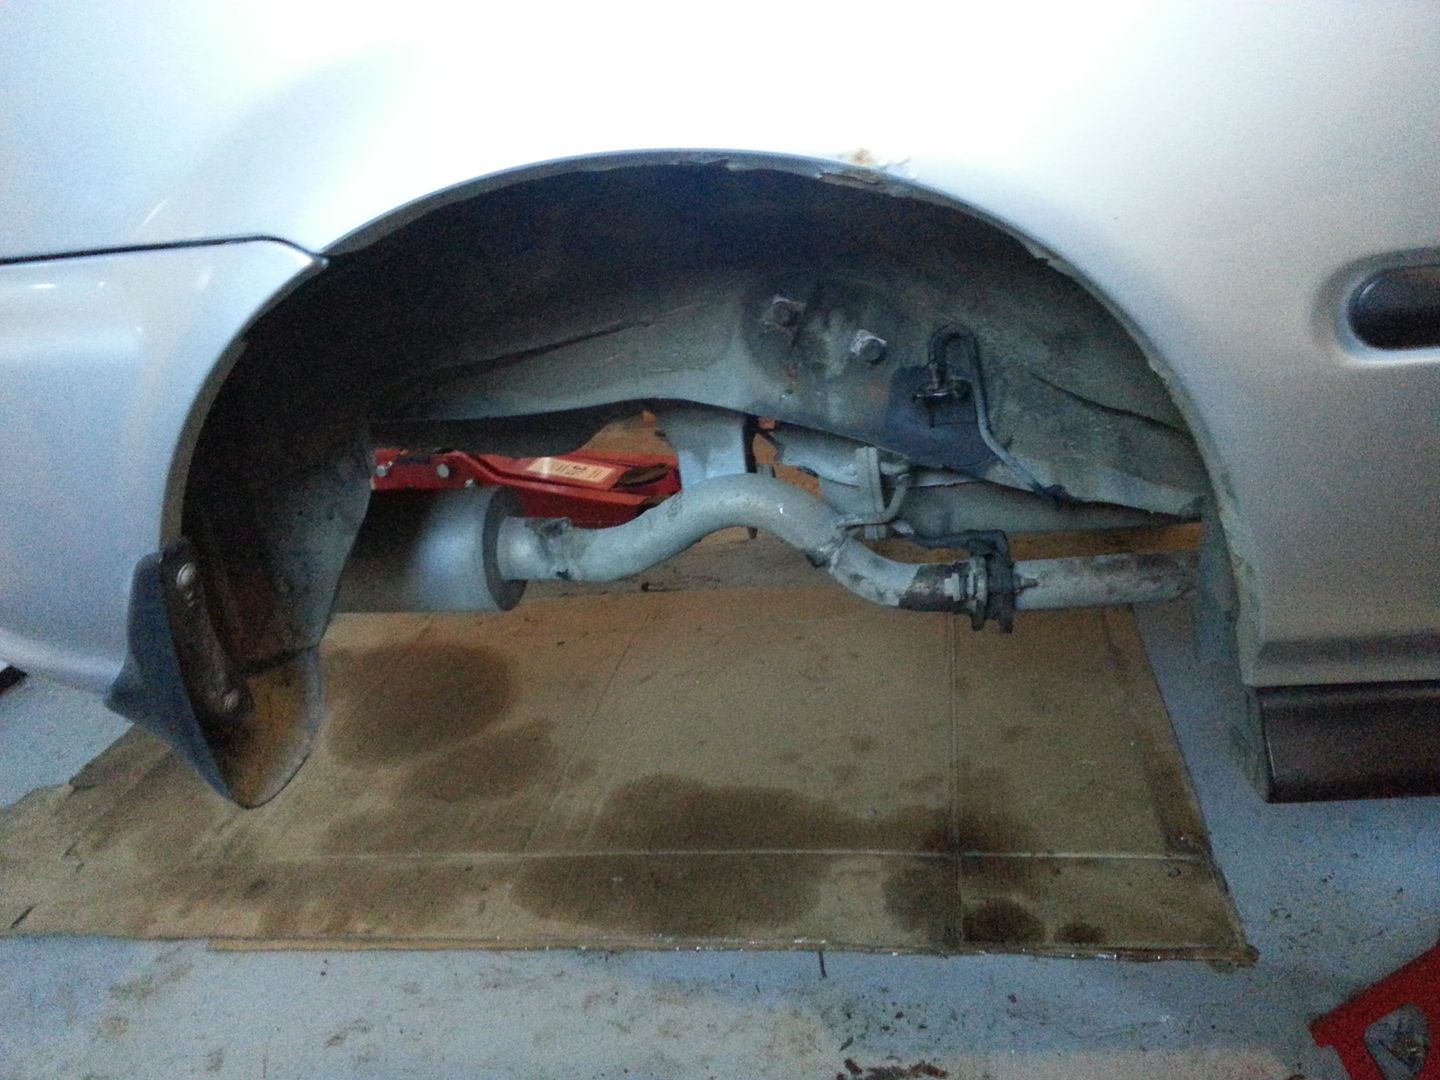
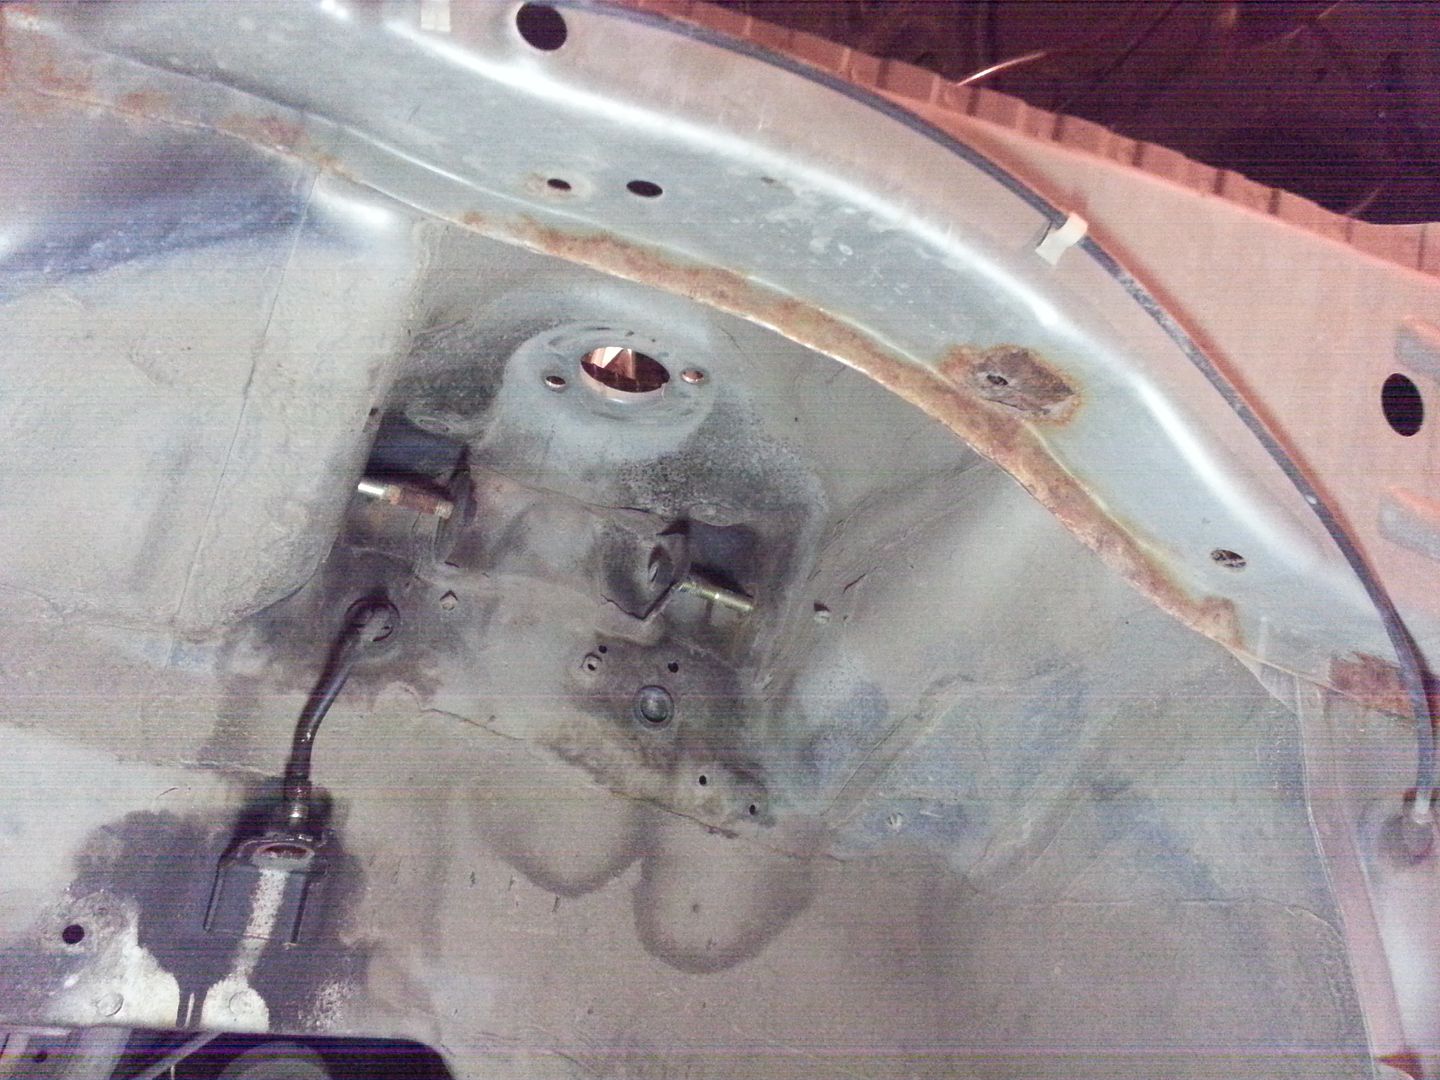
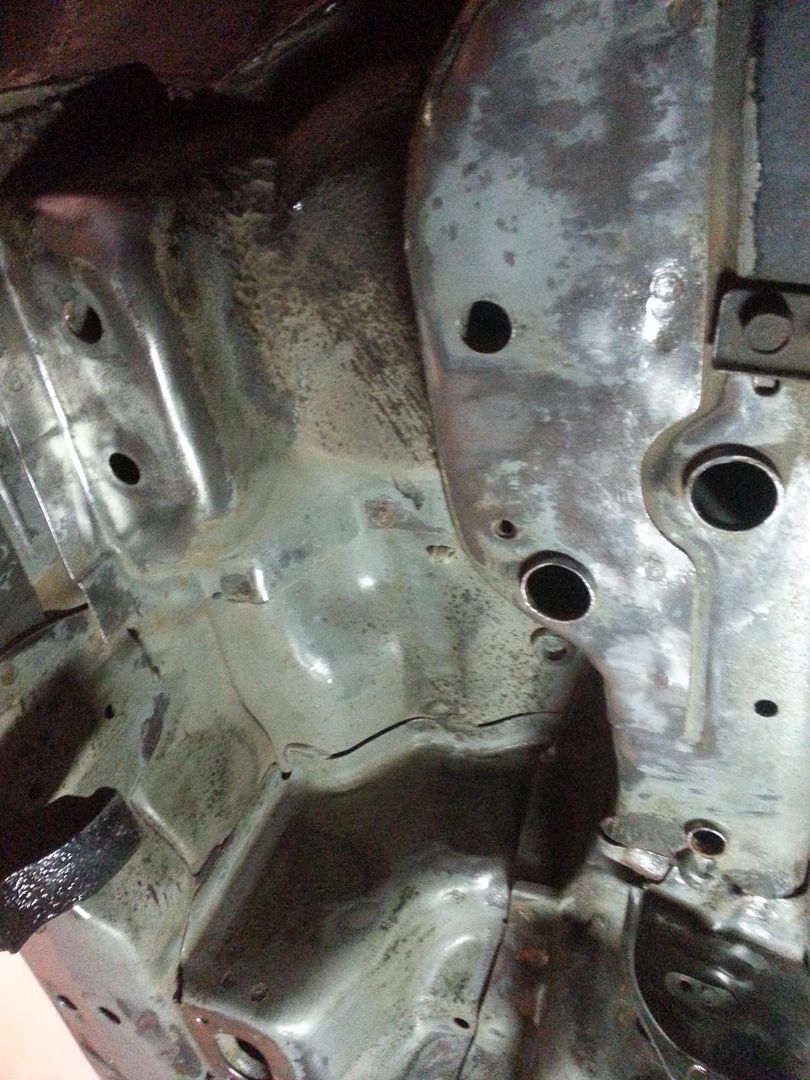
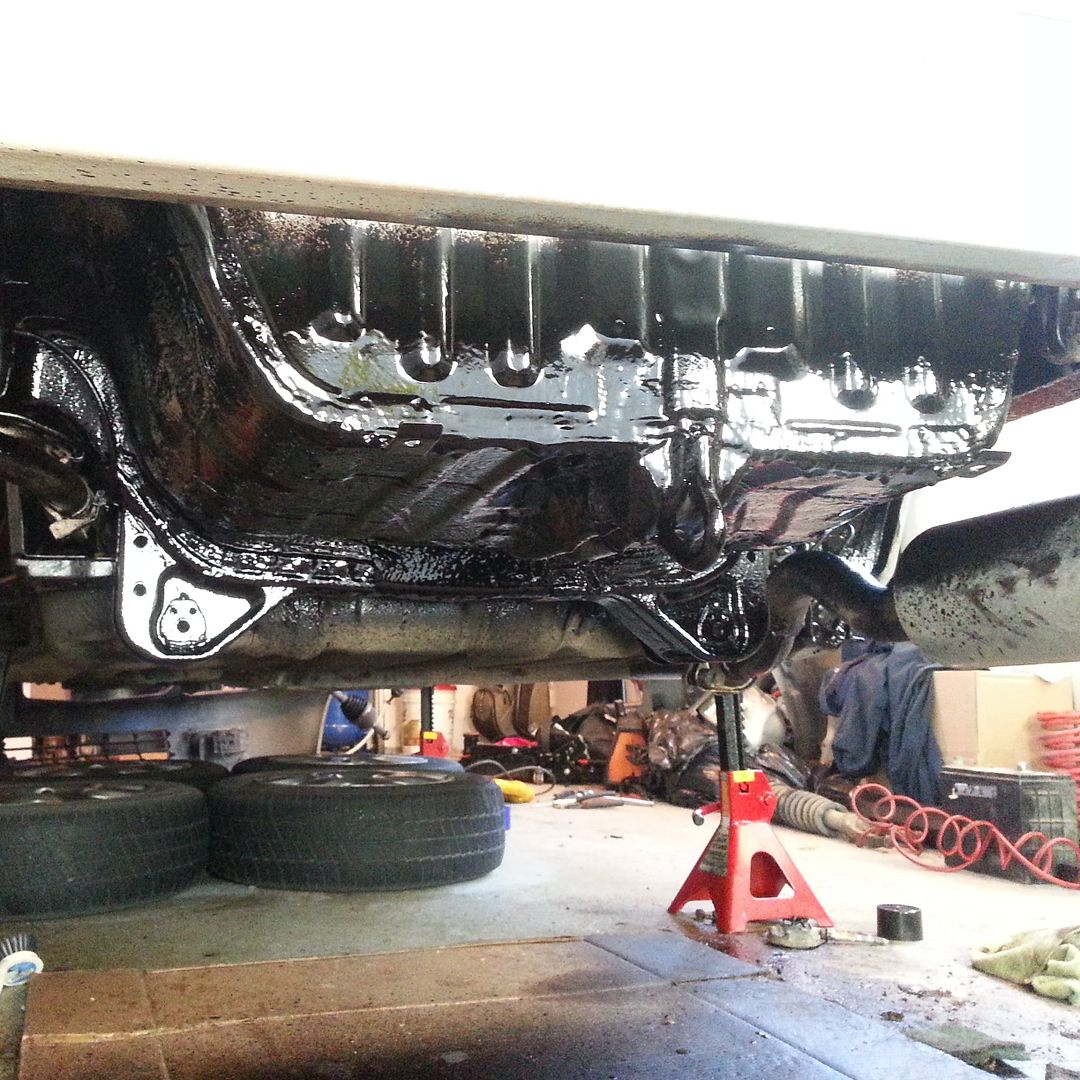
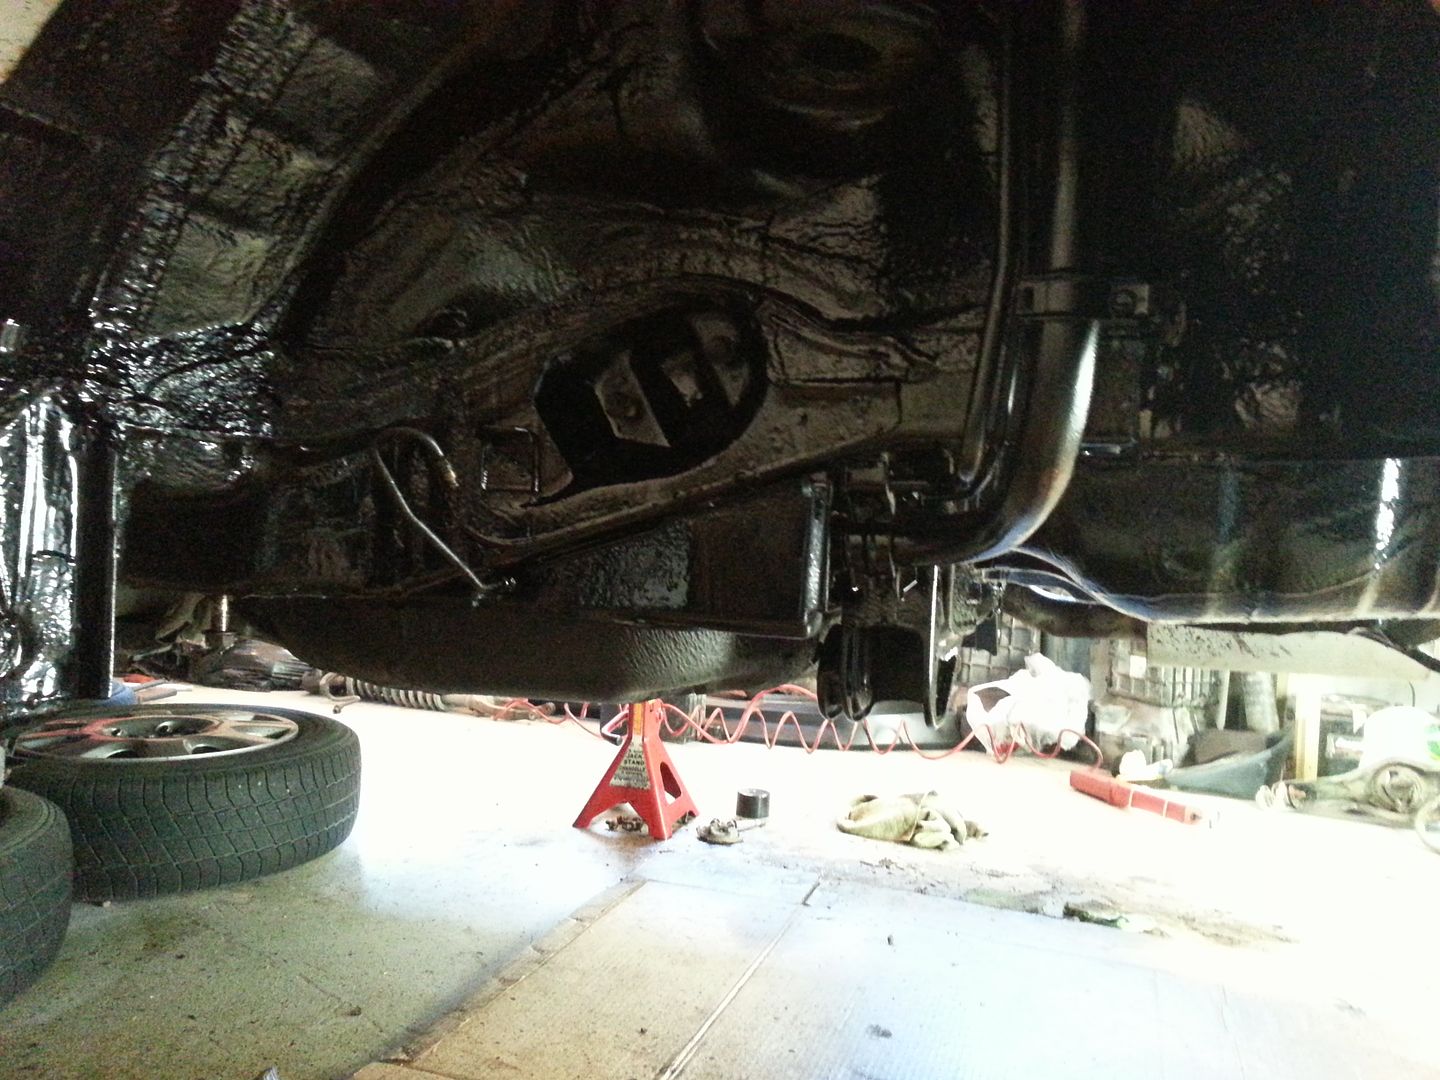
Below are some shots laying on my back of the under side.
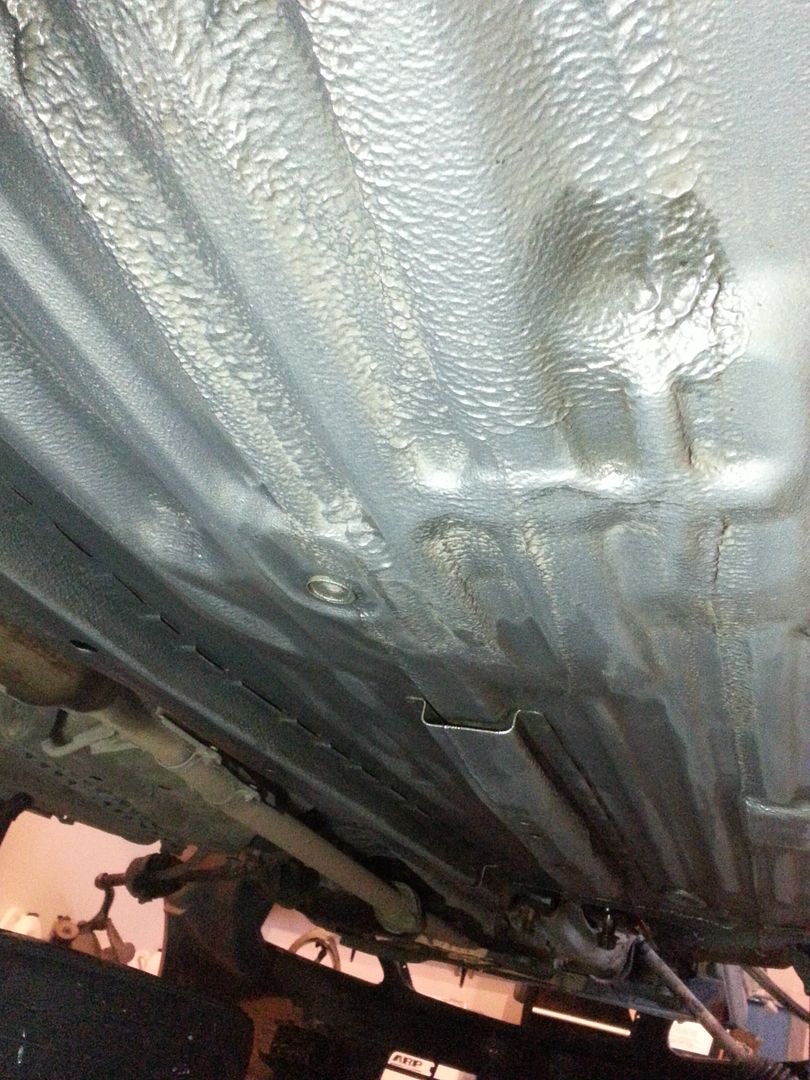
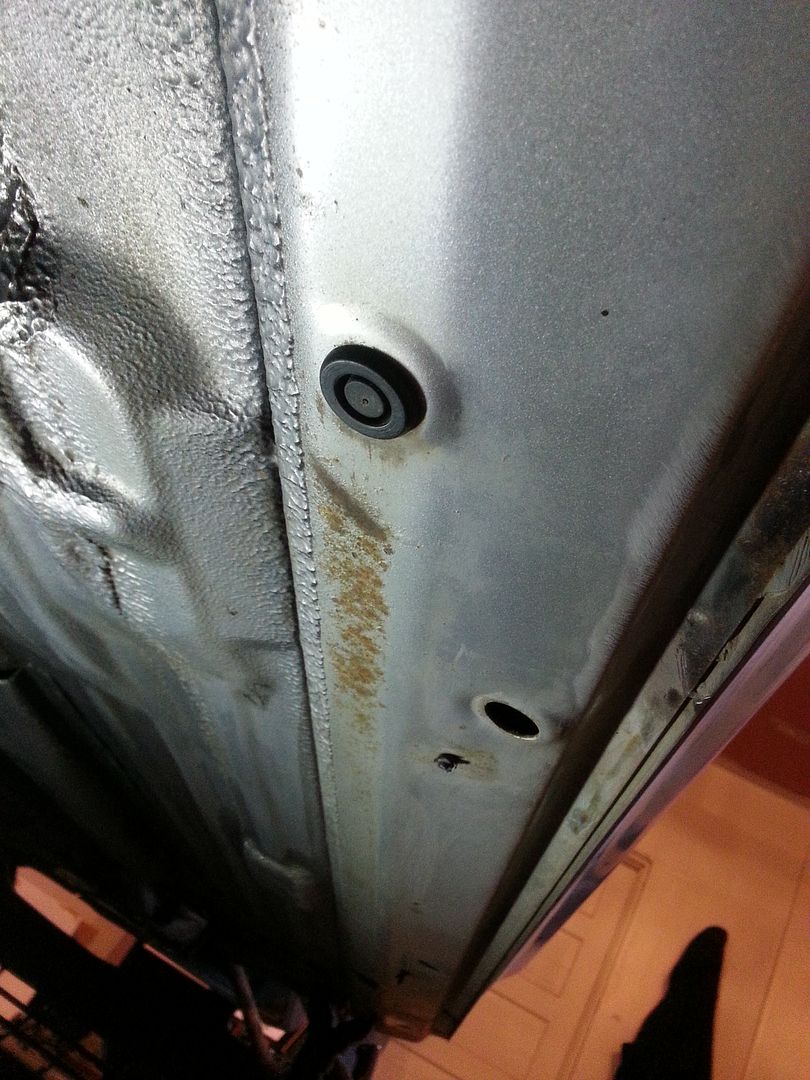

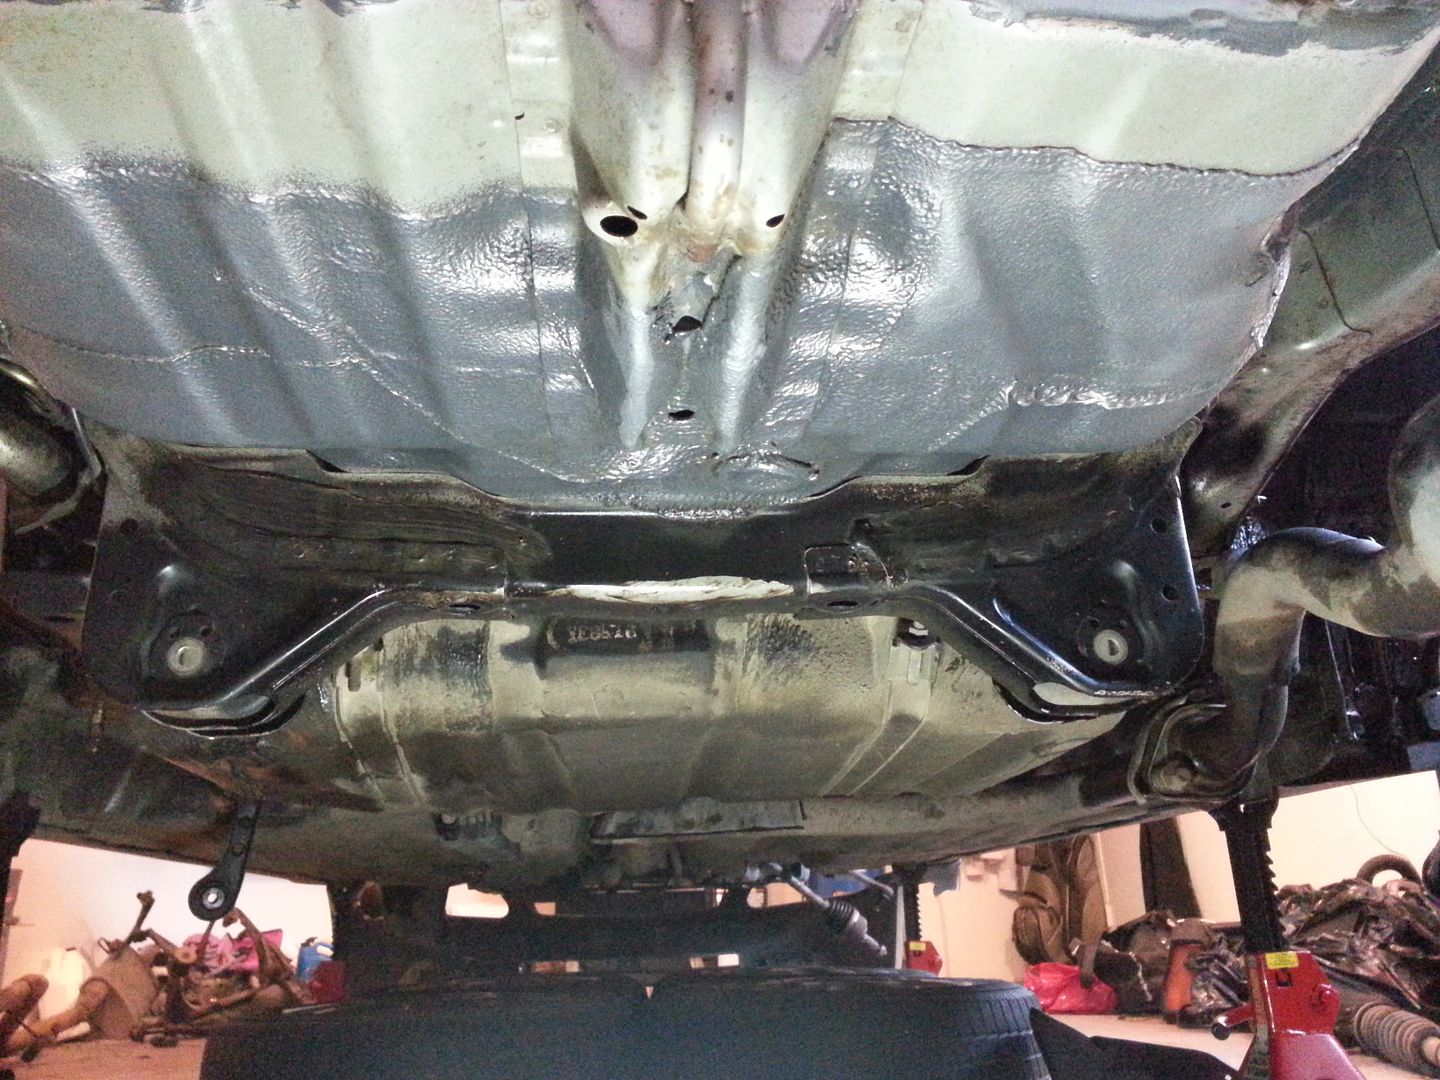
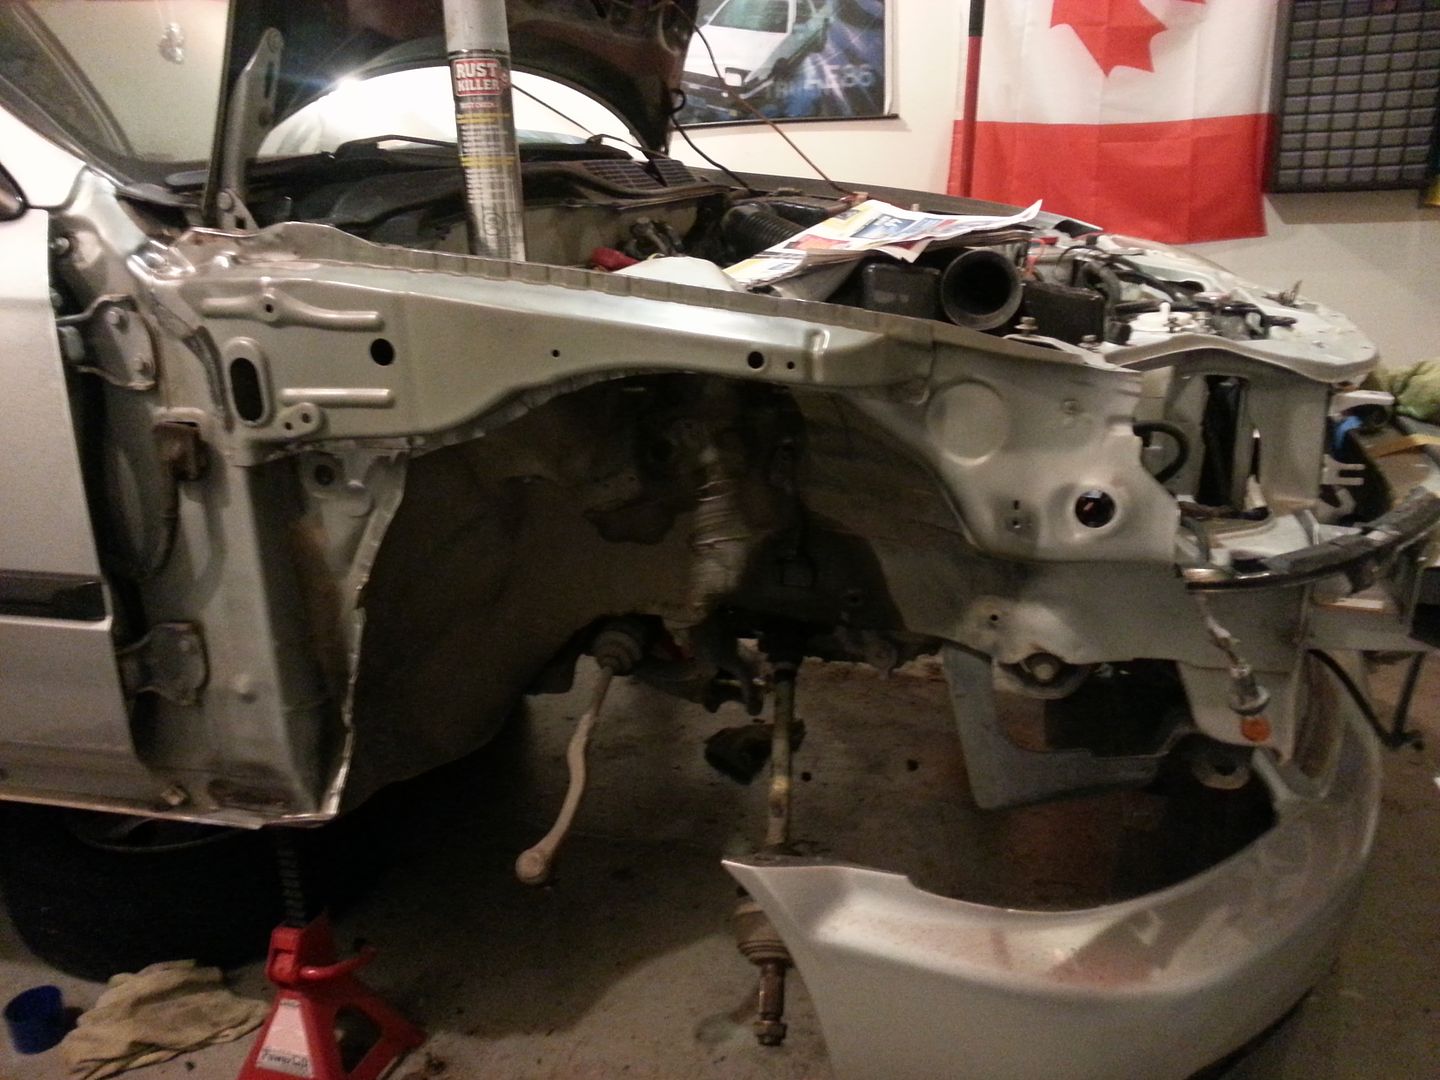
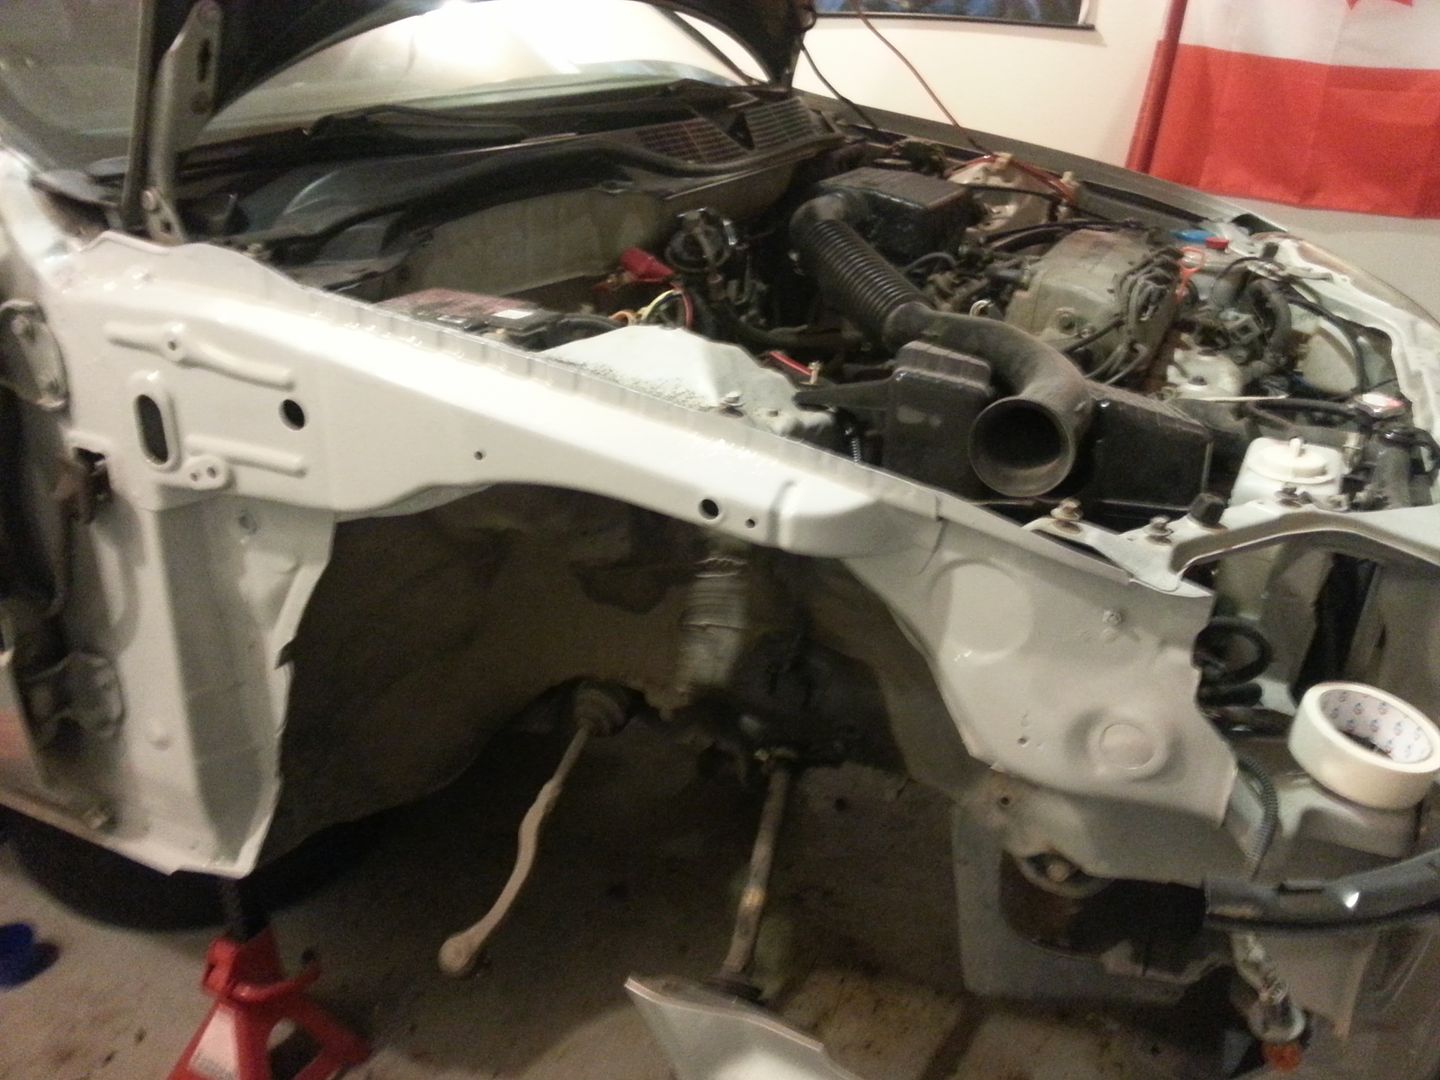
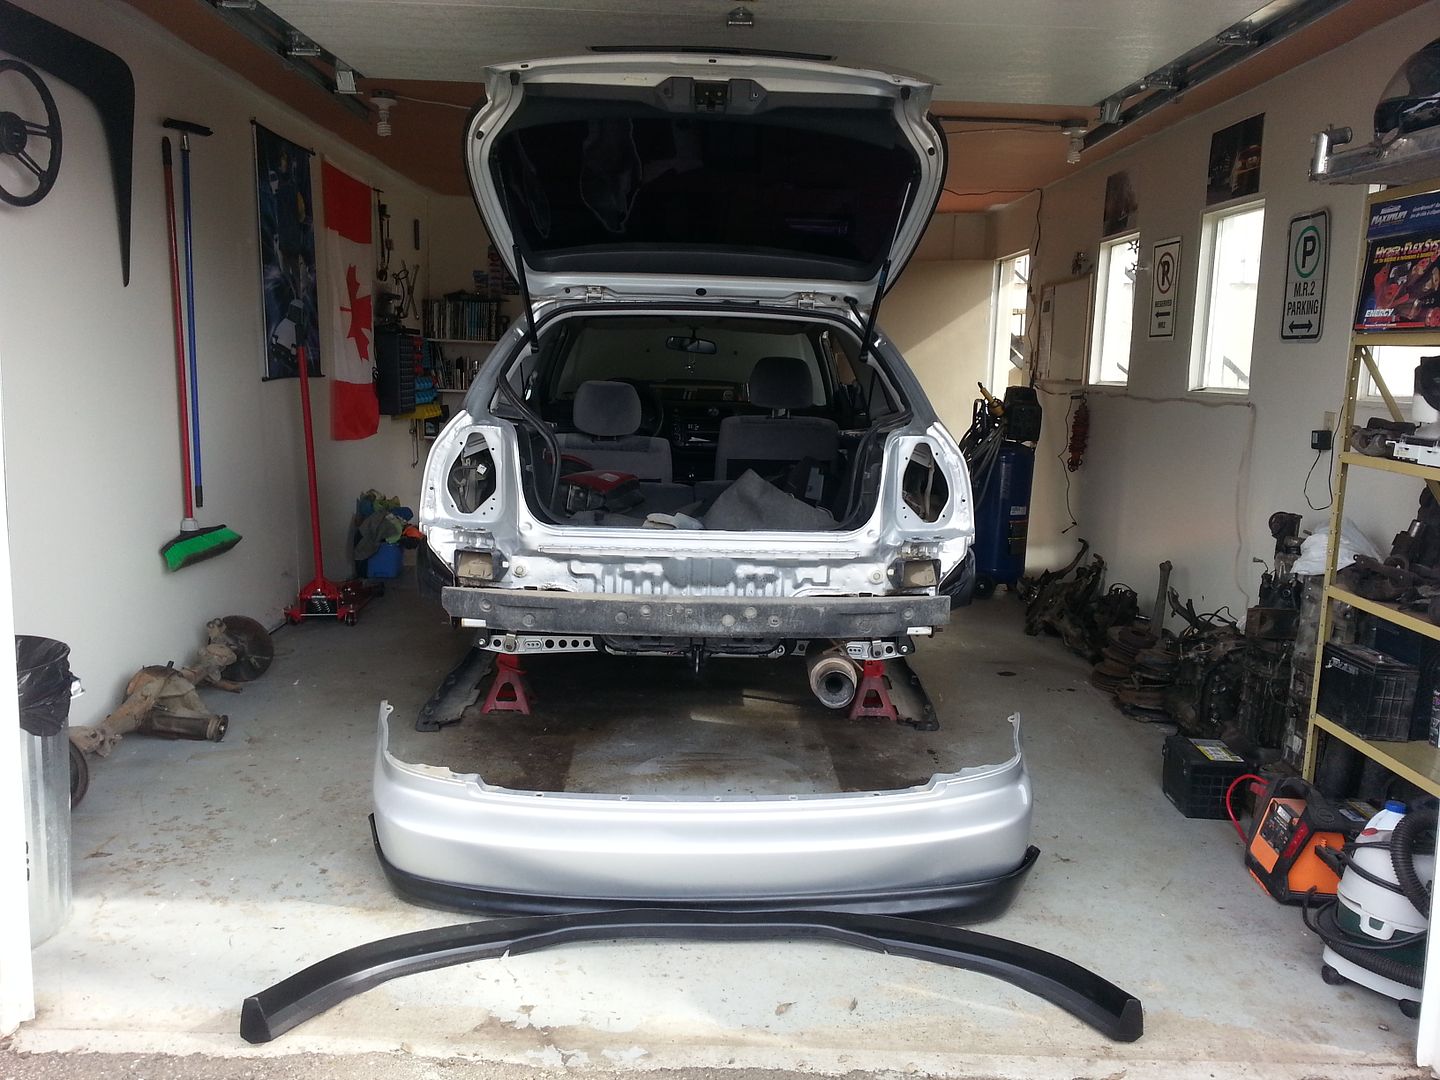
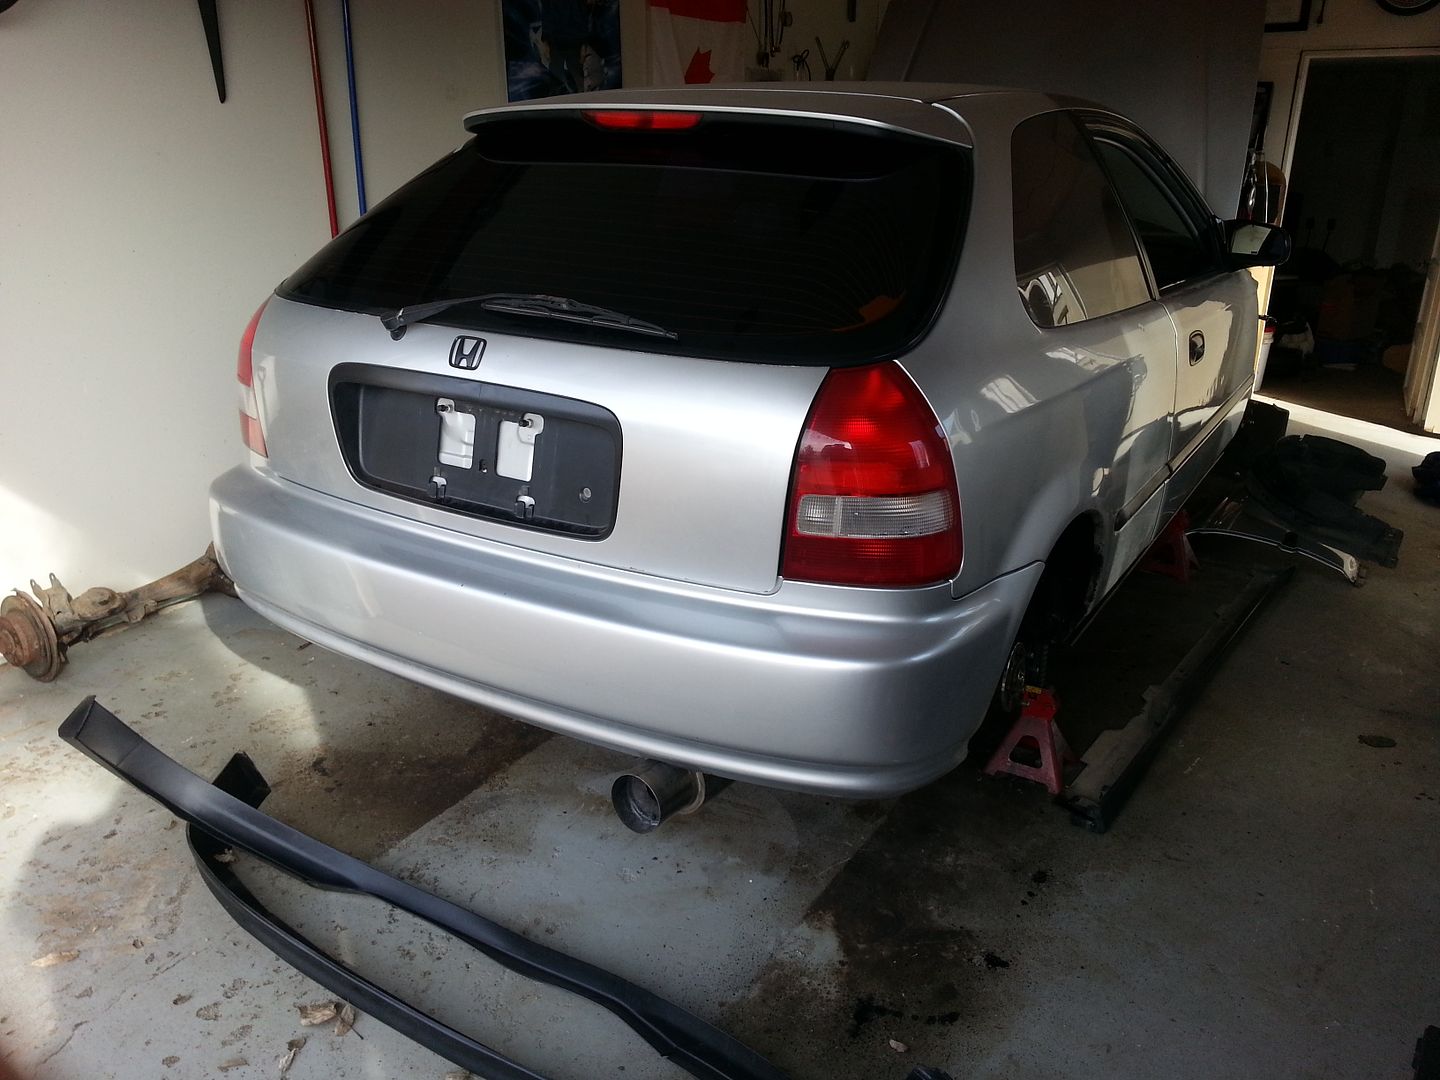
How it looks with bumpers, skirts, and everything stripped! Next up removing some rust and a good clean to help prep the surface.
DX hatch in summer 2013. Aside from an over sized muffler and eBay fog lights it was unmutilated! My hope is to create a decent autoX car that I could drive to and from events.The first thing to note is the minimal amount of rust for its age. Because of this I decided to remove the little surface rust I found, rust protect, and undercoat it.
I started by stripping wheels, brakes, suspension, control arms, etc. It went fairly smooth with the exception of a few rusted and broken bolts in the rear. Due to the headache from the drivers side I decided to take everything out as one piece with the rear trailing arms.
Below are some shots laying on my back of the under side.
How it looks with bumpers, skirts, and everything stripped! Next up removing some rust and a good clean to help prep the surface.
Last edited by re_volution; 07-22-2014 at 08:30 PM.

 03-17-2014, 06:21 PM
#3
Honda-Tech Member
Thread Starter
So far rust clean up has gone well! I have yet to run into any areas that couldn't be cleaned up with a wire wheel. Not too many pictures as I was just in a working groove and moved right into scuffing up all other surfaces.
Once scuffed, I wiped everything down with a methyl hydrate damp rag. After a few minutes to evaporate it was ready for Rust Killer primer!
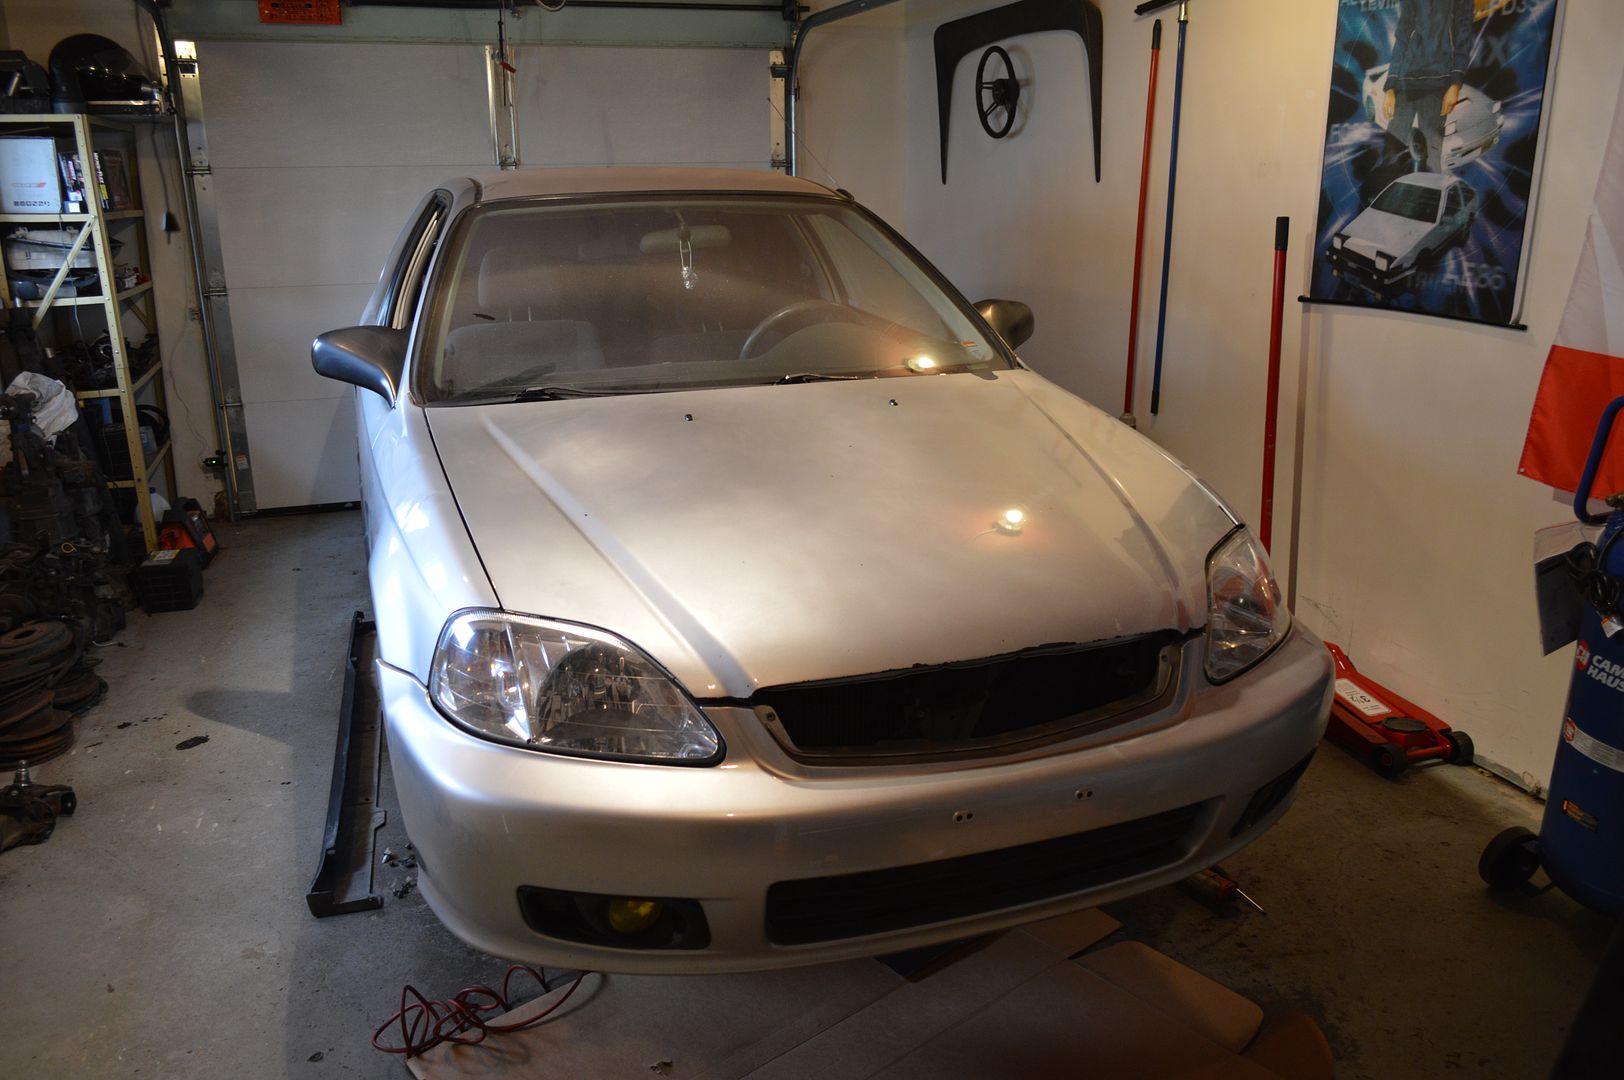
One thing I forgot to post while I had everything apart! I also tried out a 3M headlight restoration kit. I had used the professional kit for work but the over the counter kit is just as good. Just make sure to put a little extra elbow grease into it.

Once scuffed, I wiped everything down with a methyl hydrate damp rag. After a few minutes to evaporate it was ready for Rust Killer primer!
One thing I forgot to post while I had everything apart! I also tried out a 3M headlight restoration kit. I had used the professional kit for work but the over the counter kit is just as good. Just make sure to put a little extra elbow grease into it.
03-22-2014, 09:59 PM
#4
Honda-Tech Member
Thread Starter
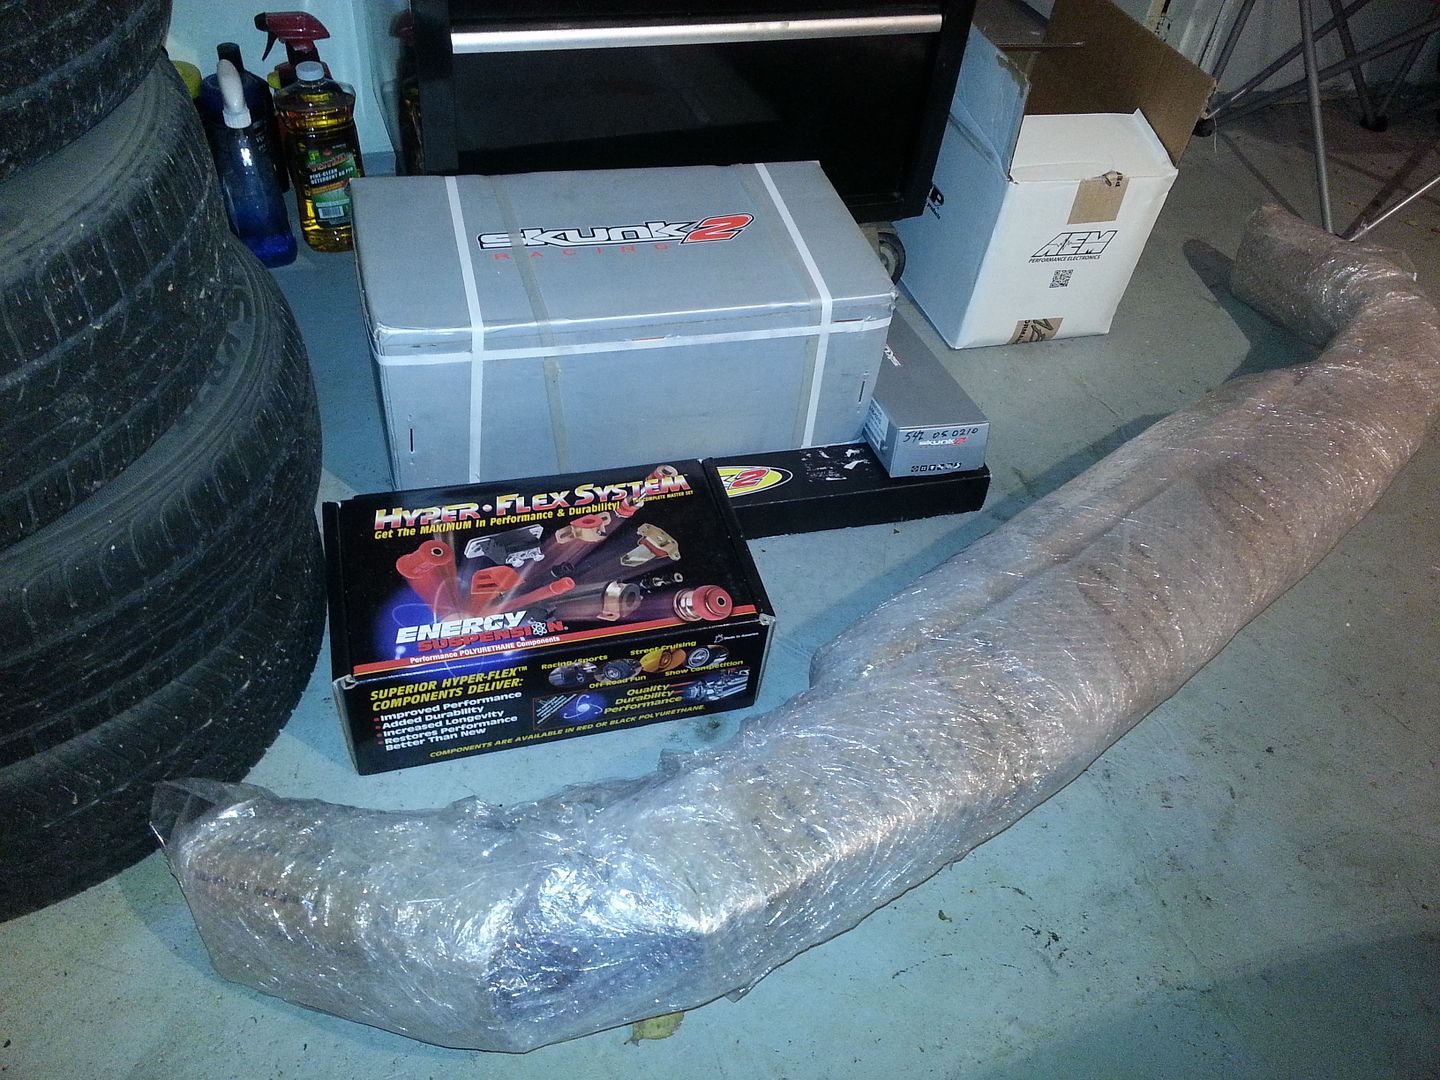
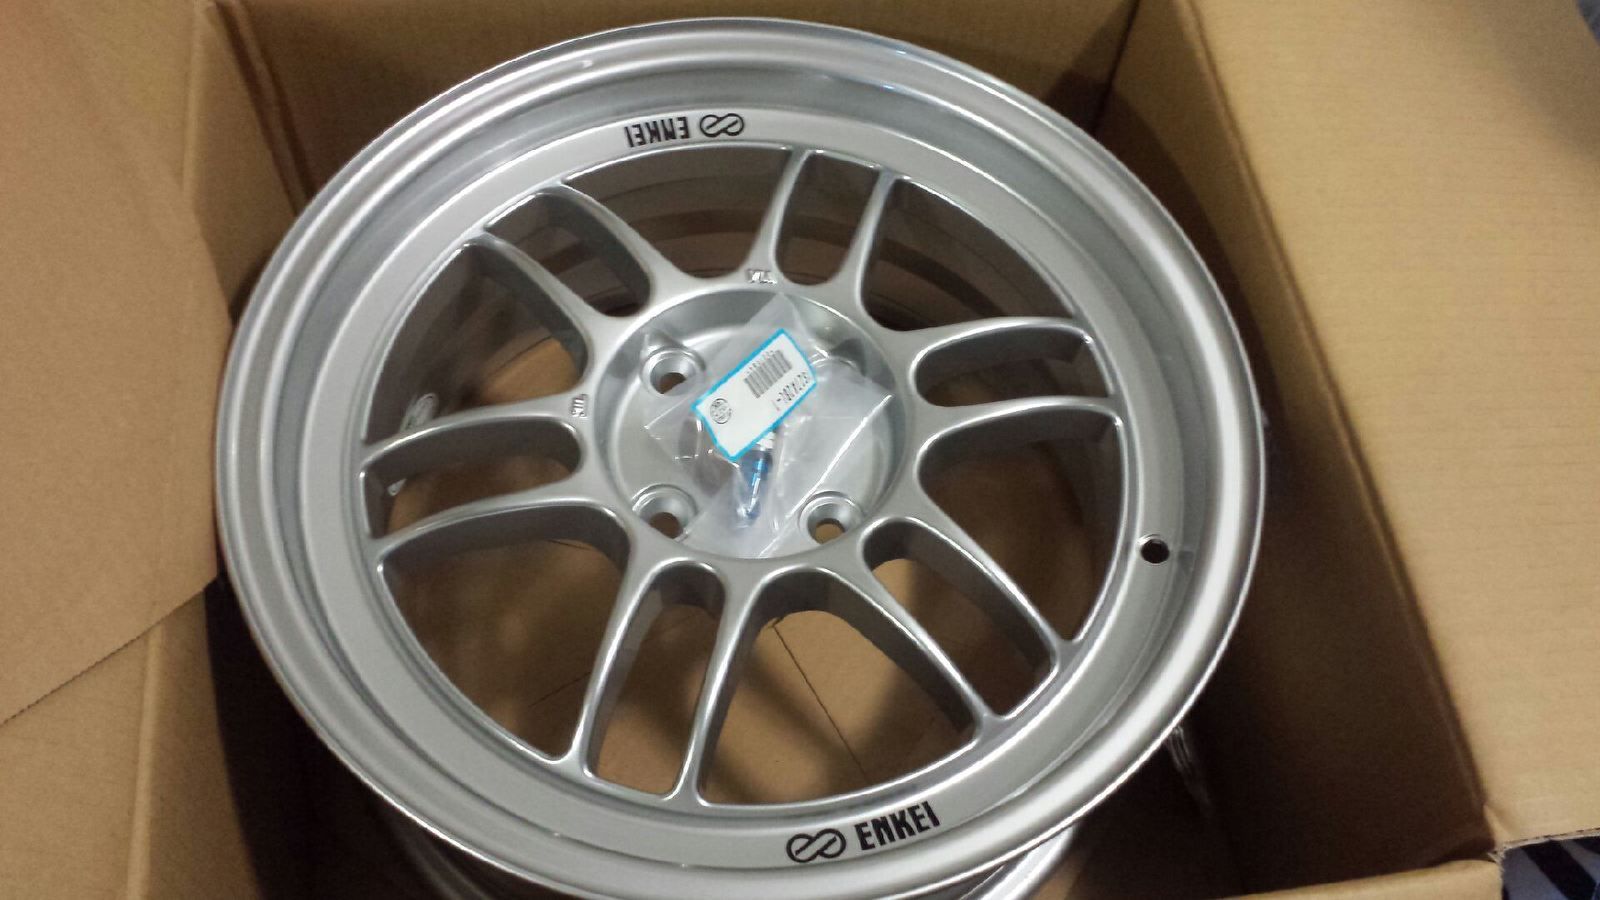
Now one of the best parts of a build, new parts!
If anyone has any suggestions for sub frame braces for those sway bars, I'm all ears! I've done some research but can't decide if I should go with something like a full ASR brace or not. Must admit I am afraid of sub frame tear out with auto crossing!

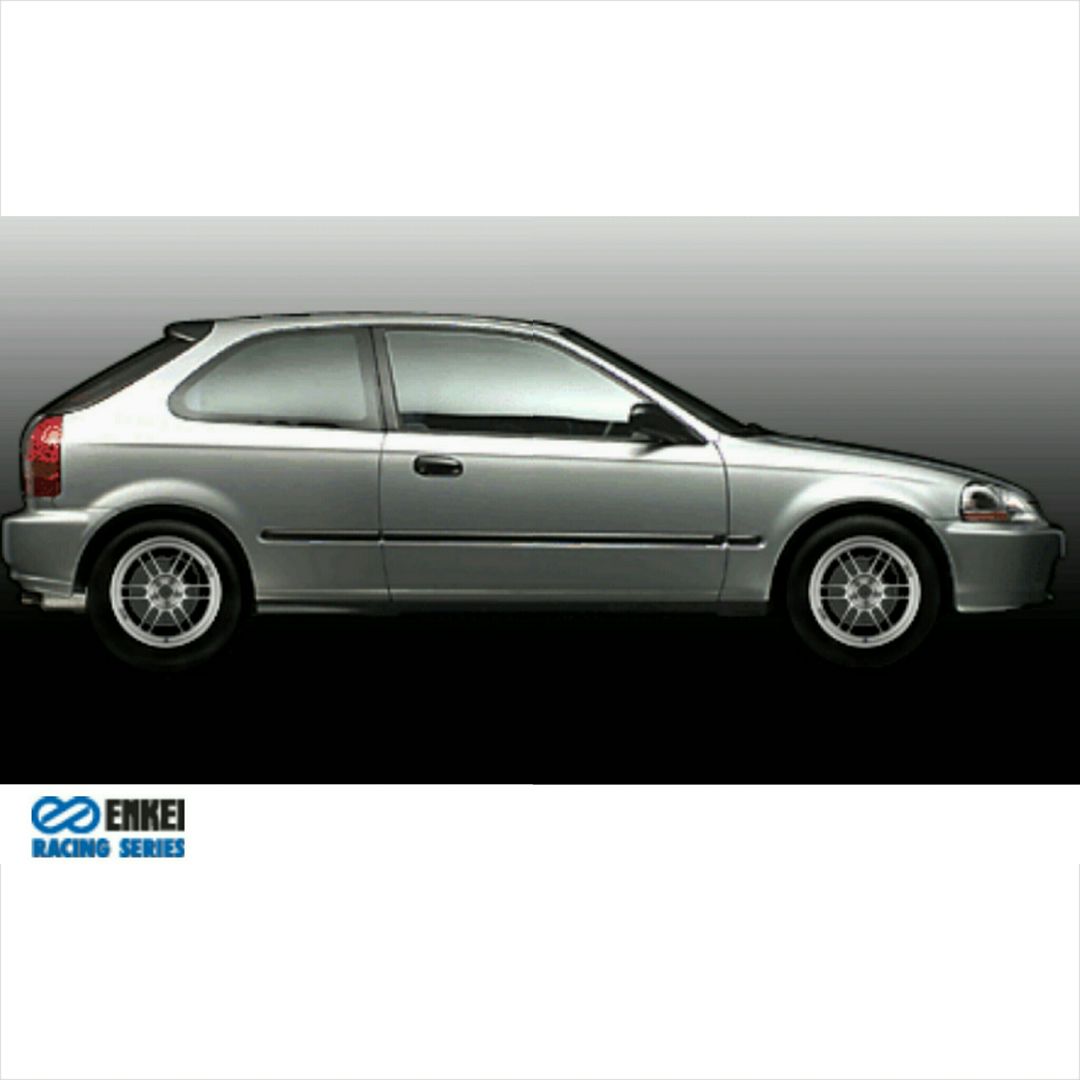
Here is what I'm hoping for the DX to look like with the RPF1s on. Thoughts???
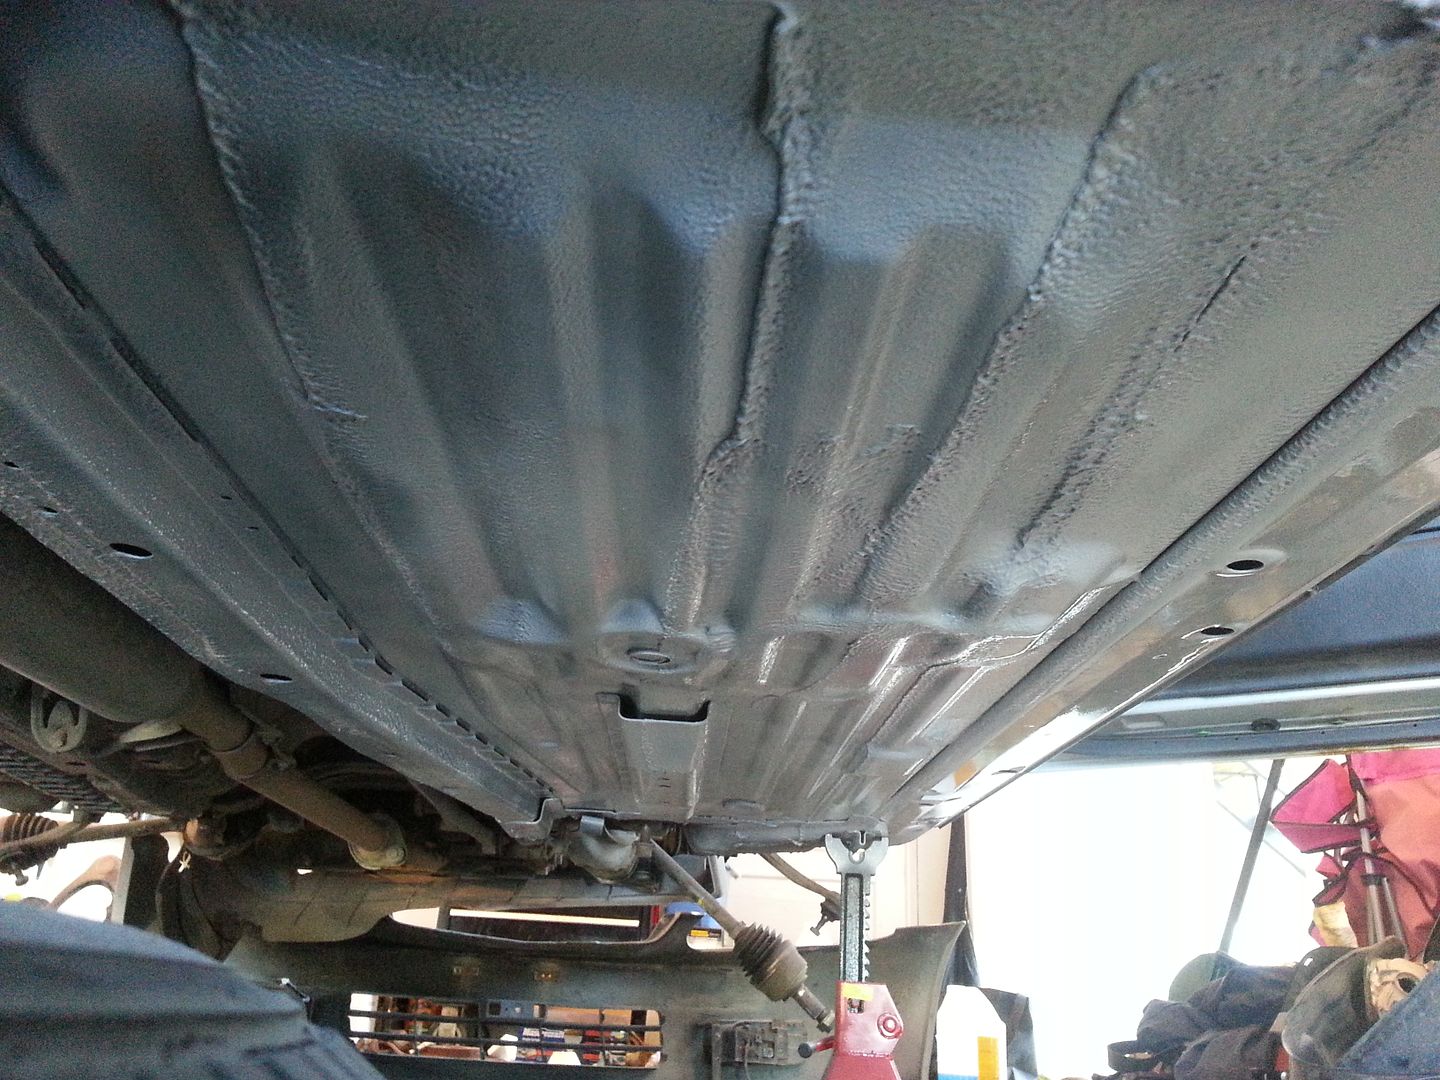
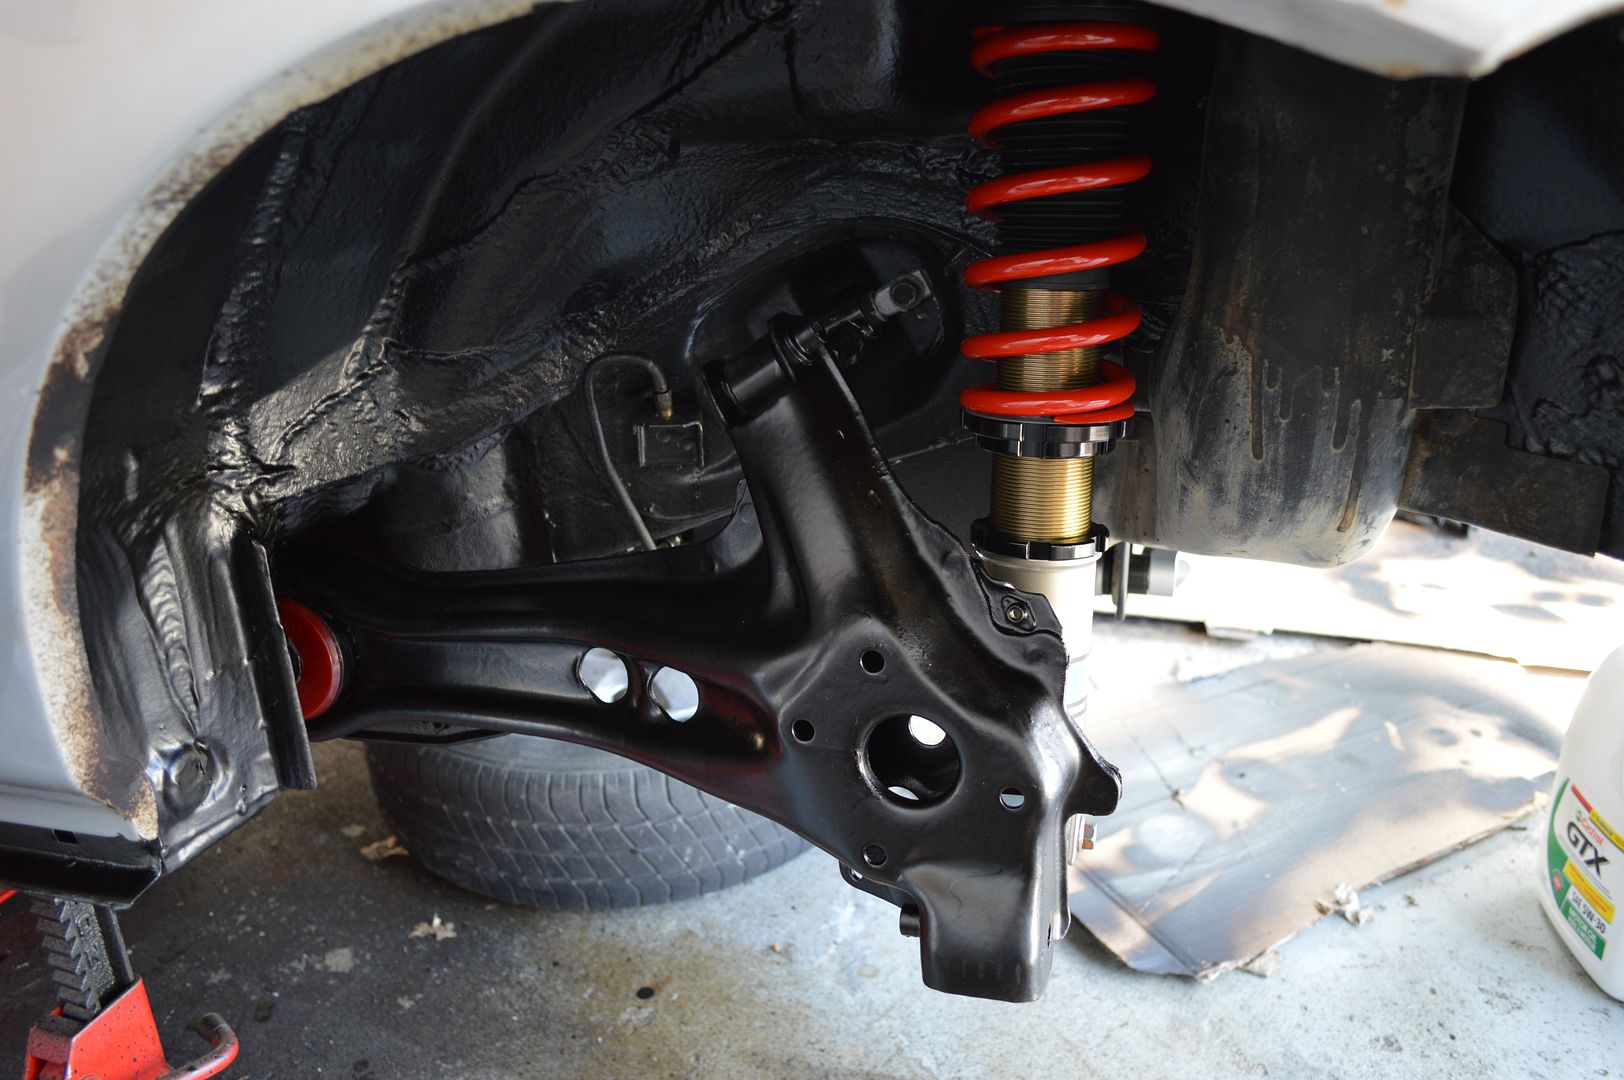
Undercarriage has started to receive rubberized undercoating. Aside from a little over spray on the floor all is going smoothly.
After waiting for everything to cure new parts started flying into place!
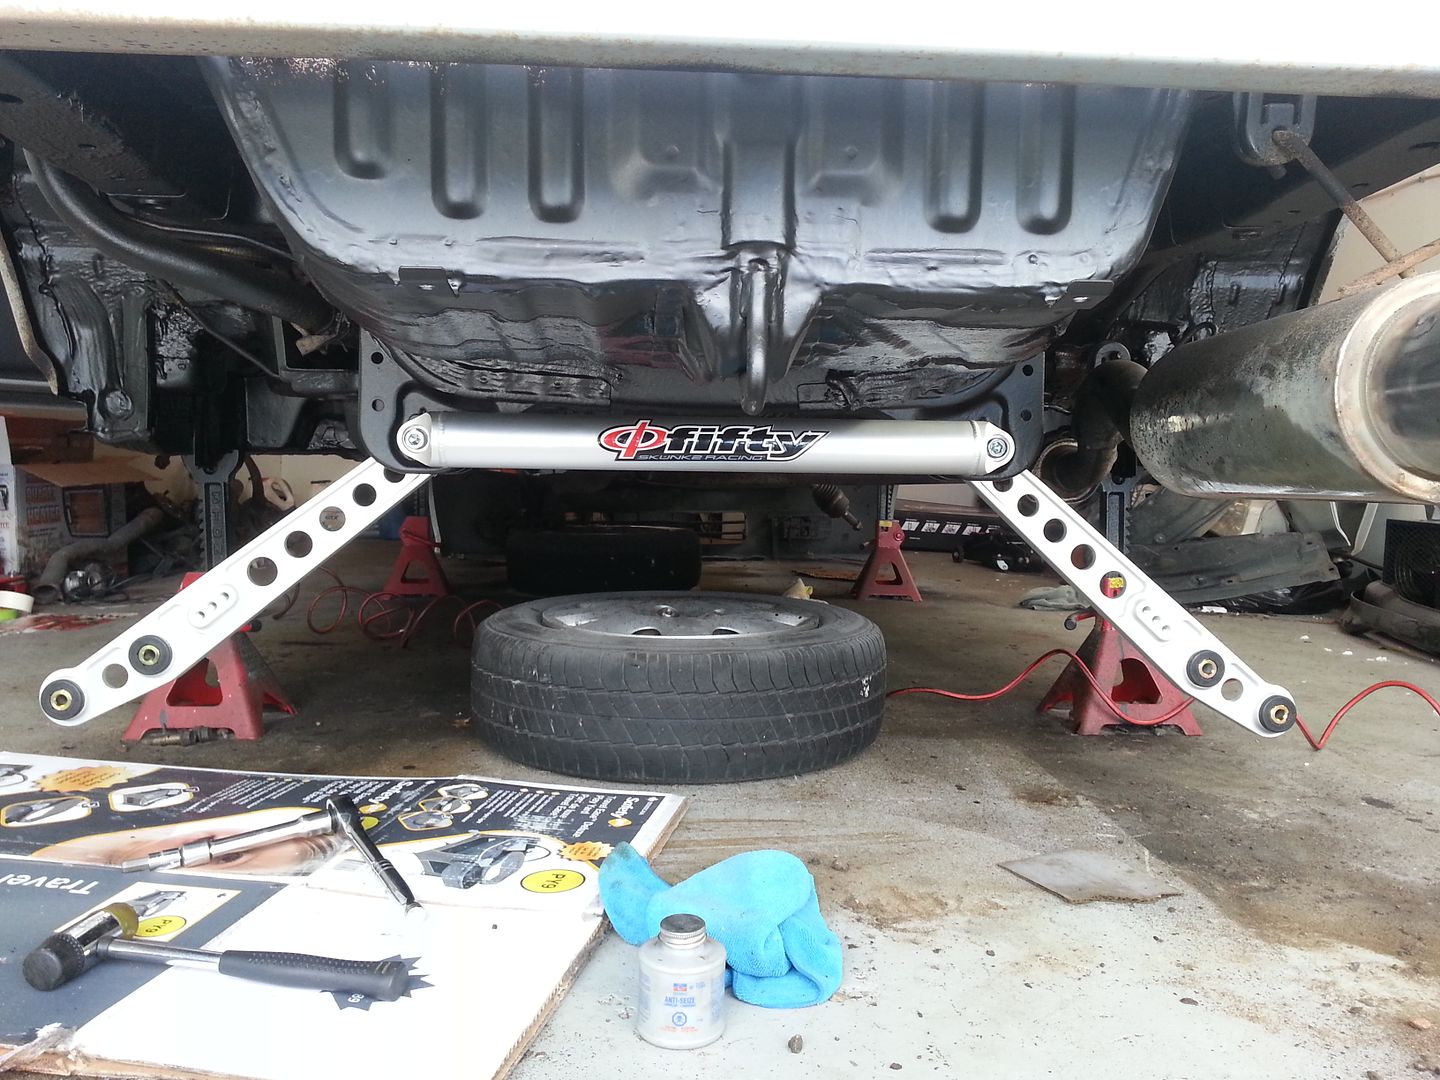
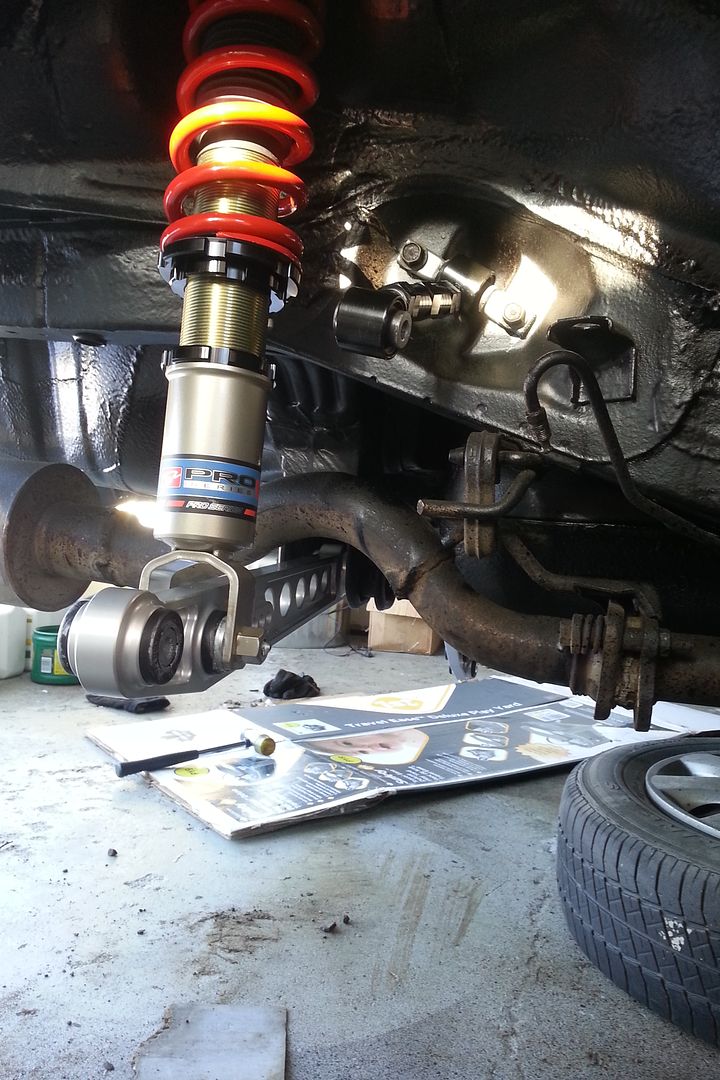
- Skunk2 Pro-C Coilovers
- Skunk2 Lower Rear Control Arms
- Skunk2 Rear Tie Bar
- Energy Suspension master bushing kit for Civic SiR (same as U.S. Si)
- Eibach 26mm front and 17mm rear sway bars
- Replica Type R Front and Rear lips
- Replica Type R Grill
- Black Works Racing Rear Camber kit
- Scarebird Civic rear disc kit
- Enkei 15x7 RPF1
- Acura EL Gauge Cluster
If anyone has any suggestions for sub frame braces for those sway bars, I'm all ears! I've done some research but can't decide if I should go with something like a full ASR brace or not. Must admit I am afraid of sub frame tear out with auto crossing!
Here is what I'm hoping for the DX to look like with the RPF1s on. Thoughts???
Undercarriage has started to receive rubberized undercoating. Aside from a little over spray on the floor all is going smoothly.
After waiting for everything to cure new parts started flying into place!
03-27-2014, 08:24 PM
#5
Honda-Tech Member
Thread Starter
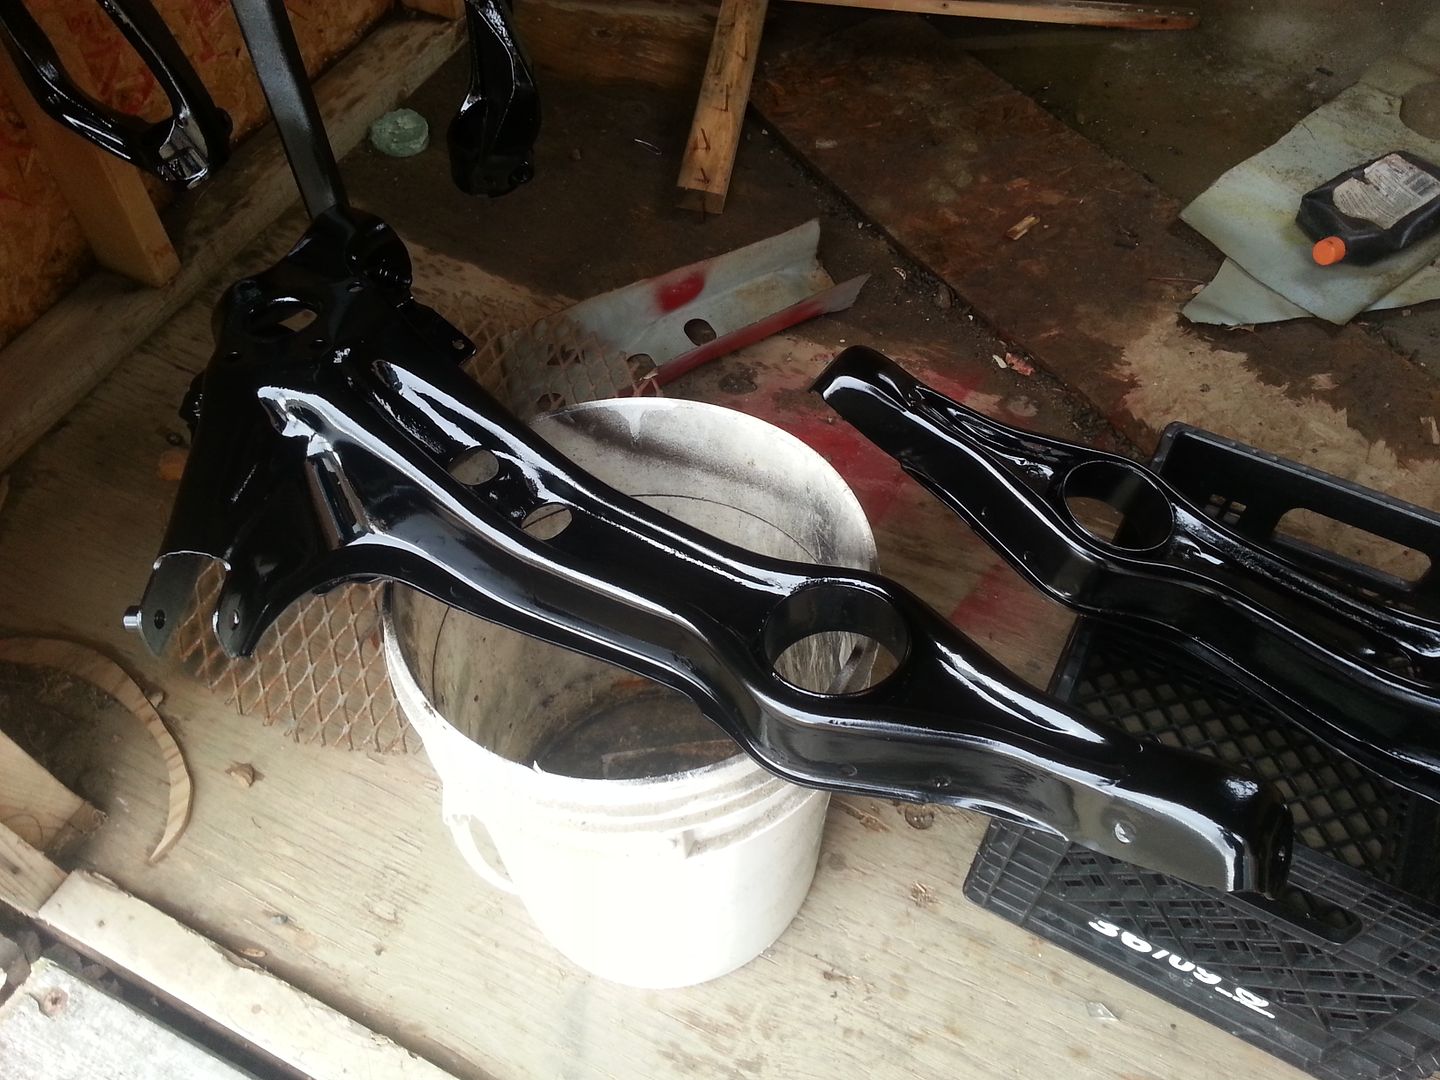
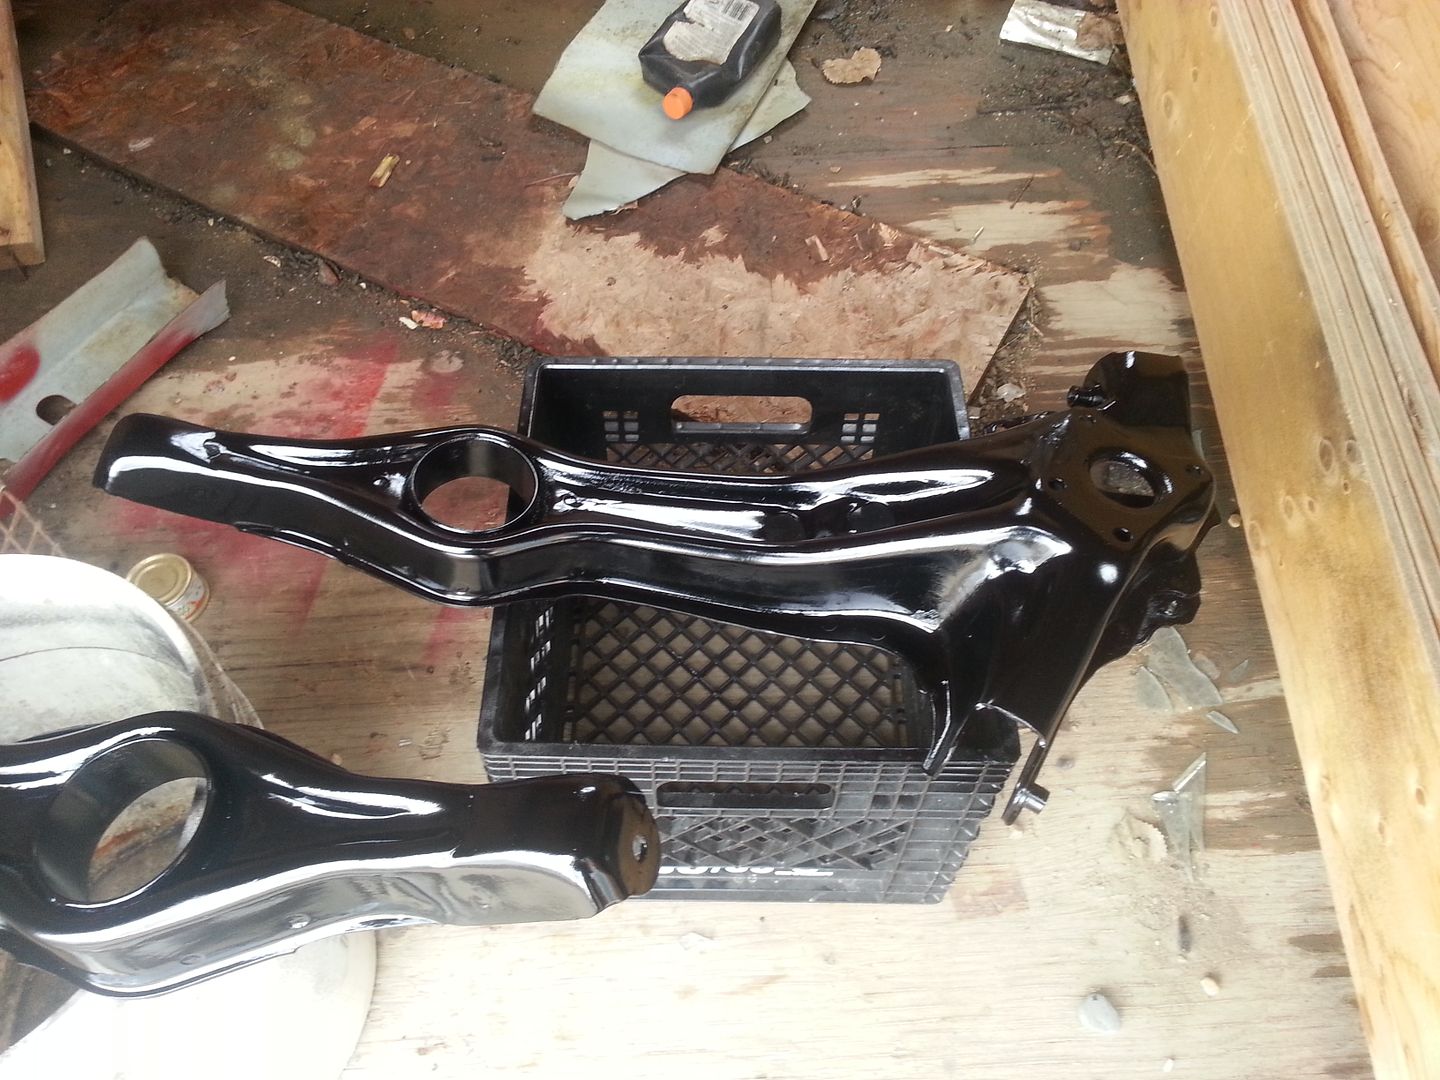
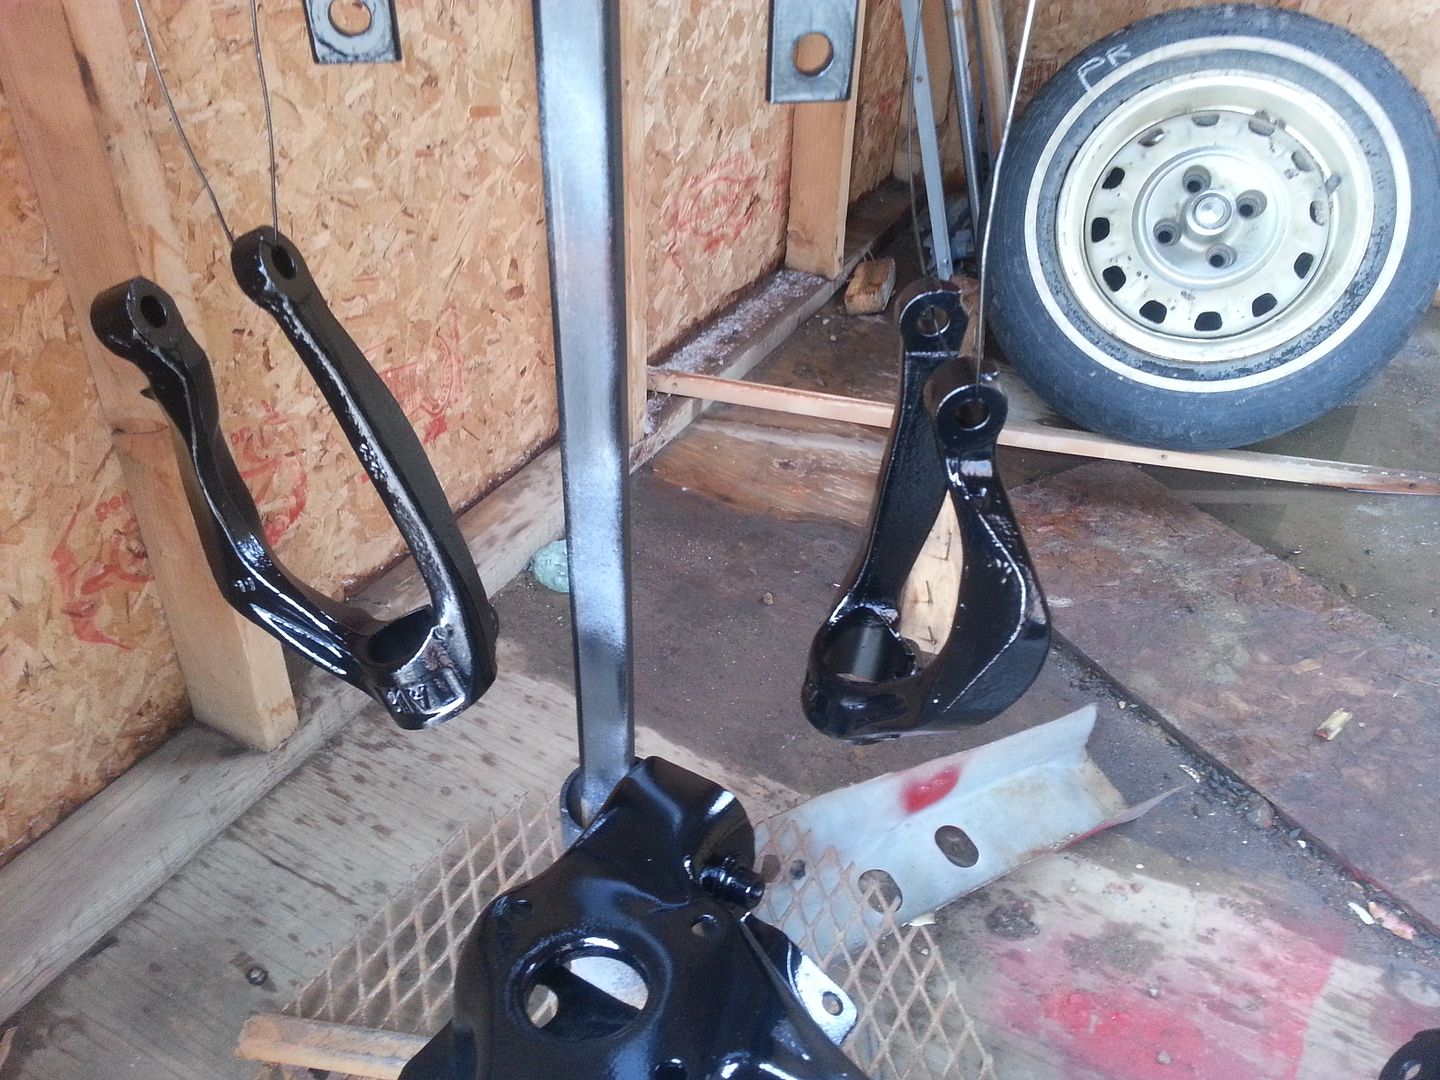
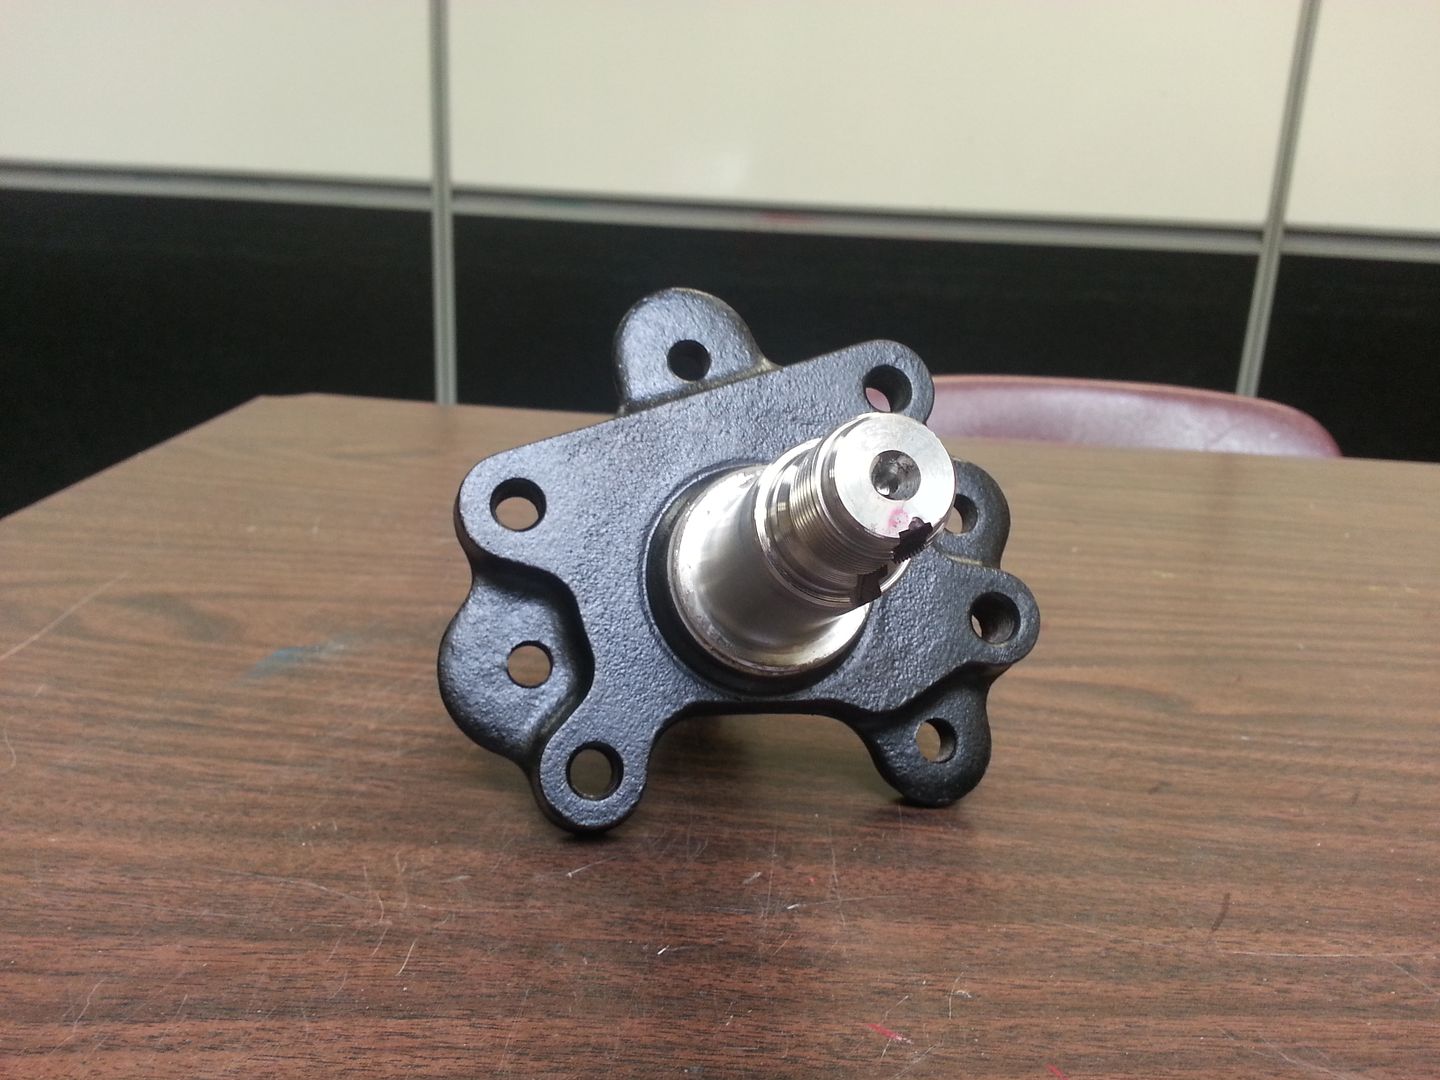
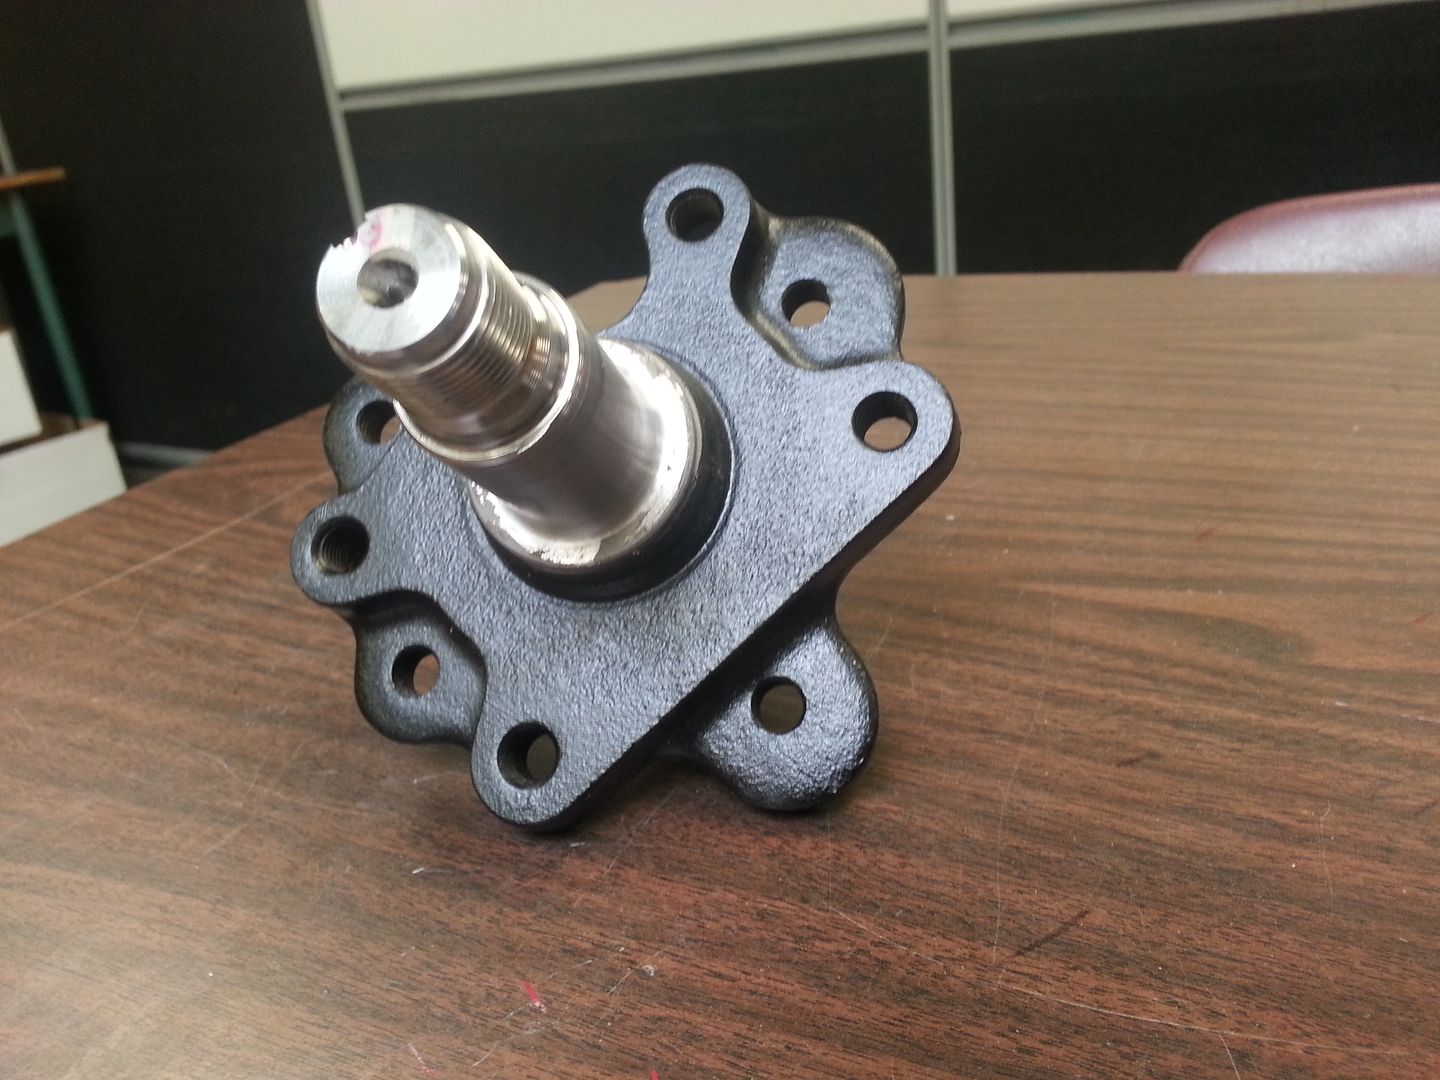
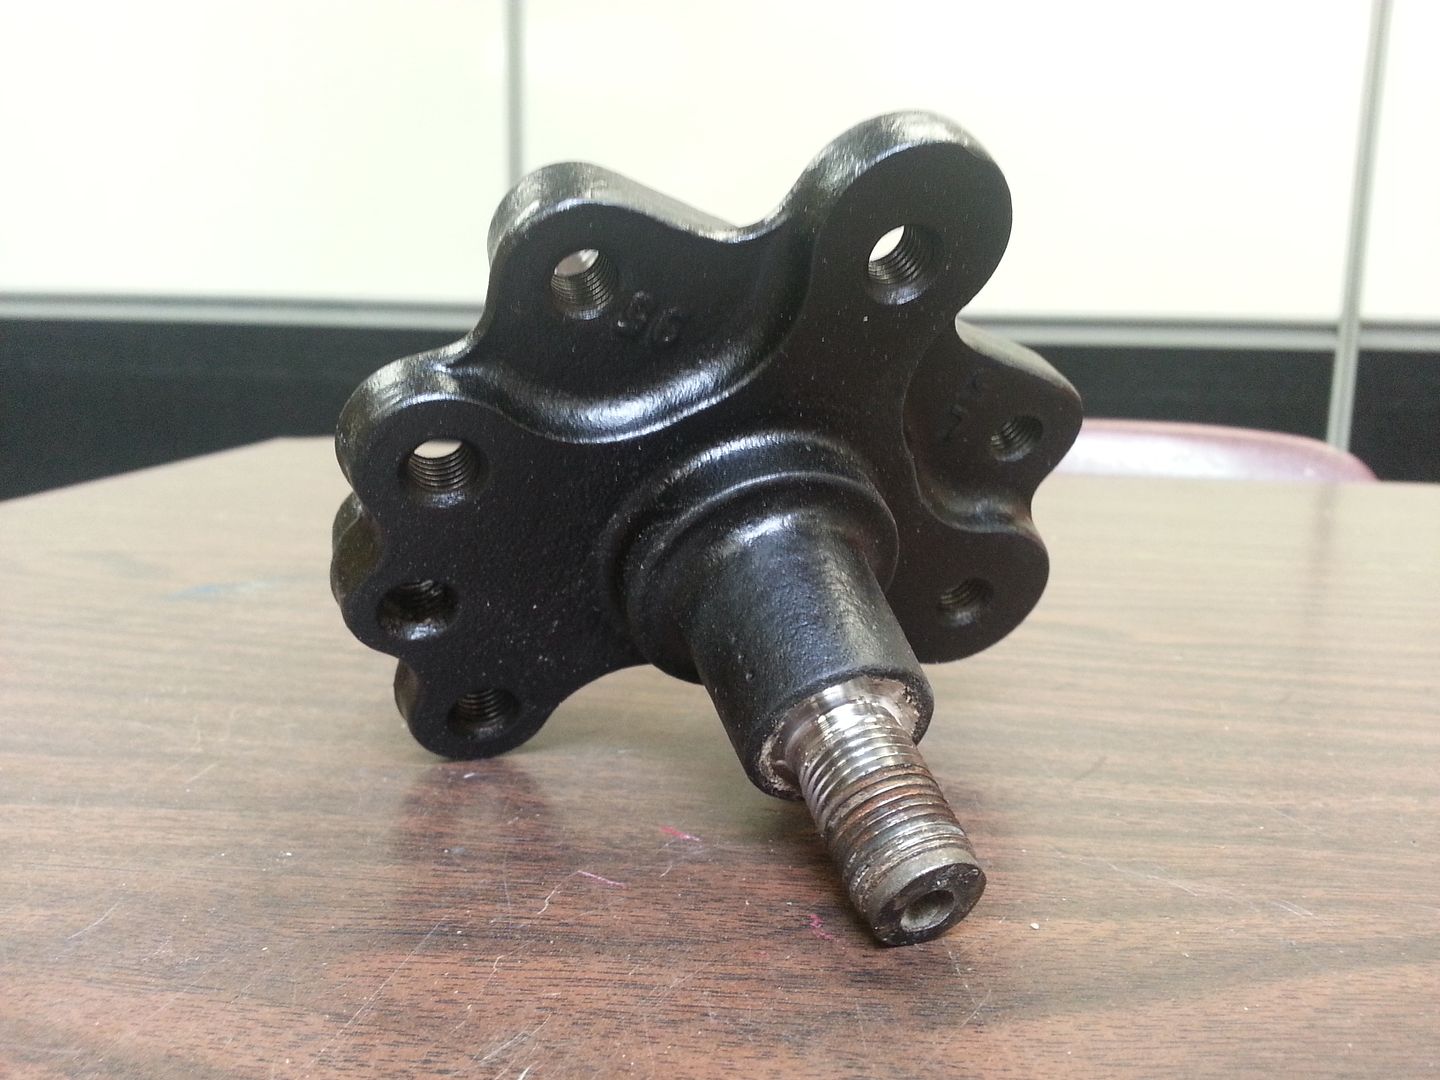
Cleaned up the trailing arms and gave them a fresh coat of paint. Sand blasted the front forks and painted them while I was at it. Also started sand blasting the spindles off the trailing arms. Hoping to paint those this weekend.
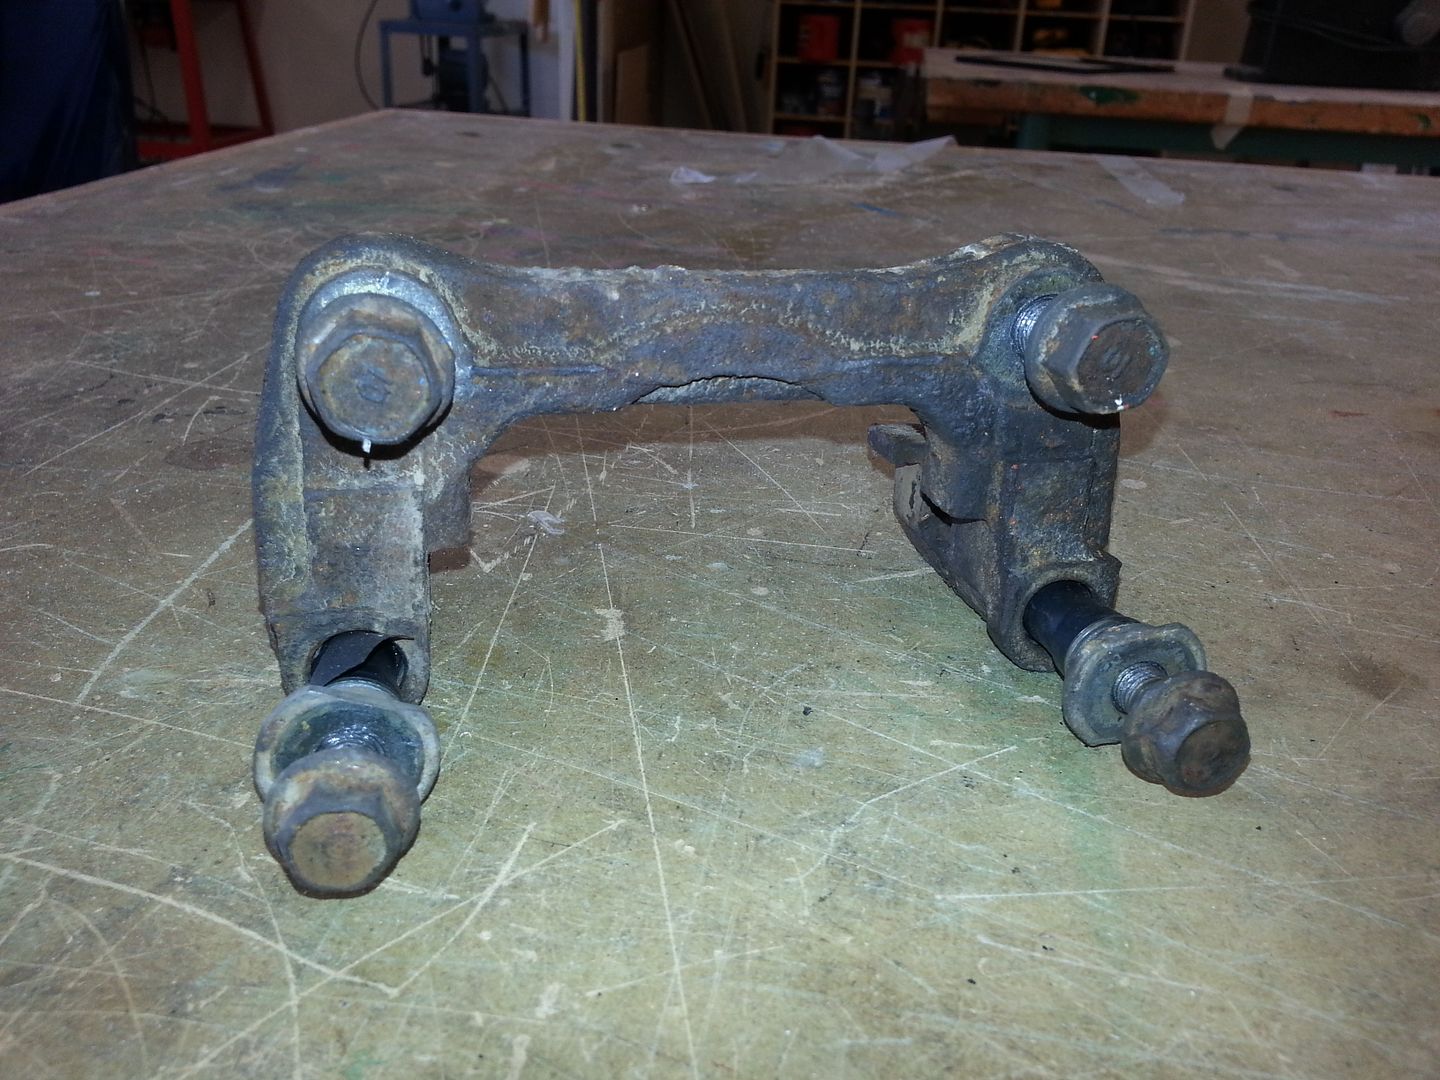
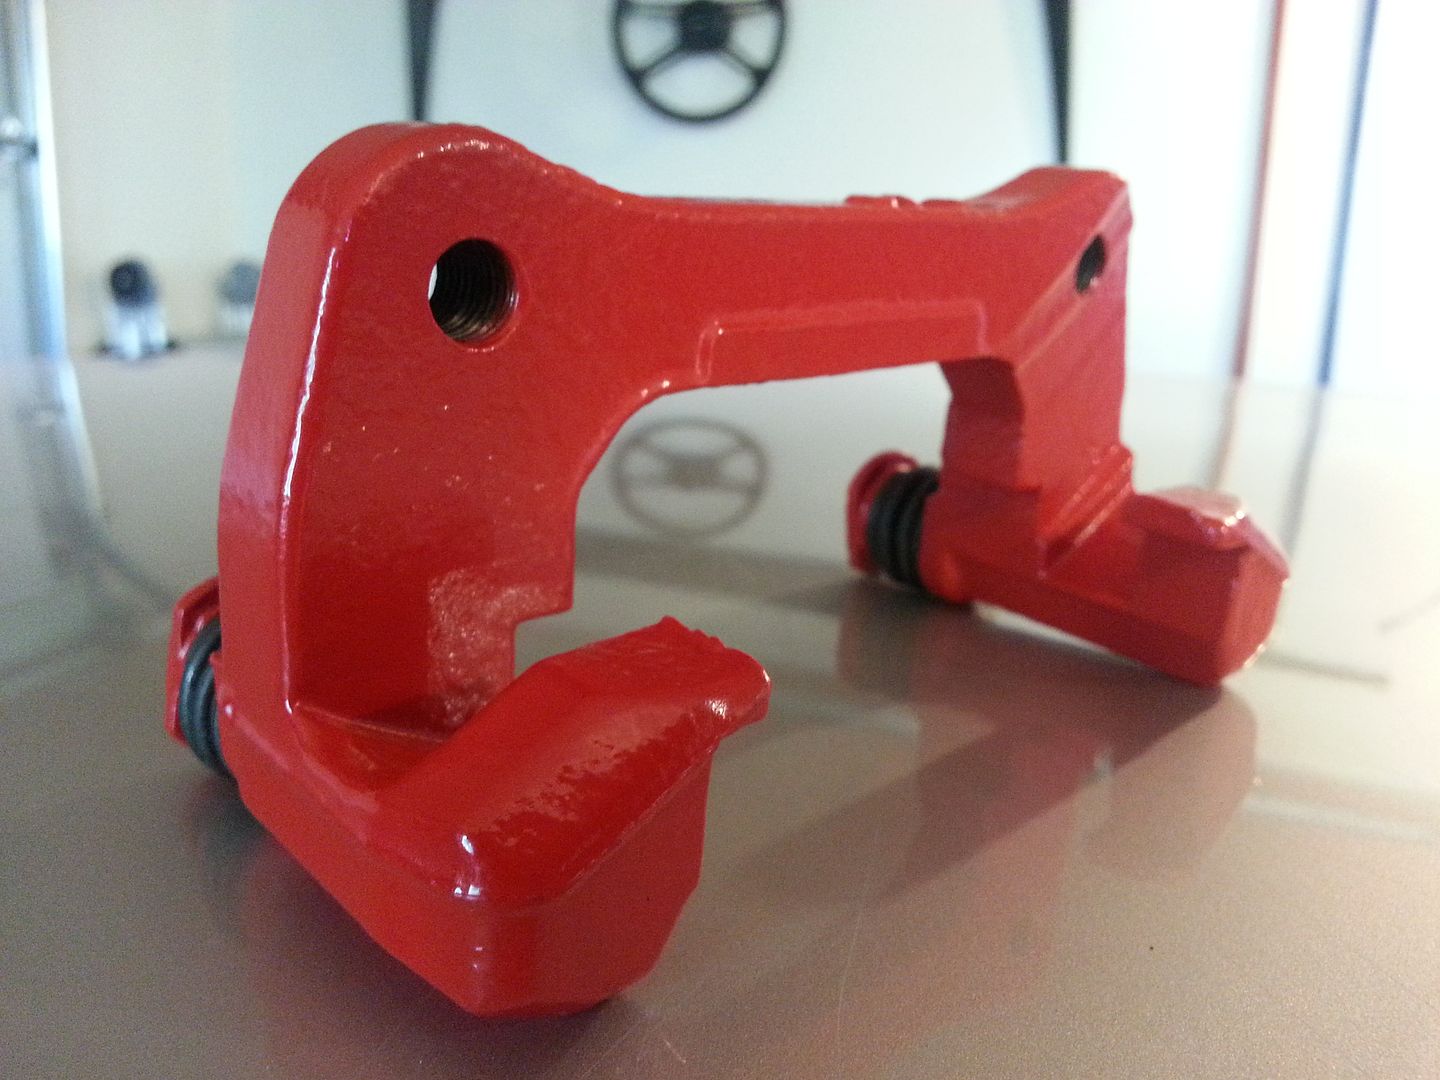
Picked up a full SiR brake swap. It was all pretty rough but I thought I'd try my hand at cleaning them up. I sand blasted the brake caliper bracket. You can see from the pictures how terrible they looked.
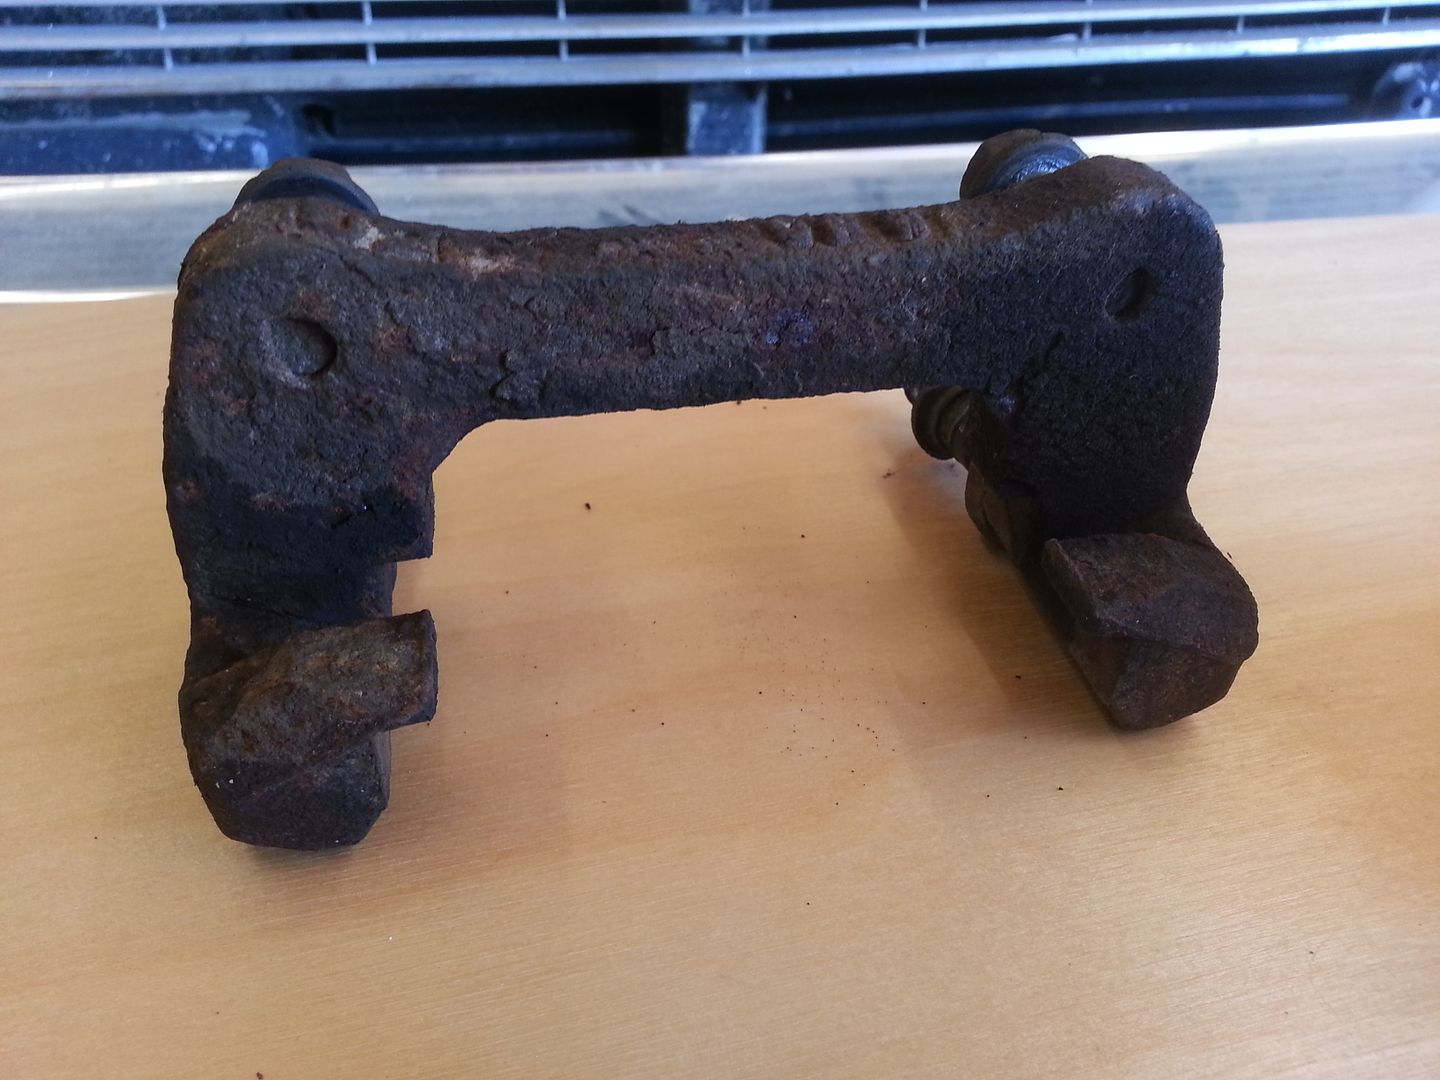
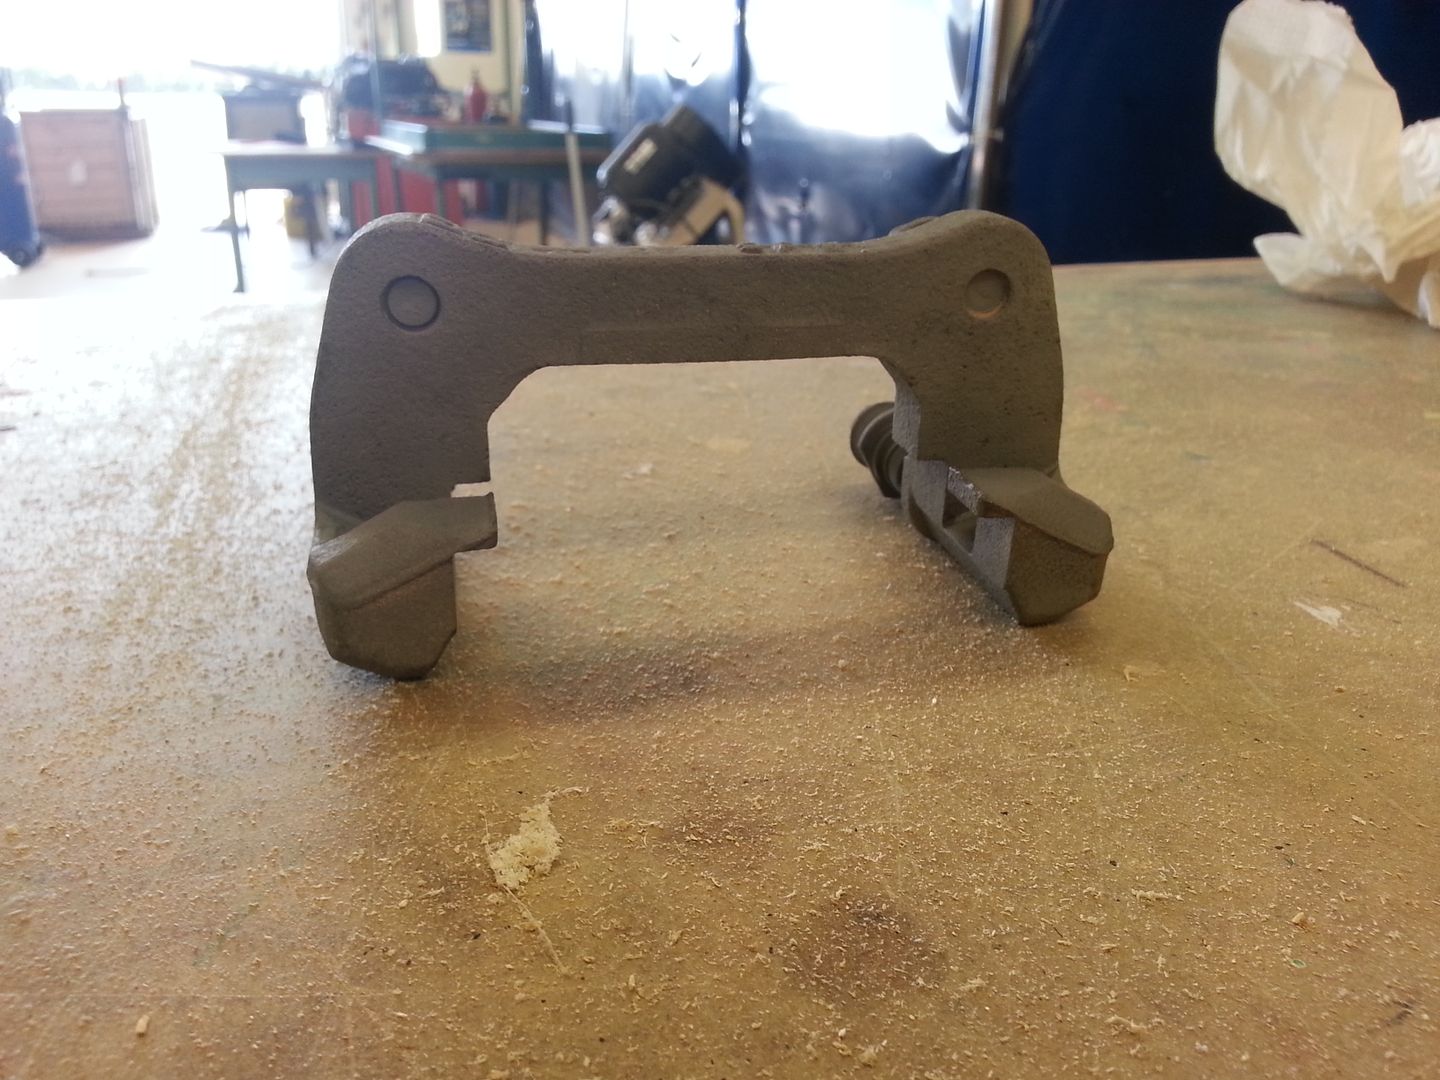
After sandblasting...

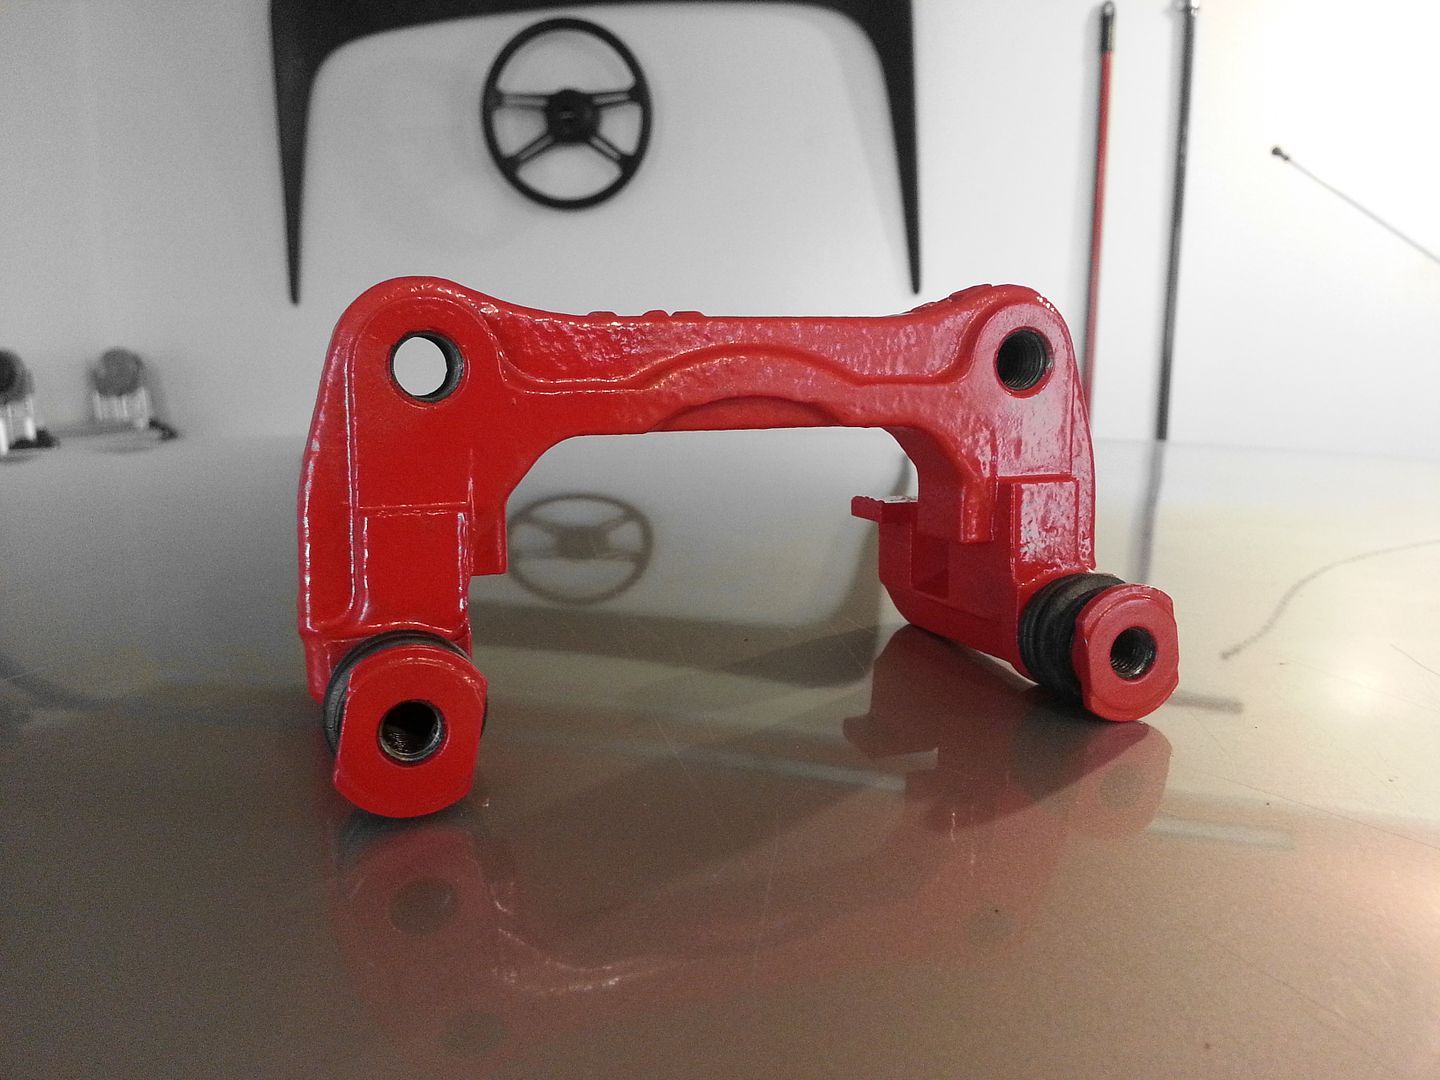
A few coats of red caliper paint...
Picked up a full SiR brake swap. It was all pretty rough but I thought I'd try my hand at cleaning them up. I sand blasted the brake caliper bracket. You can see from the pictures how terrible they looked.
After sandblasting...
A few coats of red caliper paint...
Trending Topics
03-28-2014, 06:44 AM
#8
If you loved me, you'd all sell me your magic cards to me today
Join Date: Oct 2005
Location: Atlantic Ocean Florida
Posts: 2,698
Likes: 0
Received 0 Likes
on
0 Posts
Awesome little resto-mod autoX car. What motor are you planning on using? You can never go wrong with RPF1s on any car.
 03-31-2014, 03:54 PM
#10
Honda-Tech Member
Thread Starter
Thanks everyone!
For this summer season I'm just keeping the d16. But I've been debating between B or K series swaps. Putting in a K series with 6 speed is tempting....
For this summer season I'm just keeping the d16. But I've been debating between B or K series swaps. Putting in a K series with 6 speed is tempting....
 04-12-2014, 09:06 AM
#12
Honda-Tech Member
Thread Starter
Spent some time this weekend on the car. Started off by installing energy suspension bushings on the trailing arms. I also picked up a new dslr camera recently so some of my photos are a little artsy. 
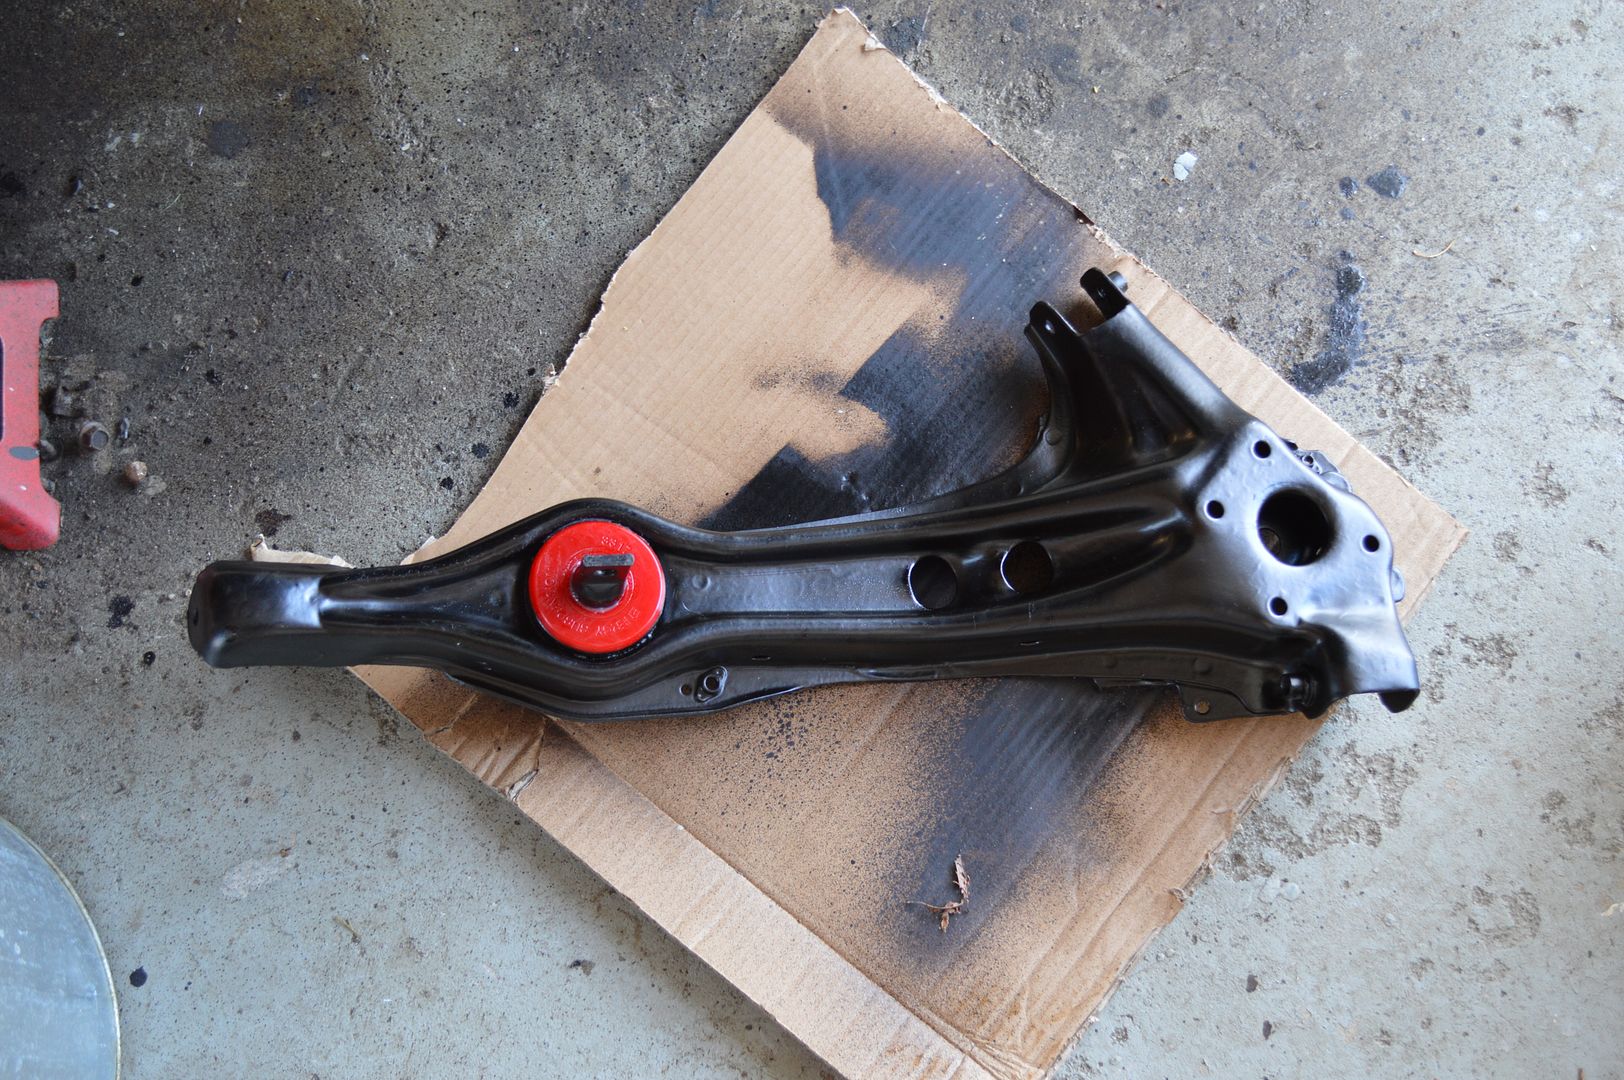
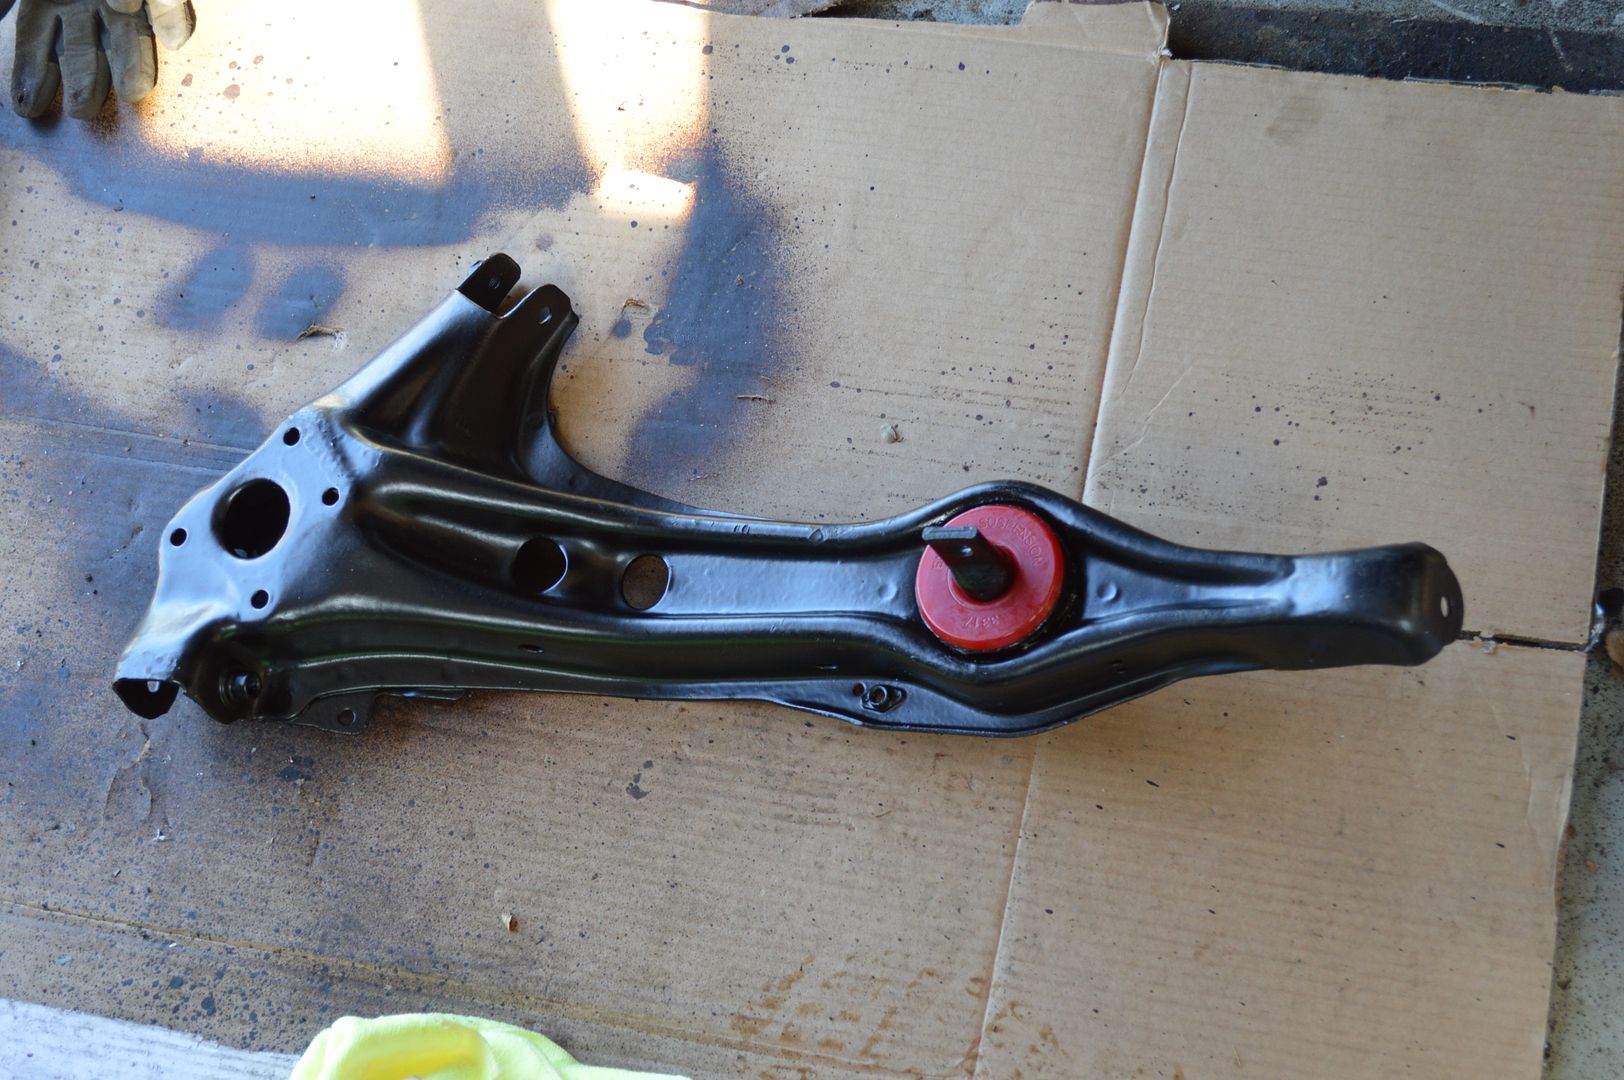
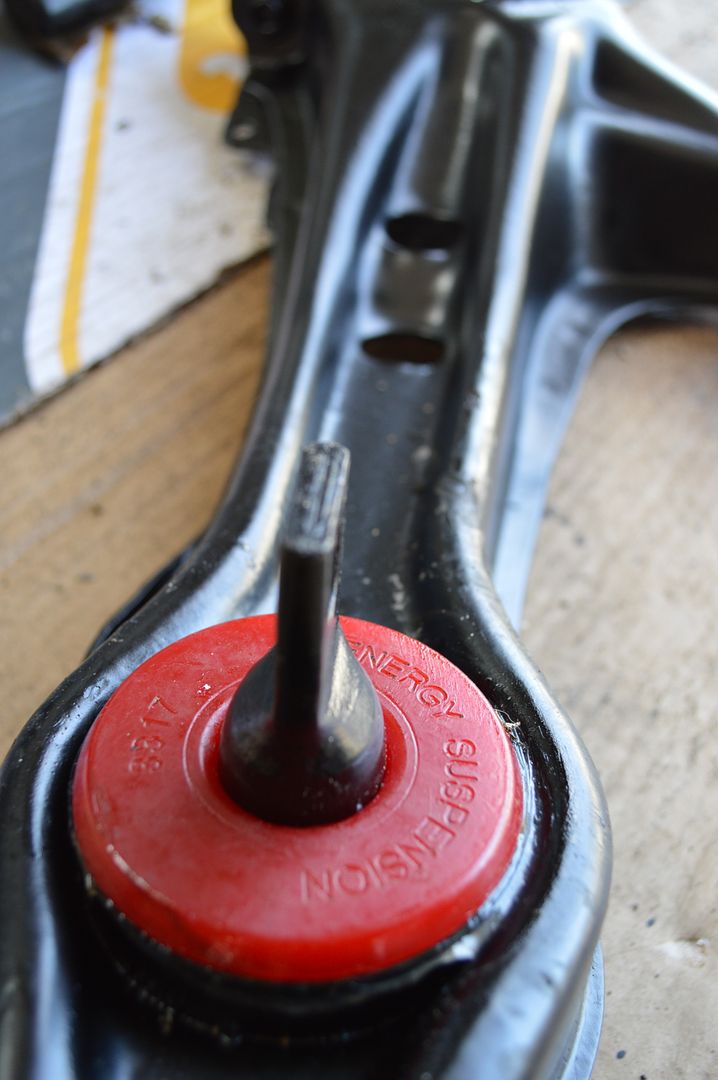
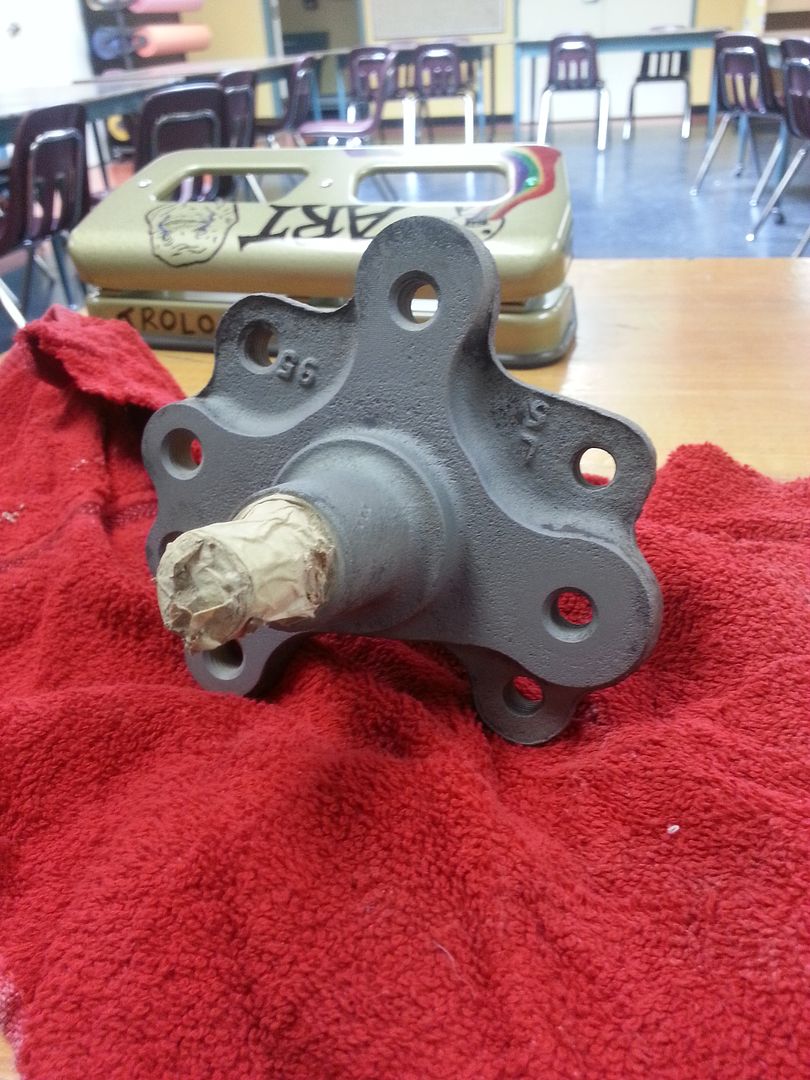
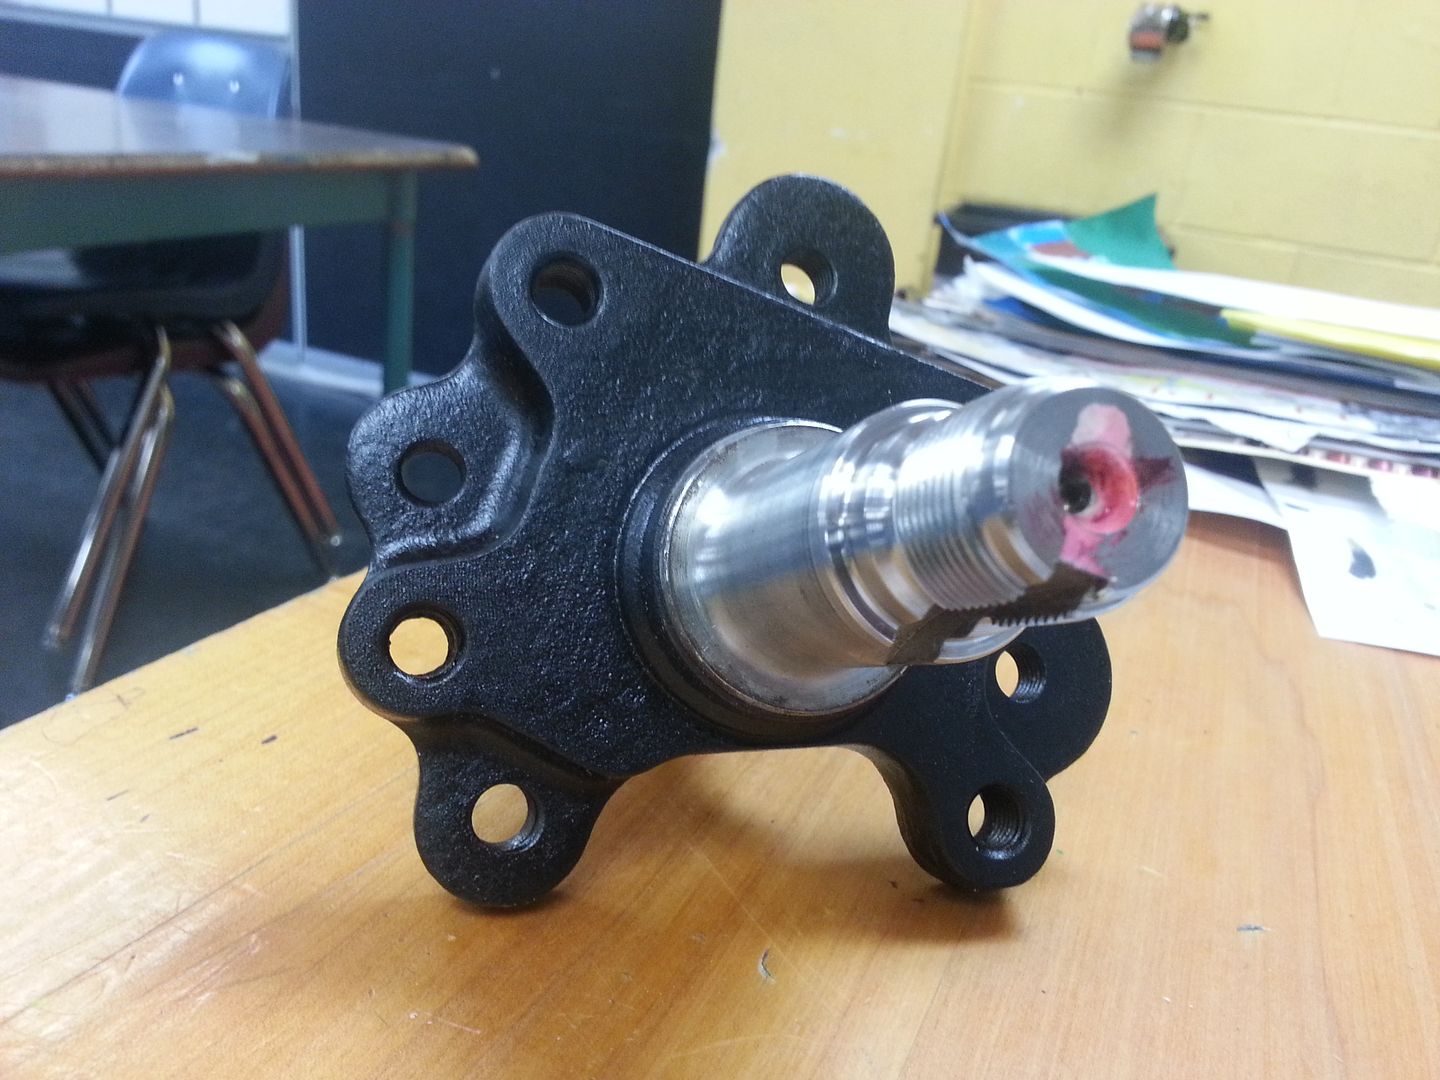
Next I got around to my spindles. I painted and bolted them back to the trailing arms. Turned out way better than I thought. Too bad no one will really see them!
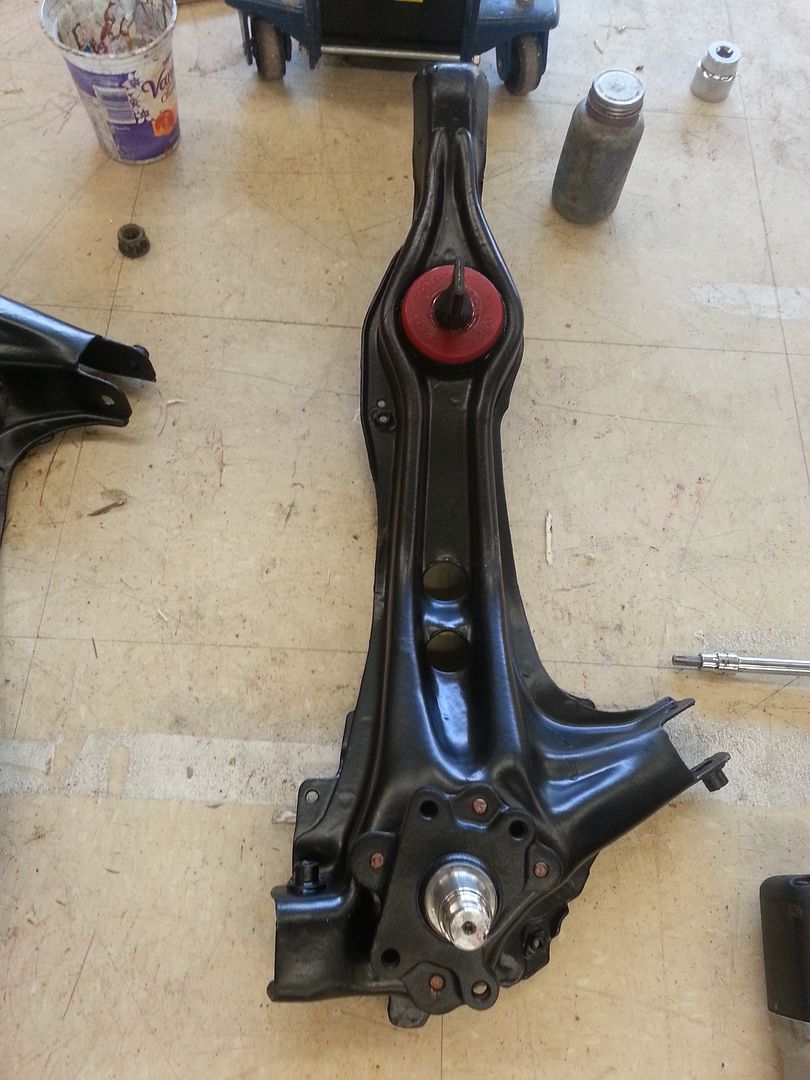
Lastly I installed my Scarebird rear disc conversion brackets. I have to say these things fit like a dream. No problem install and came with all needed hardware.
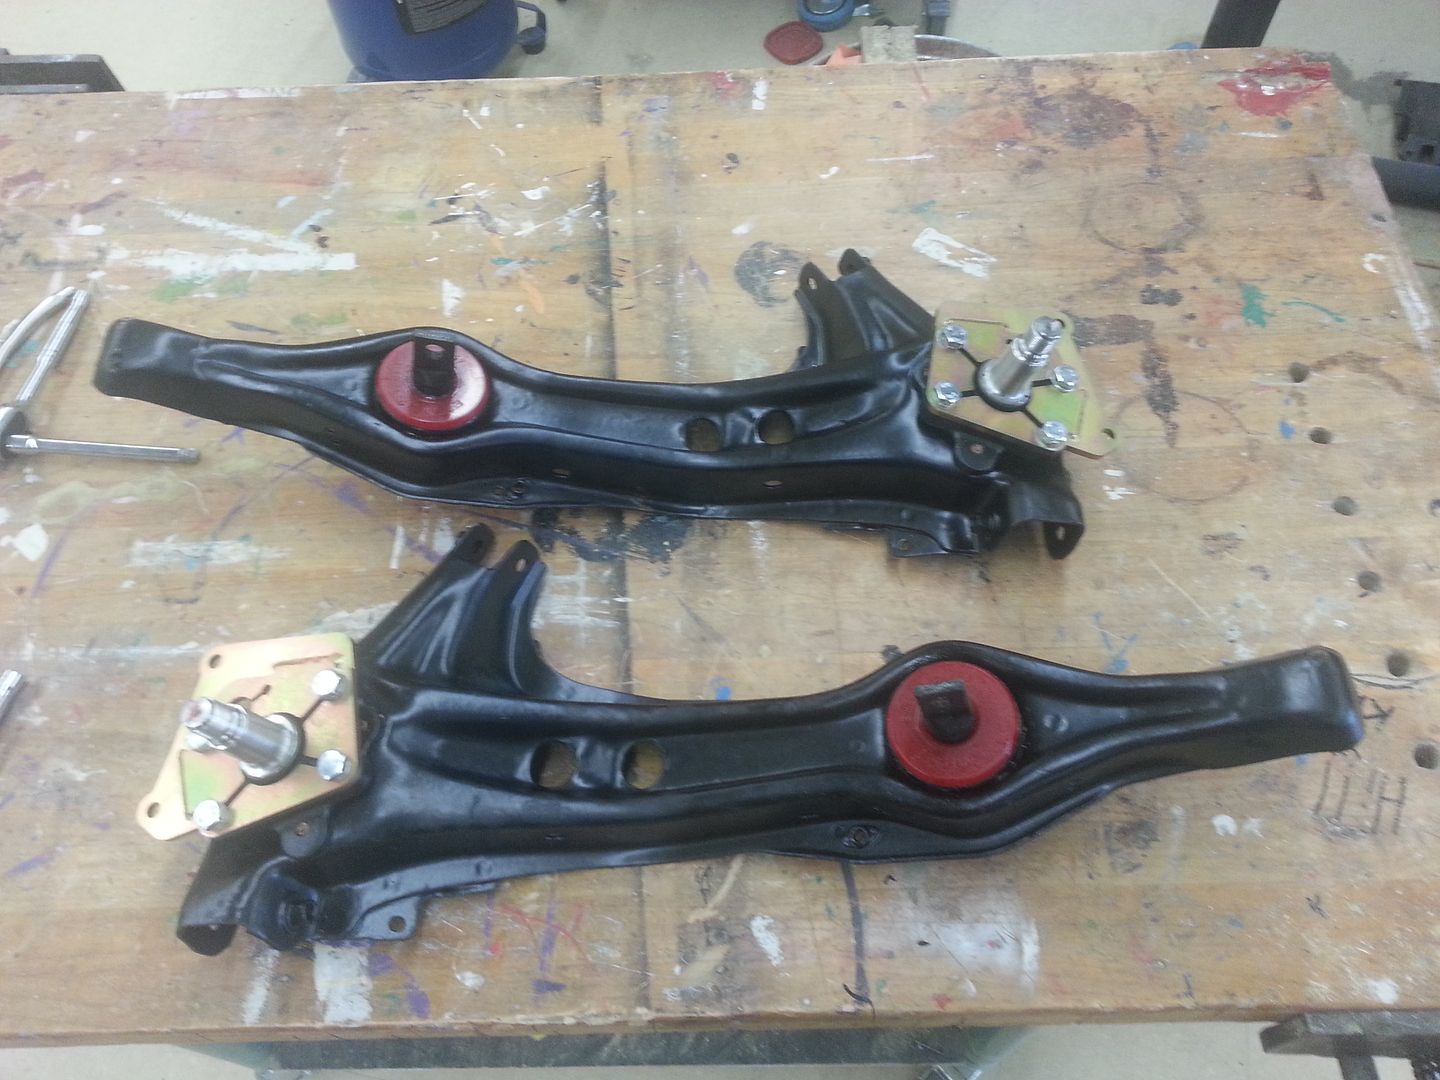
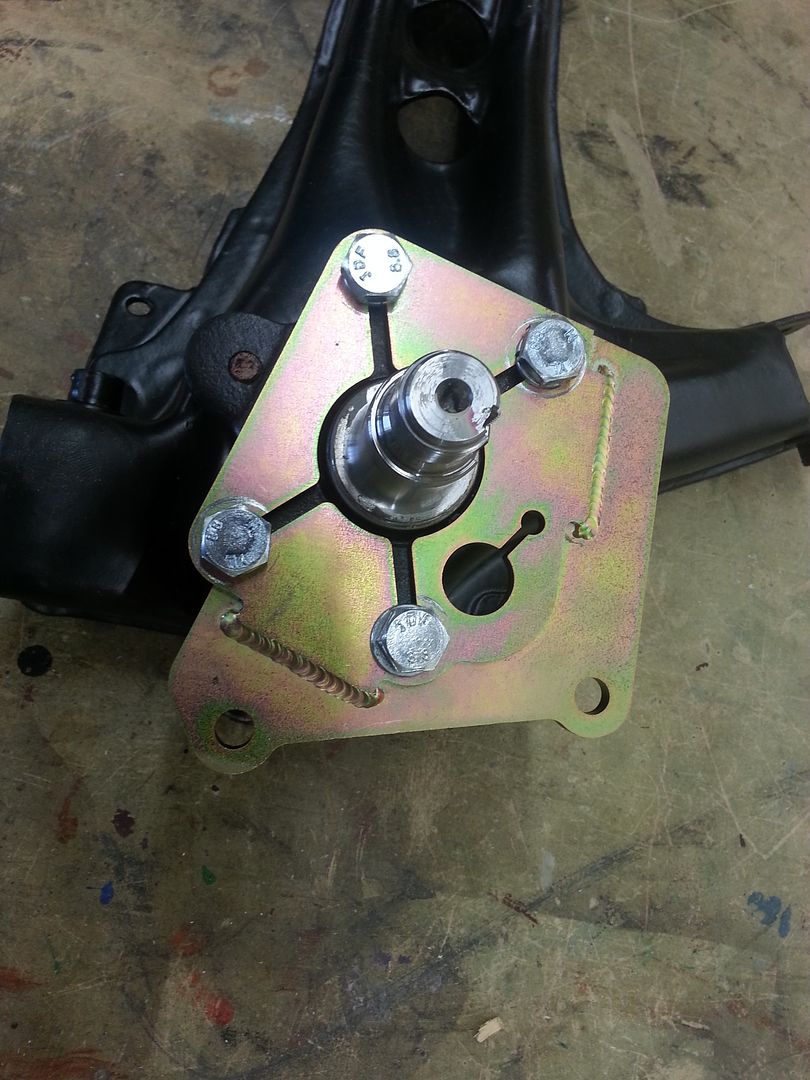
Next I got around to my spindles. I painted and bolted them back to the trailing arms. Turned out way better than I thought. Too bad no one will really see them!
Lastly I installed my Scarebird rear disc conversion brackets. I have to say these things fit like a dream. No problem install and came with all needed hardware.

 04-21-2014, 06:01 PM
#17
Honda-Tech Member
Thread Starter
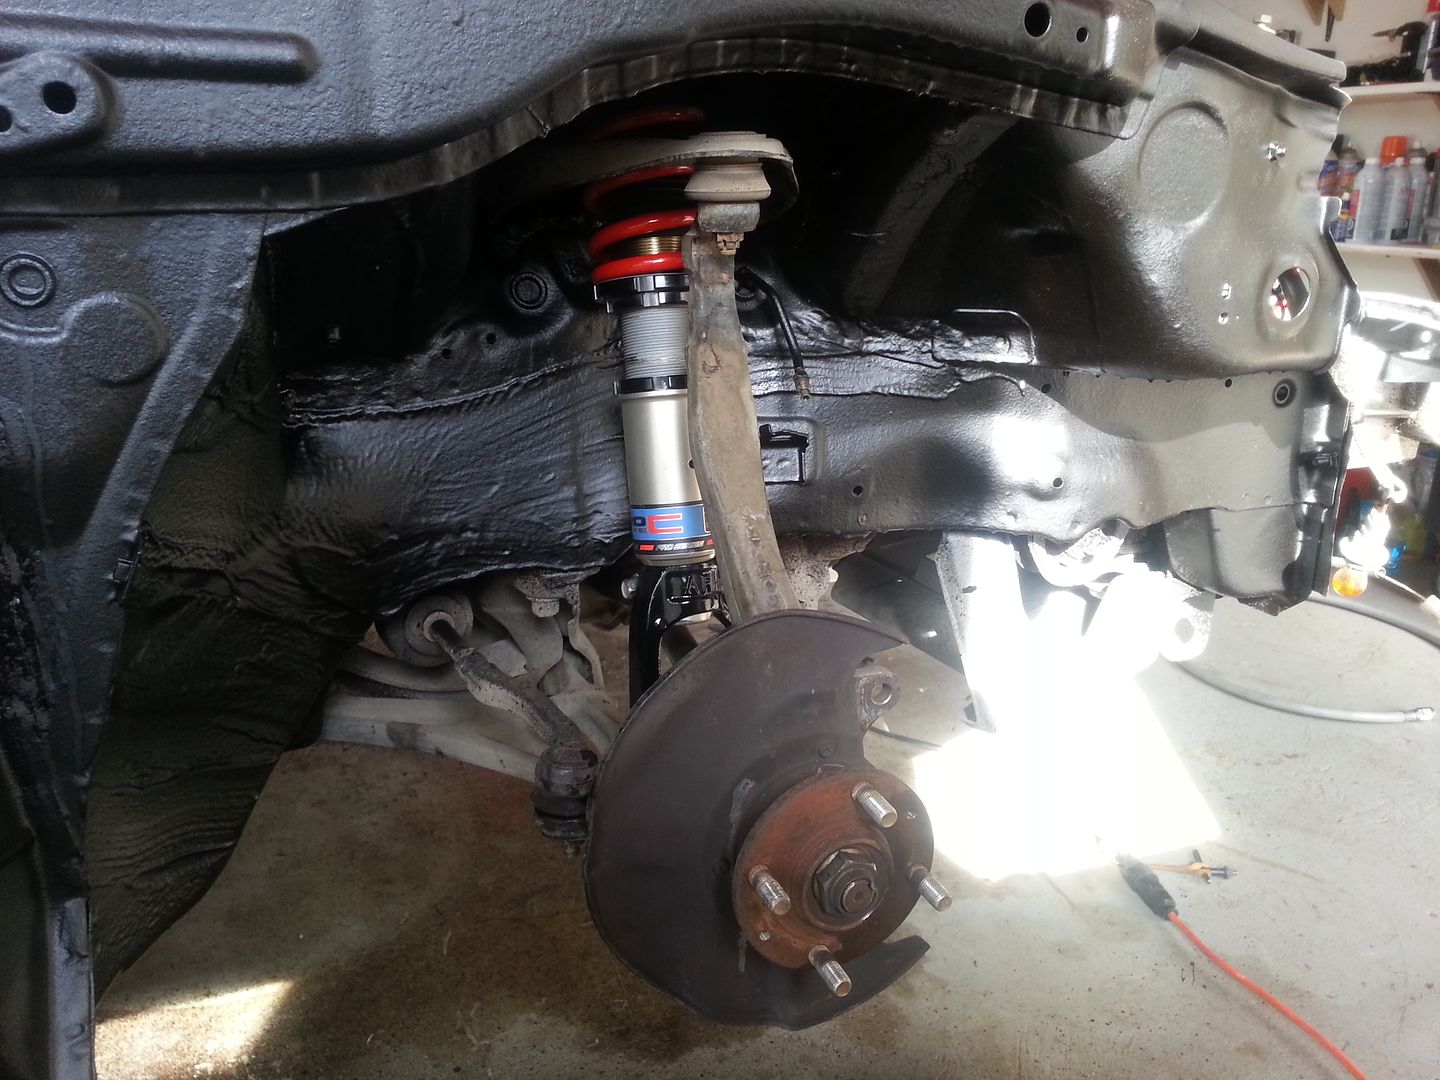
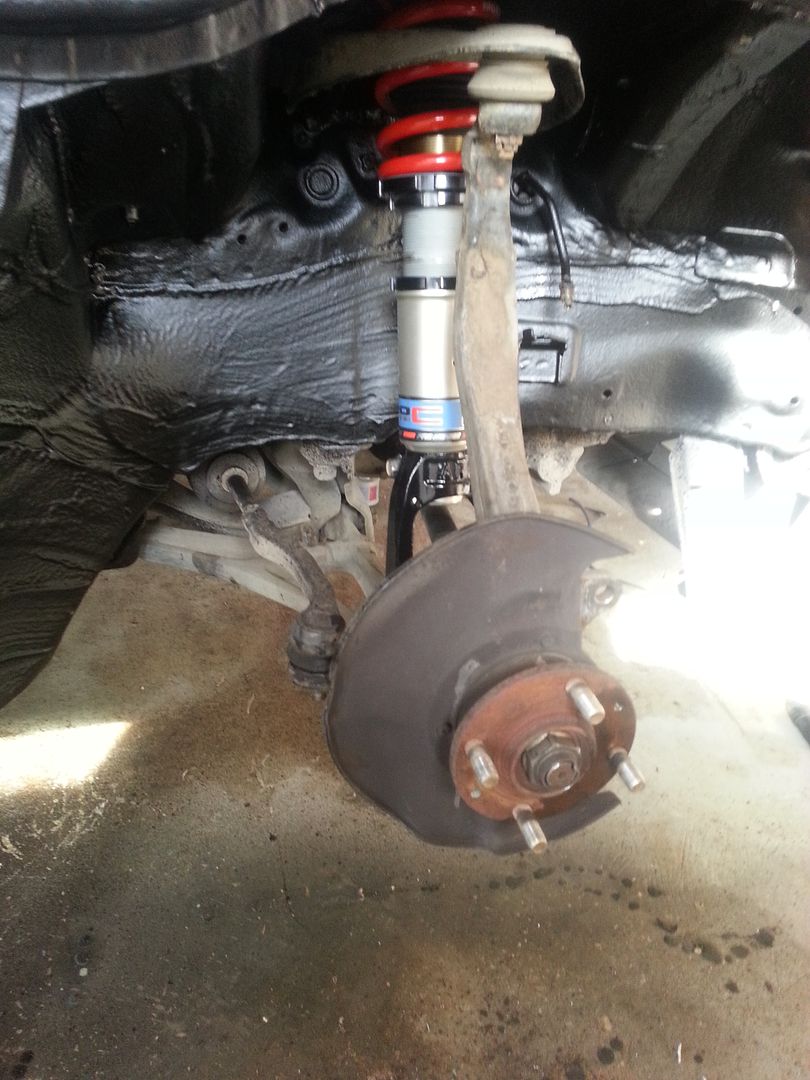
I've started running into a few hiccups with my build. I purchased an SiR suspension/brake swap. As far as I can tell the front lower control arms wont work for the sway bars I have. My hatch came with 2 piece arms but with no bracket for a front sway bar. The SiR arms are one piece with a vertical bracket to attach the link to. From everything I've looked into I'll need the 2 piece lower front control arms from an Integra with a horizontal bracket. So for the time being I've just put my stock lower front control arms back on.
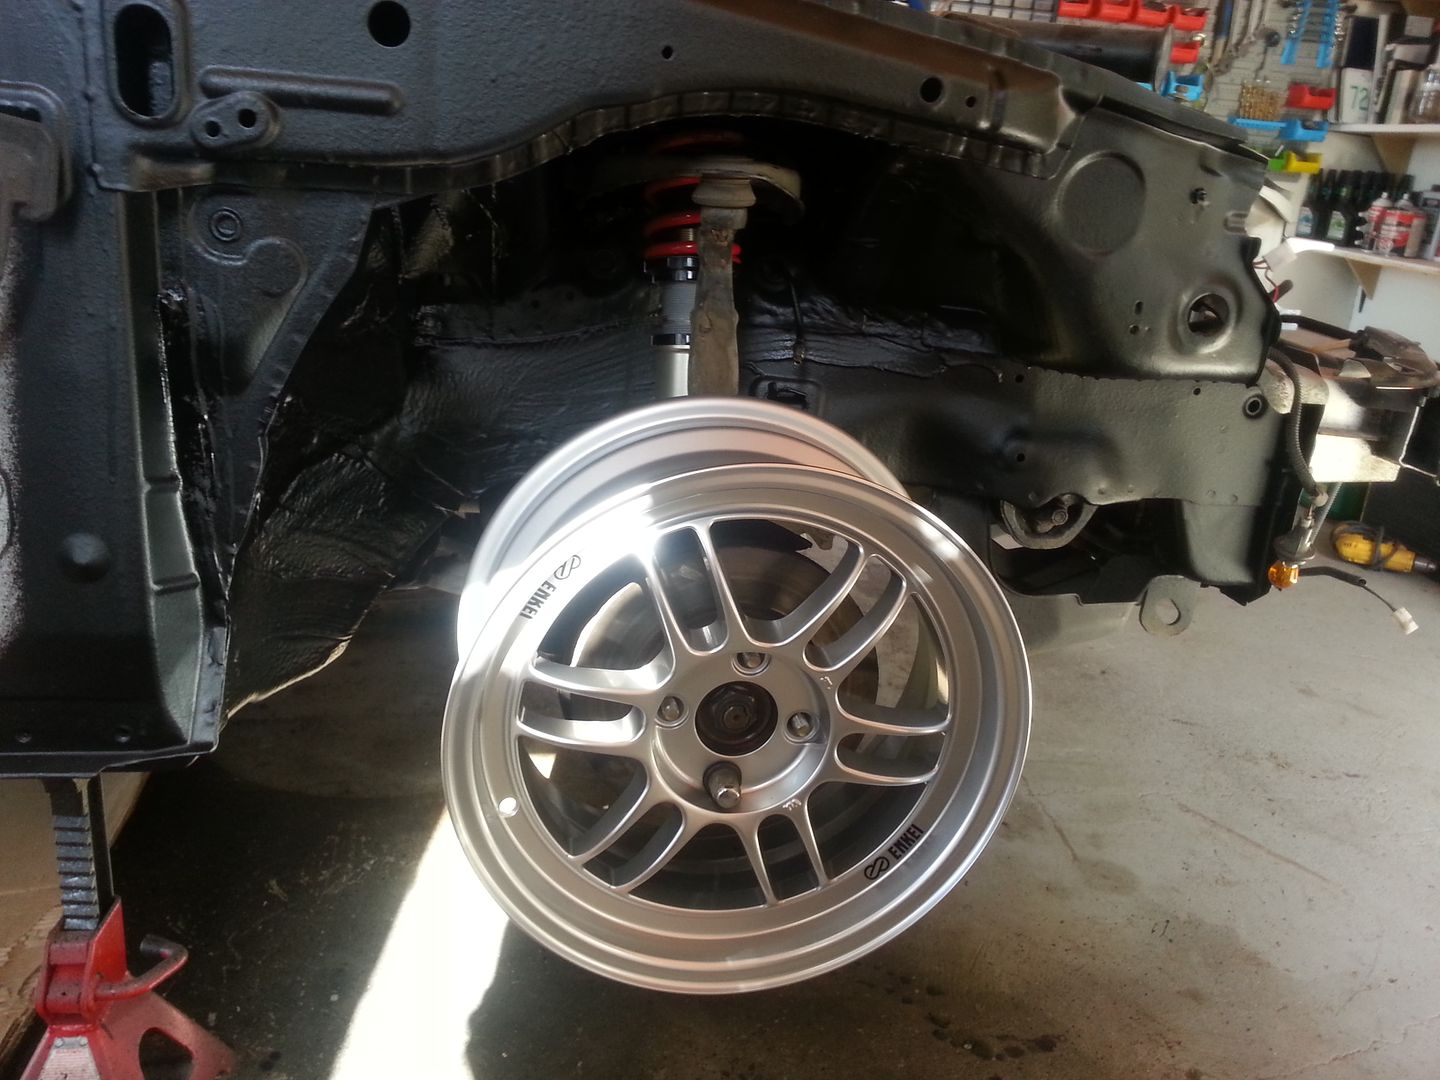
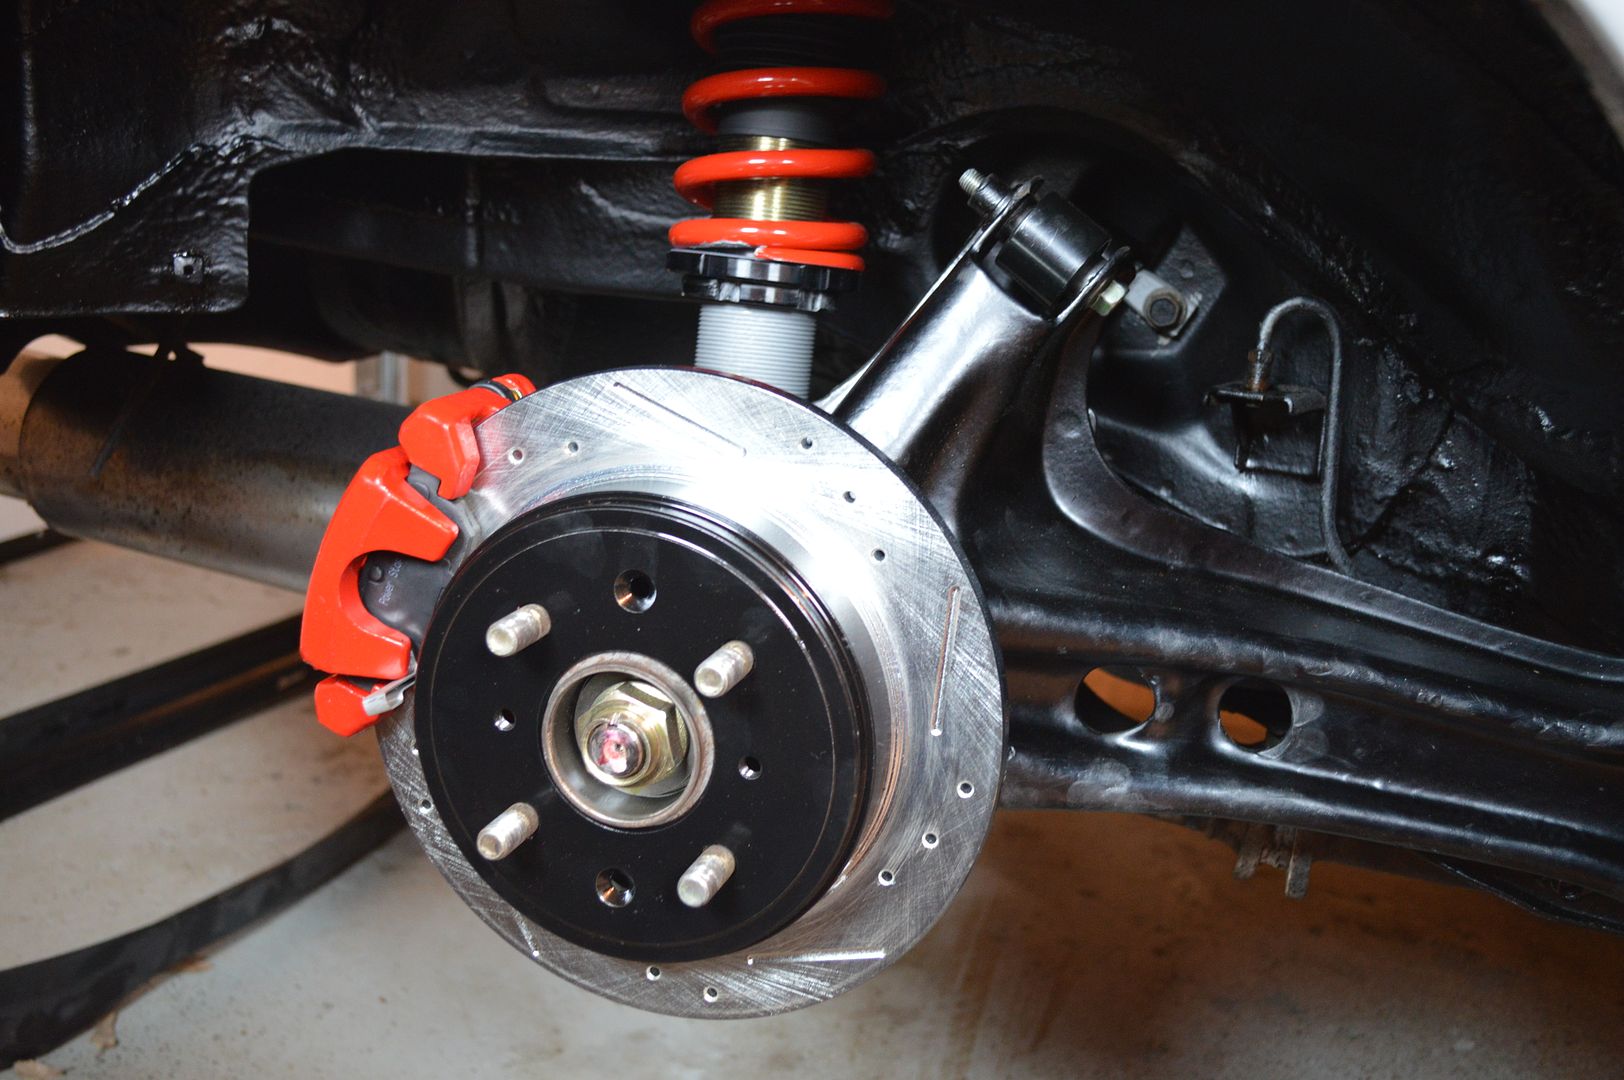
Couldnt resist throwing an RPF1 on to see how it looked!
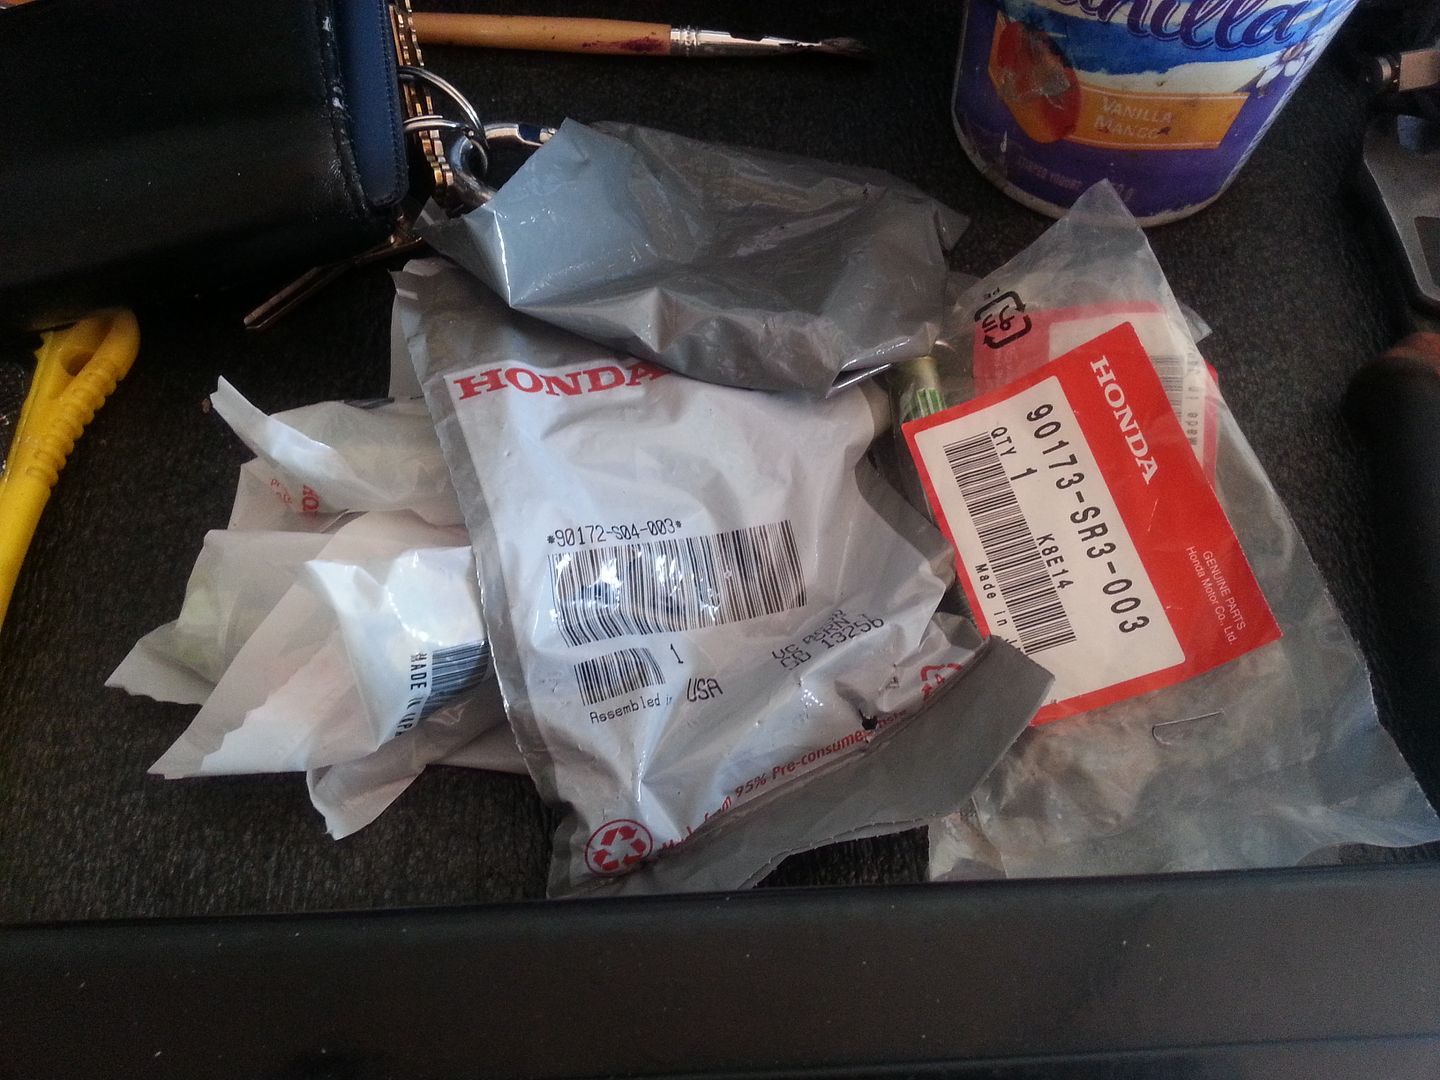
Started putting the rear end together this afternoon too. When I was pulling it apart I ran into many rusted/corroded bolts. This is mainly due to the climate I live in... Snow for the majority of the year combined with sanding the roads is a killer. I ended up having to purchase new bolts from Honda for the rear and ended up anti-seizing each one before installing them. Did the same for the front, but im less concerned about that as I'll be pulling that apart as soon as I get the right control arms.

I only finished the drivers rear today. Hoping to post again tomorrow with the pass. rear back together.
Couldnt resist throwing an RPF1 on to see how it looked!
Started putting the rear end together this afternoon too. When I was pulling it apart I ran into many rusted/corroded bolts. This is mainly due to the climate I live in... Snow for the majority of the year combined with sanding the roads is a killer. I ended up having to purchase new bolts from Honda for the rear and ended up anti-seizing each one before installing them. Did the same for the front, but im less concerned about that as I'll be pulling that apart as soon as I get the right control arms.
I only finished the drivers rear today. Hoping to post again tomorrow with the pass. rear back together.
 04-22-2014, 05:10 PM
#20
Honda-Tech Member
Thread Starter
04-22-2014, 05:27 PM
#21
Honda-Tech Member
Thread Starter
Got the passenger trailing arm assembly on. If I could go back and do it again, I would definitely get the trailing arm powder coated instead of paint. Not that it looks terrible, but little nicks already showing up from being too rough. Also started getting bumpers, lights, etc. back on.

New rotors, pads, and compensator links should be here this week. Also going to swap some used Falken Azenis from another project onto my RFP1s when I get a chance. Then I need to start sourcing a master cylinder and proportioning valve. Thats all for today!
New rotors, pads, and compensator links should be here this week. Also going to swap some used Falken Azenis from another project onto my RFP1s when I get a chance. Then I need to start sourcing a master cylinder and proportioning valve. Thats all for today!
05-04-2014, 07:46 PM
#24
Honda-Tech Member
Thread Starter
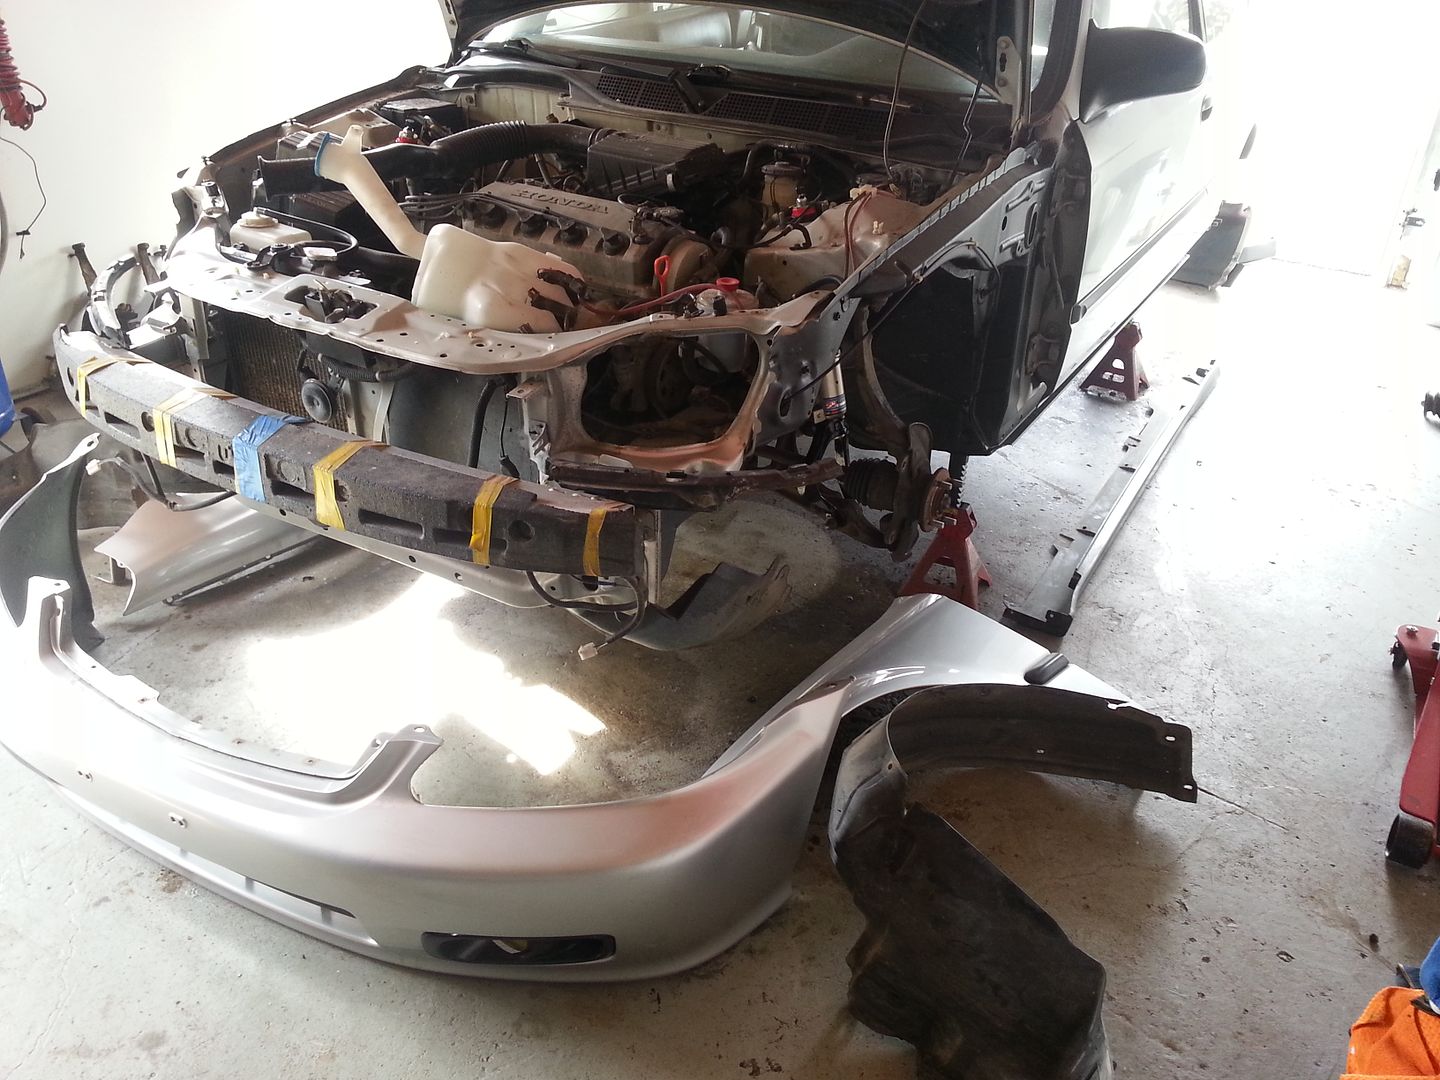
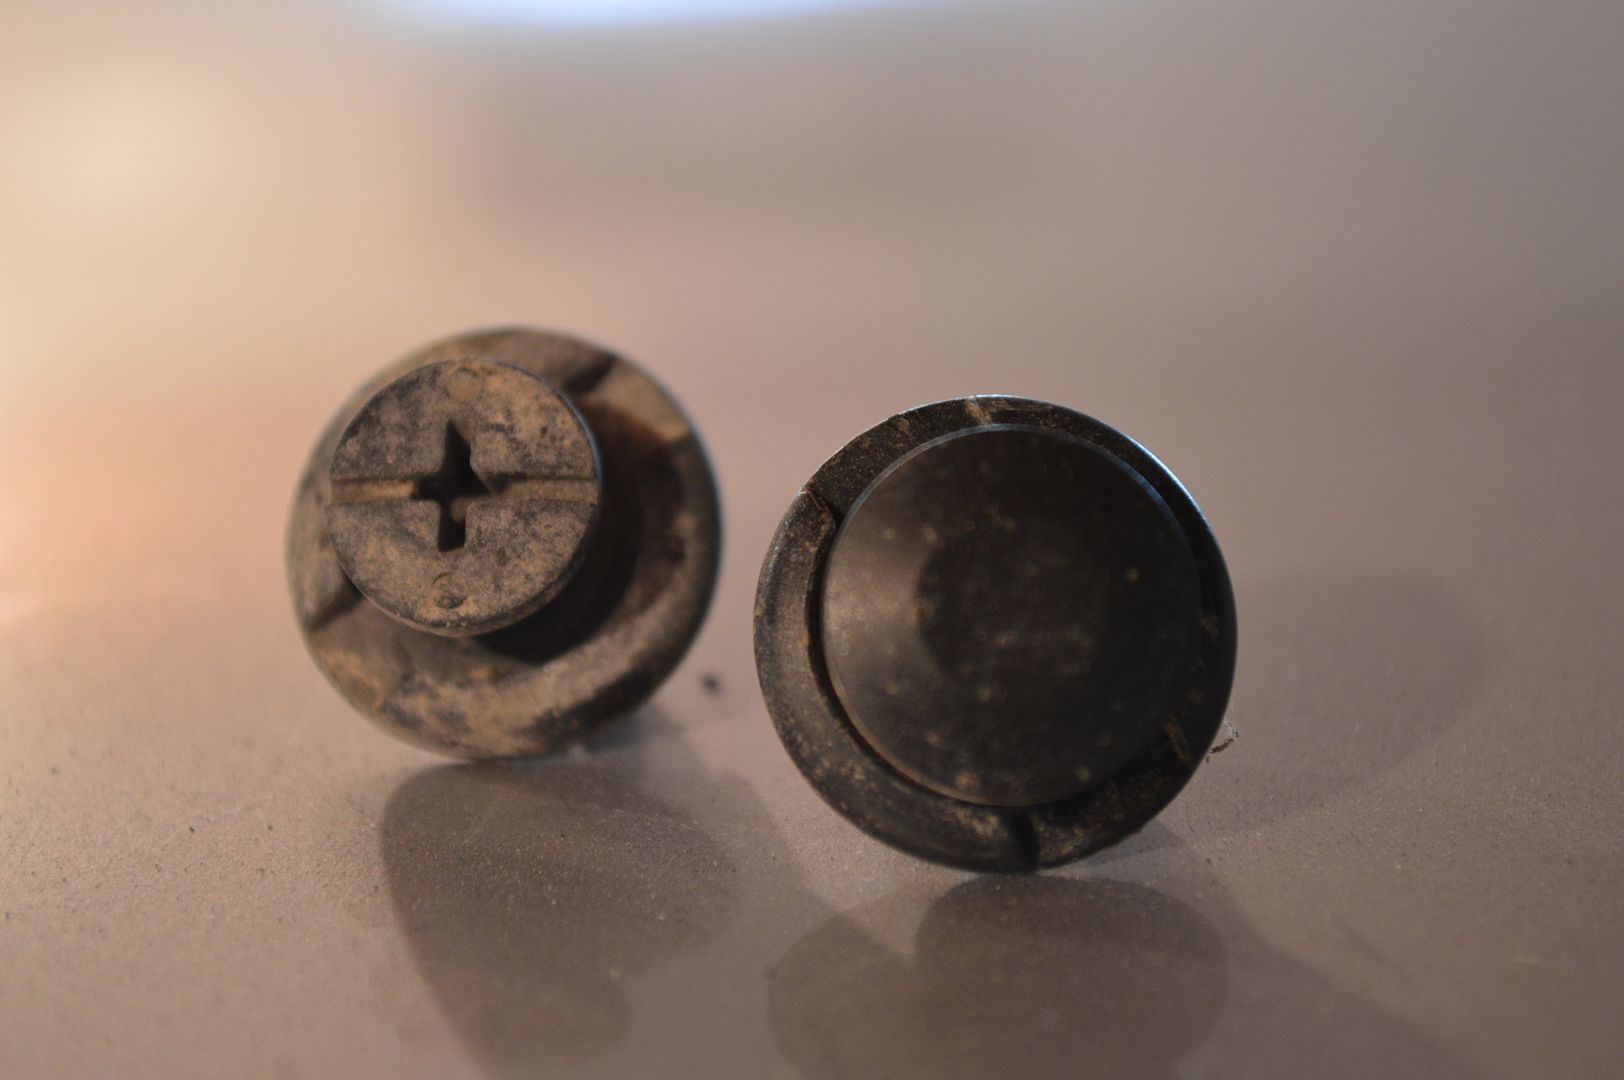
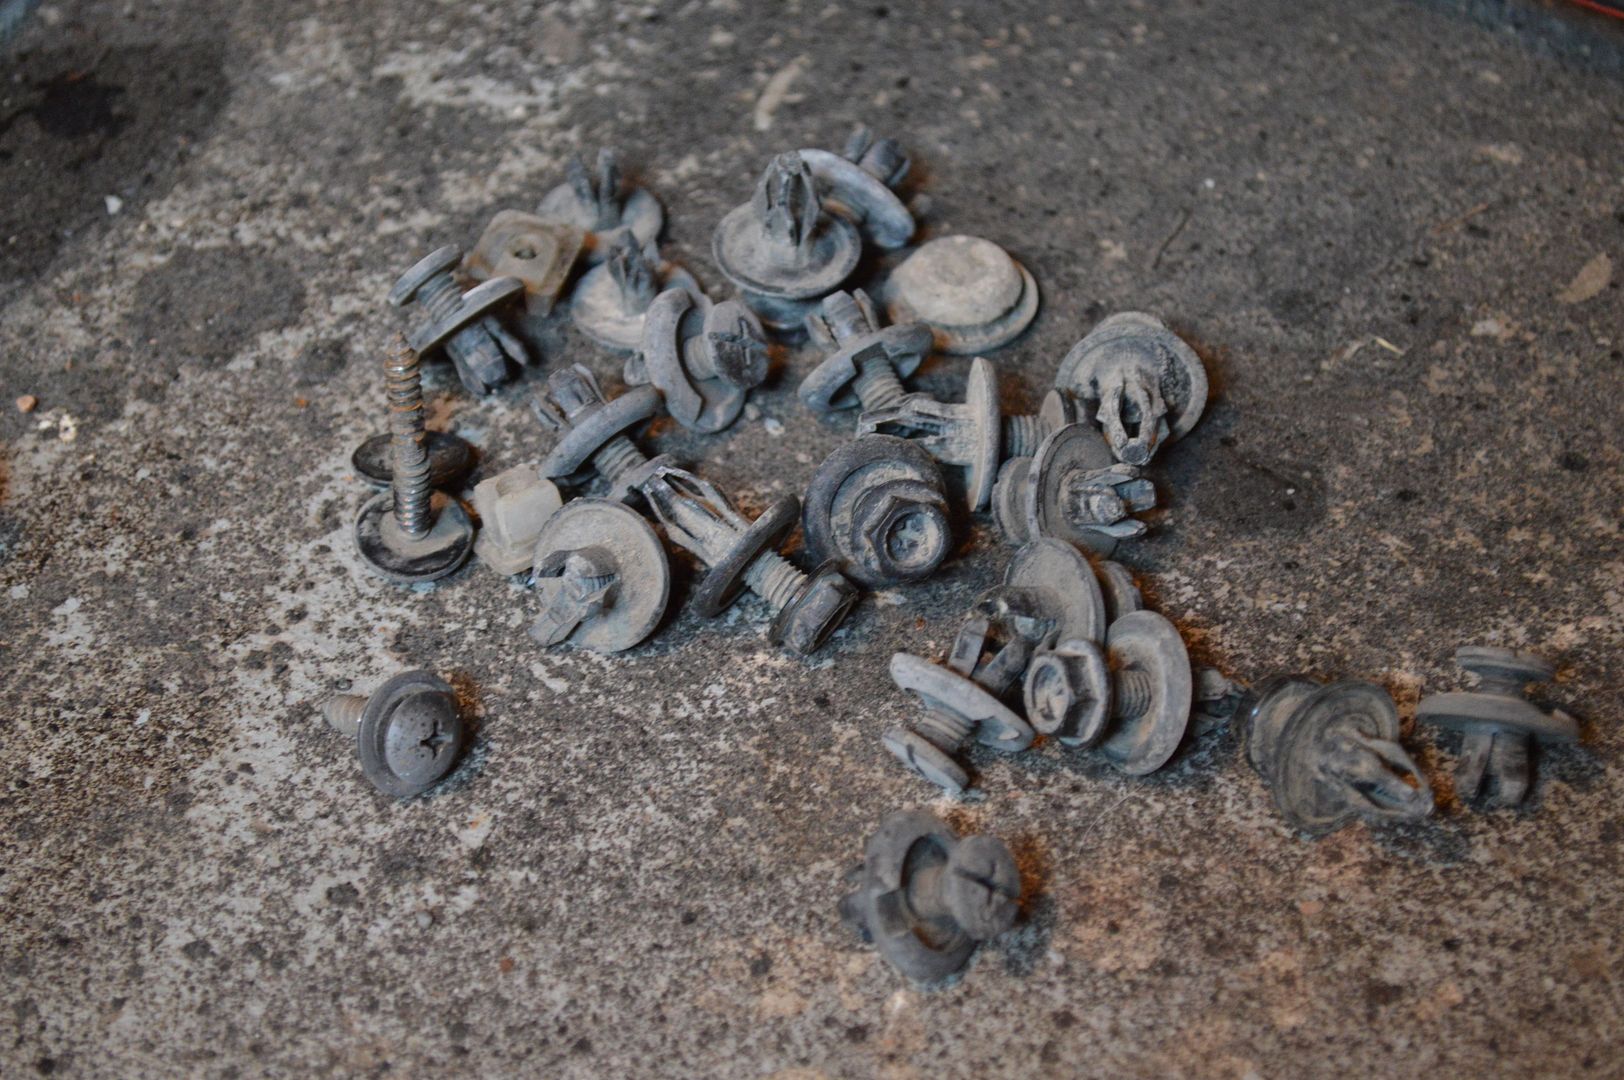
To start off this post... Happy May the 4th everyone! I've now got the fenders, fender liners, bumper, and headlights back on the car. I didn't realize this when taking out the fender liners.... but I broke a lot of those circular plastic clips. When I say a lot I really mean nearly every single one. So lucky for me while I was on the hunt for lower control arms I found an Acura at the wreckers with these screw out type clips. Sadly I found the right control arms but was unable to take off the passenger side. Im not sure if someone pulled an engine mount but the transmission was right in the way of a bolt. Don't remember running into that problem on my car either way!
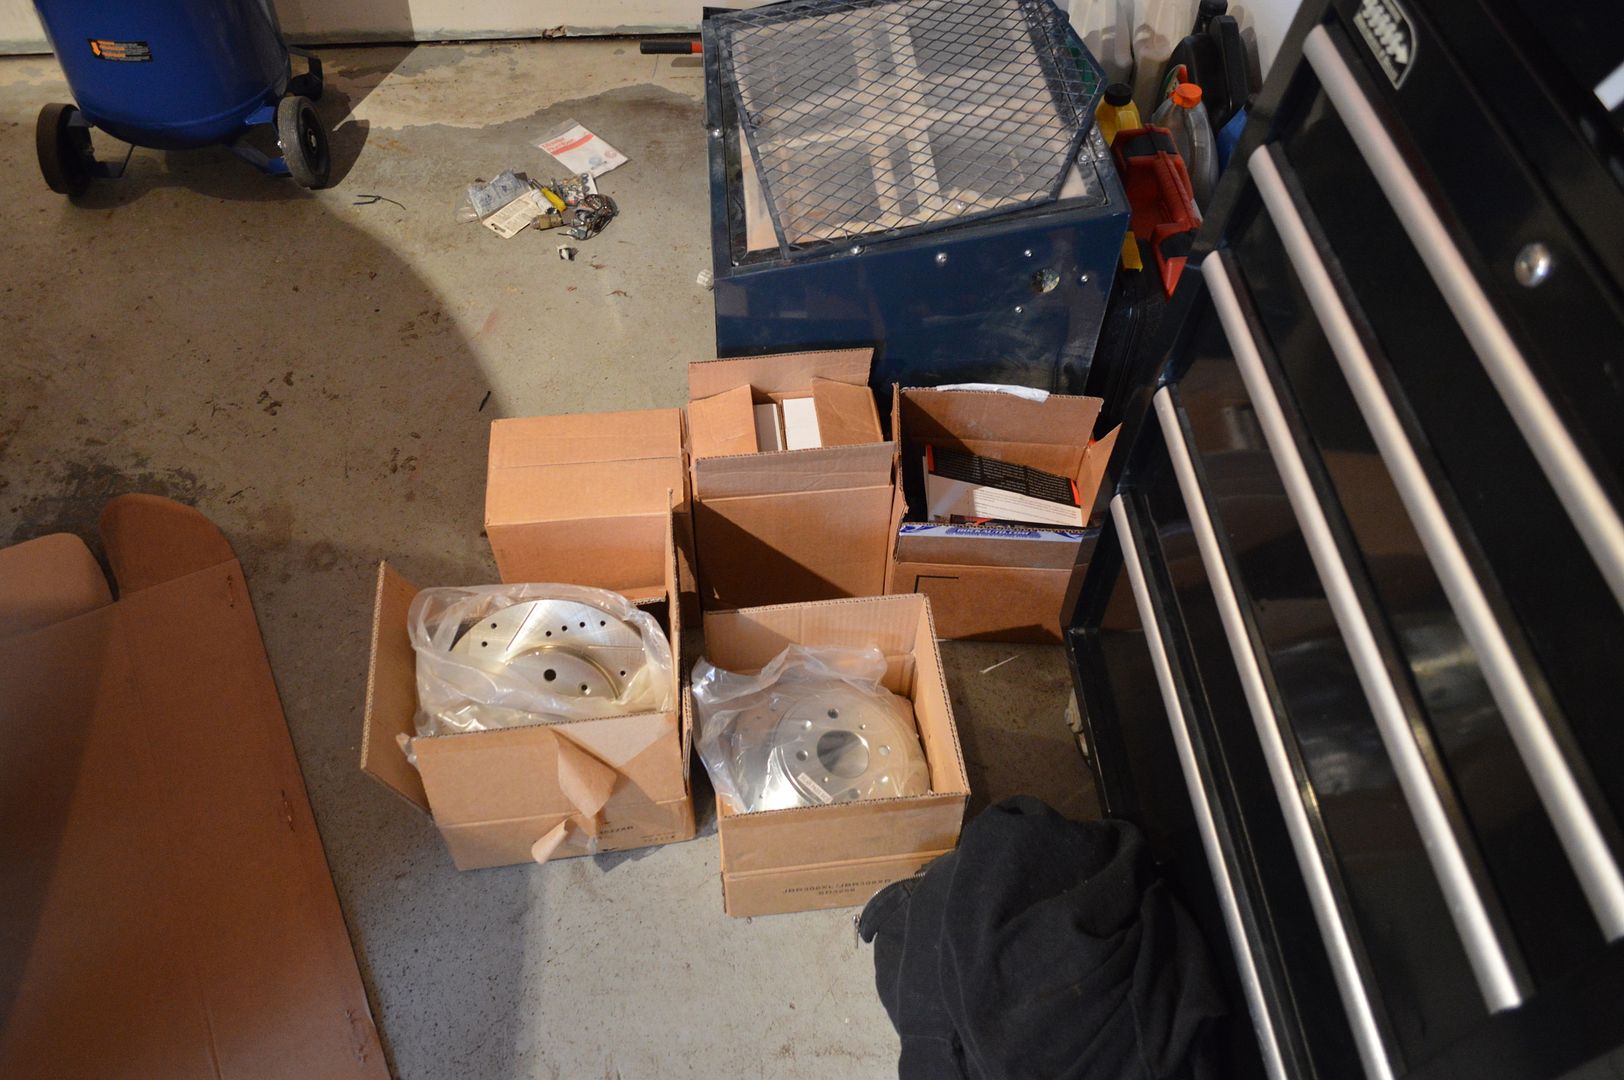
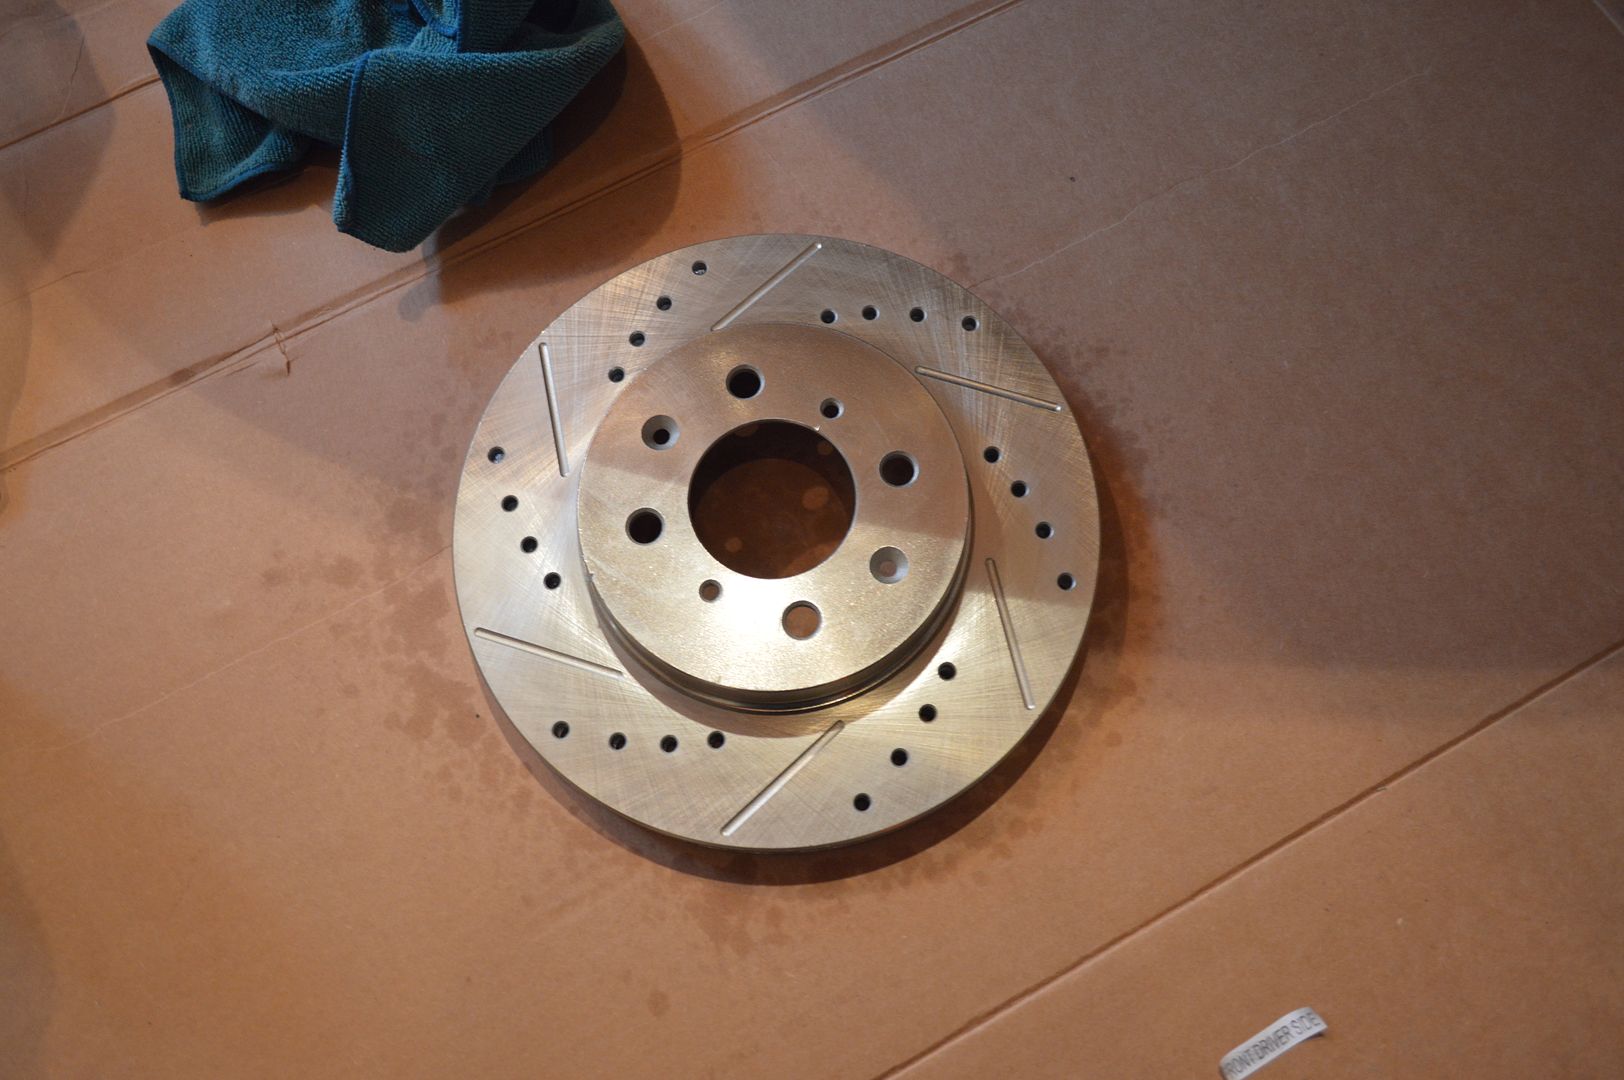
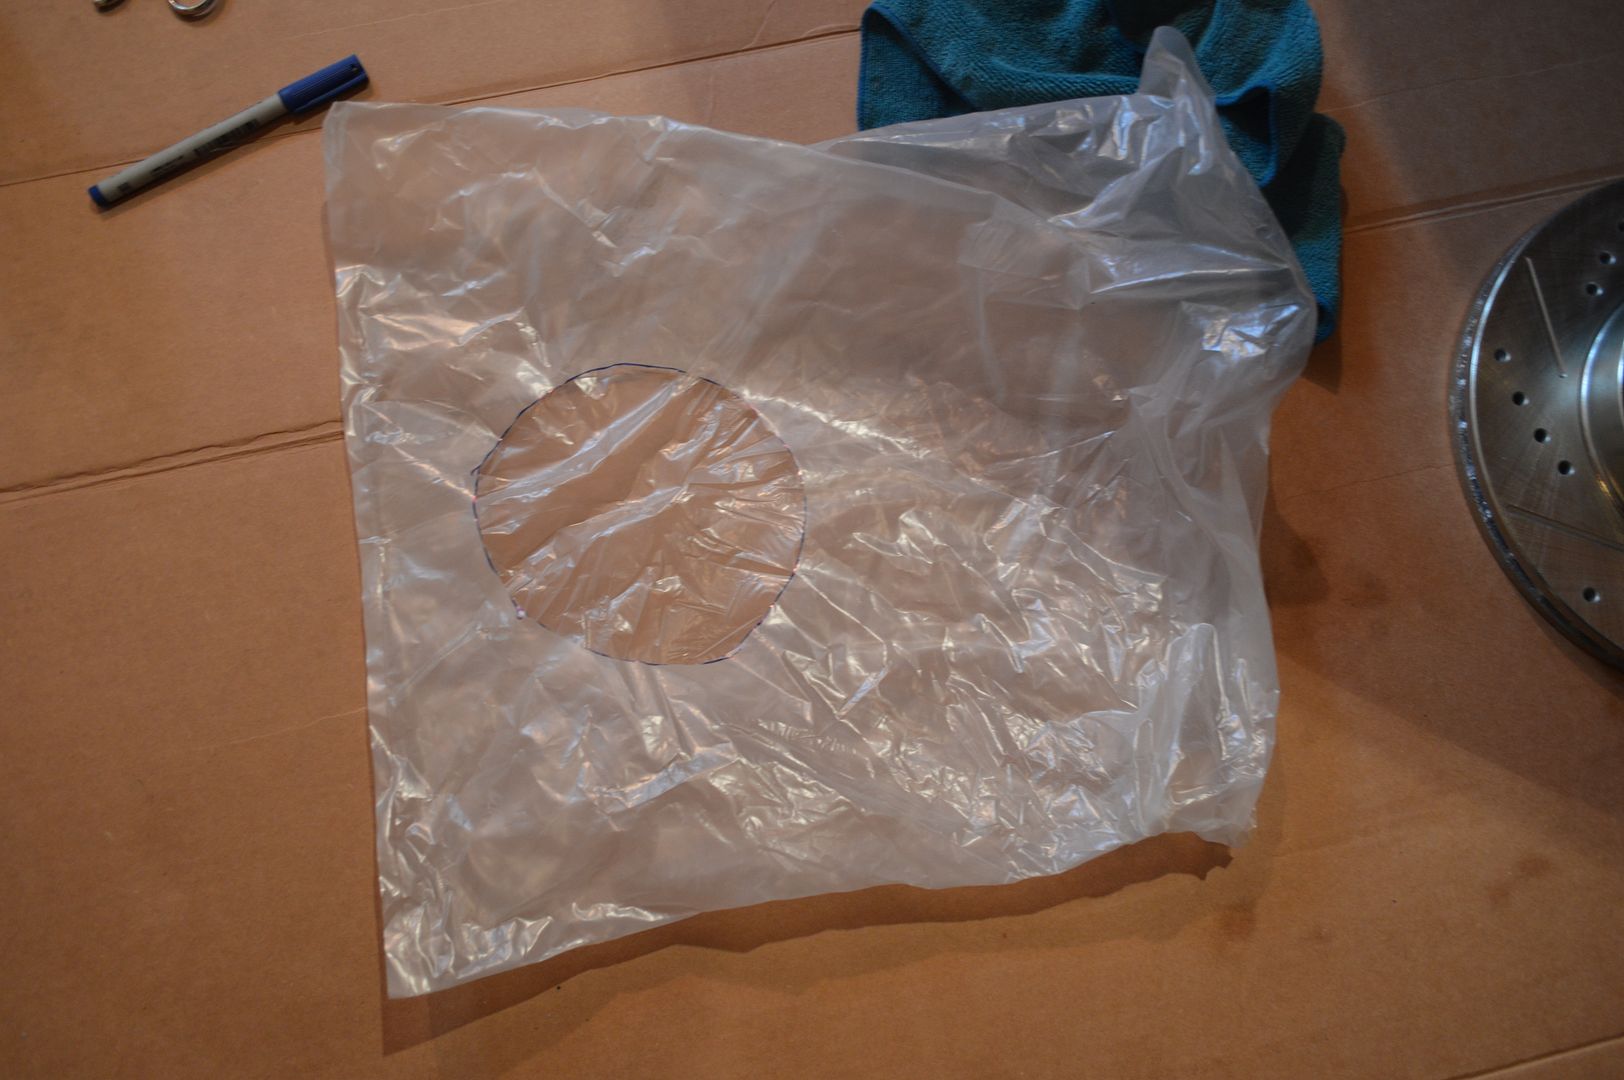
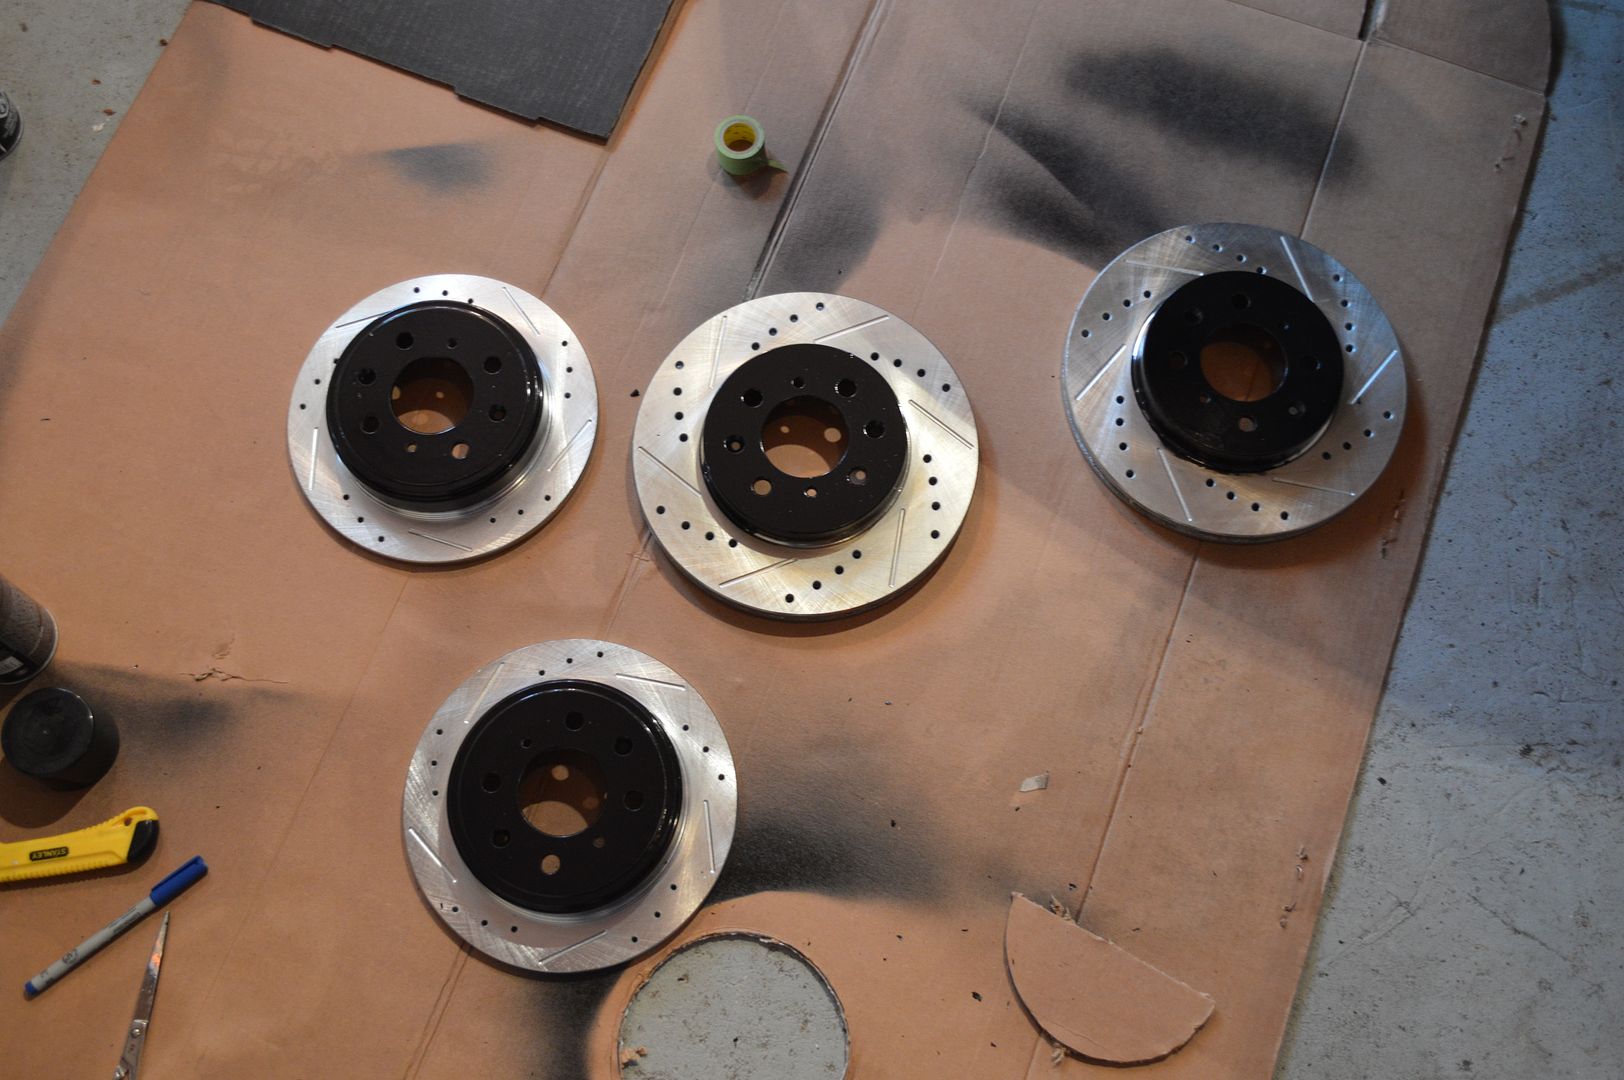
On a positive note my brakes came in! I ordered a set of power stop drilled and slotted rotors and pads. I did some research on them and never read anything terrible. Are they really going to help me stop better? Probably not... Are they going to make me look like a ricer? Yeah, most likely... but the price was right! I decided to paint the non-friction face of the rotors since I've ran into so many issues with corroded bolts so far. I ended cutting the bags the rotors came in to protect the rest of the rotor from over spray. I don't think it turned out too bad!
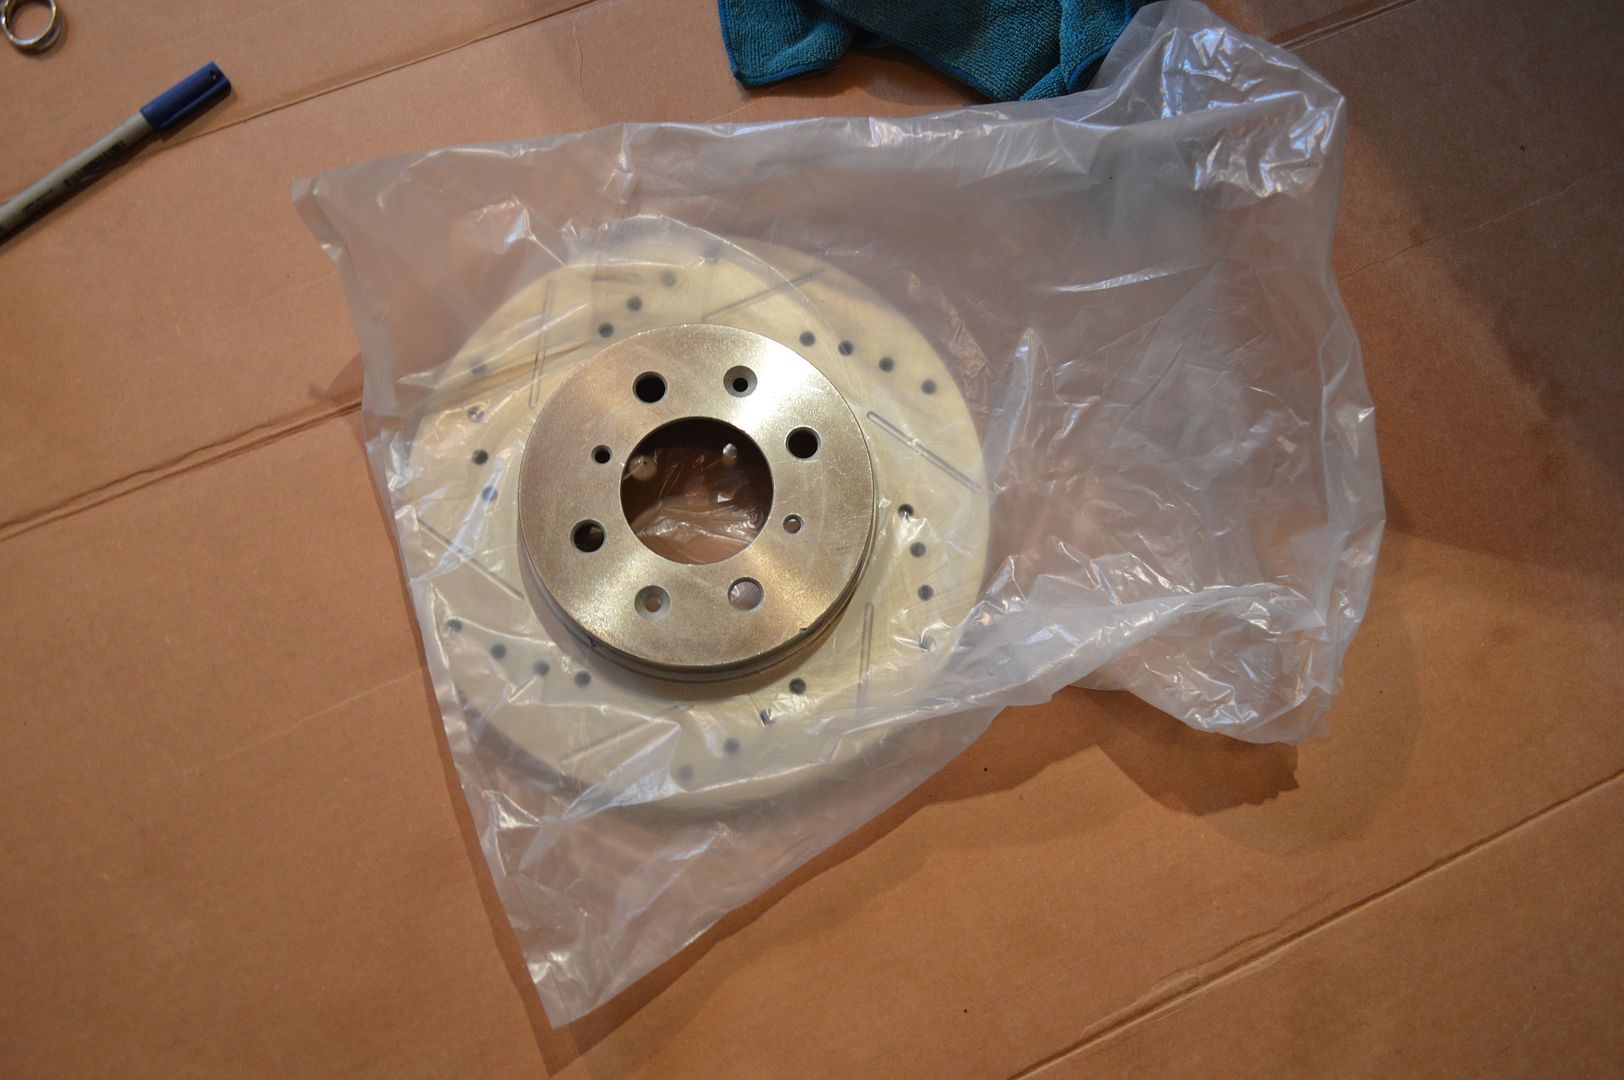


Once I started assembling the brakes on the rear I realized I'd need some washers on the caliper bracket bolts. The stock bolts are a few millimeters long and contact the rotor when screwed in all the way. I had a few spare washers sitting around the garage so I was able to get the rear passenger side done. But the other corners will have to wait till tomorrow!
On a positive note my brakes came in! I ordered a set of power stop drilled and slotted rotors and pads. I did some research on them and never read anything terrible. Are they really going to help me stop better? Probably not... Are they going to make me look like a ricer? Yeah, most likely... but the price was right! I decided to paint the non-friction face of the rotors since I've ran into so many issues with corroded bolts so far. I ended cutting the bags the rotors came in to protect the rest of the rotor from over spray. I don't think it turned out too bad!
Once I started assembling the brakes on the rear I realized I'd need some washers on the caliper bracket bolts. The stock bolts are a few millimeters long and contact the rotor when screwed in all the way. I had a few spare washers sitting around the garage so I was able to get the rear passenger side done. But the other corners will have to wait till tomorrow!


