

 03-31-2015, 10:27 AM
Last edit by: IB Advertising
See related guides and technical advice from our community experts:
Browse all: Honda Accord Brake Guides
- Honda Accord: How to Replace Brake Pads, Calipers and Rotors
Step by step instructions for do-it-yourself repairs
Browse all: Honda Accord Brake Guides

[DIY] How to change front brake pads [PICS]
08-25-2012, 01:40 PM
#1
Honda-Tech Member
Thread Starter
This will be a short guide on how to change your front brake pads on a CRX or Civic. It should be noted that proper procedure would dictate having your rotors turned on a lathe any time new brake pads are being installed. Some go as far as replacing the rotors with brand new ones with each pad change. Aggressive compound racing pads eat through rotors more quickly. I always check my rotors for warp, grooves, and pitting, and have them turned if they are not within specification. Unless you have other problems, you can usually get away with NOT turning your rotors. Proceed at your own risk I will not be held liable for anything you damage as a result of this DIY guide.
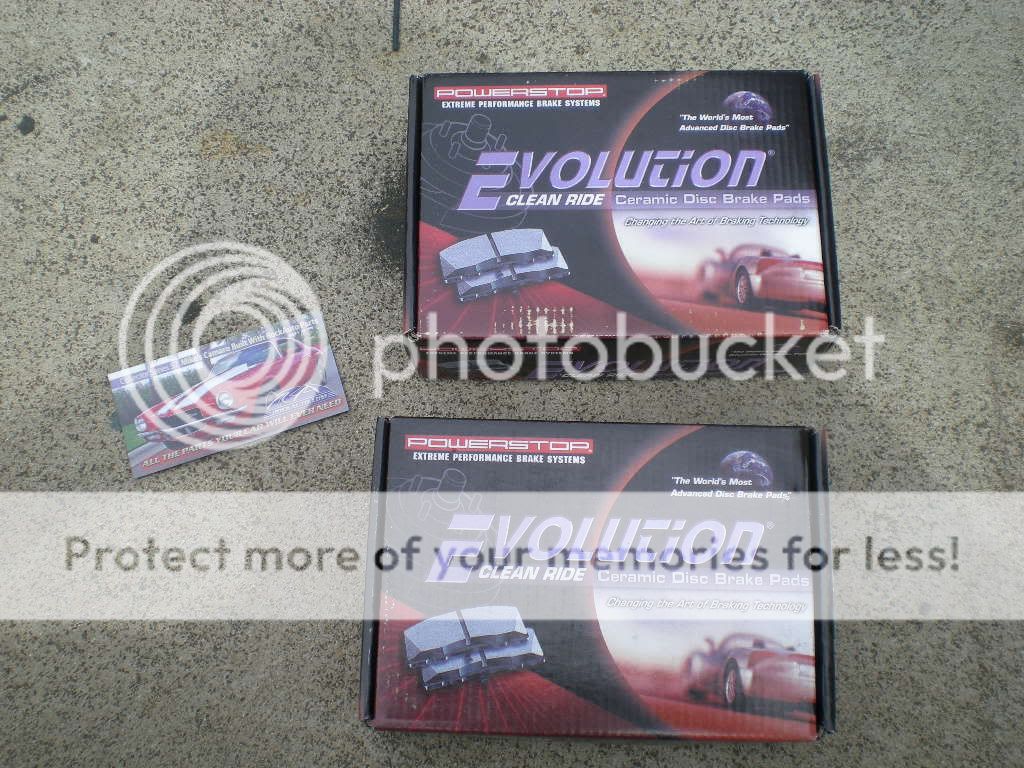
Make sure you have the proper front and rear pads for your car before you start the project. If your brakes are oversized or included swapped parts from another car, make sure to order pads for the proper calipers.
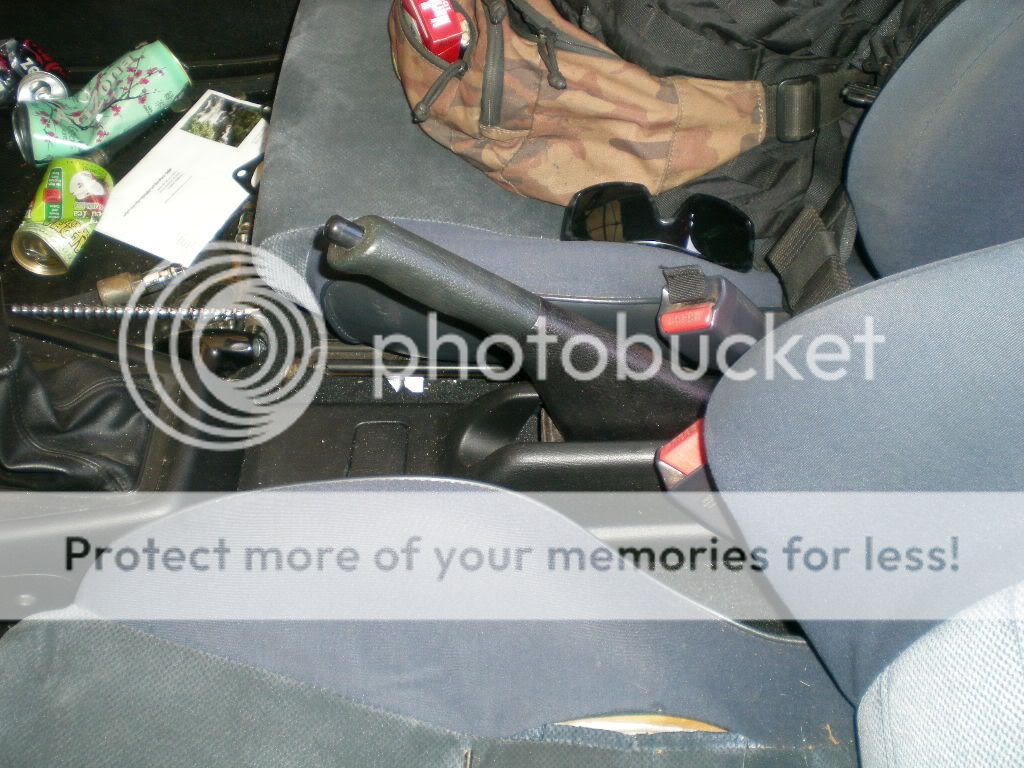
Set the parking brake. You may want to loosen your front lugnuts at this point. I choose to use a stick between the brake pedal and the seat for engaging the front brake, and loosen lugnuts once the wheels are in the air and the brake is engaged. It serves a simple brake test, to ensure both calipers are properly locking the wheels up front.
Lift the front of the car from a suitable lift point. I used the tow hooks on my traction bar.
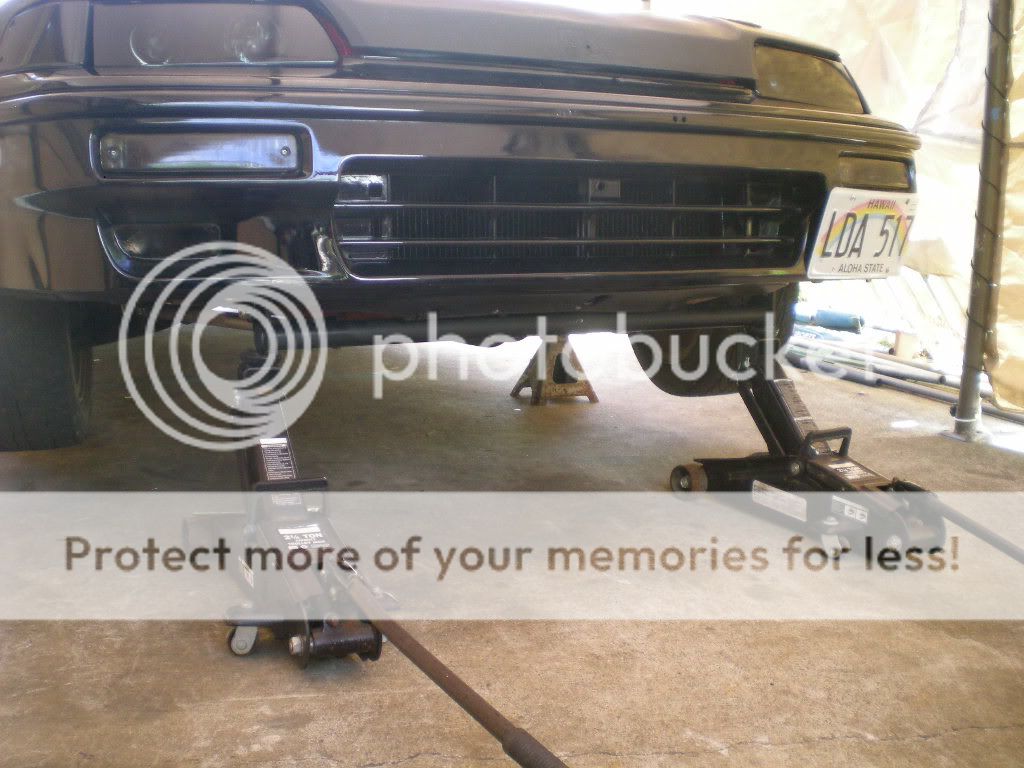
Set your jack stands under the jacking points, just behind the front wheels. Lower the car onto the jack stands, and shake the chassis to make sure everything has settled solidly.

Using a friend or stick between the seat and brake pedal, hold the brake depressed while you loosen the lug nuts. Remove the wheel. Then remove the stick from the brake pedal, releasing the front brakes.
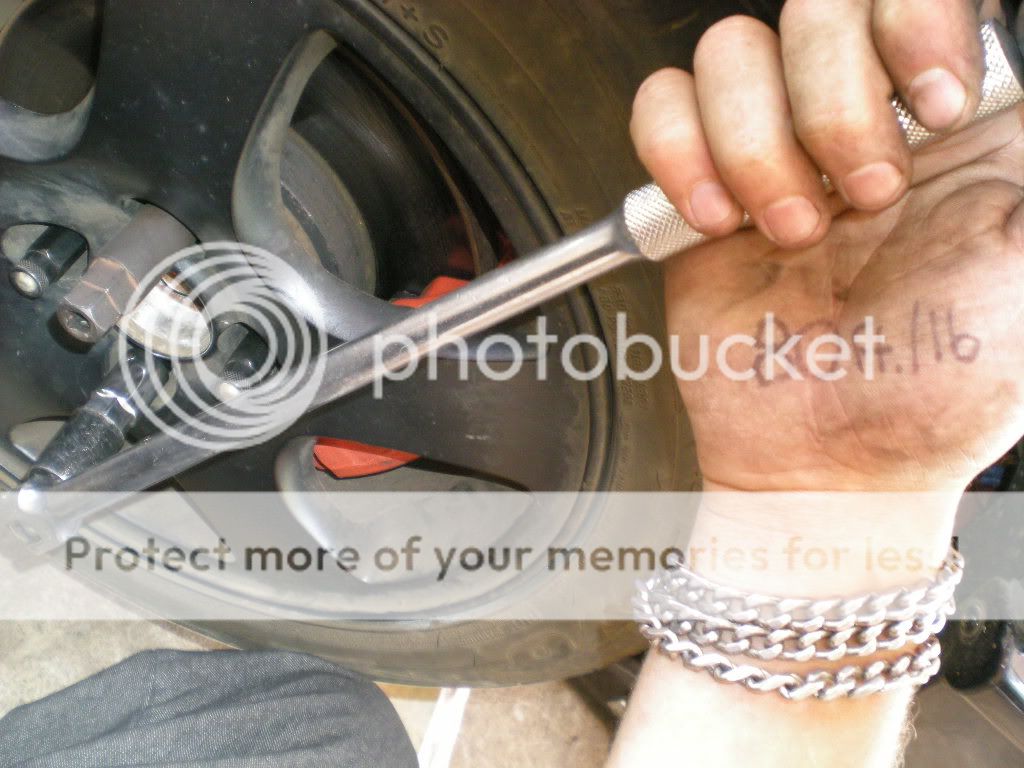
Loosen the upper and lower caliper mounting bolts. They should be 12/14mm-head depending on which brake calipers you have.
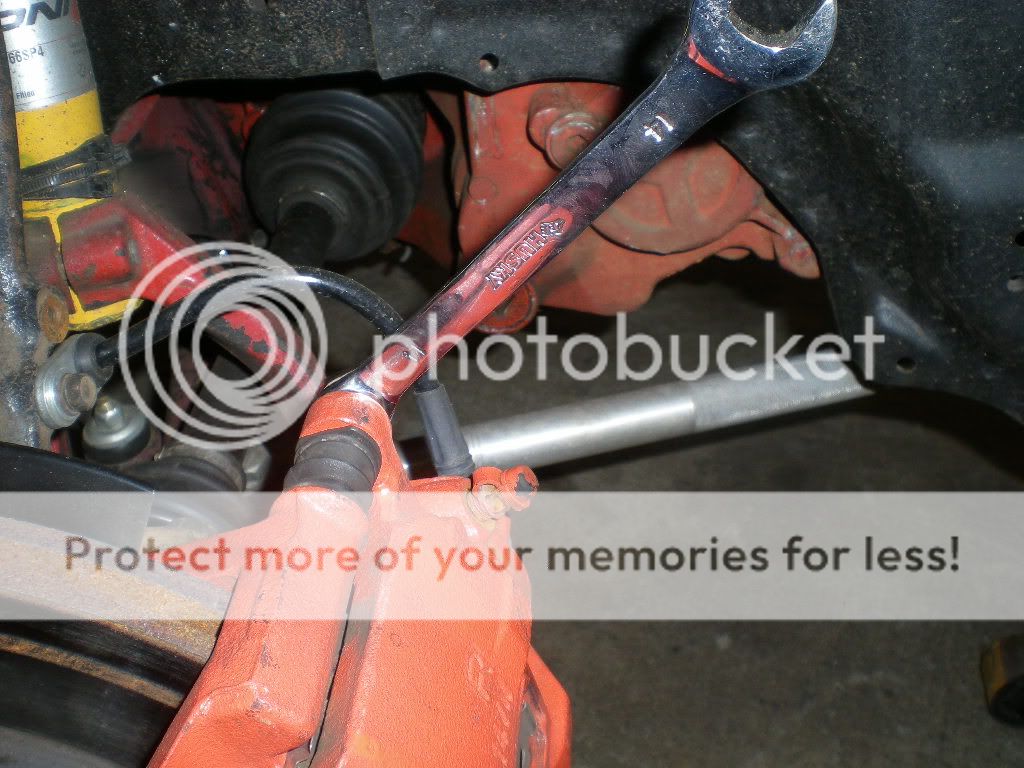
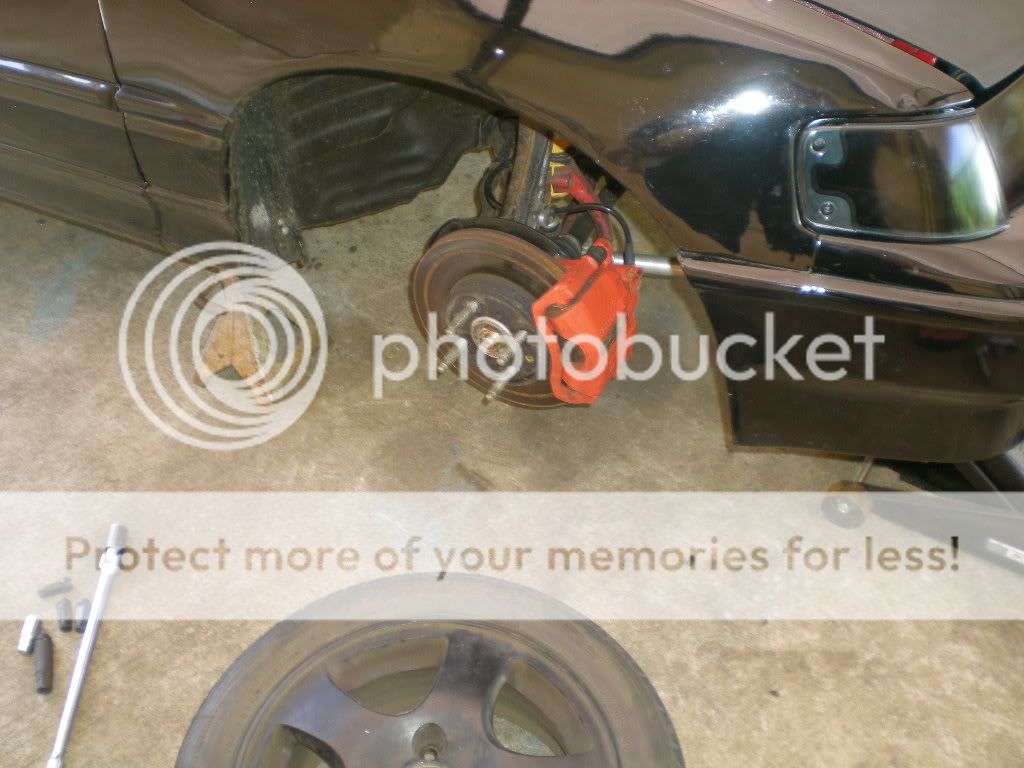
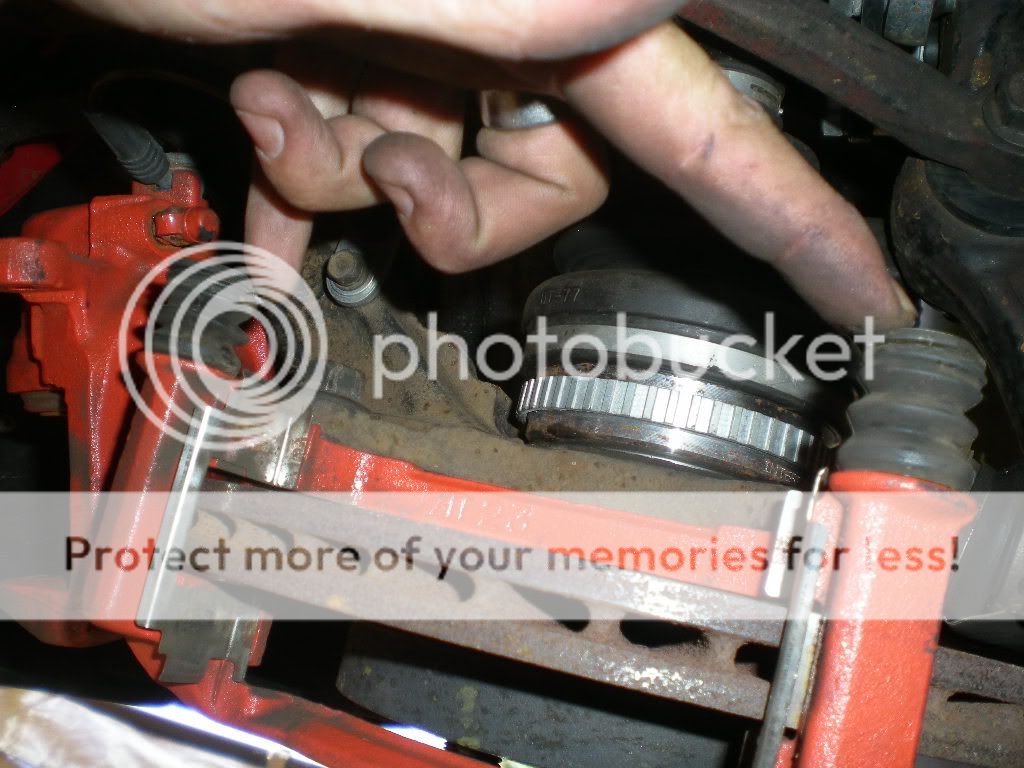
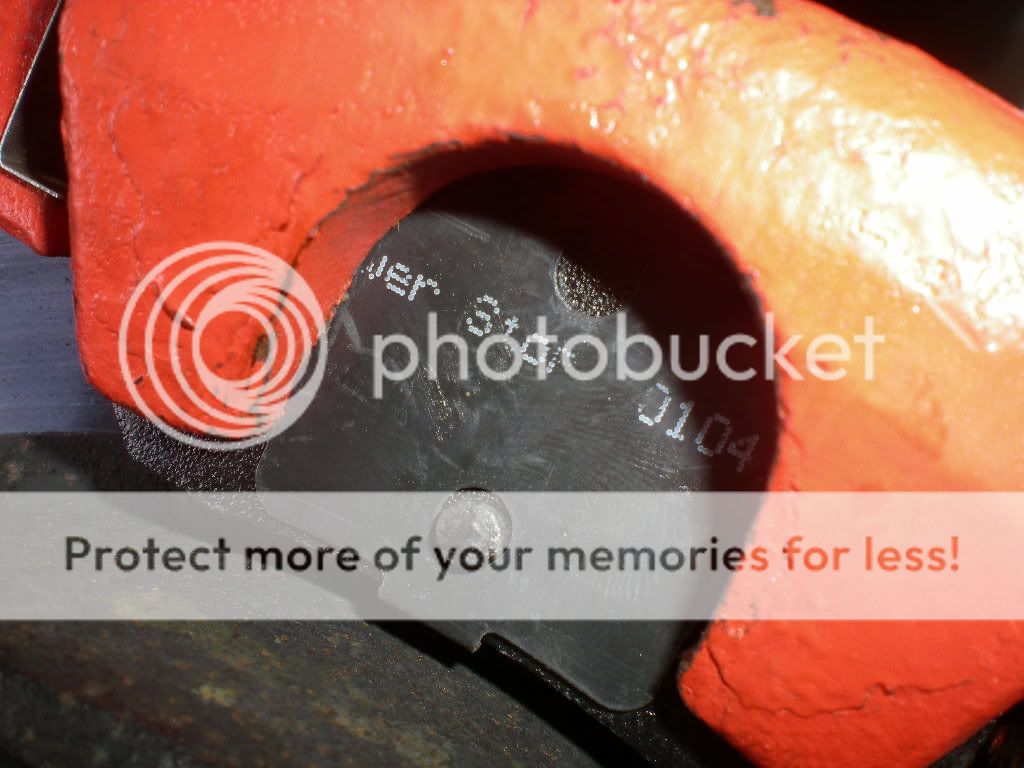
Once both bolts have been loosened, remove them and slide the caliper off of the old pads on the rotor.
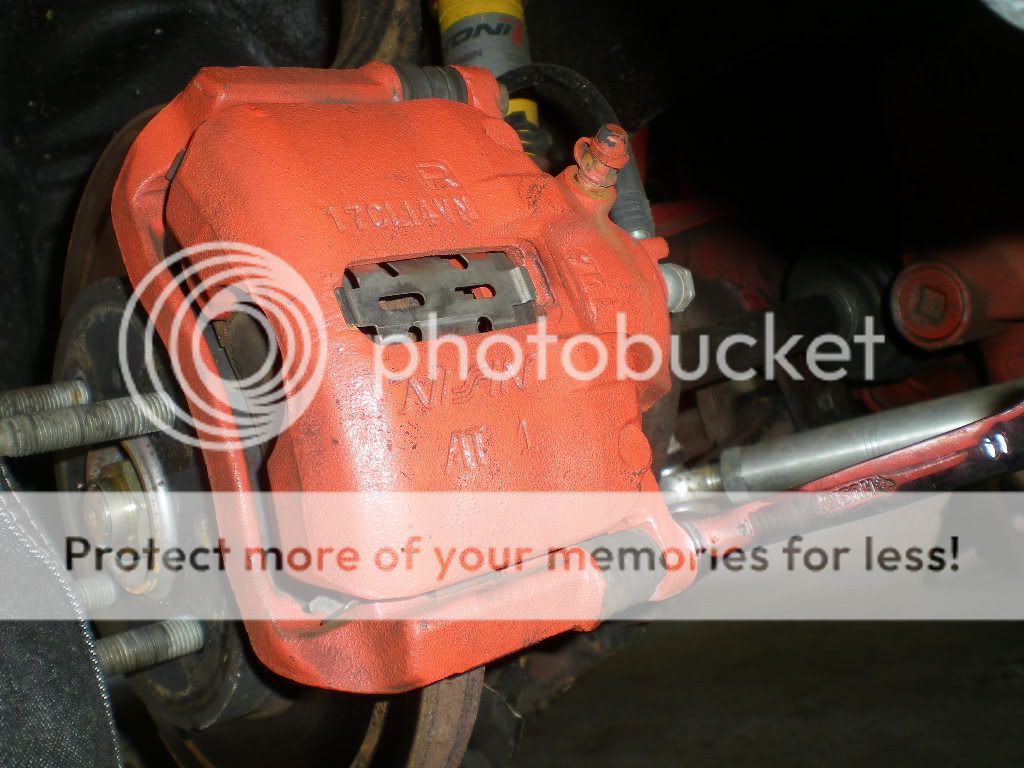
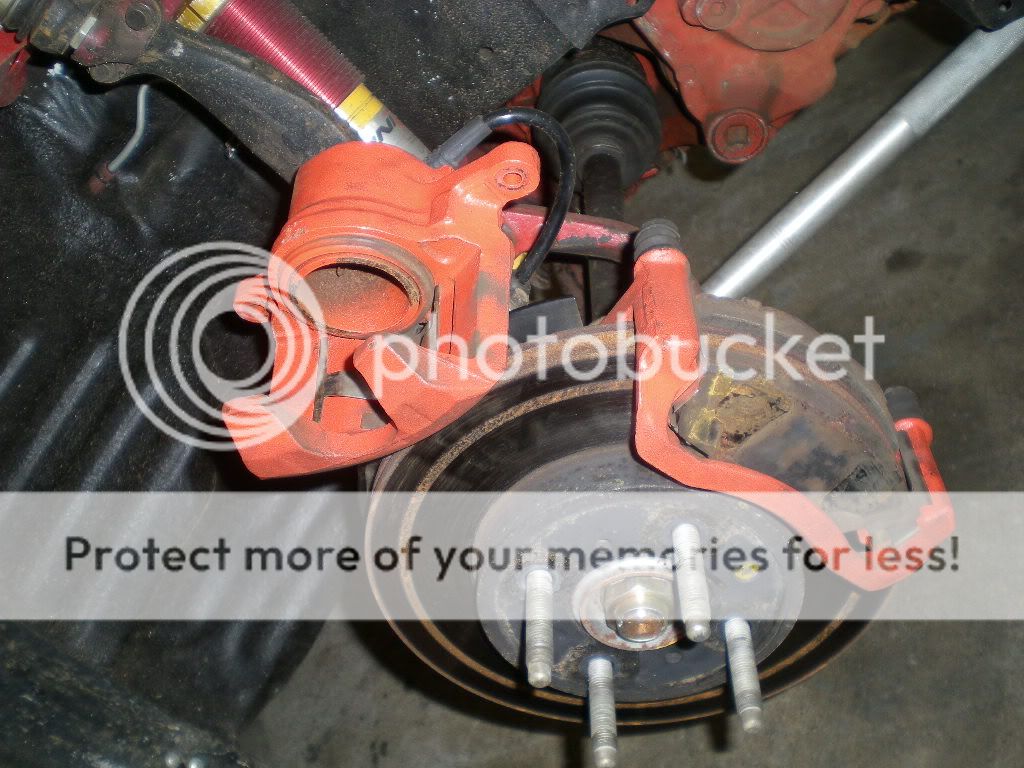
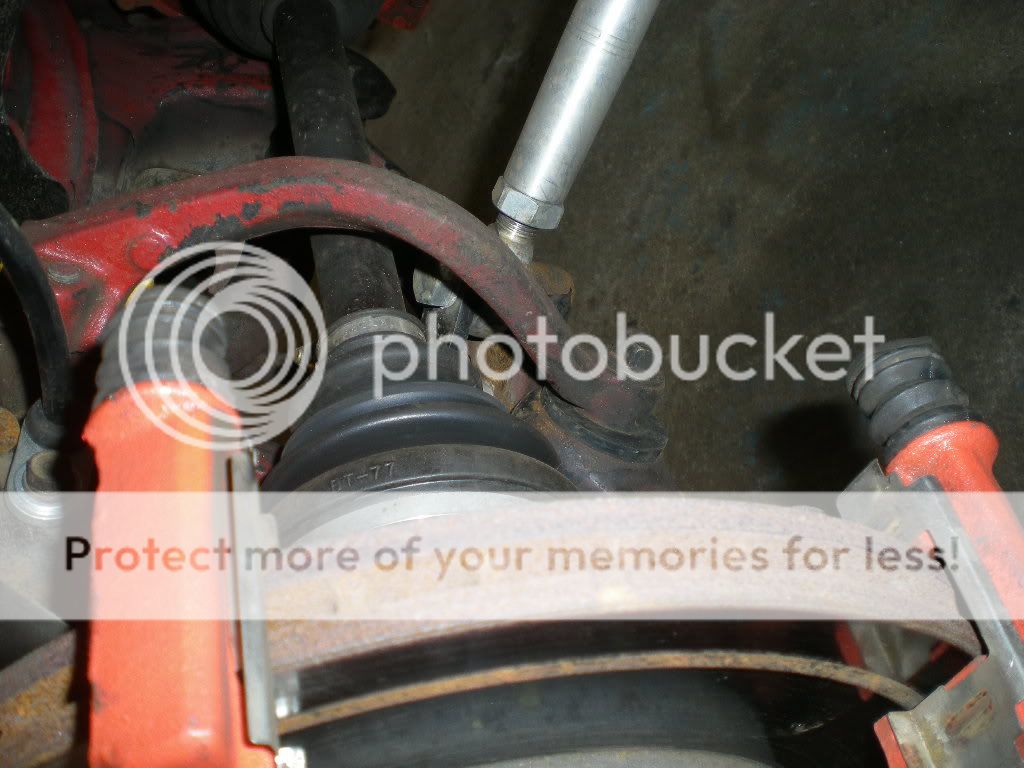
Use wire or a cable tie to secure the caliper to the spring, or set it on top of the rotor as pictured. You cannot let the caliper hang by the brake softline - the weight of the caliper can damage the brake line.
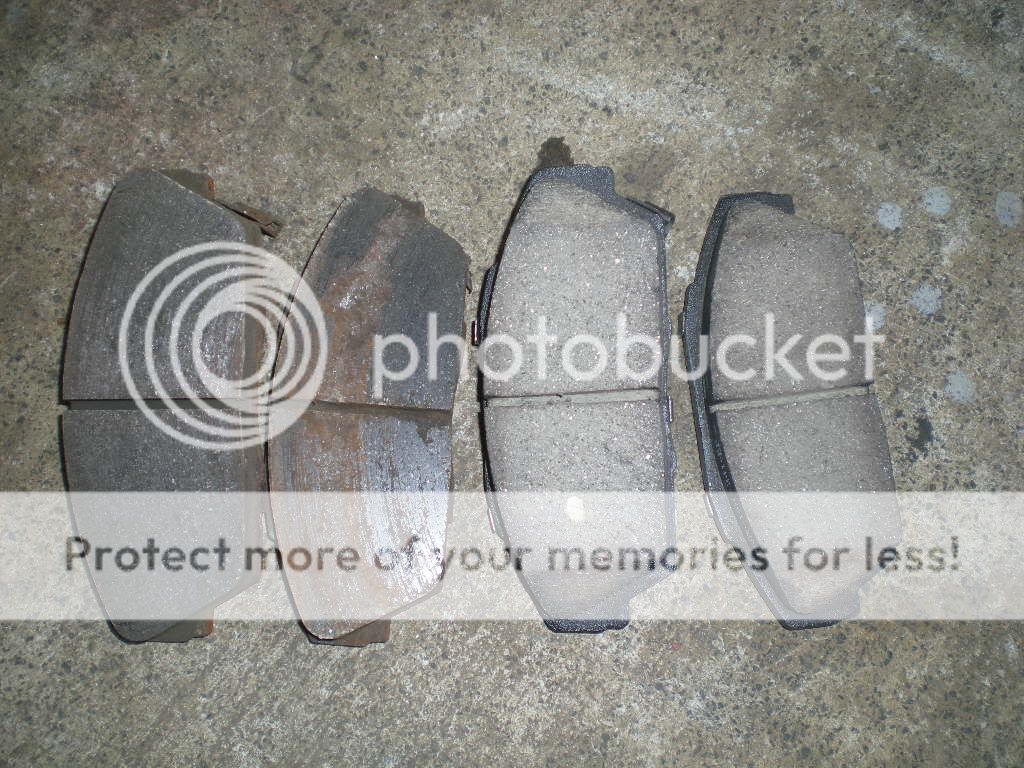
Inspect your old pads for uneven wear which may indicate a warped or grooved rotor.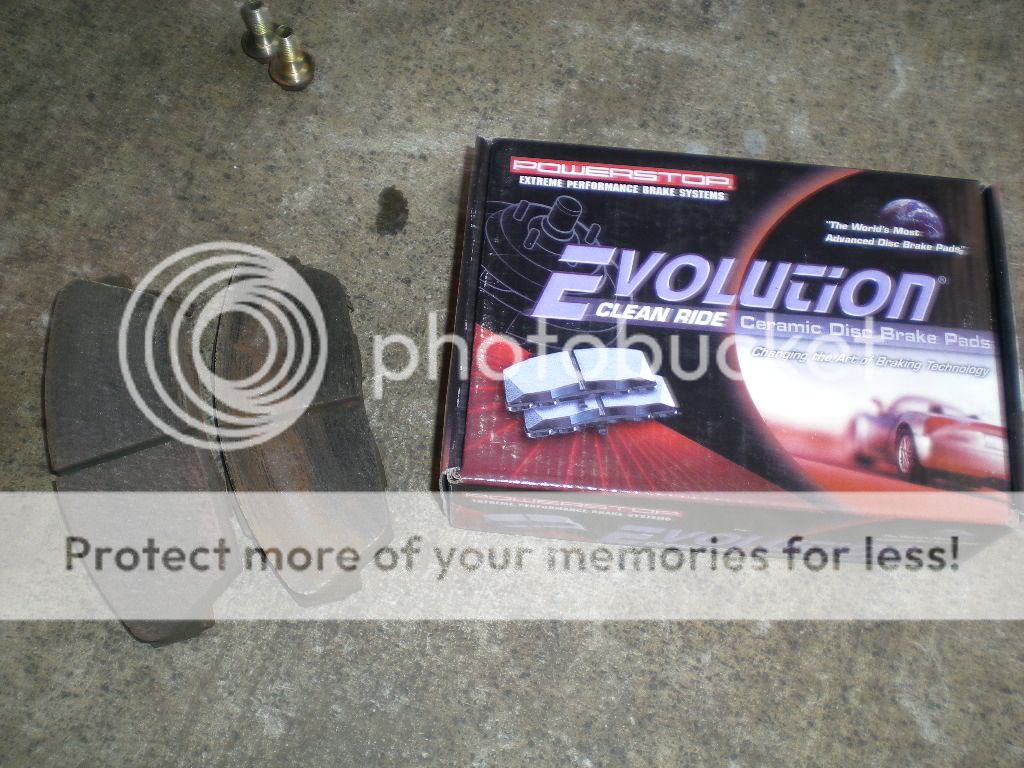
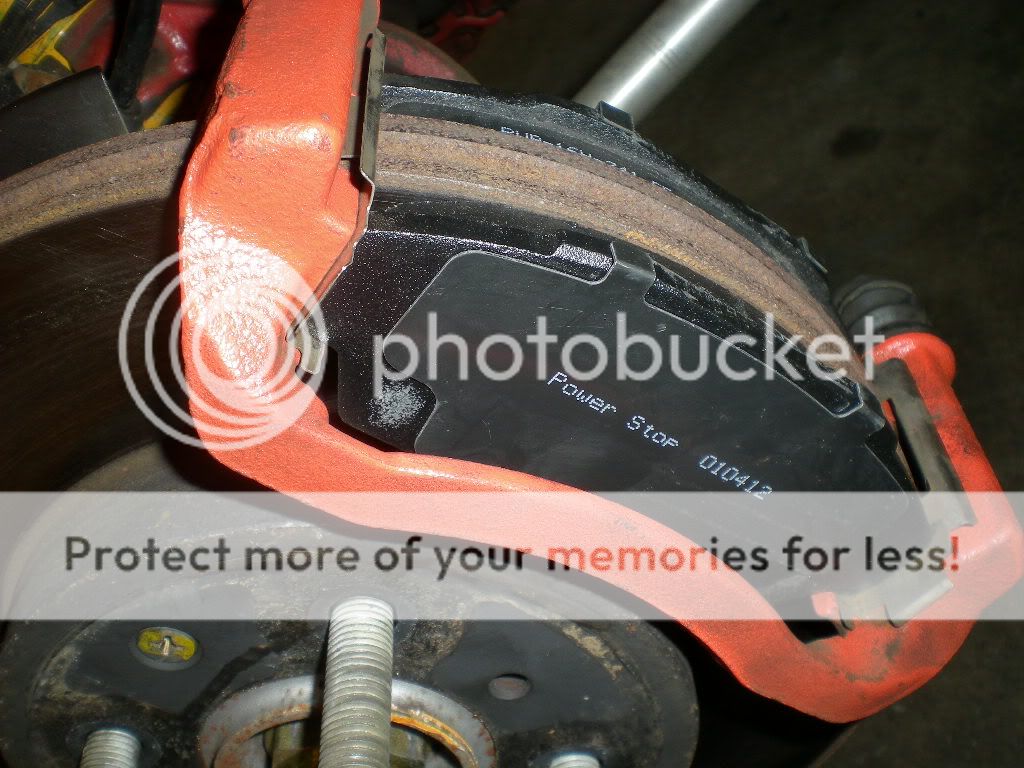
Compare your old and new pads, making sure you have the right parts to continue. I always place the squealer tab on the inside pad, facing down.
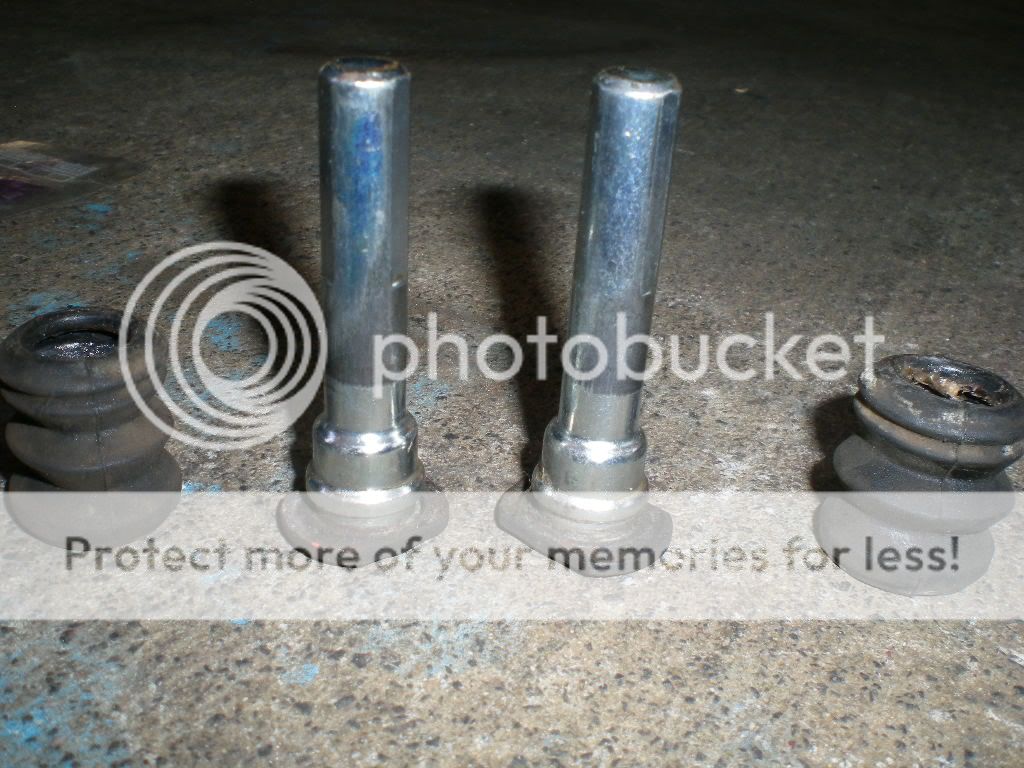
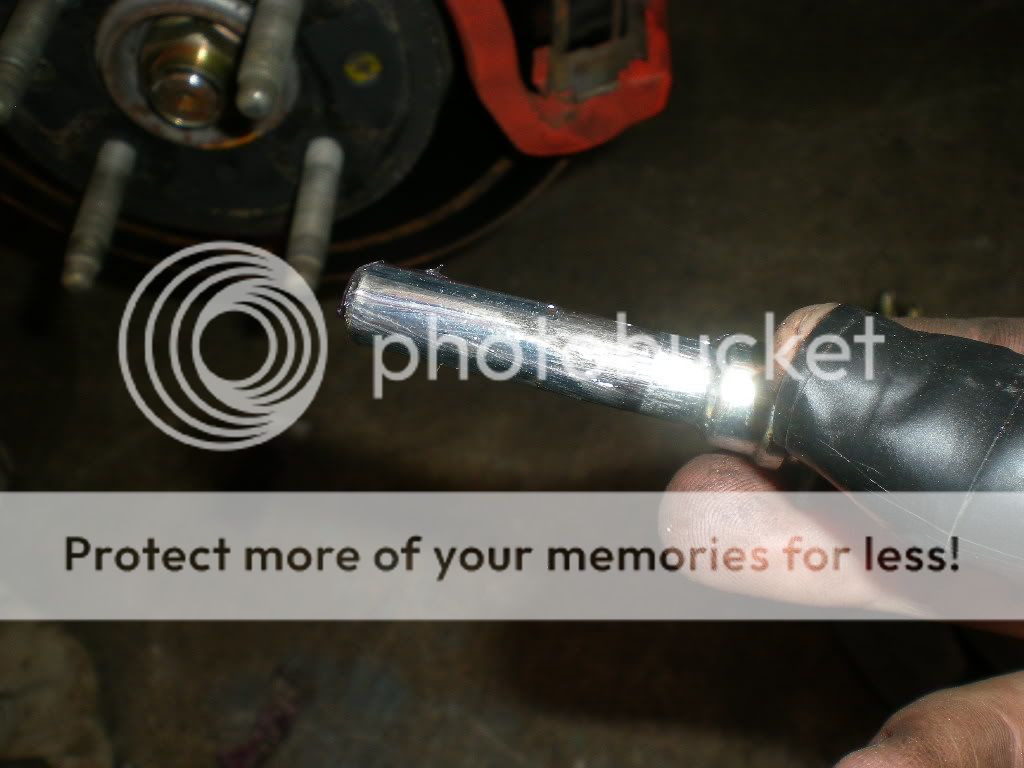
Now carefully remove both caliper slide pins and rubber boots for inspection and cleaning.
Wipe off all grease and dirt from the pins and the boots. Use parts cleaner to clean any grease and dirt from inside the caliper slide pin holes on the caliper mounting bracket. Using improper lubricants on these pins will cause premature wear (as seen in the dark spots on these cleaned pins.)
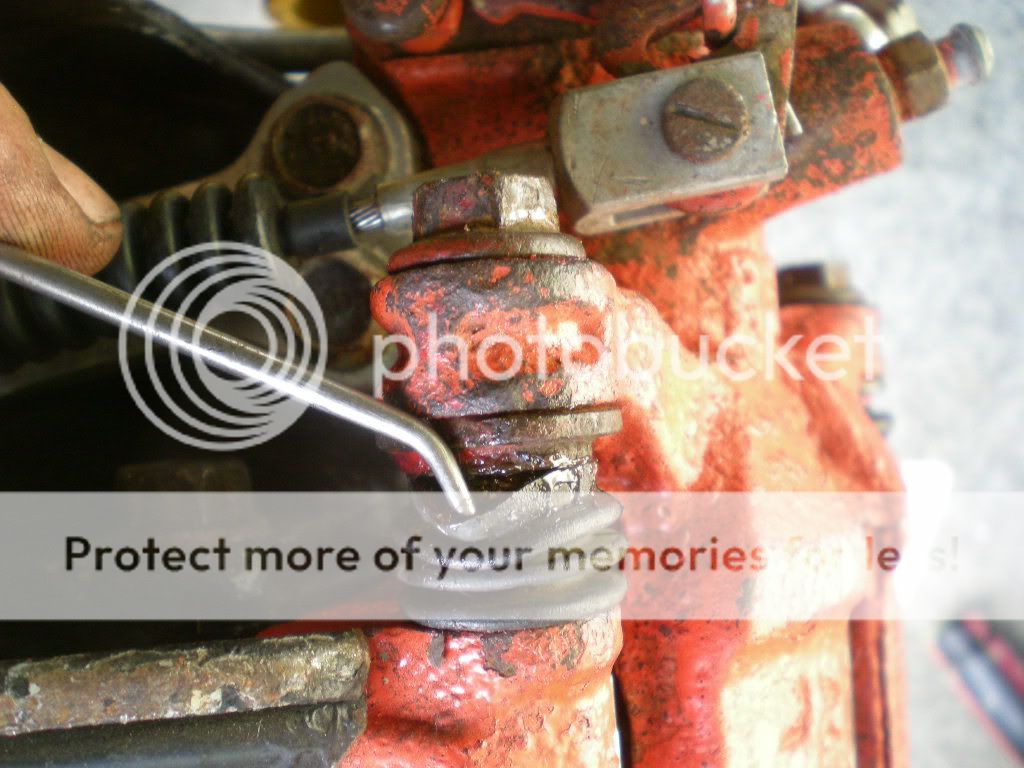
Use adequately rated high-temperature synthetic grease on the pins.

Apply liberally and coat all surfaces evenly.
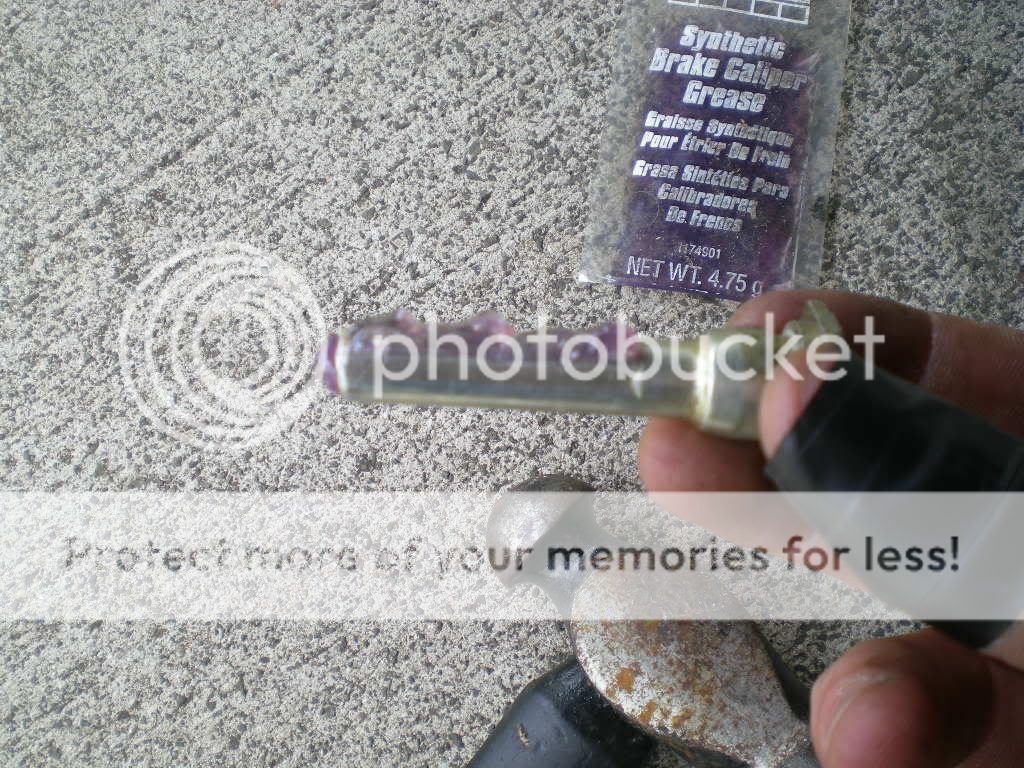
Be sure to grease the tip of the pin as well as the collar.
Carefully reinstall the dust boots and then the pins, taking care to ensure everything slides together properly and the dust boots seat in their respective grooves in the pins and on the caliper bracket.
You may need to separate the dust boots from the pins as you slide them together, as trapped air in the boots can cause them to swell up due to the air pressure.
Reload the caliper brackets with the new pads.
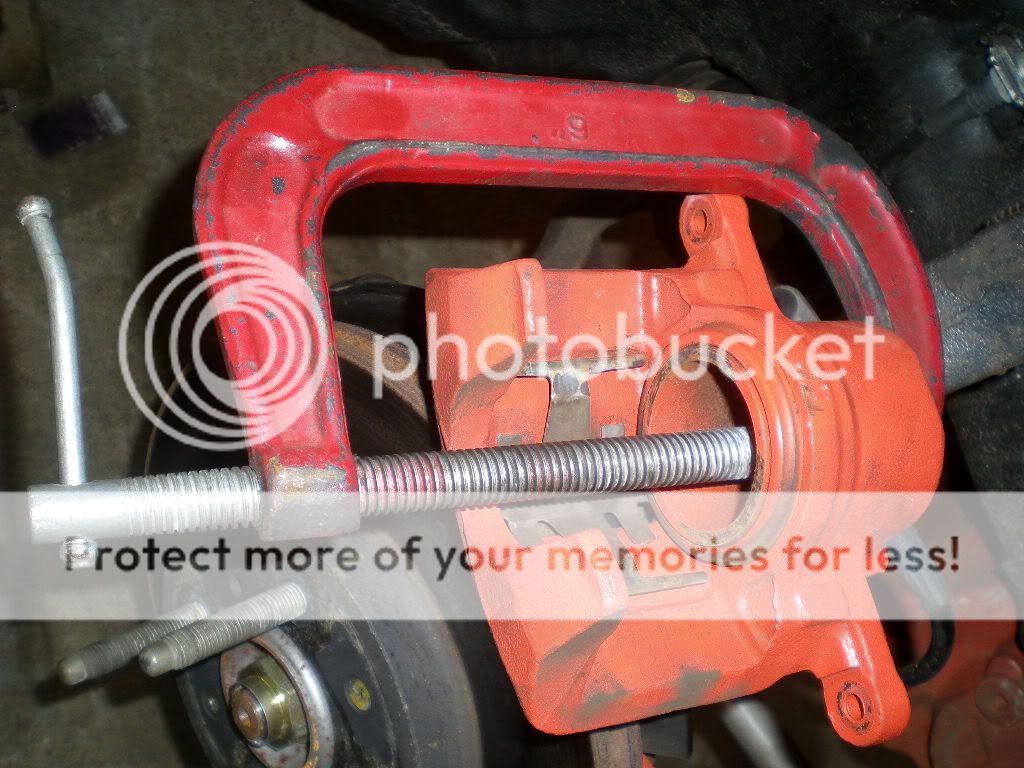
You will need to use a C-clamp to press the pistons back into the calipers to account for the added thickness of the new brake pad material. Recommended procedure would dictate removing the cap from your brake fluid reservoir in the engine bay. I generally skip this step, as I have never had a problem with the fluid being forced back through the system into the reservoir causing the cap to 'burst' or pop off. From the Honda vehicles a I have worked on, the reservoirs all seem to be vented to allow the extra pressure to bleed off instead of building in the reservoir. I have also noted that it's very easy to forget to replace the cap on the reservoir once you are done with the job, and this could be catastrophic.
Reinstall the caliper mounting bolts and torque to recommended torque specification in your shop manual. The front calipers pictured were from a 1992 Acura Integra LS, and the recommended torque was 24ft/lb.

Reinstall the wheel and snug the lugnuts. Lower the vehicle onto the ground and torque the lugnuts to recommended torque specification as found in your shop manual. Depending on the presence of aftermarket lug nuts and studs, you may want to torque slightly higher than with OEM components. I chose 80ft/lb.
It is recommended that you bleed your brakes after each pad change. I find that pumping the brake pedal several times builds pressure in the lines and serves a very similar purpose as bleeding. Your mileage may vary. Follow the recommended procedure for properly breaking in your new pads. Due to rotor runout, incongruencies between pad and rotor surface, and other factors, your brakes may be very weak for the first few stops. Be cautious and test your new pads out in a controlled area, with a large runoff if you should have a problem.
Make sure you have the proper front and rear pads for your car before you start the project. If your brakes are oversized or included swapped parts from another car, make sure to order pads for the proper calipers.
Set the parking brake. You may want to loosen your front lugnuts at this point. I choose to use a stick between the brake pedal and the seat for engaging the front brake, and loosen lugnuts once the wheels are in the air and the brake is engaged. It serves a simple brake test, to ensure both calipers are properly locking the wheels up front.
Lift the front of the car from a suitable lift point. I used the tow hooks on my traction bar.
Set your jack stands under the jacking points, just behind the front wheels. Lower the car onto the jack stands, and shake the chassis to make sure everything has settled solidly.
Using a friend or stick between the seat and brake pedal, hold the brake depressed while you loosen the lug nuts. Remove the wheel. Then remove the stick from the brake pedal, releasing the front brakes.
Loosen the upper and lower caliper mounting bolts. They should be 12/14mm-head depending on which brake calipers you have.
Once both bolts have been loosened, remove them and slide the caliper off of the old pads on the rotor.
Use wire or a cable tie to secure the caliper to the spring, or set it on top of the rotor as pictured. You cannot let the caliper hang by the brake softline - the weight of the caliper can damage the brake line.
Inspect your old pads for uneven wear which may indicate a warped or grooved rotor.
Compare your old and new pads, making sure you have the right parts to continue. I always place the squealer tab on the inside pad, facing down.
Now carefully remove both caliper slide pins and rubber boots for inspection and cleaning.
Wipe off all grease and dirt from the pins and the boots. Use parts cleaner to clean any grease and dirt from inside the caliper slide pin holes on the caliper mounting bracket. Using improper lubricants on these pins will cause premature wear (as seen in the dark spots on these cleaned pins.)
Use adequately rated high-temperature synthetic grease on the pins.
Apply liberally and coat all surfaces evenly.
Be sure to grease the tip of the pin as well as the collar.
Carefully reinstall the dust boots and then the pins, taking care to ensure everything slides together properly and the dust boots seat in their respective grooves in the pins and on the caliper bracket.
You may need to separate the dust boots from the pins as you slide them together, as trapped air in the boots can cause them to swell up due to the air pressure.
Reload the caliper brackets with the new pads.
You will need to use a C-clamp to press the pistons back into the calipers to account for the added thickness of the new brake pad material. Recommended procedure would dictate removing the cap from your brake fluid reservoir in the engine bay. I generally skip this step, as I have never had a problem with the fluid being forced back through the system into the reservoir causing the cap to 'burst' or pop off. From the Honda vehicles a I have worked on, the reservoirs all seem to be vented to allow the extra pressure to bleed off instead of building in the reservoir. I have also noted that it's very easy to forget to replace the cap on the reservoir once you are done with the job, and this could be catastrophic.
Reinstall the caliper mounting bolts and torque to recommended torque specification in your shop manual. The front calipers pictured were from a 1992 Acura Integra LS, and the recommended torque was 24ft/lb.
Reinstall the wheel and snug the lugnuts. Lower the vehicle onto the ground and torque the lugnuts to recommended torque specification as found in your shop manual. Depending on the presence of aftermarket lug nuts and studs, you may want to torque slightly higher than with OEM components. I chose 80ft/lb.
It is recommended that you bleed your brakes after each pad change. I find that pumping the brake pedal several times builds pressure in the lines and serves a very similar purpose as bleeding. Your mileage may vary. Follow the recommended procedure for properly breaking in your new pads. Due to rotor runout, incongruencies between pad and rotor surface, and other factors, your brakes may be very weak for the first few stops. Be cautious and test your new pads out in a controlled area, with a large runoff if you should have a problem.
Last edited by Corksil; 08-26-2012 at 12:29 PM.


Thread
Thread Starter
Forum
Replies
Last Post
Corksil
Honda Civic / Del Sol (1992 - 2000)
13
08-29-2012 04:03 PM