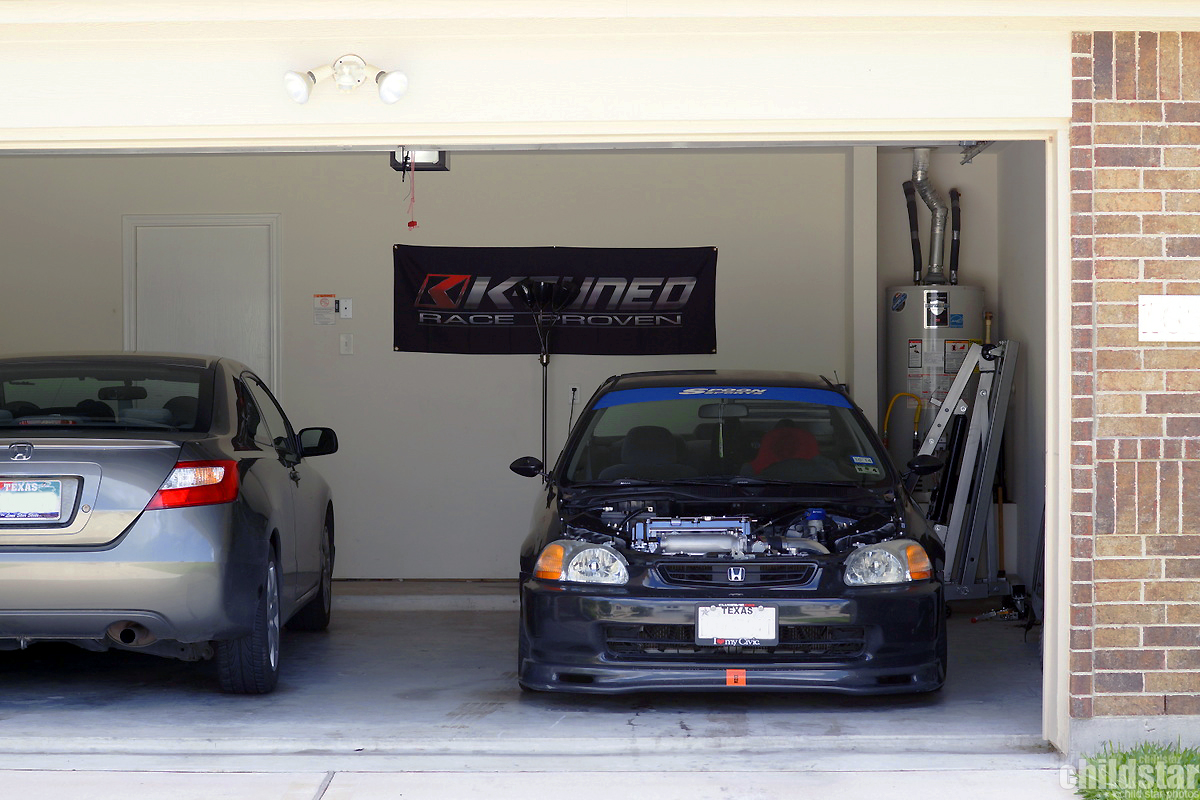
Childstar's K24 "gravity coupe"
 05-09-2016, 09:33 PM
#1
Honda-Tech Member
Thread Starter
Some friends suggested I should post my progress here on HT, so I figured why not. So here's the start of a condensed version of my progress to the most recent updates.
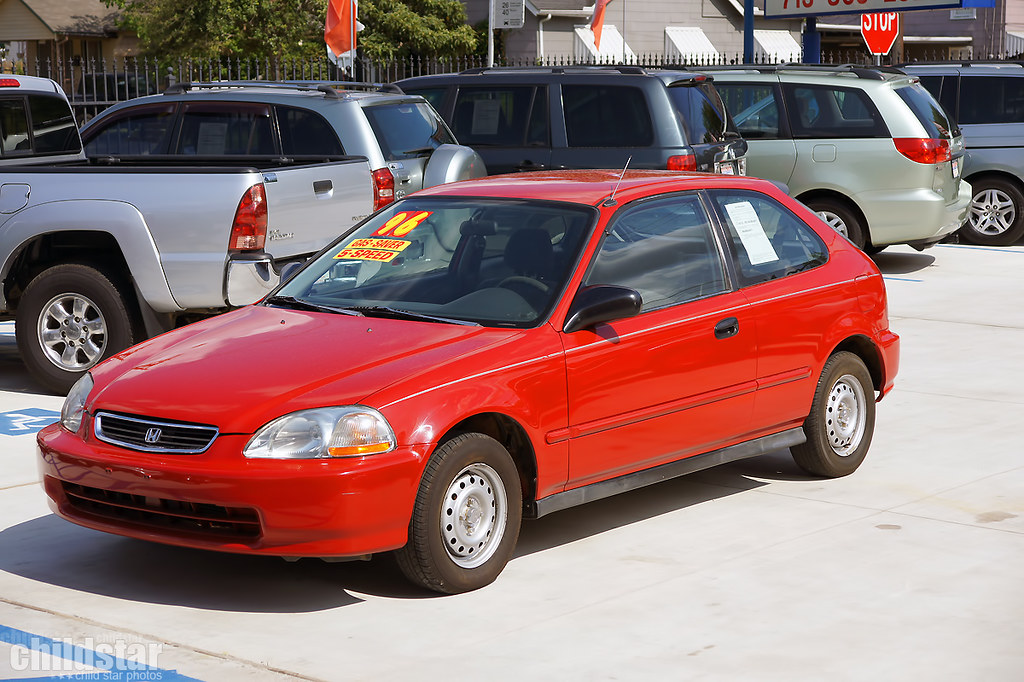
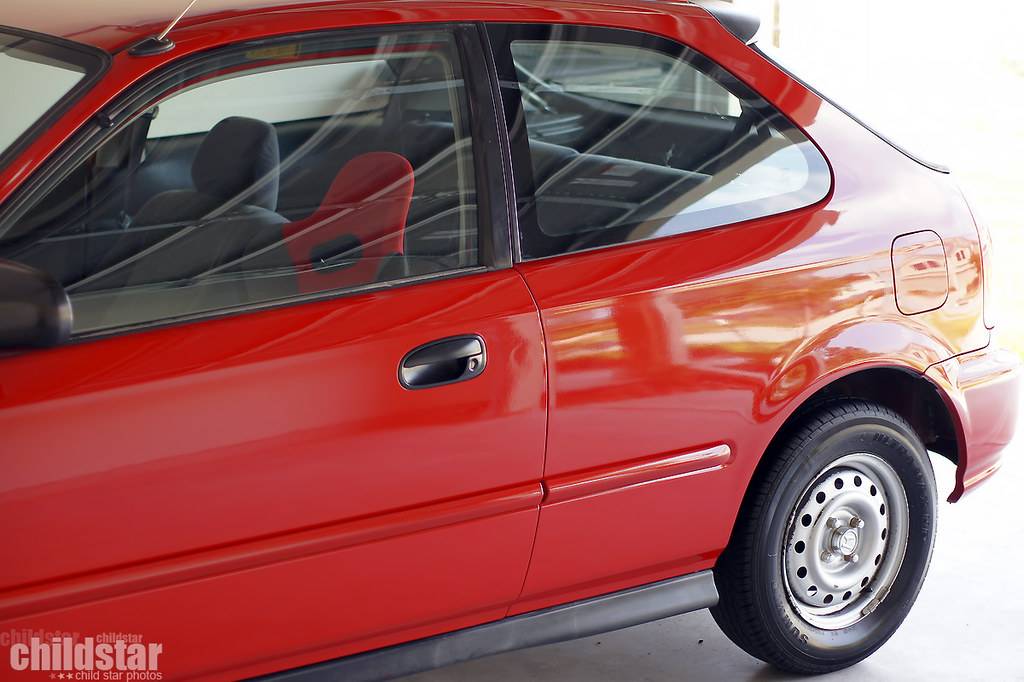
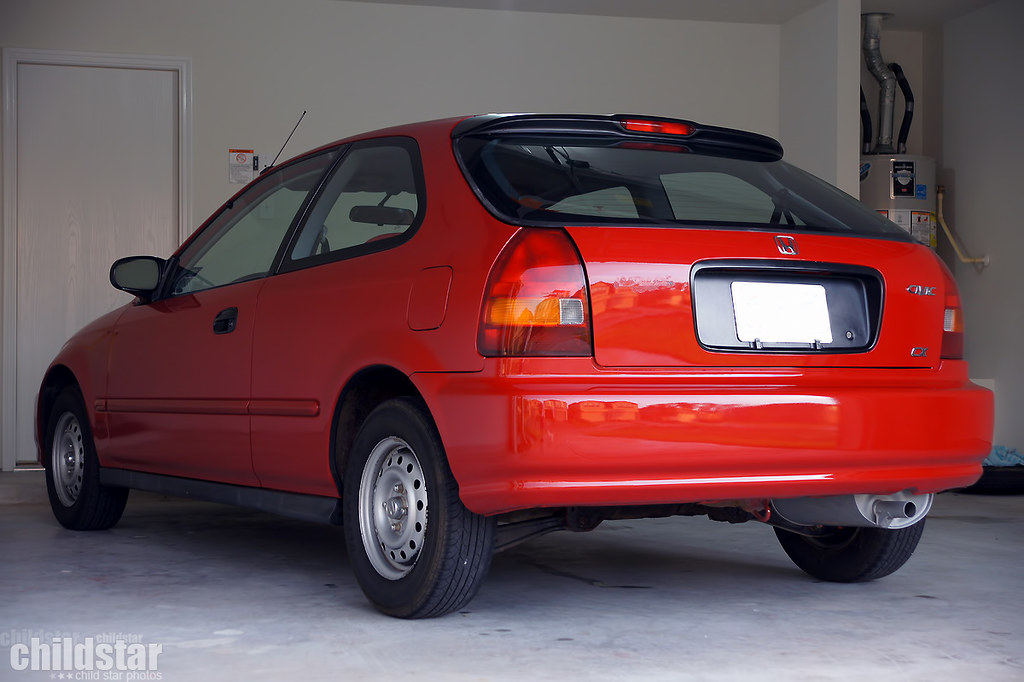
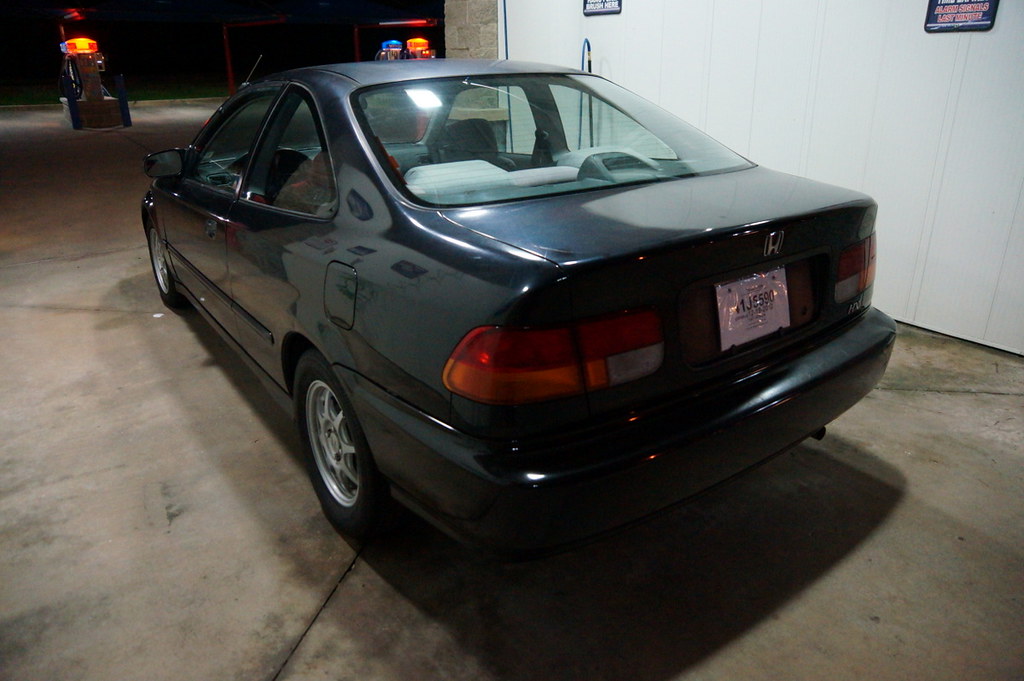
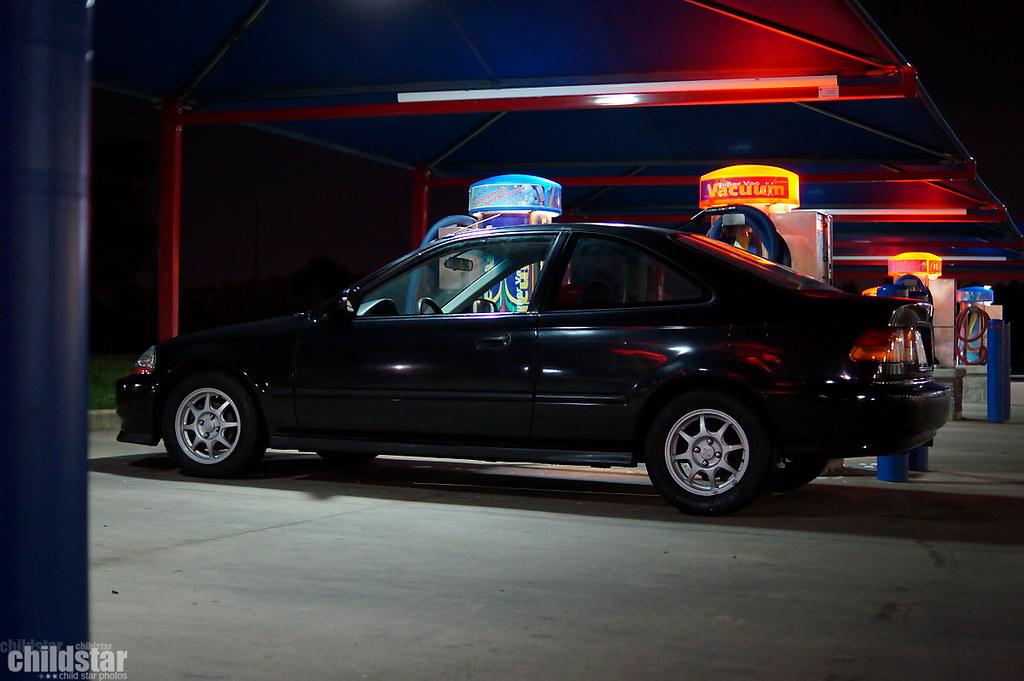
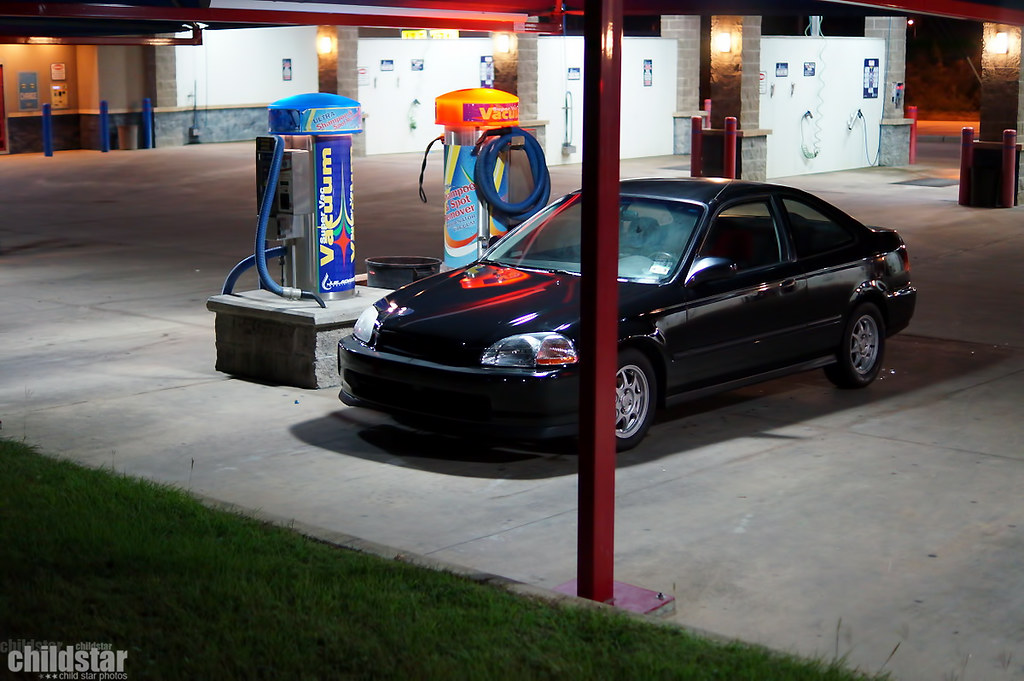
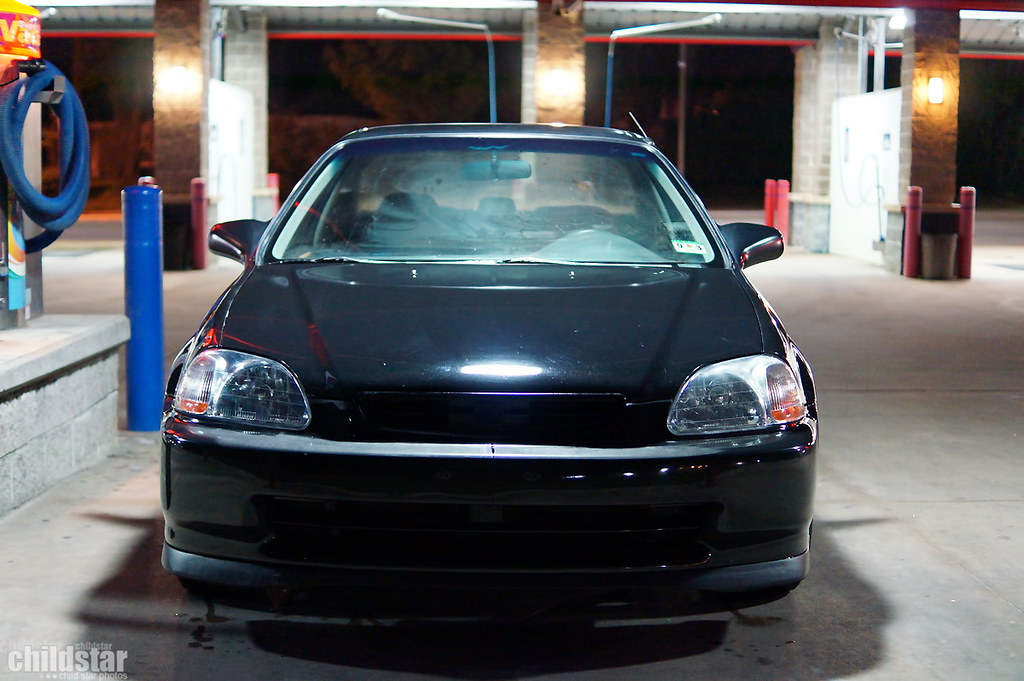
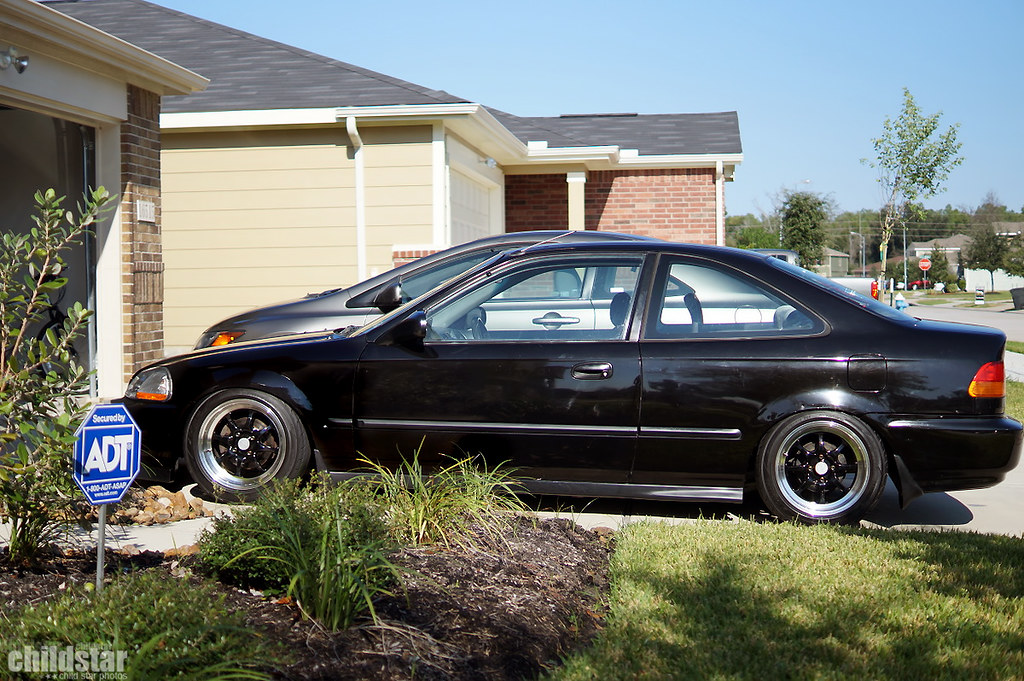
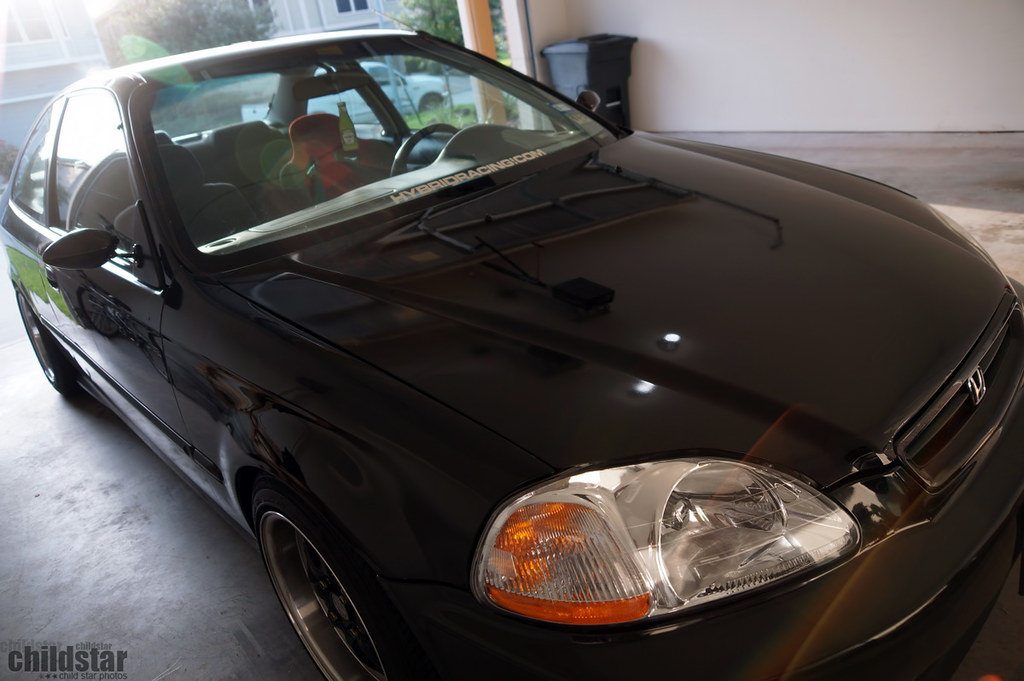
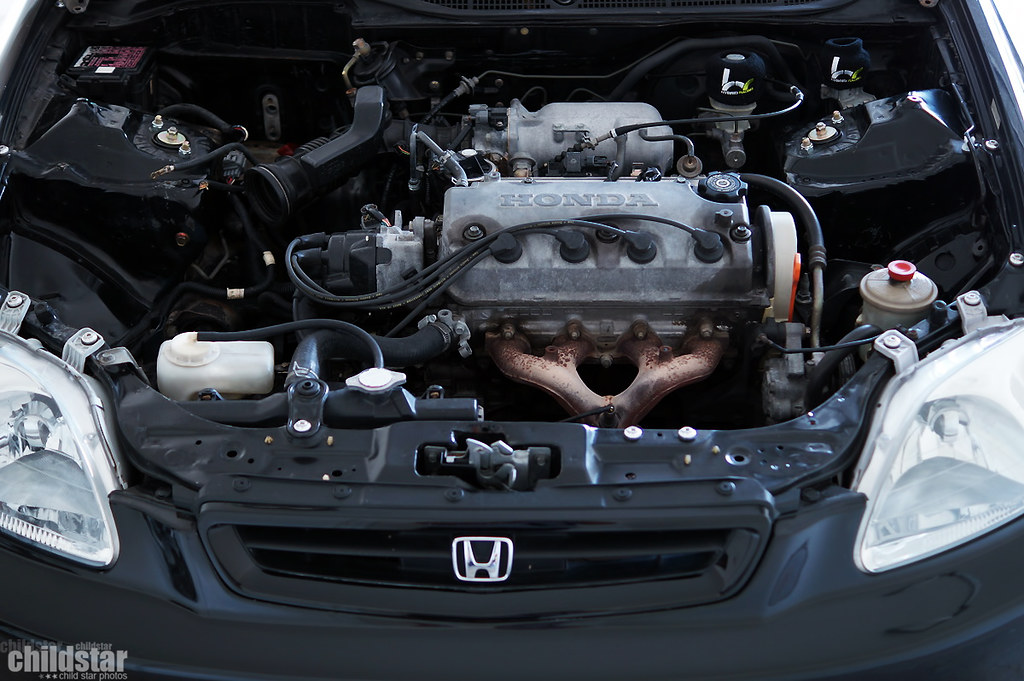
I bought the car stock from a small local dealer in the summer of 2011 and here's what I have so far...
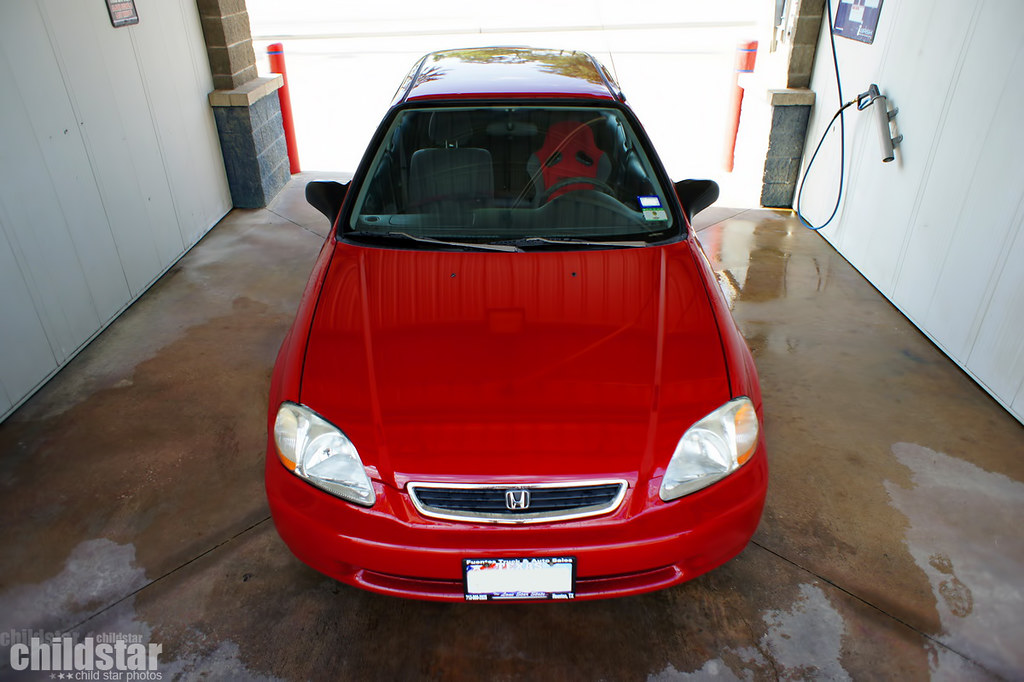
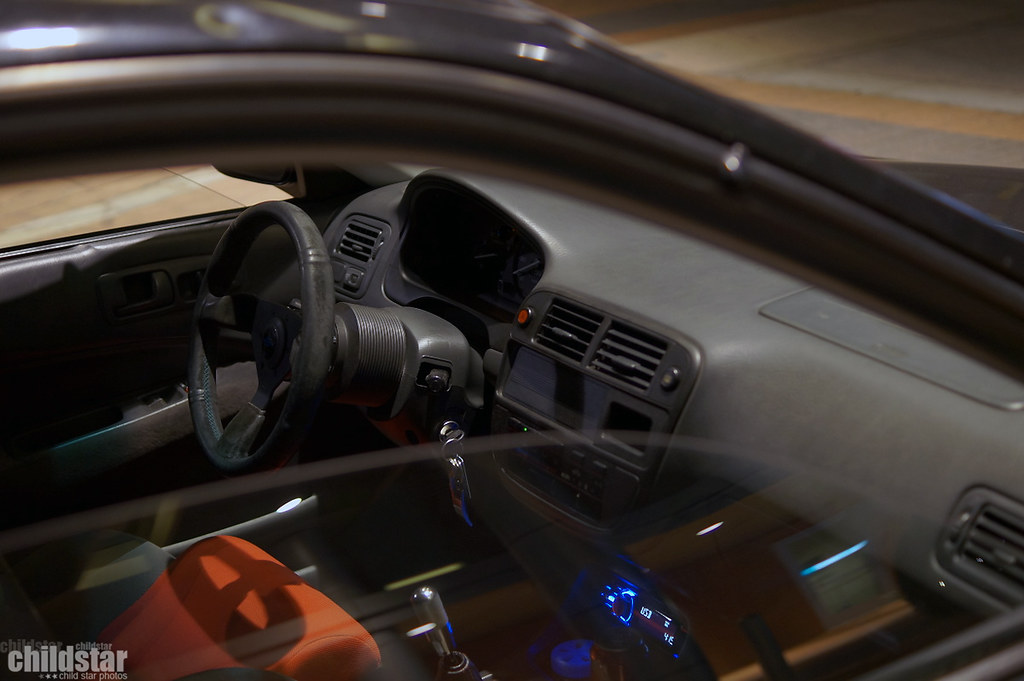
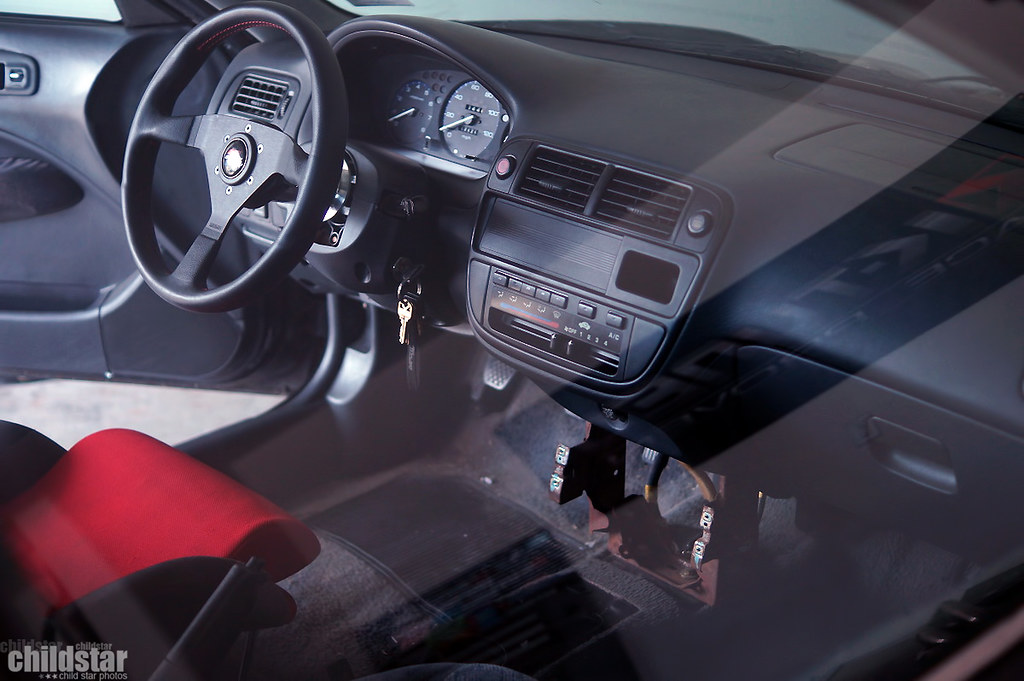
cleaned it up a bit and threw in my buddy club seat (stock seat had a huge rotting hole in it)
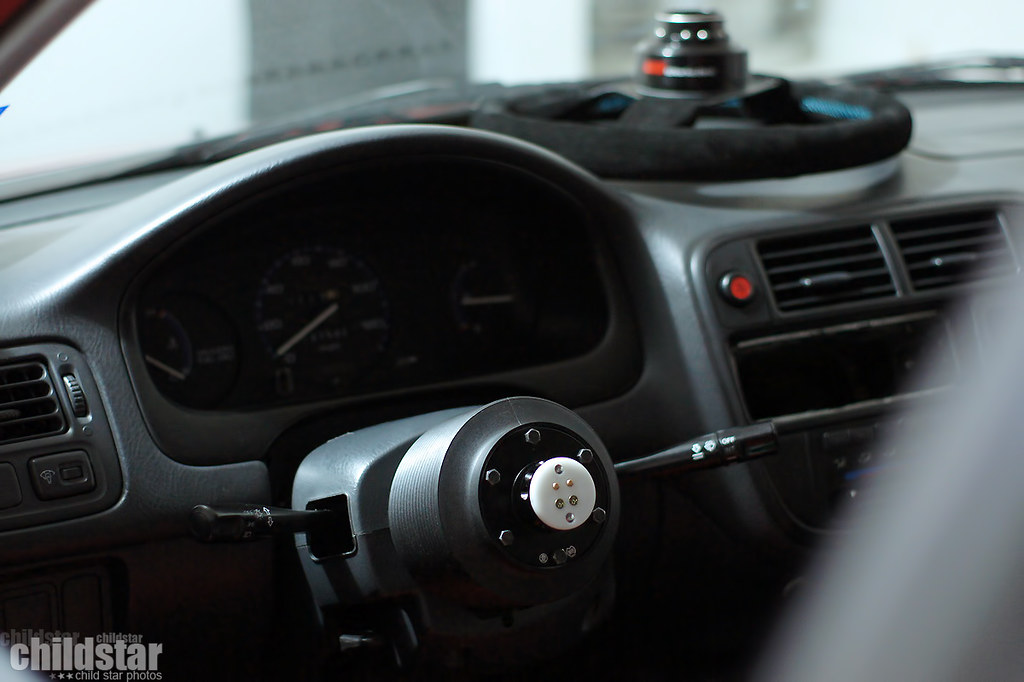
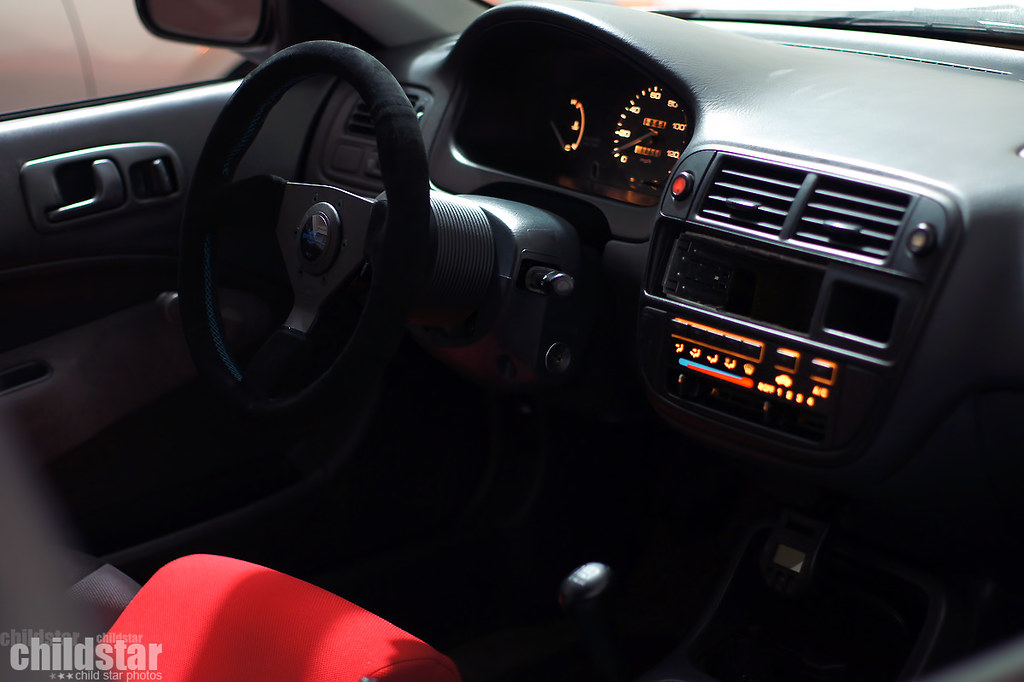
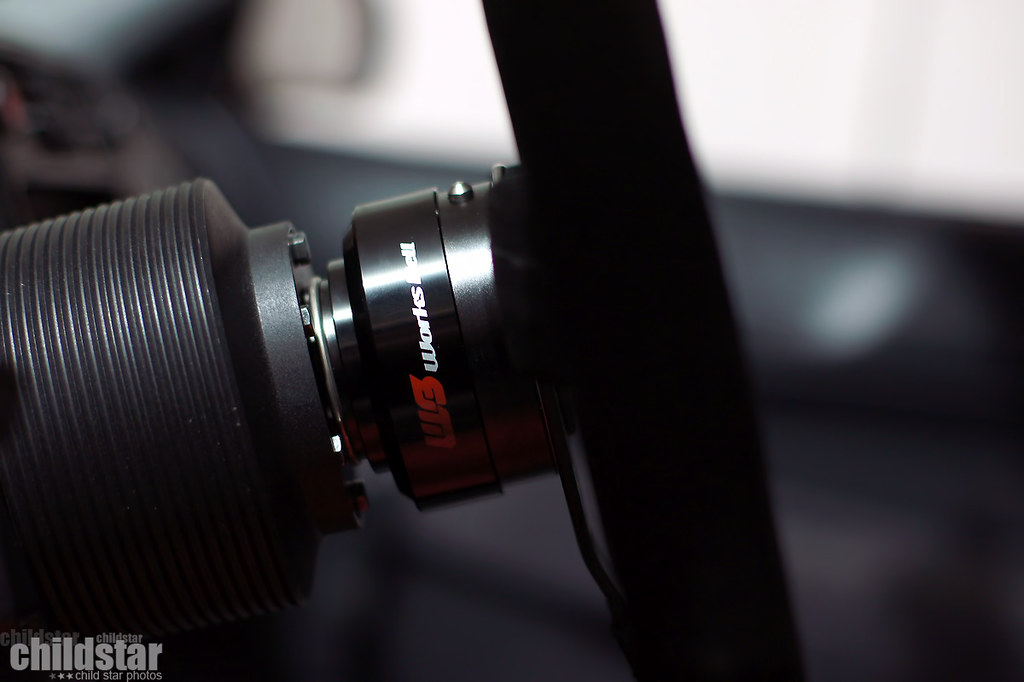
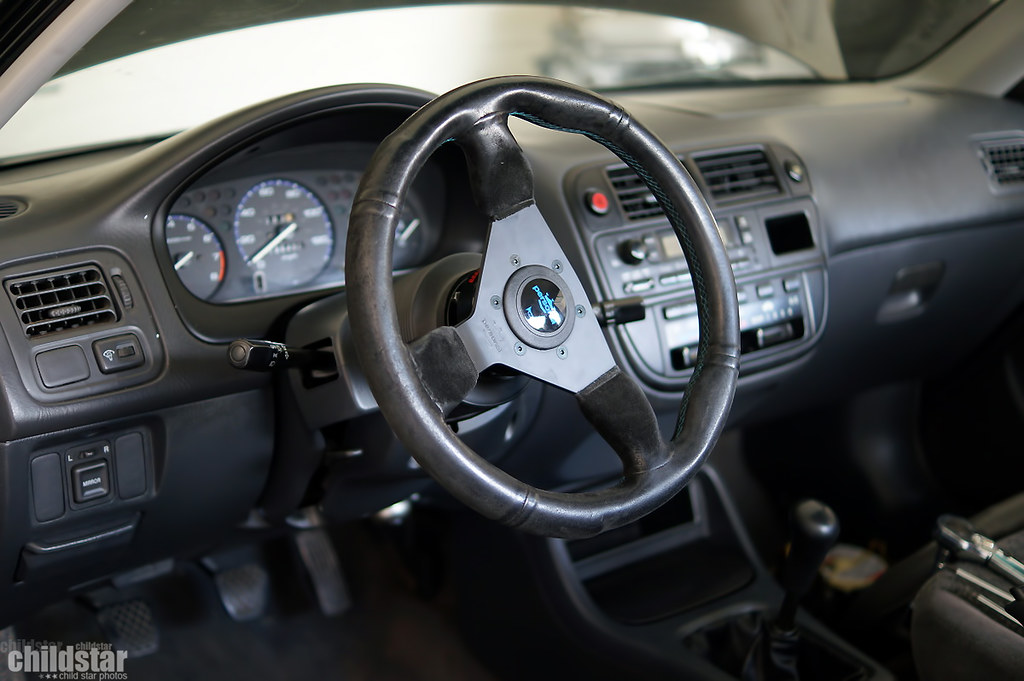
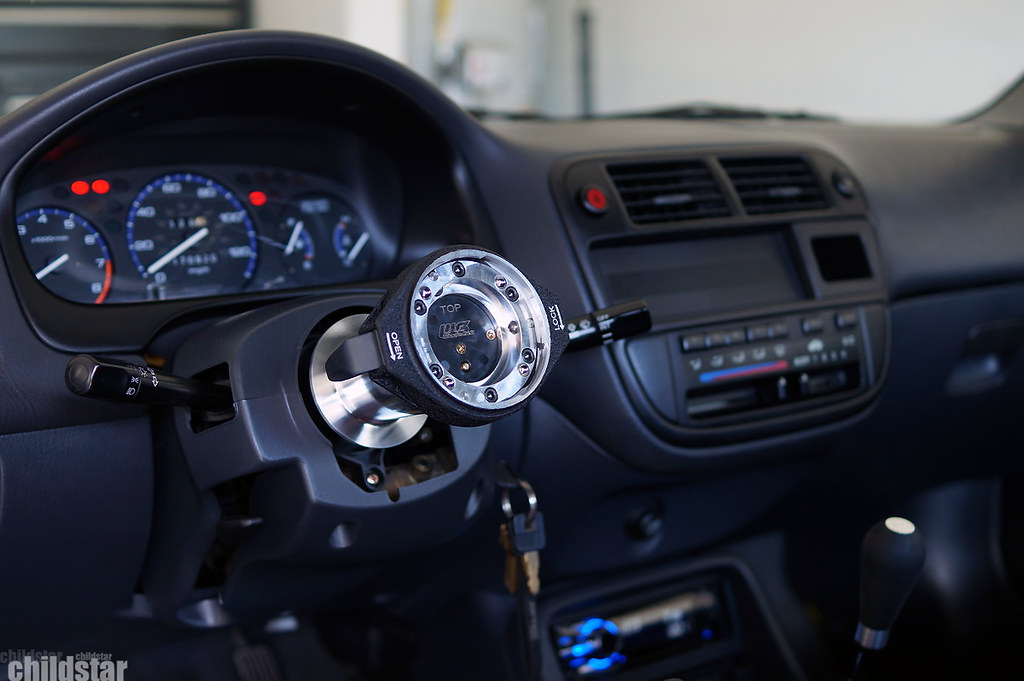
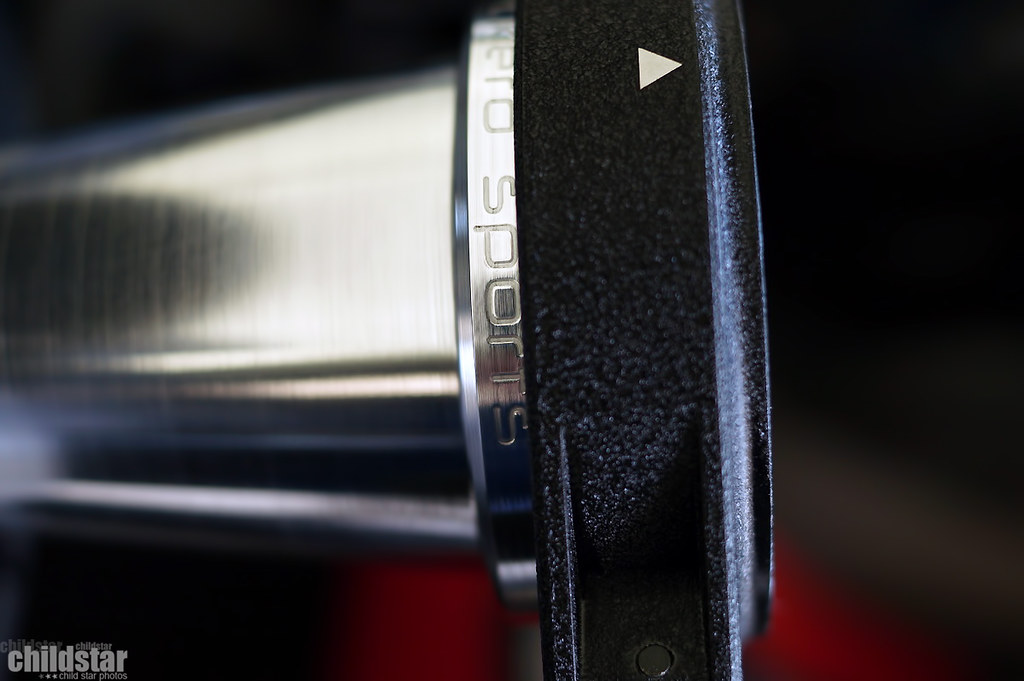
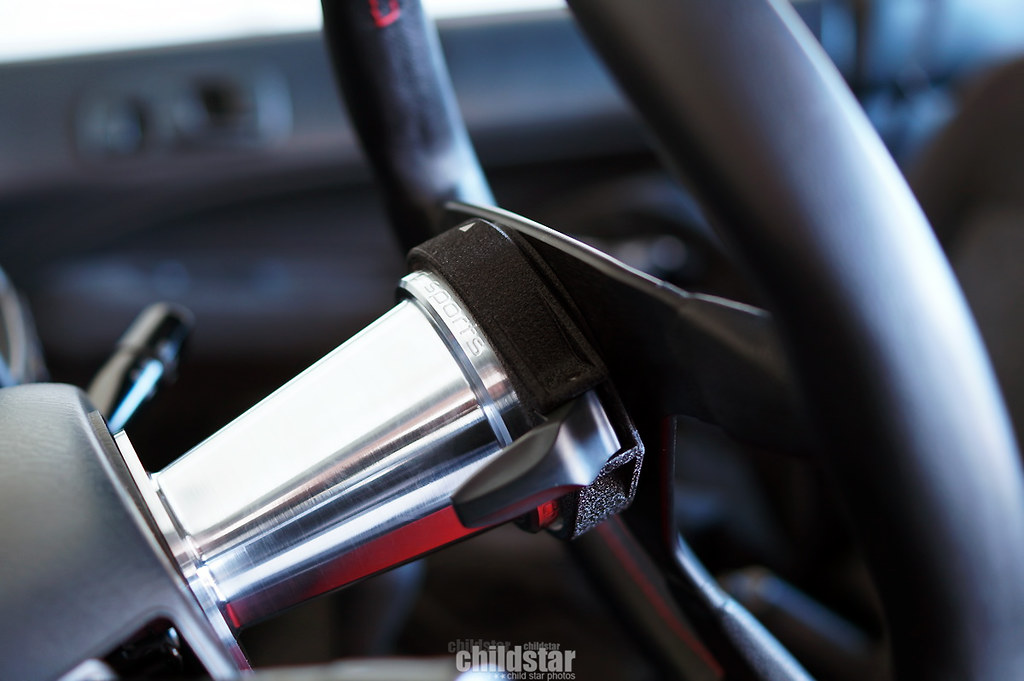
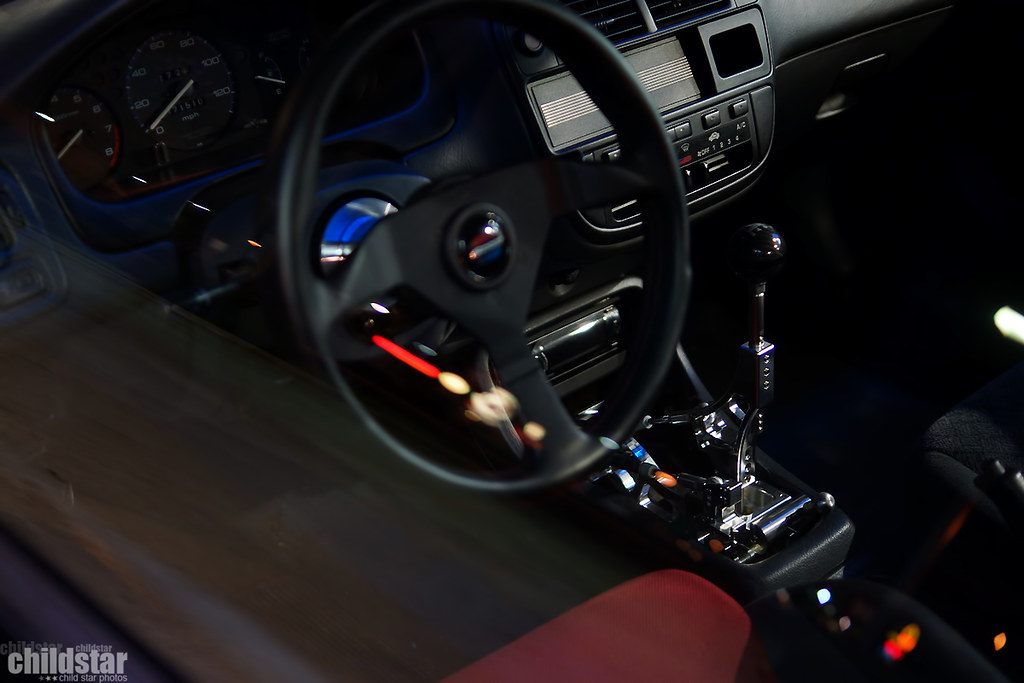
Works Bell hub and Rapfix II quick release w/ Personal Grinta wheel
Tucked some of the basics
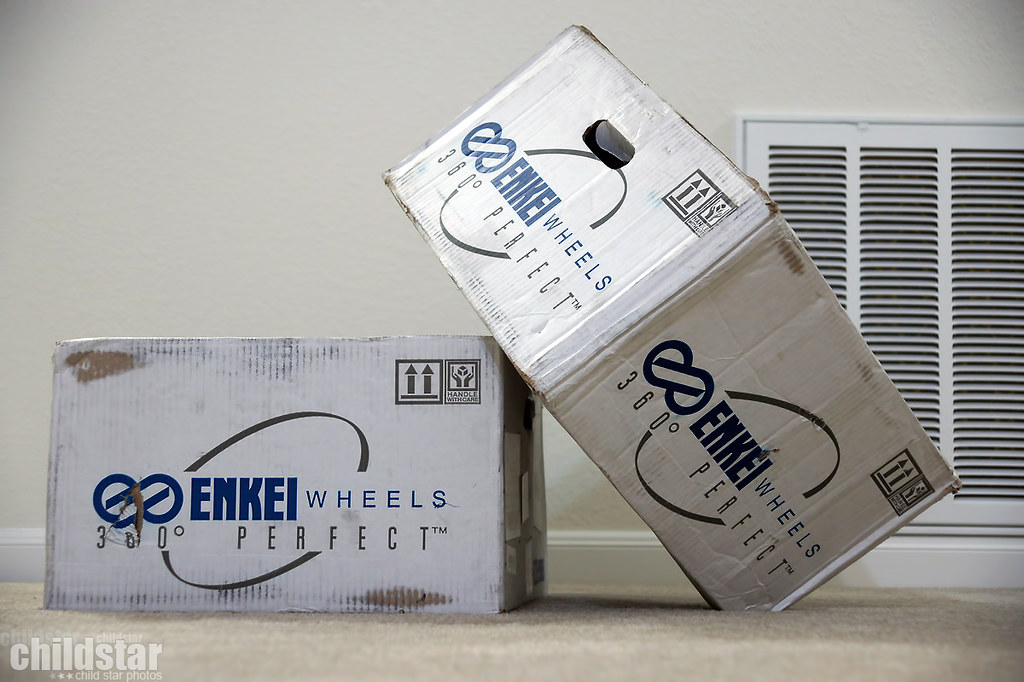
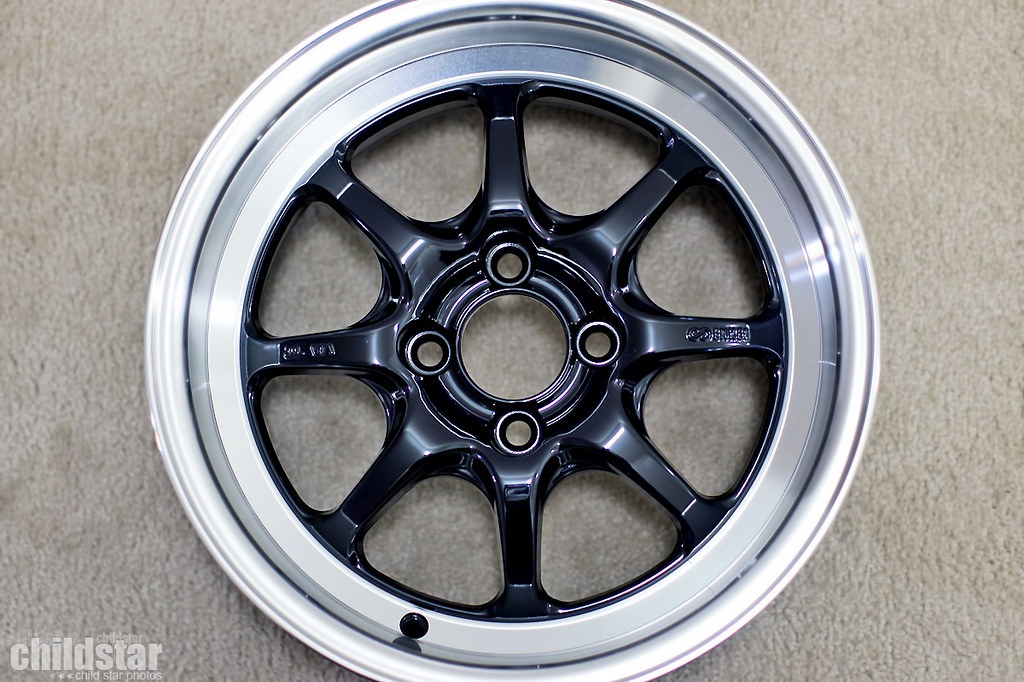
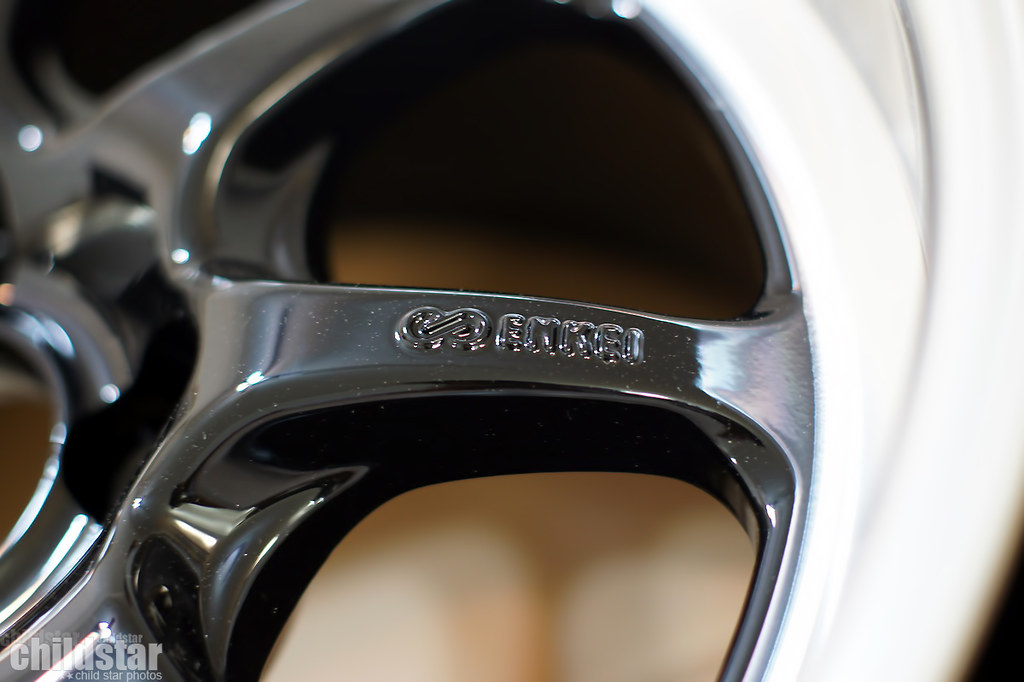
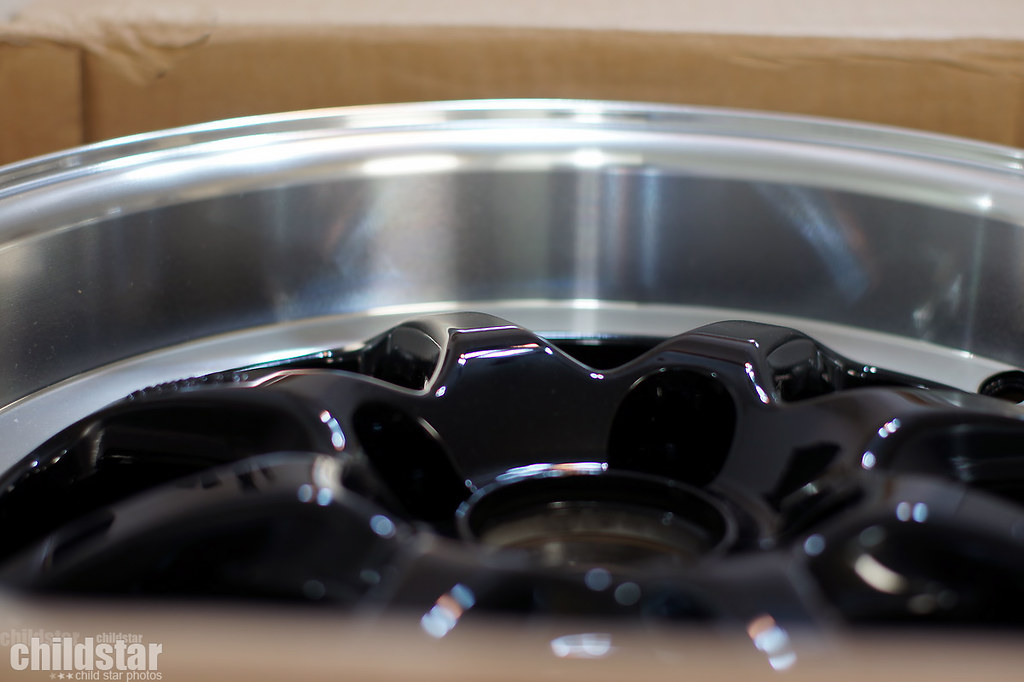
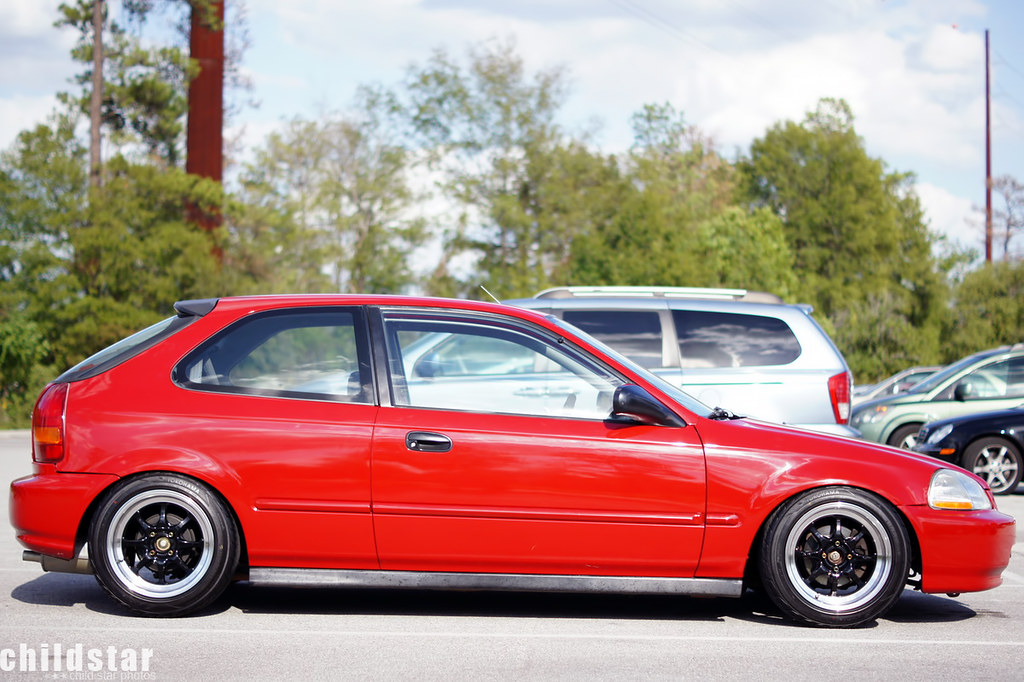
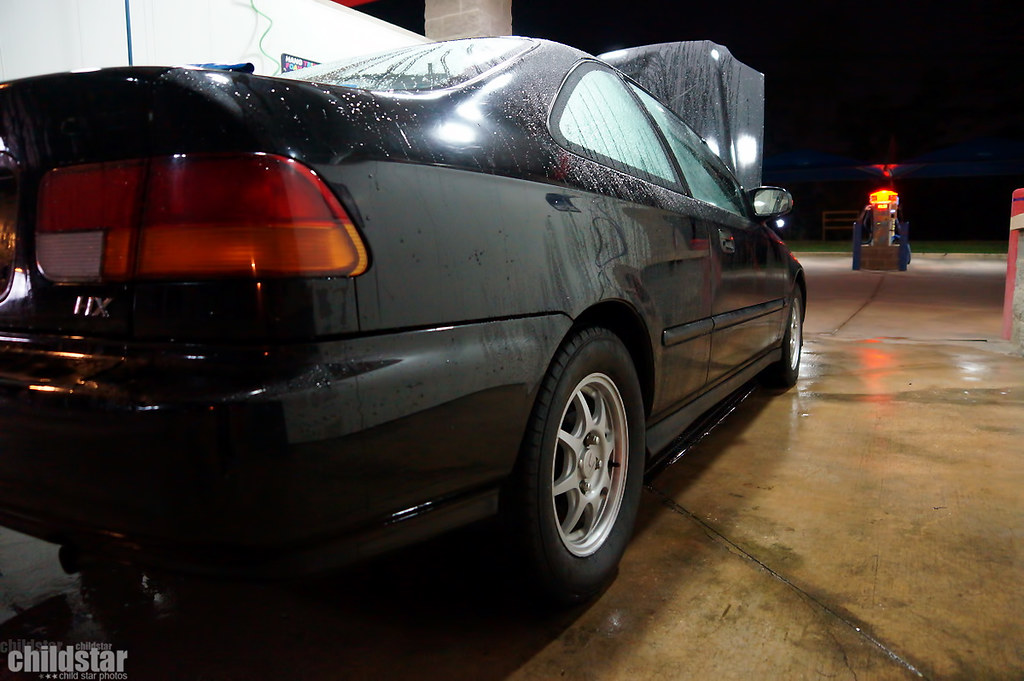
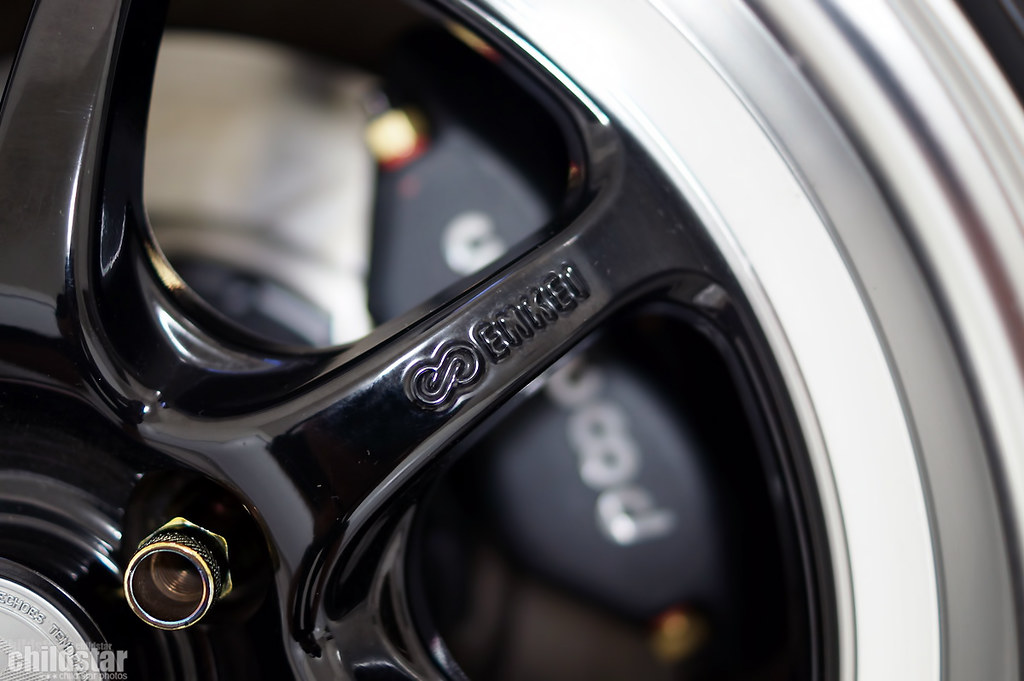
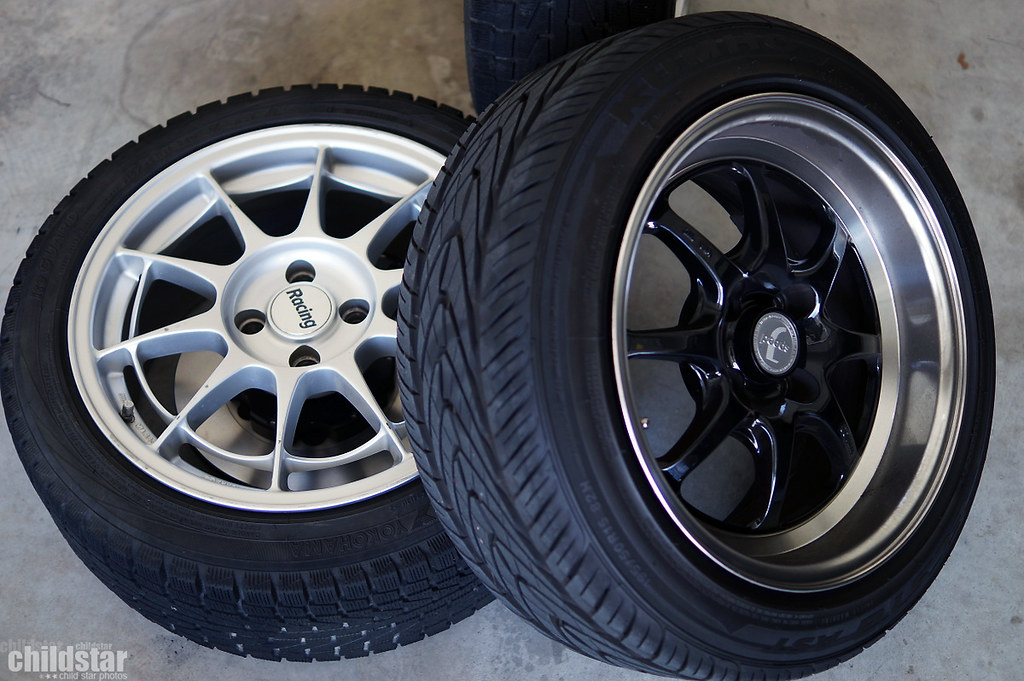
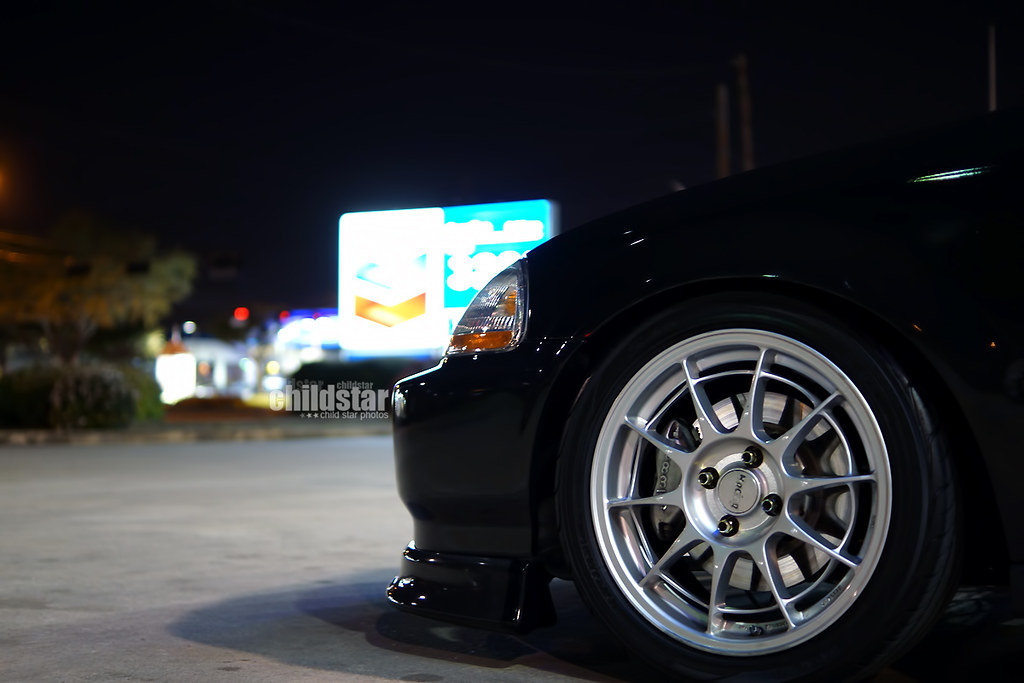
Picked up some reasonably priced wheels
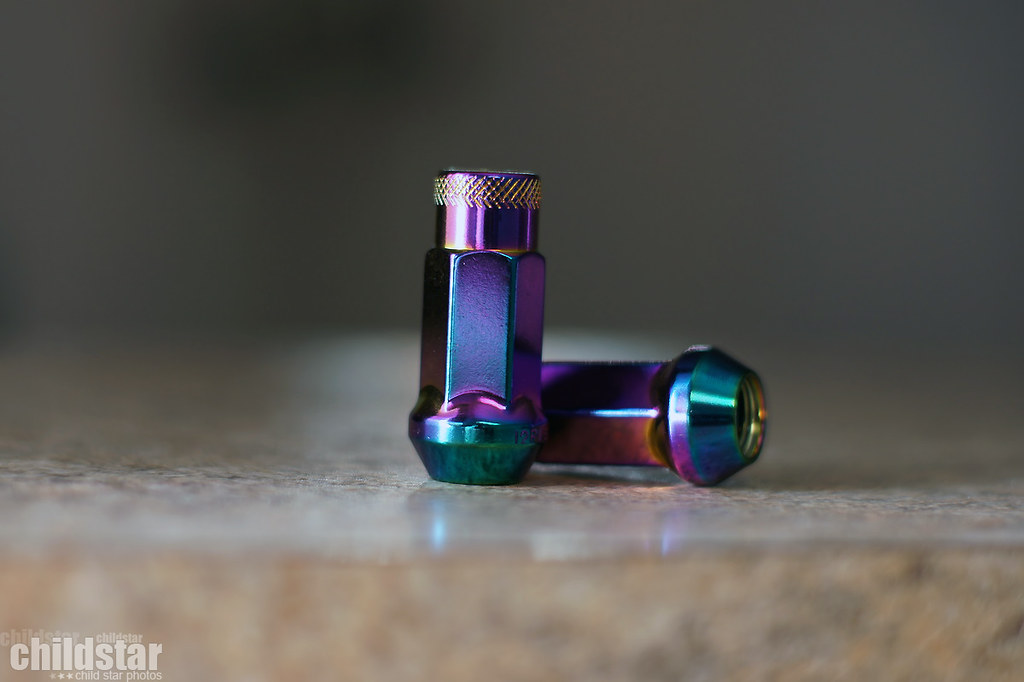
Muteki sr48 lug nuts
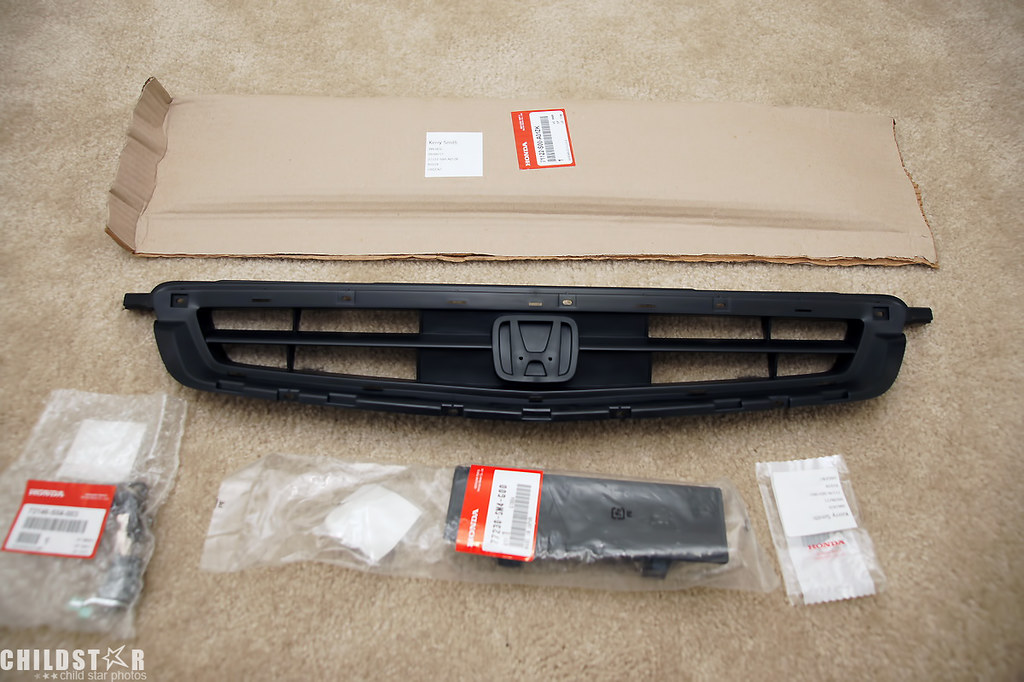
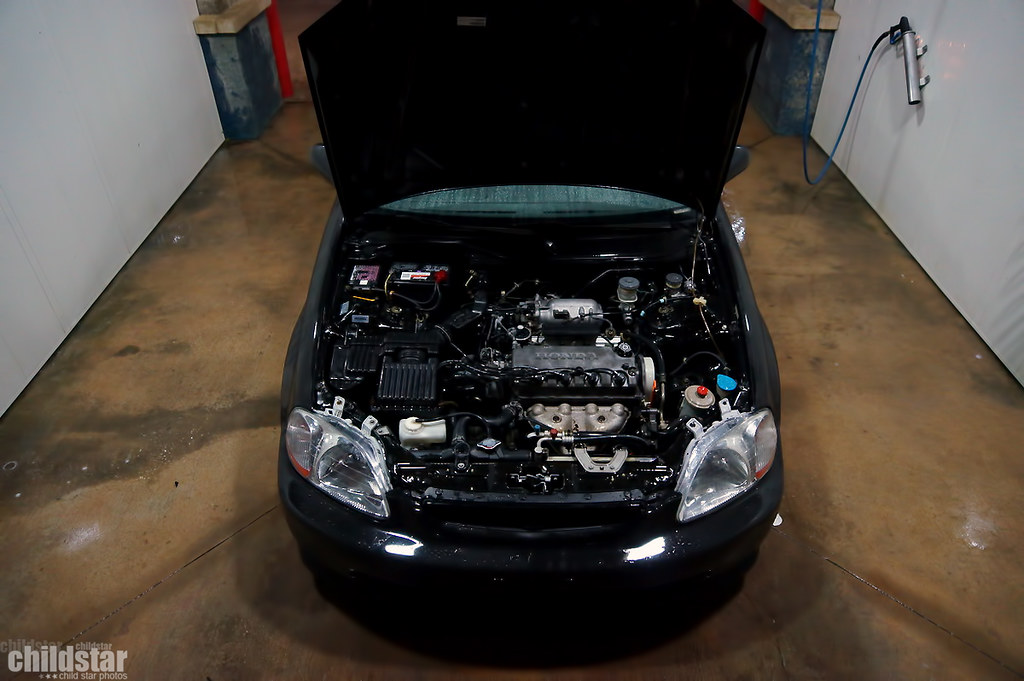
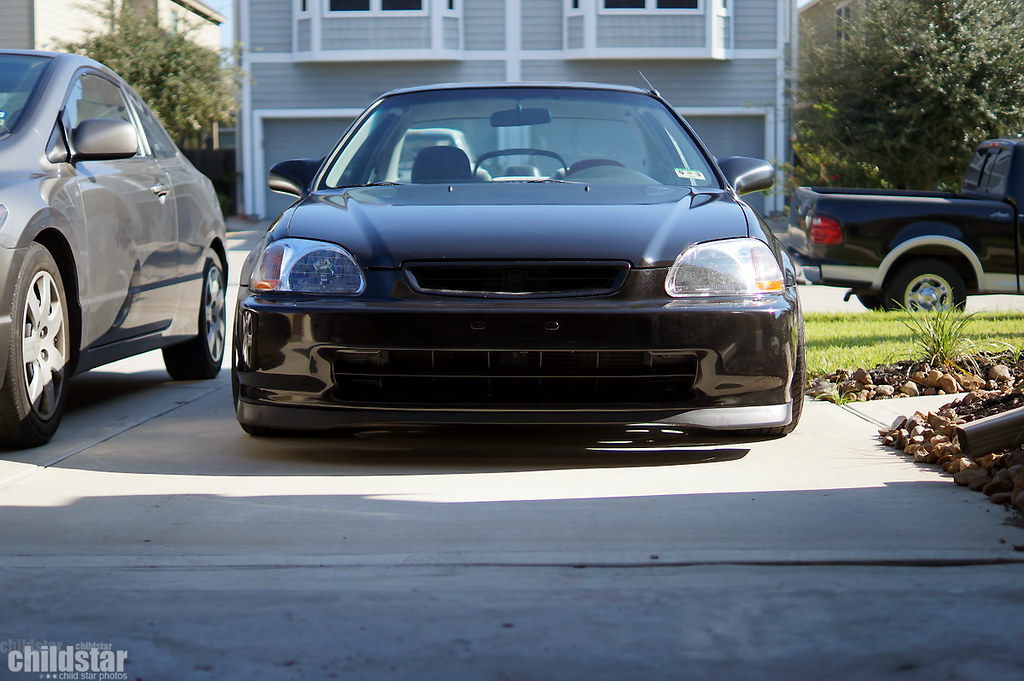
oem front grill, single din block off and other oem bits

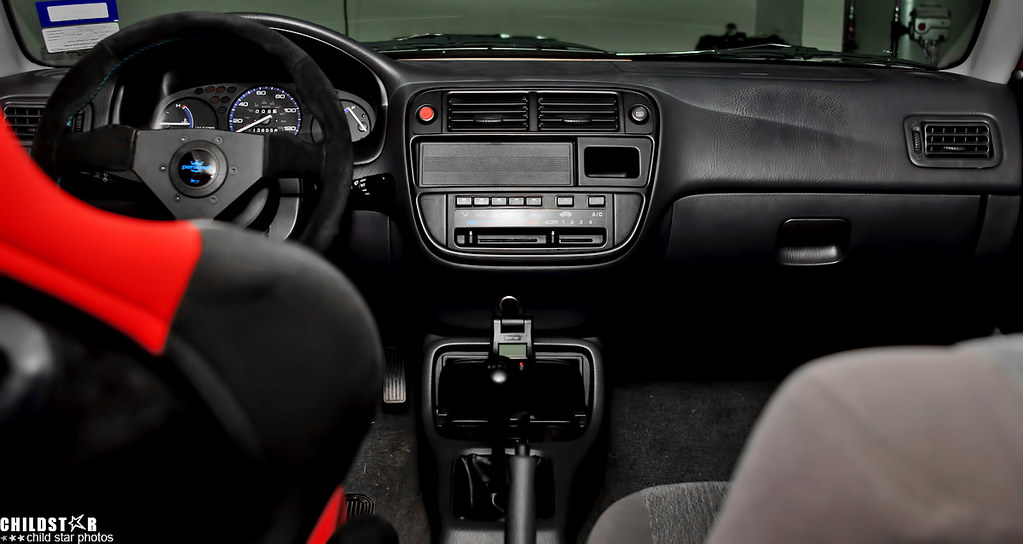
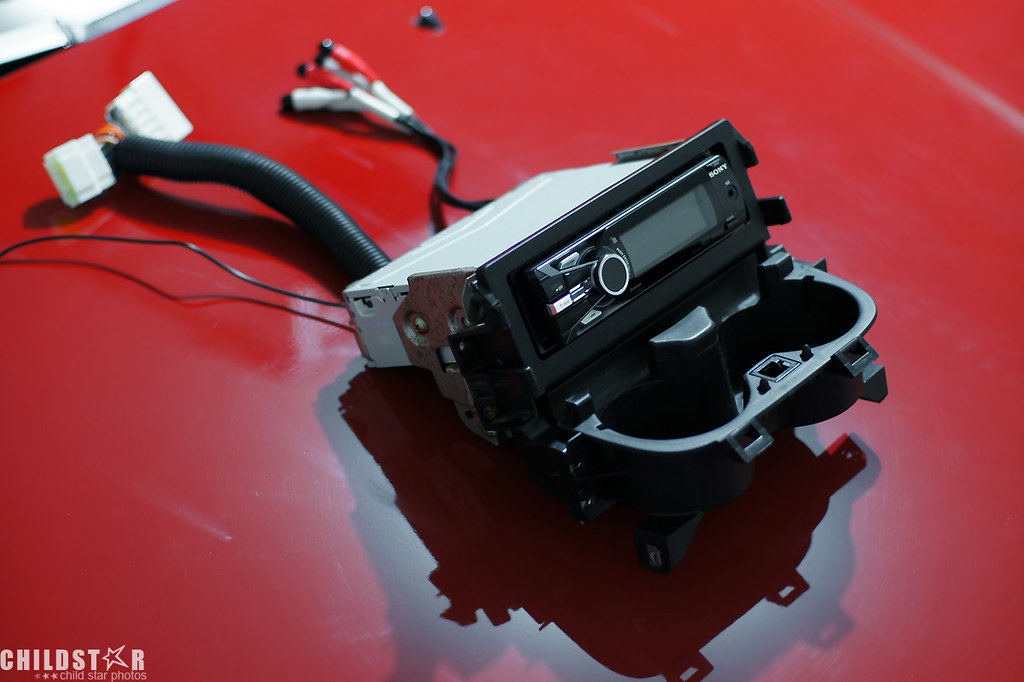
Threw in some tunes for DDing
Got some FnF type 1's. Like em for DDing

I try to clean up what i can when i can. Keeps me sane while im saving up for parts
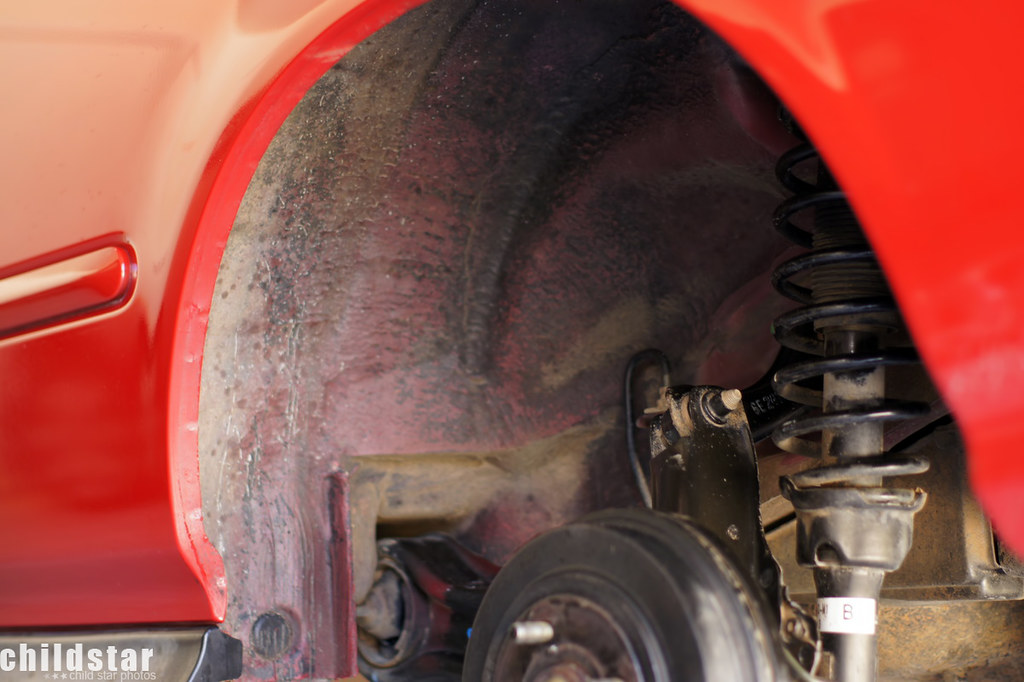
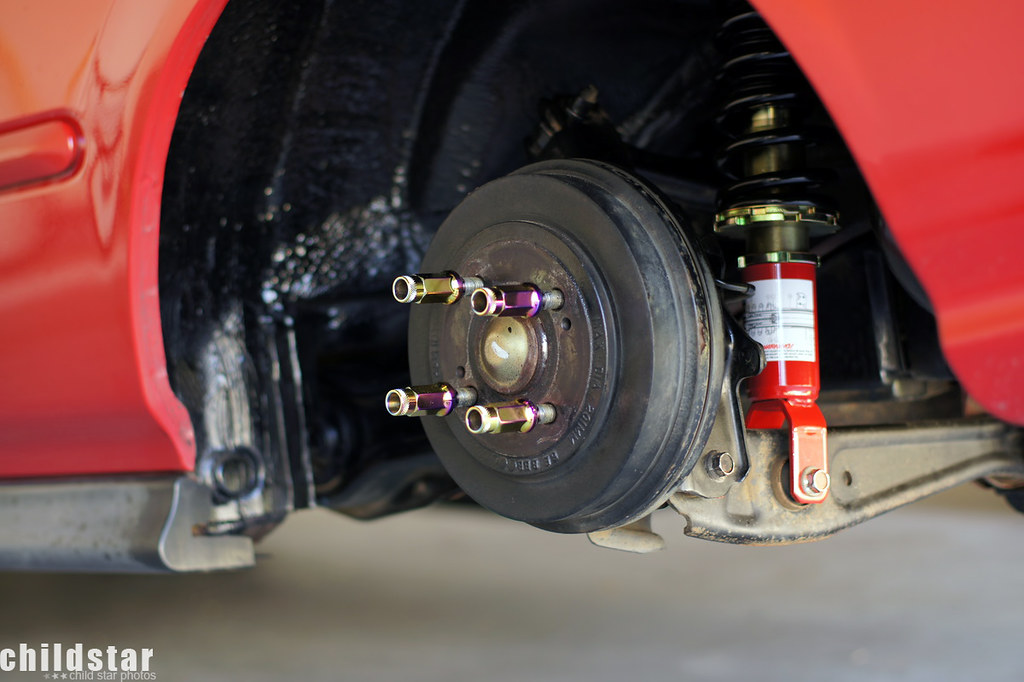
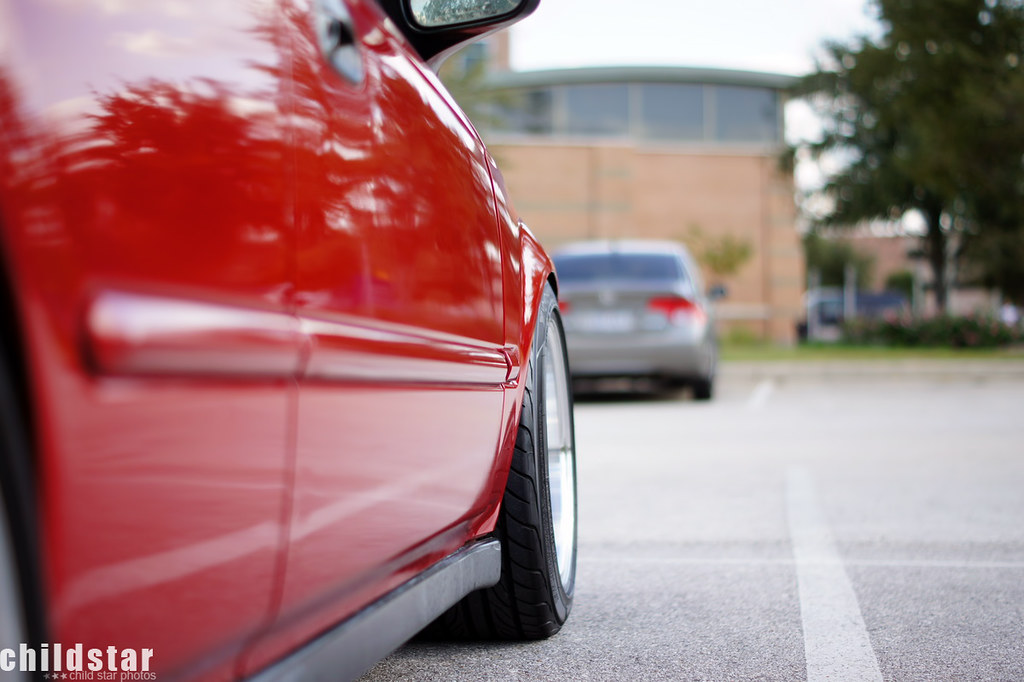
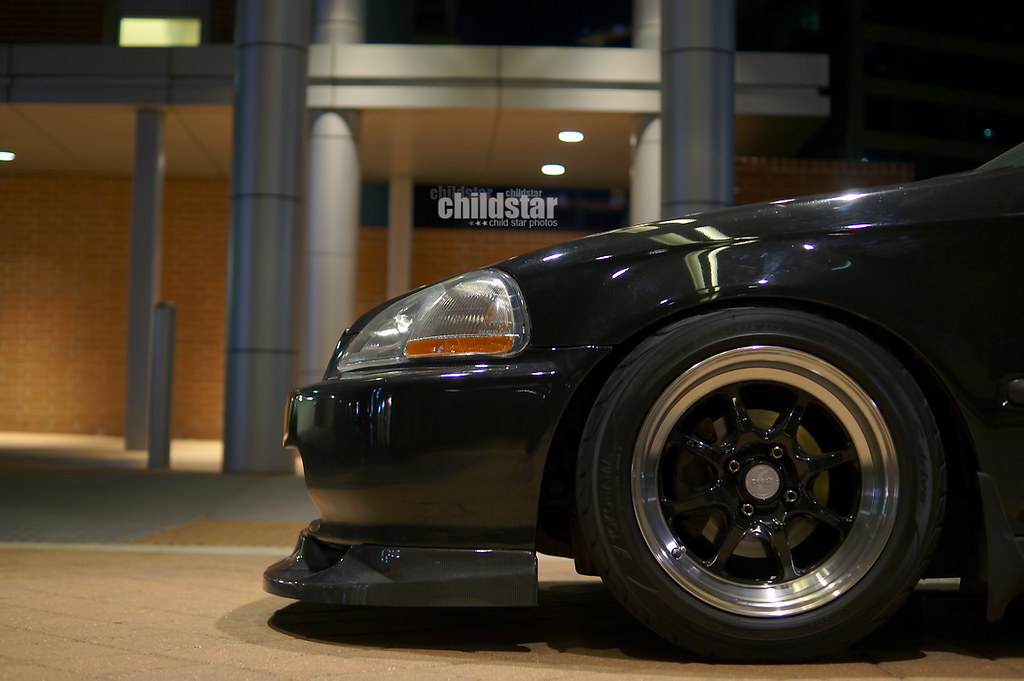
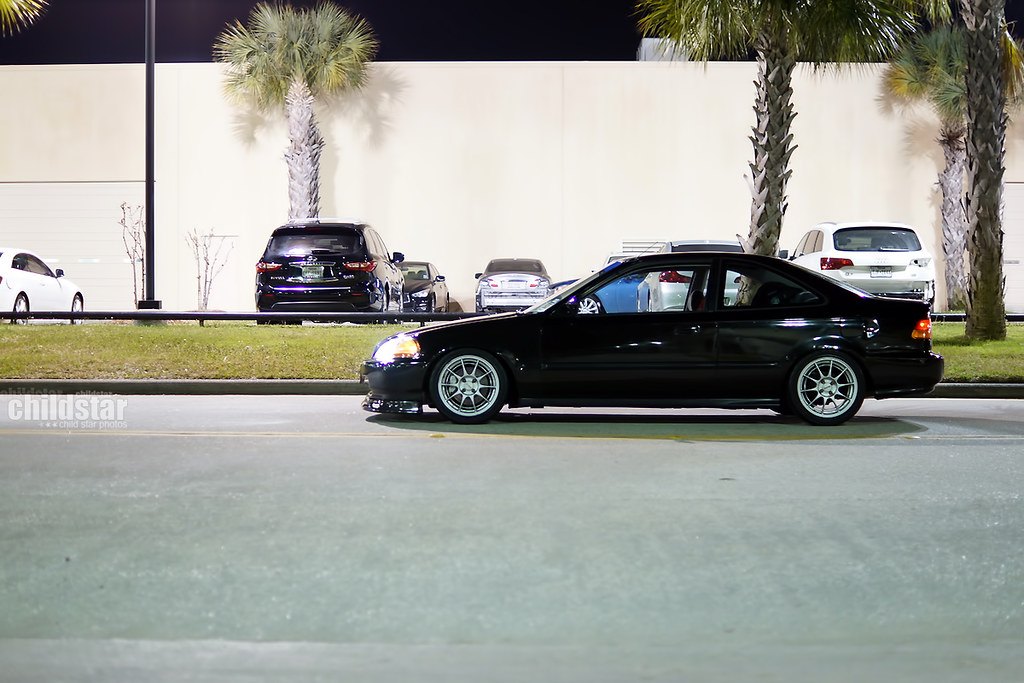
as flush as i care to be. drives without rubbing so im satisfied.
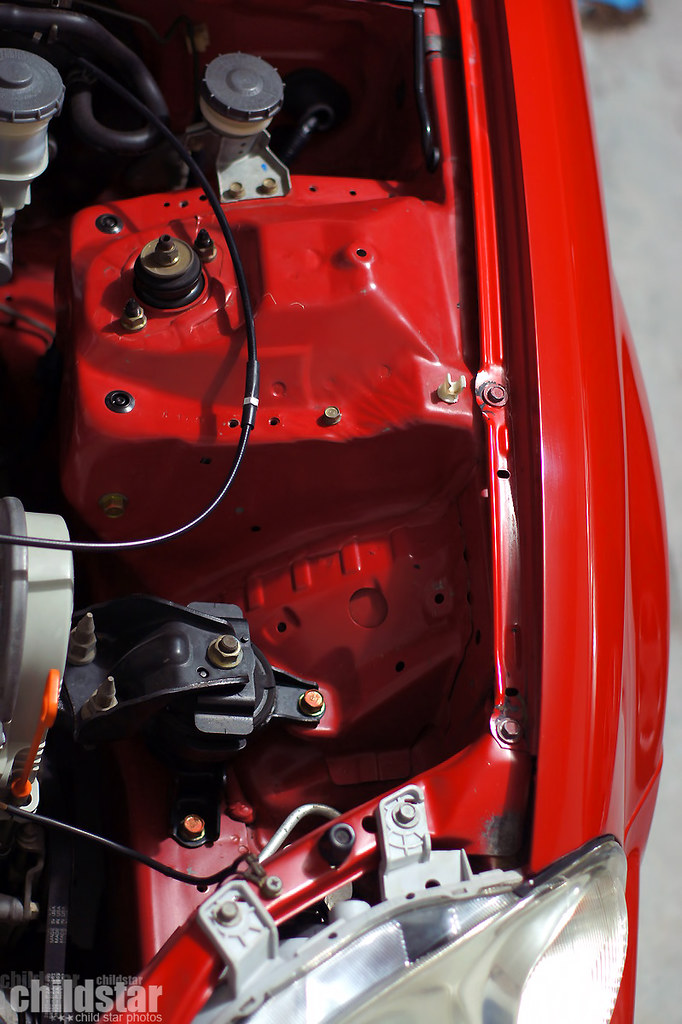
a/c went away

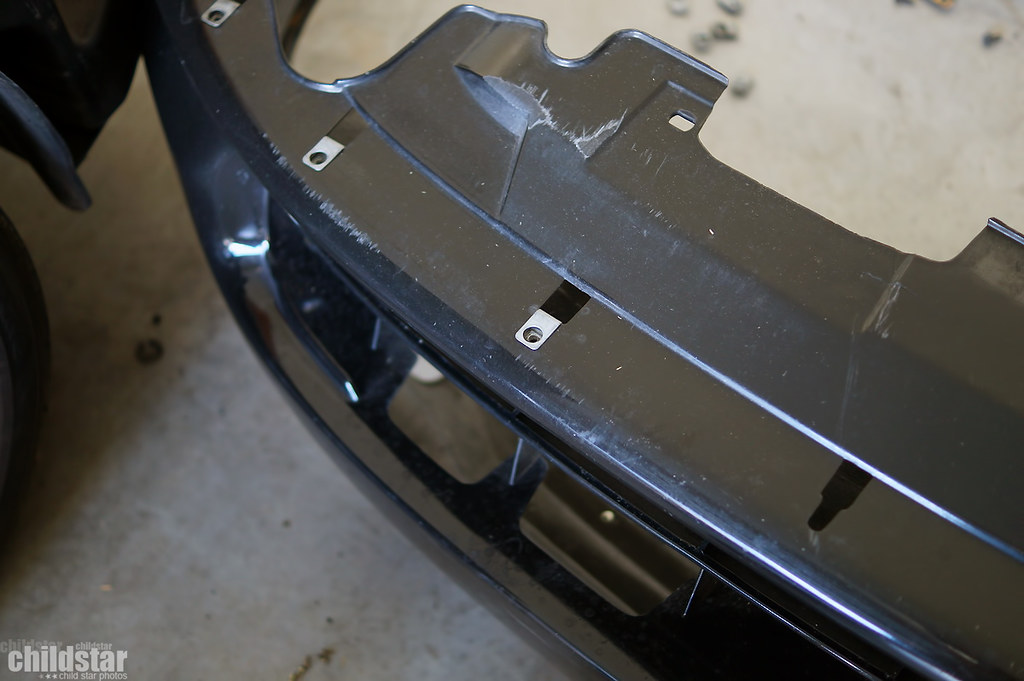
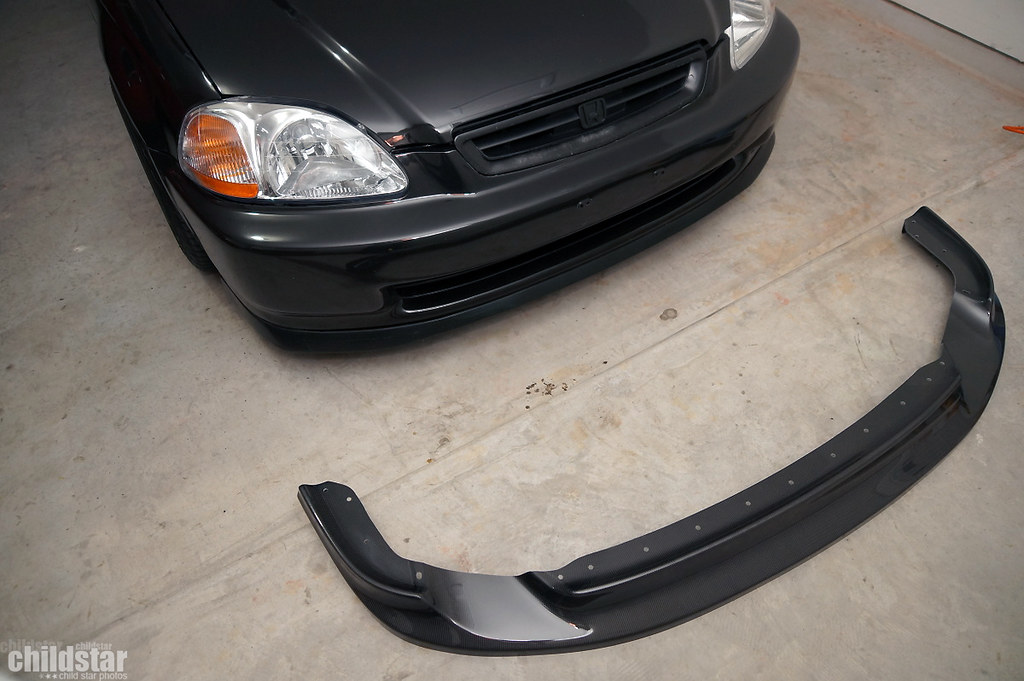
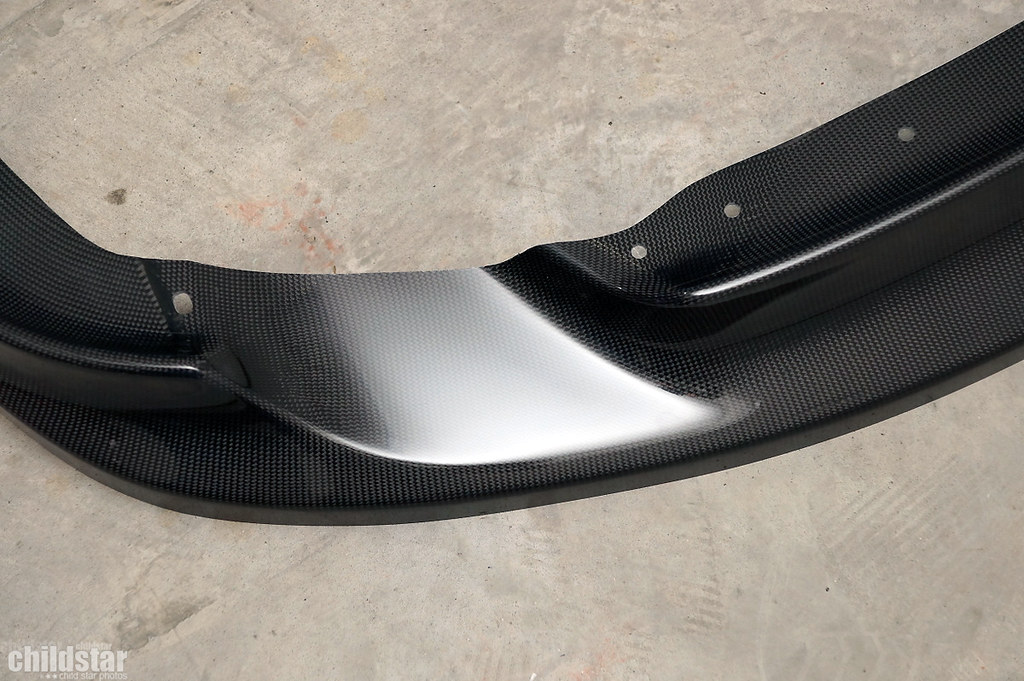
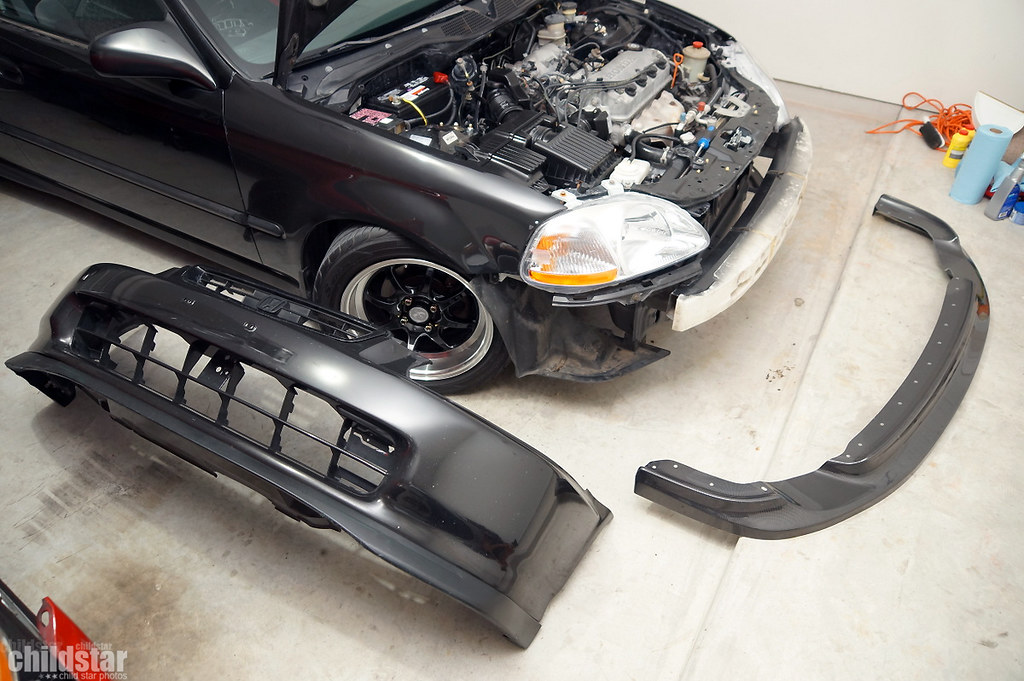
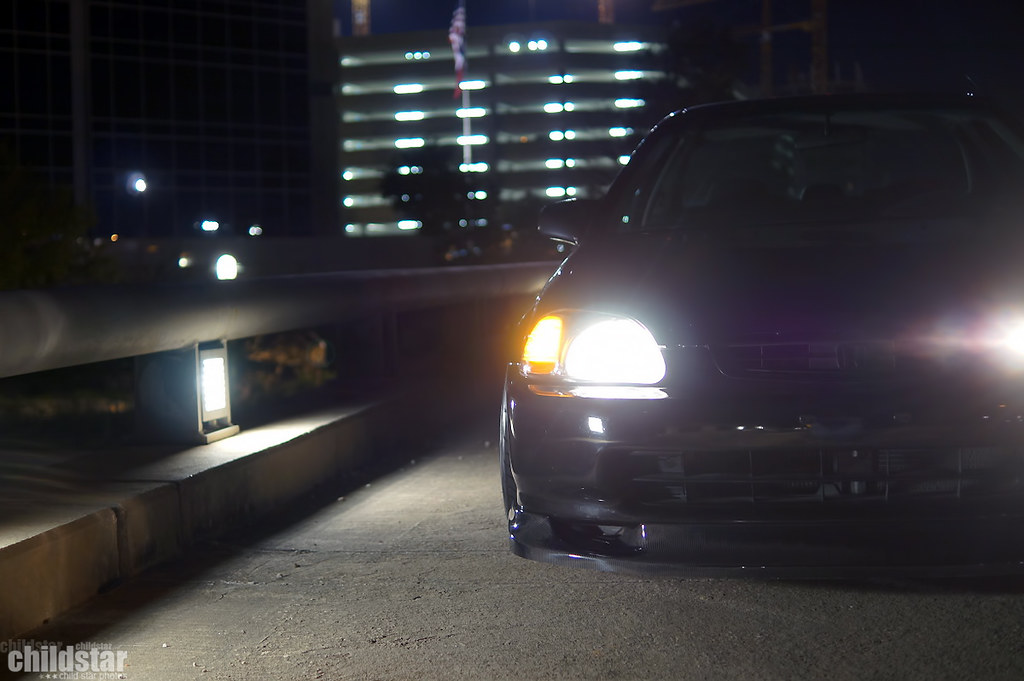
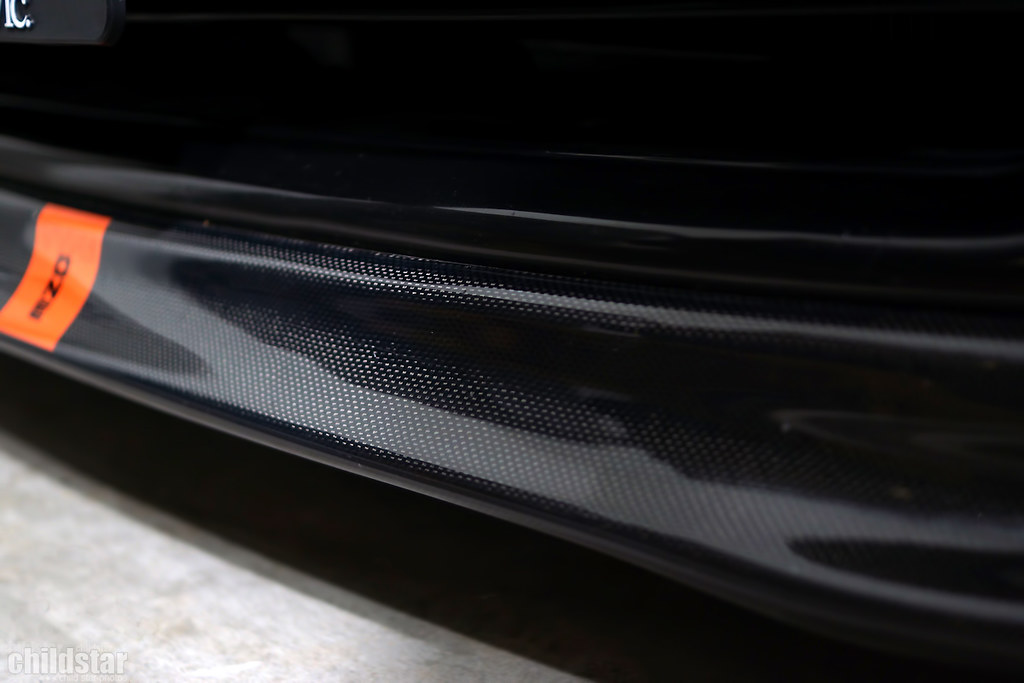
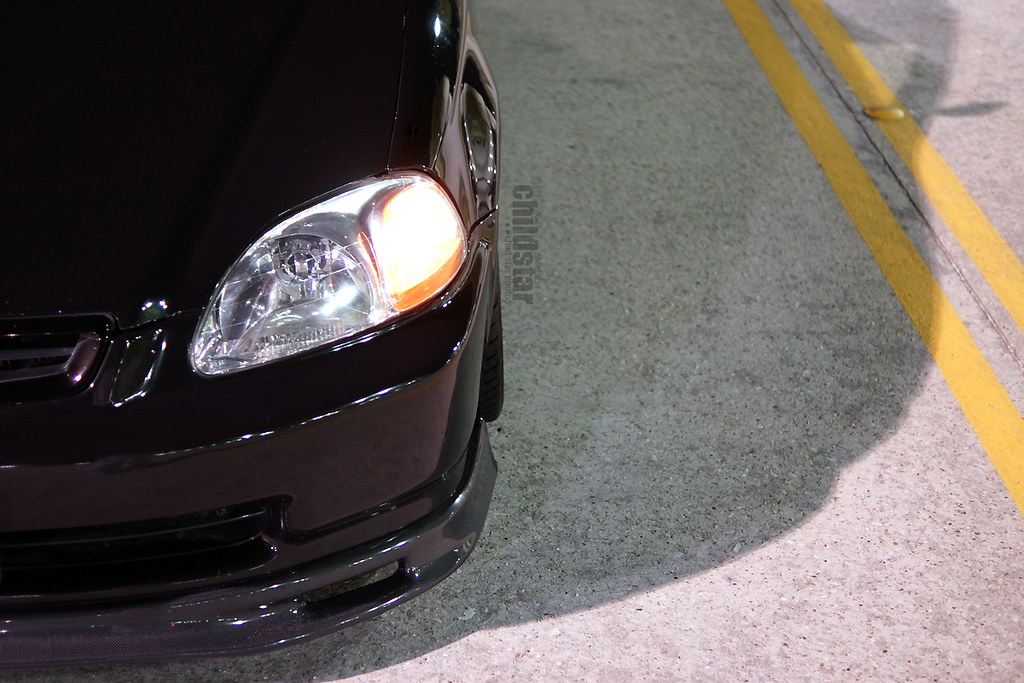
Got a lip

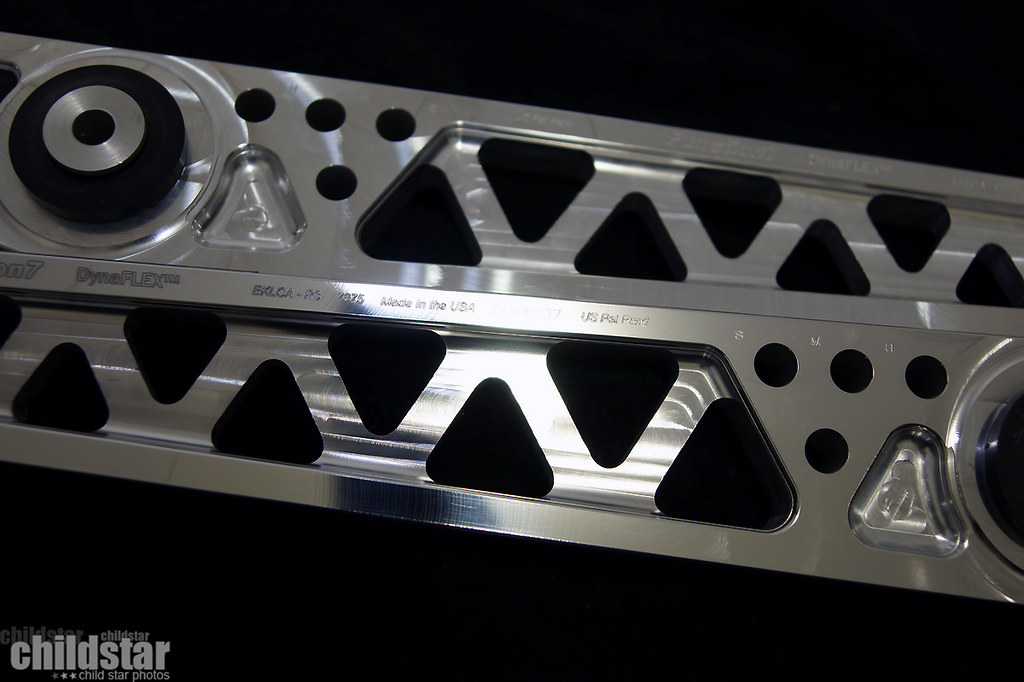
Function7 LCA's to replace my busted stock ones

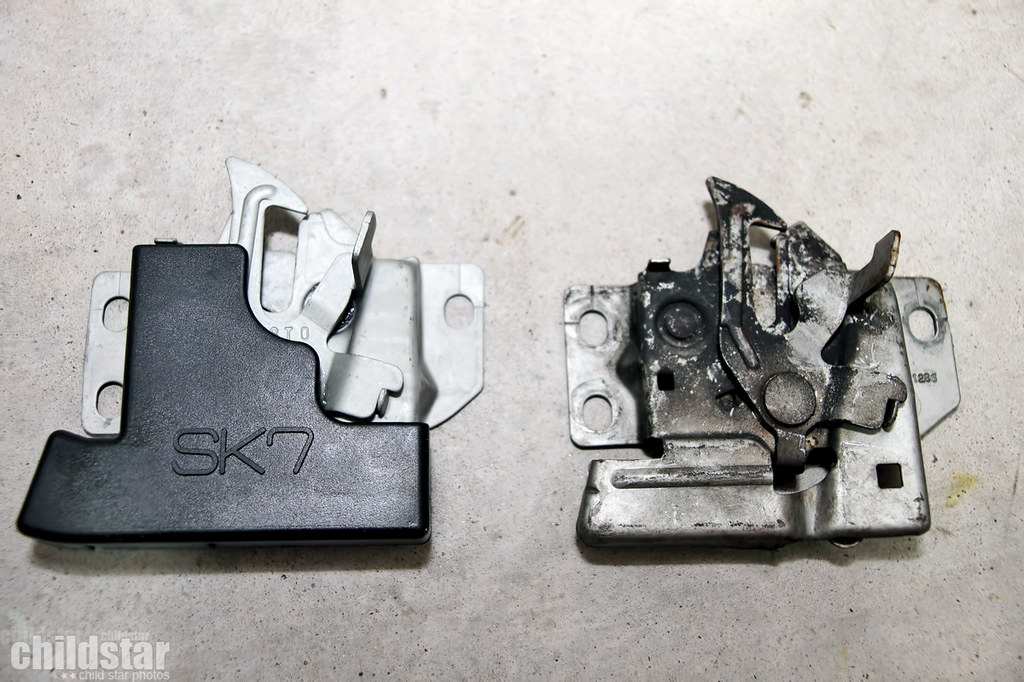
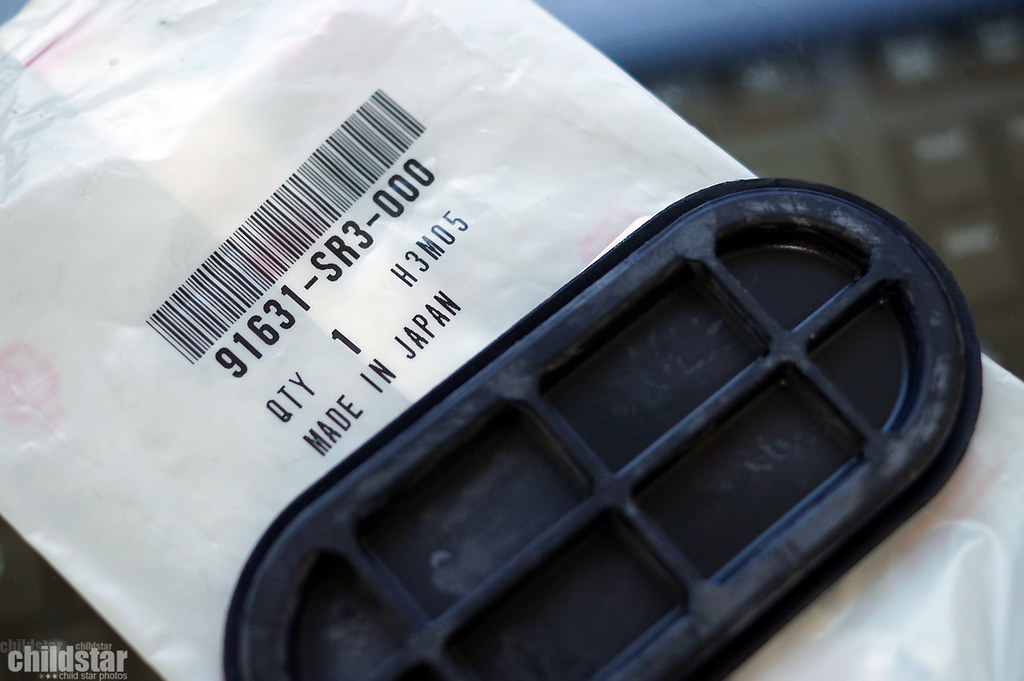
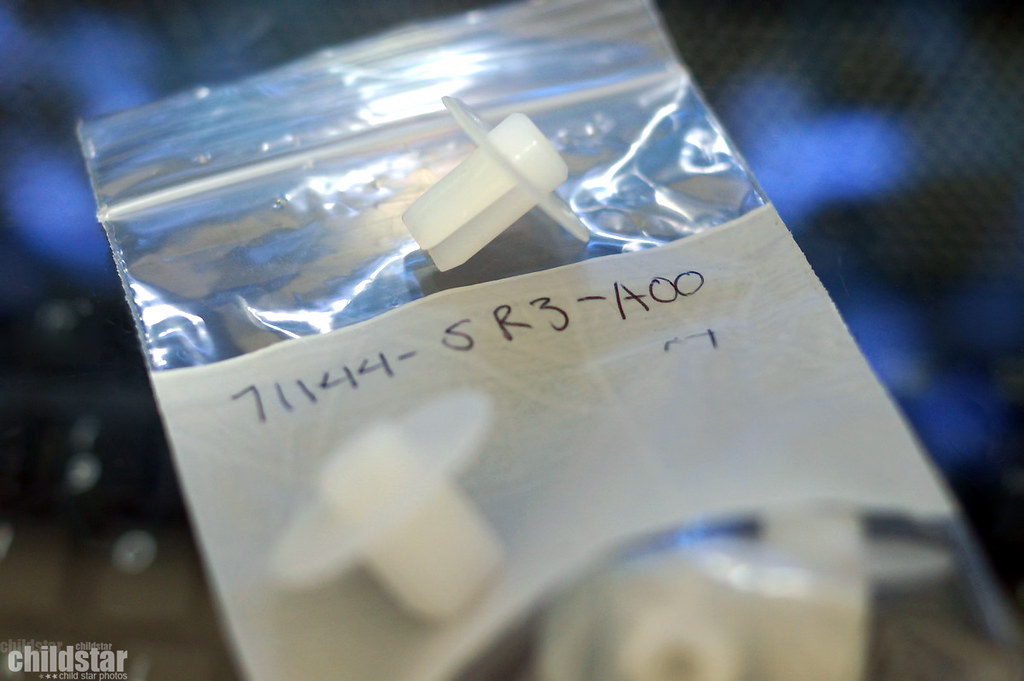
More odds and ends went in. Hood latch, grill clips, grommets and things like that
Dont see too many with this **** so i went for it

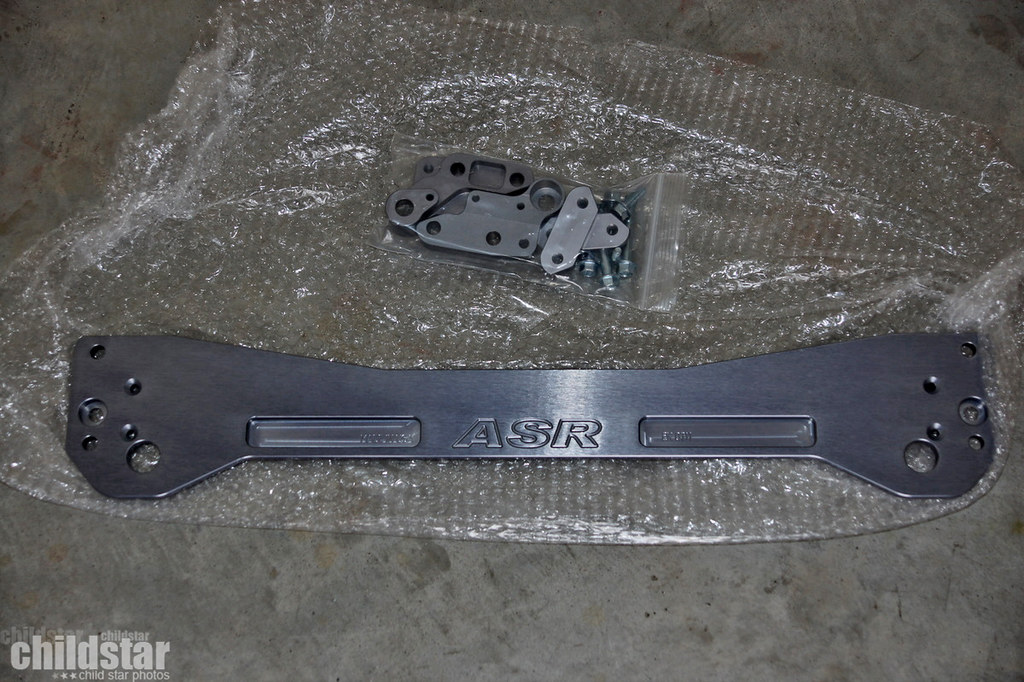
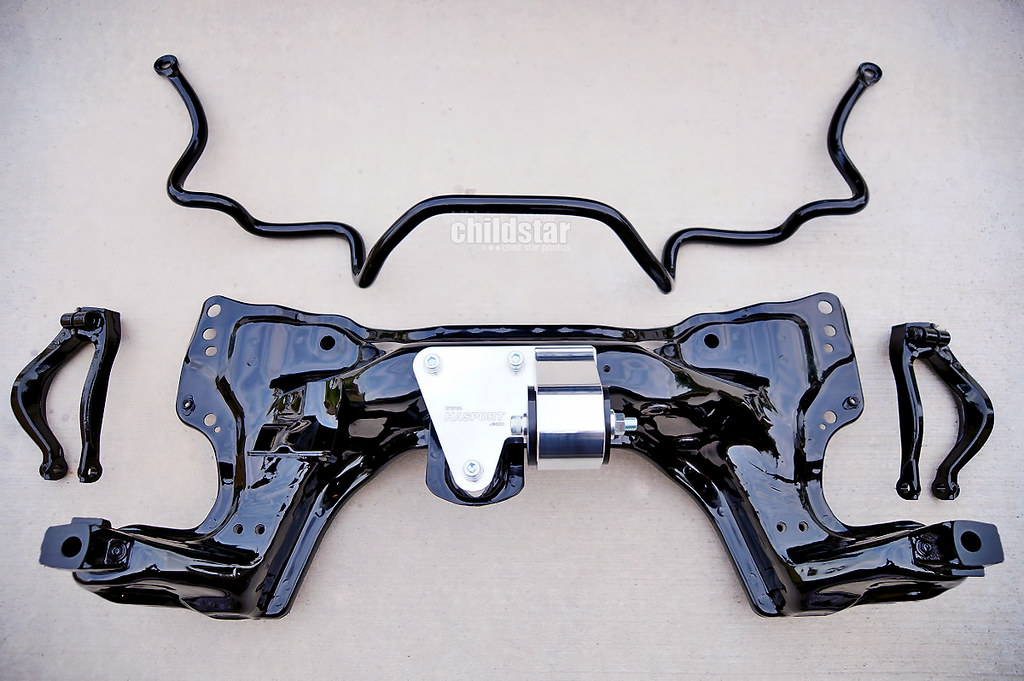
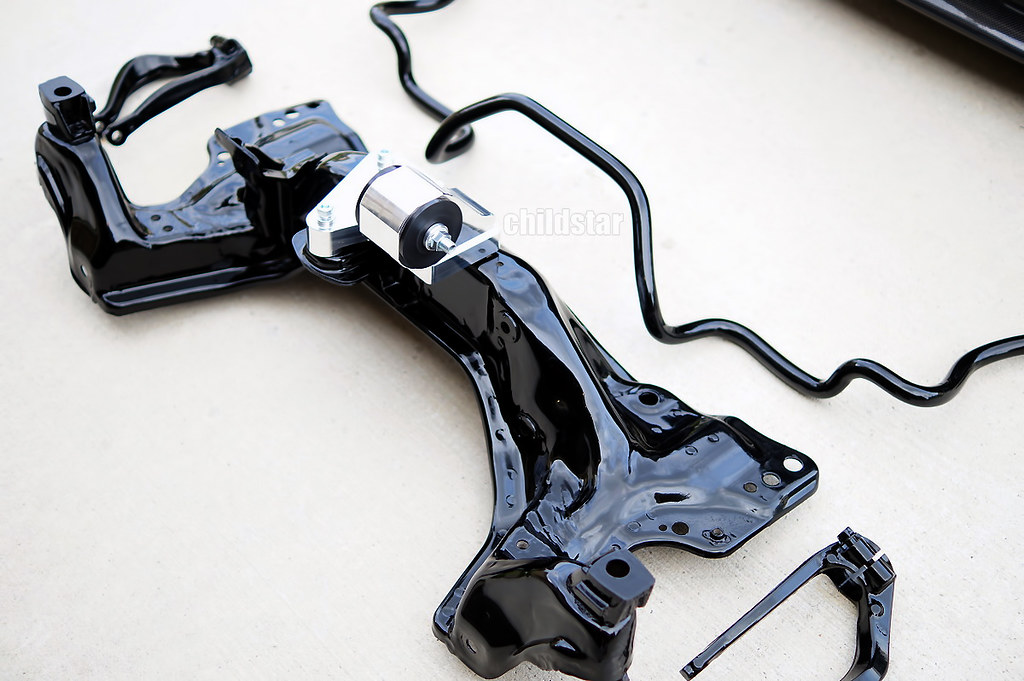
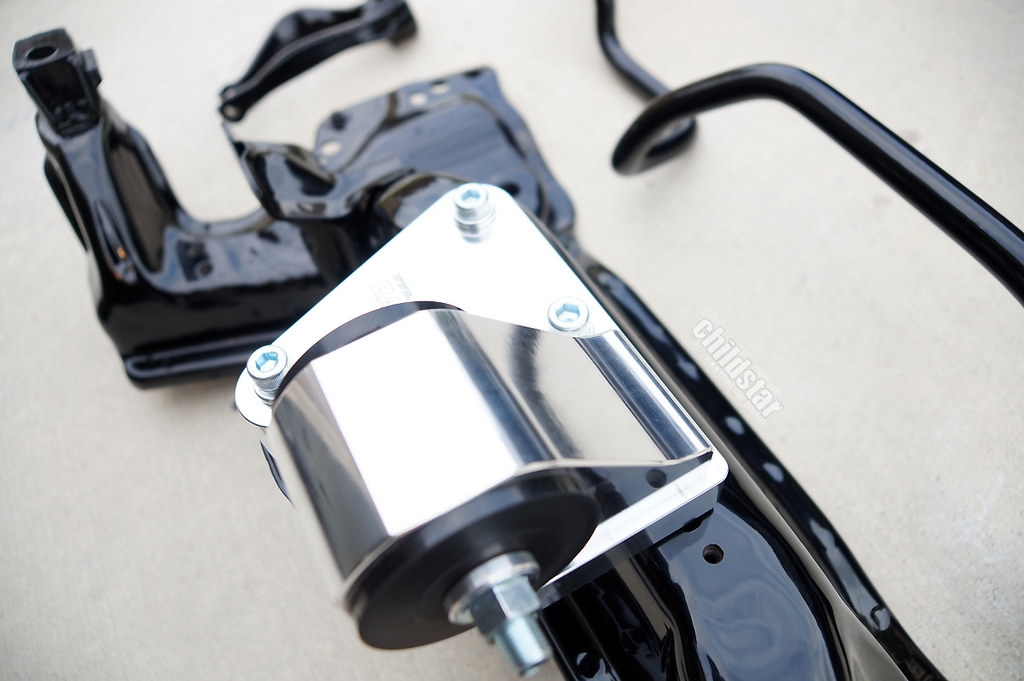
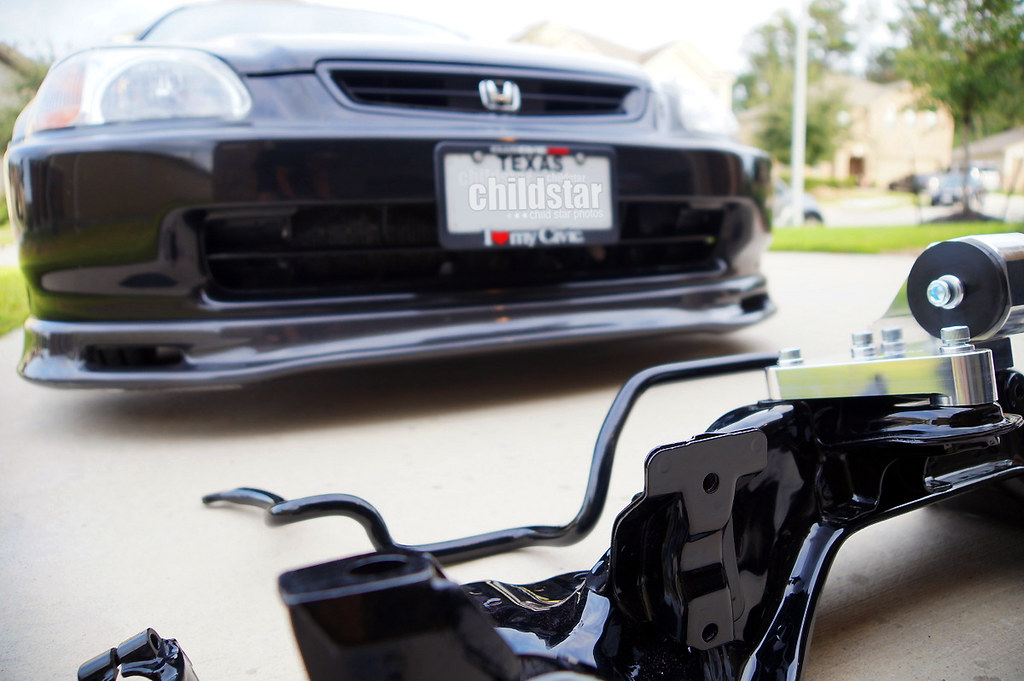
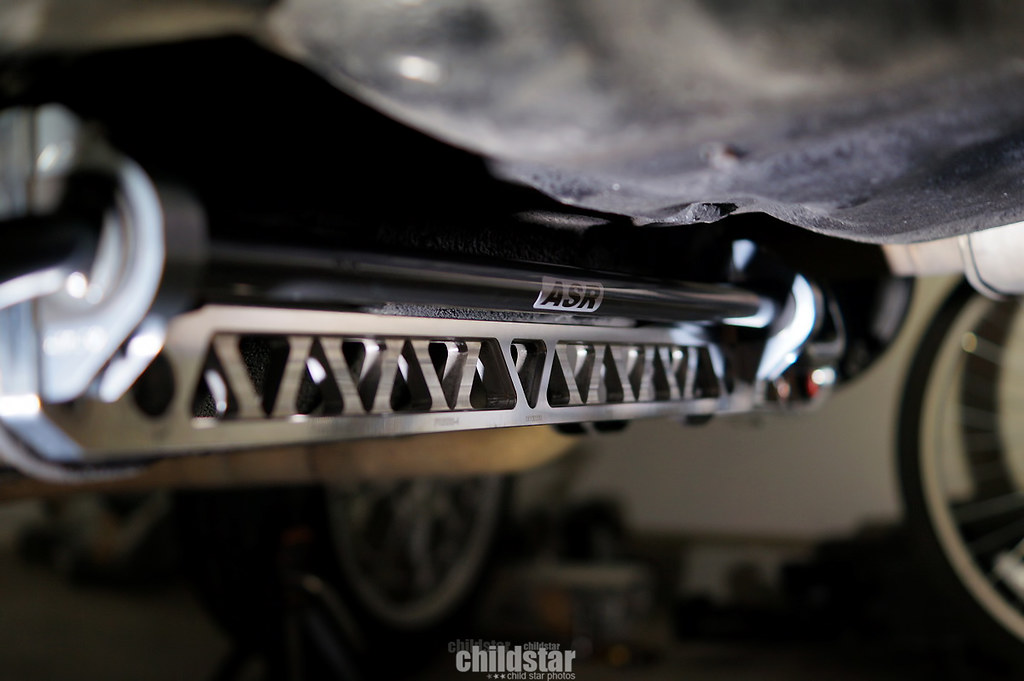
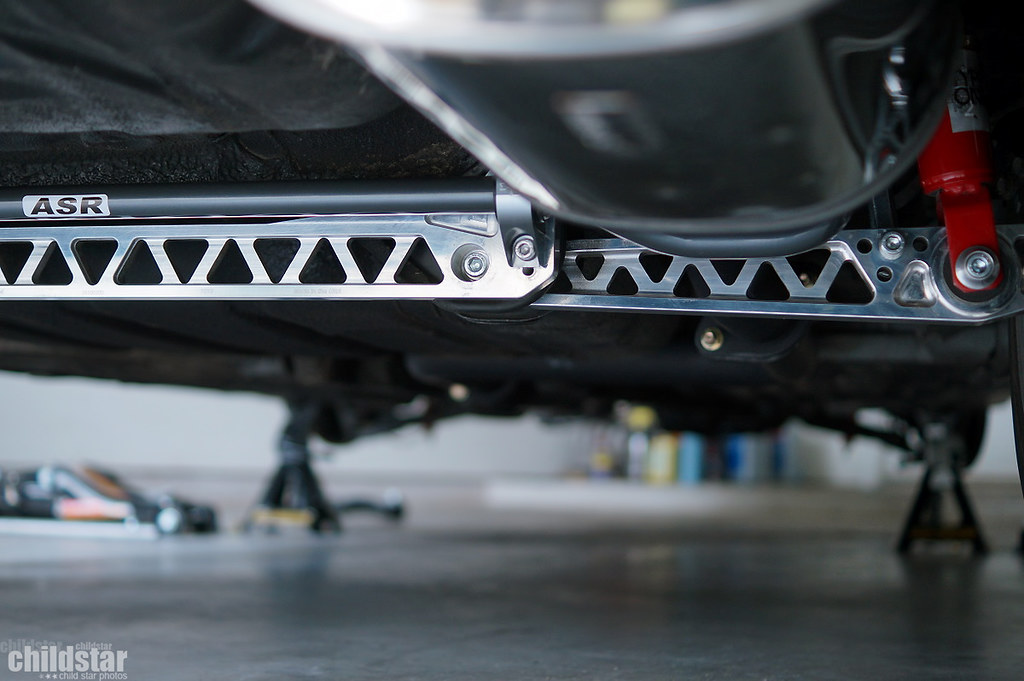
Not sure if i want to use a sway bar or not, but i got an ASR subframe brace anyway so i can use a bar if i please, and i just like the look so why not
and added some overkill just because i like it
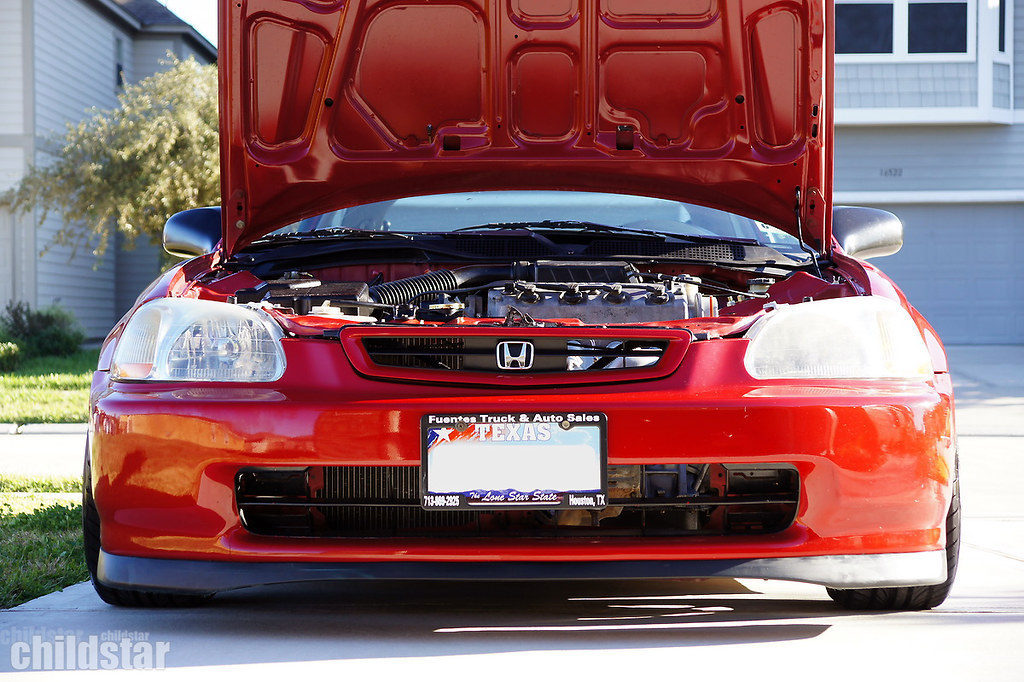
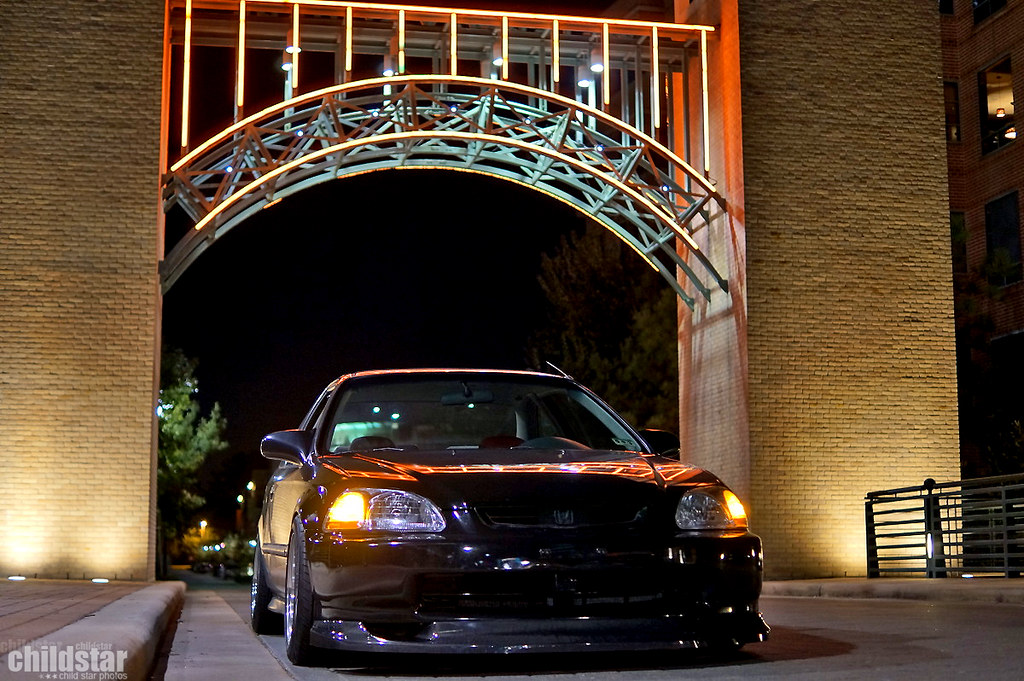
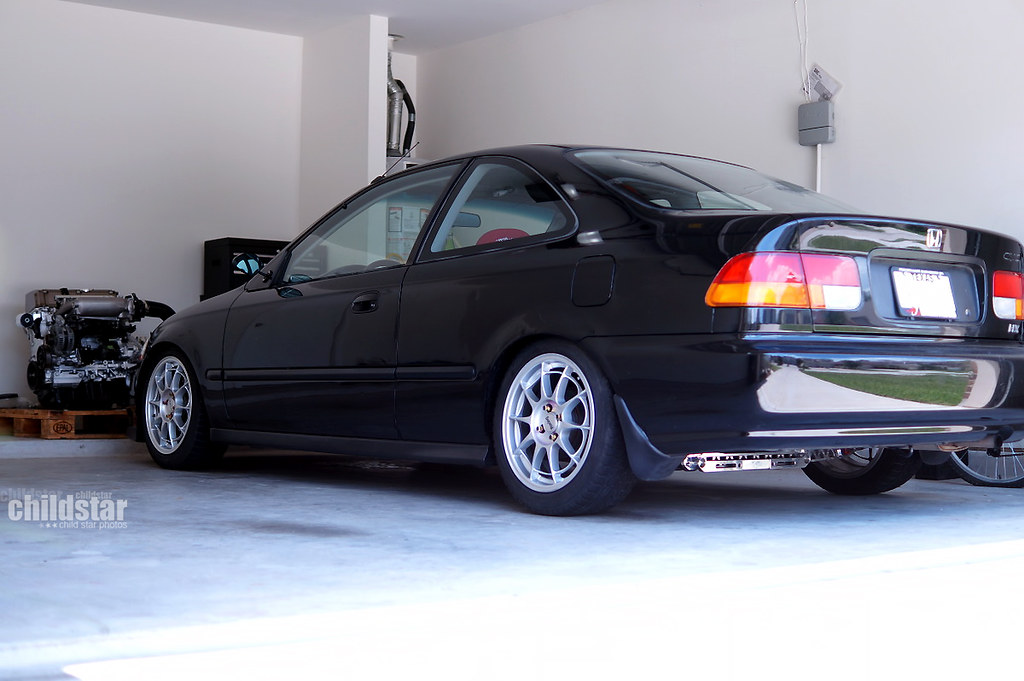
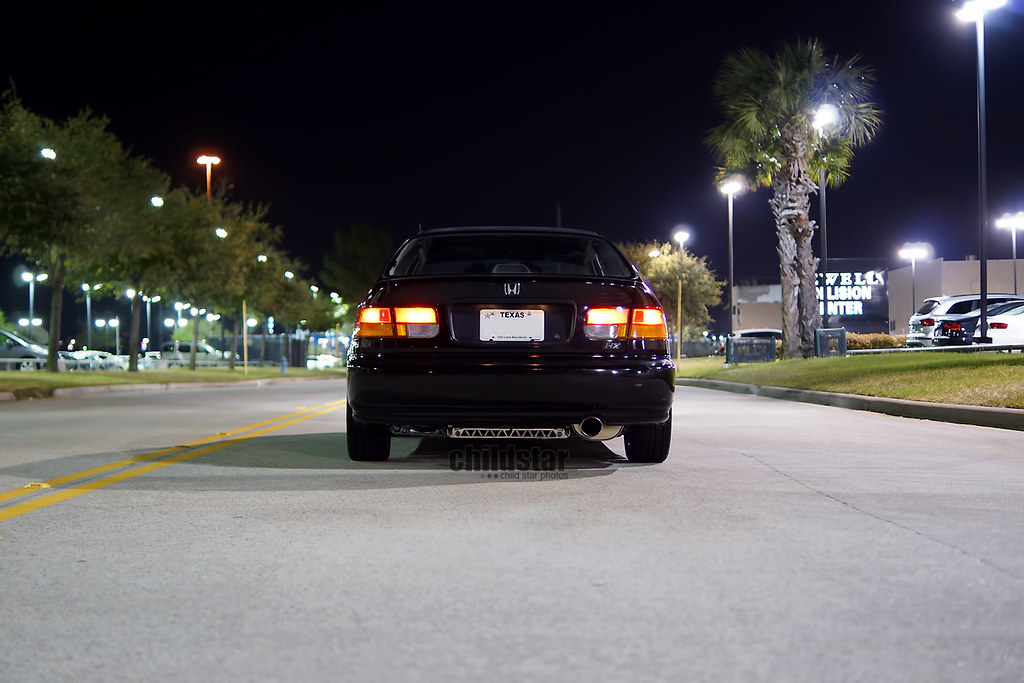
and how it sits as of FEB 28th...

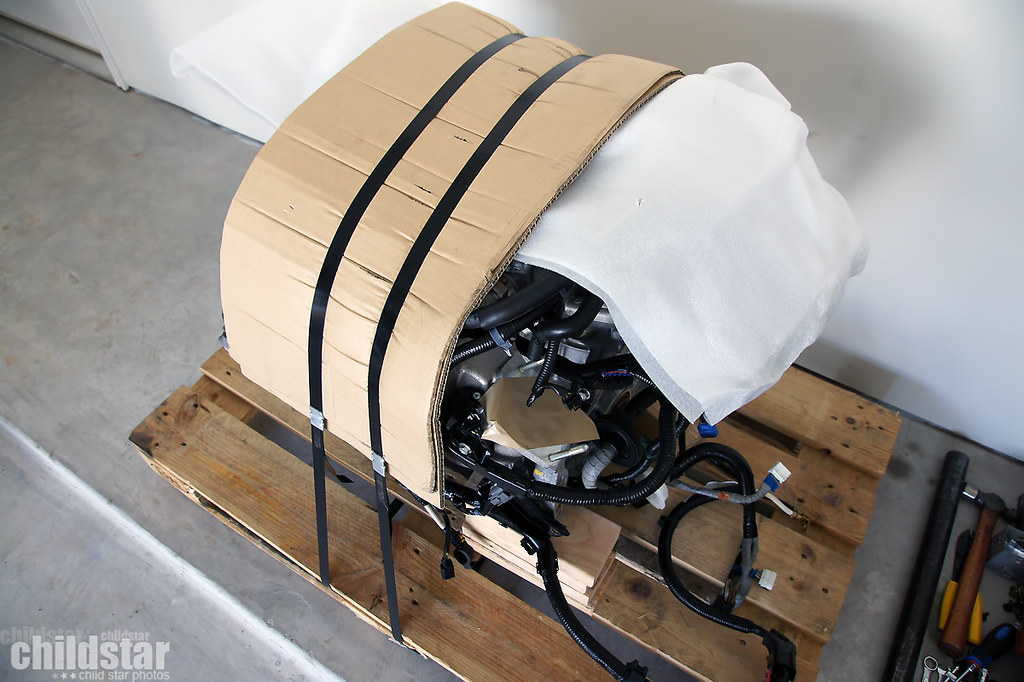
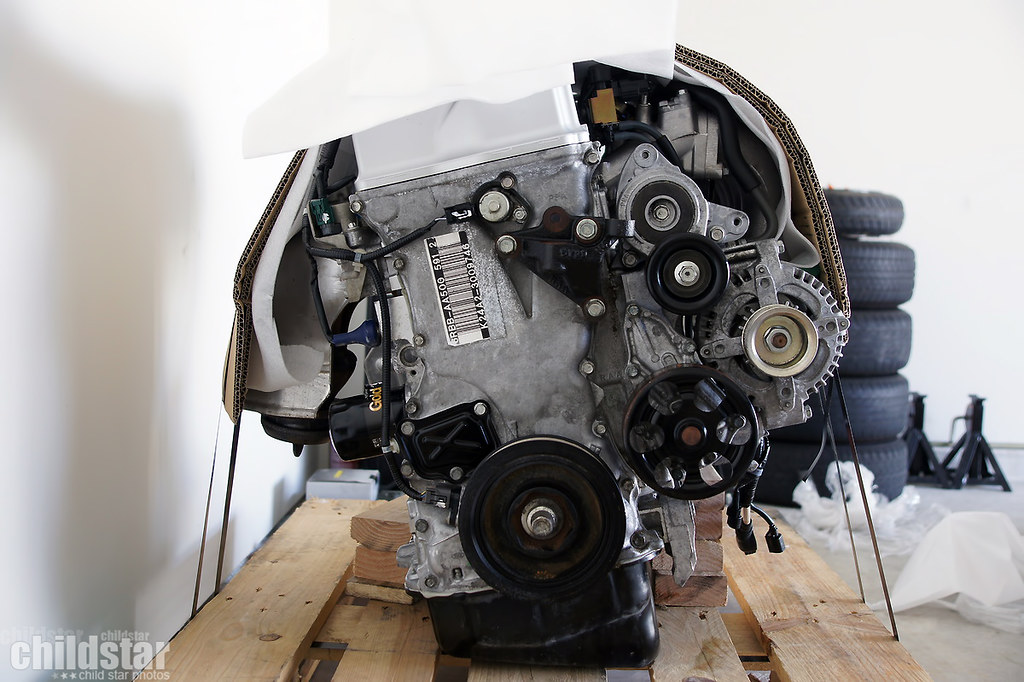
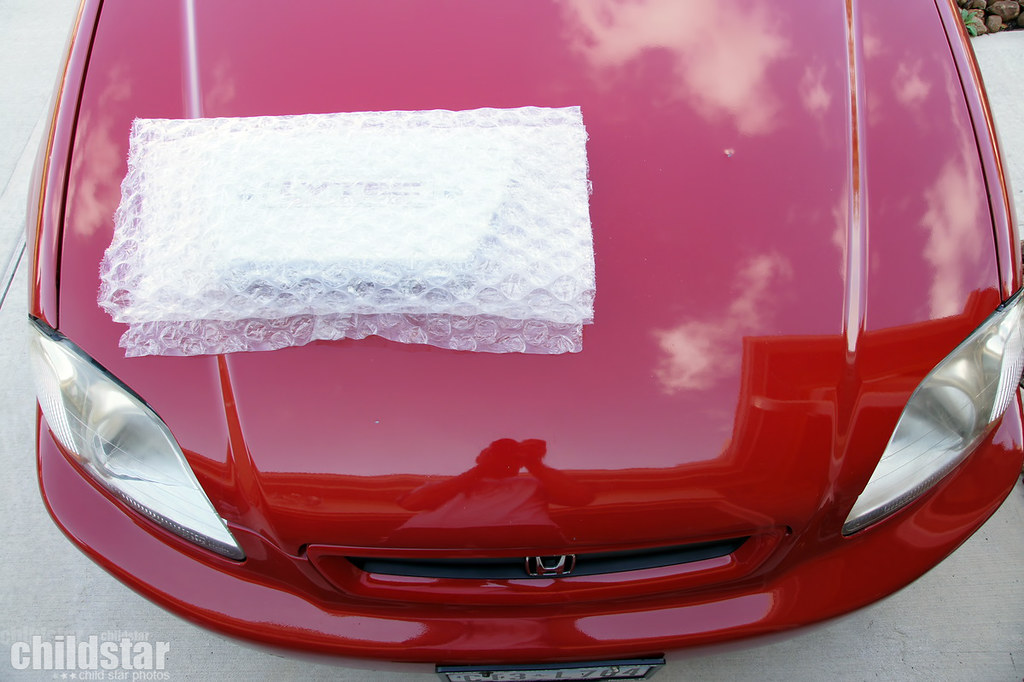
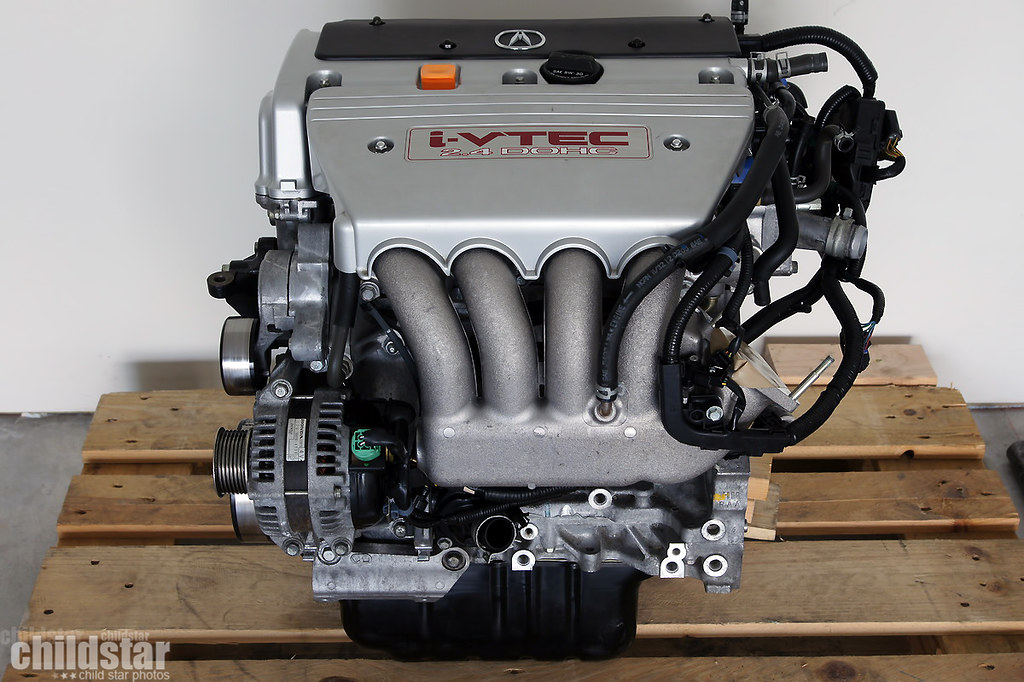
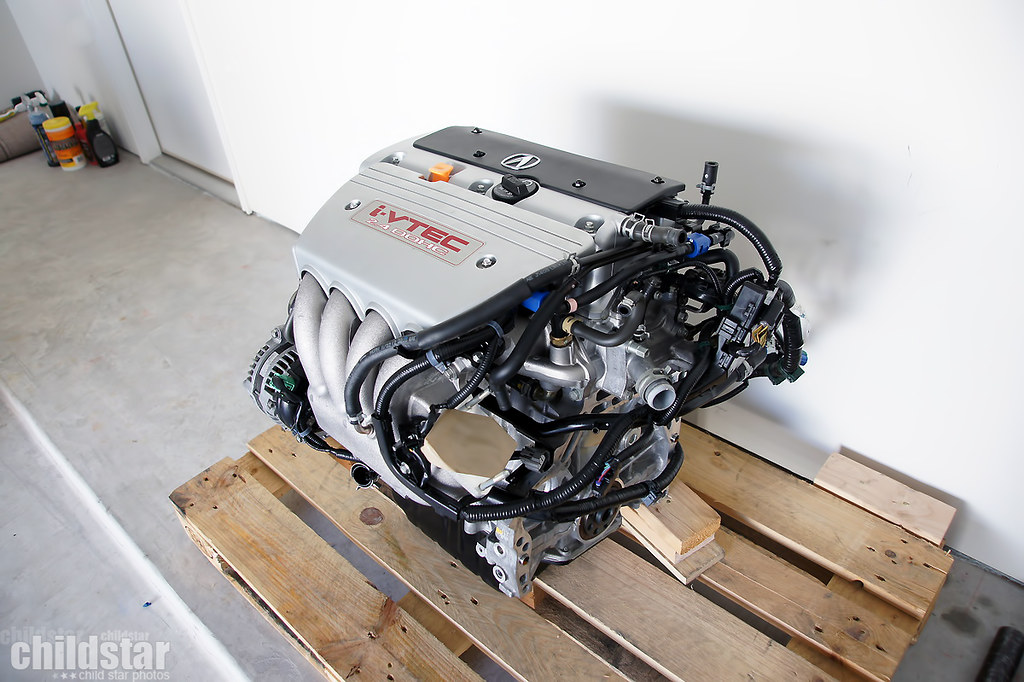
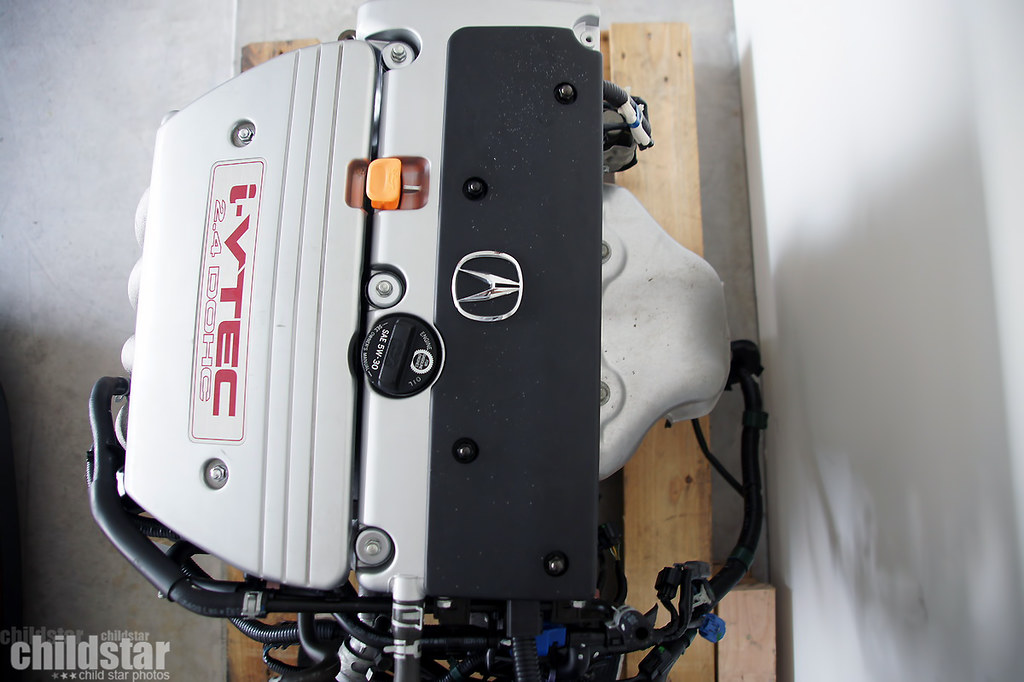
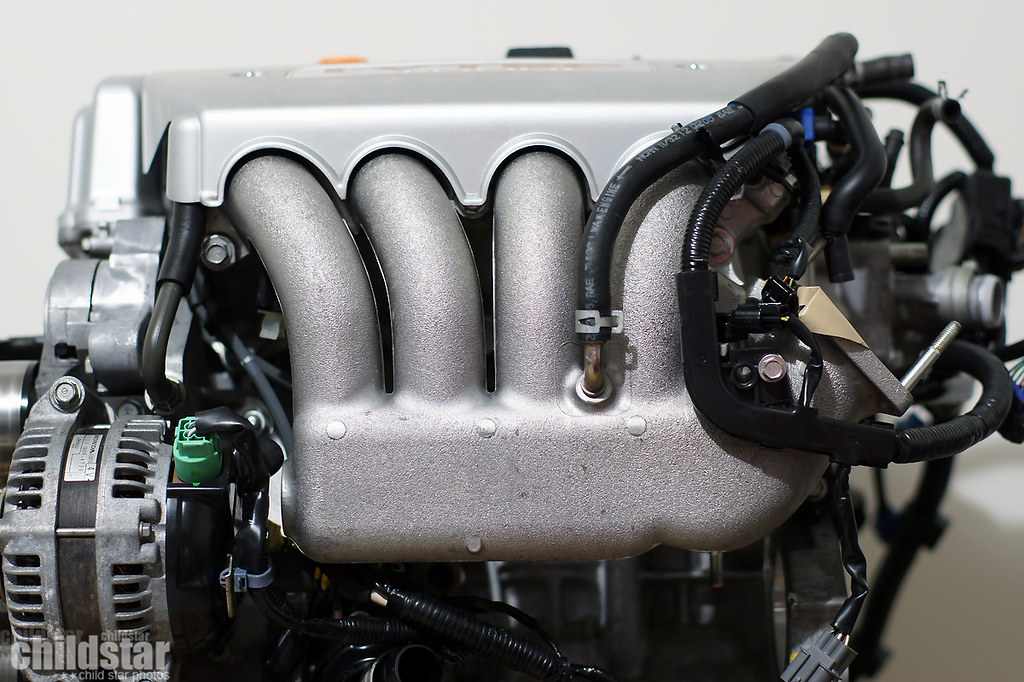
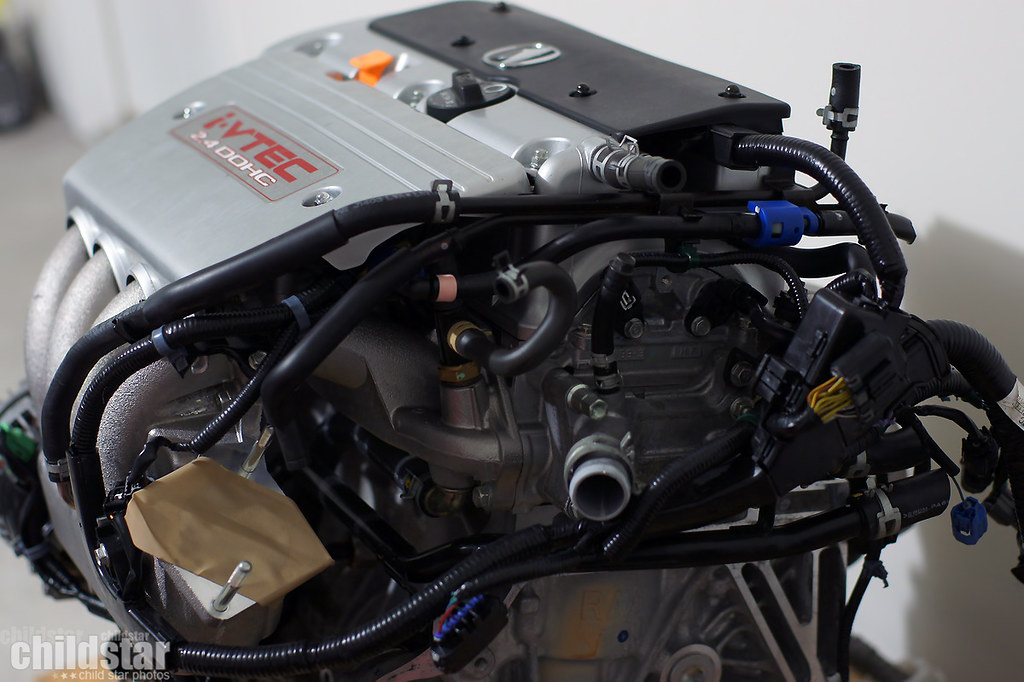
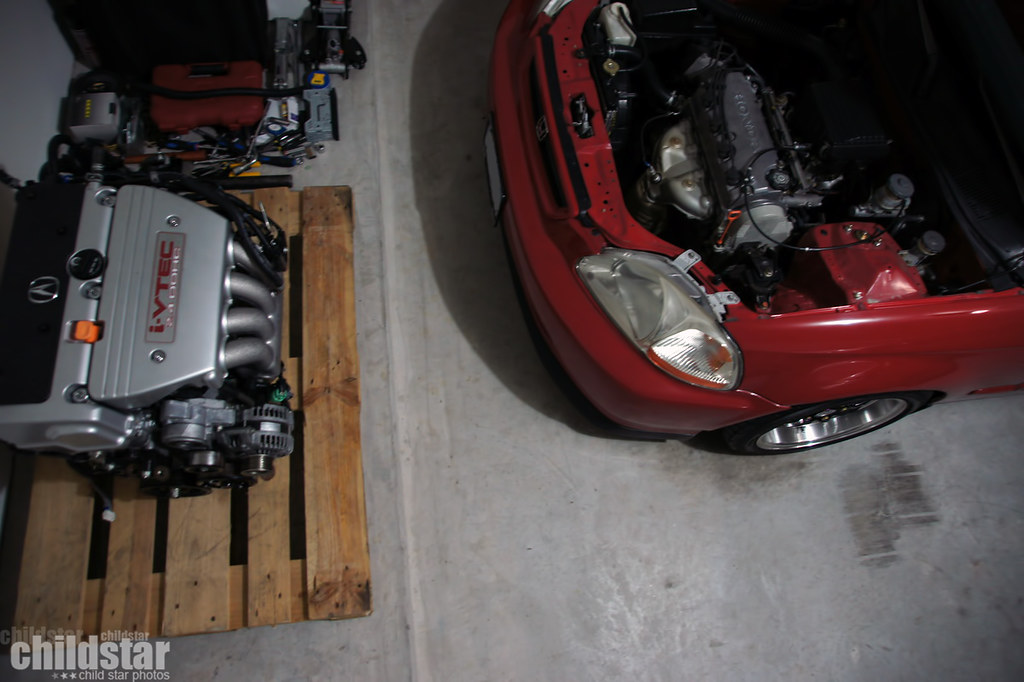
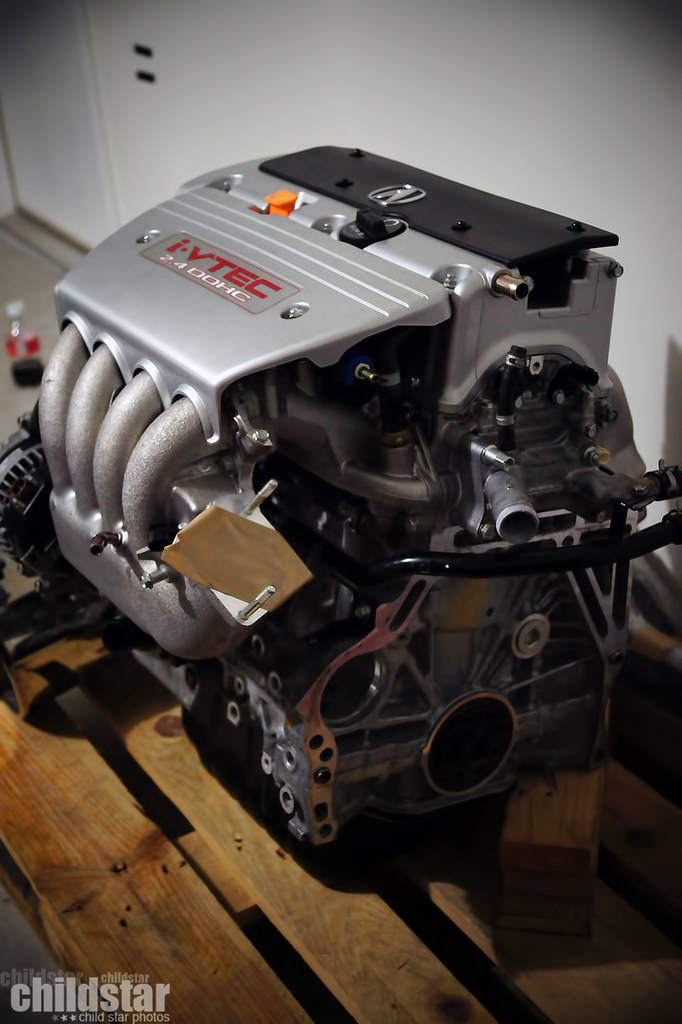
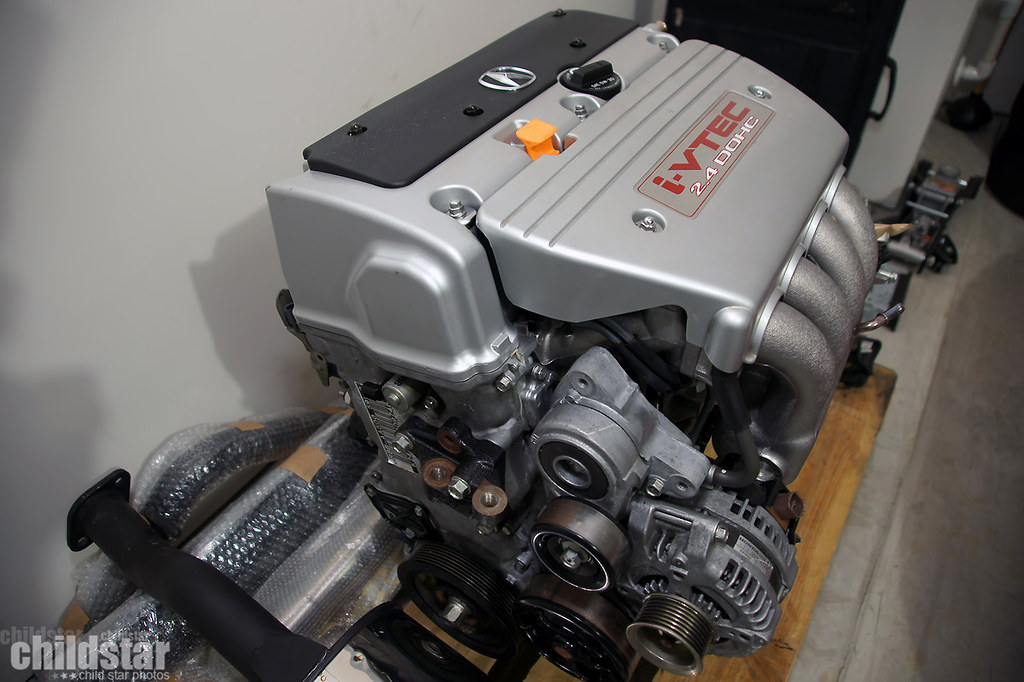
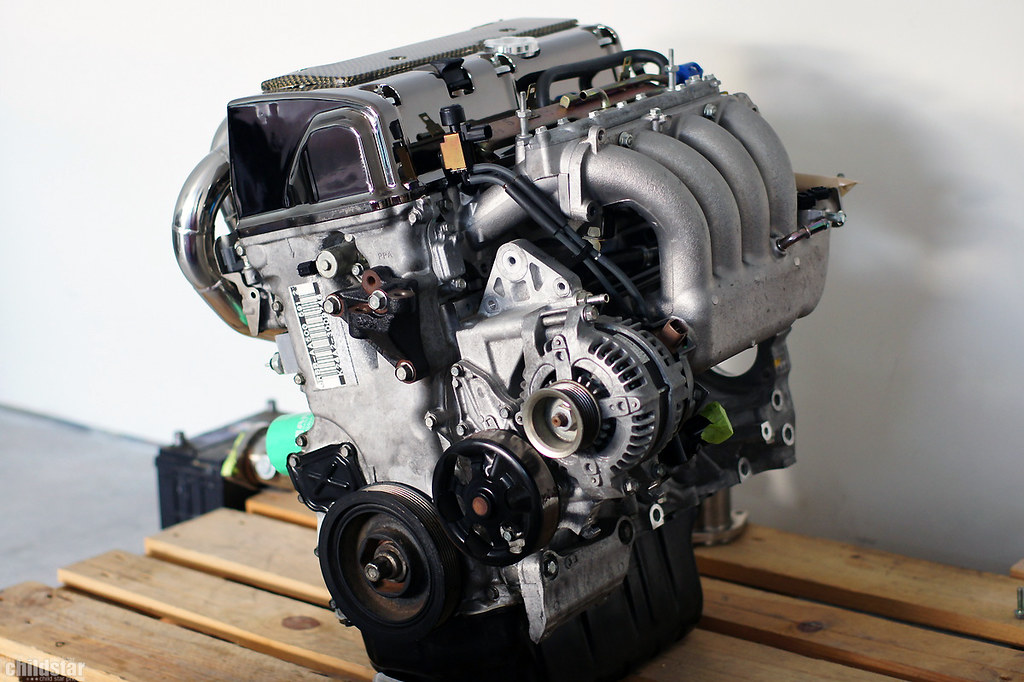
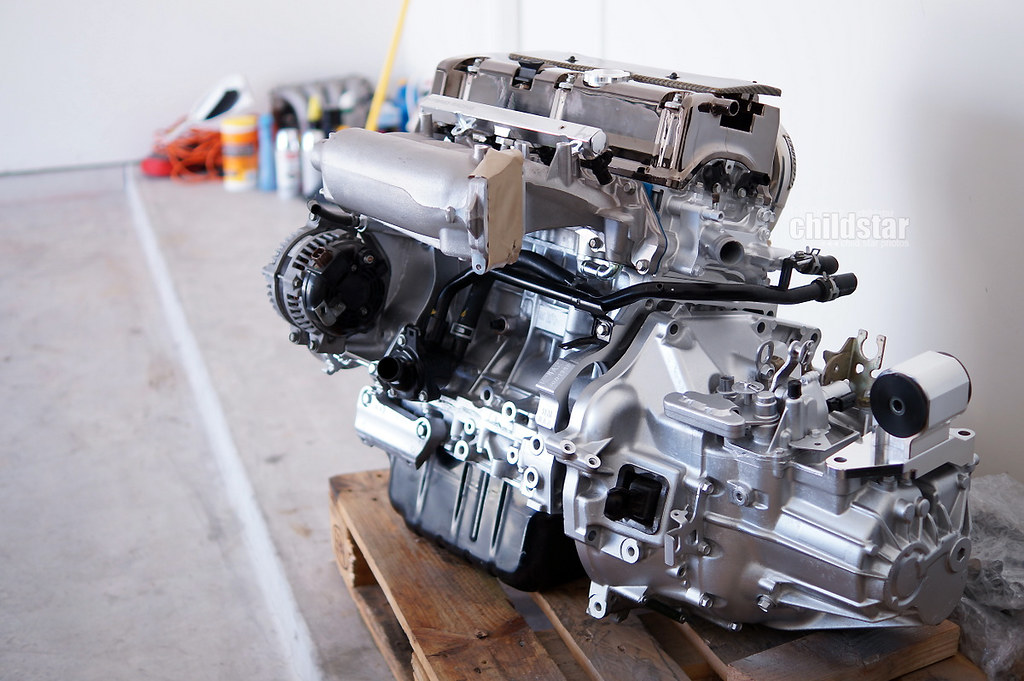
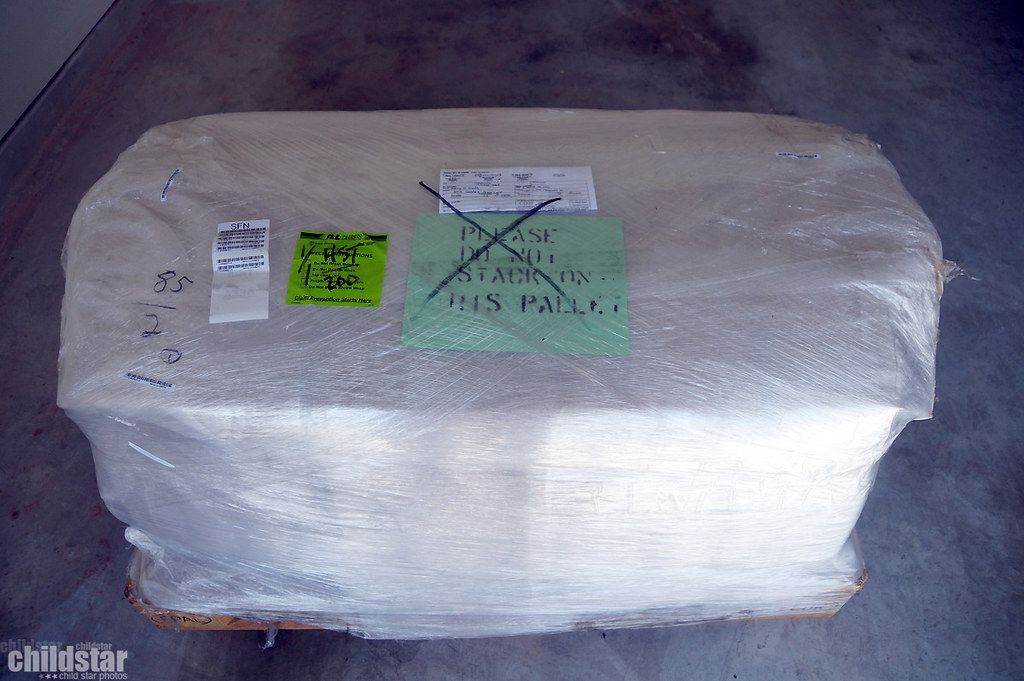
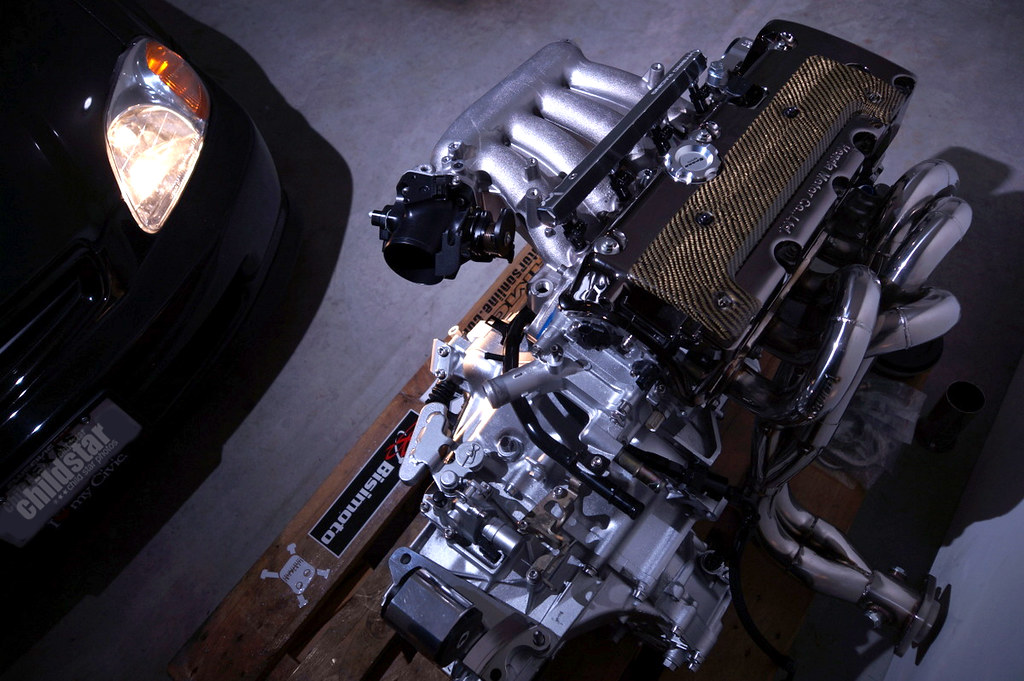
On FEB 7th, I bought a K24a2 longblock from good ole Steve from hmotorsonline. Still awaiting arrival and i'll update with pics once it gets in.
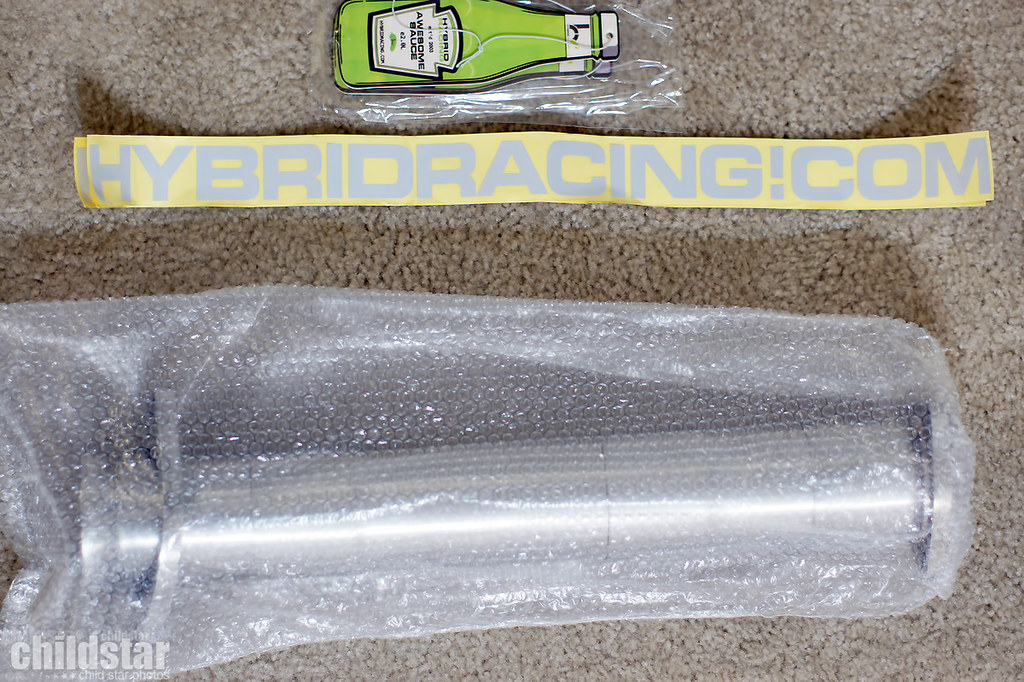
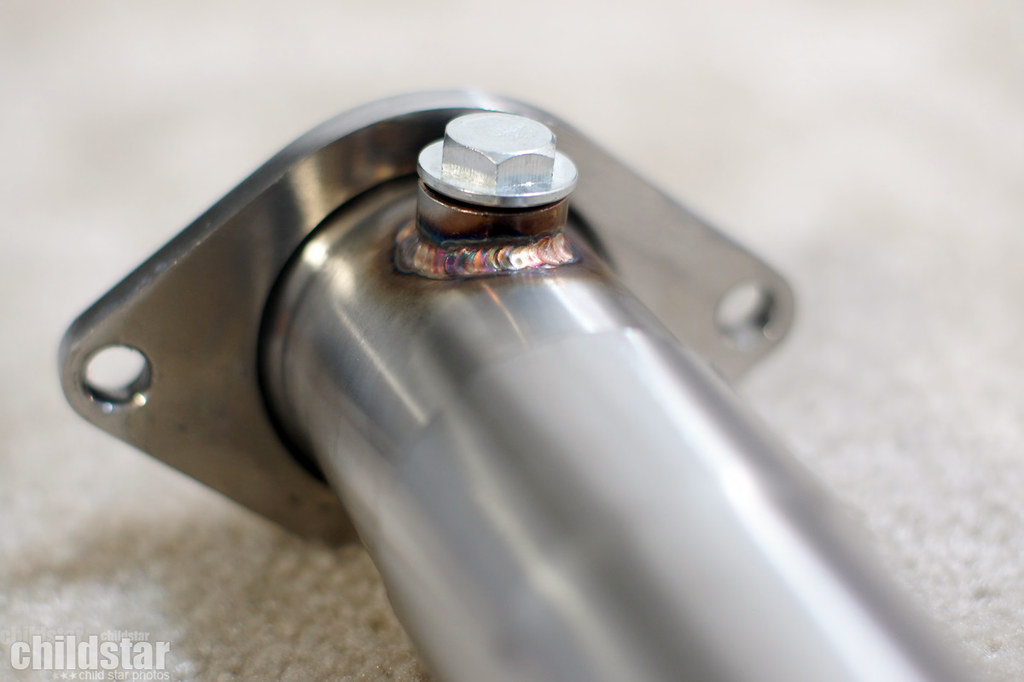
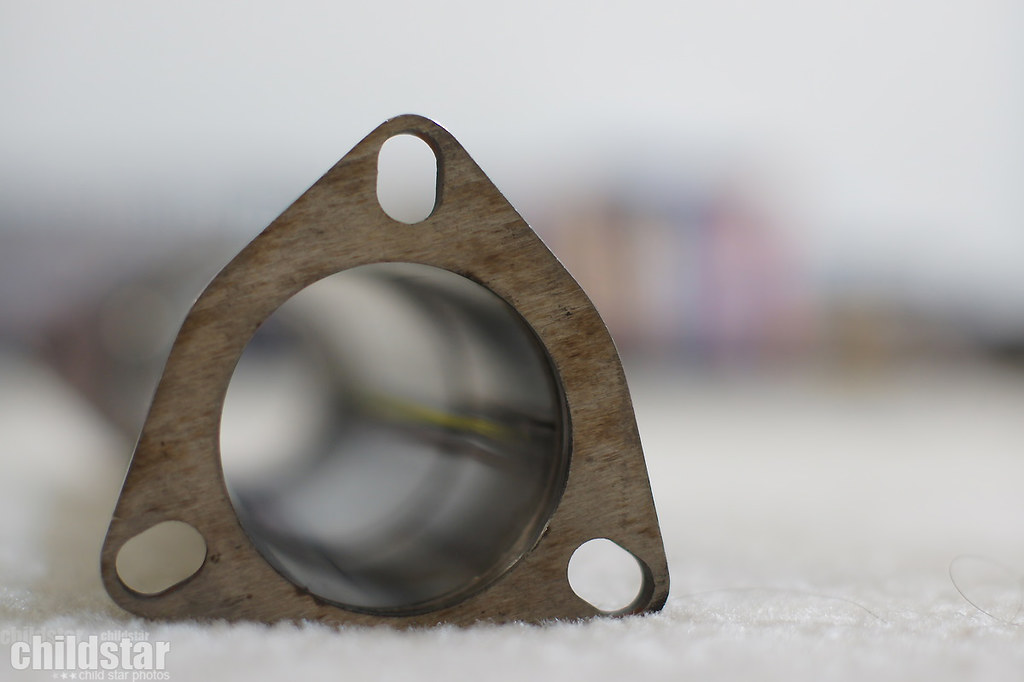
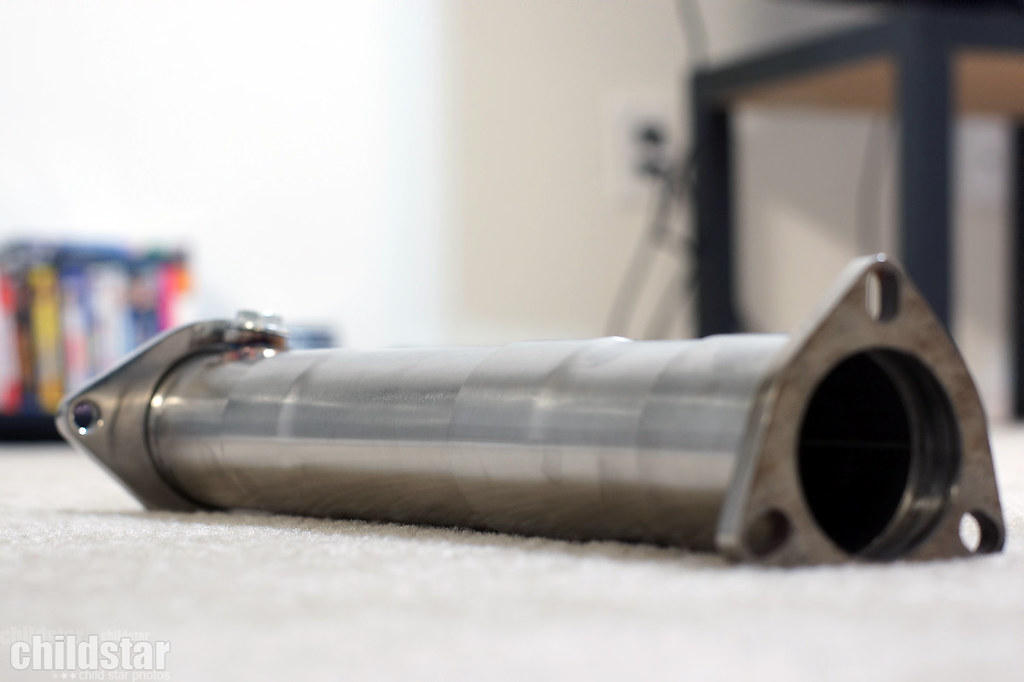
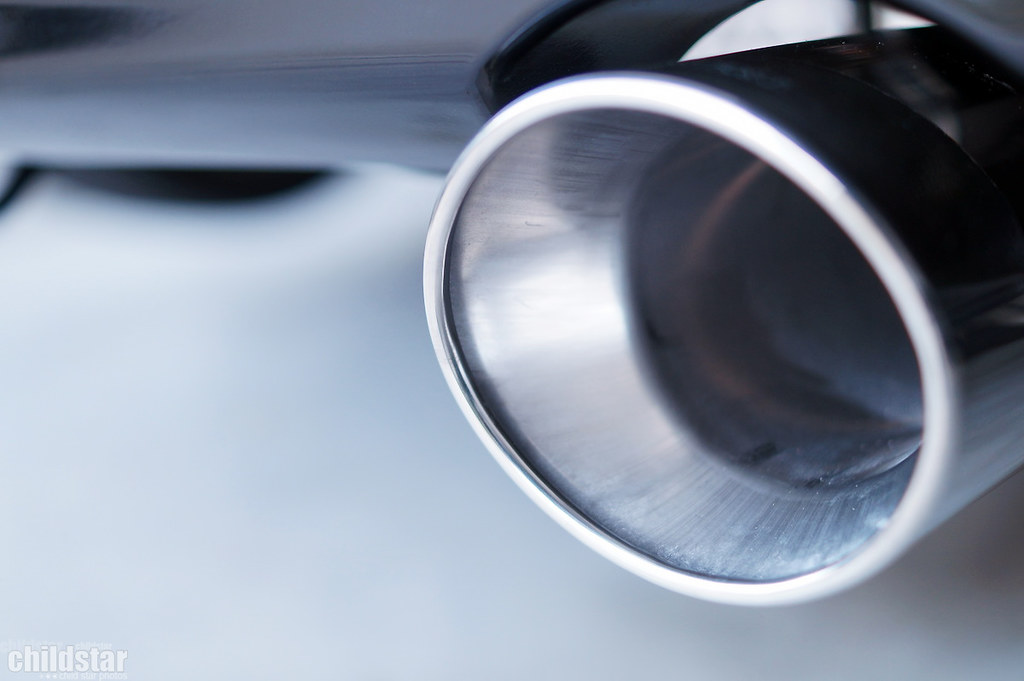
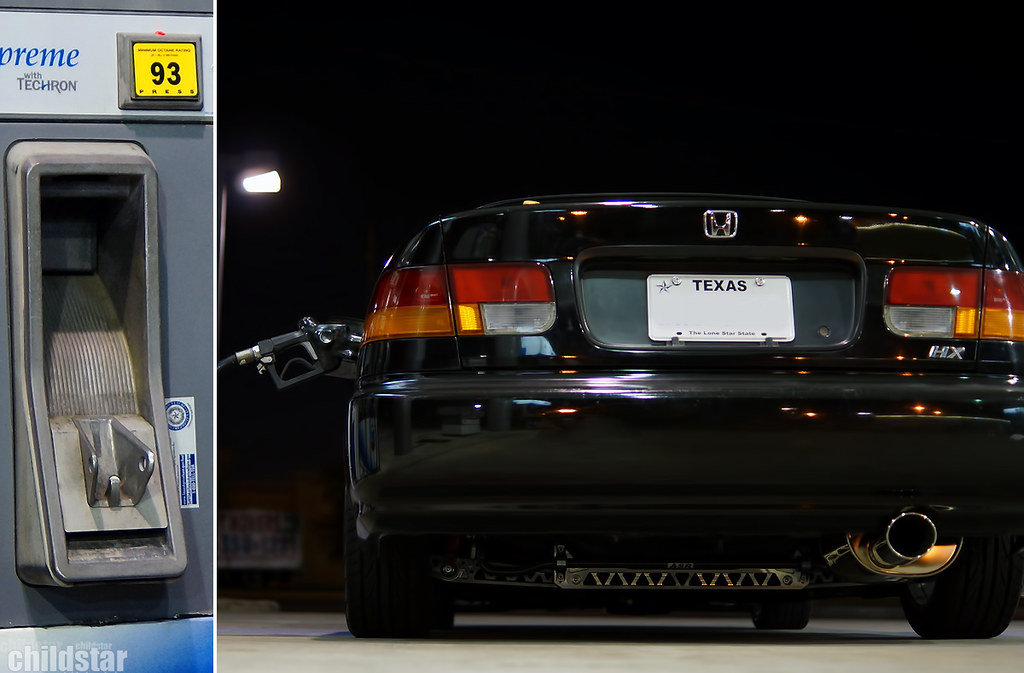
Also ran into an early issue with my factory exhaust, some ghetto welds on the axle back section rusted out so I ordered an Apexi' WS2 catback for an EG and a Hybrid-Racing K-swap test pipe in hopes of resolving the issue and benefiting the swap.
I would say stay tuned, but who knows when i'll have an update worth checking out :p
I bought the car stock from a small local dealer in the summer of 2011 and here's what I have so far...
cleaned it up a bit and threw in my buddy club seat (stock seat had a huge rotting hole in it)
Works Bell hub and Rapfix II quick release w/ Personal Grinta wheel
Tucked some of the basics
Picked up some reasonably priced wheels
Muteki sr48 lug nuts
oem front grill, single din block off and other oem bits
Threw in some tunes for DDing
Got some FnF type 1's. Like em for DDing
I try to clean up what i can when i can. Keeps me sane while im saving up for parts
as flush as i care to be. drives without rubbing so im satisfied.
a/c went away
Got a lip
Function7 LCA's to replace my busted stock ones
More odds and ends went in. Hood latch, grill clips, grommets and things like that
Dont see too many with this **** so i went for it
Not sure if i want to use a sway bar or not, but i got an ASR subframe brace anyway so i can use a bar if i please, and i just like the look so why not
and added some overkill just because i like it
and how it sits as of FEB 28th...
On FEB 7th, I bought a K24a2 longblock from good ole Steve from hmotorsonline. Still awaiting arrival and i'll update with pics once it gets in.
Also ran into an early issue with my factory exhaust, some ghetto welds on the axle back section rusted out so I ordered an Apexi' WS2 catback for an EG and a Hybrid-Racing K-swap test pipe in hopes of resolving the issue and benefiting the swap.
I would say stay tuned, but who knows when i'll have an update worth checking out :p


 05-09-2016, 09:53 PM
#3
Honda-Tech Member
Thread Starter
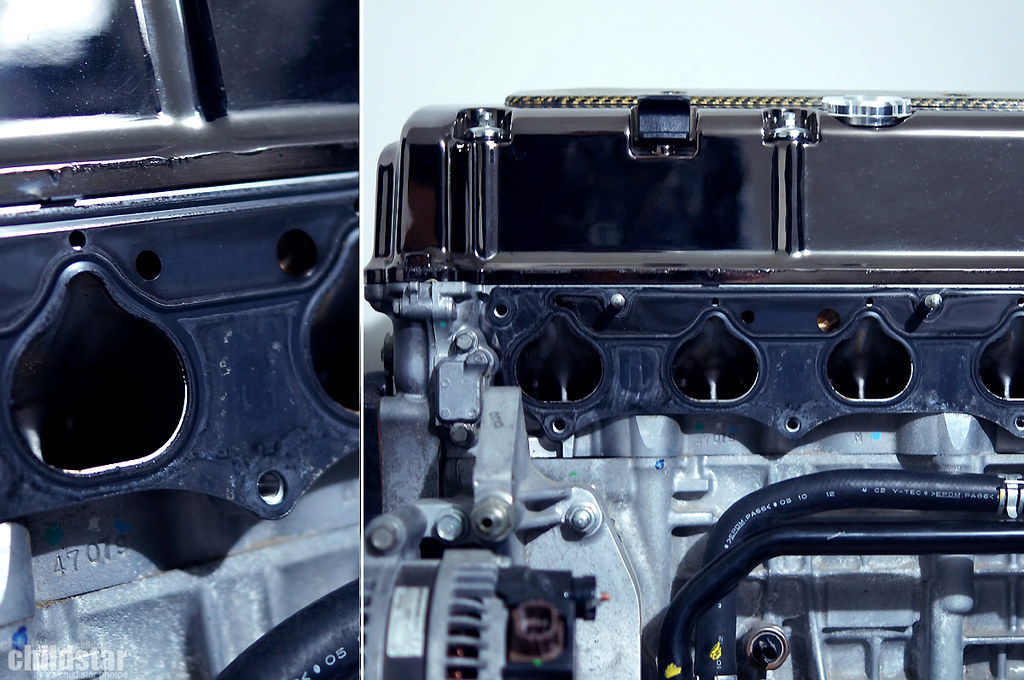
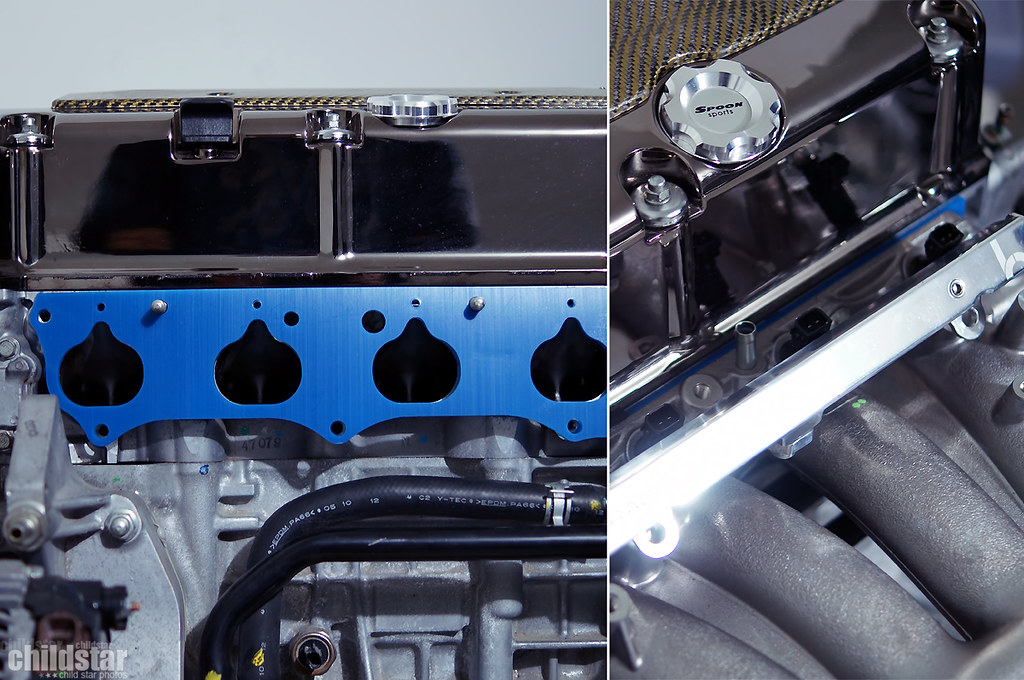
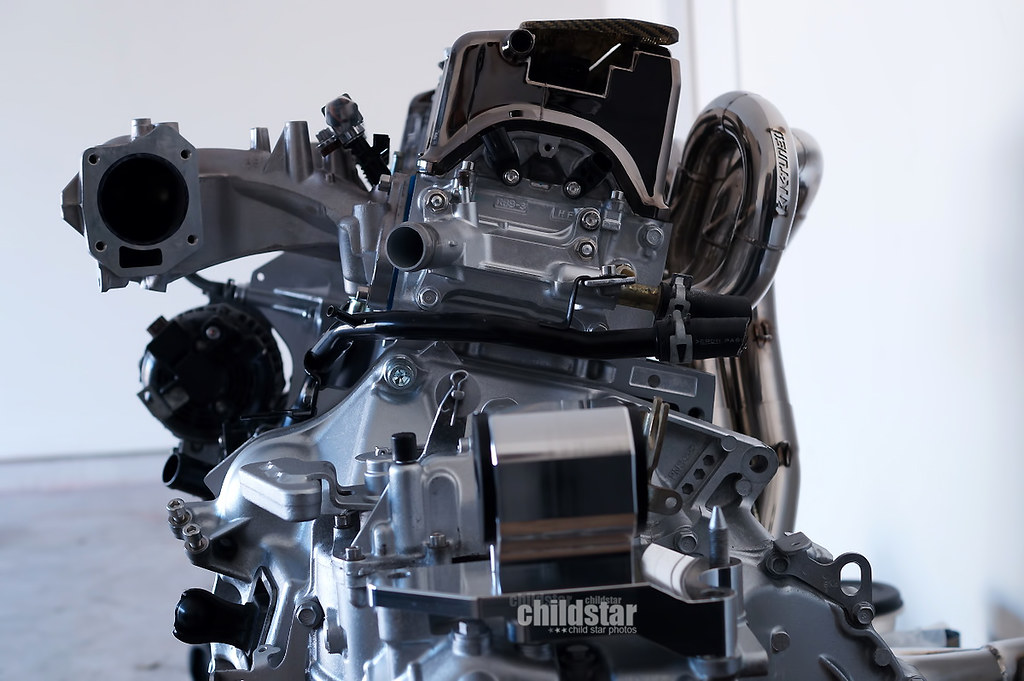
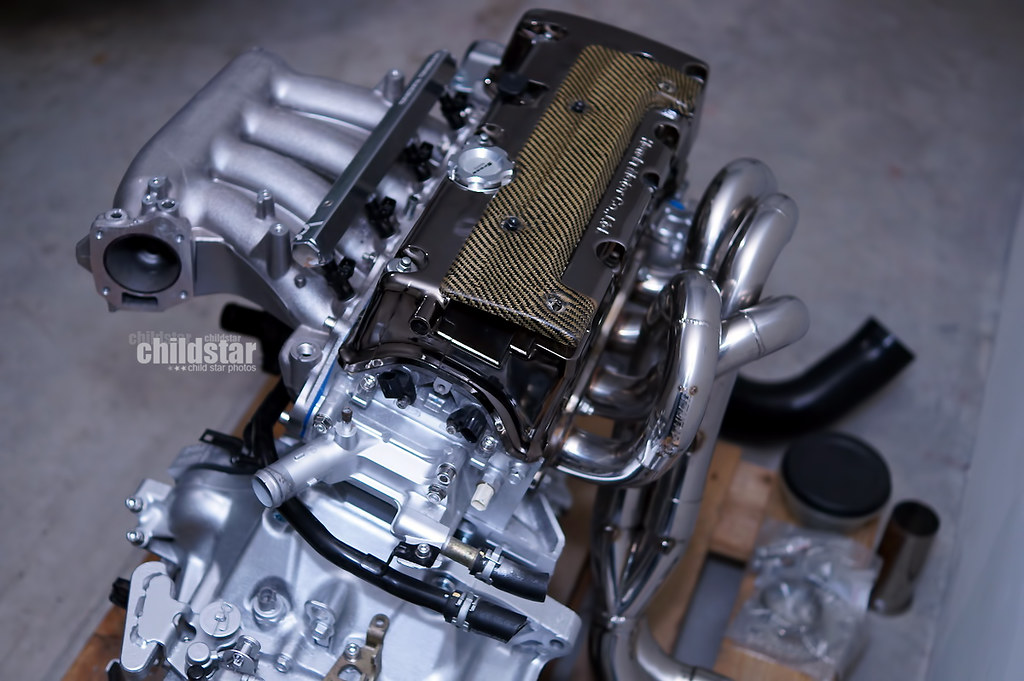
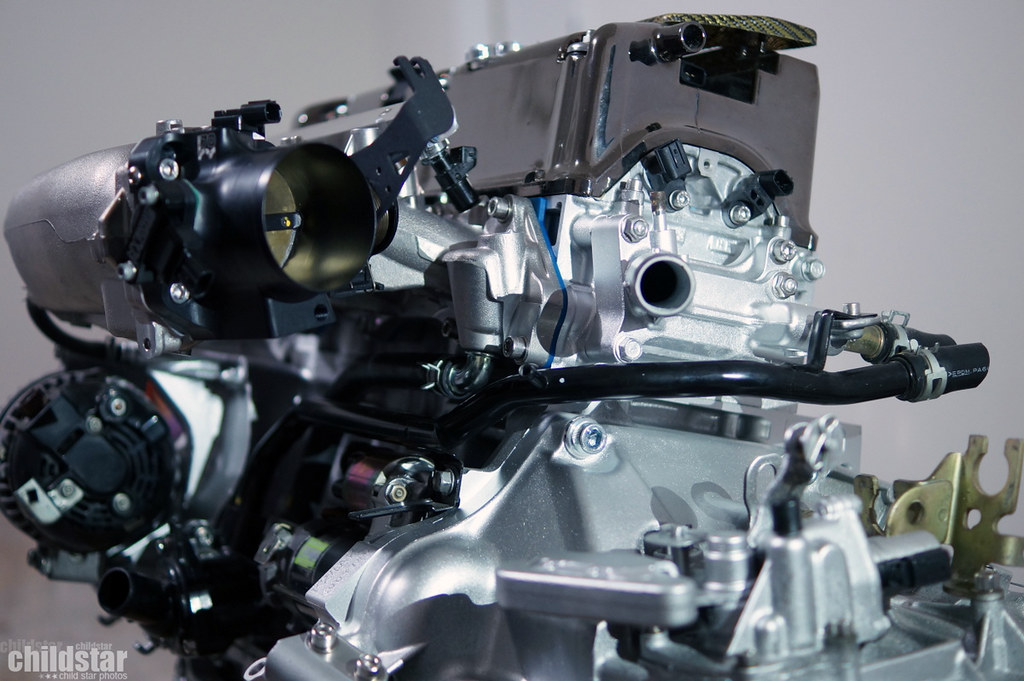
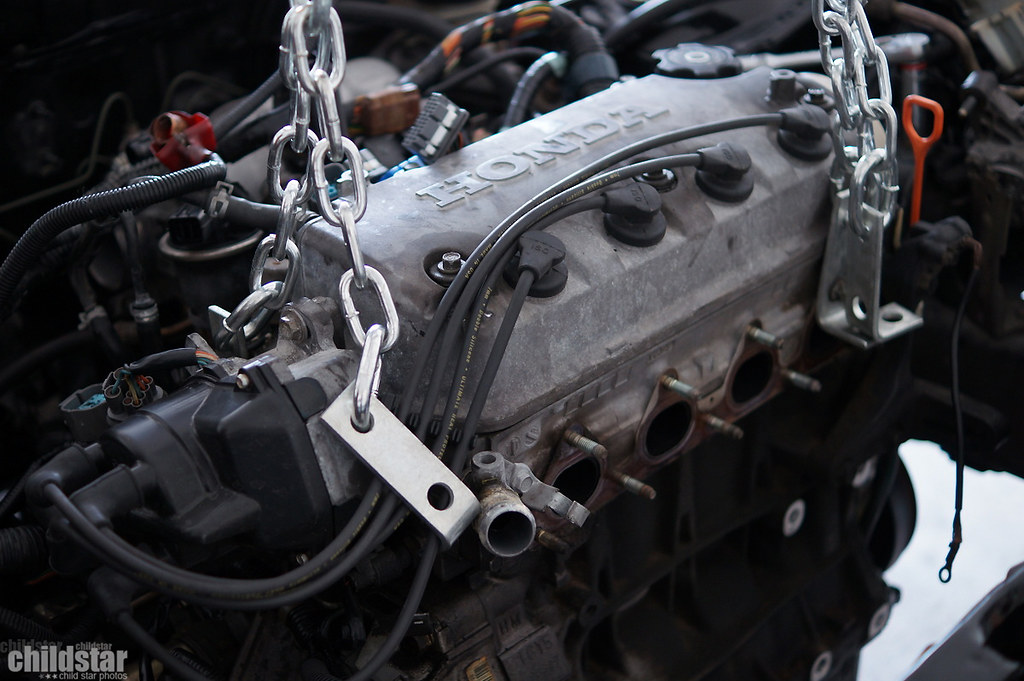
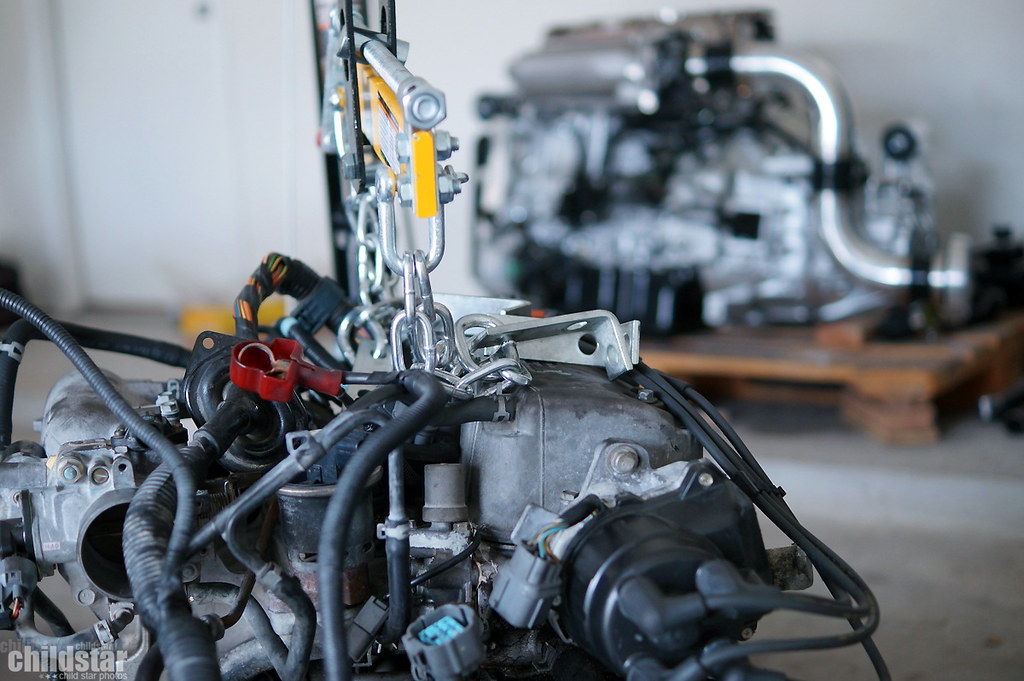
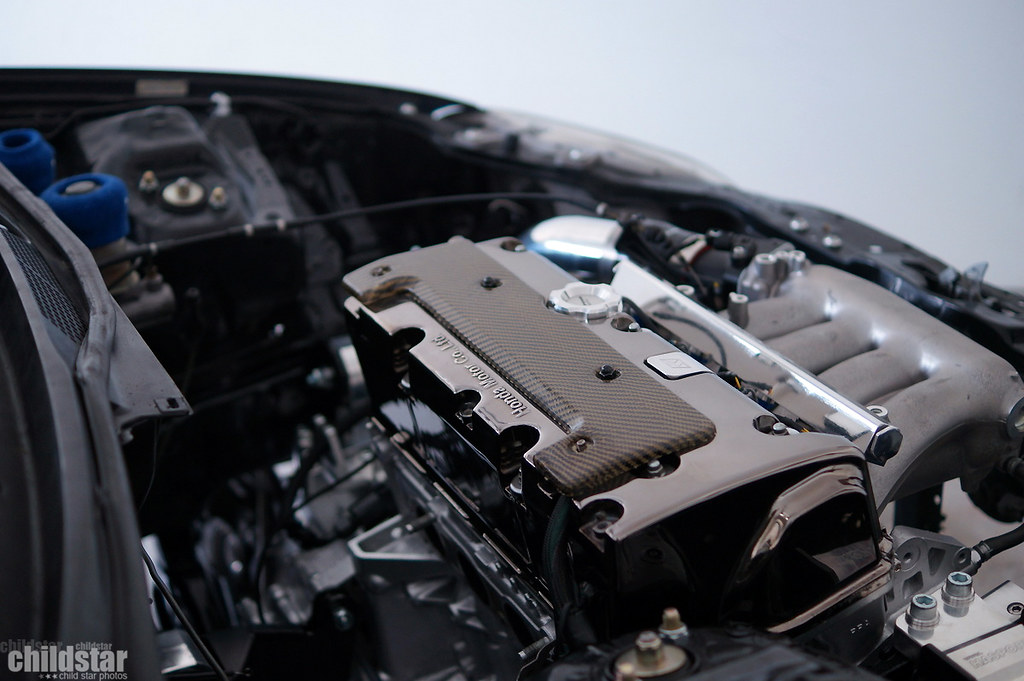
I removed the TSX wiring harness and took off the EVAP stuff since im not running any EVAP emissions crap on my car right now.
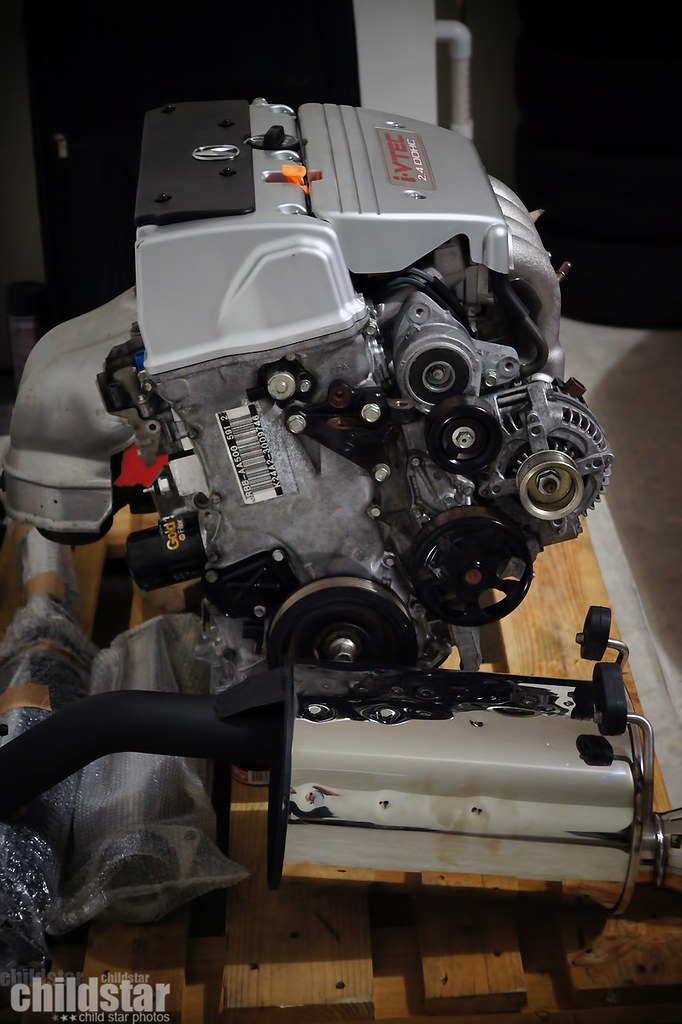
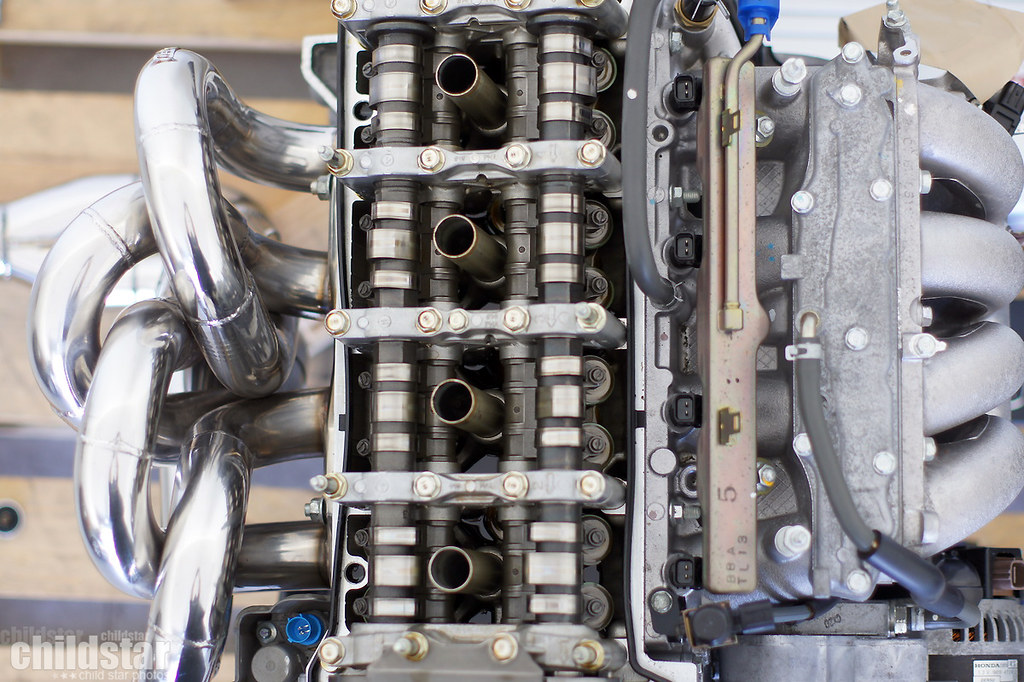
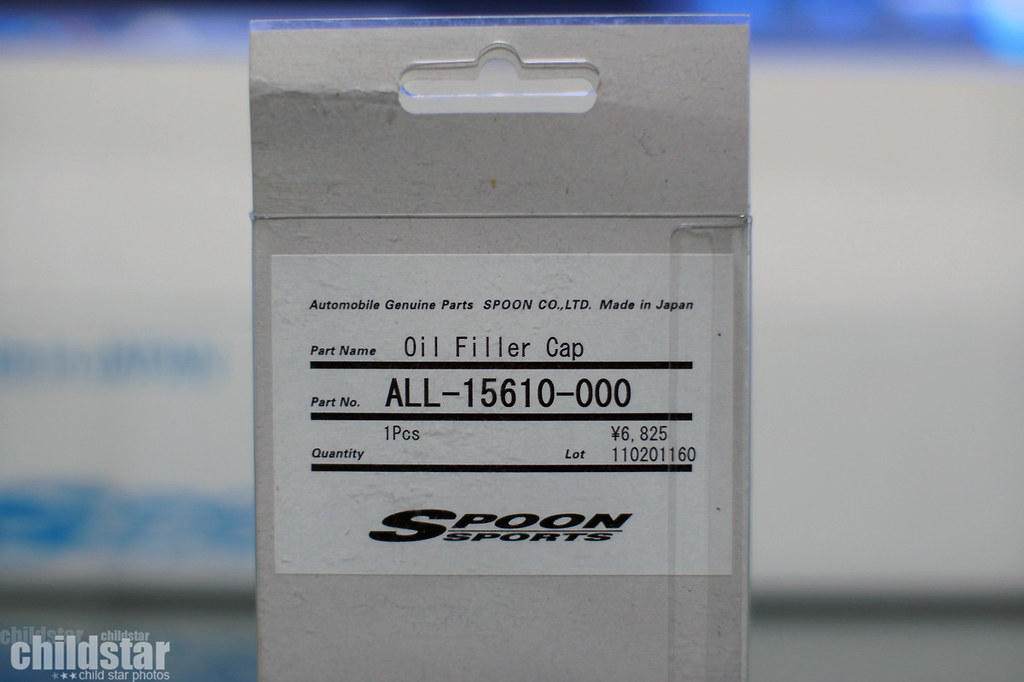
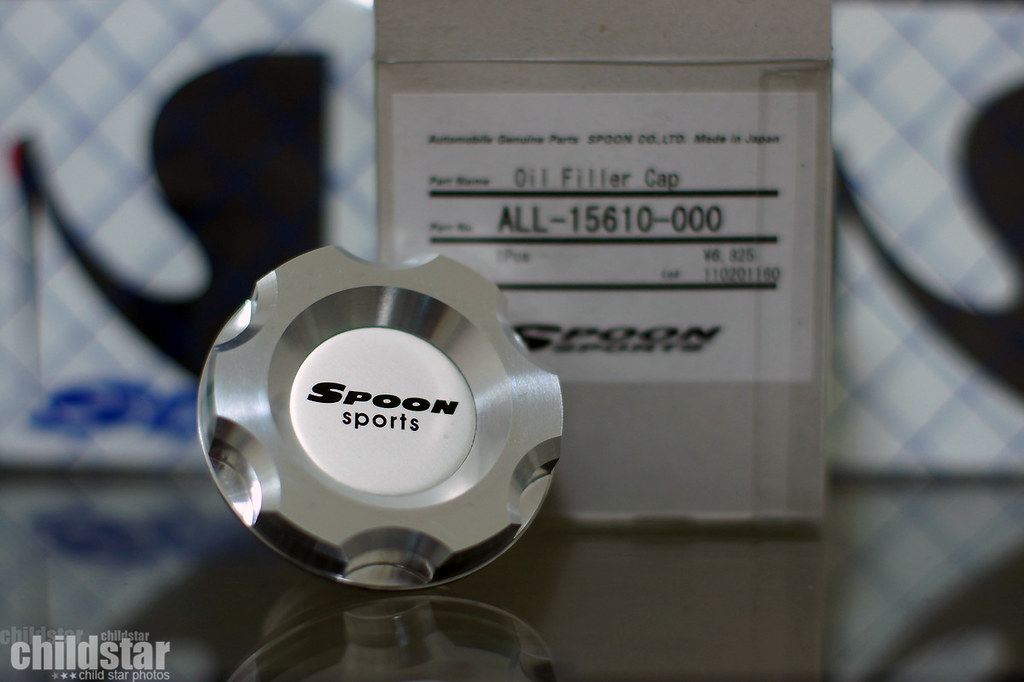
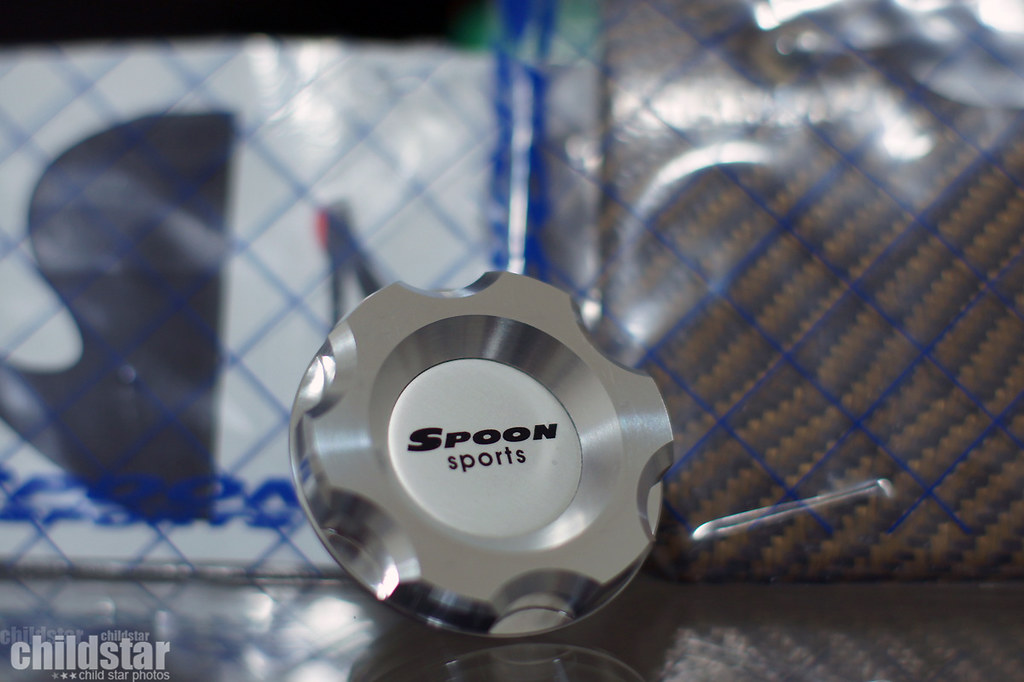
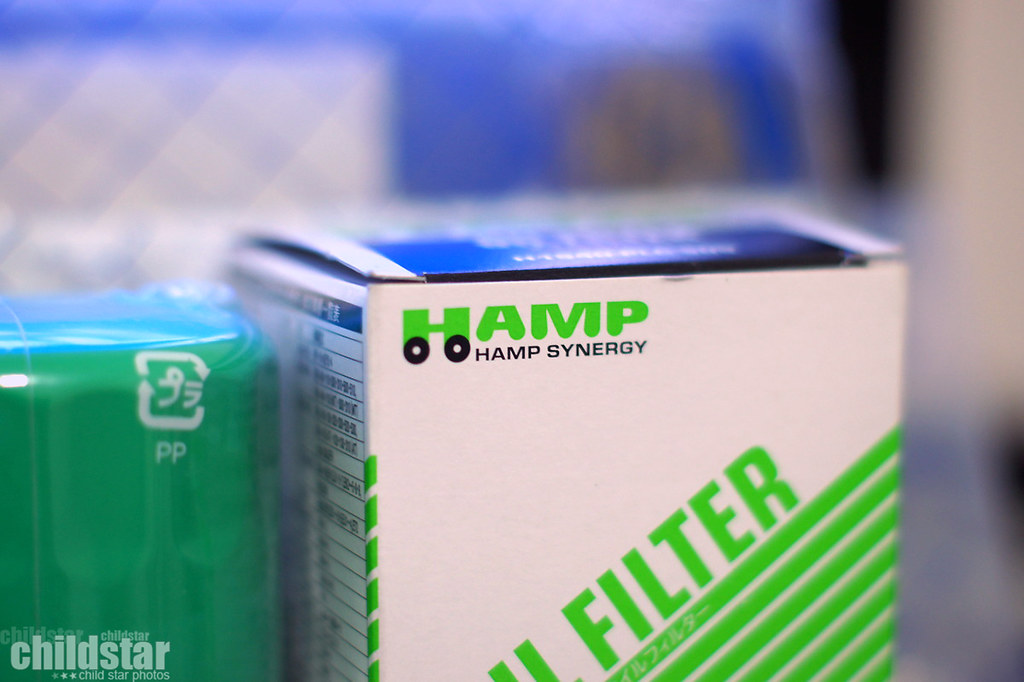
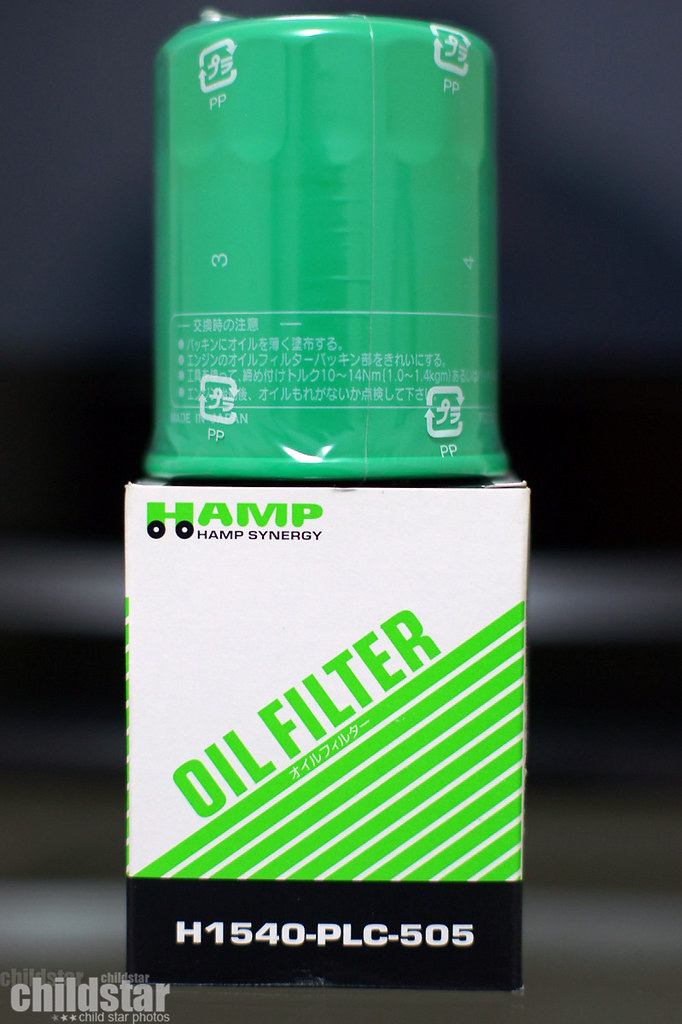
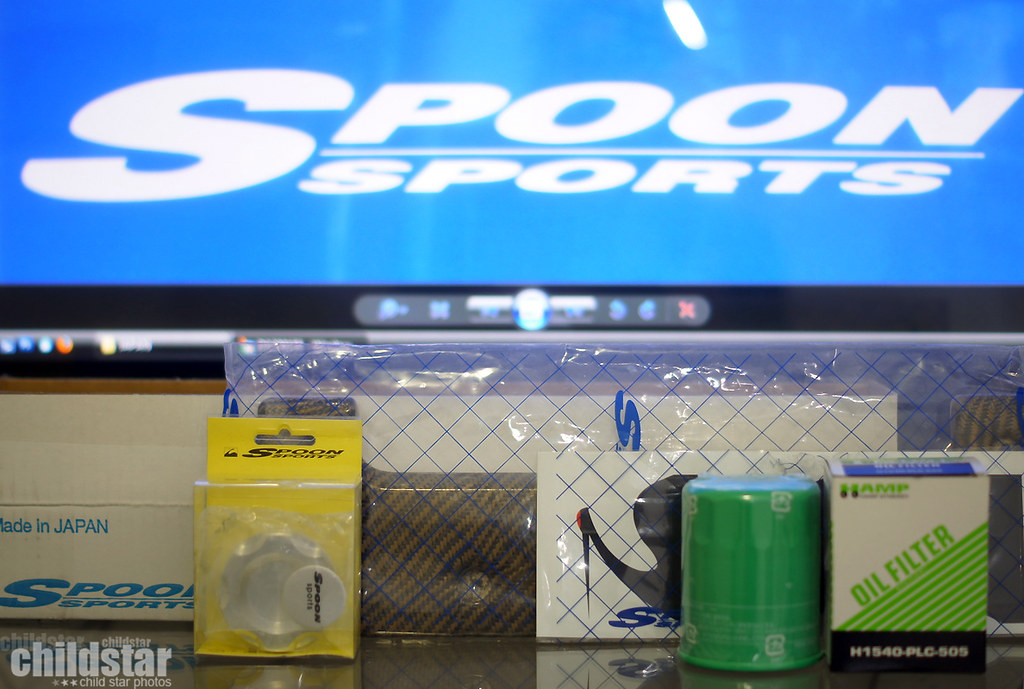
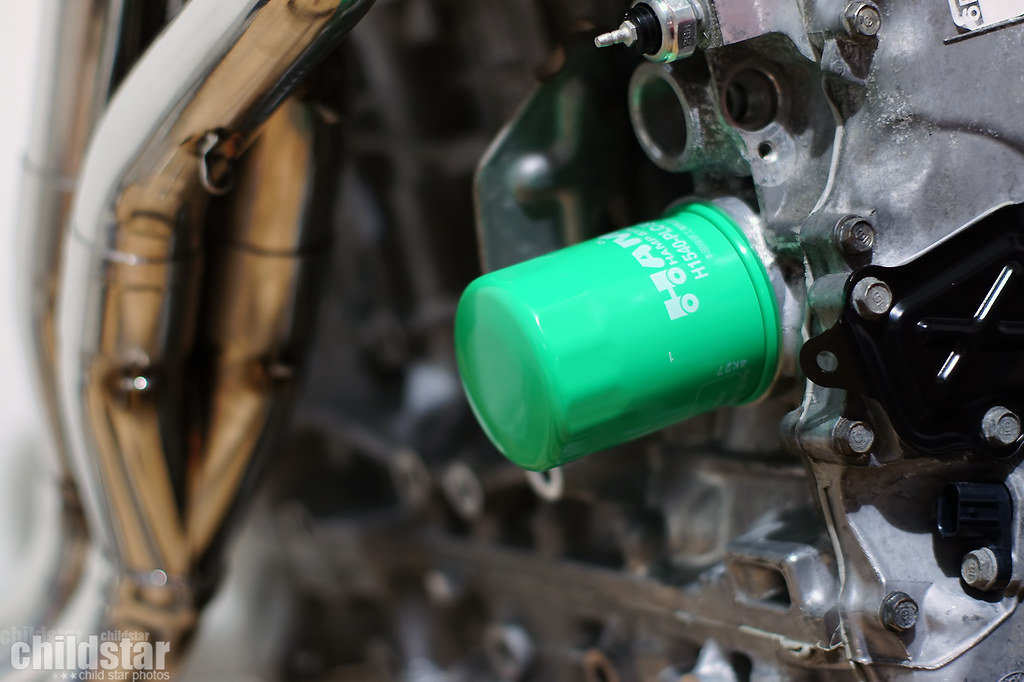
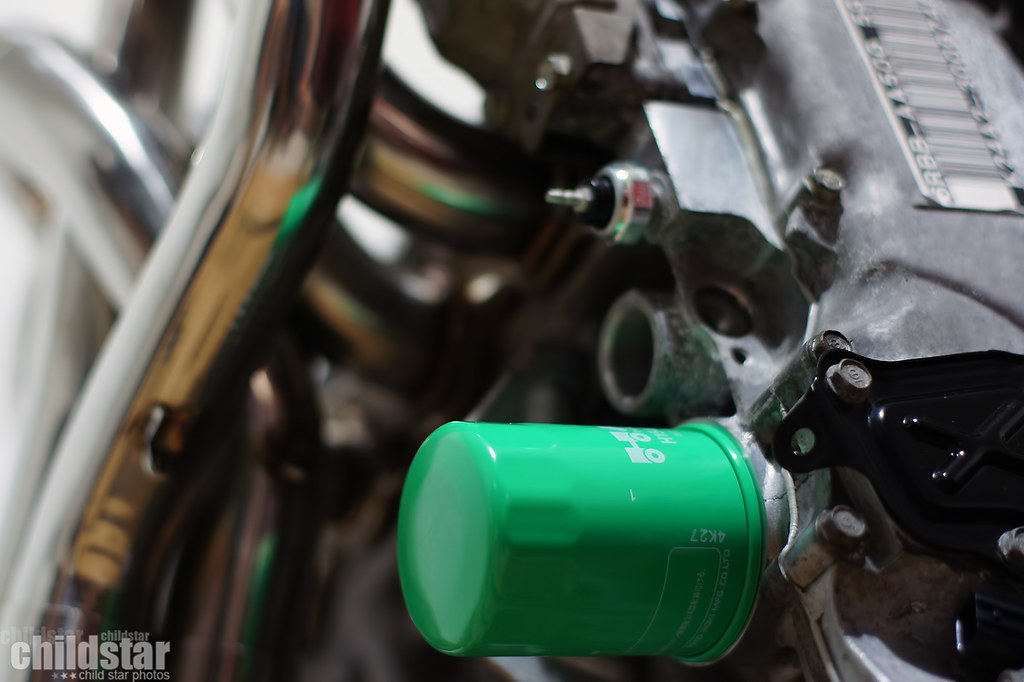
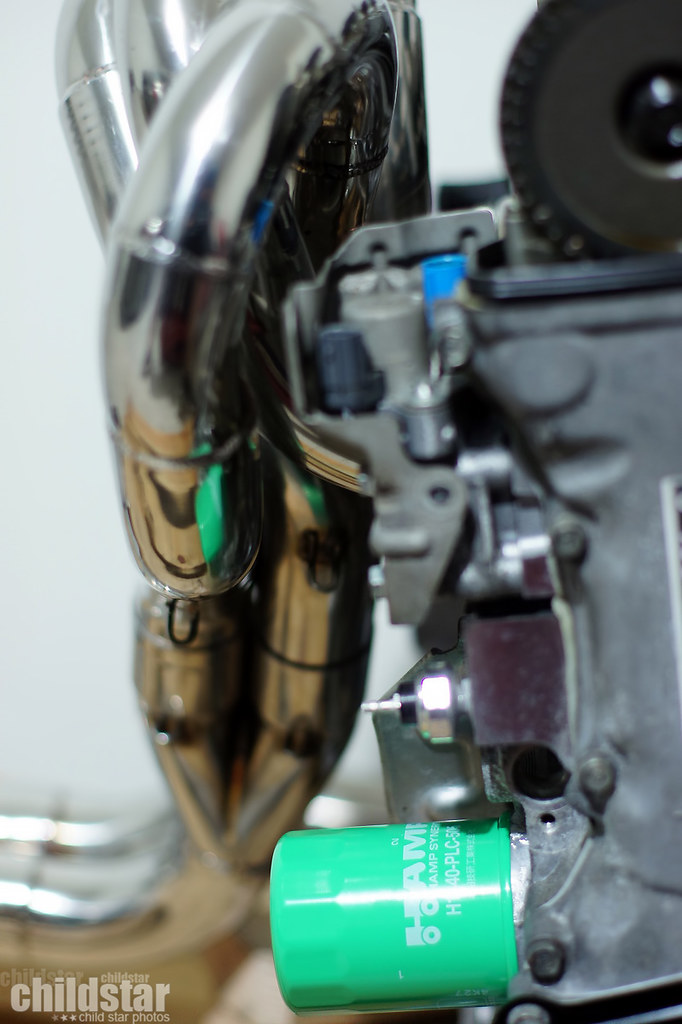
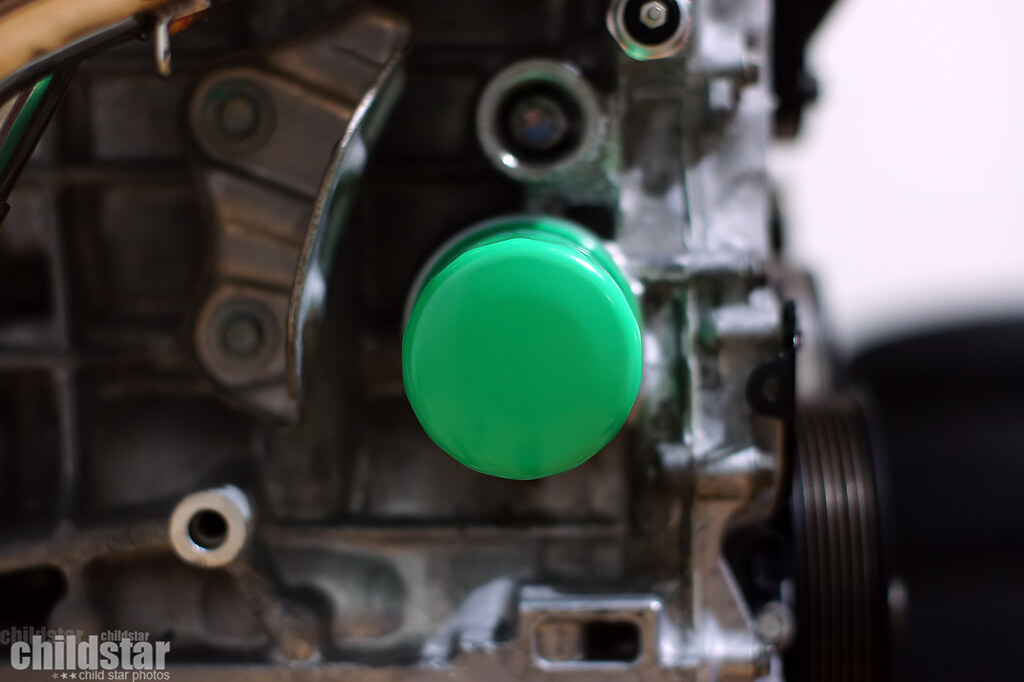
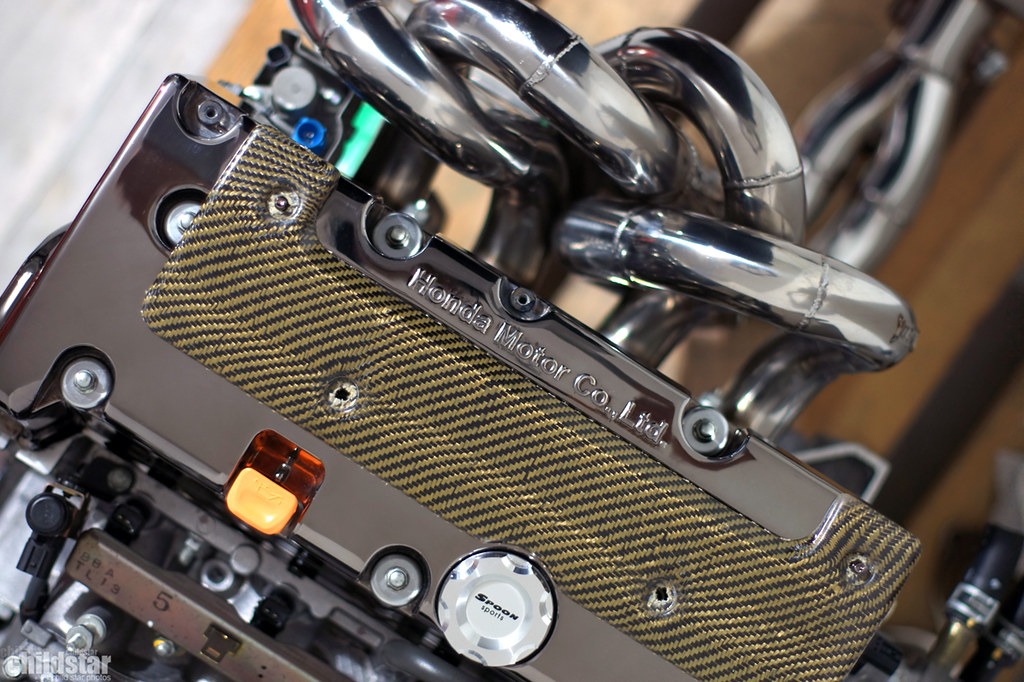
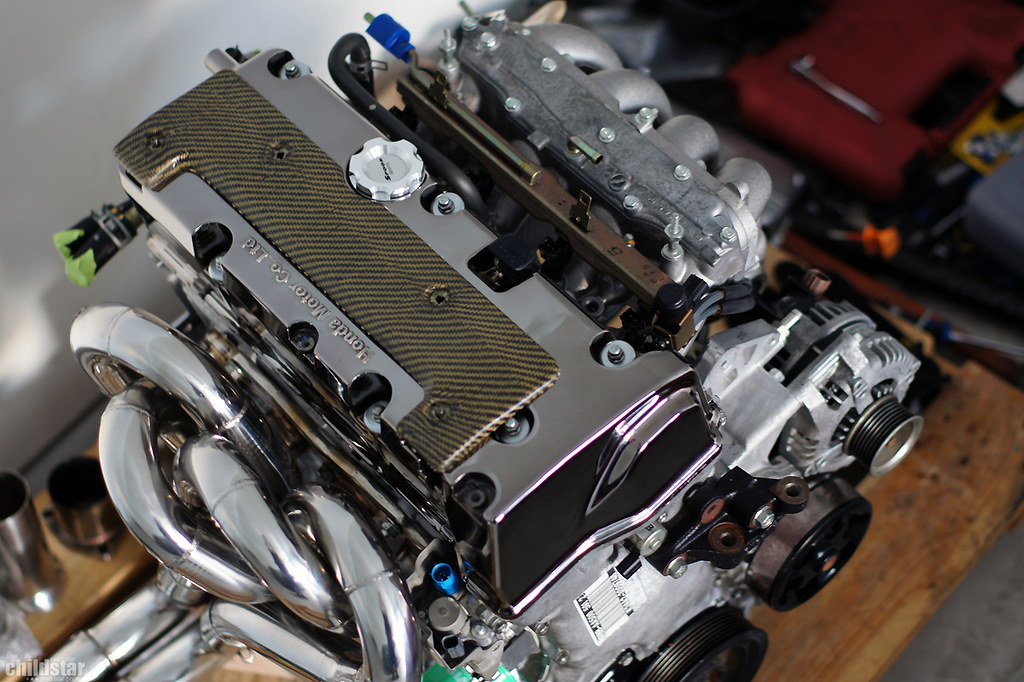
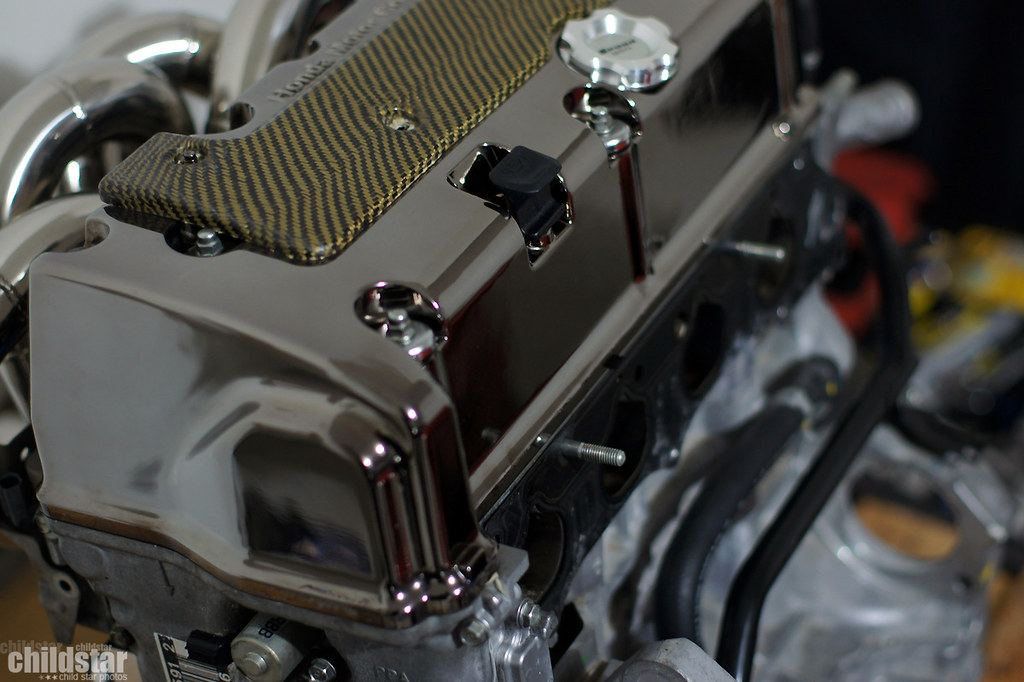
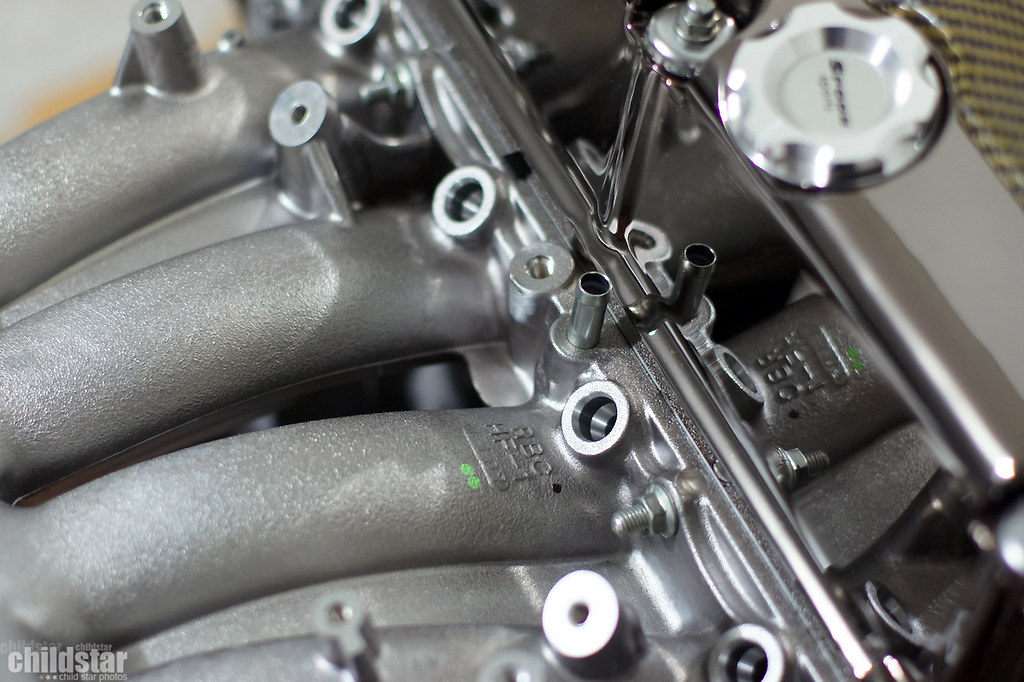
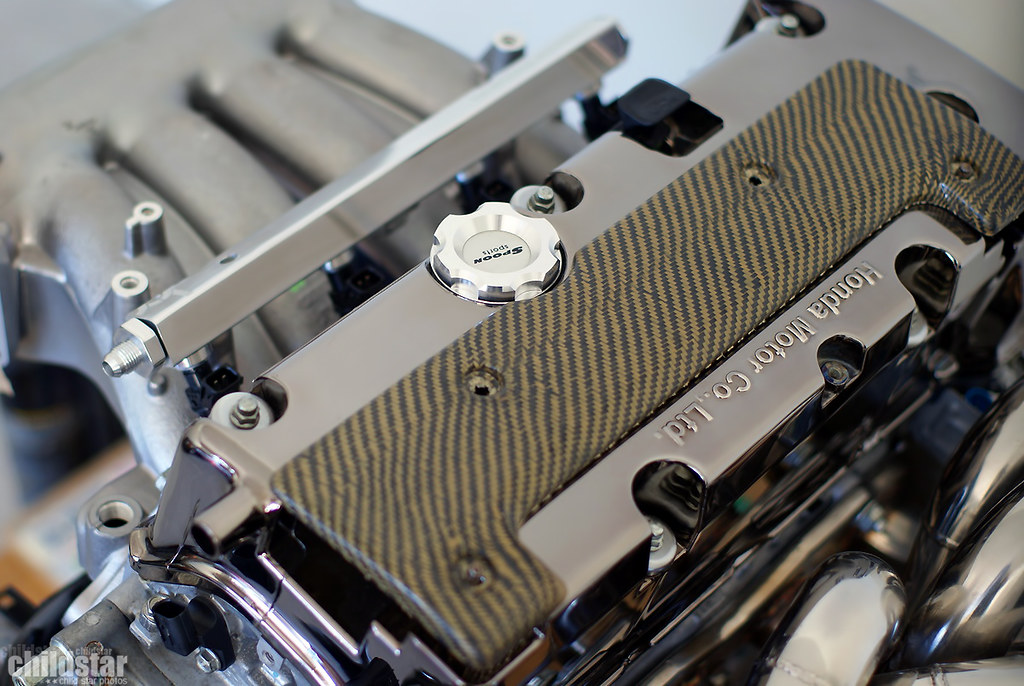
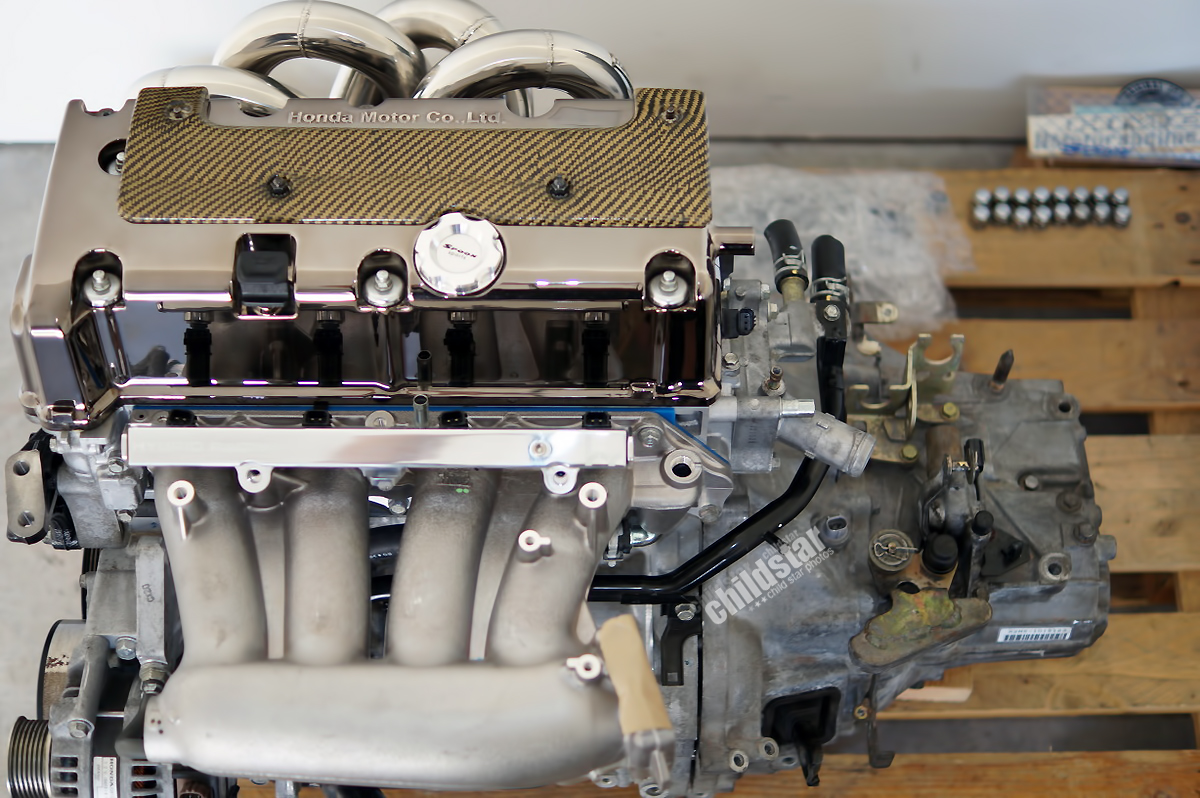
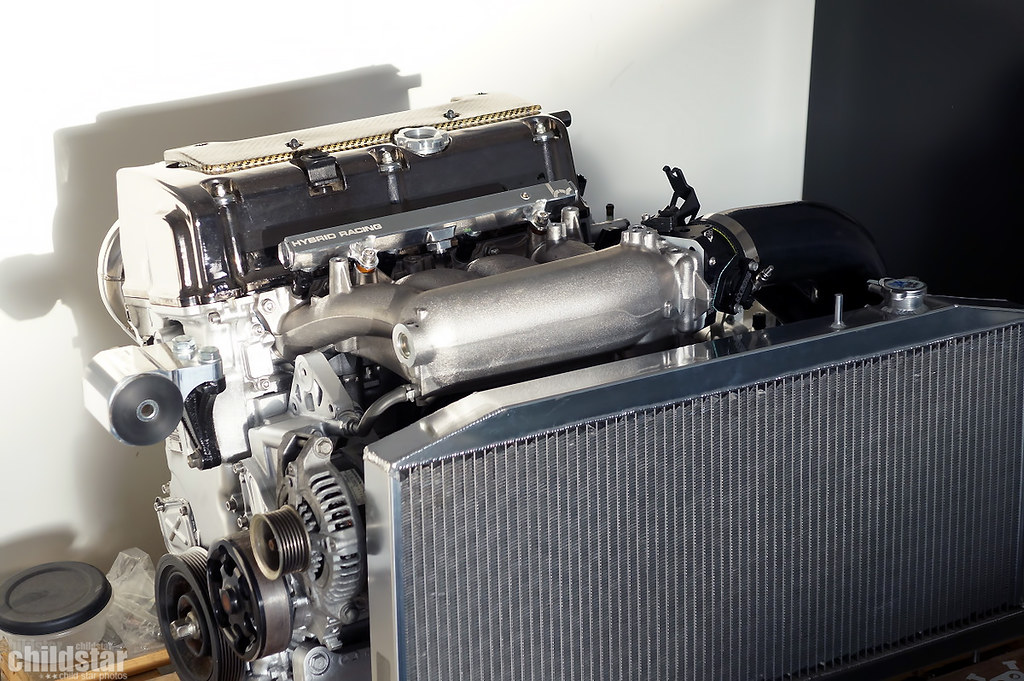
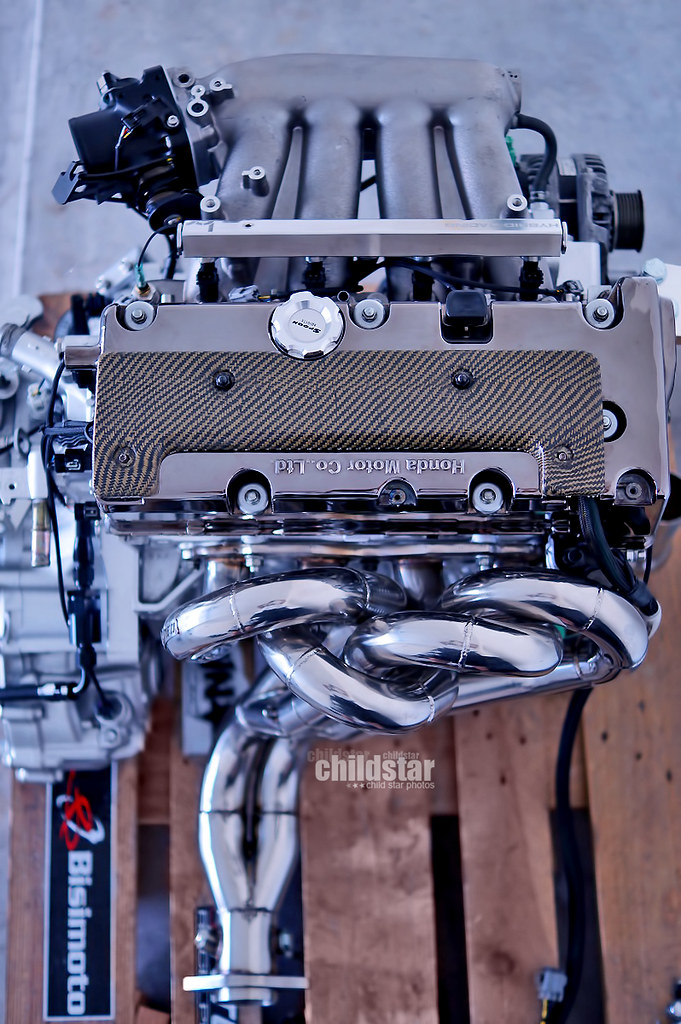
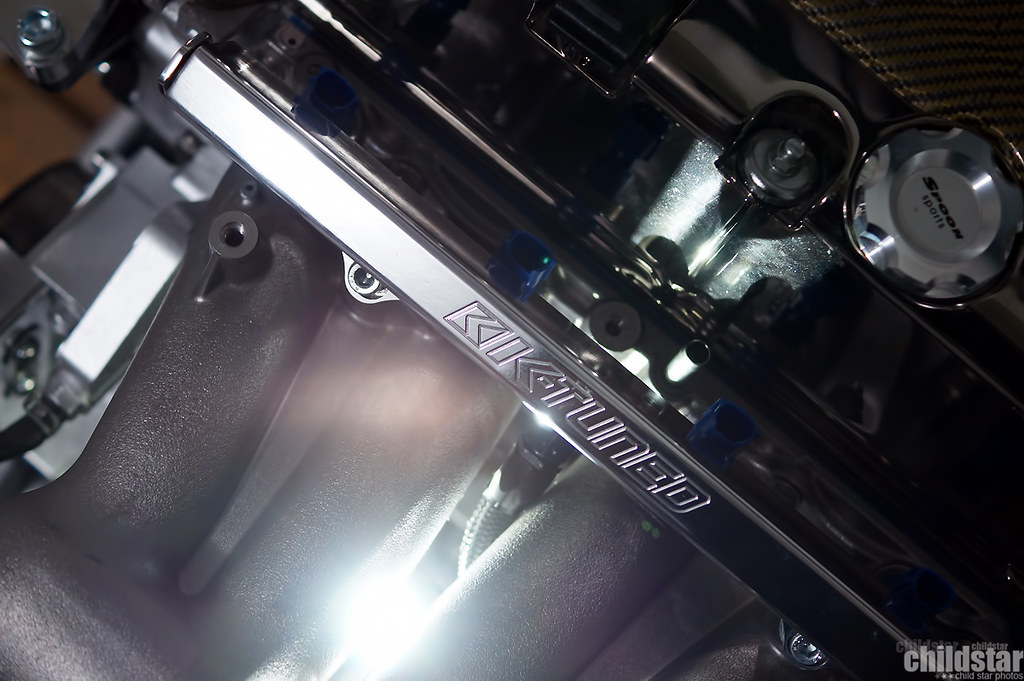
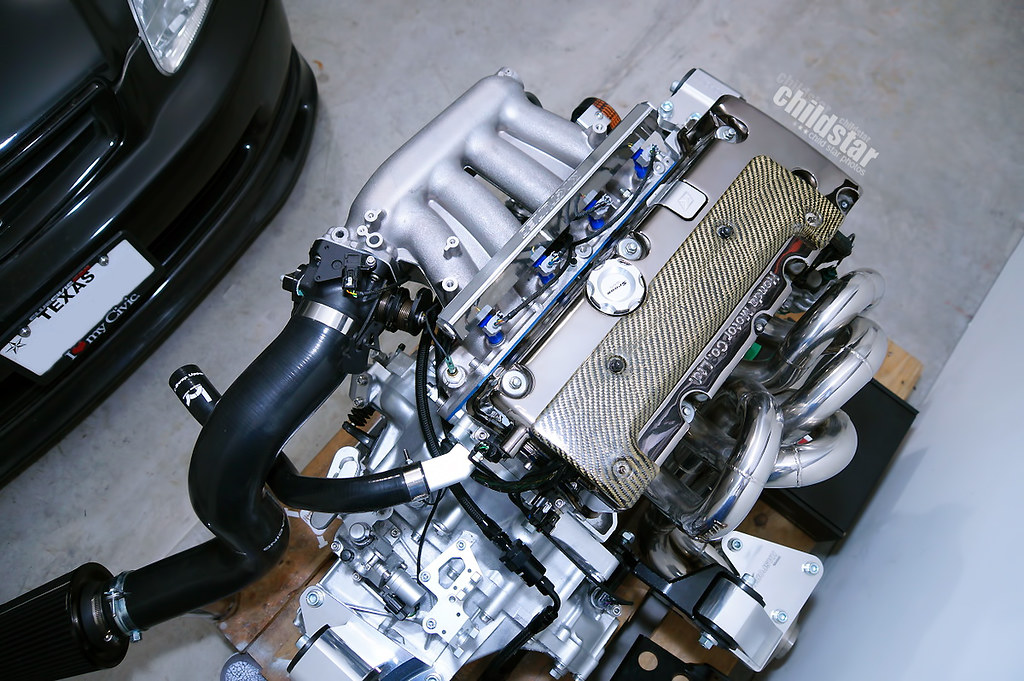
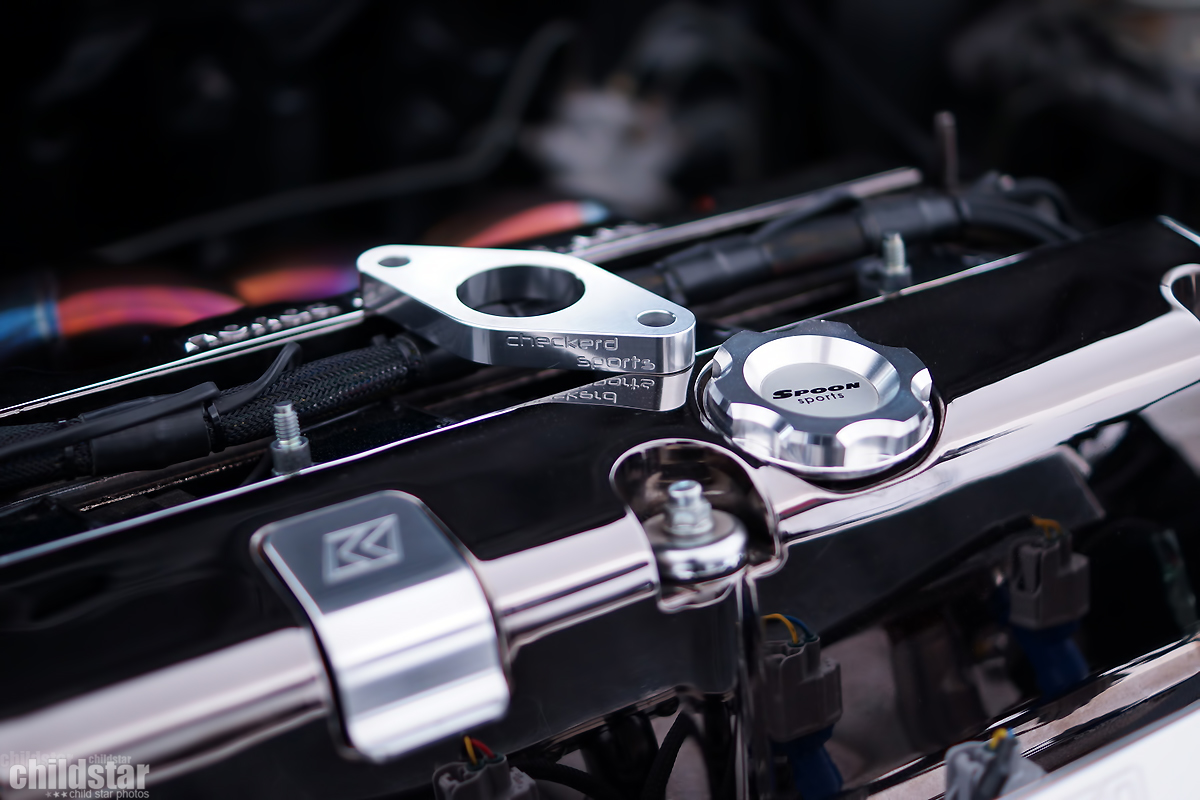
I mocked the header up, sent my valve cover off to get black chromed, picked up a couple of spoon sports bling pieces, replaced my oil filter with a Hamp synergy oil filter, and ordered a 50*VTC actuator


(probably be a week before my 50* VTC arrives)

impatiently waiting for more money...
I mocked the header up, sent my valve cover off to get black chromed, picked up a couple of spoon sports bling pieces, replaced my oil filter with a Hamp synergy oil filter, and ordered a 50*VTC actuator
(probably be a week before my 50* VTC arrives)
impatiently waiting for more money...
05-09-2016, 10:01 PM
#5
Honda-Tech Member
Thread Starter
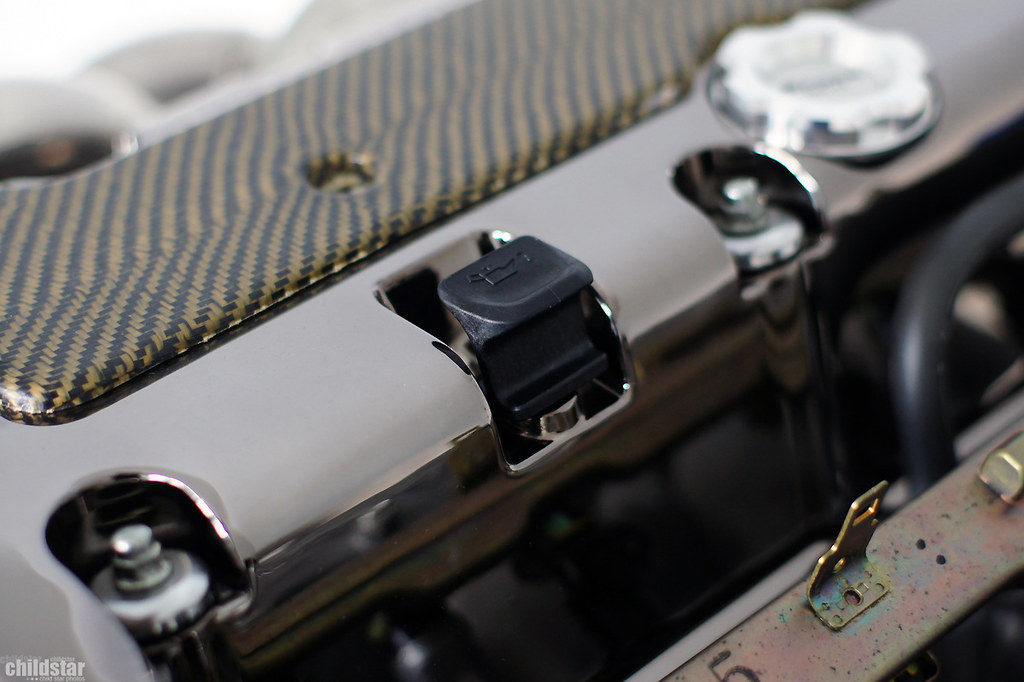
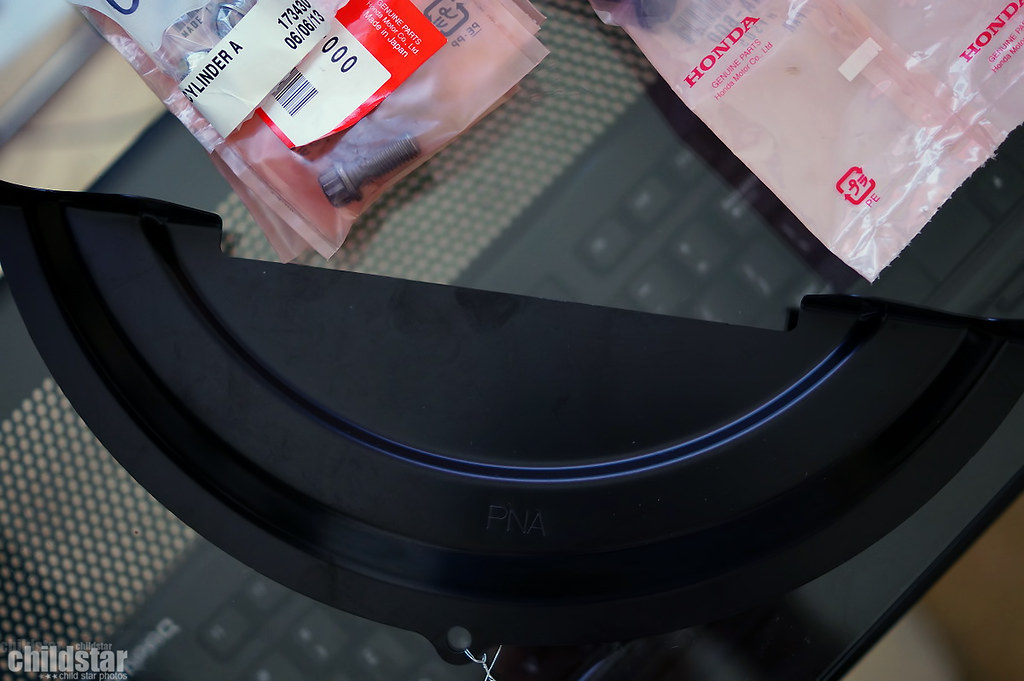
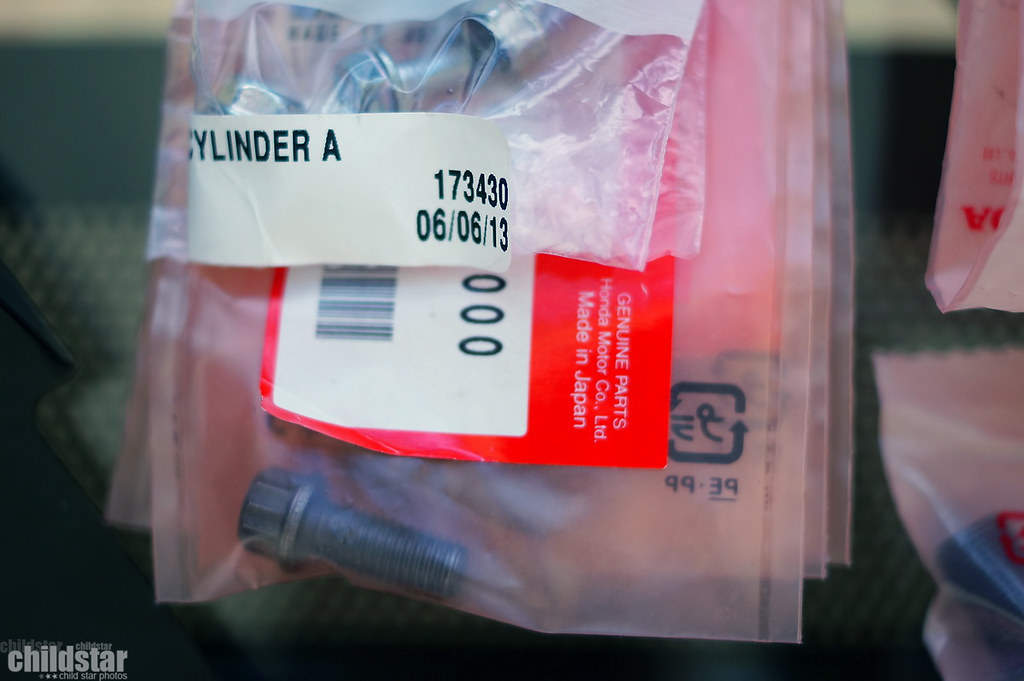
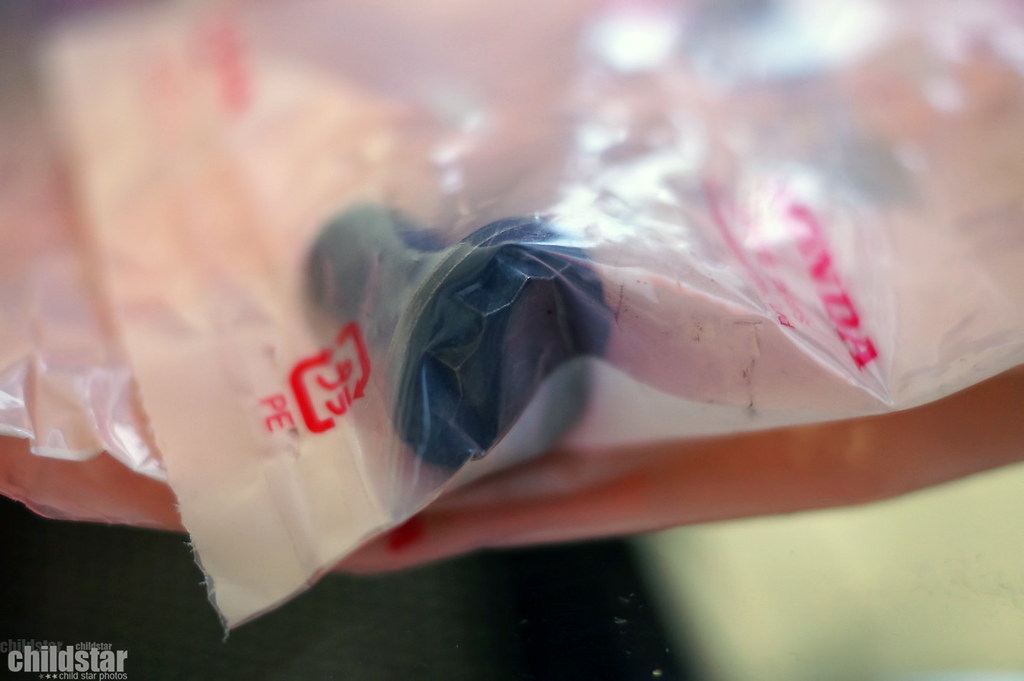
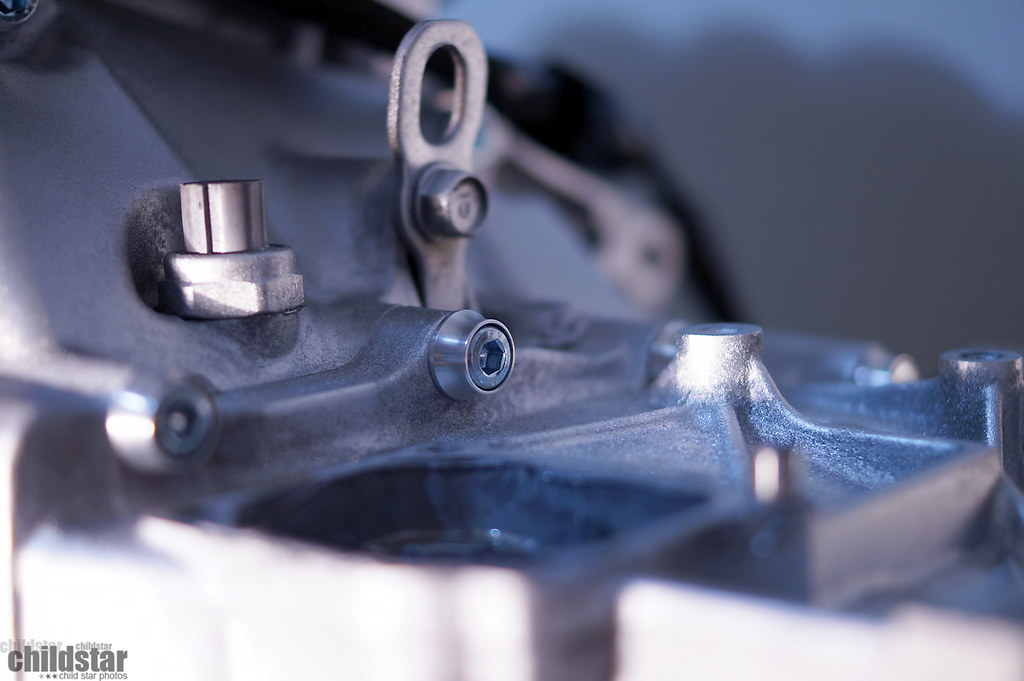
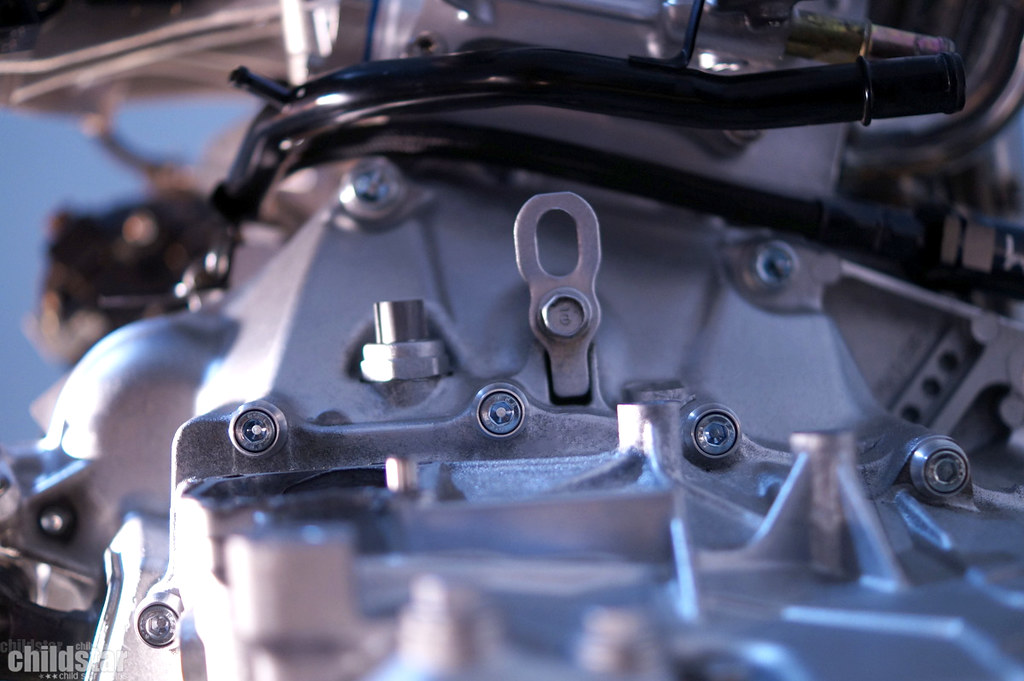
OEM tensioner stopper pin
Valve cover gaskets

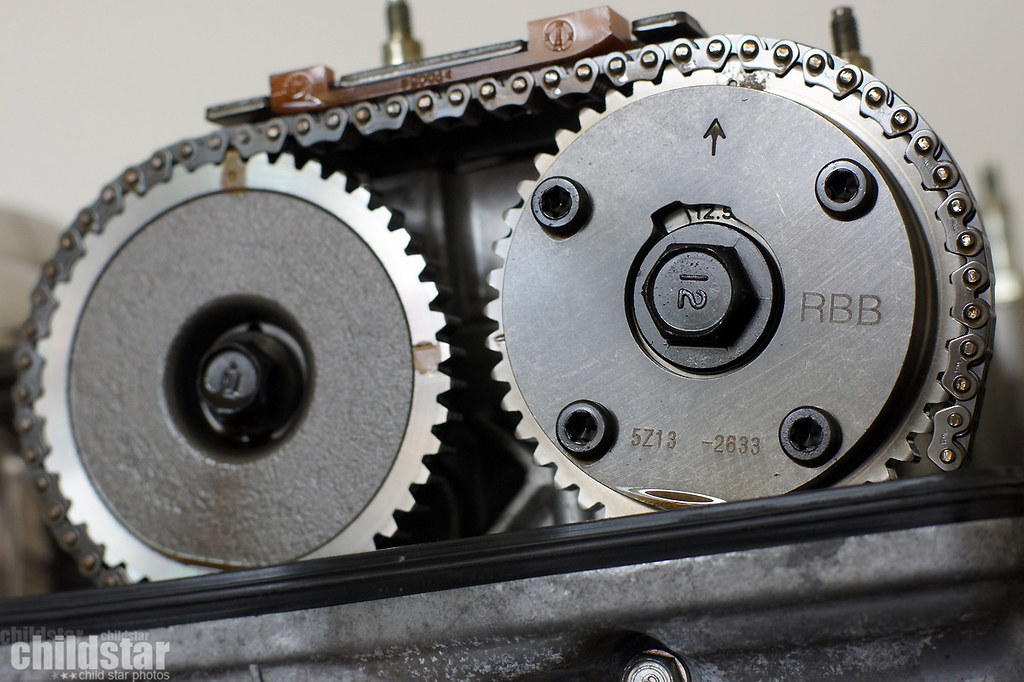
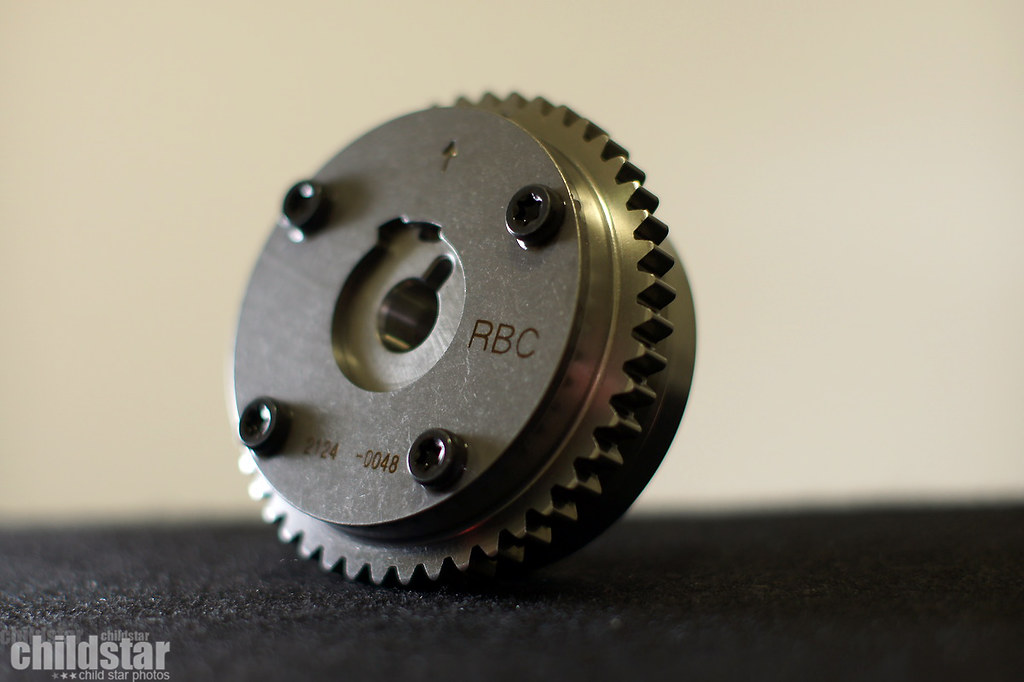
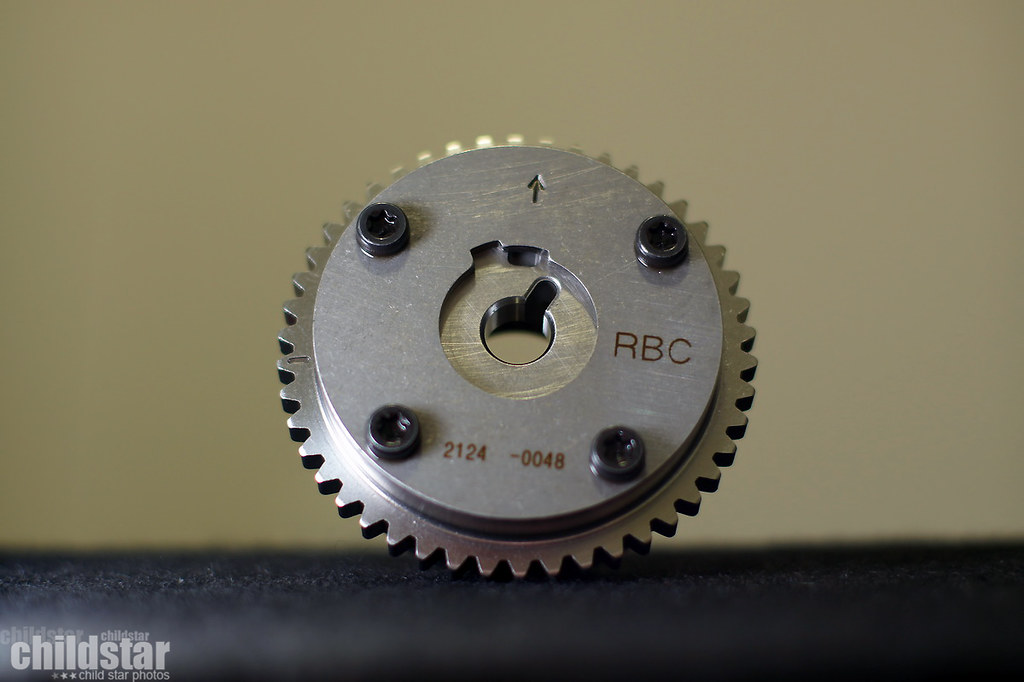
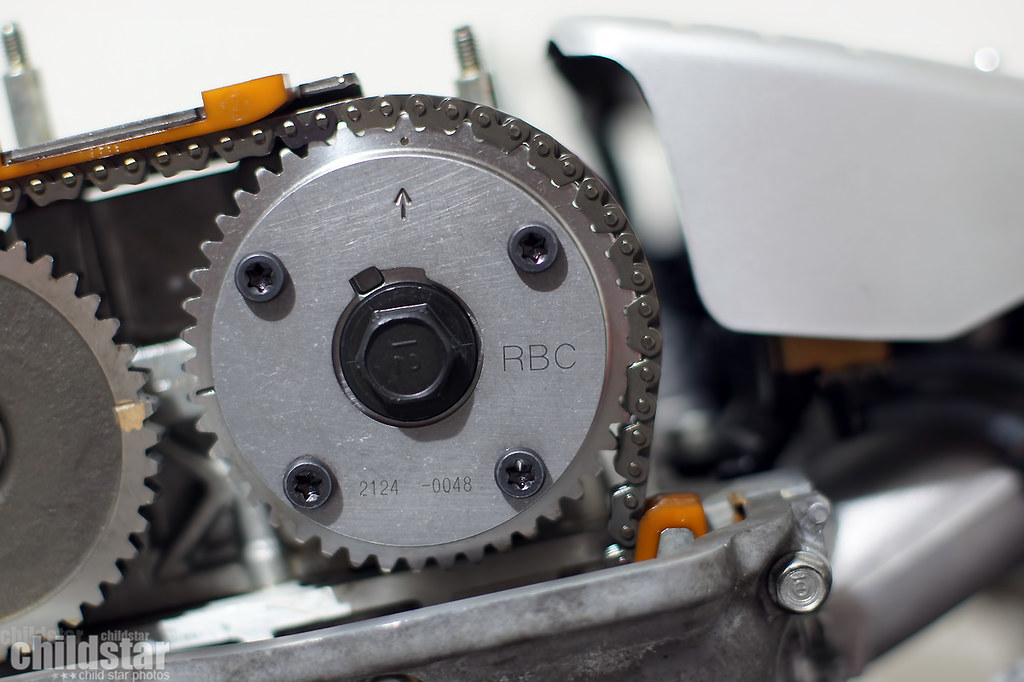
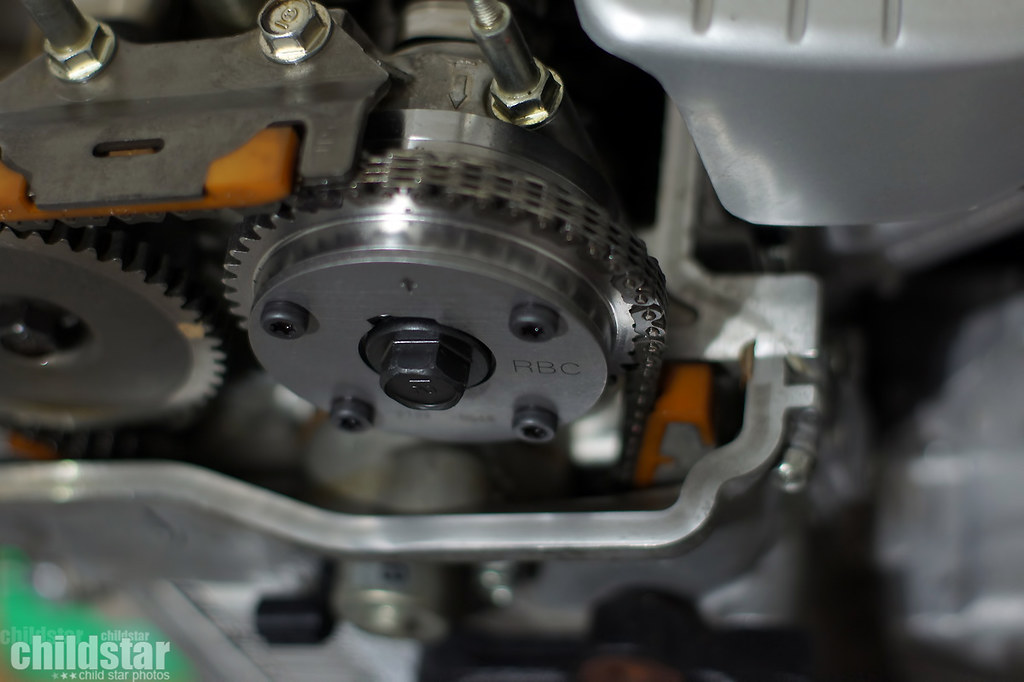
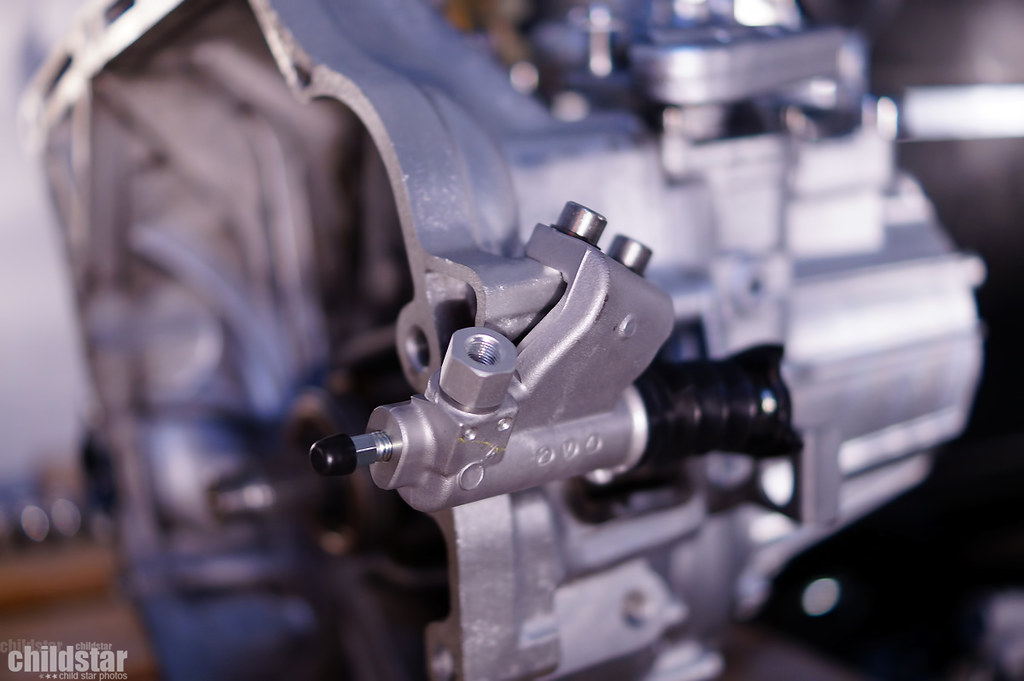
50* VTC cam gear
install process:

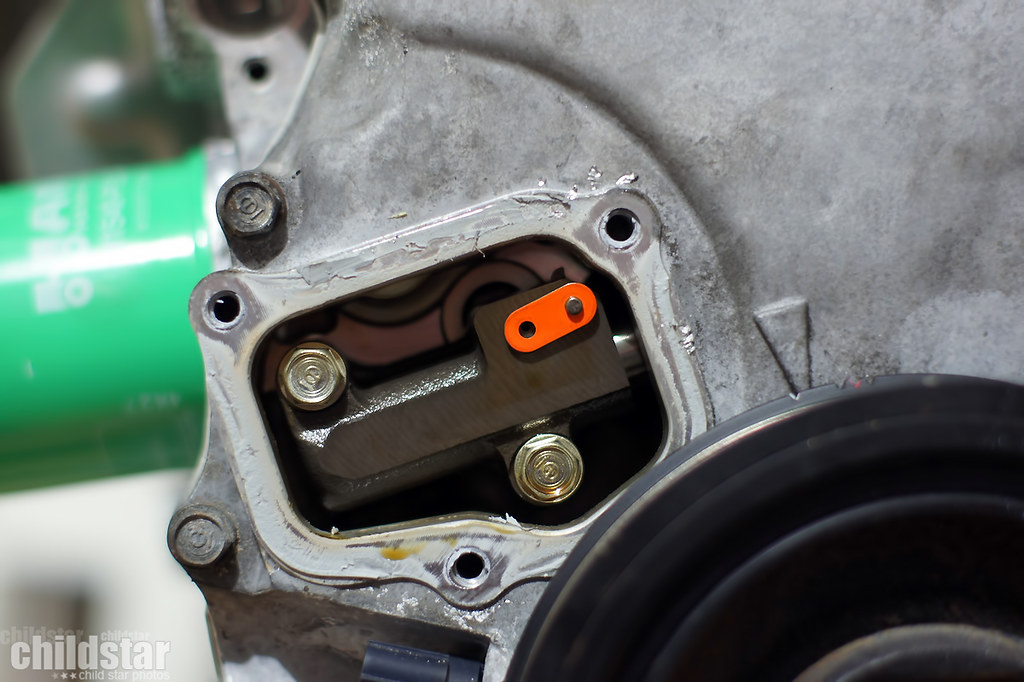
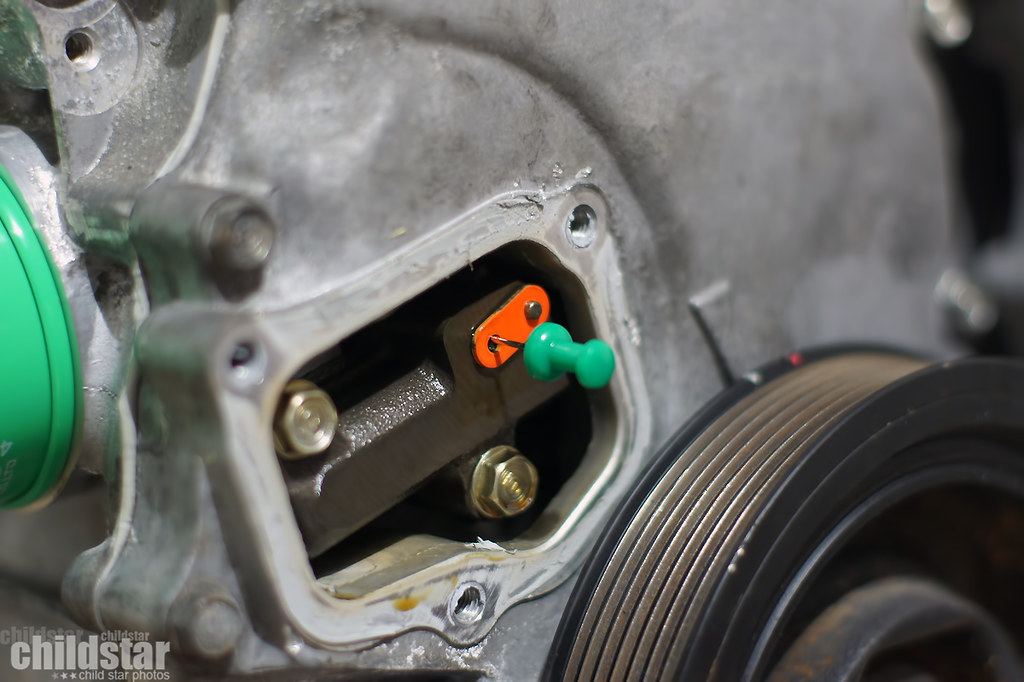
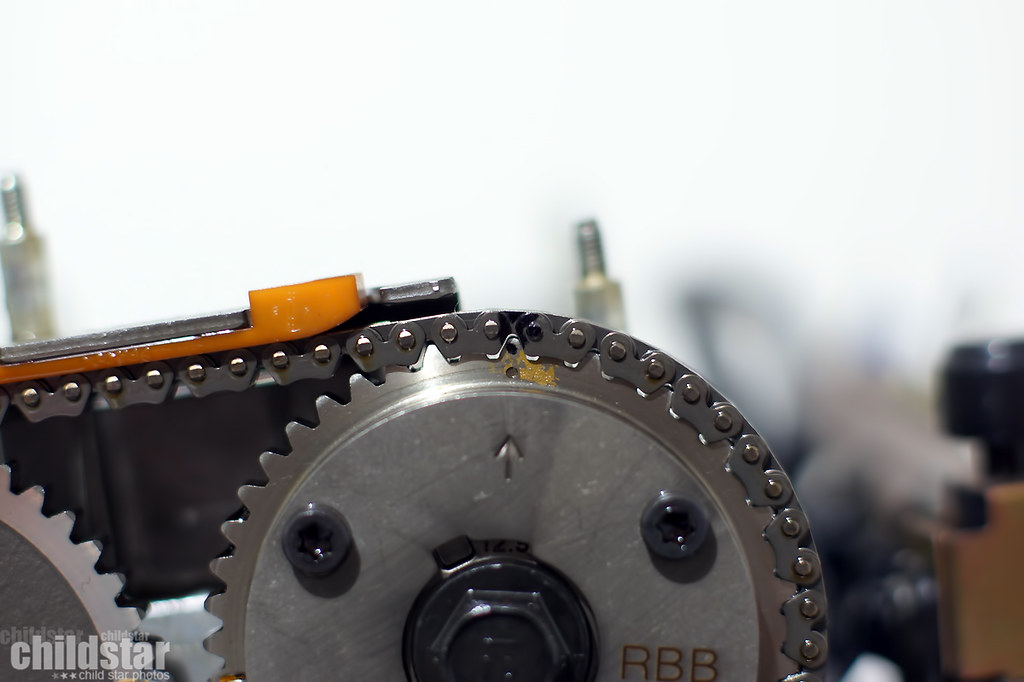
marked the timing chain
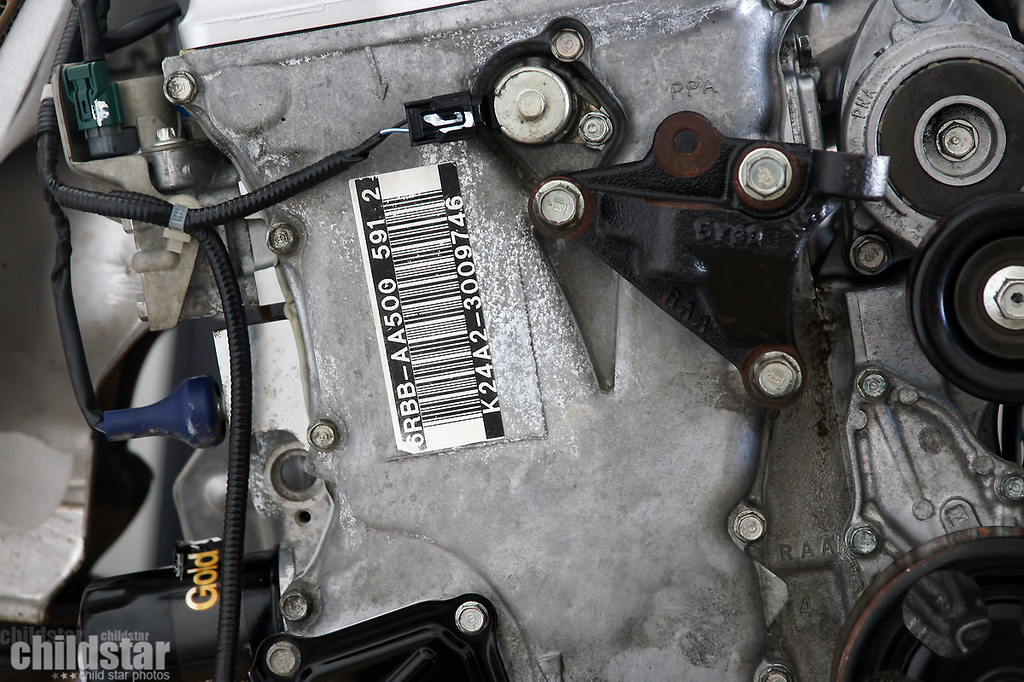
23mm wrench fit the '06 k24a2 cams perfectly ( i wasn't up to risking an adjustable wrench as the service manual suggests)
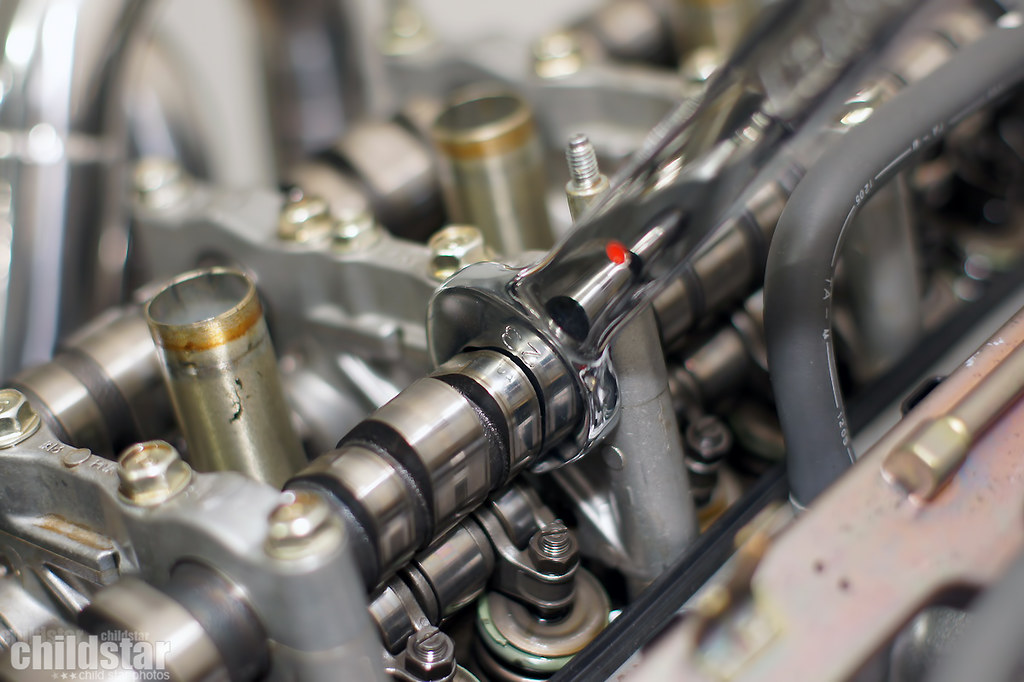
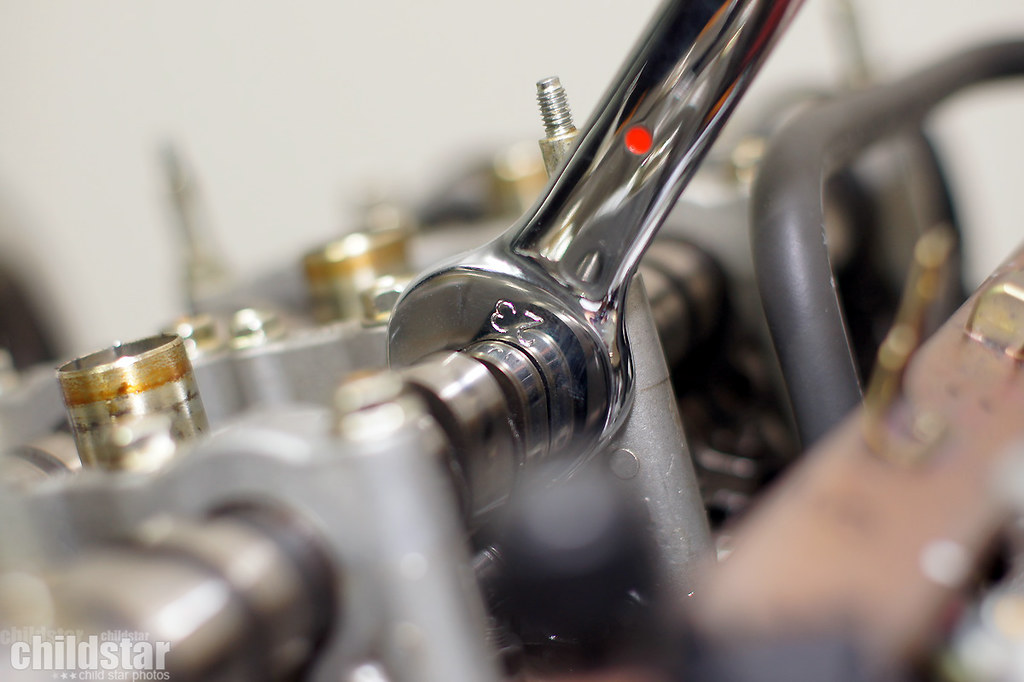
torque wrench in place
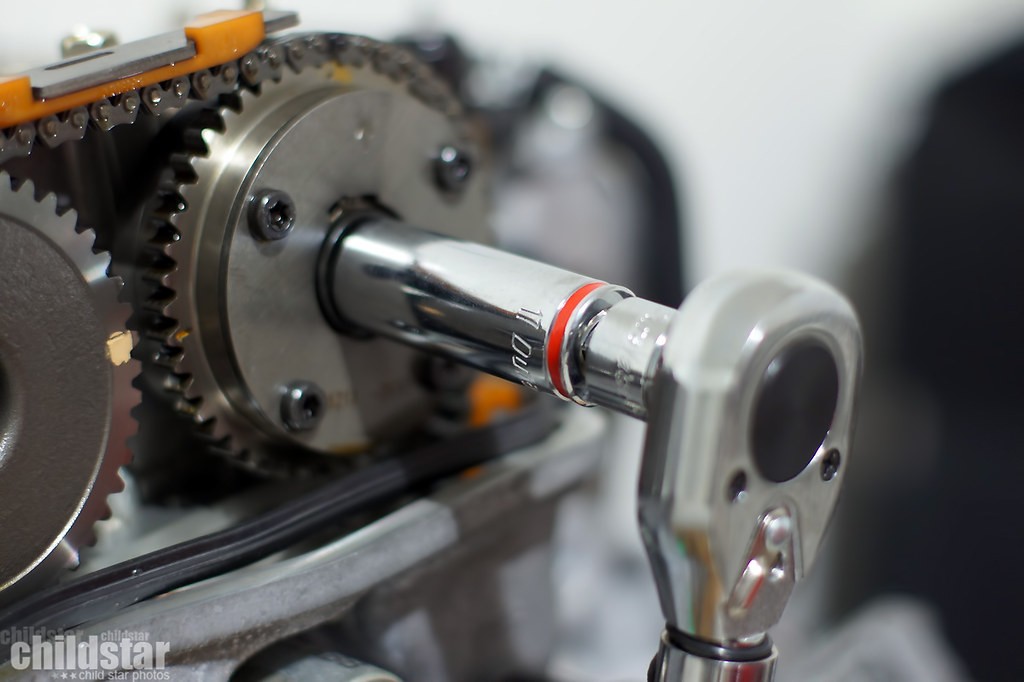
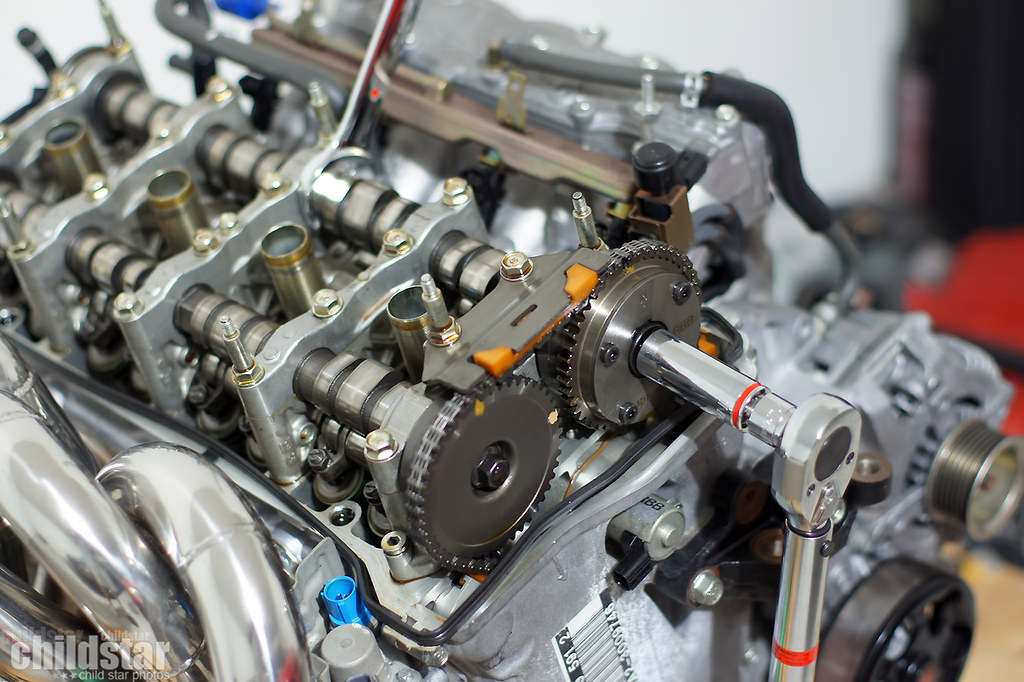
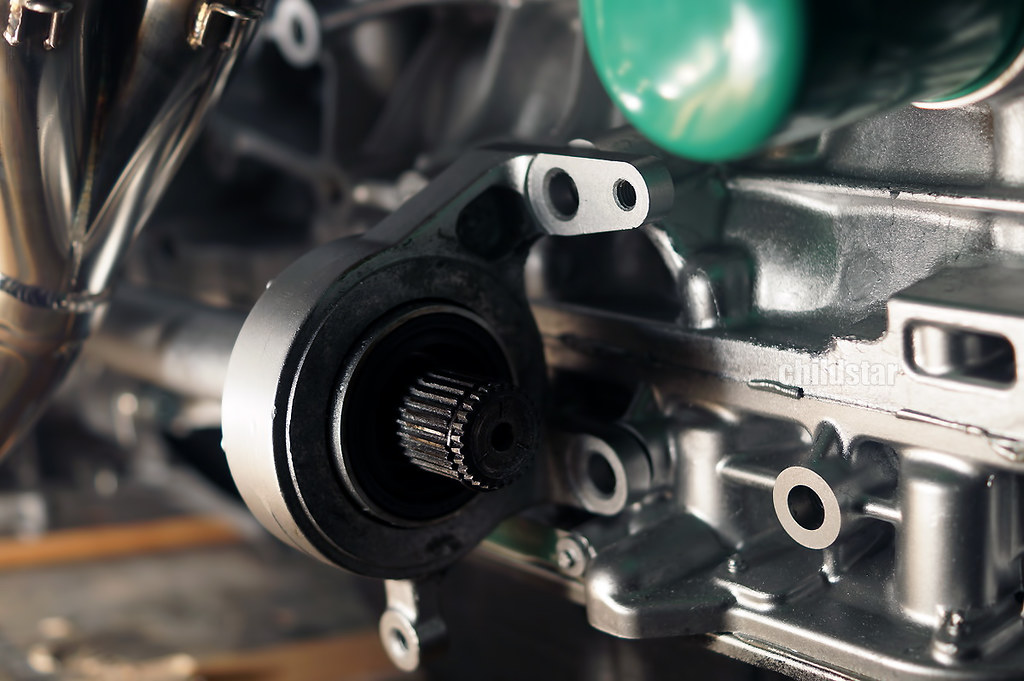
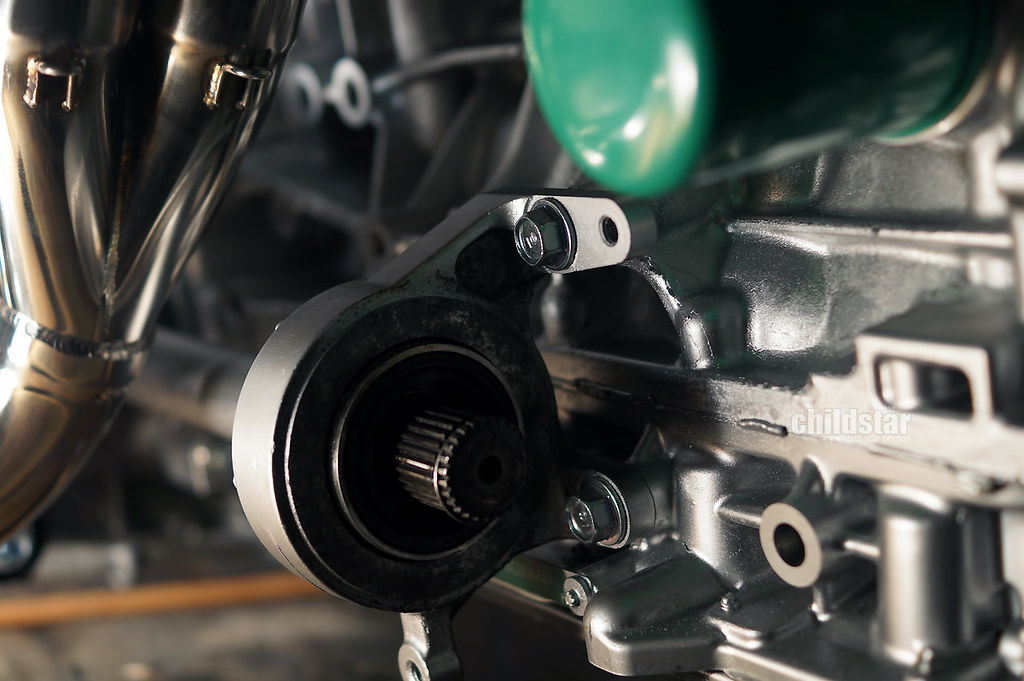
I did this alone so I couldn't get a shot of pulling the RBB cam gear out and making the switch. Went pretty flawlessly though. These last two shots were after I rotated the crankshaft pulley two full rotations to double check proper timing. Everything checks out :up:
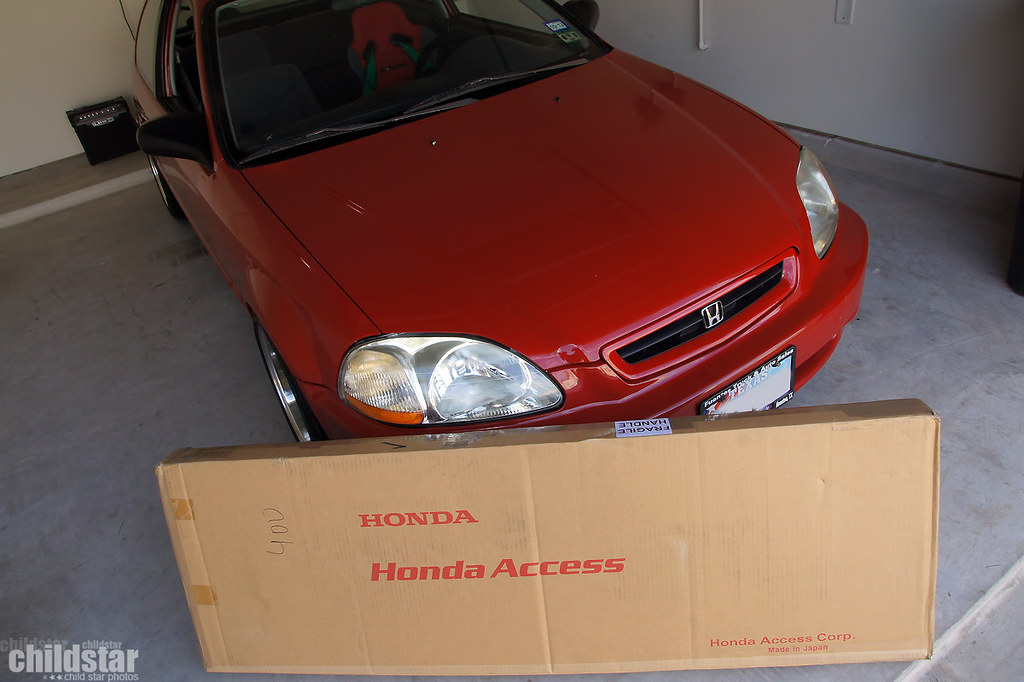
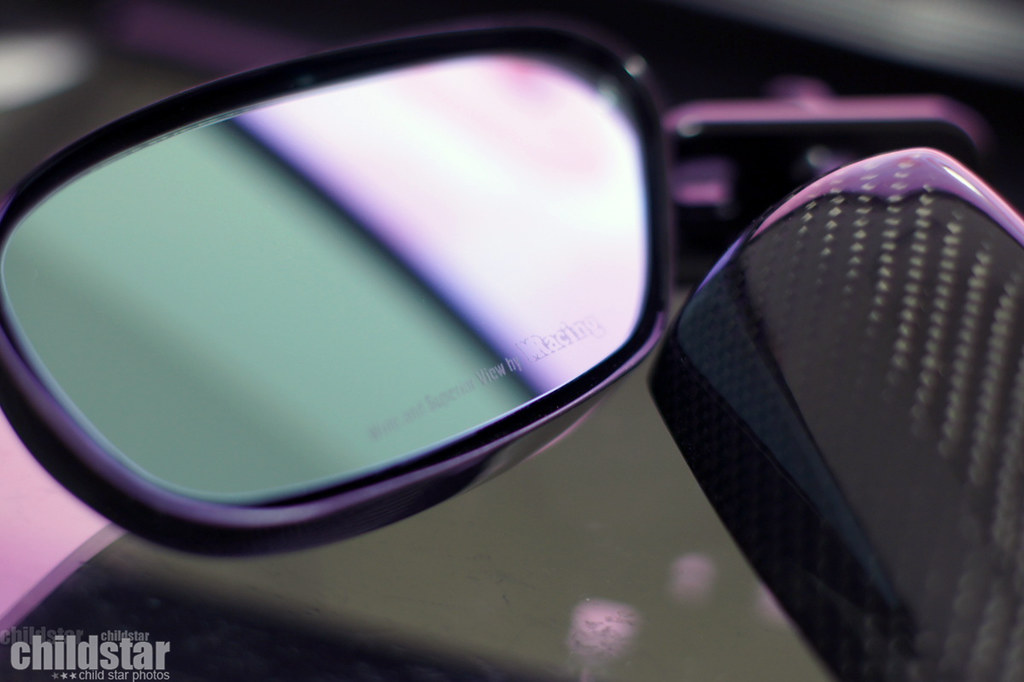
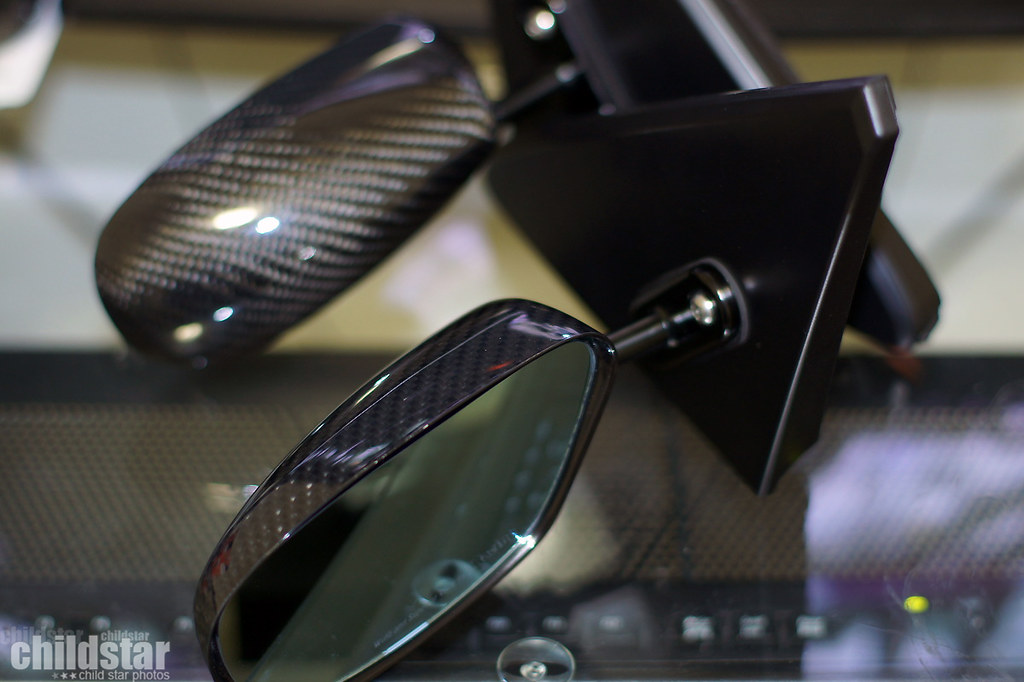
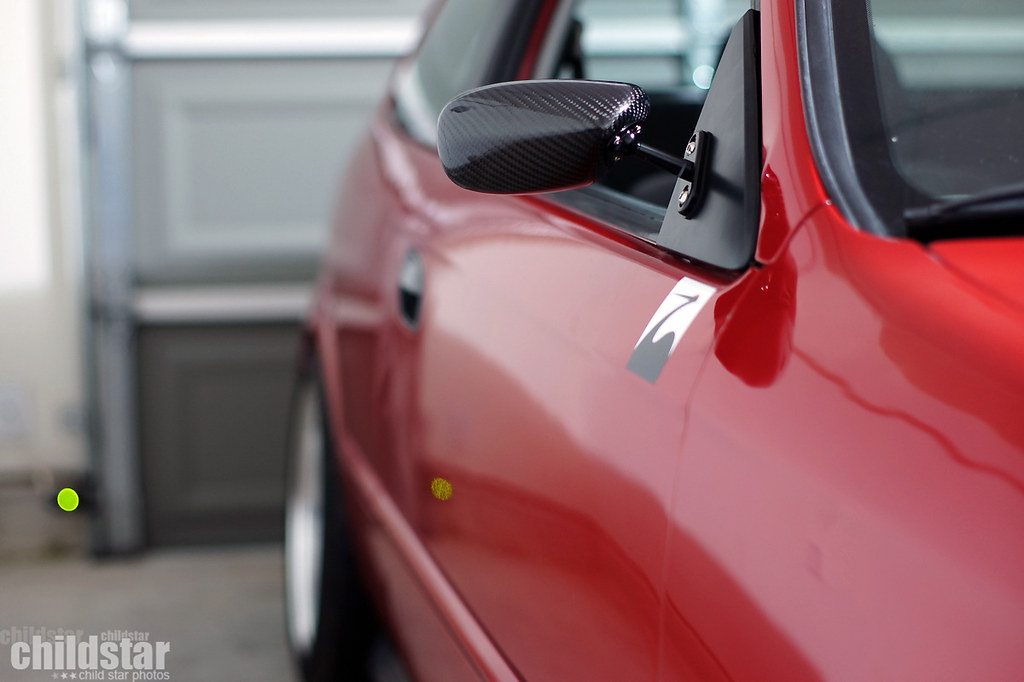
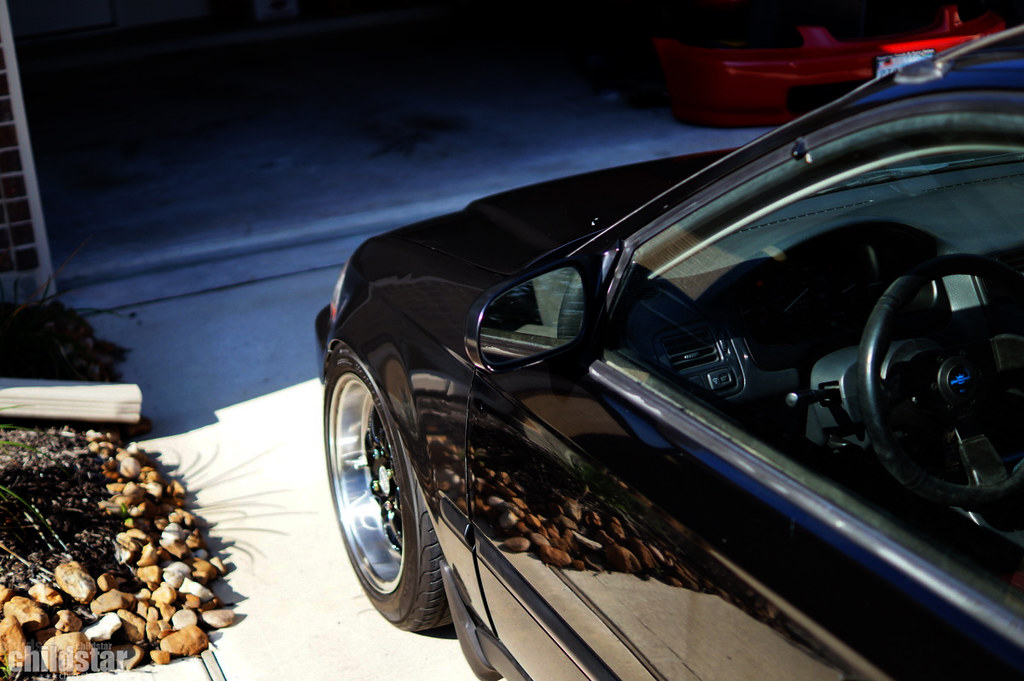
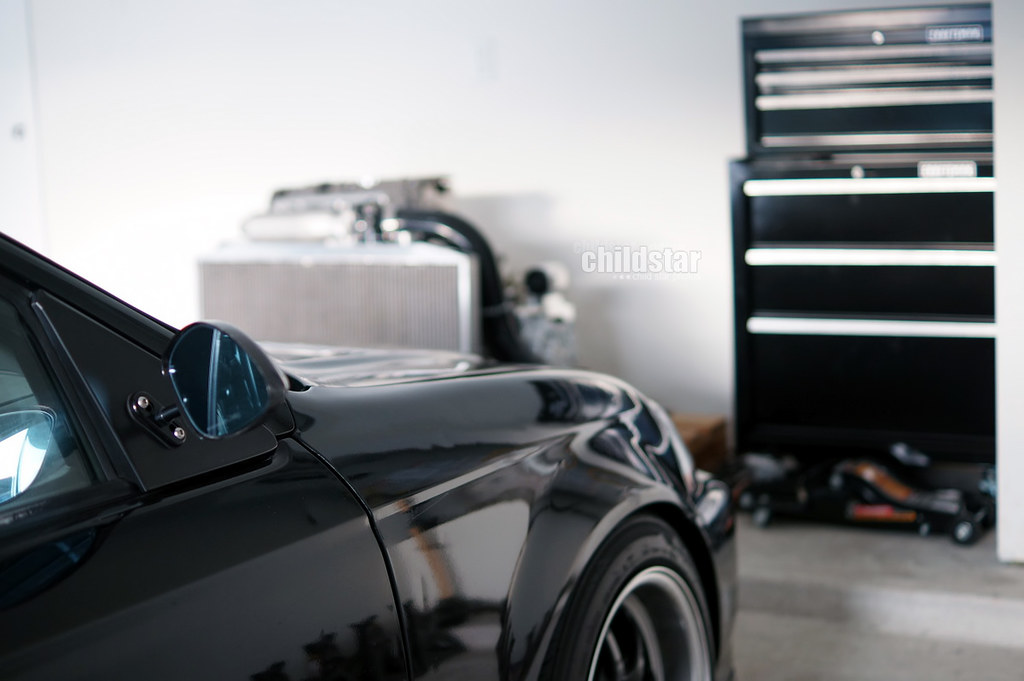
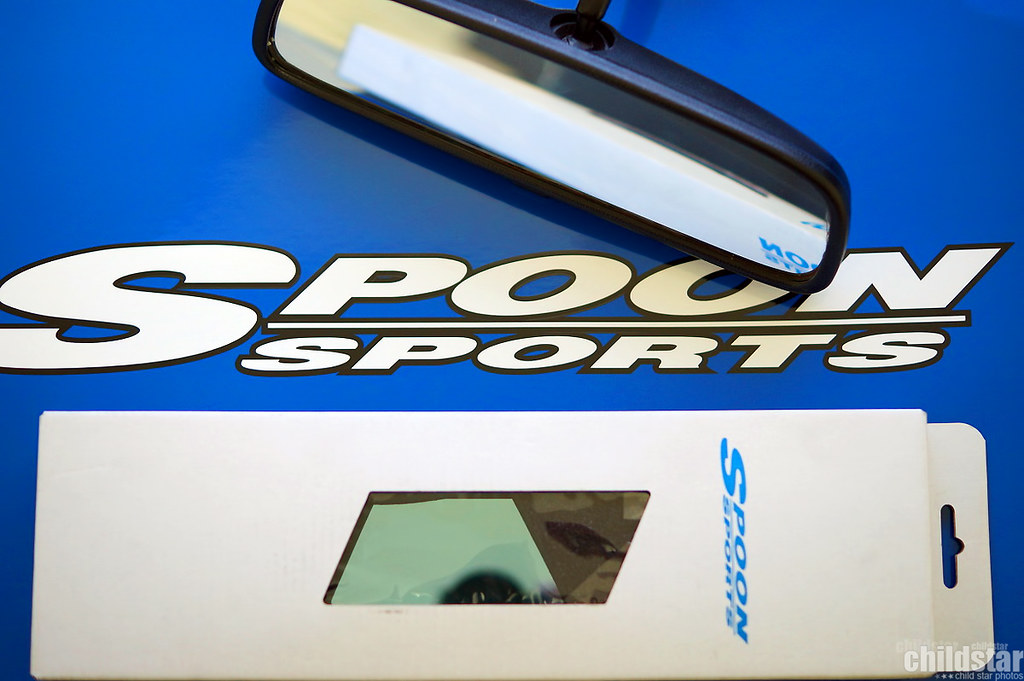
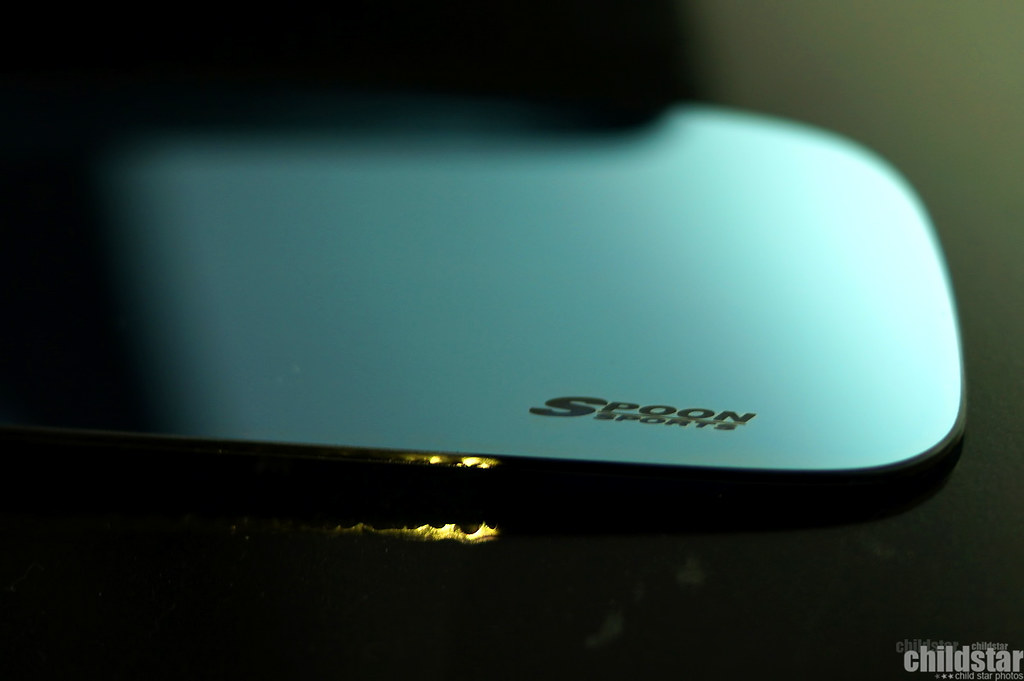
Been putting money aside for parts when I can since I have a baby boy on the way. I did end up getting some new side mirrors because I had one knocked off and I'd rather rock something new than to get another oem replacement mirror.

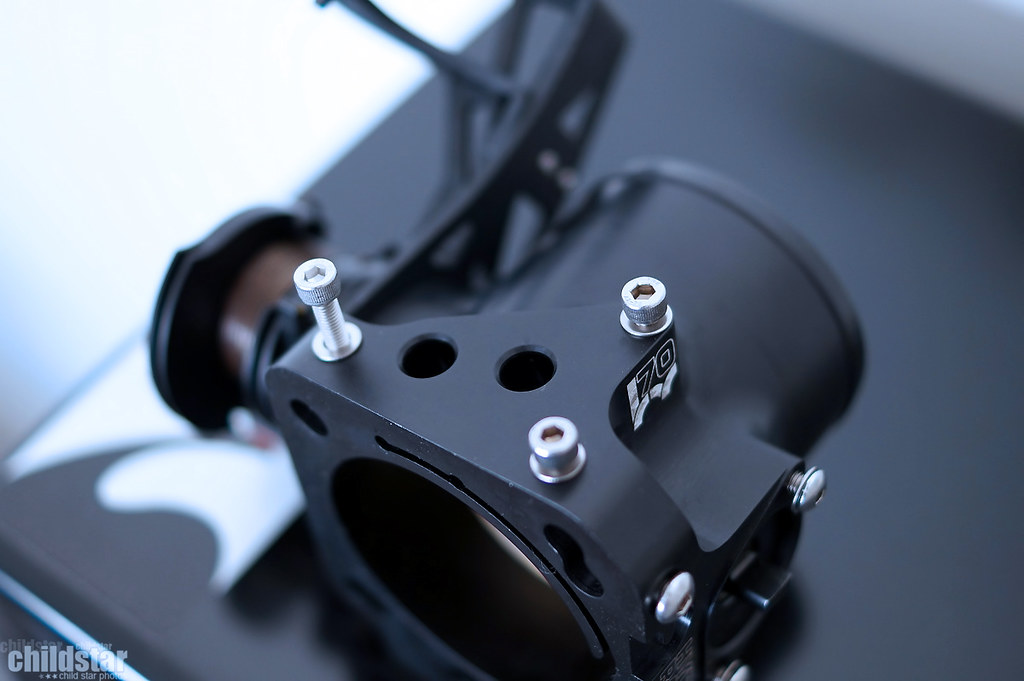
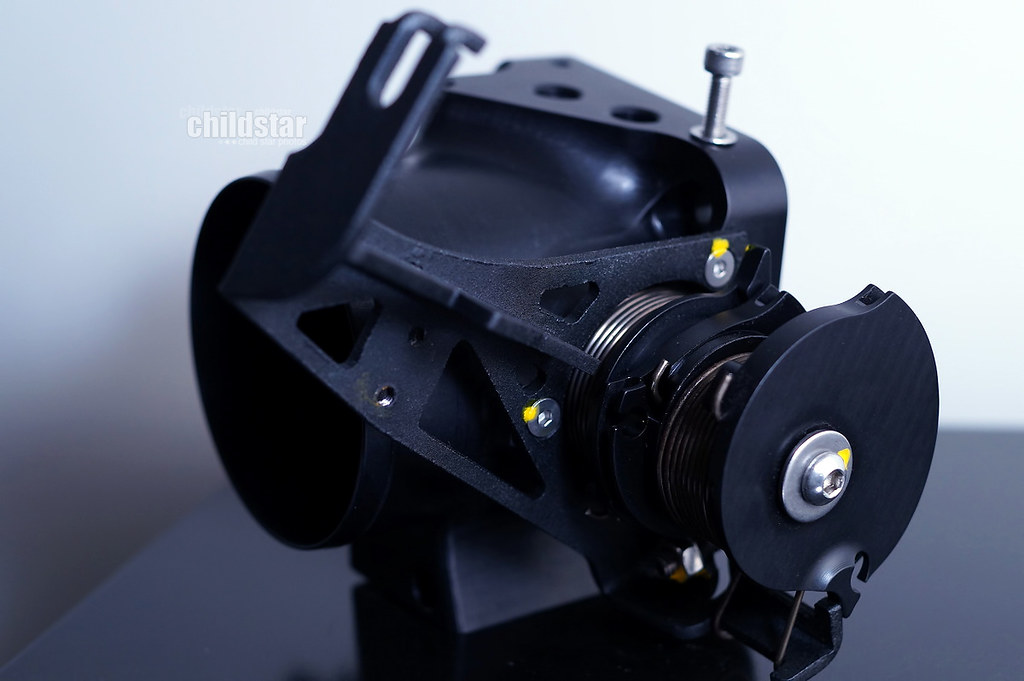
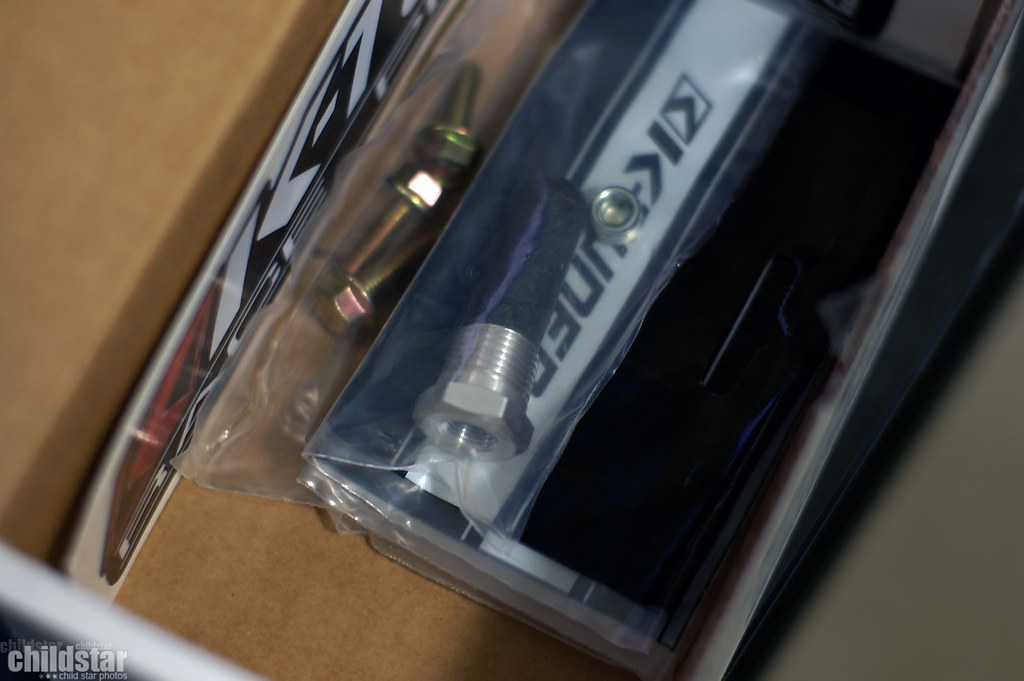
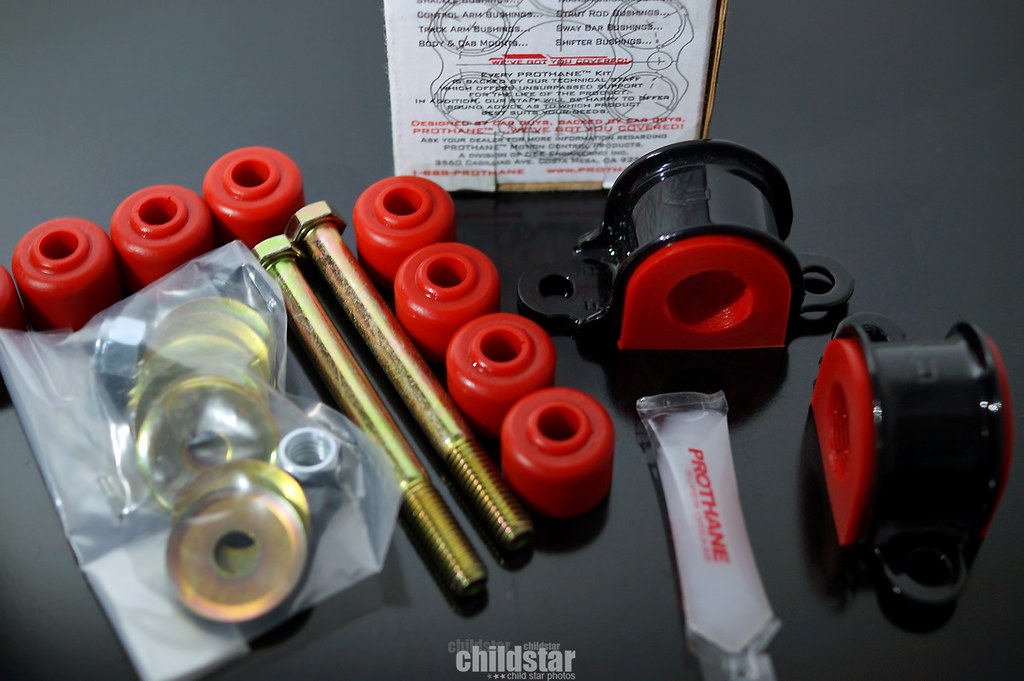
hardware in the box
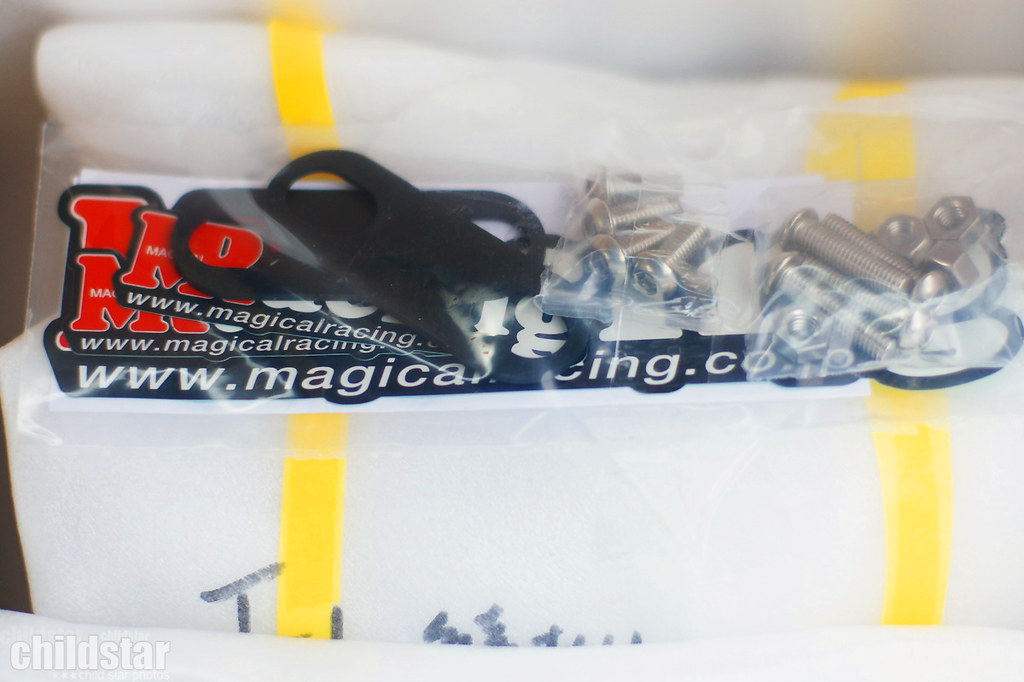
(i hadn't adjusted the angle just yet)

Valve cover gaskets
50* VTC cam gear
install process:
marked the timing chain
23mm wrench fit the '06 k24a2 cams perfectly ( i wasn't up to risking an adjustable wrench as the service manual suggests)
torque wrench in place
I did this alone so I couldn't get a shot of pulling the RBB cam gear out and making the switch. Went pretty flawlessly though. These last two shots were after I rotated the crankshaft pulley two full rotations to double check proper timing. Everything checks out :up:
Been putting money aside for parts when I can since I have a baby boy on the way. I did end up getting some new side mirrors because I had one knocked off and I'd rather rock something new than to get another oem replacement mirror.
hardware in the box
(i hadn't adjusted the angle just yet)
05-09-2016, 10:02 PM
#6
Honda-Tech Member
Thread Starter

Trending Topics
05-09-2016, 10:29 PM
#8
Honda-Tech Member
Thread Starter
FD2R oil dipstick. No more flamboyant orange

Thanks to Autofair Honda for the quick business and great pricing!
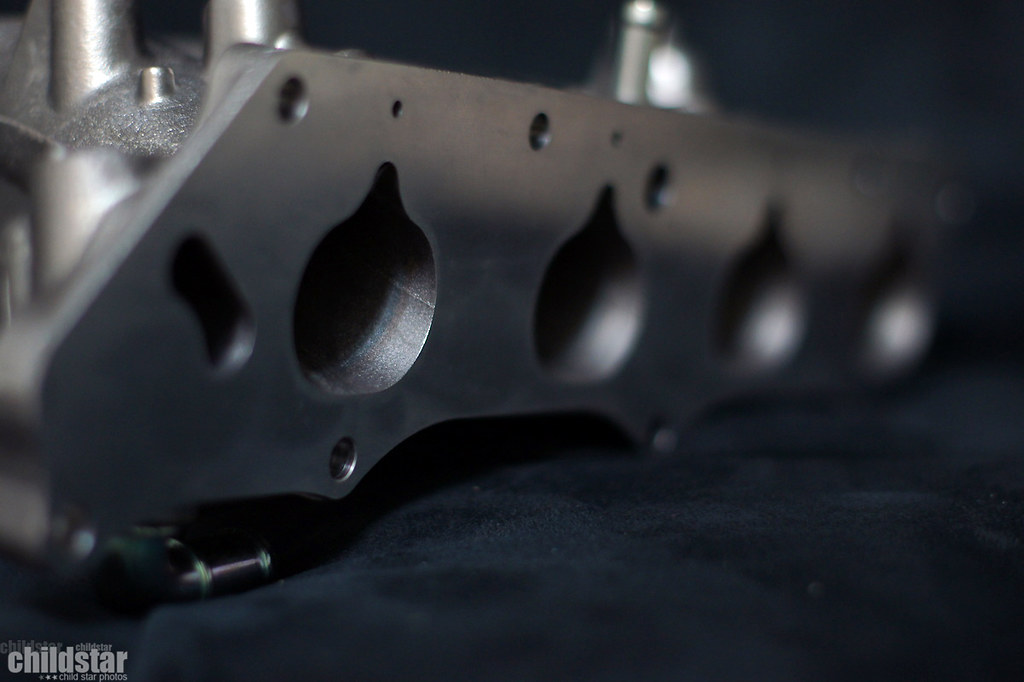
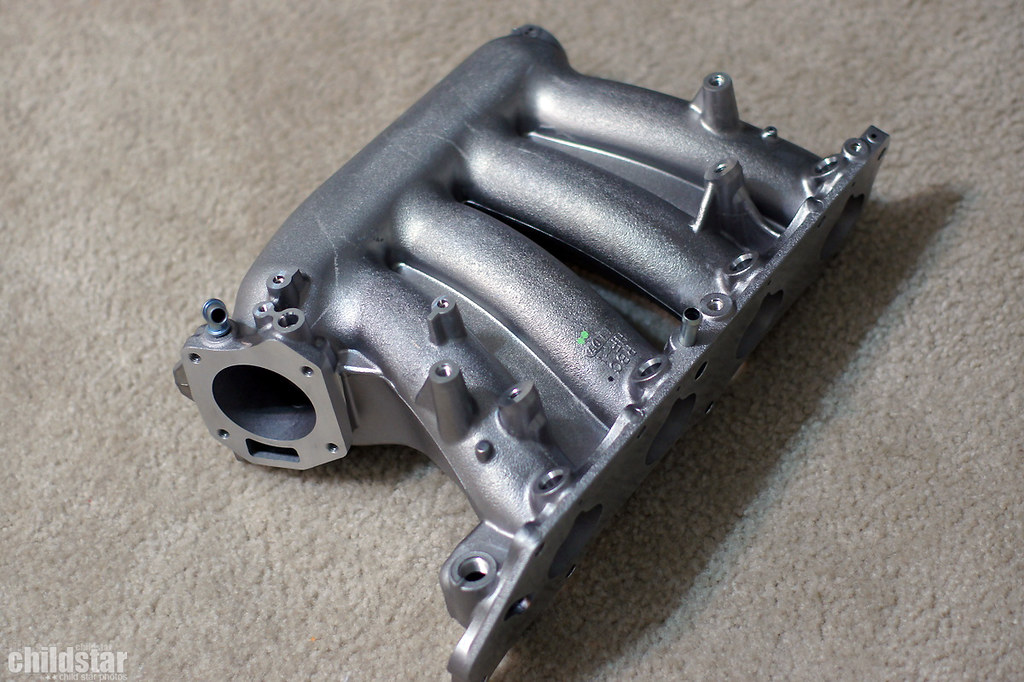
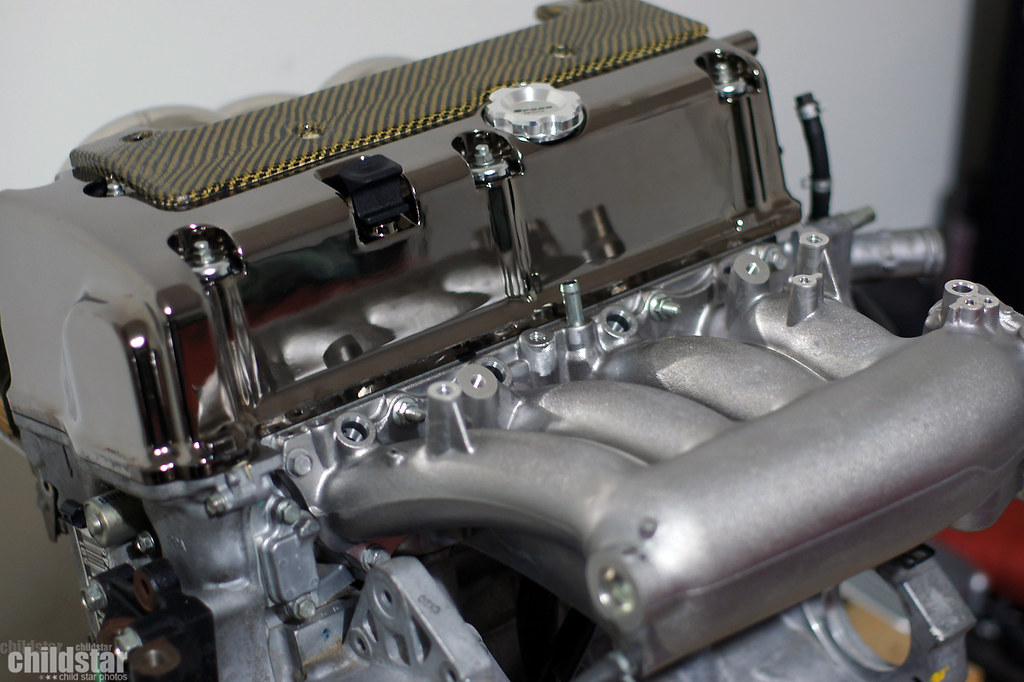
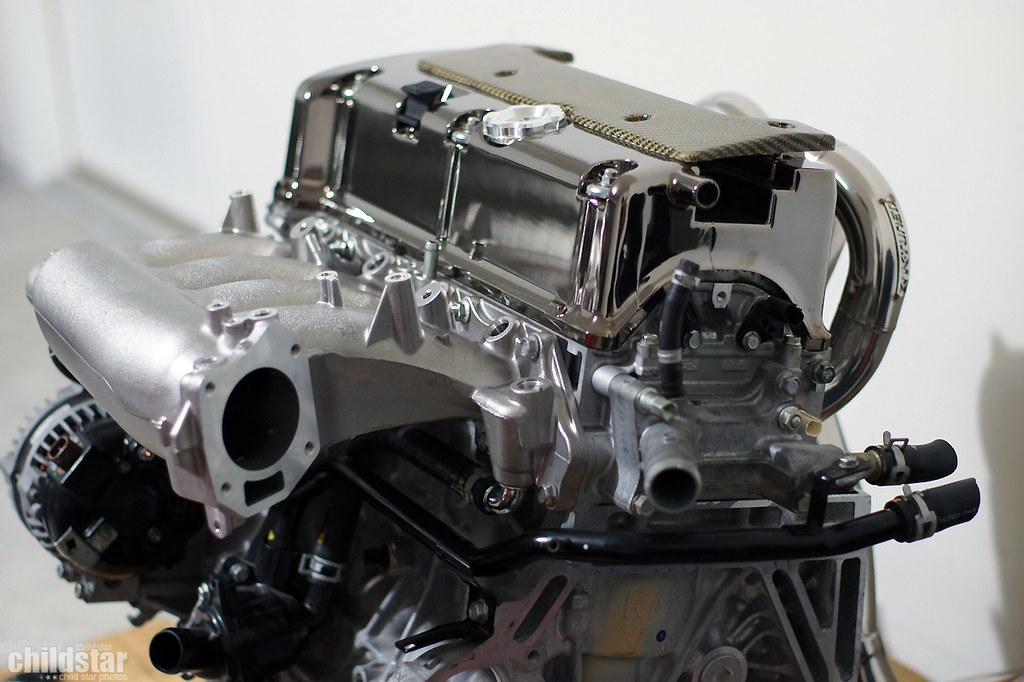
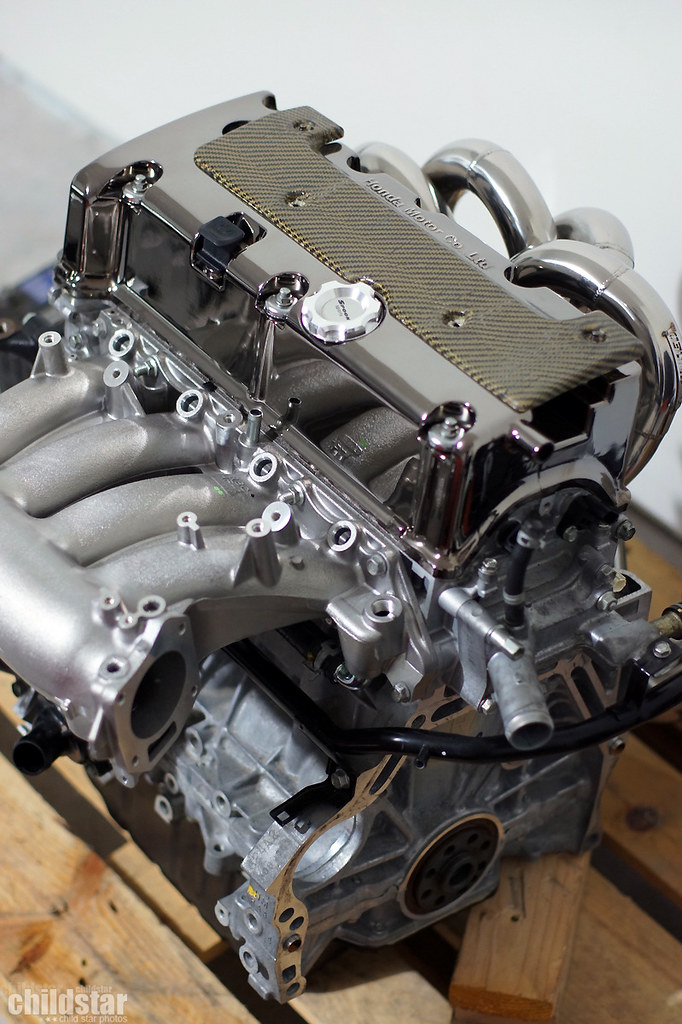
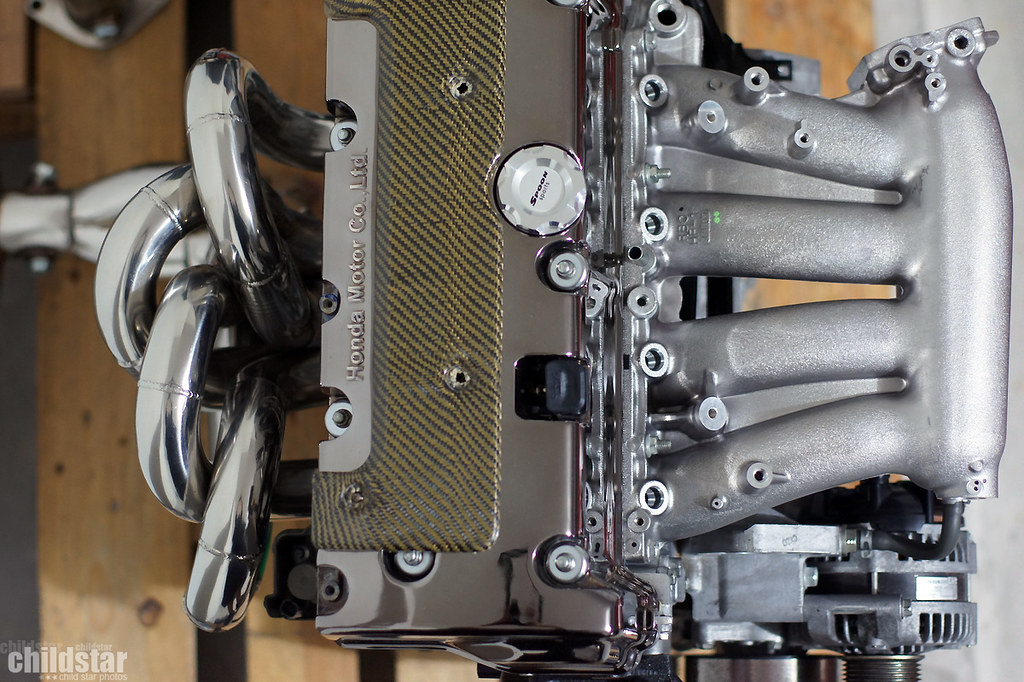
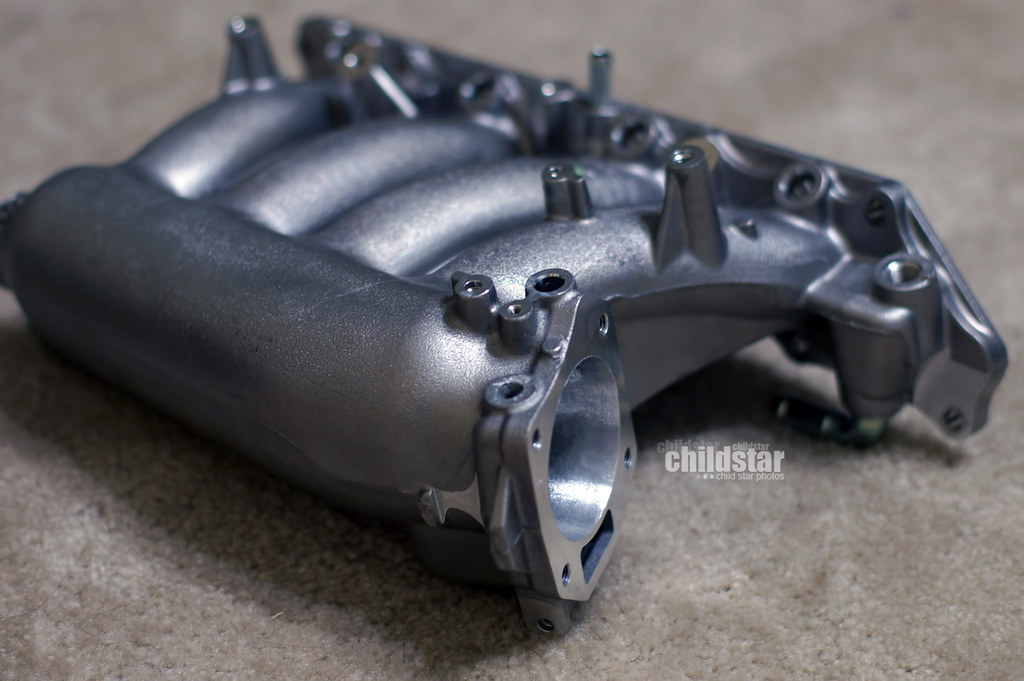
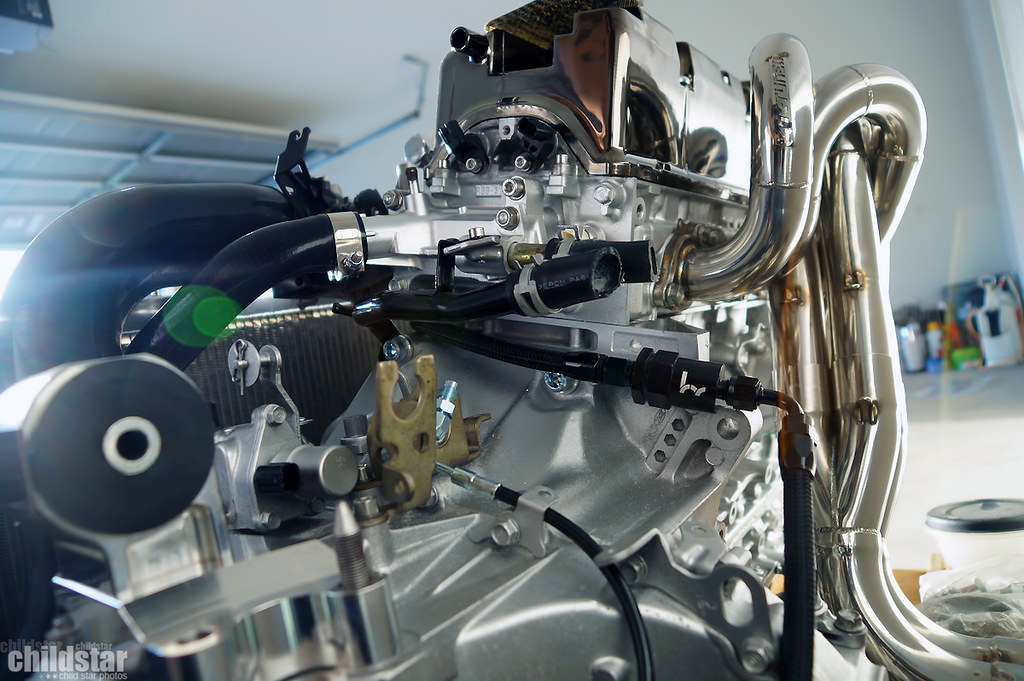
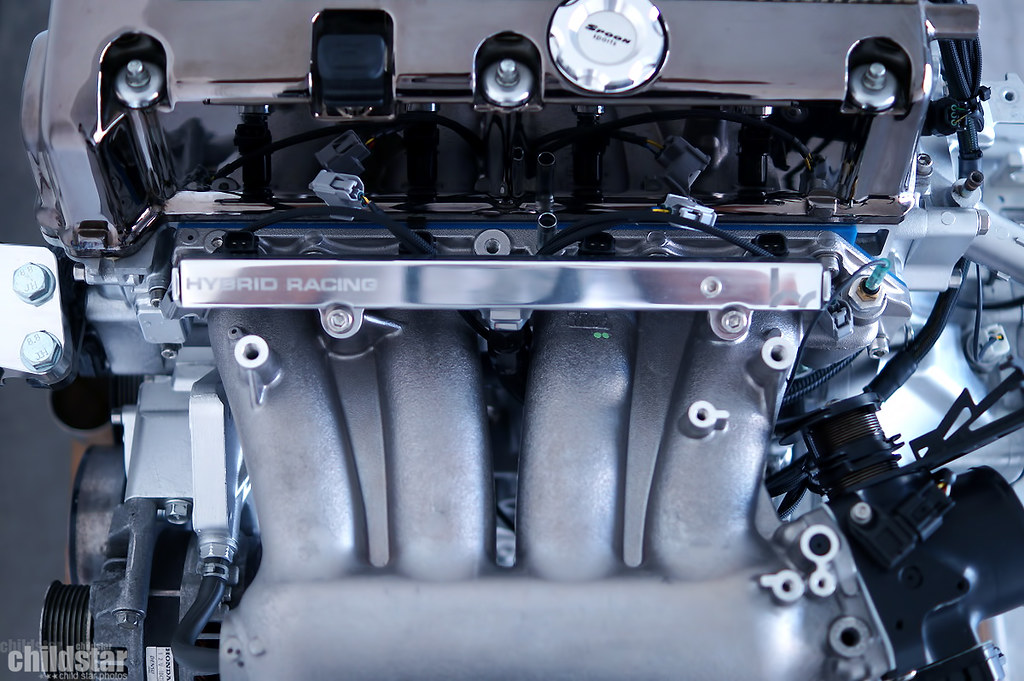
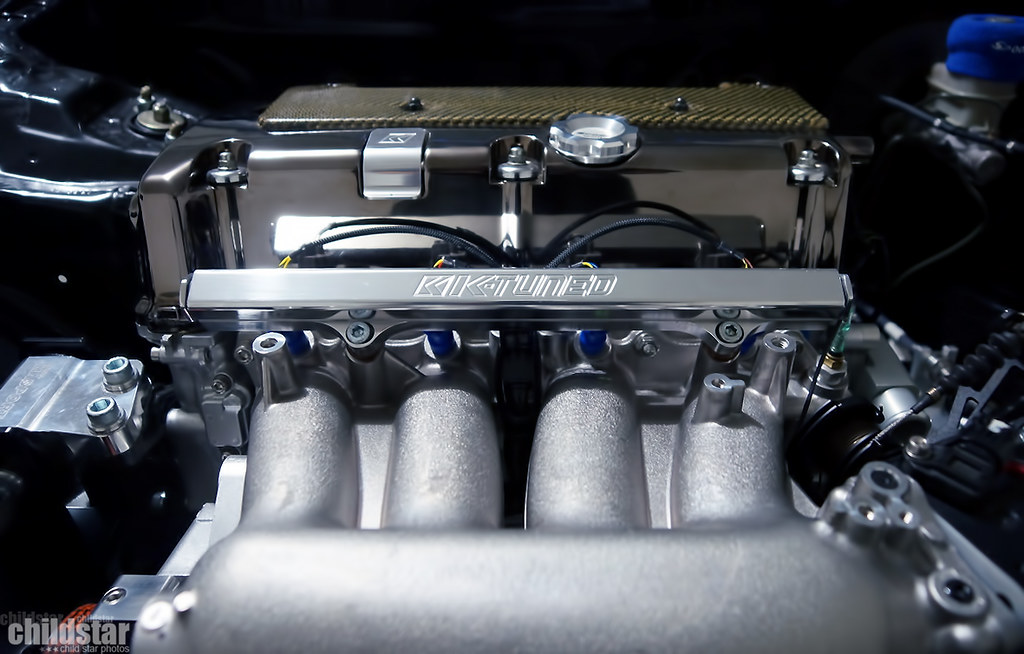
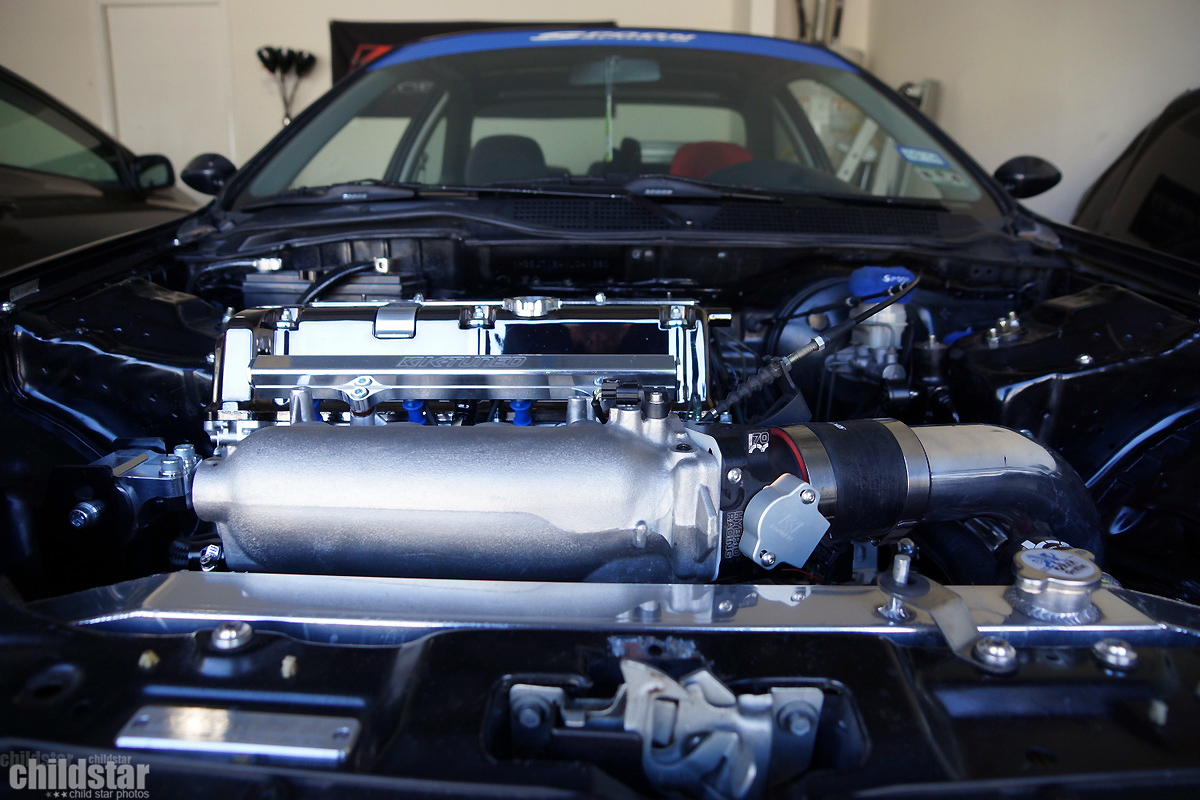
no more uber long runners for me

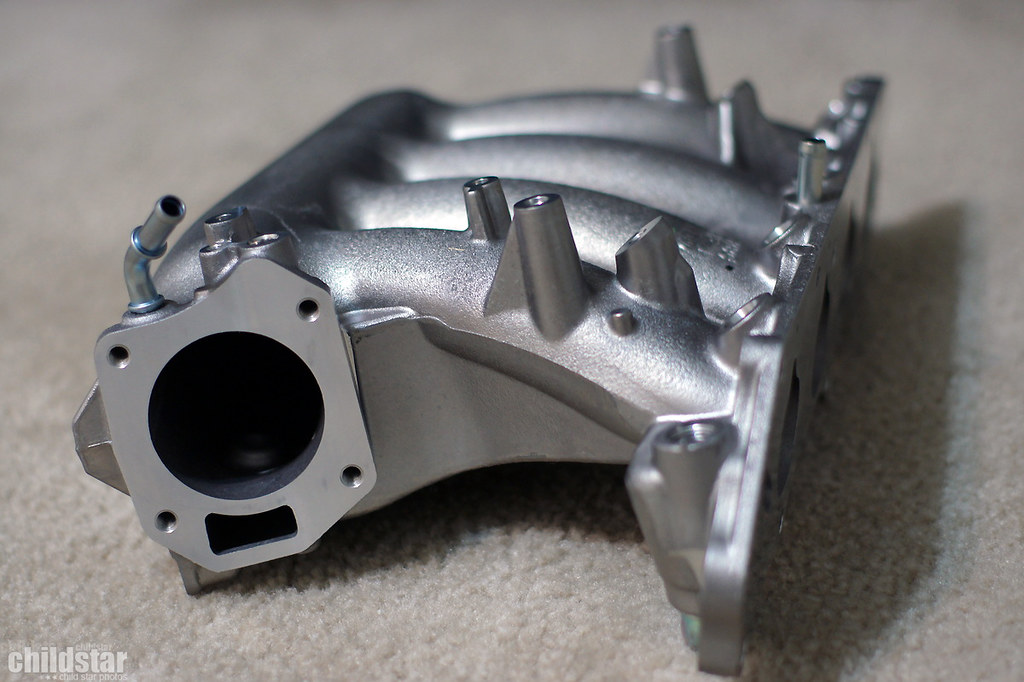
nothing fancy....just pics

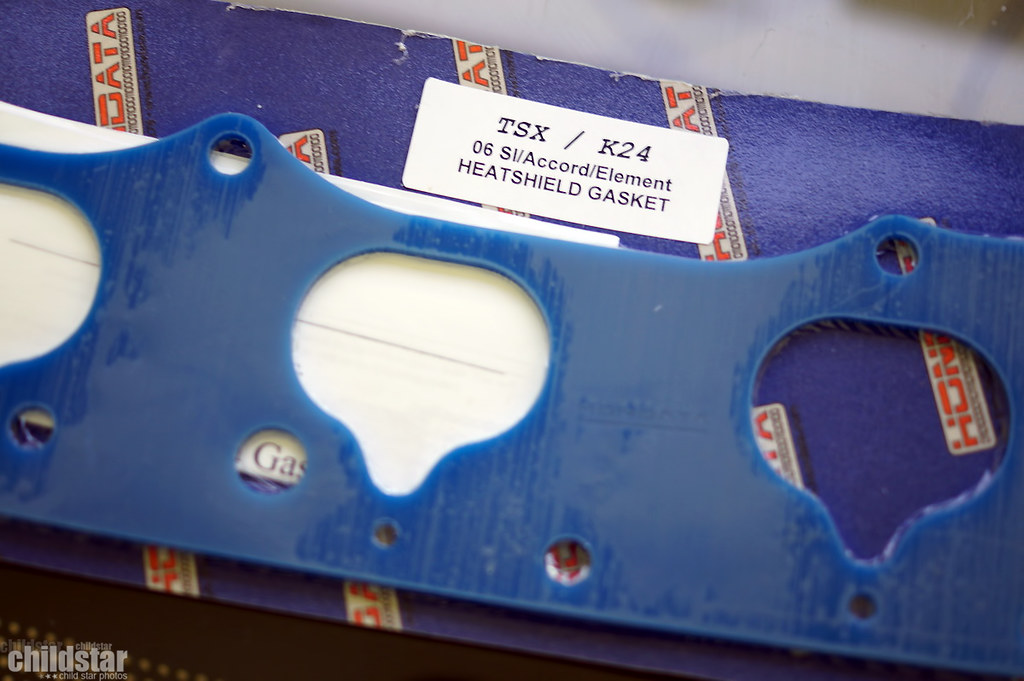
I'll be getting some thermal gaskets later when i finally order a fuel setup
looks much better
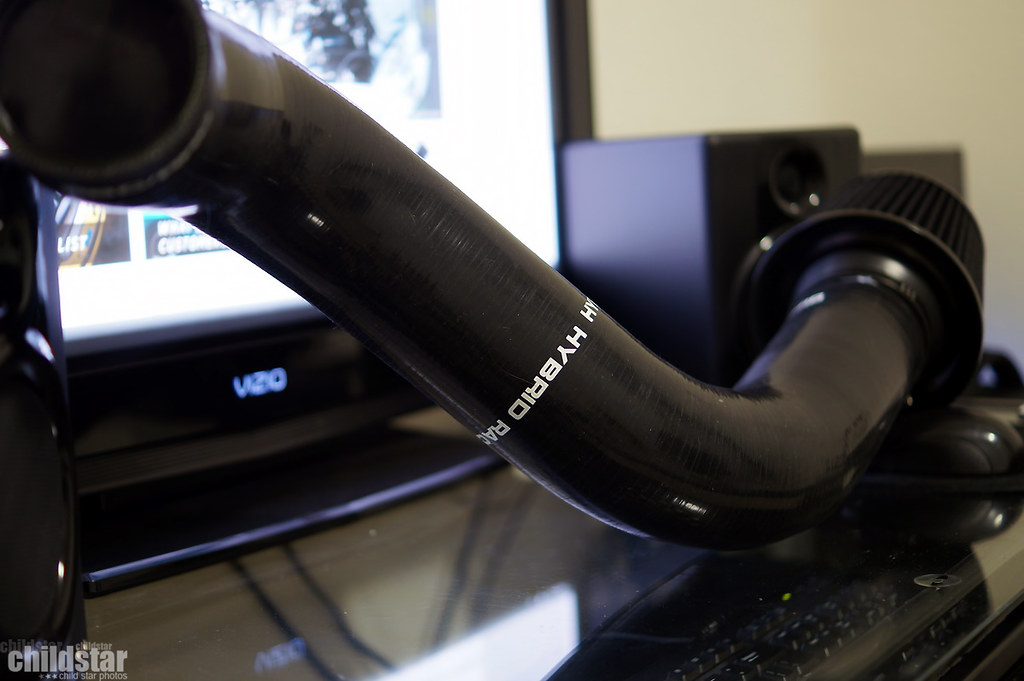
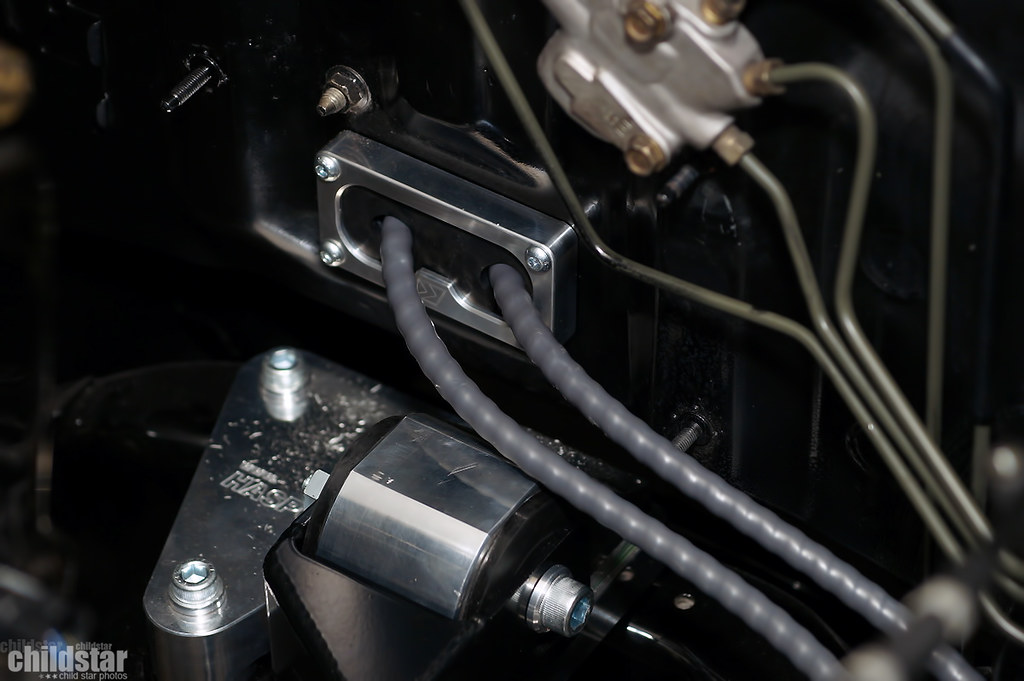
shortened up this line form the RAA
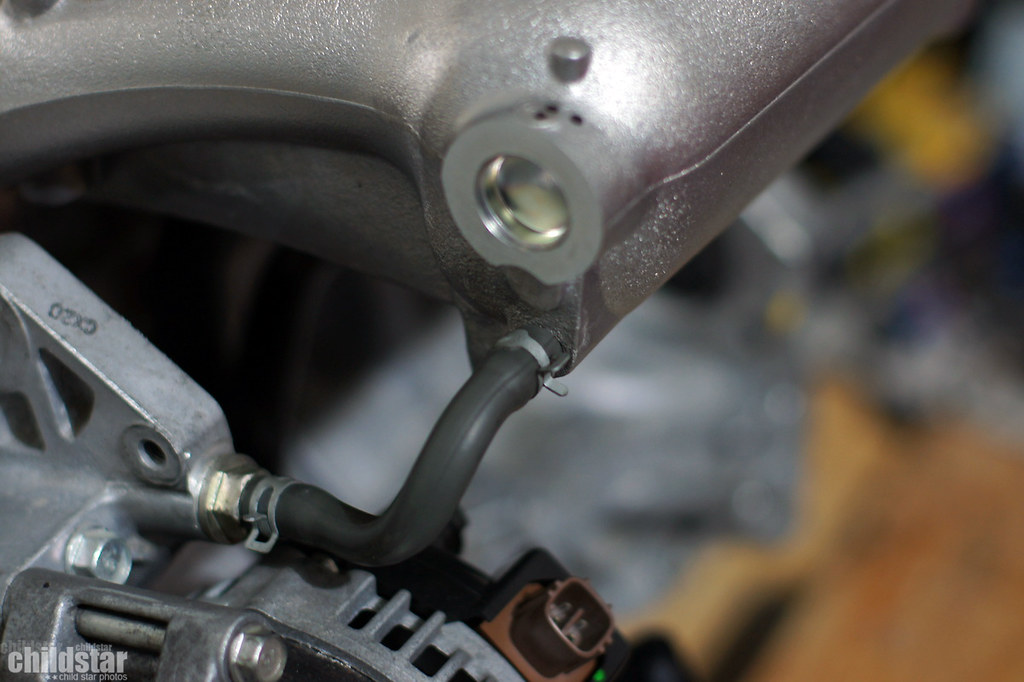
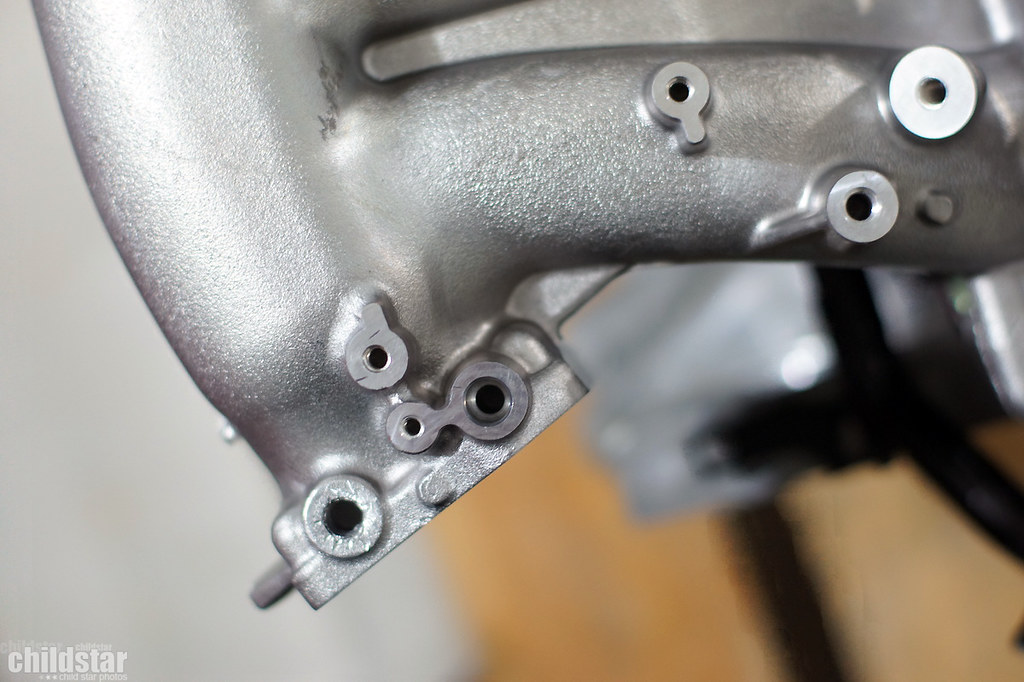
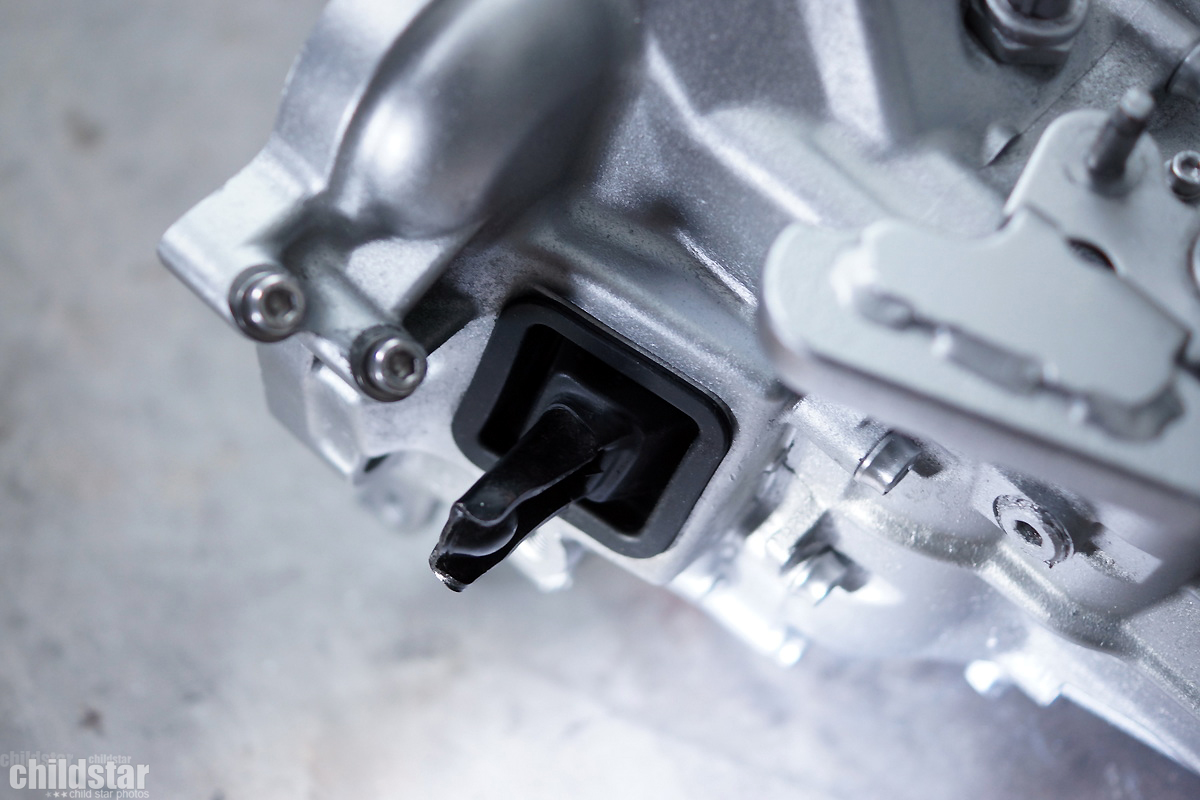
had a noob moment and couldn't get the tube to come out of the intake manifold easily. It ended up snapping lol. I'm gonna clean it out and plug it later.
can you tell i was bored???

I got my order from hybrid racing yesterday and I got everything except my fuel pressure gauge.
I called today and spoke with Kris and he got me squared away with the quickness!!! I really appreciate the great customer service!!! thanks everyone at Hybrid-Racing
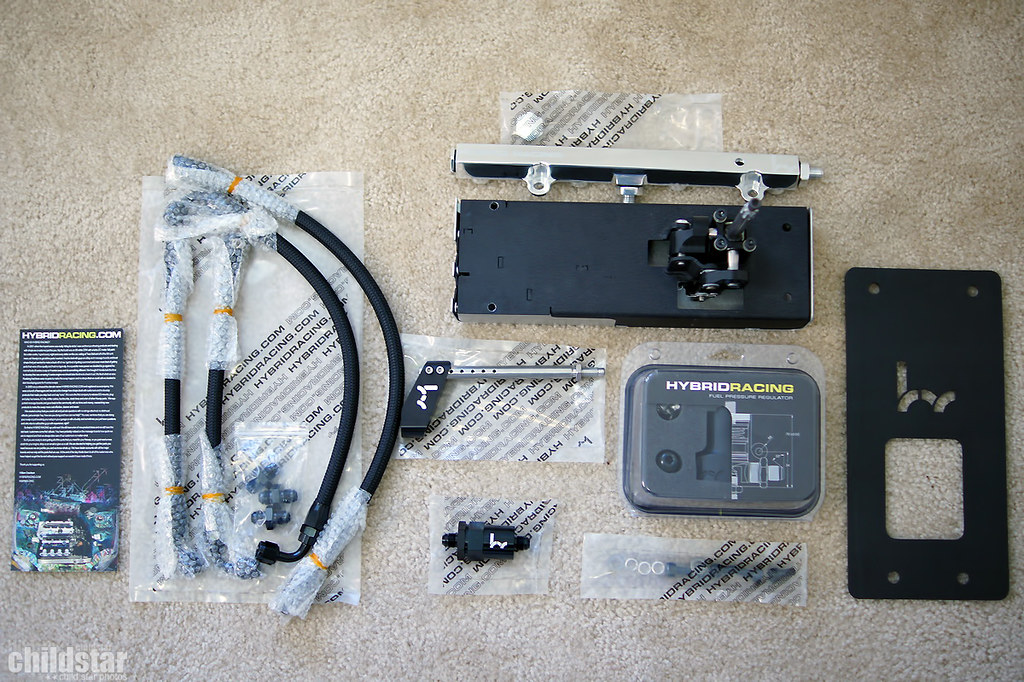
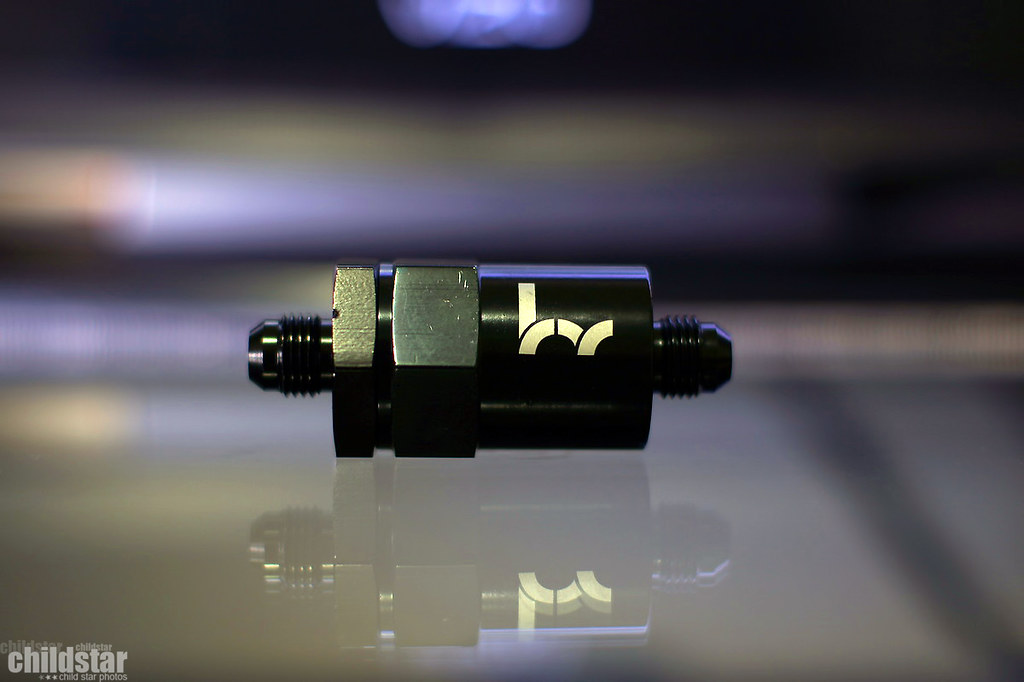
Inline fuel filter

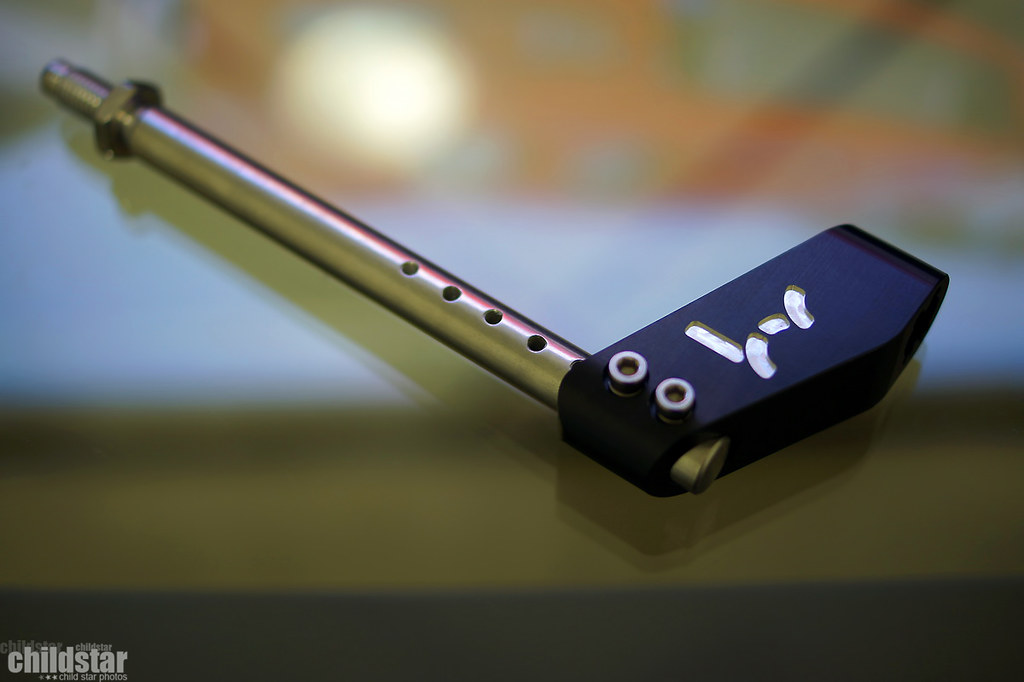
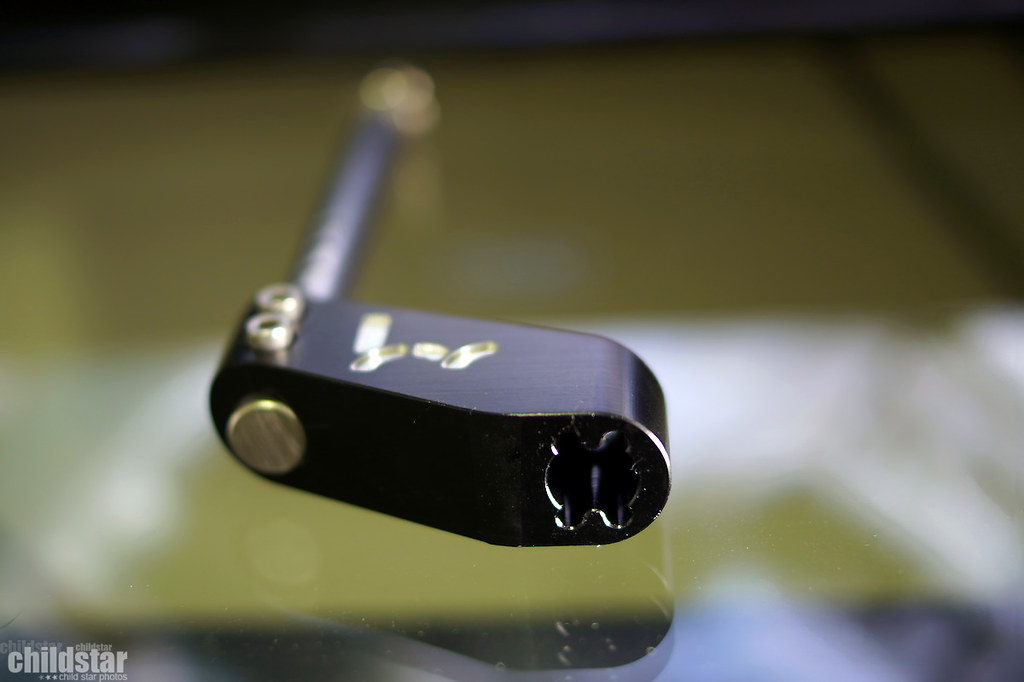
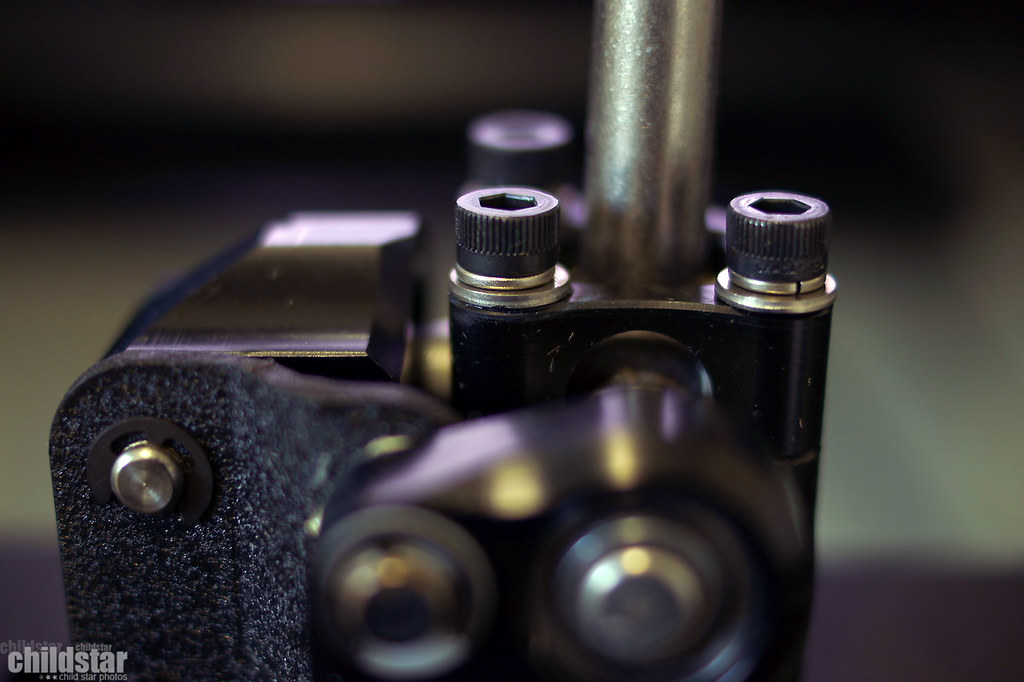
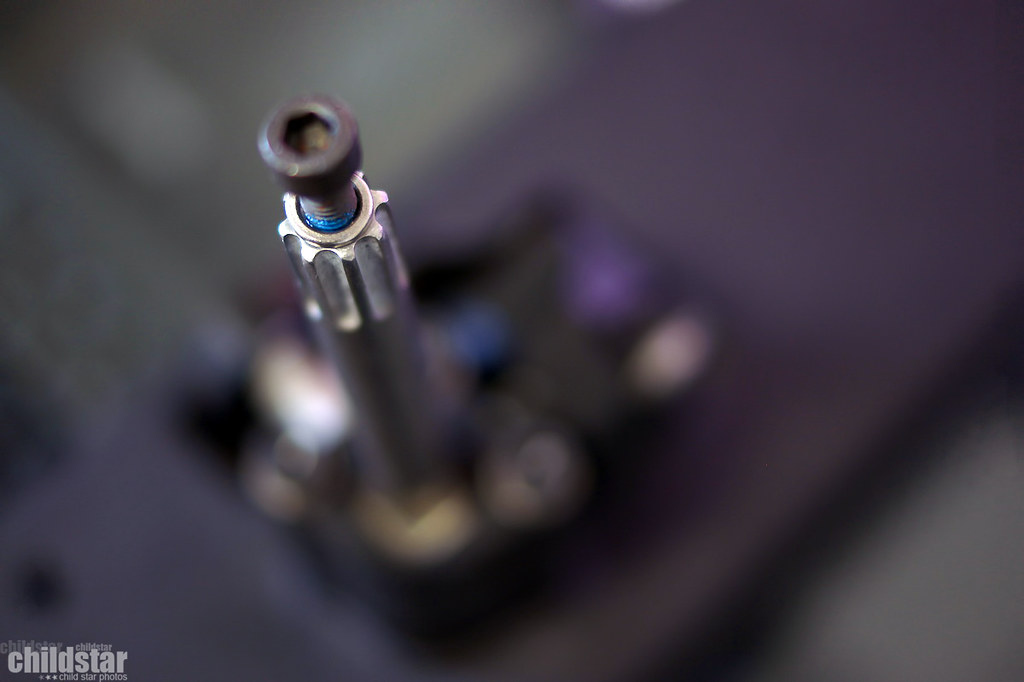
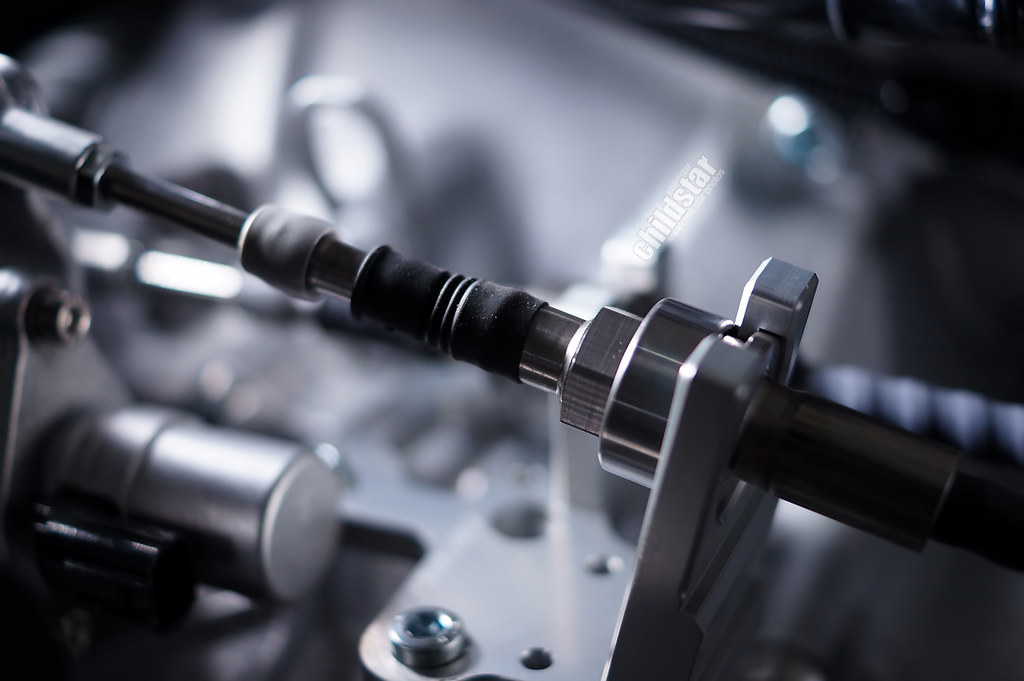
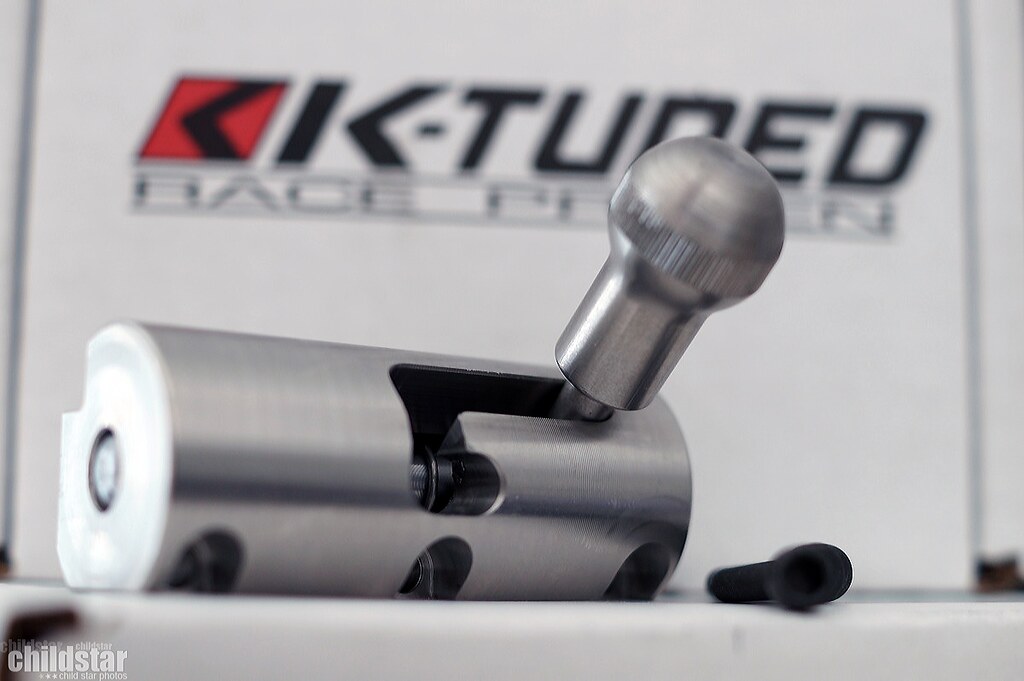
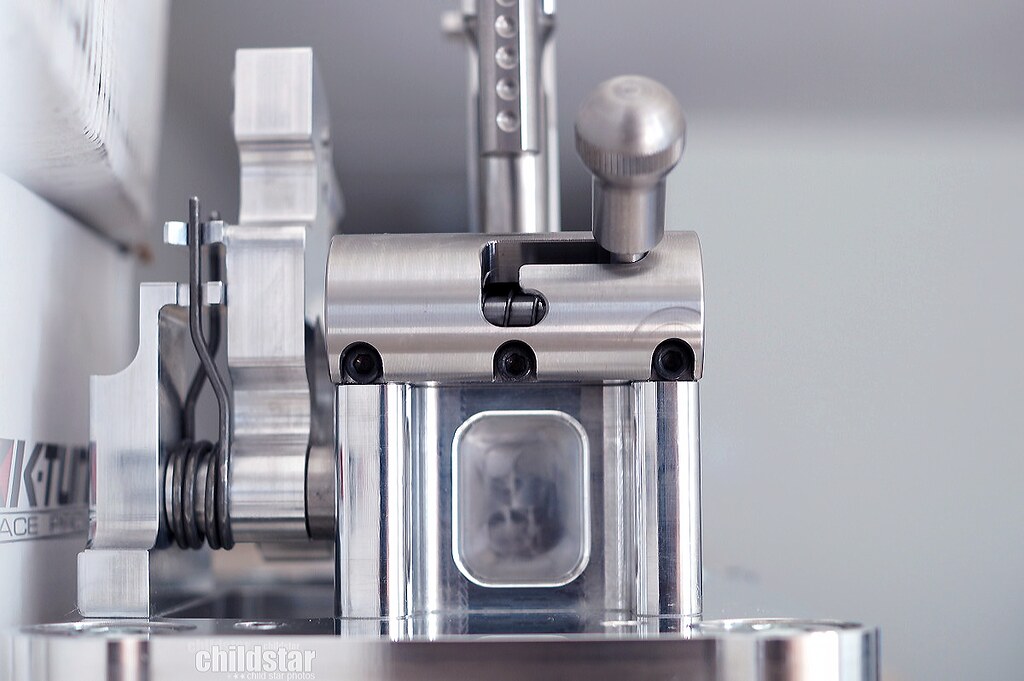
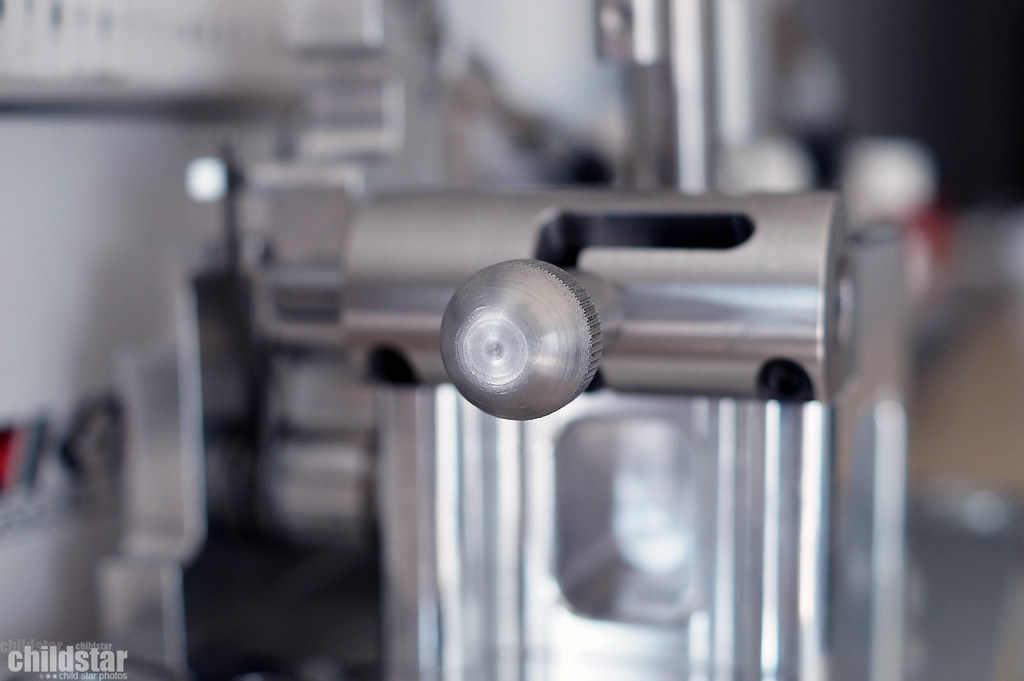
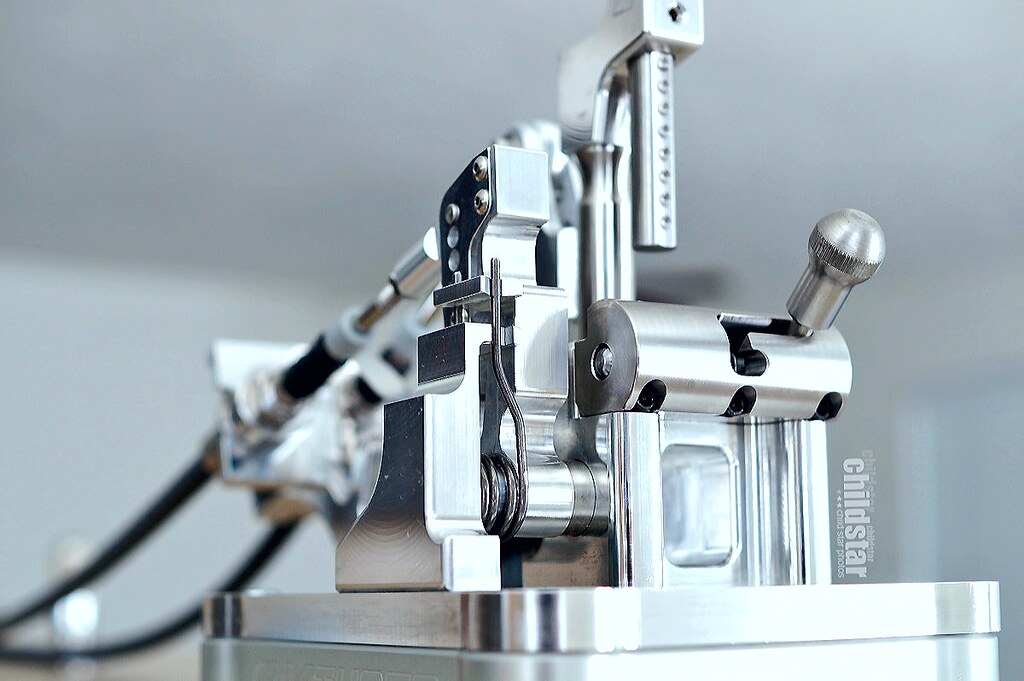
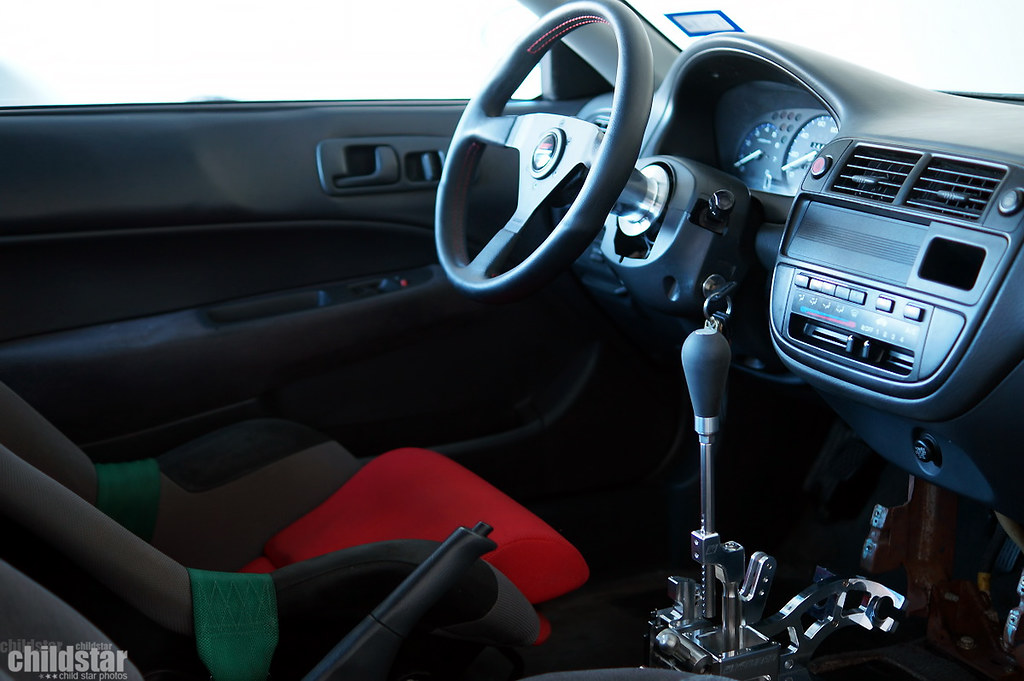
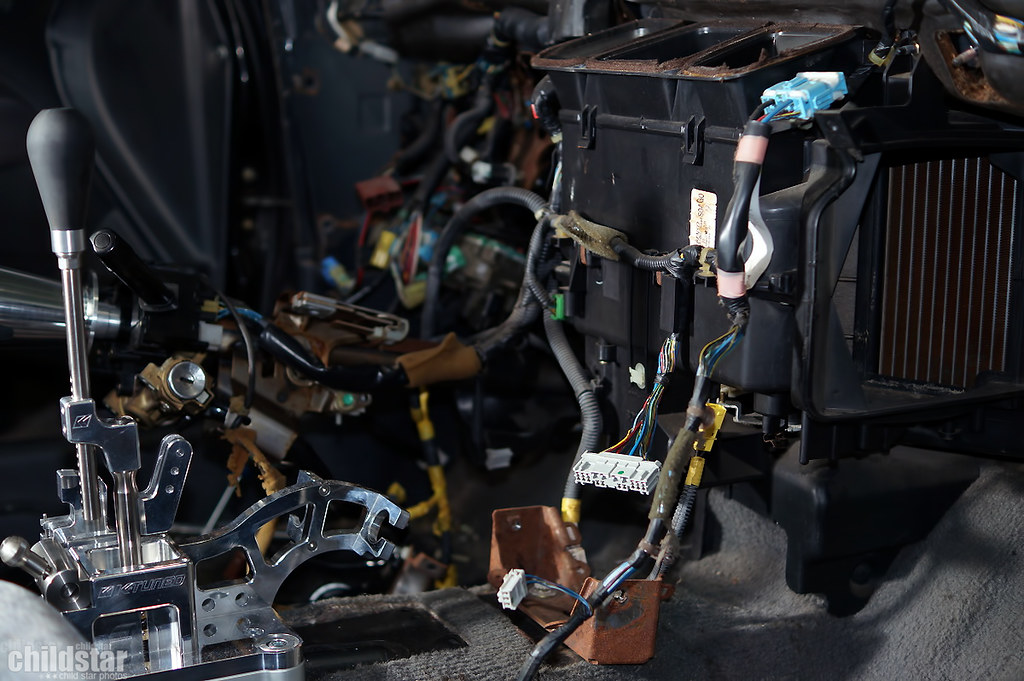
Upper portion of the hybrid-racing bolt in shifter (love this thing)
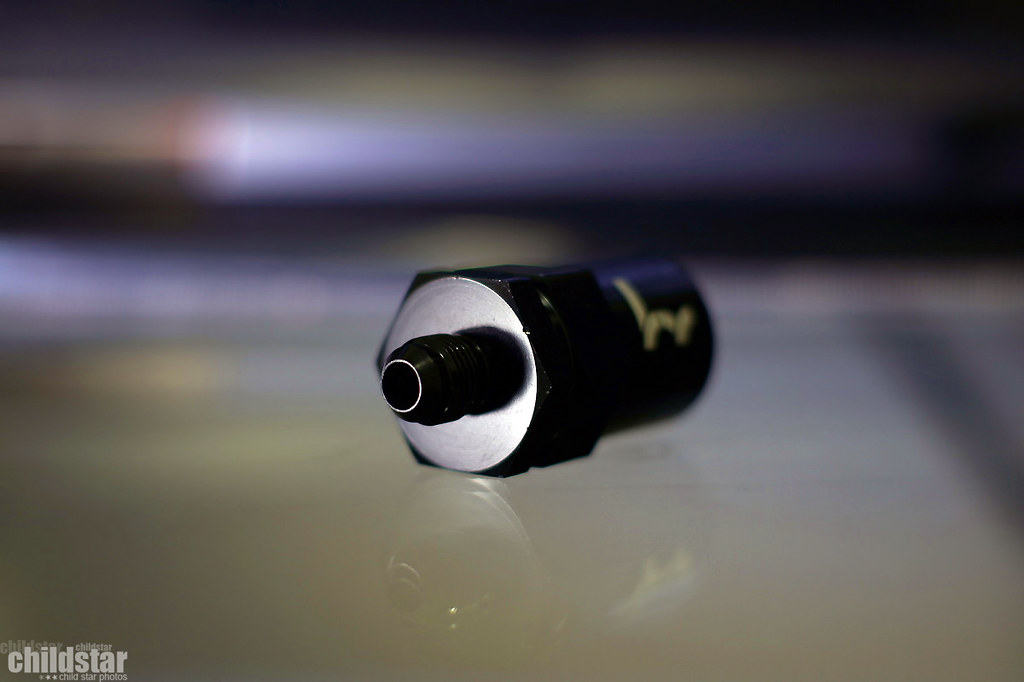
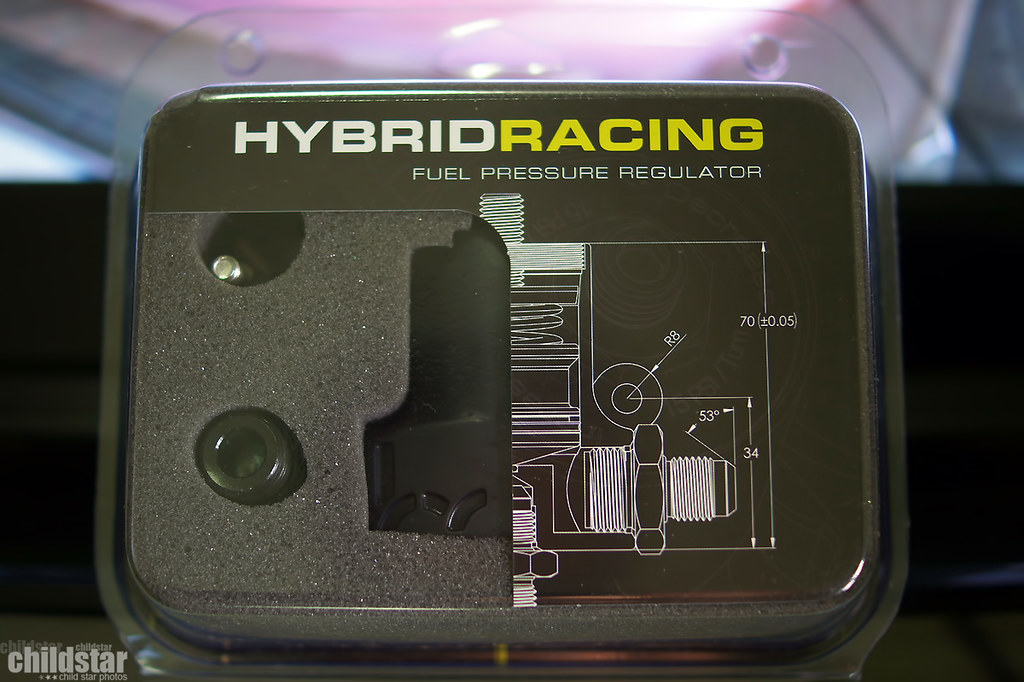
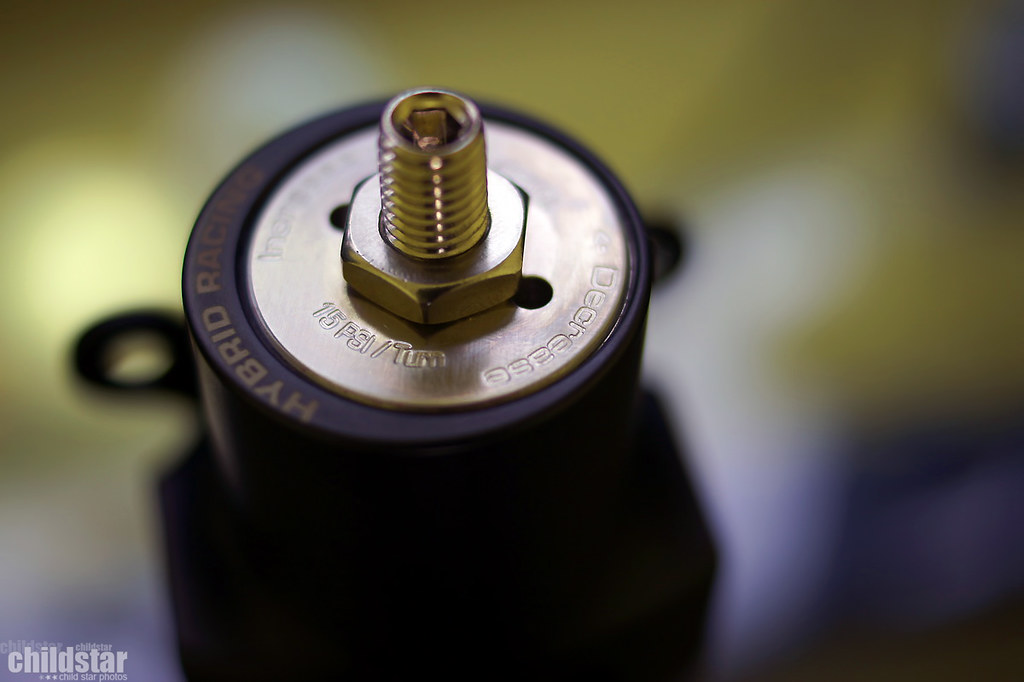
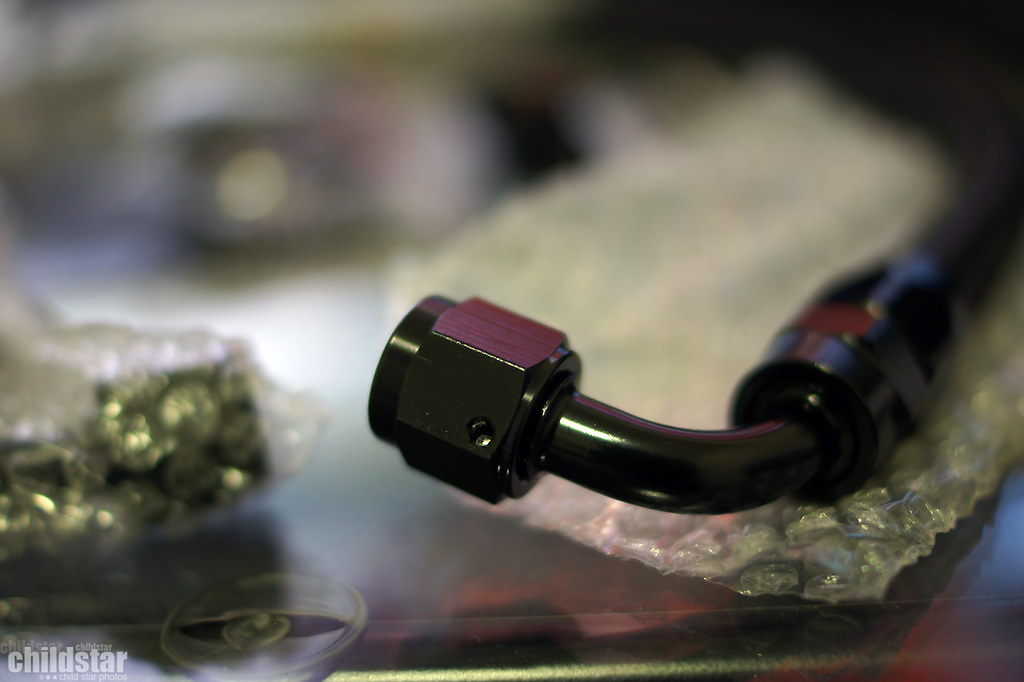
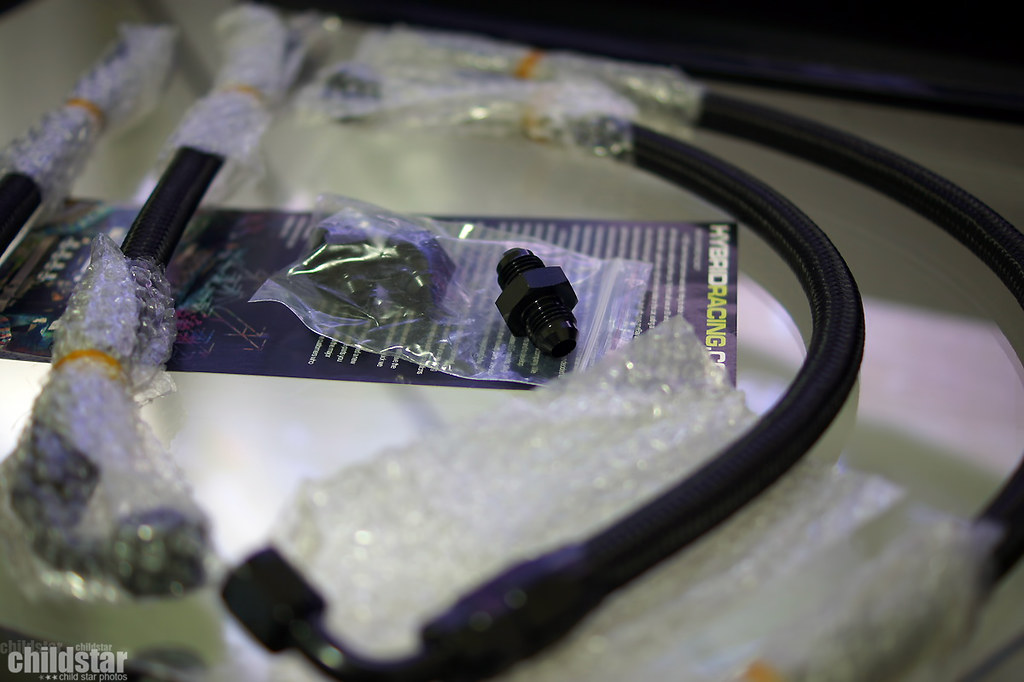
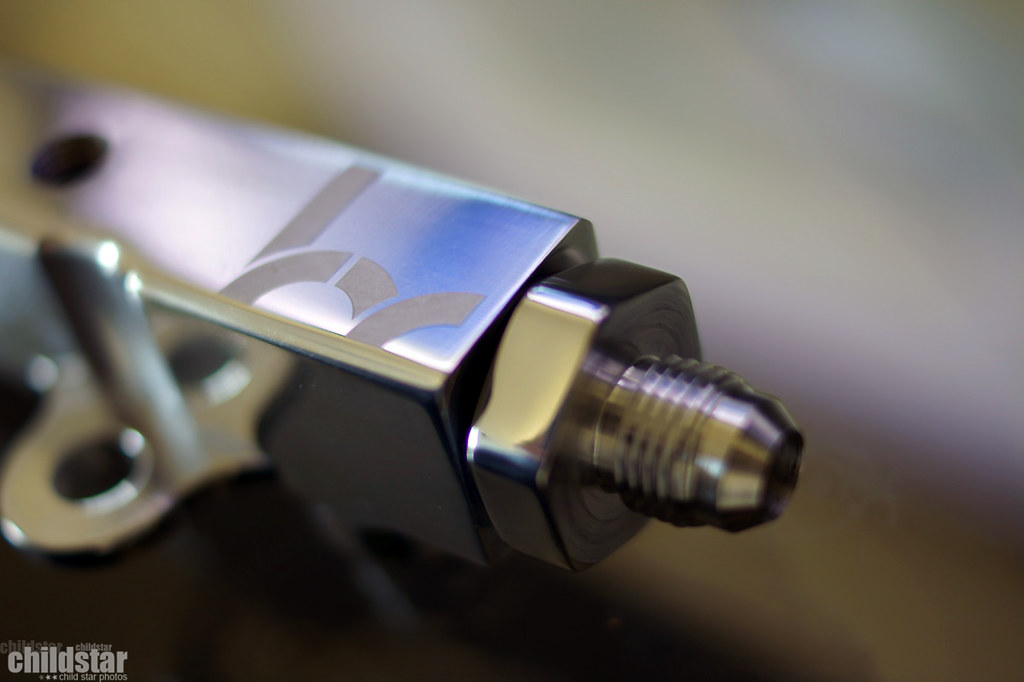
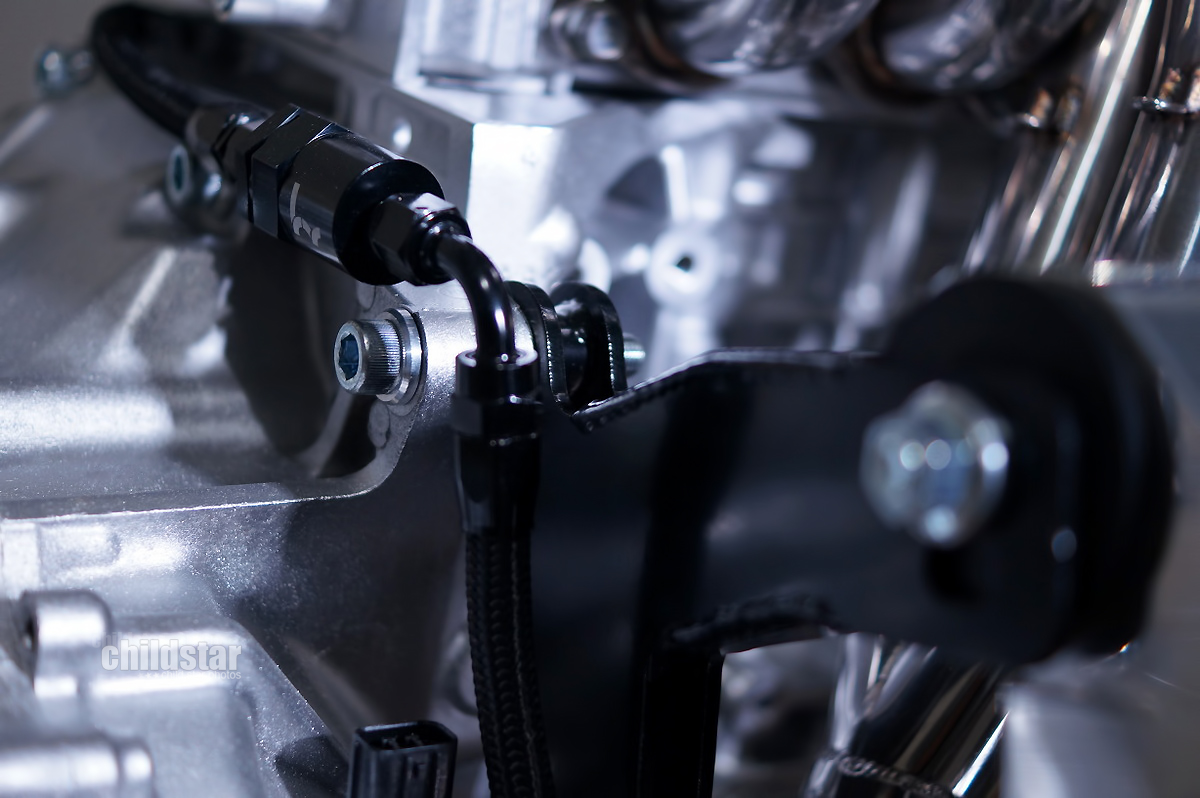
Hybrid-racing adjustable fuel pressure regulator and fittings

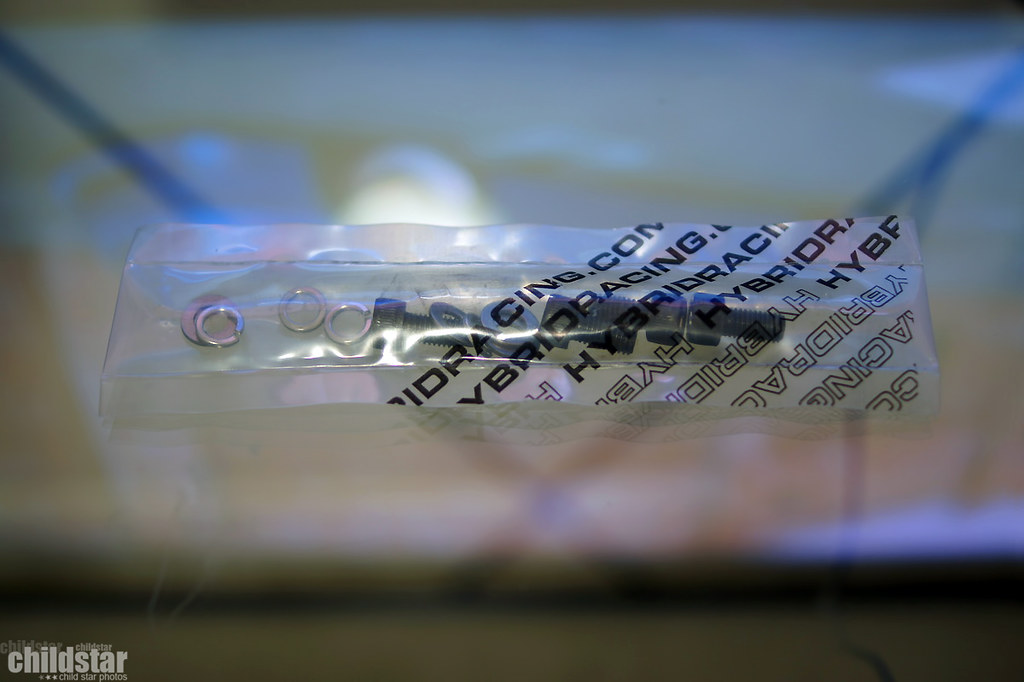
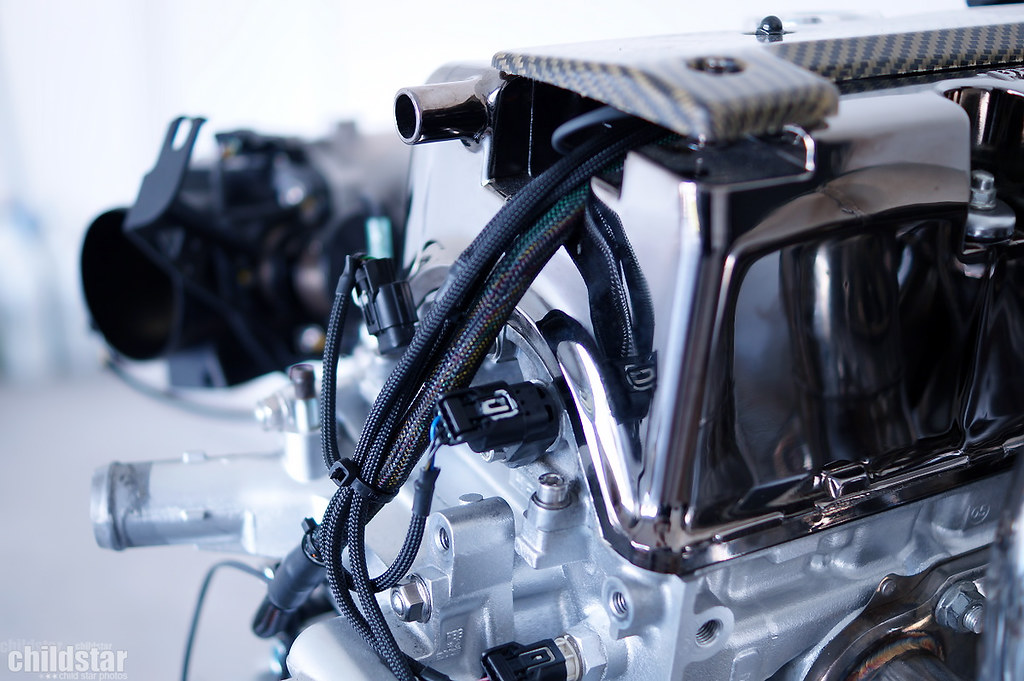
Hybrird-racing tucked fuel lines and fittings
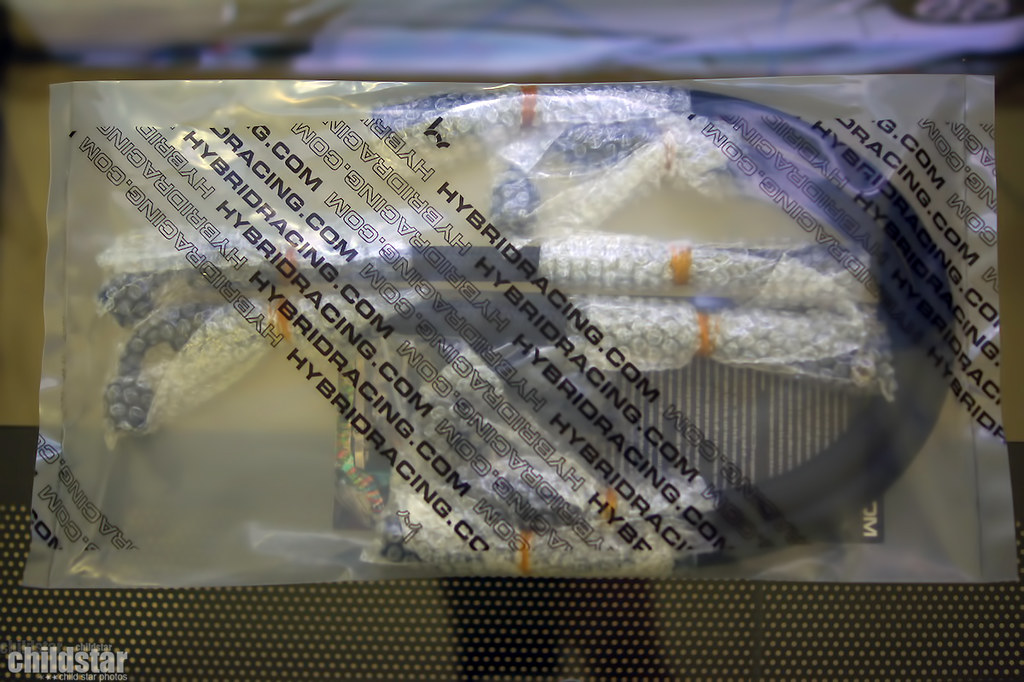
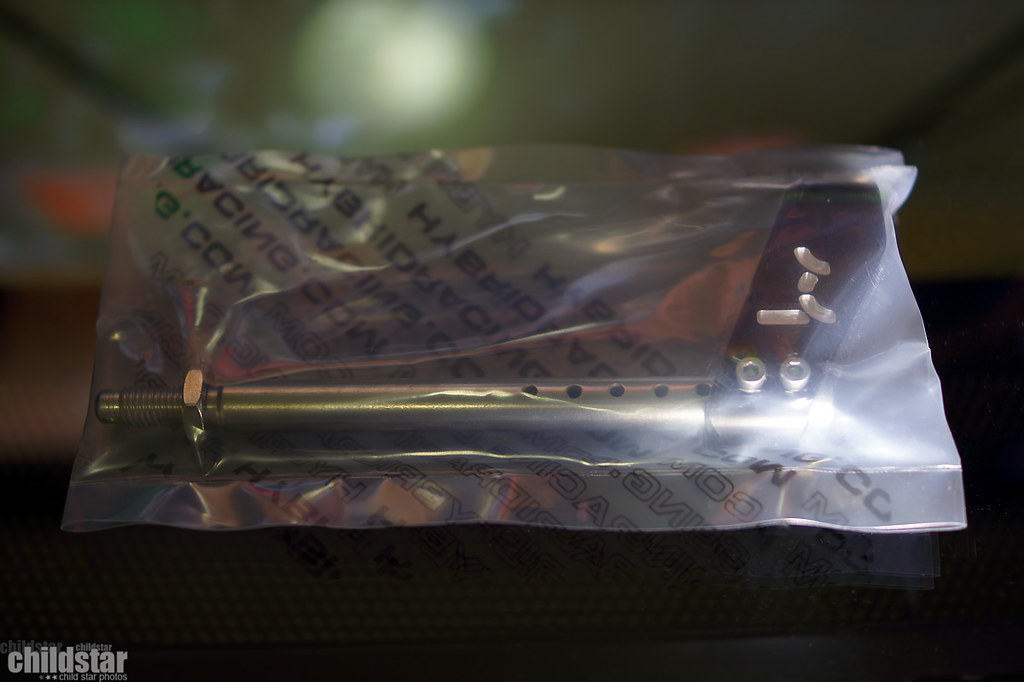
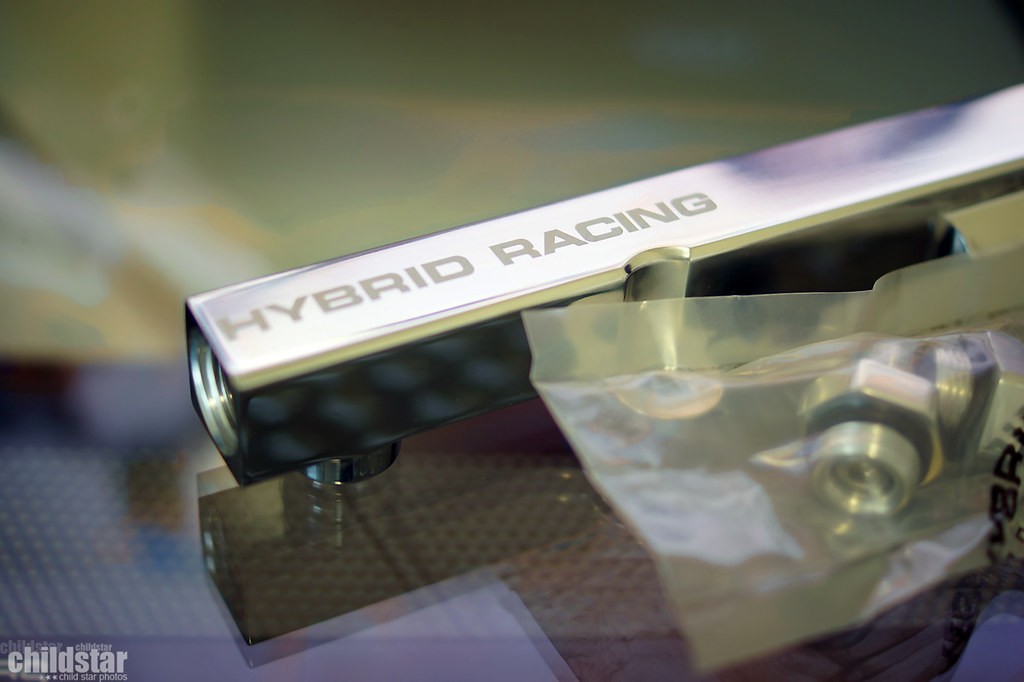
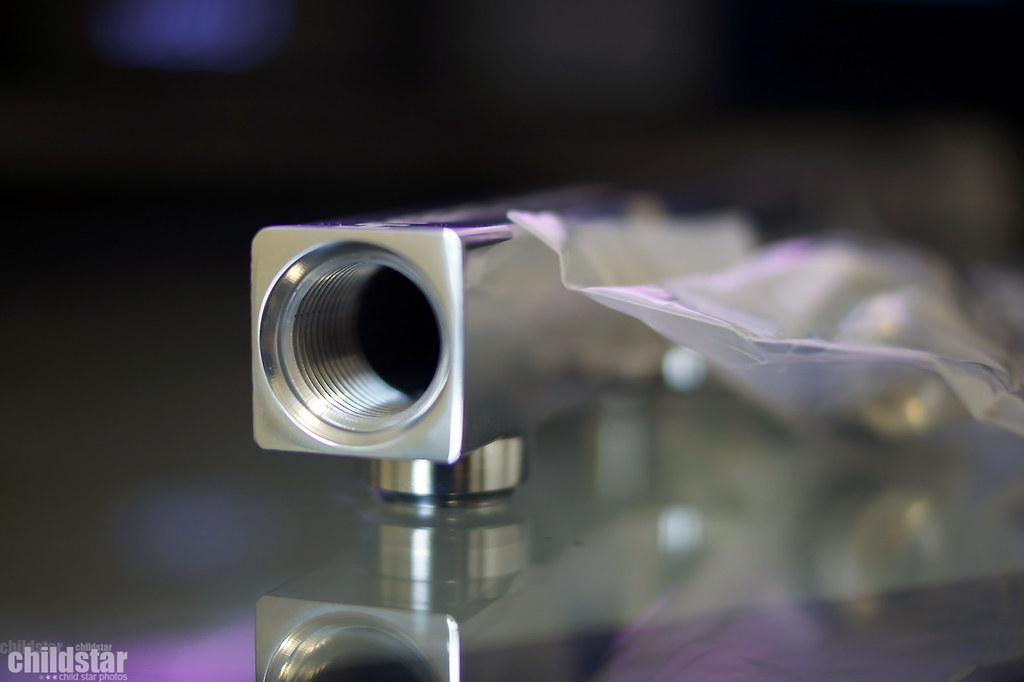
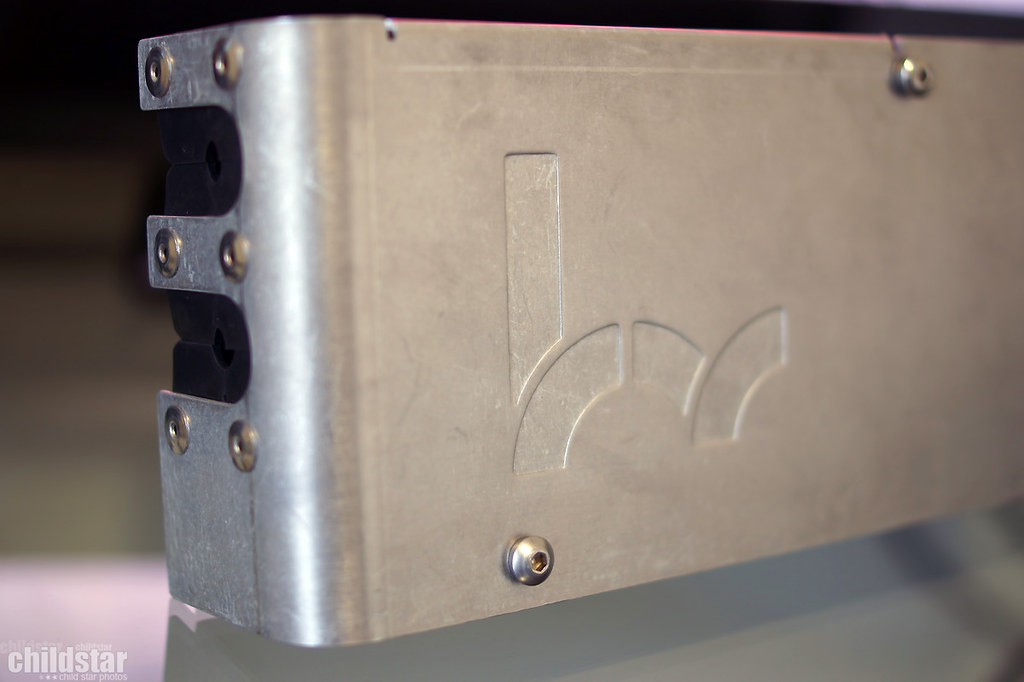
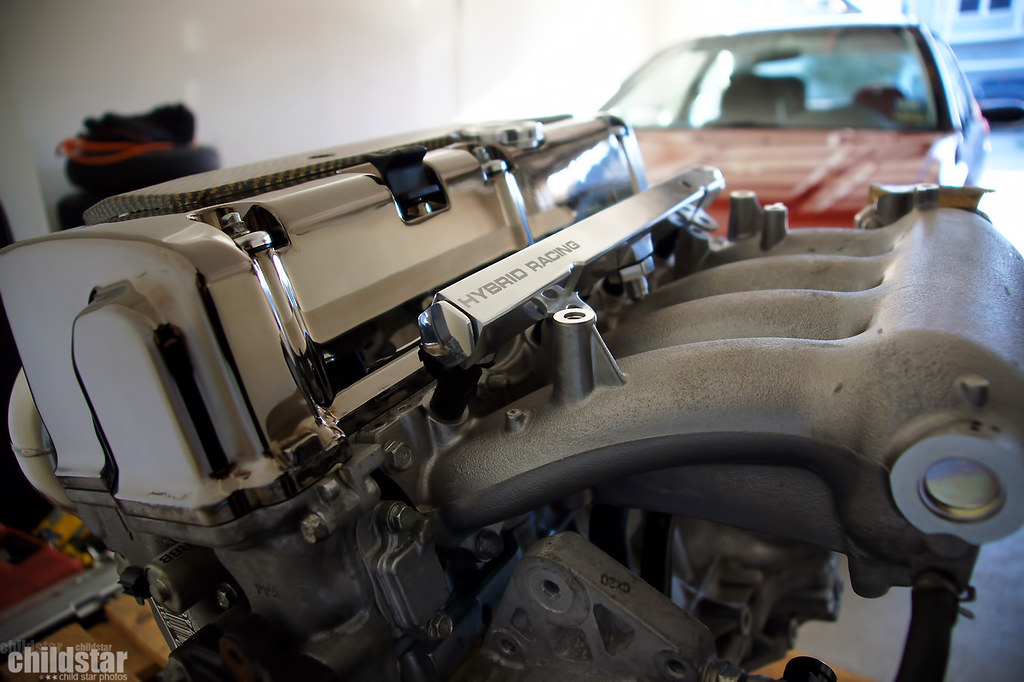
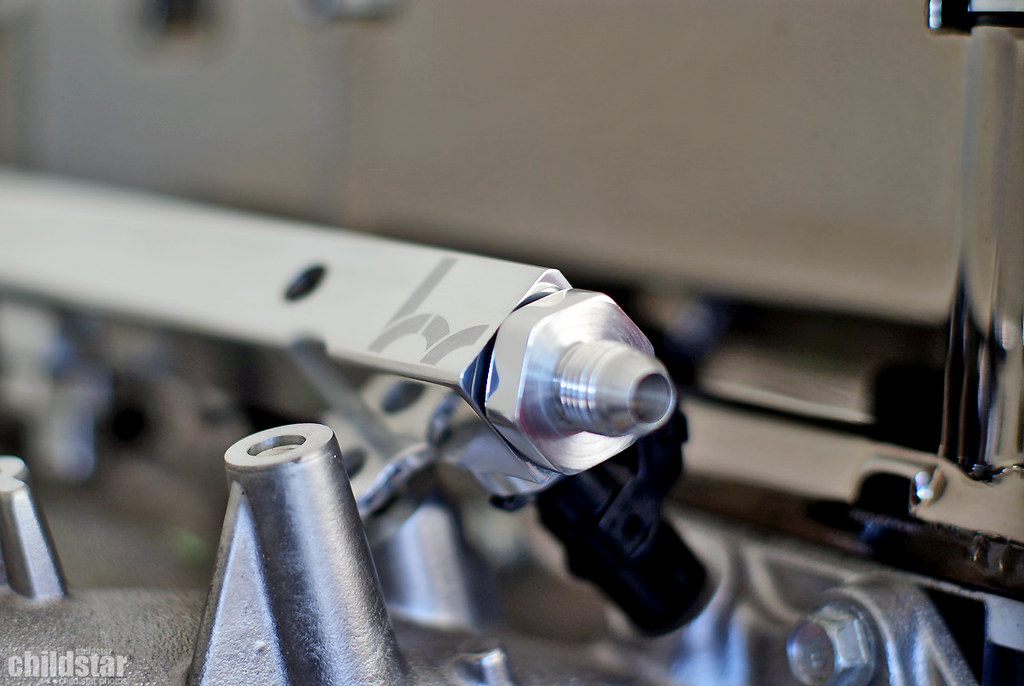
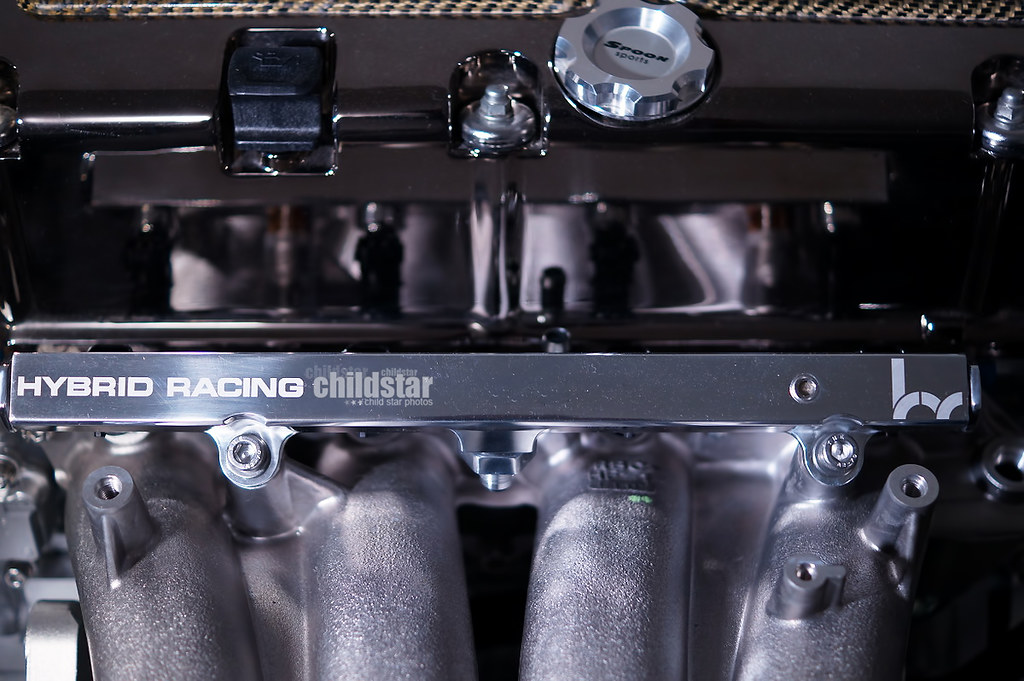
Hybrid-racing polished fuel rail :cool:
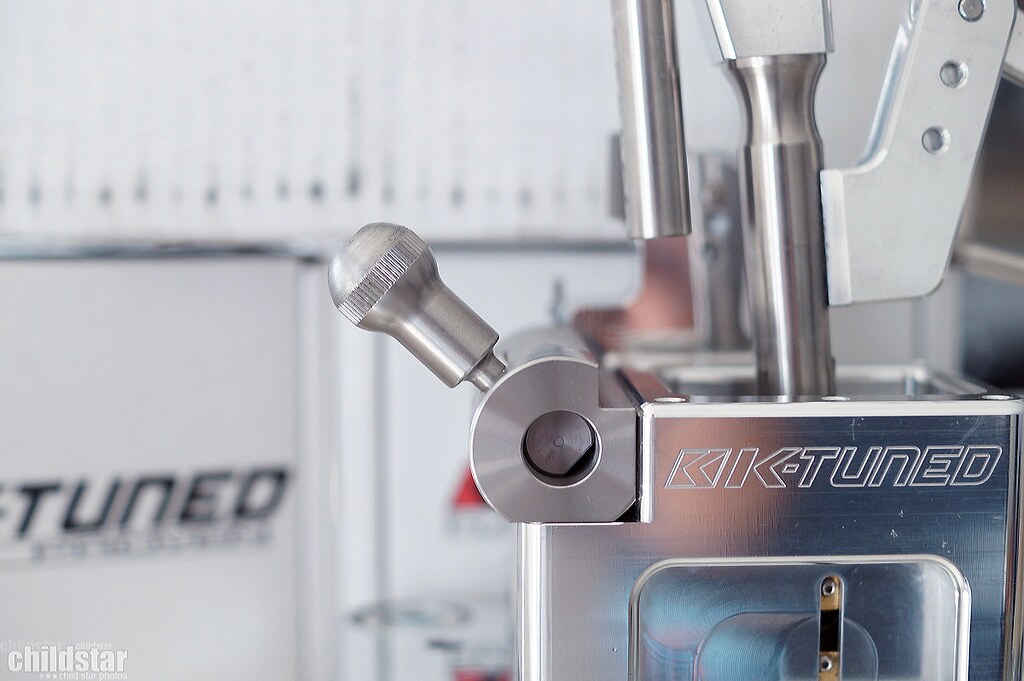
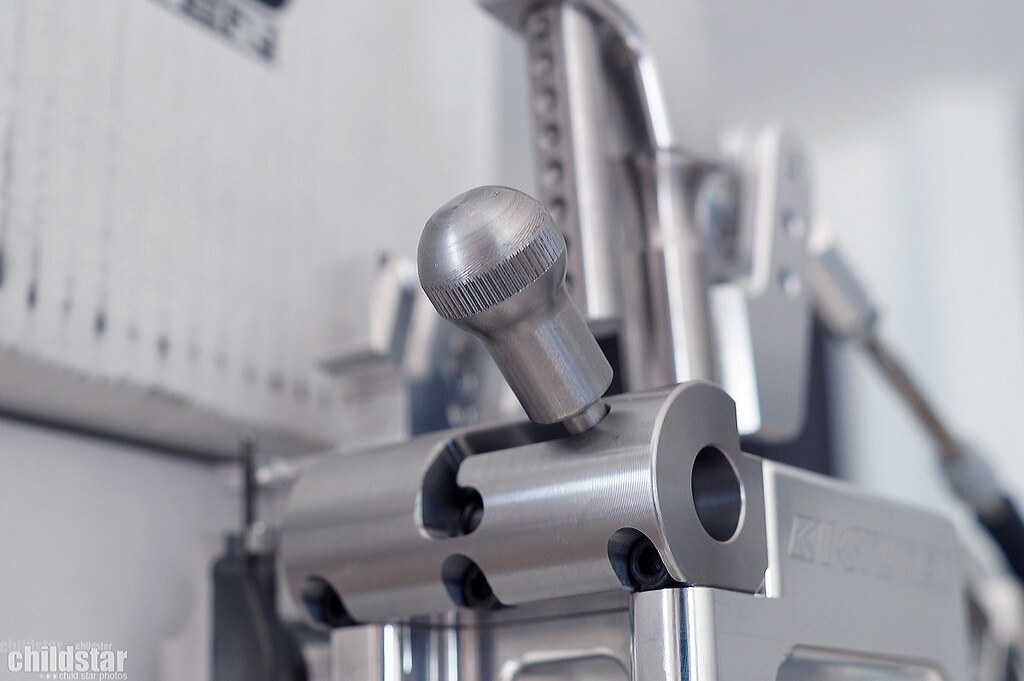
Hybrid-racing bolt in shifter

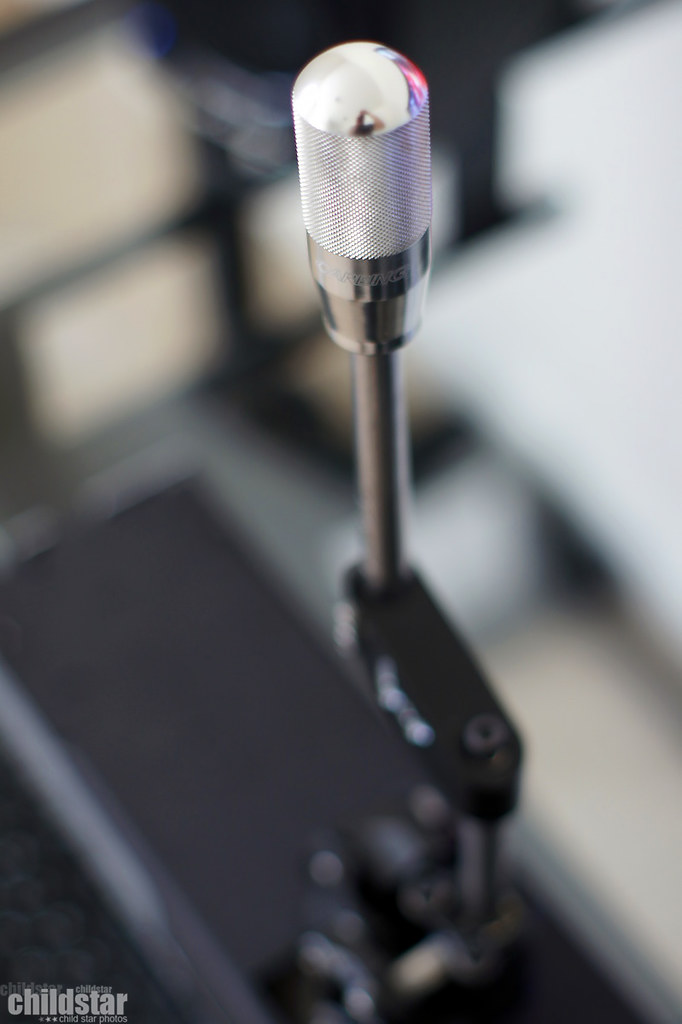
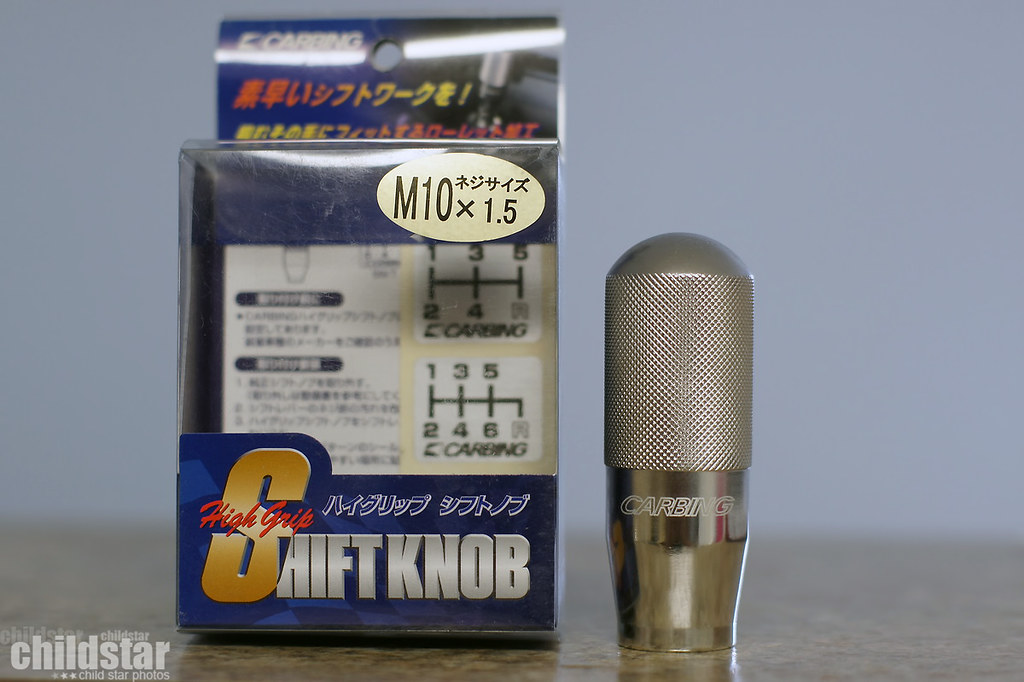
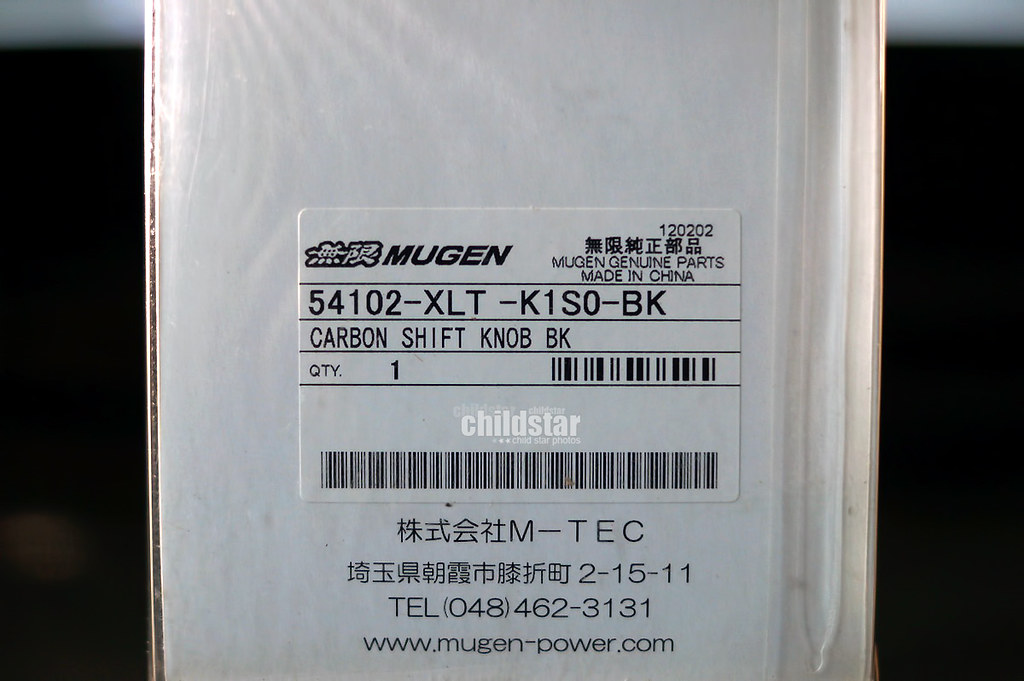
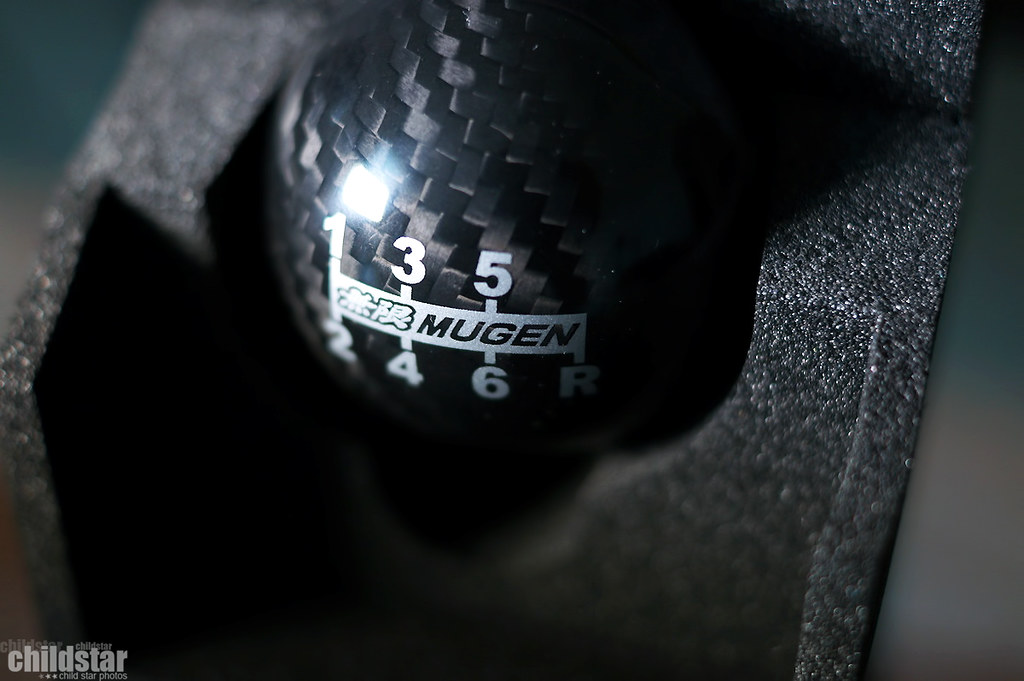
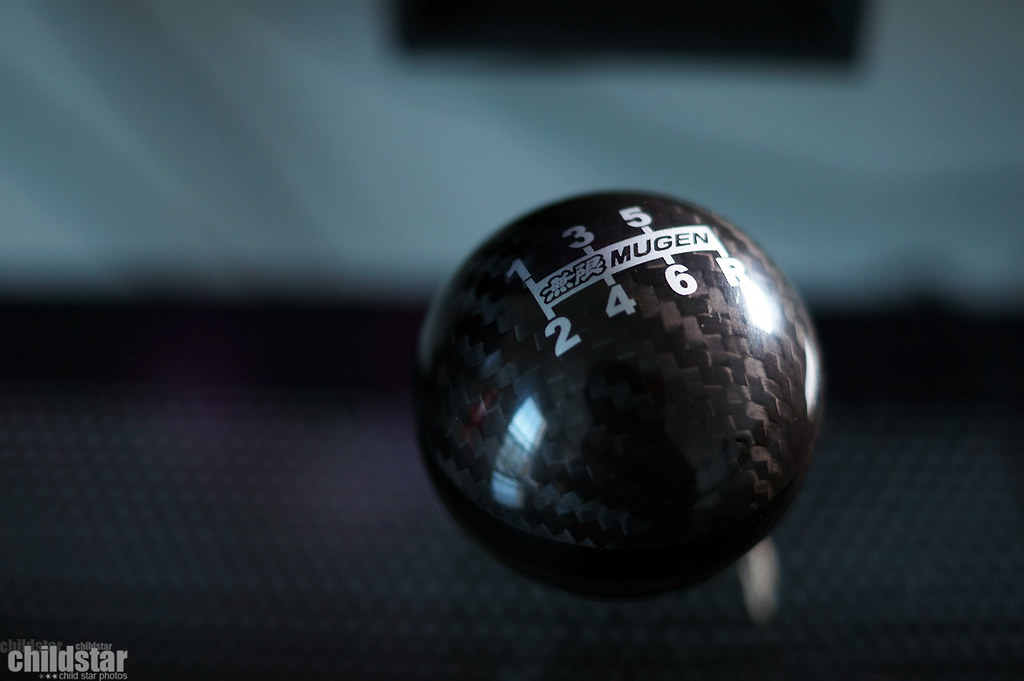
Love it with my Carbing shift ****

bling on blang


rice bucket and my bike on a flat like a boss lol
Thanks to Autofair Honda for the quick business and great pricing!
no more uber long runners for me
nothing fancy....just pics
I'll be getting some thermal gaskets later when i finally order a fuel setup
looks much better
shortened up this line form the RAA
had a noob moment and couldn't get the tube to come out of the intake manifold easily. It ended up snapping lol. I'm gonna clean it out and plug it later.
can you tell i was bored???
I got my order from hybrid racing yesterday and I got everything except my fuel pressure gauge.
I called today and spoke with Kris and he got me squared away with the quickness!!! I really appreciate the great customer service!!! thanks everyone at Hybrid-Racing
Inline fuel filter
Upper portion of the hybrid-racing bolt in shifter (love this thing)
Hybrid-racing adjustable fuel pressure regulator and fittings
Hybrird-racing tucked fuel lines and fittings
Hybrid-racing polished fuel rail :cool:
Hybrid-racing bolt in shifter
Love it with my Carbing shift ****
bling on blang
rice bucket and my bike on a flat like a boss lol
05-09-2016, 10:42 PM
#9
Honda-Tech Member
Thread Starter

Well, i ran into a bit of misfortune. Got rear ended by a 16 year old girl who had barely been on the road. The damage wasn't too great but it was enough for my old little hatchback to be totaled out by insurance. A measly $1150 back to me and a smash in hatch.
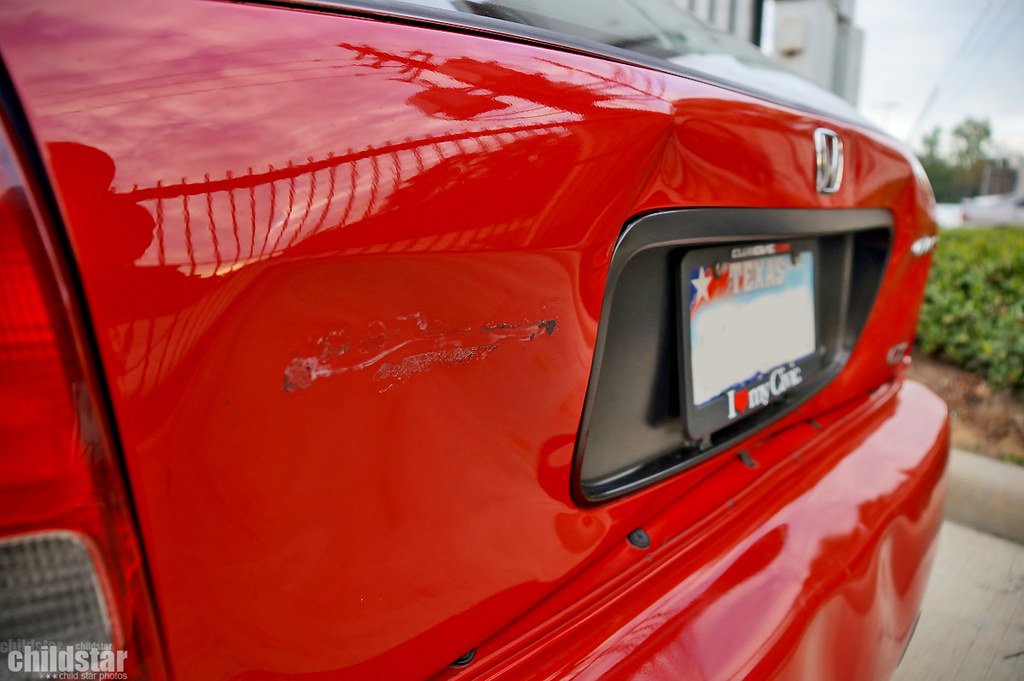
I decided to part it out in hopes of making some cash to fund a newer K powered vehicle.
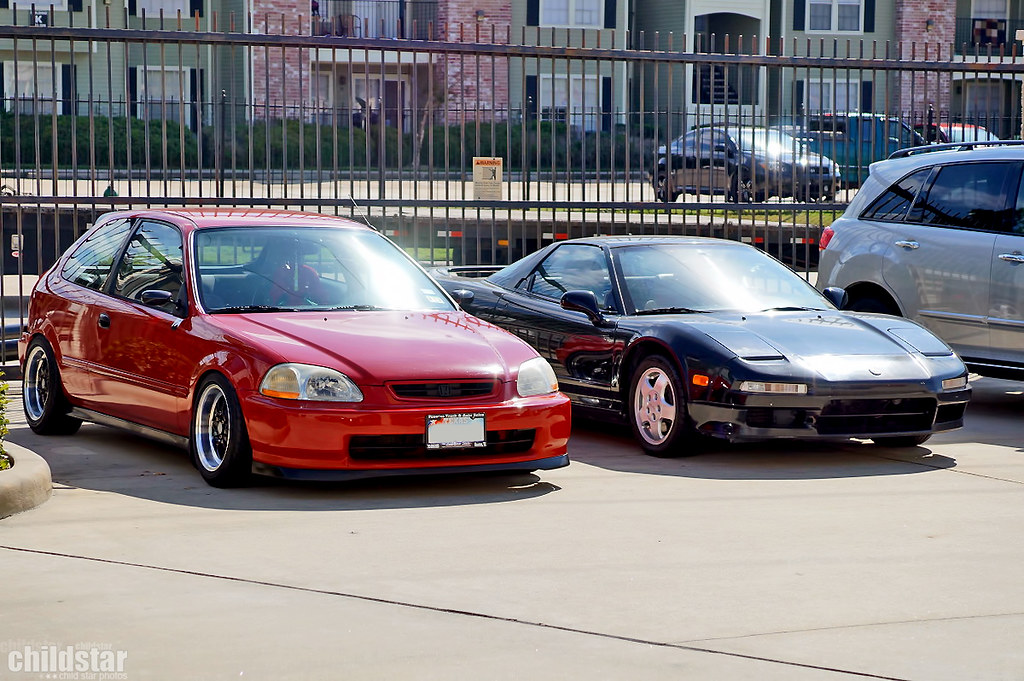

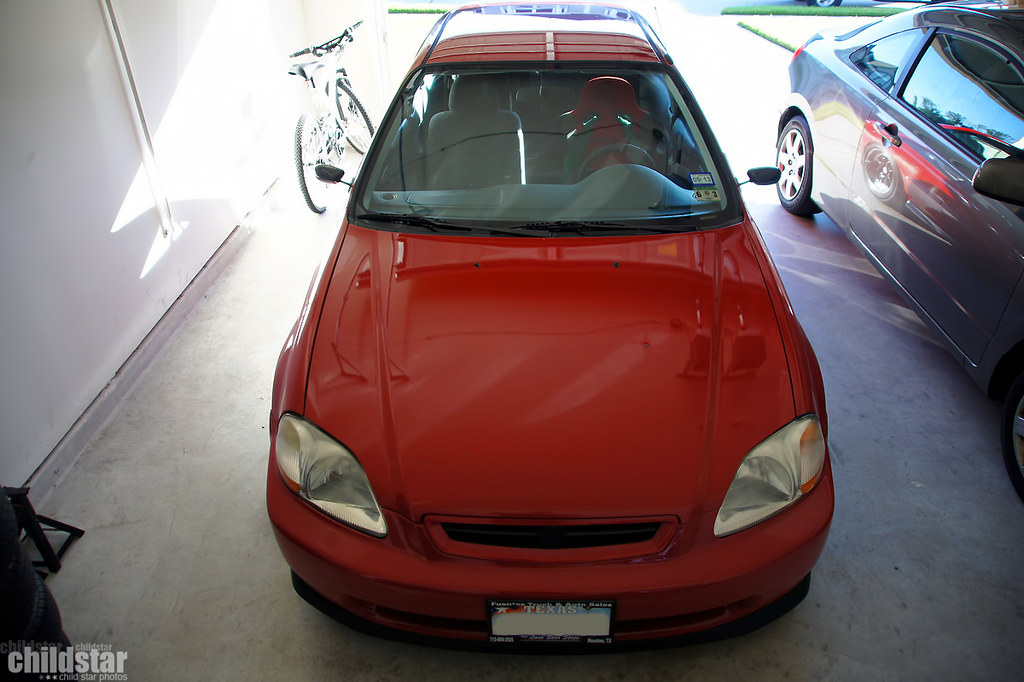
After a short while of searching, nothing worth buying came up. I came across an old civic hx sitting in a grassy field that some old man was harboring. I bought the car off of him and here I am back at step one. Replacing the parts I sold from the part out and getting right back into this K project.
eww ugly oem wheel with a cover. This crap had to go.

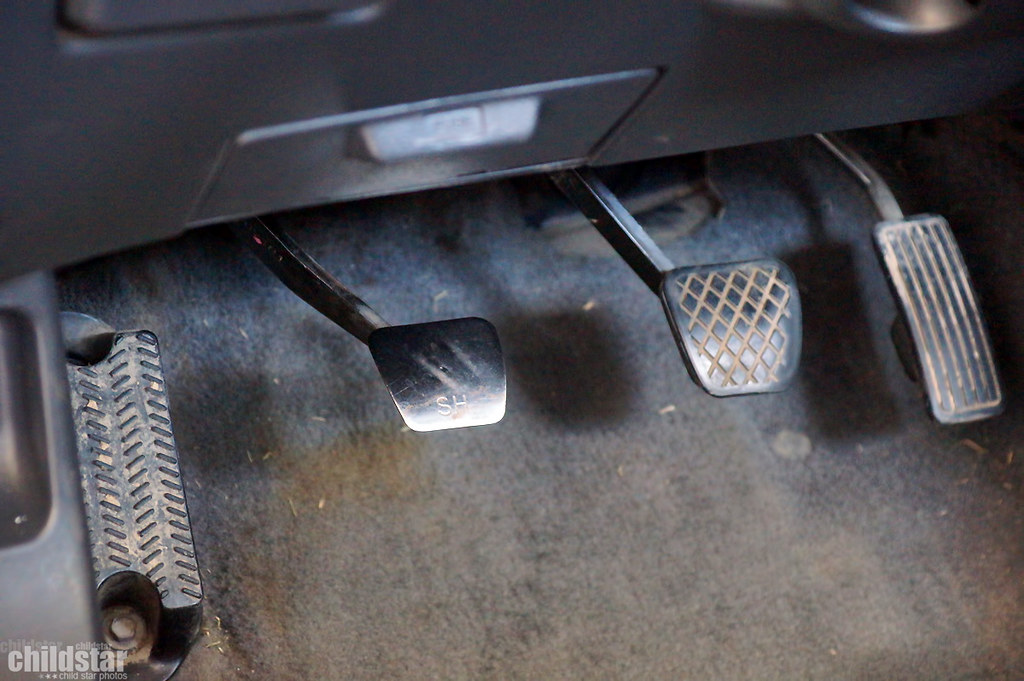
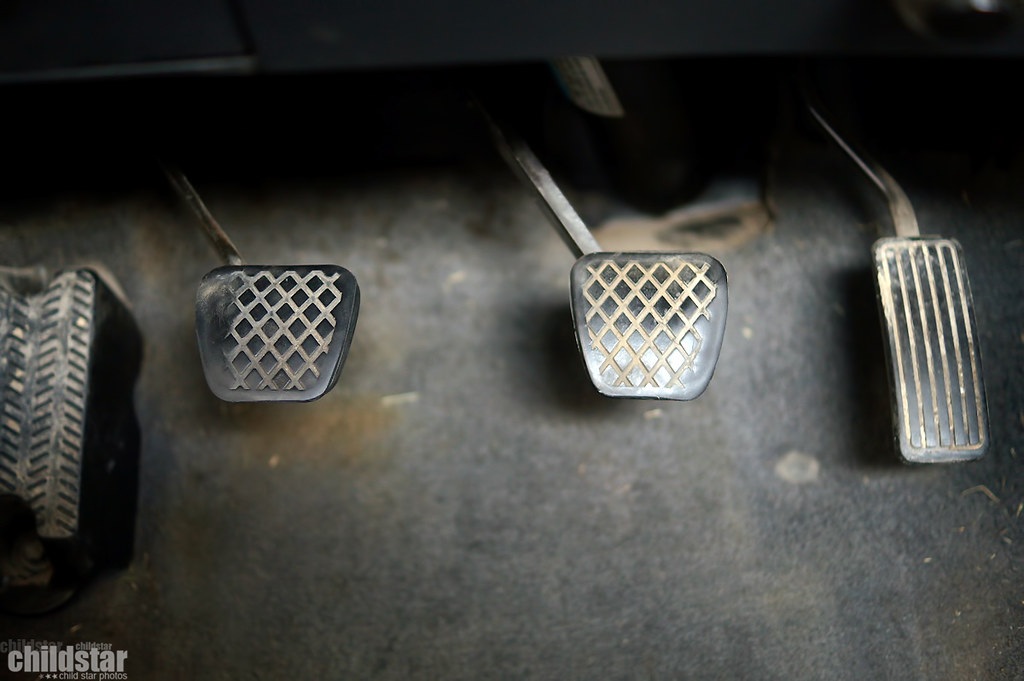
clutch pedal cover missing.
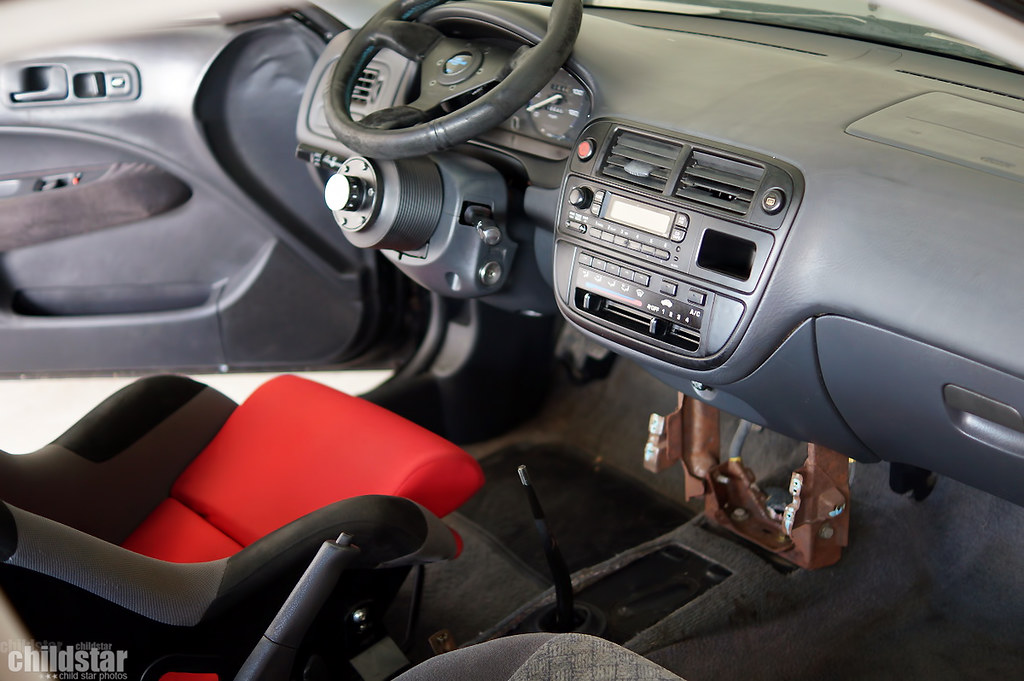
Torn driver's seat with dirt coming out lol
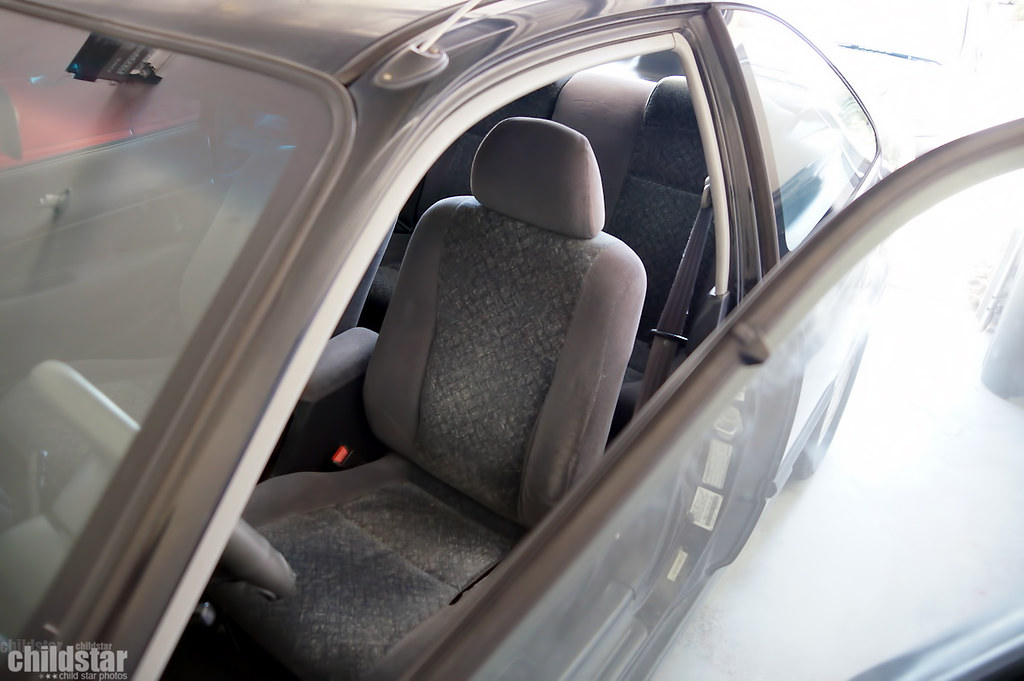
lots of work ahead of me. This dirt is thick too.

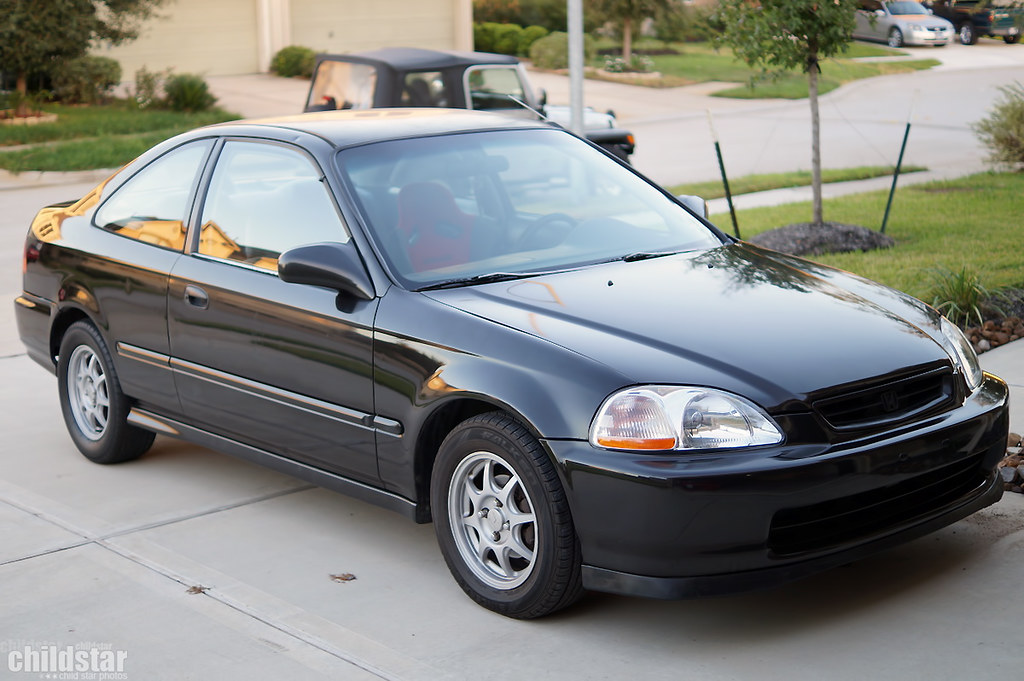
much better
got my old stuff thrown in there. Im on the hunt for a new wheel.
bucket seat in and parts out for cleaning
oem hardware ftw
threw the trusty SiR on there

razor bladed the gunk off the windwos and used some invisible glass on them
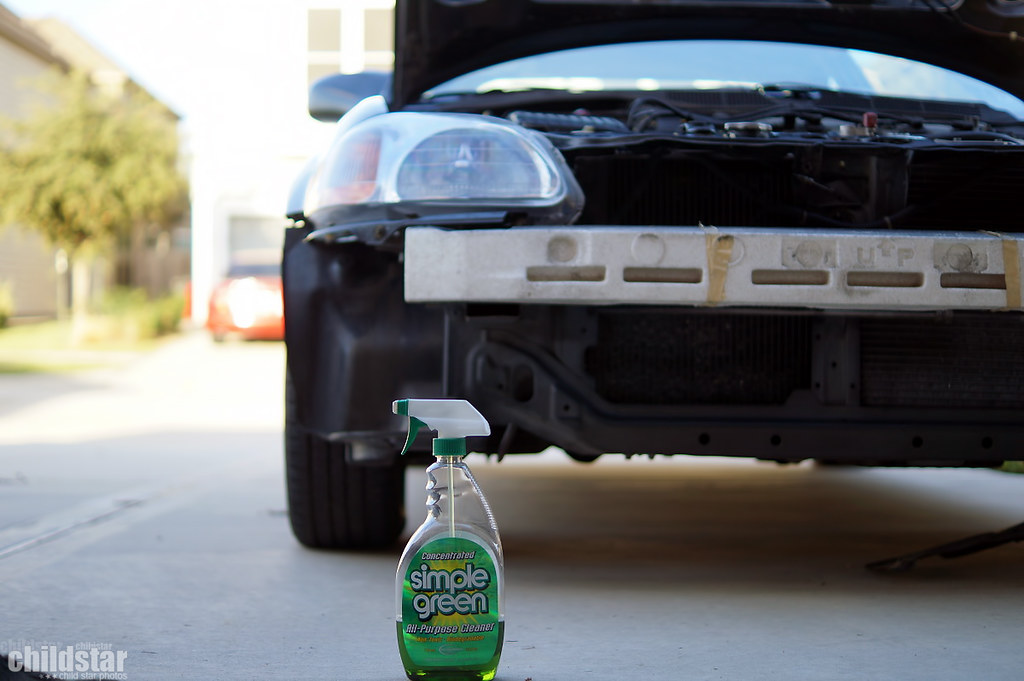
slowly taking some of the unwanted parts off of the car and cleaning as i go
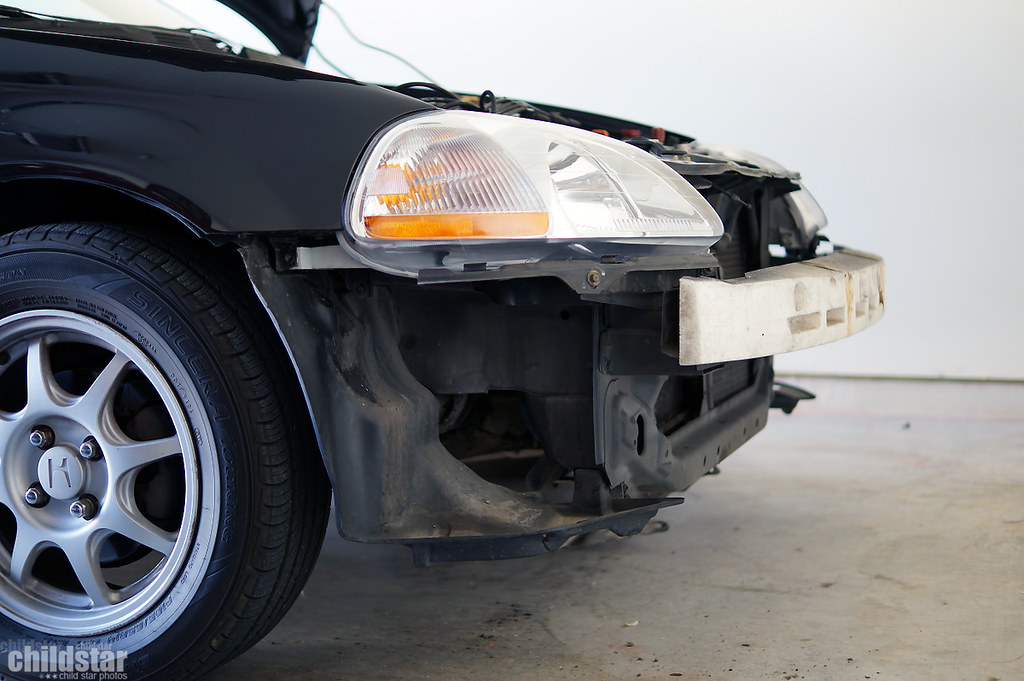
simple green
not the best paint, but it'll do the job for now. Think im going to concentrate on parts and the swap then get this thing dent free and painted

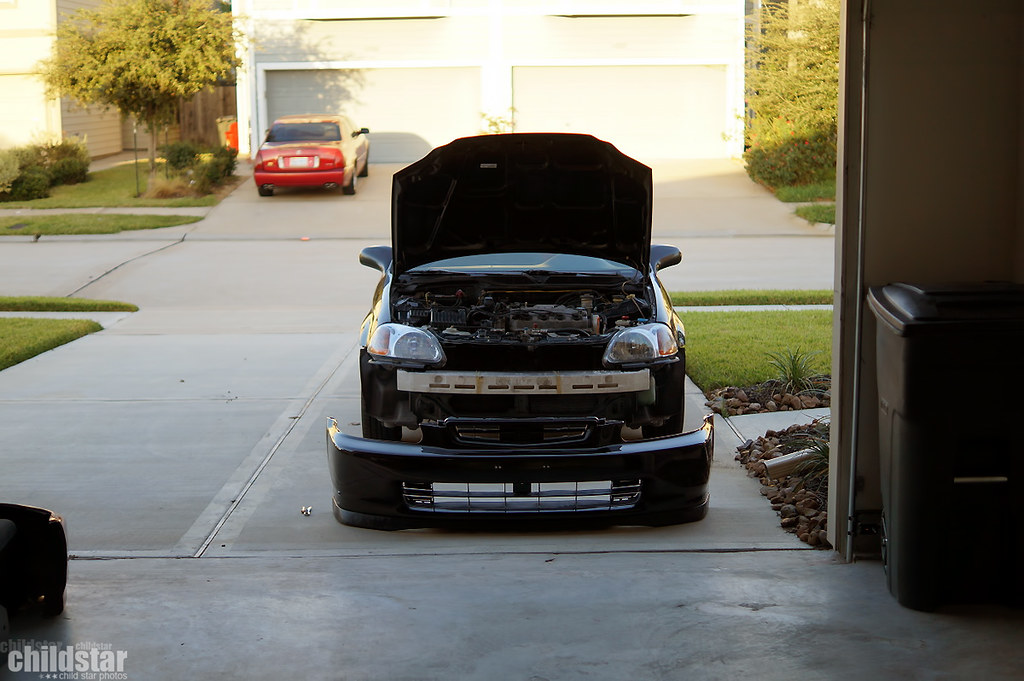
bumper ready
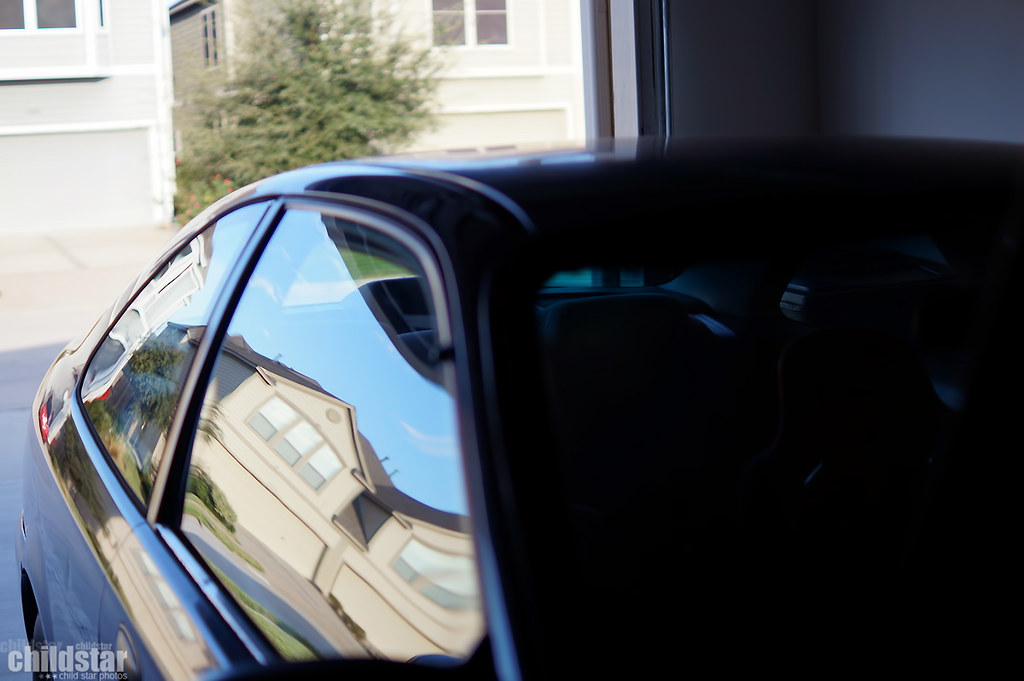
the roof is rough. All that sun time ruined it

went to rinse off a layer or two of dirt
should clean up quite a bit
its wet but the bay is cleaning up pretty good as well
vacuuming out gobs of dirt and getting the awful smell out
had to wire up the blower motor to work properly so i can make use of the a/c and defrost
Replacement parts and some upgrades rolling in
Gonna try to not get too deep into modding the car so that I can get this swap together.
05-09-2016, 11:15 PM
#10
Honda-Tech Member
Thread Starter
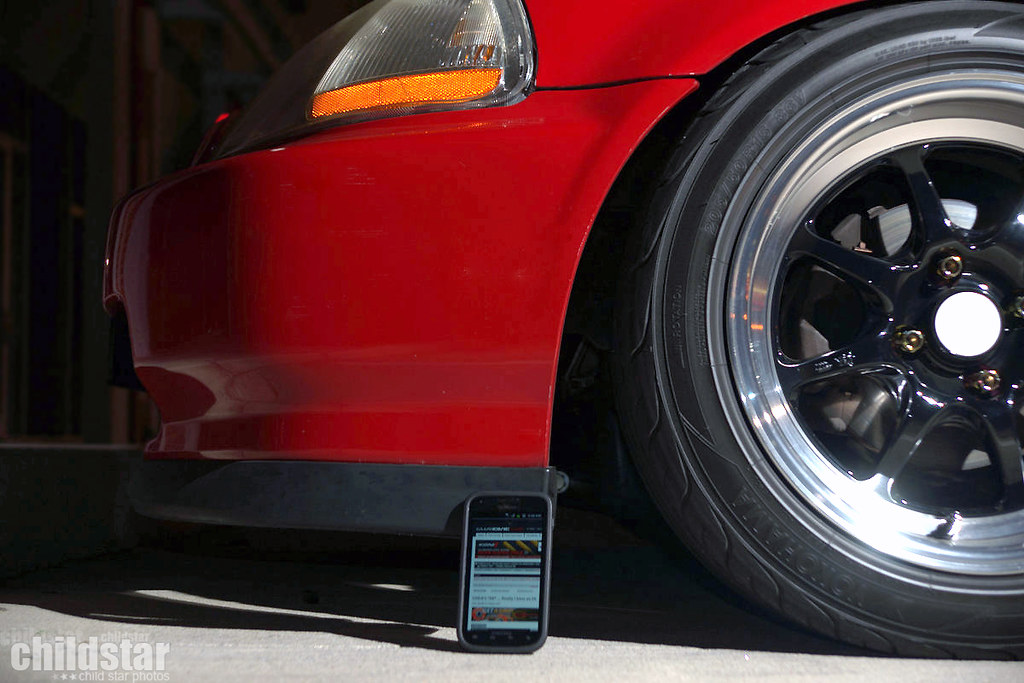
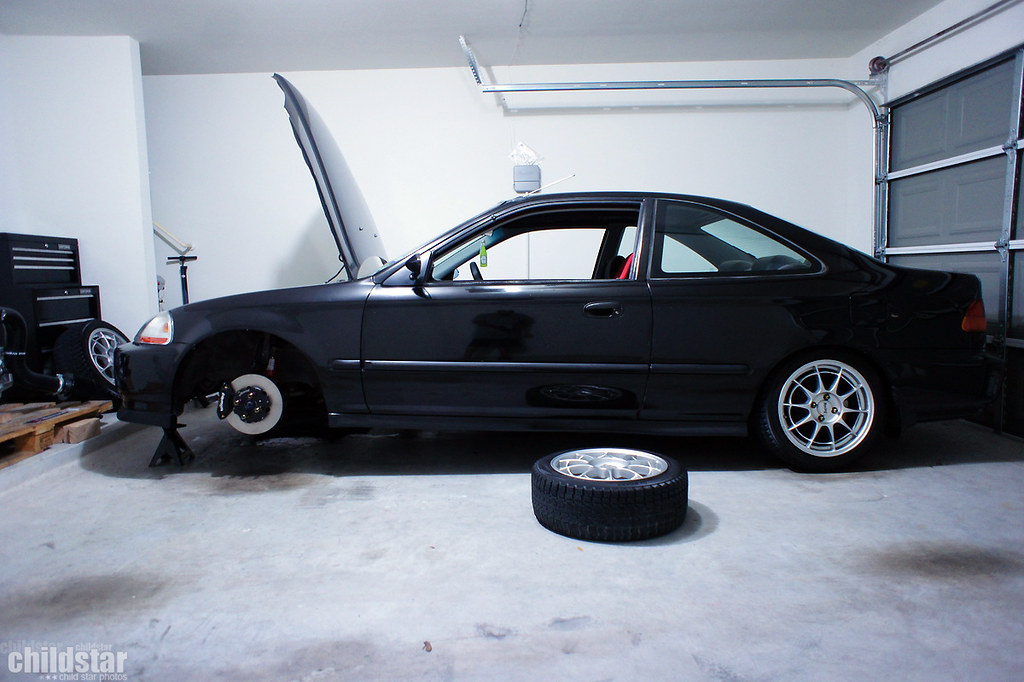
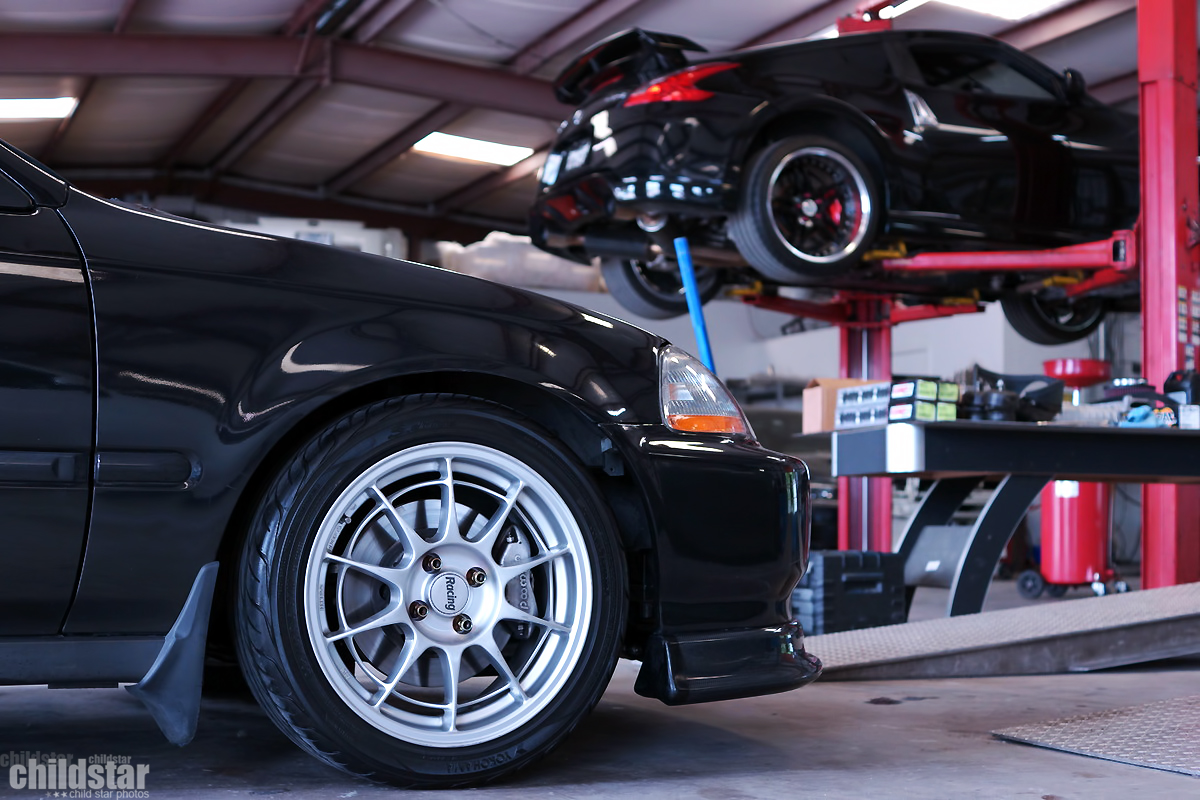
Coilovers installed and moved my wheels over from the hatch to the coupe.
Still doing some minor adjustments to the fenders for clearance. It's almost there.
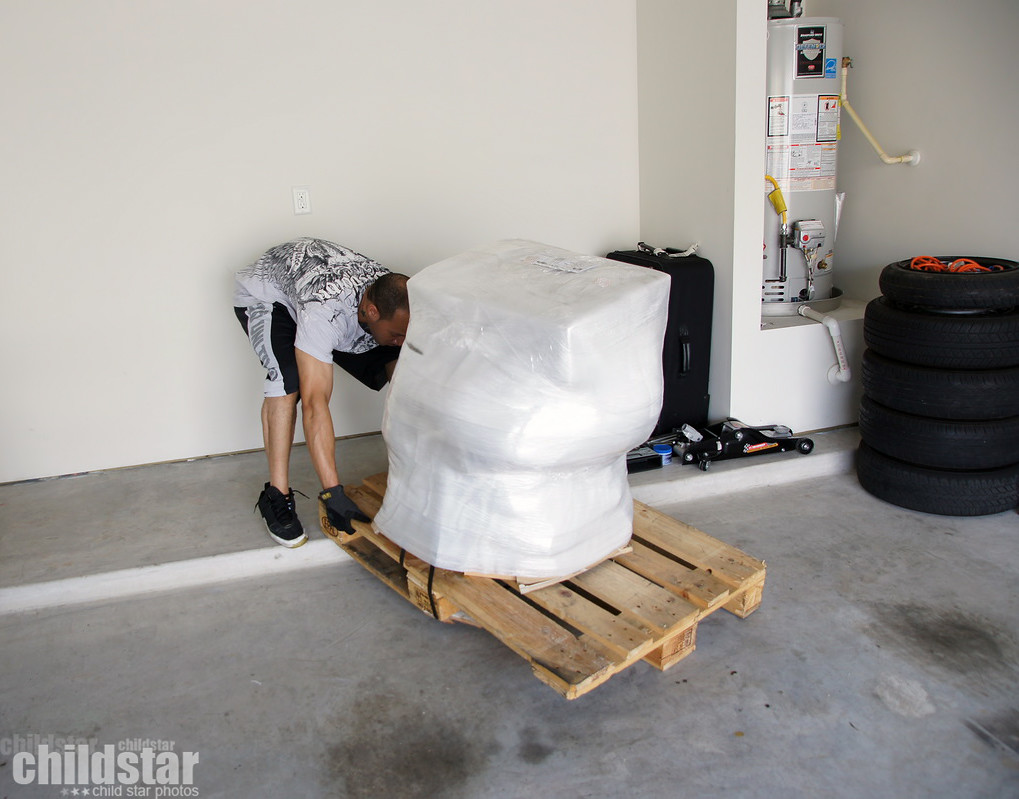
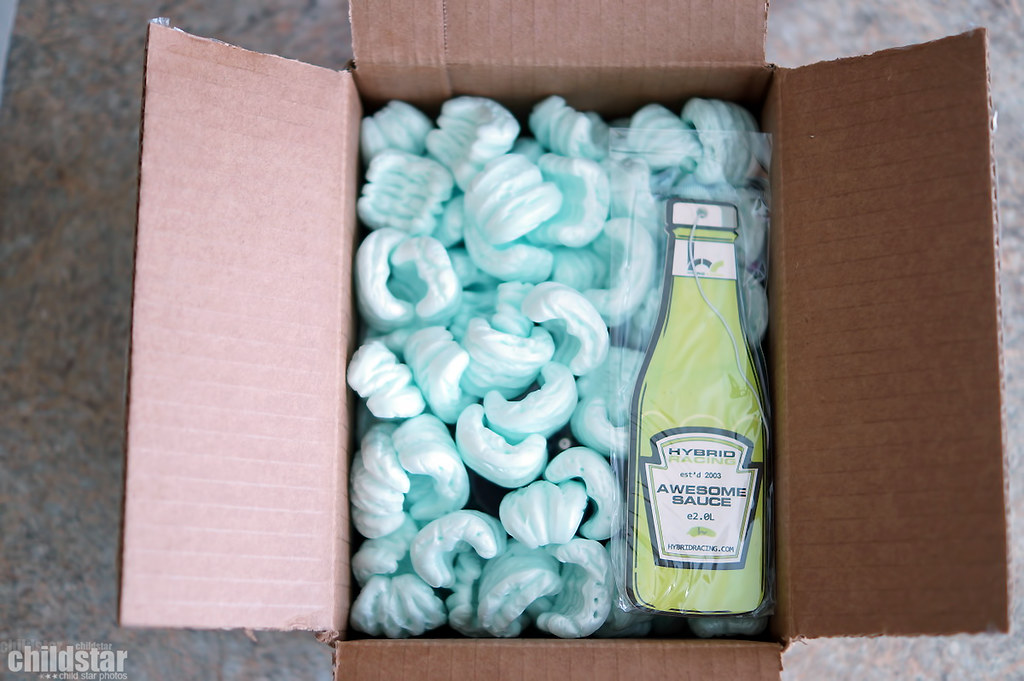
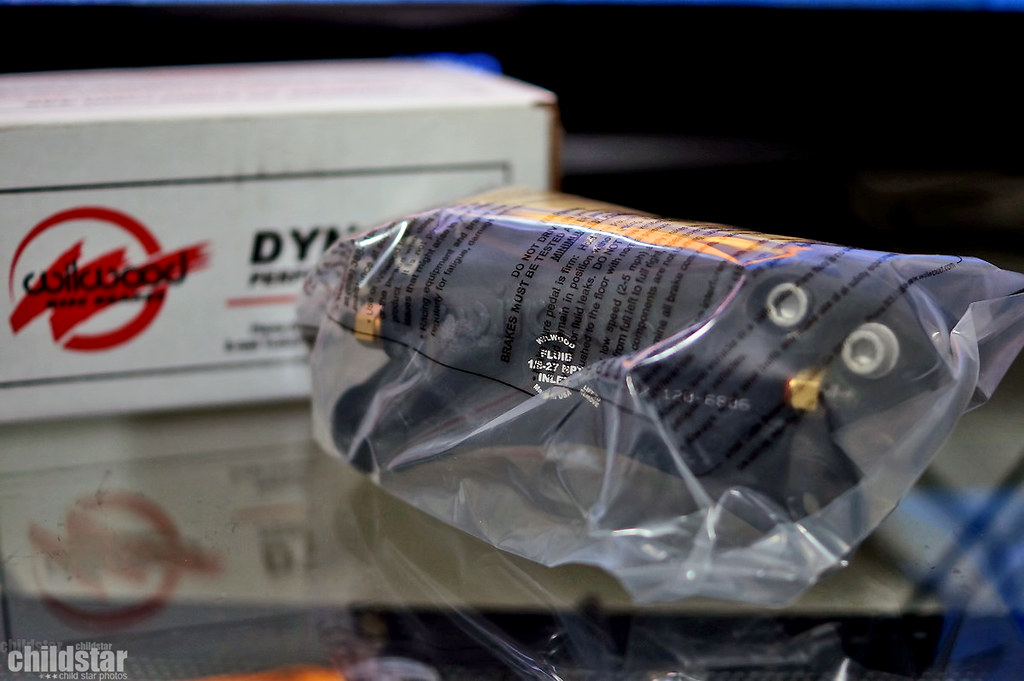
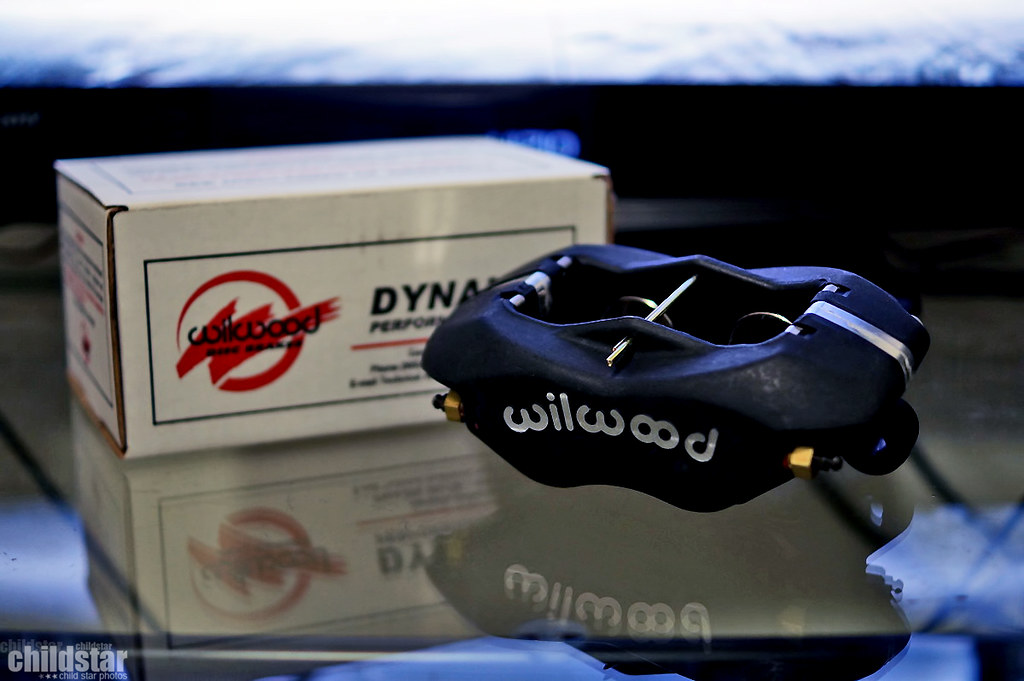
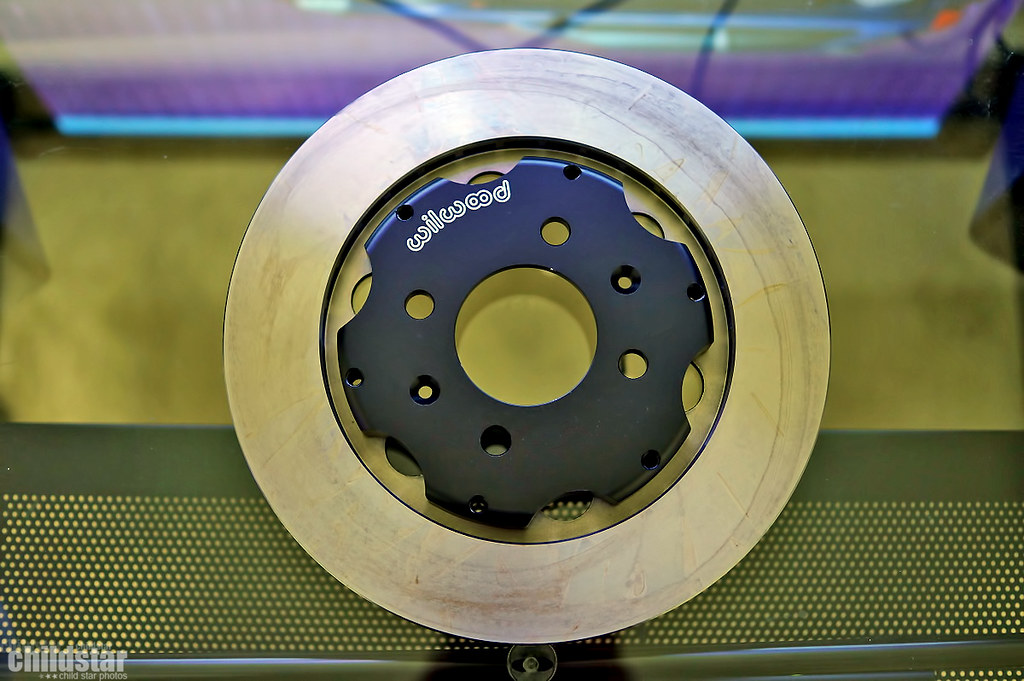
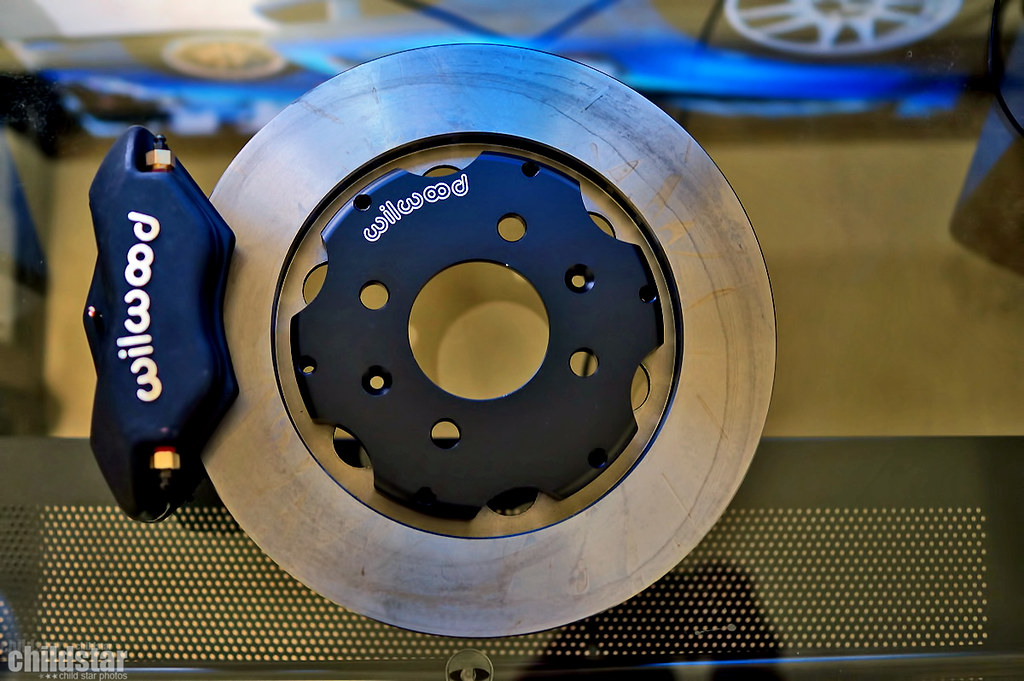
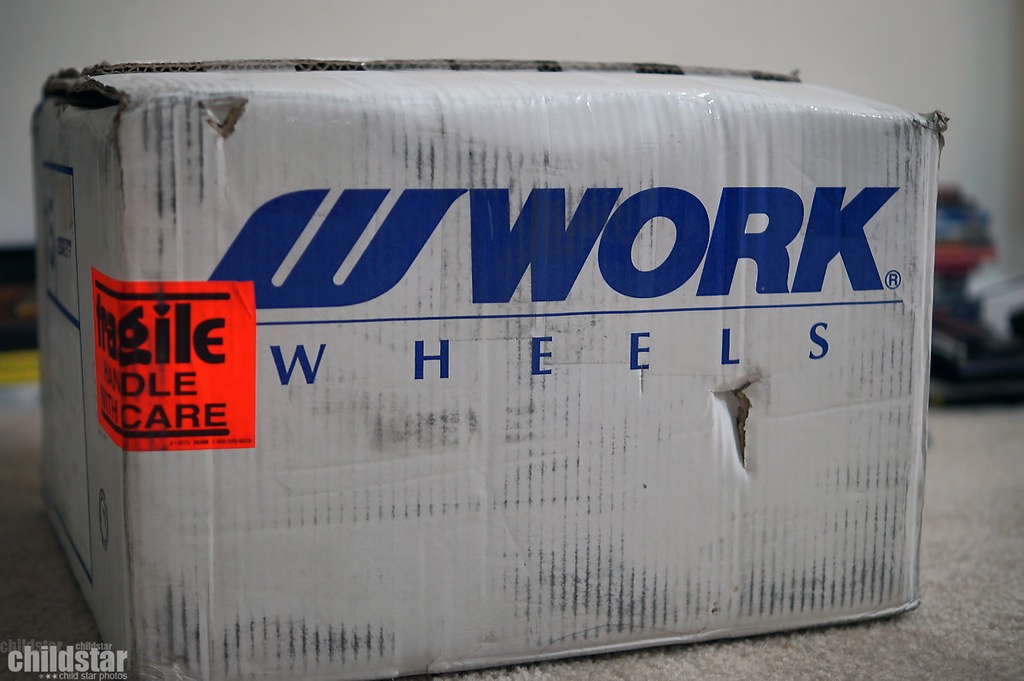
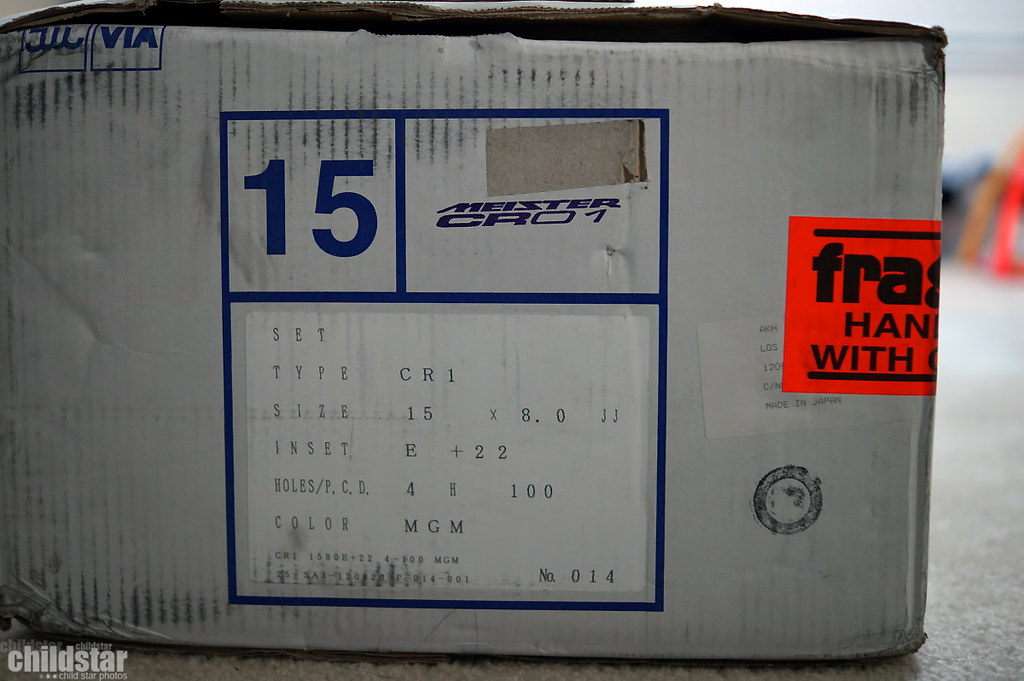
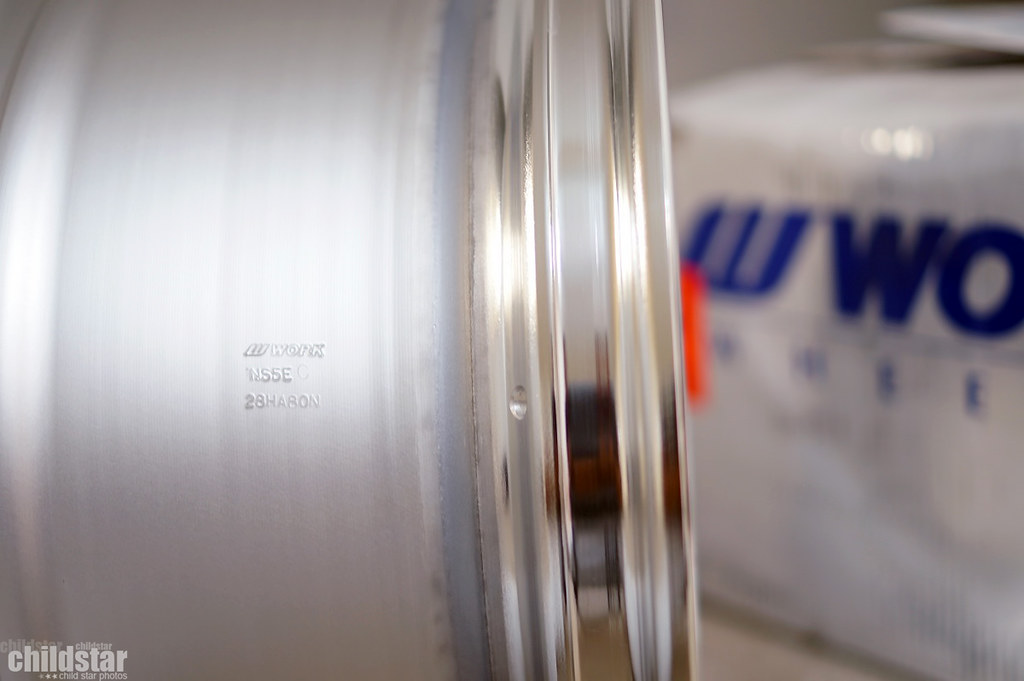
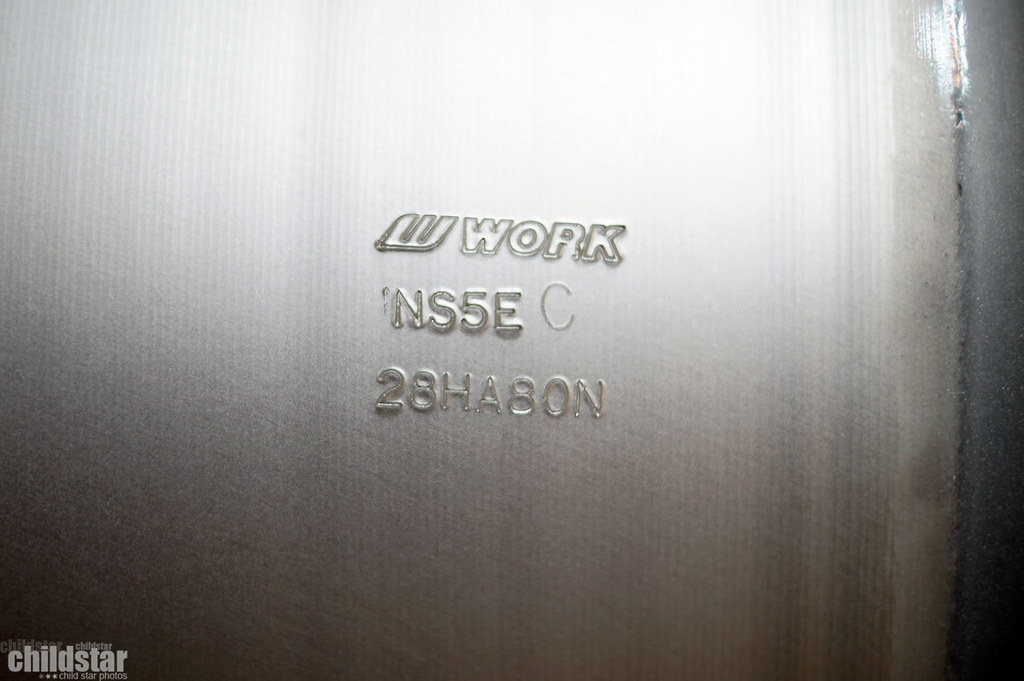
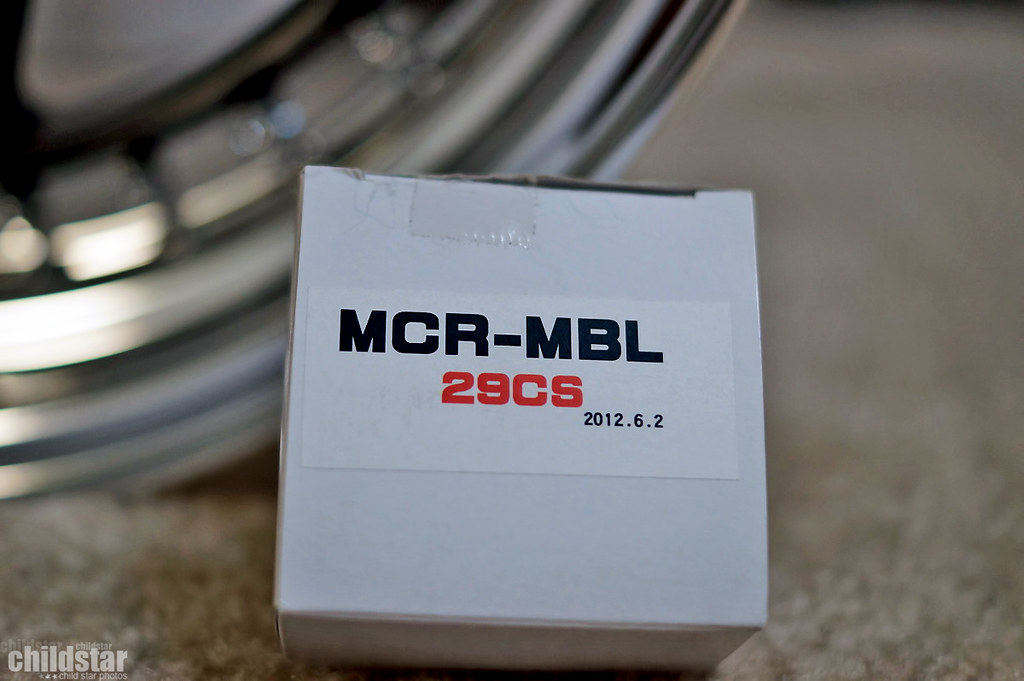
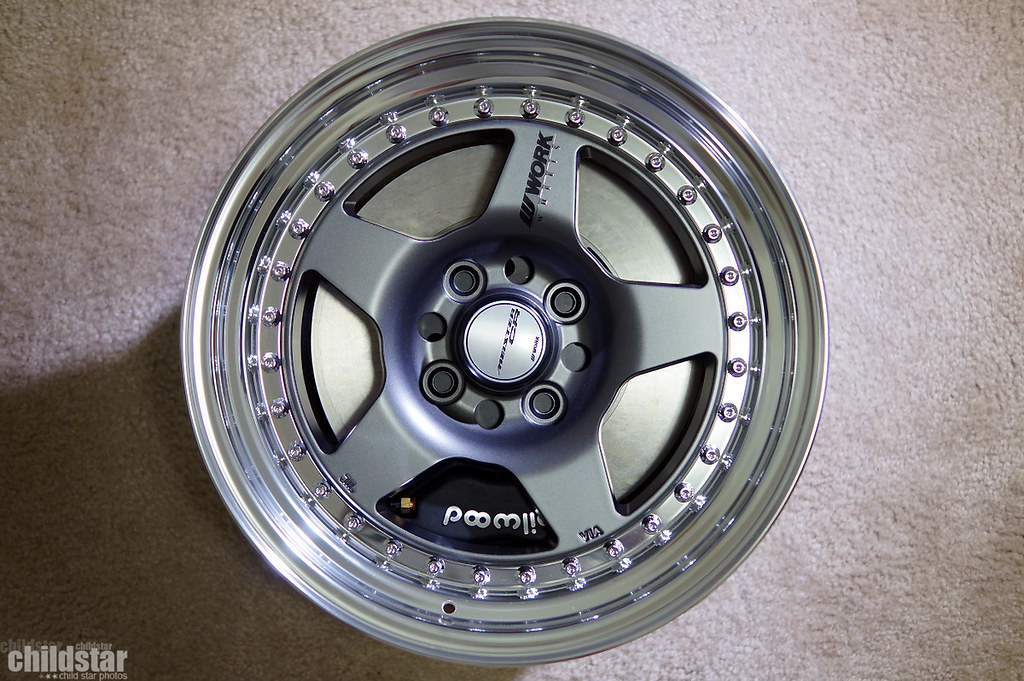
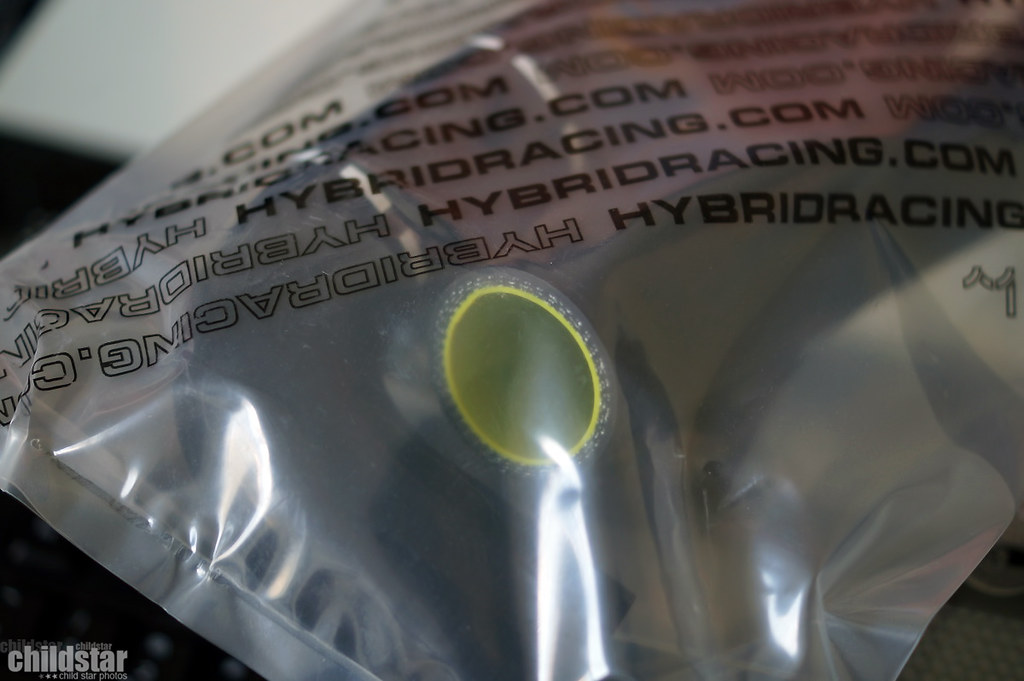
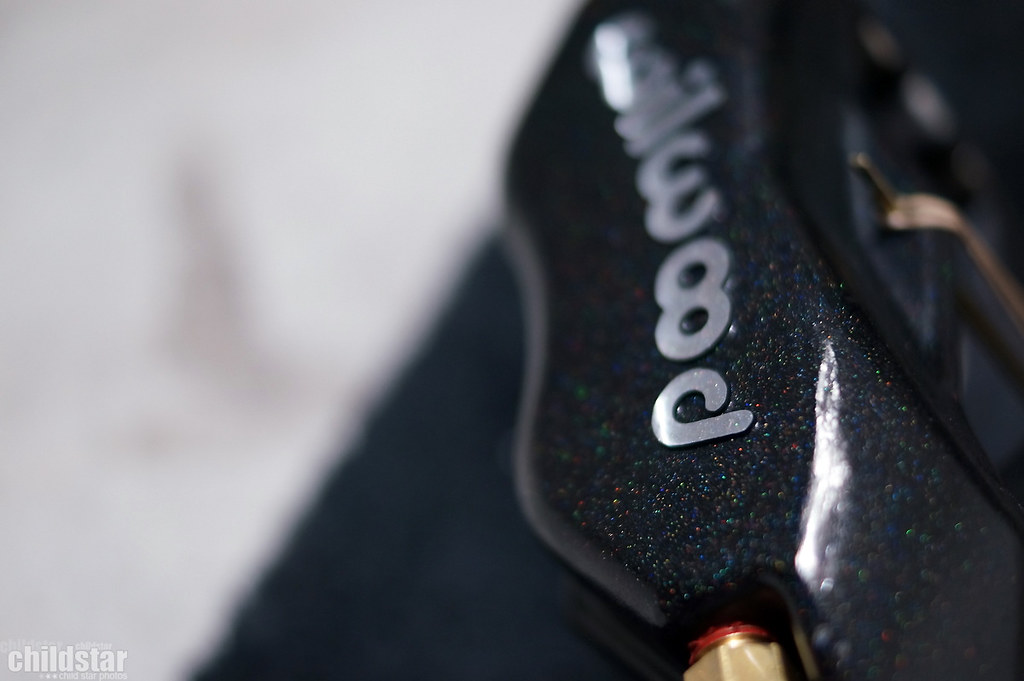
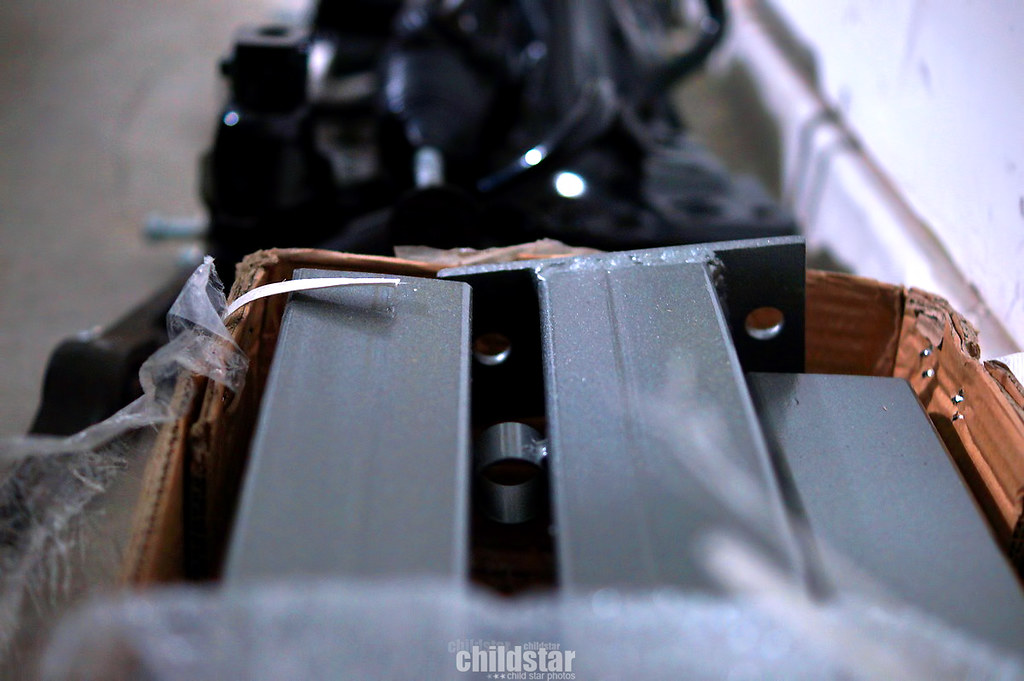
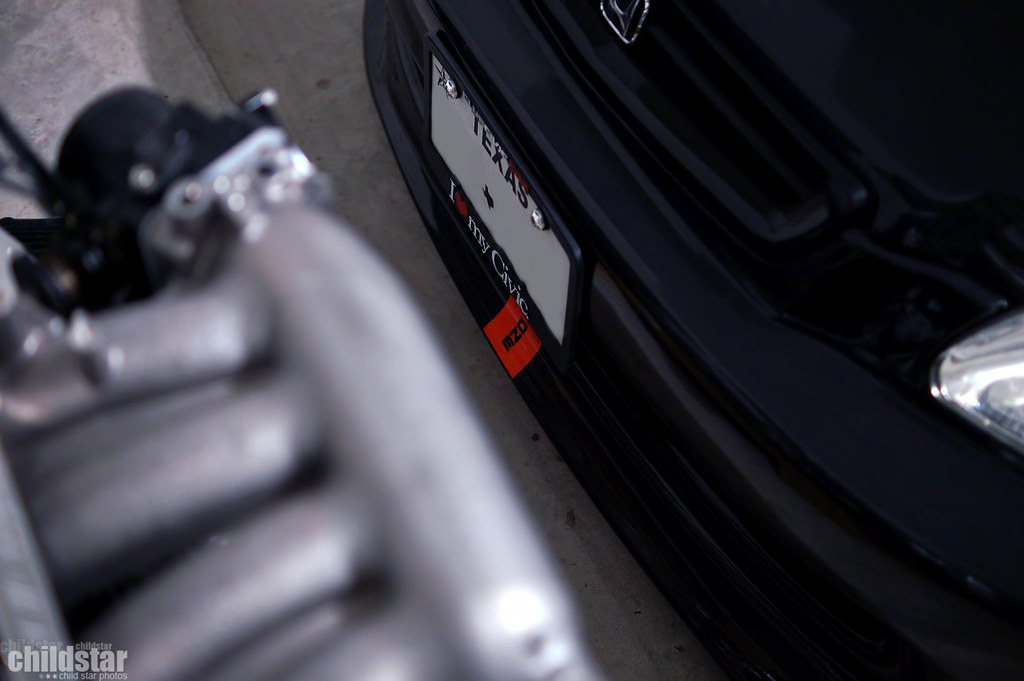
Let's see, I put in an order for my whole cooling setup through hybrid racing, so i'll update that with some pics in a couple of days. Also picked up a little BBK (oxymoron lol) and my long lost forgotten Work CR01's I ordered months and months ago showed up.
 [/url]
 [/url]
 [/url]
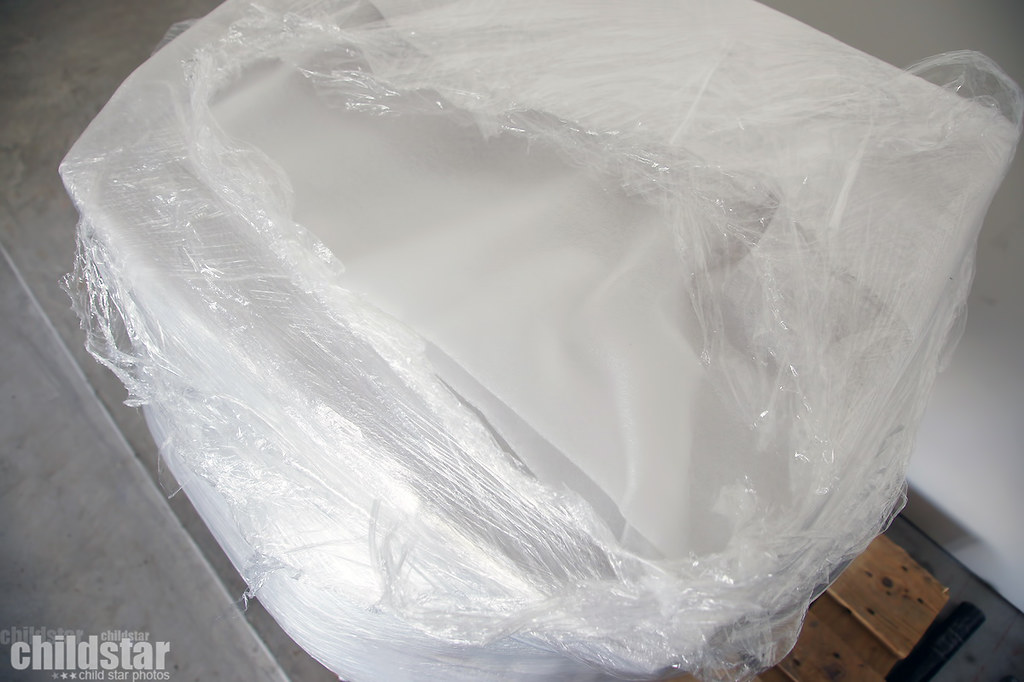
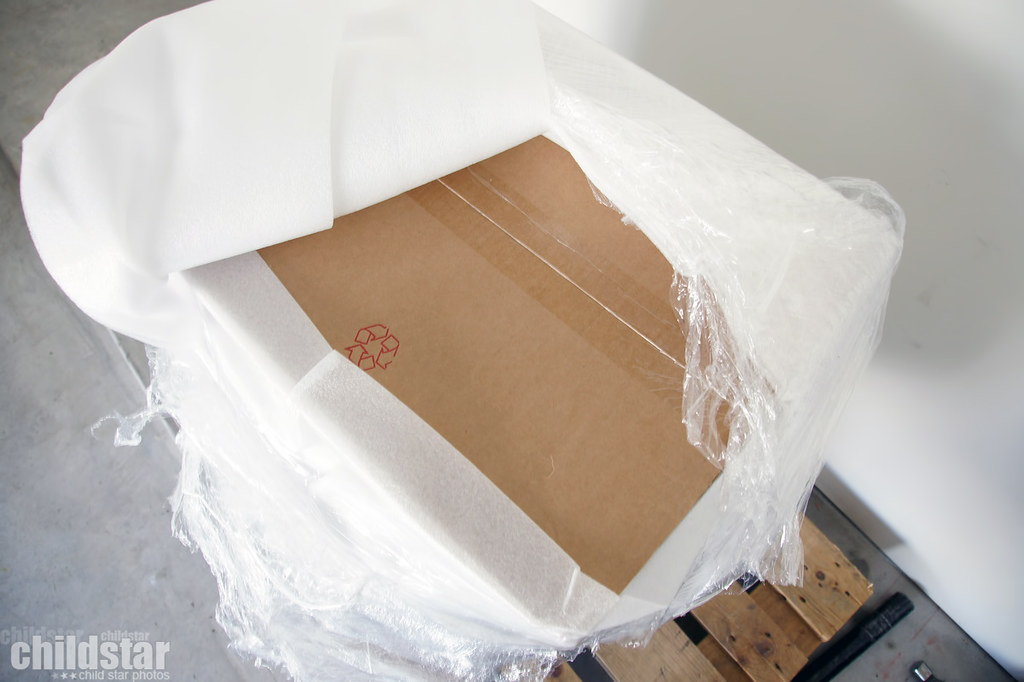
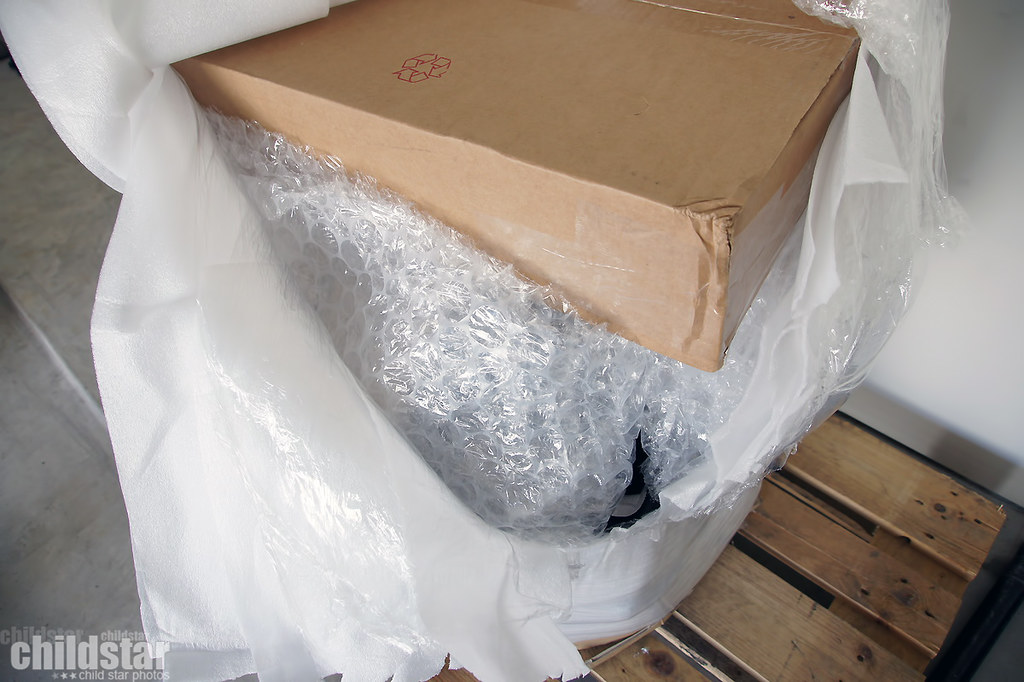
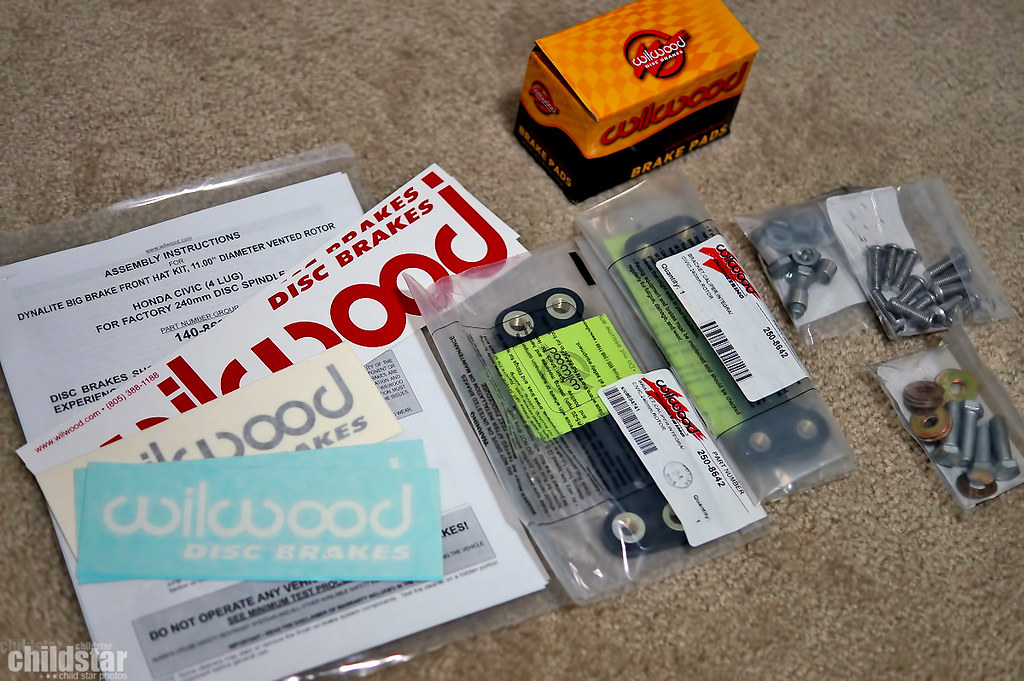
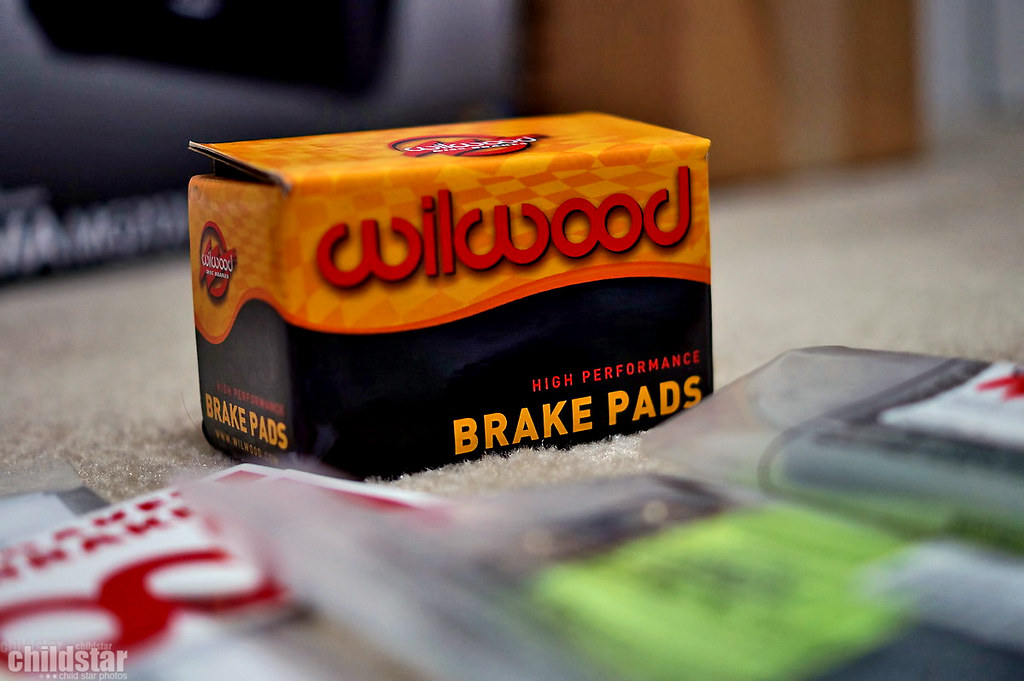
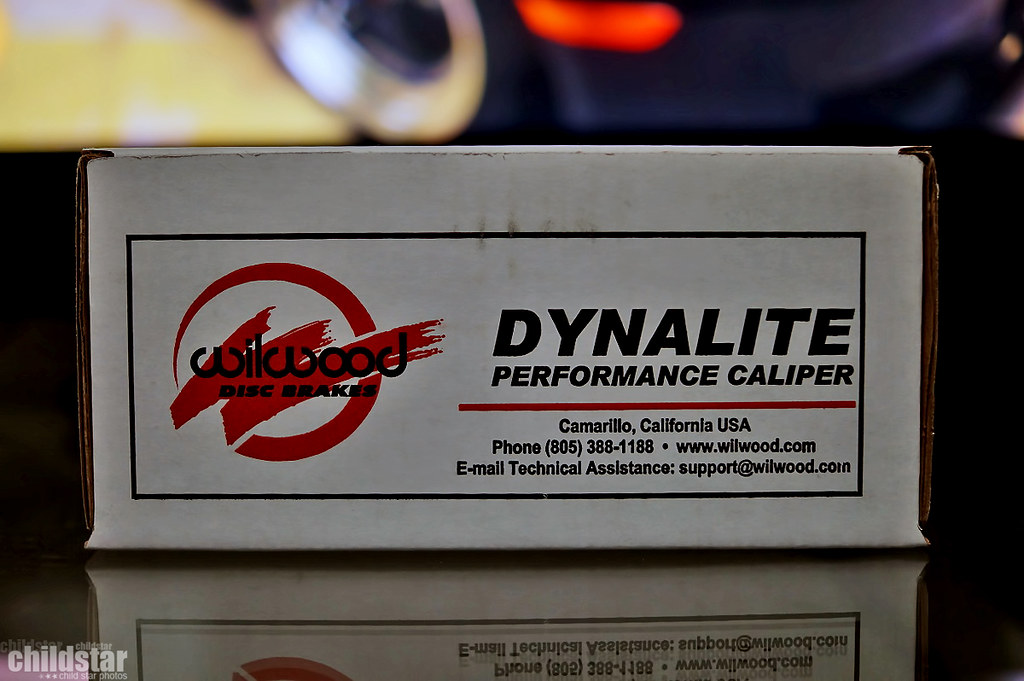
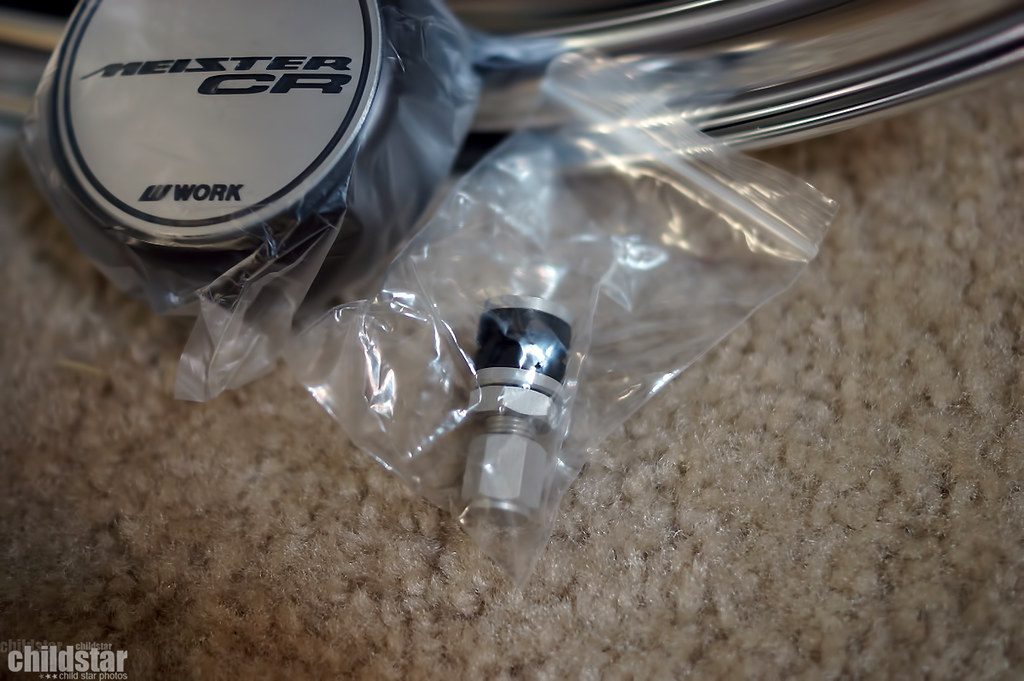
Just some shots from the unboxing of the BBK
 [/url]
 [/url]
 [/url]
 [/url]
 [/url]
 [/url]
 [/url]
 [/url]
 [/url]


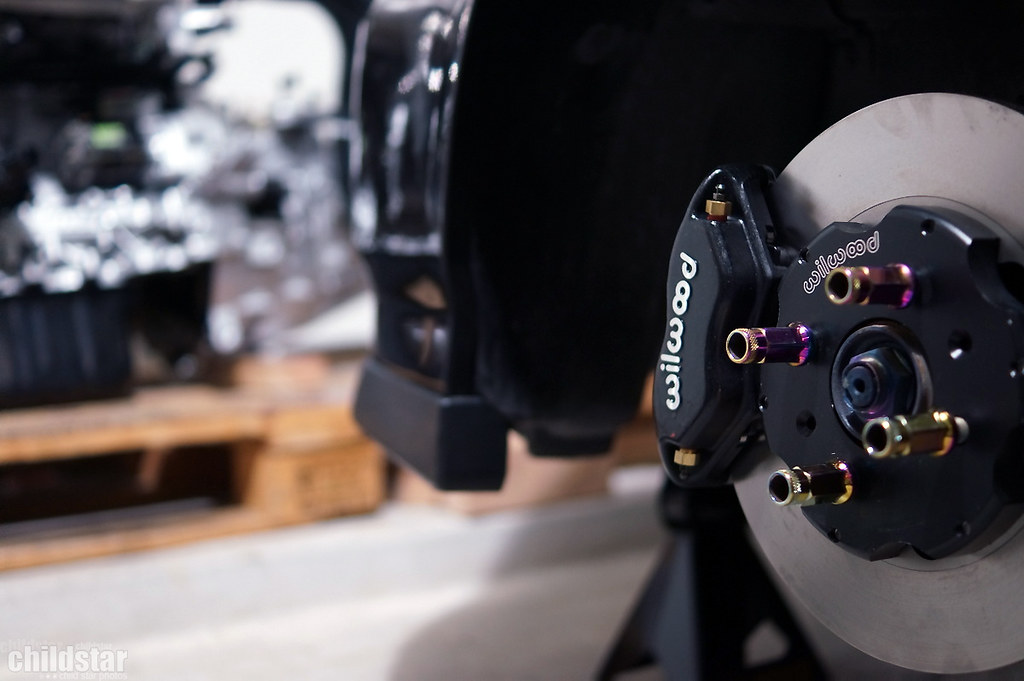
bmw 335i like fitment. Gonna need a small spacer with the Work's to work
one more just because

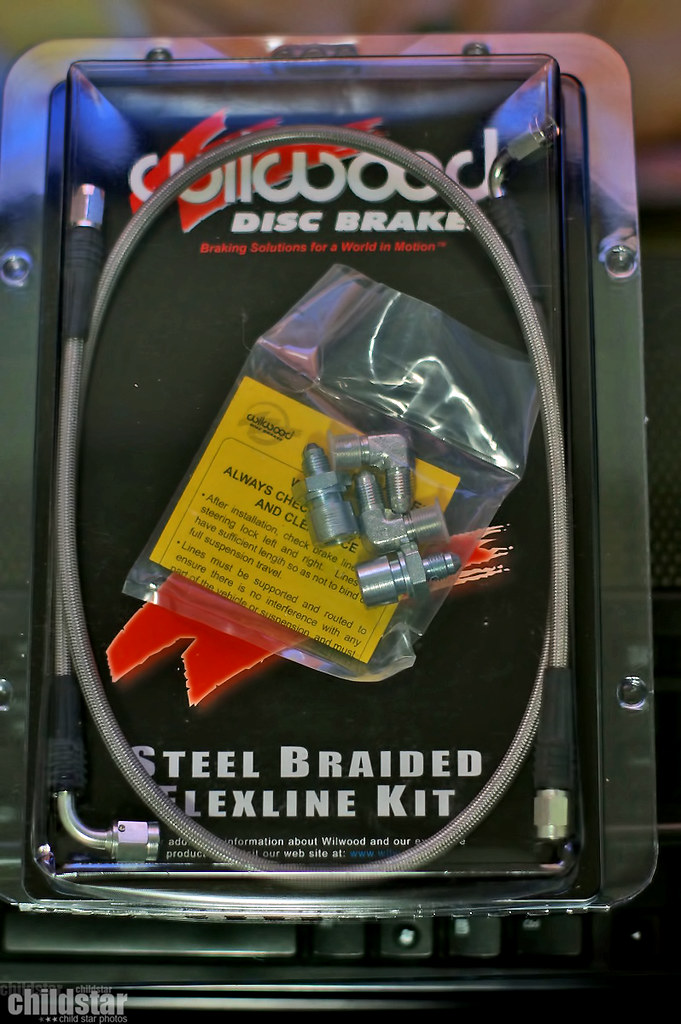
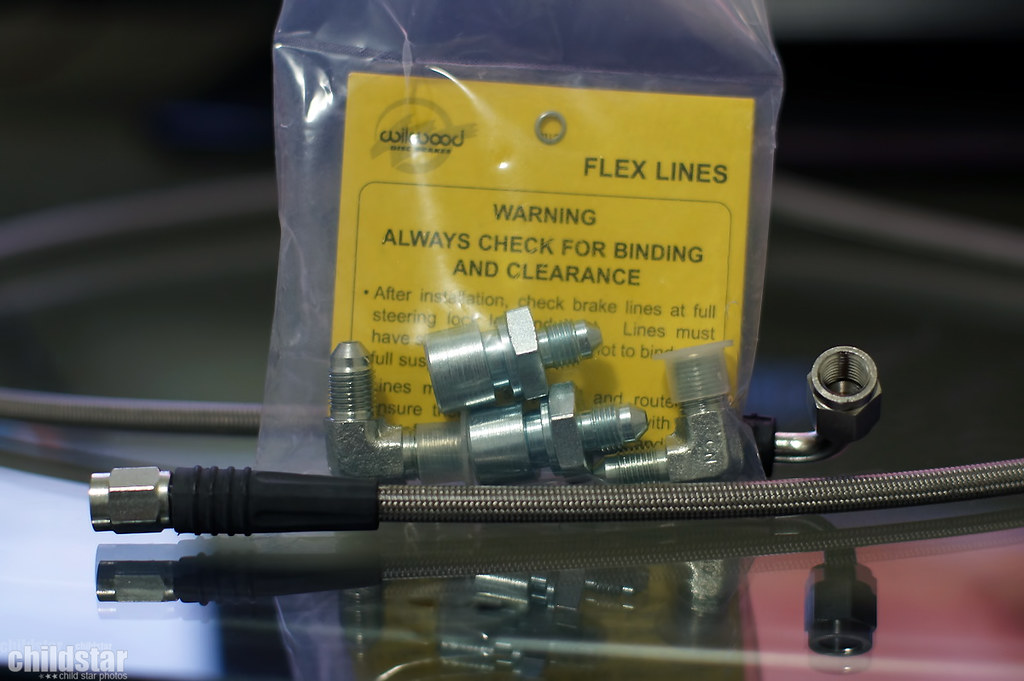
wilwood flexline kit came in
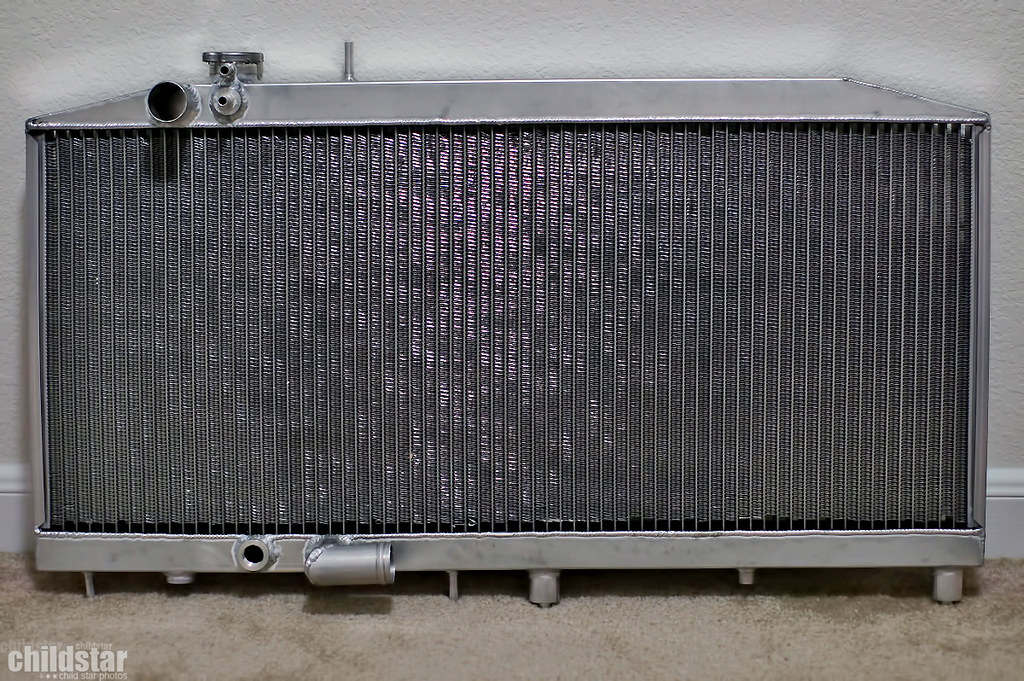
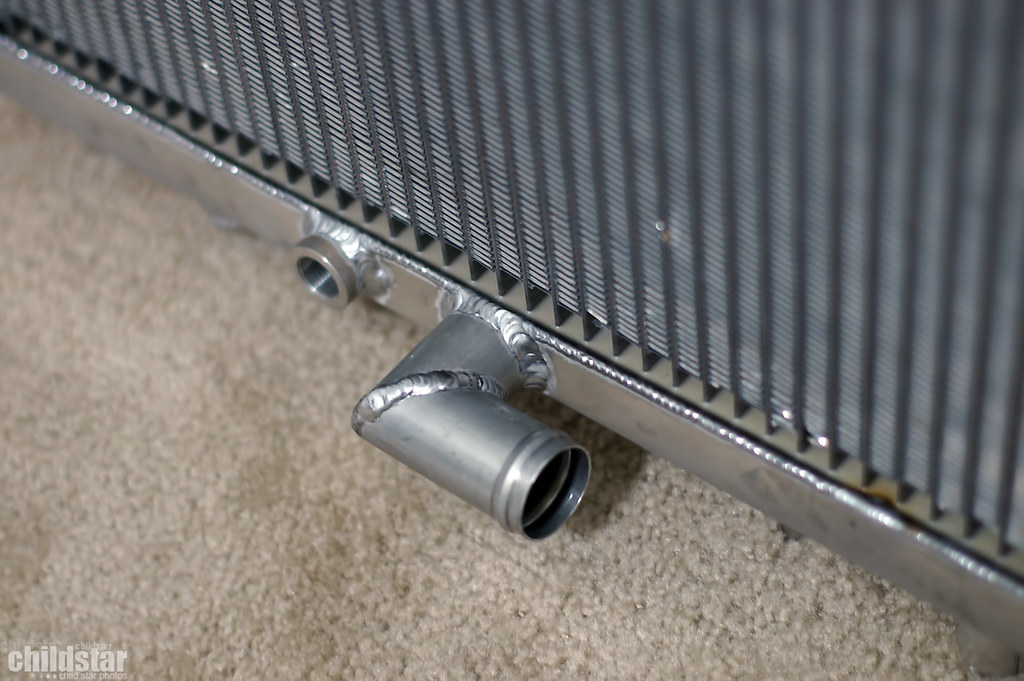
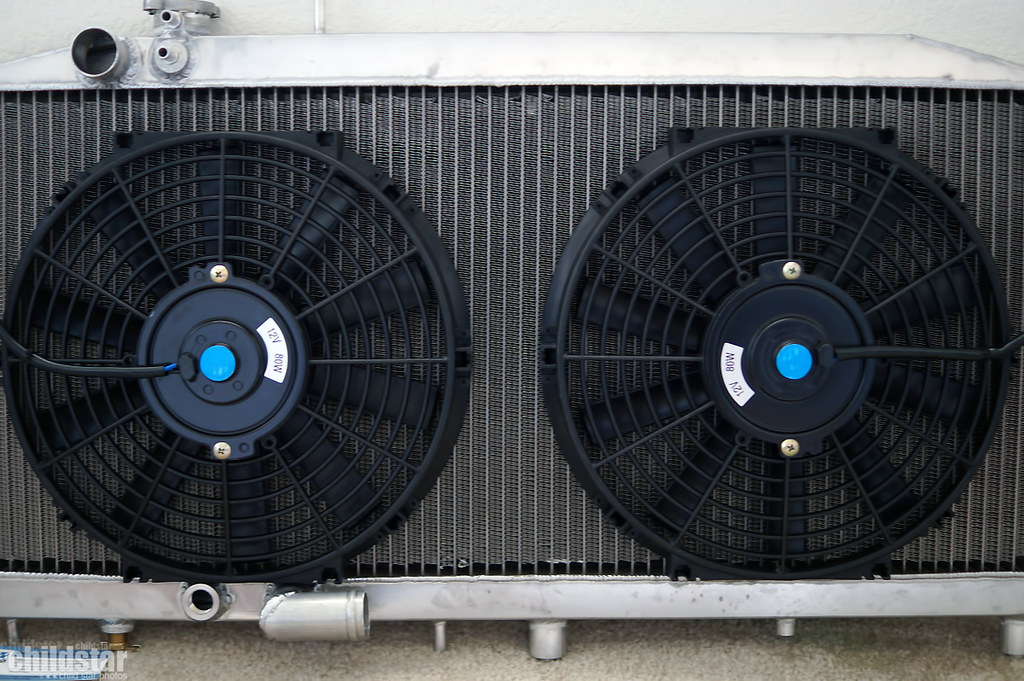
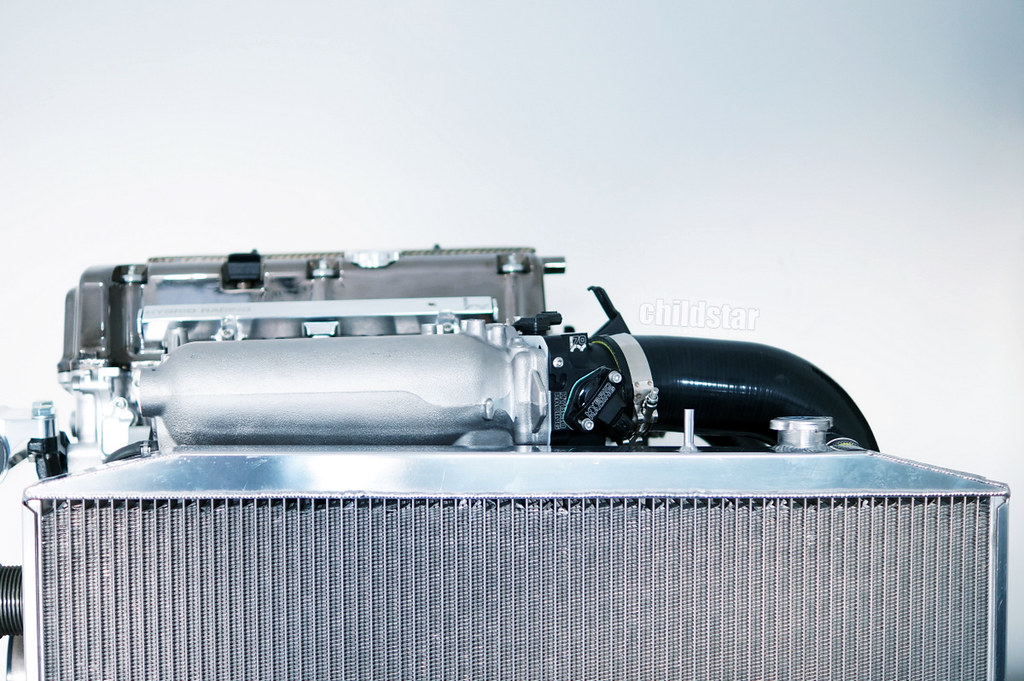
All of my Kswap cooling bits (minus the coolant temp sensor *its out of stock)
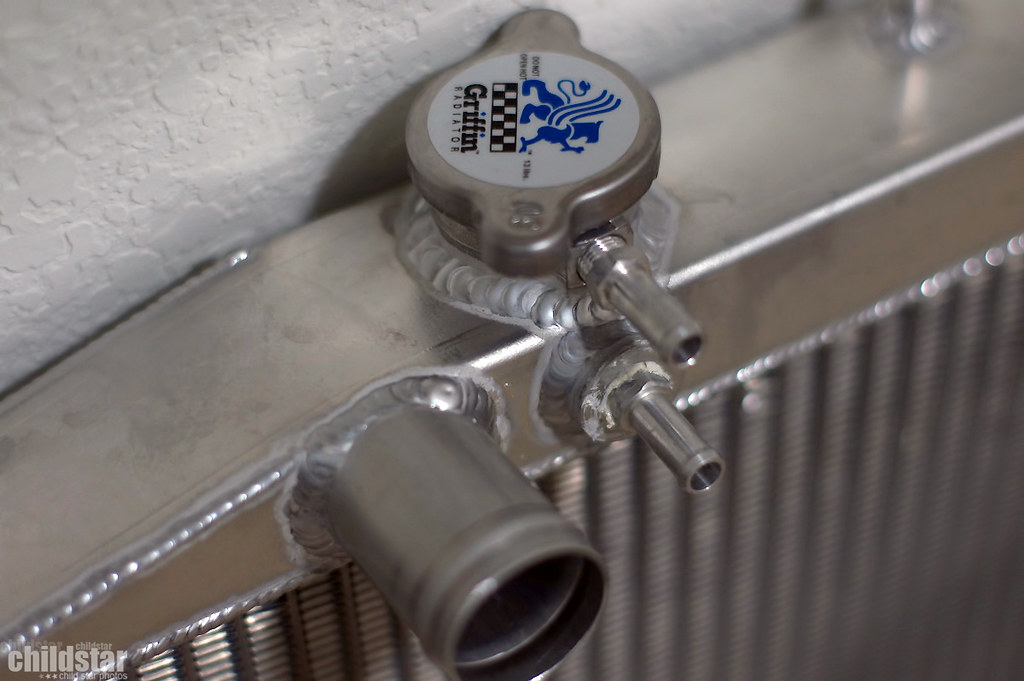
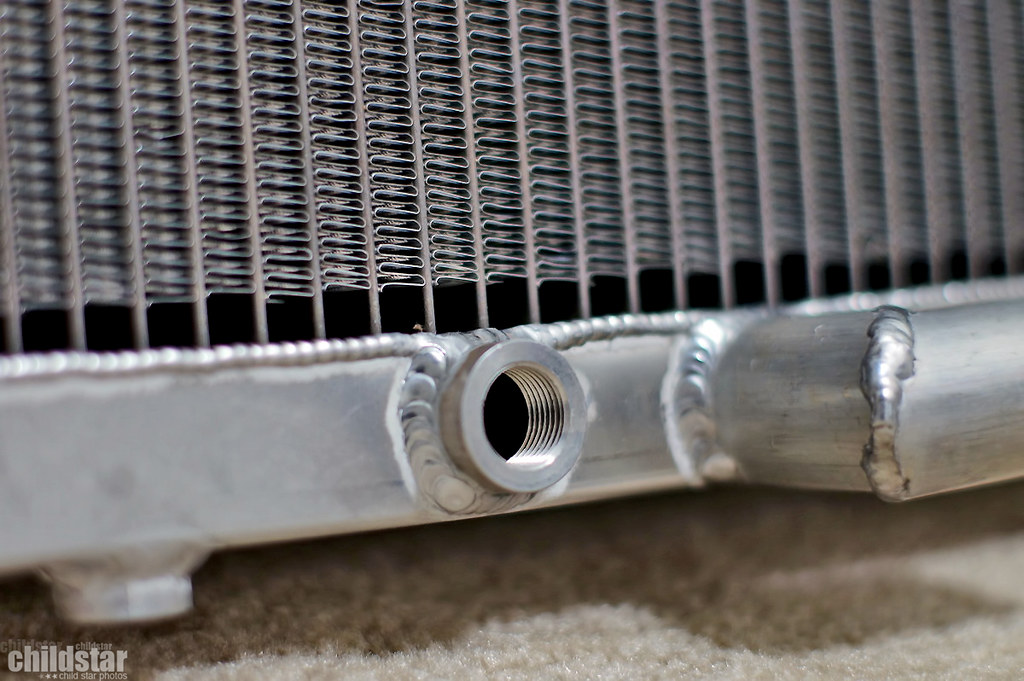
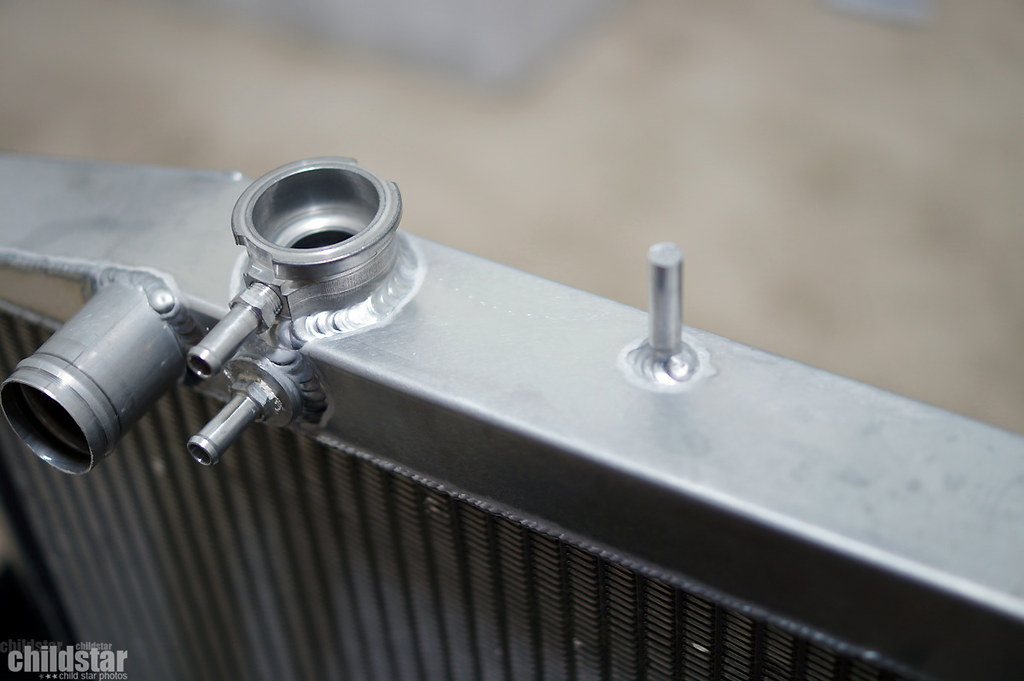
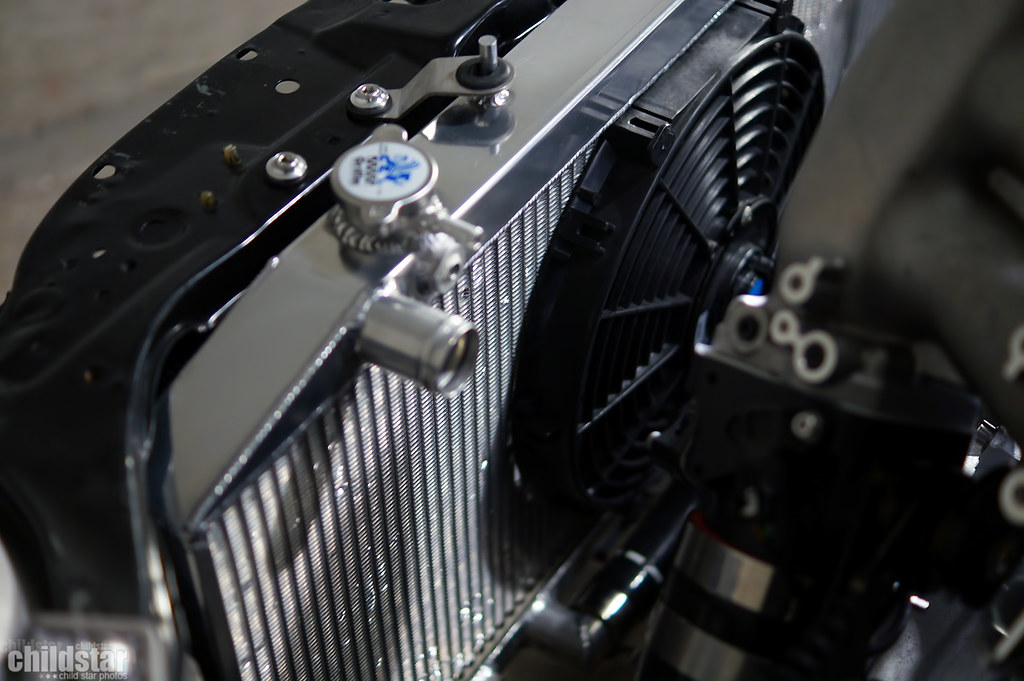
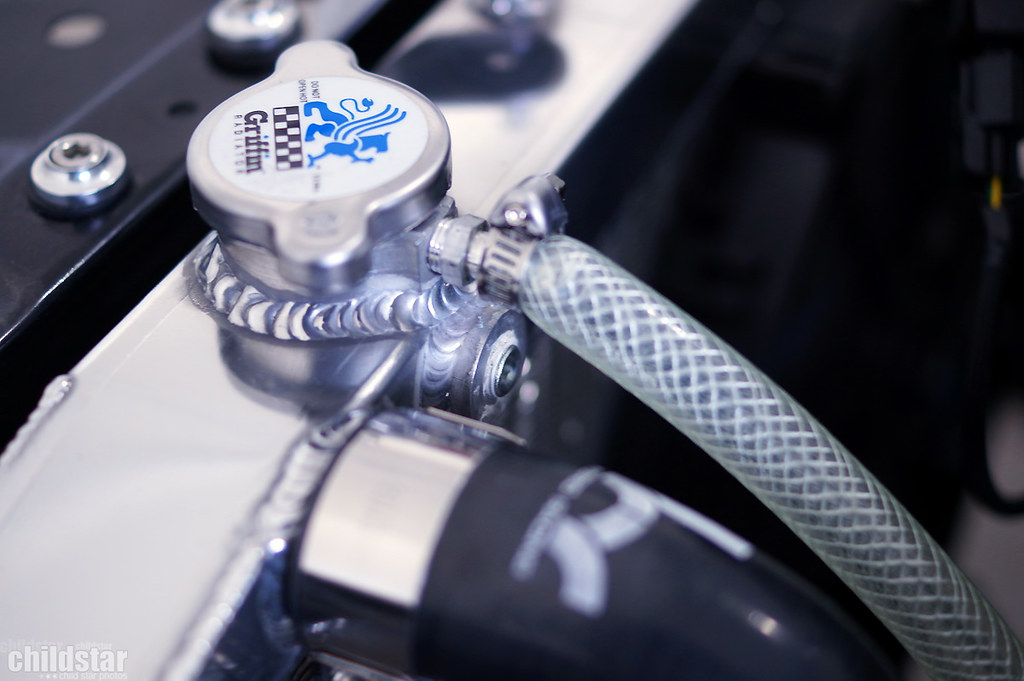
Griffin full sized radiator
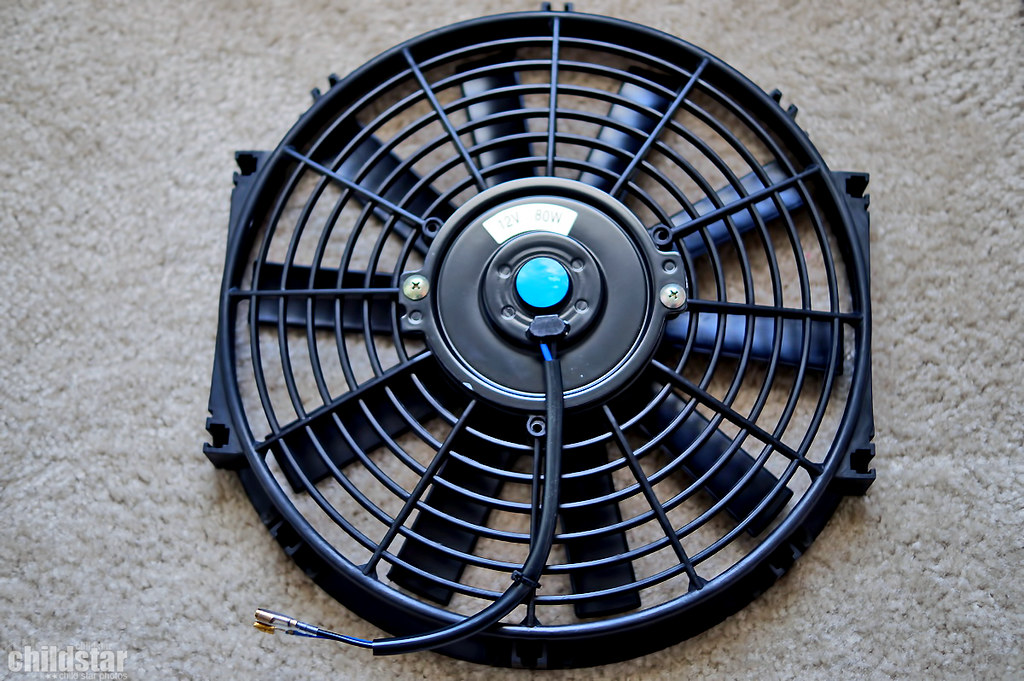
12" fans
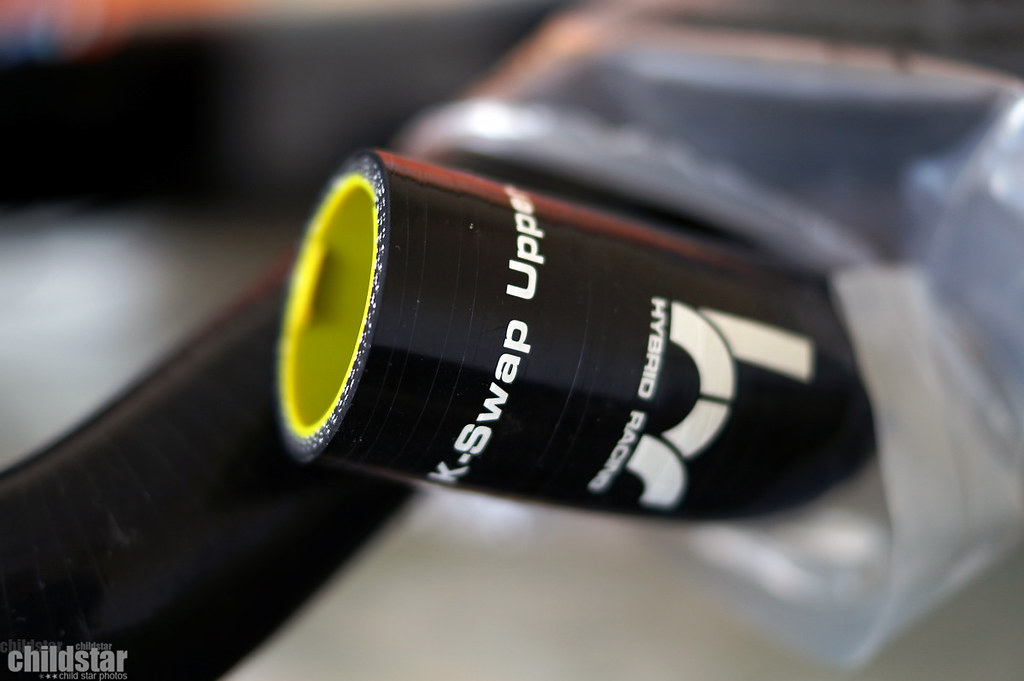
Radiator hoses
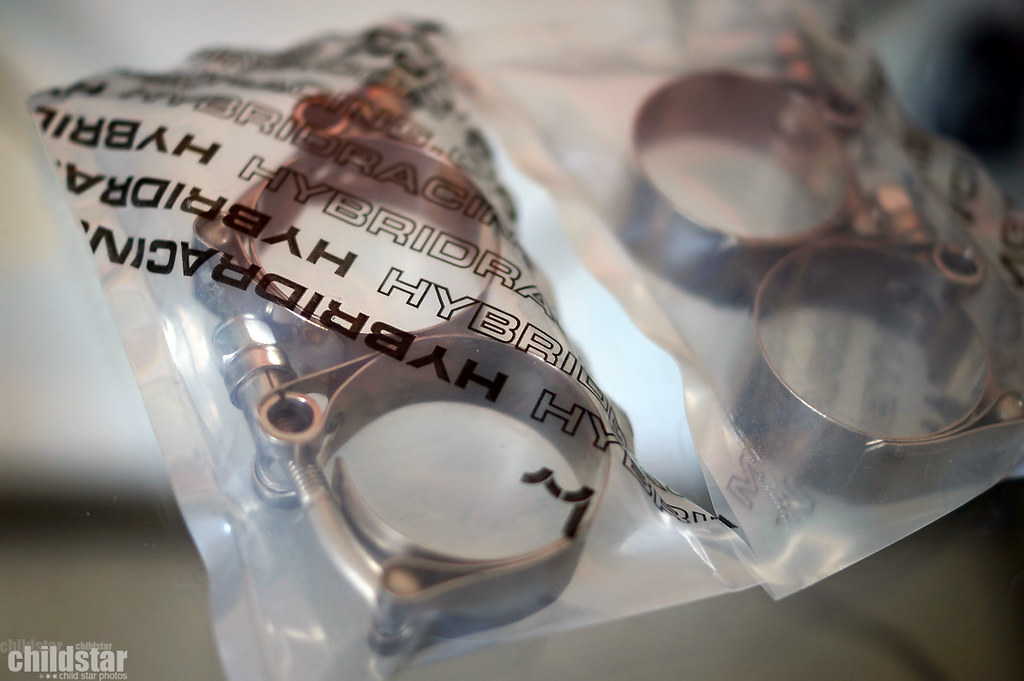
things to hold other things together
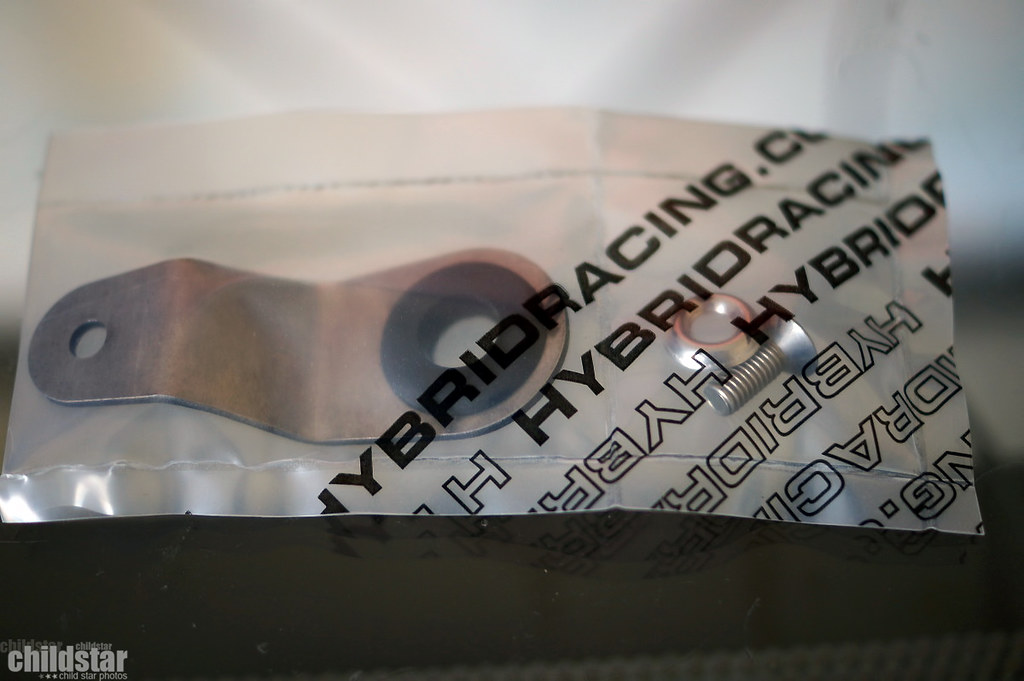
fan switch

Still doing some minor adjustments to the fenders for clearance. It's almost there.
Let's see, I put in an order for my whole cooling setup through hybrid racing, so i'll update that with some pics in a couple of days. Also picked up a little BBK (oxymoron lol) and my long lost forgotten Work CR01's I ordered months and months ago showed up.
[/url][/url][/url]Just some shots from the unboxing of the BBK
[/url][/url][/url][/url][/url][/url][/url][/url][/url]bmw 335i like fitment. Gonna need a small spacer with the Work's to work
one more just because
wilwood flexline kit came in
All of my Kswap cooling bits (minus the coolant temp sensor *its out of stock)
Griffin full sized radiator
12" fans
Radiator hoses
things to hold other things together
fan switch
05-09-2016, 11:21 PM
#11
Honda-Tech Member
Thread Starter
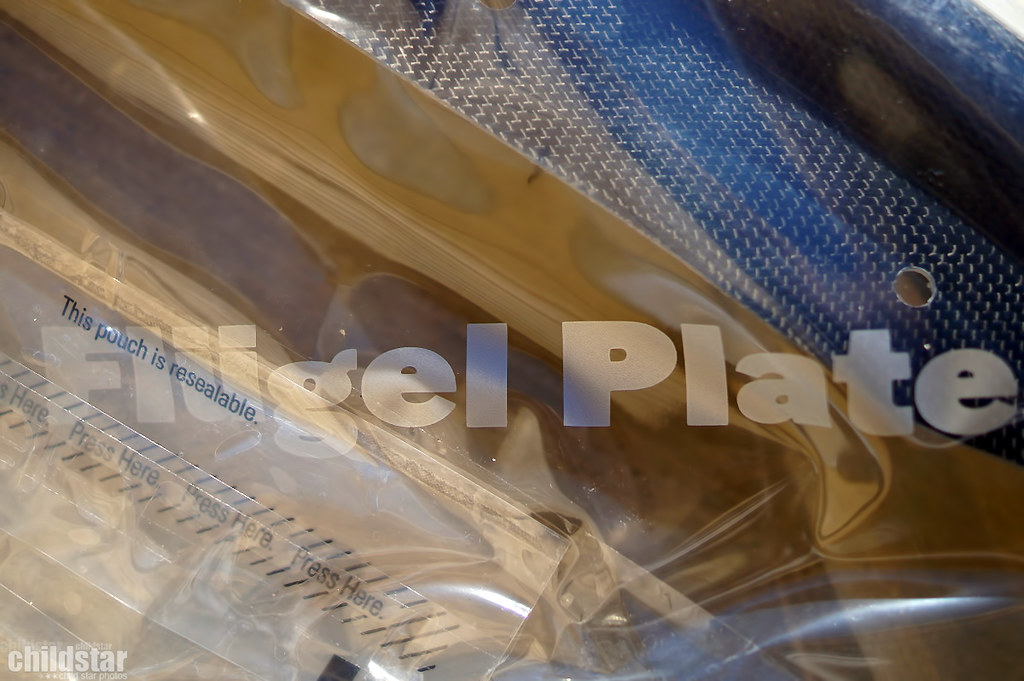
flugel plate install pics...and my new set of mirrors should be in sometime soon, they got to U.S. customs today. It's time for more swap parts next.


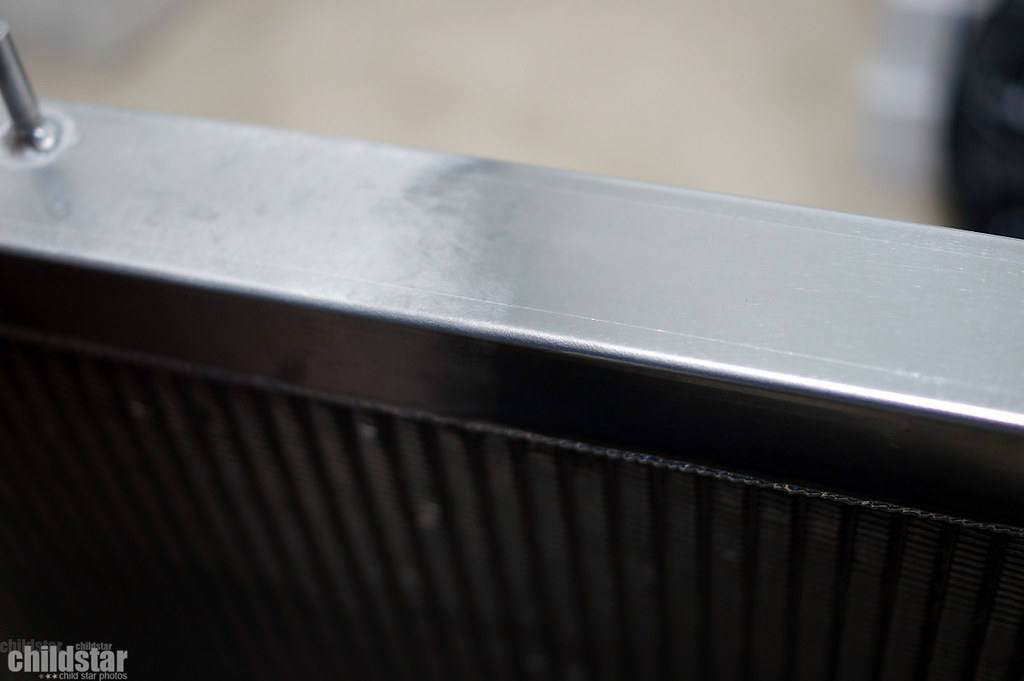
Well I expected holiday boredom to set in on me so yesterday I started to polish up my Griffin radiator. I think it turned out pretty nice for just using some compound over and OVER!
dull start...boring!!!
The Blue Magic starting to set in...
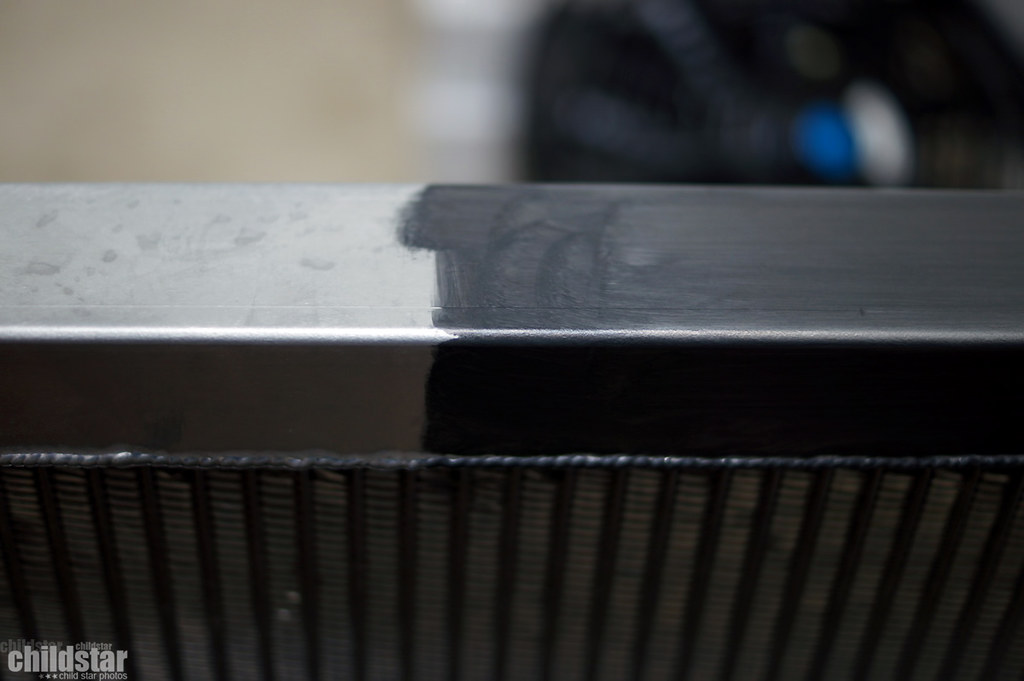
after just one application
before shot
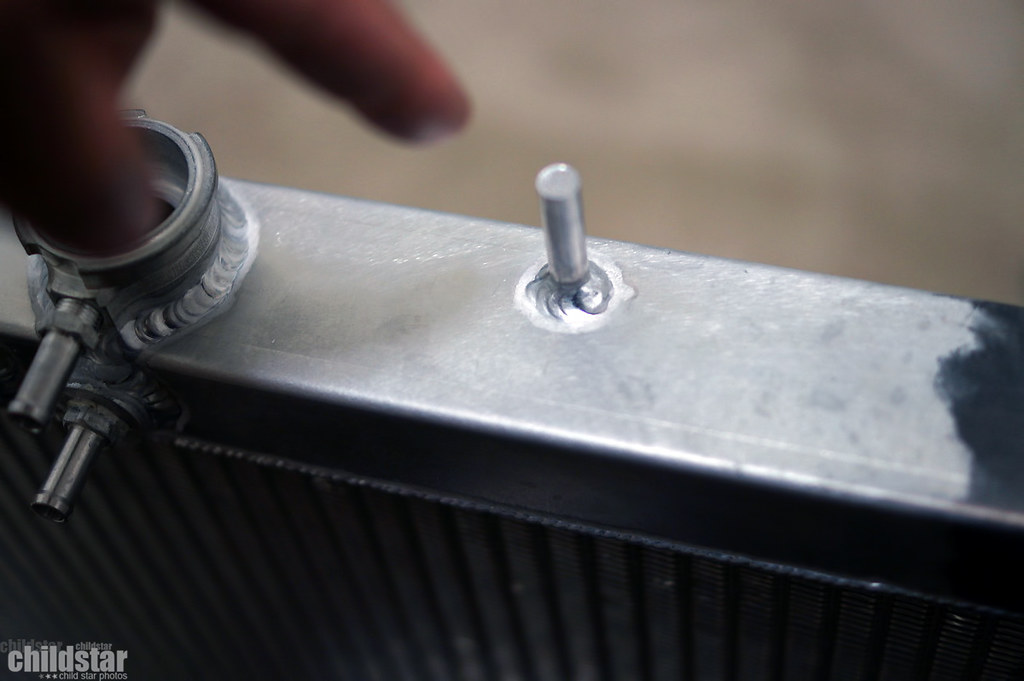
after
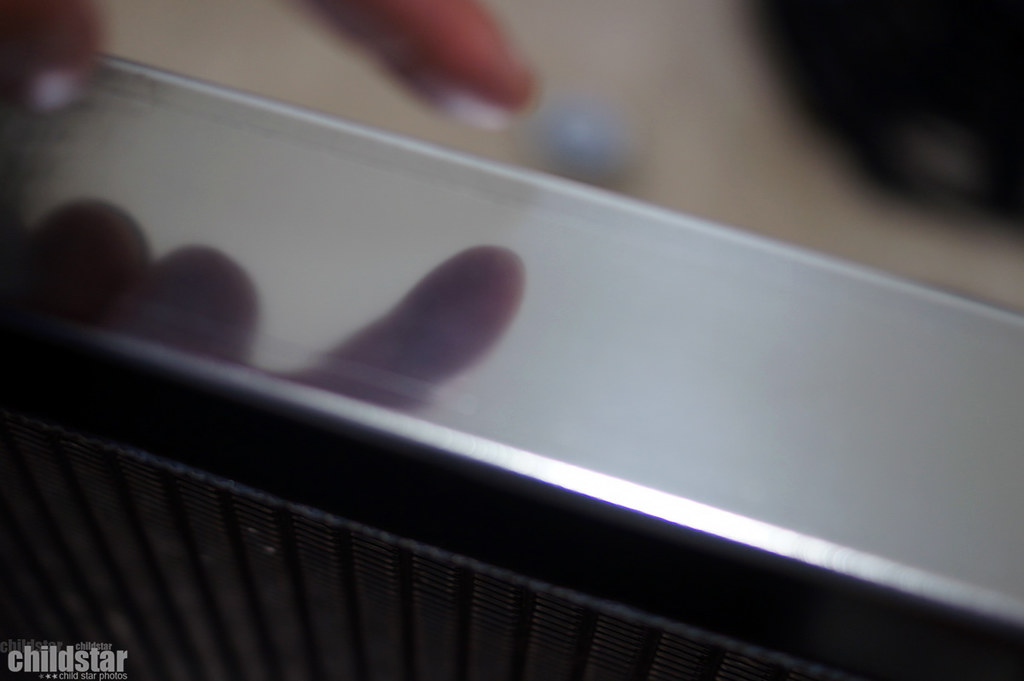
hard to tell in the pics, but it's so shiny that it reflects a beam of light on my wall just above it :shades:

The build continues due to the awesome wife and family.
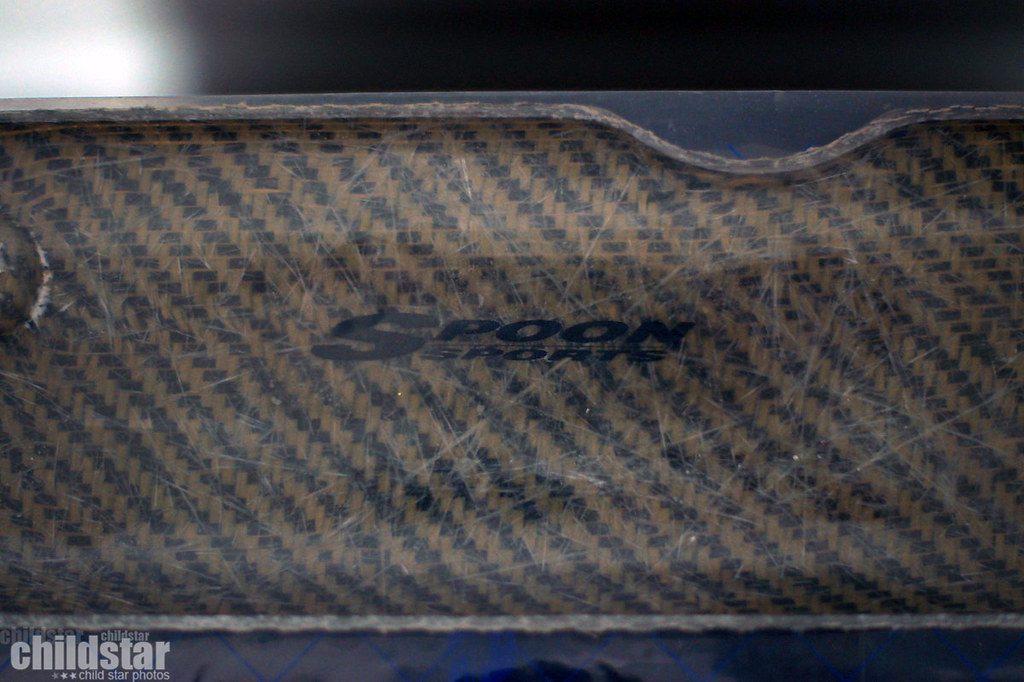
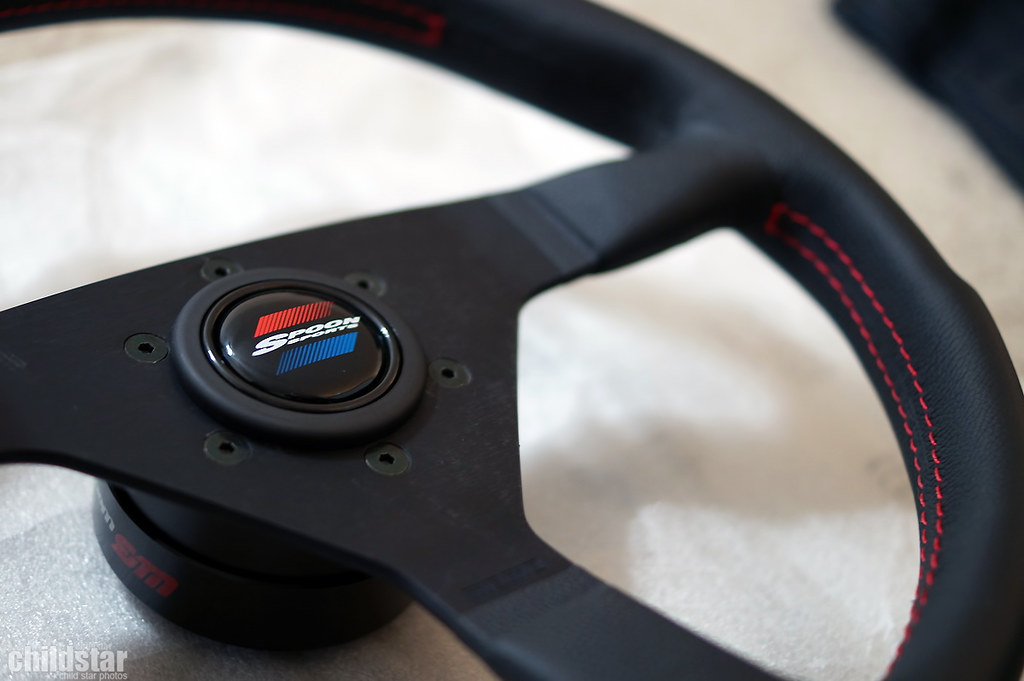
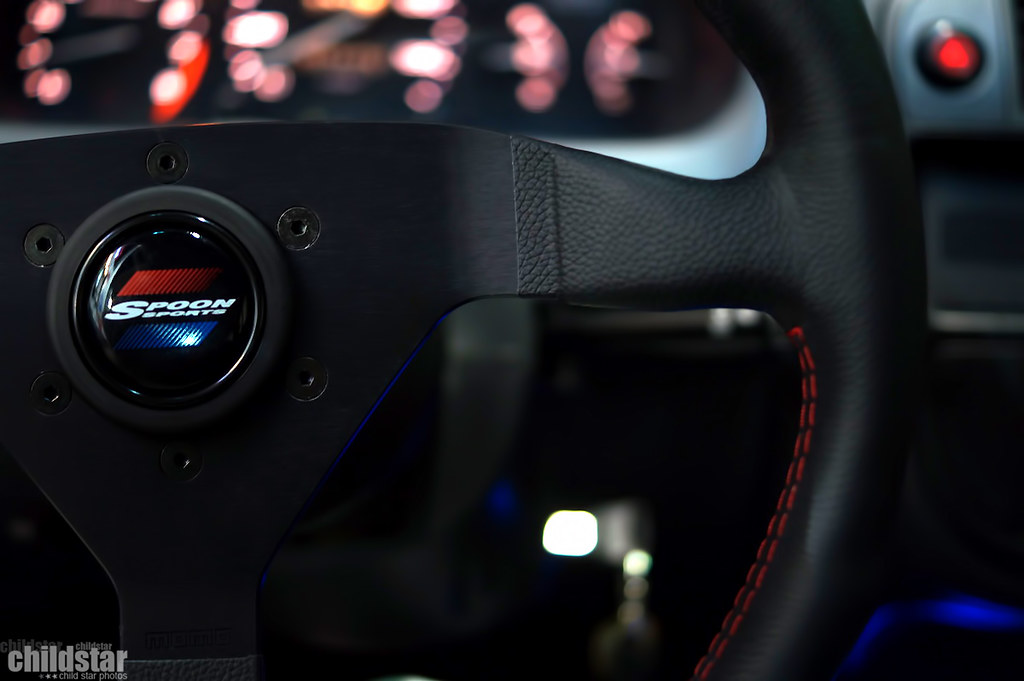
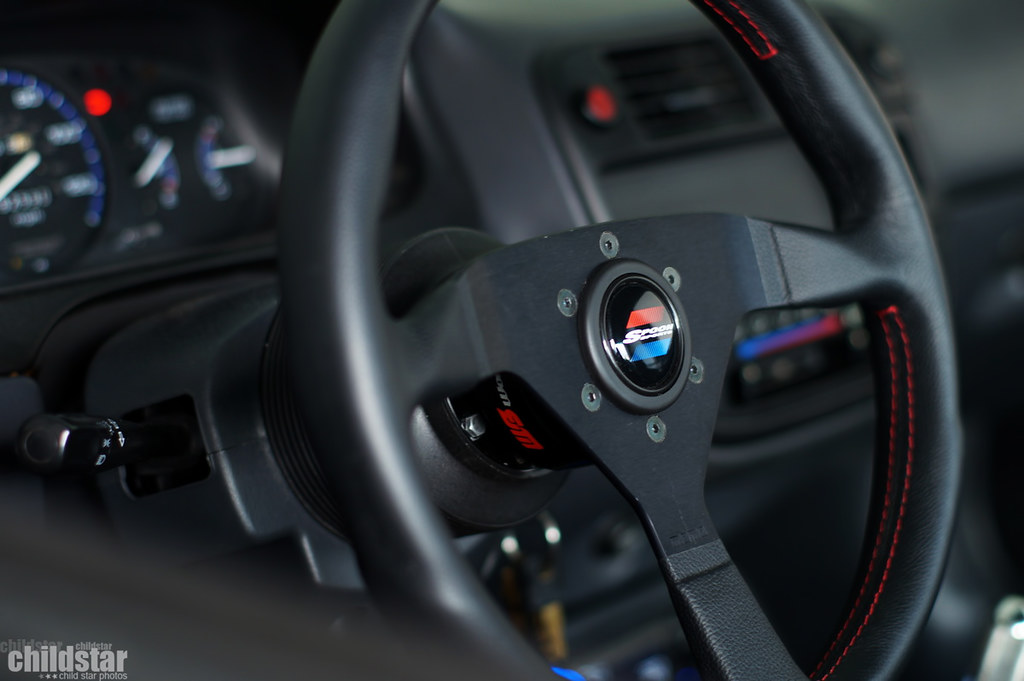
SPooN
hybrid-racing cold air intake
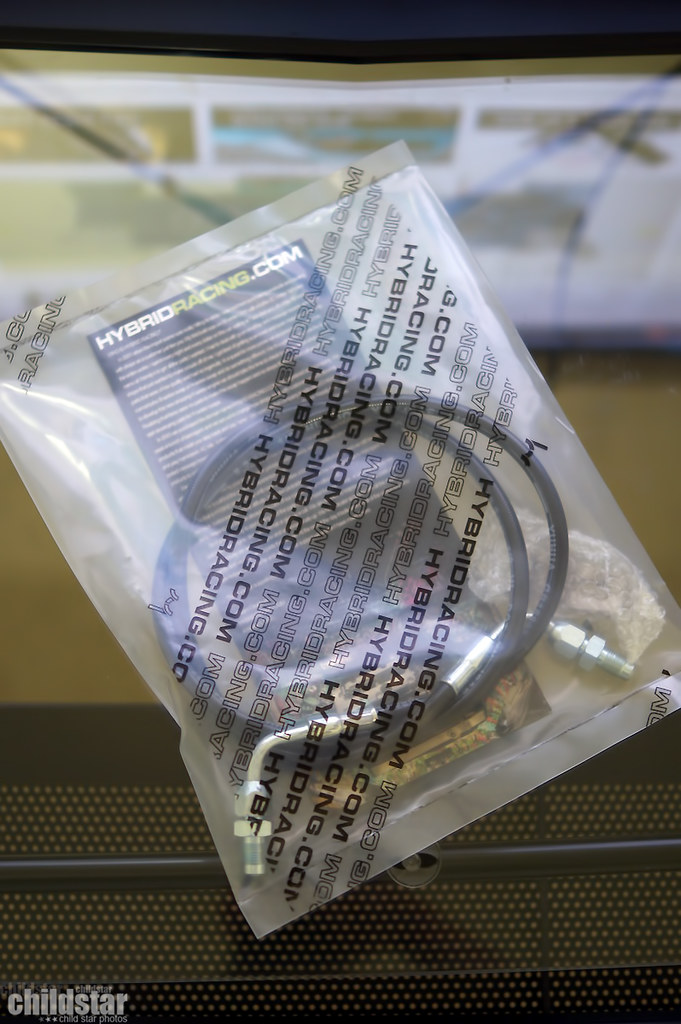
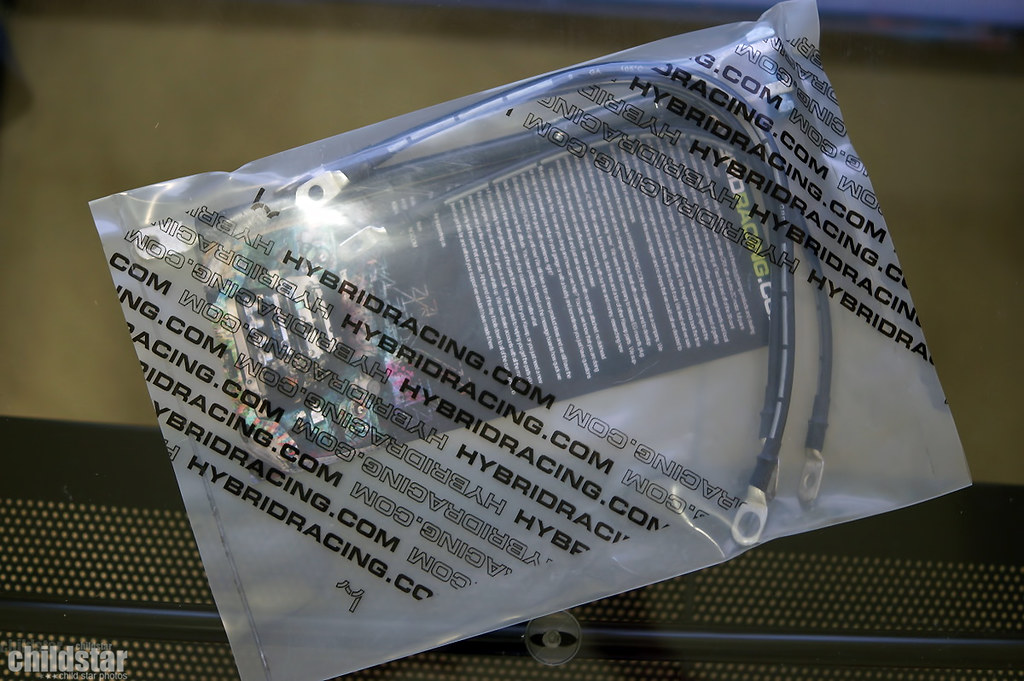
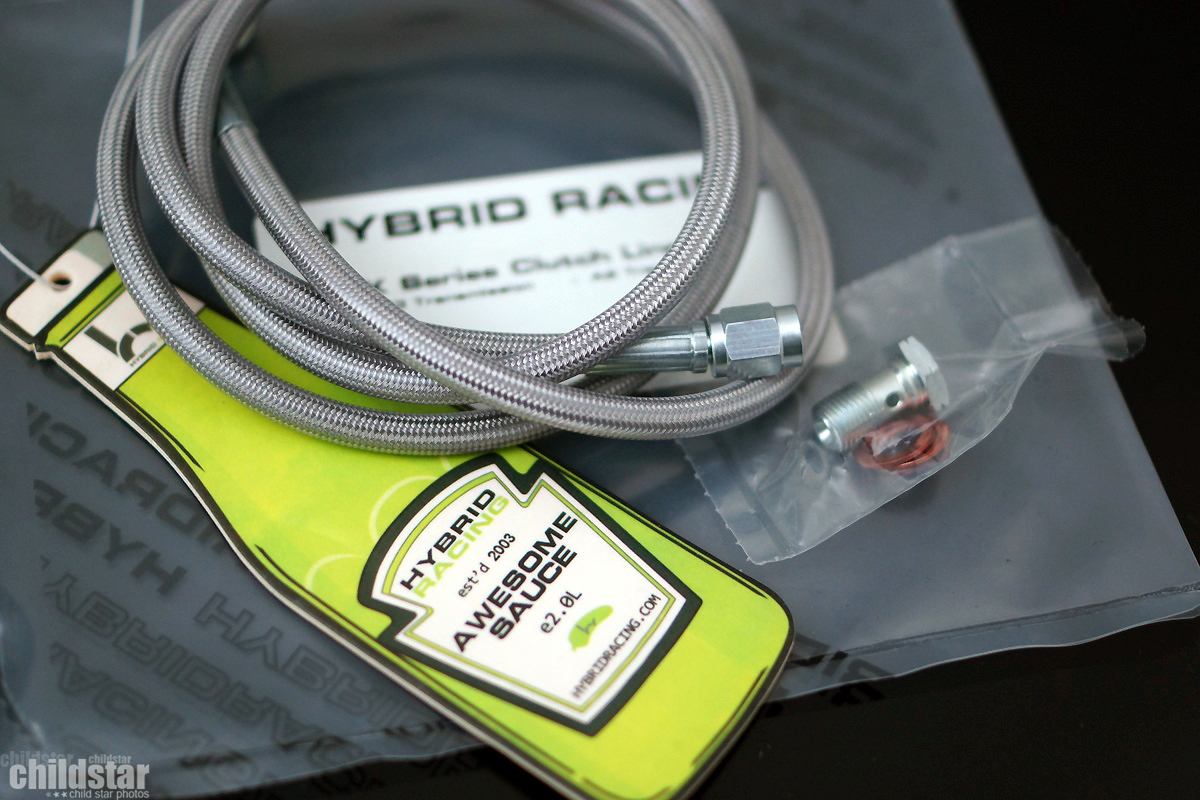
Hybrid-racing clutch line
Hybrid-racing engine grounding kit
As with most Spoon products, this wheel is much lighter than my Personal Grinta wheel I was using. Feels great.
Well I expected holiday boredom to set in on me so yesterday I started to polish up my Griffin radiator. I think it turned out pretty nice for just using some compound over and OVER!
dull start...boring!!!
The Blue Magic starting to set in...
after just one application
before shot
after
hard to tell in the pics, but it's so shiny that it reflects a beam of light on my wall just above it :shades:
The build continues due to the awesome wife and family.
SPooN
hybrid-racing cold air intake
Hybrid-racing clutch line
Hybrid-racing engine grounding kit
As with most Spoon products, this wheel is much lighter than my Personal Grinta wheel I was using. Feels great.
05-09-2016, 11:27 PM
#12
Honda-Tech Member
Thread Starter
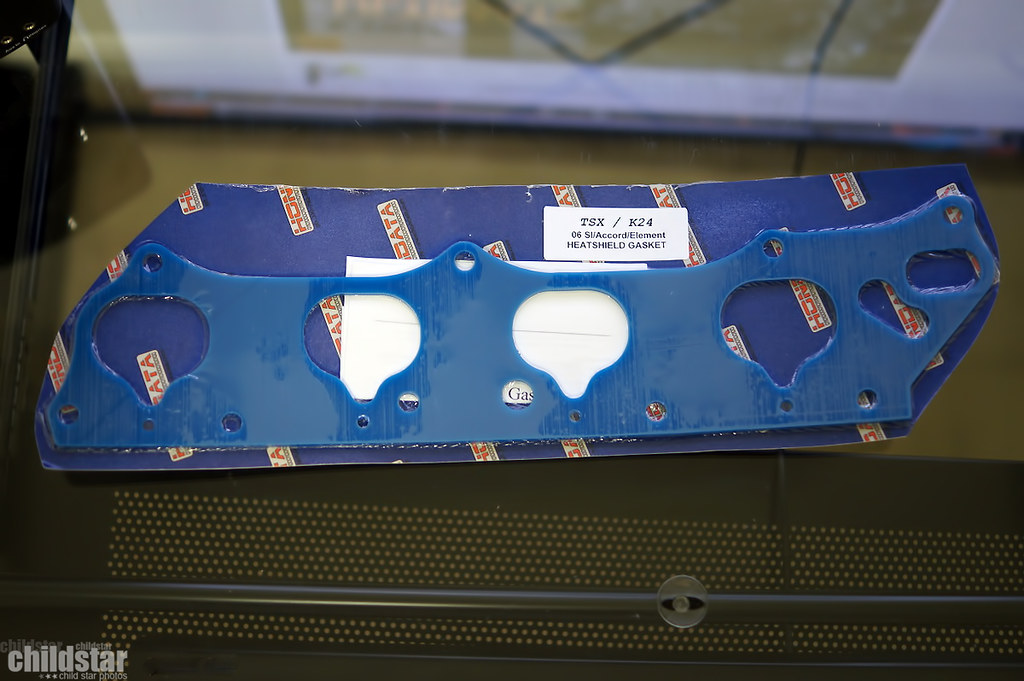
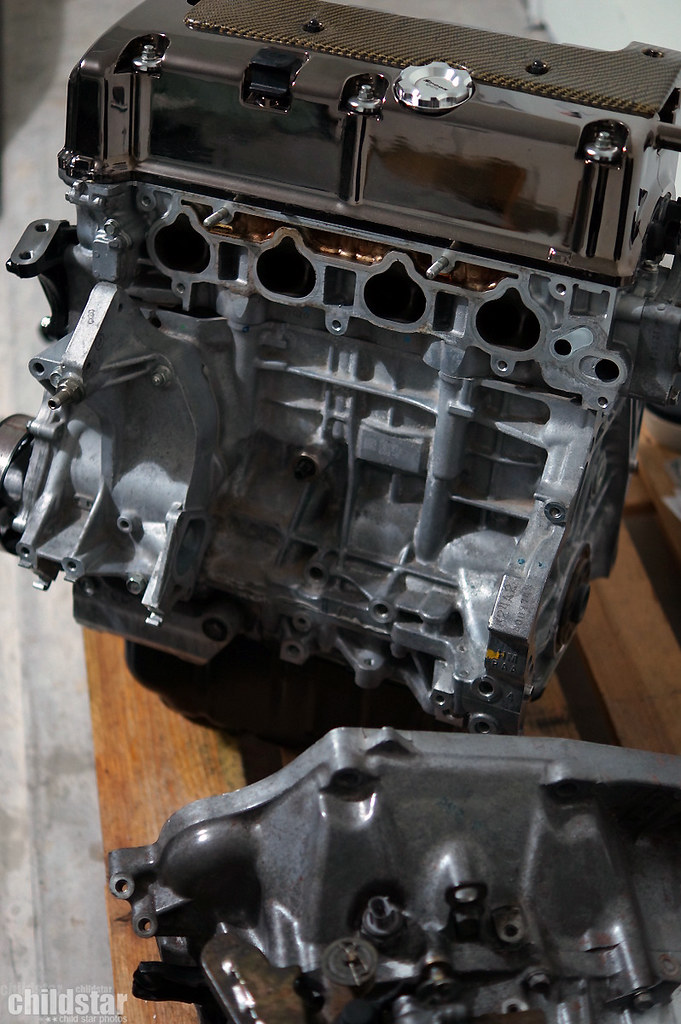
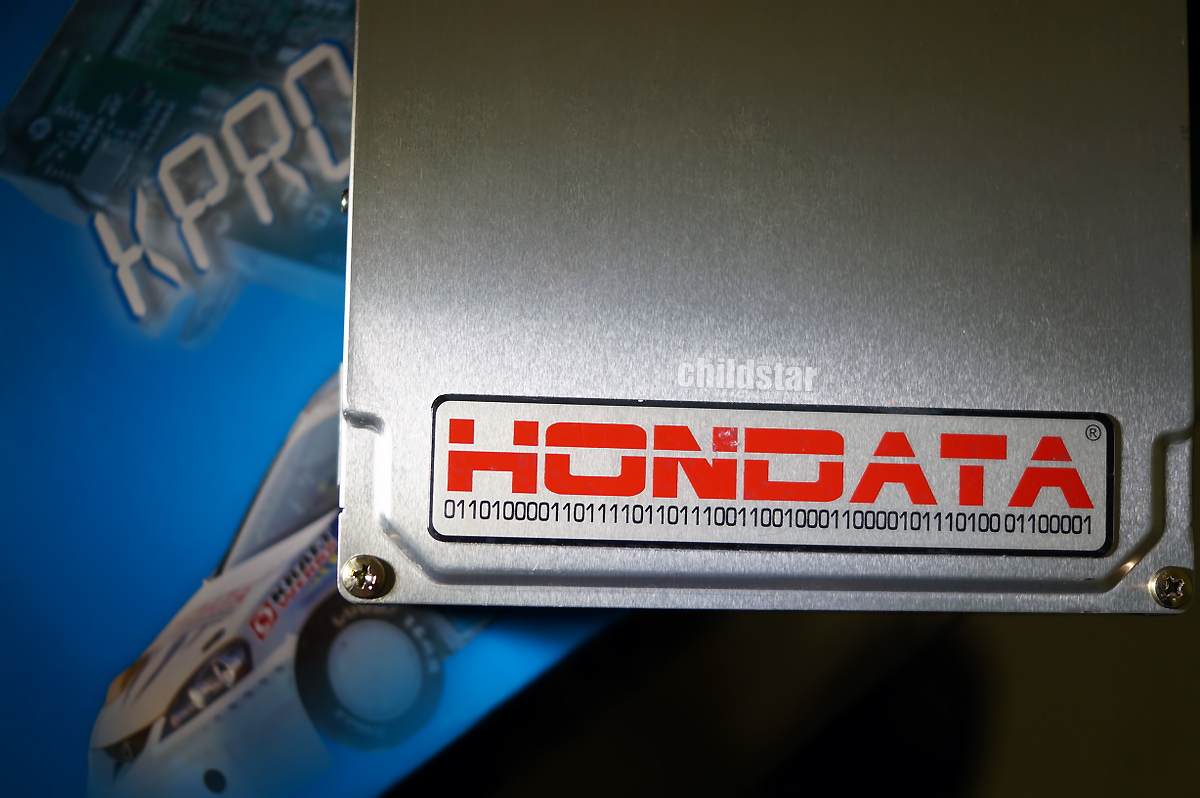
nothing exciting, installed my hondata intake manifold gasket
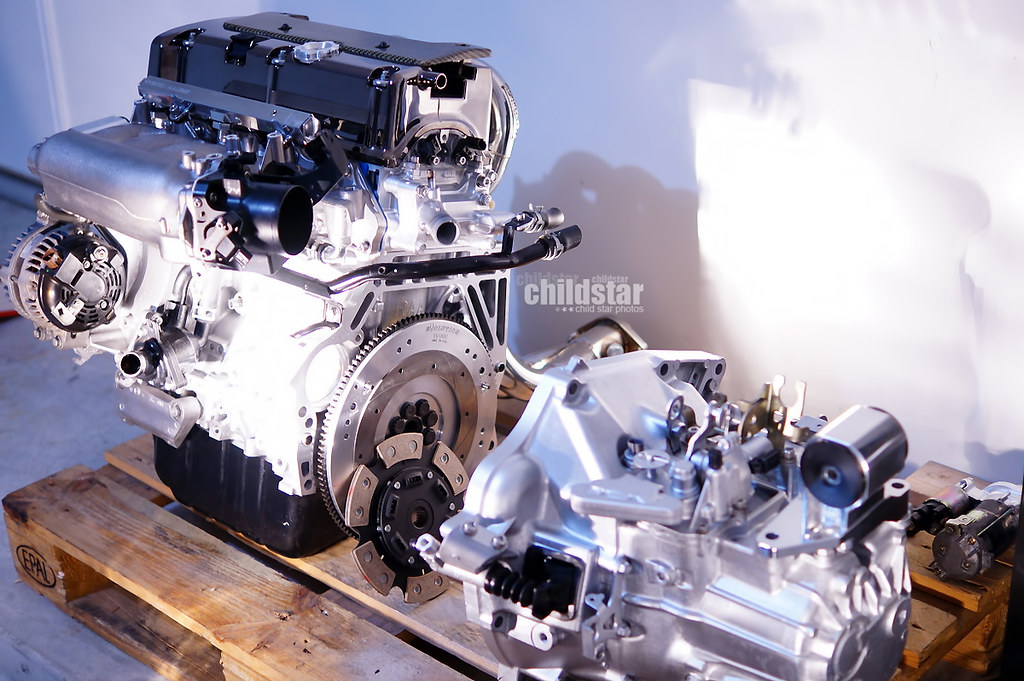
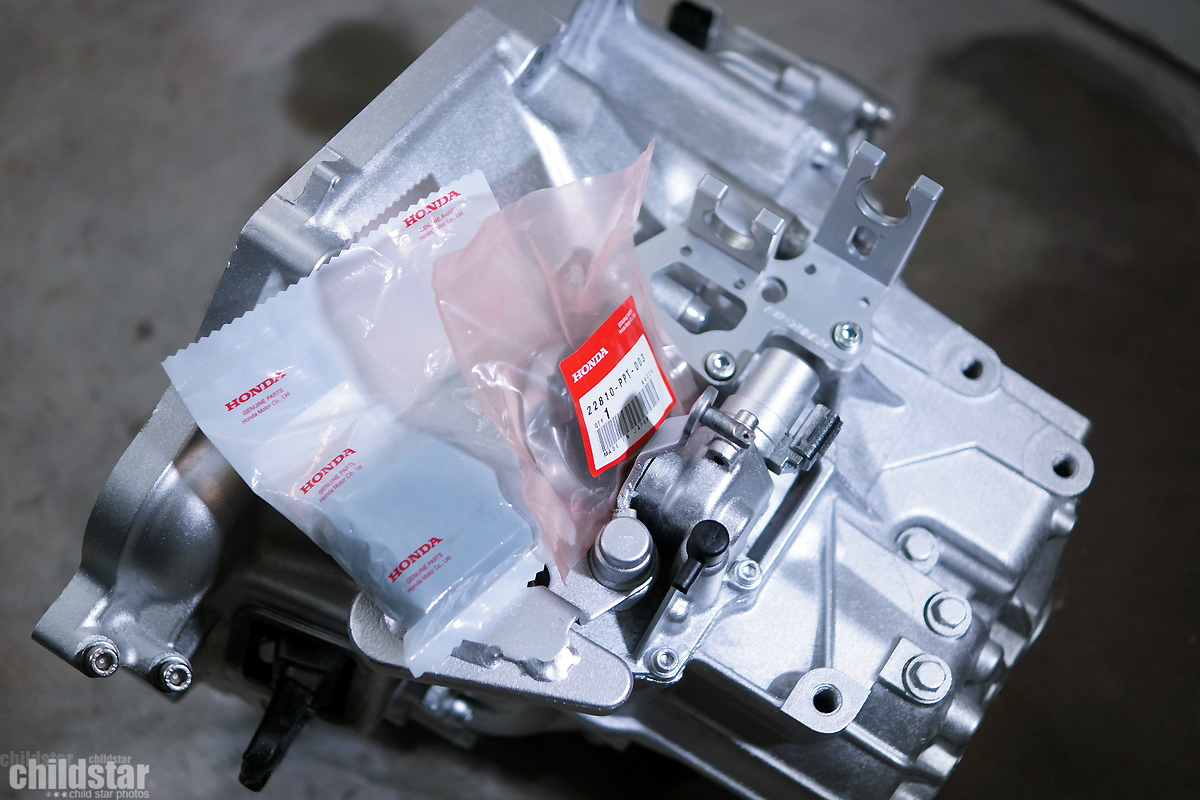
1,2,3,4,5,6 gears provided by Hmotors
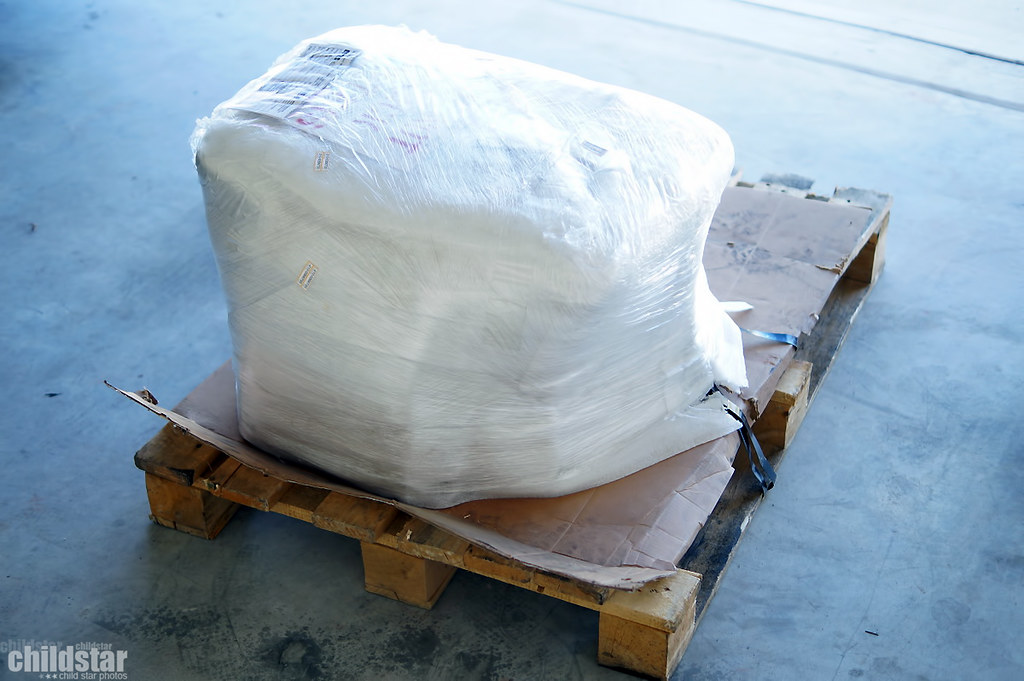
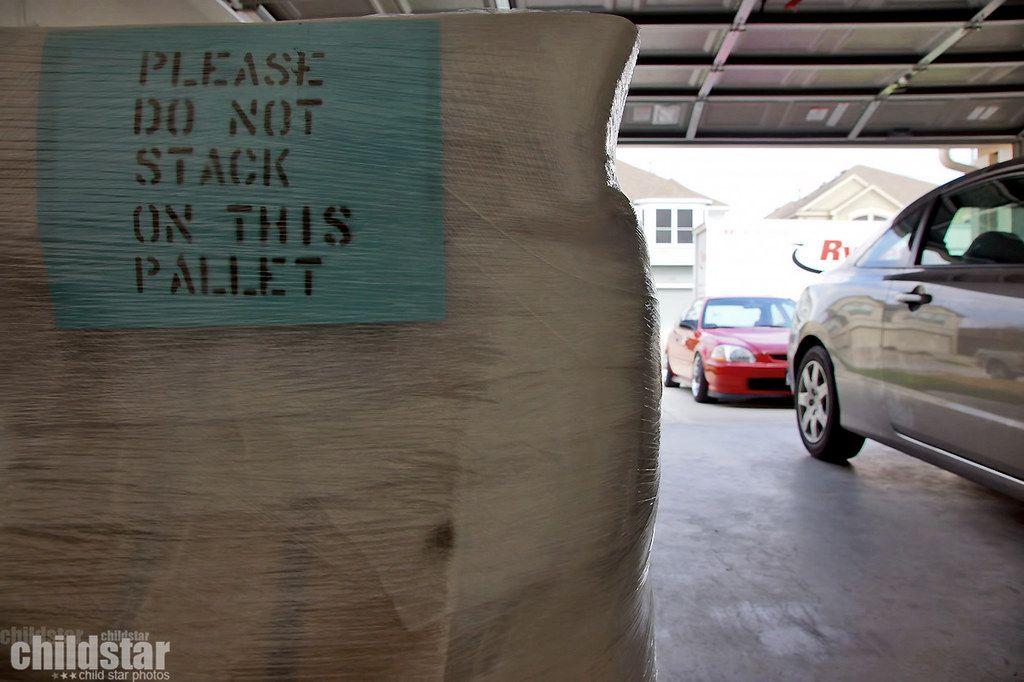
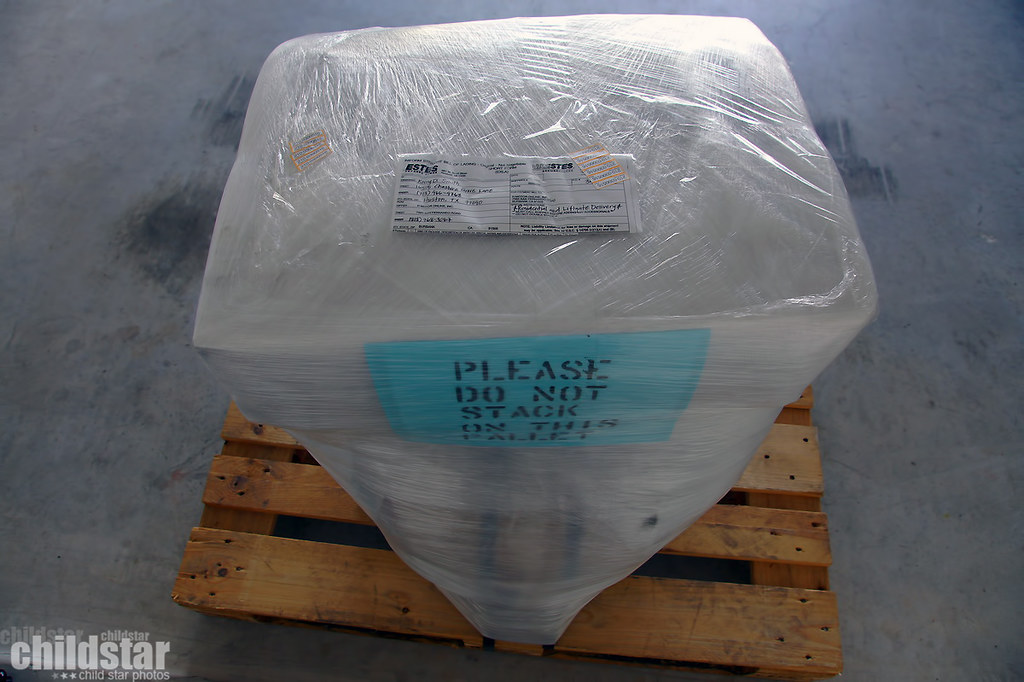
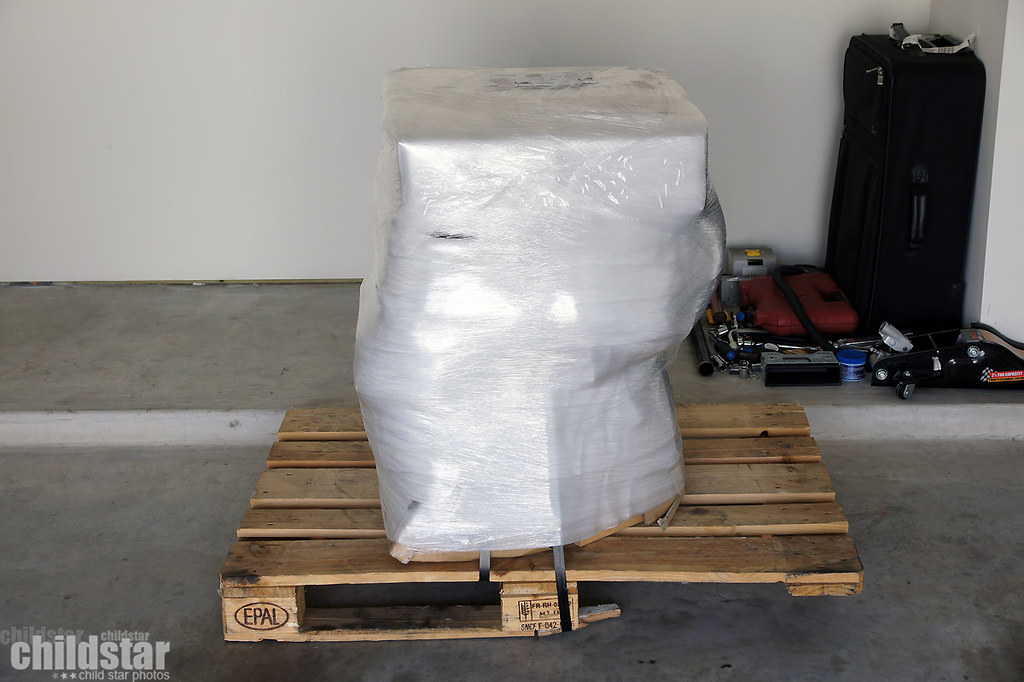
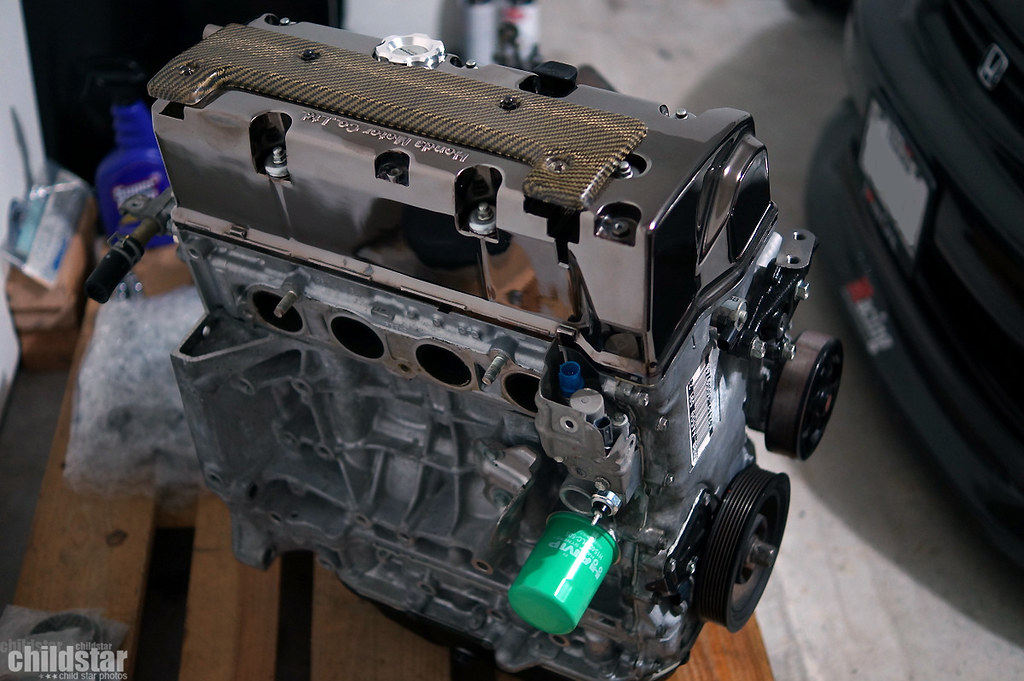
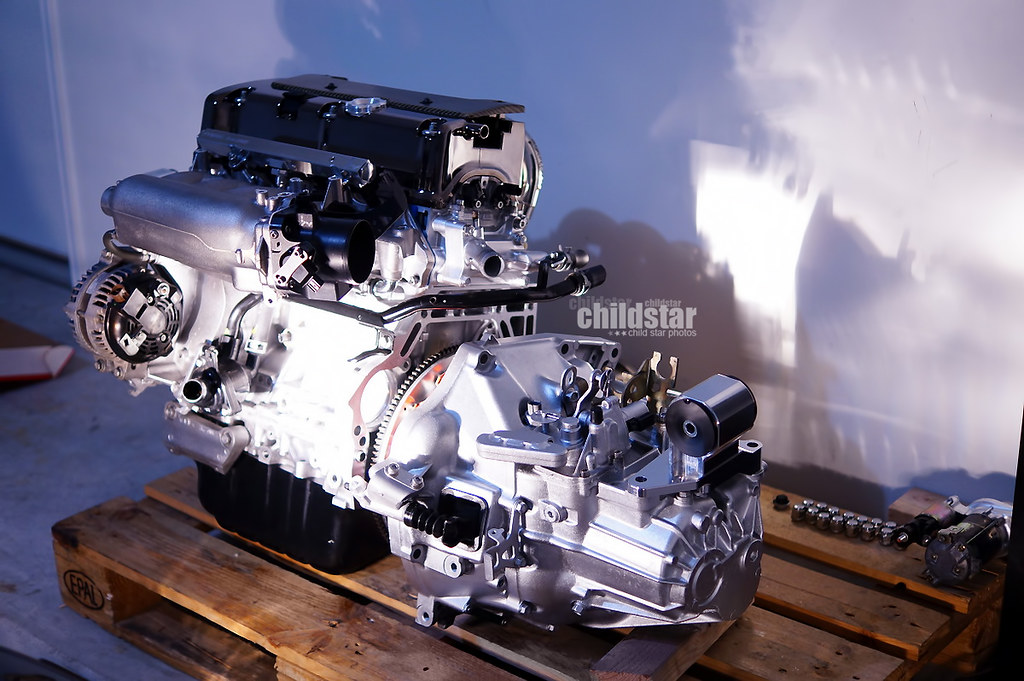
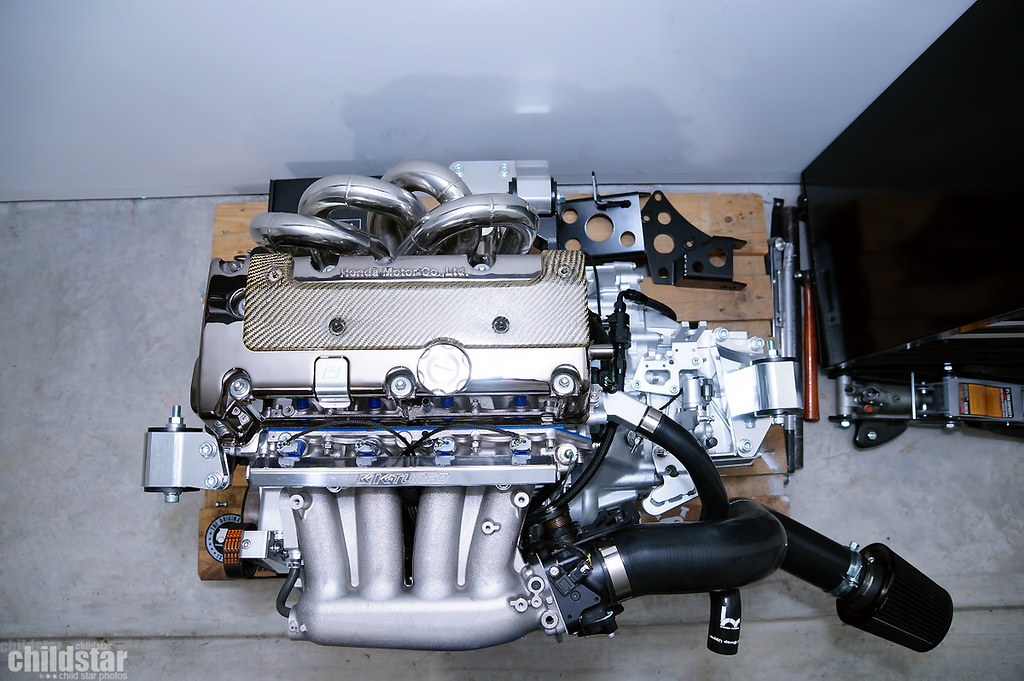
literally just unwrapped it and placed it on my other pallet with the longblock. Pretty clean stuff as usual.
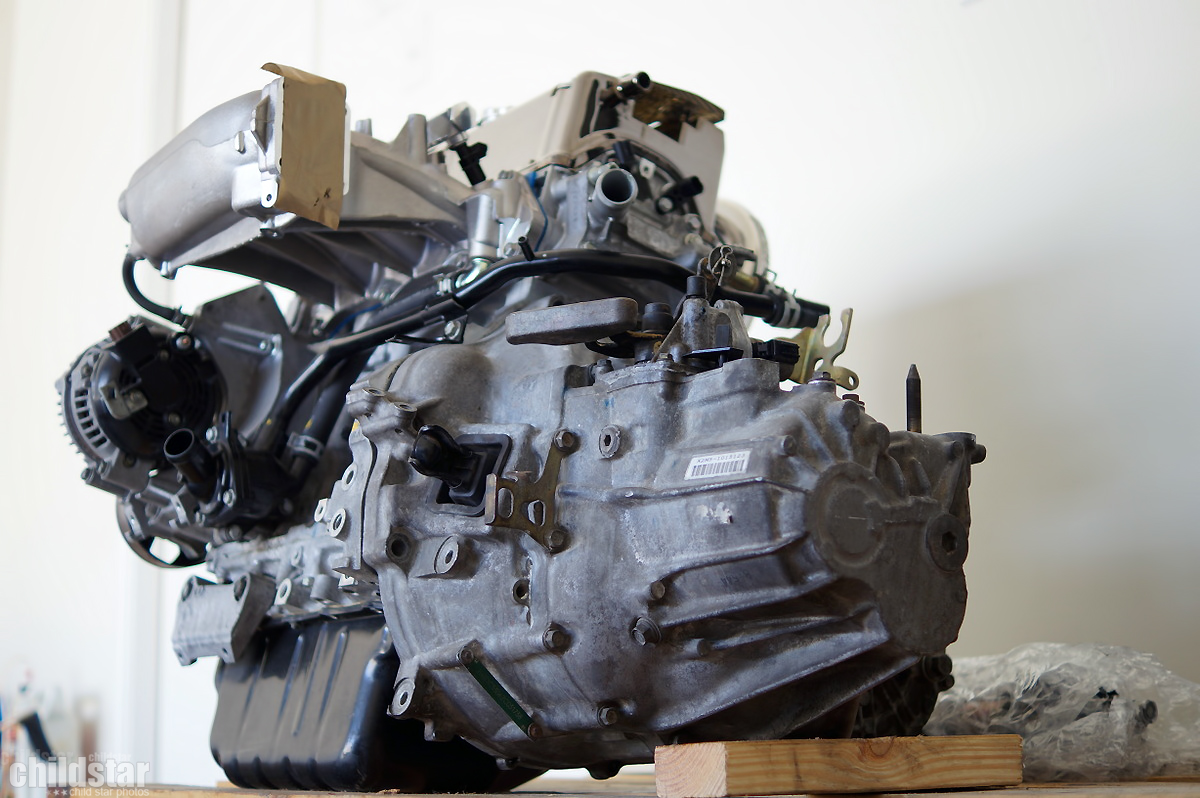

Then I knocked out motor mounts from the big boys

Threw them up against the motor and I realized they weren't shiny enough
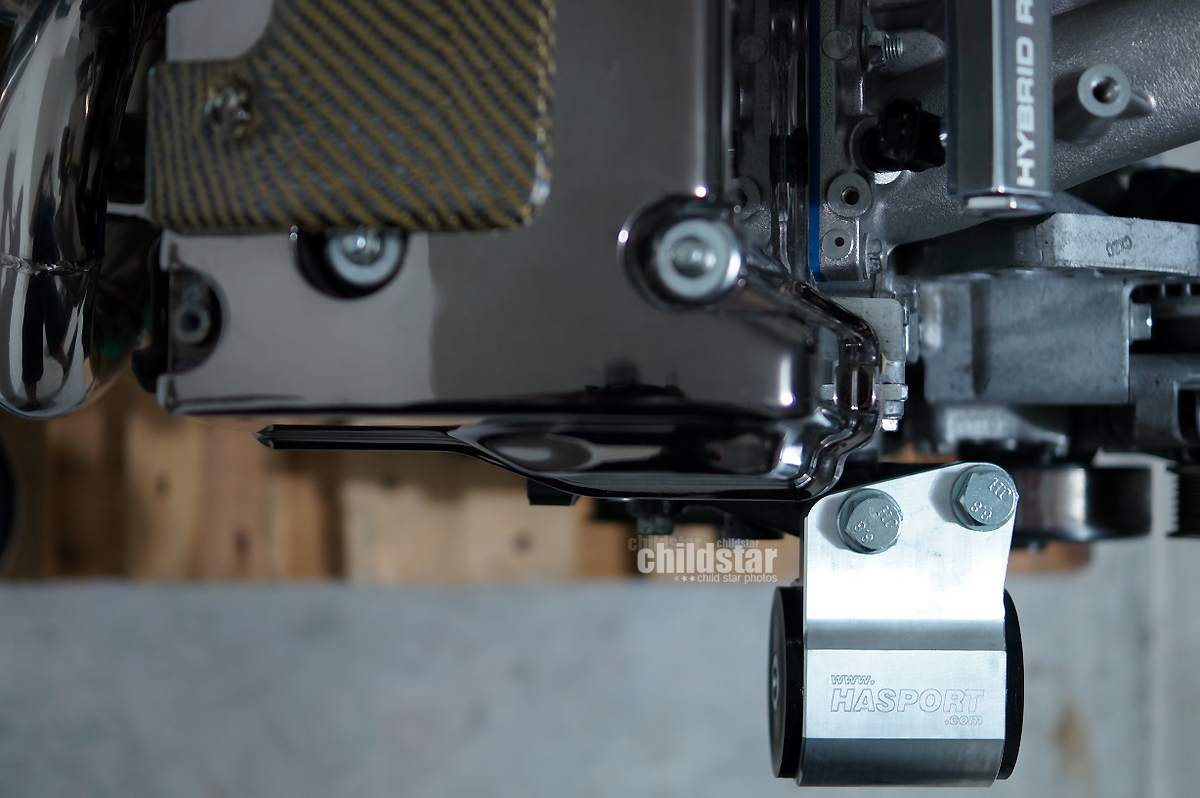
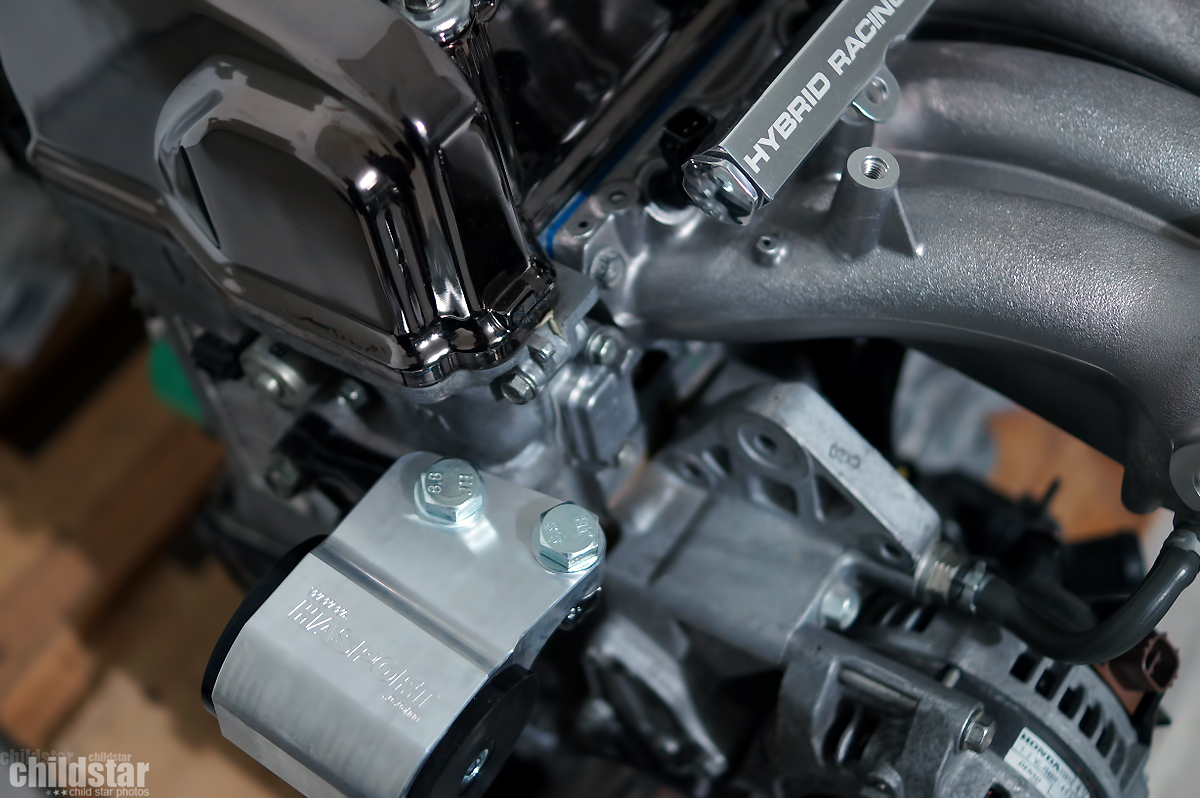
Spent a hour or so with some Blue Magic polishing compound and shined them up a bit
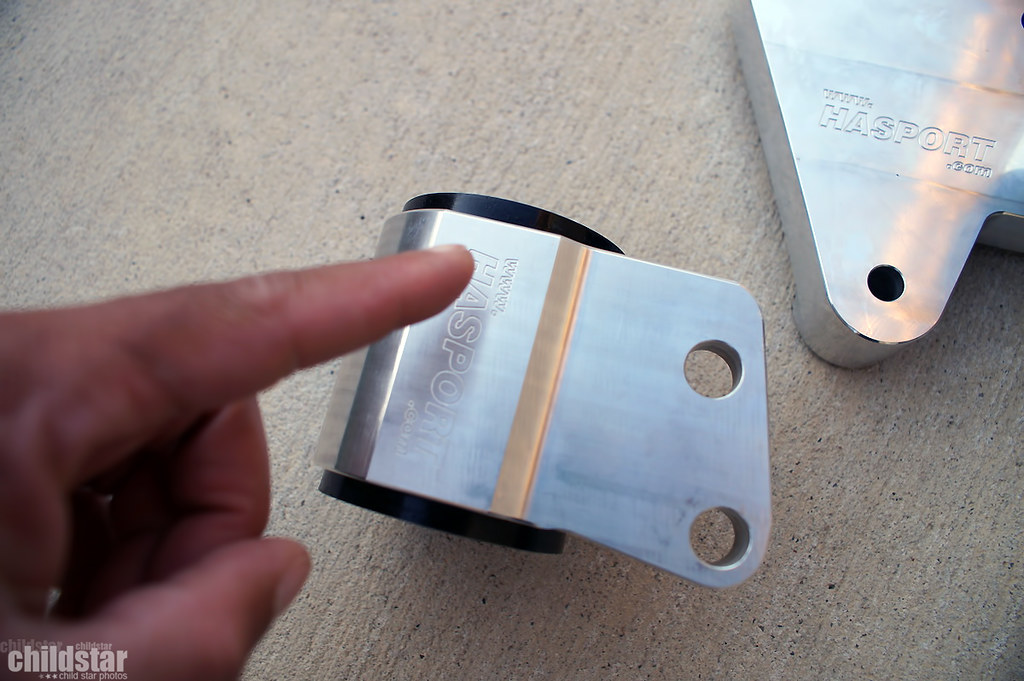
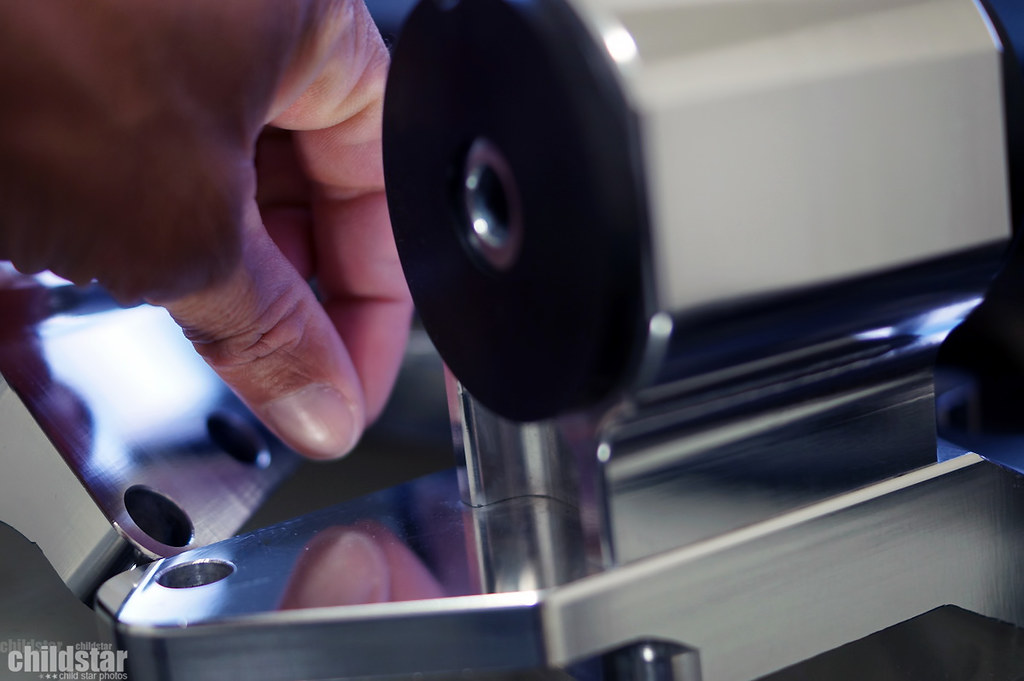
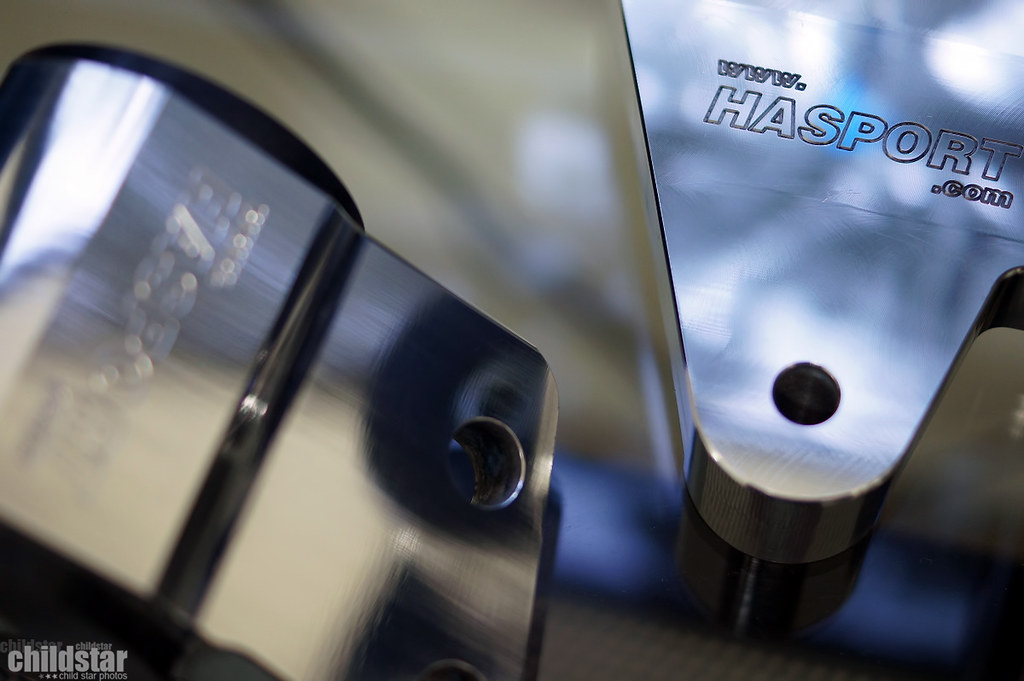
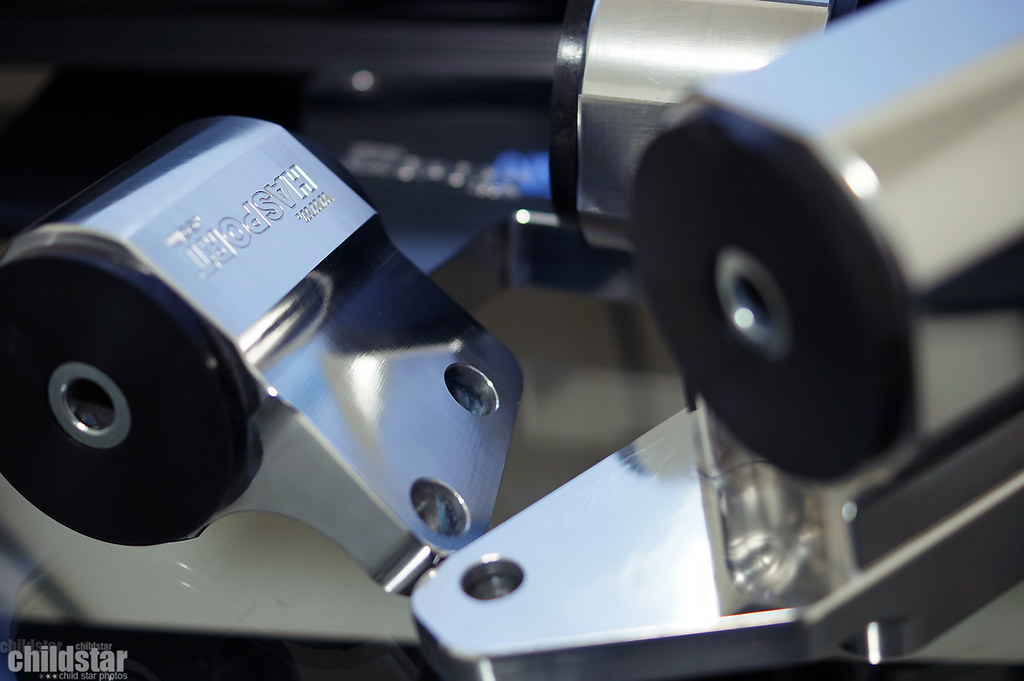
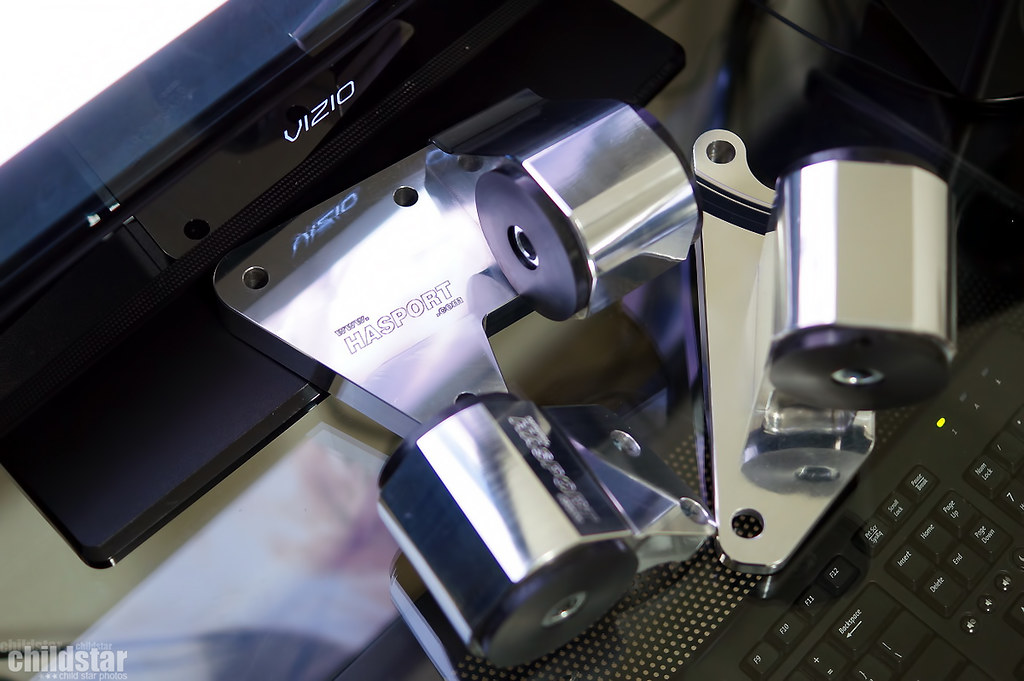
Then it was back to being bored and needing to do something to help pass the time while i replenish my funds. Did a mini mock up with some of the collected parts
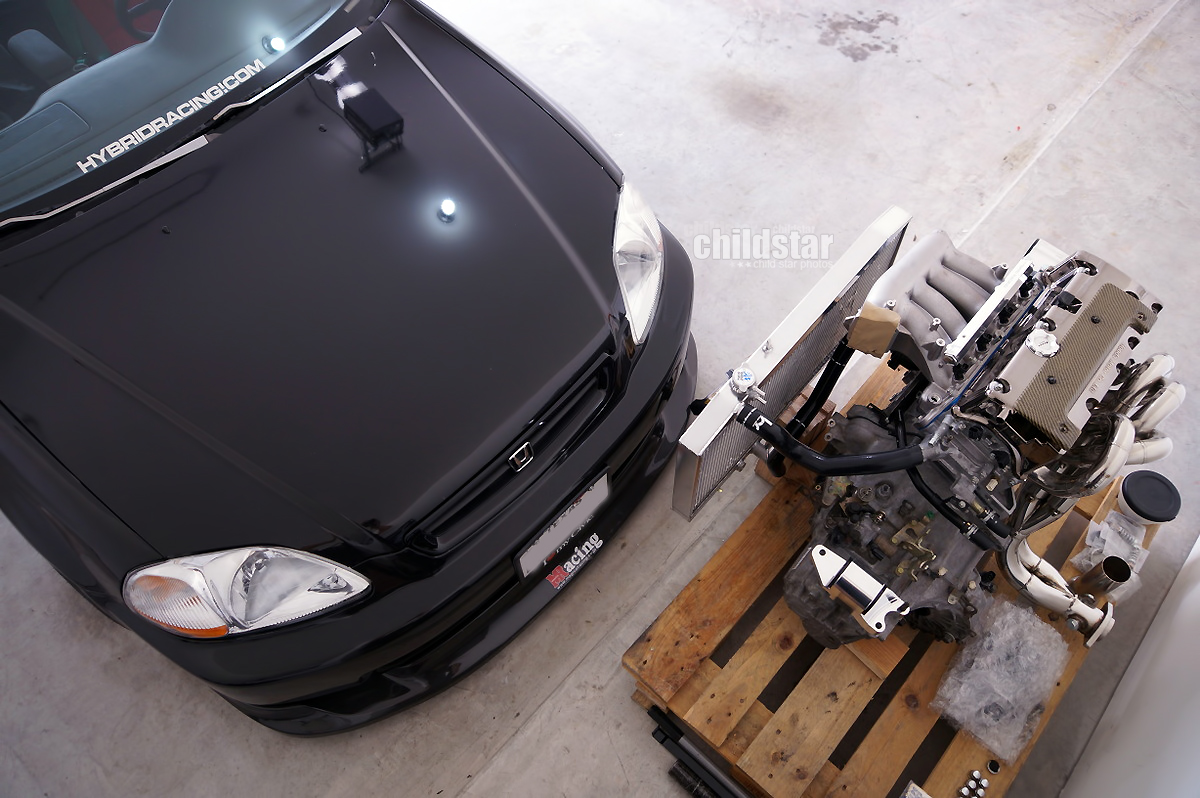
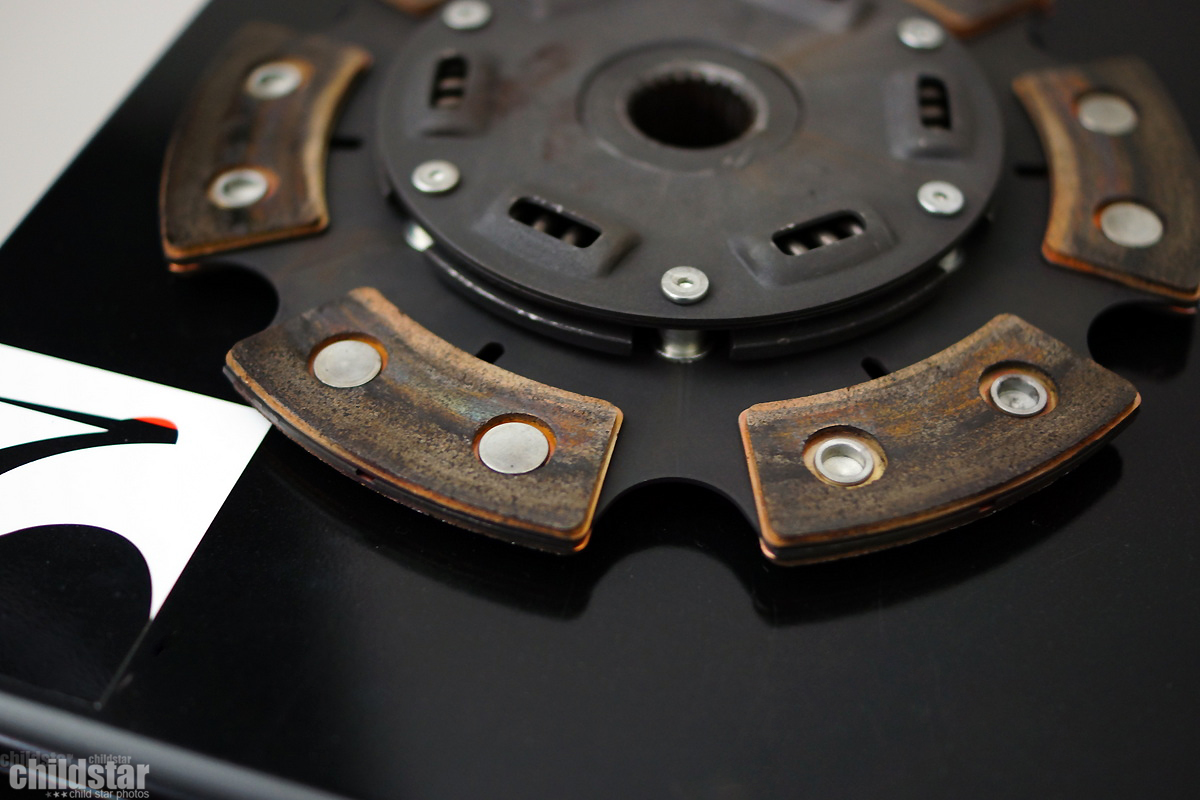
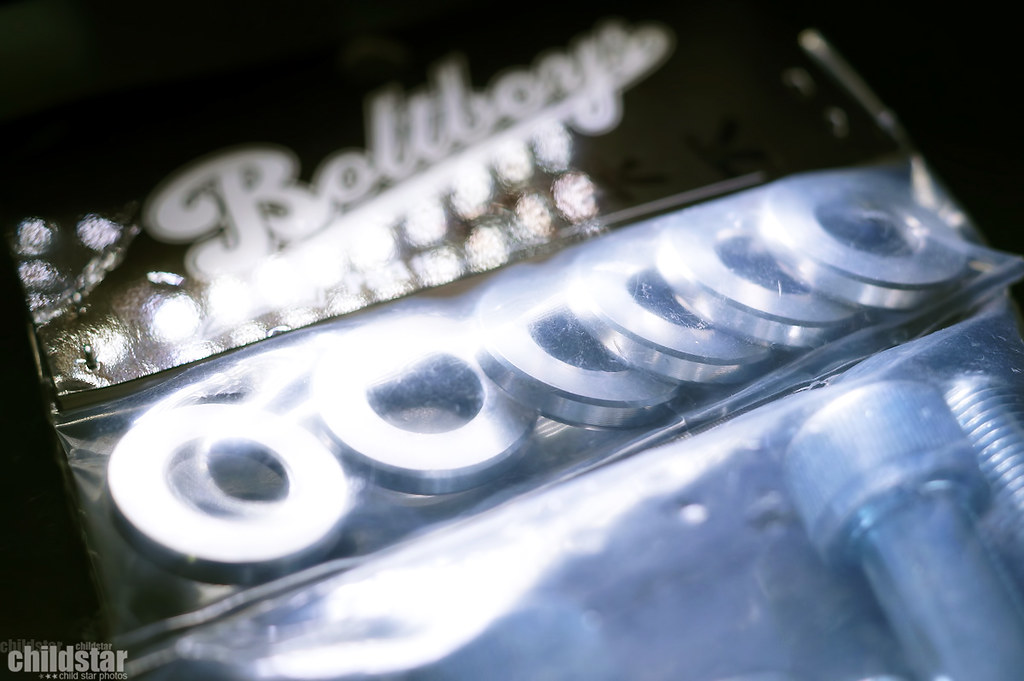
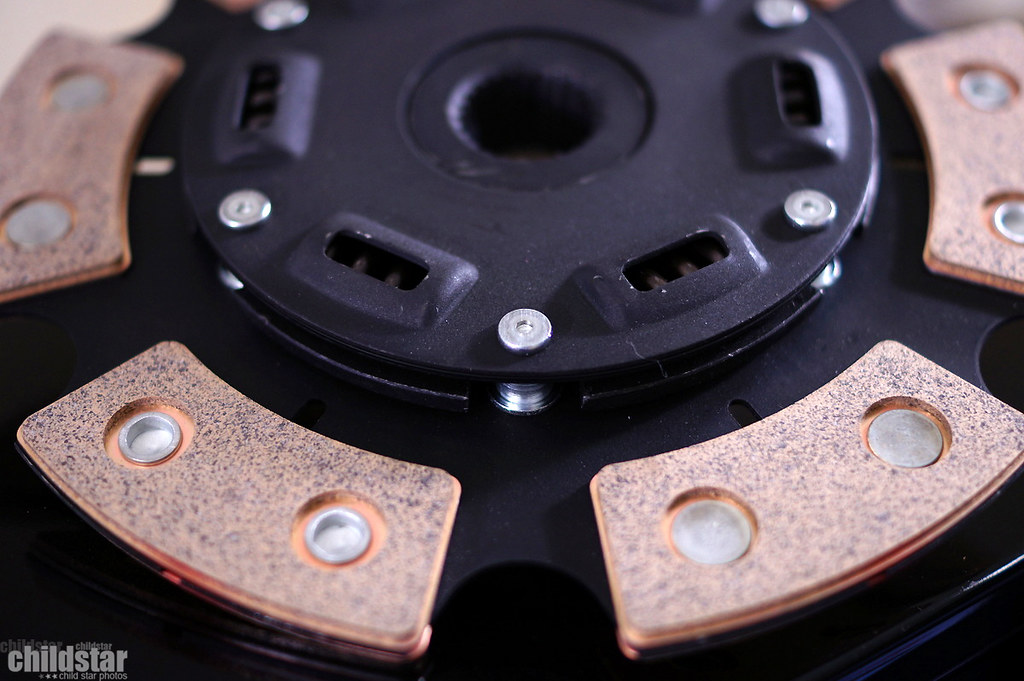
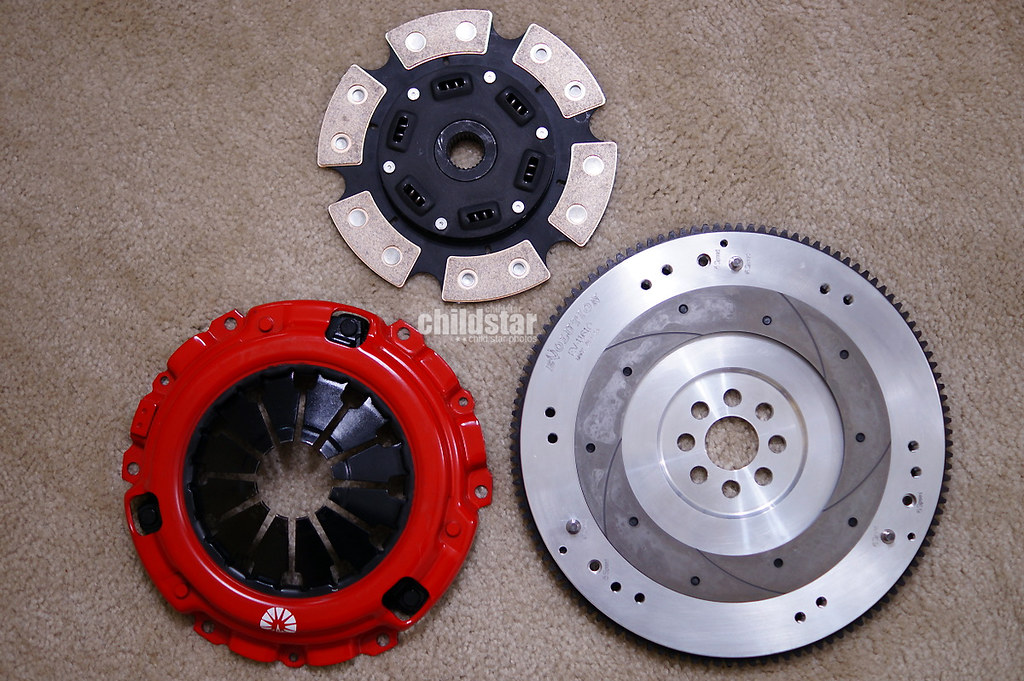
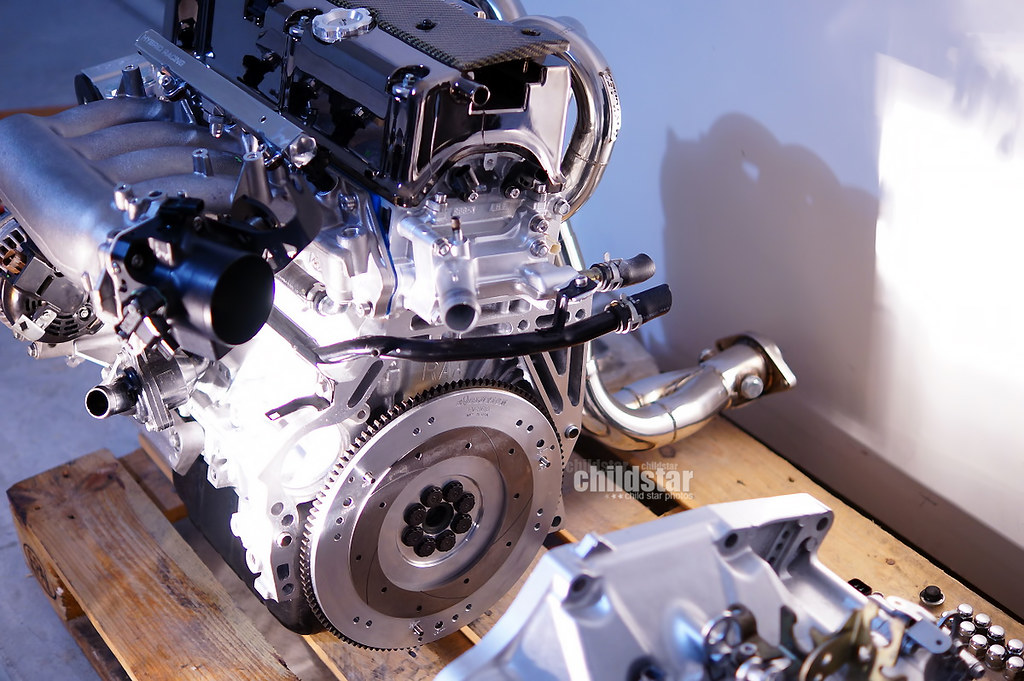
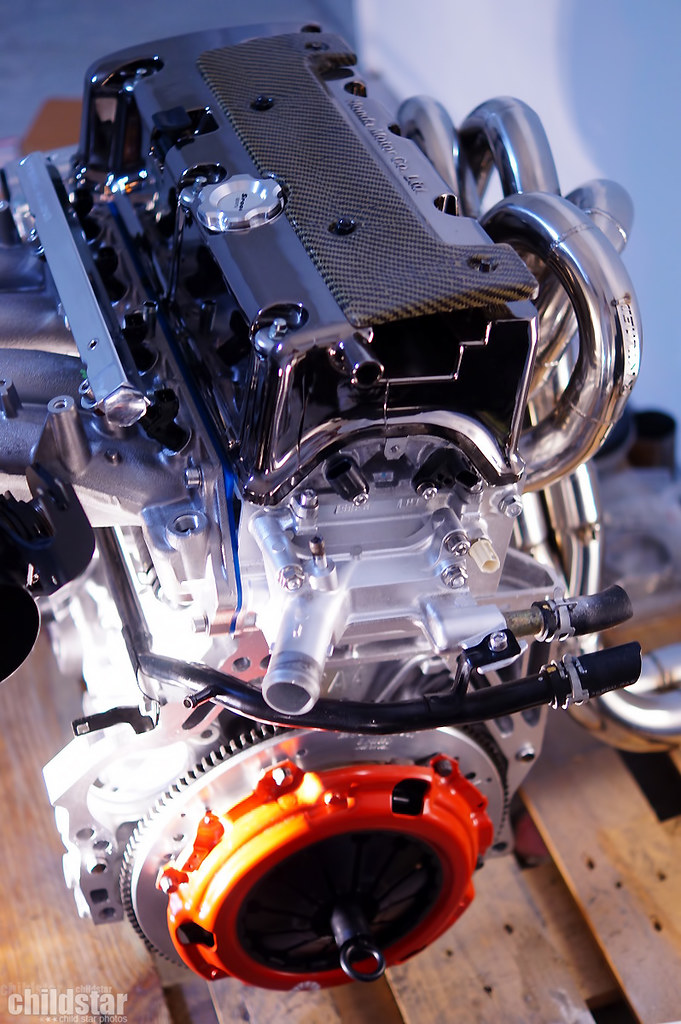
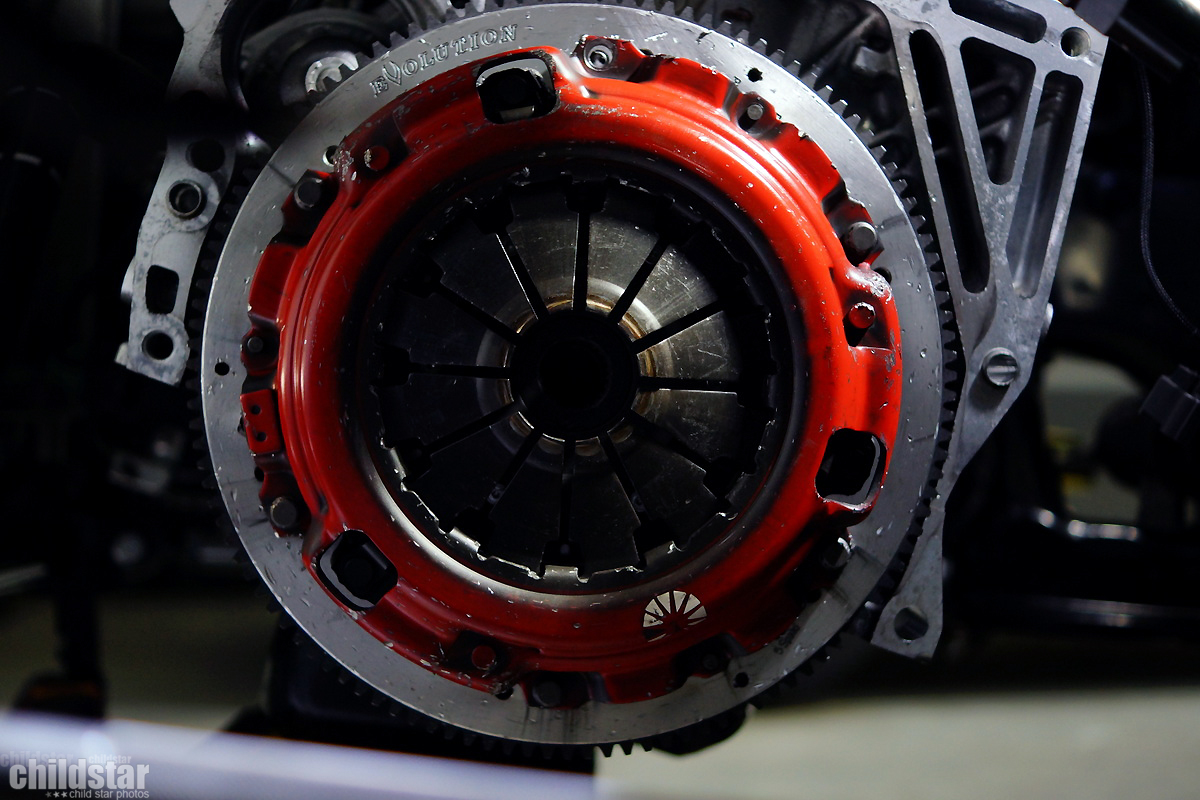
and here we are. Planning on running the Bisimoto 8lb flywheel and the Bisimoto 2MS Action sprung 6 puck clutch with caged springs and pressure plate. I'll probably pick this stuff up next or a hybrid racing throttle body (if they're in stock) Also planning to grab some bolt boys hardware since i'm too lazy to find the right size of every missing bolt that I need.
In the meantime, when boredom struck, I found myself masking off things and slinging paint.
voila' magic (still need to get some flat or satin black for my alternator and starter motor and do a little touching up of some overspray spots)
Thanks Ryan and Autofair
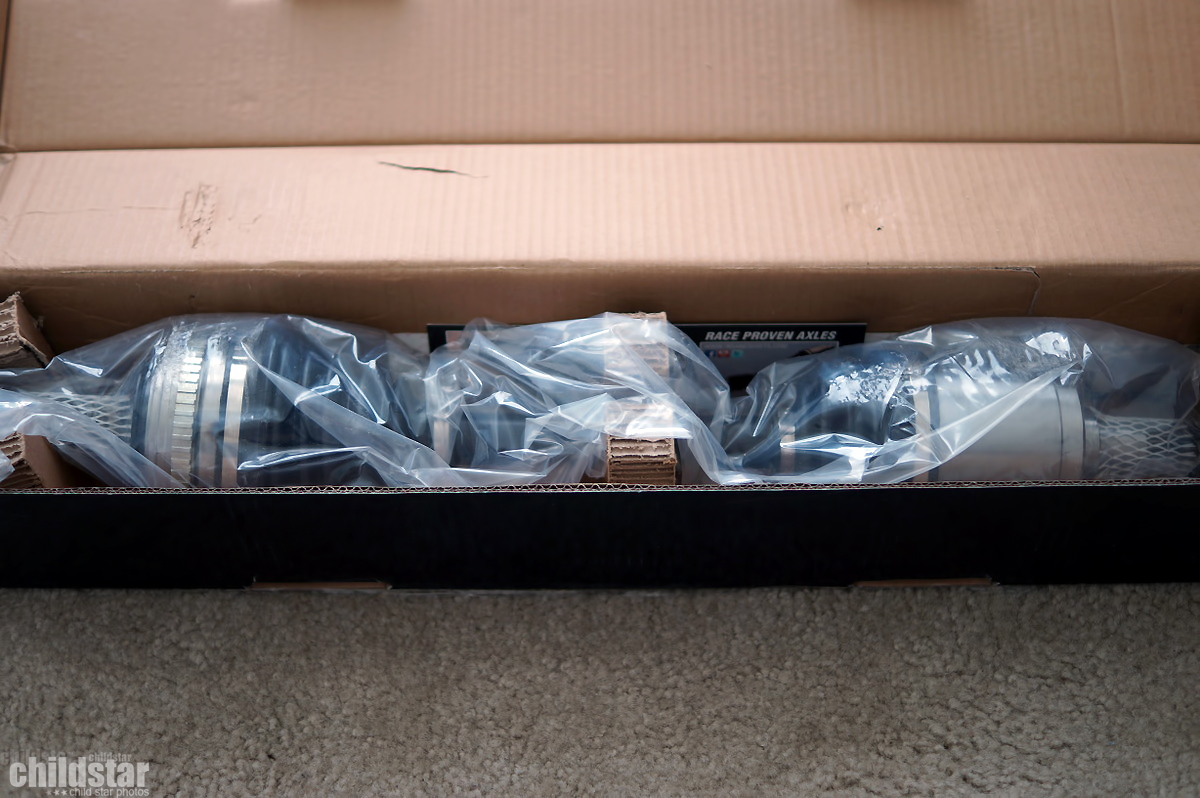
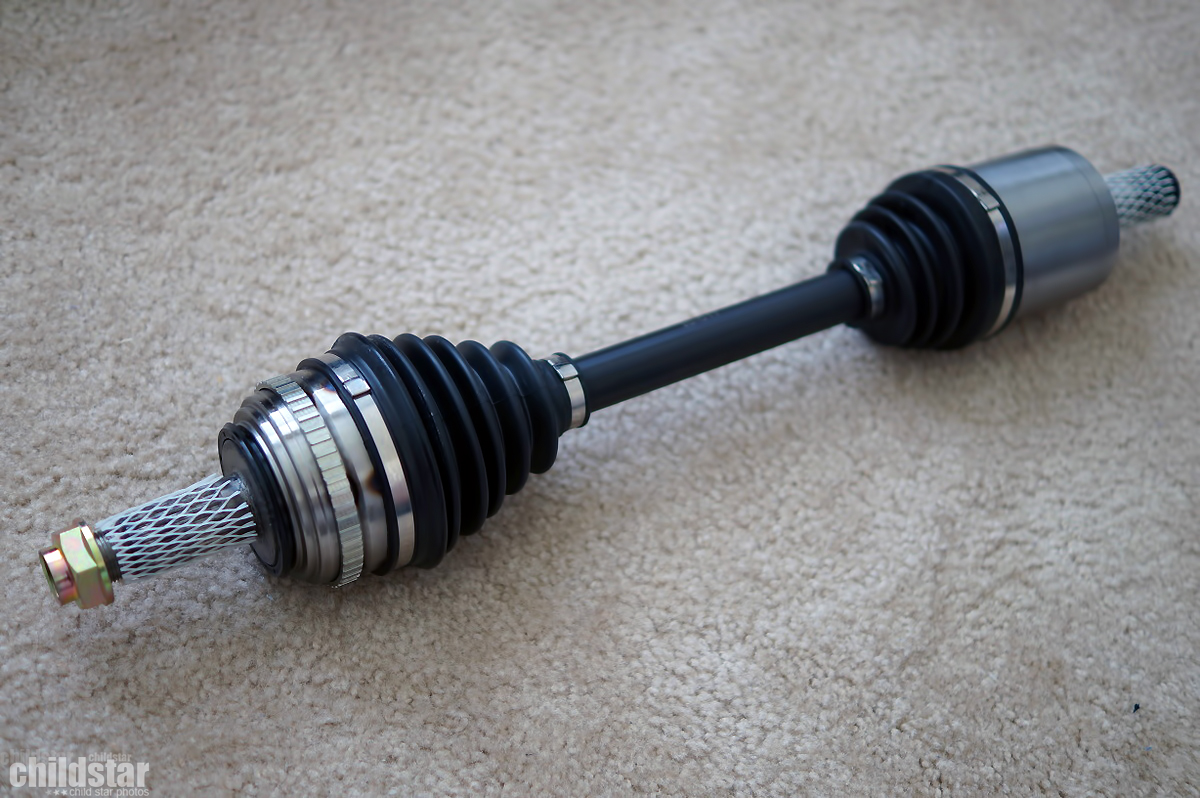
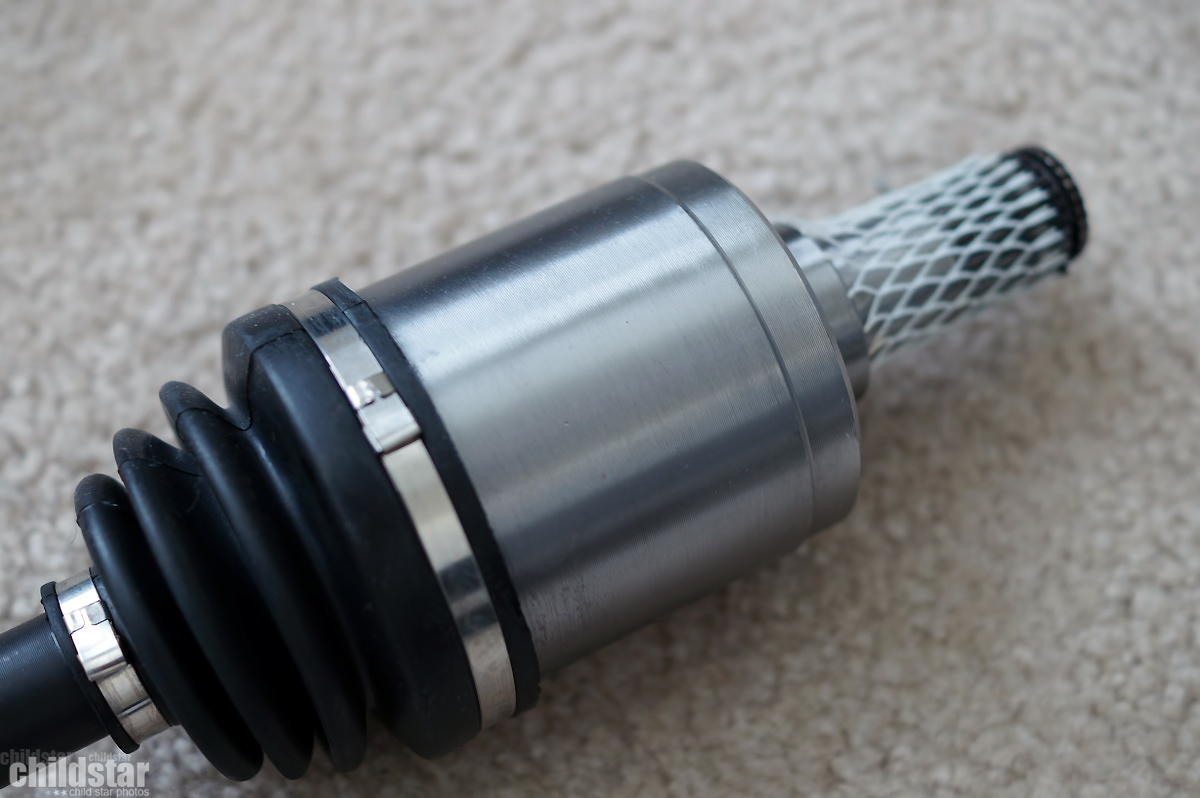
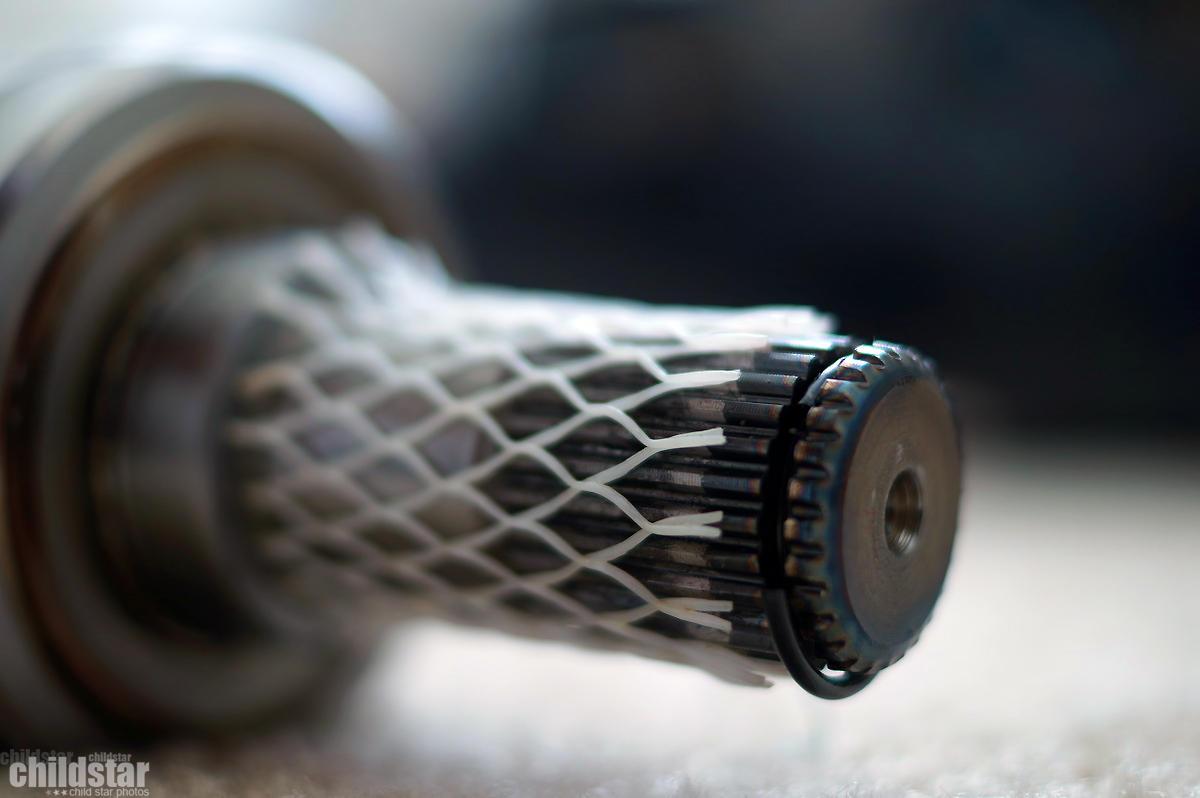
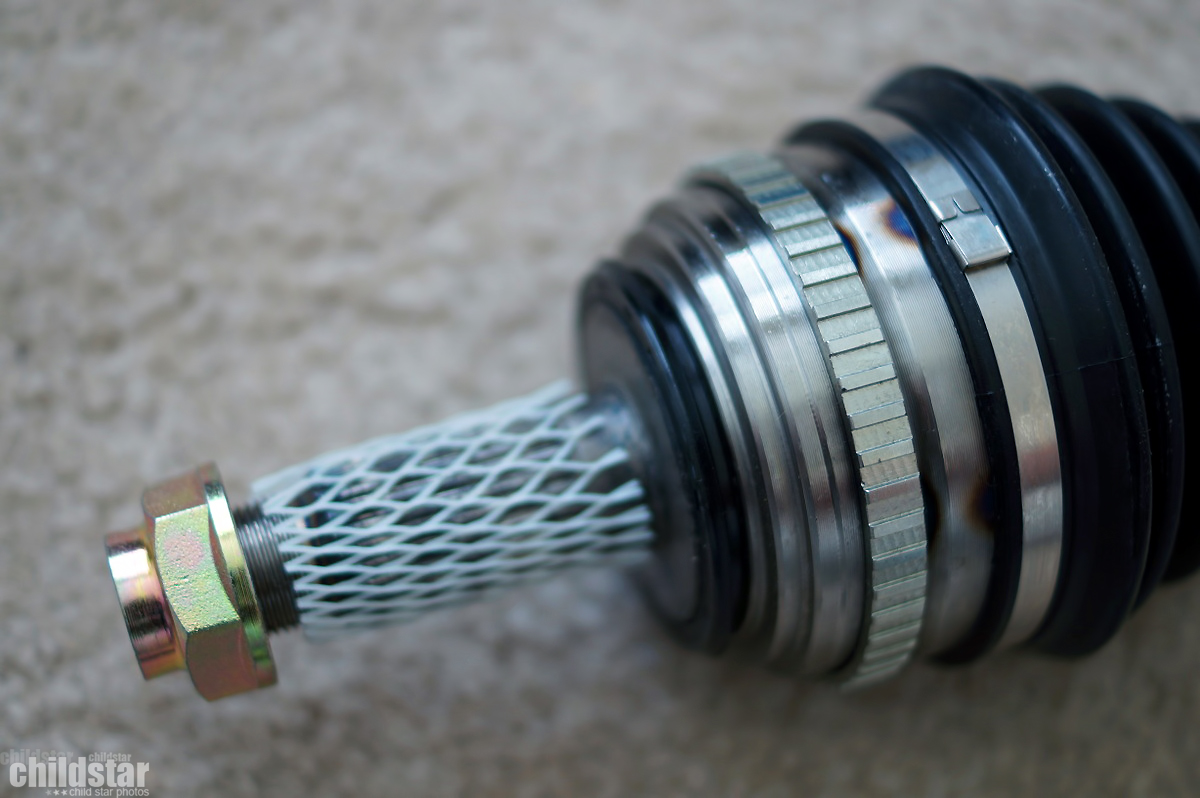
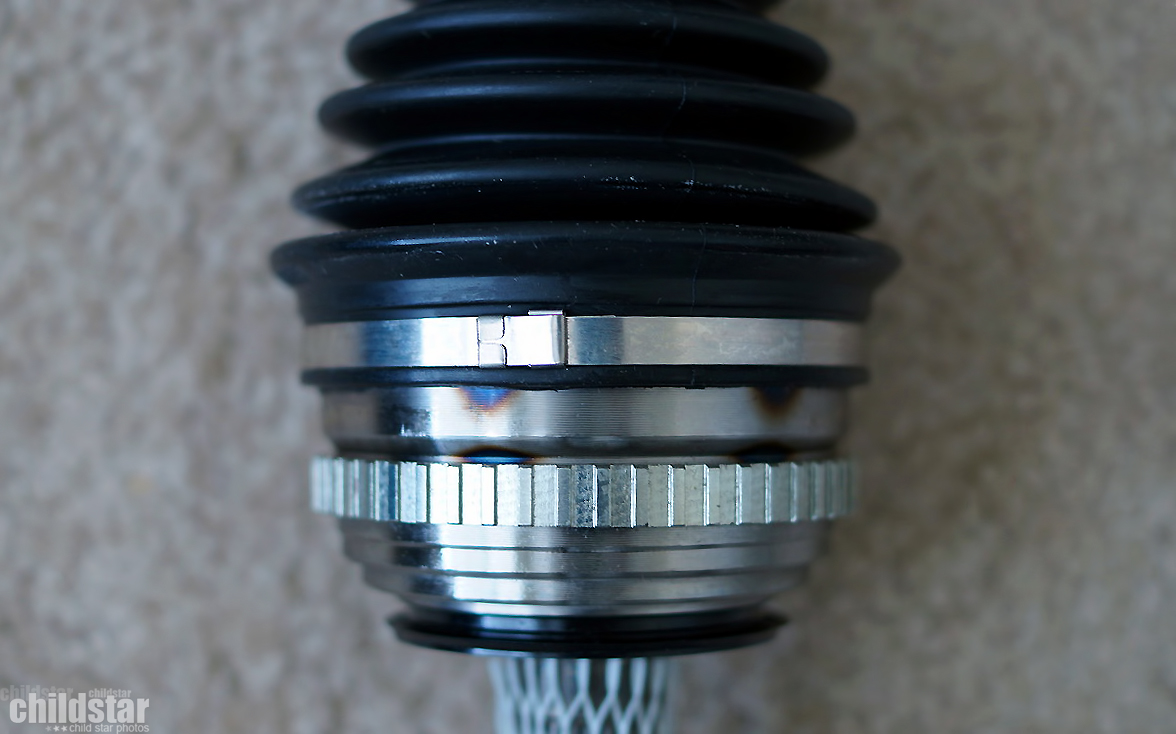
Insane shafts ekk2 swap axles arrived today.
1,2,3,4,5,6 gears provided by Hmotors
literally just unwrapped it and placed it on my other pallet with the longblock. Pretty clean stuff as usual.
Then I knocked out motor mounts from the big boys
Threw them up against the motor and I realized they weren't shiny enough
Spent a hour or so with some Blue Magic polishing compound and shined them up a bit
Then it was back to being bored and needing to do something to help pass the time while i replenish my funds. Did a mini mock up with some of the collected parts
and here we are. Planning on running the Bisimoto 8lb flywheel and the Bisimoto 2MS Action sprung 6 puck clutch with caged springs and pressure plate. I'll probably pick this stuff up next or a hybrid racing throttle body (if they're in stock) Also planning to grab some bolt boys hardware since i'm too lazy to find the right size of every missing bolt that I need.
In the meantime, when boredom struck, I found myself masking off things and slinging paint.
voila' magic (still need to get some flat or satin black for my alternator and starter motor and do a little touching up of some overspray spots)
Thanks Ryan and Autofair
Insane shafts ekk2 swap axles arrived today.
05-09-2016, 11:30 PM
#13
Honda-Tech Member
Thread Starter
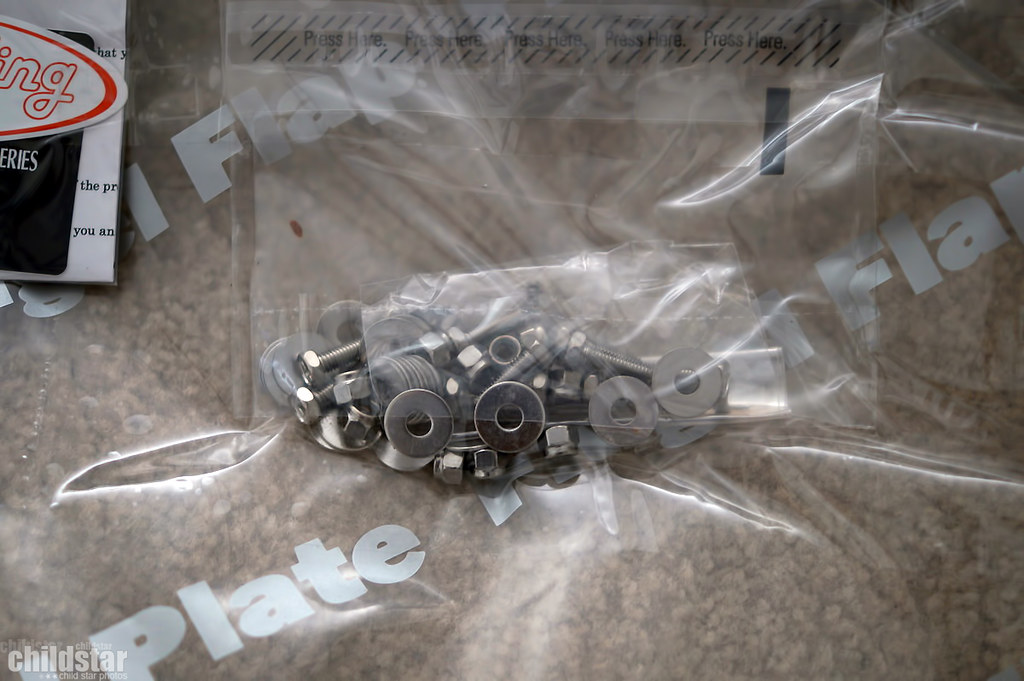
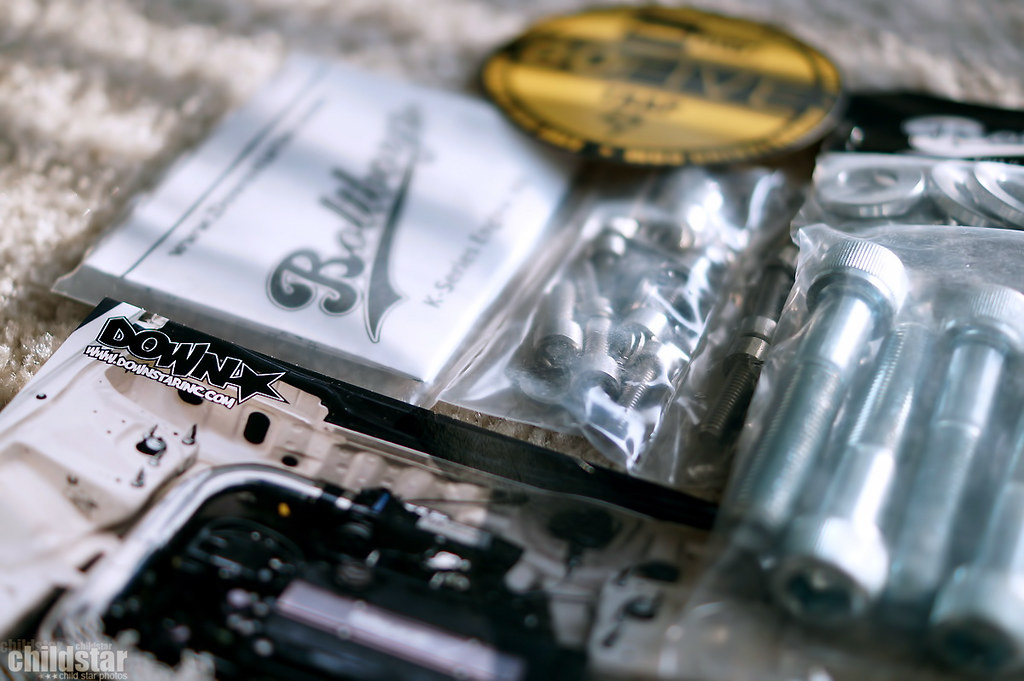
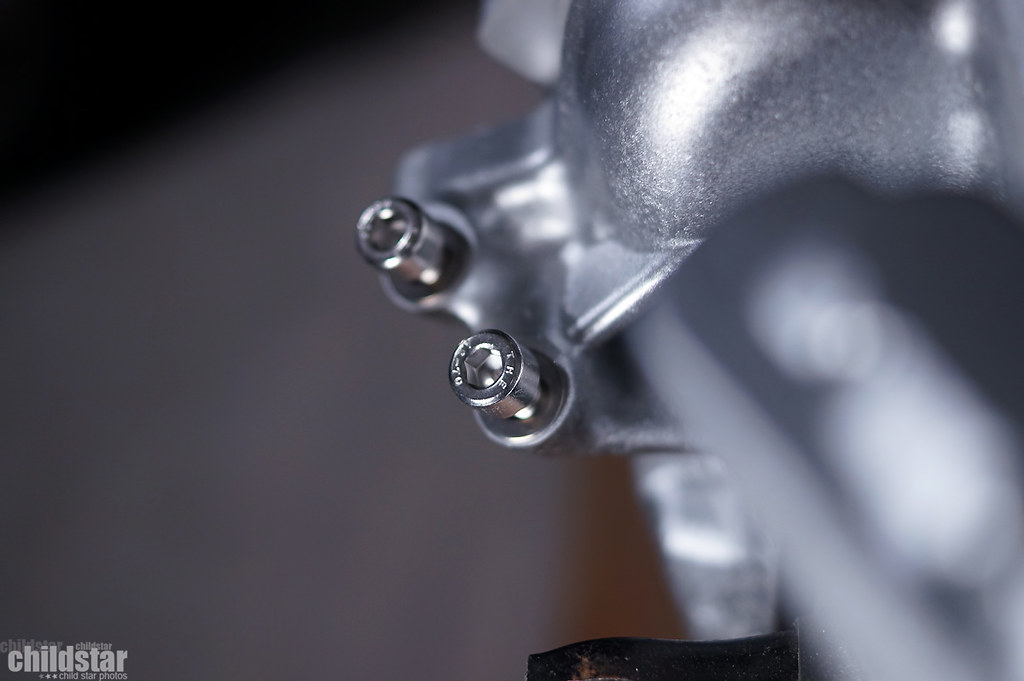
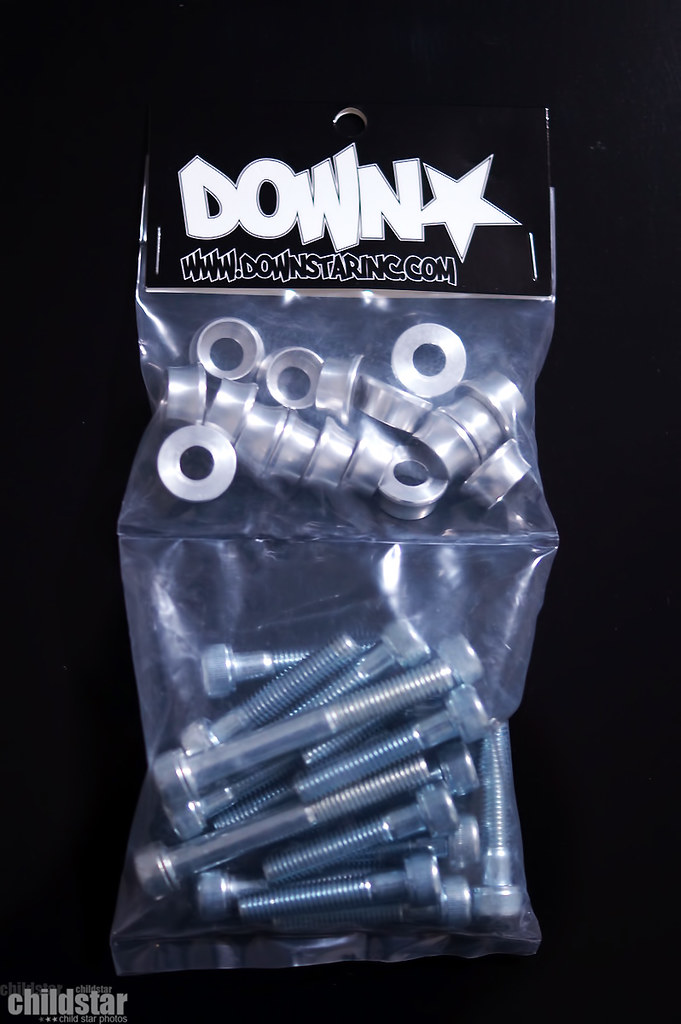
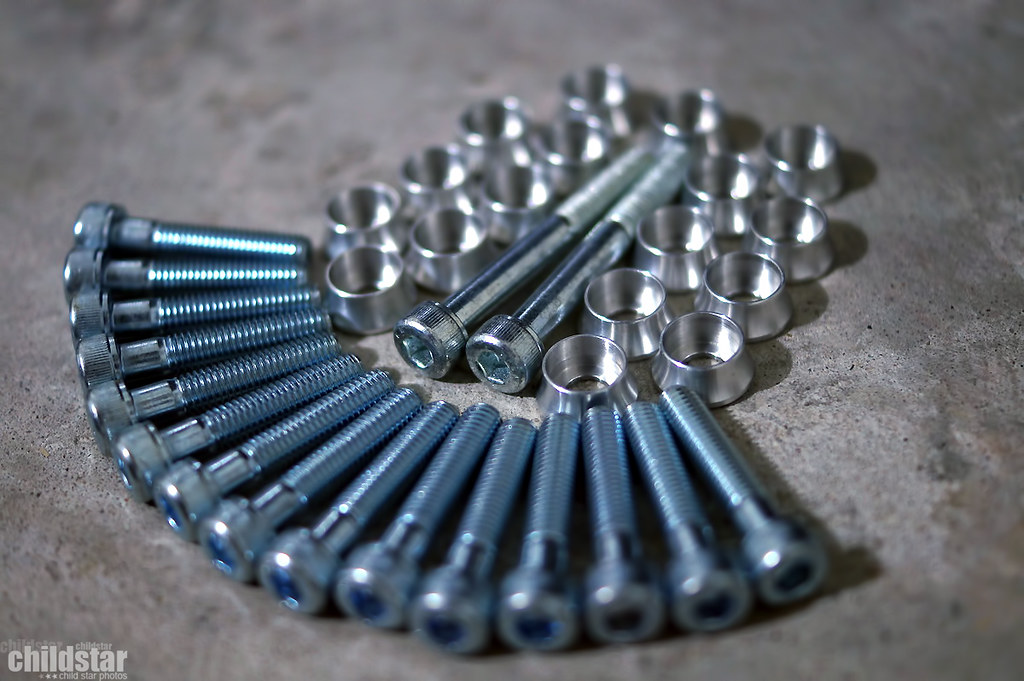
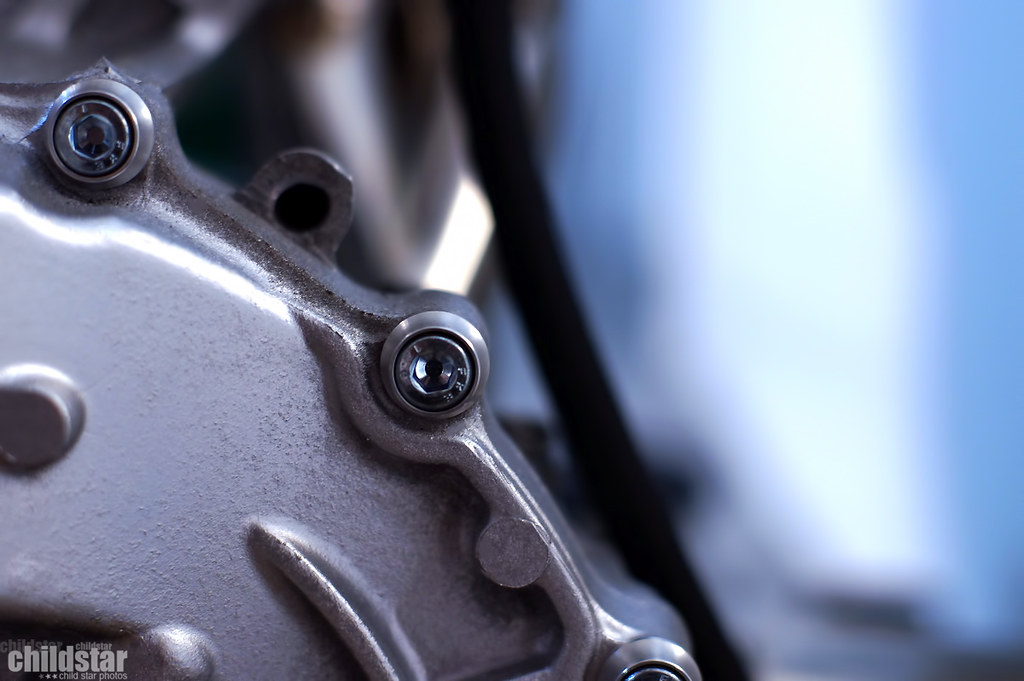
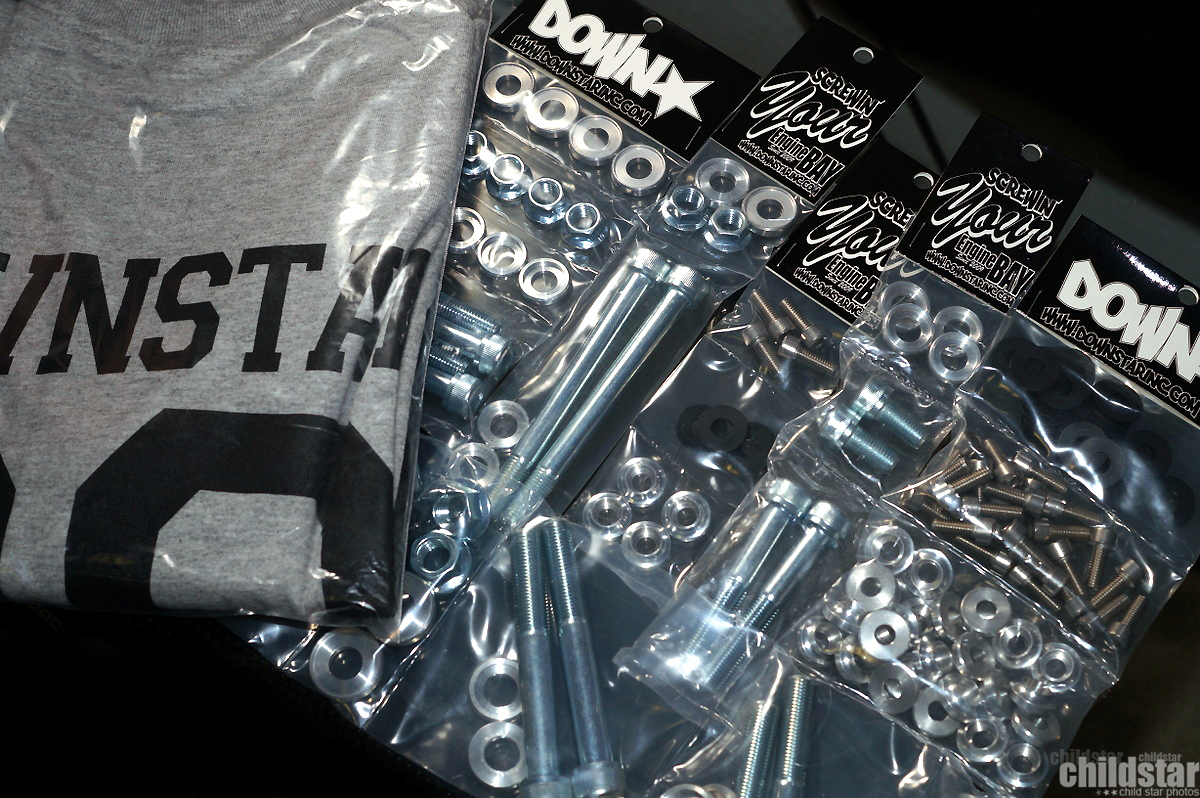
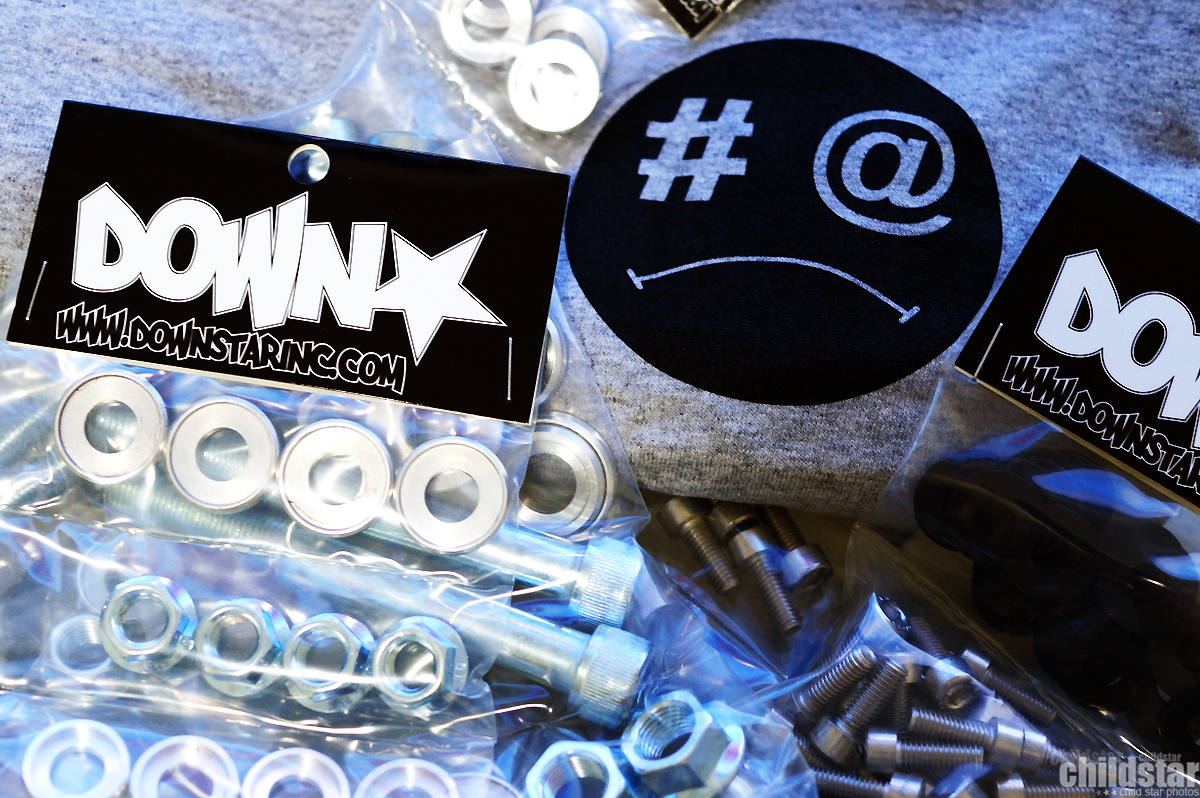
Good stuff right here. About 70 bolts plus washers, plus nuts...basically enough to keep me busy for at least a little while lol
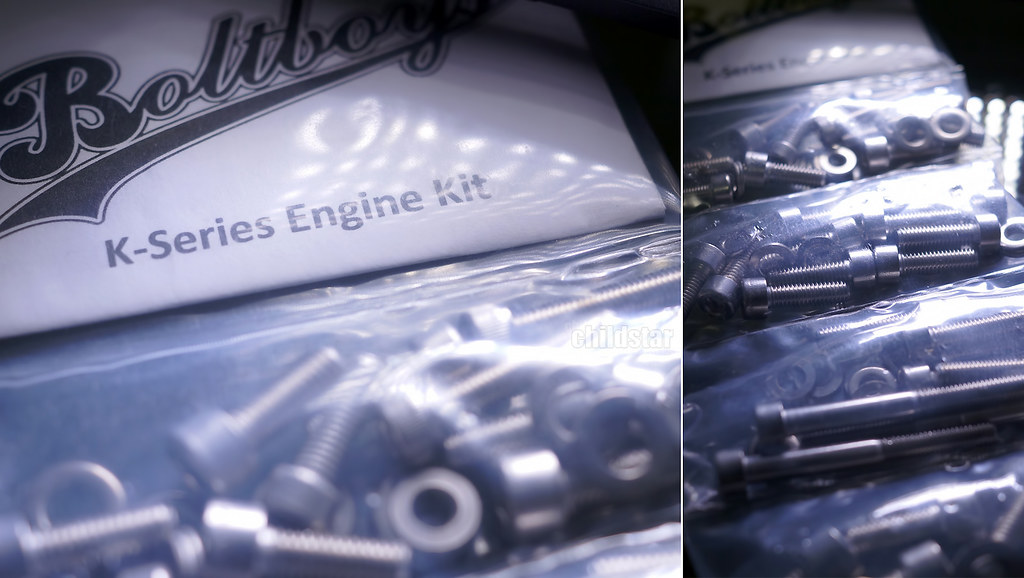
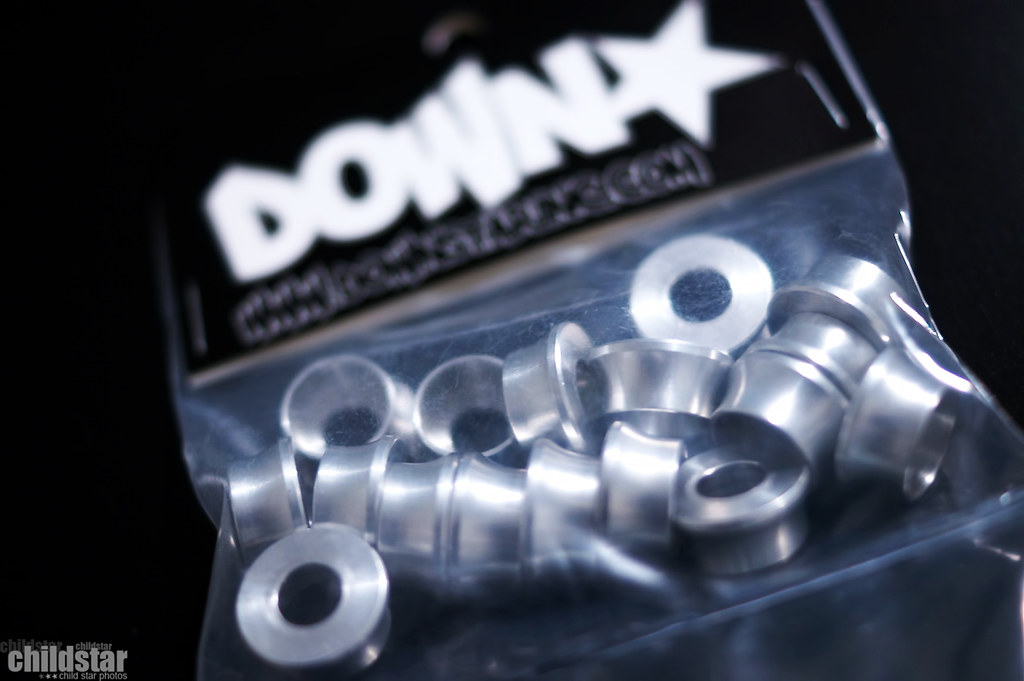
I really like the washers. Small details are a plus in my book.
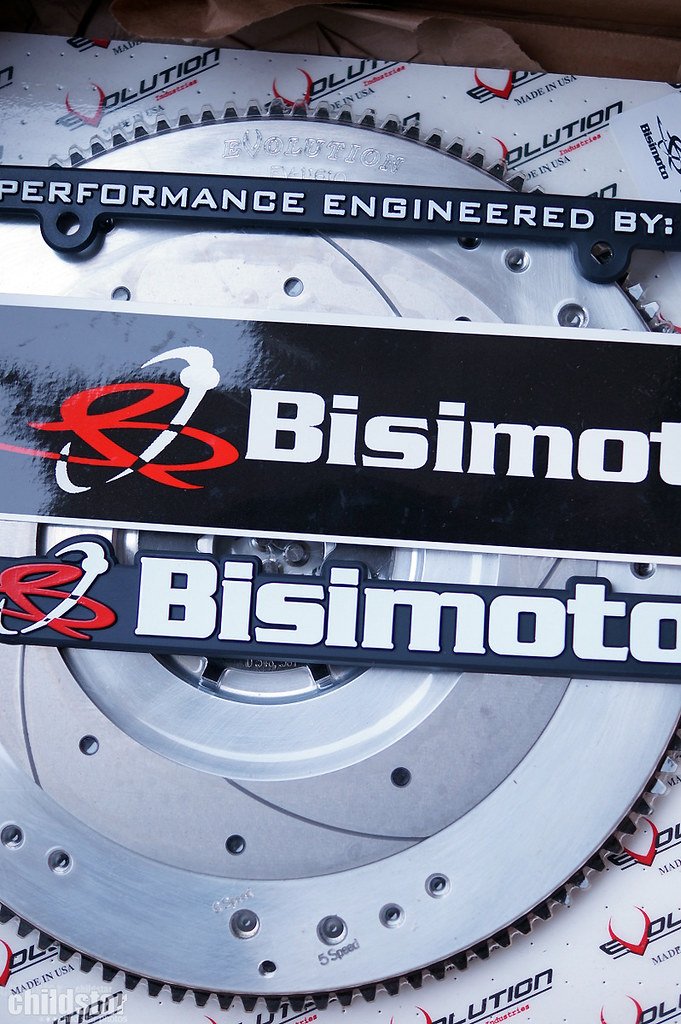
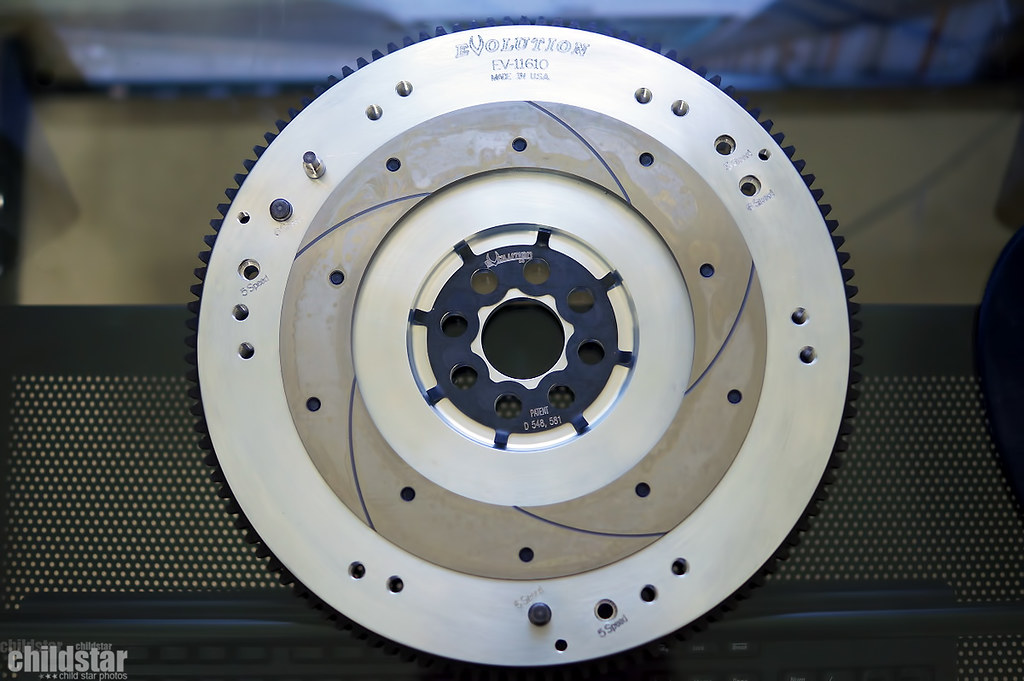
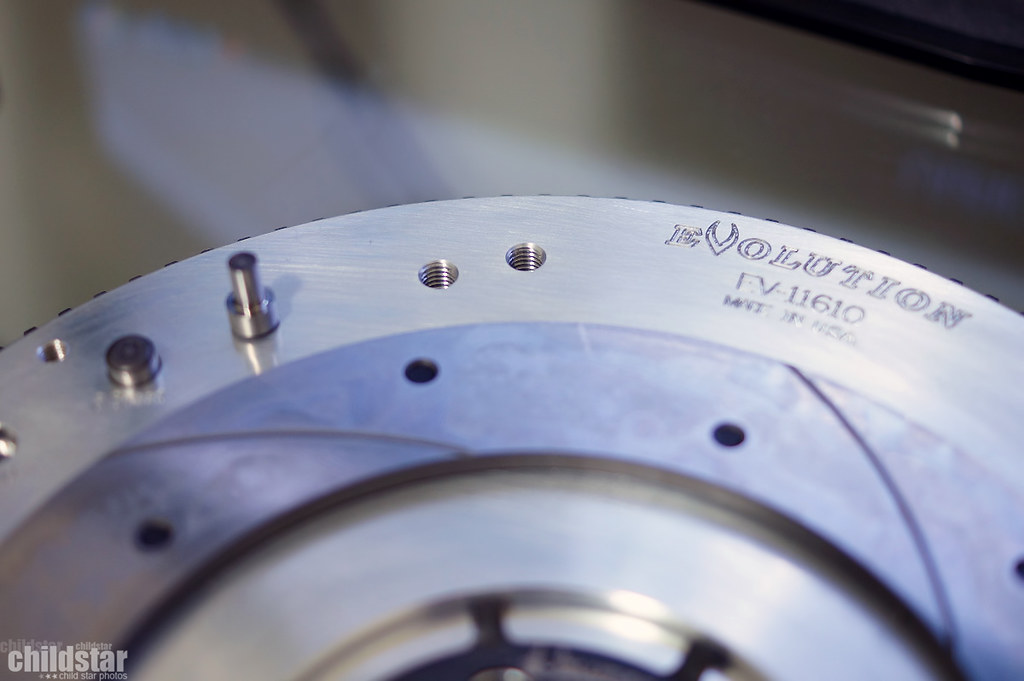
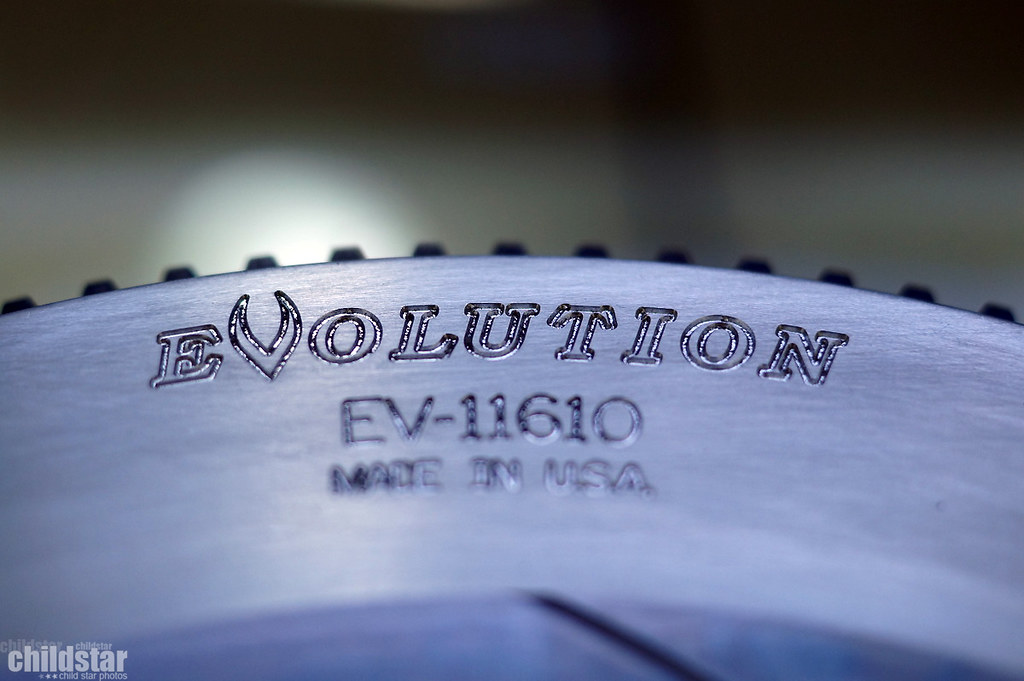
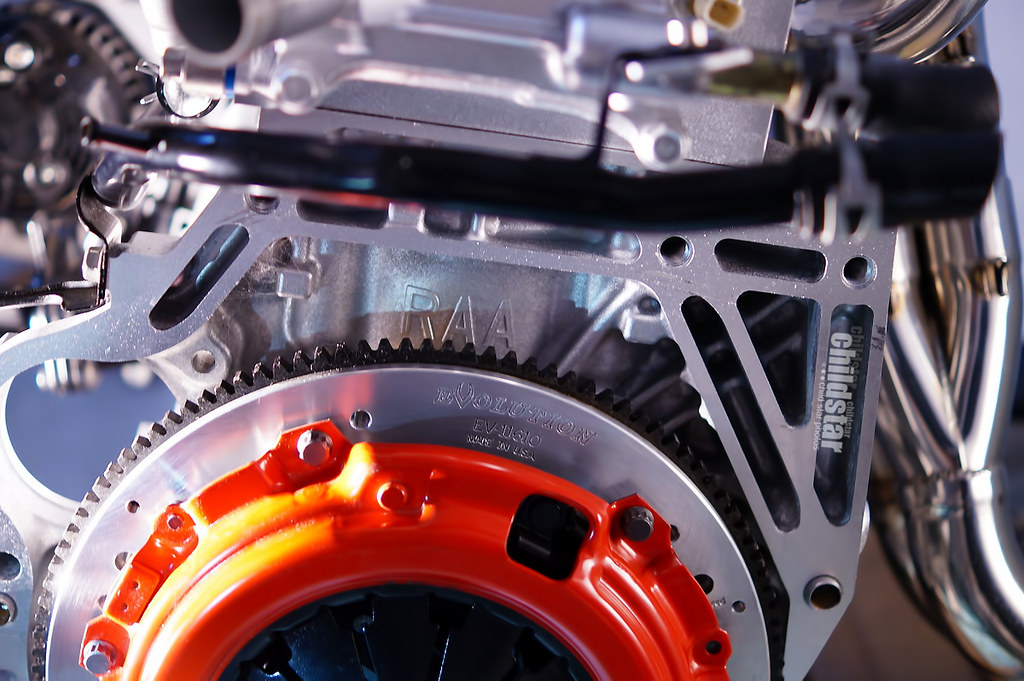
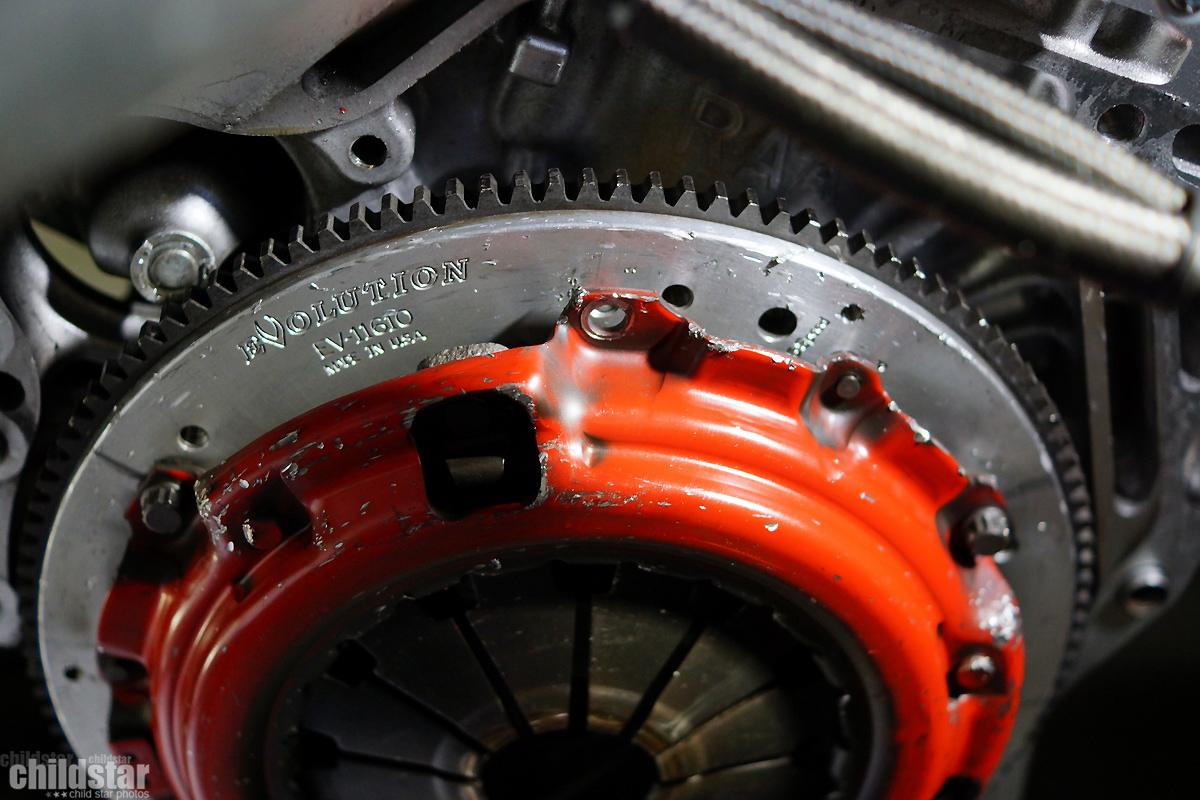
Bisimoto/ Evolution 8.4lb flywheel :drive:
flywheel specific dowel pins
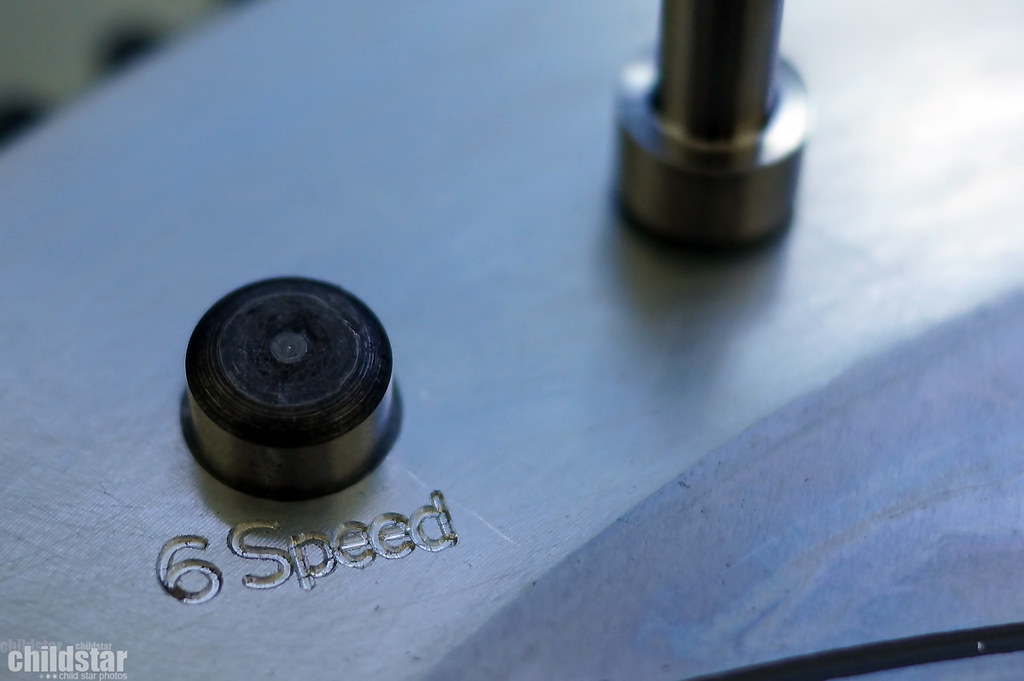
6 speed, oh yes please
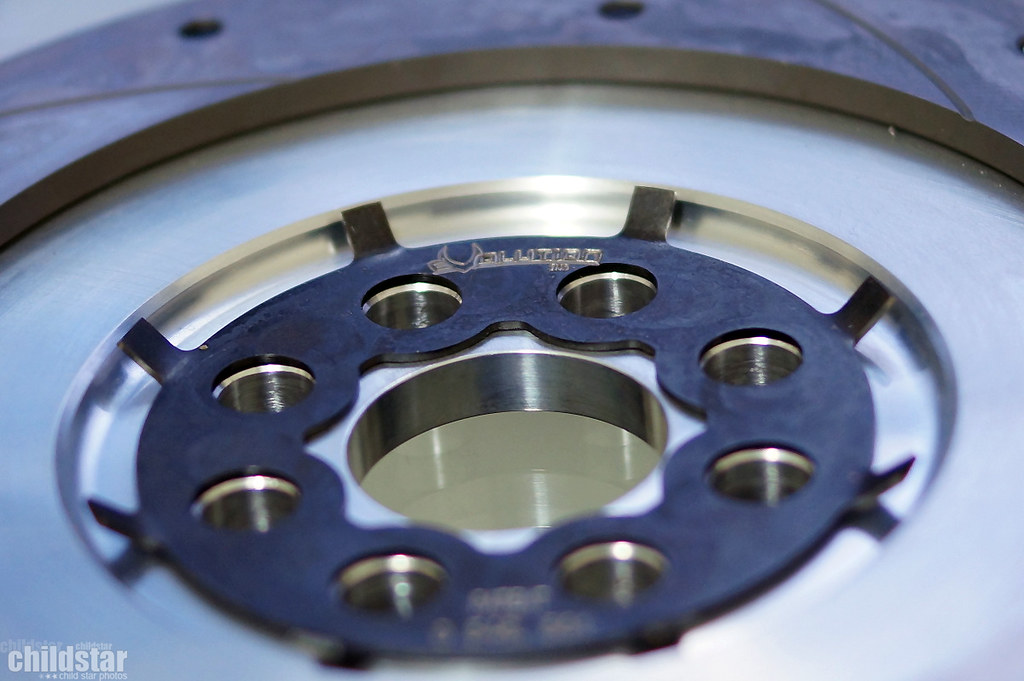
starter ring

Threw in a bunch of the downstar bolts
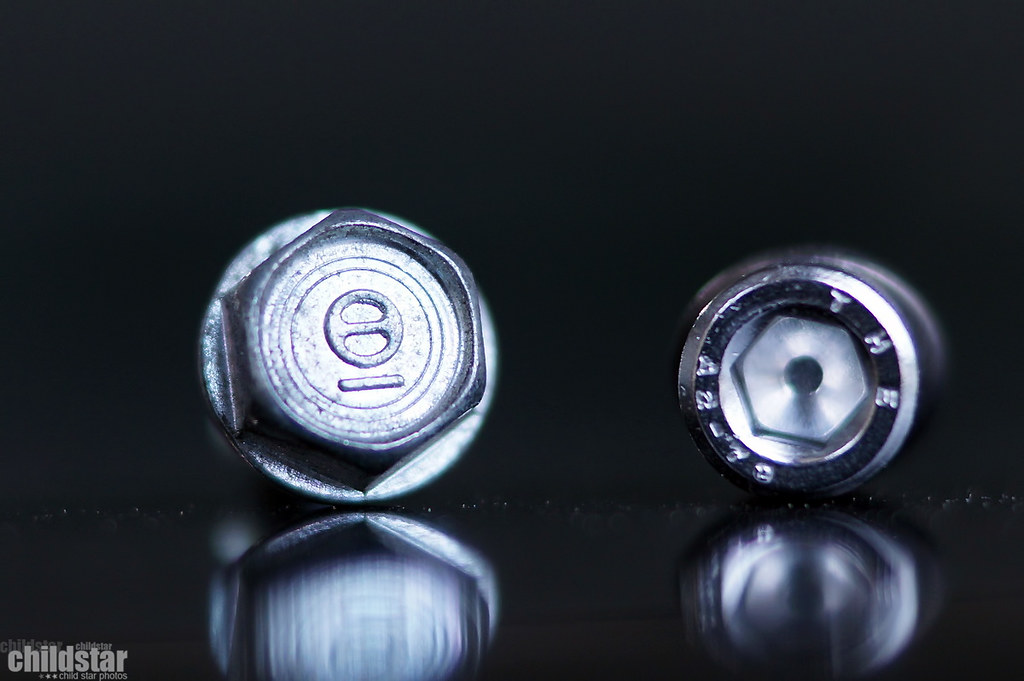
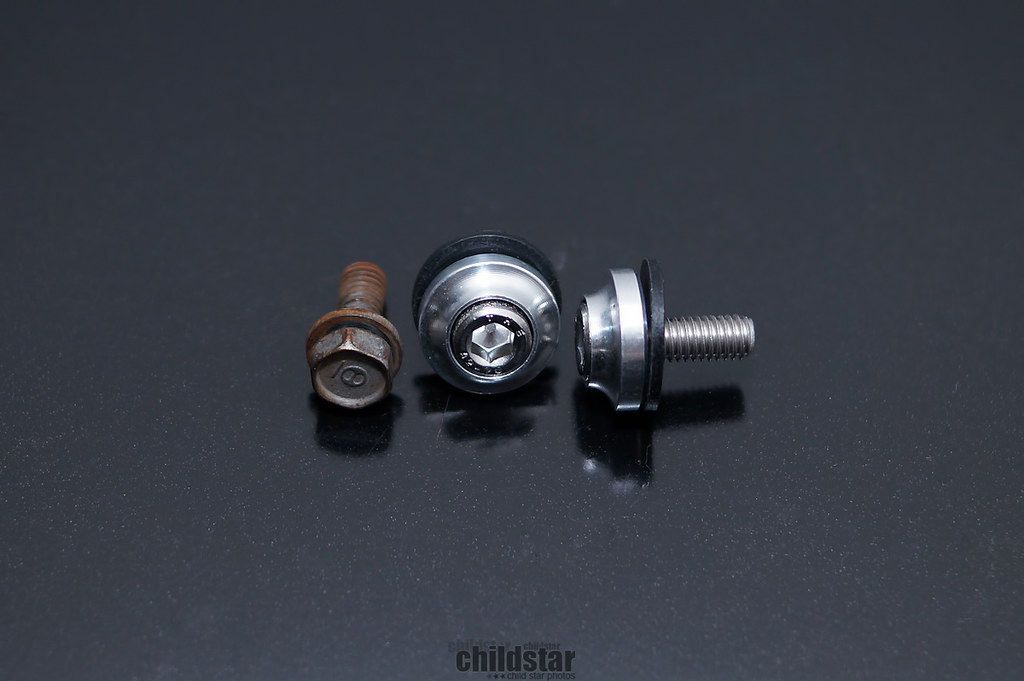
One of my cleanest oem bolts vs the downstar

transmission bolt
clutch slave cylinder bolts
thermostat housing
overall, it's a subte change (since I didn't have rusted ugly bolts to begin with) but i like it.

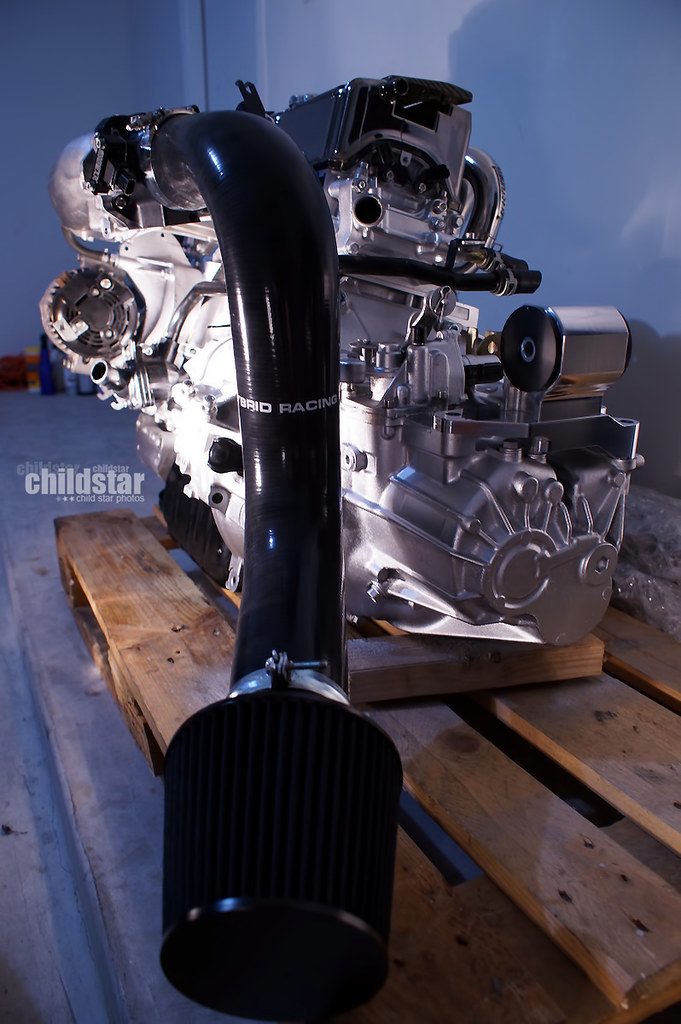
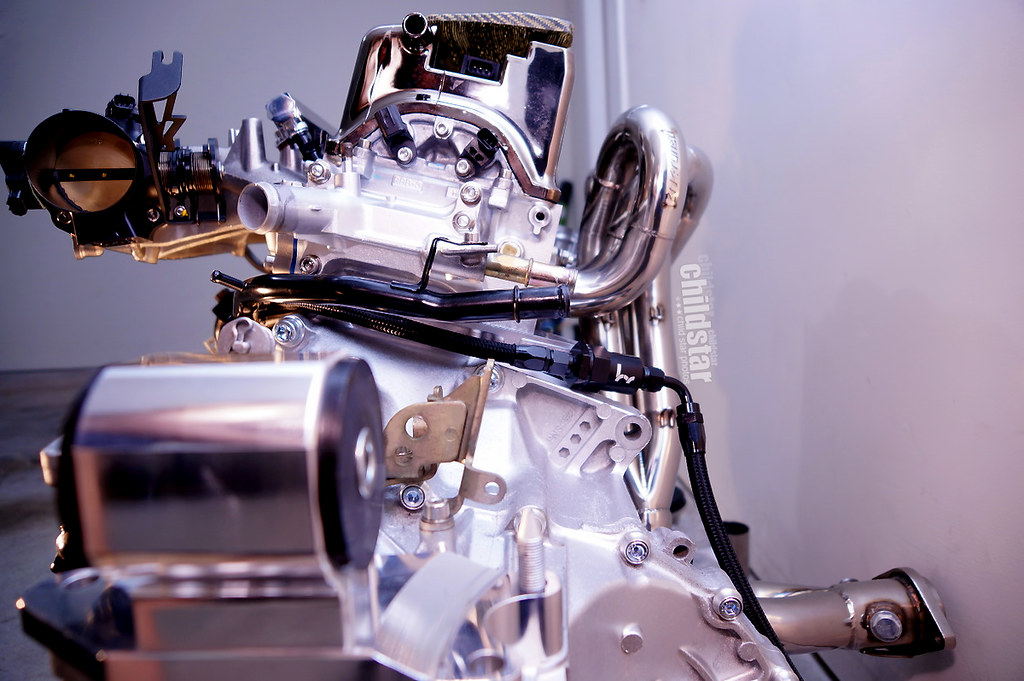
My ding infested coupe with the motor shining in the shadows!


finally some more progress and I can get around to port matching the the throttle body opening now.

I really like the washers. Small details are a plus in my book.
Bisimoto/ Evolution 8.4lb flywheel :drive:
flywheel specific dowel pins
6 speed, oh yes please
starter ring
Threw in a bunch of the downstar bolts
One of my cleanest oem bolts vs the downstar
transmission bolt
clutch slave cylinder bolts
thermostat housing
overall, it's a subte change (since I didn't have rusted ugly bolts to begin with) but i like it.
My ding infested coupe with the motor shining in the shadows!
finally some more progress and I can get around to port matching the the throttle body opening now.
05-09-2016, 11:42 PM
#14
Honda-Tech Member
Thread Starter
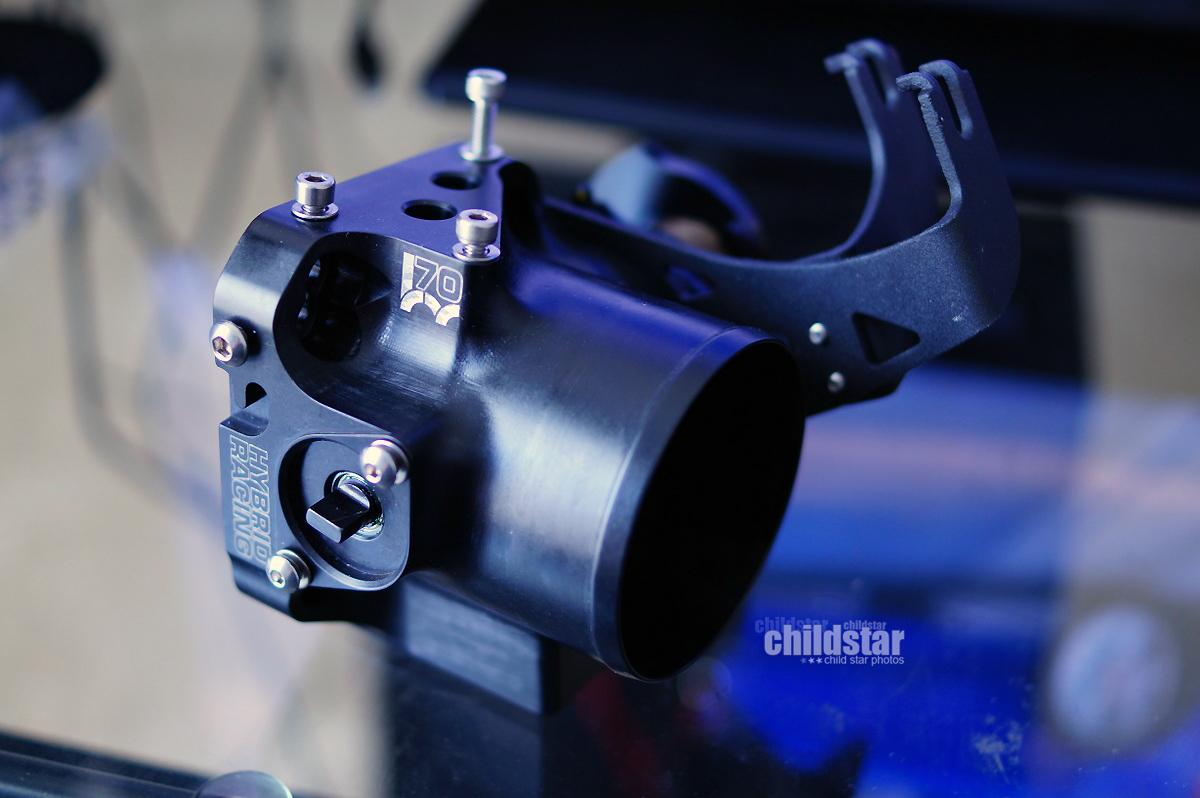
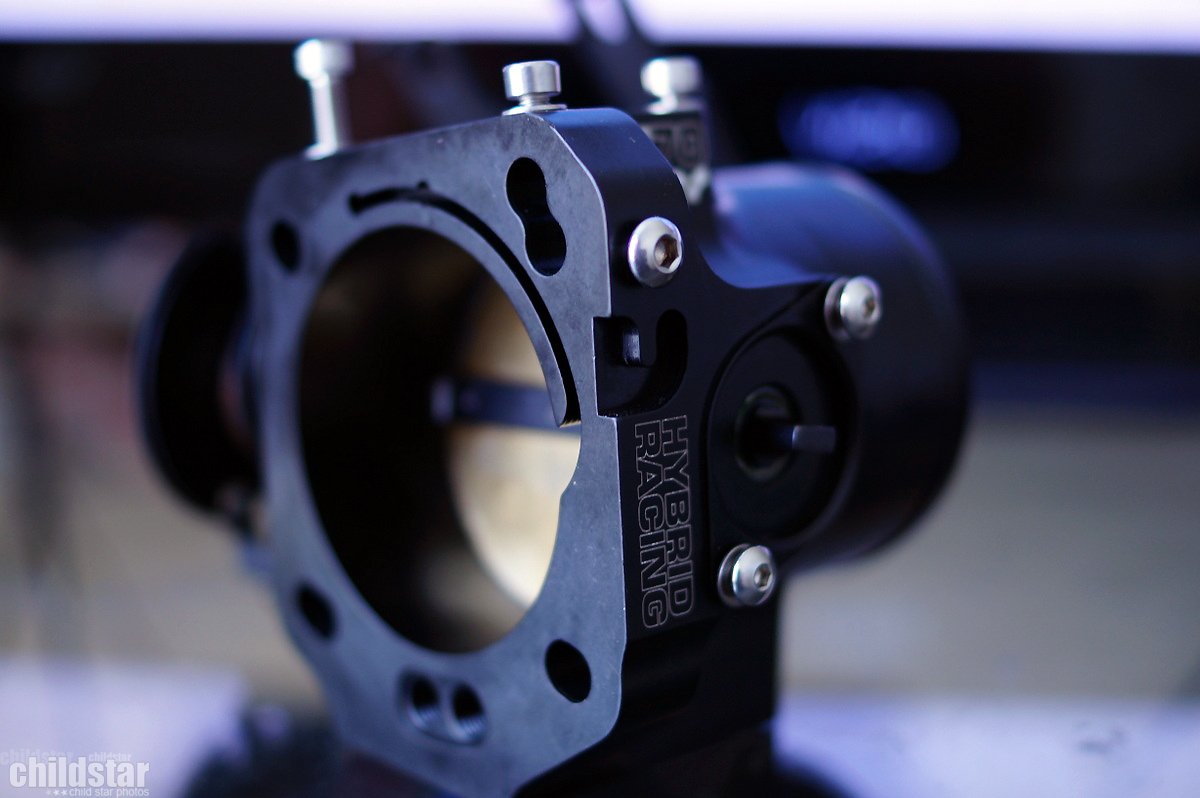
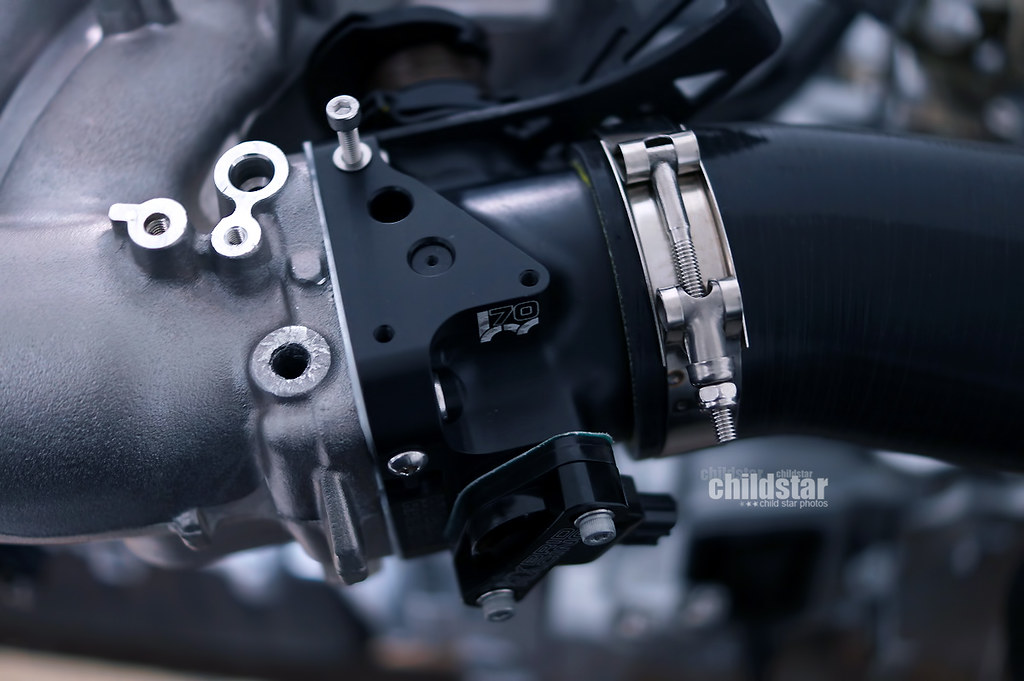
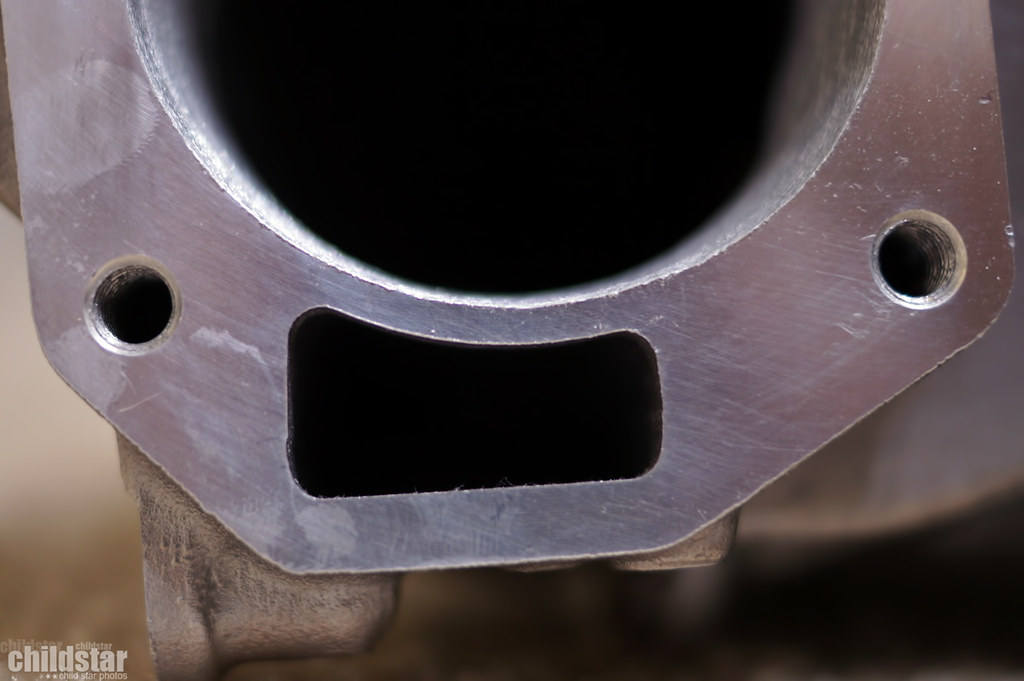
Thermal gasket provided with the 70mm throttle body
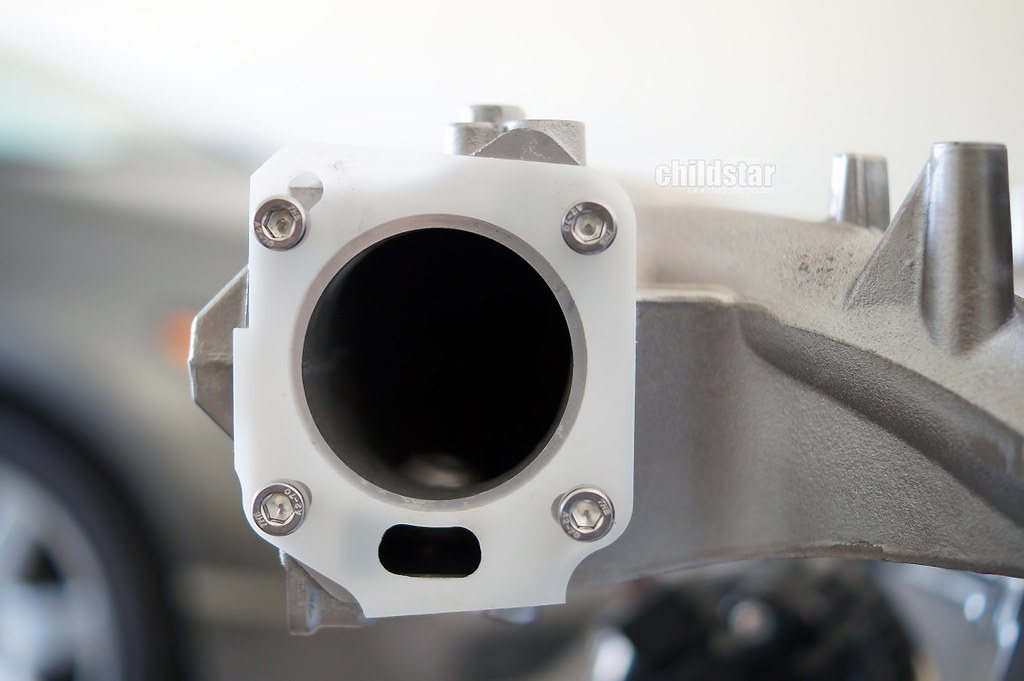
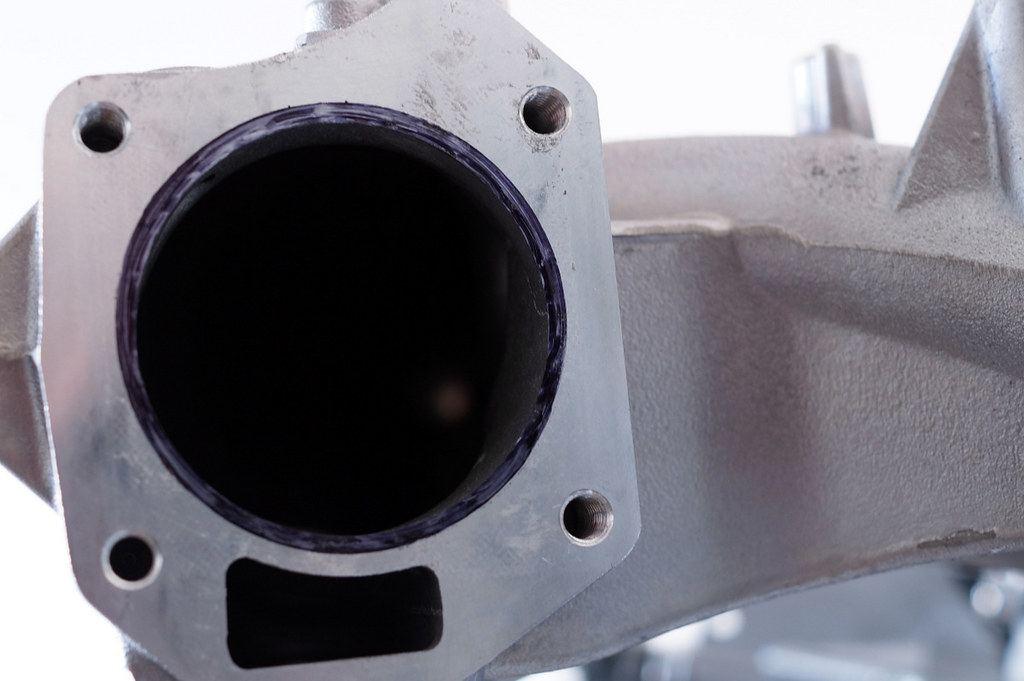
Got the opening all drawn on to port match it
Just some random side shot. I thought it was kinda cool how the shiny bits are blending together pretty well (IMO of course)
rear look before blocking off ports

overhead look before blocking off ports
Get a look at the spoon sports tool box lol
HR throttle position sensor installed

EVAP purge blocked off. Uses a nice and simple press in piece

Cruise control bracket removed
lower IACV ports blocked off
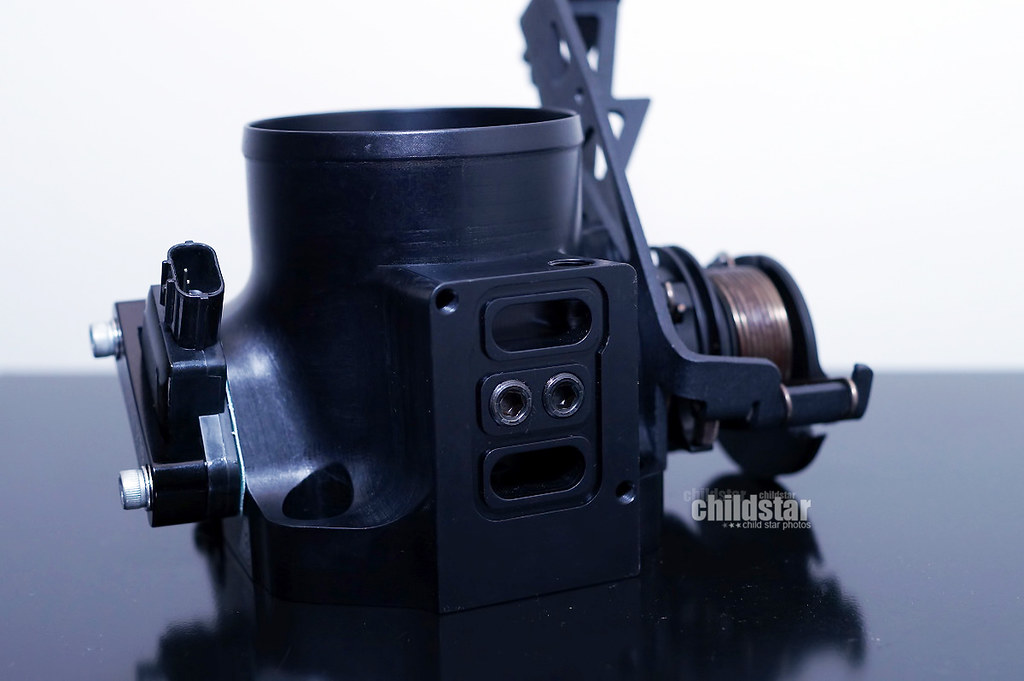
bolted in place with the nice supplied hardware
my next task whenever i decide to not be lazy

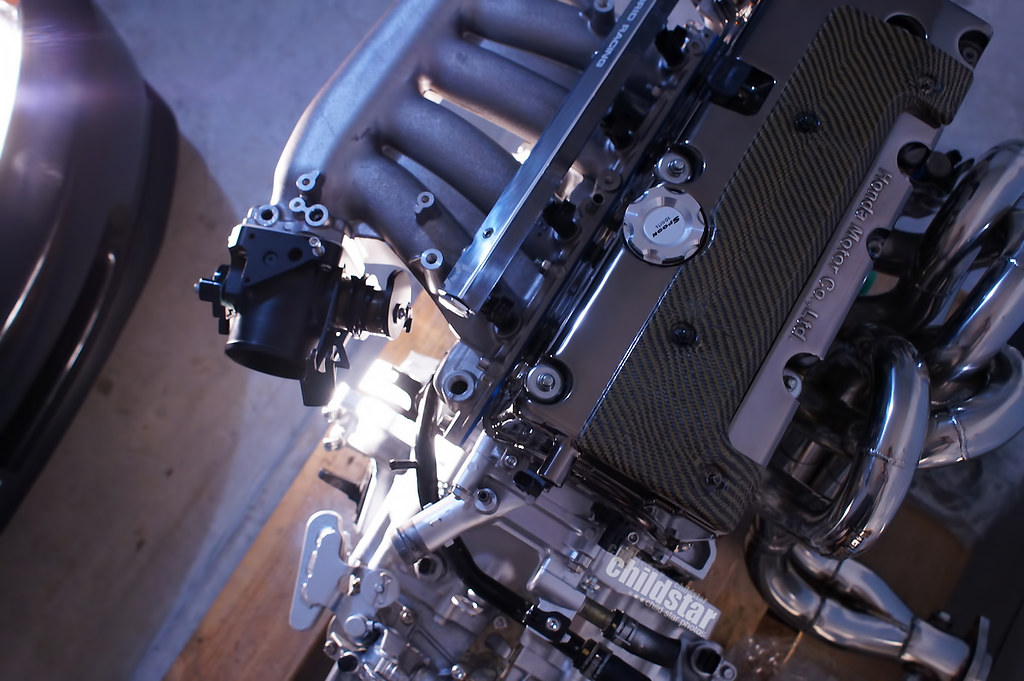
I like this shot because i've done the angle soo many times and I can see the motor change over time
another shot of the removed bracket (so i guess it's not really a shot of the bracket)
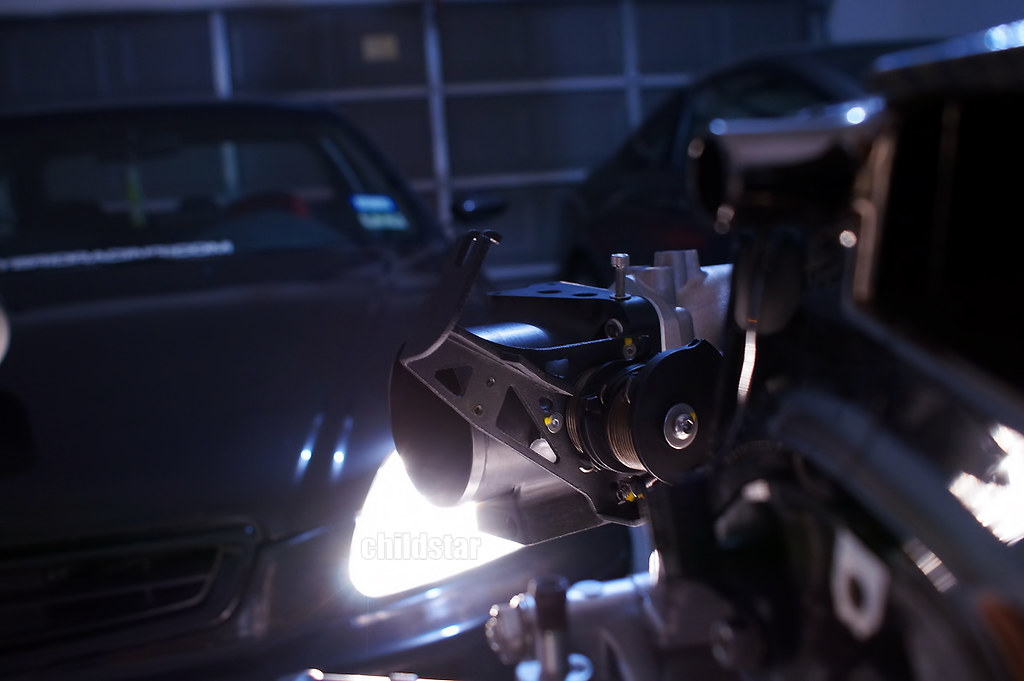
To remind myself that I am making progress, i grabbed my HR cold air intake from my "hybrid racing warehouse room" and threw it on for some pics
and then i finally got bored and went back in the house lol
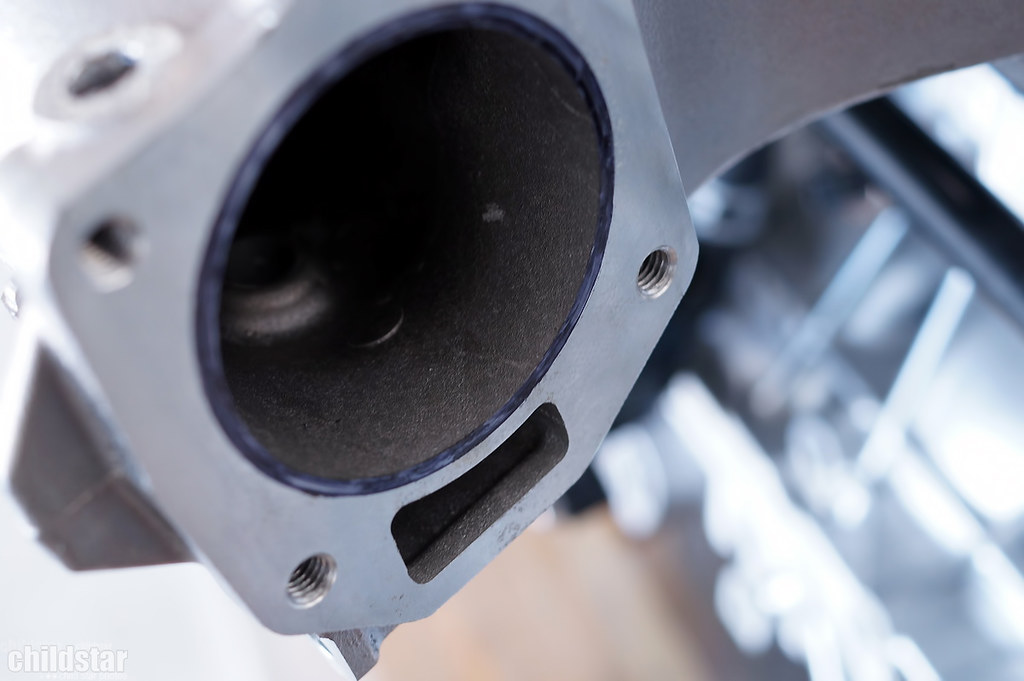
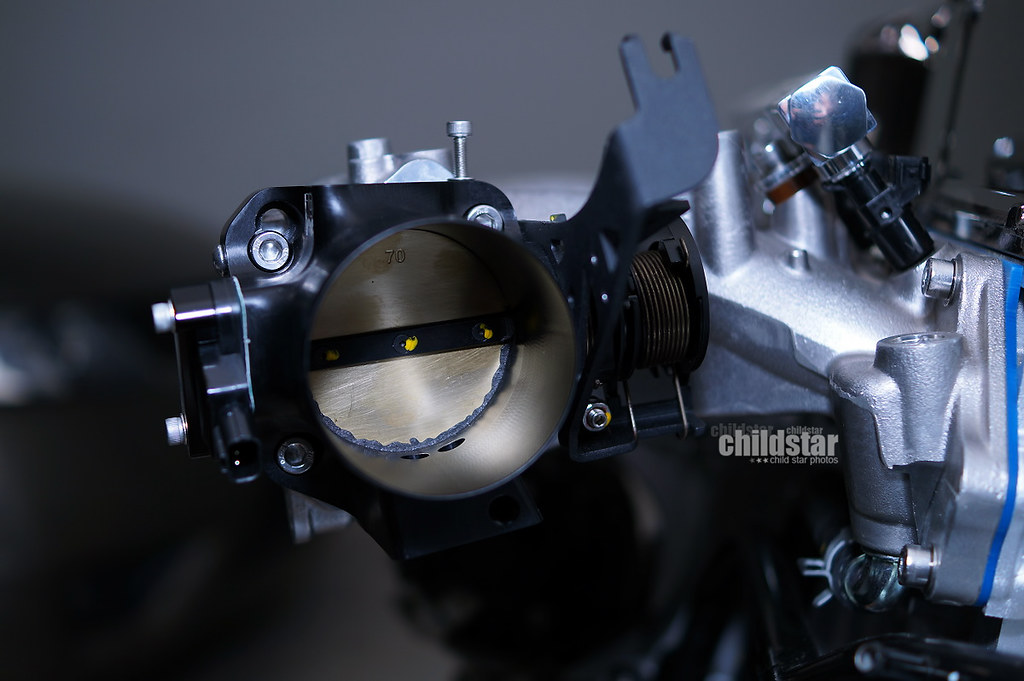
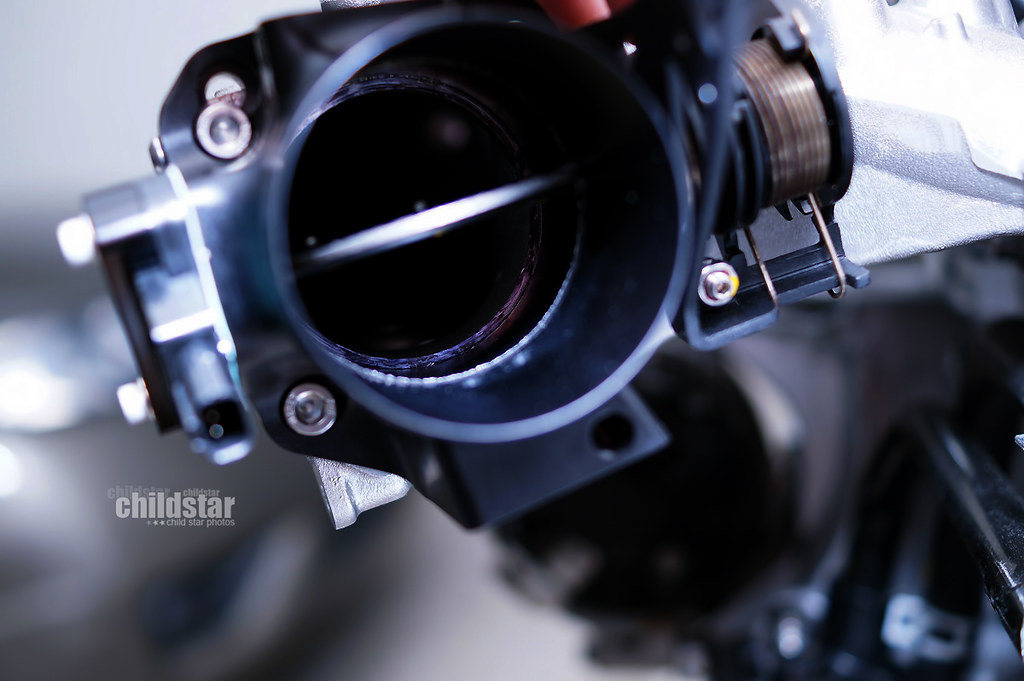
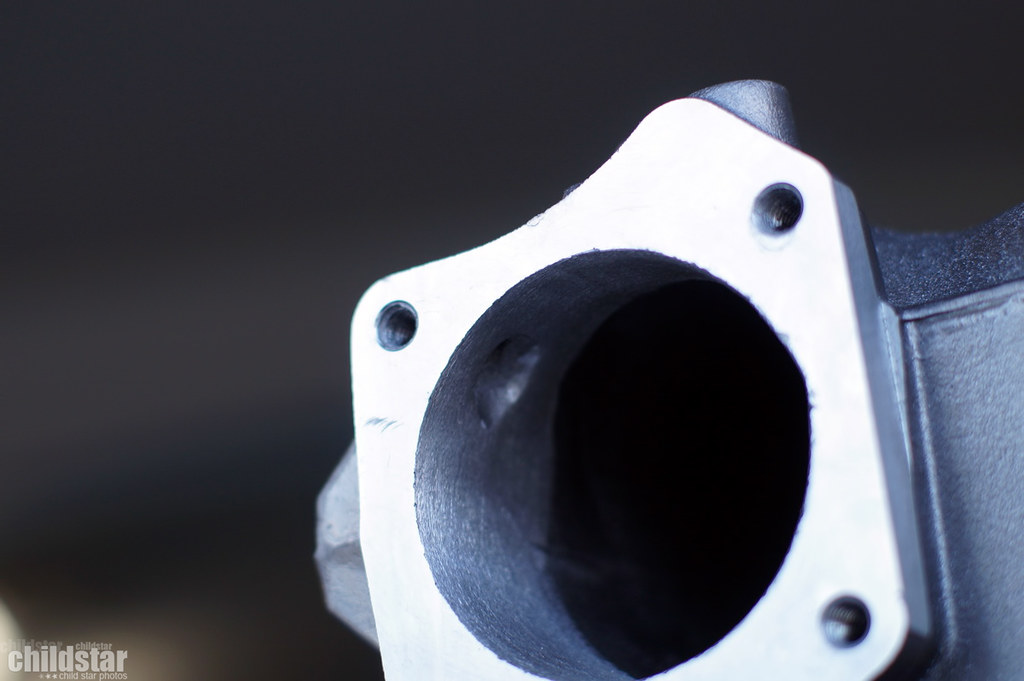
Finally got off my butt and port matched my throttle body. I just used my dremel and a coarse grinding stone (peach-ish colored thingy) It did the job. This is the first time i've tried something like this and I think it came out pretty good. I did have a couple of wavy or uneven spots after my first go at it, but I removed the TB and hit it again but didn't take pics.
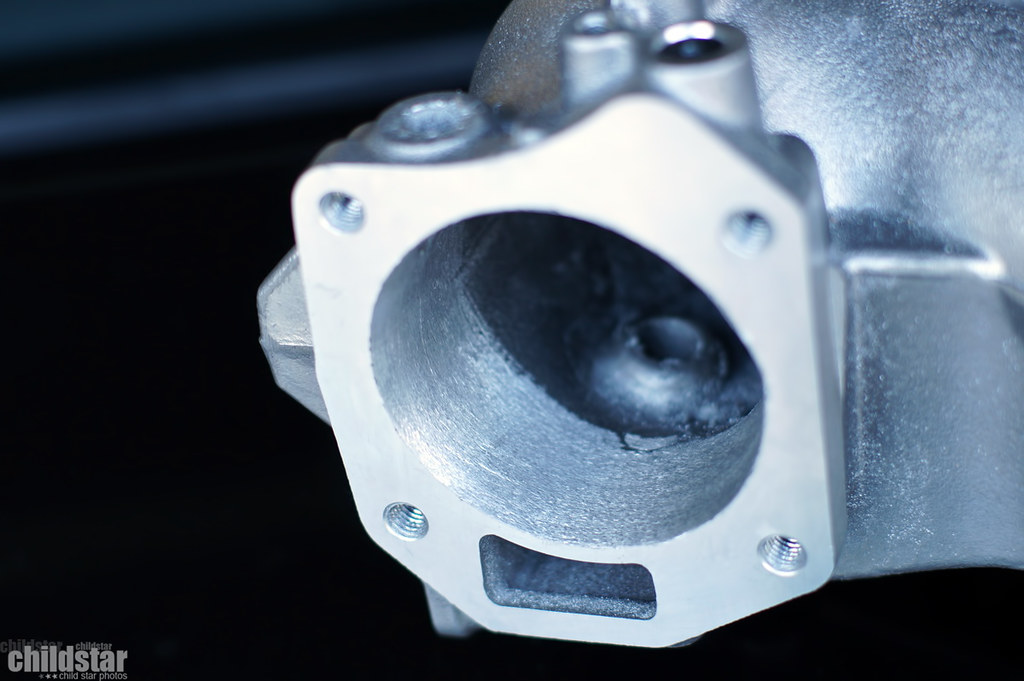
a bit wavy on the right side, bleh
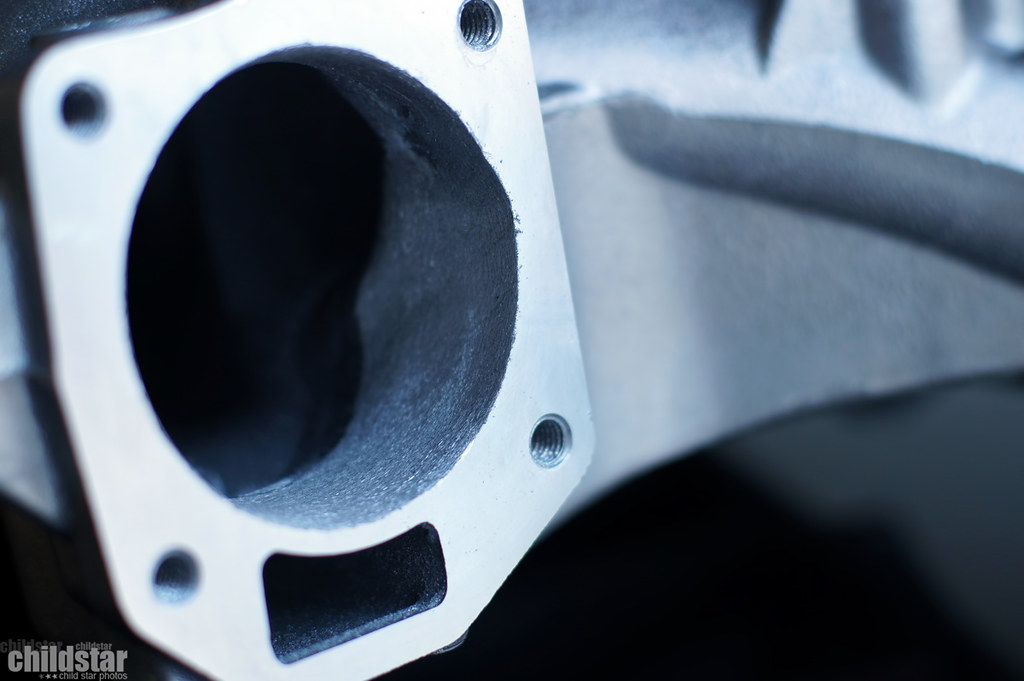
up top looked pretty good to me
the bottom
I may have a tiny bit of a taper but with the throttle body in place it looks flat. might just be the angle of the shot
TB closed and open
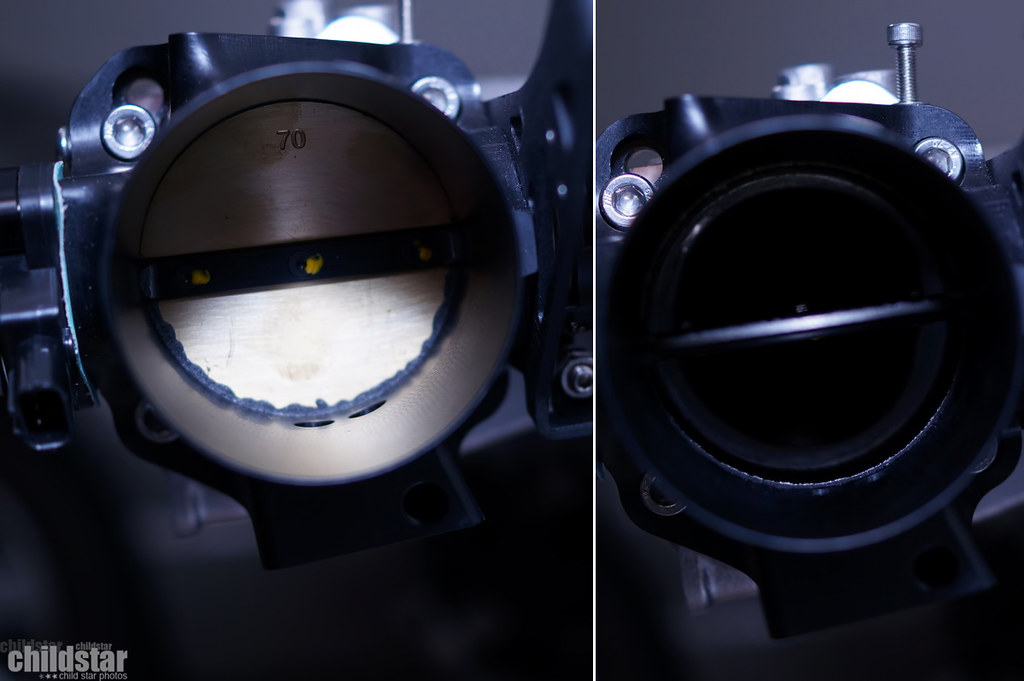
another view inside. Looks like smooth sailng to my non machinist eye

the money pit, just because

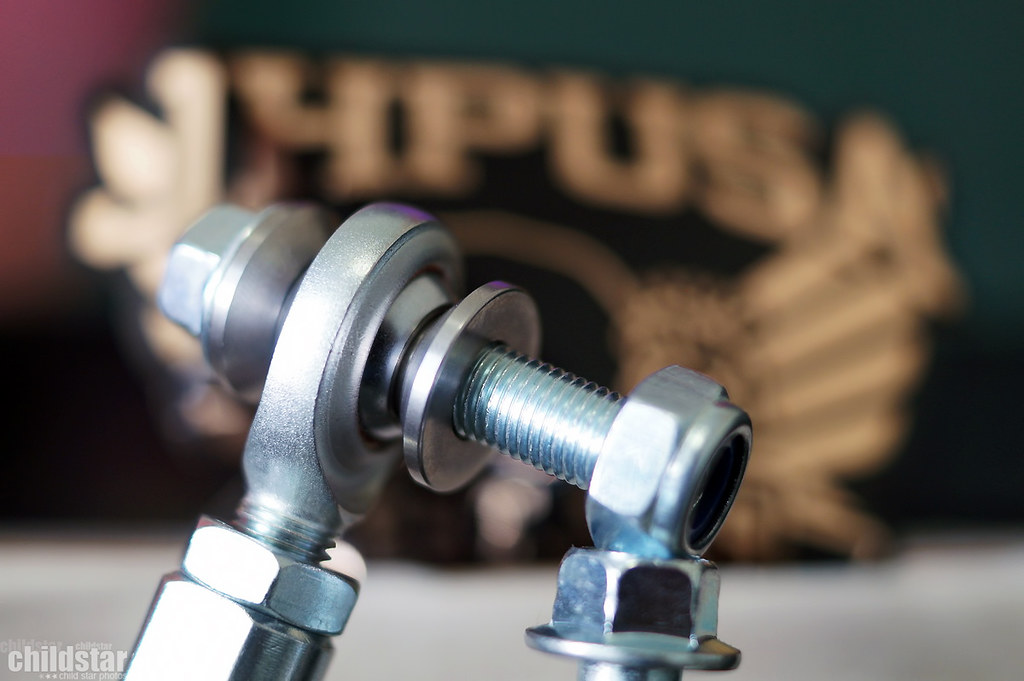
a look at the cleaned rear. Not sure what endlinks i should use for this. I plan on grabbing an ASR sway but don't know if i should use ASR endlinks or function7 endlinks? Any input of info would be helpful
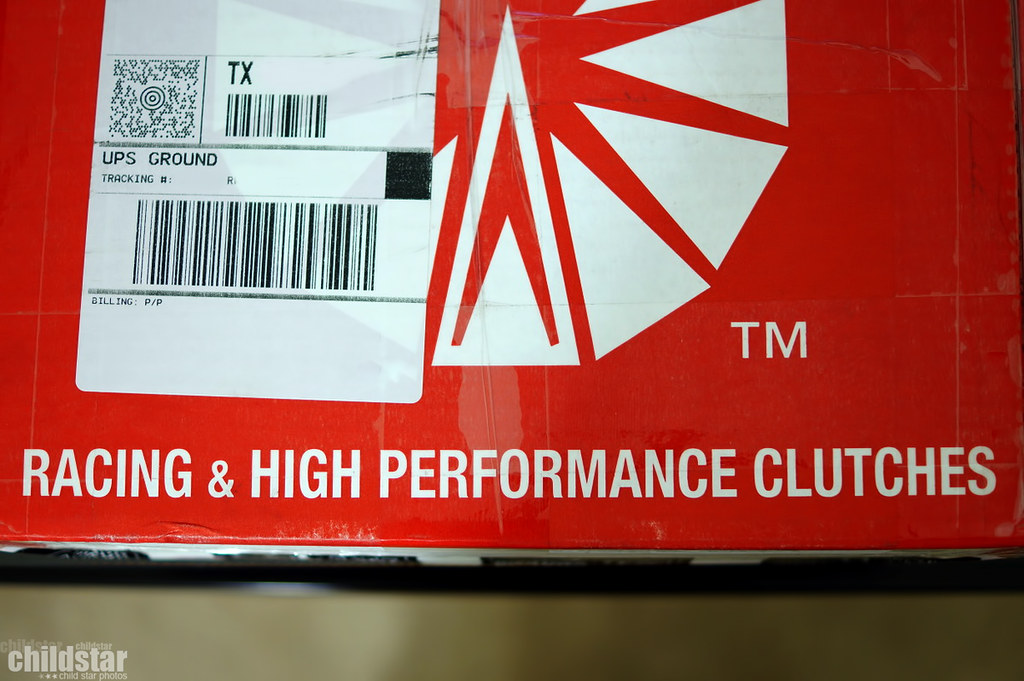
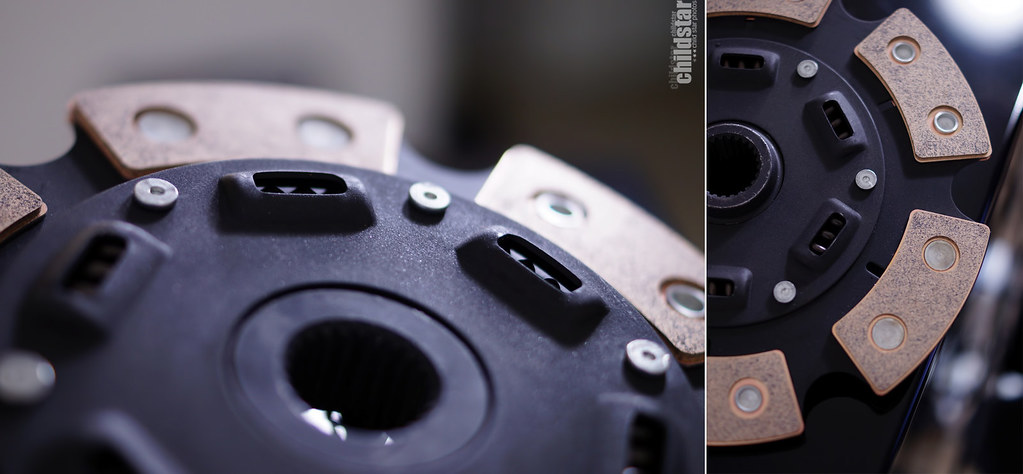
Clutch and pressure plate along with bearings came in.
Action 2MS 6 puck sprung clutch with front and rear caged springs.
Fuse.....sion......HA!!!!
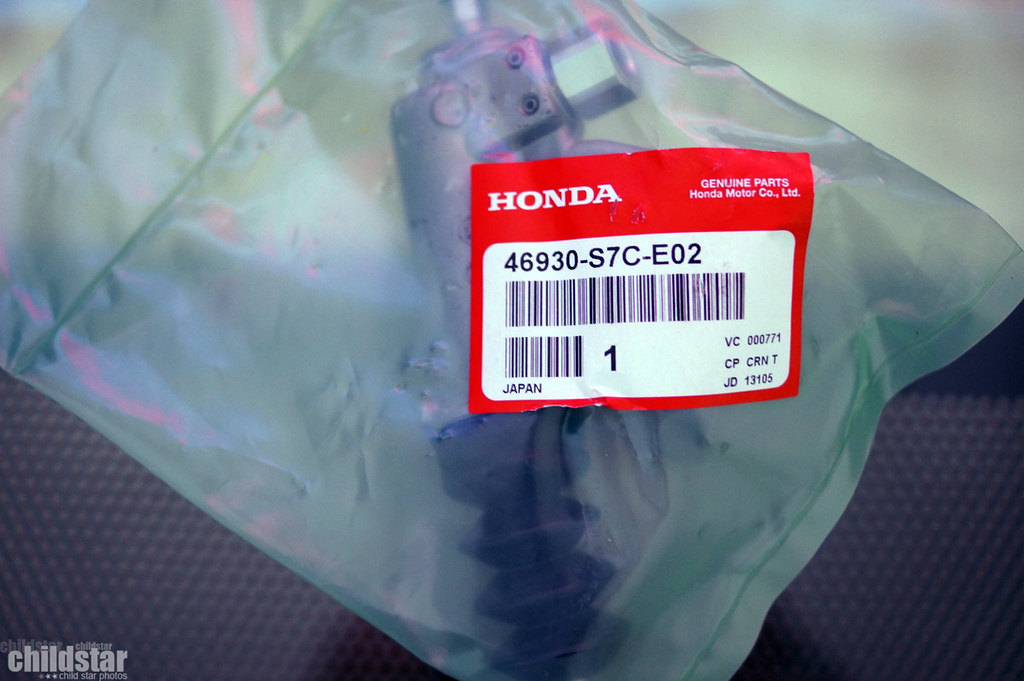
Got all my brand new clutch and flywheel hardware, flywheel inspection plate and bolts, and a brand new clutch slave cylinder. Mocked up the parts, I need to replace my stolen 12point sockets and torque this stuff to spec and close up the engine and trans finally.
clutch slave cylinder all hella new
flywheel cover
clutch bolts
flywheel bolts
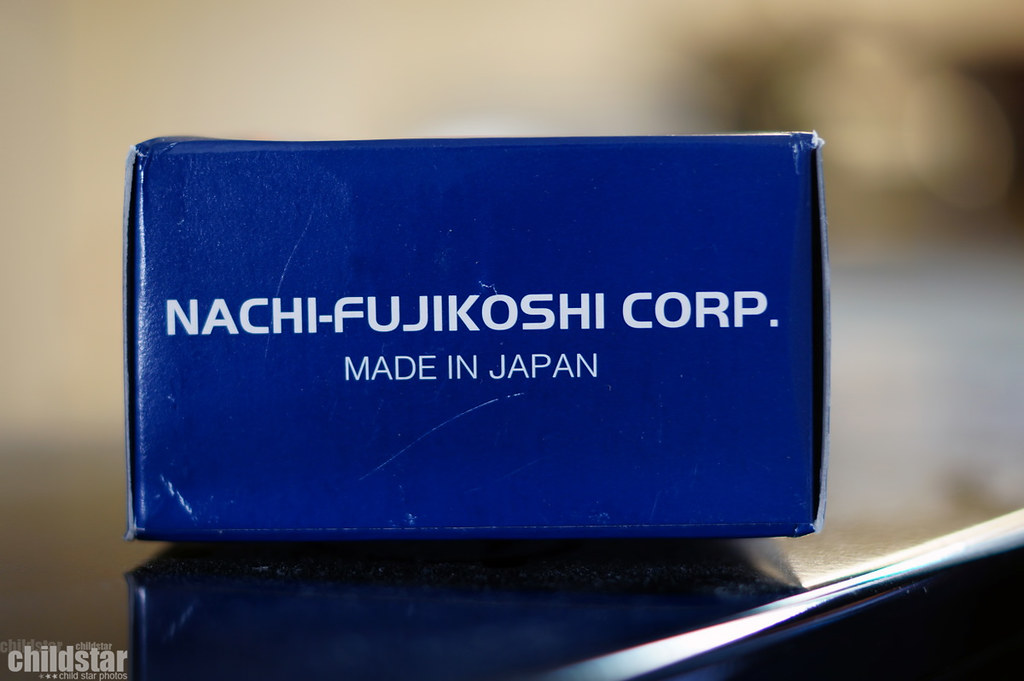
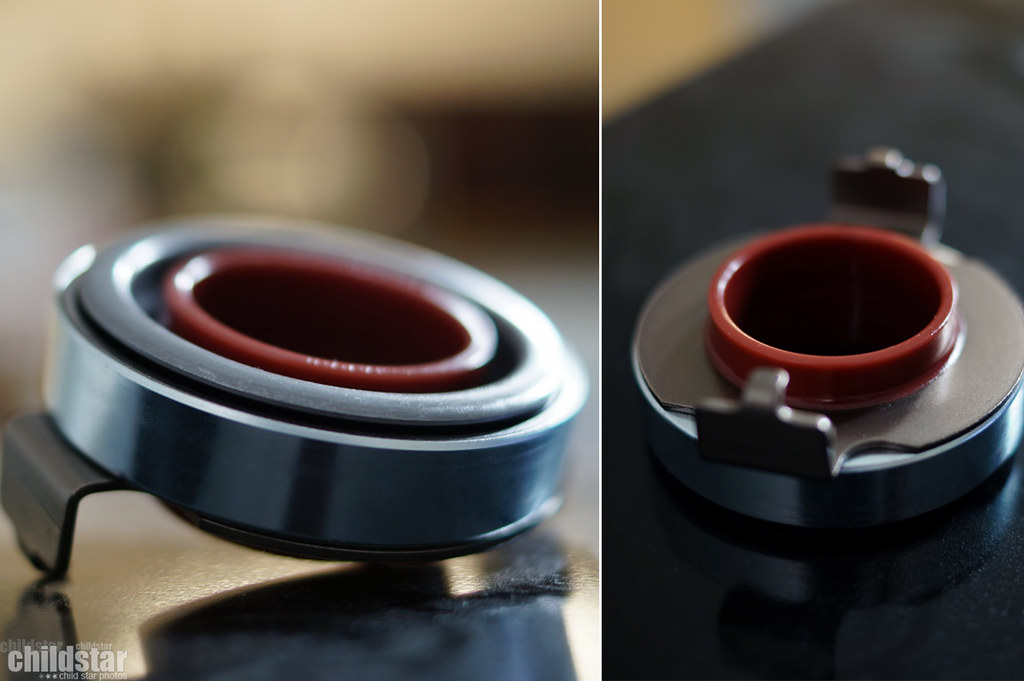
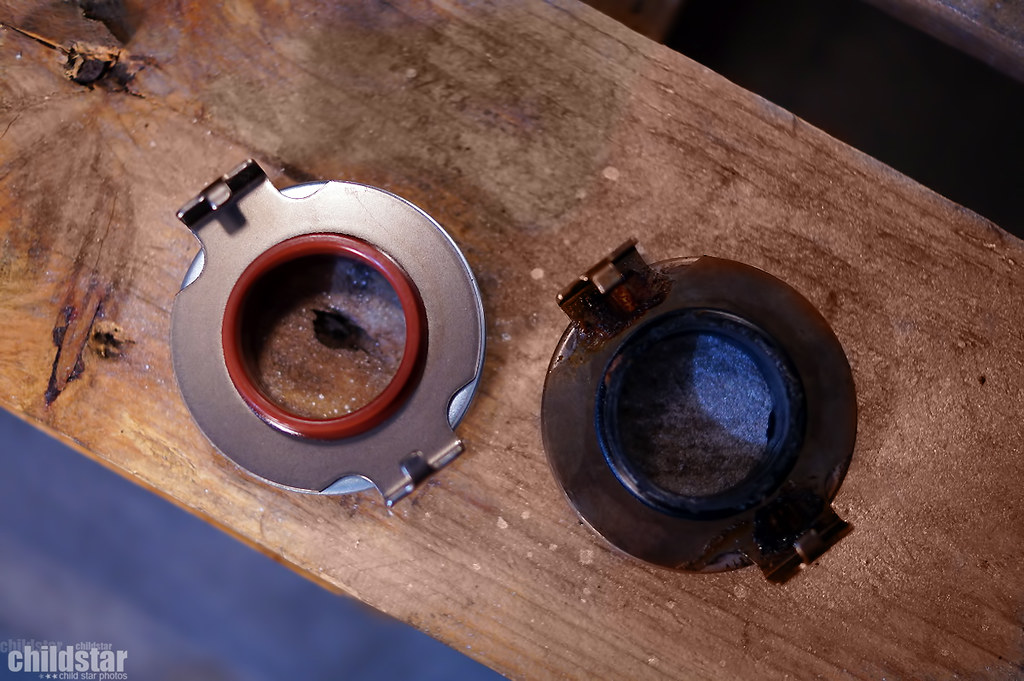
old release bearing
spankin new
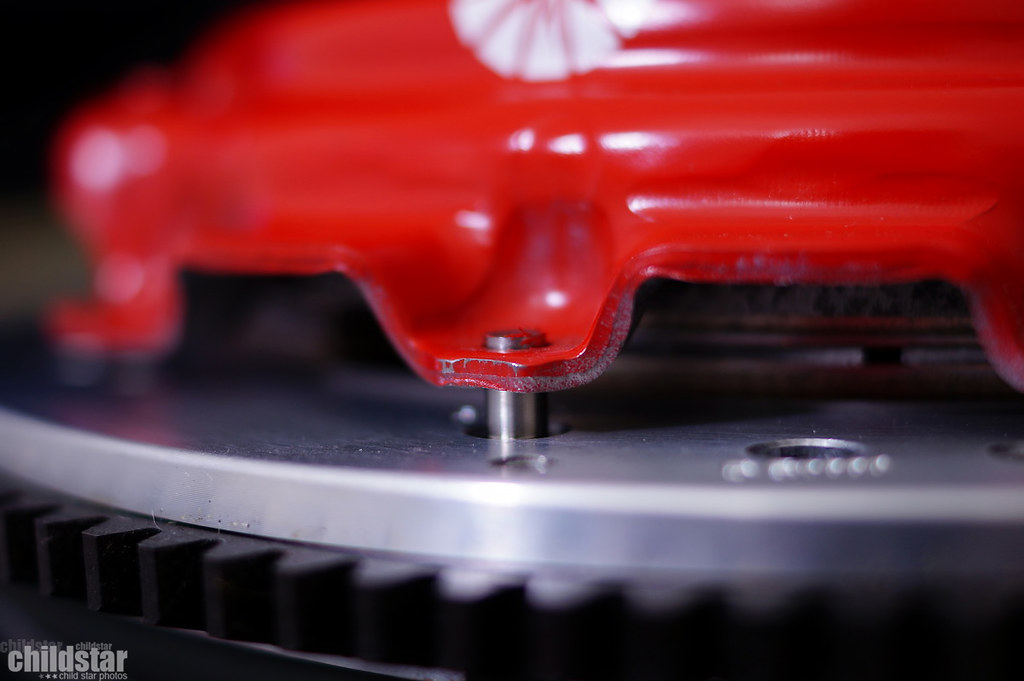
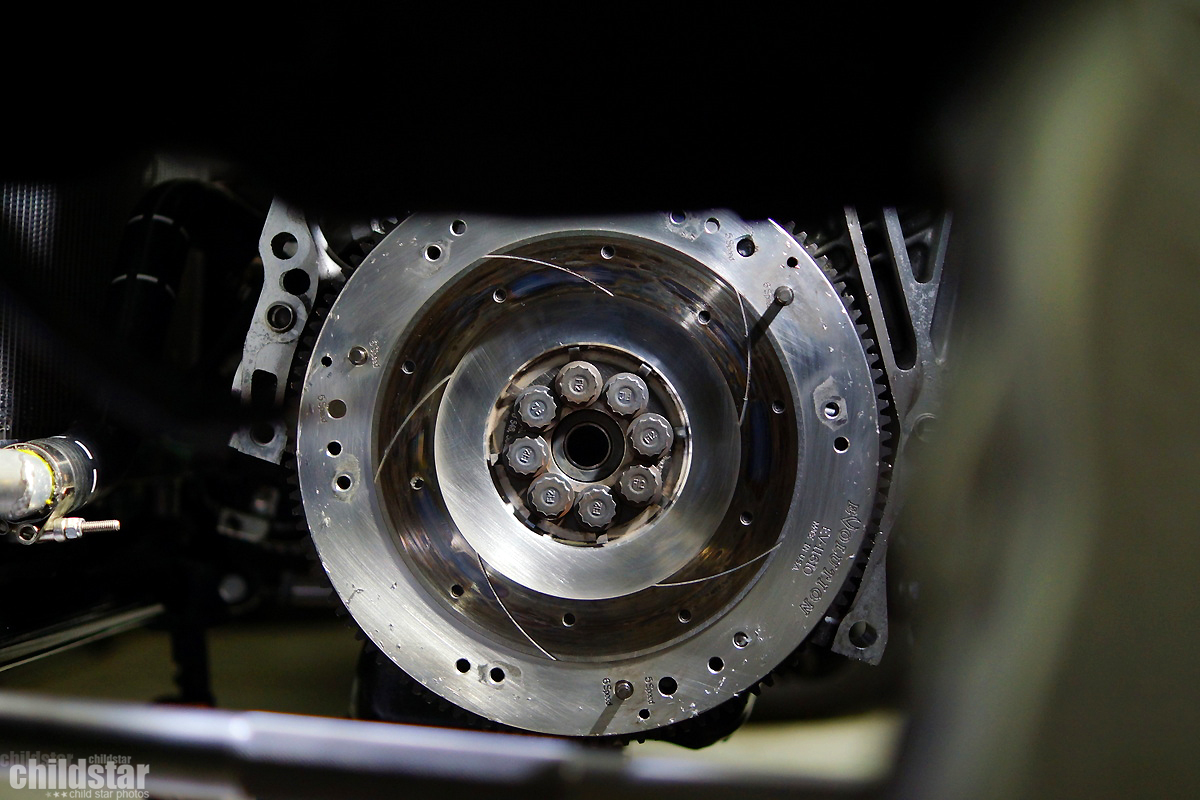
flywheel lightly installed
6 puck
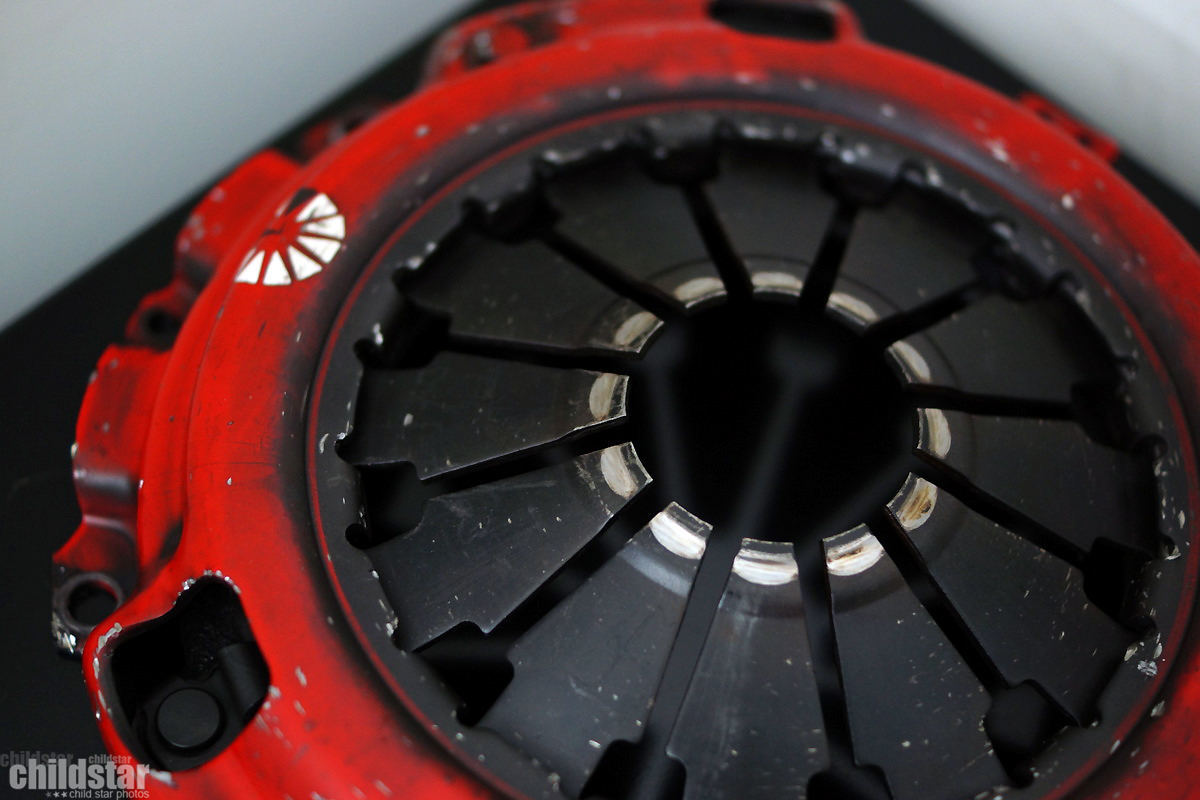
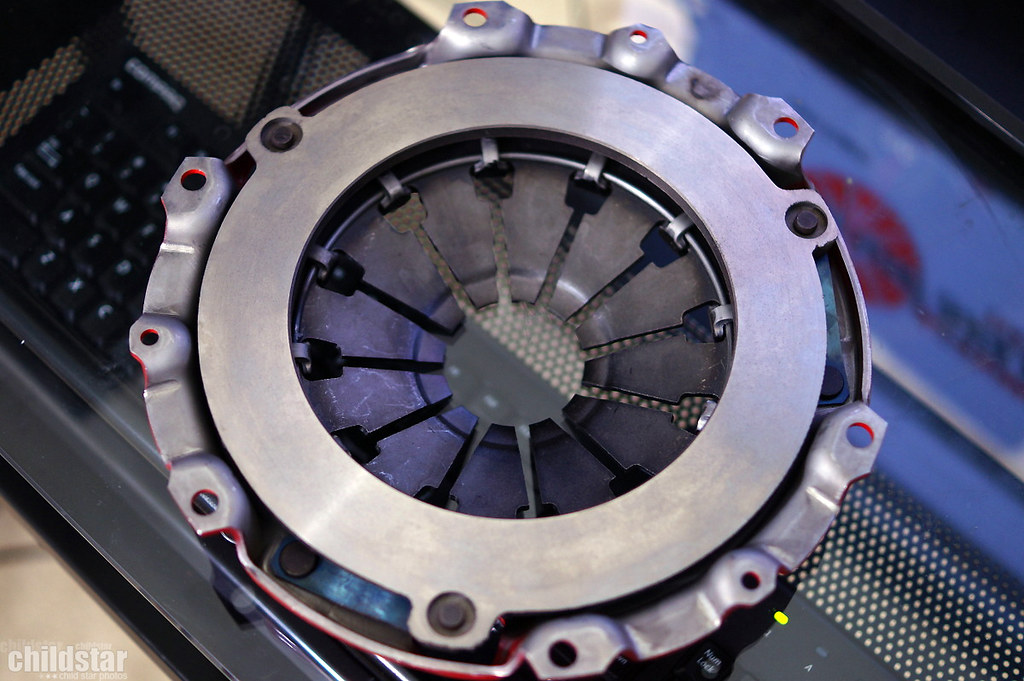
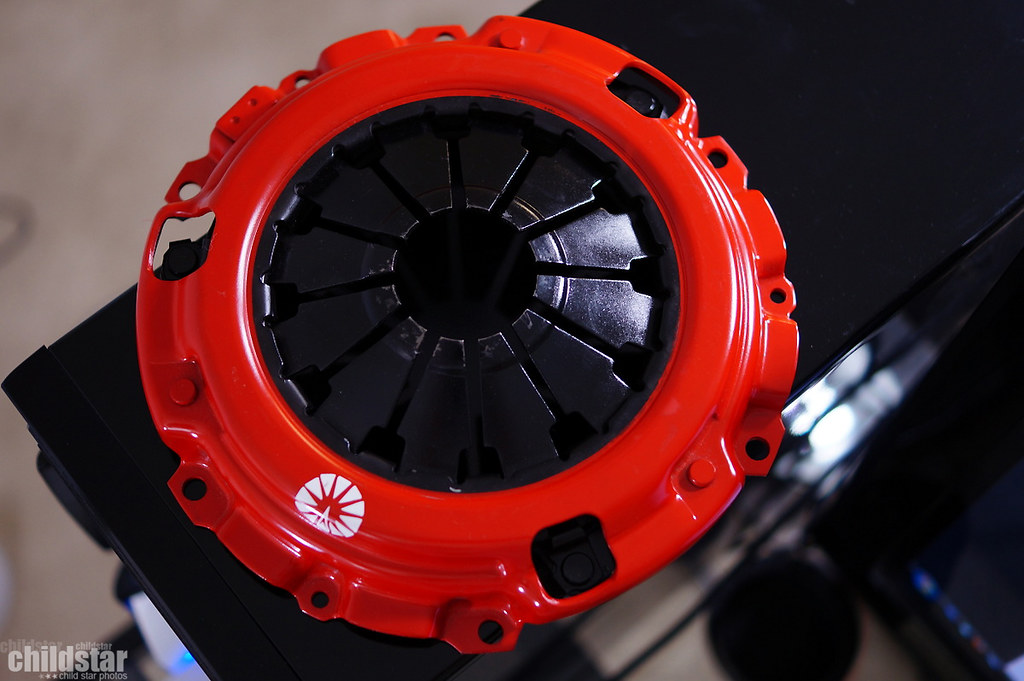
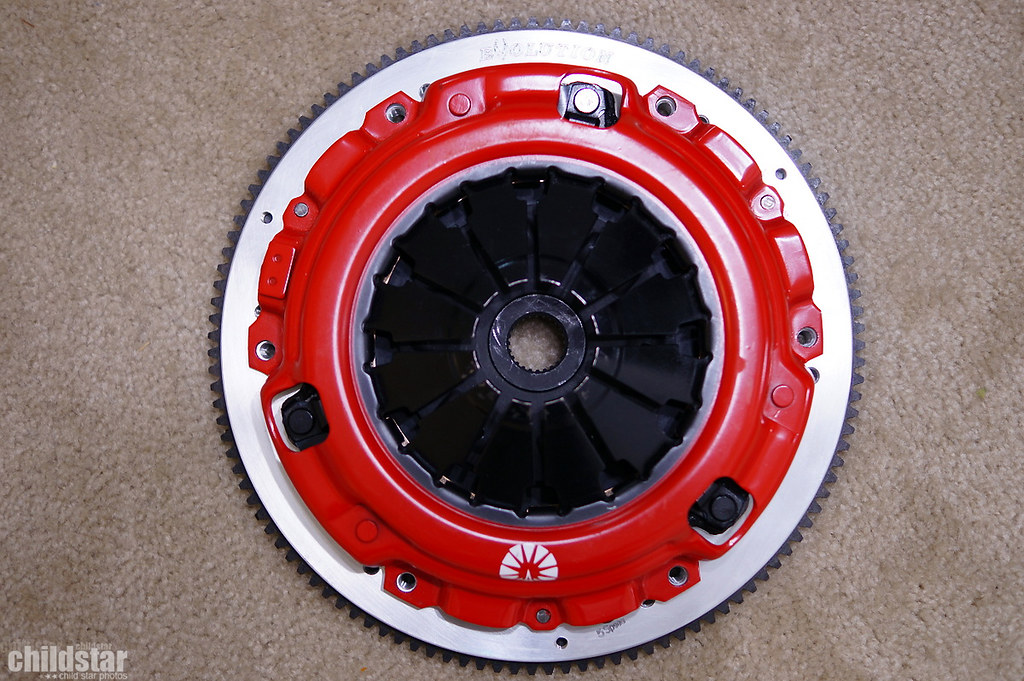
pressure plate slapped on (for picture purposes...what else do you think a photographer does lol)
and like 99% of my oem honda part orders....I forgot to buy some bolts!!! I need the two akward starter bolts
Got the opening all drawn on to port match it
Just some random side shot. I thought it was kinda cool how the shiny bits are blending together pretty well (IMO of course)
rear look before blocking off ports
overhead look before blocking off ports
Get a look at the spoon sports tool box lol
HR throttle position sensor installed
EVAP purge blocked off. Uses a nice and simple press in piece
Cruise control bracket removed
lower IACV ports blocked off
bolted in place with the nice supplied hardware
my next task whenever i decide to not be lazy
I like this shot because i've done the angle soo many times and I can see the motor change over time
another shot of the removed bracket (so i guess it's not really a shot of the bracket)
To remind myself that I am making progress, i grabbed my HR cold air intake from my "hybrid racing warehouse room" and threw it on for some pics
and then i finally got bored and went back in the house lol
Finally got off my butt and port matched my throttle body. I just used my dremel and a coarse grinding stone (peach-ish colored thingy) It did the job. This is the first time i've tried something like this and I think it came out pretty good. I did have a couple of wavy or uneven spots after my first go at it, but I removed the TB and hit it again but didn't take pics.
a bit wavy on the right side, bleh
up top looked pretty good to me
the bottom
I may have a tiny bit of a taper but with the throttle body in place it looks flat. might just be the angle of the shot
TB closed and open
another view inside. Looks like smooth sailng to my non machinist eye
the money pit, just because
a look at the cleaned rear. Not sure what endlinks i should use for this. I plan on grabbing an ASR sway but don't know if i should use ASR endlinks or function7 endlinks? Any input of info would be helpful
Clutch and pressure plate along with bearings came in.
Action 2MS 6 puck sprung clutch with front and rear caged springs.
Fuse.....sion......HA!!!!
Got all my brand new clutch and flywheel hardware, flywheel inspection plate and bolts, and a brand new clutch slave cylinder. Mocked up the parts, I need to replace my stolen 12point sockets and torque this stuff to spec and close up the engine and trans finally.
clutch slave cylinder all hella new
flywheel cover
clutch bolts
flywheel bolts
old release bearing
spankin new
flywheel lightly installed
6 puck
pressure plate slapped on (for picture purposes...what else do you think a photographer does lol)
and like 99% of my oem honda part orders....I forgot to buy some bolts!!! I need the two akward starter bolts
05-09-2016, 11:51 PM
#15
Honda-Tech Member
Thread Starter
Downstar (Boltboys) transmission bolts ready to go

flywheel, clutch, and pressure plate properly in place
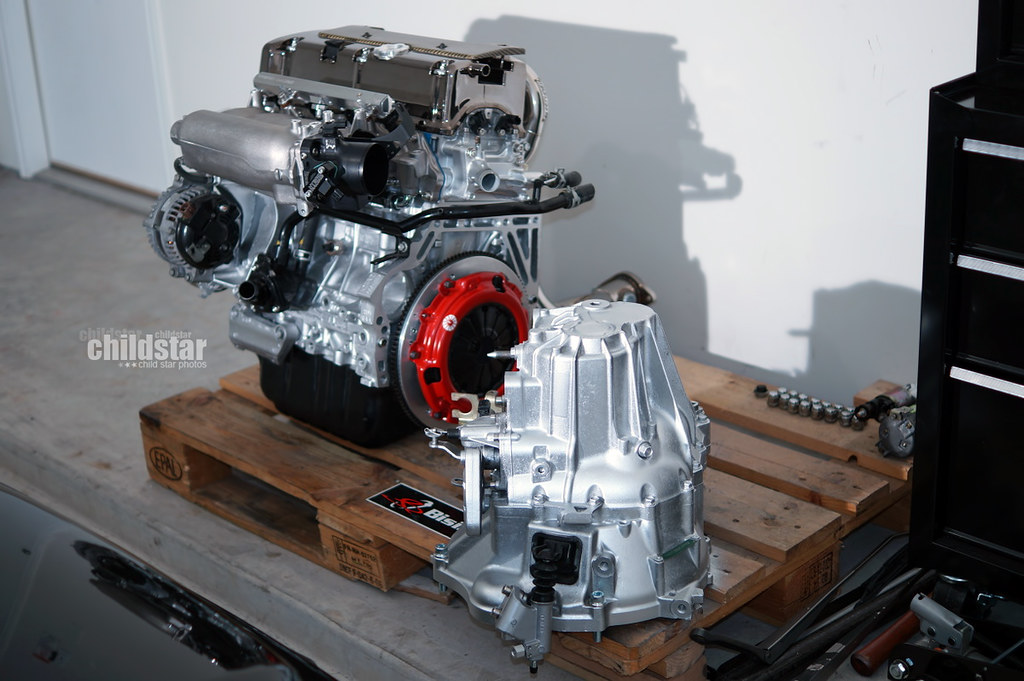
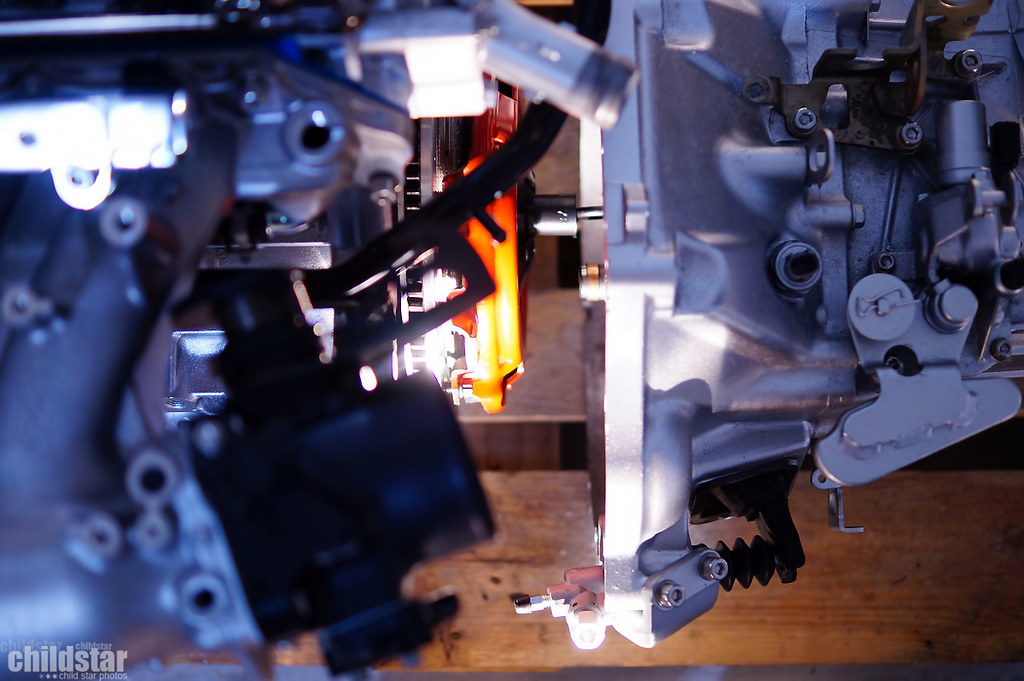
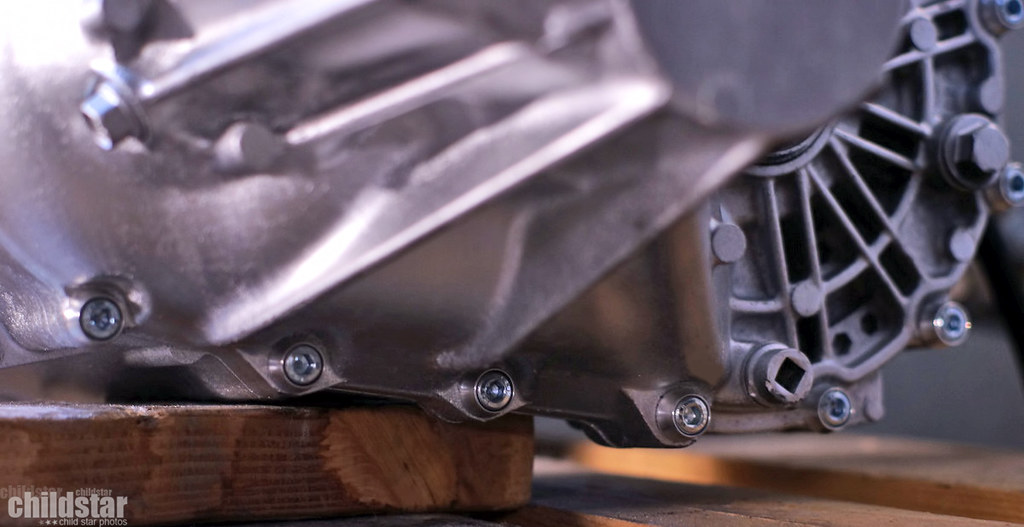
"hella flush" fitment of that longblock and trans lol
i love these bolts
after a year and a half, it's finally together

flywheel inspection cover on
starter bolted down

with boredom, comes mock ups
threw a few more downstar bolts in random spots that i've neglected. Still have more in the engine kit too!
threw the hoses, fuel line, and clutch line on just to get a feel for how it'll look together
the junker
only one place wraps things up this thorough

snagged some discontinued 16" NT03's
test fit
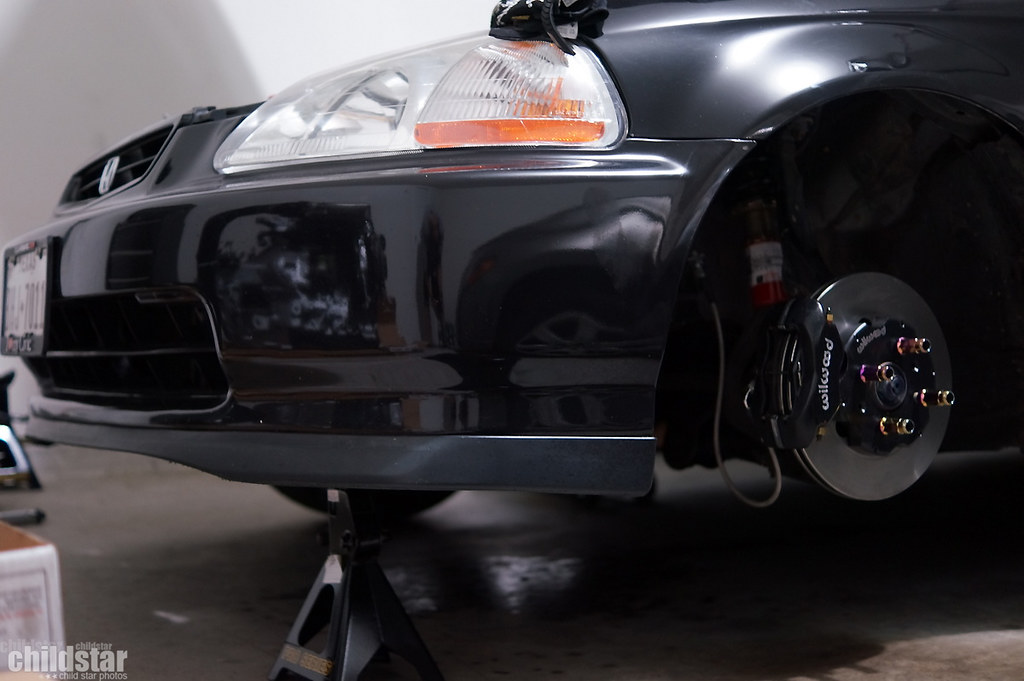
installed my Wilwood brake setup finally.
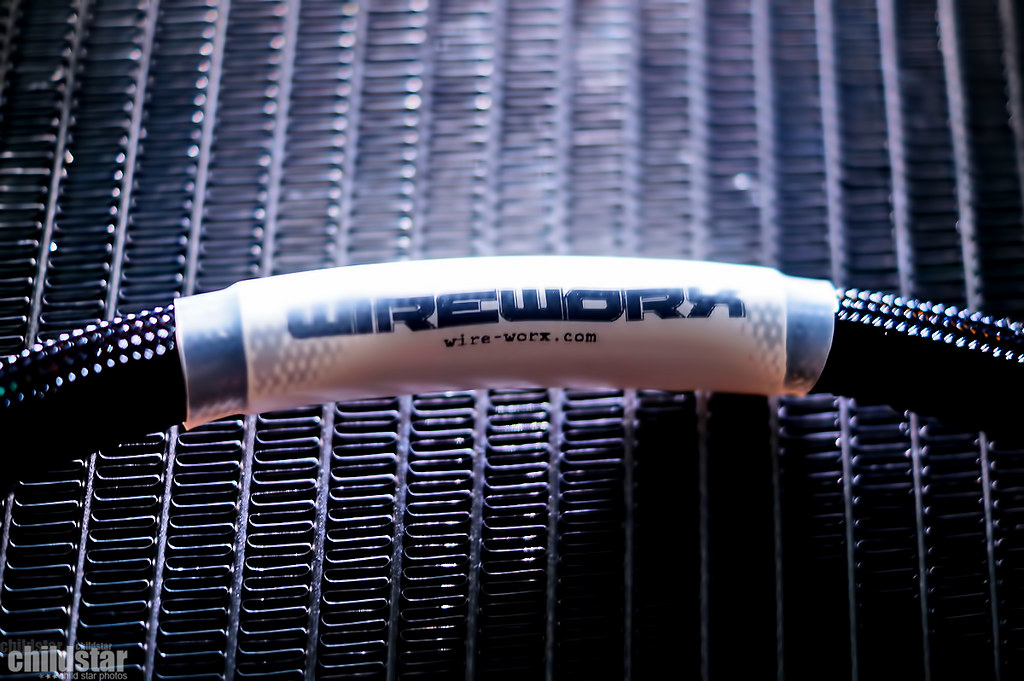
Put an order in for a Wireworx stage 1 engine harness and that punched my wallet in the nutz so i picked up some random things I've been wanting.
Downstar transmission bell housing bolts with new beauty washers
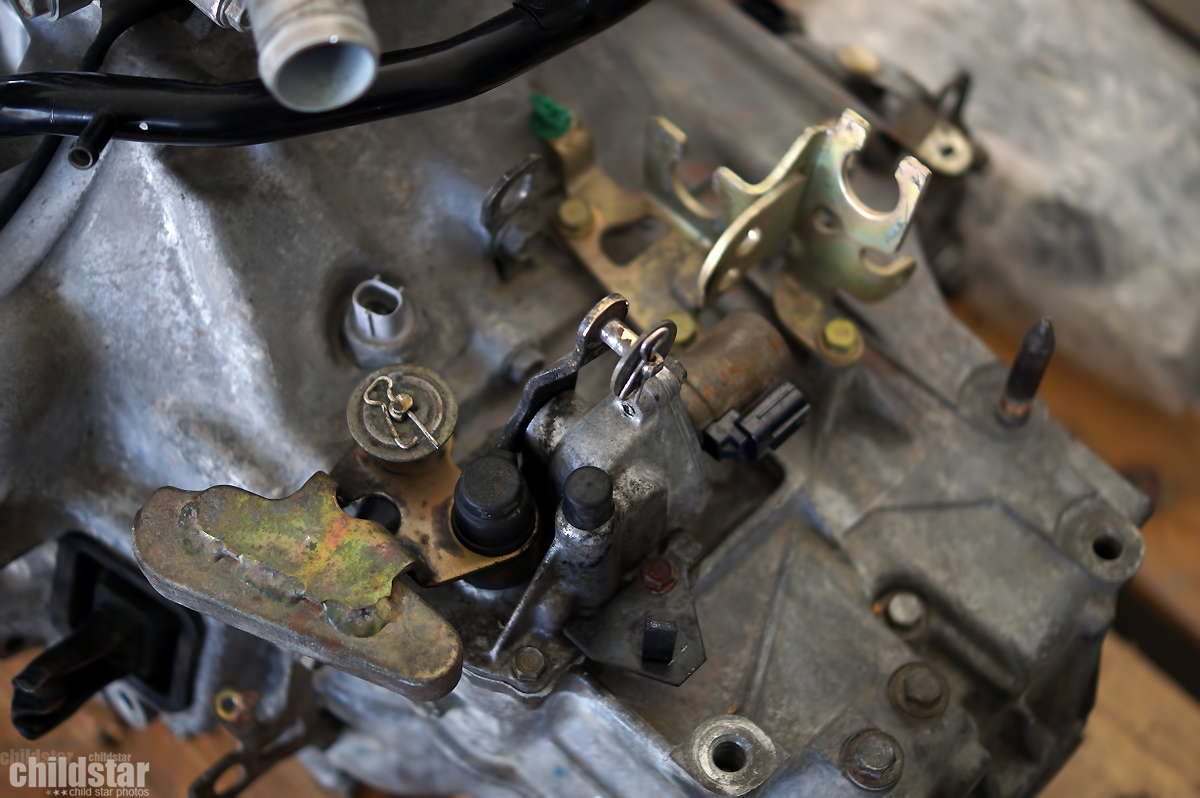
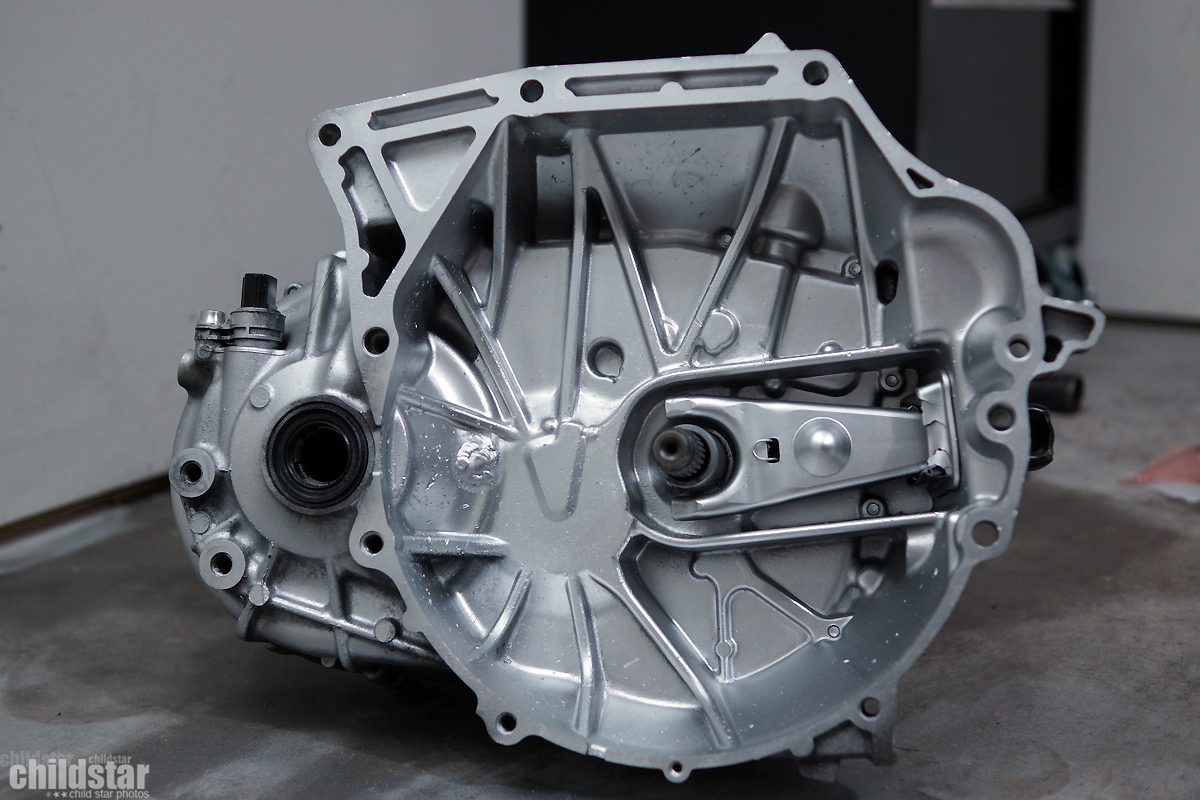
It was nice seeing inside the transmission with all its cleanliness. Hondabonded the hell out of the shifter are and retaining bolt when I put it back together lol

Played around with flash angles to show how they shine
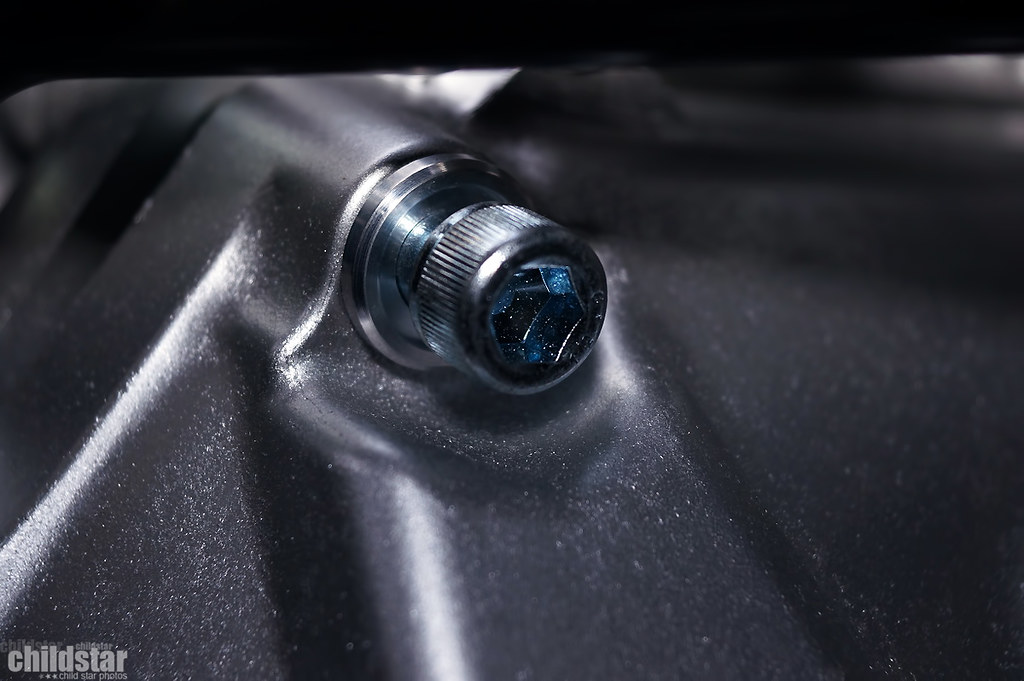
Hardly any bolts remain that are original unless they will be changed when I get my A/C P/S delete kit. I am keeping the factory oil pan bolts. Not bothering with touching those since my motor is nicely sealed.
Also got around to installing a few of the Downstar bolts from the main engine kit. It's crazy, but I still have like 8 bolts from that kit and I don't even know where they go lol.
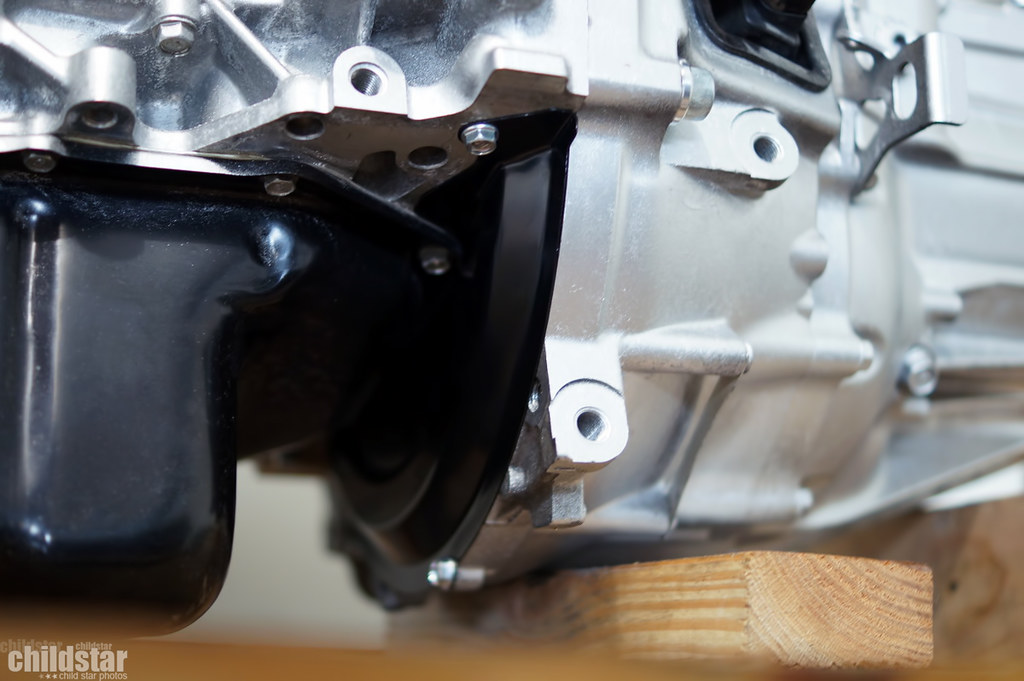
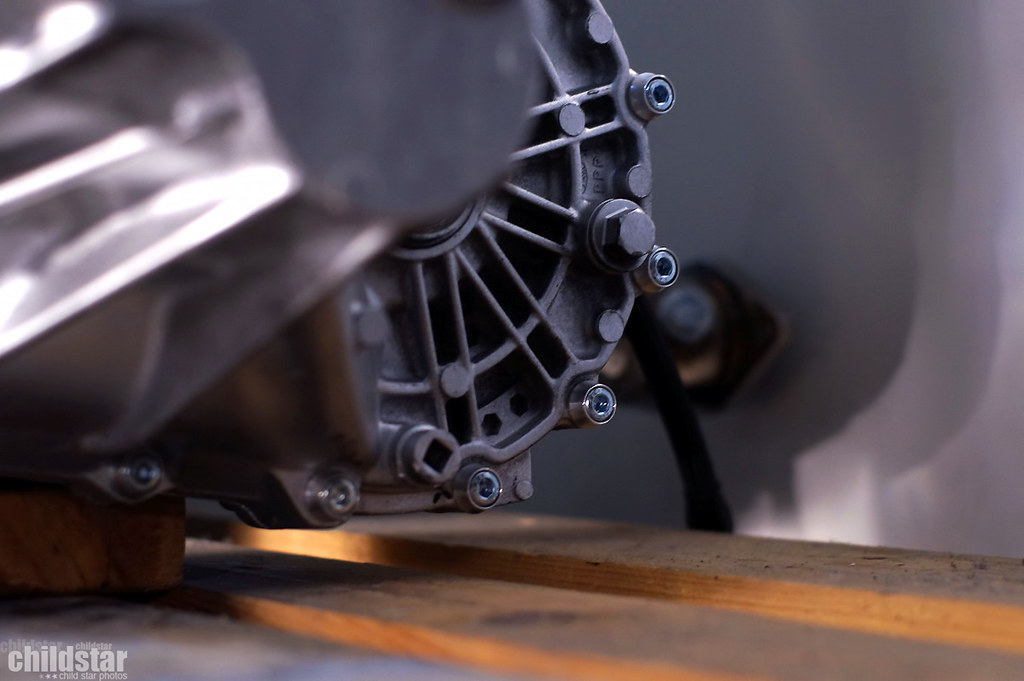
Rear of the trans. I need to replace my seals or at least remove my overspray off of them.

another rear shot
the block o' wood of epic balance
dead on lighting. I've also been trying to decide how I want to run the fuel lines or how i'll be securing them in place.
Then I finally got bored enough to go back in the house
flywheel, clutch, and pressure plate properly in place
"hella flush" fitment of that longblock and trans lol
i love these bolts
after a year and a half, it's finally together
flywheel inspection cover on
starter bolted down
with boredom, comes mock ups
threw a few more downstar bolts in random spots that i've neglected. Still have more in the engine kit too!
threw the hoses, fuel line, and clutch line on just to get a feel for how it'll look together
the junker
only one place wraps things up this thorough
snagged some discontinued 16" NT03's
test fit
installed my Wilwood brake setup finally.
Put an order in for a Wireworx stage 1 engine harness and that punched my wallet in the nutz so i picked up some random things I've been wanting.
Downstar transmission bell housing bolts with new beauty washers
It was nice seeing inside the transmission with all its cleanliness. Hondabonded the hell out of the shifter are and retaining bolt when I put it back together lol
Played around with flash angles to show how they shine
Hardly any bolts remain that are original unless they will be changed when I get my A/C P/S delete kit. I am keeping the factory oil pan bolts. Not bothering with touching those since my motor is nicely sealed.
Also got around to installing a few of the Downstar bolts from the main engine kit. It's crazy, but I still have like 8 bolts from that kit and I don't even know where they go lol.
Rear of the trans. I need to replace my seals or at least remove my overspray off of them.
another rear shot
the block o' wood of epic balance
dead on lighting. I've also been trying to decide how I want to run the fuel lines or how i'll be securing them in place.
Then I finally got bored enough to go back in the house
05-10-2016, 12:07 AM
#16
Honda-Tech Member
Thread Starter
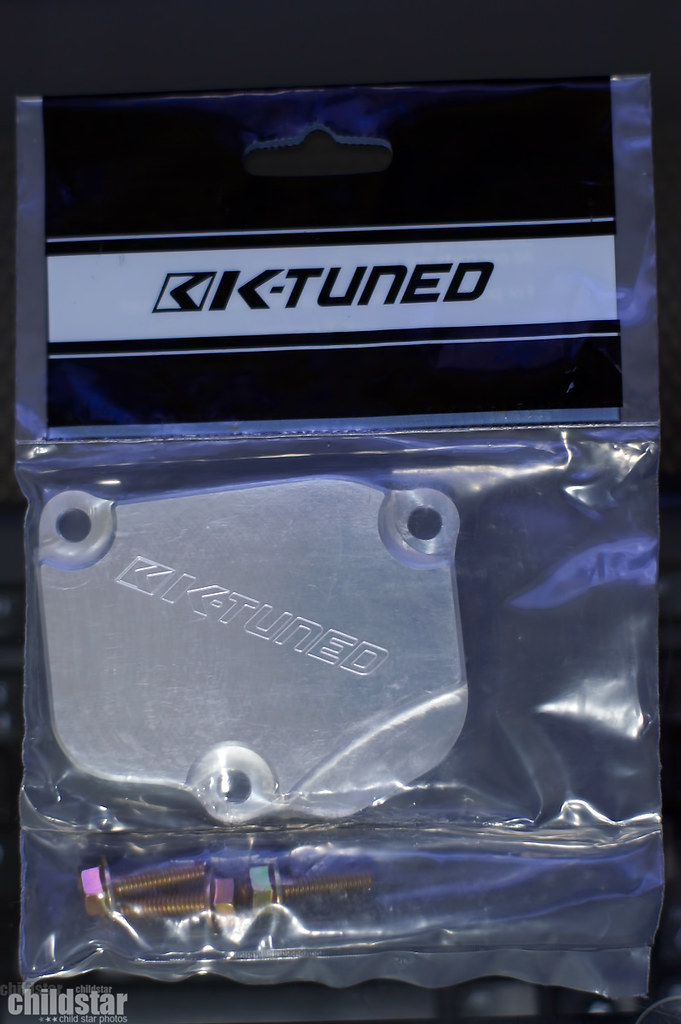
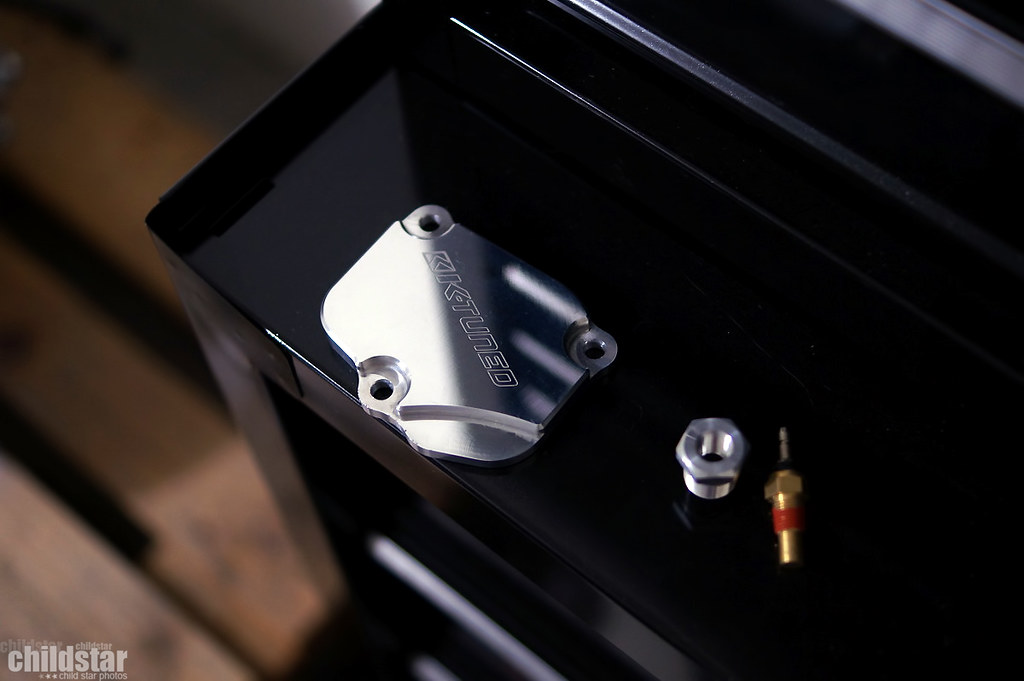
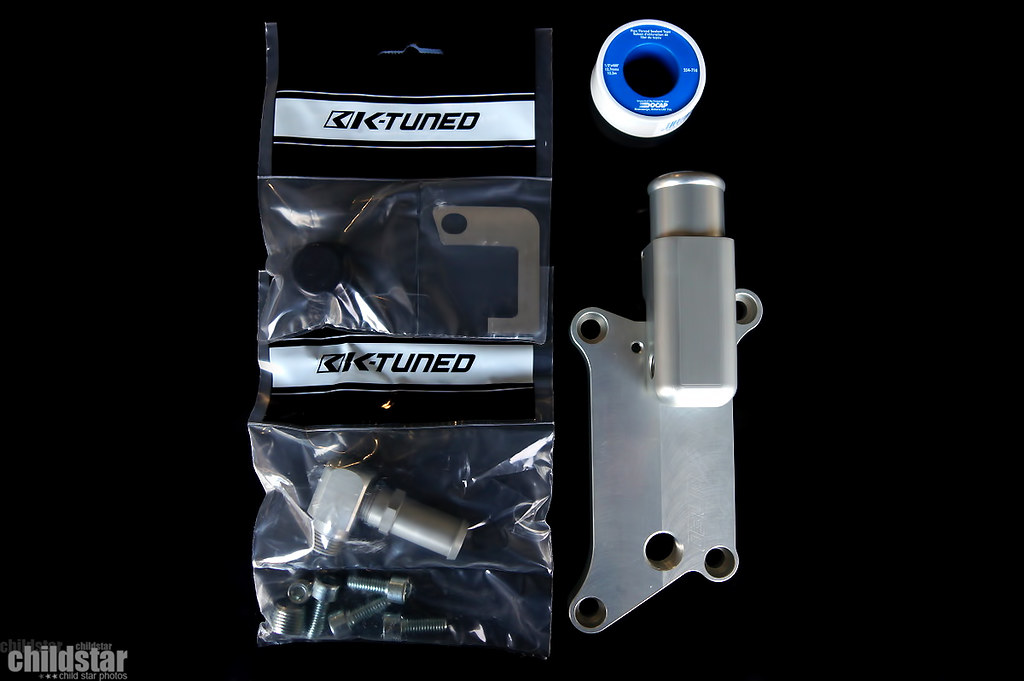
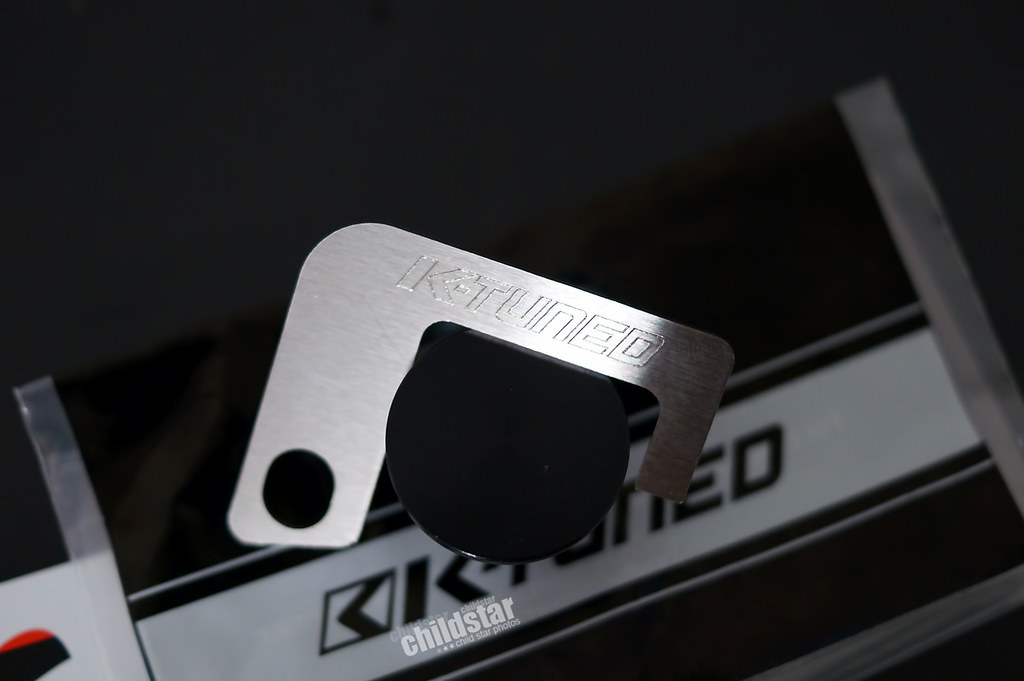
K Tuned billet timing chain tensioner cover came in along with a K series temp sensor fitting so that I can place mine where I want it.
Right out of the box there was a problem...it wasn't shiny enough")

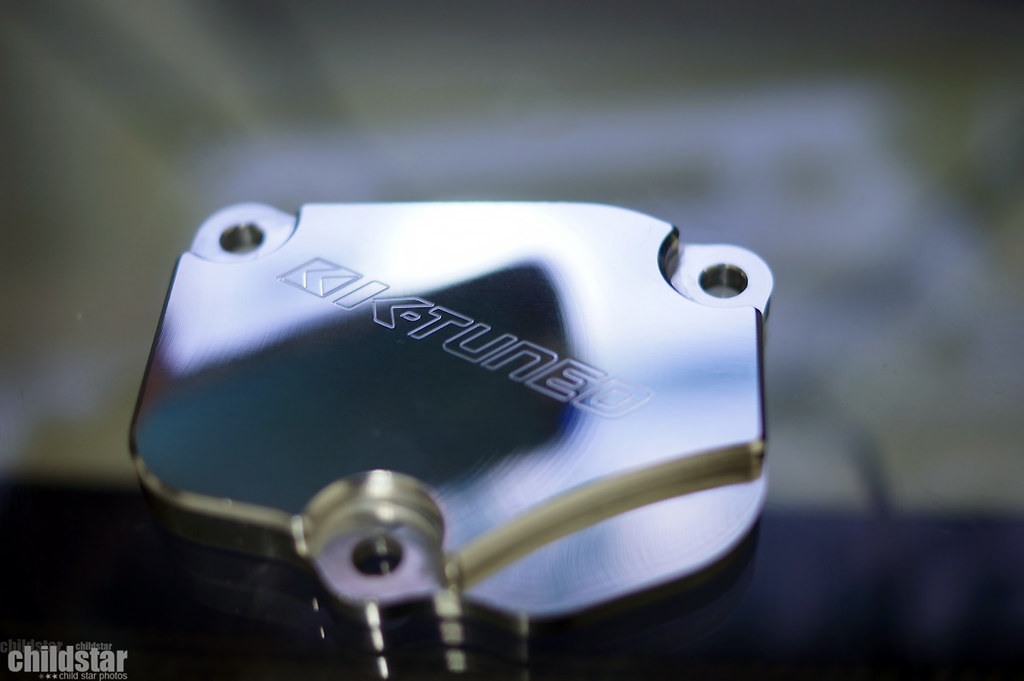
did my same old routine and got it looking nice
into the hot *** garage
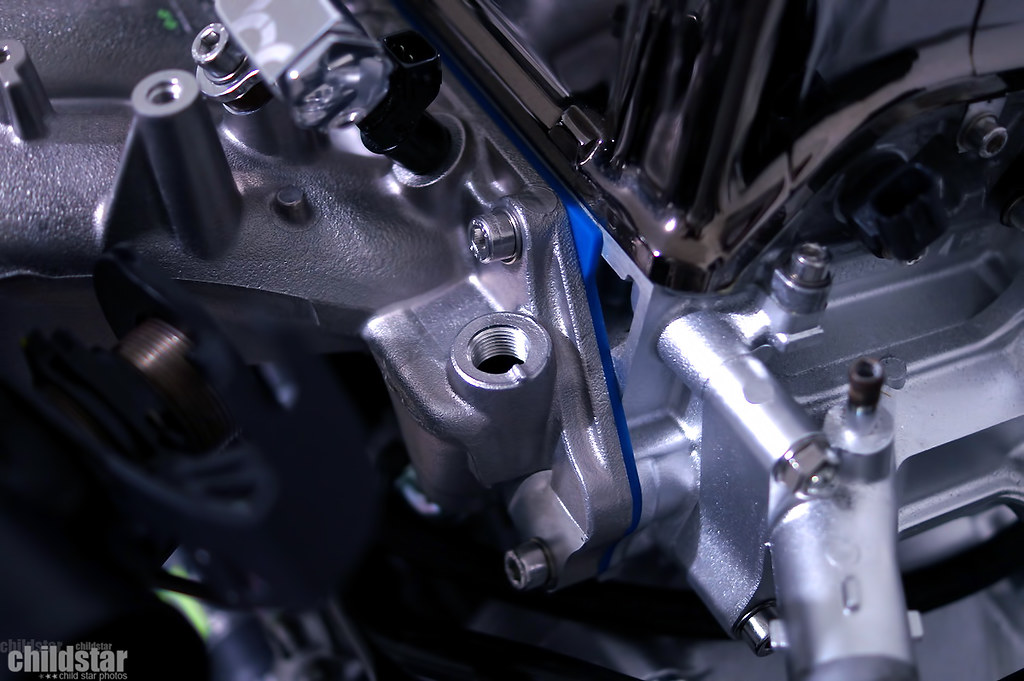
taped up the temp sensor fitting

yay

slapped on the TCT cover
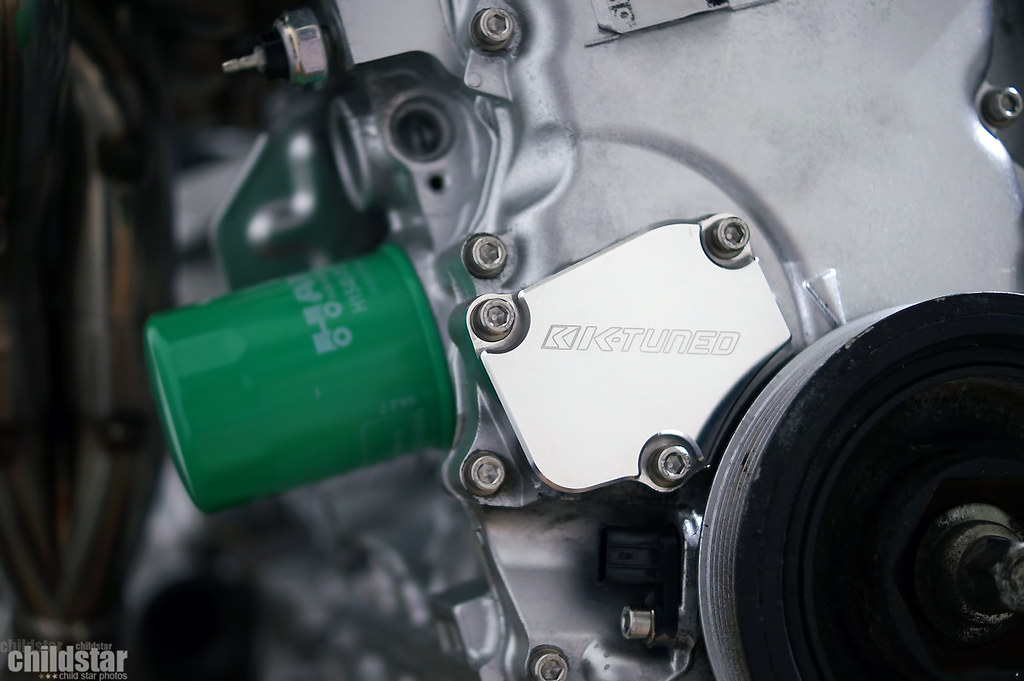
A shot trying to show the reflectiveness
scuffed my block a little bit trying to remove all the Hondabond, oh well, it's done.
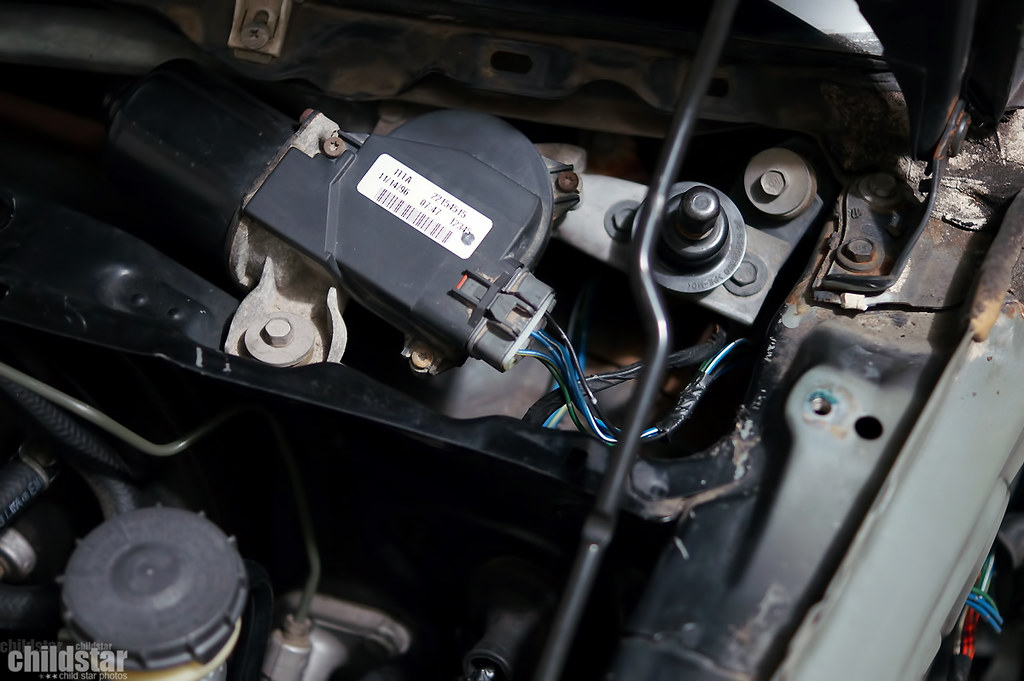
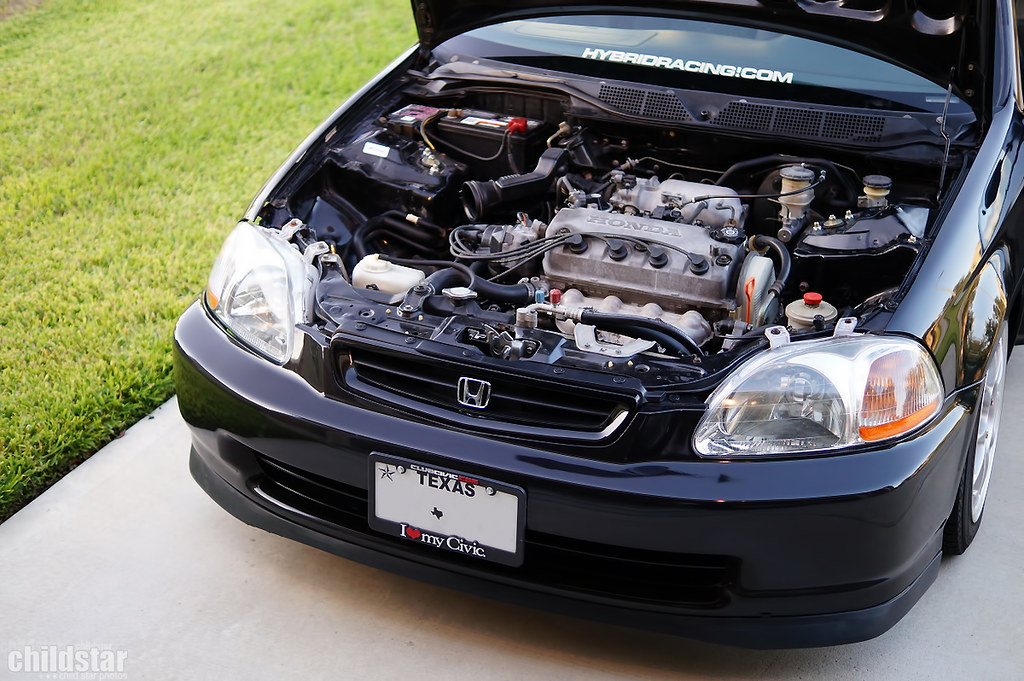
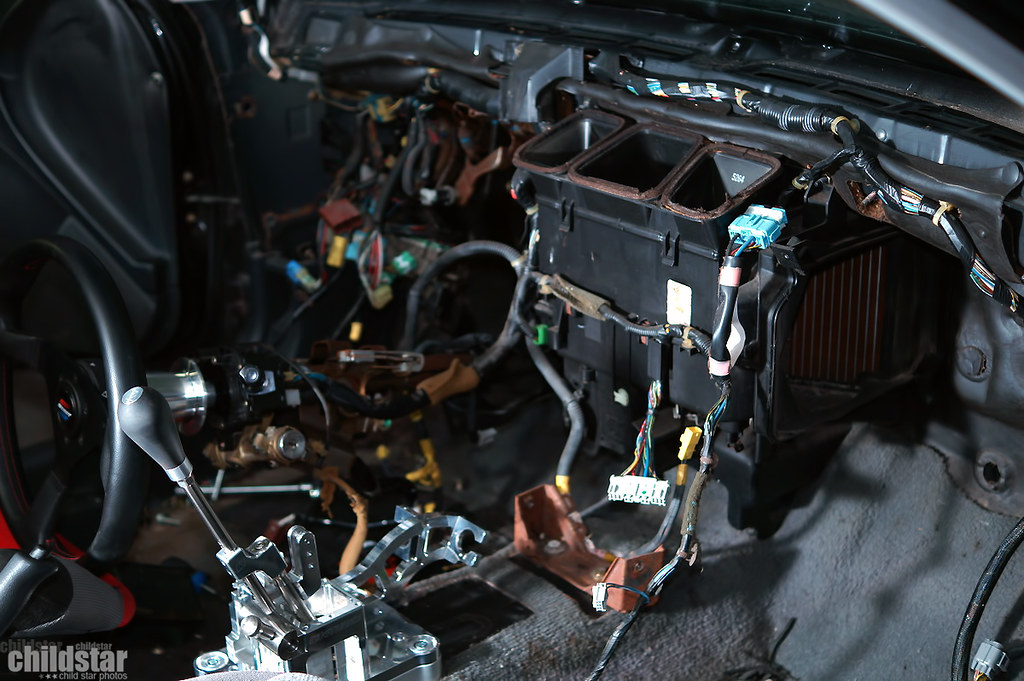
Out of boredom I decided to go ahead and start moving some of my wires around the way I always do. I had already removed clips and separating wires awhile back so that when I did my little tuck it would be fairly quick and simple. So a couple days ago I hit up the drivers side
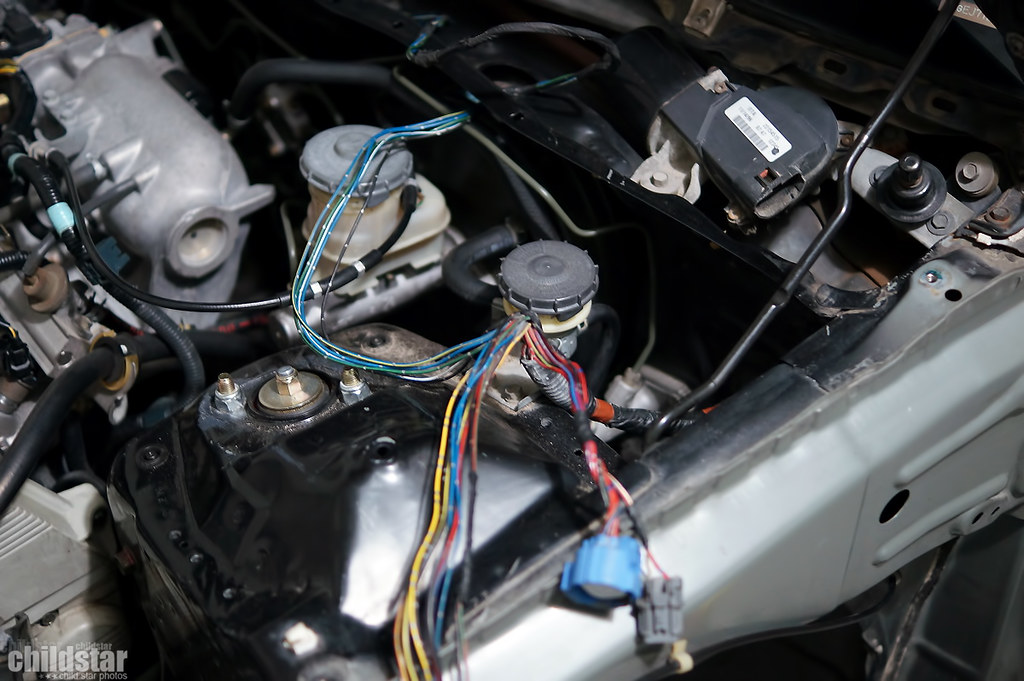
I had some people ask before about what I did with my wiper wires, I de-pinned that connector and ran the wires through the side of the fender and reconnected it so I still have wipers.
All the little yellow plastic clips and crap removed.
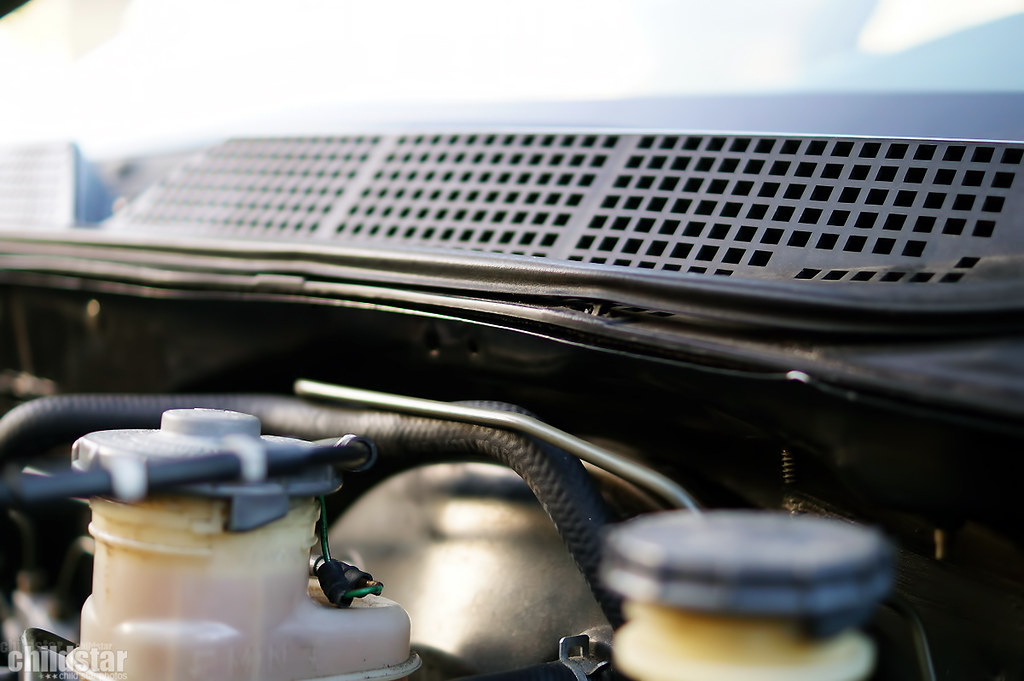
I started to mess around with the passenger side too....but then I got lazy and just put it off for another day lol. But you can see that side is already clip free and the headlight harness is sort of wedged between the A/C lines for now.

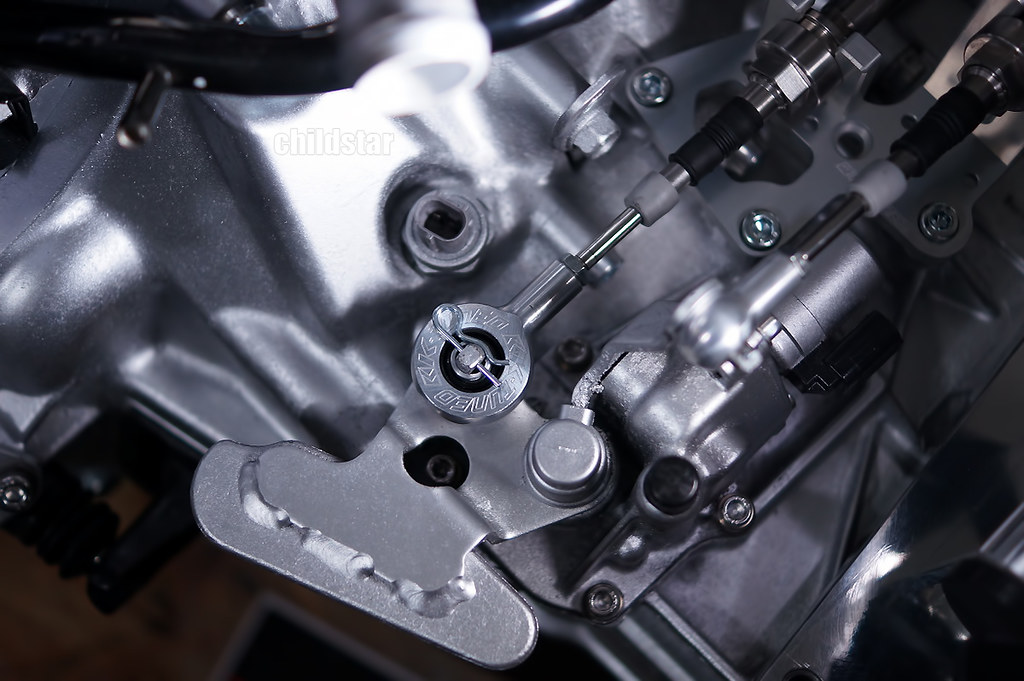
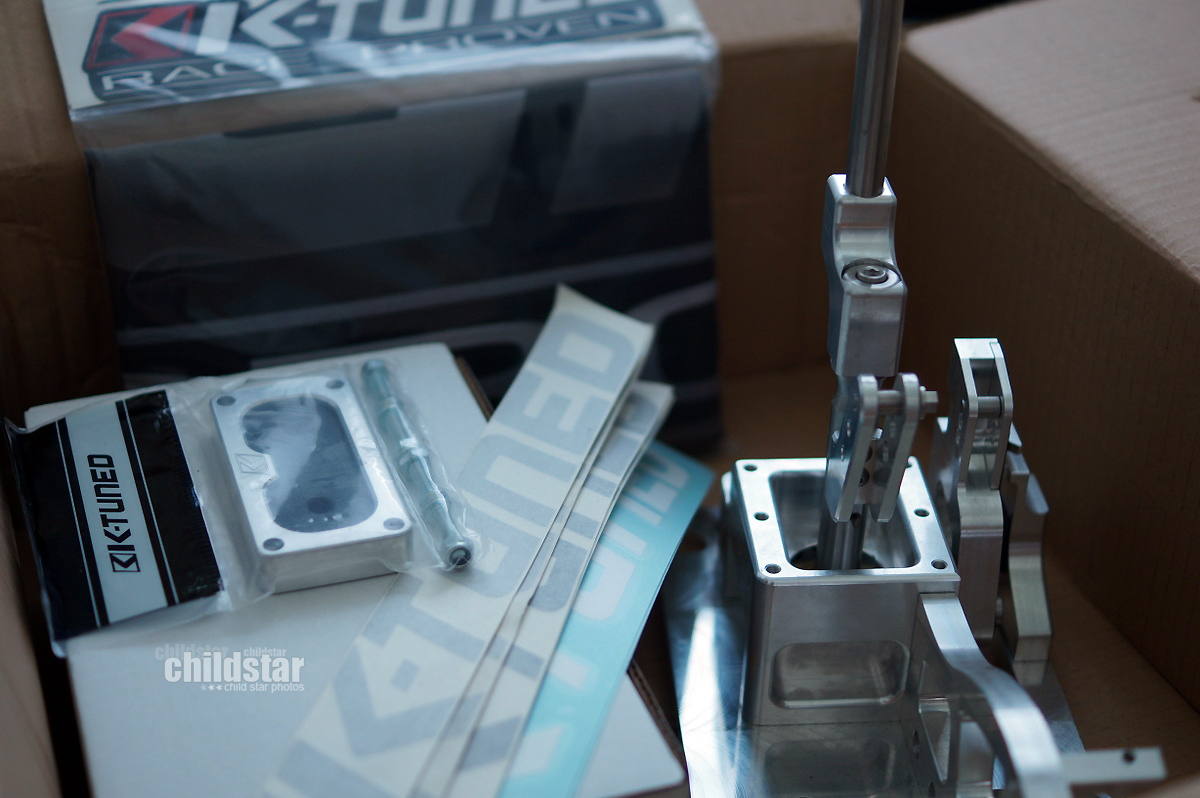
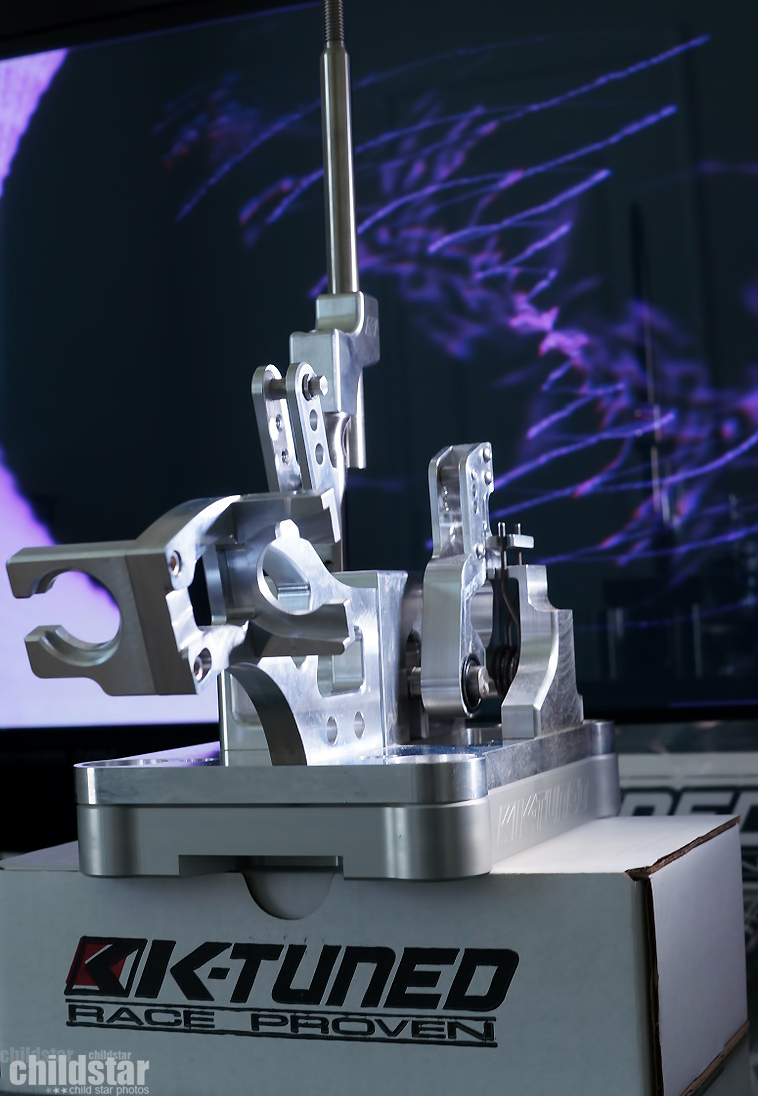
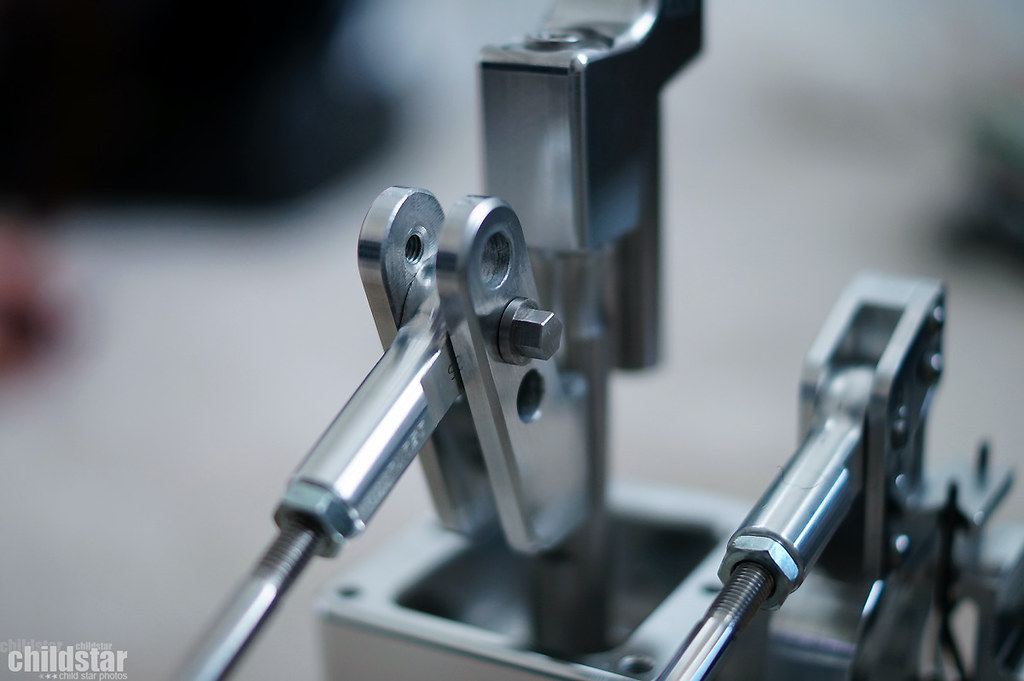
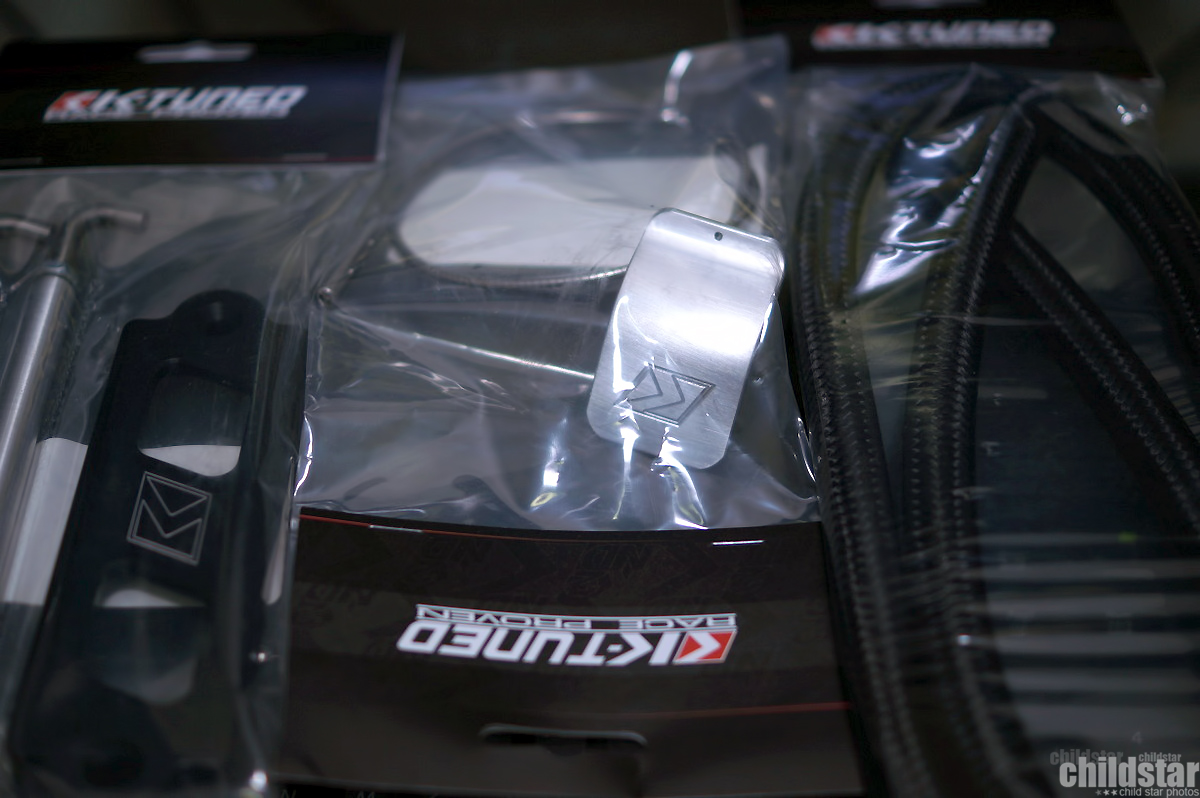
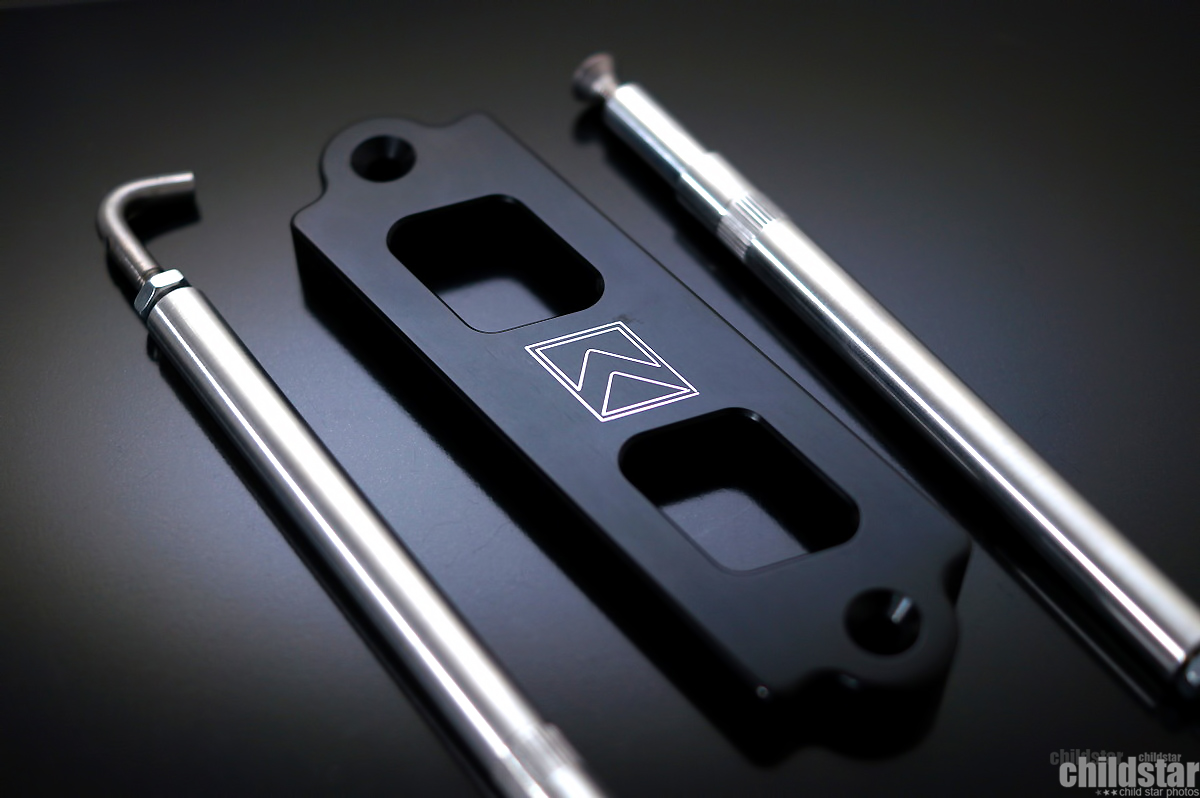
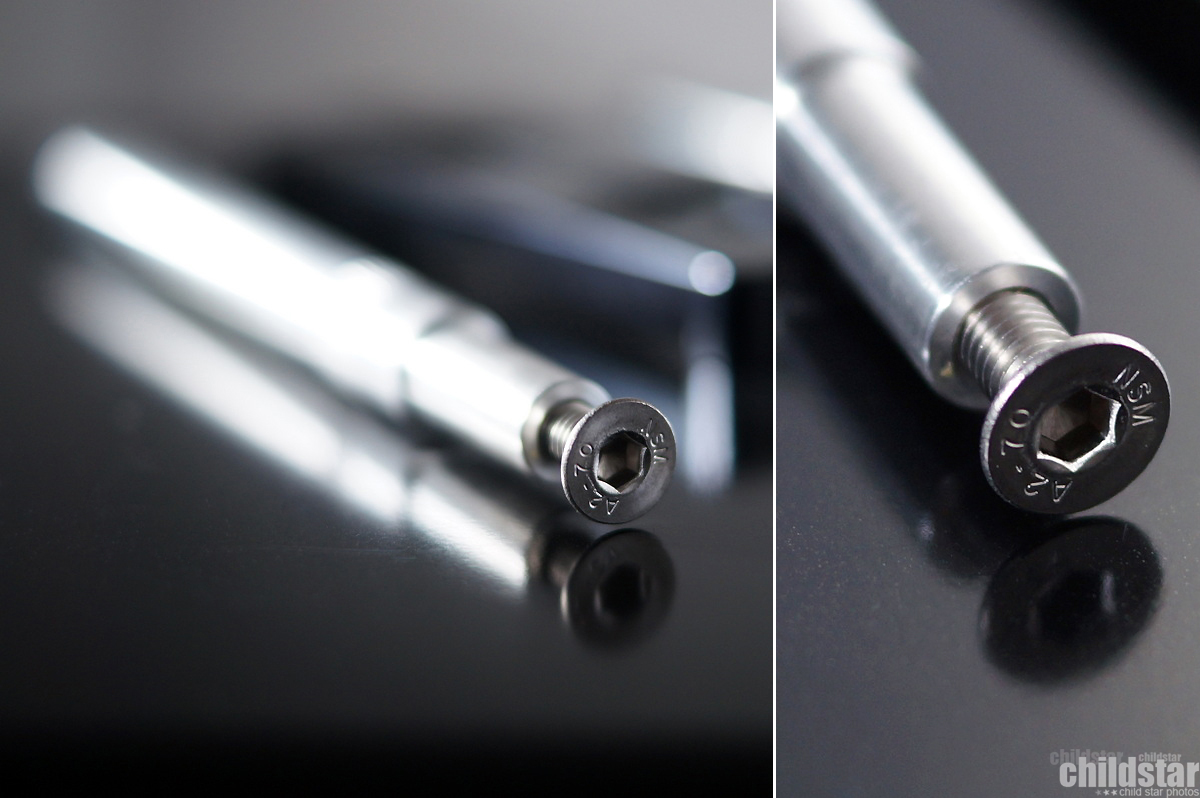
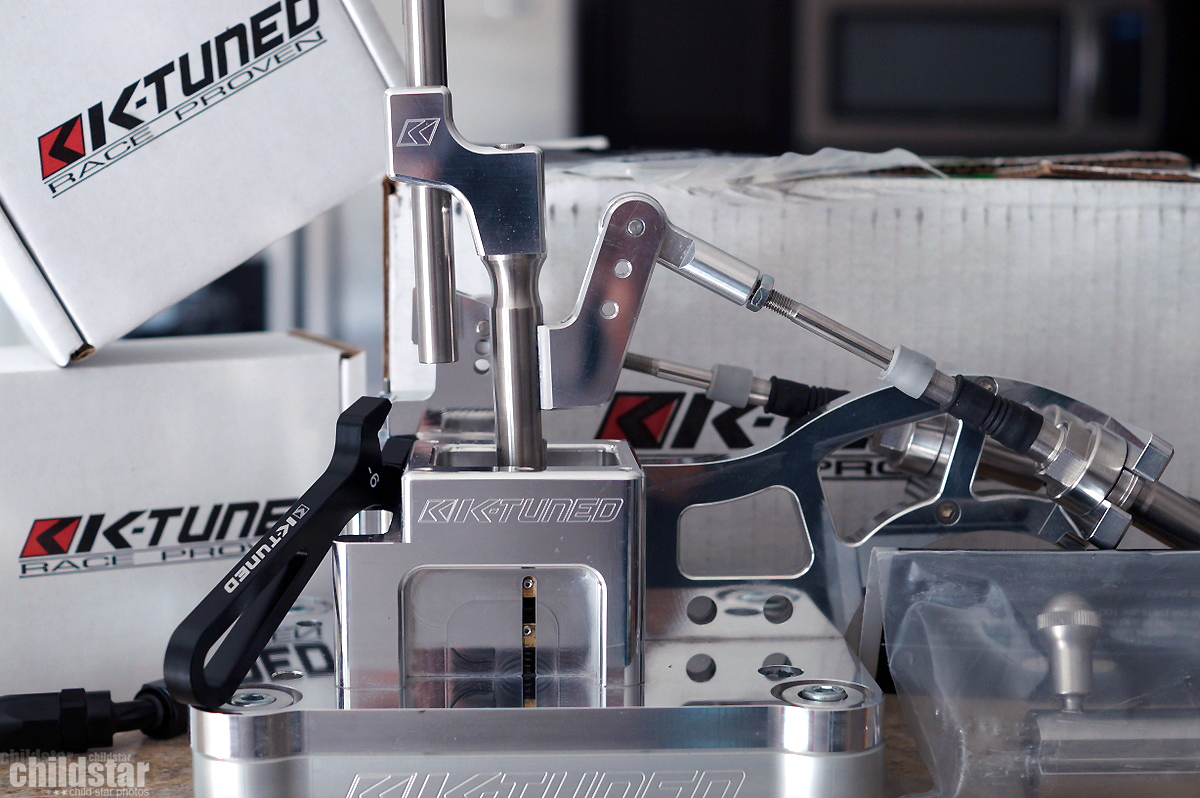
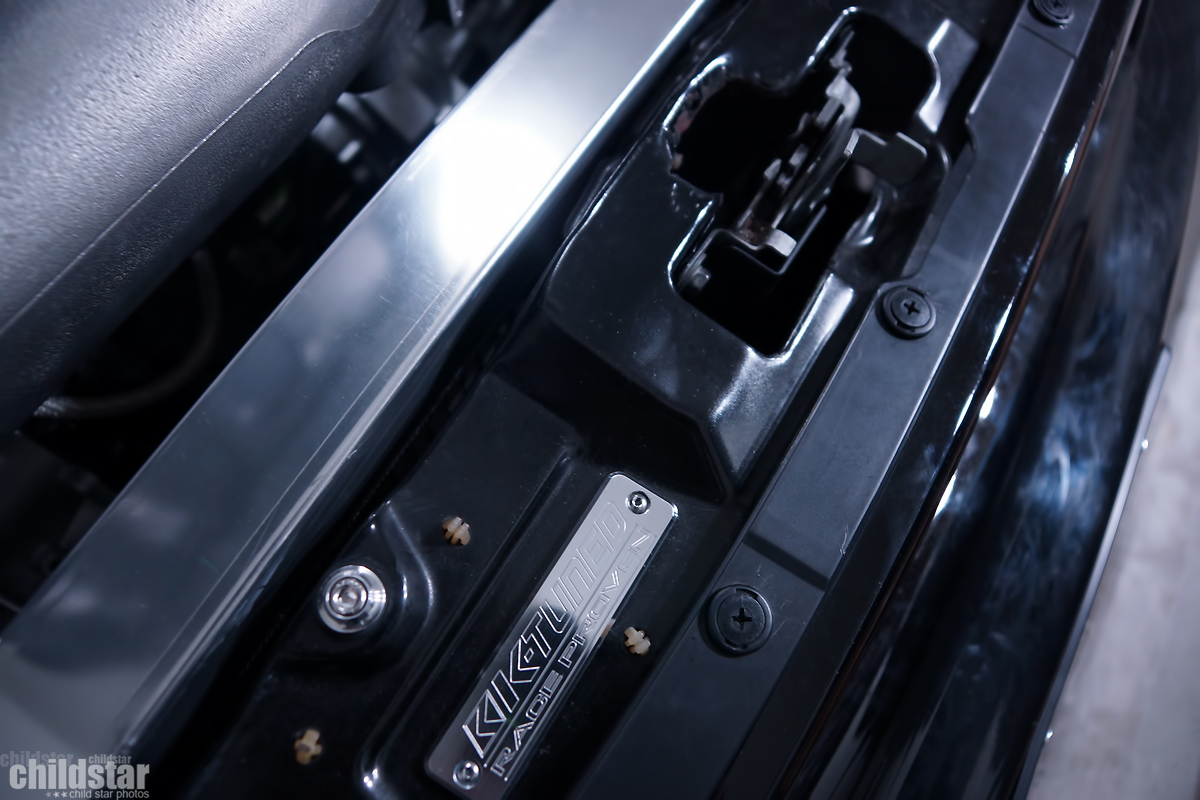
K-Tuned stepped in and helped me out in a BIG way. Got my hands on some of their Race spec shifter cables. These things look promising!!!


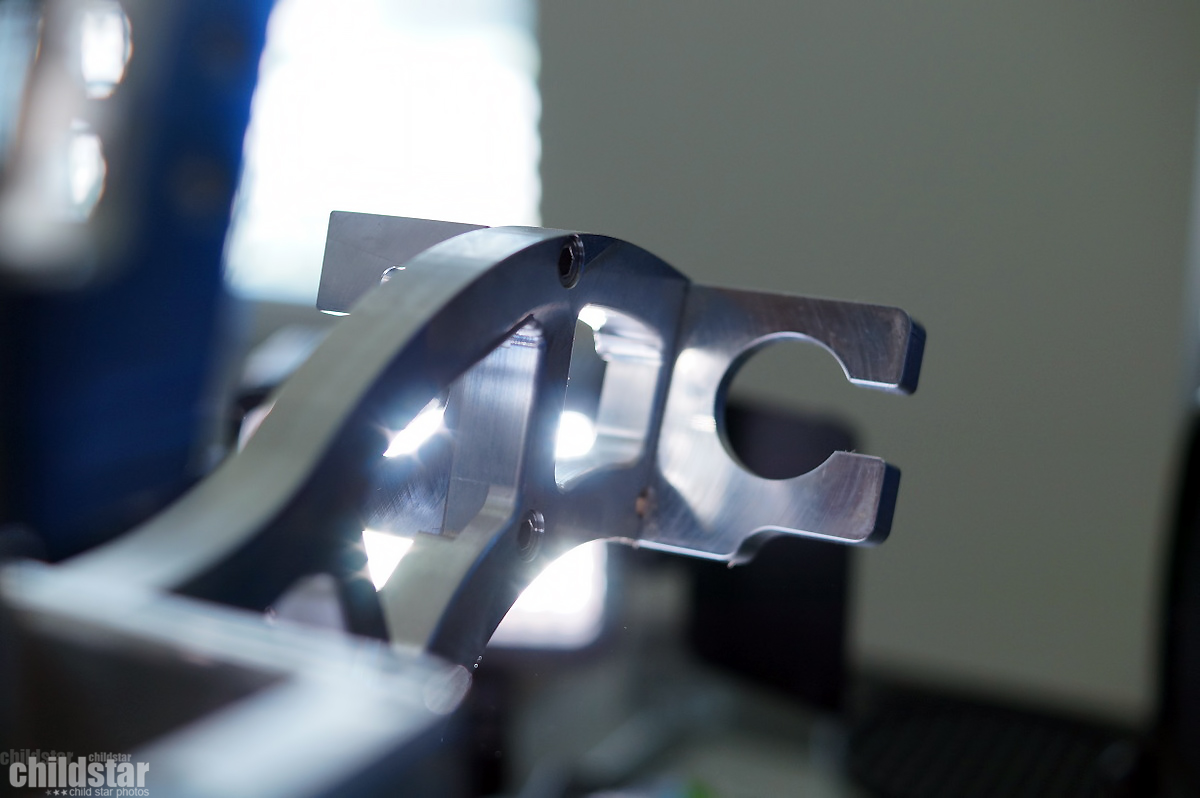
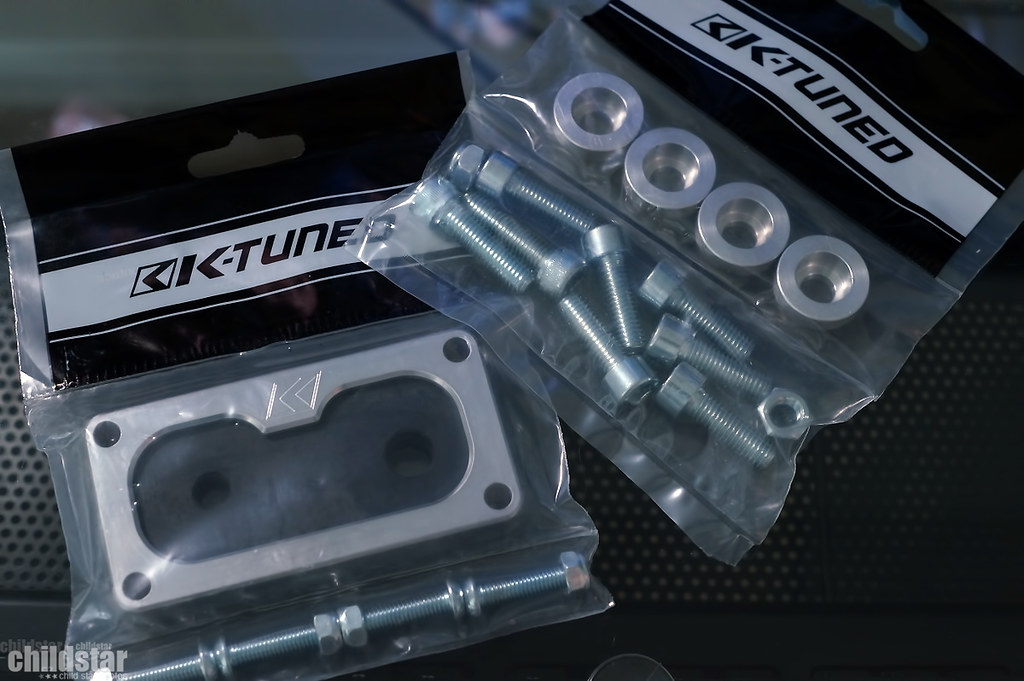
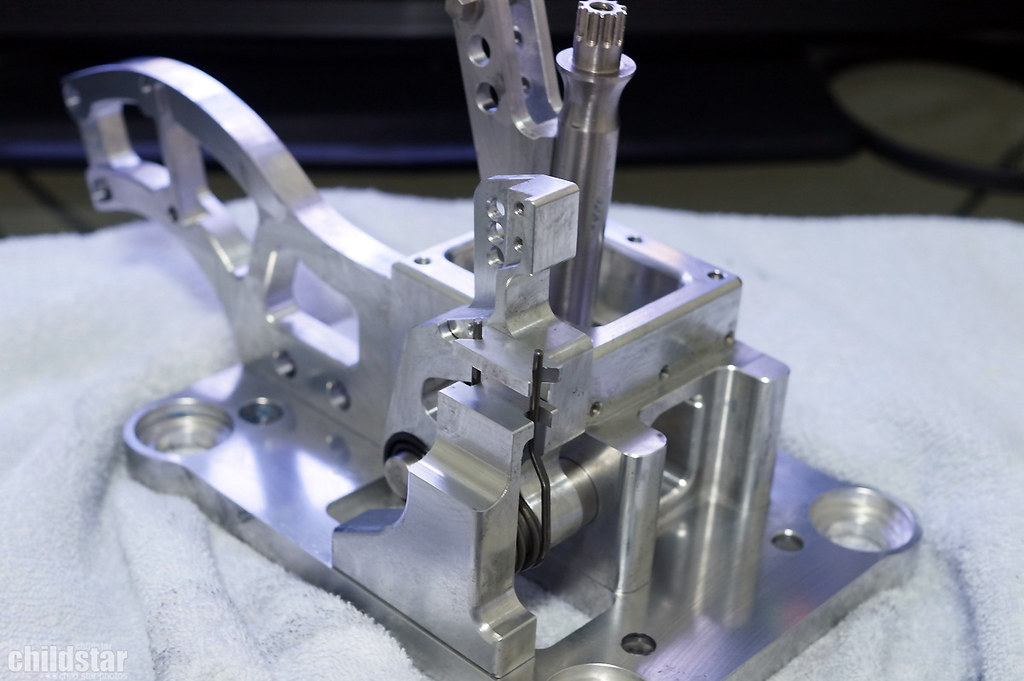
Along with the shifter cables comes the billet trans bracket and hardware
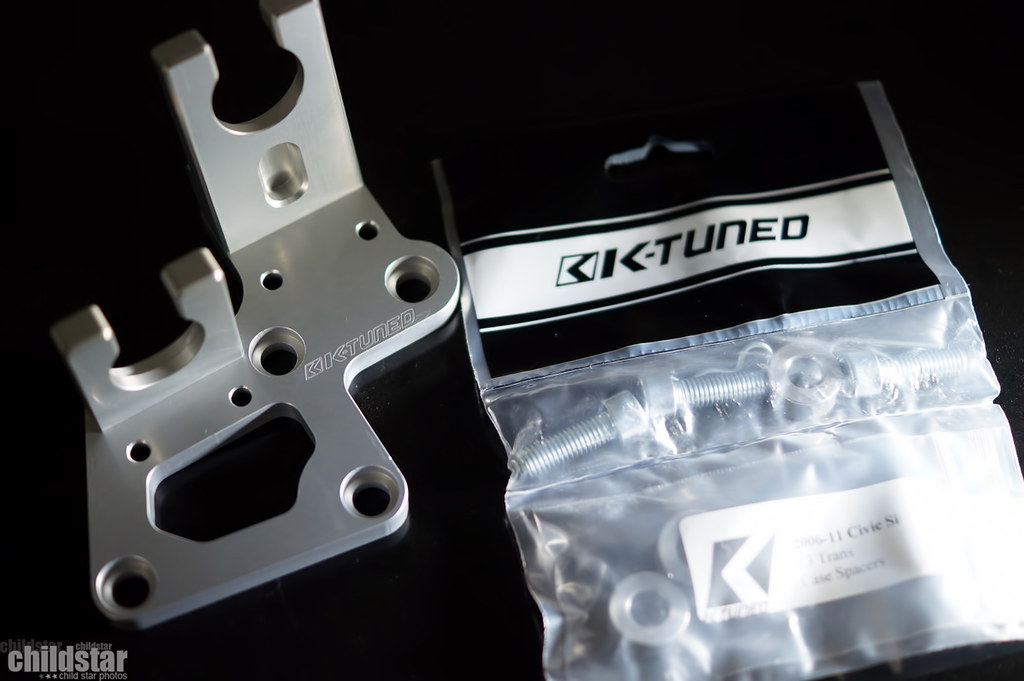
The underside of the bracket
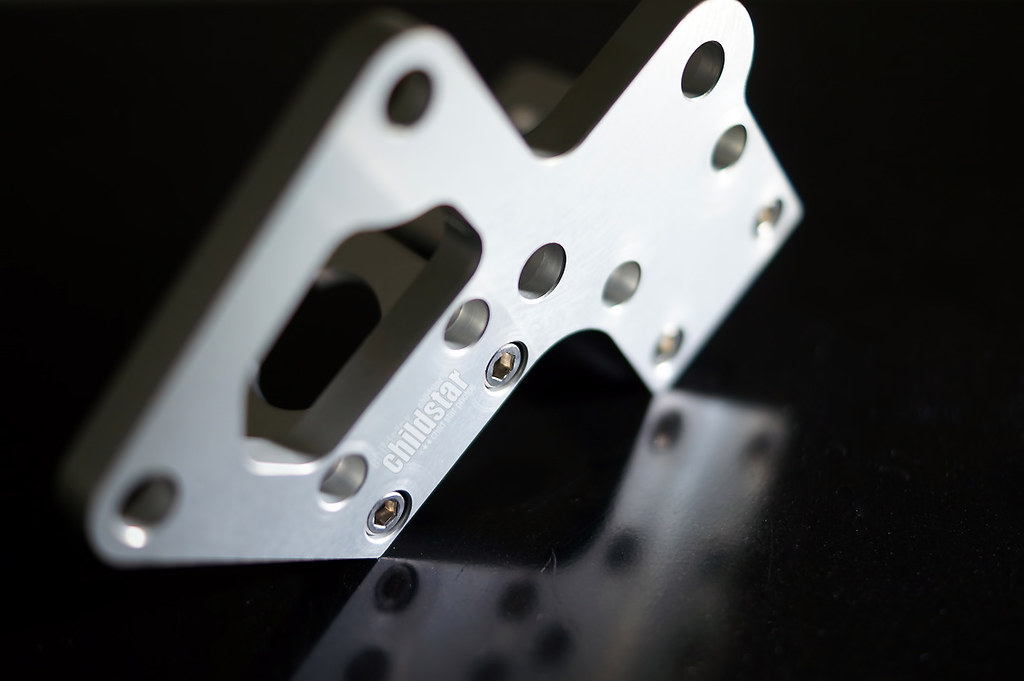
The new billet bracket and the stocky with Downstar bolts. The K-tuned bolts are just the same except these are blue zinc'd
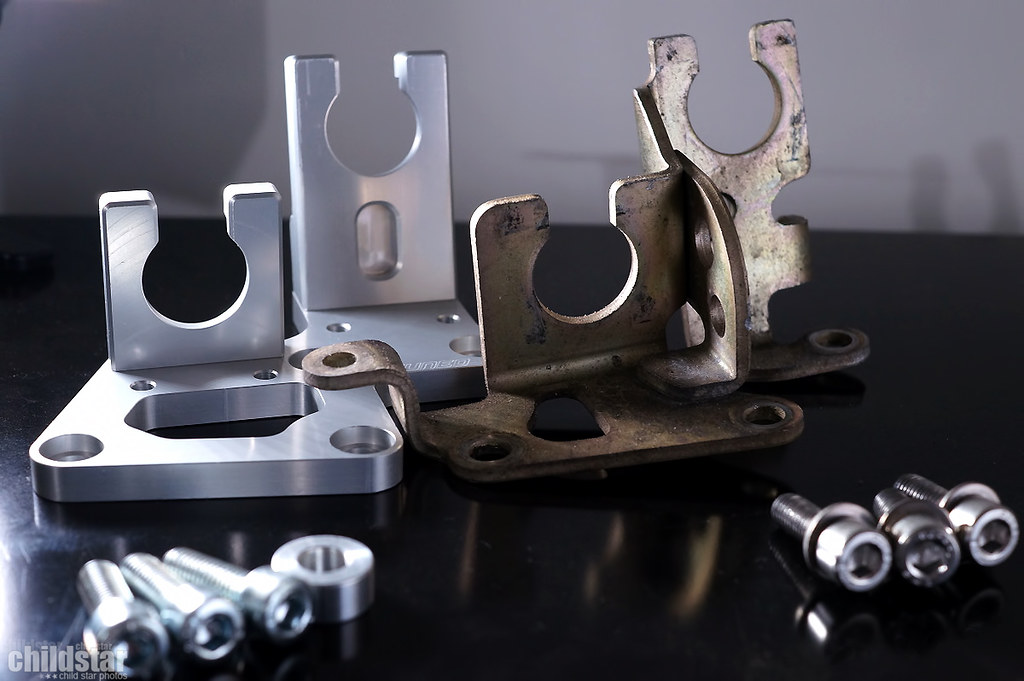
very complimentary i'd say
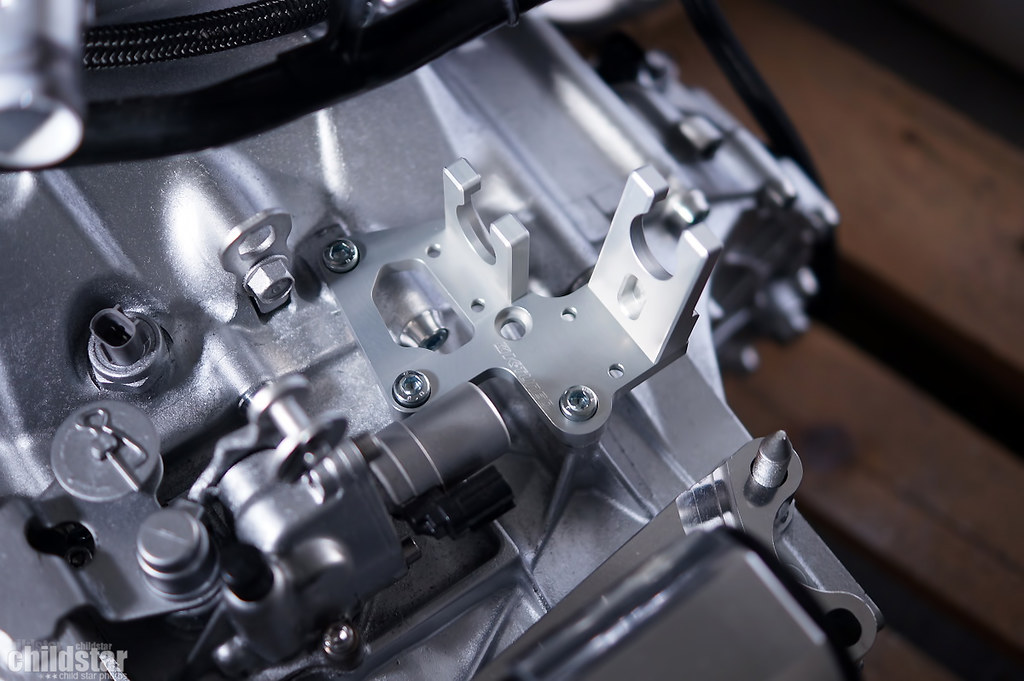
Downstar bell housing bolts with beauty washers along with the billet trans bracket.
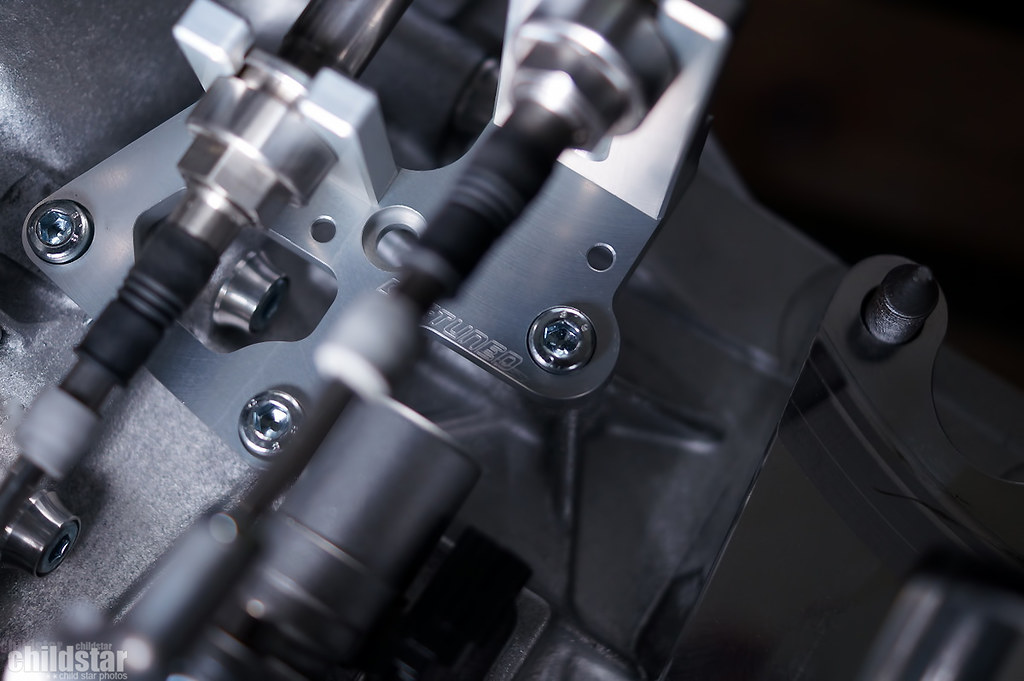
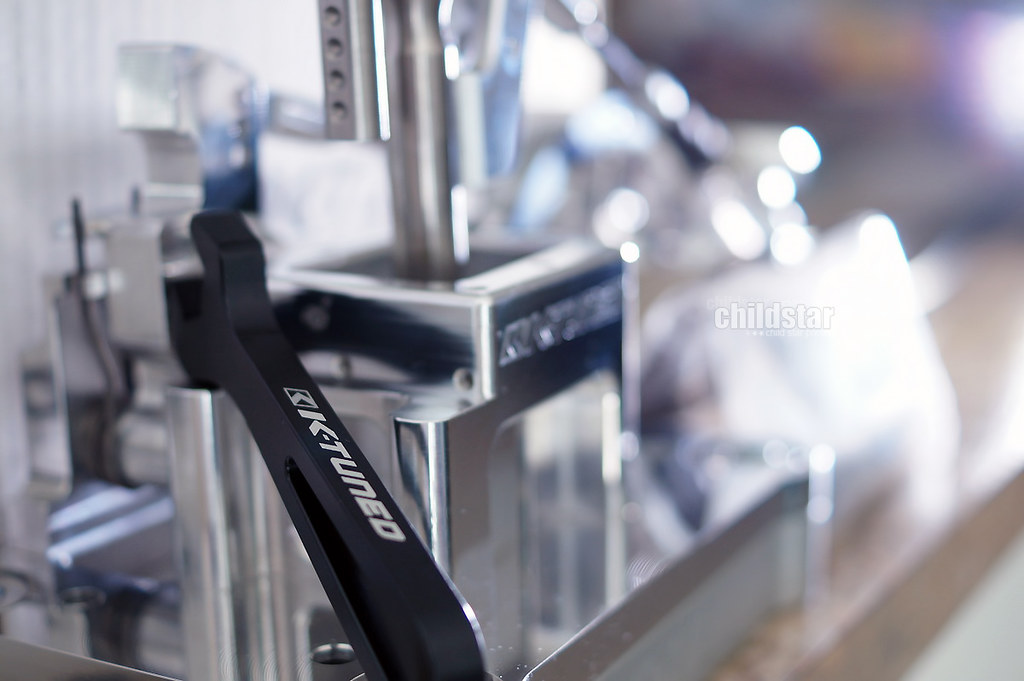
I love the way these cables lock into place
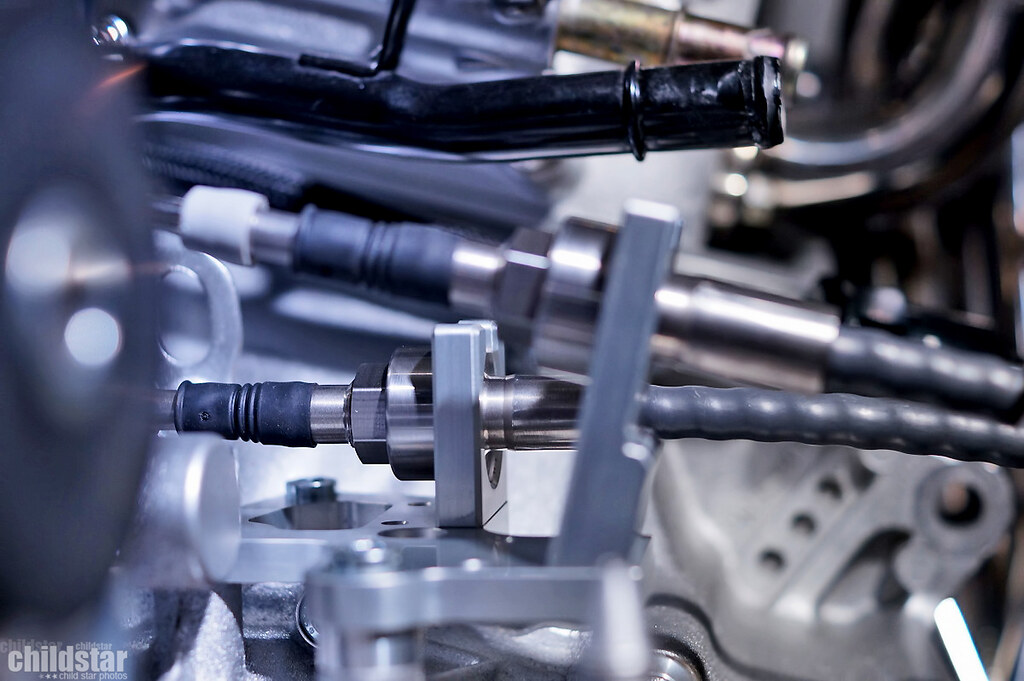
rear shot looking forward
overhead view
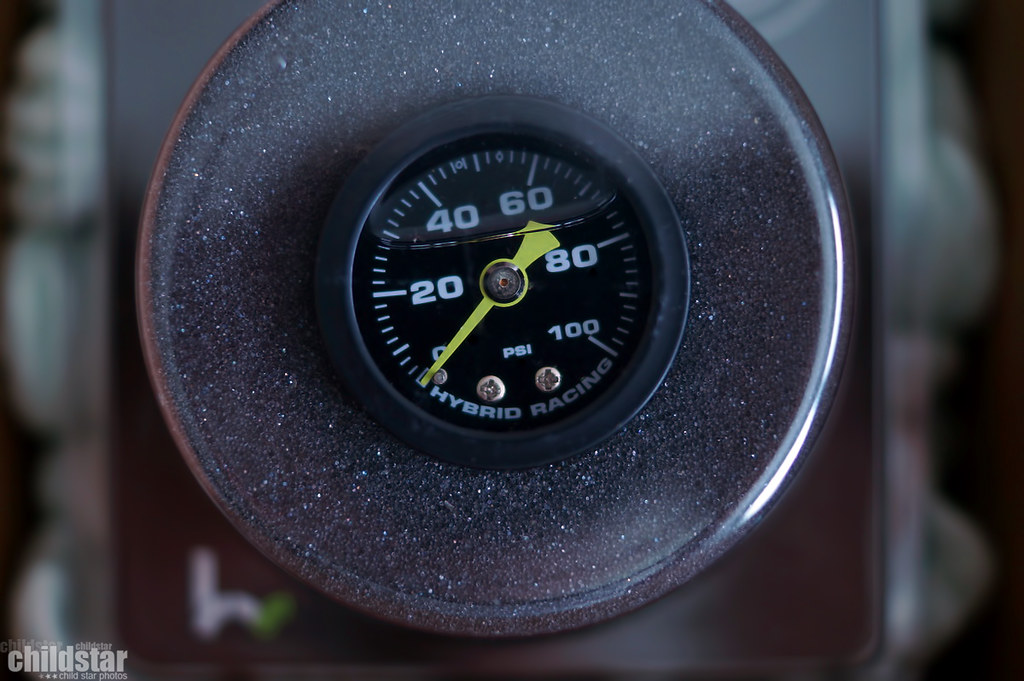
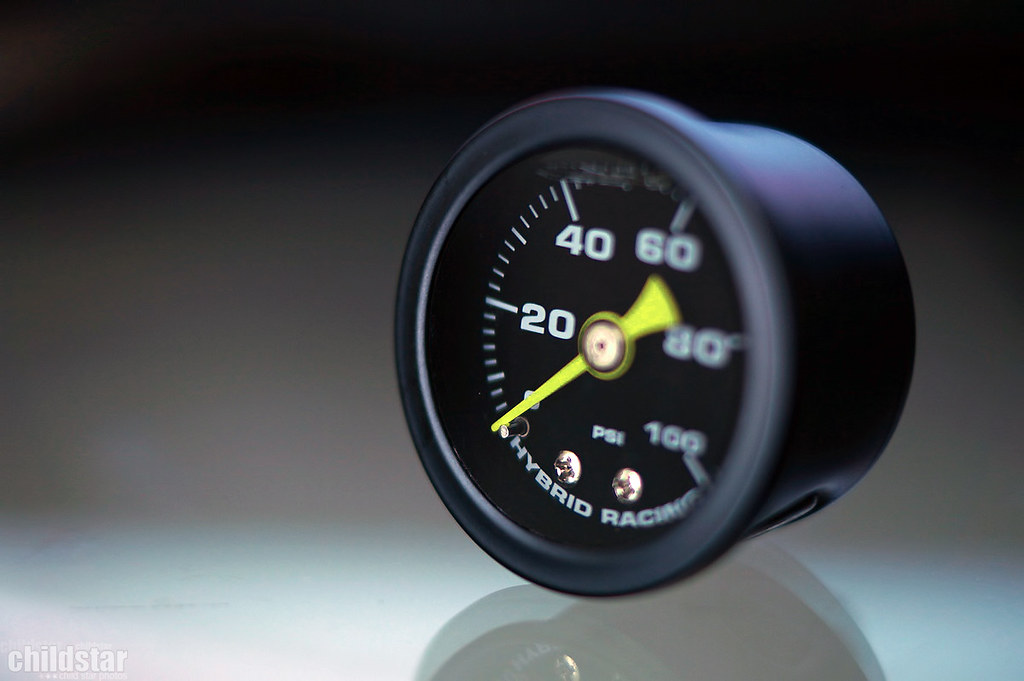
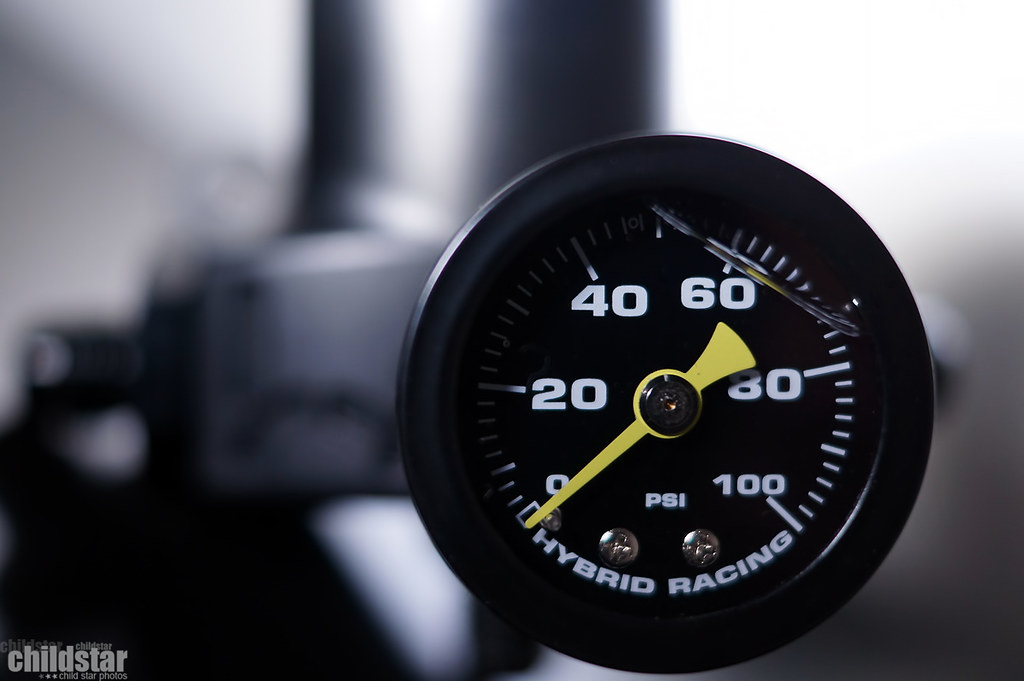
Threw in my fittings and fuel pressure gauge from hybrid racing. The fuel pressure gauge was a PITA to screw in. Not sure if it was just mine or what, but after about half of the threads it felt like it would snap off anytime I would tighten it.

Right out of the box there was a problem...it wasn't shiny enough
did my same old routine and got it looking nice
into the hot *** garage
taped up the temp sensor fitting
yay
slapped on the TCT cover
A shot trying to show the reflectiveness
scuffed my block a little bit trying to remove all the Hondabond, oh well, it's done.
Out of boredom I decided to go ahead and start moving some of my wires around the way I always do. I had already removed clips and separating wires awhile back so that when I did my little tuck it would be fairly quick and simple. So a couple days ago I hit up the drivers side
I had some people ask before about what I did with my wiper wires, I de-pinned that connector and ran the wires through the side of the fender and reconnected it so I still have wipers.
All the little yellow plastic clips and crap removed.
I started to mess around with the passenger side too....but then I got lazy and just put it off for another day lol. But you can see that side is already clip free and the headlight harness is sort of wedged between the A/C lines for now.
K-Tuned stepped in and helped me out in a BIG way. Got my hands on some of their Race spec shifter cables. These things look promising!!!
Along with the shifter cables comes the billet trans bracket and hardware
The underside of the bracket
The new billet bracket and the stocky with Downstar bolts. The K-tuned bolts are just the same except these are blue zinc'd
very complimentary i'd say
Downstar bell housing bolts with beauty washers along with the billet trans bracket.
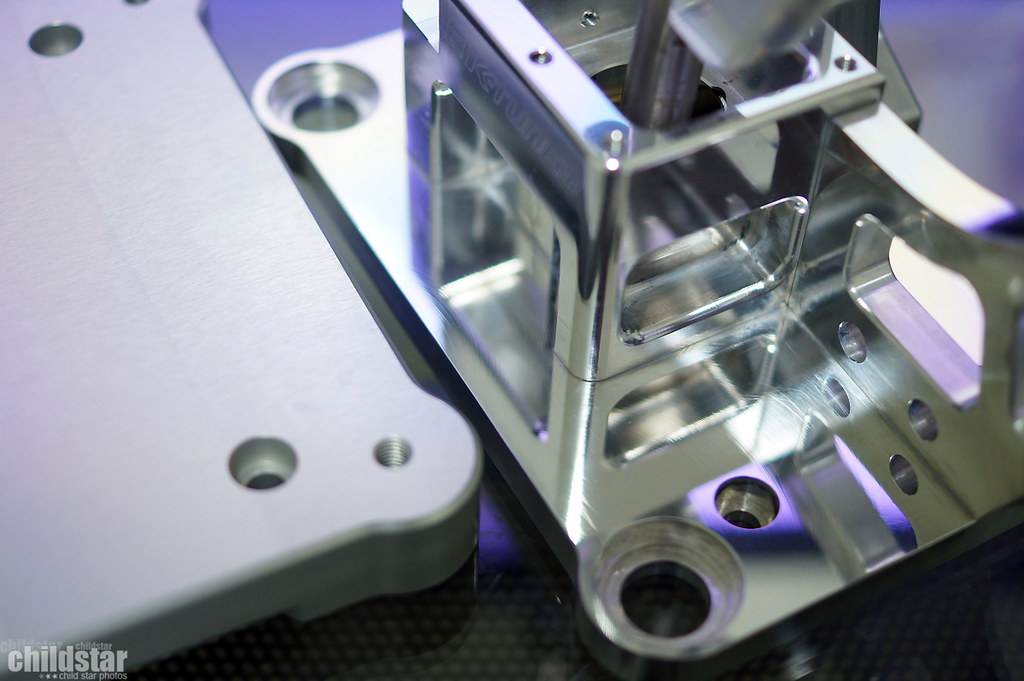
I love the way these cables lock into place
rear shot looking forward
overhead view
Threw in my fittings and fuel pressure gauge from hybrid racing. The fuel pressure gauge was a PITA to screw in. Not sure if it was just mine or what, but after about half of the threads it felt like it would snap off anytime I would tighten it.
05-10-2016, 12:11 AM
#17
Honda-Tech Member
Thread Starter
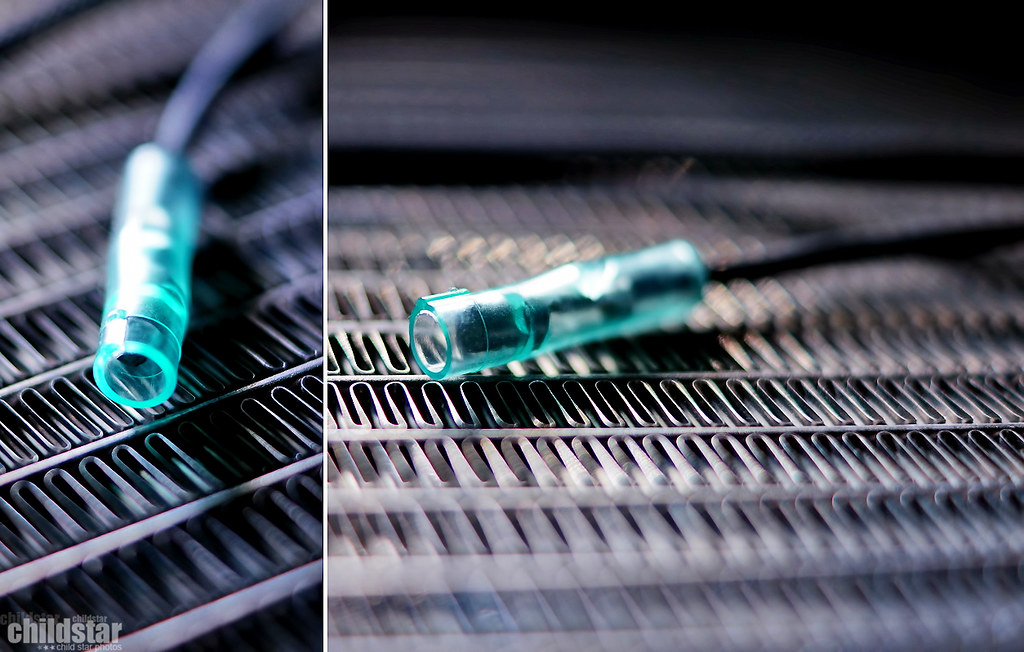
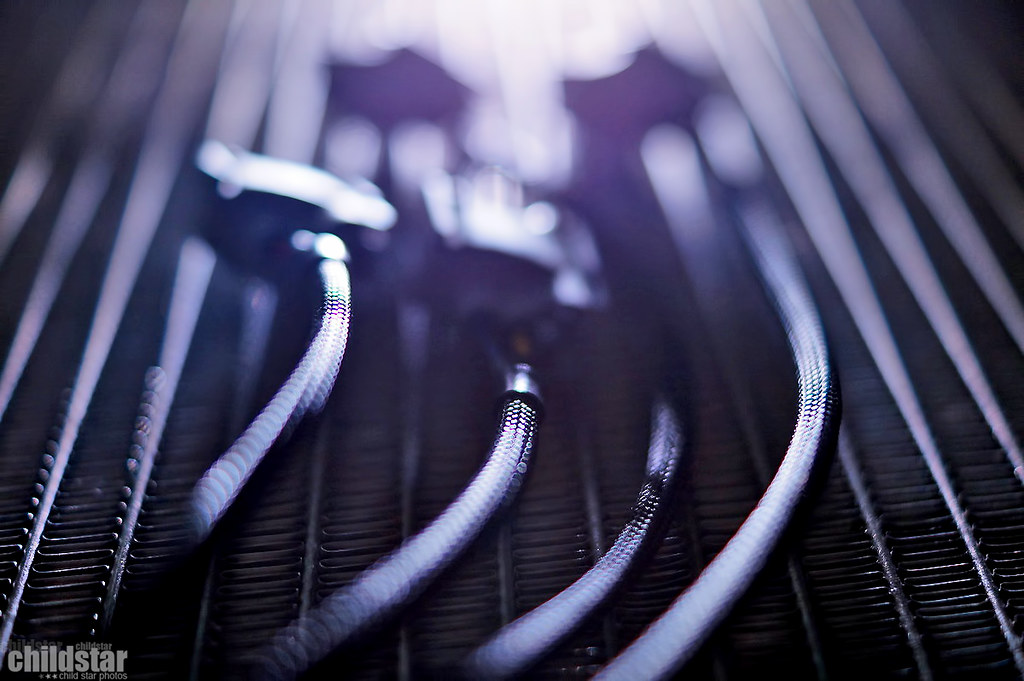
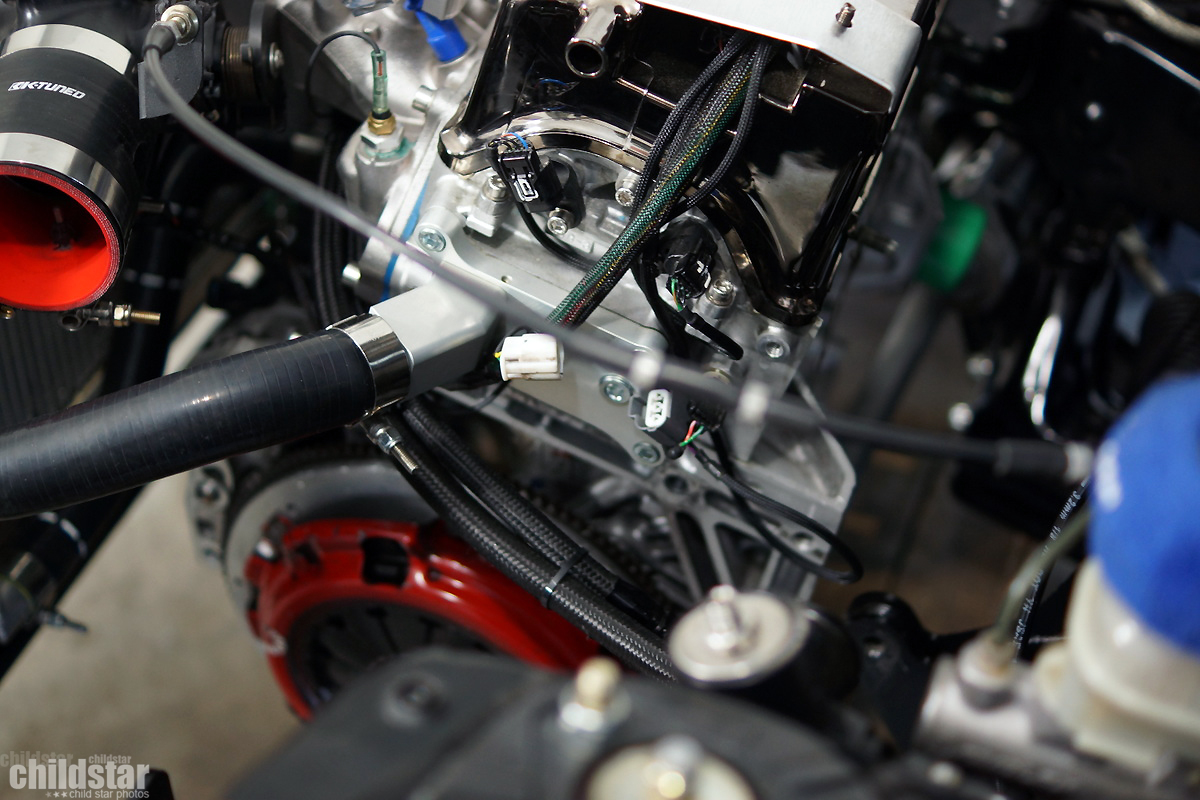
Kind of hard to showoff the harness since it's made to be subtle yet functional. I just connected to check the lengths and to try and see how I want to route it all. I have 3 sensors that I won't be using, so I need to find a way to zip tie them up nicely and keep them out the way.
haven't picked up my RDX injectors yet, so these are left unplugged
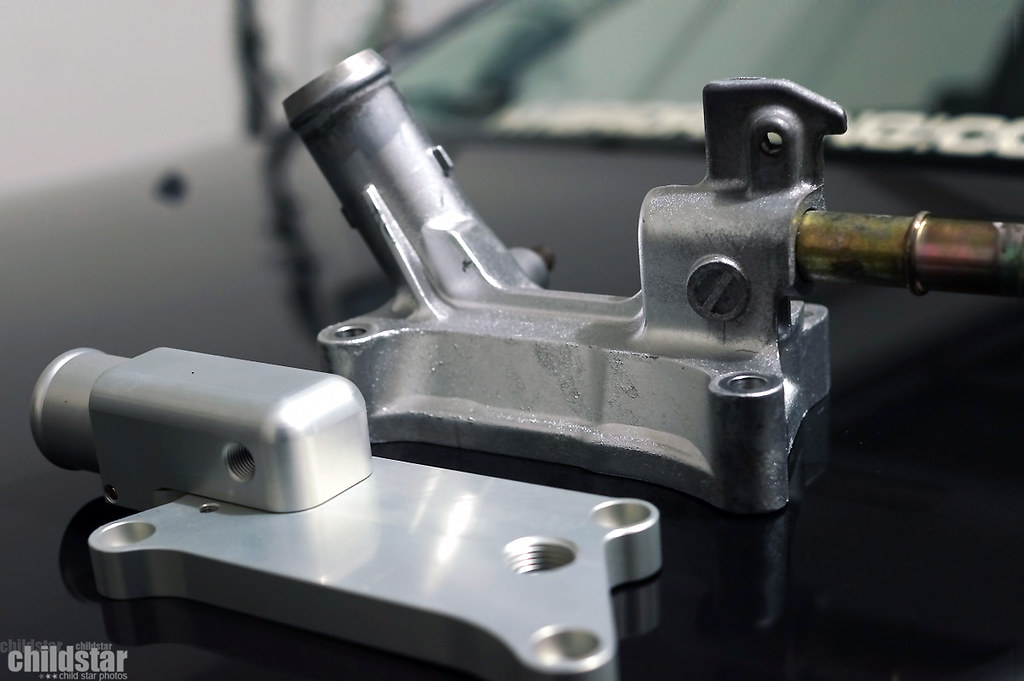
not how it will look in the end, Im also getting my K-tuned water neck this week, so this big bulky TSX one will be gone
The "over the valve cover" exit is just perfect. Going to run it through the oem engine harness hole and keep the battery in the bay.

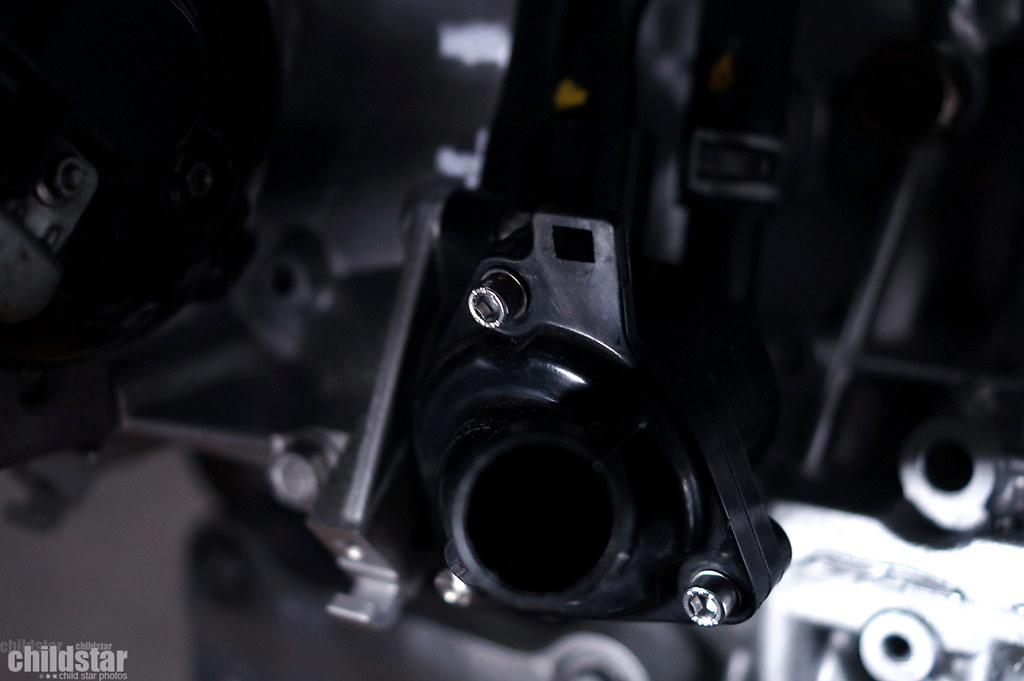
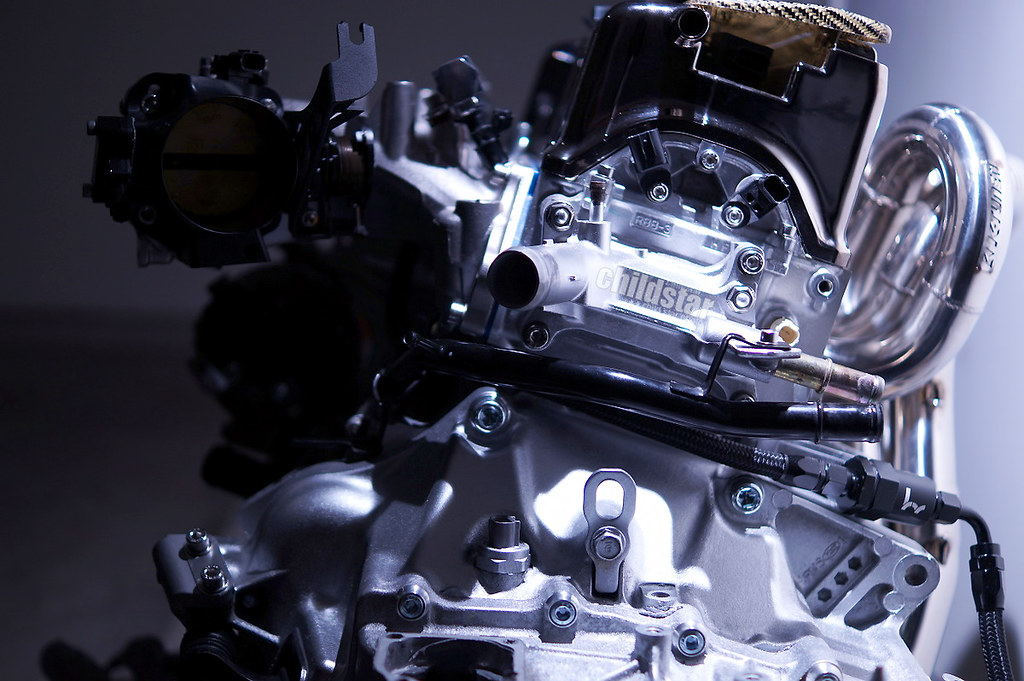
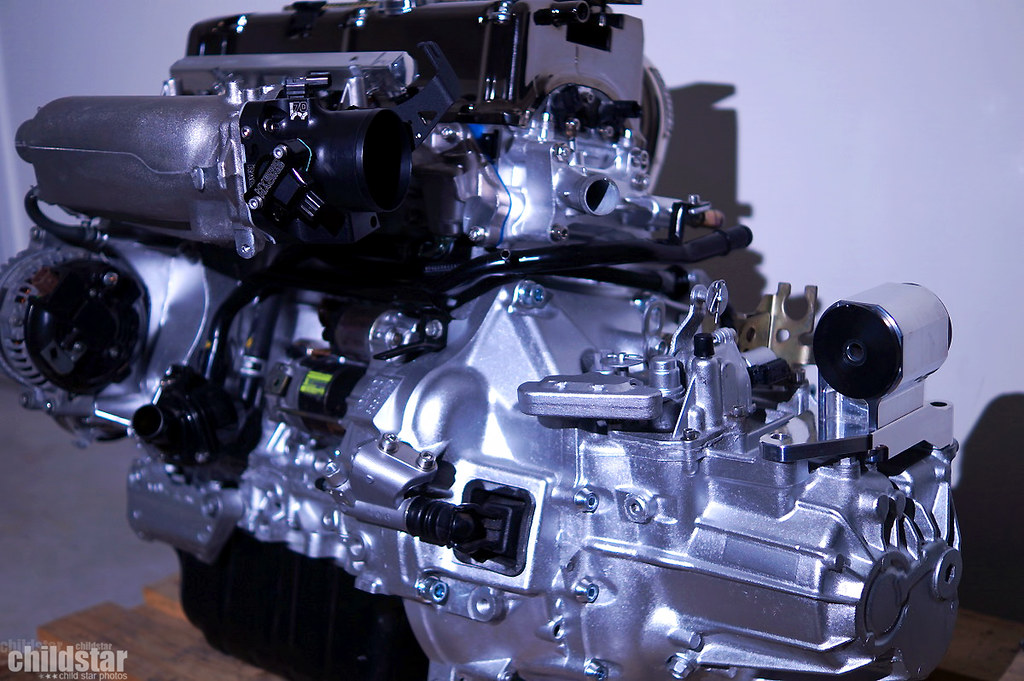
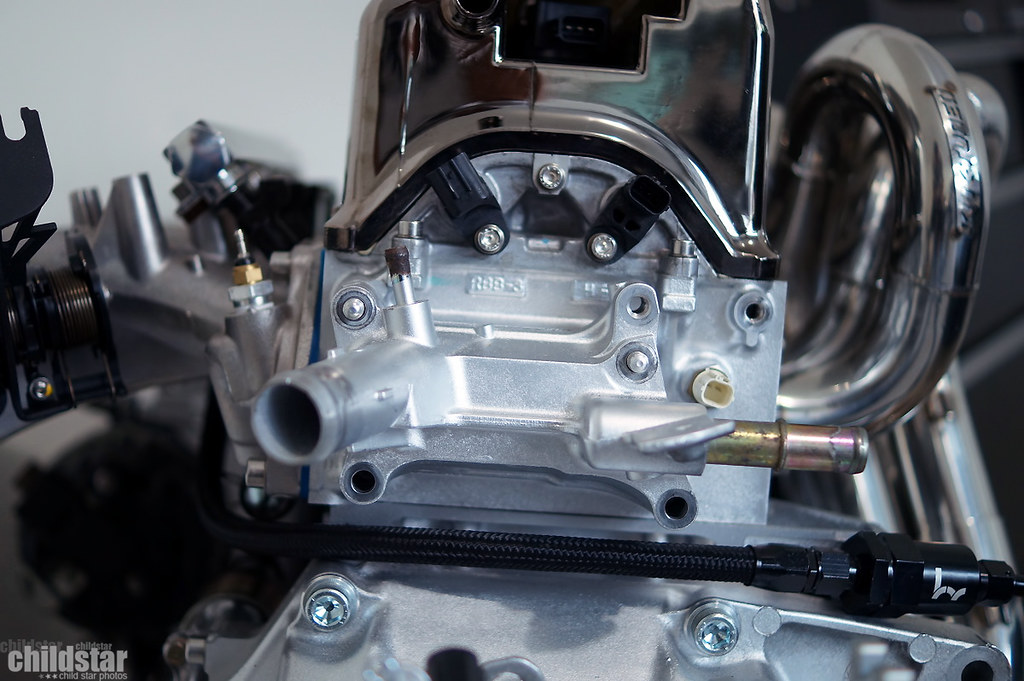
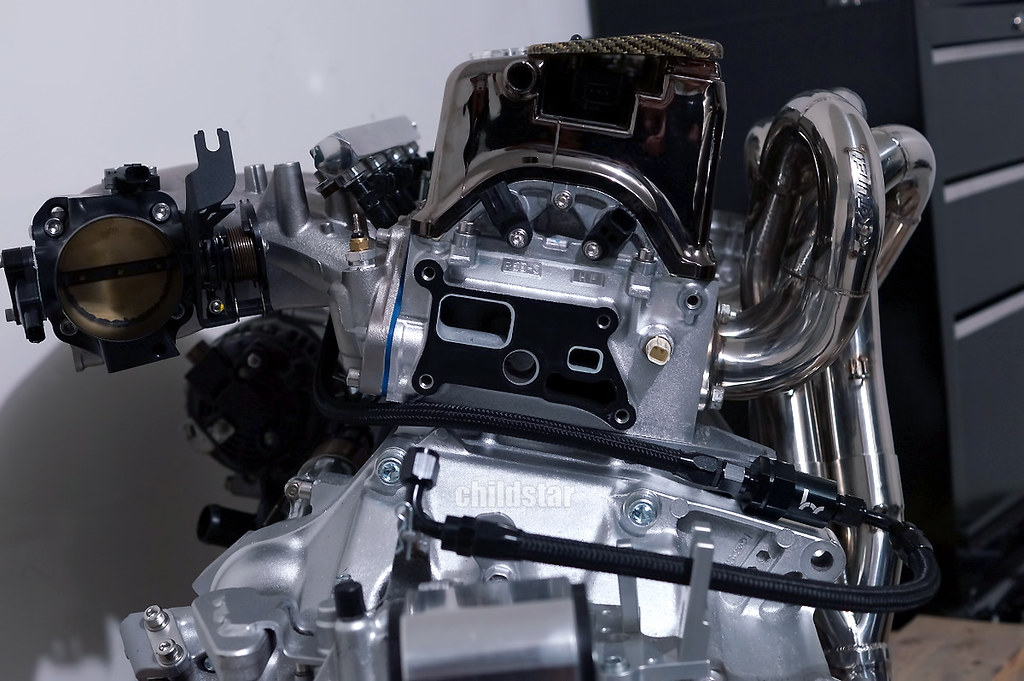
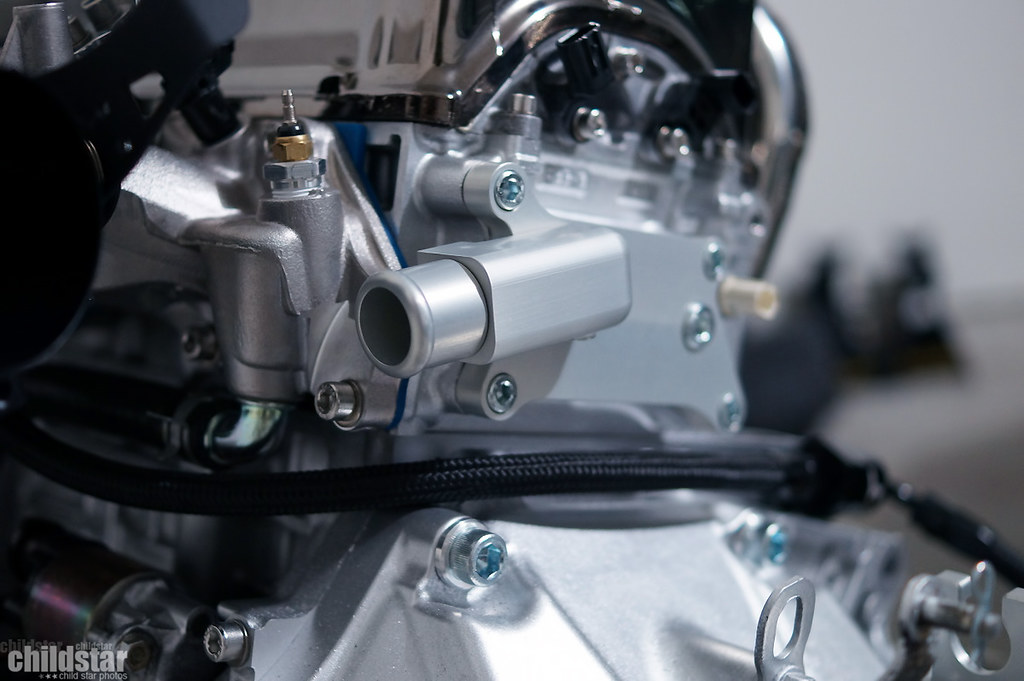
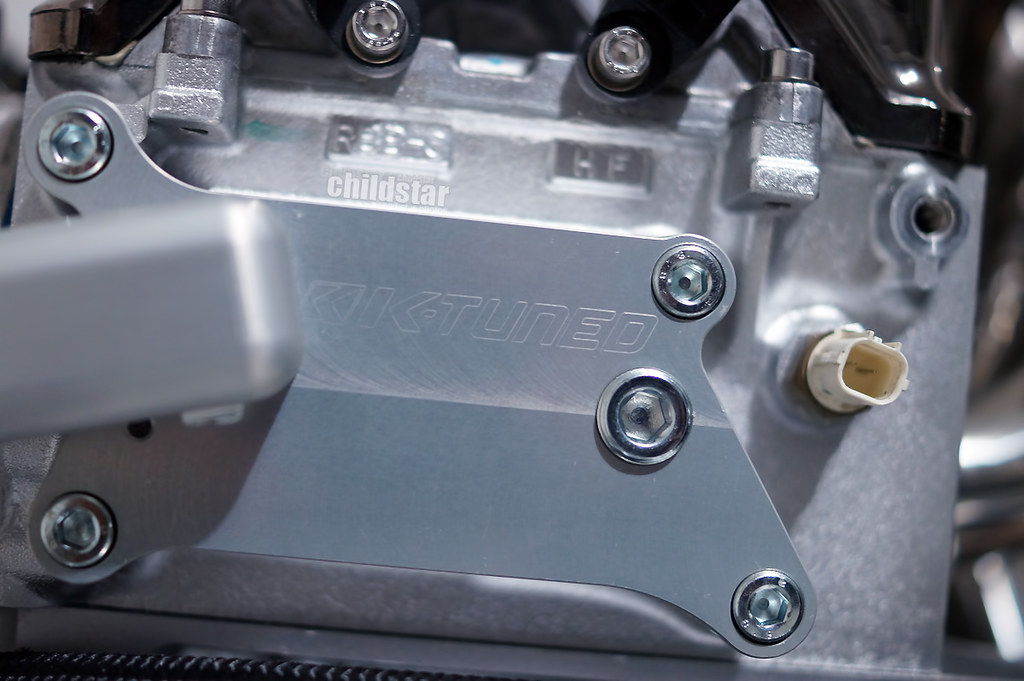
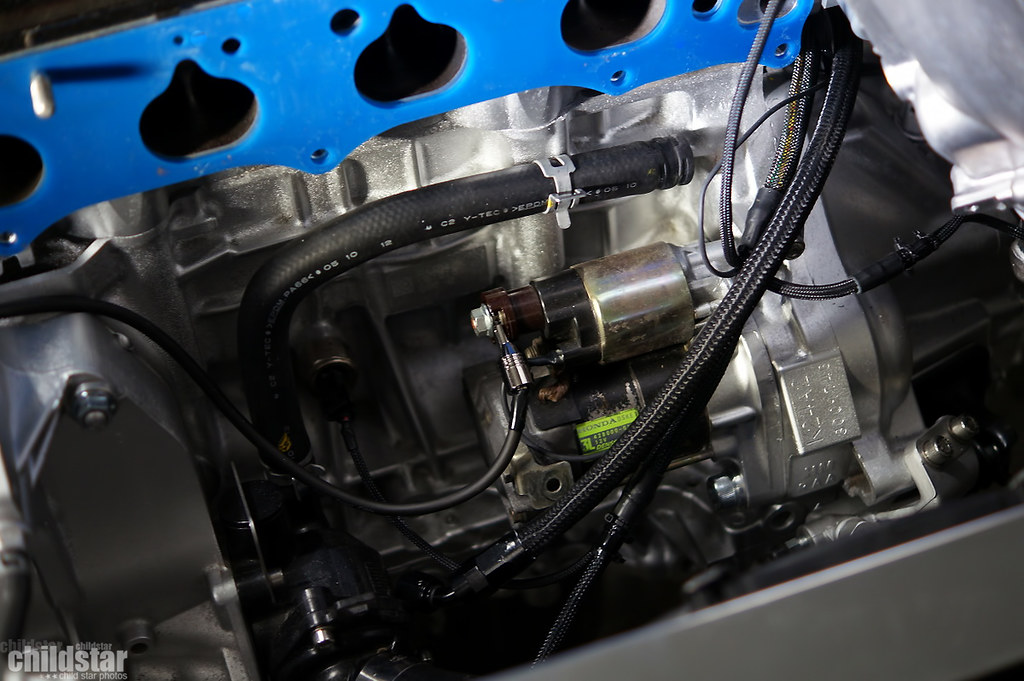
Got my K-Tuned K24 upper coolant housing in and installed today and also threw in the K-tuned thermostat plug. I'm liking the changes.
upgrades much?
before
during
after. Put the tape to use on the two plugs and also threw some hondabond on this thing and just cleaned up whatever oozed out of the edges after I installed this piece. I didn't notice any kind of hondabond on the stock housing, but I figured I should, just in case.
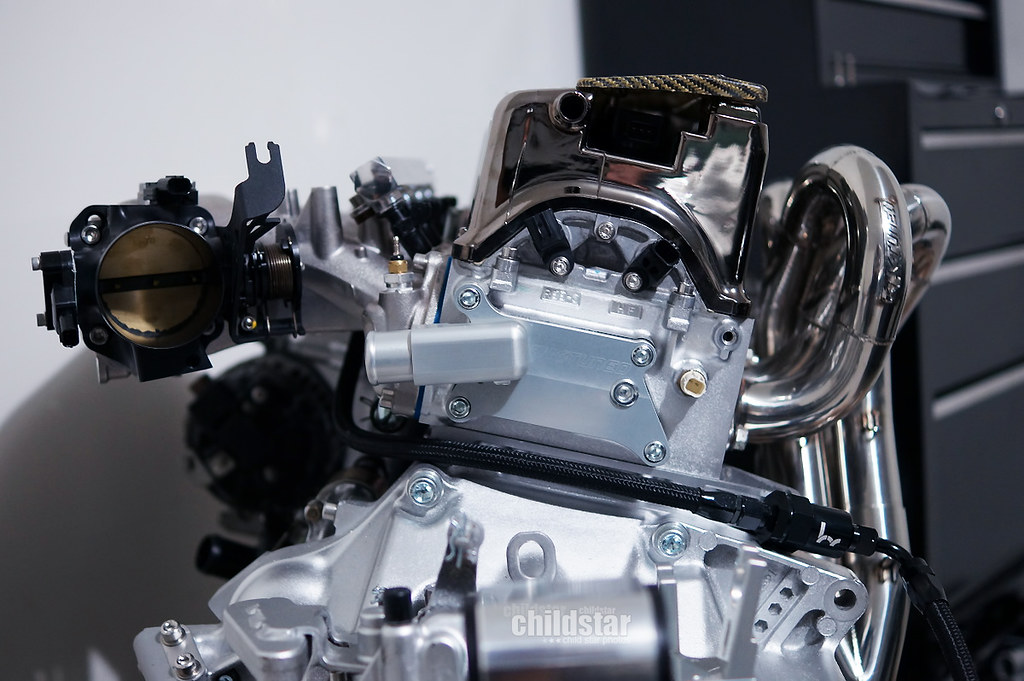
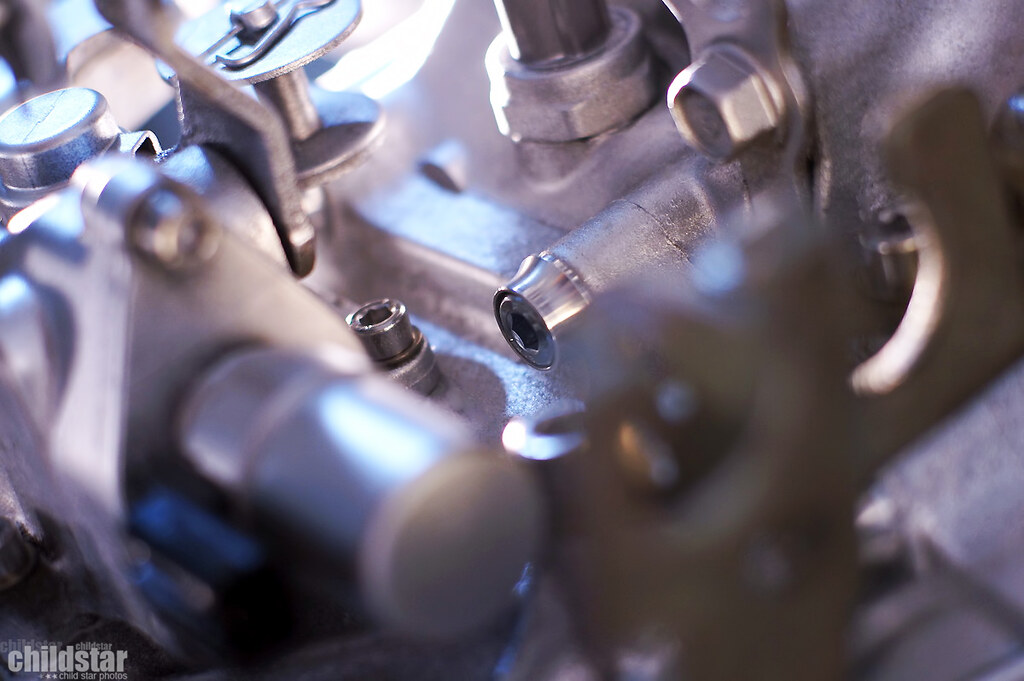
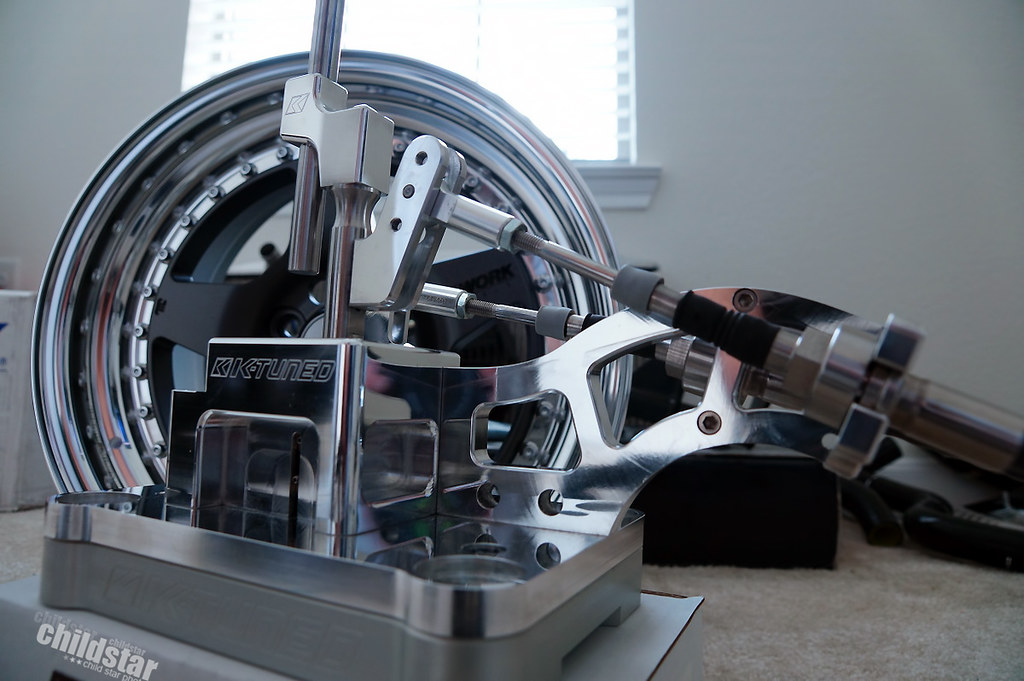
bunch of obnoxious views because I find images like these useful when I look at other builds
overhead view
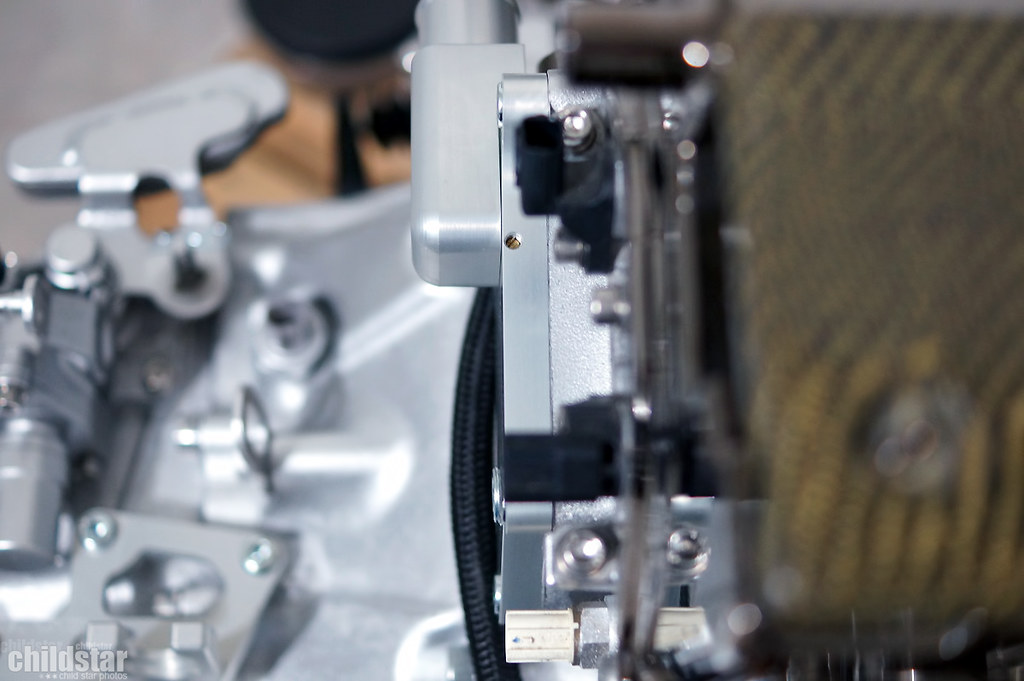
from the back. uber legit HMO stamp ftw
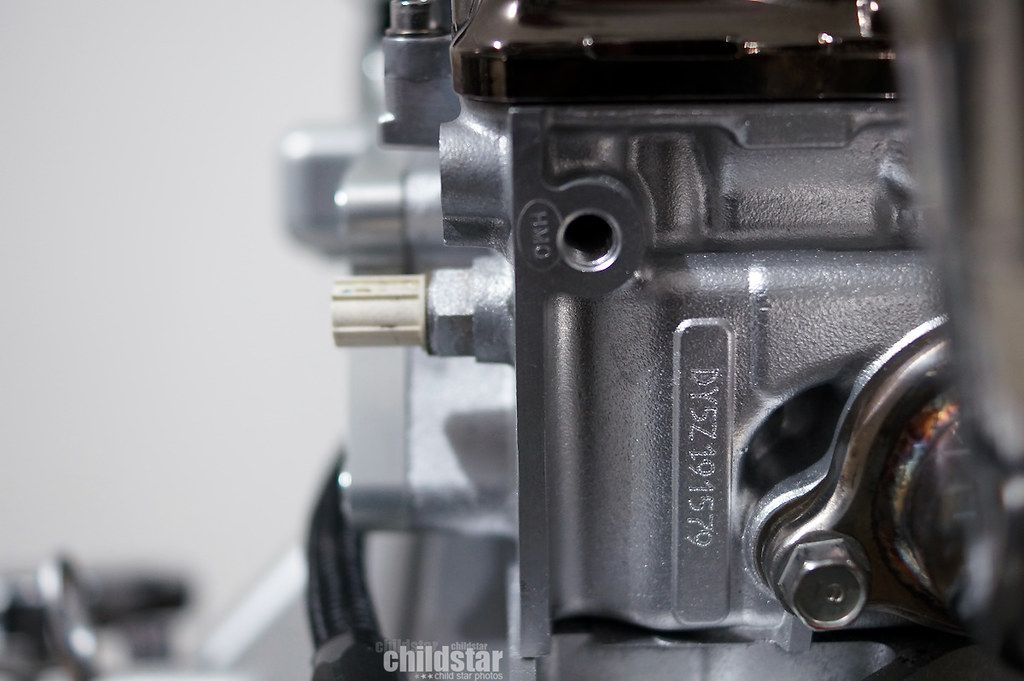

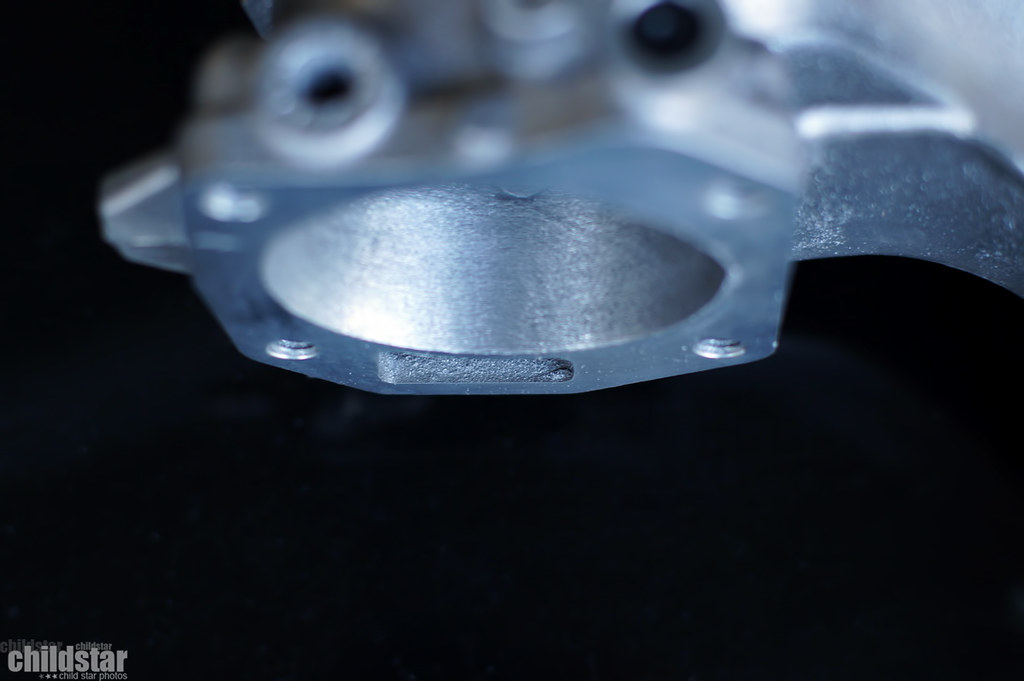
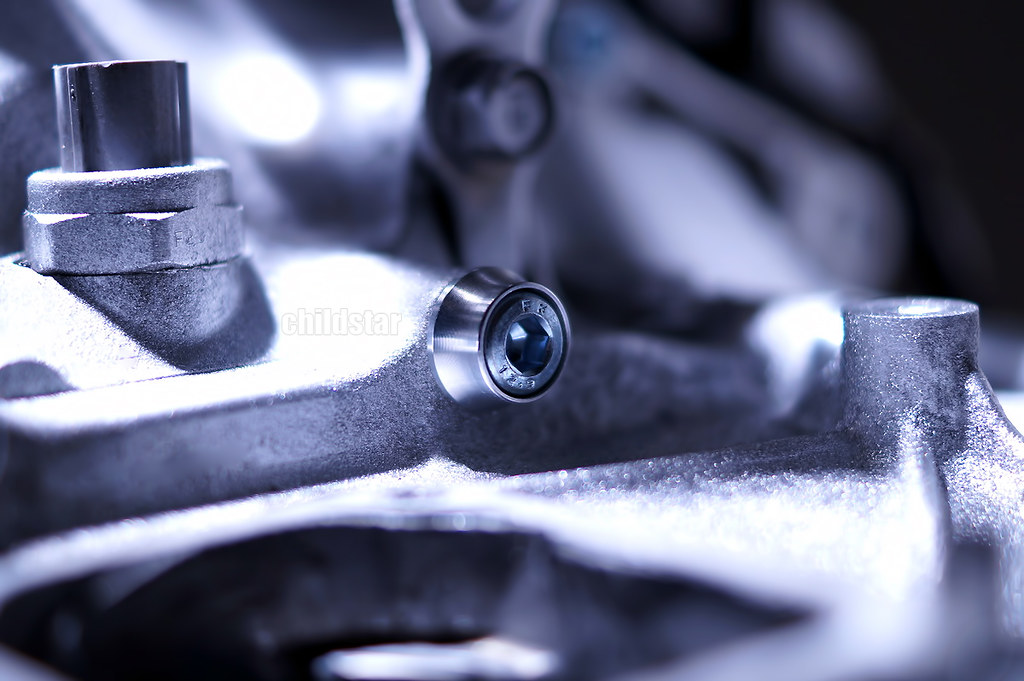
I noticed mine has a little "dimple" towards the front. Others I've seen doesn't have this. It doesn't go all the way through the aluminum though.

thermostat plug

I like shiny things. I was too lazy to turn my motor to get decent shots of this installed
Gotta hit up Frank at Downstar for some more hardware because i'm hooked on it like crack and also I need to get my injectors or AC/PS delete knocked out. We'll see how the week goes.
Downstar ekk2 bolts with beauty washers in. Threw most of them in place just because. The instructions for the bolts were better than the HAsport instructions lol.

I like how even the nuts have nice washers

And a little care package from Ktuned
Currently trying to polish up the shifter. For those who don't know, I only changed shifters because I originally wasn't going to delete heat and I didn't have a plan that would close up the heater core hole in a way that I'd be happy with. I figured this with the cable grommet would look nice and keep my shifter cables further away from heat. Also, I obviously like bling, so why not lol
05-10-2016, 12:24 AM
#18
Honda-Tech Member
Thread Starter
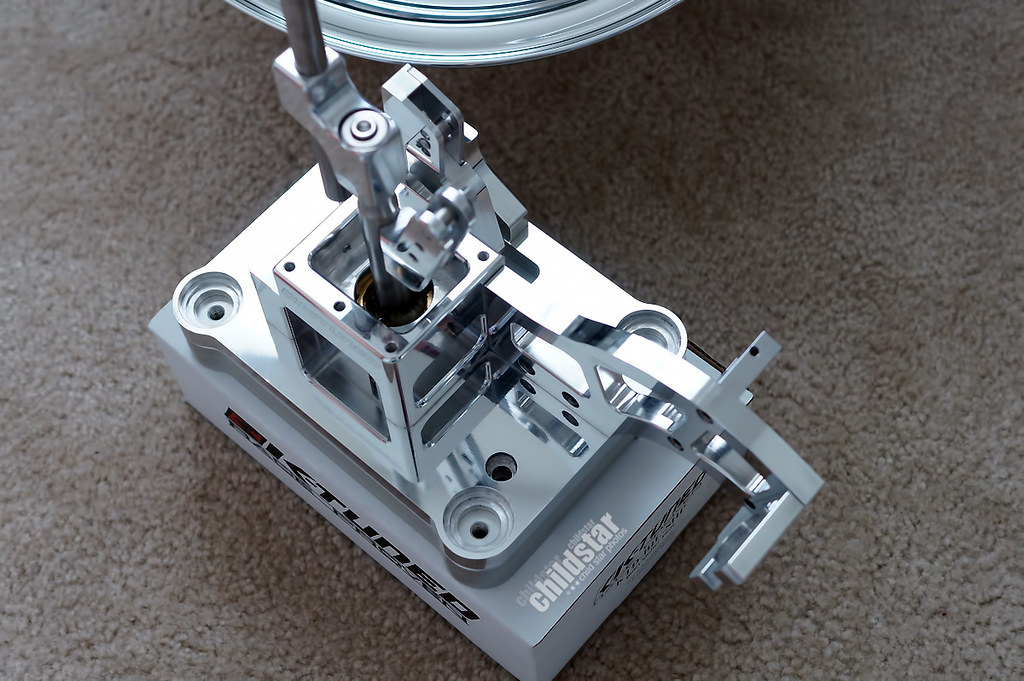
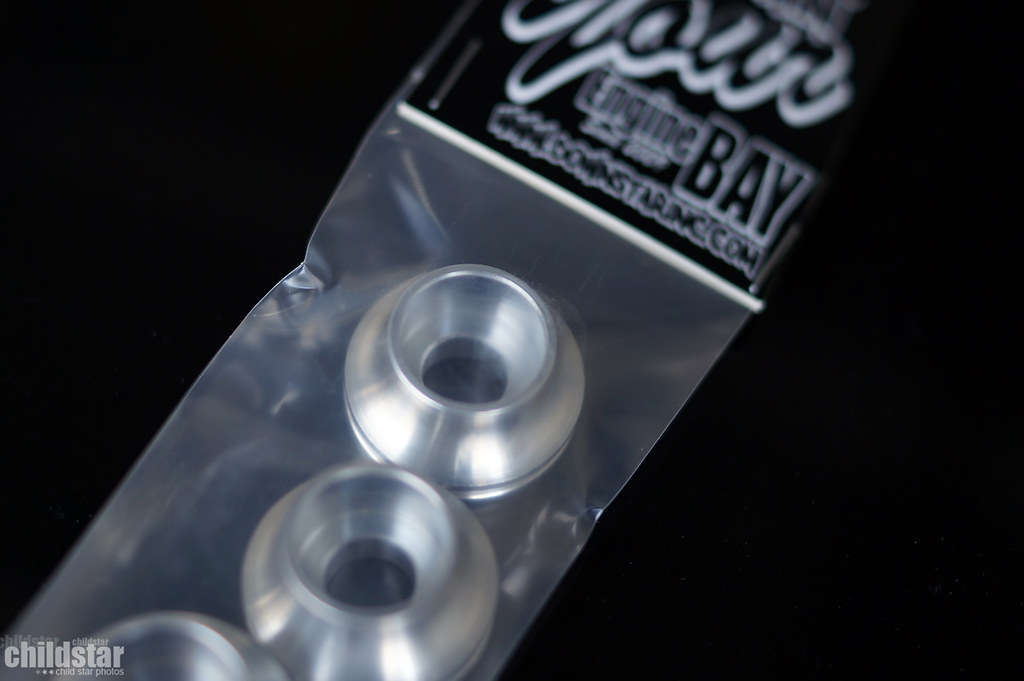
Ktuned billet shifter grommet and billet shifter box bushings
Some bits of the rsx shifter removed for hand polishing. I tried to switch to some Nevr-dull since it's less messy, but it didn't give off the shine that I liked. I ended up going back to my Blue Magic polish and just dealt with the mess.
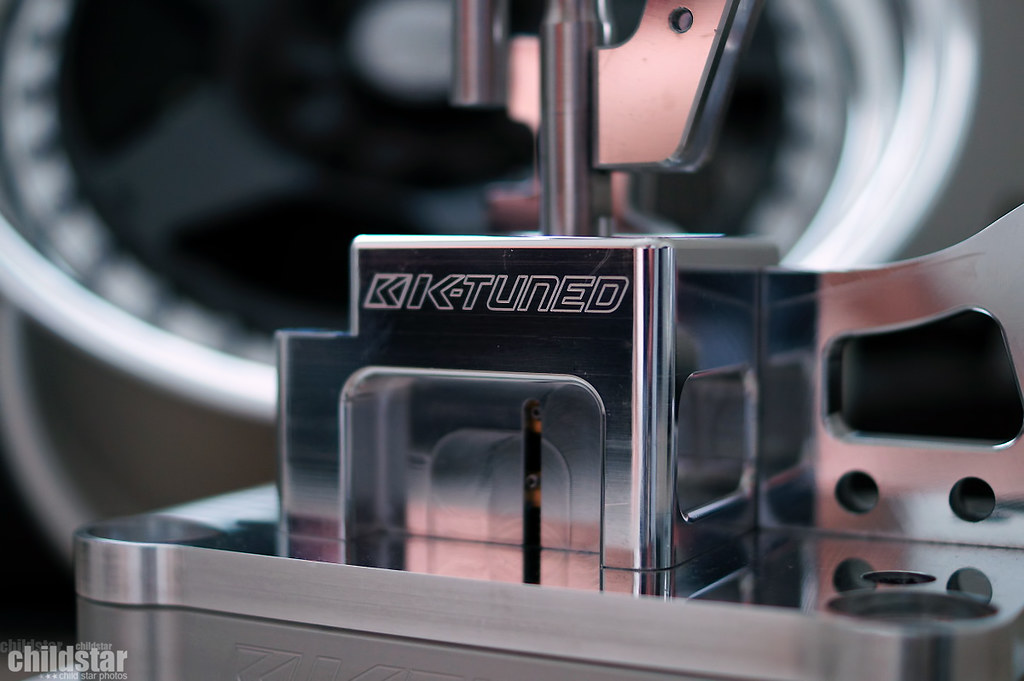
The shifter and the ktuned shifter base are two different finishes...the shifter is raw so it polishes up nice without needing to wet sand. Here's a comparison of the two
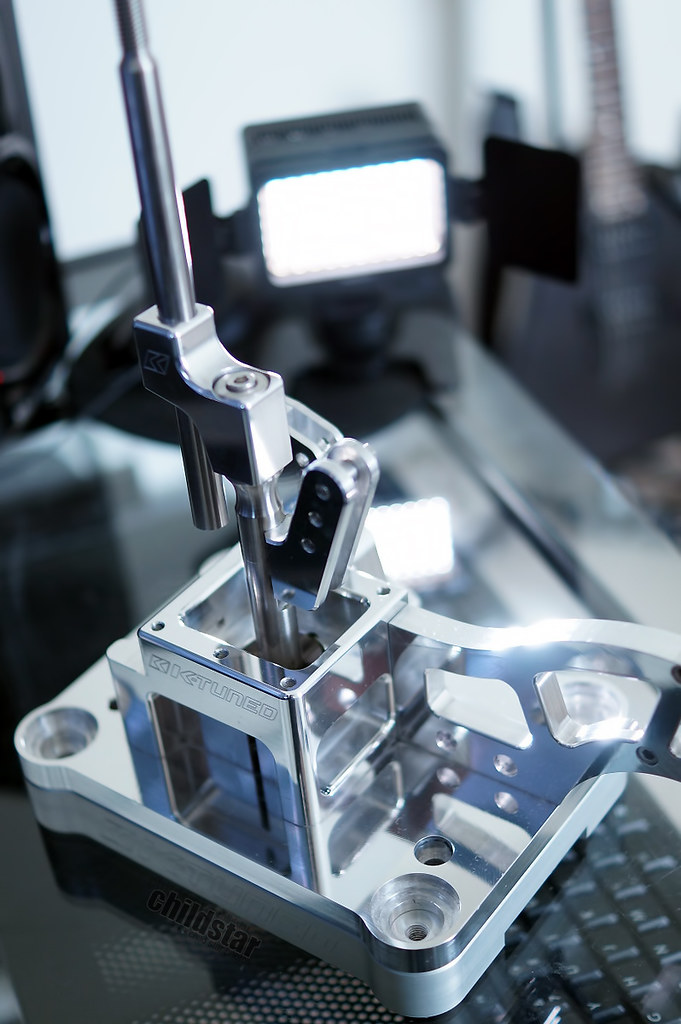
Some angles don't show just how reflective it is and since my parts room doesn't have anything on the walls to reflect color back, I took a photo of myself in the shifters reflection
Still could be polished up further, but im not worried about removing every little blemish. This isn't a show car for me, I just polish things out of boredom and broke-ism lol.
If I had any negative criticism about the shifter, it would be the effort needed to make adjustments. Of course, once you have it set to your liking it'll be good to go, but I could see it being tedious for people who like to change things up often.
another shot for comparisons sake, factory polished lips on Work CR01 and my compound polish job on the shifter match pretty well
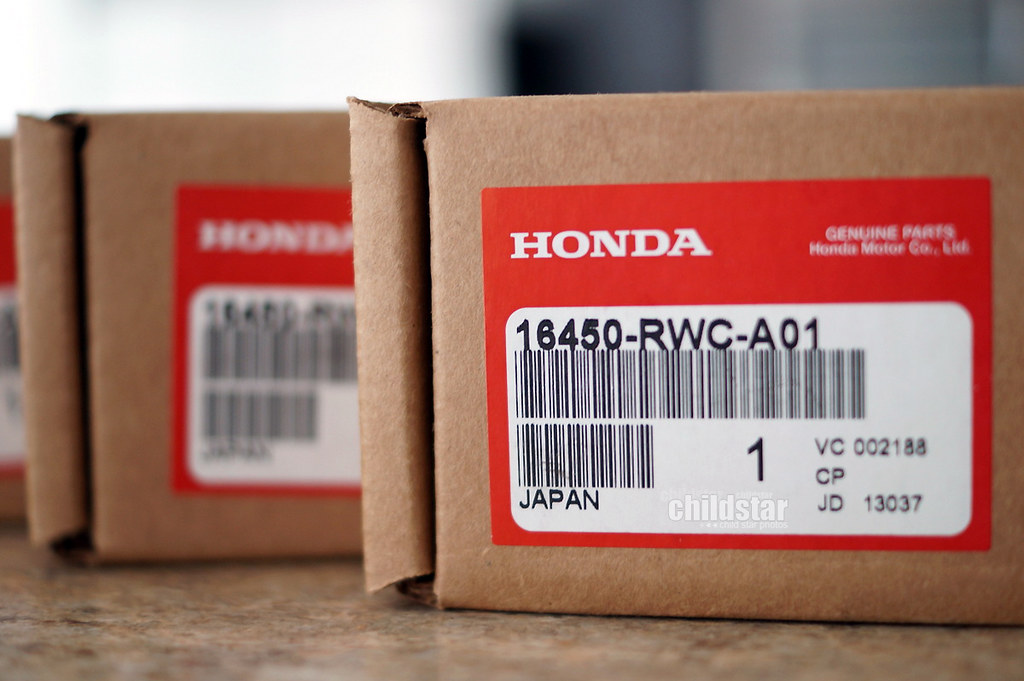
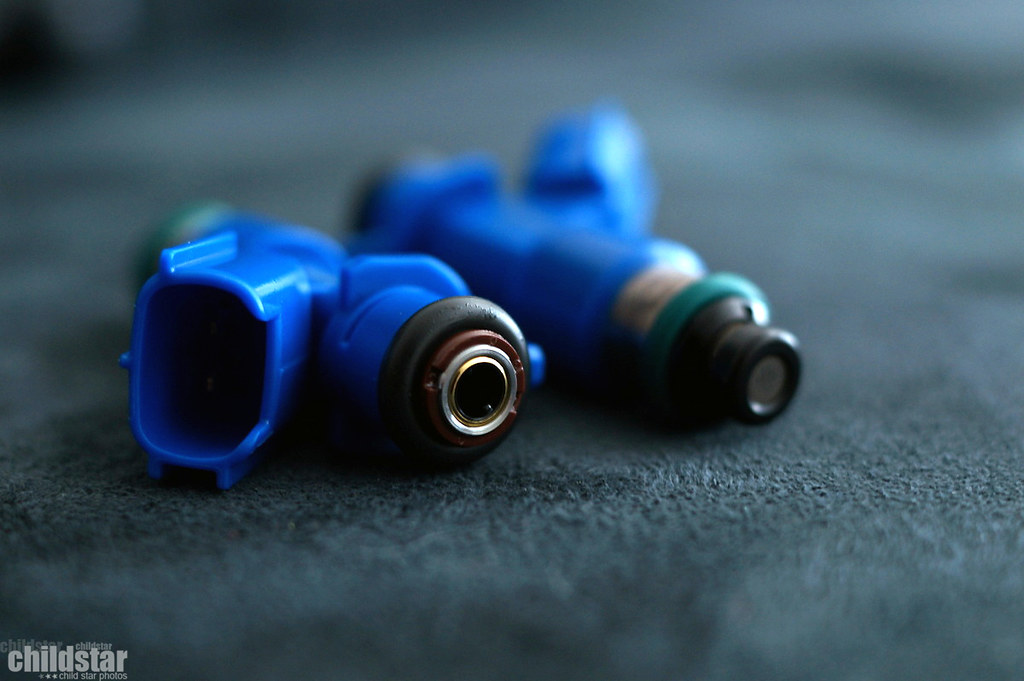
Japan parts....RDX 410cc injectors
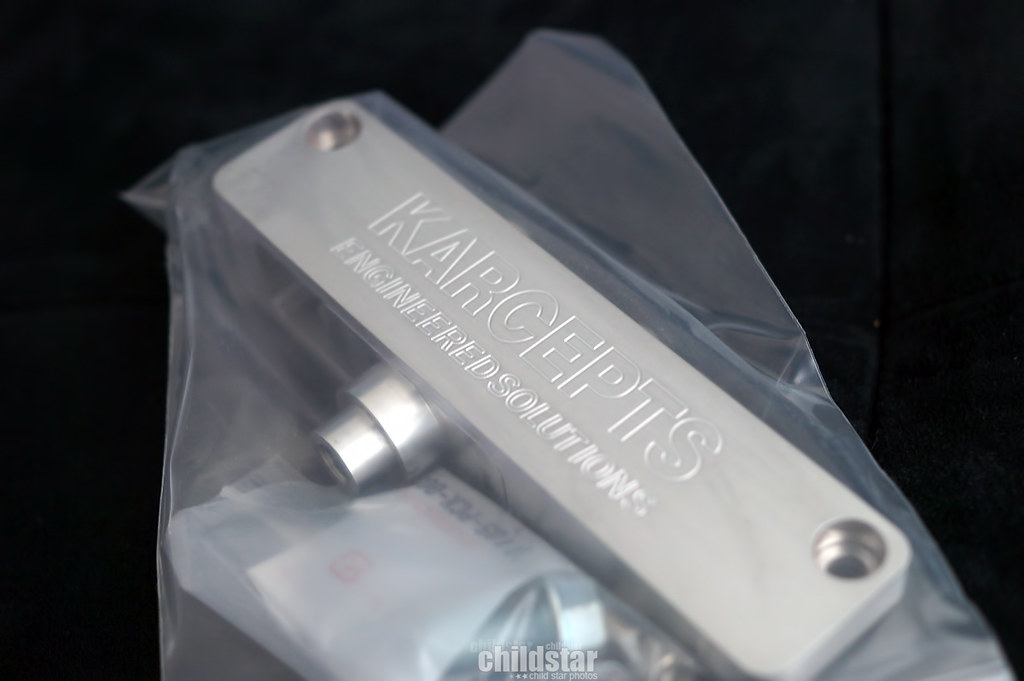
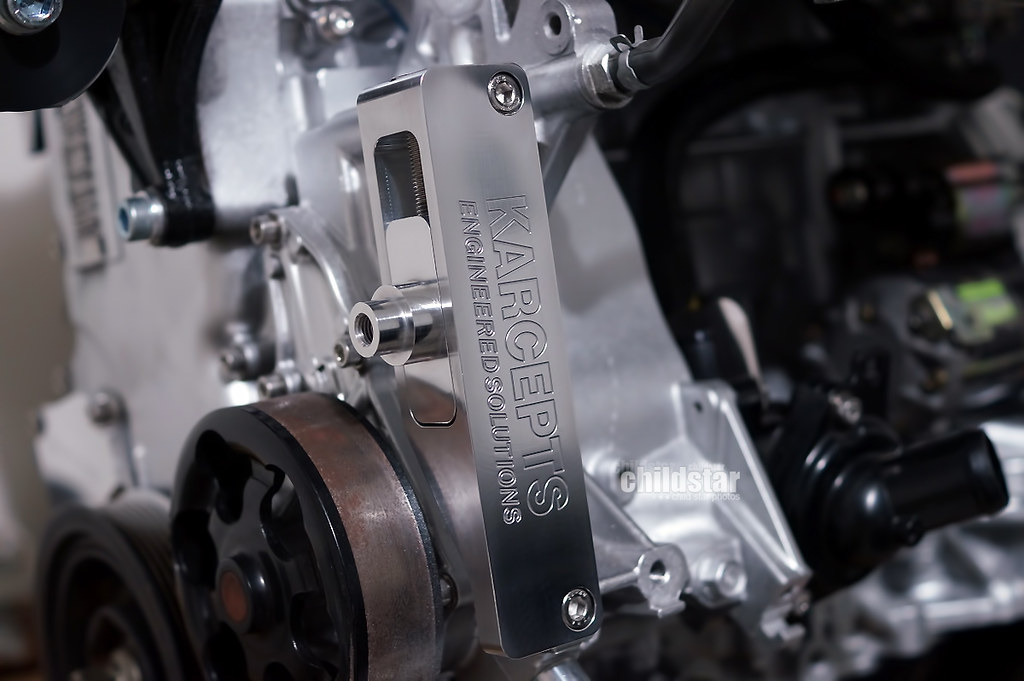
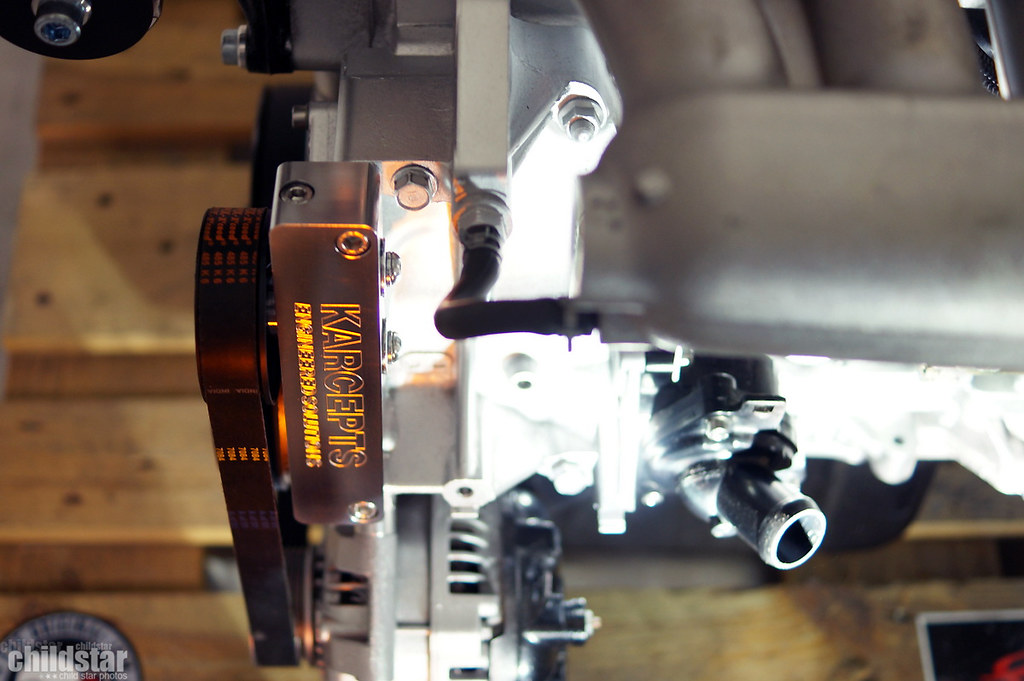
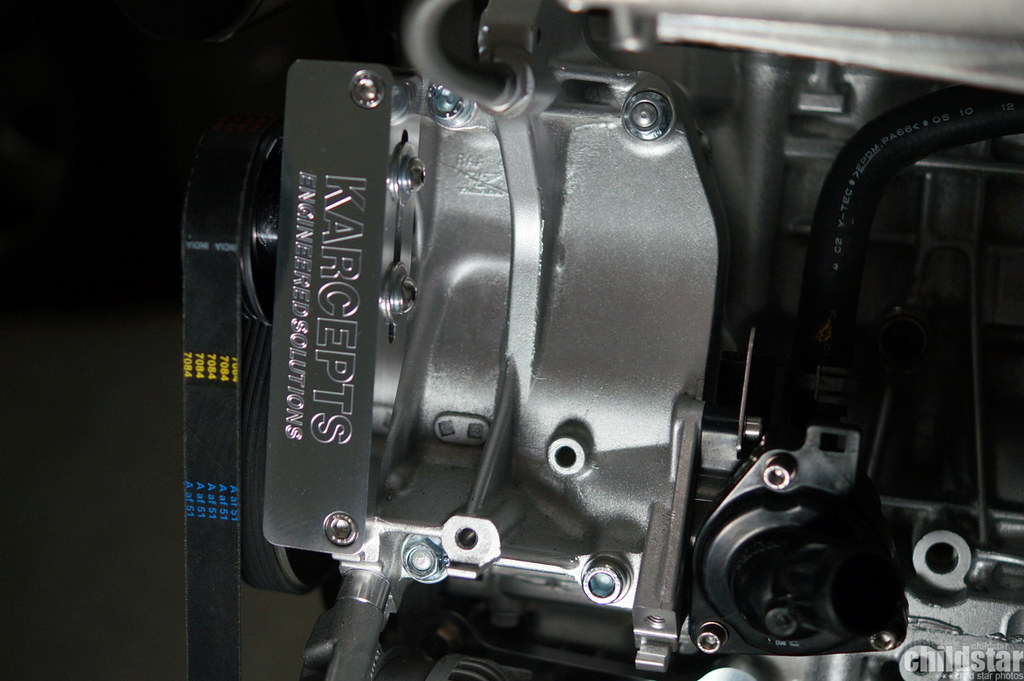
Karcepts AC/PS delete for TSX
Polished it up of course
injectors
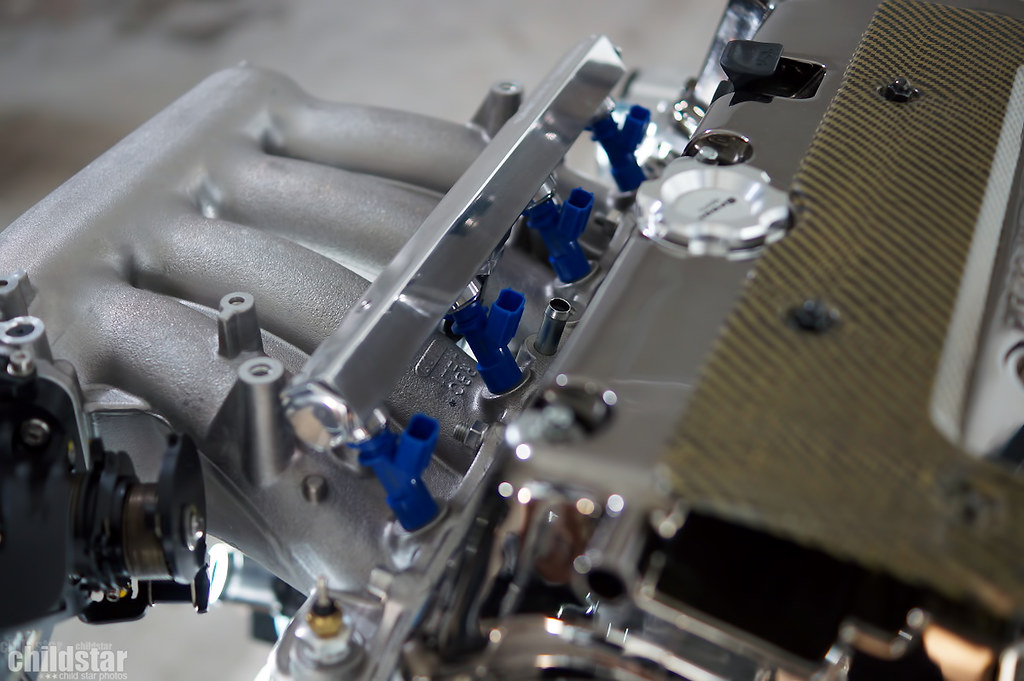
everything installed
Got the rear camber to where i'm happy.

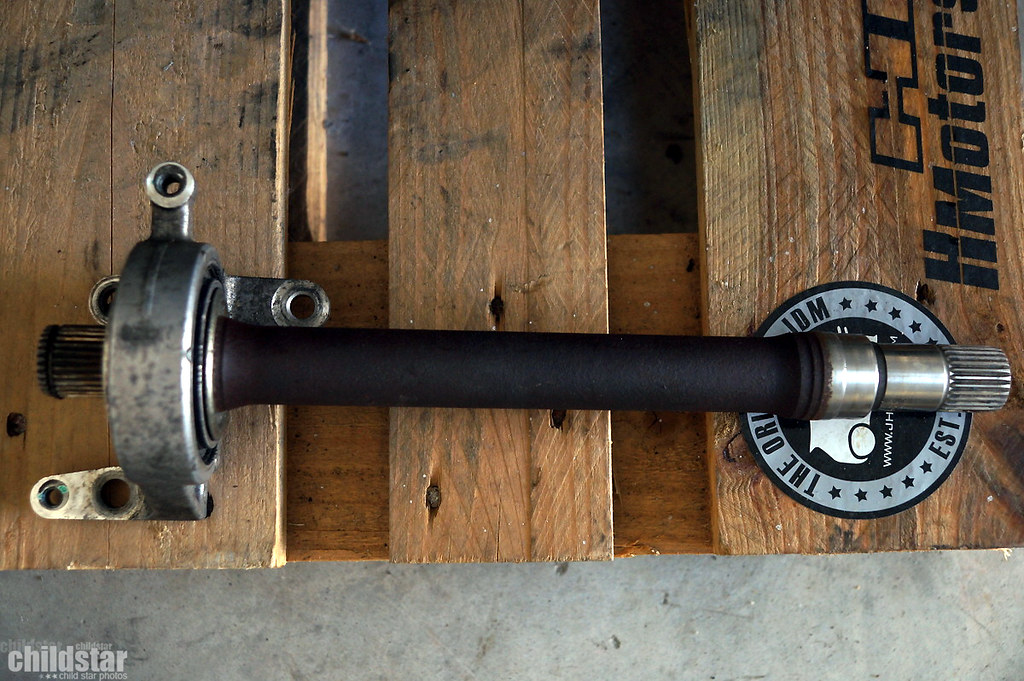
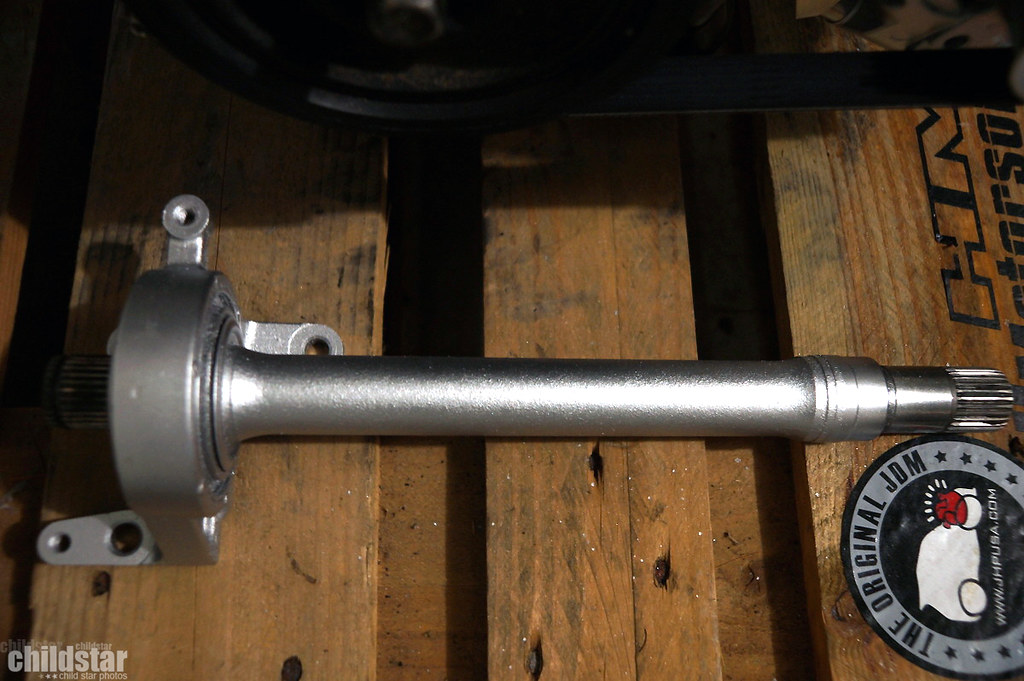
Picked up a DC5 halfshaft from a member RML-2.0 on k20a.org (Thanks a lot btw) and cleaned it up a little and sprayed it. I'll have to pick up some oem bolts for it later and maybe the little cover that goes with it.
Had an itch for some Spoon cosmetics, so I snagged a couple of things from Steve at Hmotors

The most dreaded purchase is over
Got my hands on a raw fuel rail from K-Tuned

I did the unnecessary thing I like to do and polished the hell out of it lol
To pass some time and to make things easier on me (less messy at swap time), I went to try and get some of the heavy heaps of dirt out of the engine bay

BIG SHOUT OUT to Alex, k20a.org K-N-2-EK, for hooking me up and doing a great job with getting my EG/DC parts powder coated!!! I appreciate all the effort to get me what I wanted!


Makes my paint job look pretty dull hahaha
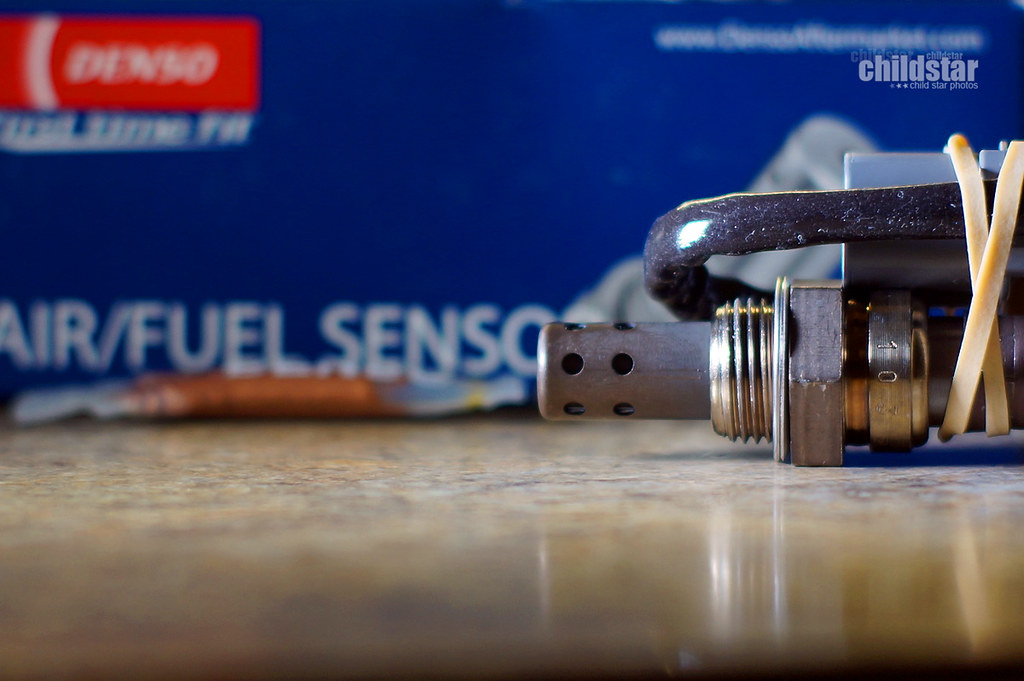
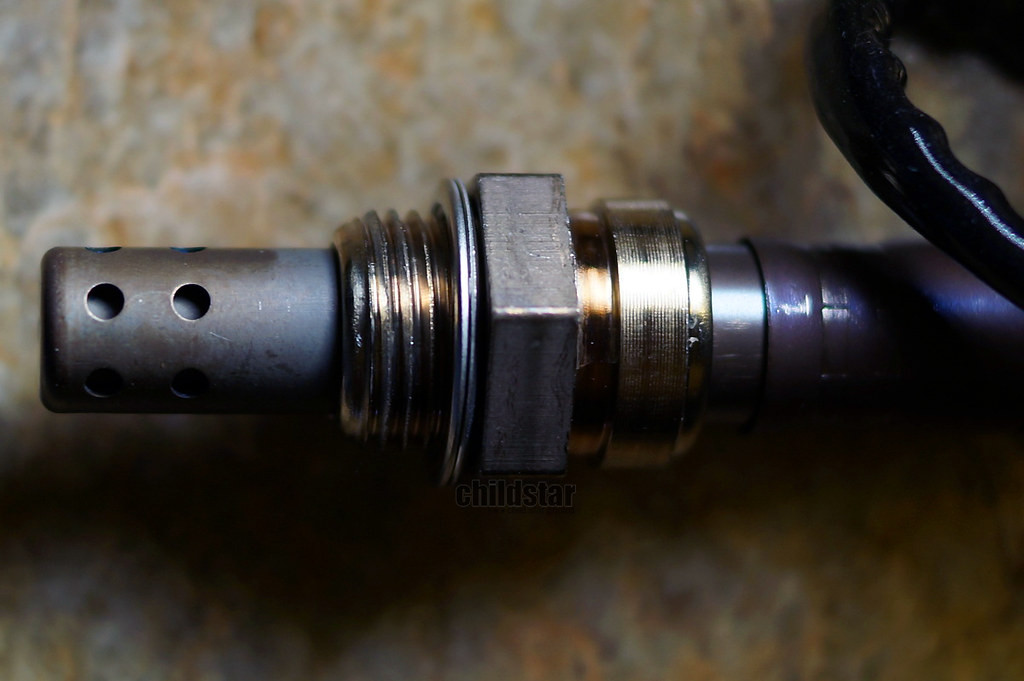
Wideband RSX type-S O2 sensor
Yet another K-Tuned care package as I call them lol
Honestly, this battery tie down is more nice than I thought it would be because it's such a simple thing with a simple purpose.
In its raw form against the black chromed valve cover

After a little polishing and my finger smudges on the sides lol
Some bits of the rsx shifter removed for hand polishing. I tried to switch to some Nevr-dull since it's less messy, but it didn't give off the shine that I liked. I ended up going back to my Blue Magic polish and just dealt with the mess.
The shifter and the ktuned shifter base are two different finishes...the shifter is raw so it polishes up nice without needing to wet sand. Here's a comparison of the two
Some angles don't show just how reflective it is and since my parts room doesn't have anything on the walls to reflect color back, I took a photo of myself in the shifters reflection
Still could be polished up further, but im not worried about removing every little blemish. This isn't a show car for me, I just polish things out of boredom and broke-ism lol.
If I had any negative criticism about the shifter, it would be the effort needed to make adjustments. Of course, once you have it set to your liking it'll be good to go, but I could see it being tedious for people who like to change things up often.
another shot for comparisons sake, factory polished lips on Work CR01 and my compound polish job on the shifter match pretty well
Japan parts....RDX 410cc injectors
Karcepts AC/PS delete for TSX
Polished it up of course
injectors
everything installed
Got the rear camber to where i'm happy.
Picked up a DC5 halfshaft from a member RML-2.0 on k20a.org (Thanks a lot btw) and cleaned it up a little and sprayed it. I'll have to pick up some oem bolts for it later and maybe the little cover that goes with it.
Had an itch for some Spoon cosmetics, so I snagged a couple of things from Steve at Hmotors
The most dreaded purchase is over
Got my hands on a raw fuel rail from K-Tuned
I did the unnecessary thing I like to do and polished the hell out of it lol
To pass some time and to make things easier on me (less messy at swap time), I went to try and get some of the heavy heaps of dirt out of the engine bay
BIG SHOUT OUT to Alex, k20a.org K-N-2-EK, for hooking me up and doing a great job with getting my EG/DC parts powder coated!!! I appreciate all the effort to get me what I wanted!
Makes my paint job look pretty dull hahaha
Wideband RSX type-S O2 sensor
Yet another K-Tuned care package as I call them lol
Honestly, this battery tie down is more nice than I thought it would be because it's such a simple thing with a simple purpose.
In its raw form against the black chromed valve cover
After a little polishing and my finger smudges on the sides lol
05-10-2016, 12:31 AM
#19
Honda-Tech Member
Thread Starter
got some missing bolts that I needed for my halfshaft since I didn't get them from the dude who sold me it.
yay, ermagod!!!
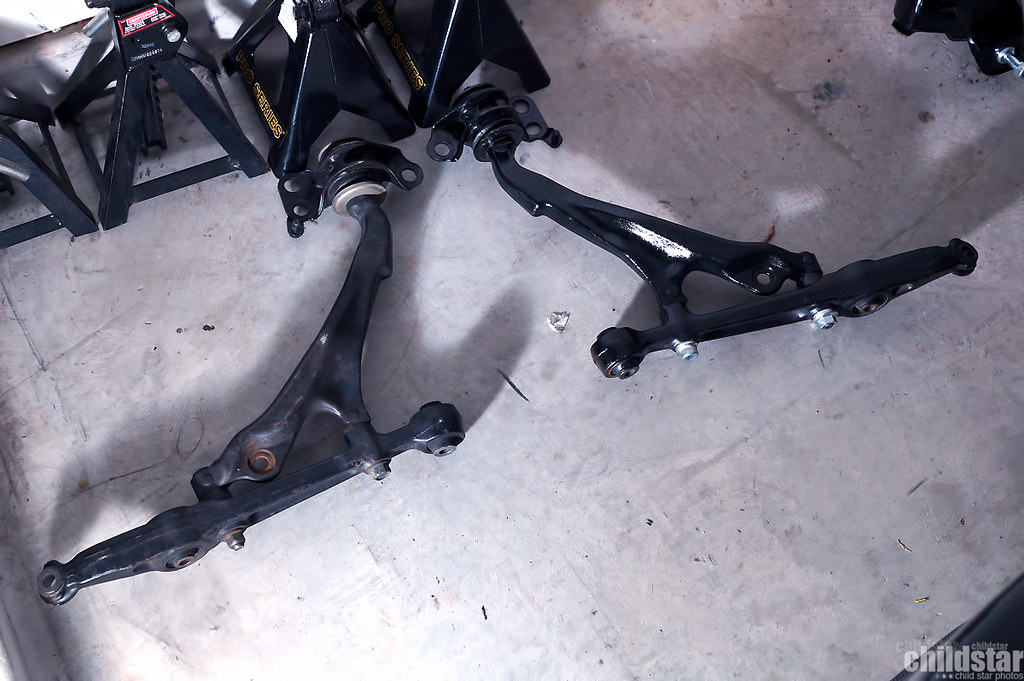
Also i've been trying to clean up the front LCA's since they aren't powdercoated and my downstar hardware for them is on the way. Top one has been cleaned a bit, the bottom only wiped enough to not get gunk on my hands when I pick it up

Bolts and more bolts... and a T shirt lol


Finally swapped out the painted over water pump housing bolts
Threw a good bit of the downstar bolts where they belong just because i'm ocd and it'll make it a breeze for me when i'm putting it all together.
The front LCA
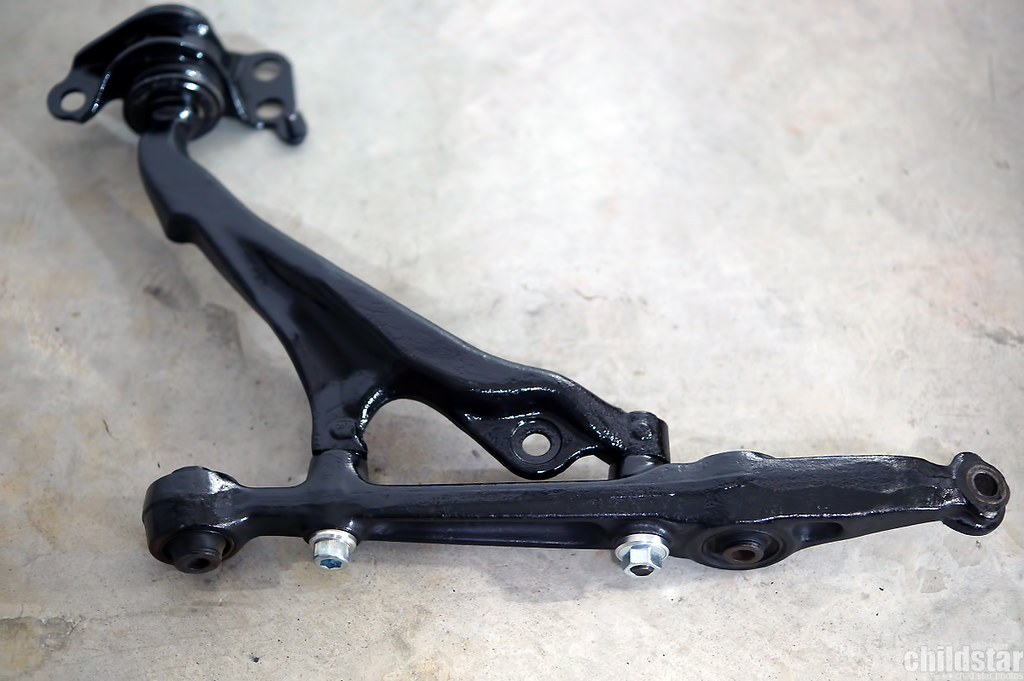
The original condition front LCA and one that I cleaned up along with the new hardware.
Alex powder coated shock forks with new hardware
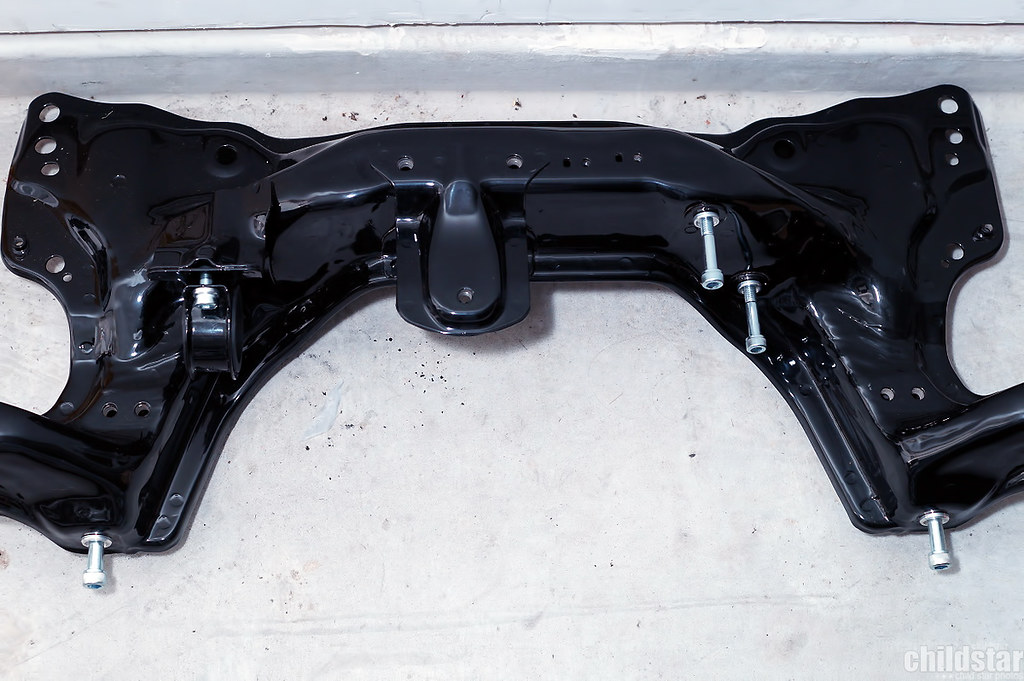
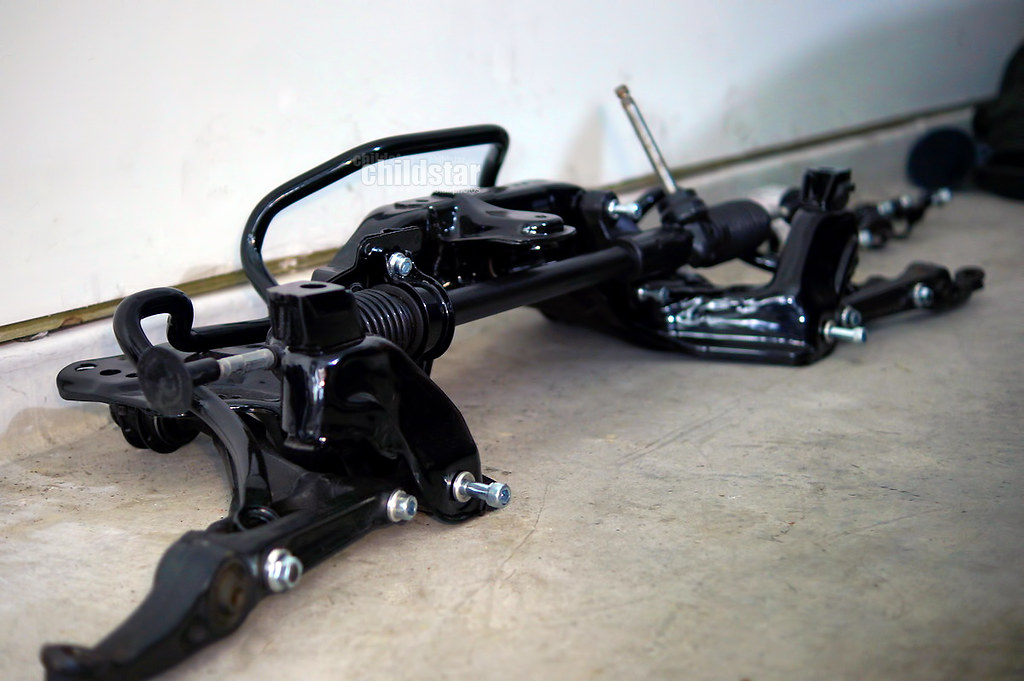
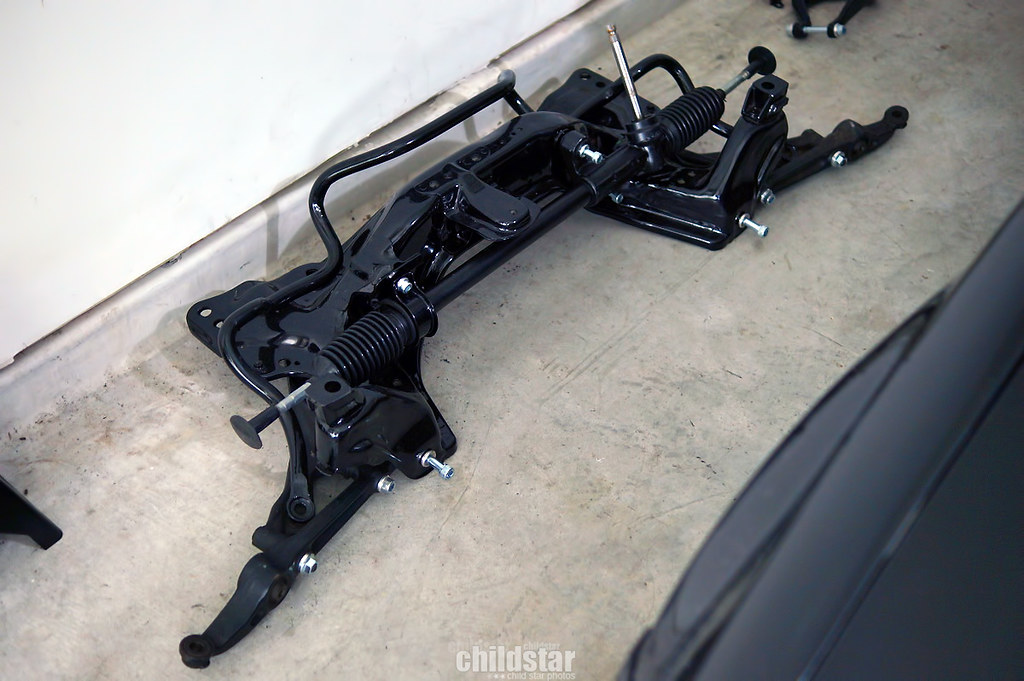
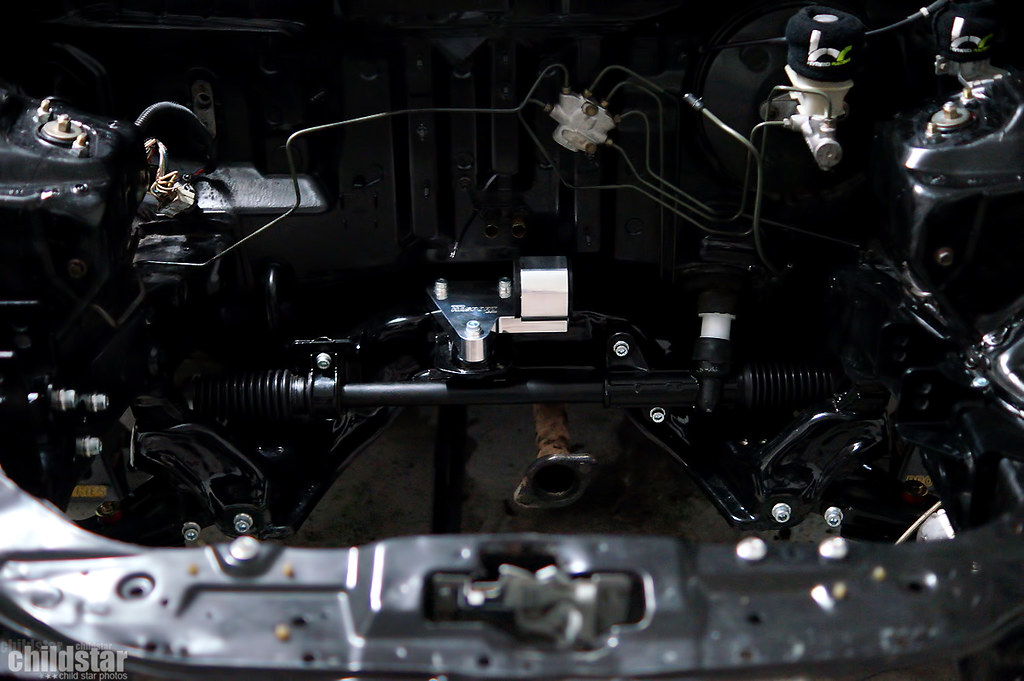
The subframe with new hardware and the steering rack hardware also set in place
and about a bajillion of these have been going in from time to time when I feel like tinkering with something
Another K-Tuned first product, a redesigned water neck outlet specifically for K24/K20z3 engines. No more modding of the upper radiator hose when using one of their water necks.
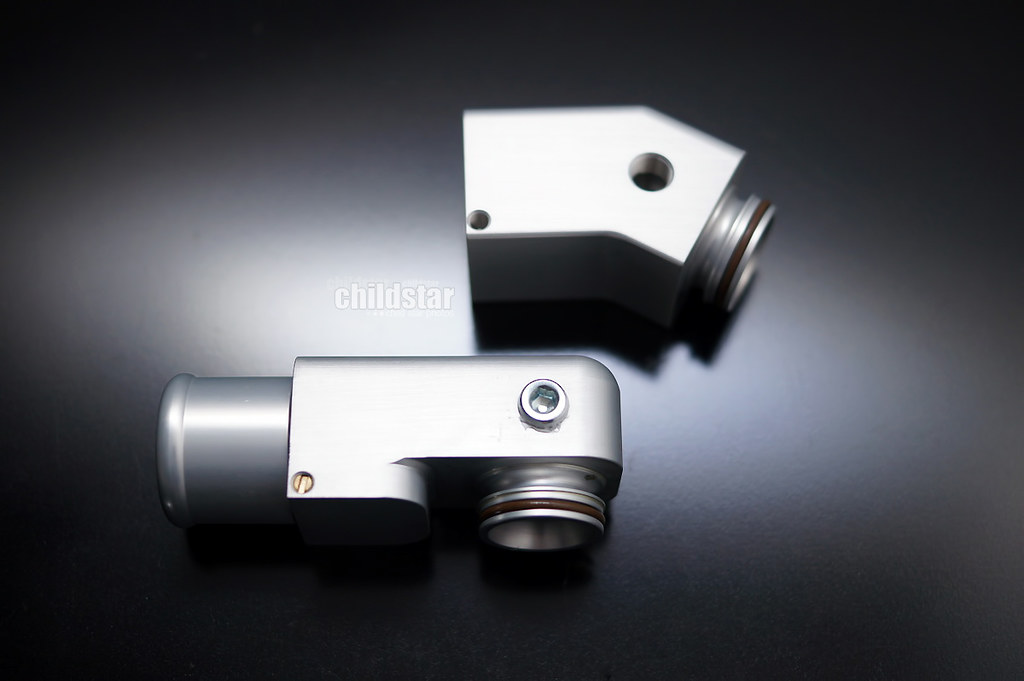
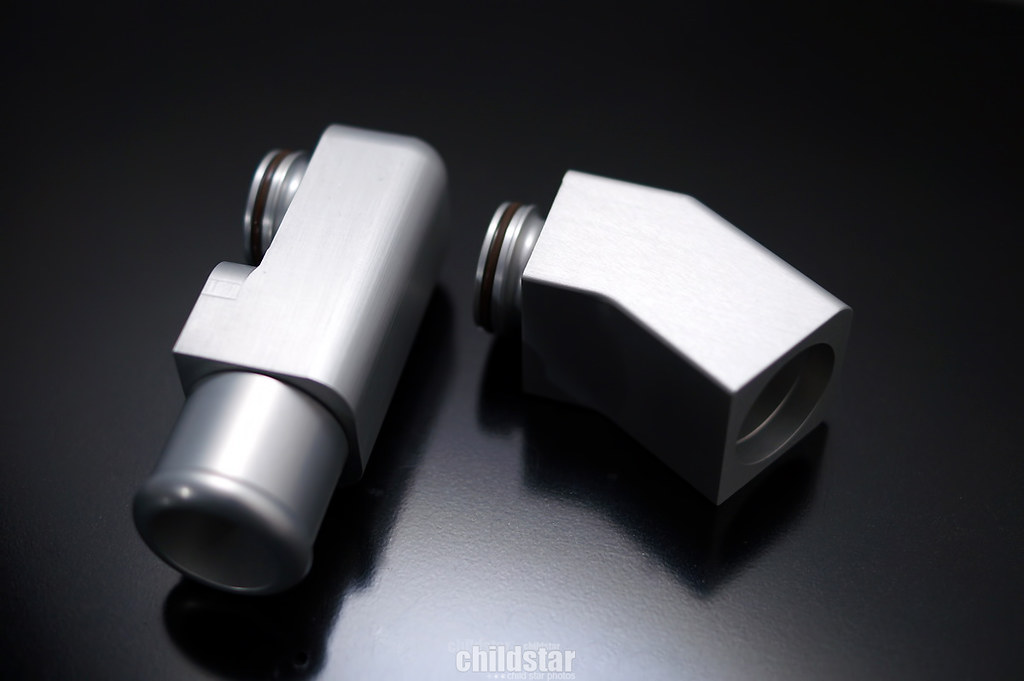
installed

another scoop of spoon

Spent some time routing my engine harness the way I actually want it in the bay. Happy with the way it all turned out. I went in wanting a stealthy harness and that's what i got.
Ktuned goodies arrived
Picked up a -6AN wrench for my fuel lines

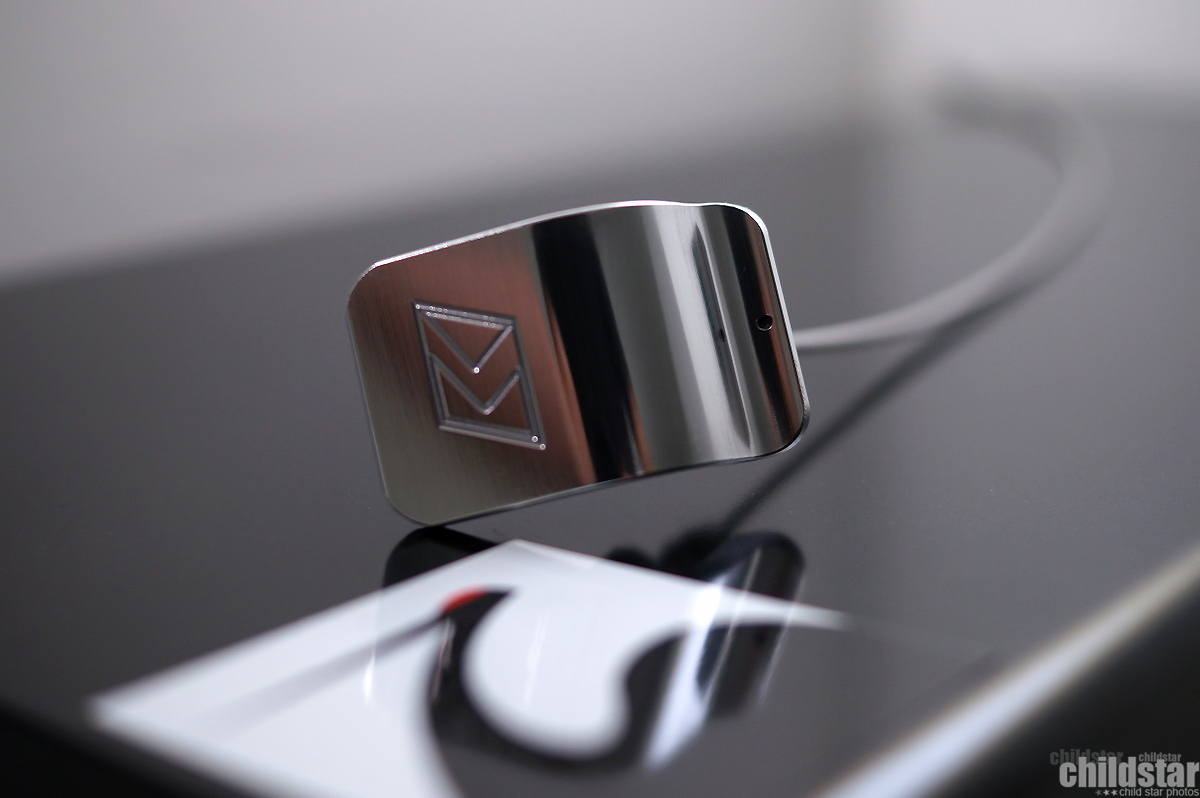
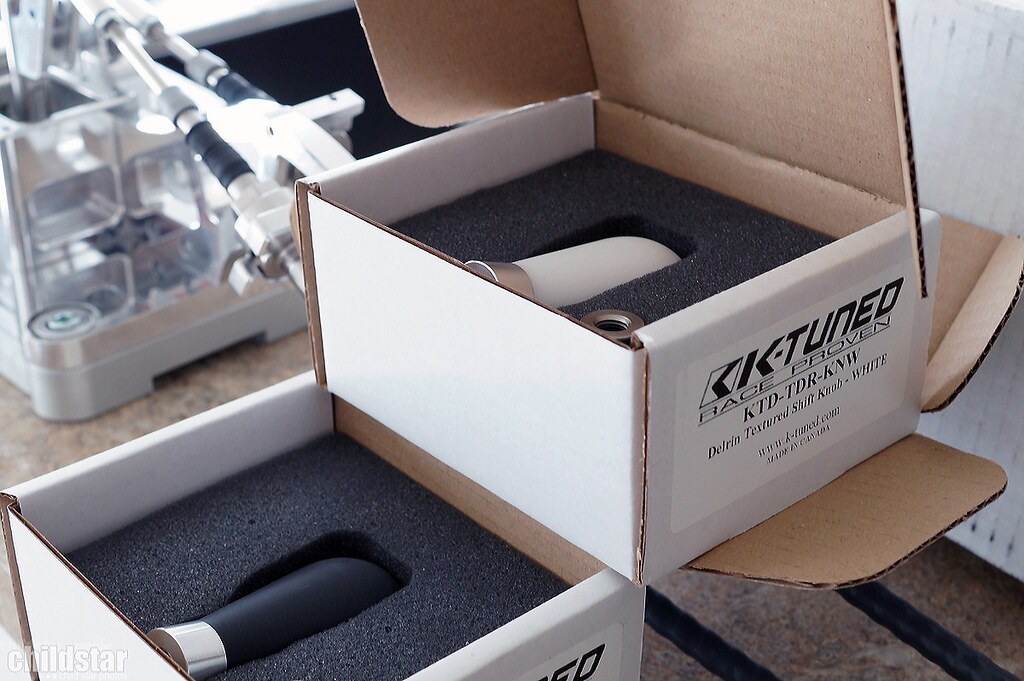
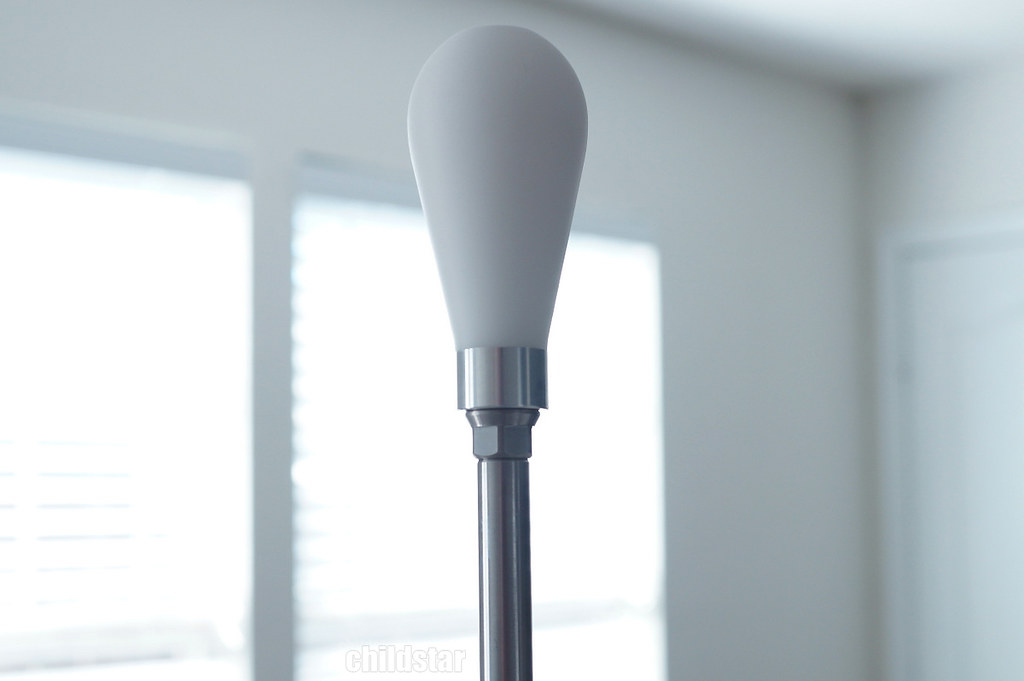
Got my hands on both of the newly released delrin shift *****
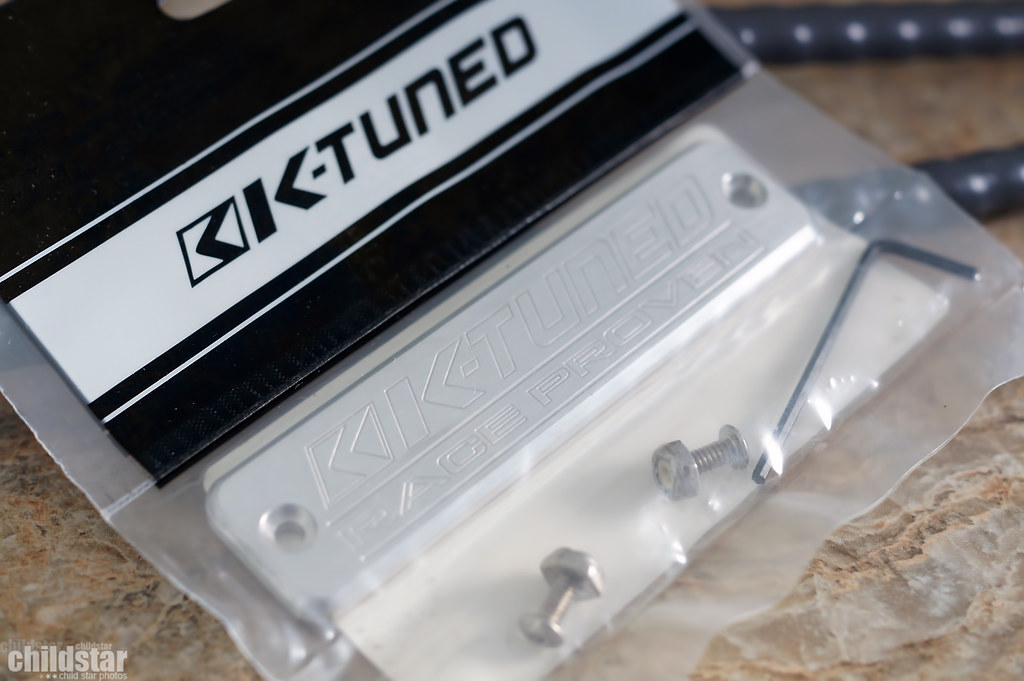
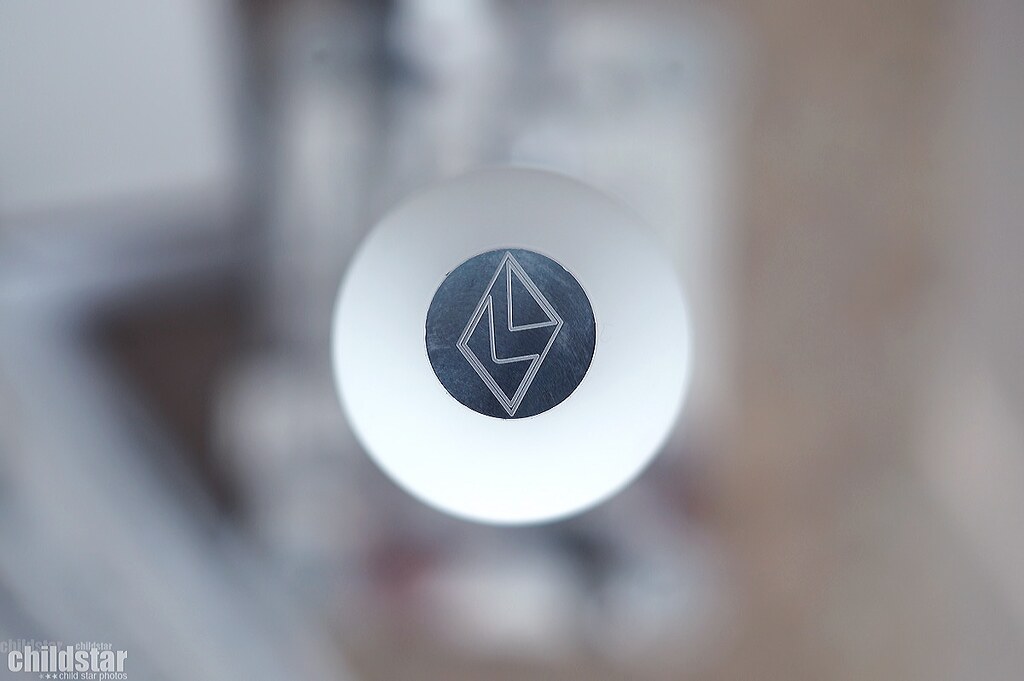
billet logo plate
5th gear lockout, simply because I like to own the available options
Makes the billet rsx shifter look more complete to me
Feels crazy solid when moving the lockout back and forth
These shift ***** feel great. No cold shift **** in this cool weather
yay, ermagod!!!
Also i've been trying to clean up the front LCA's since they aren't powdercoated and my downstar hardware for them is on the way. Top one has been cleaned a bit, the bottom only wiped enough to not get gunk on my hands when I pick it up
Bolts and more bolts... and a T shirt lol
Finally swapped out the painted over water pump housing bolts
Threw a good bit of the downstar bolts where they belong just because i'm ocd and it'll make it a breeze for me when i'm putting it all together.
The front LCA
The original condition front LCA and one that I cleaned up along with the new hardware.
Alex powder coated shock forks with new hardware
The subframe with new hardware and the steering rack hardware also set in place
and about a bajillion of these have been going in from time to time when I feel like tinkering with something
Another K-Tuned first product, a redesigned water neck outlet specifically for K24/K20z3 engines. No more modding of the upper radiator hose when using one of their water necks.
installed
another scoop of spoon
Spent some time routing my engine harness the way I actually want it in the bay. Happy with the way it all turned out. I went in wanting a stealthy harness and that's what i got.
Ktuned goodies arrived
Picked up a -6AN wrench for my fuel lines
Got my hands on both of the newly released delrin shift *****
billet logo plate
5th gear lockout, simply because I like to own the available options
Makes the billet rsx shifter look more complete to me
Feels crazy solid when moving the lockout back and forth
These shift ***** feel great. No cold shift **** in this cool weather
05-10-2016, 12:59 AM
#21
Honda-Tech Member
Thread Starter
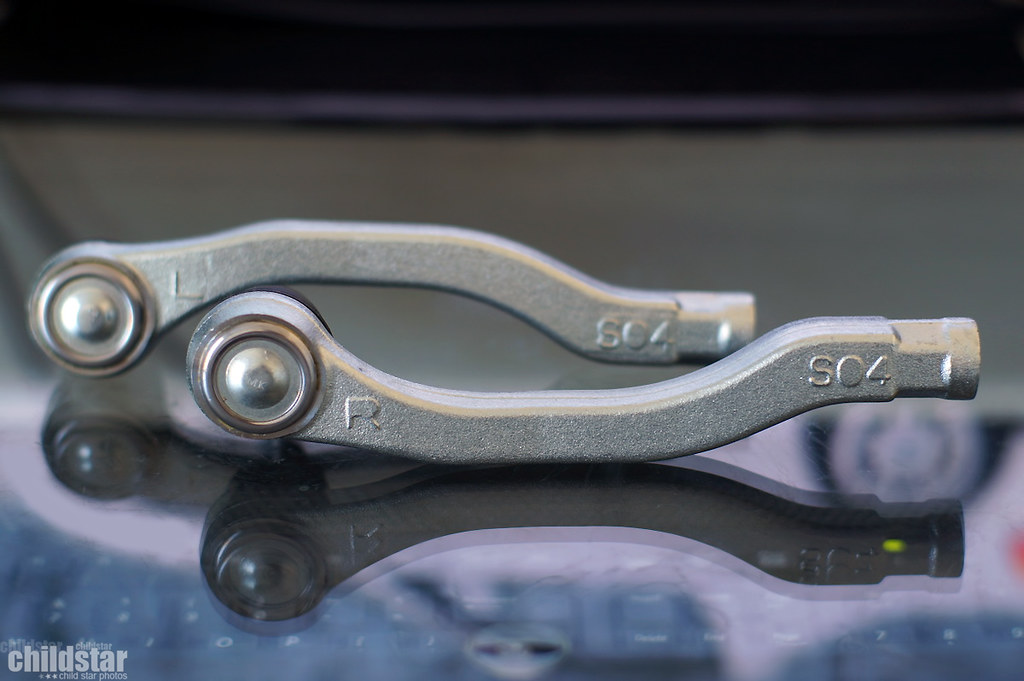
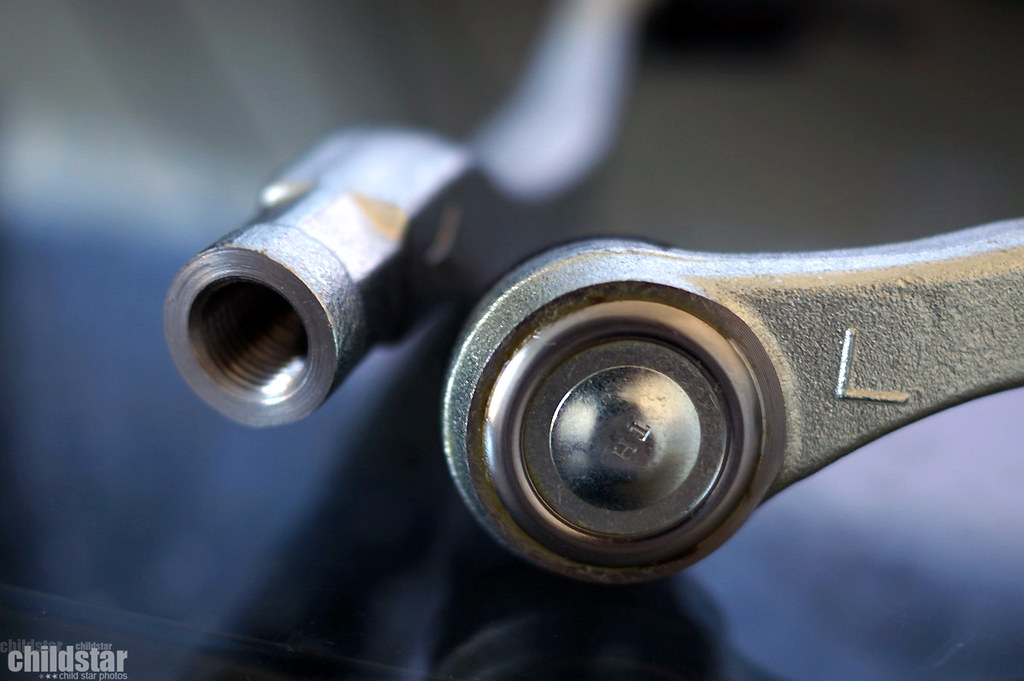
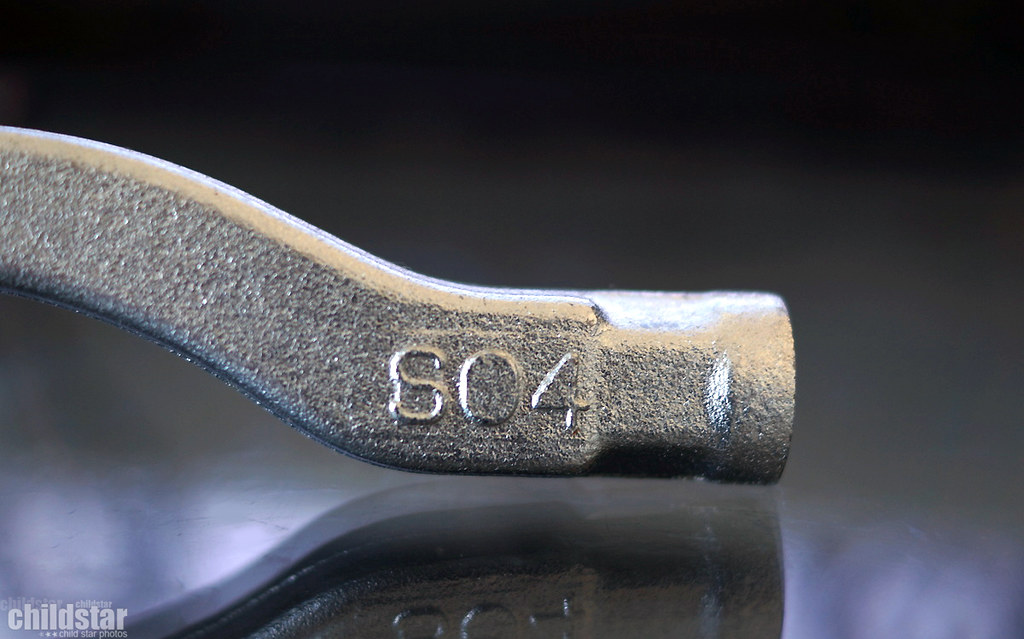
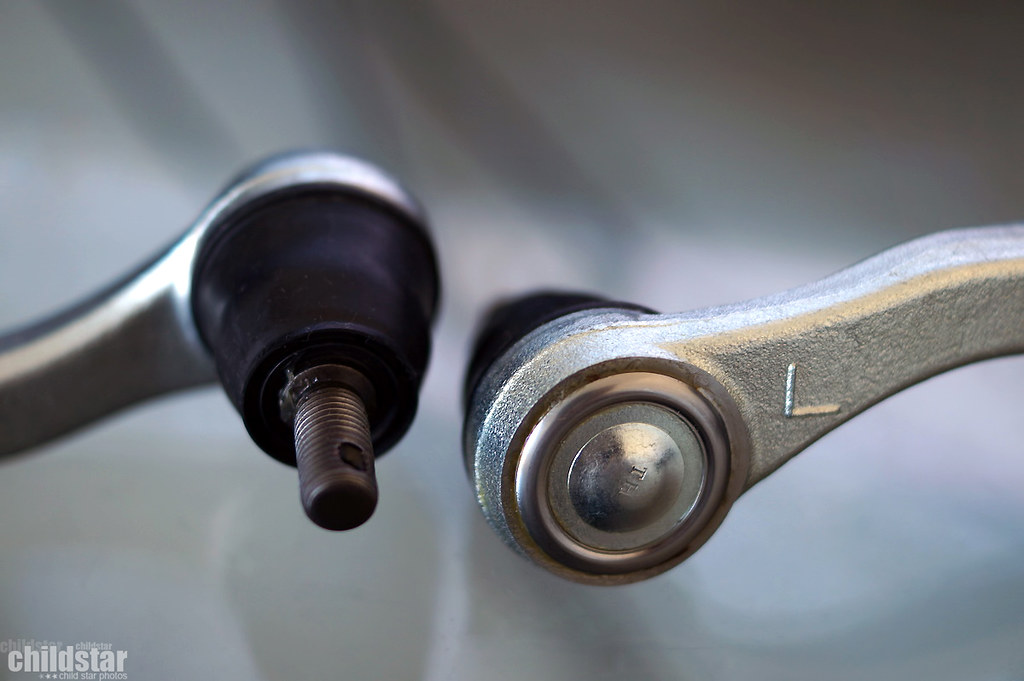
Oem outer tie rods. After going through tons of reviews on Moog, AutosuckZone, and Hardrace, I got tired of finding bad experiences so I figured I can't really beat oem quality. When you think about it, a lot of these project cars have the original tie rods on them and they've lasted 10+ years.
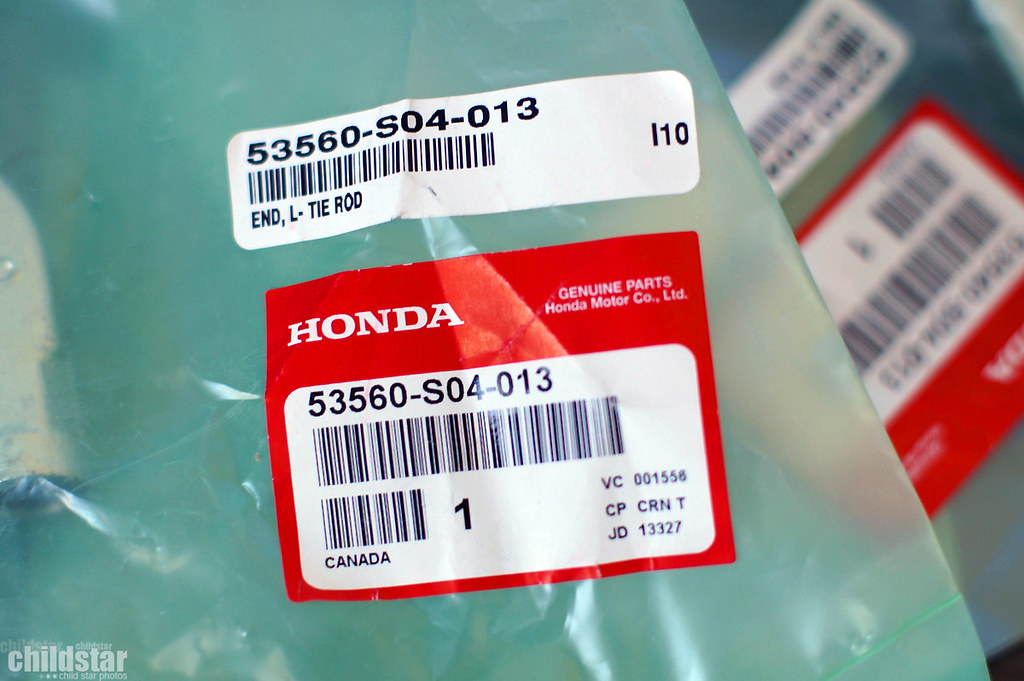
I was surprised to see them silver. They've always been black to me, but I guess that's just years of filth piled up

The one thing that does suck is that they don't come with the castle nut, cotter pin, or the lock nut for the inner tie rod. No biggie, but I wish I would have paid attention to that when I put my order in so I could add them to my cart. Might have to hit up AFHKparts
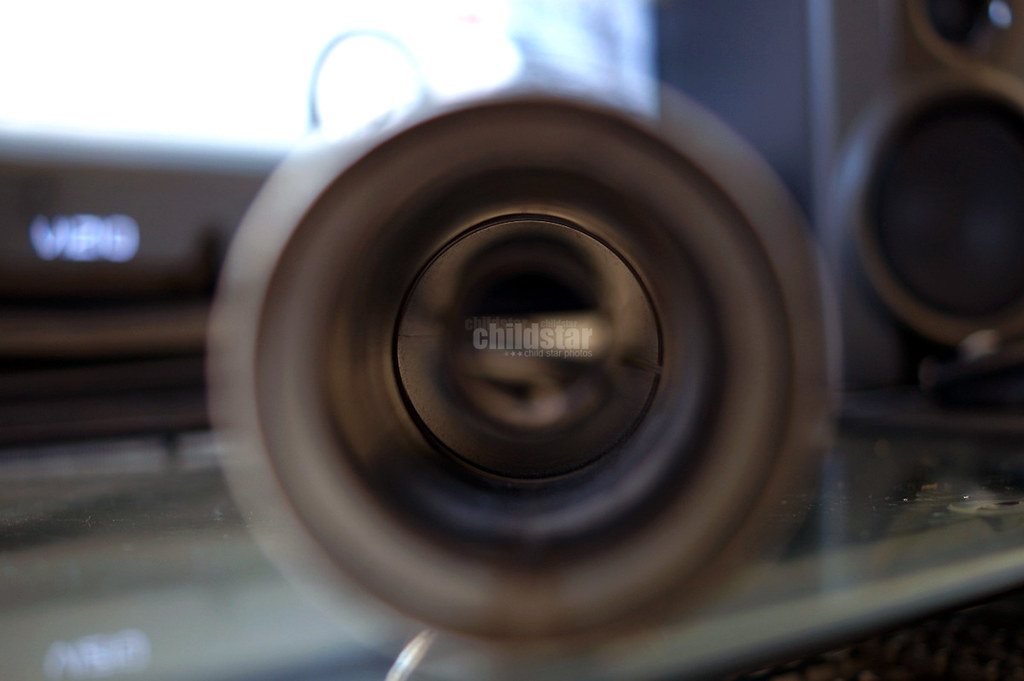
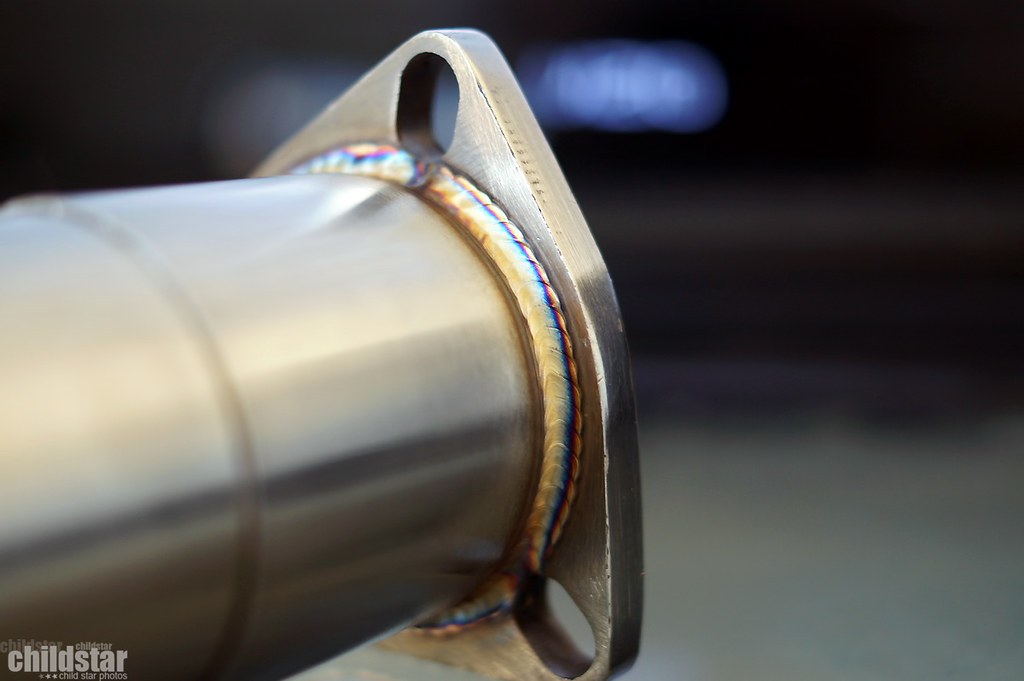
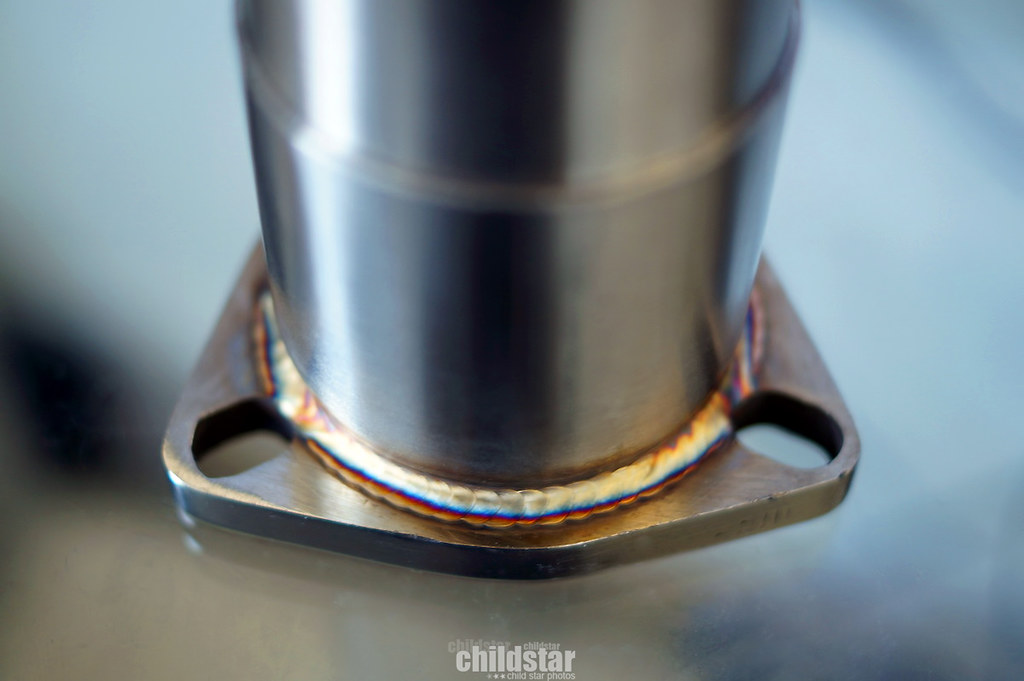
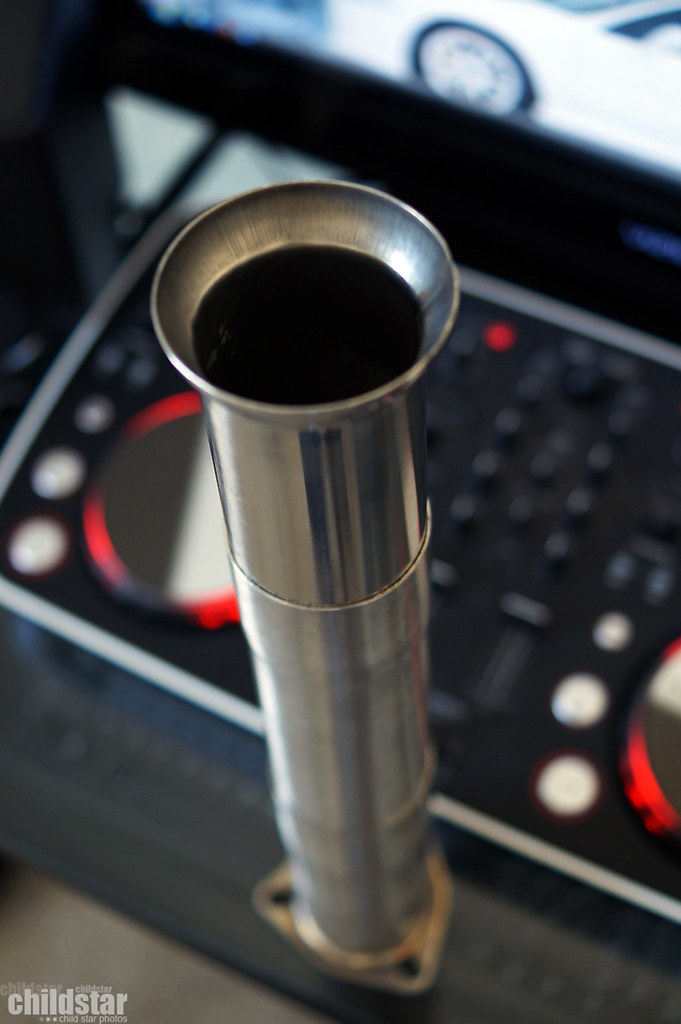
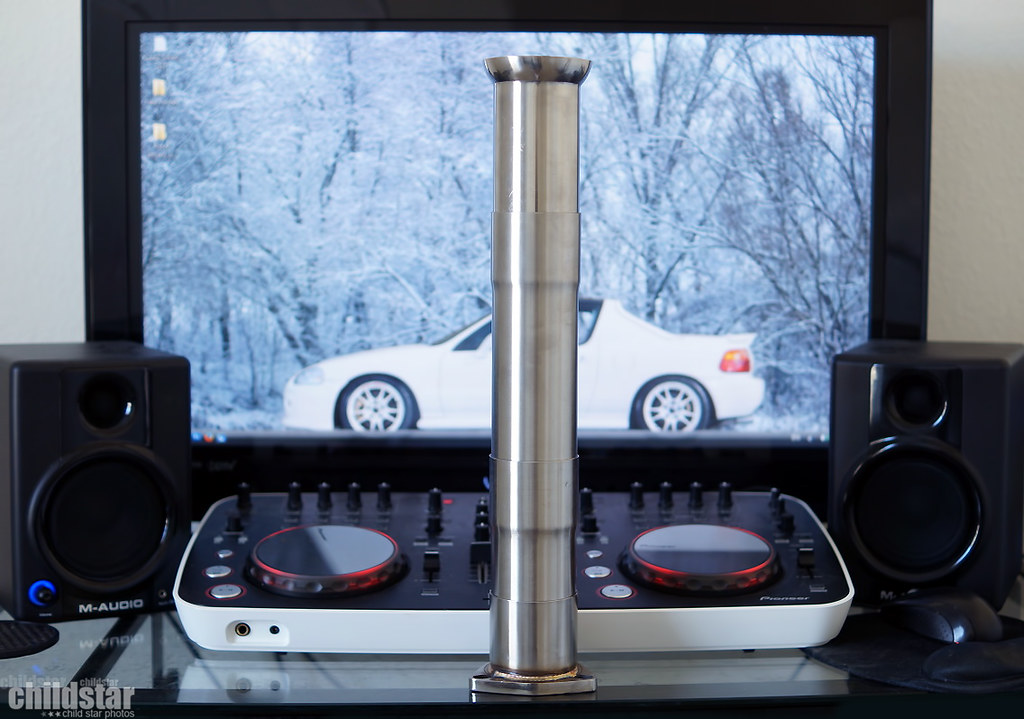
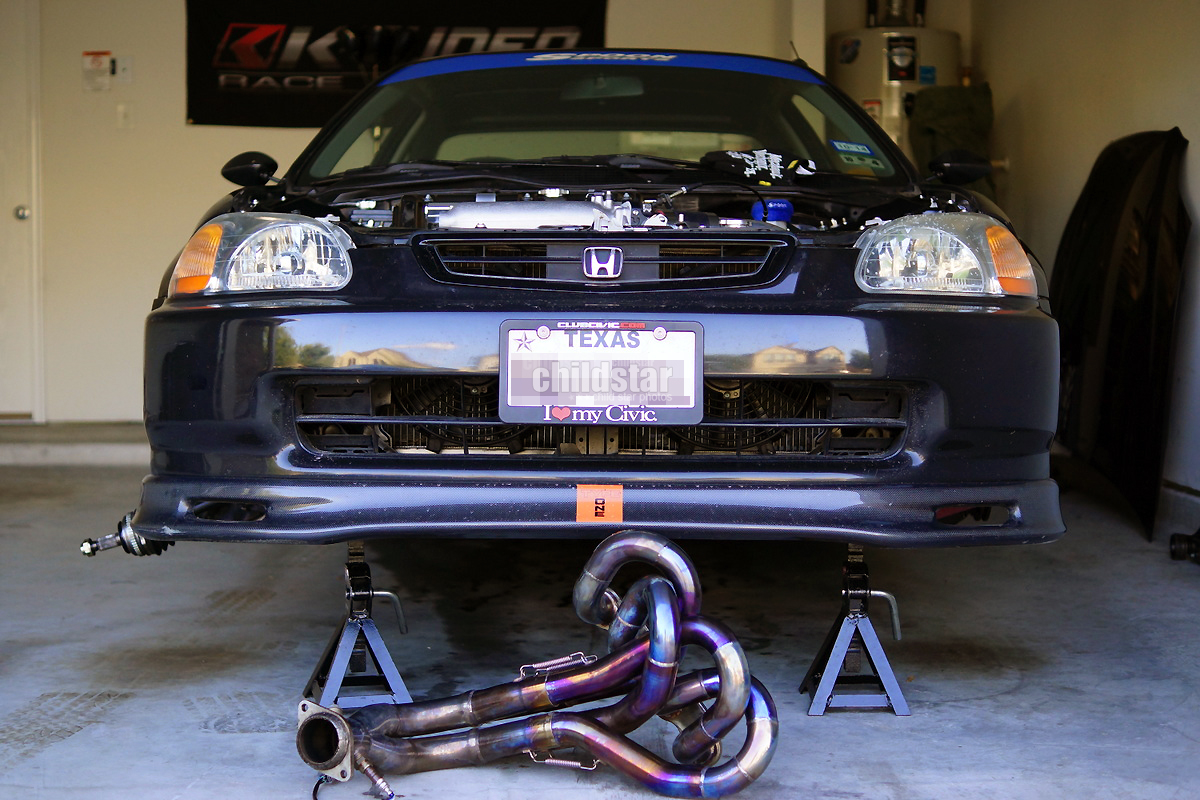
Also got my 2.5" PLM 4 piece test pipe. It's 2.5" O.D. which is fine with me. I plan to have a pretty restricted exhaust setup. I'm old, I don't want to hear **** out my exhaust.

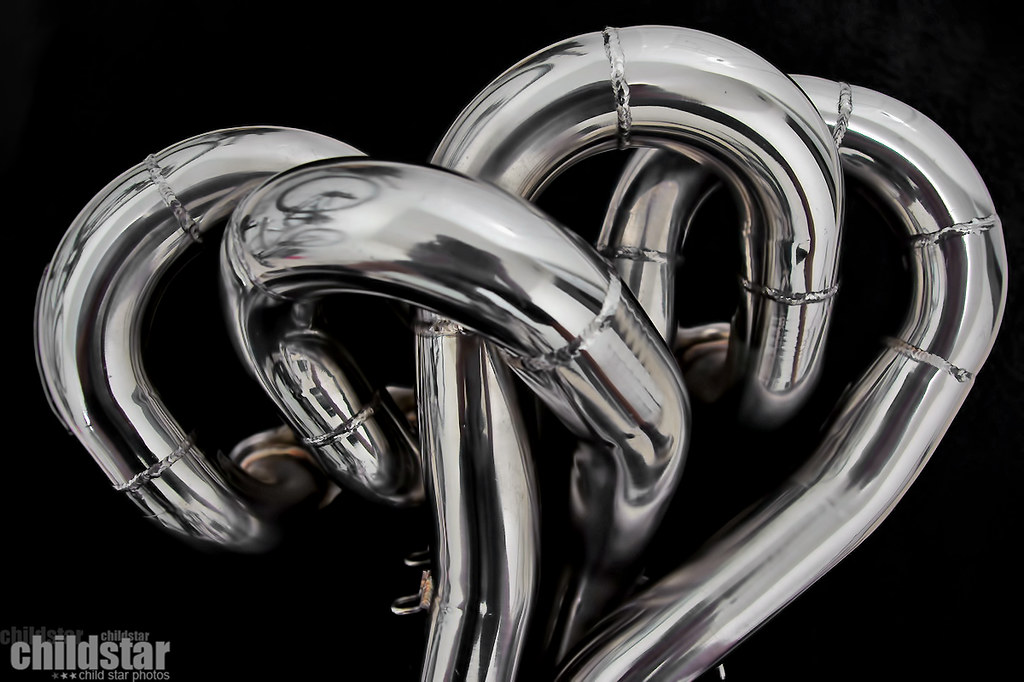
The end piece on the right is actually the extension from the K-Tuned Ram header. The slip fit between the two was perfect. Actually took a small effort to get them together, so I'm glad about that fitment.
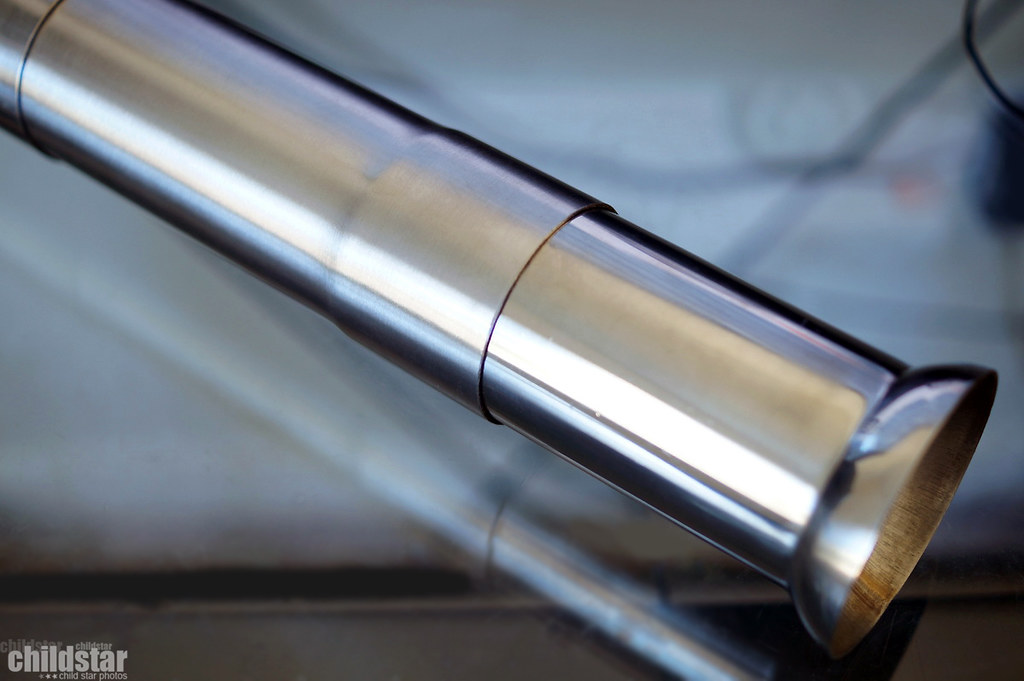

The dark section inside is actually just a shadow from the angle I was shooting at. The transitions from piece to piece is pretty smooth, especially for such a cheap piece.
Gotta have some K swap motivation on the desktop
Finally plugged my brake booster location on the RBC manifold

some ugly damage around the top since I had trouble removing the oem fitting, oh well, temporary manifold

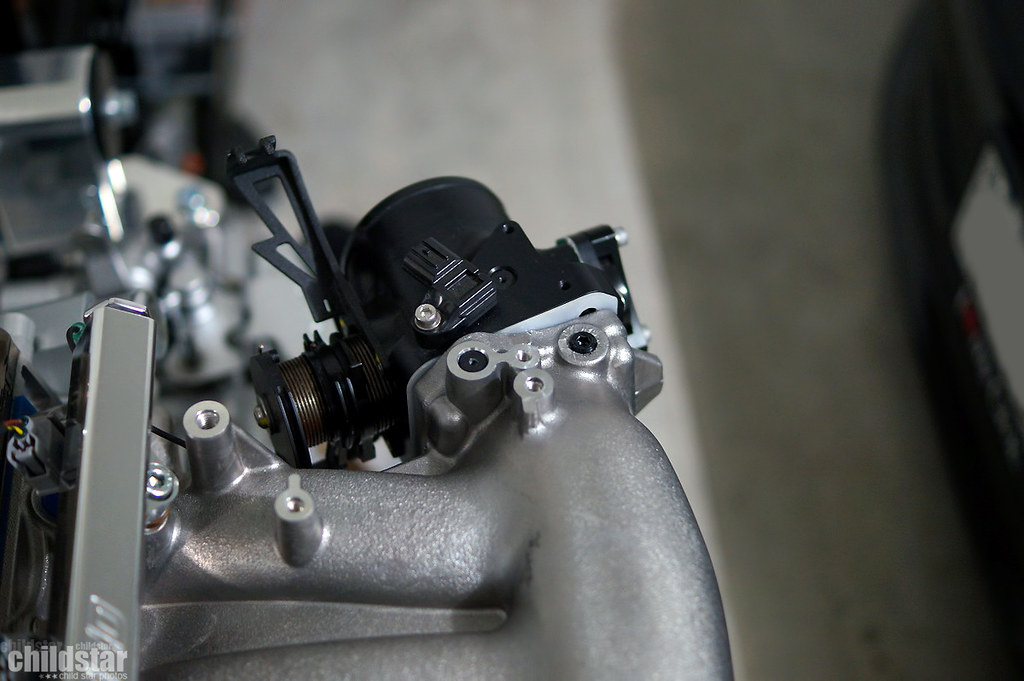
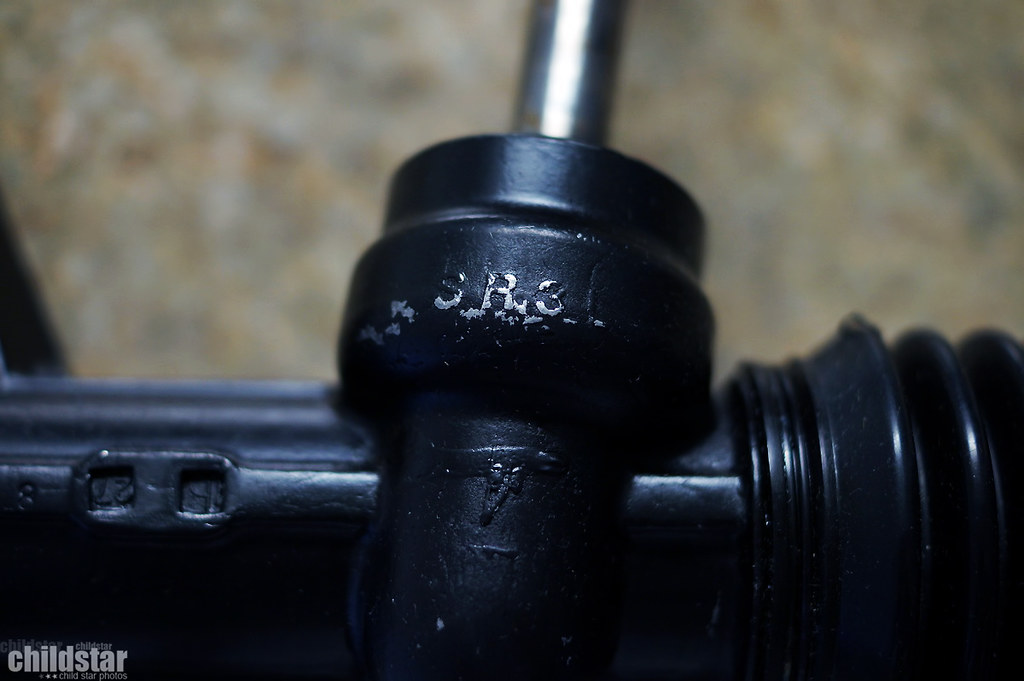
Steering rack finally came in from my ebay purchase. Wasn't an actual oem rack, it's a remanned manual Eg rack.
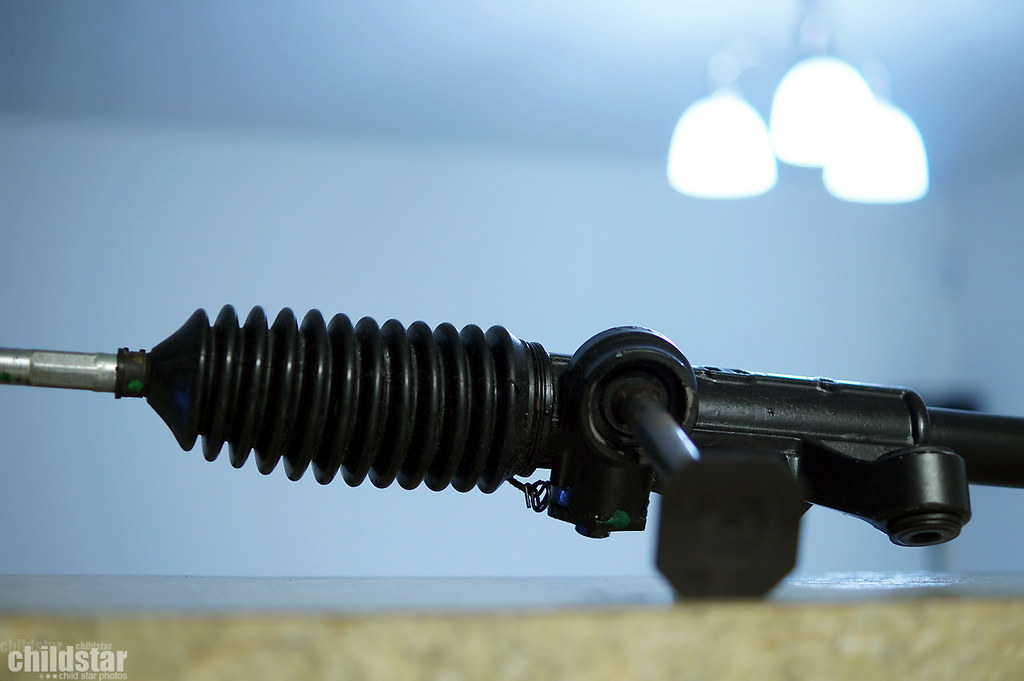
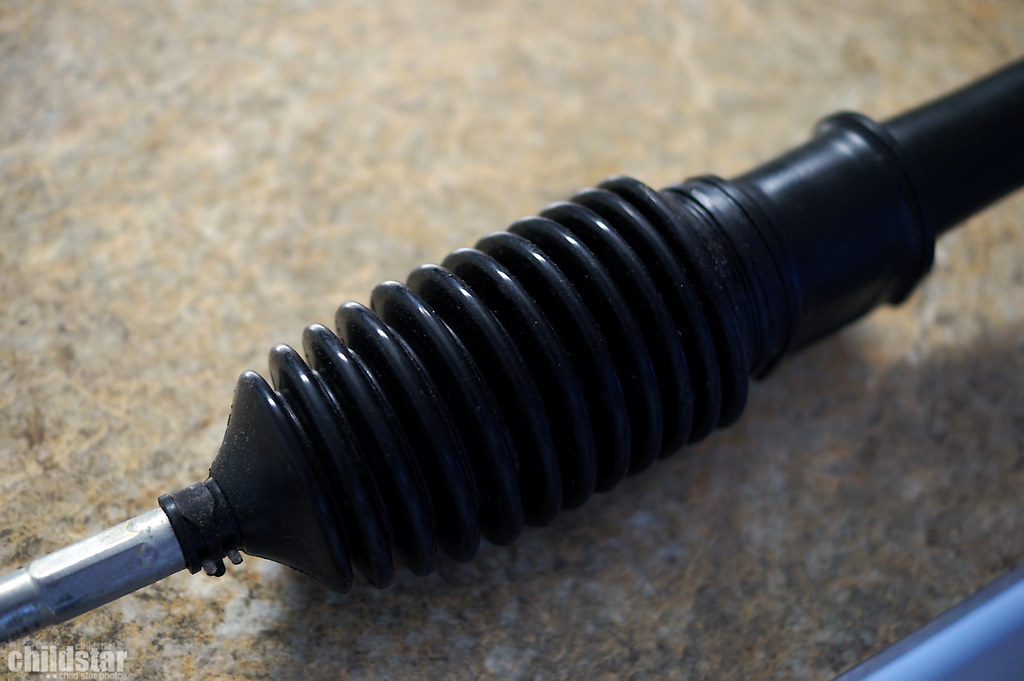
The paint on this thing chips really easily. Some was chipped out of the box, and from me wiping off some of the dust, it actually chipped in other places. Cheap POS
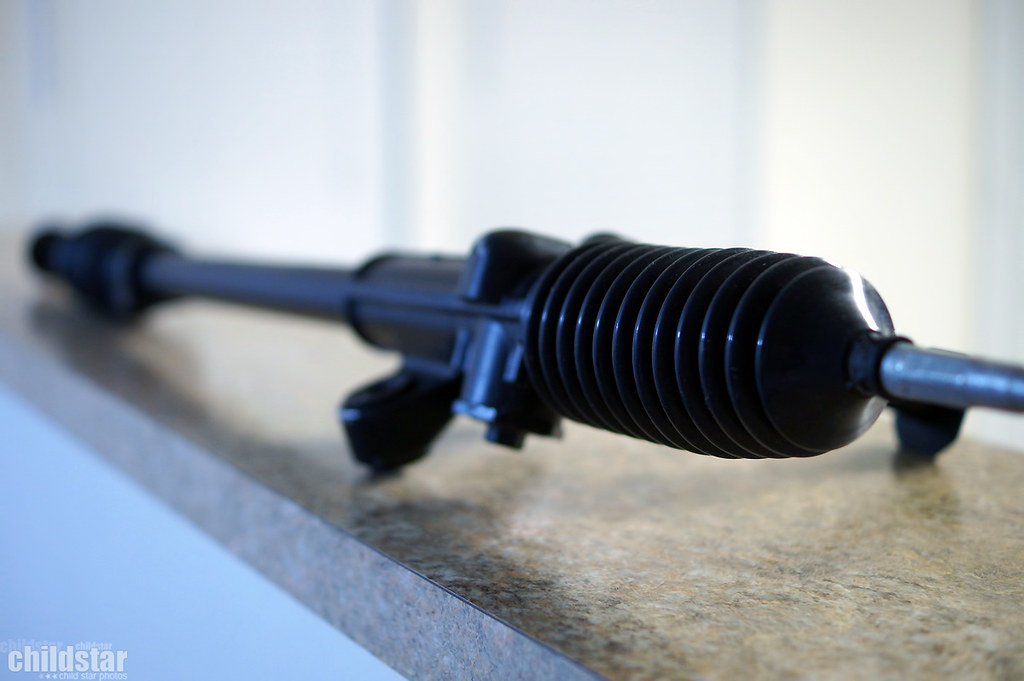
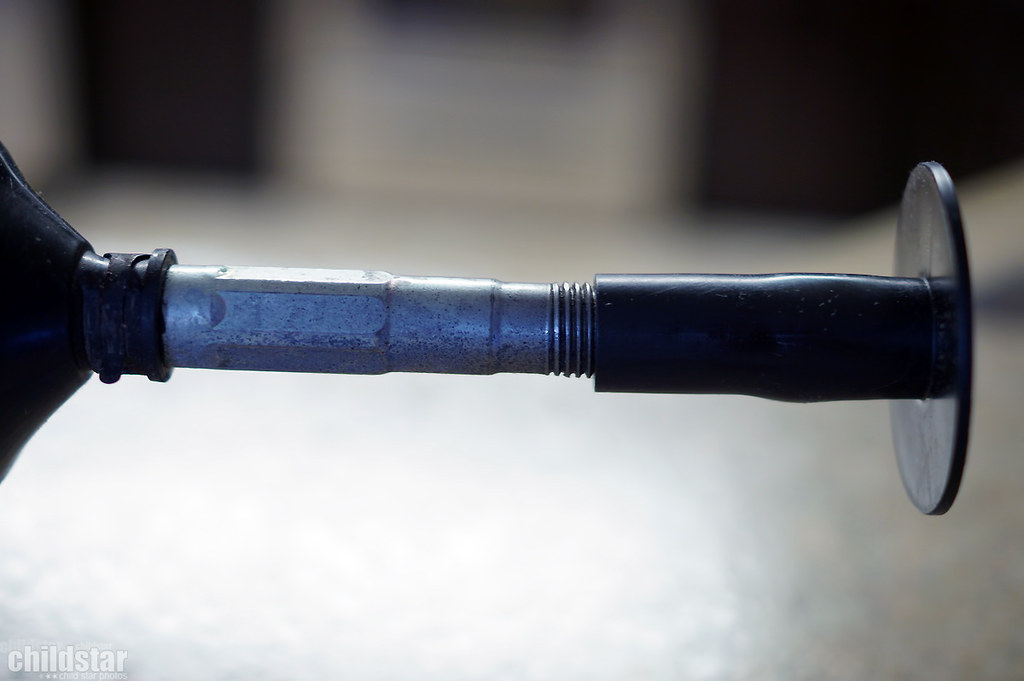
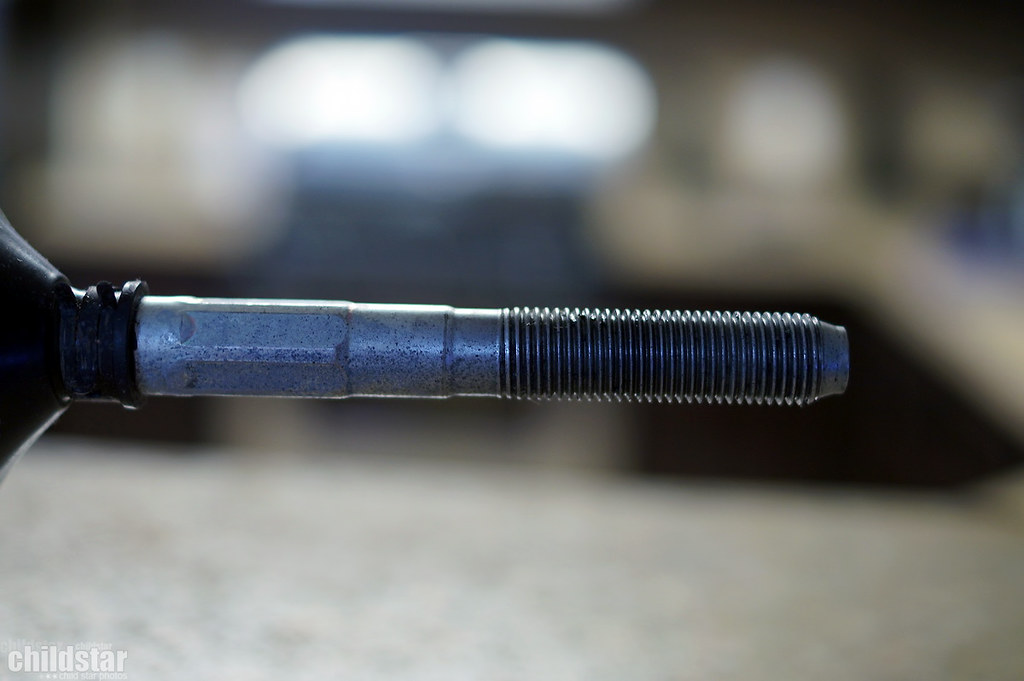
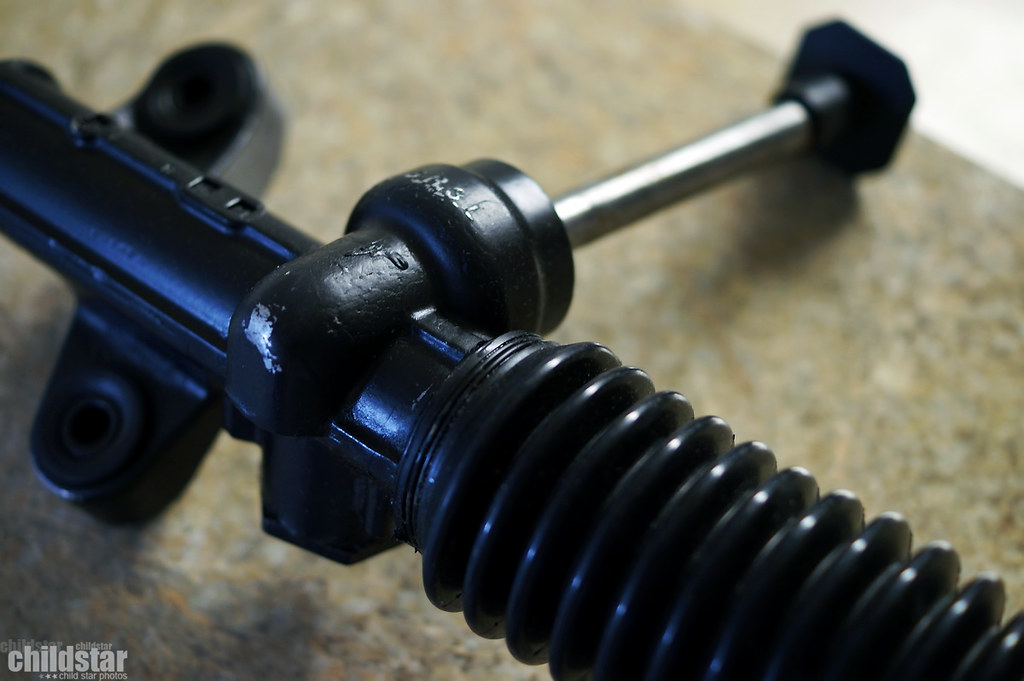
Blends in well
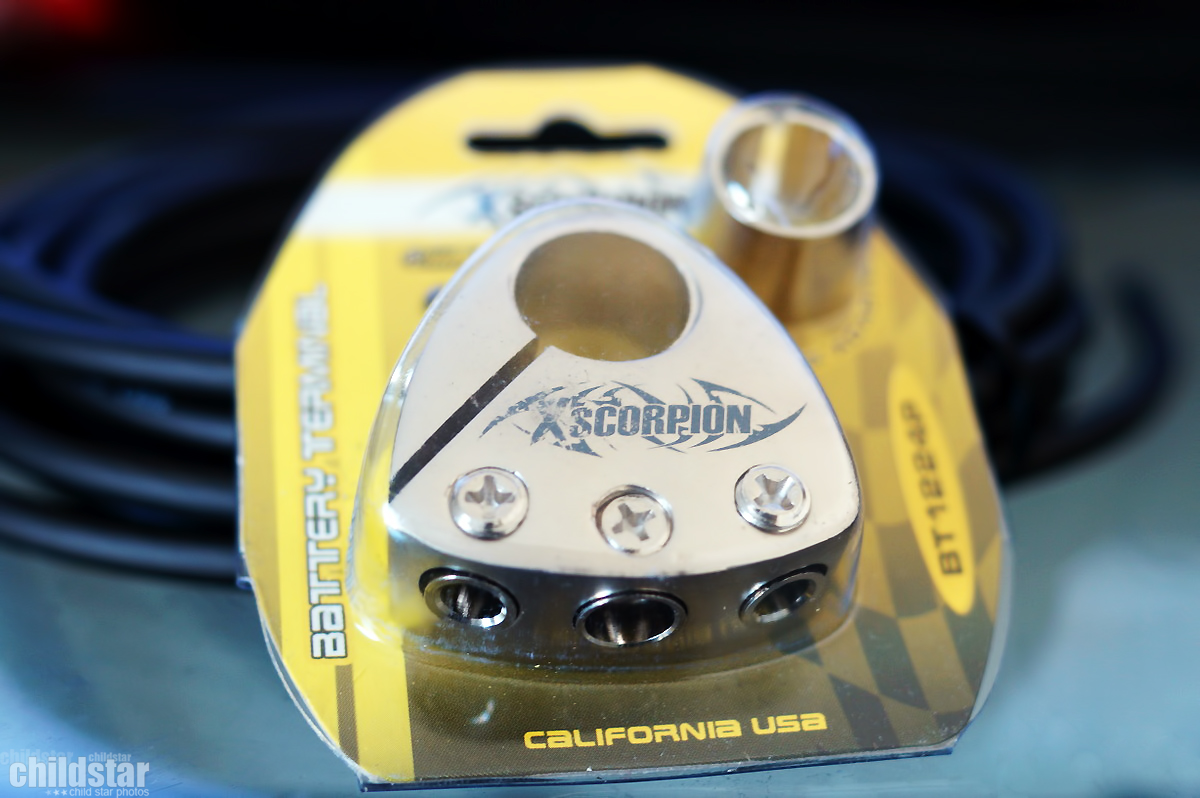
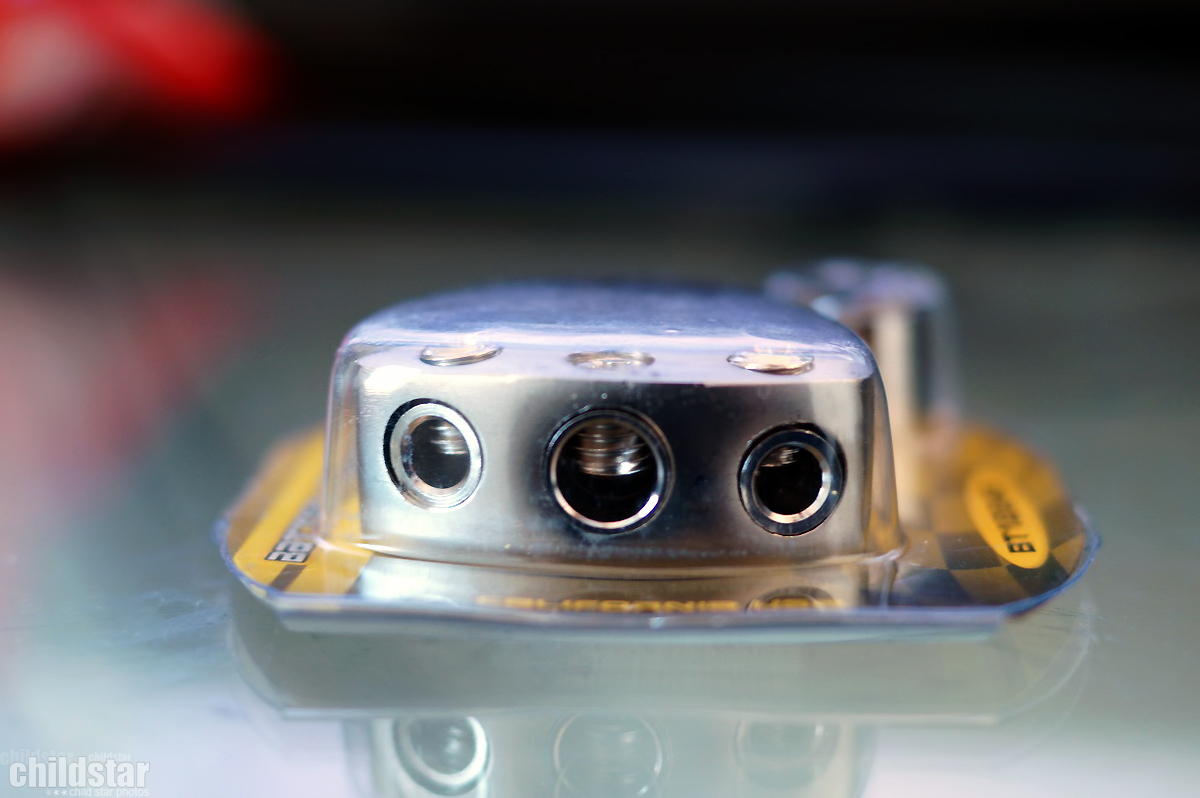
Positive battery terminal and power cable arrived


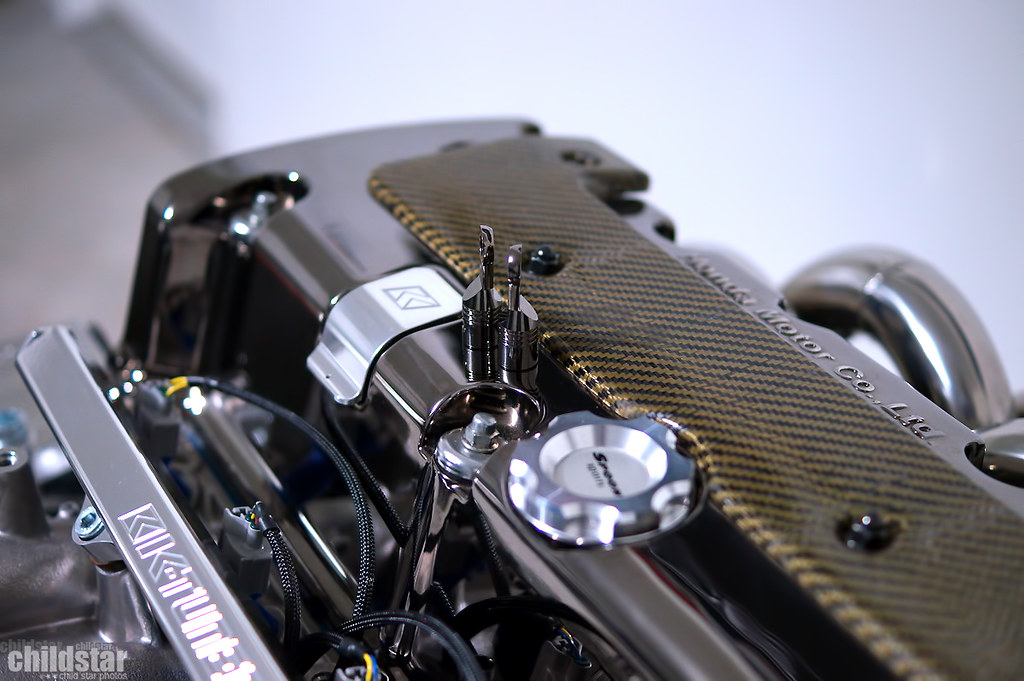
Monster 300 crimpless ring terminals to finish off the starter wiring and the battery to fuse box wire. Black chrome too!
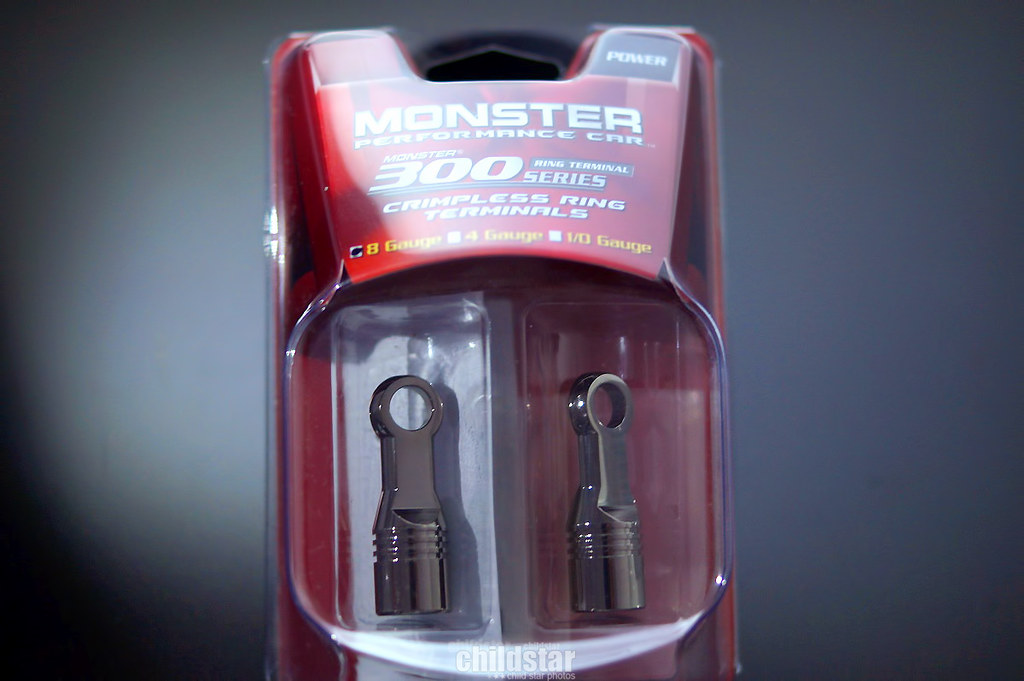
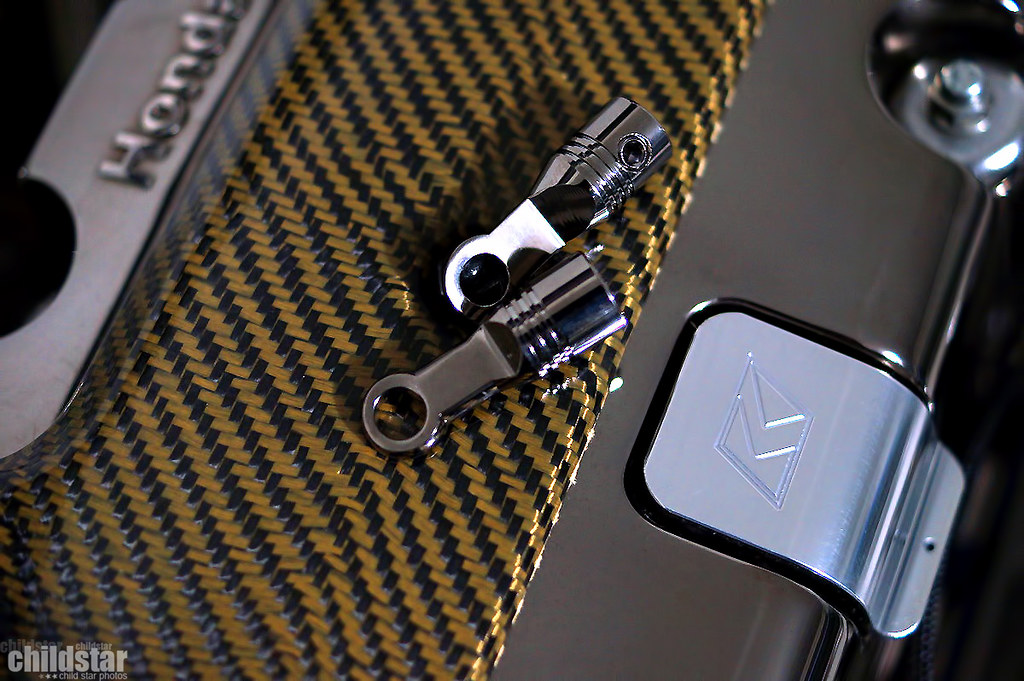
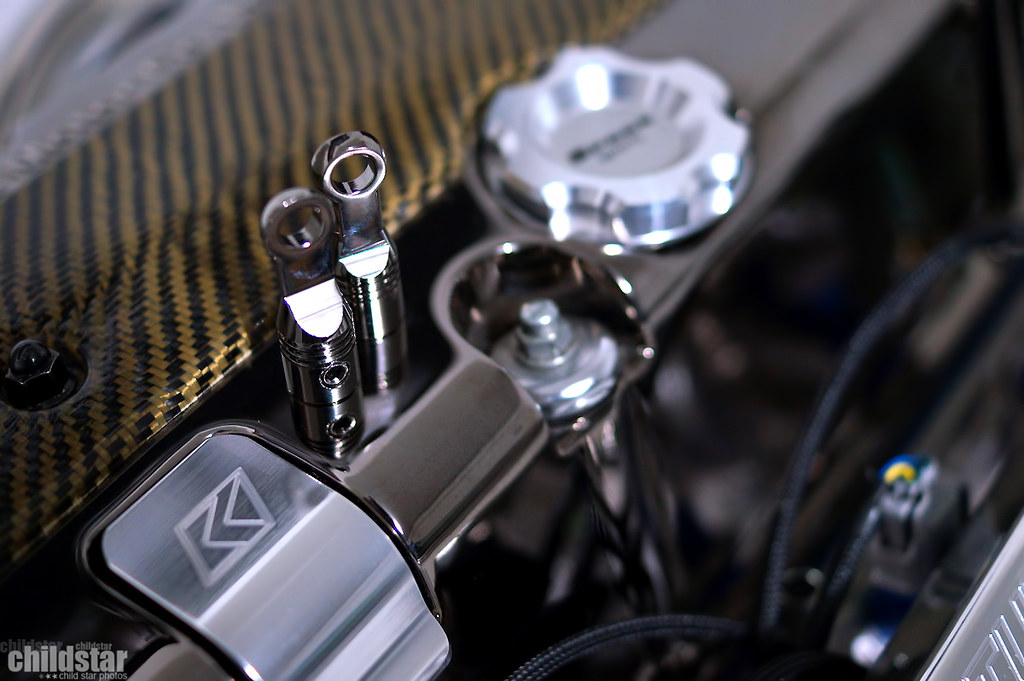
blends in perfectly
Got 1 of 3 boxes delivered, this is my engine hoist.
Ultra super mega regular Type One decal thrown on
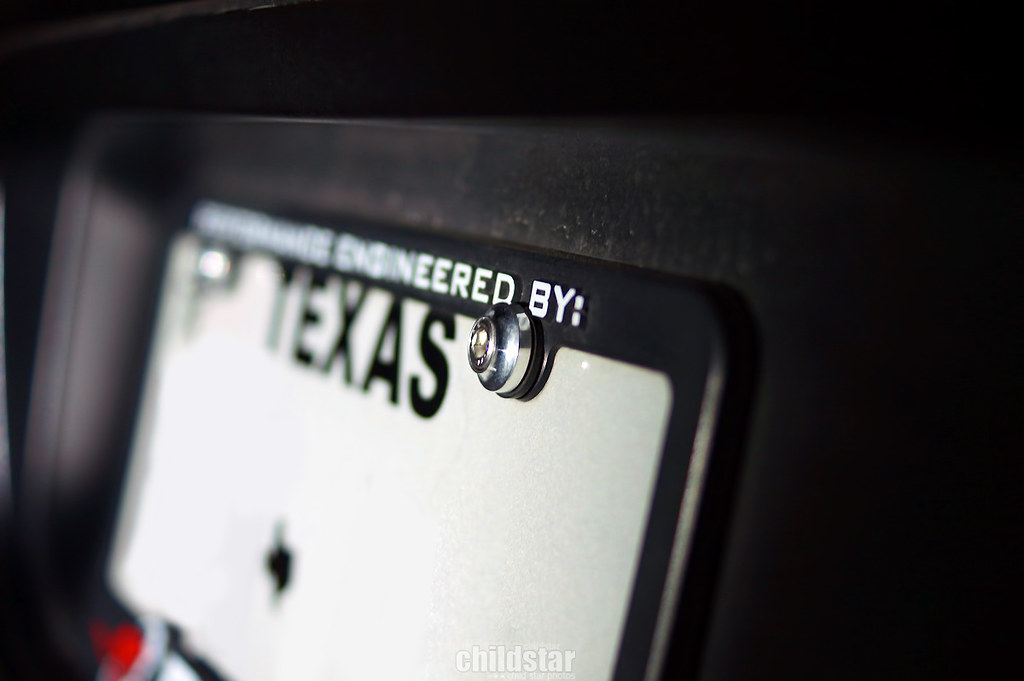
Downstar license plate bolts, I don't think I've shown them before. Clearly they hold up in the weather.
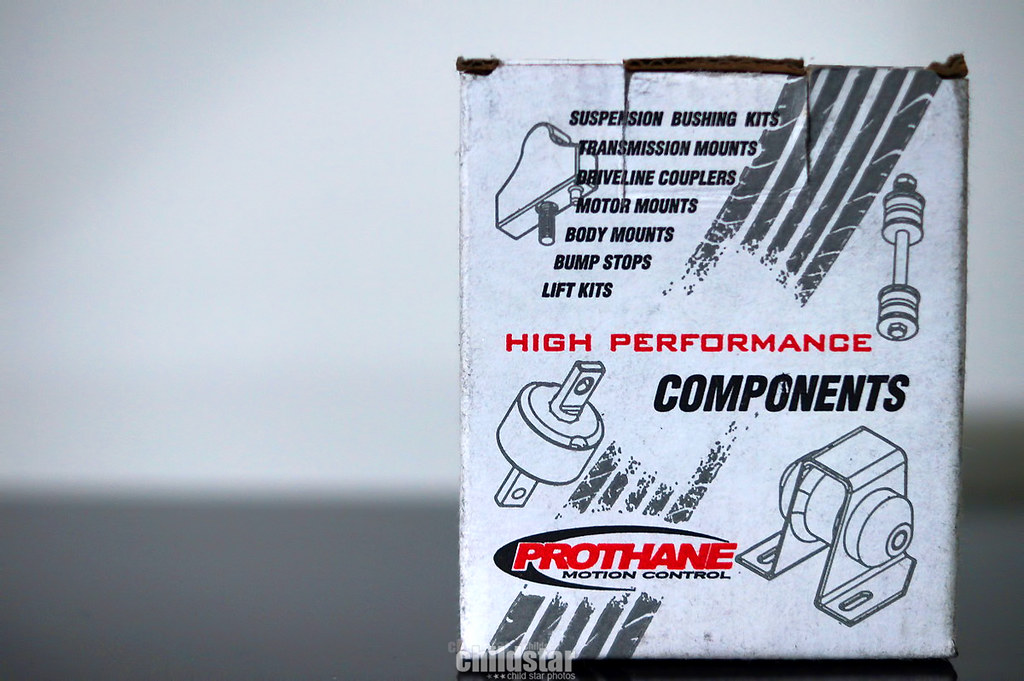
Prothane bushings for the front sway bar
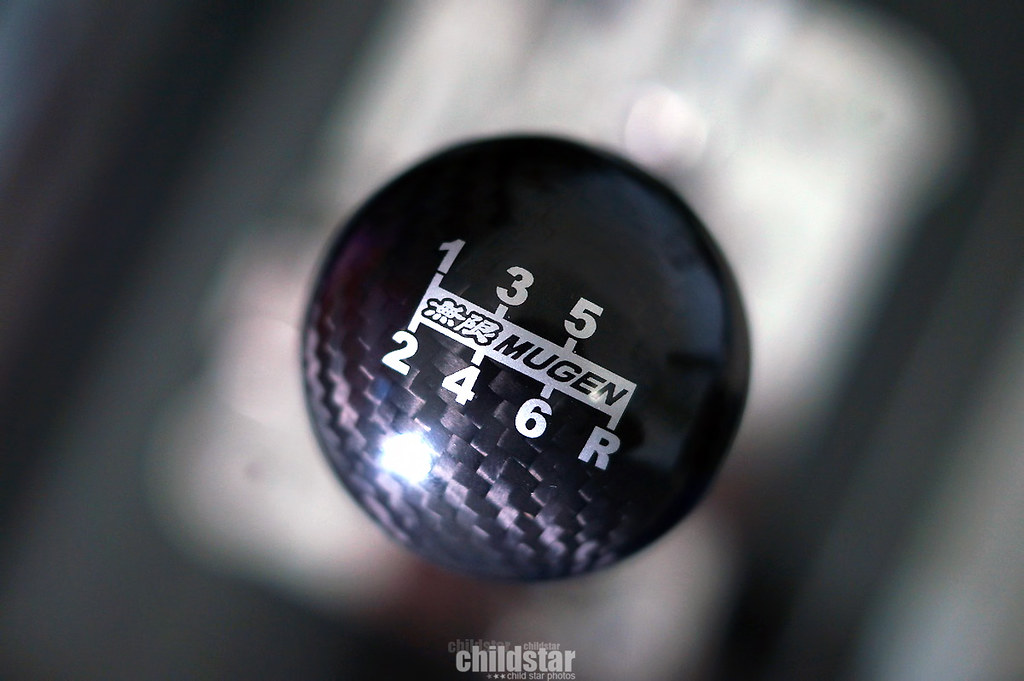
Got stupid and balled out on a shift ****
my favorite one so far
Evasive always the good stuff

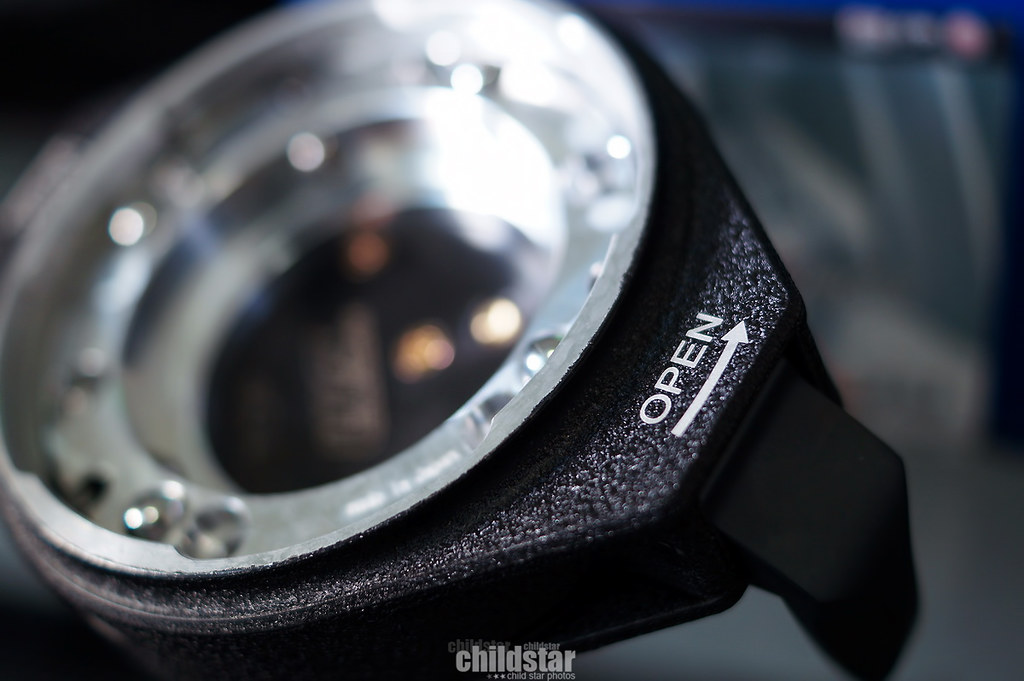
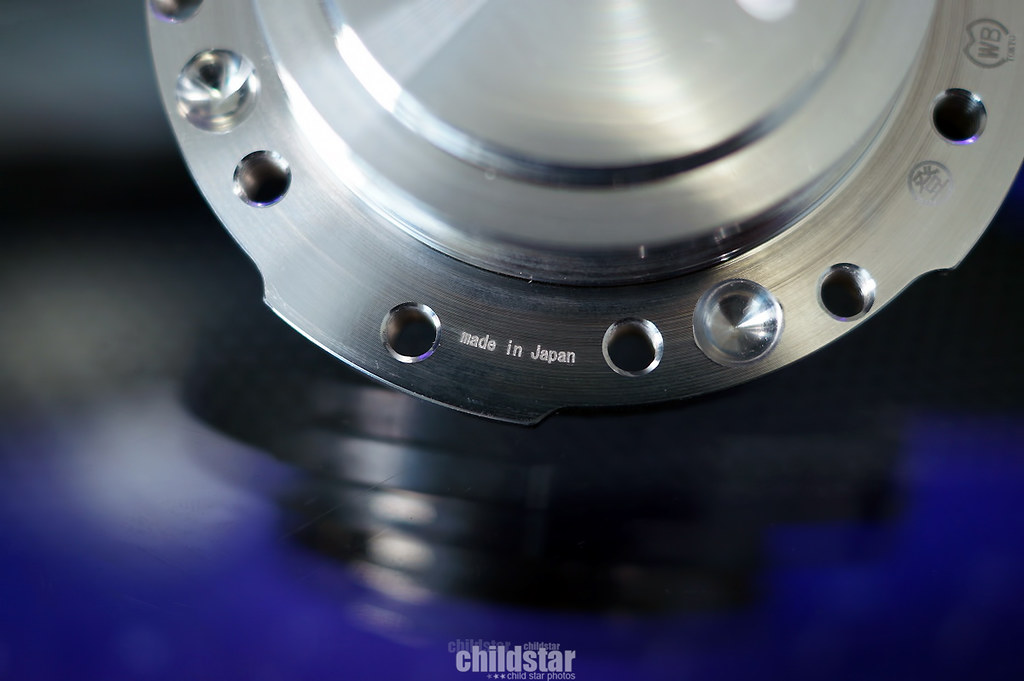
Works Bell rapfix QRS


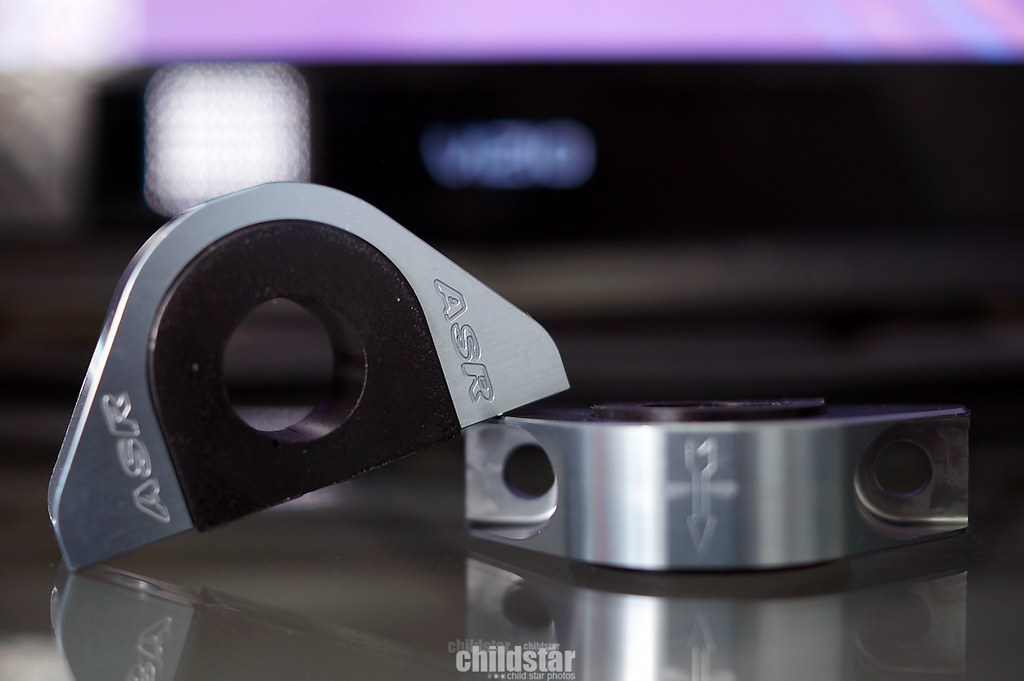
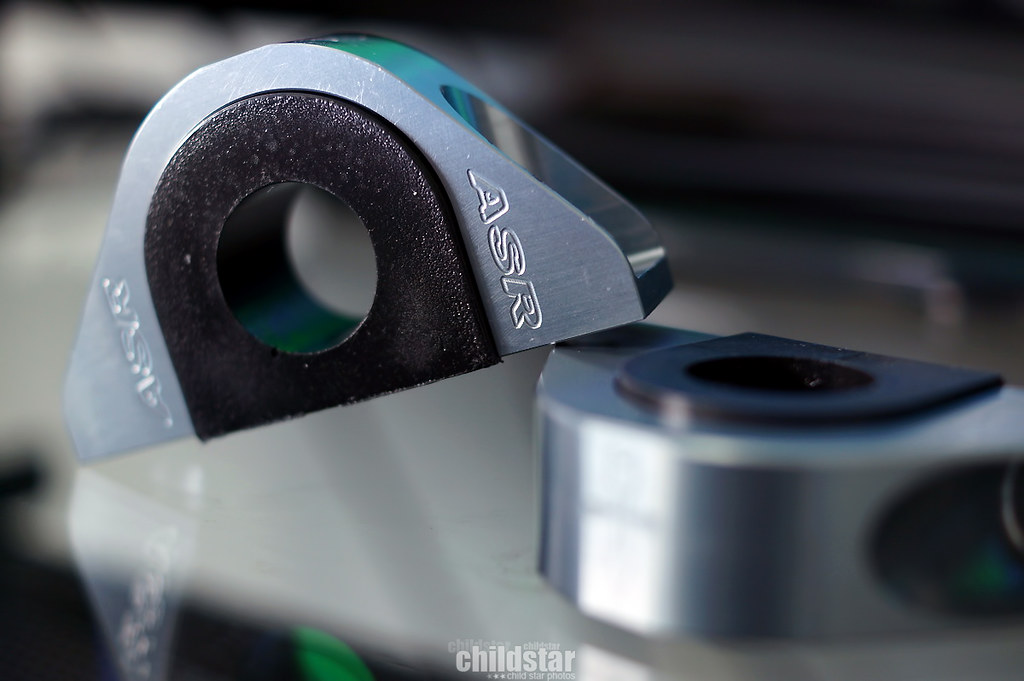
ASR rear sway bar brackets
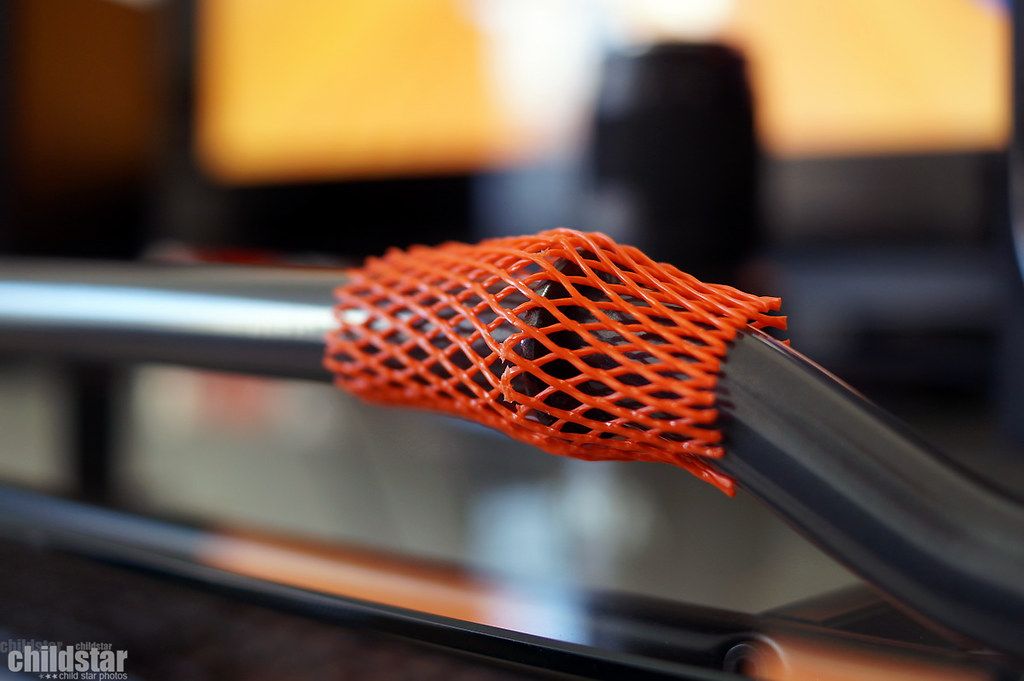
ASR 24mm rear sway bar

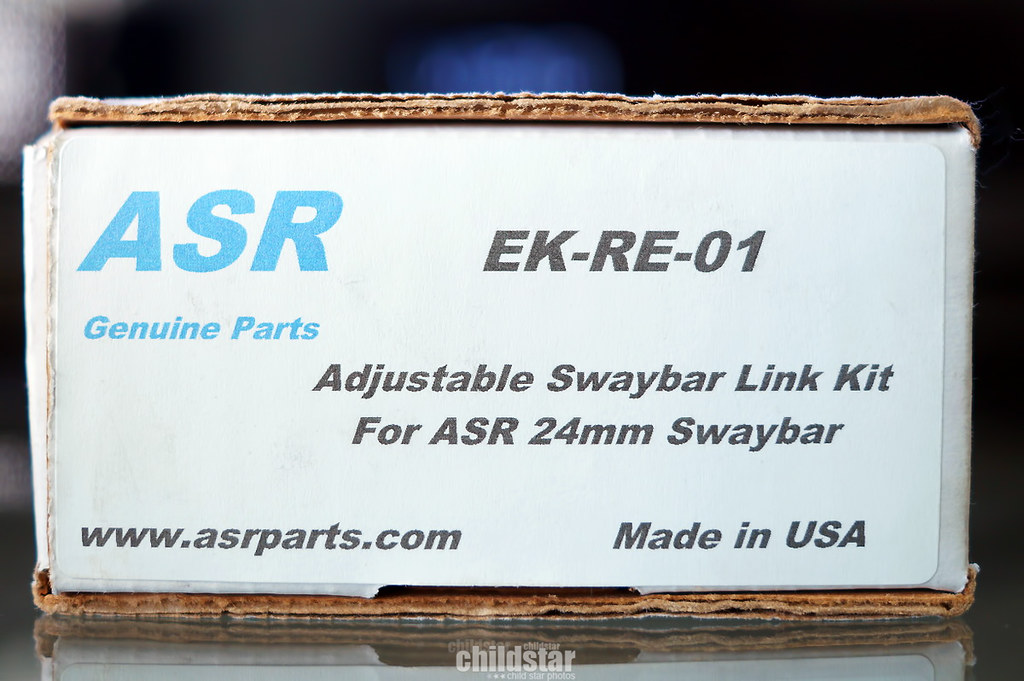
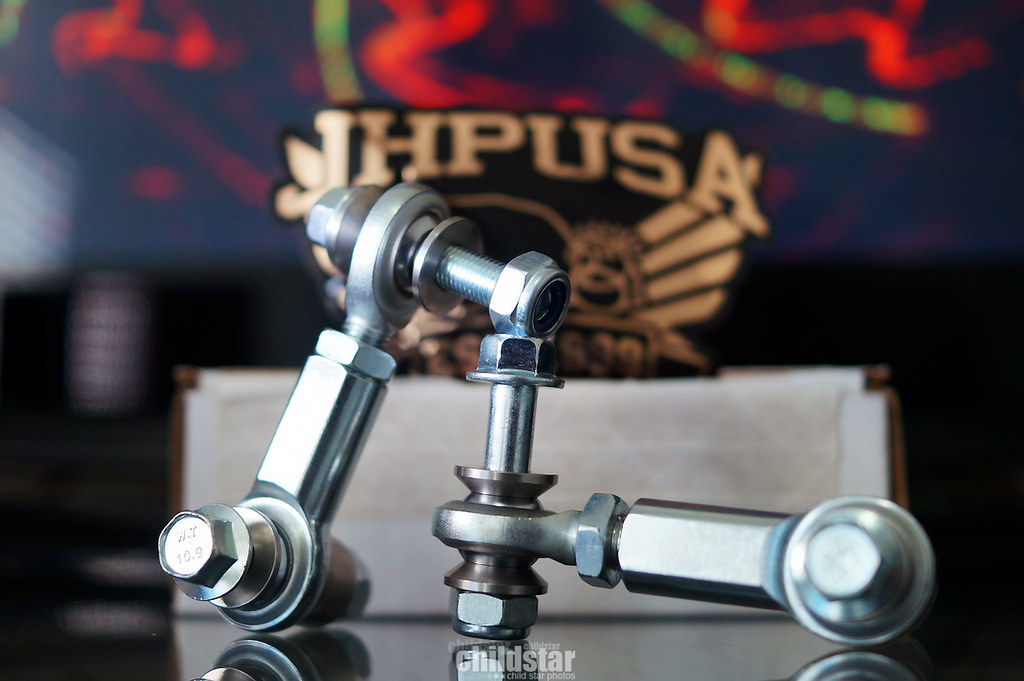
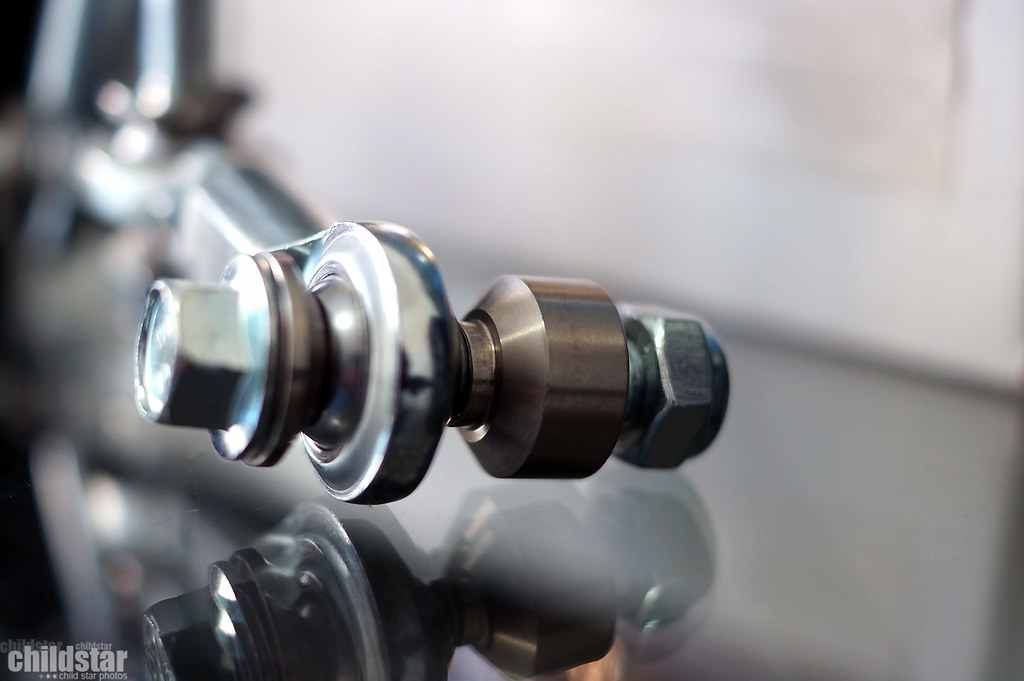
ASR spherical endlinks
I hate assembly lol

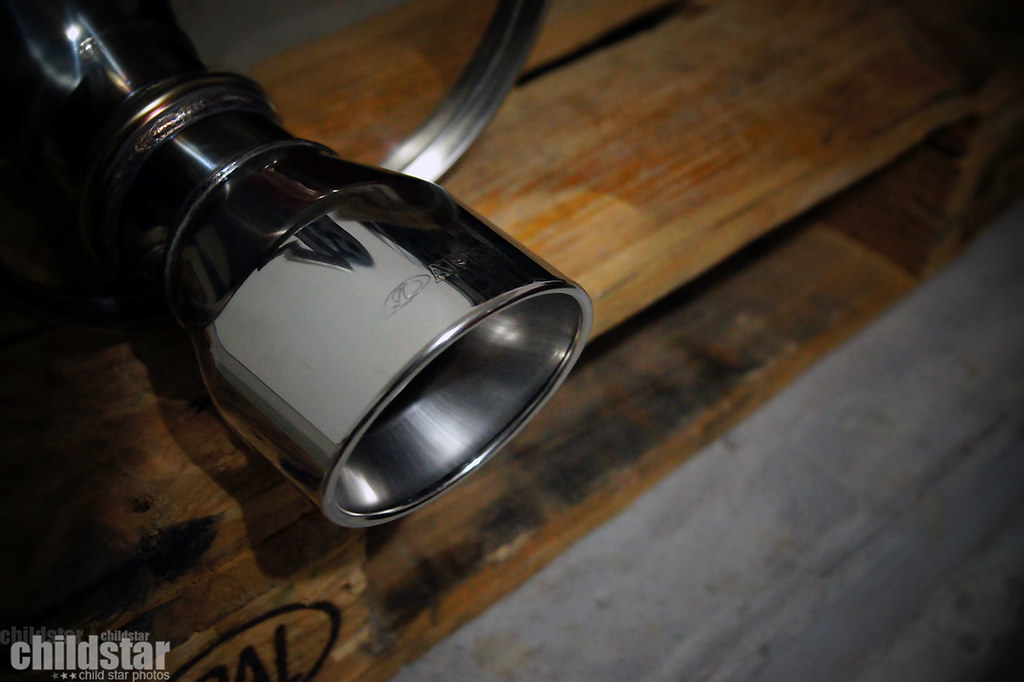
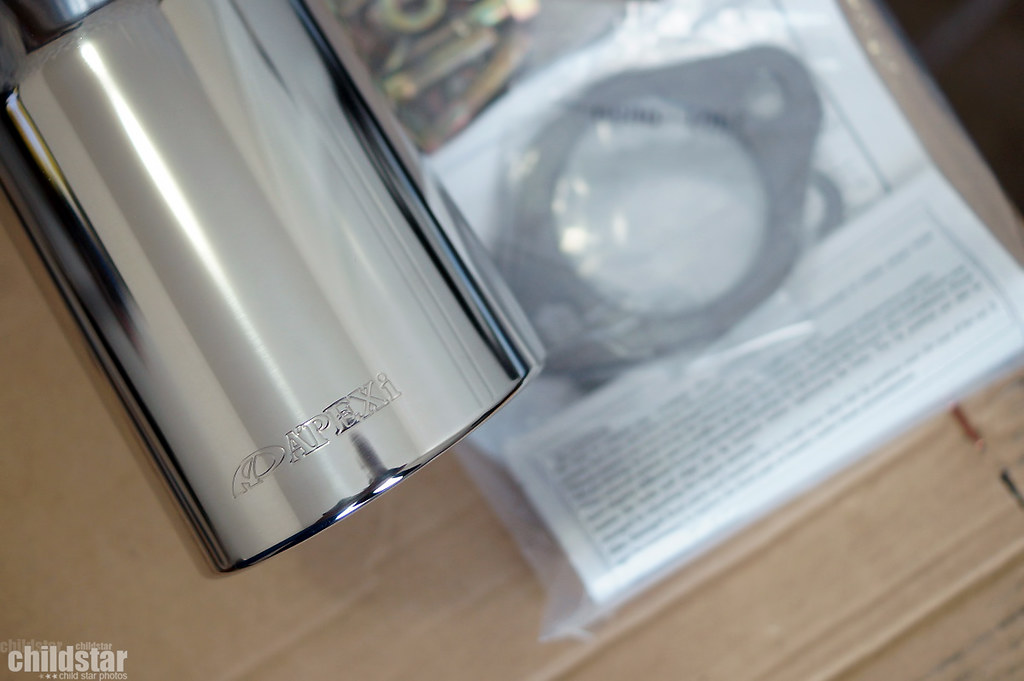
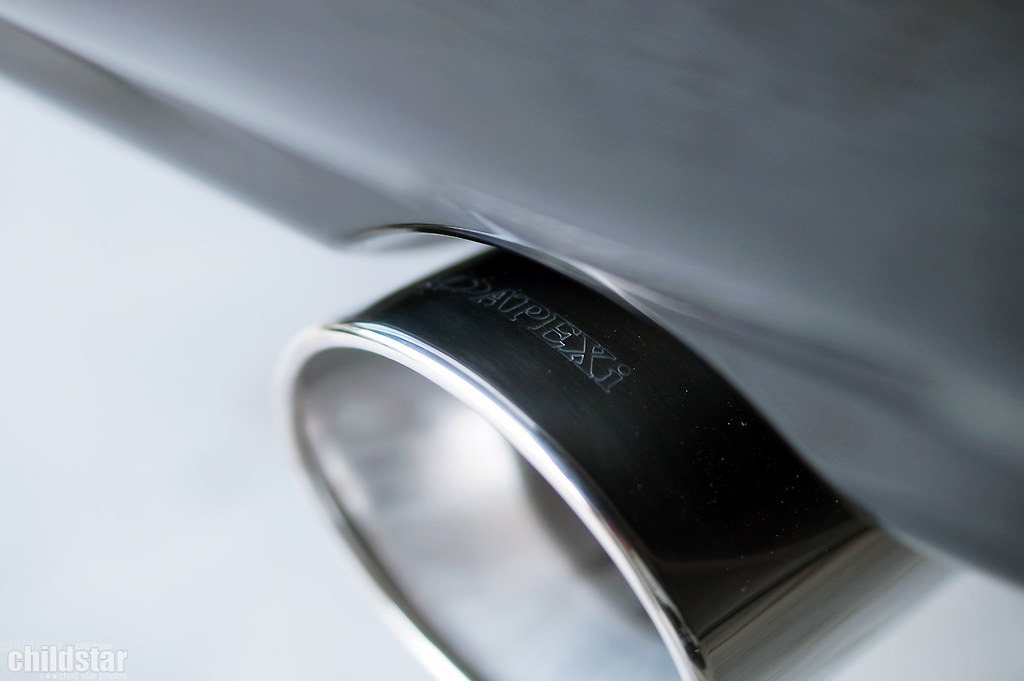
A'pexi WS2 exhaust
QRS installed
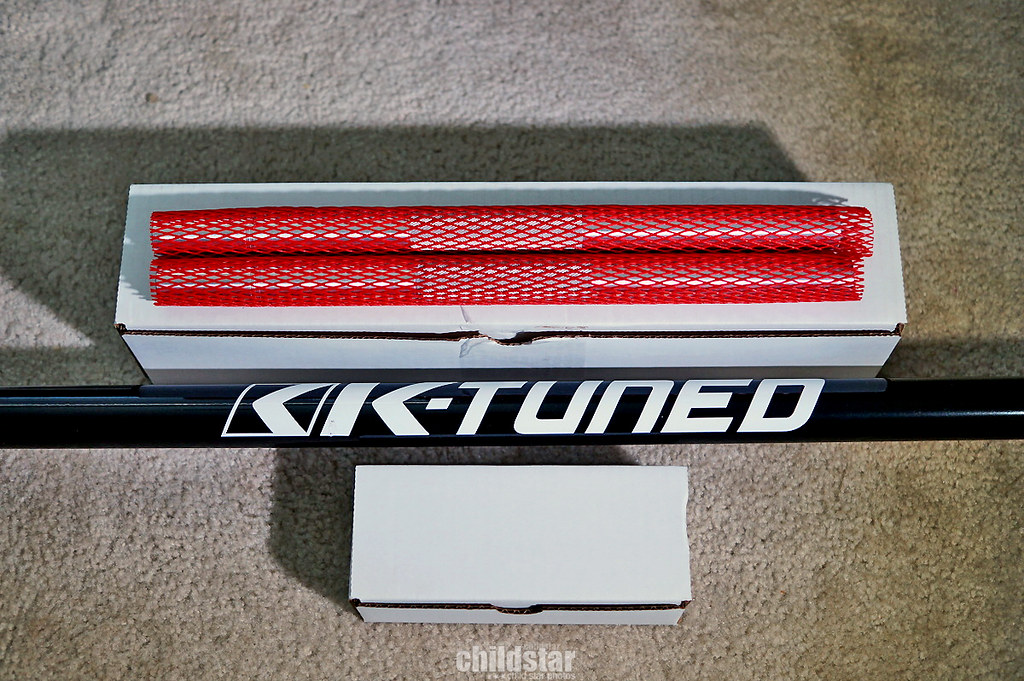
K-tuned pro series traction bar and hardware
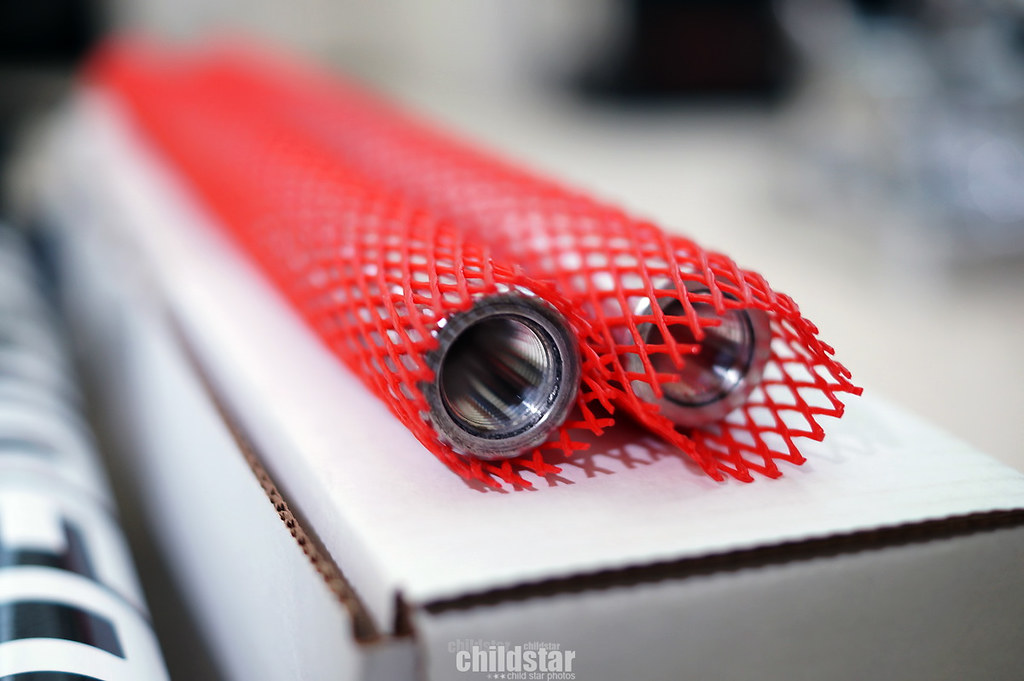
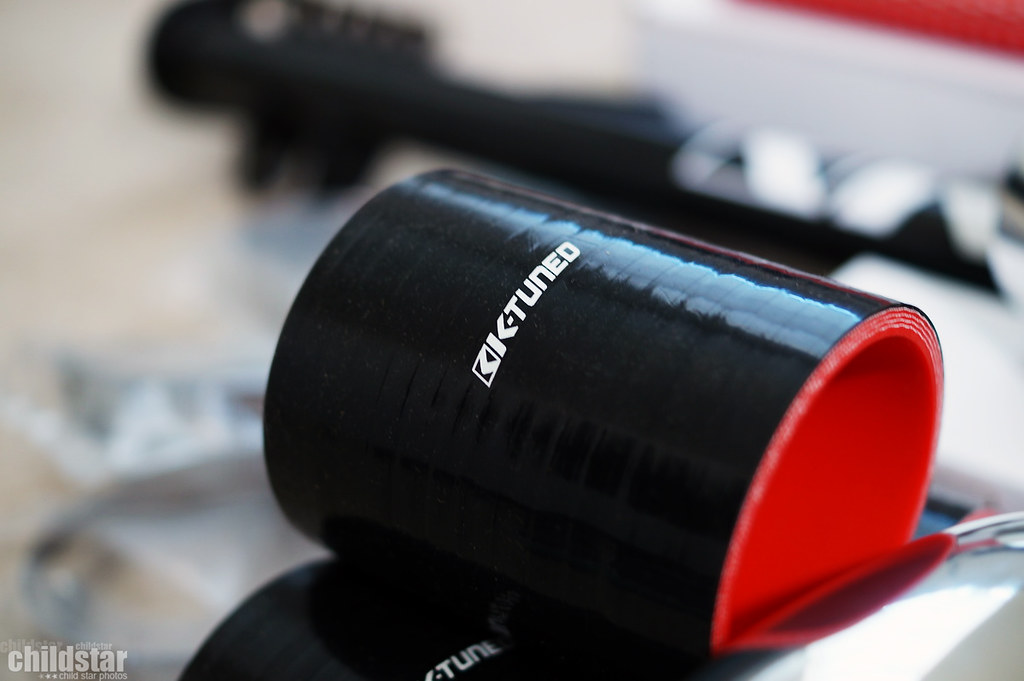
K-tuned 3" velocity couplers
K-tuned swap CAI, wanted some bling
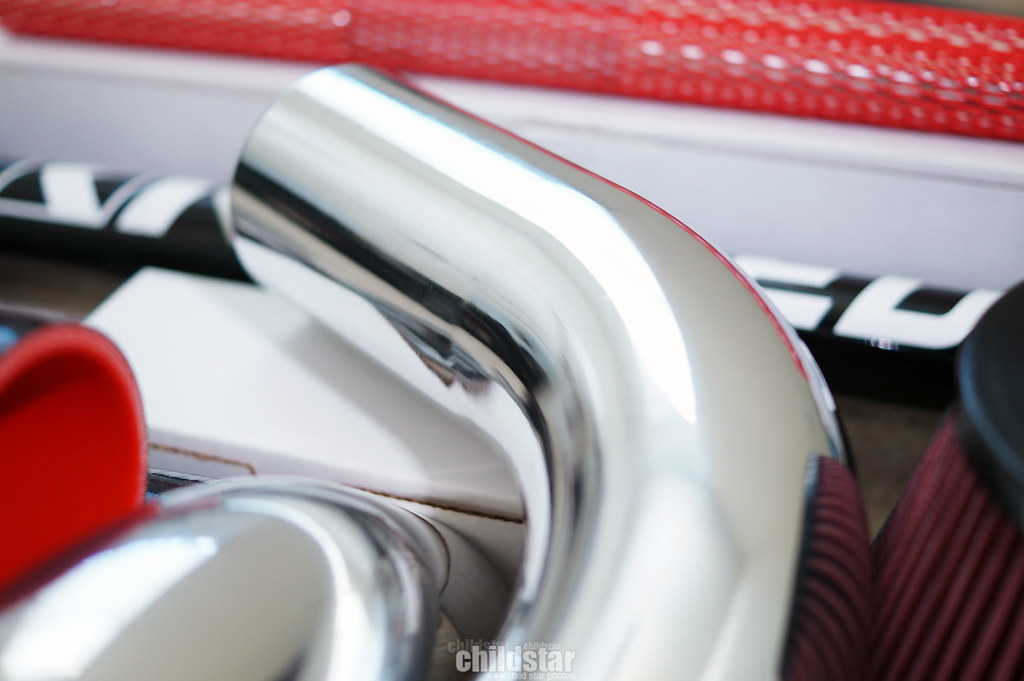
K-tuned velocity stack

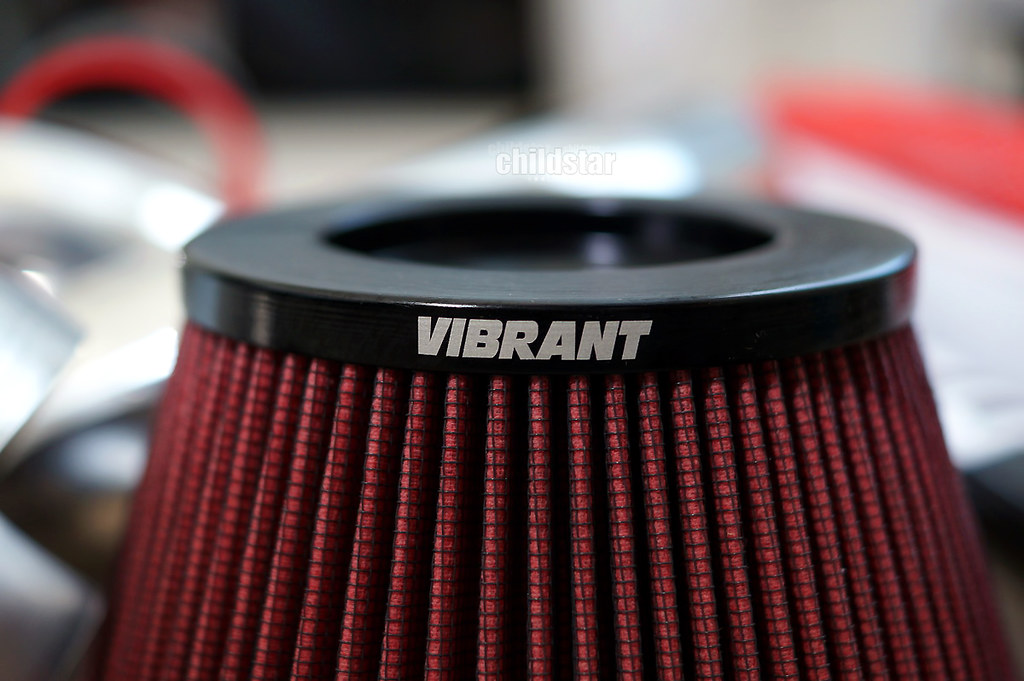
big *** filter

I was surprised to see them silver. They've always been black to me, but I guess that's just years of filth piled up
The one thing that does suck is that they don't come with the castle nut, cotter pin, or the lock nut for the inner tie rod. No biggie, but I wish I would have paid attention to that when I put my order in so I could add them to my cart. Might have to hit up AFHKparts
Also got my 2.5" PLM 4 piece test pipe. It's 2.5" O.D. which is fine with me. I plan to have a pretty restricted exhaust setup. I'm old, I don't want to hear **** out my exhaust.
The end piece on the right is actually the extension from the K-Tuned Ram header. The slip fit between the two was perfect. Actually took a small effort to get them together, so I'm glad about that fitment.
The dark section inside is actually just a shadow from the angle I was shooting at. The transitions from piece to piece is pretty smooth, especially for such a cheap piece.
Gotta have some K swap motivation on the desktop
Finally plugged my brake booster location on the RBC manifold
some ugly damage around the top since I had trouble removing the oem fitting, oh well, temporary manifold
Steering rack finally came in from my ebay purchase. Wasn't an actual oem rack, it's a remanned manual Eg rack.
The paint on this thing chips really easily. Some was chipped out of the box, and from me wiping off some of the dust, it actually chipped in other places. Cheap POS
Blends in well
Positive battery terminal and power cable arrived
Monster 300 crimpless ring terminals to finish off the starter wiring and the battery to fuse box wire. Black chrome too!
blends in perfectly
Got 1 of 3 boxes delivered, this is my engine hoist.
Ultra super mega regular Type One decal thrown on
Downstar license plate bolts, I don't think I've shown them before. Clearly they hold up in the weather.
Prothane bushings for the front sway bar
Got stupid and balled out on a shift ****
my favorite one so far
Evasive always the good stuff
Works Bell rapfix QRS
ASR rear sway bar brackets
ASR 24mm rear sway bar
ASR spherical endlinks
I hate assembly lol
A'pexi WS2 exhaust
QRS installed
K-tuned pro series traction bar and hardware
K-tuned 3" velocity couplers
K-tuned swap CAI, wanted some bling
K-tuned velocity stack
big *** filter
05-10-2016, 01:00 AM
#22
Honda-Tech Member
Thread Starter
Threw on the ASR rear sway bar.


originals next to the new


tada

Also got some misc pieces that I wanted/somewhat needed.
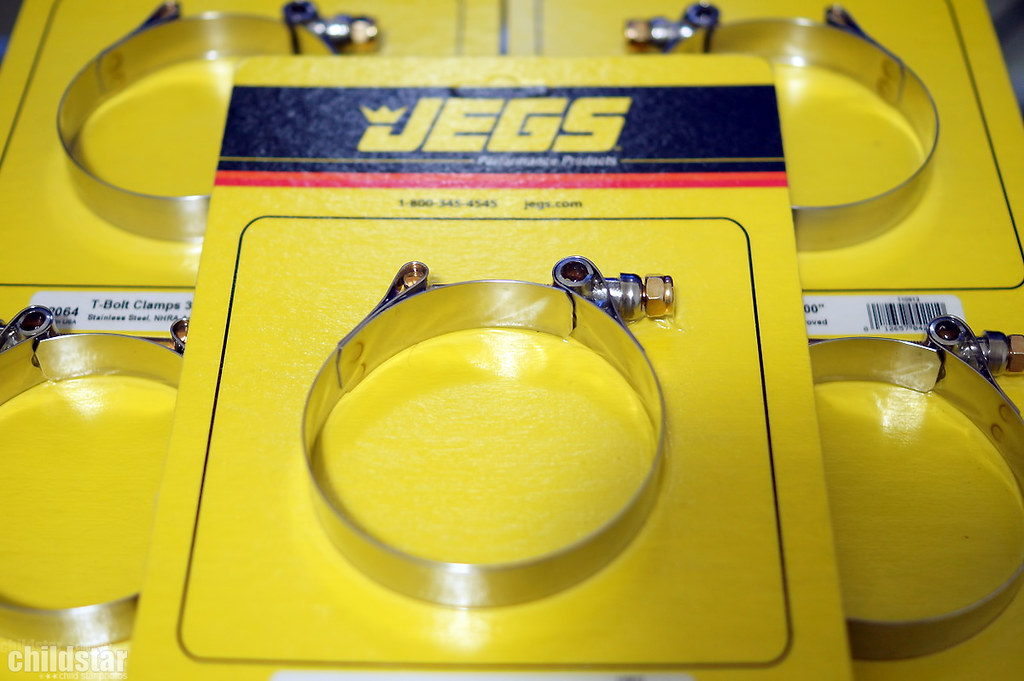
3.5" max t bolt clamps for my new intake


oem camshaft alignment tool for K series...just thought it'd be nice to have instead of jamming some allen wrenches in my cams

ac firewall grommet
the little holder for the hood rod. Mine was broken all to hell

oem bumper clips.
and a couple of steering rack pieces


The majority of the time, I was far too busy with actually getting work done, but here are some pics that I snapped along the way
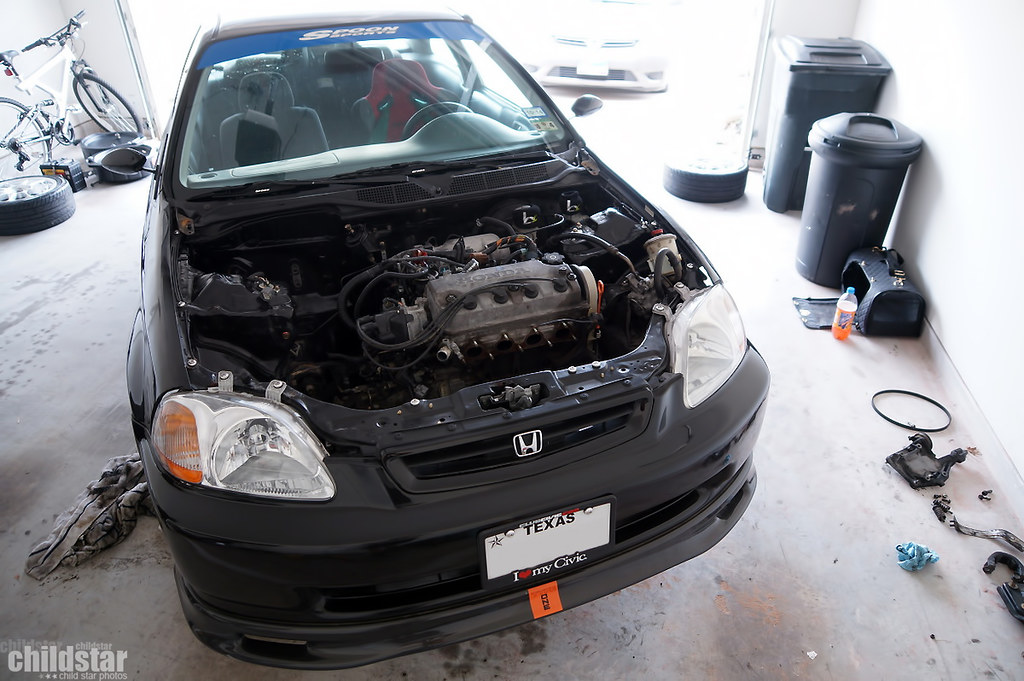
Pulling out the sohc


draining coolant...peep that authentic spoon!
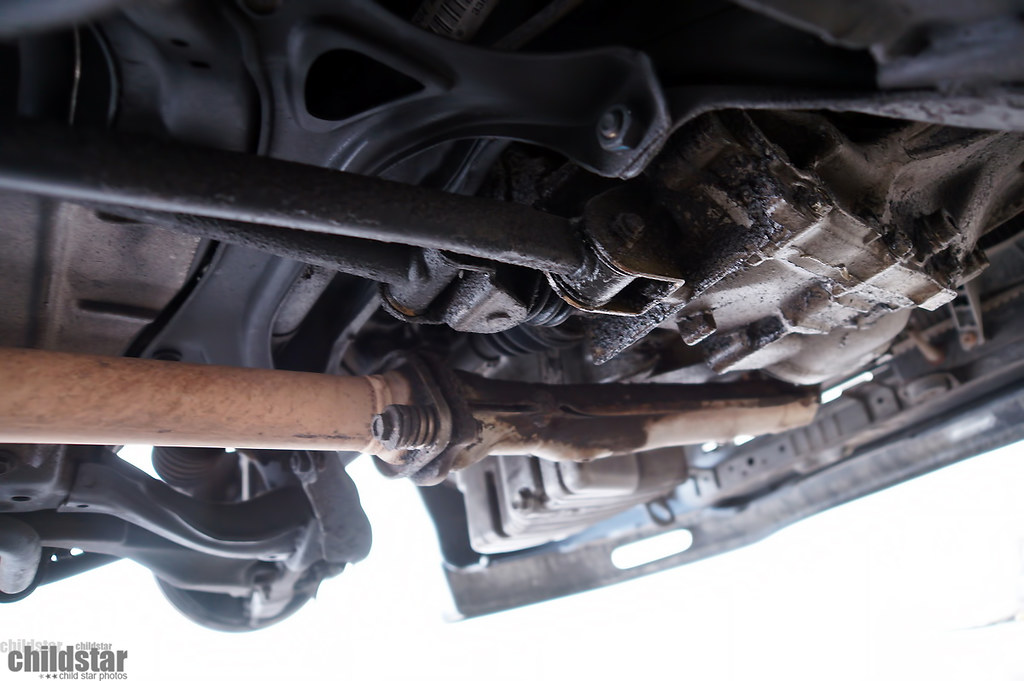
just an underbody shot for reference. So filthy!
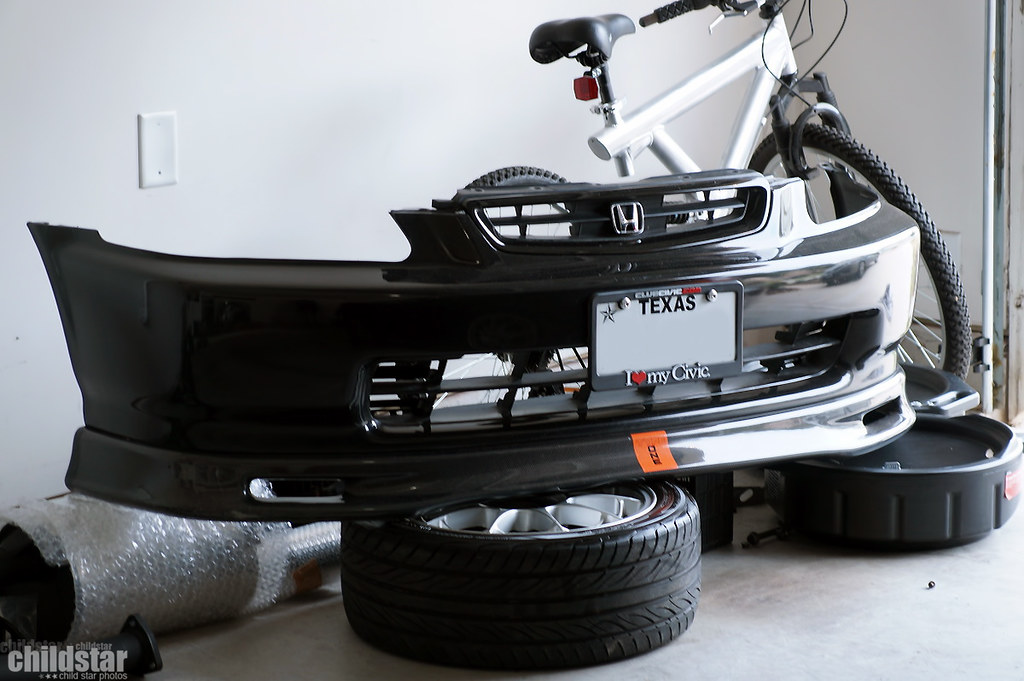
Radiator, battery, fuse box, and header removed
engine harness disconnected
safe keeping
some goodies waiting...

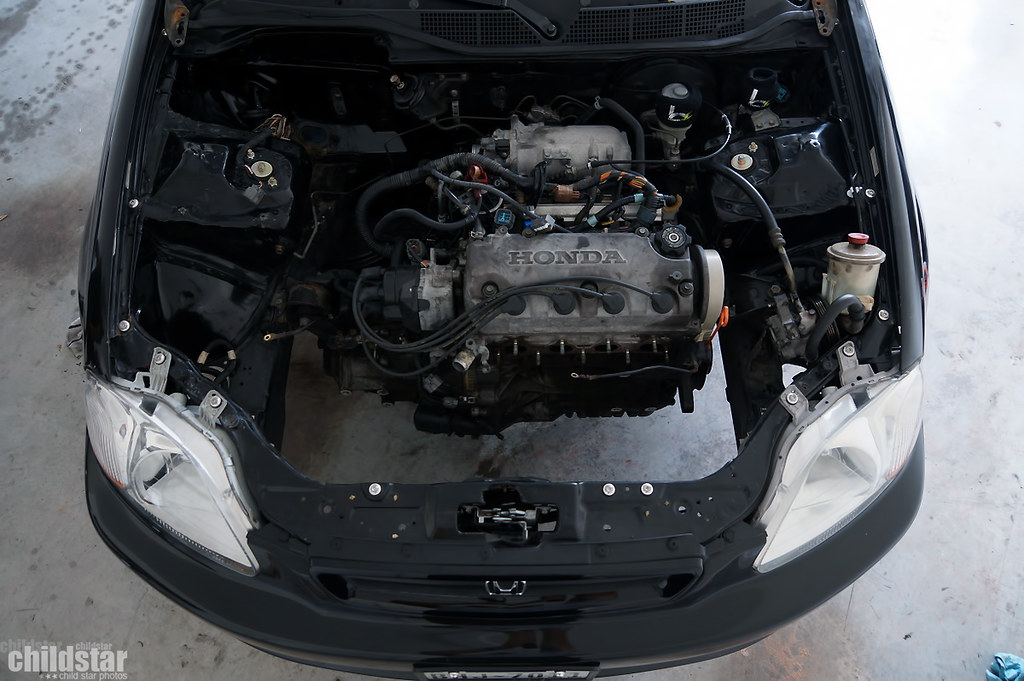
where the sohc belongs
gross

new subframe installed
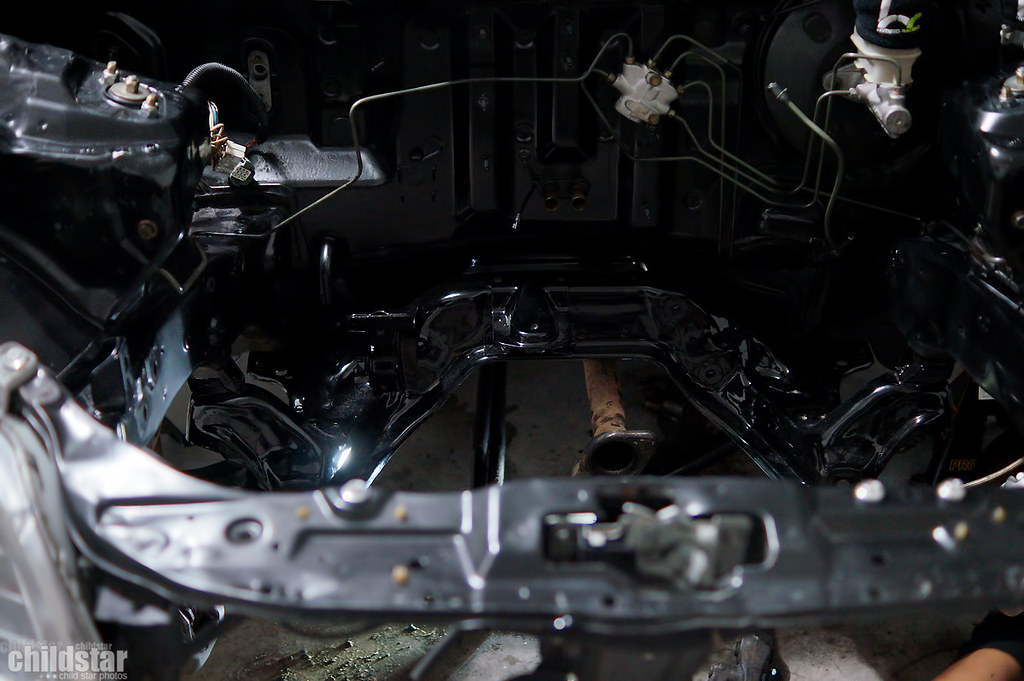
EKK2 mounts, rack, and downstar hardware

engine harness wires waiting to be modded to enter the cabin via the oem opening
stock exhaust removed
oem shifter removed
wireworx harness routed
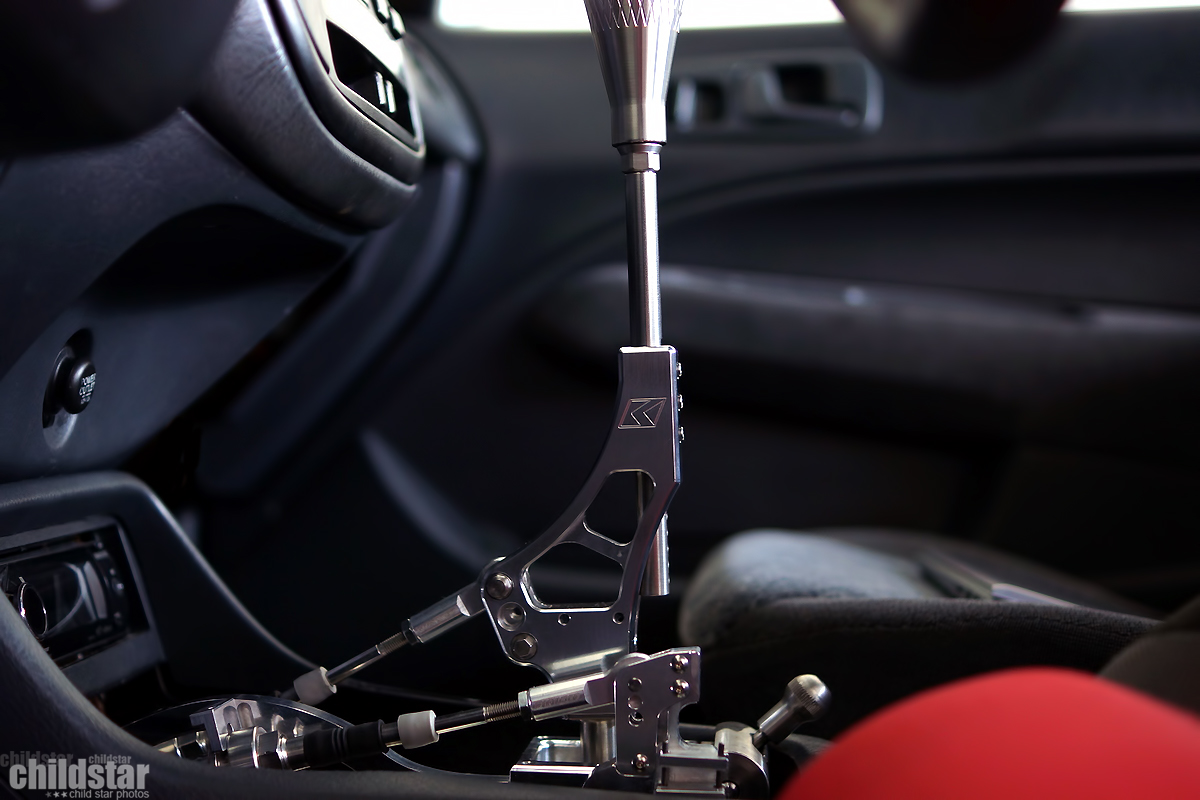
billet rsx shifter installed
dash removed along with, heater core, a/c condensor, and blower
throttle cable connected
K-tuned firewall grommet installed and cables ran
starter motor wired up
radiator and fan installed
intake installed
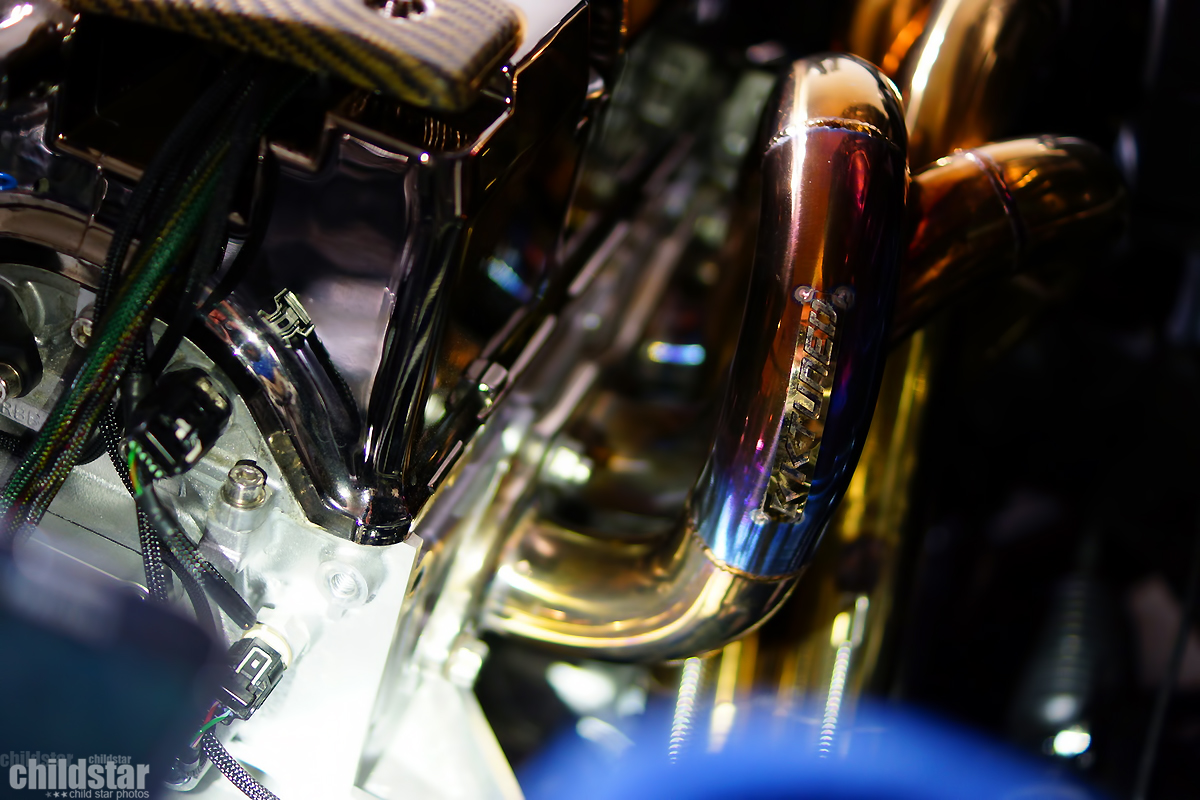
K-Tuned ram header installed. Tons of clearance

Mishimoto overflow installed (later removed due to the hose supplied. It does not create a good seal)
Unnecessary but I like the way it looks

battery and charge harness installed
WS2 installed
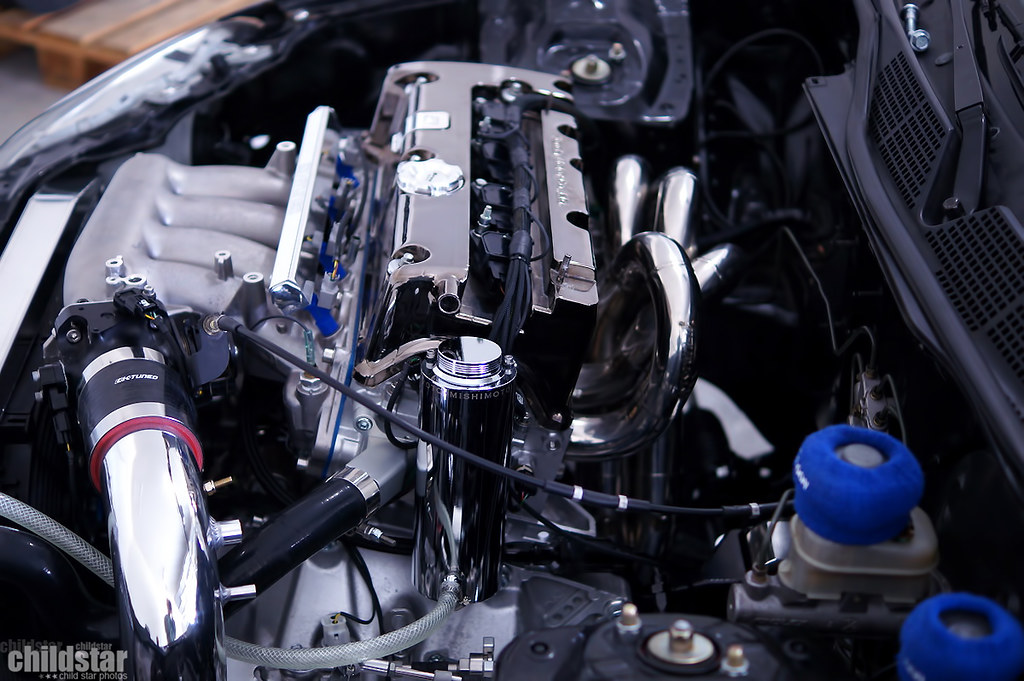
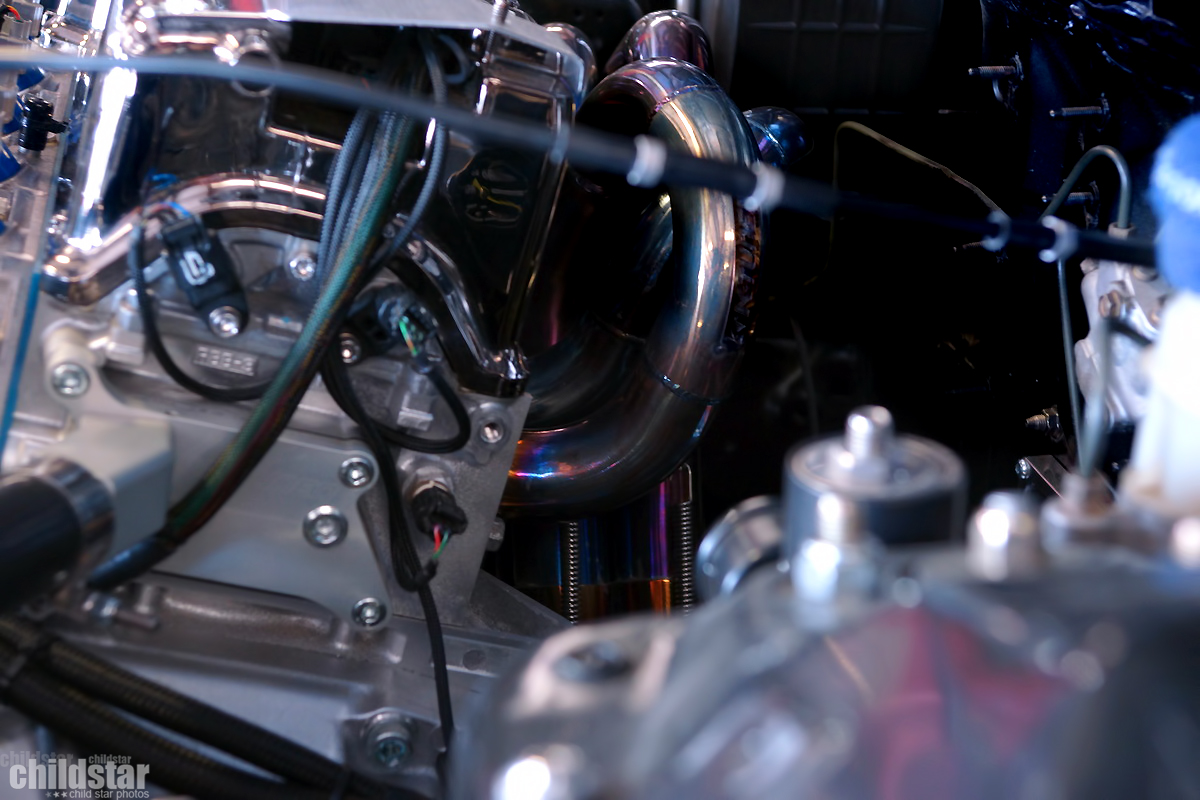
After a few times of letting the car idle, the header is turning a nice gold. I also use a glass cleaner like Windex to degrease it before introducing a header to heat. It tends to turn gold rather than a bronze/brown-ish color
originals next to the new
tada
Also got some misc pieces that I wanted/somewhat needed.
3.5" max t bolt clamps for my new intake
oem camshaft alignment tool for K series...just thought it'd be nice to have instead of jamming some allen wrenches in my cams
ac firewall grommet
the little holder for the hood rod. Mine was broken all to hell
oem bumper clips.
and a couple of steering rack pieces
The majority of the time, I was far too busy with actually getting work done, but here are some pics that I snapped along the way
Pulling out the sohc
draining coolant...peep that authentic spoon!
just an underbody shot for reference. So filthy!
Radiator, battery, fuse box, and header removed
engine harness disconnected
safe keeping
some goodies waiting...
where the sohc belongs
gross
new subframe installed
EKK2 mounts, rack, and downstar hardware
engine harness wires waiting to be modded to enter the cabin via the oem opening
stock exhaust removed
oem shifter removed
wireworx harness routed
billet rsx shifter installed
dash removed along with, heater core, a/c condensor, and blower
throttle cable connected
K-tuned firewall grommet installed and cables ran
starter motor wired up
radiator and fan installed
intake installed
K-Tuned ram header installed. Tons of clearance
Mishimoto overflow installed (later removed due to the hose supplied. It does not create a good seal)
Unnecessary but I like the way it looks
battery and charge harness installed
WS2 installed
After a few times of letting the car idle, the header is turning a nice gold. I also use a glass cleaner like Windex to degrease it before introducing a header to heat. It tends to turn gold rather than a bronze/brown-ish color
05-10-2016, 01:05 AM
#23
Honda-Tech Member
Thread Starter
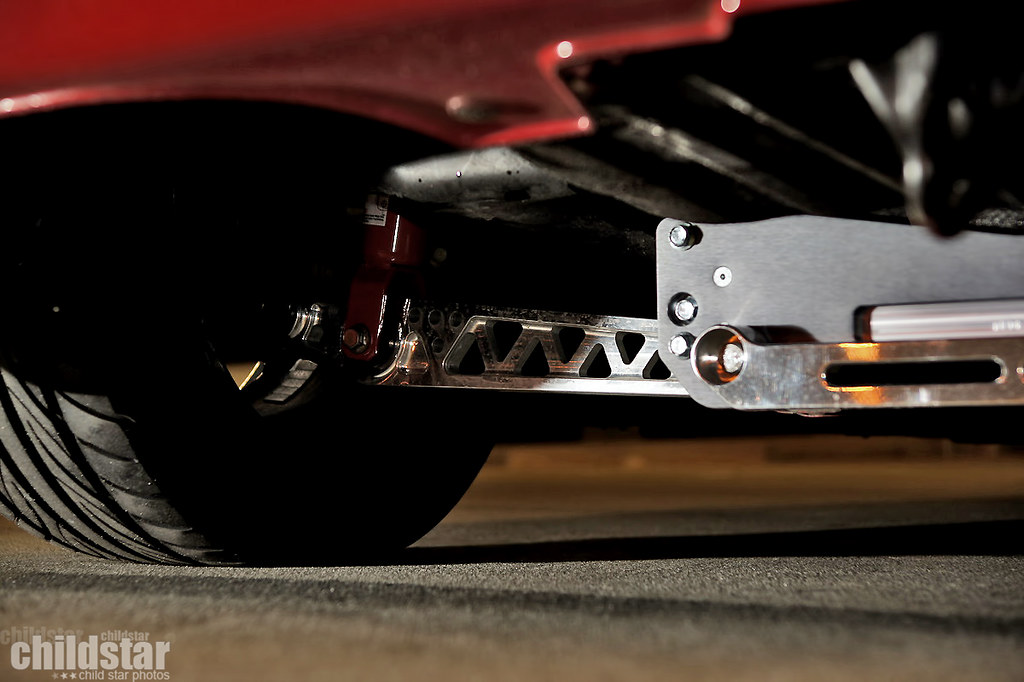
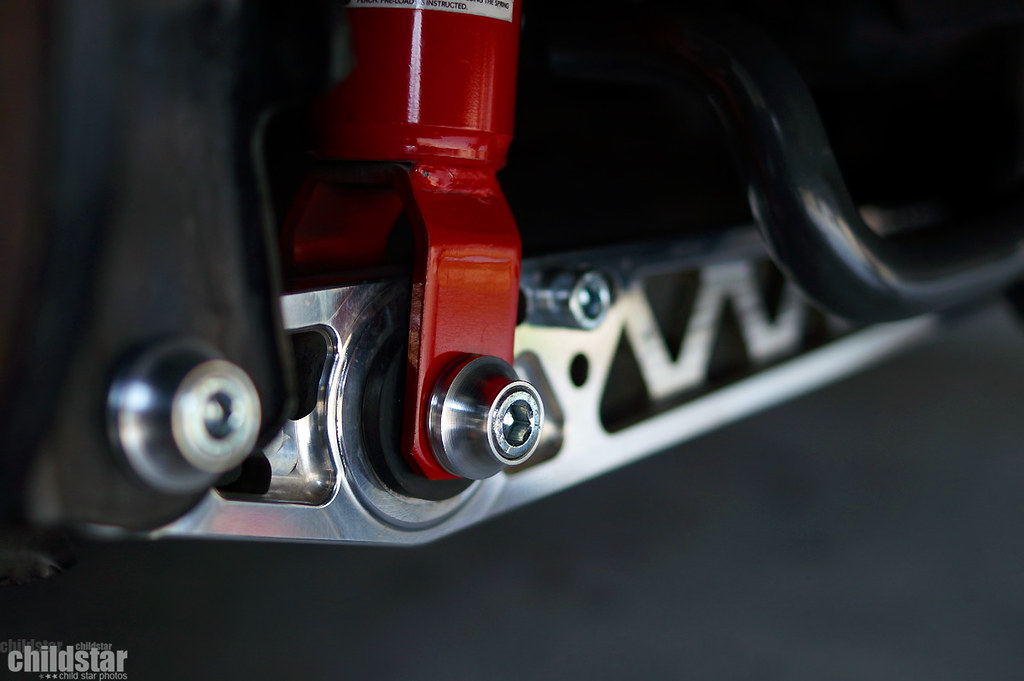
k-tuned pro series traction bar installed
brake booster line

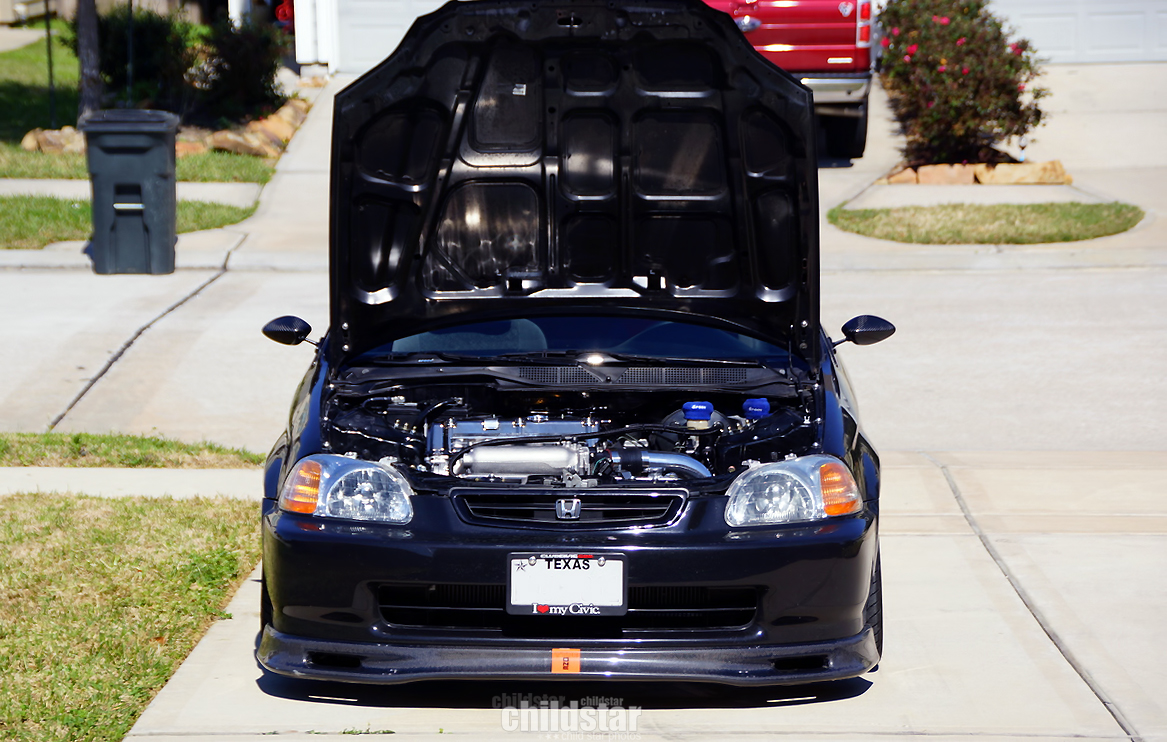
All back together! Now to get a tune or base kal that works
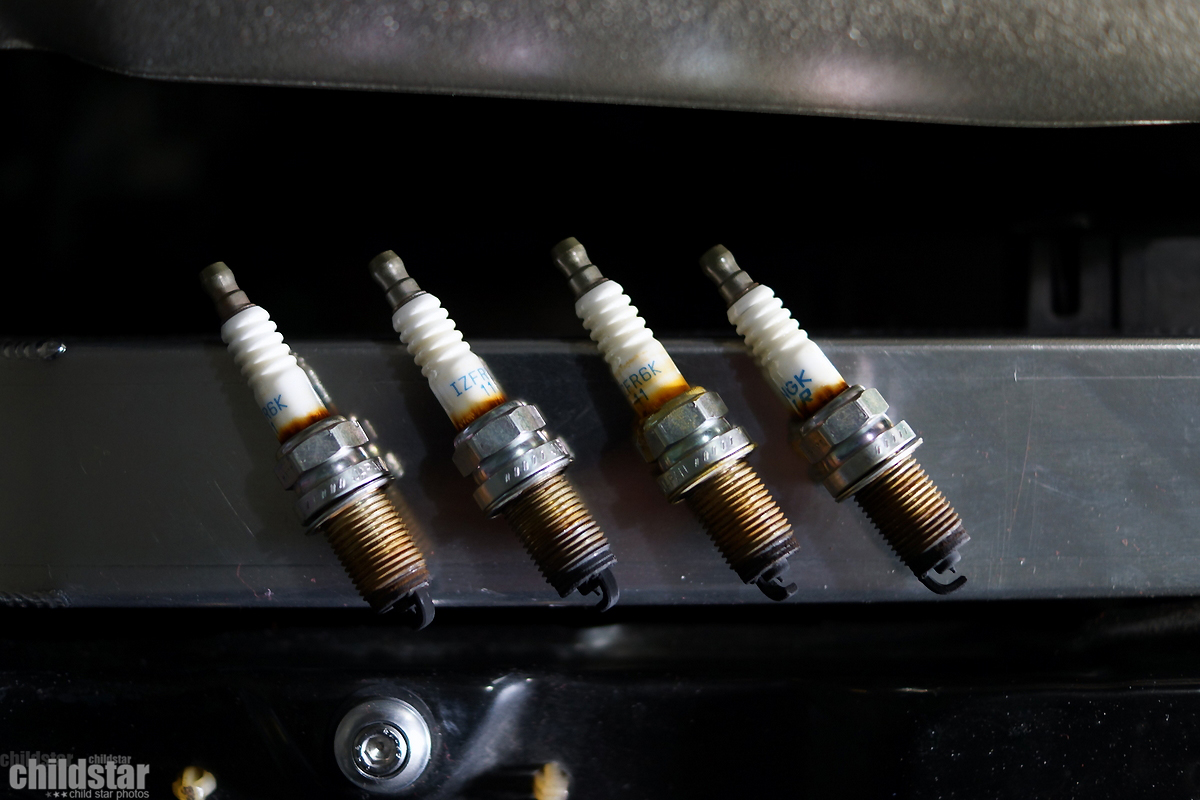
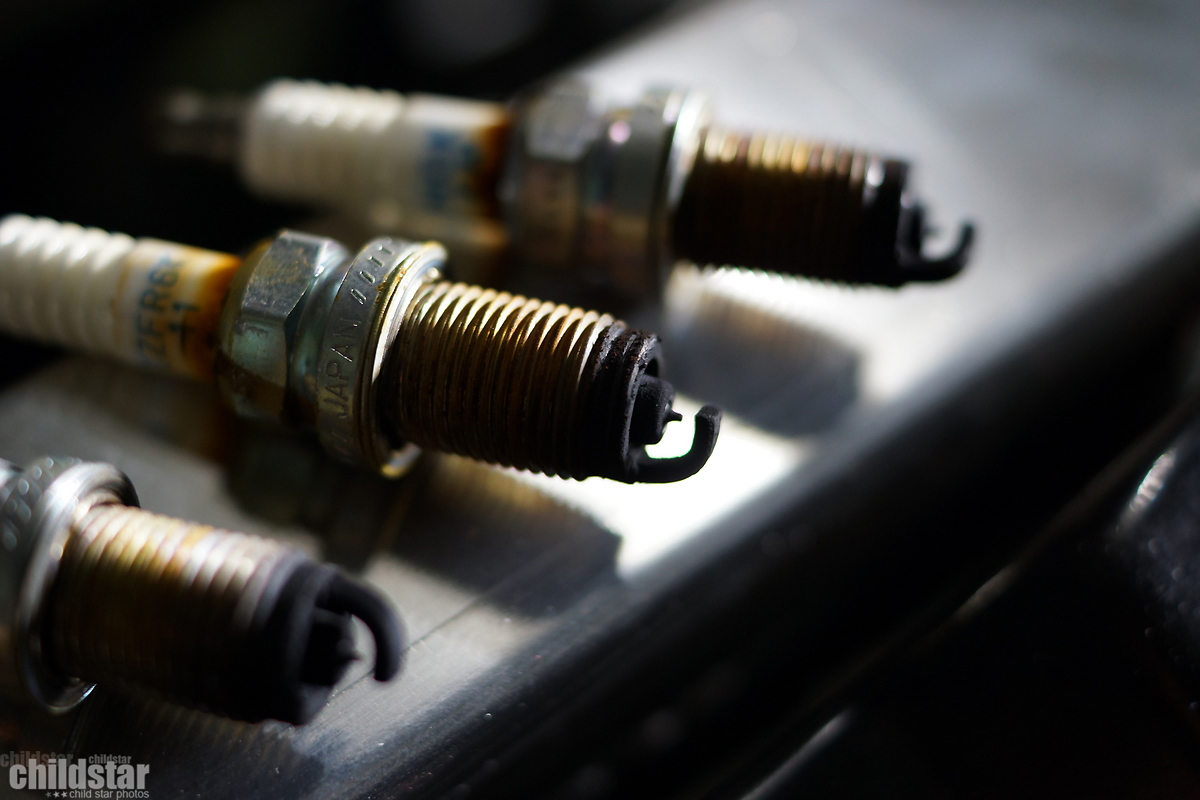
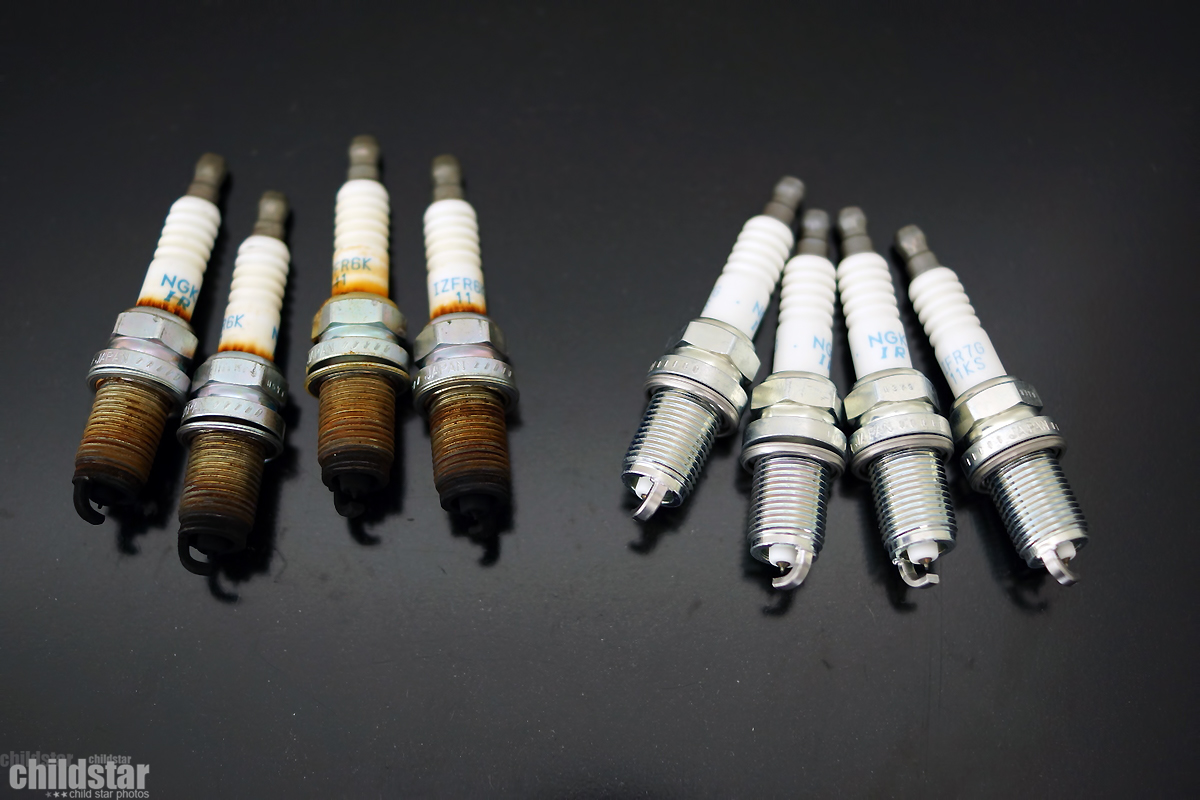
This might be an issue. Those rich starts ive been having did some work on my spark plugs

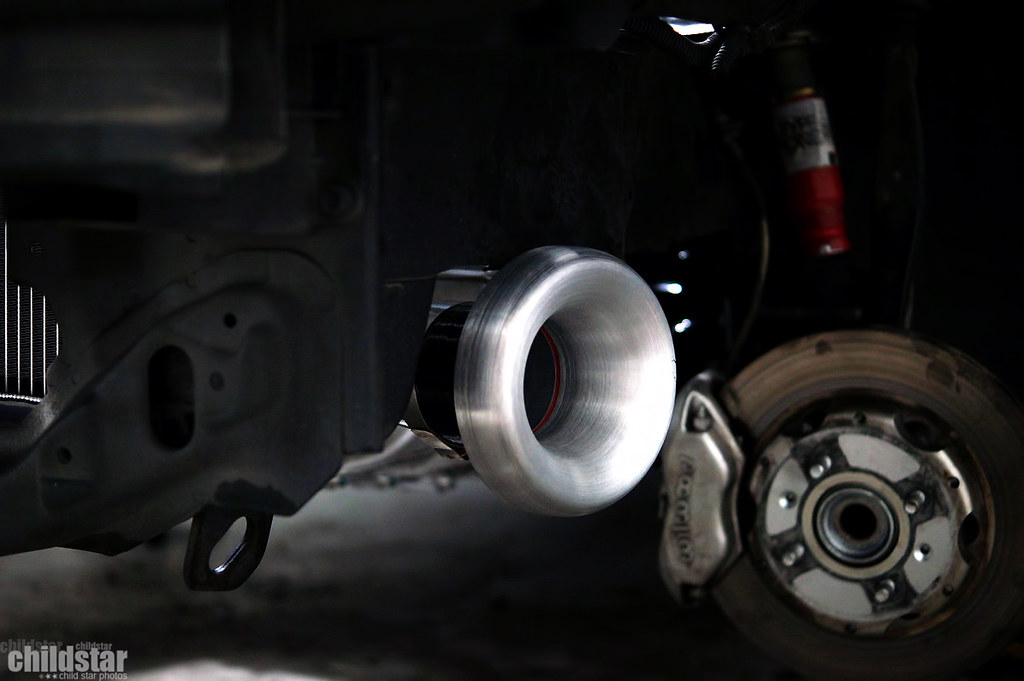
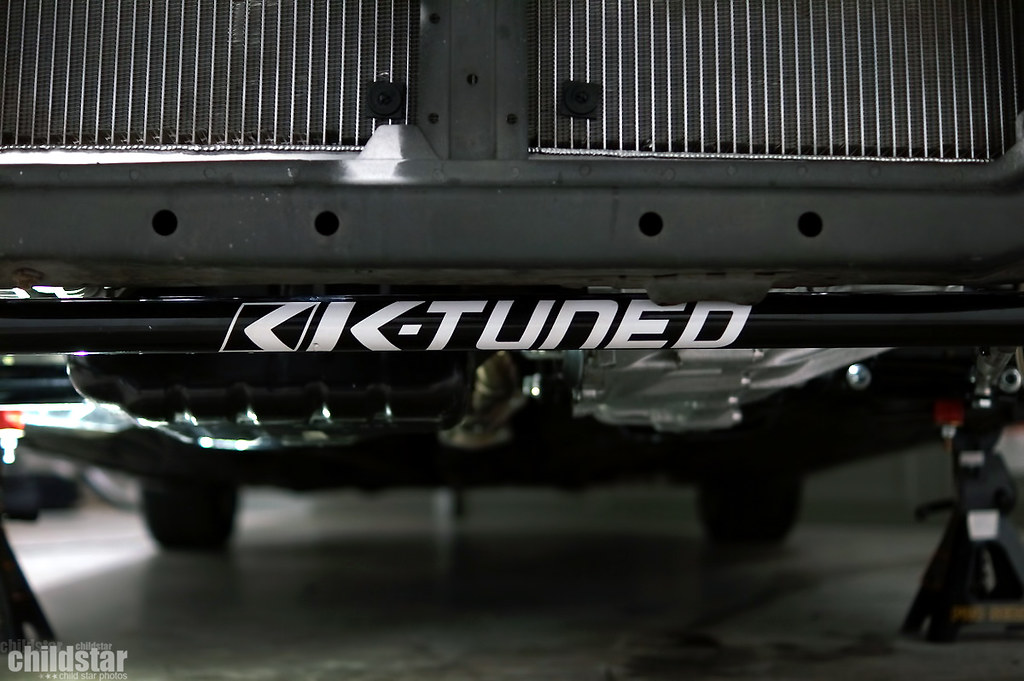
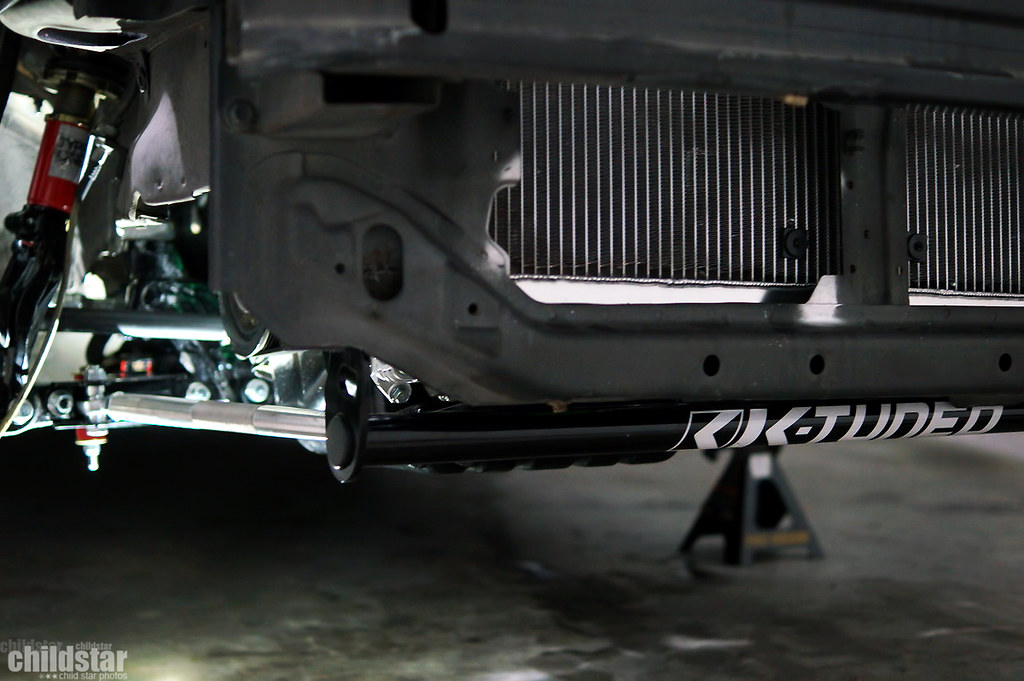
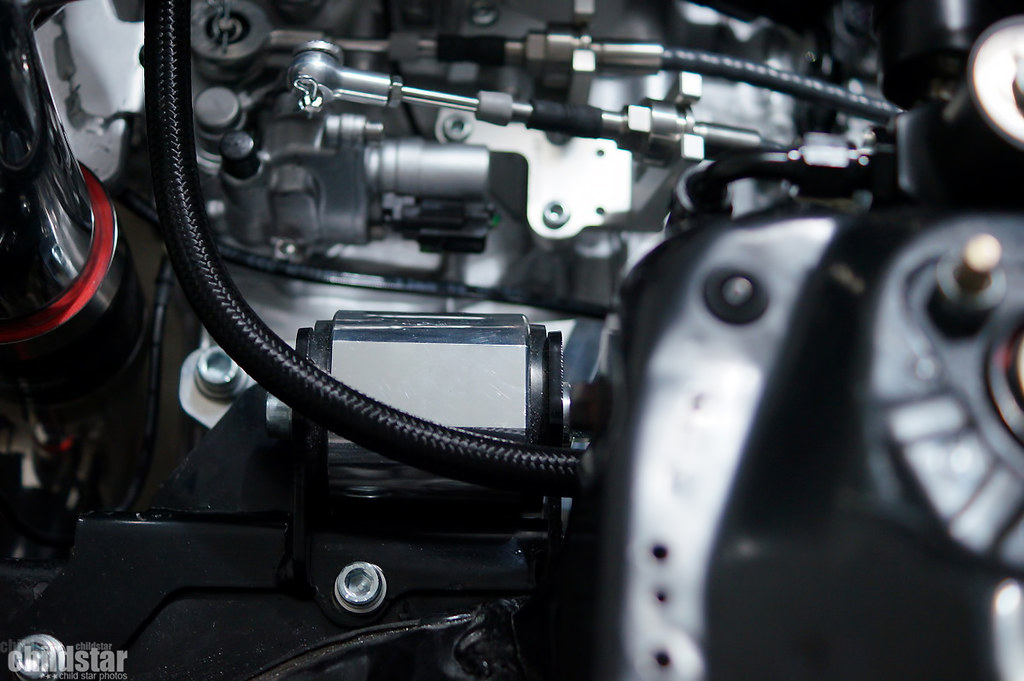
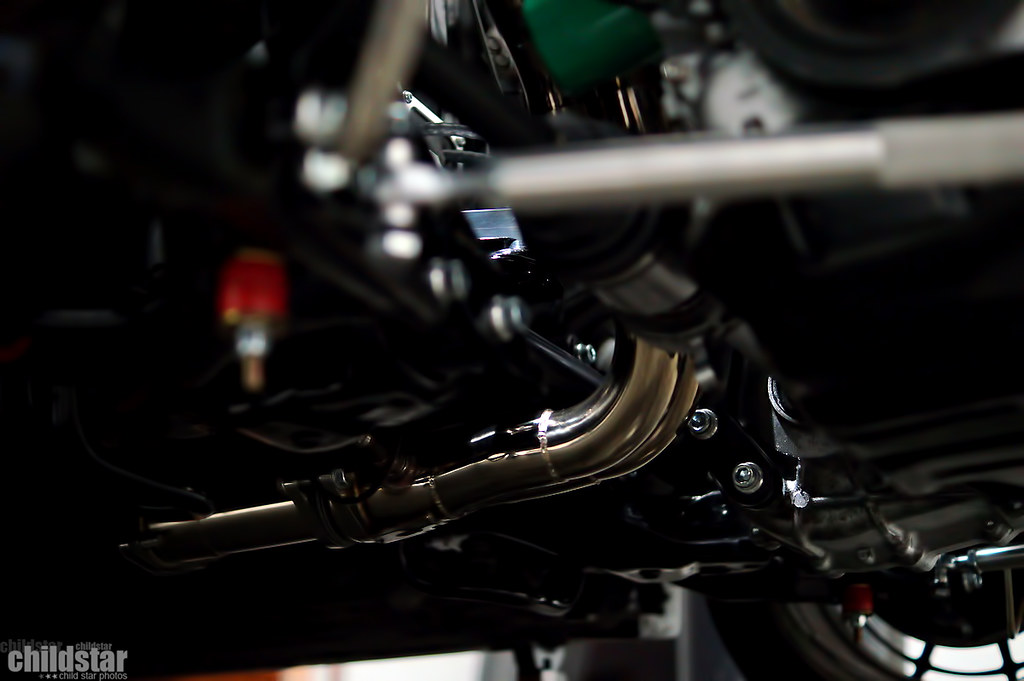
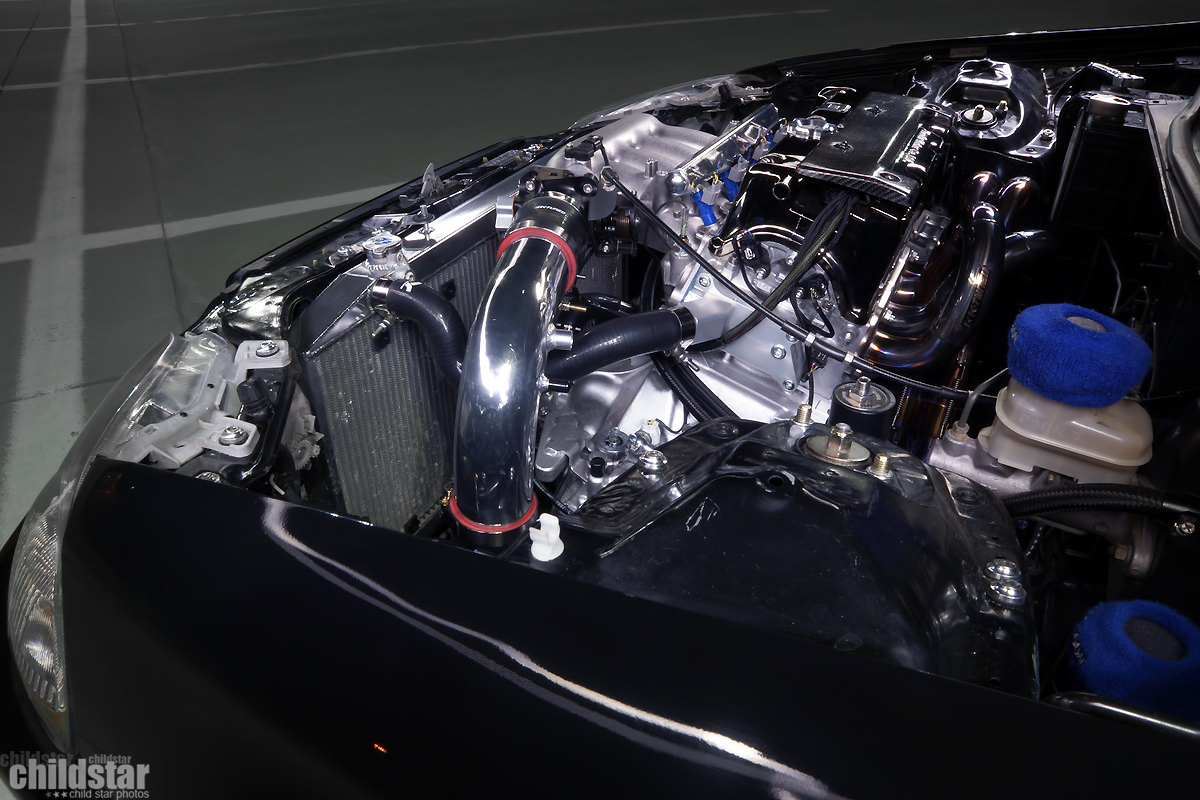
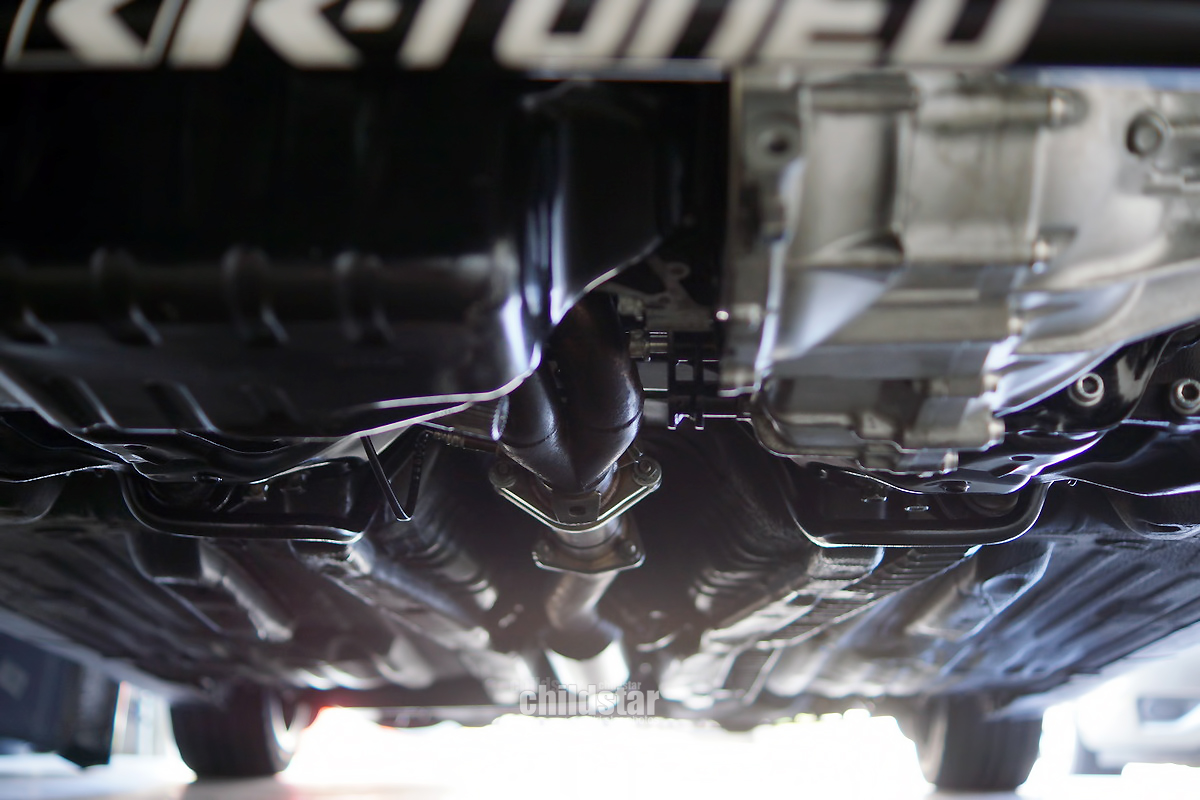
Instagram stirred up a few questions about exhaust clearance, ride height and the k24 on ekk2s. If you look close in the center you can see the resonator just below the subframe brace. The oil pan is higher than the resonator. My ride height is the same as where I had it with the D.
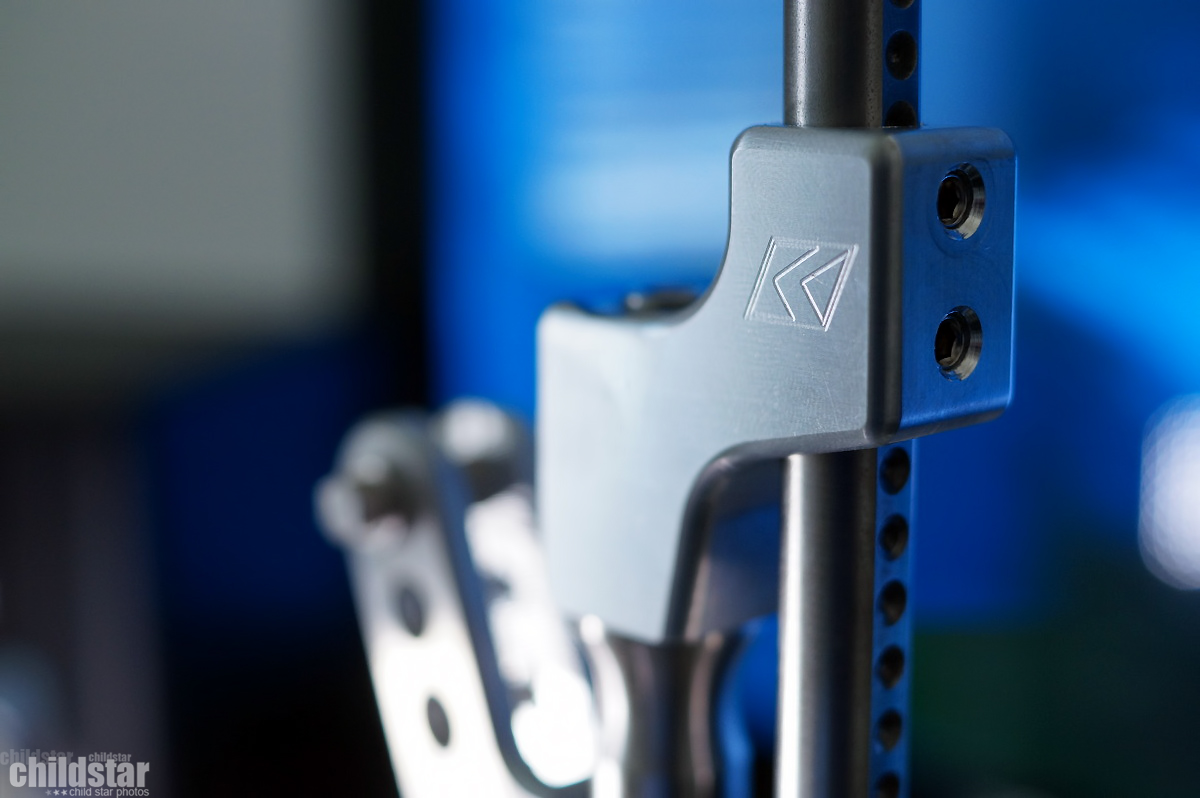
NEW PRODUCTS from K-Tuned
Stronger billet shifter arm option that also has a bit more height to it and secures your top shaft in place better with 3 allen screws.
Also, a new heavy weight shift **** using the new design.
D and B series versions are already available. K series arms and the shift **** should be available in about a week or so!


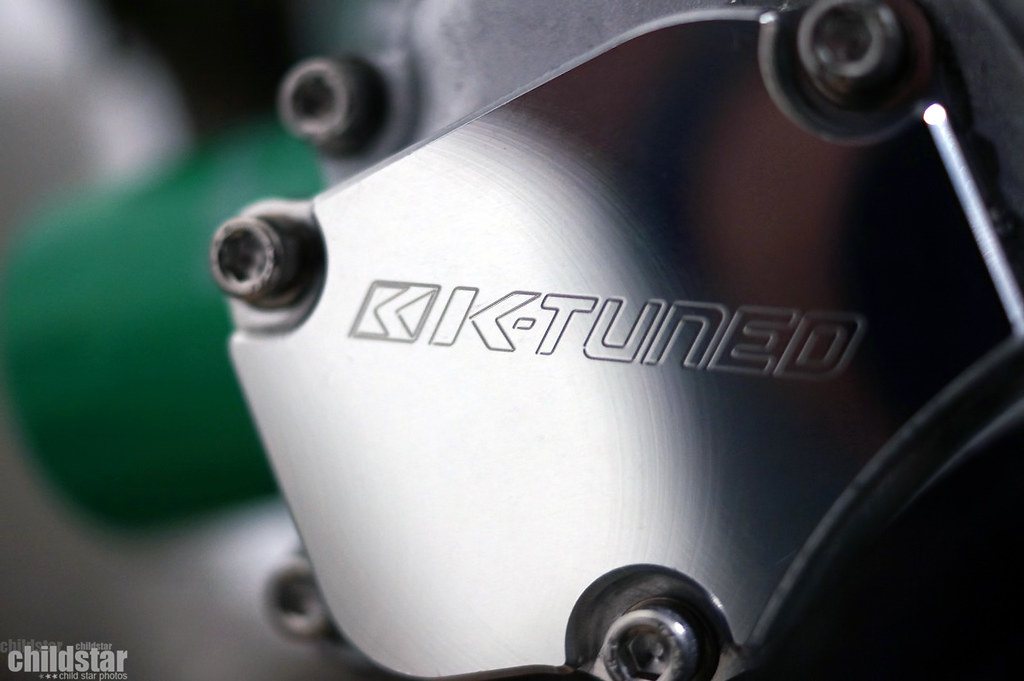
Feeling official with the K-Tuned badge slapped on.

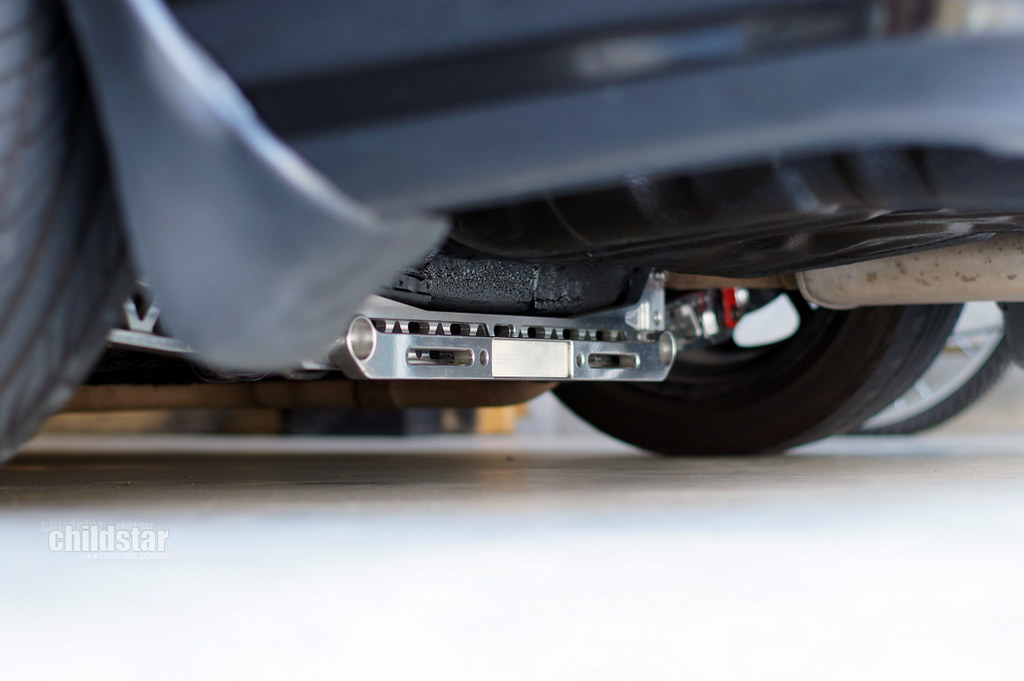
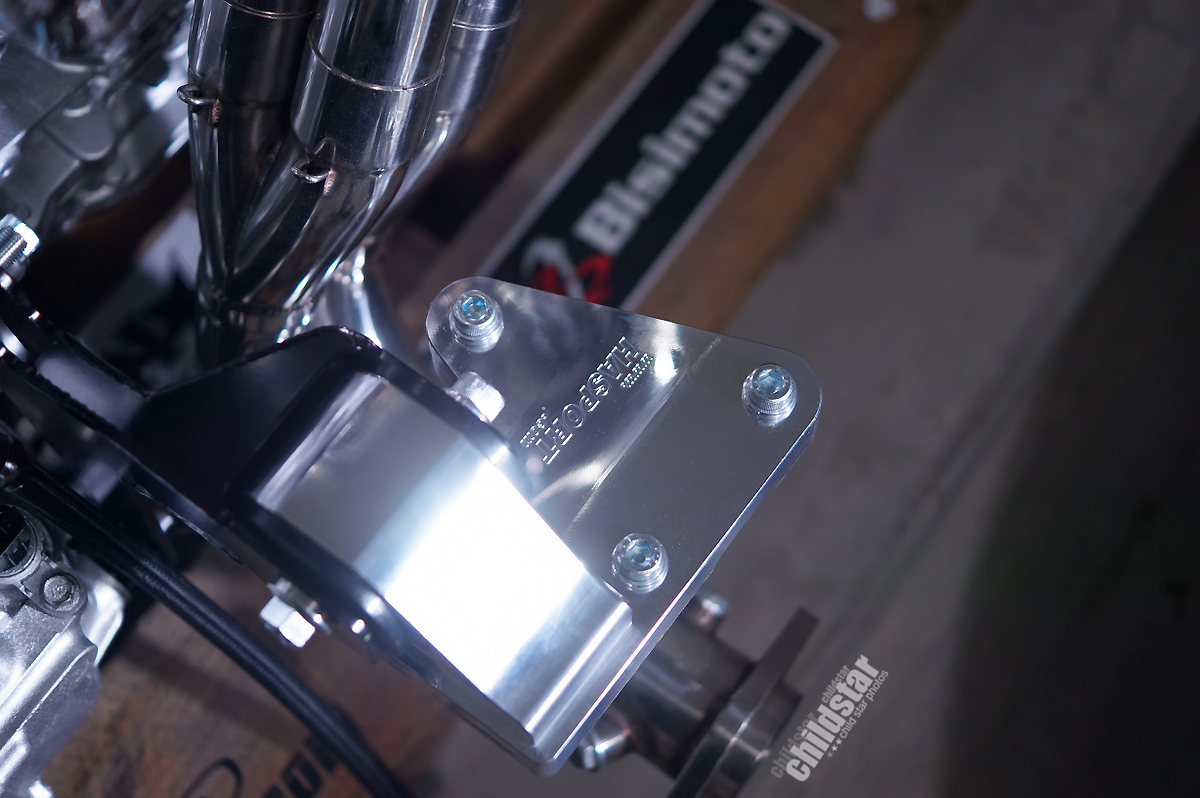
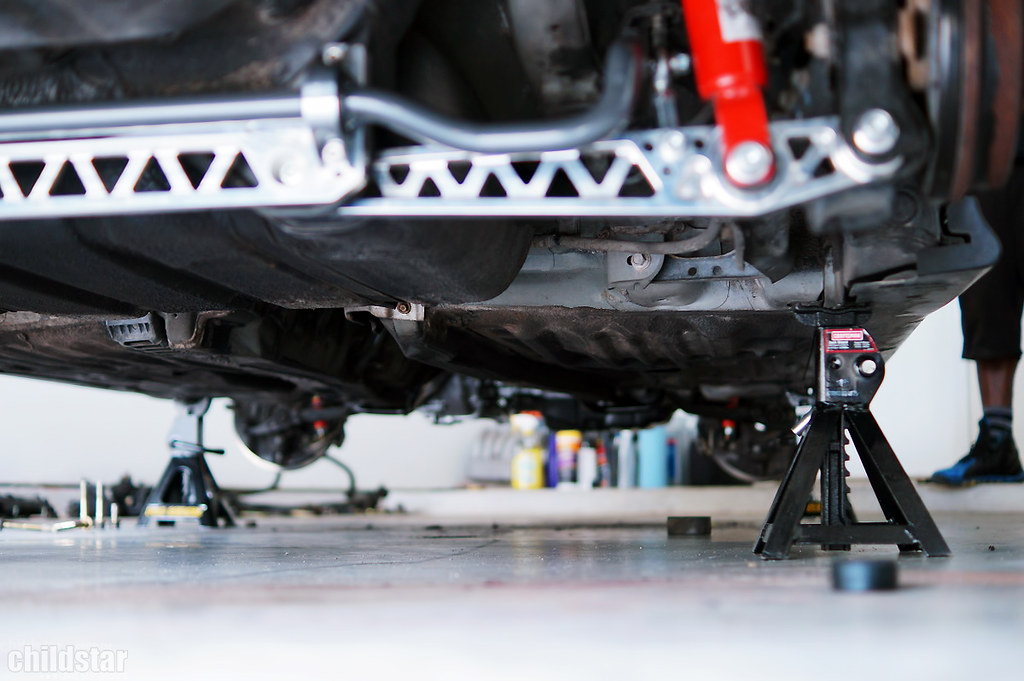
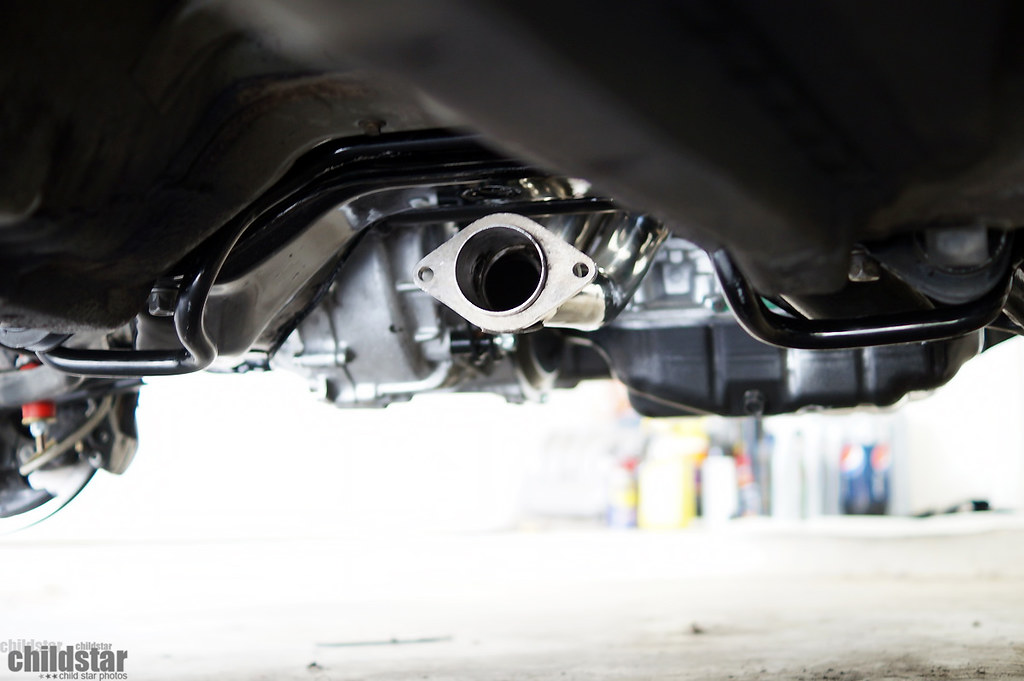
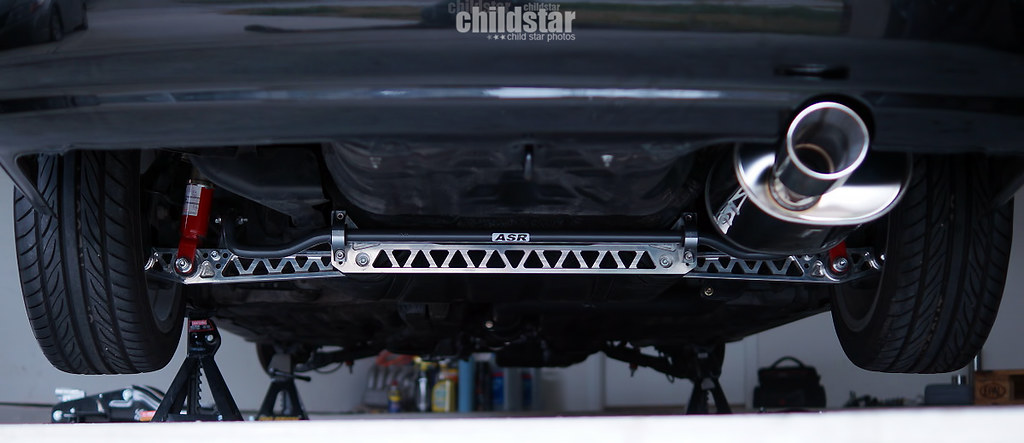
I noticed there aren't many pics of clearances and typically just words...words are boring AF. So here's a visual.
I believe there is about an inch difference in hole height if the upper front holes were used
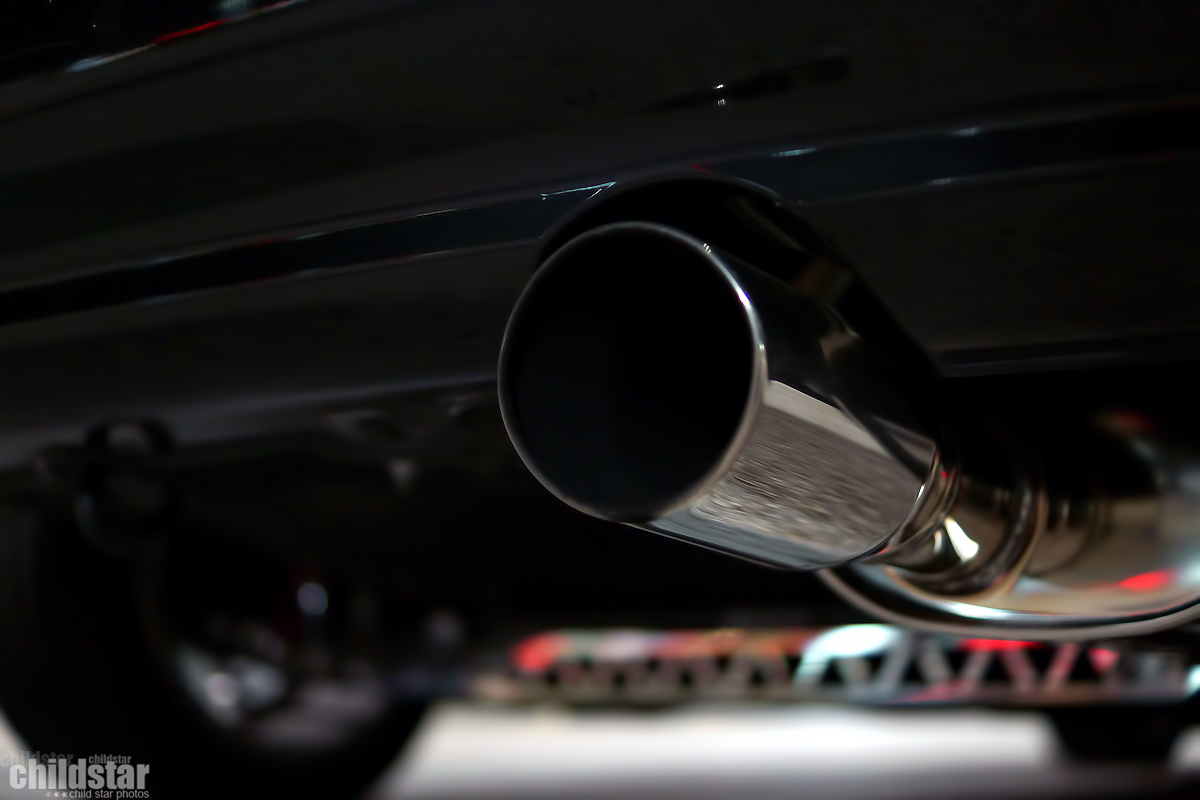
Here's a visual of the ground clearance. I think there's more people with an A'PEXi ws2 than K swaps so, the low hanging resonator section is perfectly even with the lowest point on my k24 steel oil pan. So if you ride around scraping your A'PEXi b pipe, a K isnt for you.
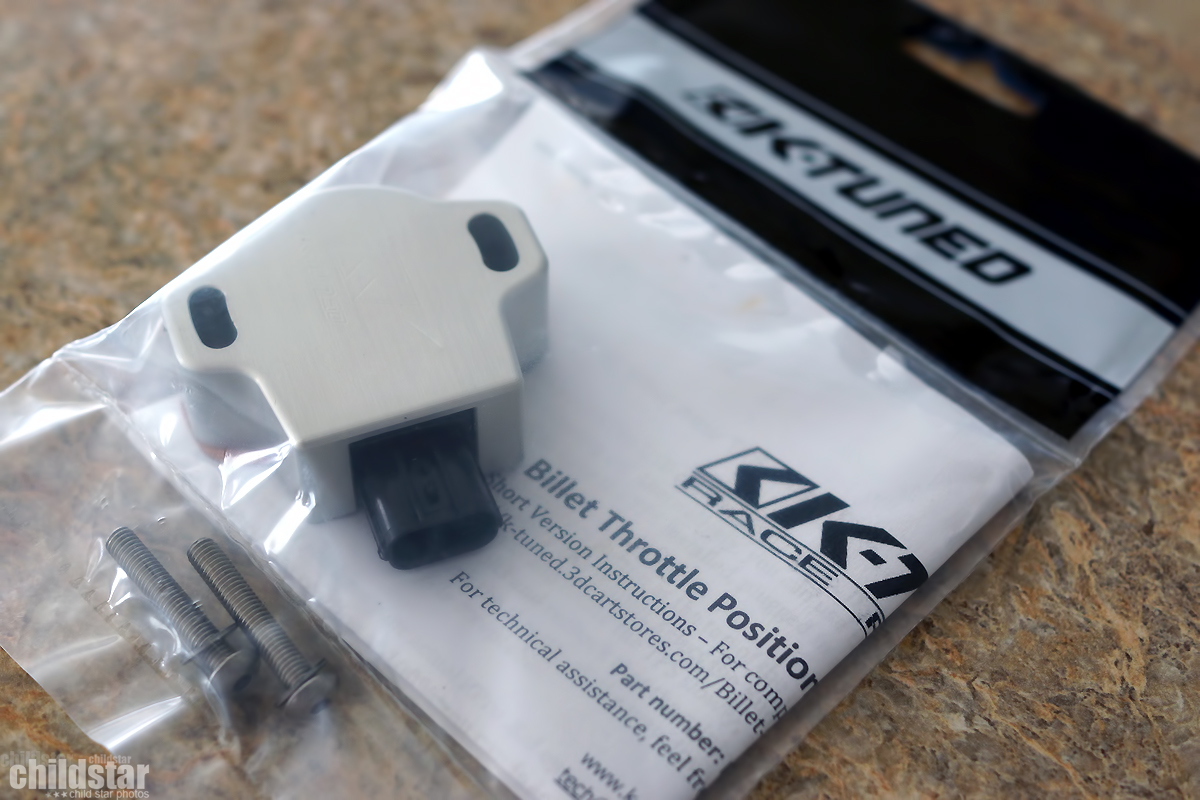
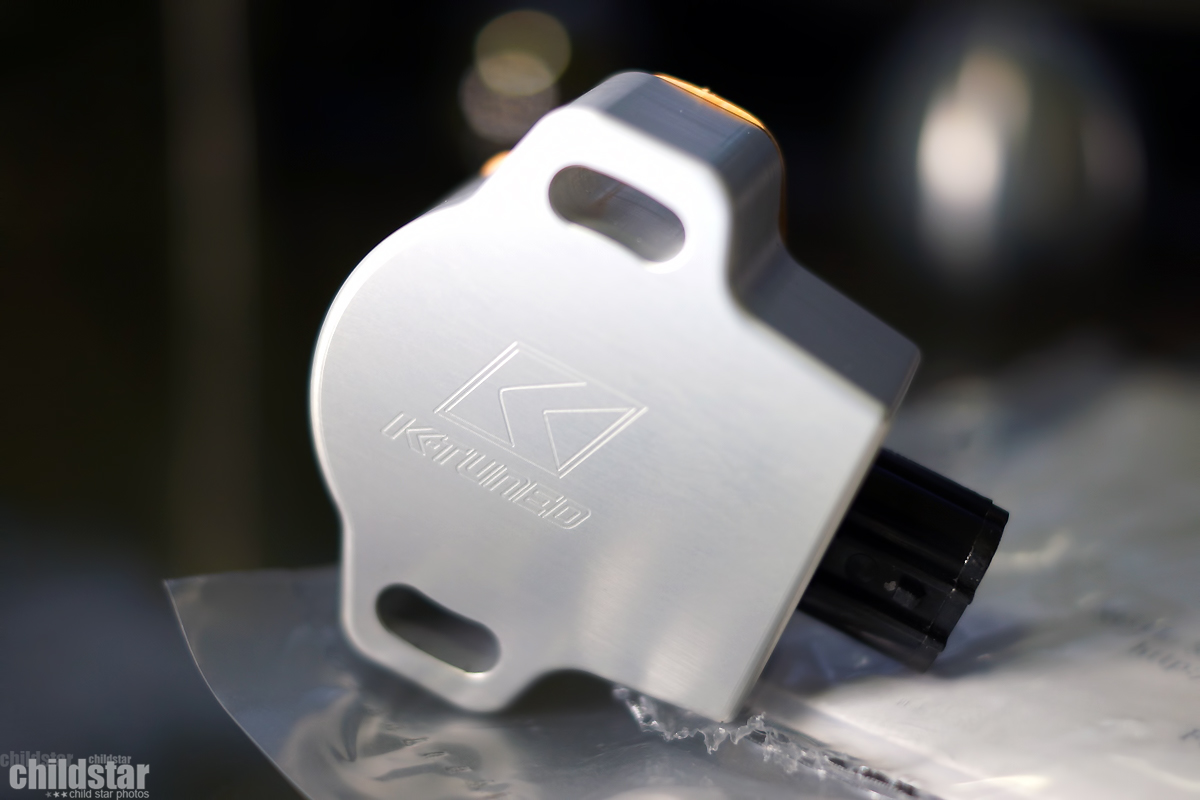
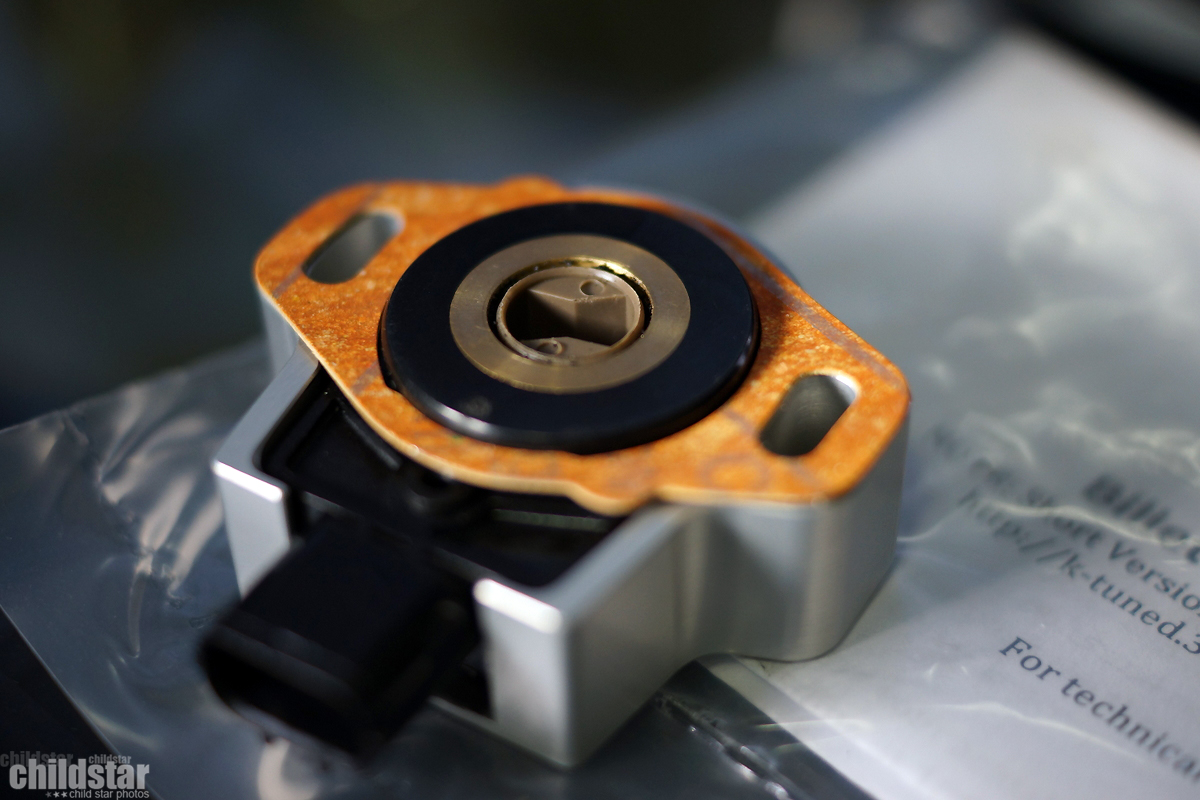
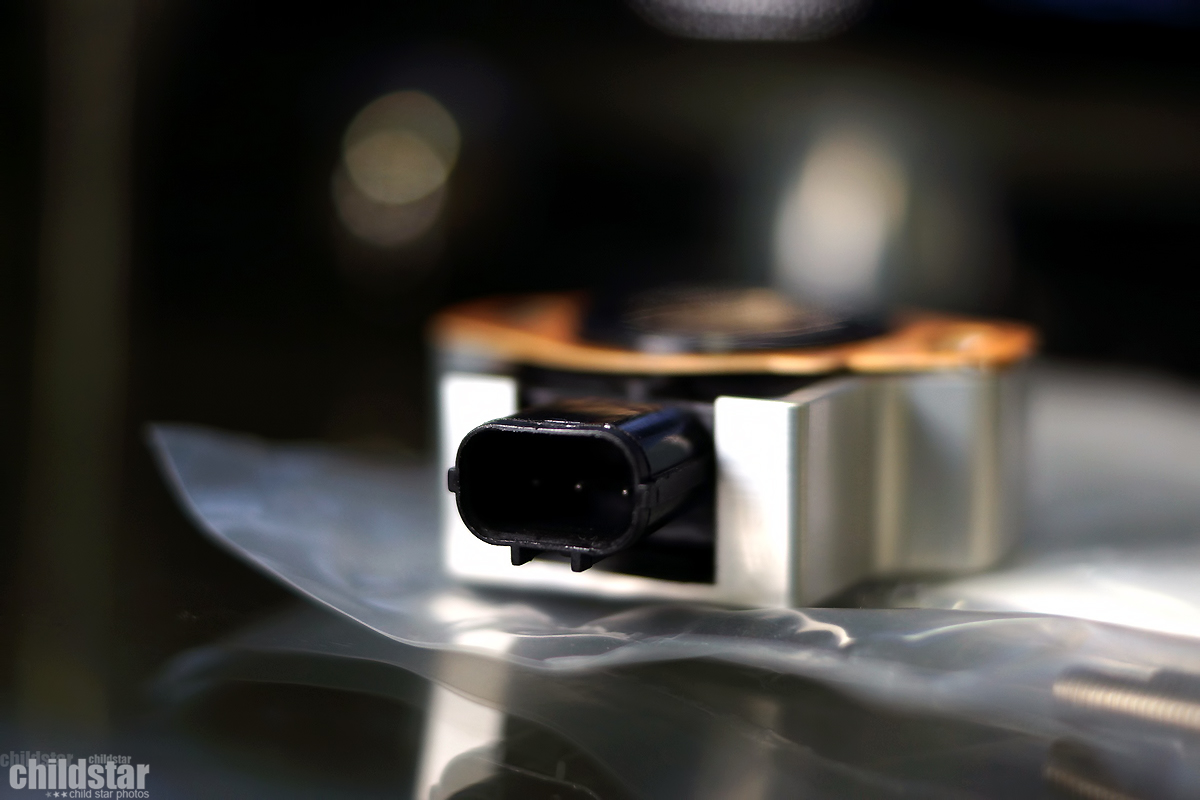
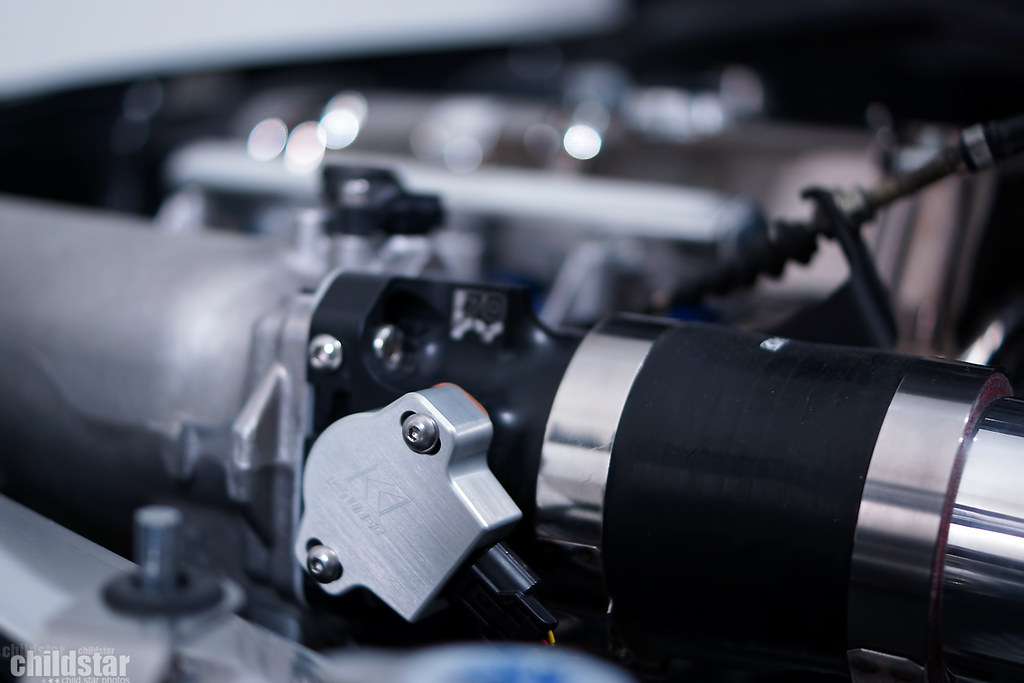
Got my new TPS, thanks K-tuned. This thing even feels beefy compared to my current unit.
Decided to switch from a heavy **** to a light one for awhile.

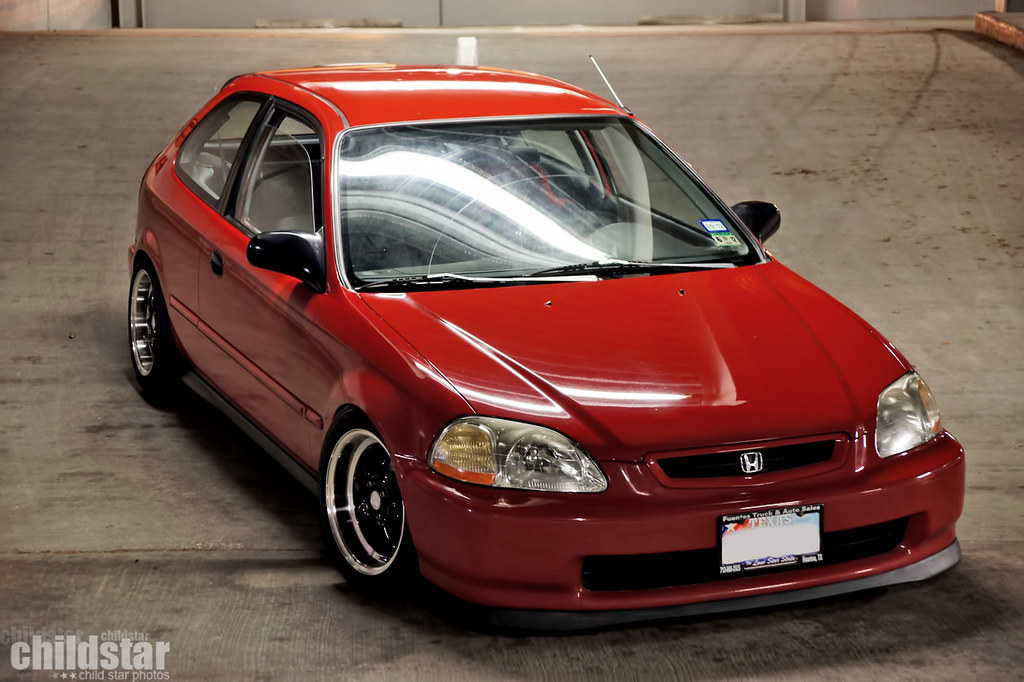
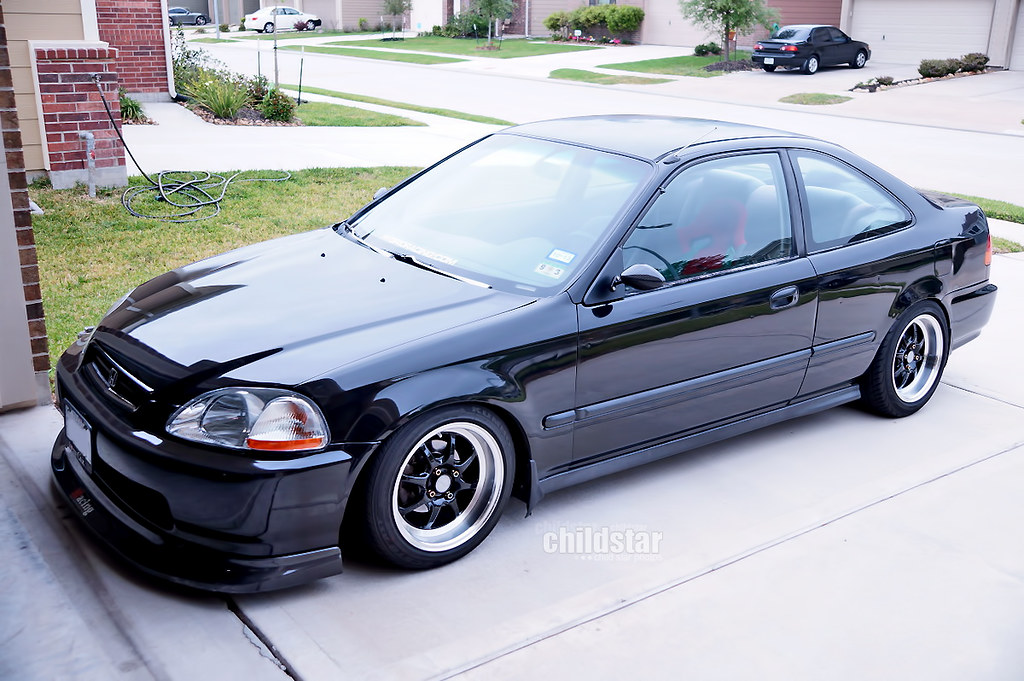
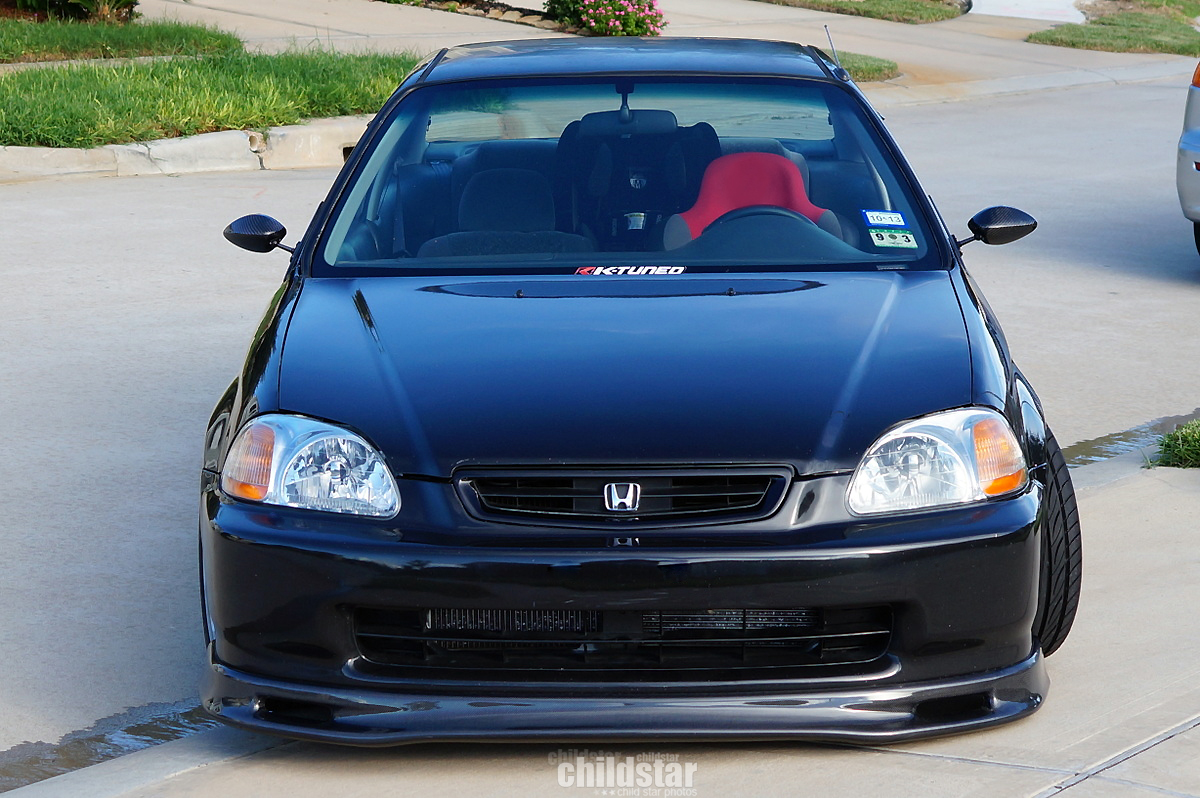
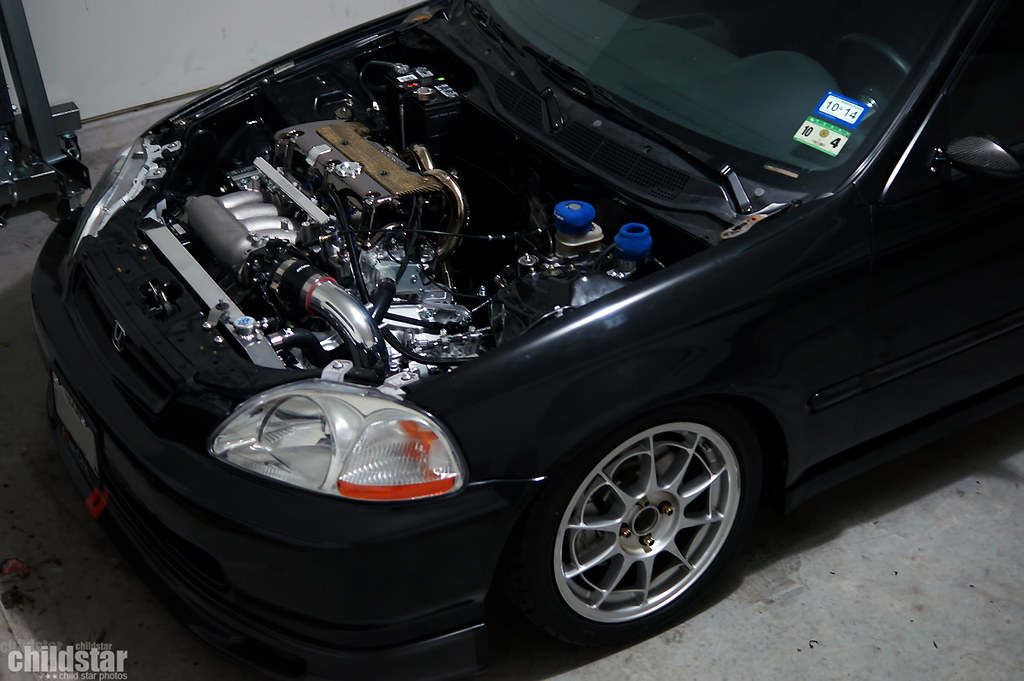
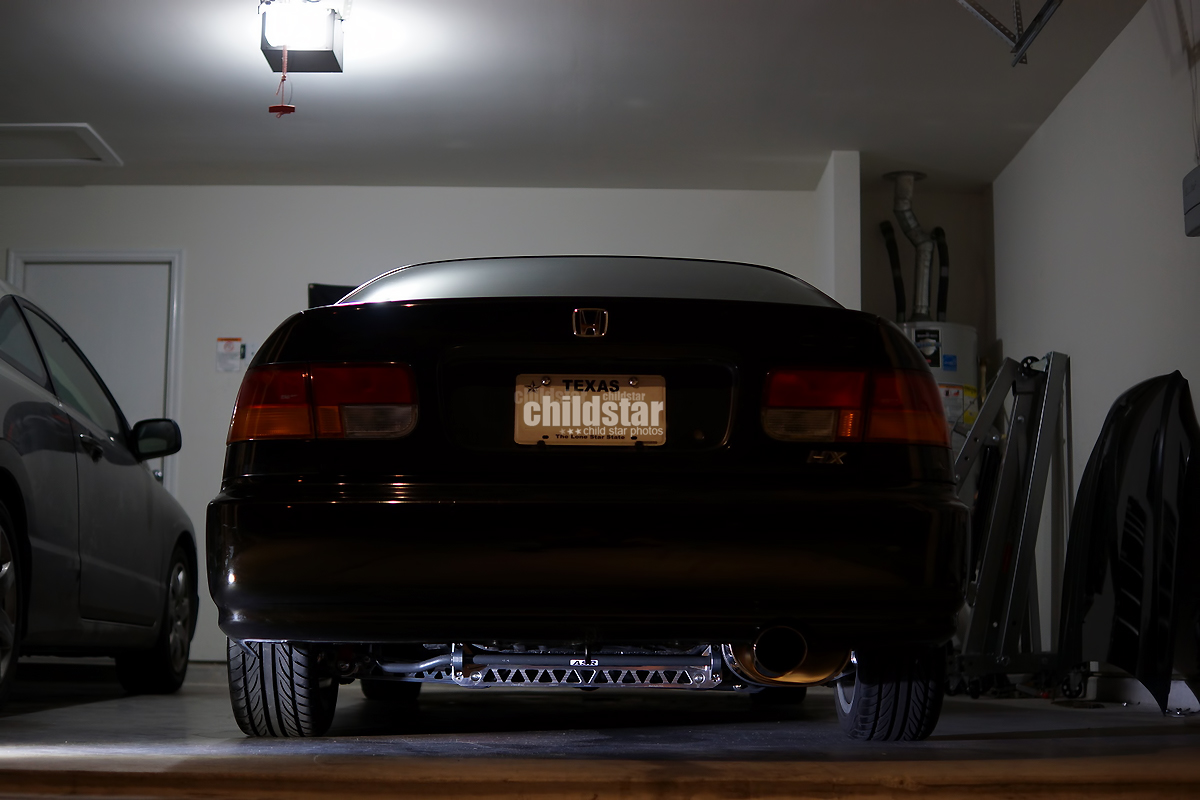
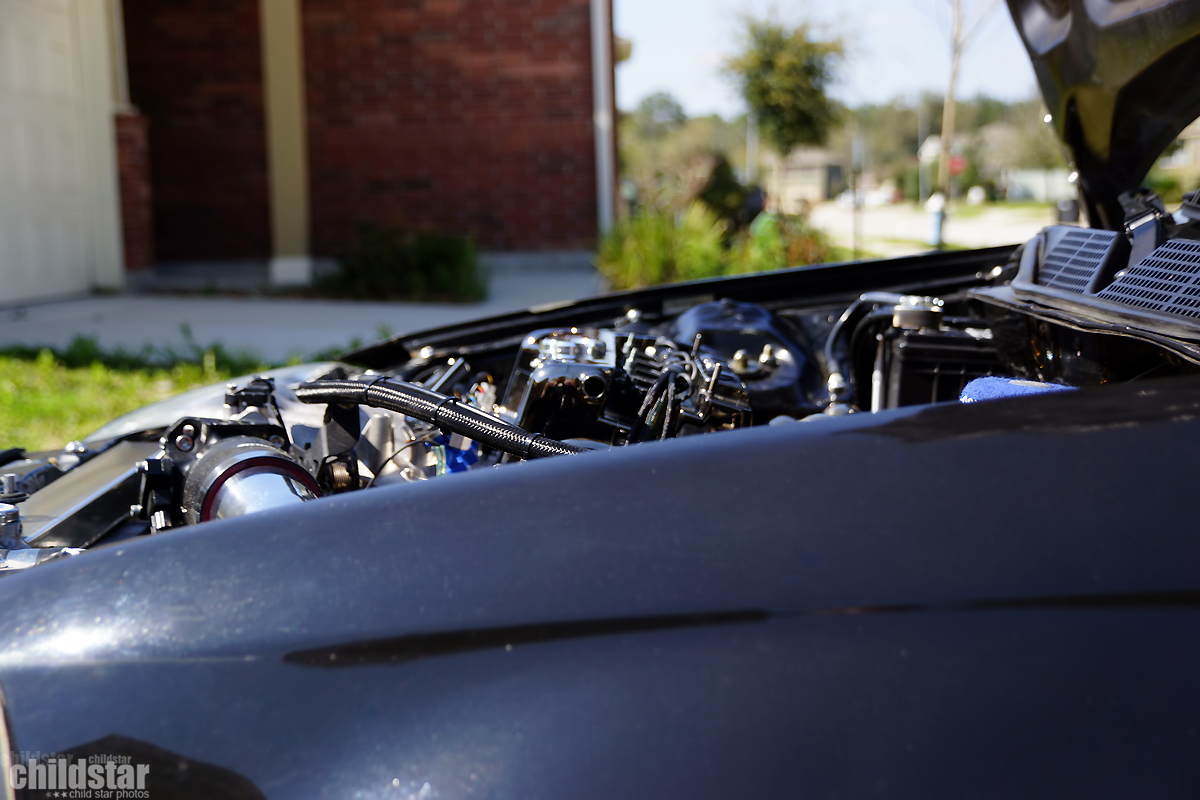
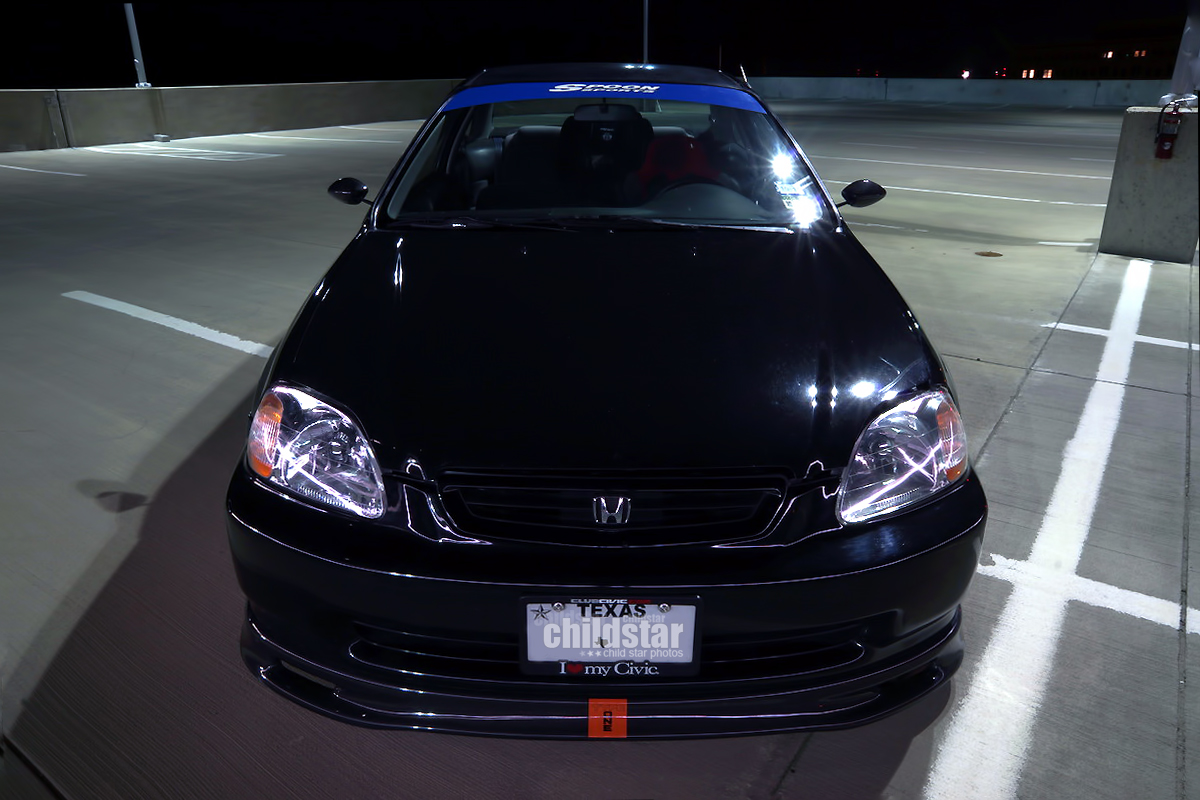
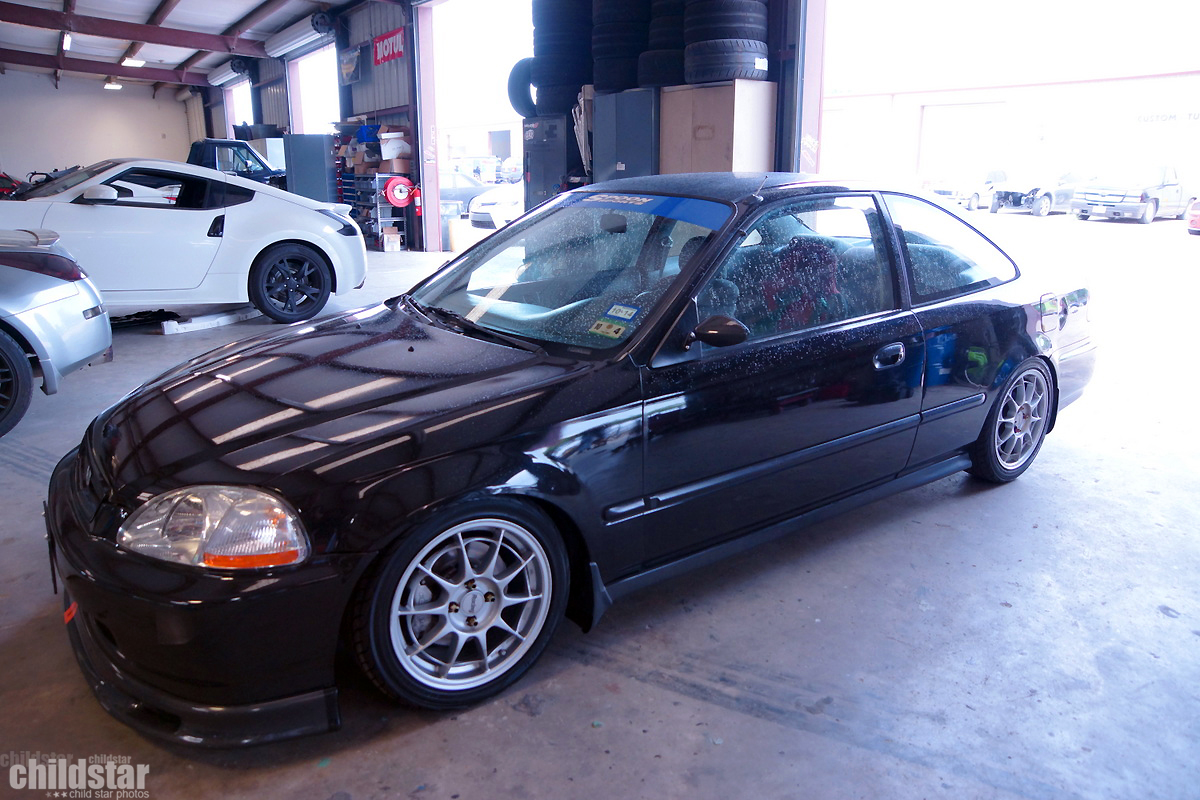
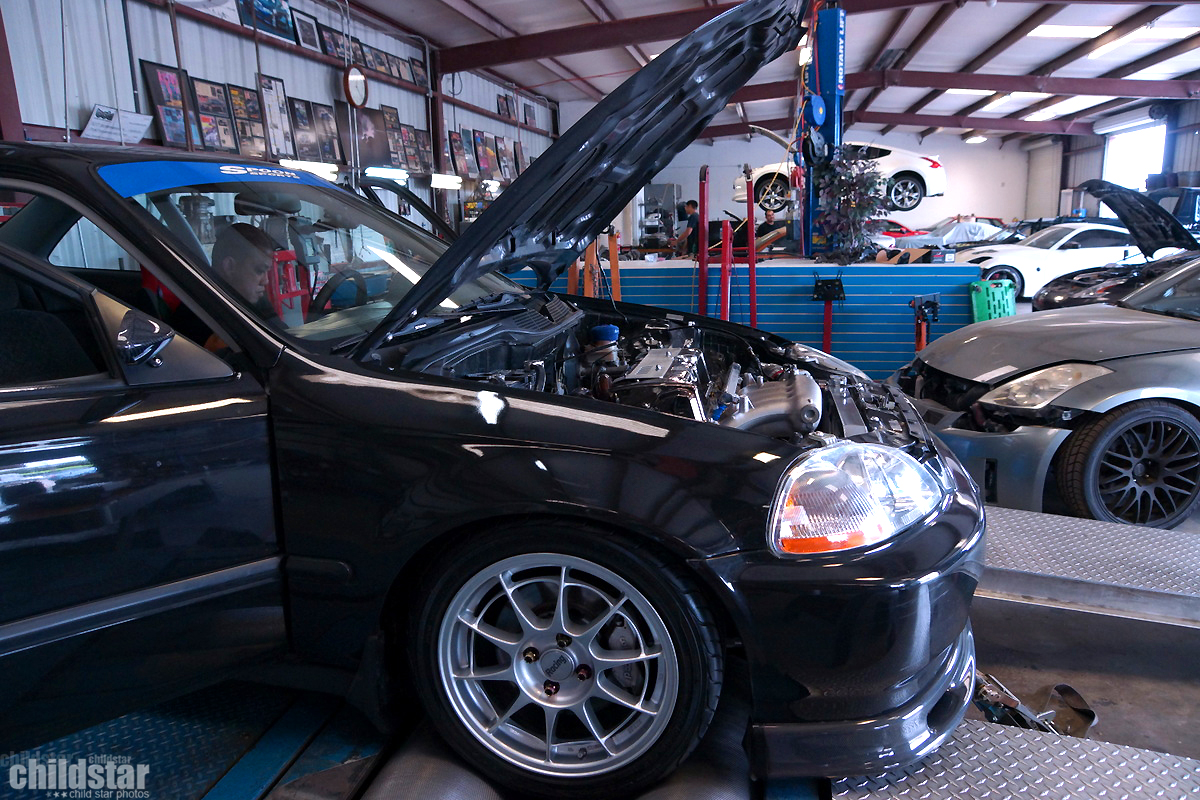
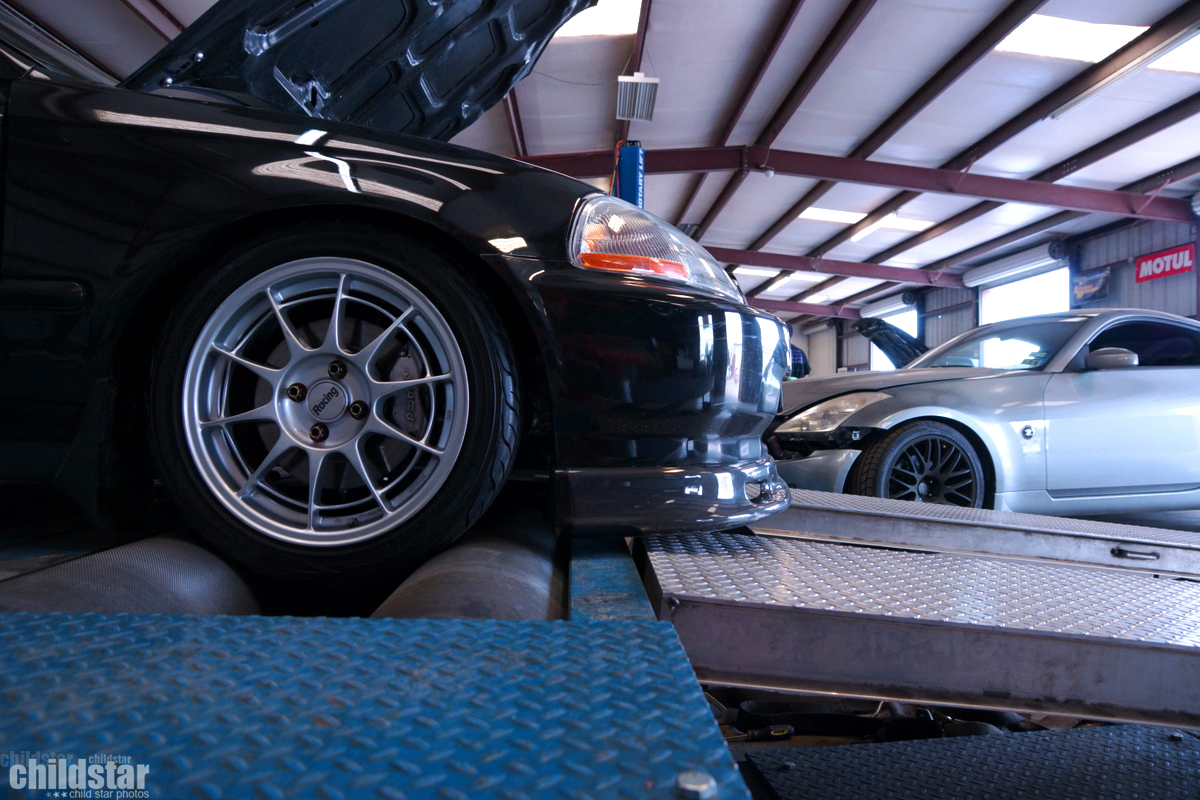
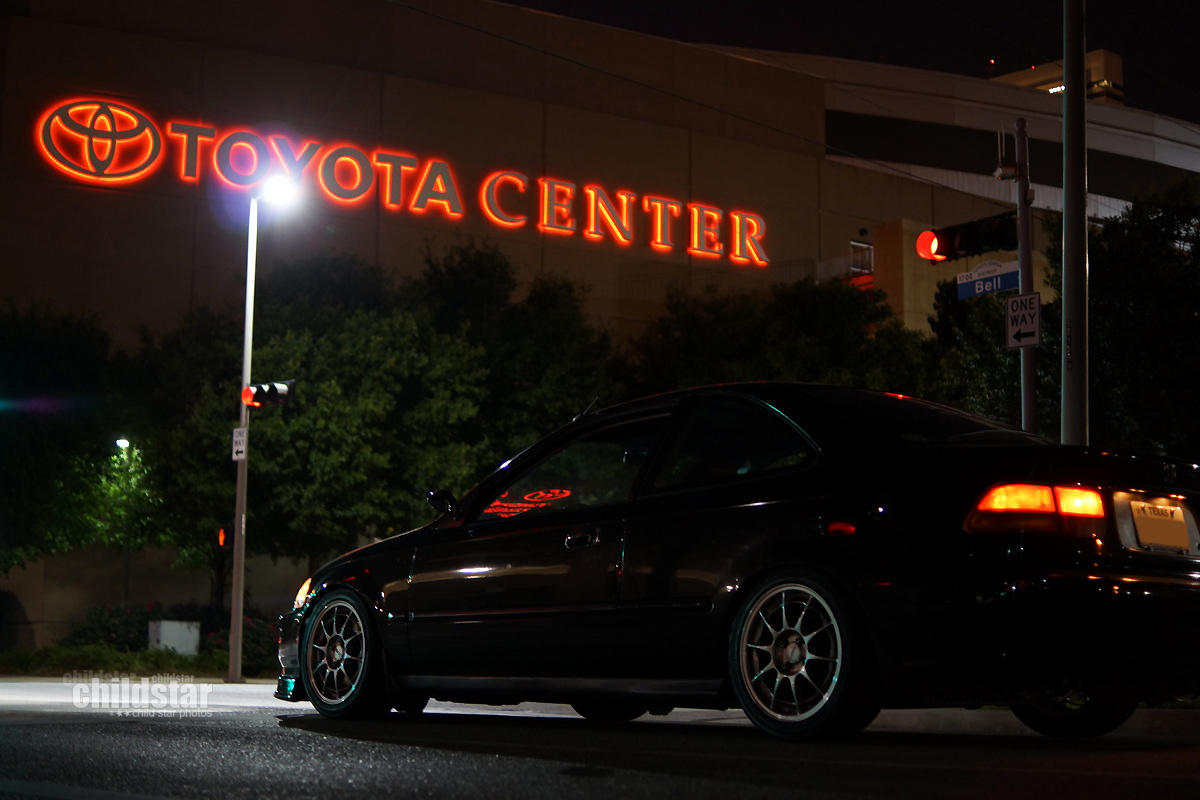
Also, something strange happened, I took a pic of the car outside of the garage lol. Also finally rerouted my brake booster line so that it doesn't slap you in the face but it'll still be connected in the same place until I switch manifolds.
Installed the k-tuned tps
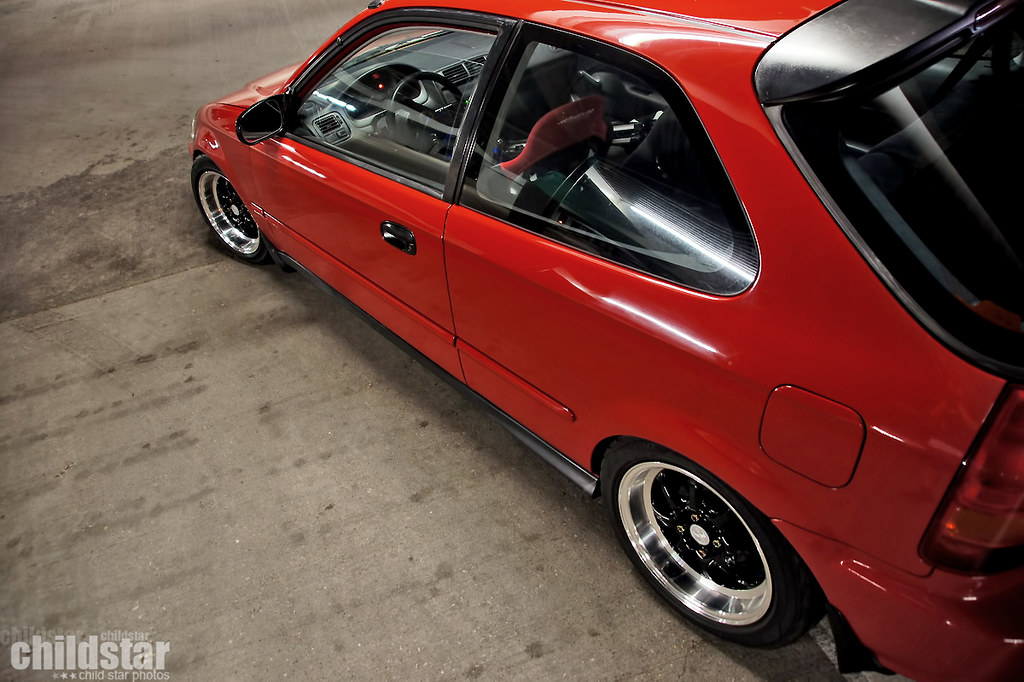
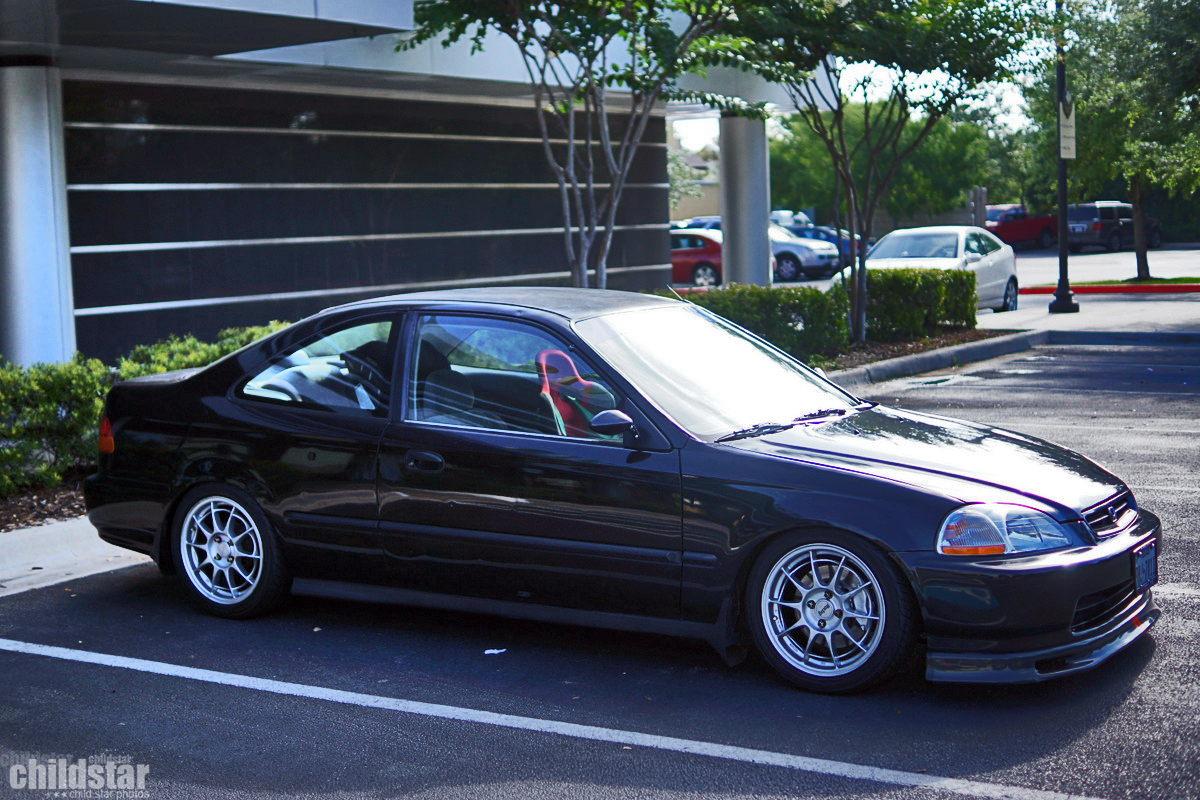
then just snapped some pics before and after a test cruise
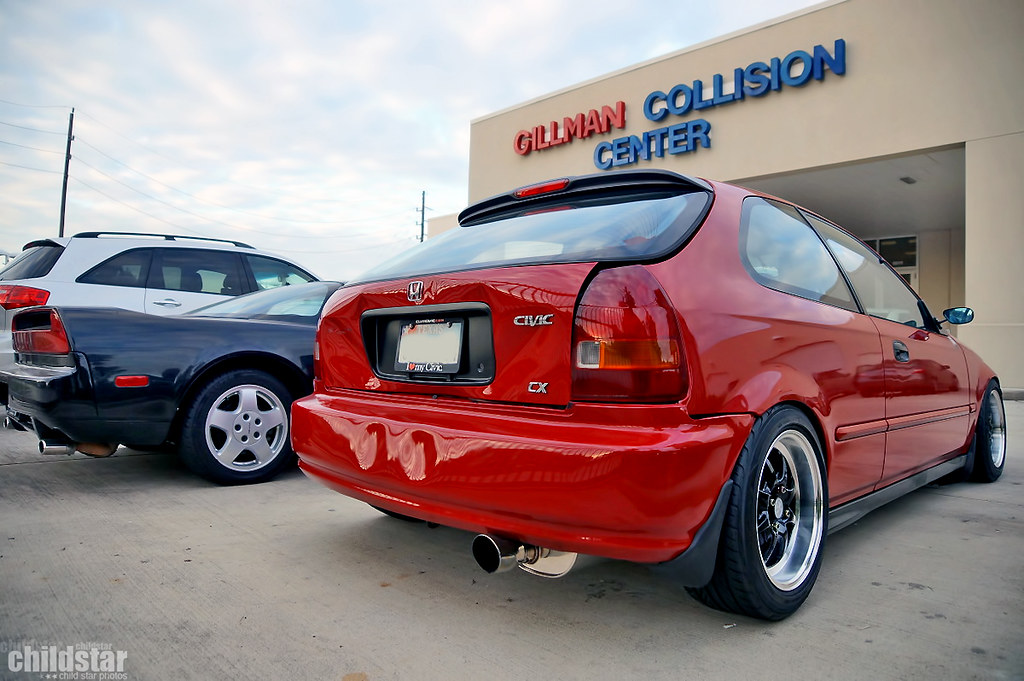
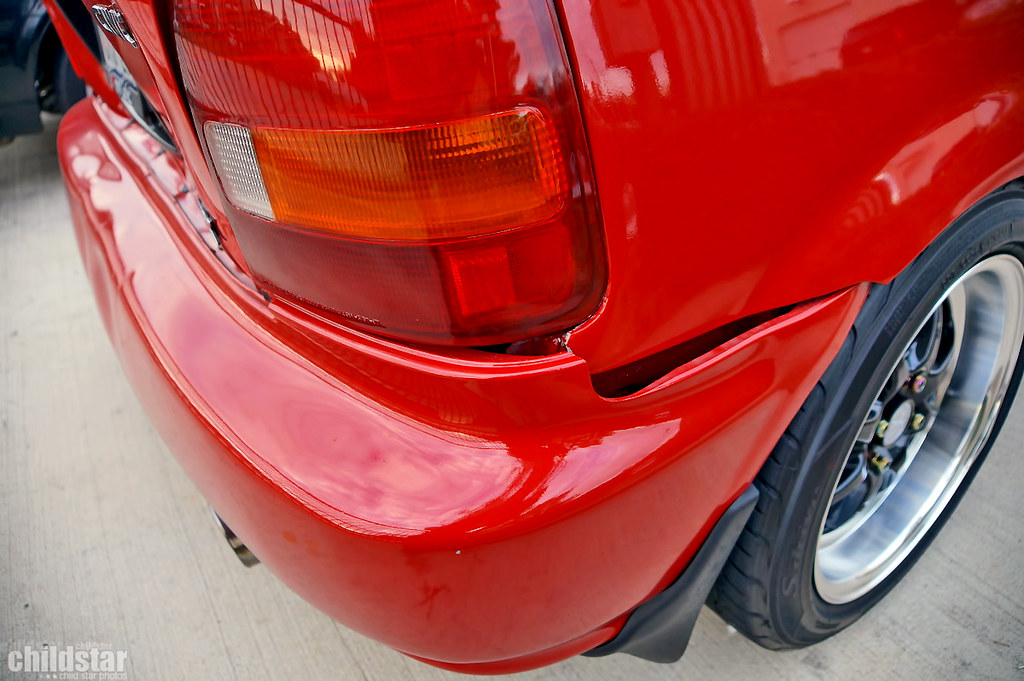
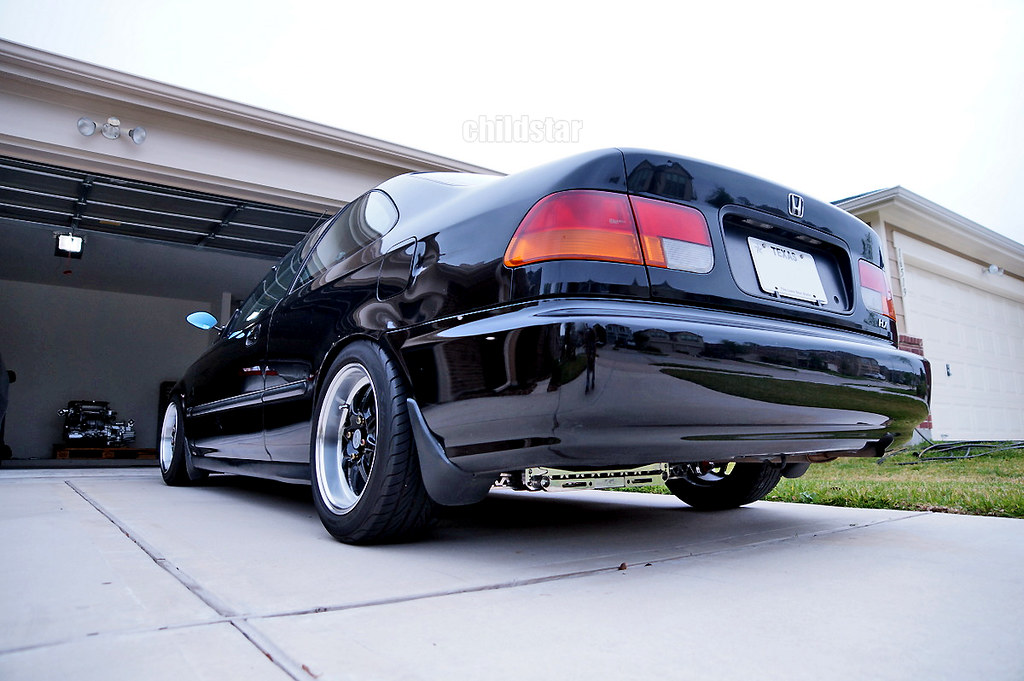
I be like, it's stock i swear, just like 93 better
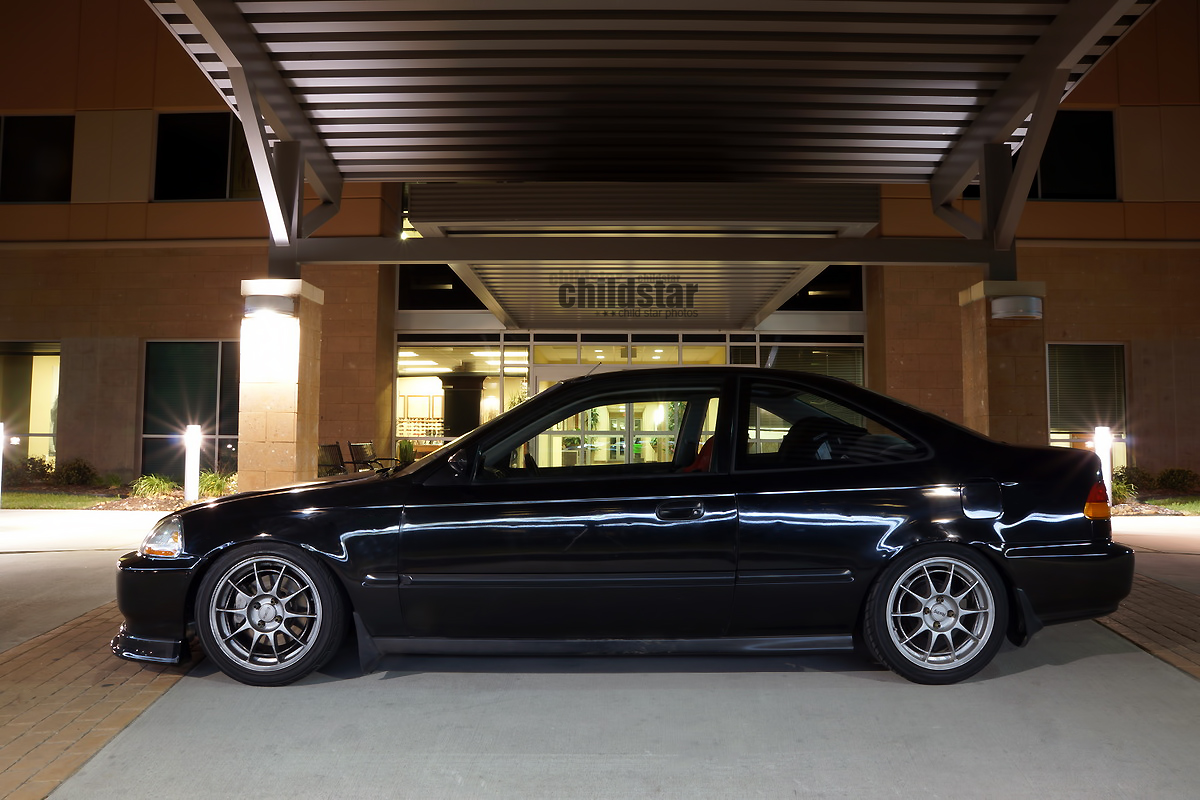
booty
old man ride height
kinda subtle and shiny at the same time

noob saibot
brake booster line
All back together! Now to get a tune or base kal that works
This might be an issue. Those rich starts ive been having did some work on my spark plugs
Instagram stirred up a few questions about exhaust clearance, ride height and the k24 on ekk2s. If you look close in the center you can see the resonator just below the subframe brace. The oil pan is higher than the resonator. My ride height is the same as where I had it with the D.
NEW PRODUCTS from K-Tuned
Stronger billet shifter arm option that also has a bit more height to it and secures your top shaft in place better with 3 allen screws.
Also, a new heavy weight shift **** using the new design.
D and B series versions are already available. K series arms and the shift **** should be available in about a week or so!
Feeling official with the K-Tuned badge slapped on.
I noticed there aren't many pics of clearances and typically just words...words are boring AF. So here's a visual.
I believe there is about an inch difference in hole height if the upper front holes were used
Here's a visual of the ground clearance. I think there's more people with an A'PEXi ws2 than K swaps so, the low hanging resonator section is perfectly even with the lowest point on my k24 steel oil pan. So if you ride around scraping your A'PEXi b pipe, a K isnt for you.
Got my new TPS, thanks K-tuned. This thing even feels beefy compared to my current unit.
Decided to switch from a heavy **** to a light one for awhile.
Also, something strange happened, I took a pic of the car outside of the garage lol. Also finally rerouted my brake booster line so that it doesn't slap you in the face but it'll still be connected in the same place until I switch manifolds.
Installed the k-tuned tps
then just snapped some pics before and after a test cruise
I be like, it's stock i swear, just like 93 better
booty
old man ride height
kinda subtle and shiny at the same time
noob saibot
05-10-2016, 01:14 AM
#24
Honda-Tech Member
Thread Starter
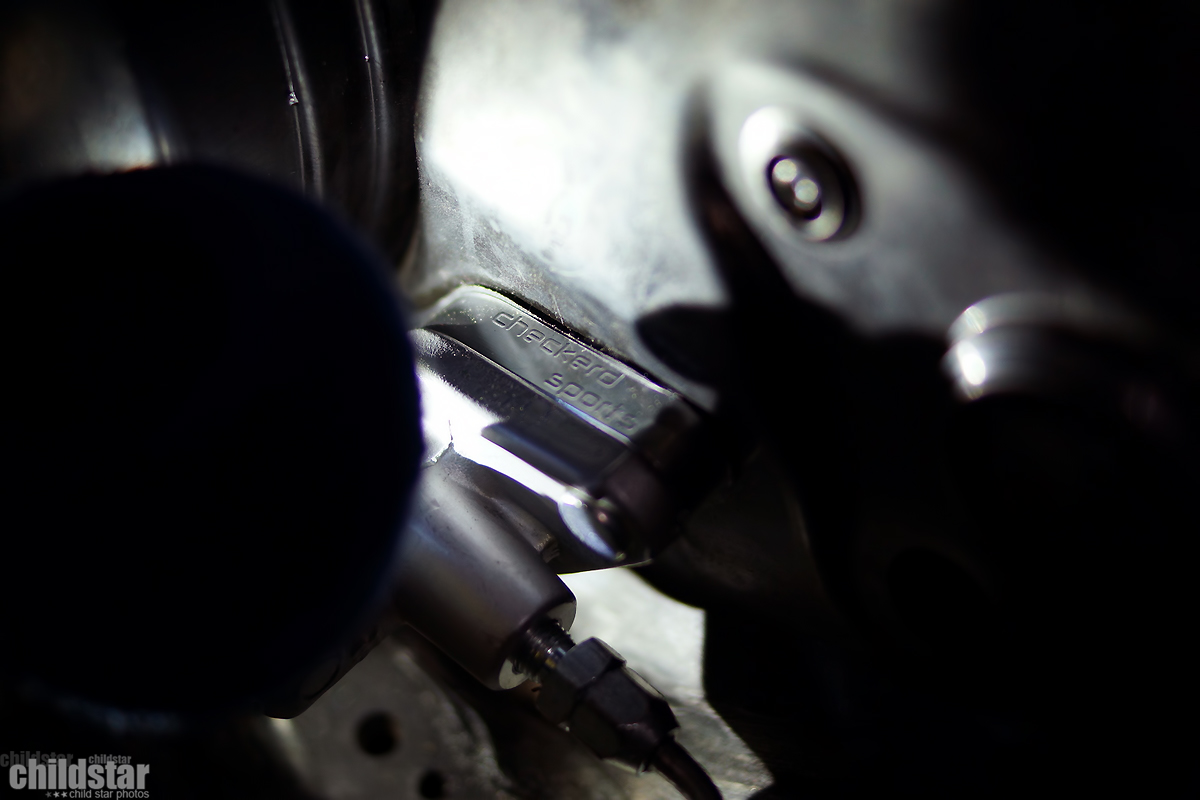
Picked up a s2000 cmc and checkerd sports spacer

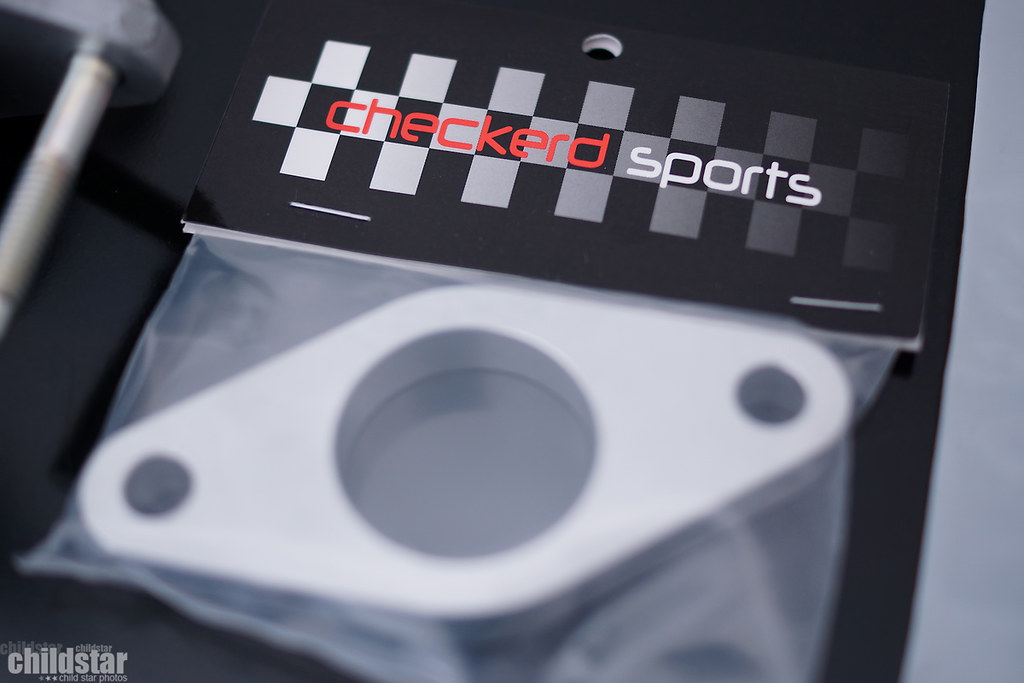
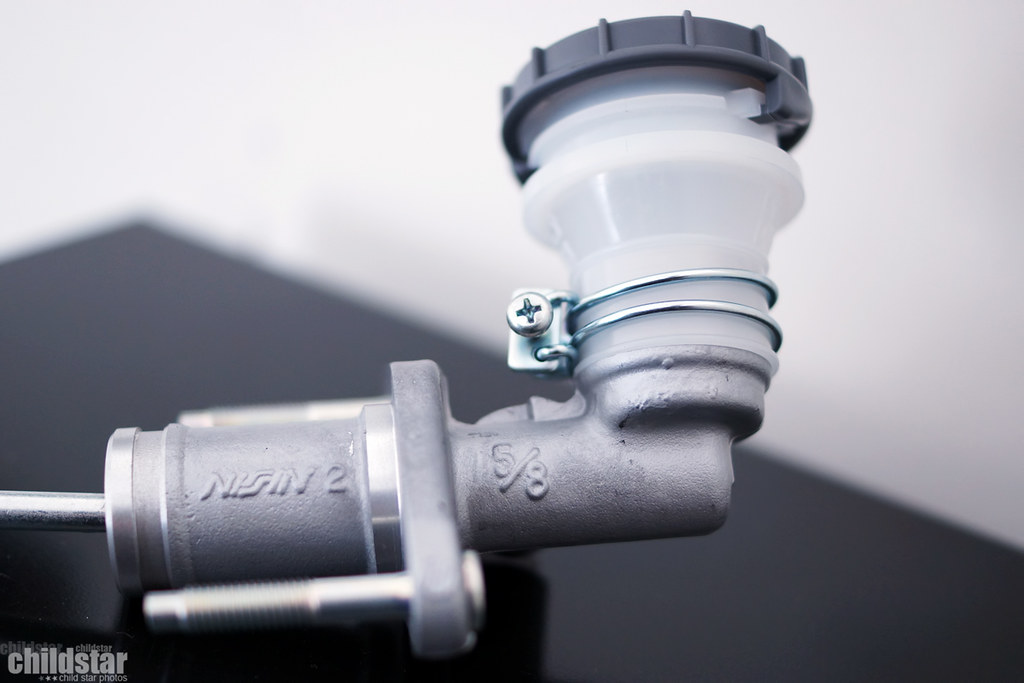
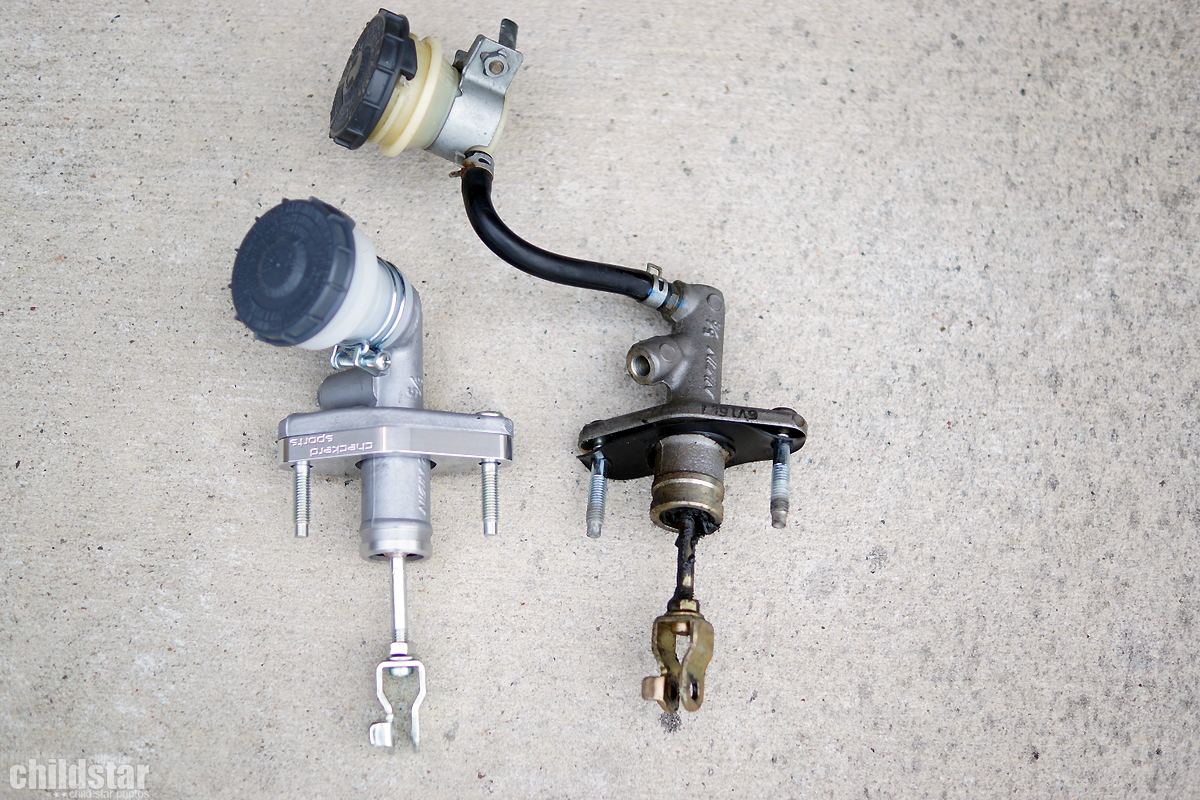
The stock cmc looks yummy
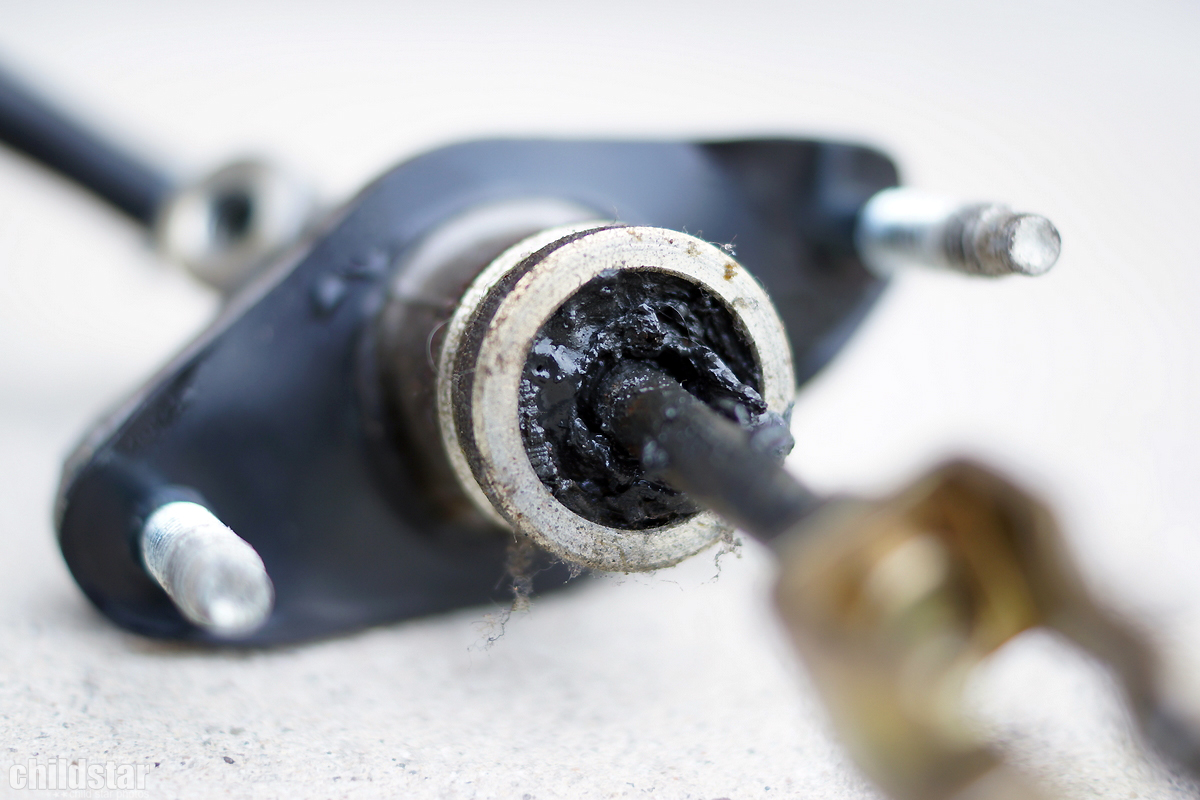
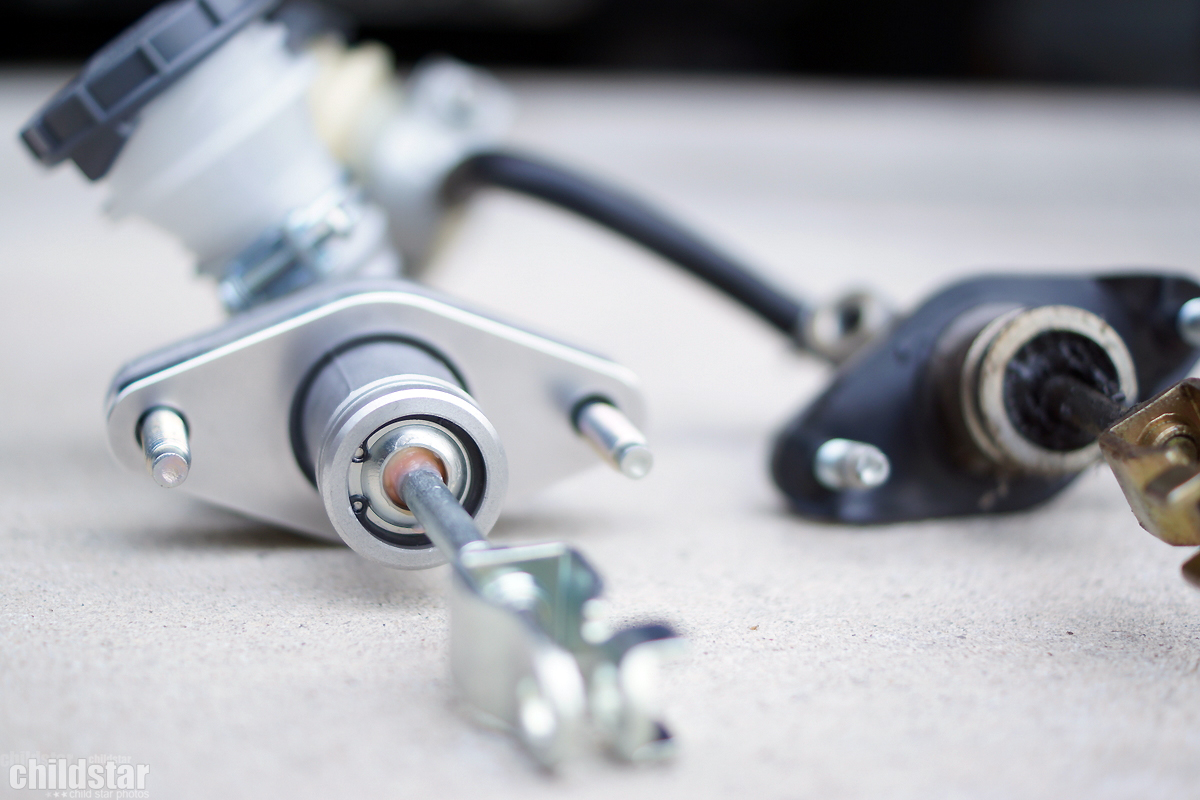
Midway...

Raw billet aluminum...had to polish it lol
Got dark as I finished up and I was too lazy to take a decent pic
Did some light painting, why, because photographer

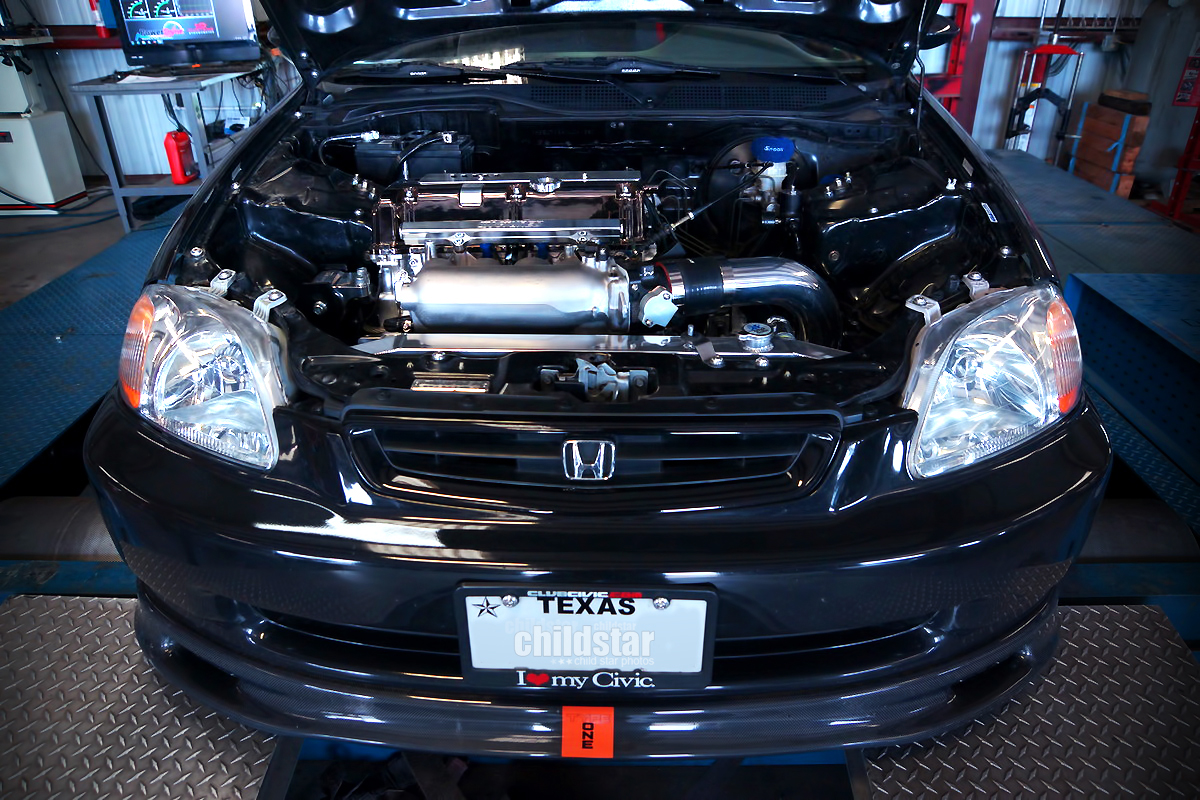
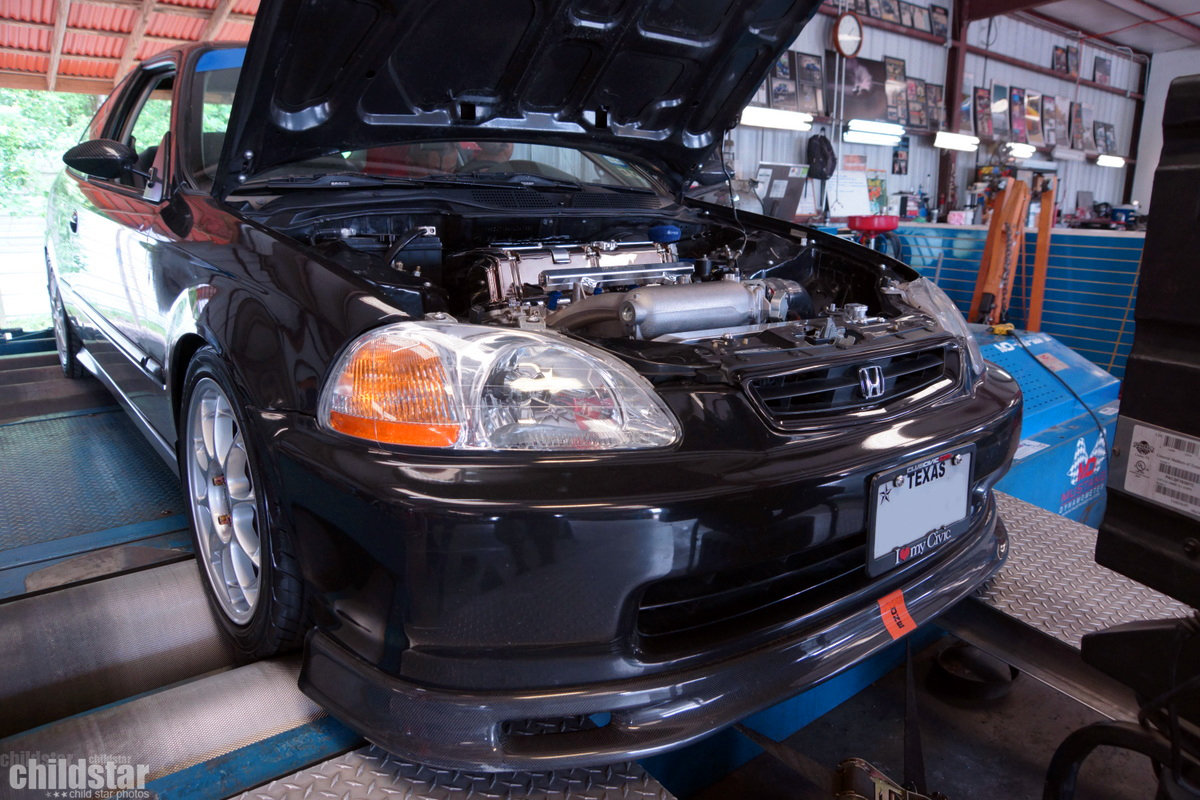
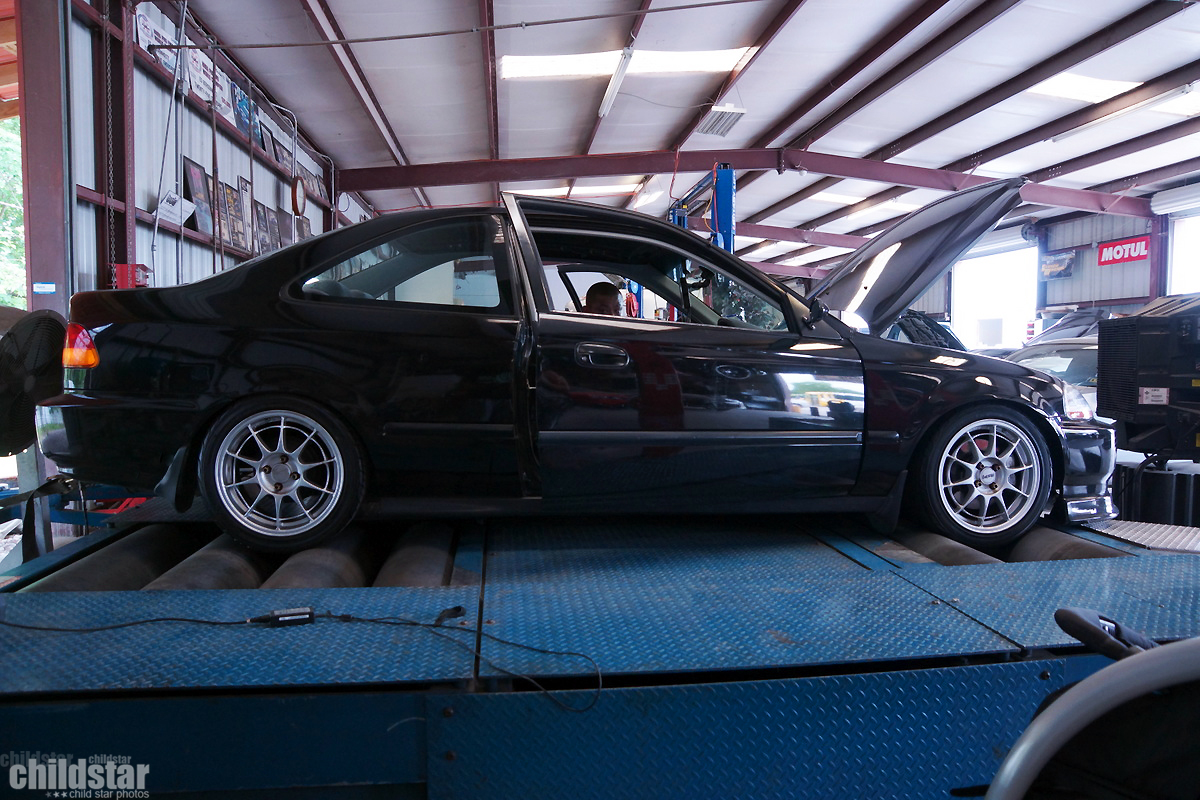
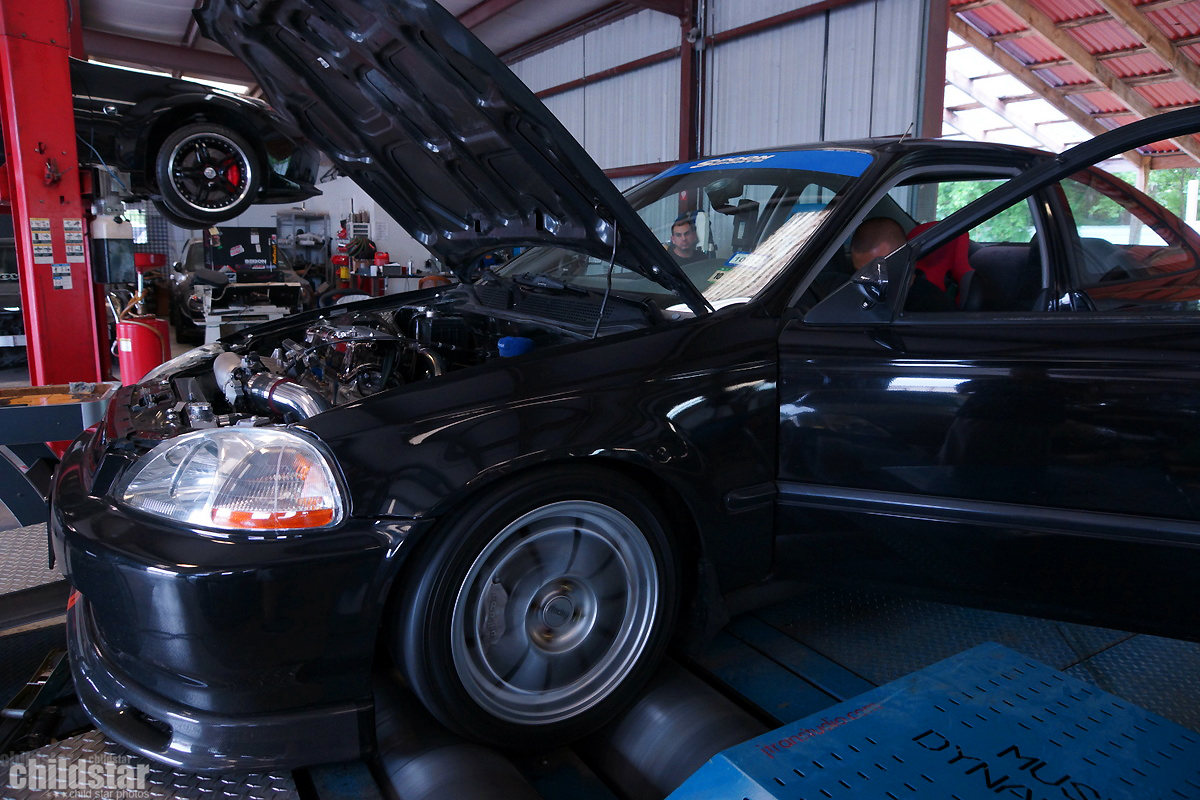
Showed up at JTran Studios for my tune nervous as hell just from wondering what my little engine might do on the rollers
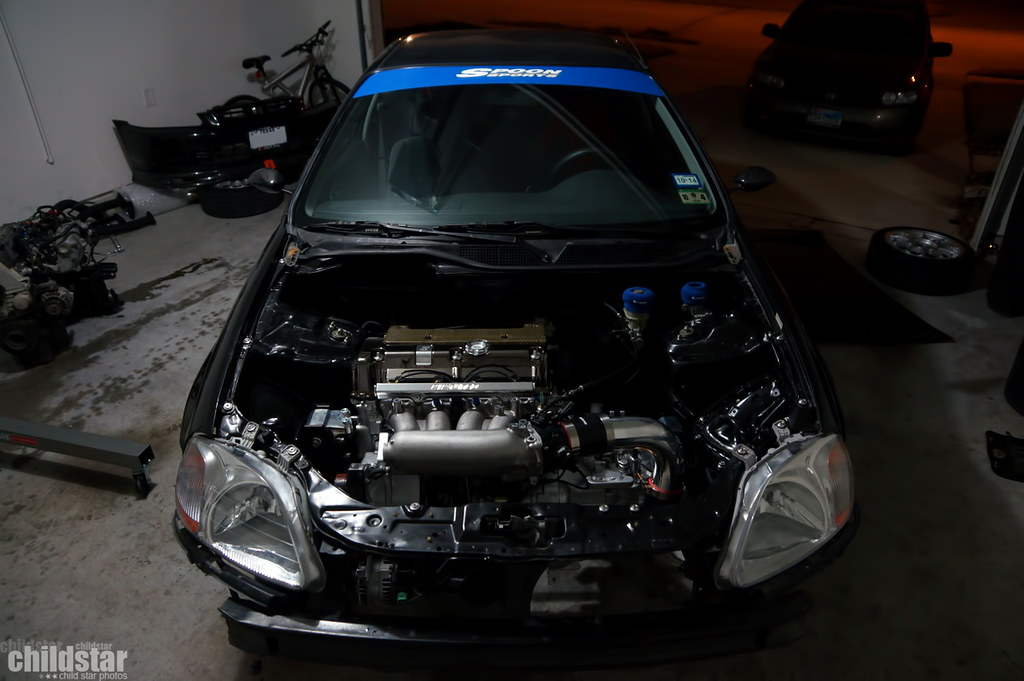
But before I could get that far, the front end needed to be raised up a bit so that the oil pan can clear the dyno. K swap problems lol
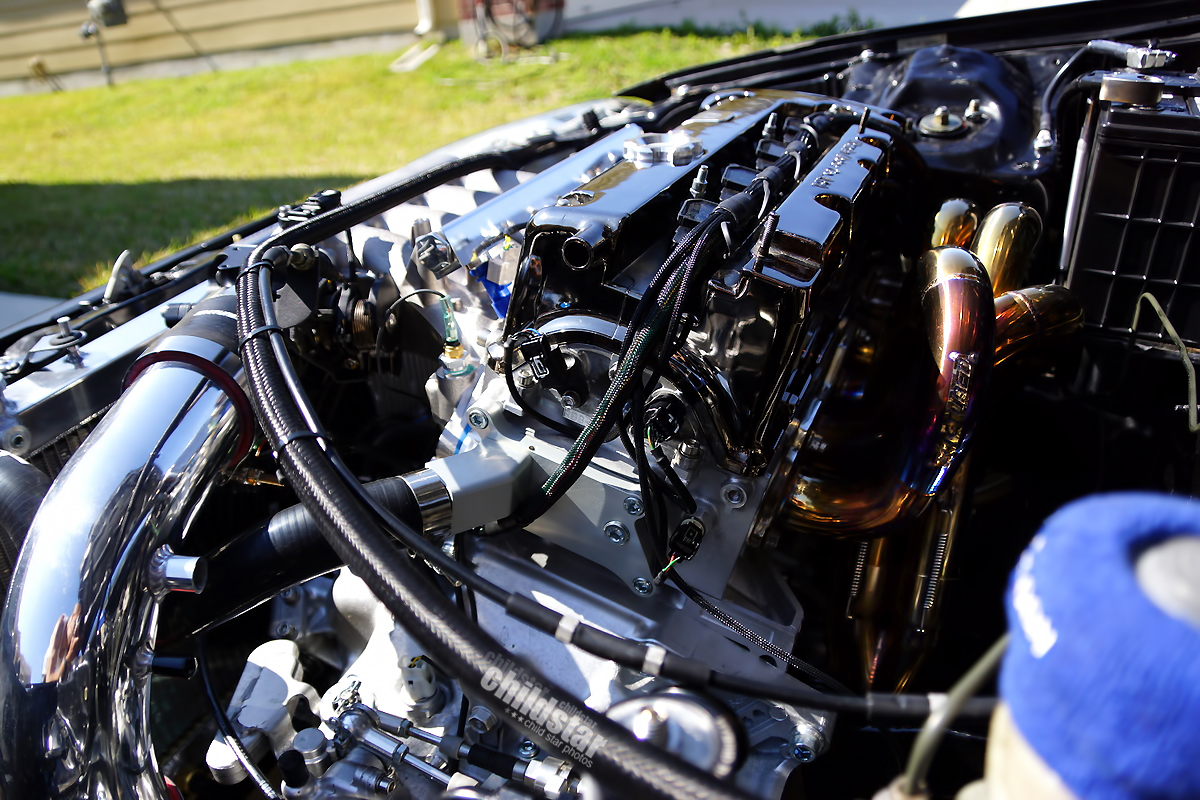
Honda civic lift kit installed
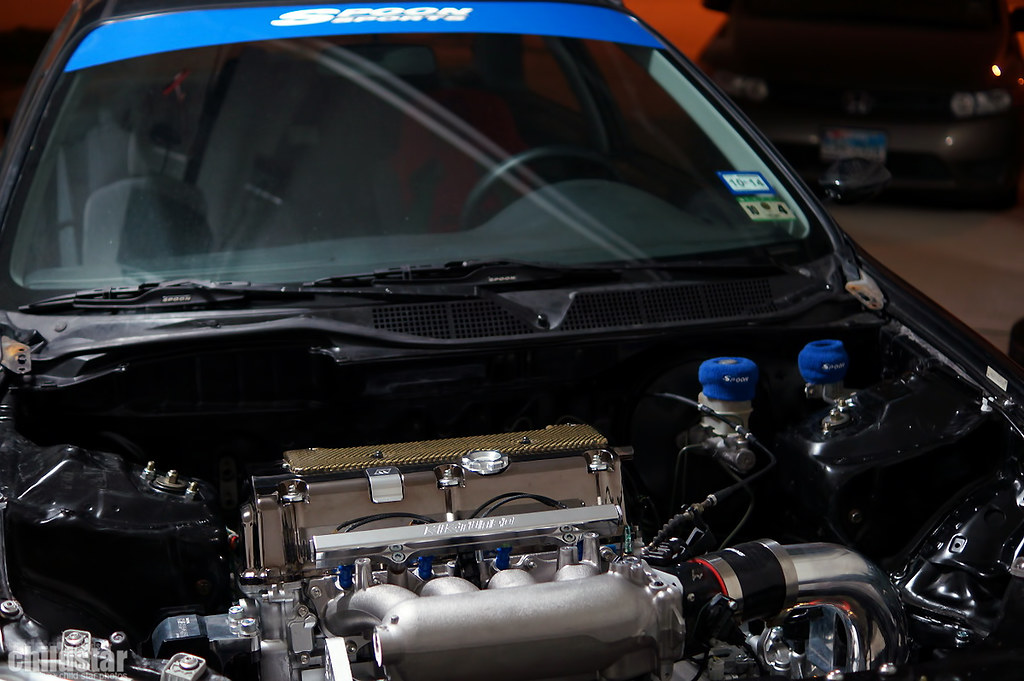
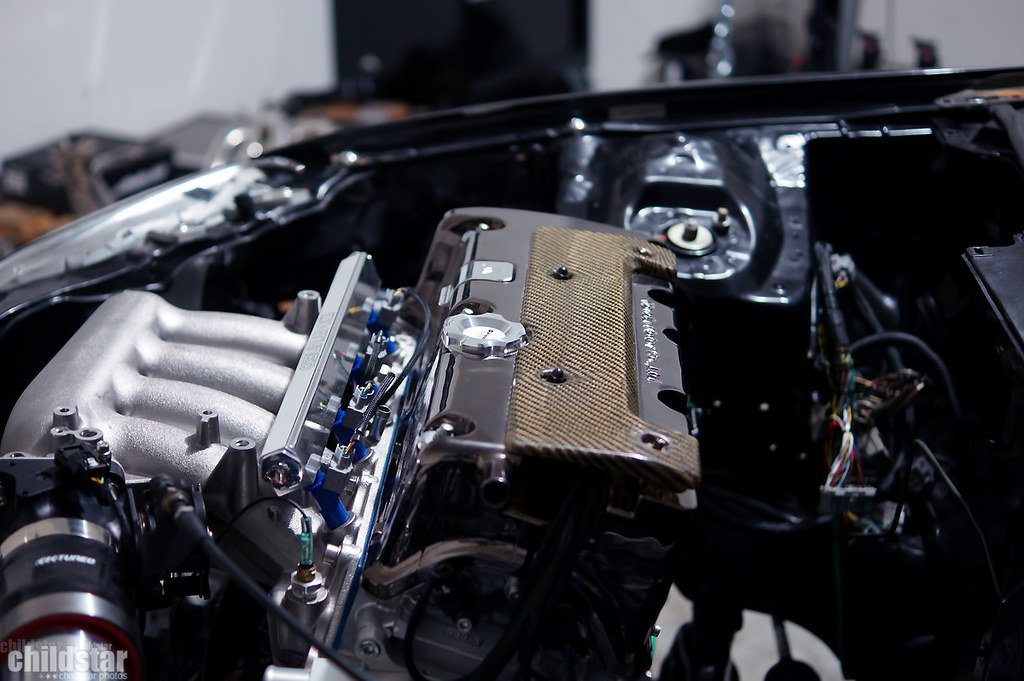
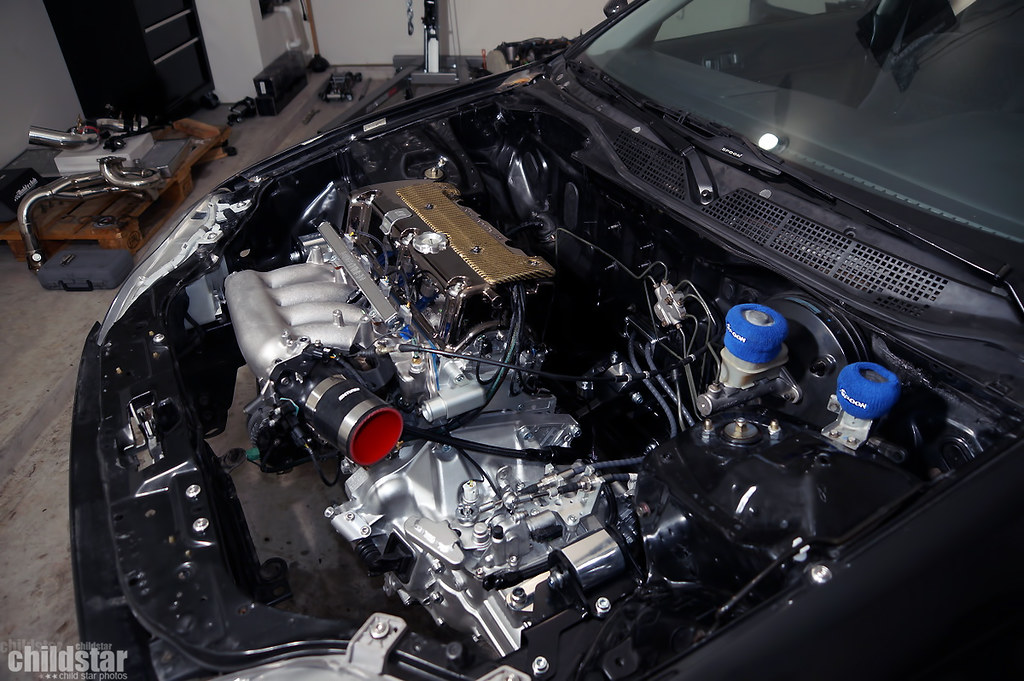
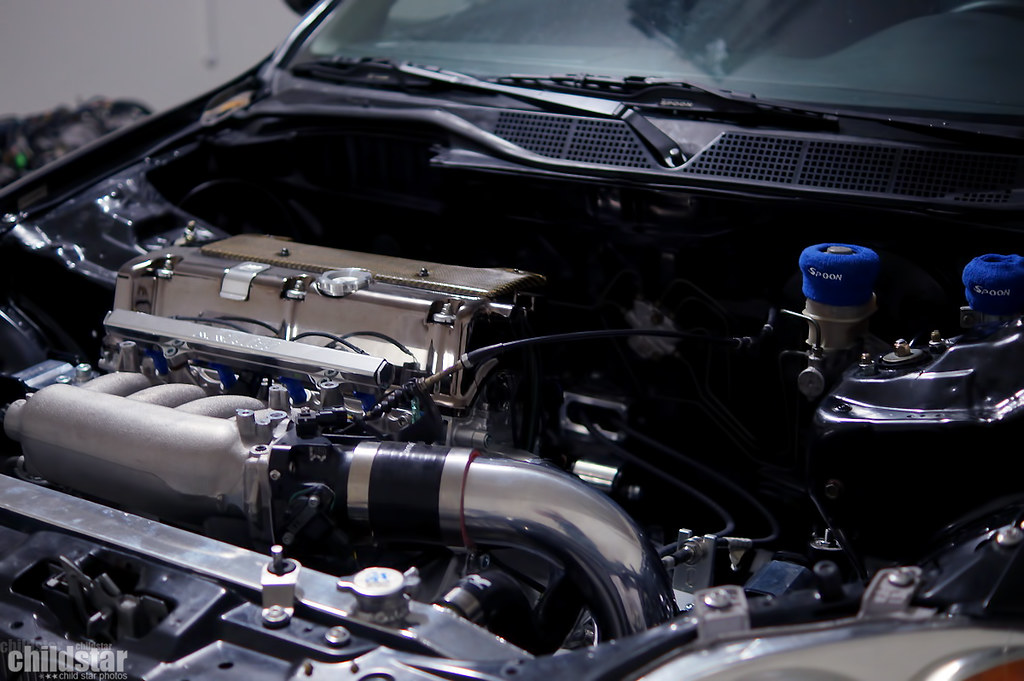
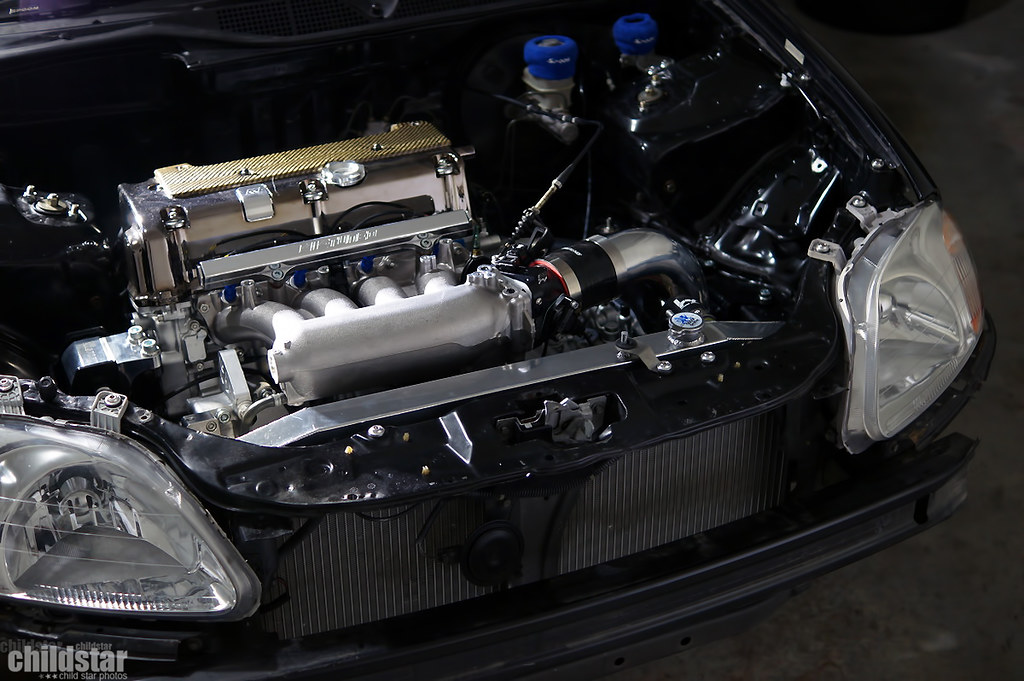
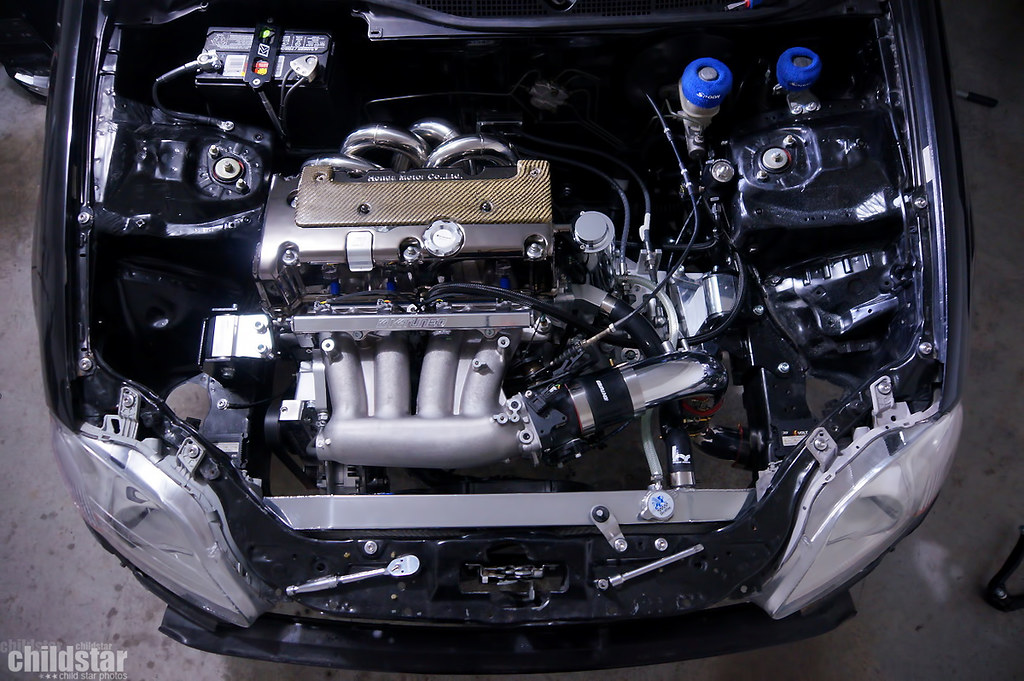
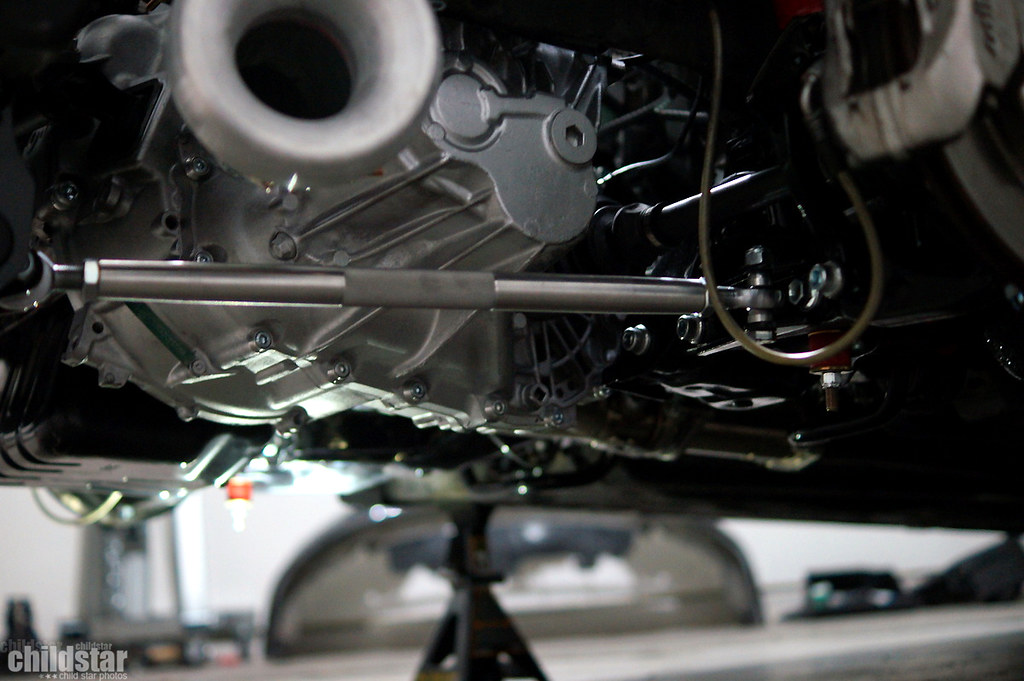
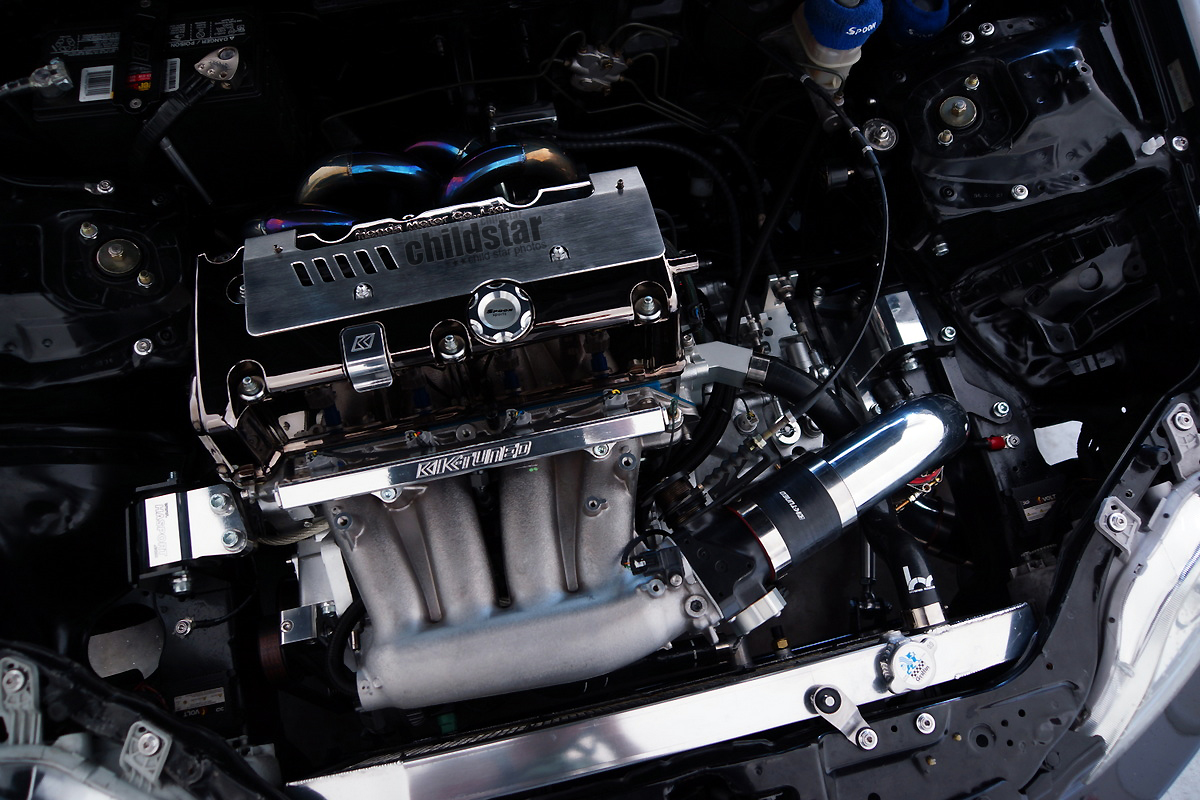
J Tran exposing the K24

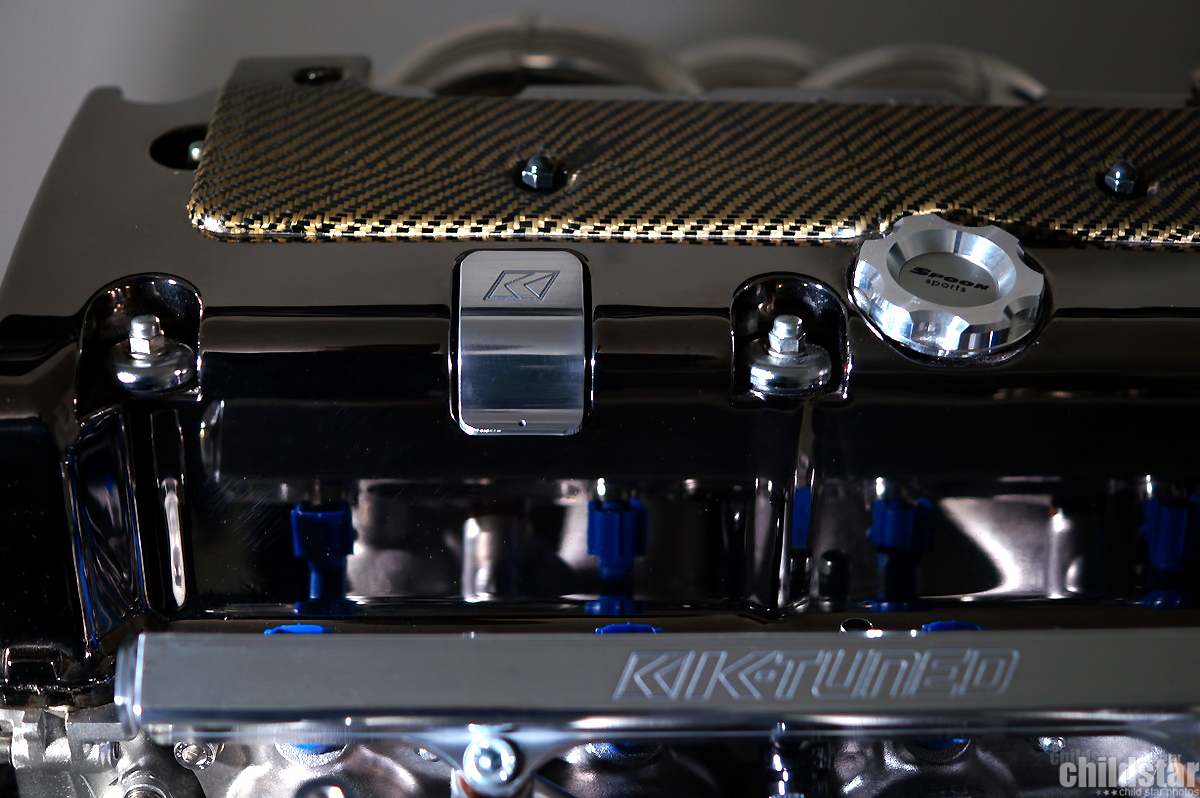
Nothing new...except the coil pack cover
stream of useless and uninformative photos

Thank goodness for raising the car
Sorting out some of the wackiness from my original .kal I was using
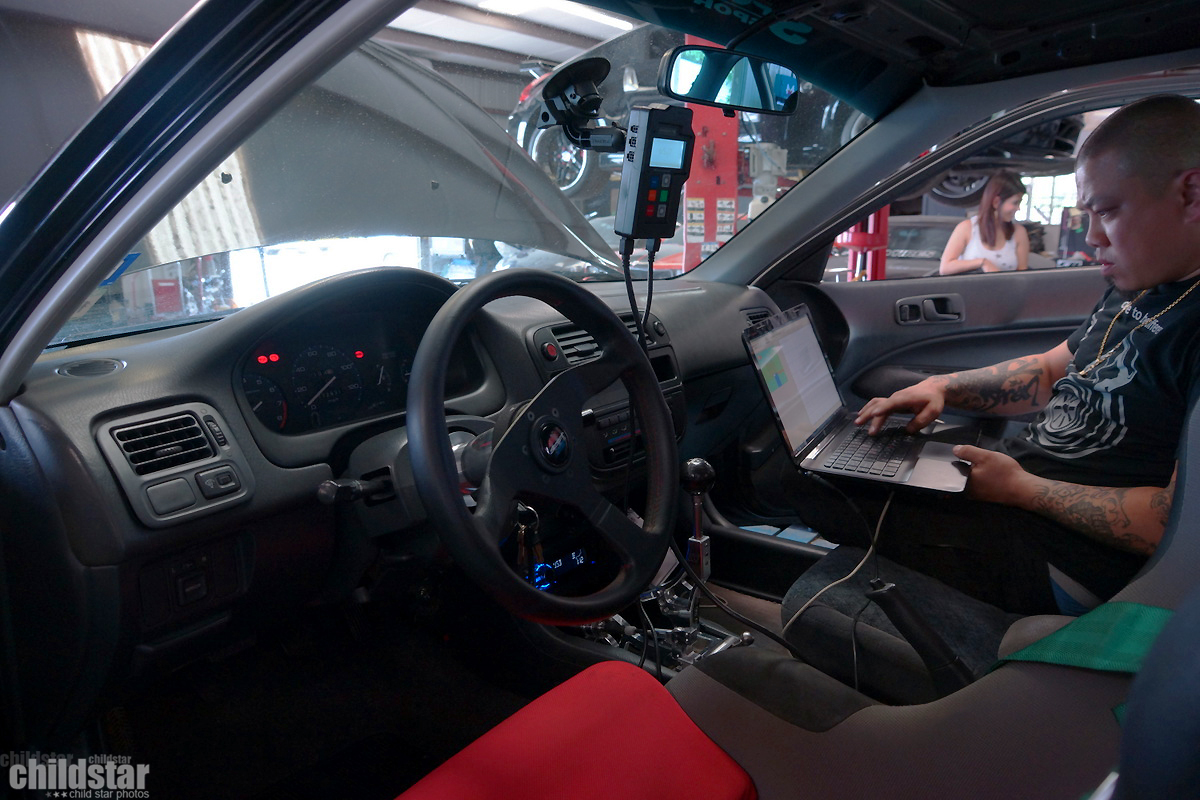

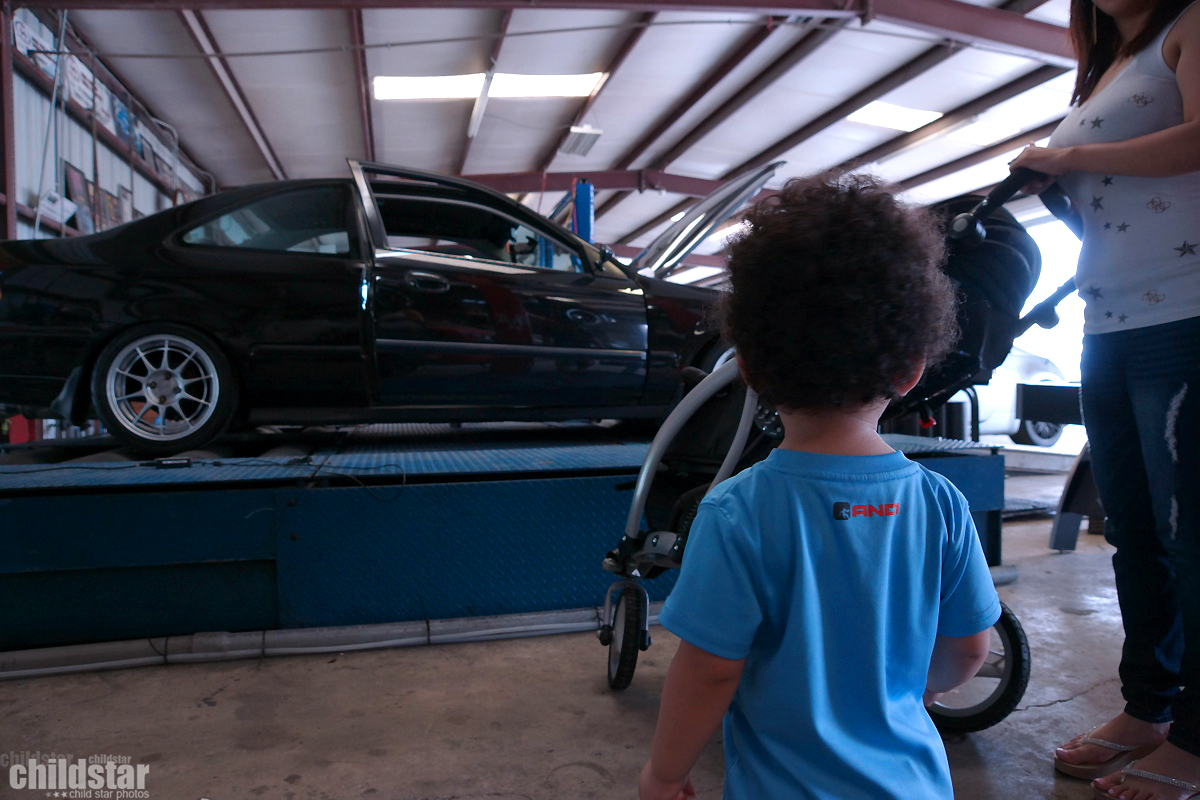
The wife showed up with my son to check out how the tune was going. Gotta love family events

what else do you between pulls with a camera around your neck...take pics of the same stuff
My son makes a revving sound EVERY single time he hears a car rev haha. It's hilarious and awesome at the same damn time.
The silent treatment. So glad I went with this exhaust. It's downfall doesn't outweigh the benefits IMO

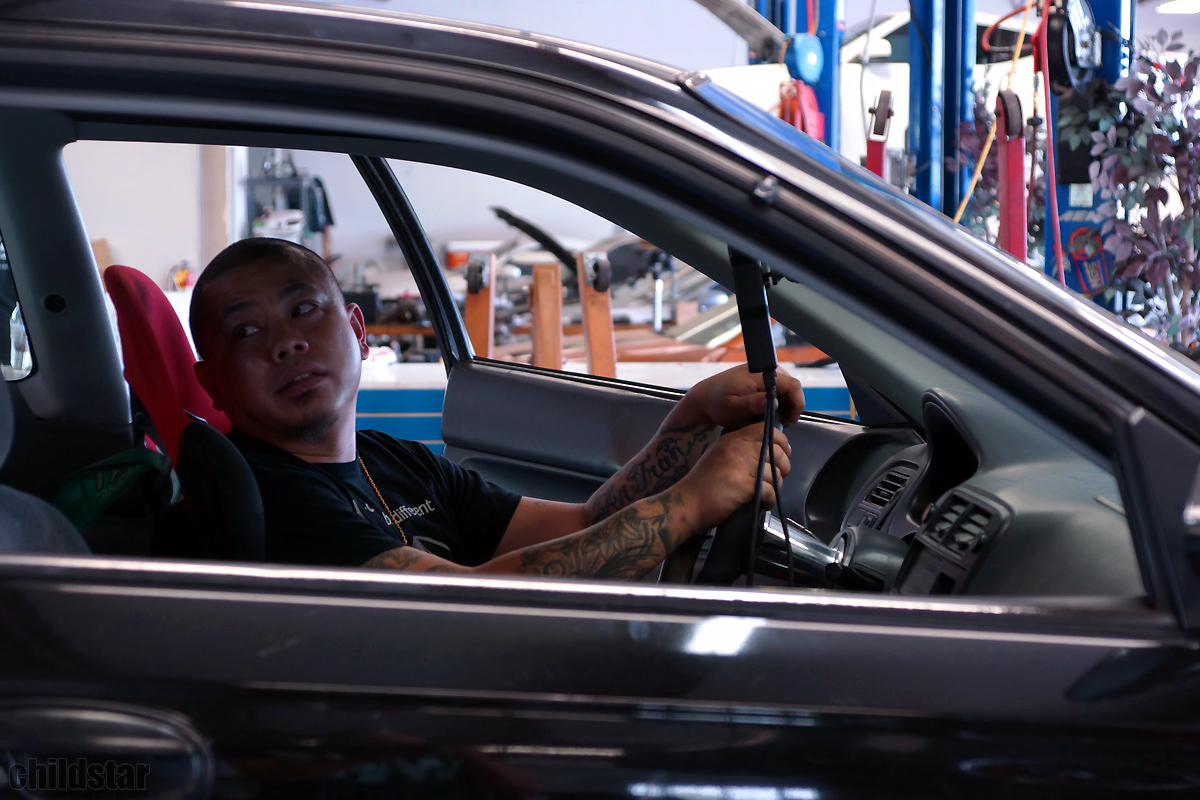
Johnny getting some feedback from his employee
This is just a compile of the last few runs with partial throttle tuning knocked out as well.
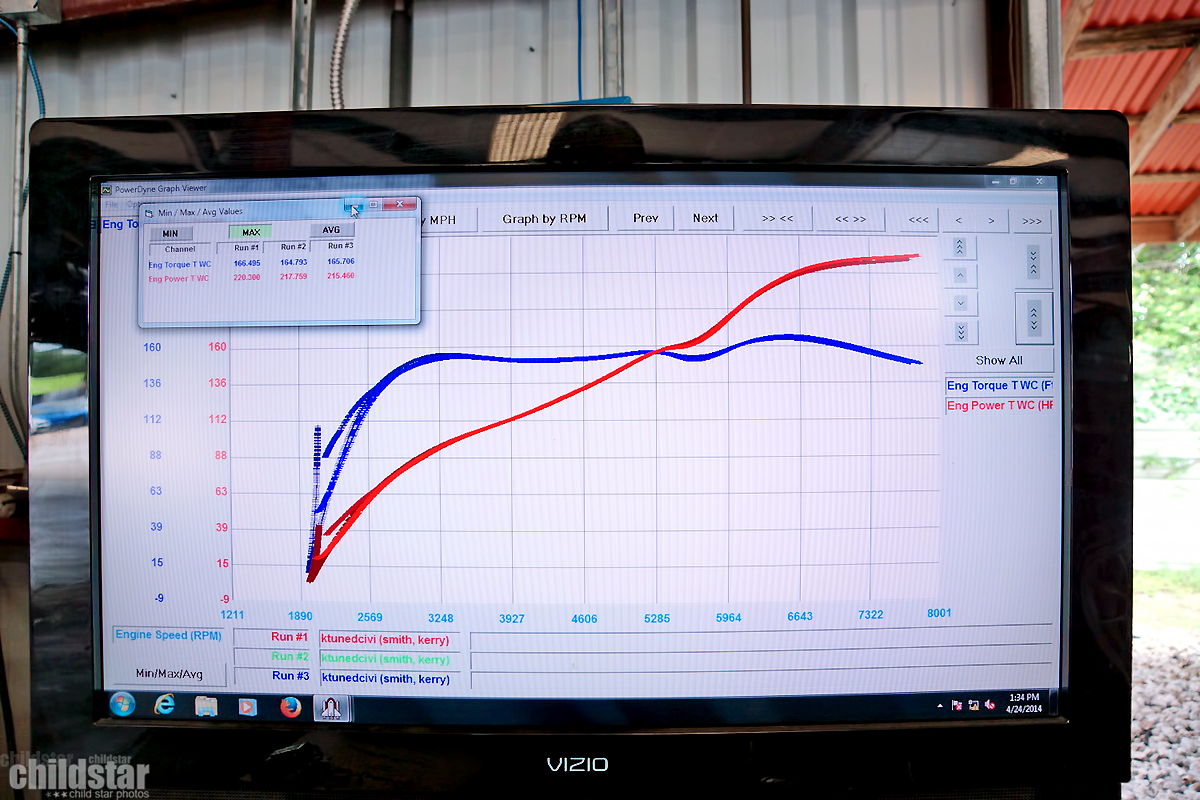
I didn't get a shot of pulls before this but this shows a piece of the most informative point of the day regarding my restrictive and quiet exhaust. I started watching when we did pulls redlining at 7200rpm, 7400rpm (pictured below), 7800rpm, and then an 8000rpm pull. Peak TQ stuck around 164tq-167tq on each consecutive pull and was around 6500-6600rpm. Peak power on the other hand, was always at the stopping point (set redline) on every pull. The power surprised me since I have the RBB head and seeing all the CFM data on it, i figured it would taper off in the mid 7000's at best. It seems that my setup is pretty efficient besides the catback exhaust which is an obvious bottleneck. Although comparing different people's dyno results should be taken with a grain of salt, a very similar TSX swap running open header put down 205/142 both at 7600rpm on the same dyno with the same tuner. Still could be tons of other things, but I assumed my subtle setup wouldn't be near this particular setup. I didn't catch the baseline pull, but the lowest I saw for my tune was a 205whp @ 7200rpm, so there was still a pretty significant improvement through tuning.
My best numbers on the day. I'm very satisfied. Car is even more quiet and smooth now throughout the rev range and it MOVES now!
The run following this best pull, actually showed more improvement but the gains were getting smaller and not worth the risk of extra revs on the stock oil pump.
The stock cmc looks yummy
Midway...
Raw billet aluminum...had to polish it lol
Got dark as I finished up and I was too lazy to take a decent pic
Did some light painting, why, because photographer
Showed up at JTran Studios for my tune nervous as hell just from wondering what my little engine might do on the rollers
But before I could get that far, the front end needed to be raised up a bit so that the oil pan can clear the dyno. K swap problems lol
Honda civic lift kit installed
J Tran exposing the K24
Nothing new...except the coil pack cover
stream of useless and uninformative photos
Thank goodness for raising the car
Sorting out some of the wackiness from my original .kal I was using
The wife showed up with my son to check out how the tune was going. Gotta love family events
what else do you between pulls with a camera around your neck...take pics of the same stuff
My son makes a revving sound EVERY single time he hears a car rev haha. It's hilarious and awesome at the same damn time.
The silent treatment. So glad I went with this exhaust. It's downfall doesn't outweigh the benefits IMO
Johnny getting some feedback from his employee
This is just a compile of the last few runs with partial throttle tuning knocked out as well.
I didn't get a shot of pulls before this but this shows a piece of the most informative point of the day regarding my restrictive and quiet exhaust. I started watching when we did pulls redlining at 7200rpm, 7400rpm (pictured below), 7800rpm, and then an 8000rpm pull. Peak TQ stuck around 164tq-167tq on each consecutive pull and was around 6500-6600rpm. Peak power on the other hand, was always at the stopping point (set redline) on every pull. The power surprised me since I have the RBB head and seeing all the CFM data on it, i figured it would taper off in the mid 7000's at best. It seems that my setup is pretty efficient besides the catback exhaust which is an obvious bottleneck. Although comparing different people's dyno results should be taken with a grain of salt, a very similar TSX swap running open header put down 205/142 both at 7600rpm on the same dyno with the same tuner. Still could be tons of other things, but I assumed my subtle setup wouldn't be near this particular setup. I didn't catch the baseline pull, but the lowest I saw for my tune was a 205whp @ 7200rpm, so there was still a pretty significant improvement through tuning.

My best numbers on the day. I'm very satisfied. Car is even more quiet and smooth now throughout the rev range and it MOVES now!

The run following this best pull, actually showed more improvement but the gains were getting smaller and not worth the risk of extra revs on the stock oil pump.
05-10-2016, 01:27 AM
#25
Honda-Tech Member
Thread Starter
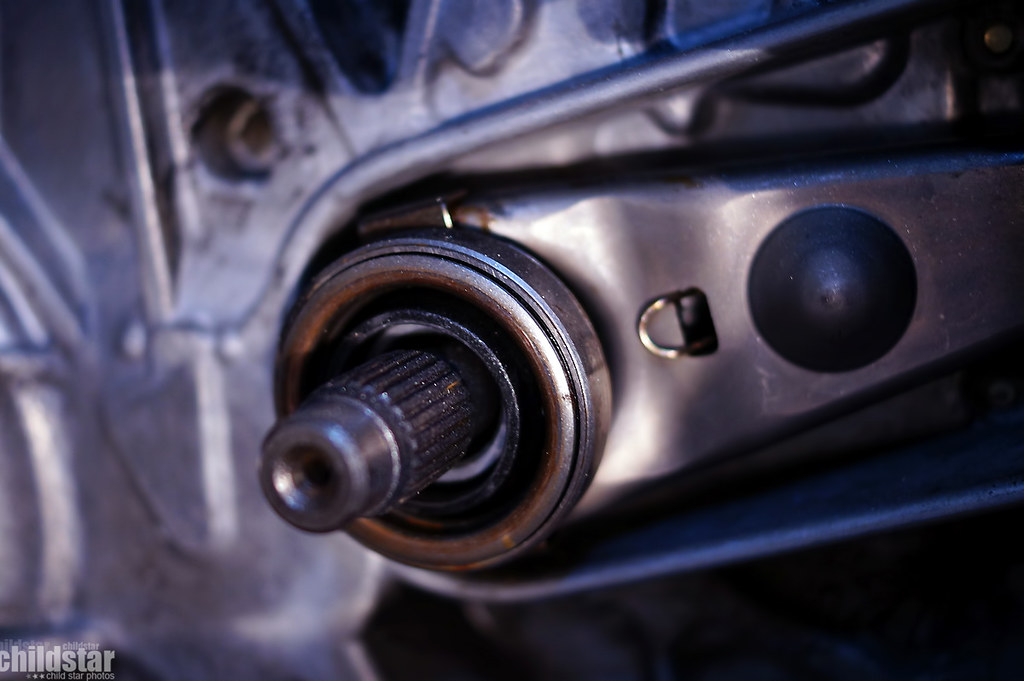
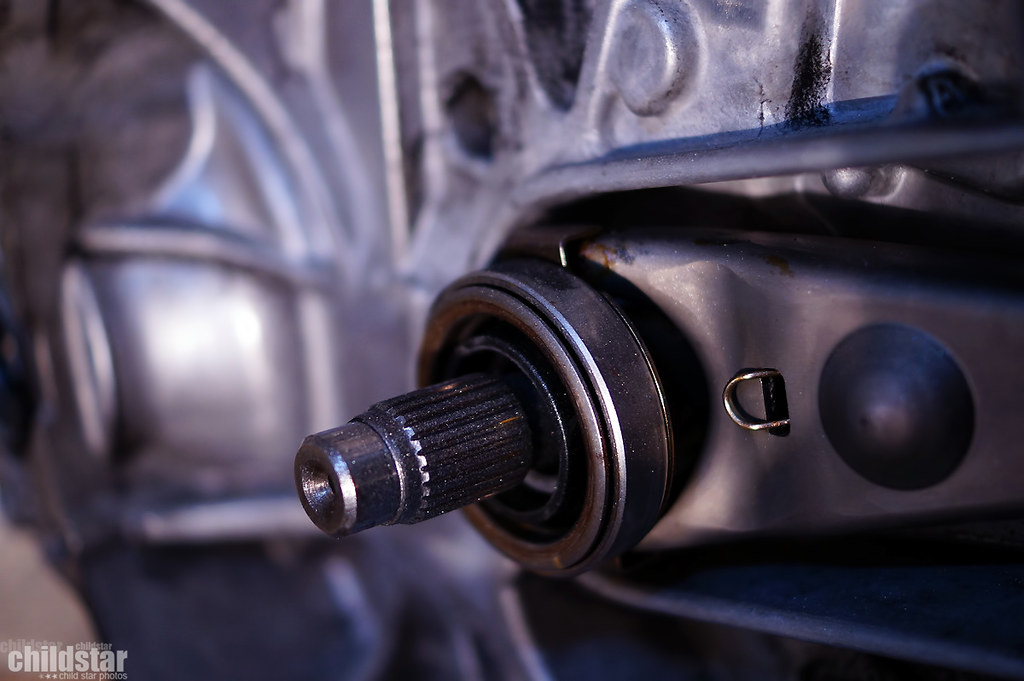
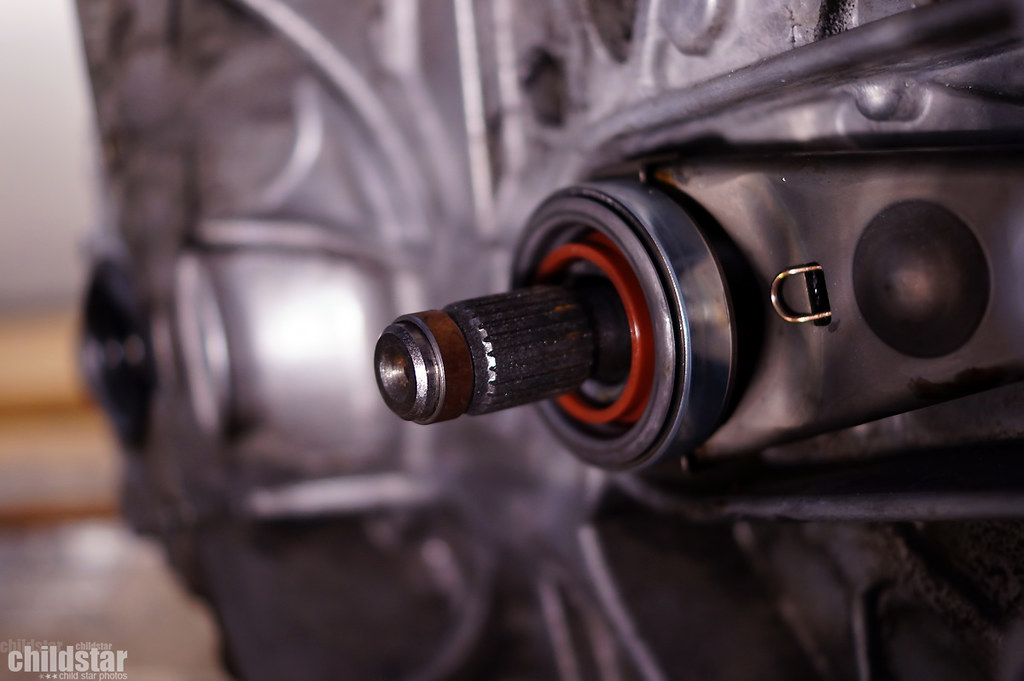
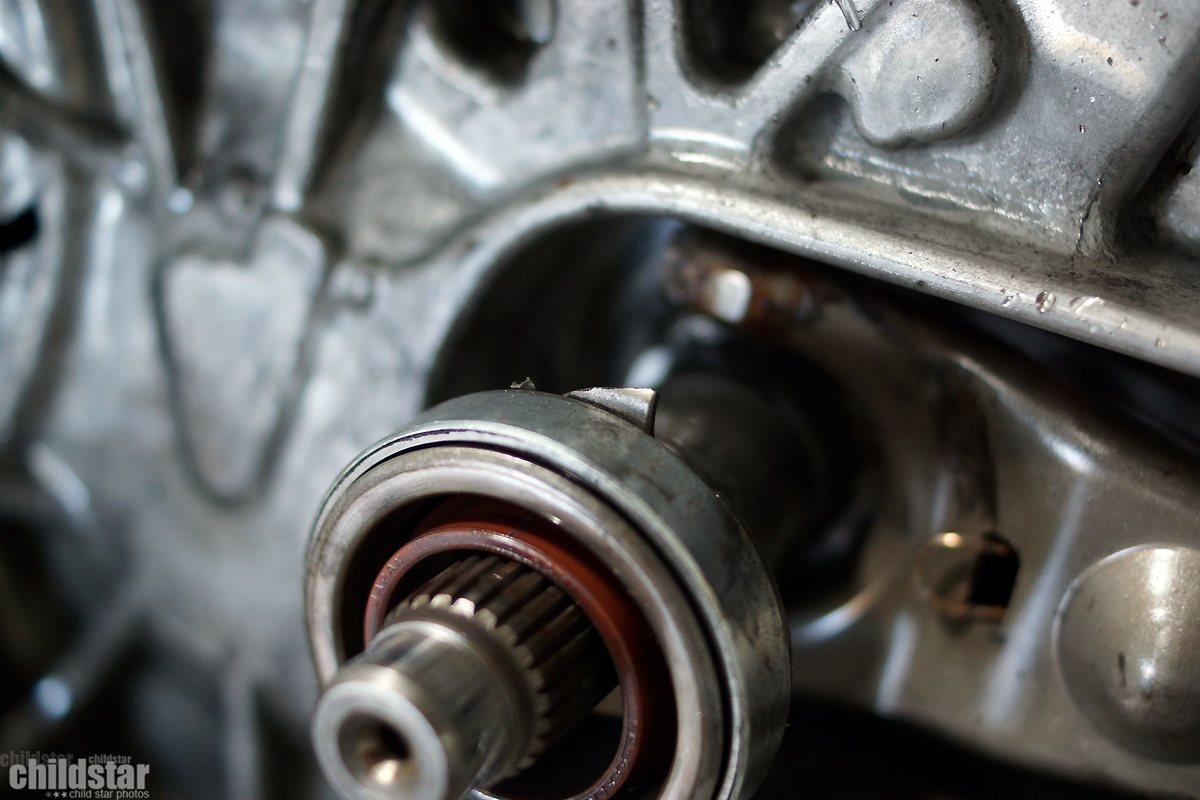
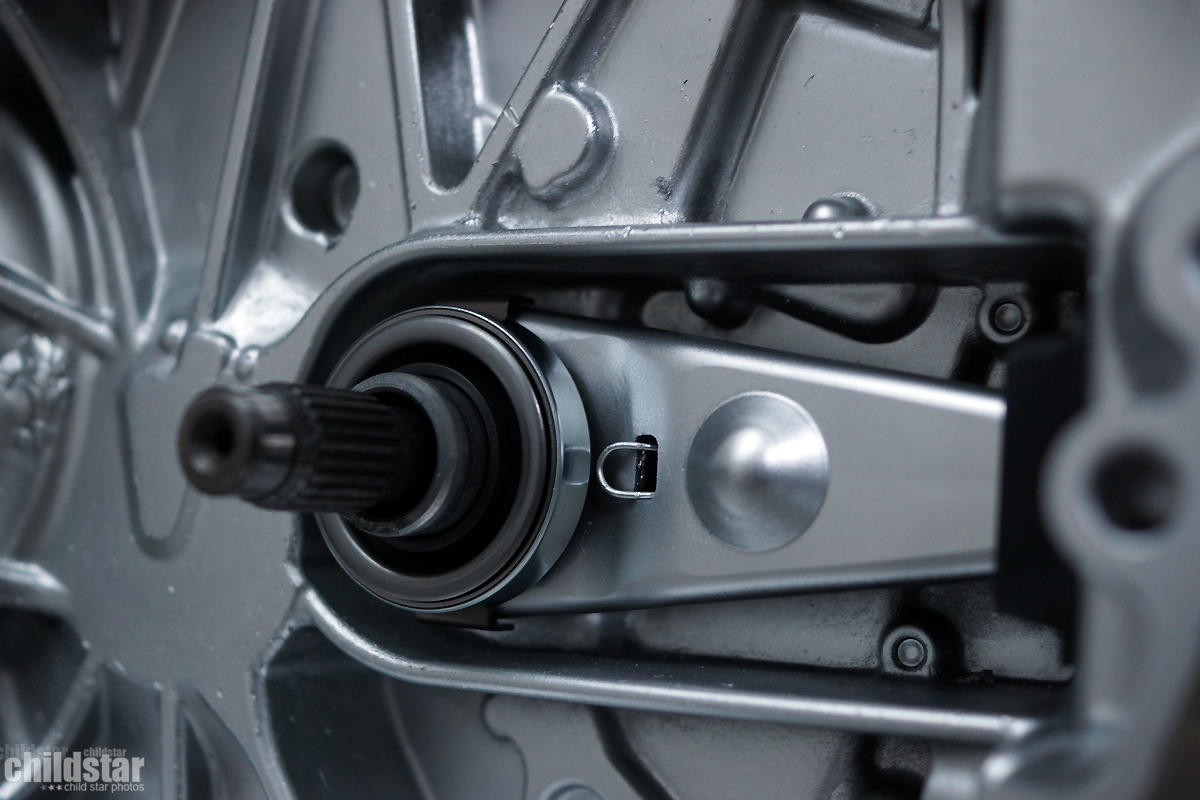
Today I finally got around to dropping my transmission to see what's going on inside since I was leaking trans fluid pretty badly.
Something isn't normal here...
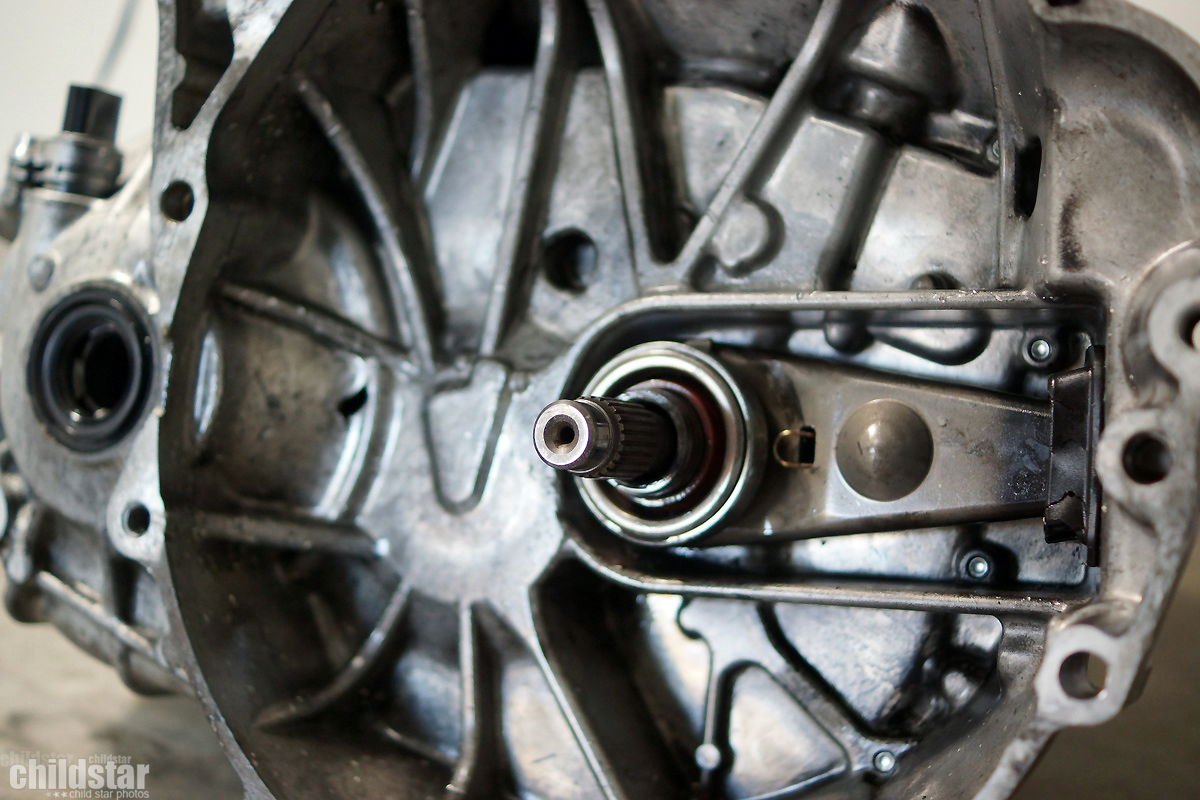
a lovely little window and a tiny wolverine has been clawing around inside
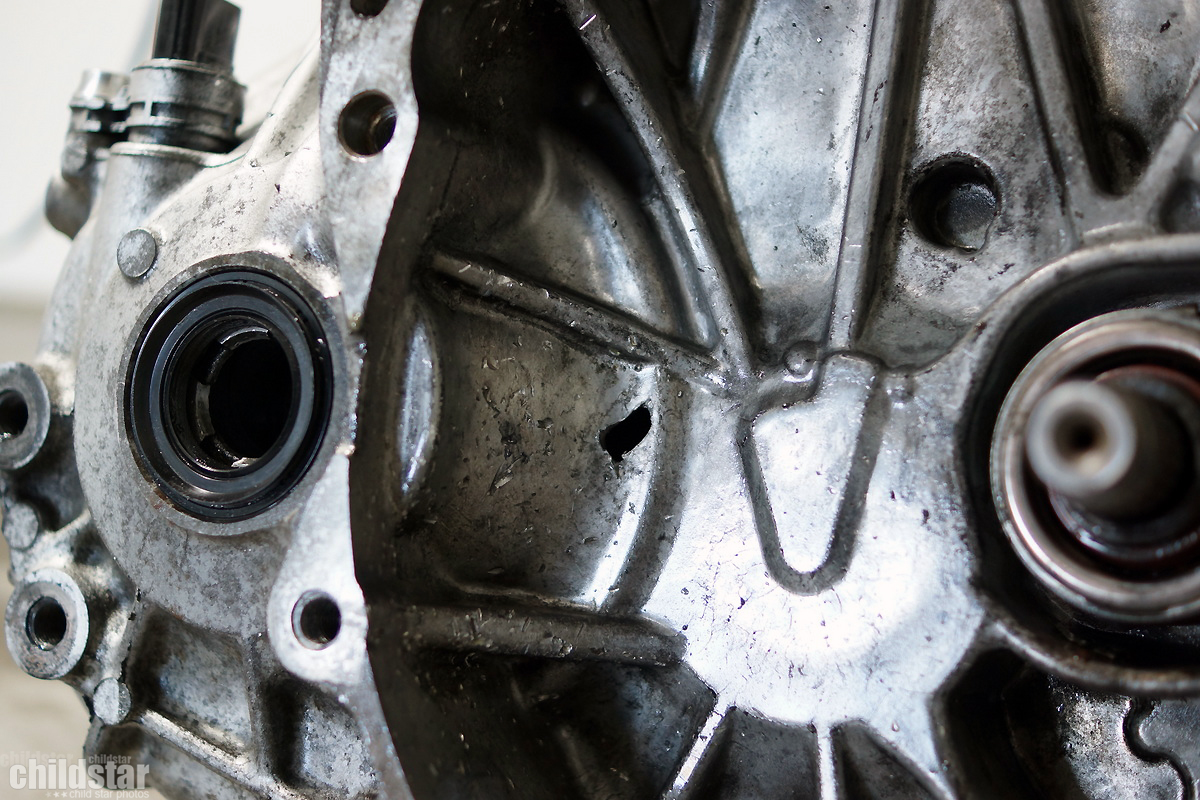
the culprit, the stupid bearing. Top and bottom both snapped off.
downtime for the coupe. Im a sad panda.
I got my trans welded up about a day after I posted the hole in the case and then I snagged an oem throwout bearing and shift fork boot
Threw the junker back together leaving the marred up flywheel and clutch combo as is
Screwed up my clutch line on accident, so I bought the new version clutch line from hybrid racing
Drove the car once after having it all back together and I'm not a happy camper. The clutch slips at WOT and I ran into an axle issue. I decided to park the car and go and fix all the little things that I either just "dealt with" or didn't tend to in the first place. I figured it's time to stop messing around and get the car 100% instead of just usable. Little neglected things have been eating away at my wallet, so the car will be side lined until I refresh and/or fix everything the way I want
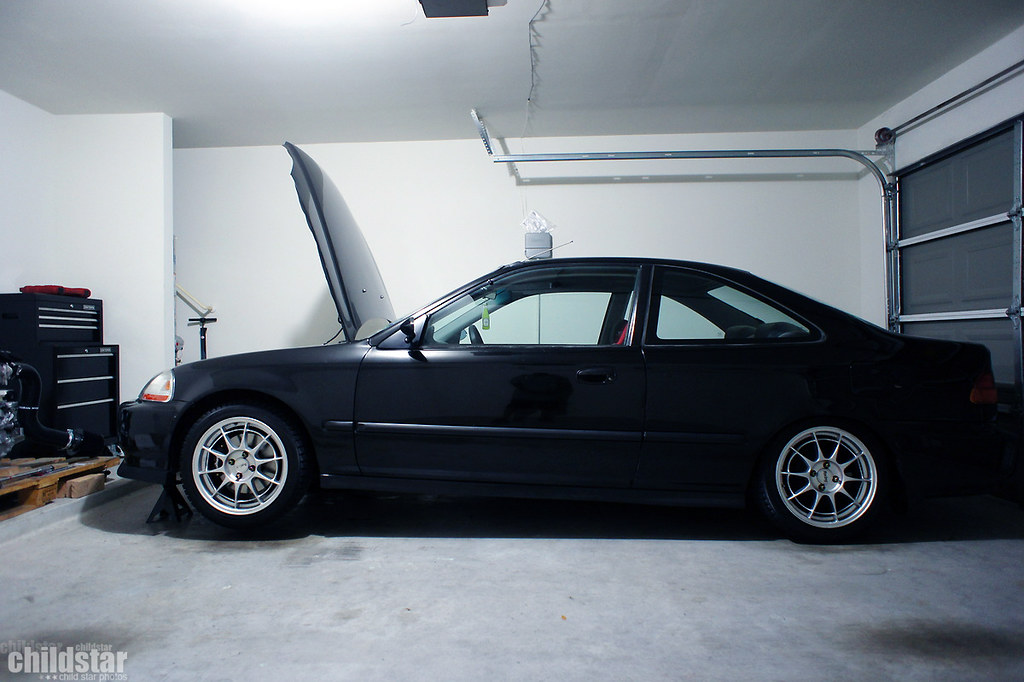
Put the junker back in the garage for a mini teardown. Gonna take my time since I'm not ready to drop a grand or so out of nowhere. Pulled the hood off so that I don't get the urge to go drive it until I'm finished.
Hopefully this look will be changed up as well.

Ripped the transmission off today and pulled off the clutch, aka, things I should have done the last time it was apart. Oh well. That's what I get for rushing.

The pressure plate bolt that was at the top here was backed out about halfway.
yummy