
Reconditioning Weatherstripping [DIY]
 12-09-2011, 08:21 PM
#1
Honda-Tech Member
Thread Starter
Whuddup HT.
I discovered a wonderful way of reconditioning old weatherstrips. As we all know, the OEM replacements are discontinued.
First step, remove the weatherstrips. Duh.
Step two, find di-electric grease and purchase it.
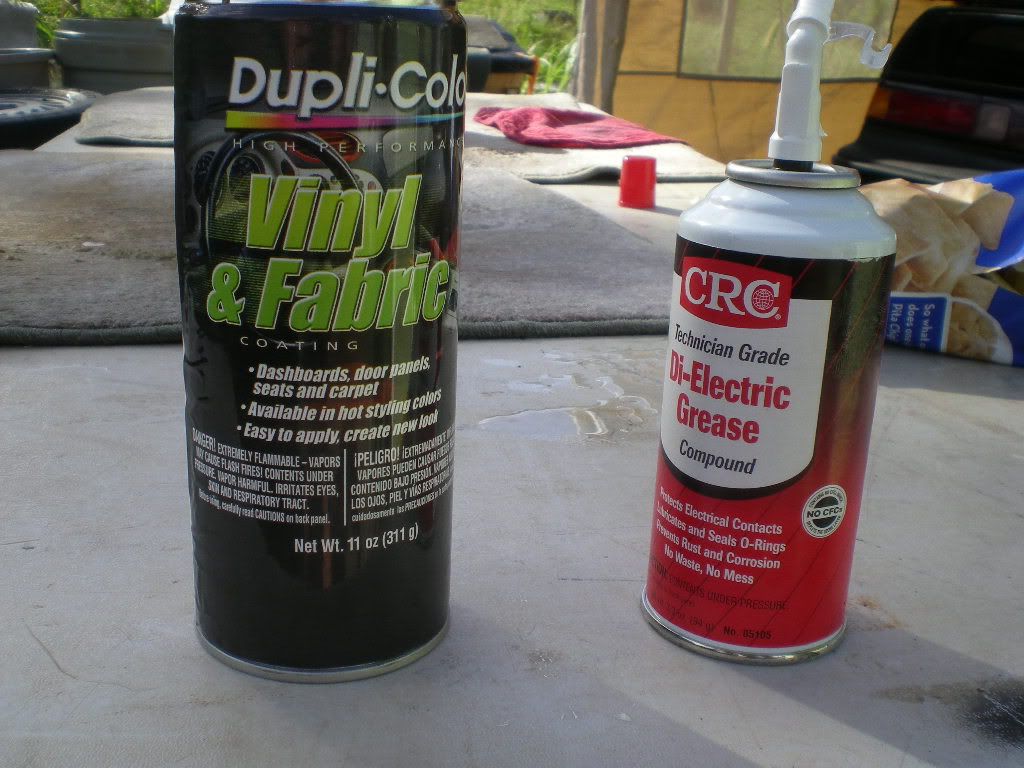
Third, apply di-electric grease liberally over the entire weatherstrip. Make sure that there are no dry areas on the entire weatherstrip.
Fourth, clean off all remaining di-electric grease from weatherstrip with mild or dilute degreaser [such as purple power 1:15 ratio.]
Five. Reinstall.
bump for pix0rz./
I discovered a wonderful way of reconditioning old weatherstrips. As we all know, the OEM replacements are discontinued.
First step, remove the weatherstrips. Duh.
Step two, find di-electric grease and purchase it.
Third, apply di-electric grease liberally over the entire weatherstrip. Make sure that there are no dry areas on the entire weatherstrip.
Fourth, clean off all remaining di-electric grease from weatherstrip with mild or dilute degreaser [such as purple power 1:15 ratio.]
Five. Reinstall.
bump for pix0rz./
 12-10-2011, 04:37 AM
#3
12-10-2011, 05:02 AM
#4
Honda-Tech Member

Join Date: Nov 2011
Posts: 28
Likes: 0
Received 0 Likes
on
0 Posts
Go to junkyard, find civic with weather stripping in excellent shape and remove it. Pay $10 then replace your old weather stripping.
The poster above who said if you are gonna bother to remove it, replace was100% correct.
The poster above who said if you are gonna bother to remove it, replace was100% correct.
12-10-2011, 09:27 AM
#5
Honda-Tech Member
Thread Starter
There are limited junkyards in my area, none of them have a CRX in the yard.
I was under the impression that these weatherstrips for my car are discontinued.
This technique is applicable to all types of weatherstrip.
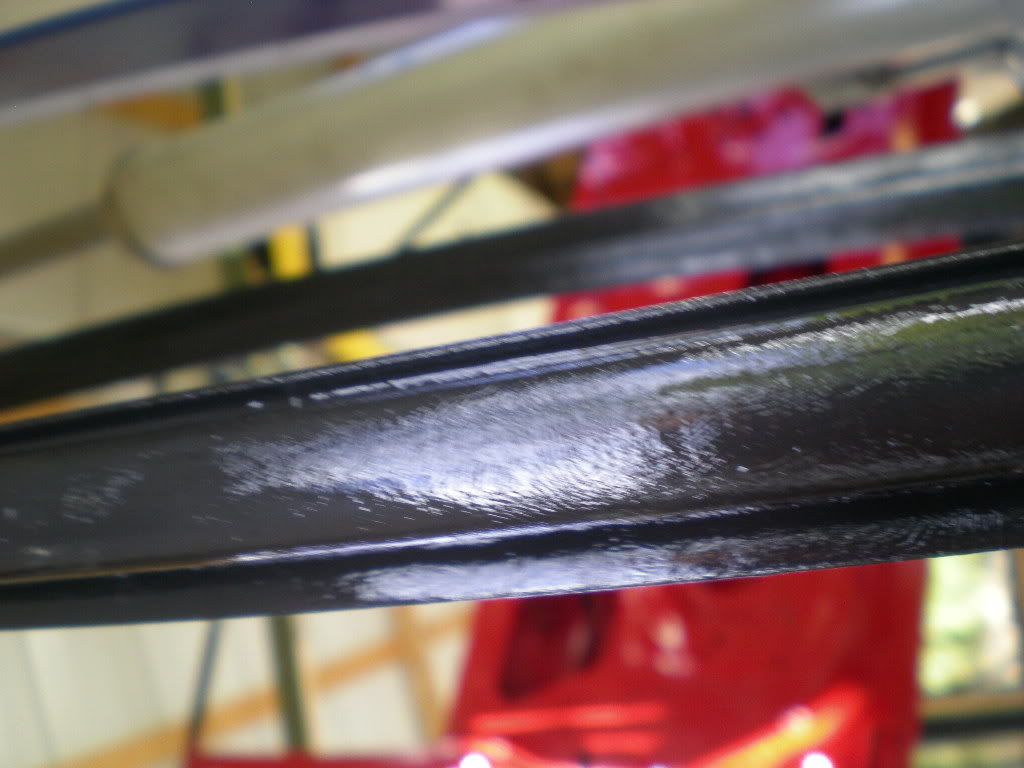
There was glue, dirt, and overspray paint on different parts of my weatherstrip. The di-electric grease and solvents seemed to dissolve it all and strip it back to bare rubber.
After finishing, I noticed the weatherstrip seemed to have absorbed most of the di-electric grease -- The rubber swelled up in the areas it had been crunched/collapsed, water now beads on the rubber and is not absorbed, and a deep black color/shine has been restored.
Your mileage may vary.
I was under the impression that these weatherstrips for my car are discontinued.
This technique is applicable to all types of weatherstrip.
There was glue, dirt, and overspray paint on different parts of my weatherstrip. The di-electric grease and solvents seemed to dissolve it all and strip it back to bare rubber.
After finishing, I noticed the weatherstrip seemed to have absorbed most of the di-electric grease -- The rubber swelled up in the areas it had been crunched/collapsed, water now beads on the rubber and is not absorbed, and a deep black color/shine has been restored.
Your mileage may vary.

Trending Topics
 12-10-2011, 08:31 PM
#10
Honda-Tech Member
Thread Starter
So I took a few pix0rz of the weatherstrip operation.
My camera isn't very high-quality, but what you see is what you get.
The glossy sheen you see in the pics is odd - it doesn't show up when you look at the weatherstrips, but on film it is quite pronounced. The water beads on the weatherstrips, so maybe that's why they appear glossy in the pics.

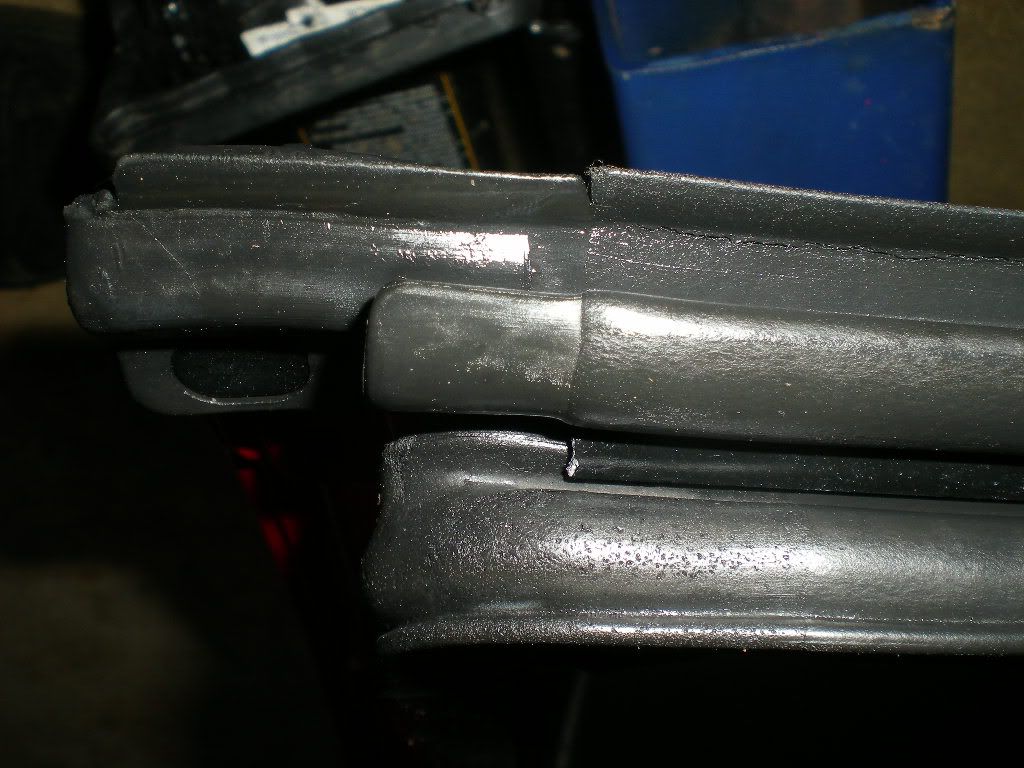
What you see is what you get. Pizizorxes don't really show much - but I can assure you that these 23yr old weatherstrips look a fvck of a lot better than they did before I did this.
And the window glides effortlessly up and down the track, with a very tight whistle-free seal at high speed. Best of luck HT with all of your weatherstrip reconditioning goals of 2012.
My camera isn't very high-quality, but what you see is what you get.
The glossy sheen you see in the pics is odd - it doesn't show up when you look at the weatherstrips, but on film it is quite pronounced. The water beads on the weatherstrips, so maybe that's why they appear glossy in the pics.
What you see is what you get. Pizizorxes don't really show much - but I can assure you that these 23yr old weatherstrips look a fvck of a lot better than they did before I did this.
And the window glides effortlessly up and down the track, with a very tight whistle-free seal at high speed. Best of luck HT with all of your weatherstrip reconditioning goals of 2012.
 12-13-2011, 11:11 PM
#14
Honda-Tech Member
Thread Starter
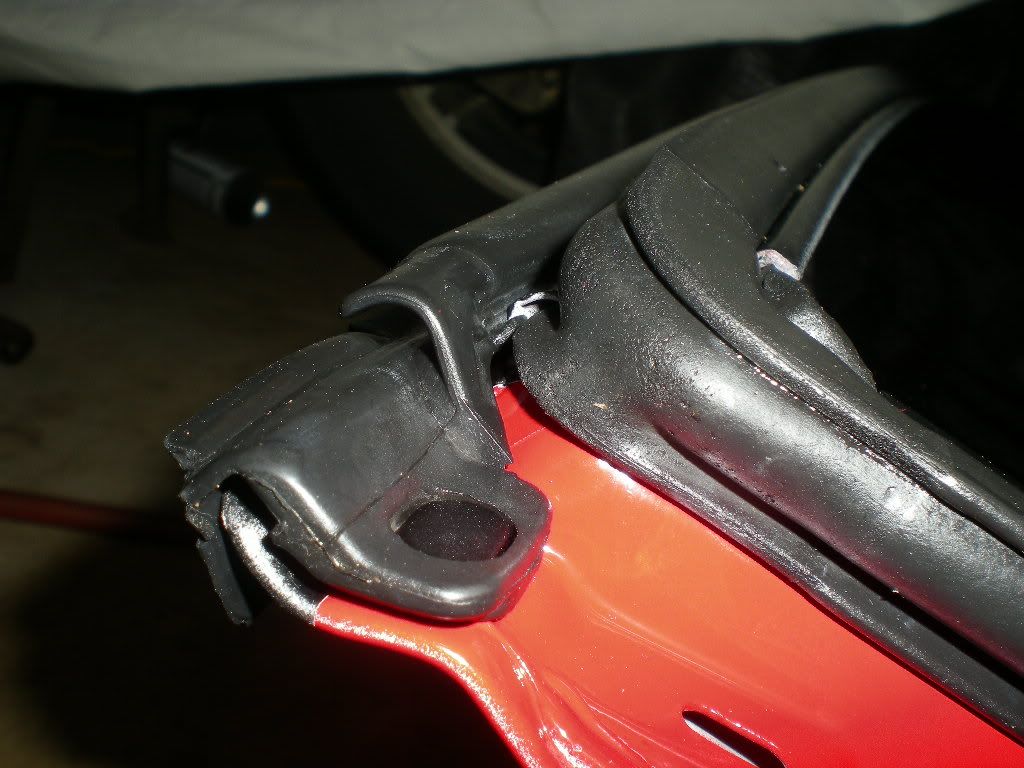
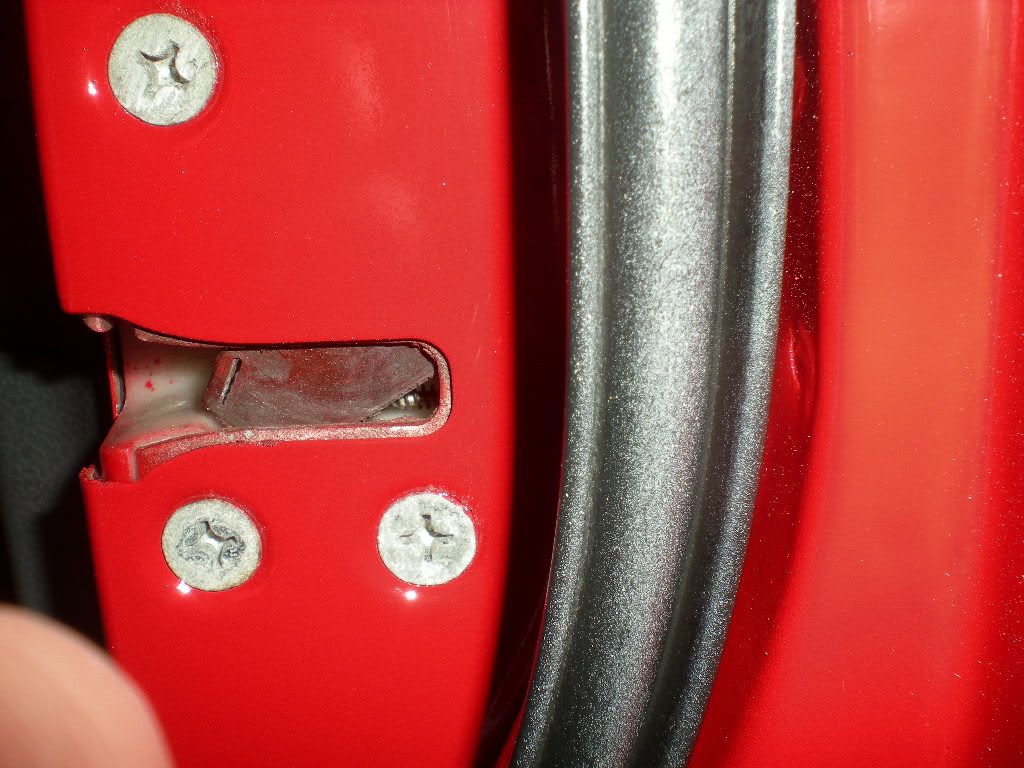
Step one
- Remove weatherstrip. Depending on the year of the car, it will be held in by a number of Green snap connectors.
[pic]
- Soak the weatherstrip in a light solution of degreaser and water. Remove the weatherstrip and apply di-electric grease liberally over entire area to be reconditioned.
[pic]
- Use solvents on a rag to remove all excess di-electric grease from the weatherstrip. Installation is reverse of removal.
[pic]
12-14-2011, 04:31 AM
#15
Simple Green is organic and is good for getting off grease and organic matter. What ever the matter is. Doesnt change the chemical makeup of rubber either.
01-16-2012, 03:33 PM
#16
Honda-Tech Member

Join Date: Jul 2011
Location: Little Elm, TX
Posts: 11
Likes: 0
Received 0 Likes
on
0 Posts
Another "old school" trick is to use baby oil on all of your seals after they are clean. Keeps them soft.
Since we are on the subject of seals for a CRX. What other model (years) use the same seal? Maybe if say a 95 Civic used the same seal and it was avalable.......
Since we are on the subject of seals for a CRX. What other model (years) use the same seal? Maybe if say a 95 Civic used the same seal and it was avalable.......
02-06-2012, 02:57 PM
#18
Honda-Tech Member

Join Date: Mar 2010
Location: S. Florida
Posts: 41
Likes: 0
Received 0 Likes
on
0 Posts
Most Baby Oils are a petroleum product and will eat away at the rubber.
02-18-2012, 08:18 PM
#19
Honda-Tech Member
Thread Starter
Di electric grease has re pufffed up my seals and the water beads on them now.
They have a deep black shine too them, without looking glossy.
I did this a while ago and they are still looking nice.
They have a deep black shine too them, without looking glossy.
I did this a while ago and they are still looking nice.
02-19-2012, 07:43 PM
#20
Honda-Tech Member
Join Date: Mar 2007
Location: Moorhead, MN
Posts: 32
Likes: 0
Received 0 Likes
on
0 Posts
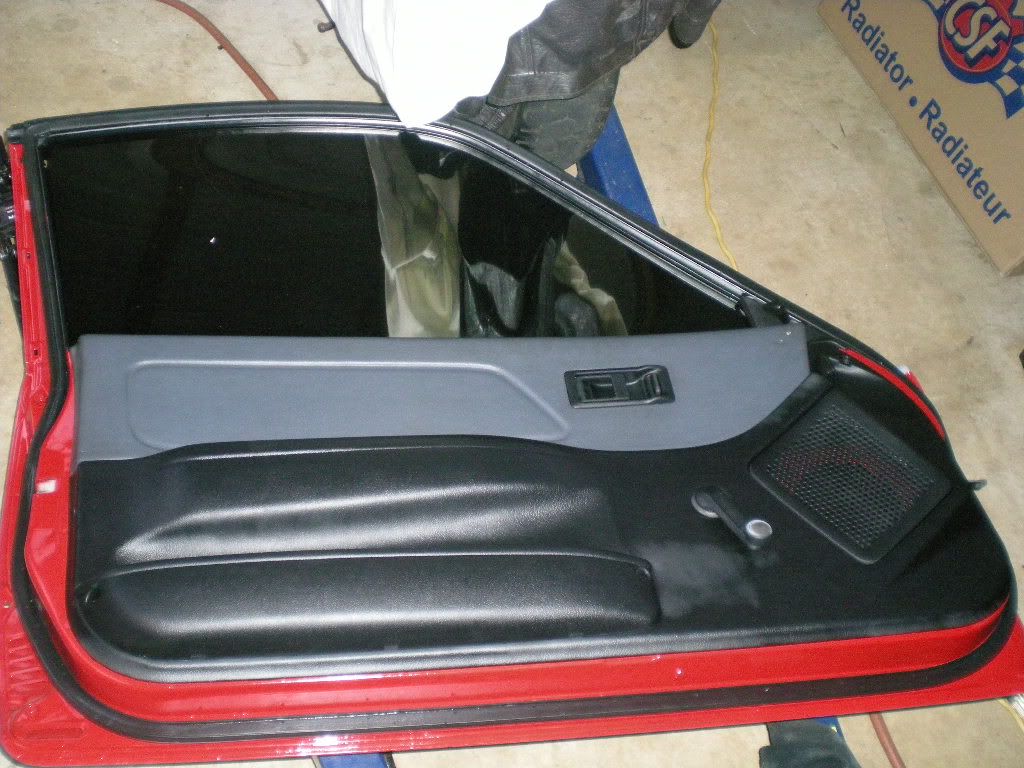
So your not using the Dupli-Color for this...(in the first pic), just the electric grease and cleaner? Sounds pretty sweet and easy. Possibly even usable were I don't want to remove the weather stripping?
02-19-2012, 08:07 PM
#21
Honda-Tech Member
Thread Starter
No I did not use the duplicolor product for this. It just happened to be in the same picture.
To all the people saying this sounds retarded etc... I'm not really concerned with that particular opinion. This procedure worked perfectly and my weatherstrips are the proof.
It's hard to convey in the pictures but my weatherstrips in my hands, and on my car are proof enough for me. Try it out and see for yourself if it works for you.
@veece - It works best if you remove the weatherstrip and fully clean it, as dirty buildup of mung in out-of-sight cracks is the first step to developing successful rust holes.
Clean all that crap out, and you lessen your chances of contracting rust.
I suppose you could just do this to the exposed sides of the preinstalled weatherstrips, but I had to take mine off for the full restoration.
best of luck!

Thread
Thread Starter
Forum
Replies
Last Post
Fuster_Cluck
Honda Civic / Del Sol (1992 - 2000)
4
03-15-2005 06:51 AM