
DIY: 07 SI Sedan clear corners and bumper removal w/lots of pics n vids!
 10-23-2007, 06:46 PM
#1
I'm posting this for rallyRedsi.. I own a Db8  B series FTW
  jk
jk
<FONT COLOR="red"><FONT SIZE="4"> A lil disclaimer.. I'm in no way responsible for any damages you may do to your car if you screw up. If you cook your headlights too long, don't blame me. I can only tell you what I did.
This lil tutorial is to be used as a reference.. If there are any mistakes or anything that I can add to make it better, lemme know!!</FONT></FONT>
DIY: Clear corners on 07 Civic SI Sedan
Tools needed:
At least 2 buddies.
Flat head screw driver
Phillips screw driver
10 mm socket w/extensions (at least 10")
T-30 torx wrench
Oven set at 225 degrees
Clear RVT silicone (optional)
Some gloves (optional for when the headlights come out of the oven)
Time needed: 3-5 hours depending on how hard/fast you work.
A tip: Keep all the bolts/lil plastic pieces in here. That way you won't lose em
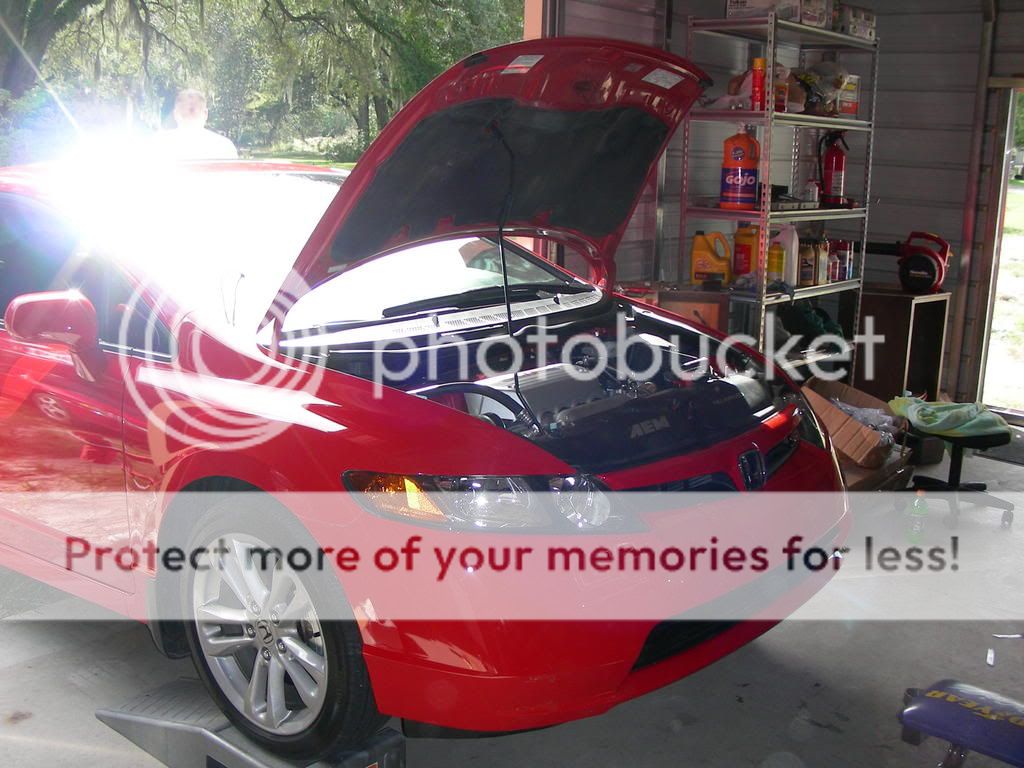
Step 1: Find your car, gather your tools, get your buddys and get ready to have some fun!
Step 2: Get your car on jack stands or car ramps.
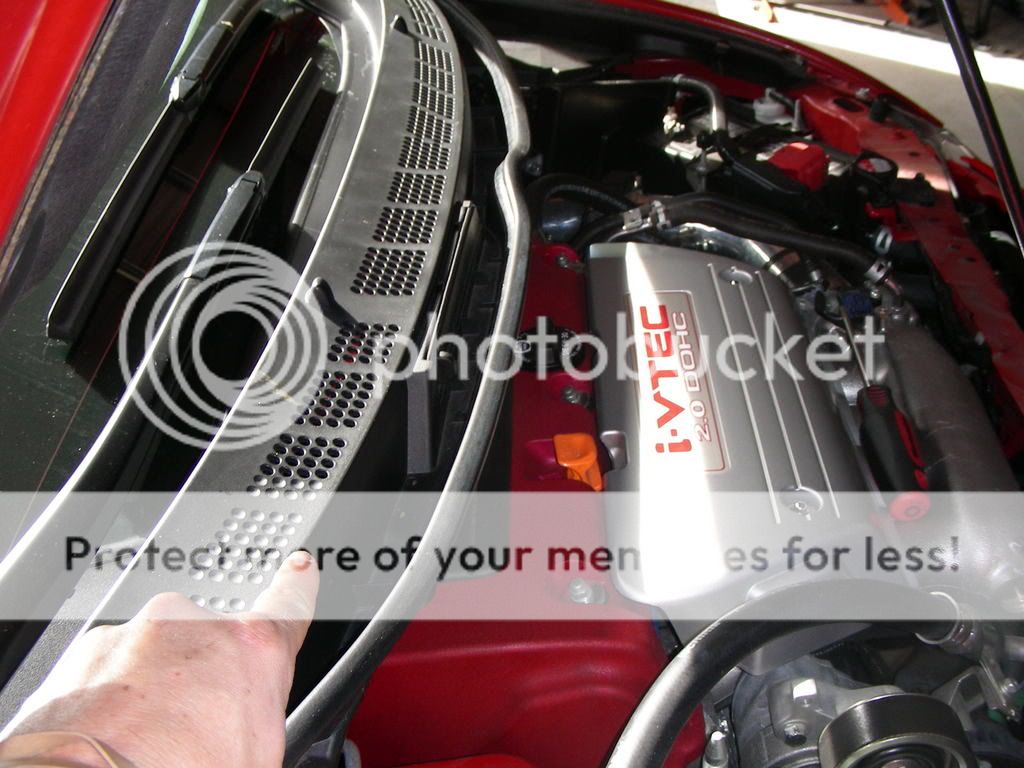
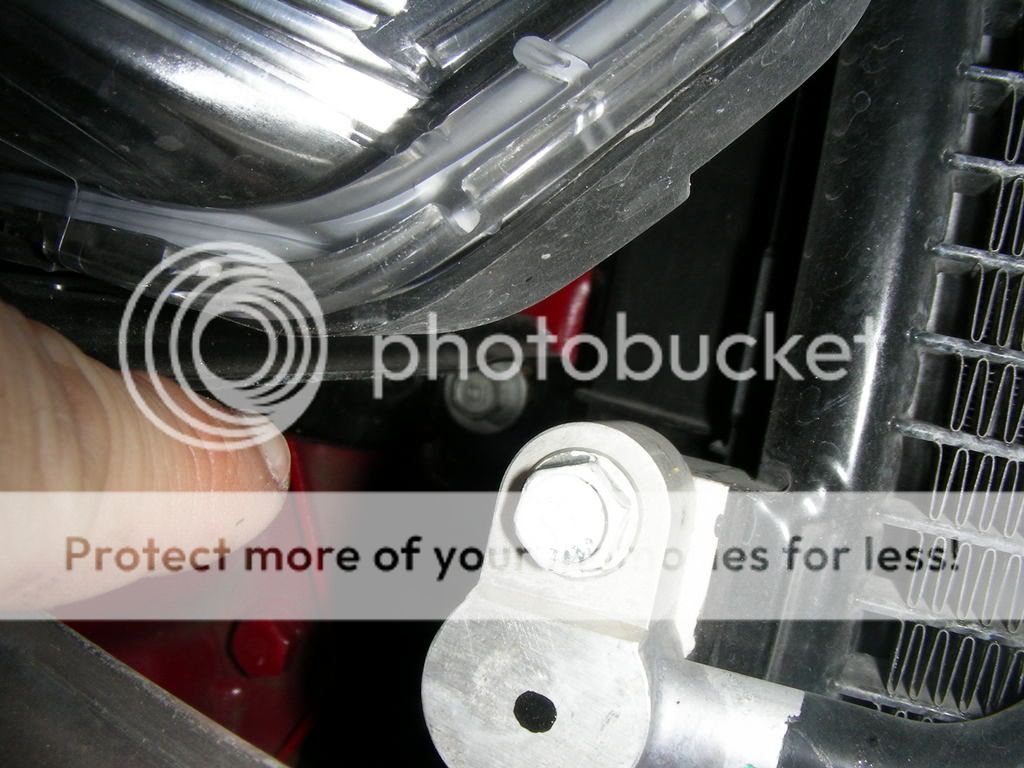
Step 3: Remove fan shroud/radiator cover thingy.
Use your flat head screw driver to remove the 2 plastic push pins thats holding it on.
Also, be sure to remove the plastic pins at the corners so you can take the piece off.
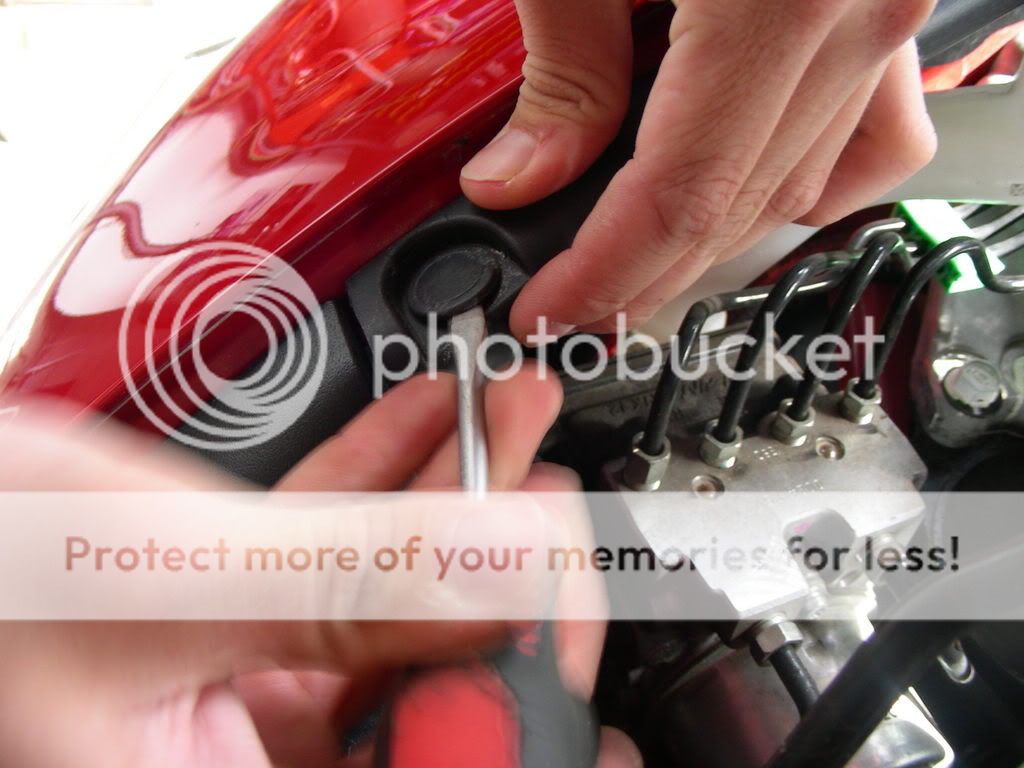
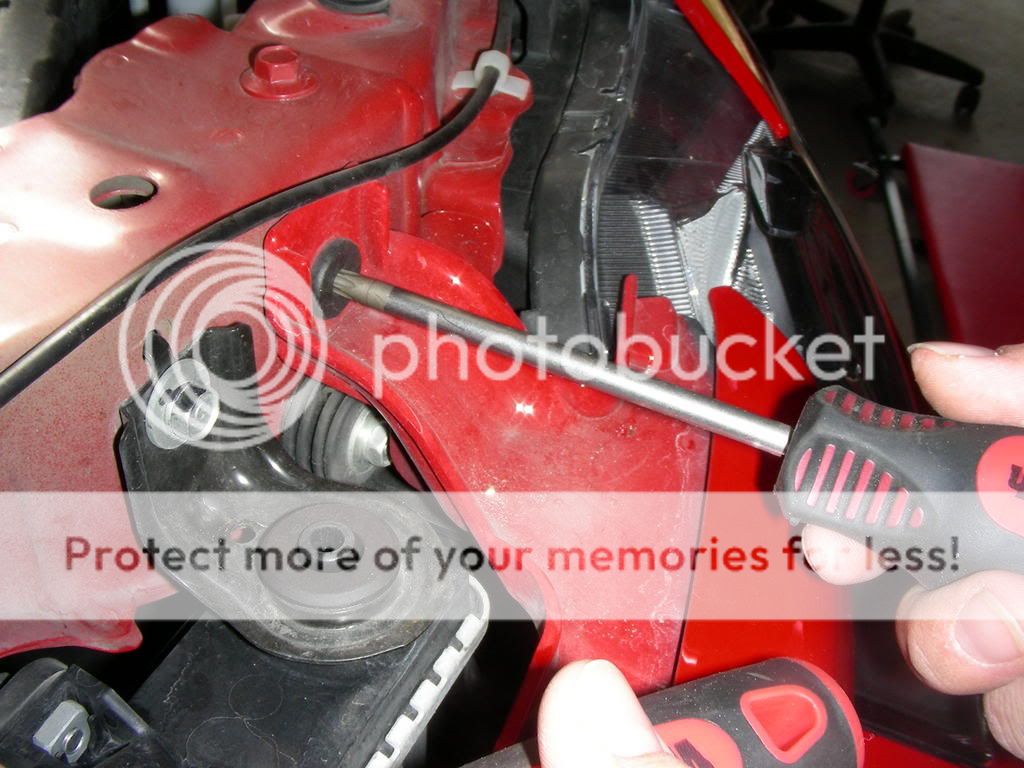
Step 4: Remove the 2 torx bolts attatching the grill.
Step 5: Using the phillips screw driver, remove the one screw that is in the fender well that supports each side of the front bumper.
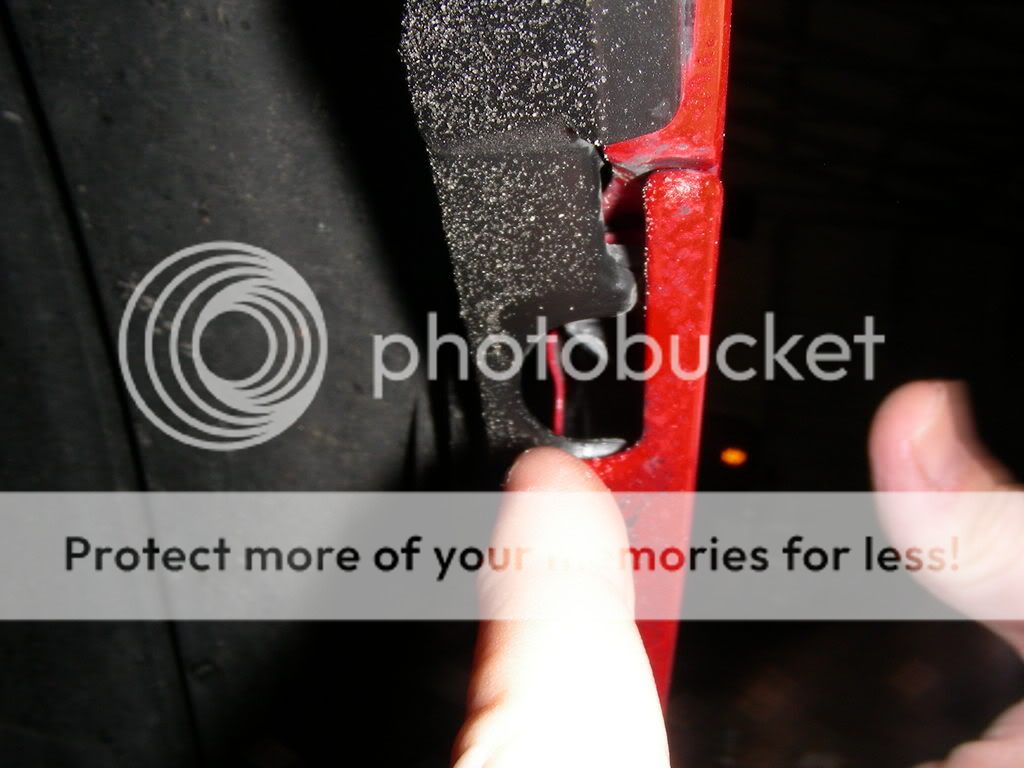
Oh and don't do this....

Step 6: Get yoru buddy and remove the bumper!
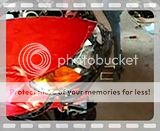
You'll end up with this!
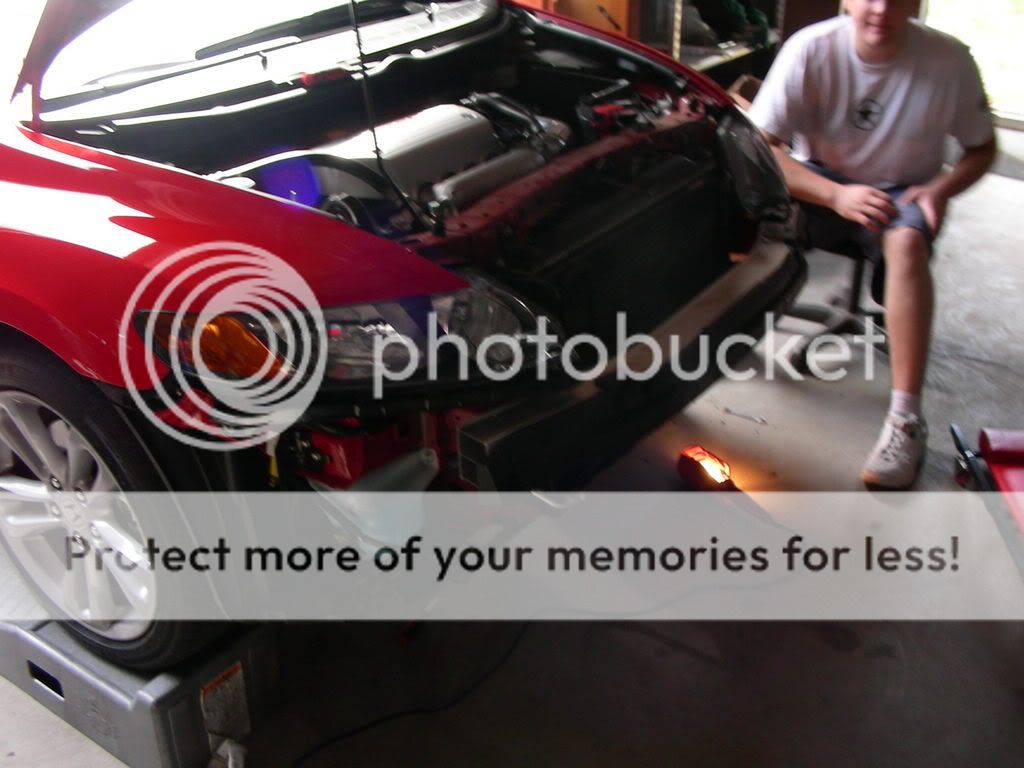
**Note** When your removing the front bumper, it fastens in the center is just by some little tabs that you pull. So it takes a lil bit of grunt to seperate them, but its what you've got to do.
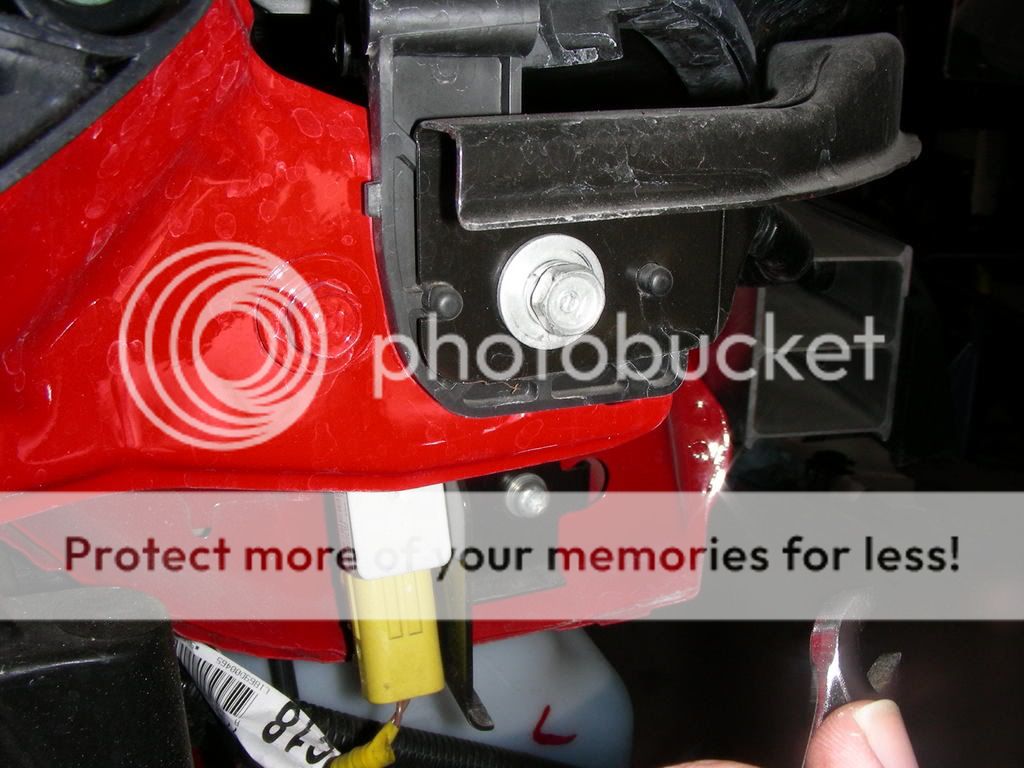
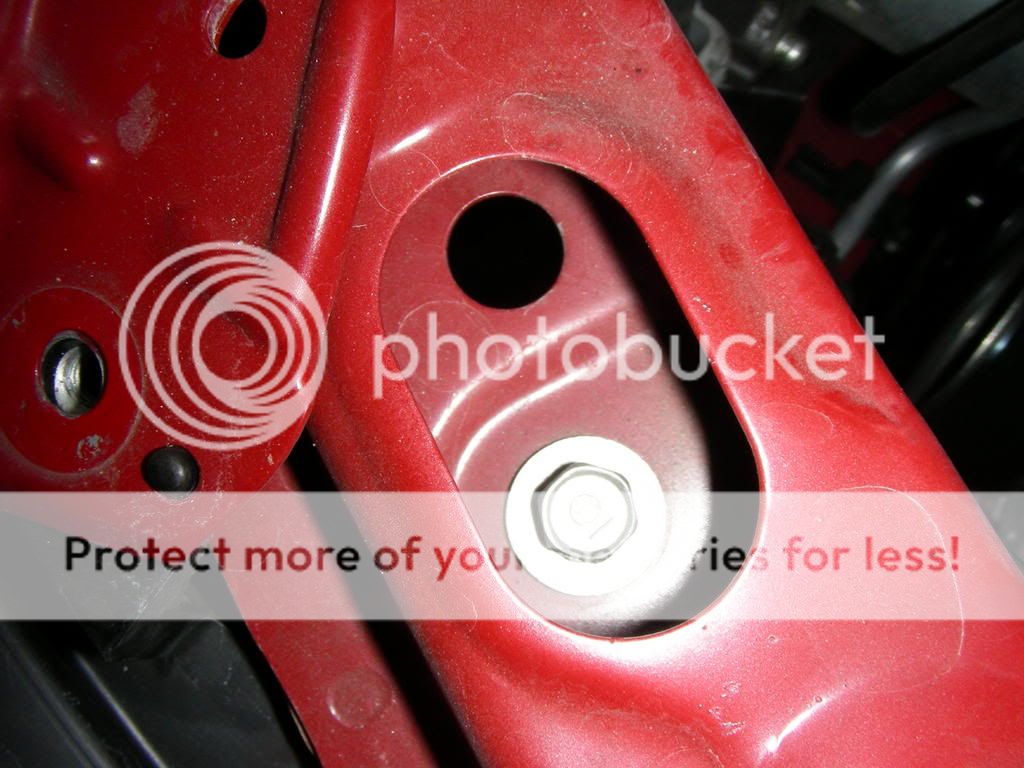
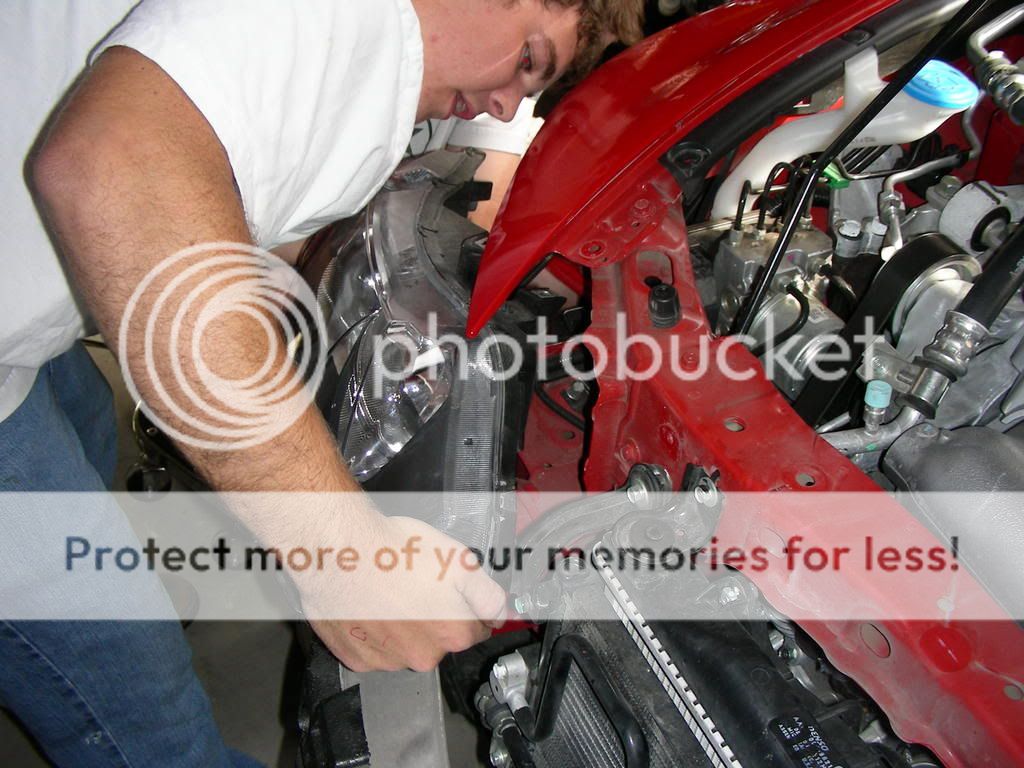
Step 7: Time to take out the headlights. Remove 4 bolts that hold the headlights in. 10 MM socket needed. There is one more bolt that I didnt get a picture of, but it holds the bracket to the bottom of the headlight.
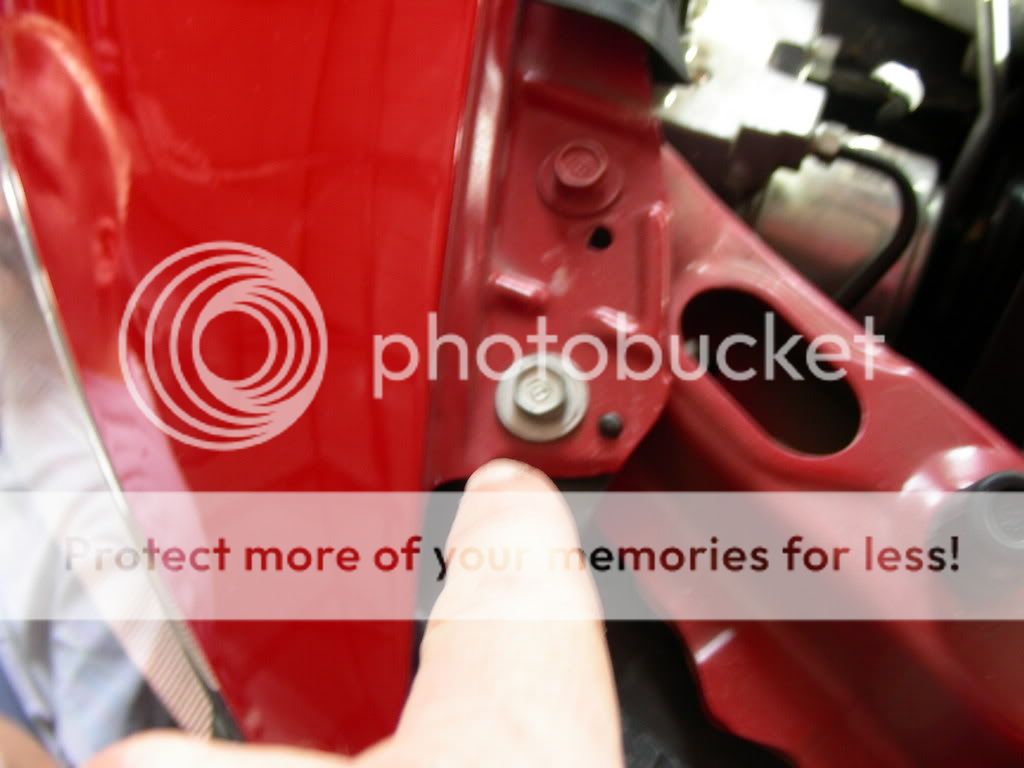
You can kinda see it, but this olt is hidden.. Gotta use your extensions to get it.
Step 8: Remove the headlights. Pretty straight forward.. You need to remove the plugs off the bulbs and then just wiggle the headlight out. It's not the easiest thing to get out. Just be careful not to scratch the paint or crack the lense or anything dumb like that.
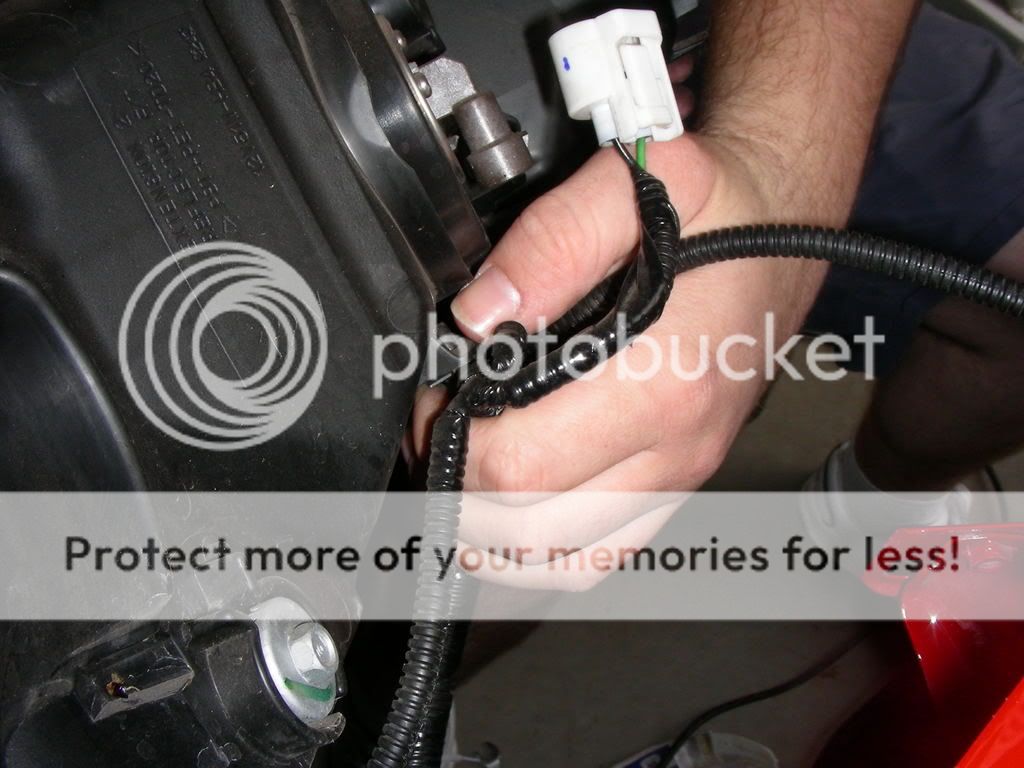
The harness is connected to the housing by this little tab thing.
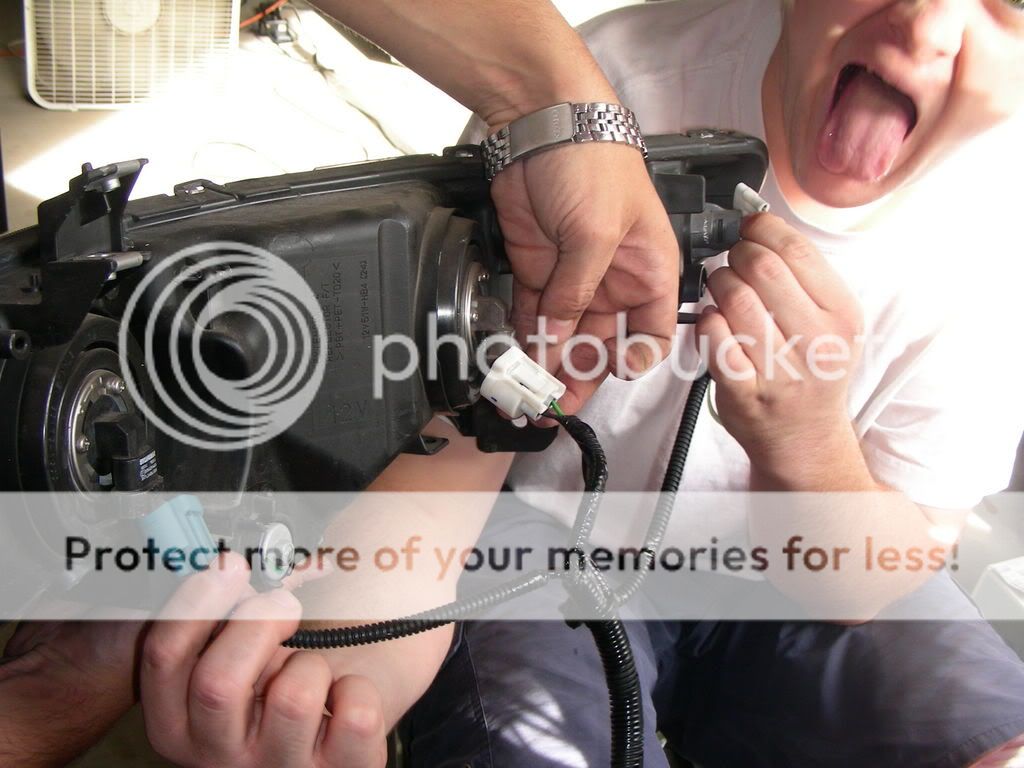
And just for reference, here's the order the plugs conenct.
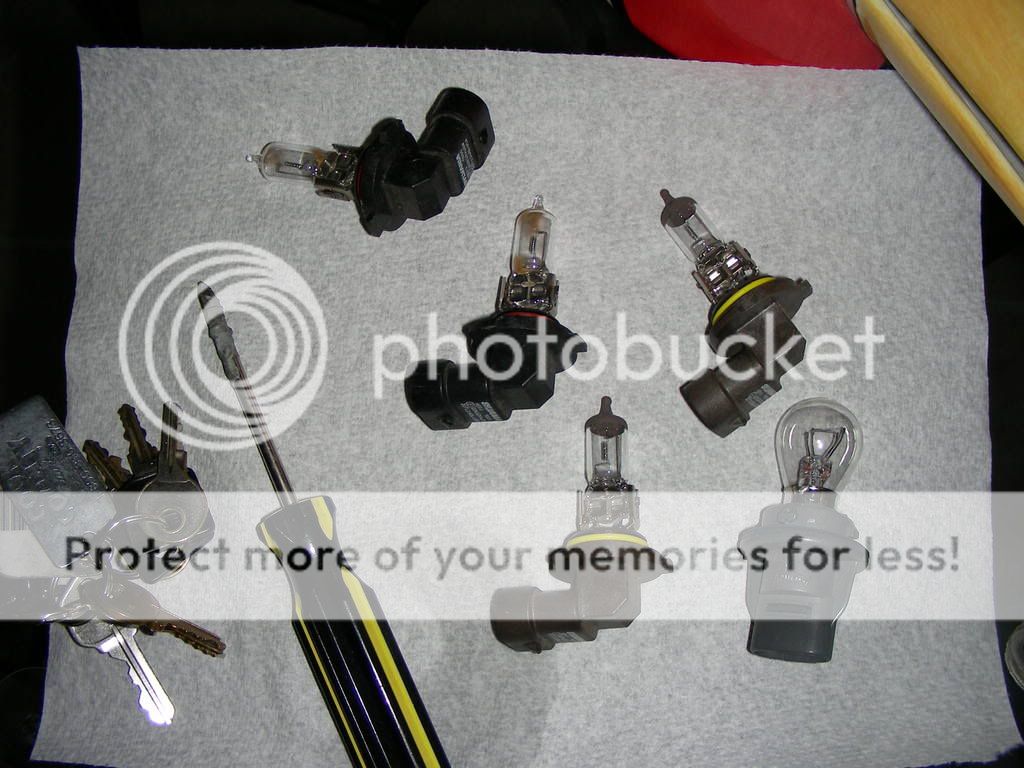
Step 9: Find your oven (electric is what I used) and set it to 275 degrees. Remove your bulbs and set them aside, being very careful not to touch the glass.
VERY IMPORTANT!!! DO NOT LEAVE THE HEADLIGHTS IN THE OVEN LONGER THAN 5-6 MINUTES. I LEFT EM IN FOR ABOUT 6 MINUTES. IF YOU MESS UP AND MELT YOUR HOUSINGS, ITS NO MY FAULT!!

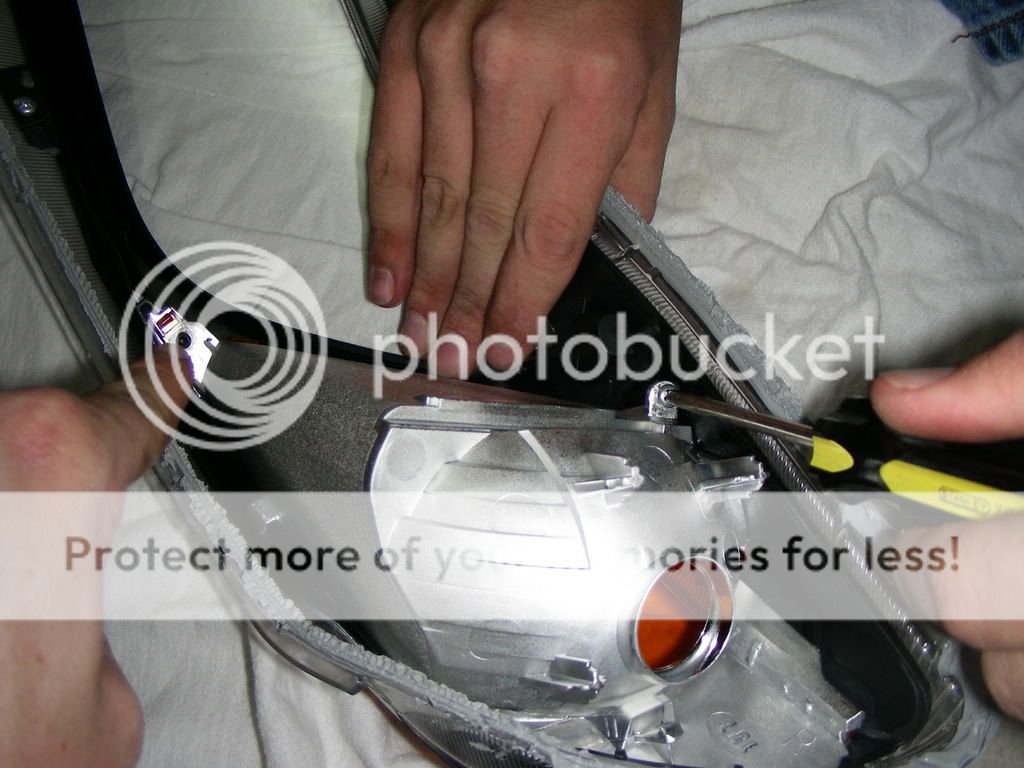
Step 10: Pull your headlight/s out of the oven and work quickly. Using your flat head screw driver, pop the tabs (don't break them) and seperate the headlight lense from the housing.
Reference video.

Now, because my one friend is an idiot, he worked on removing the glue from the one housing, which I didnt really want to do.
Reference video
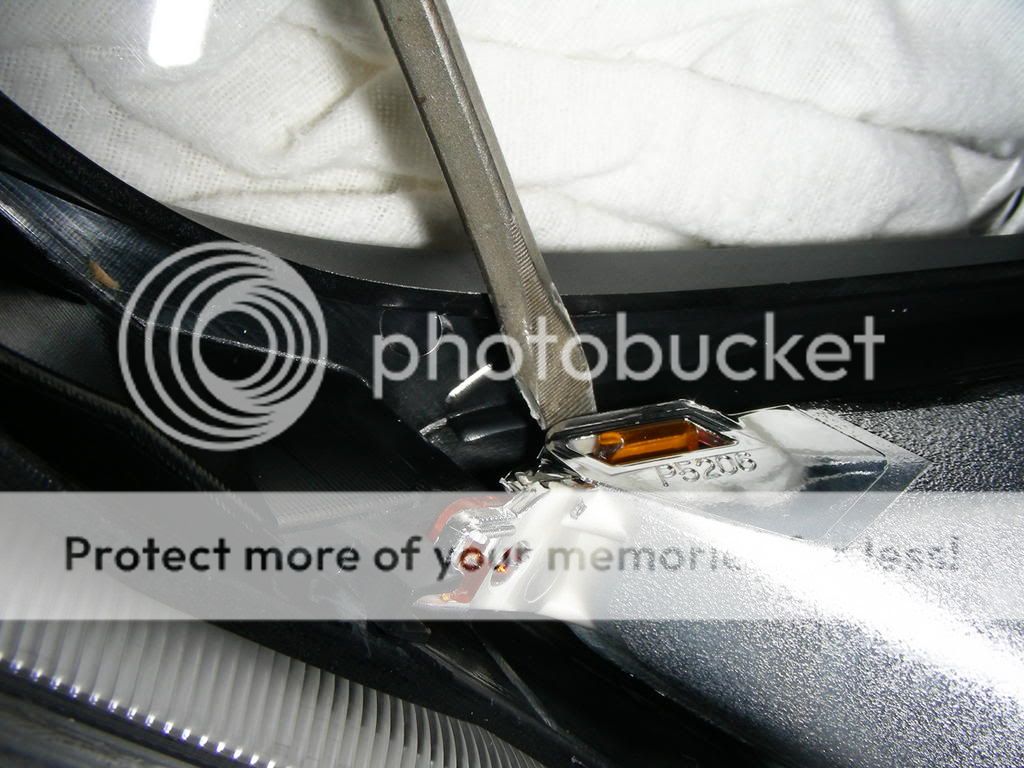
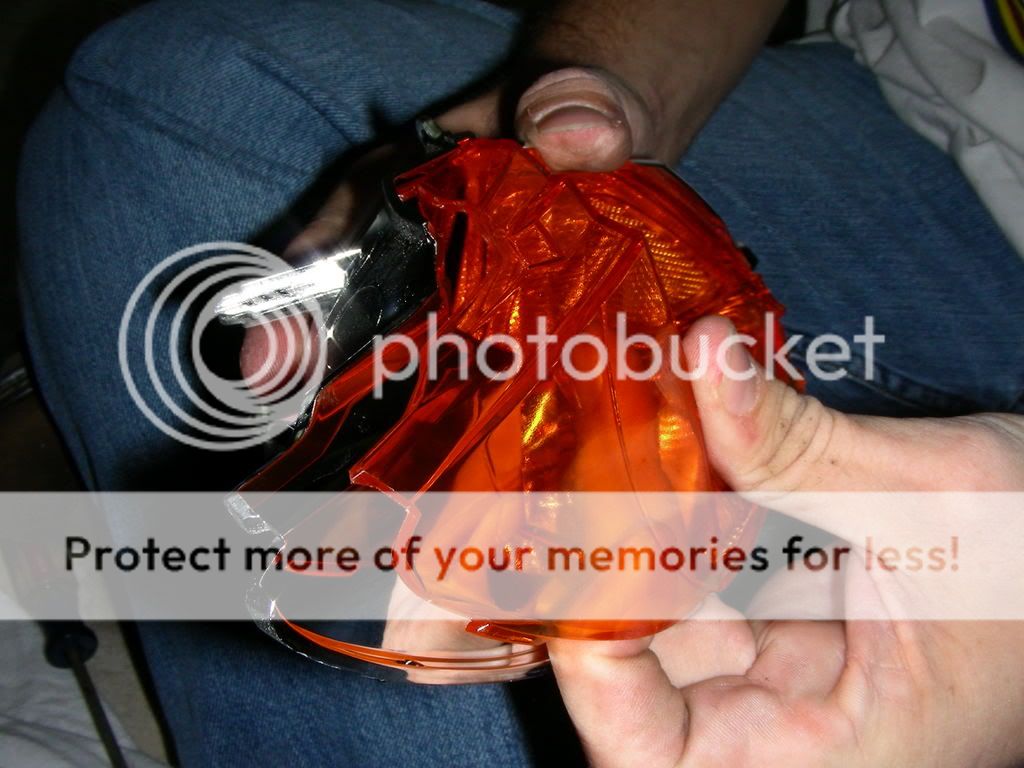
Step 11: Time to remove the yellow stuff from the headlights! You'll need to rermove 2 phillips screws. There's also one little tab, qhich, I broke on both of the headlights, but they really don't do anything so I would'nt worry about it too much
Pointing at the lil clip you're gonna break.
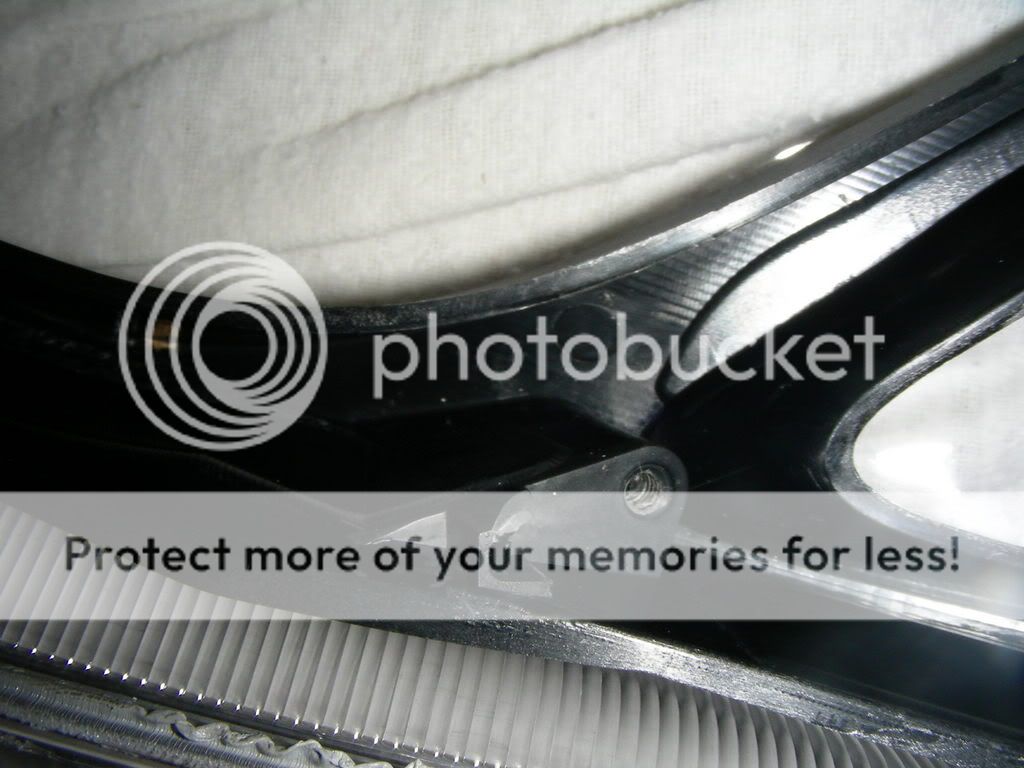
And the broken tab.
Ta daa!!!
Step 12: Re-assembly. Reference the video.
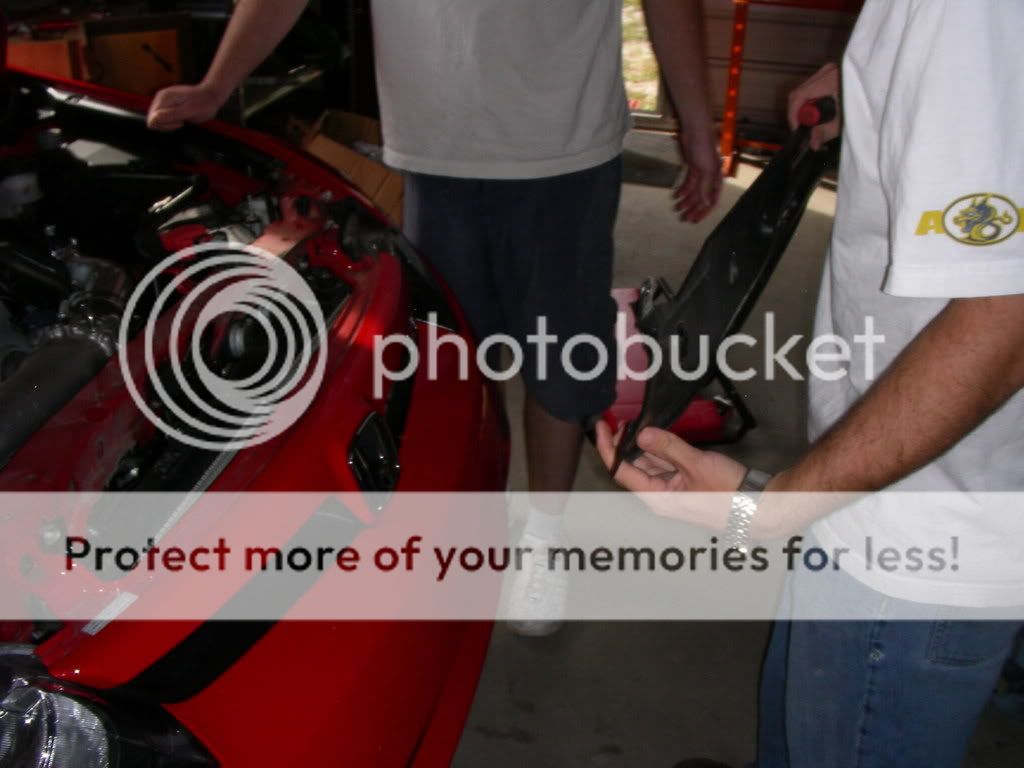
Step 13: Backtrack and re-assemble the front end of your car! You must re-install your headlight bracket, then the headlight itself.
Reference video plz

Basically, thats it. Just do the reverse of what you did to take everything off.
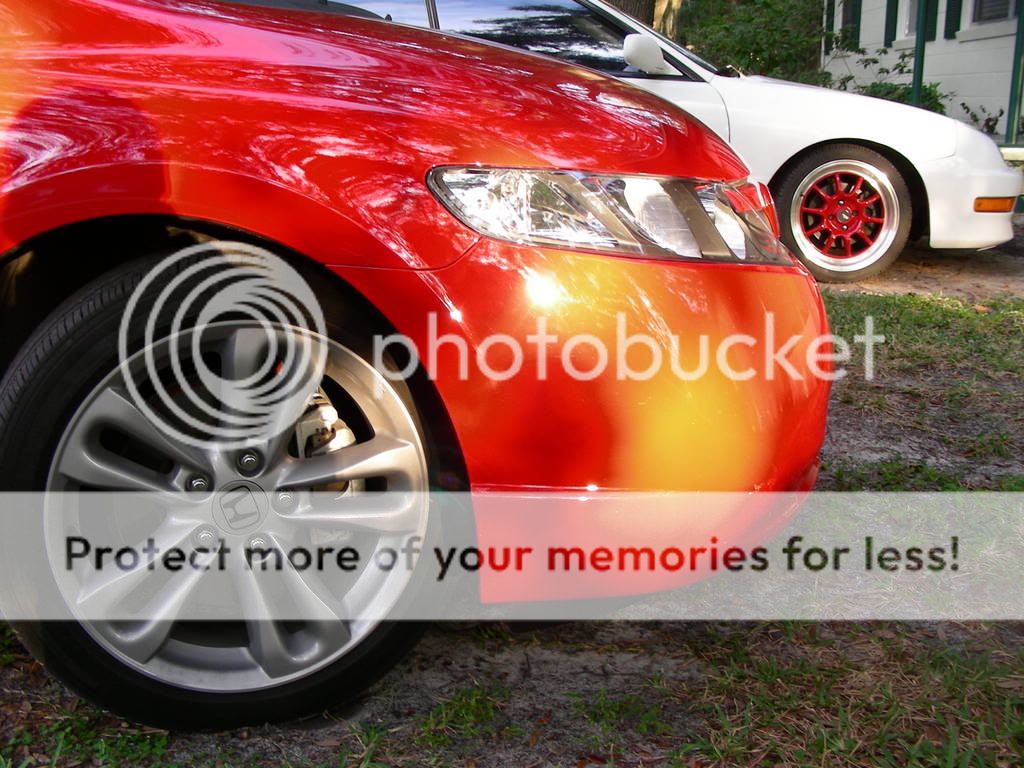
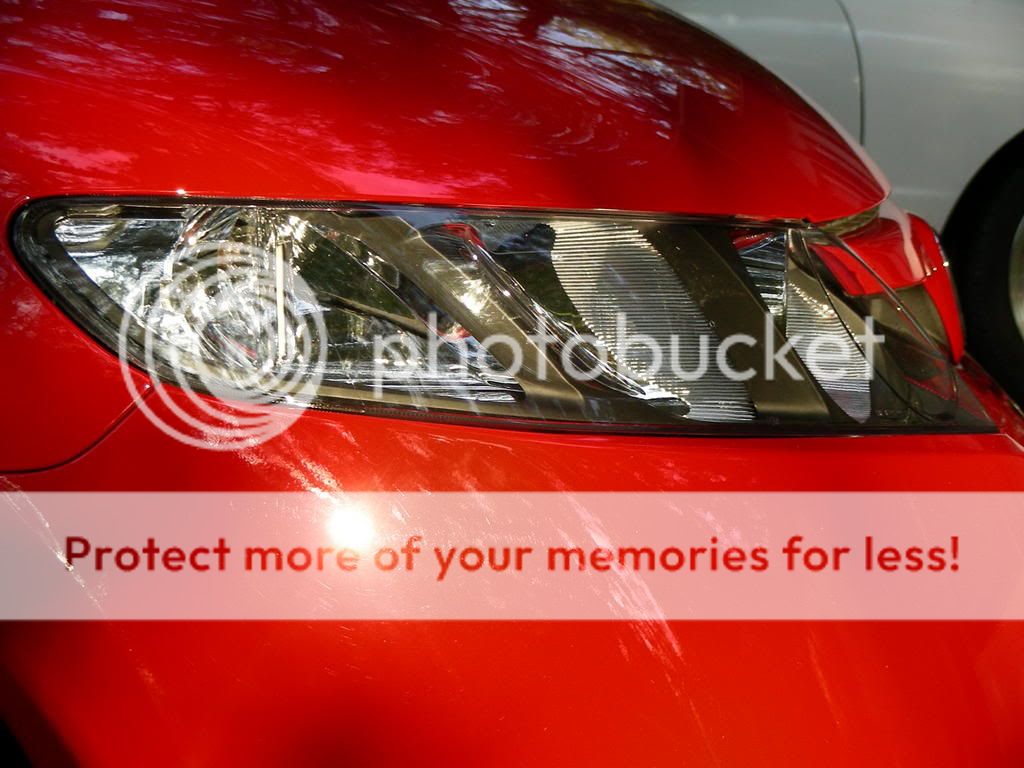
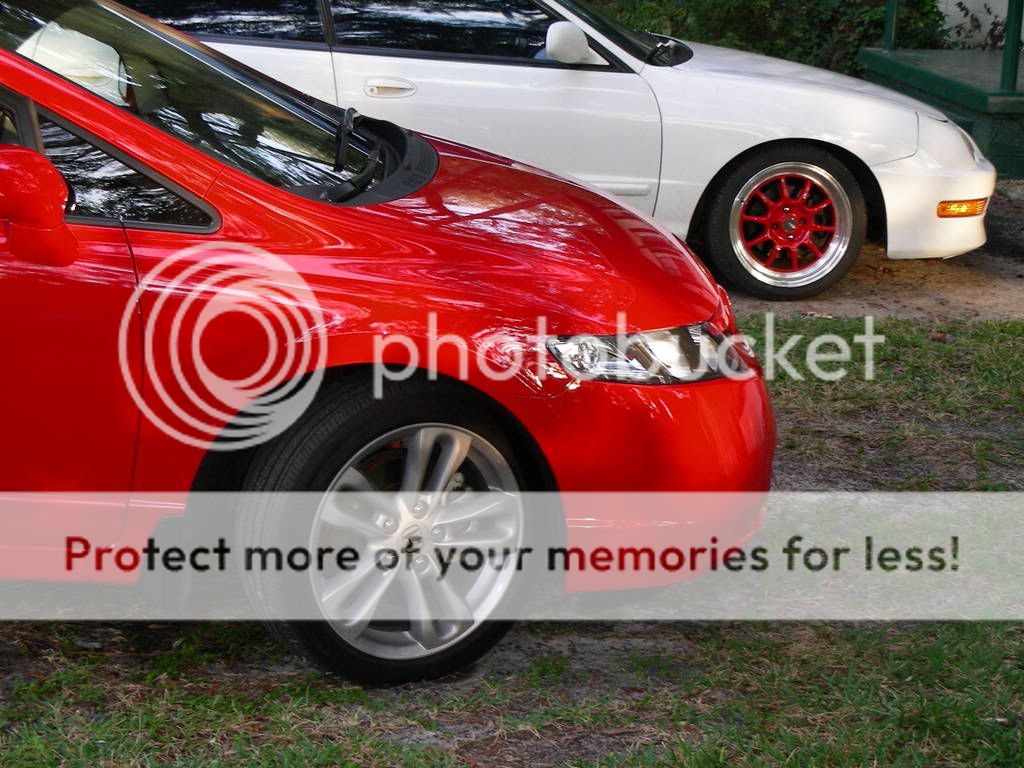
What does the end result look like?


Daytime pics will be up tomorrow.
Enj0y!
B series FTW jk<FONT COLOR="red"><FONT SIZE="4"> A lil disclaimer.. I'm in no way responsible for any damages you may do to your car if you screw up. If you cook your headlights too long, don't blame me. I can only tell you what I did.
This lil tutorial is to be used as a reference.. If there are any mistakes or anything that I can add to make it better, lemme know!!</FONT></FONT>
DIY: Clear corners on 07 Civic SI Sedan
Tools needed:
At least 2 buddies.
Flat head screw driver
Phillips screw driver
10 mm socket w/extensions (at least 10")
T-30 torx wrench
Oven set at 225 degrees
Clear RVT silicone (optional)
Some gloves (optional for when the headlights come out of the oven)
Time needed: 3-5 hours depending on how hard/fast you work.
A tip: Keep all the bolts/lil plastic pieces in here. That way you won't lose em
Step 1: Find your car, gather your tools, get your buddys and get ready to have some fun!
Step 2: Get your car on jack stands or car ramps.
Step 3: Remove fan shroud/radiator cover thingy.
Use your flat head screw driver to remove the 2 plastic push pins thats holding it on.
Also, be sure to remove the plastic pins at the corners so you can take the piece off.
Step 4: Remove the 2 torx bolts attatching the grill.
Step 5: Using the phillips screw driver, remove the one screw that is in the fender well that supports each side of the front bumper.
Oh and don't do this....
Step 6: Get yoru buddy and remove the bumper!
You'll end up with this!
**Note** When your removing the front bumper, it fastens in the center is just by some little tabs that you pull. So it takes a lil bit of grunt to seperate them, but its what you've got to do.
Step 7: Time to take out the headlights. Remove 4 bolts that hold the headlights in. 10 MM socket needed. There is one more bolt that I didnt get a picture of, but it holds the bracket to the bottom of the headlight.
You can kinda see it, but this olt is hidden.. Gotta use your extensions to get it.
Step 8: Remove the headlights. Pretty straight forward.. You need to remove the plugs off the bulbs and then just wiggle the headlight out. It's not the easiest thing to get out. Just be careful not to scratch the paint or crack the lense or anything dumb like that.
The harness is connected to the housing by this little tab thing.
And just for reference, here's the order the plugs conenct.
Step 9: Find your oven (electric is what I used) and set it to 275 degrees. Remove your bulbs and set them aside, being very careful not to touch the glass.
VERY IMPORTANT!!! DO NOT LEAVE THE HEADLIGHTS IN THE OVEN LONGER THAN 5-6 MINUTES. I LEFT EM IN FOR ABOUT 6 MINUTES. IF YOU MESS UP AND MELT YOUR HOUSINGS, ITS NO MY FAULT!!
Step 10: Pull your headlight/s out of the oven and work quickly. Using your flat head screw driver, pop the tabs (don't break them) and seperate the headlight lense from the housing.
Reference video.
Now, because my one friend is an idiot, he worked on removing the glue from the one housing, which I didnt really want to do.
Reference video
Step 11: Time to remove the yellow stuff from the headlights! You'll need to rermove 2 phillips screws. There's also one little tab, qhich, I broke on both of the headlights, but they really don't do anything so I would'nt worry about it too much
Pointing at the lil clip you're gonna break.
And the broken tab.
Ta daa!!!
Step 12: Re-assembly. Reference the video.
Step 13: Backtrack and re-assemble the front end of your car! You must re-install your headlight bracket, then the headlight itself.
Reference video plz
Basically, thats it. Just do the reverse of what you did to take everything off.
What does the end result look like?
Daytime pics will be up tomorrow.
Enj0y!


Trending Topics

Thread
Thread Starter
Forum
Replies
Last Post
Fuster_Cluck
Honda Accord (1990 - 2002)
13
12-16-2003 06:03 AM