
92 front fender removal how-to with pictures
 10-20-2016, 06:49 PM
#1
Honda-Tech Member
Thread Starter

Join Date: Oct 2016
Location: Ashland, WI
Posts: 5
Likes: 0
Received 0 Likes
on
0 Posts
Hey yall I'm parting out a 92 Accord LX and before I can post all my goodies in the classifieds I need a few posts in the tech section. Thought that as many times this question shows up in search, it might be a good topic for a quick how-to article!
Sorry the pictures are so big Im not quite savvy enough to resize them.
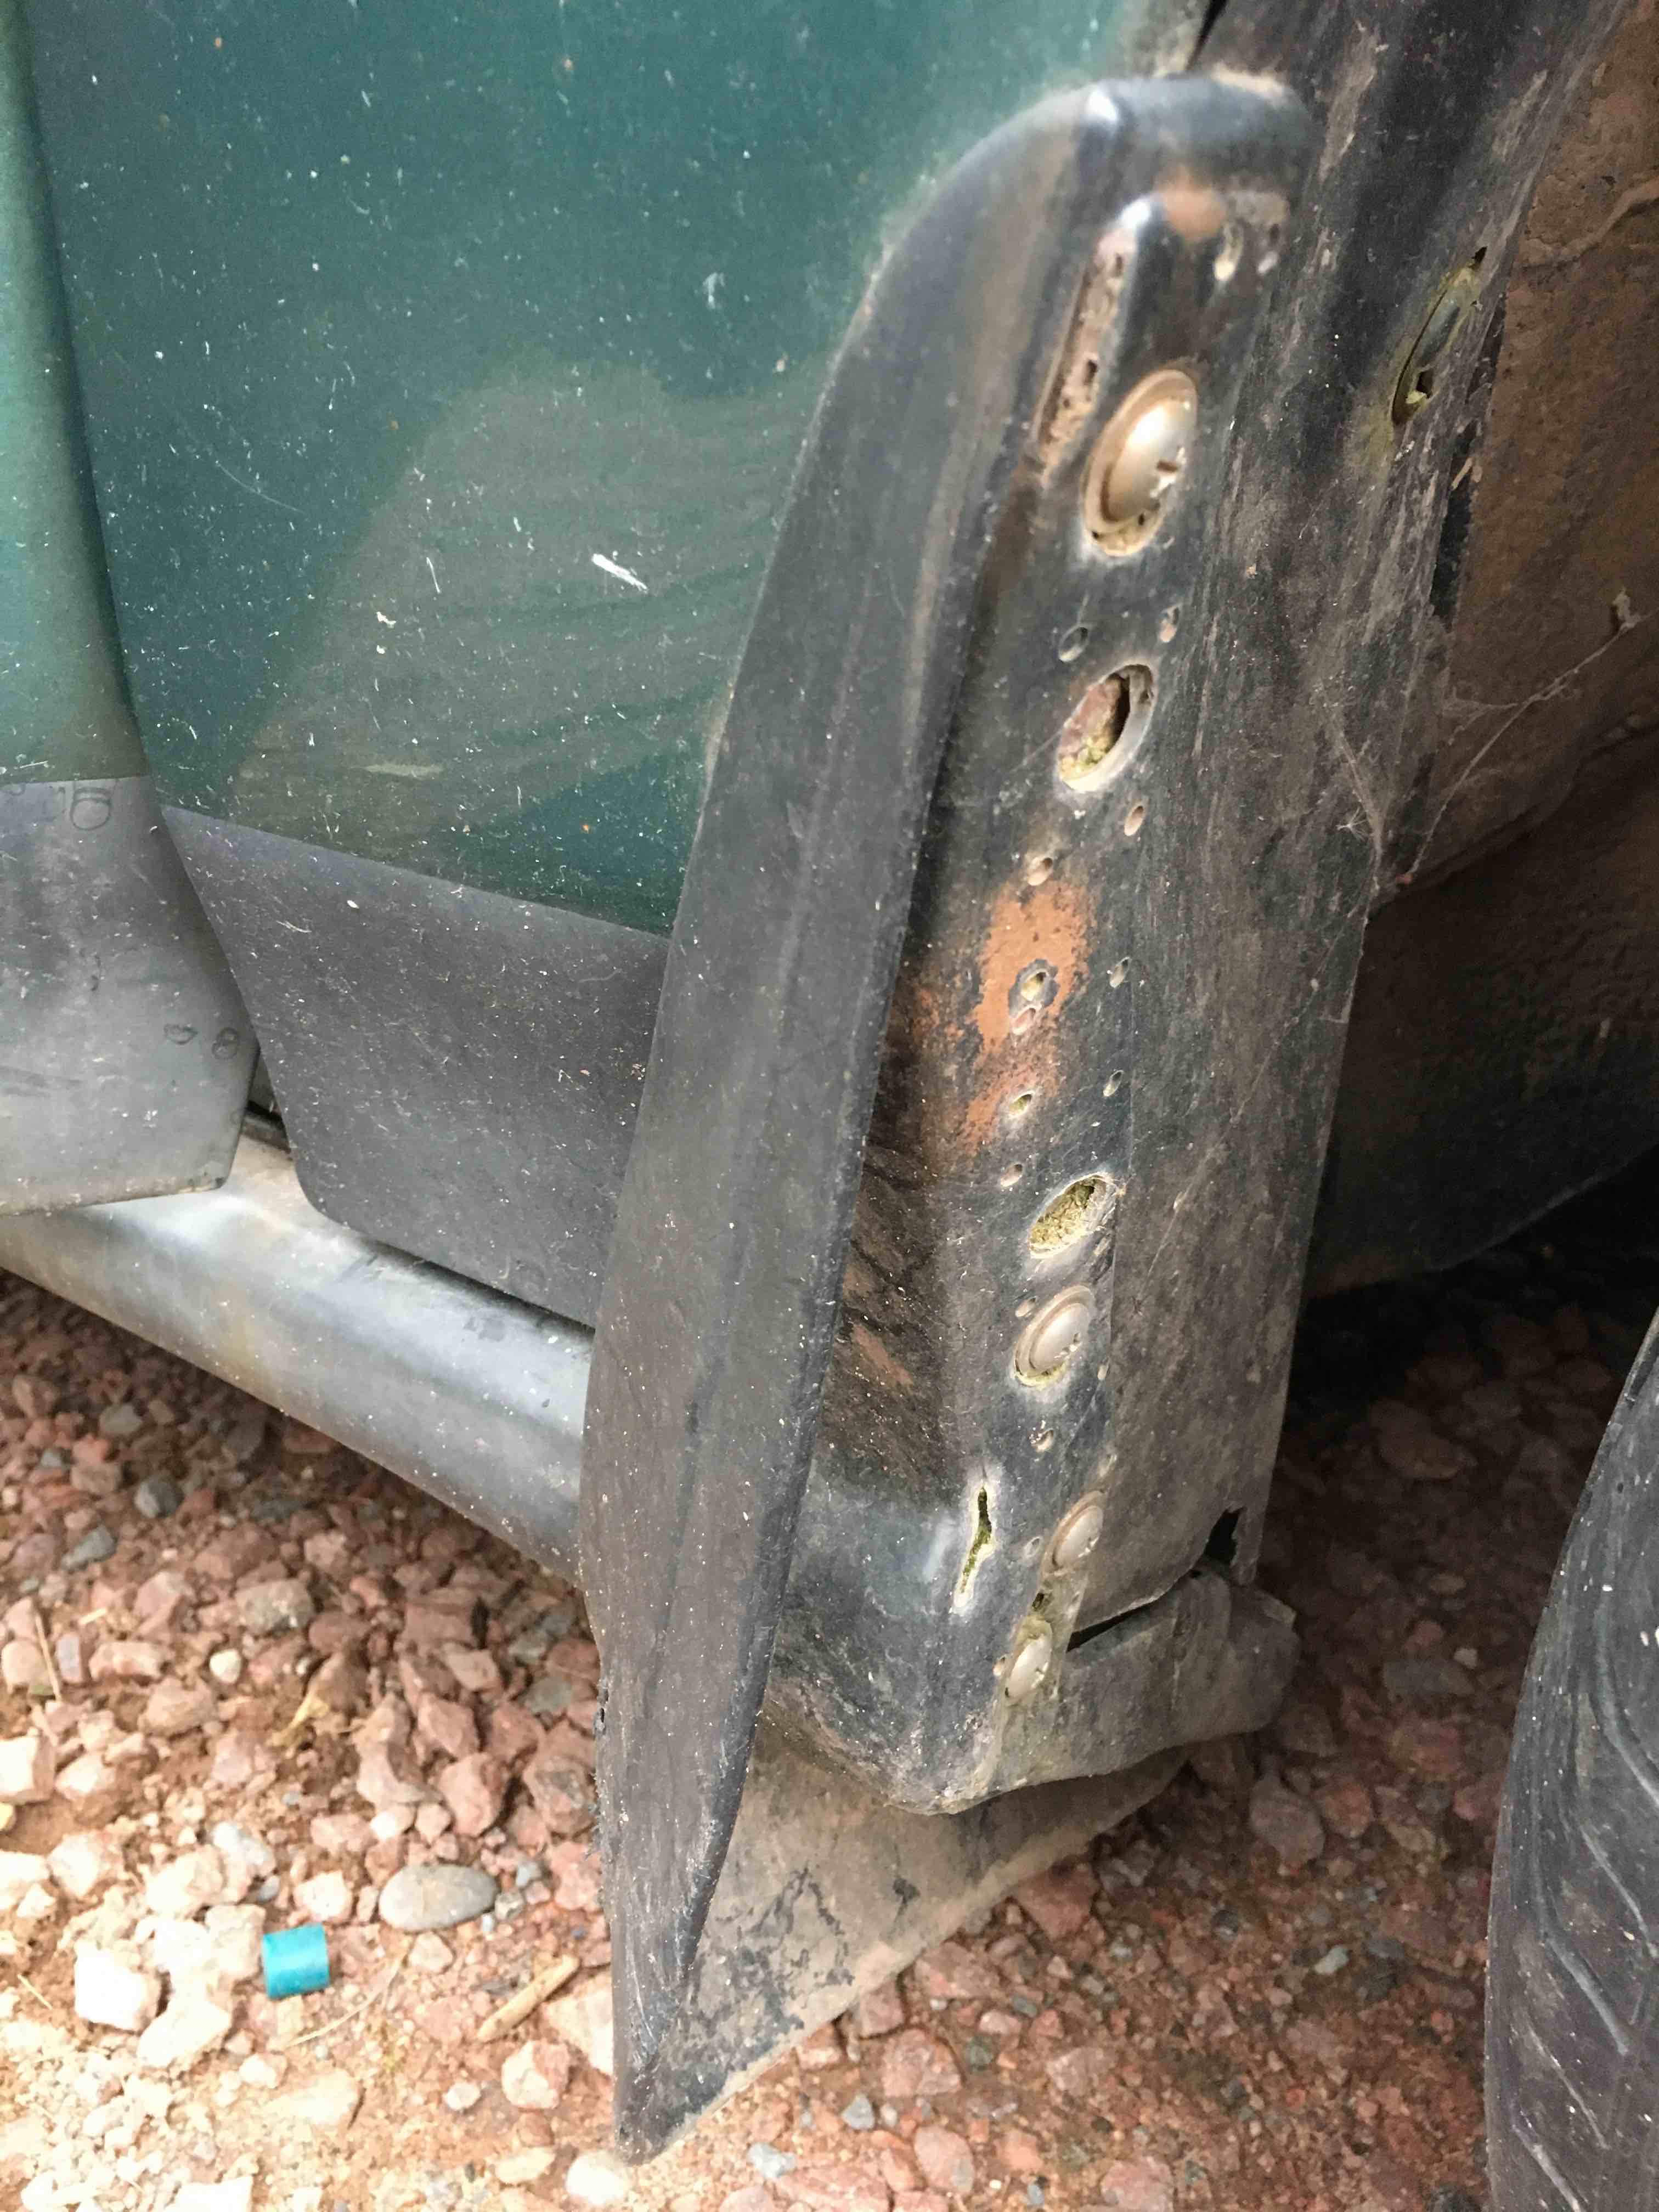
Start by un-screwing the lower fender flare that is also attached to the rocker panel covers
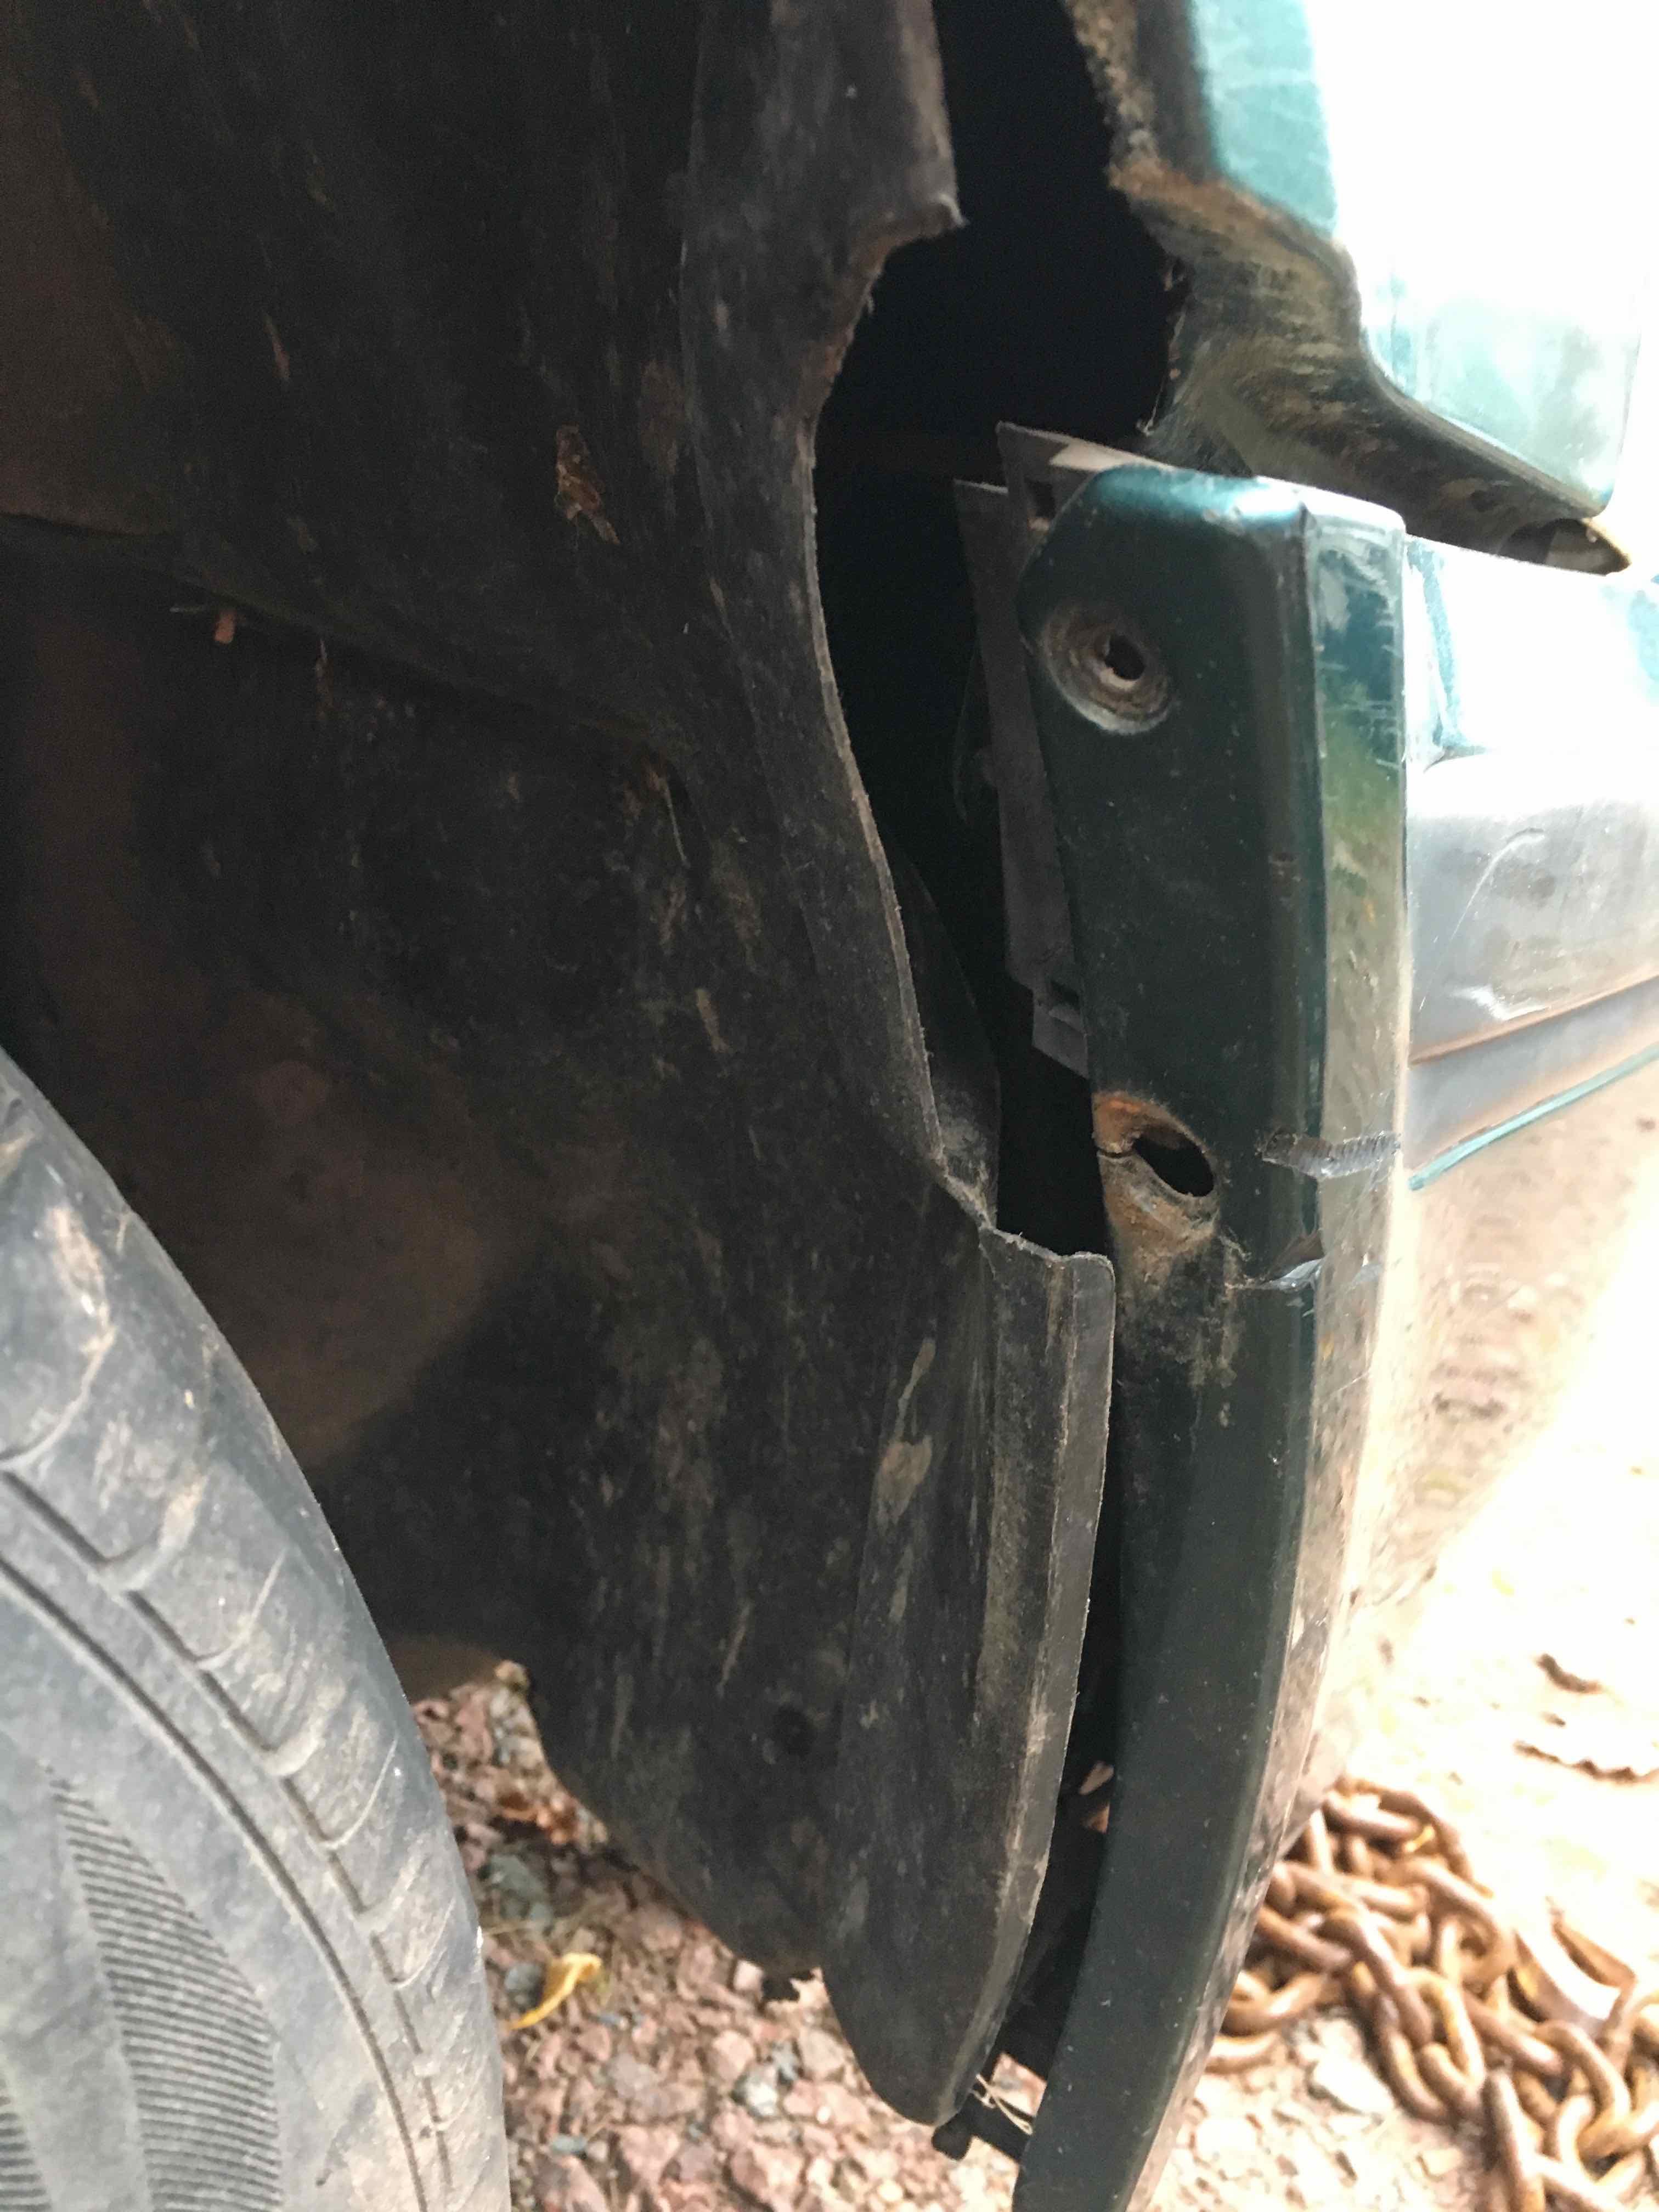
Then separate the inner fender along the outside edge of the wheel well by unscrewing the plastic screws and then pulling the whole fastener out
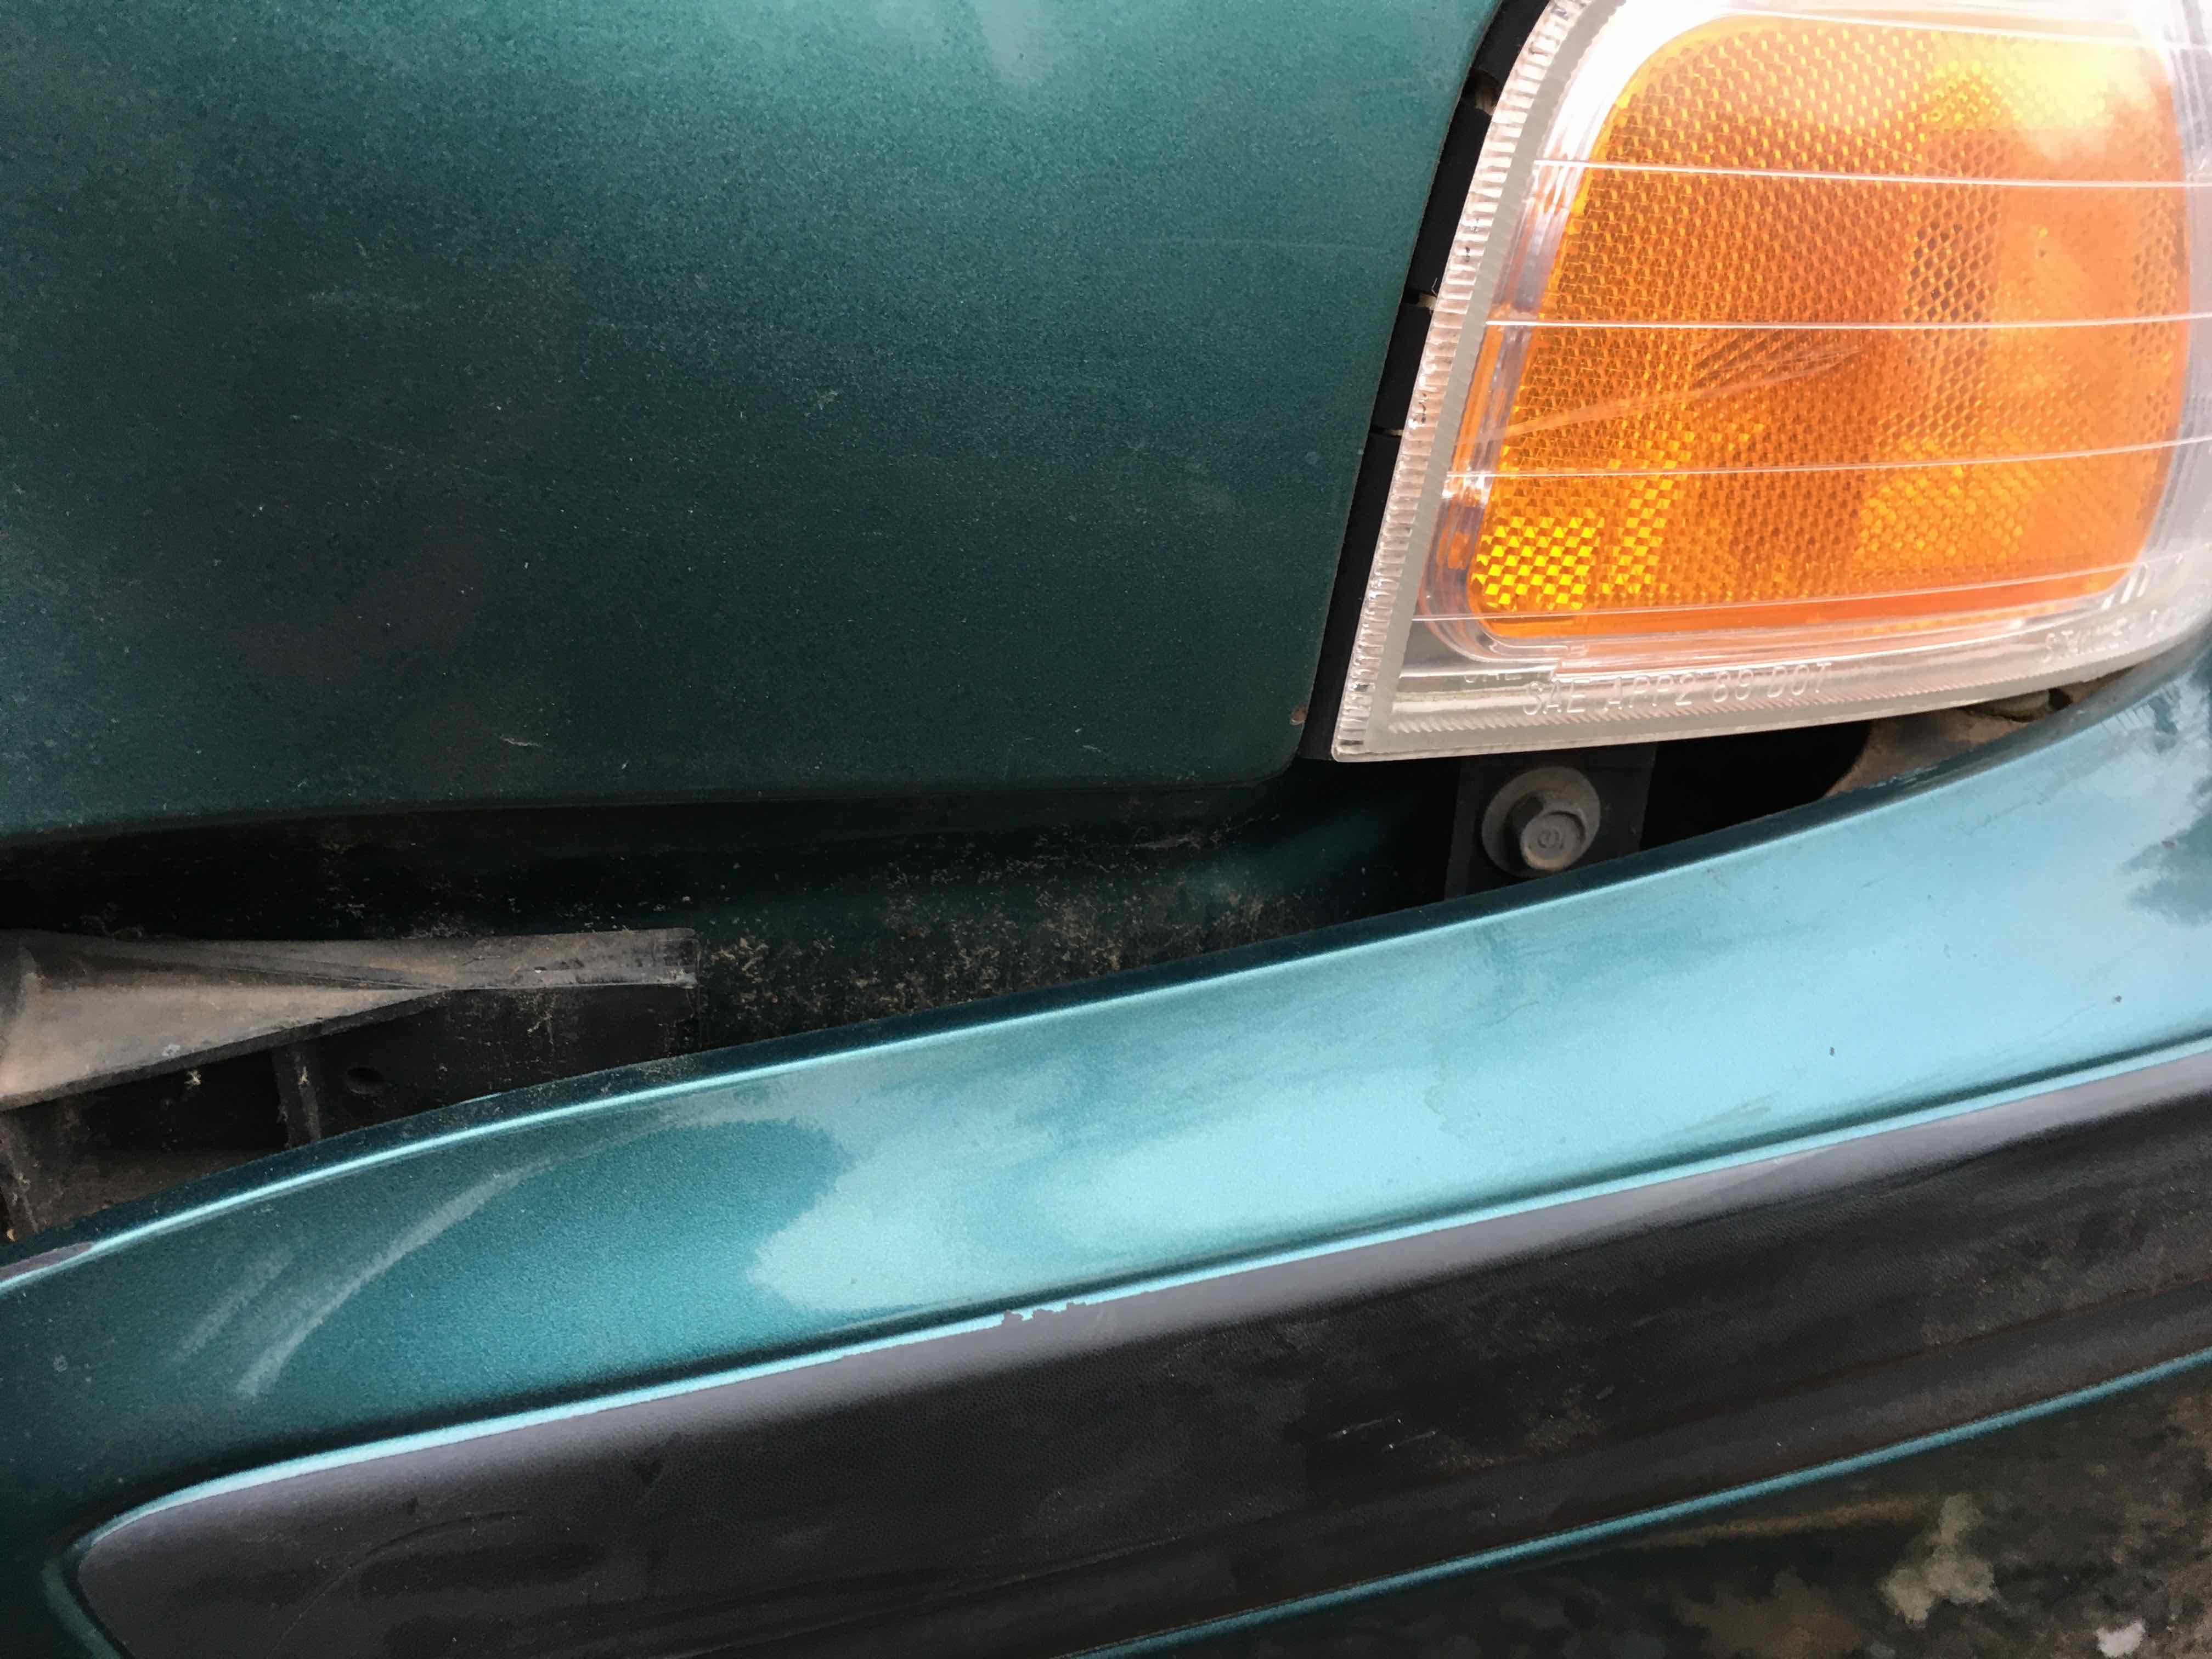
Unscrew the 2 screws that attach the bumper cover to the fender
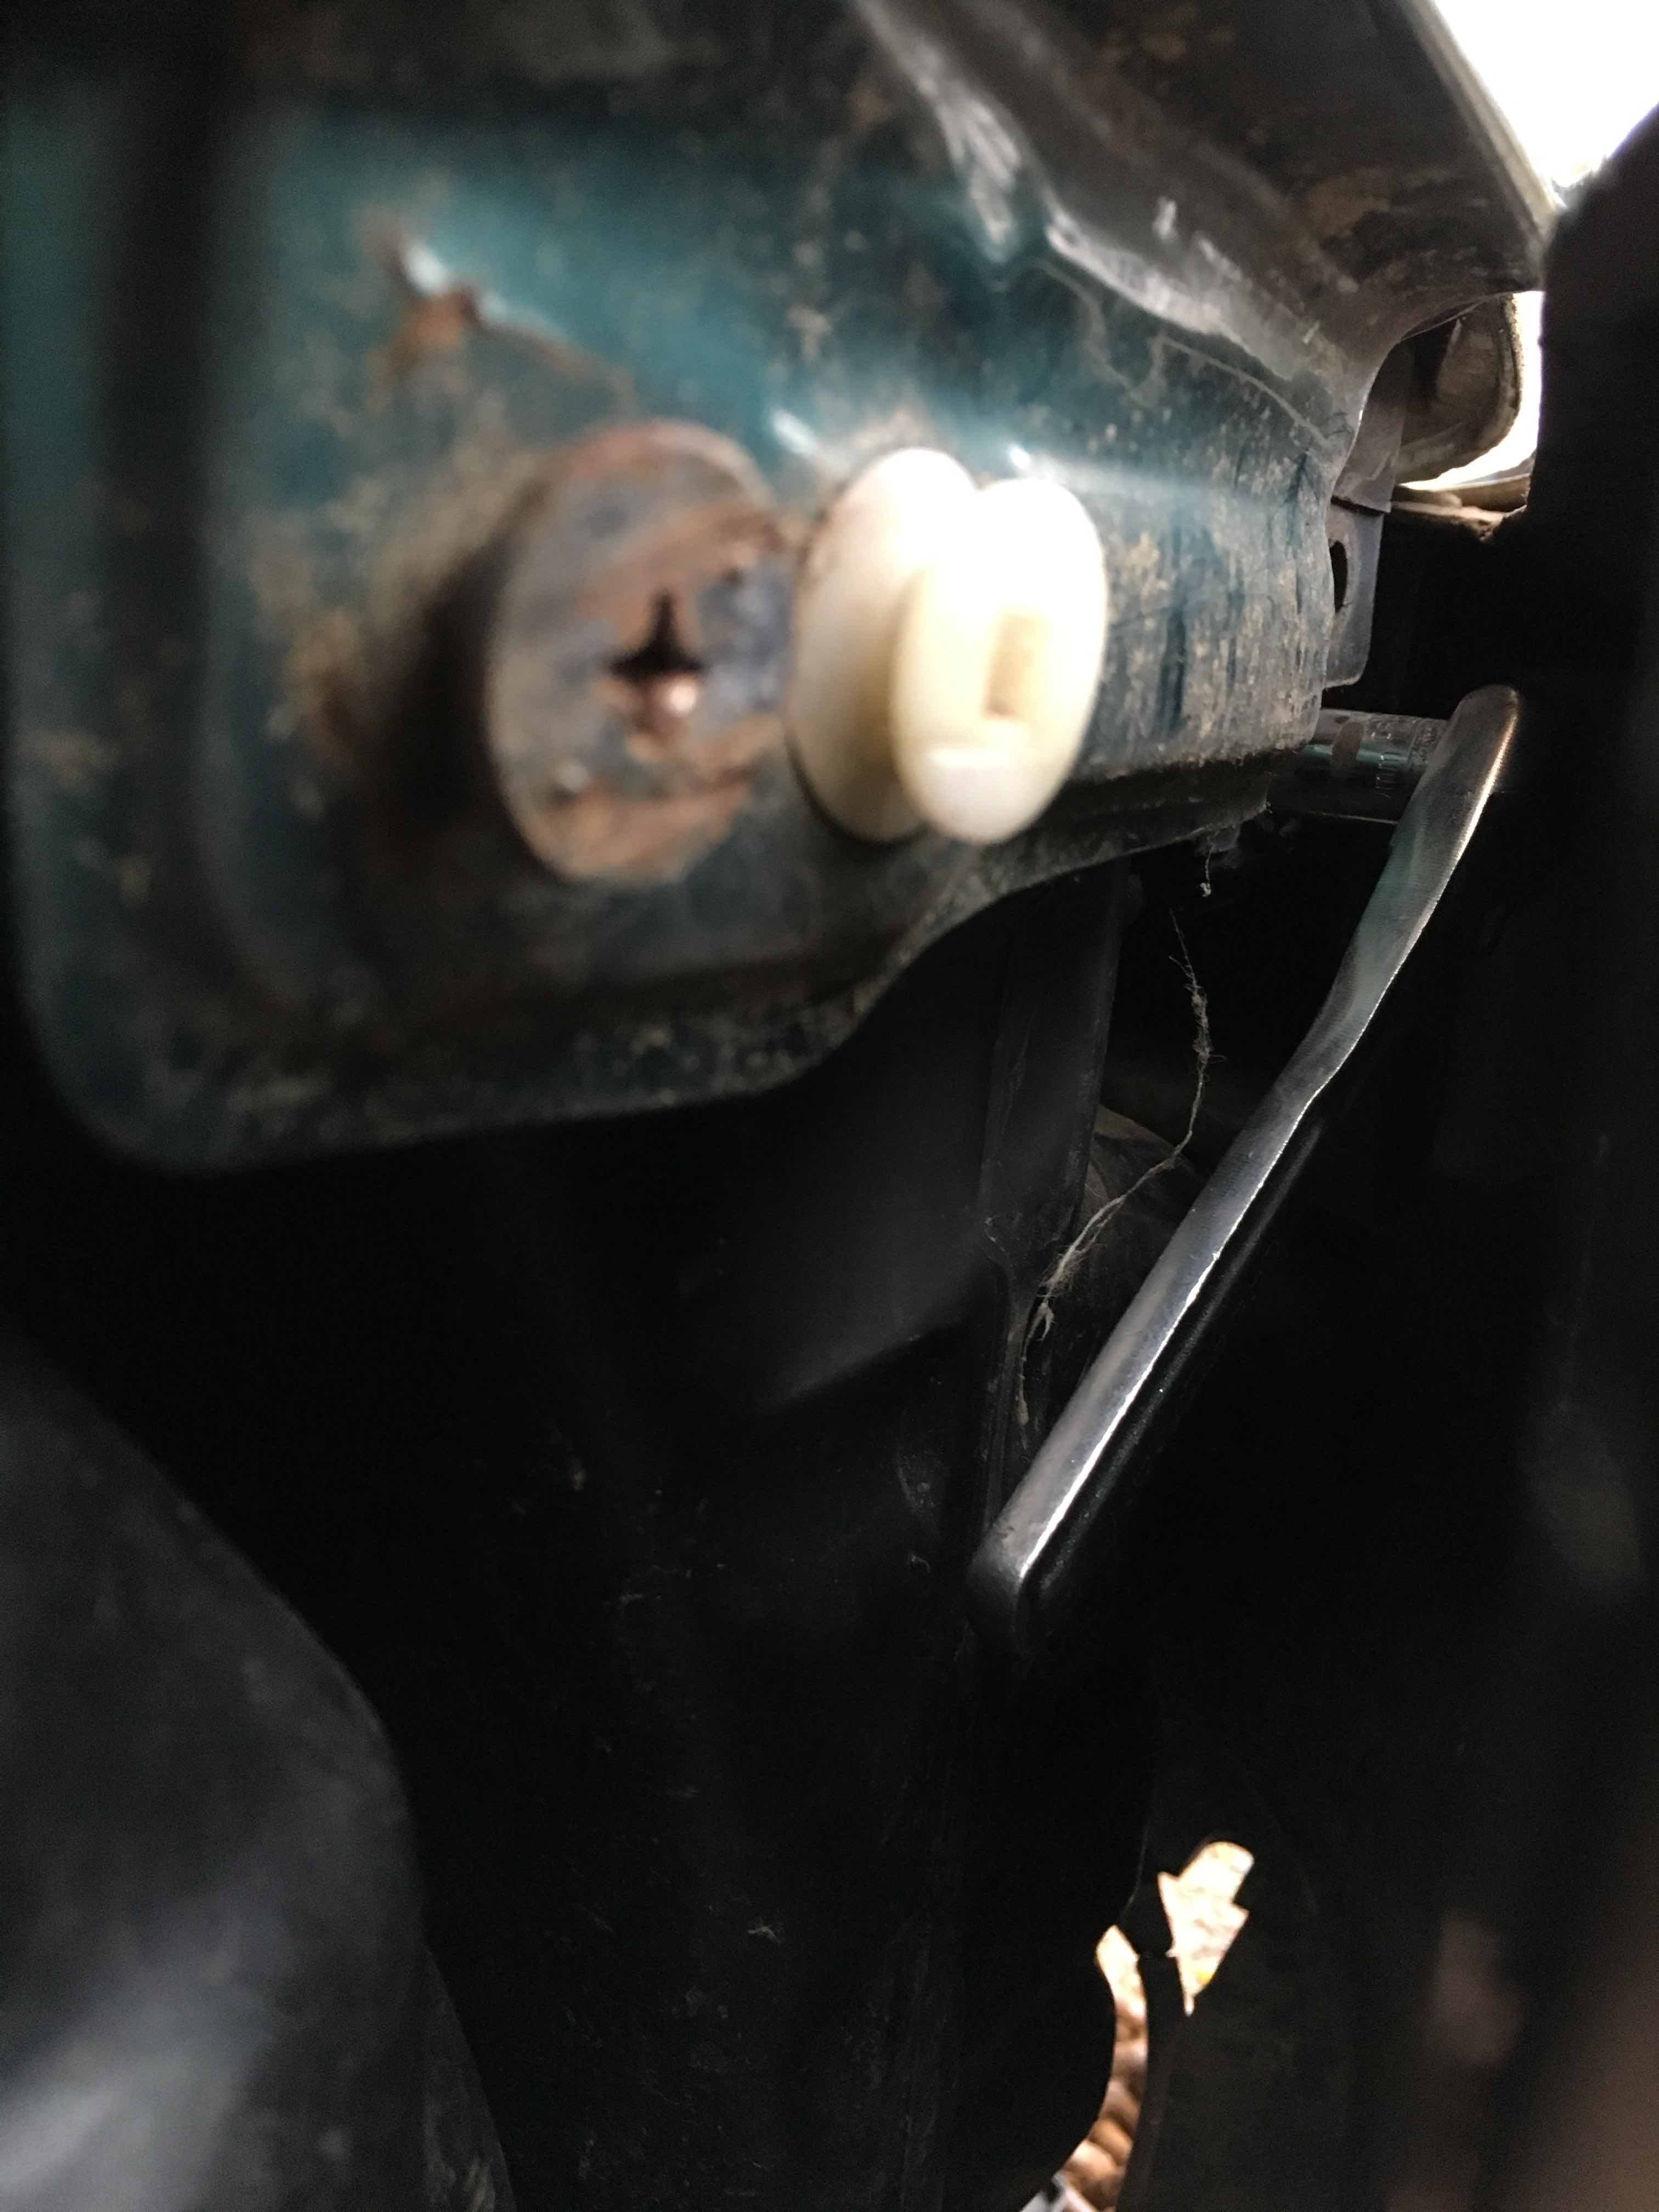
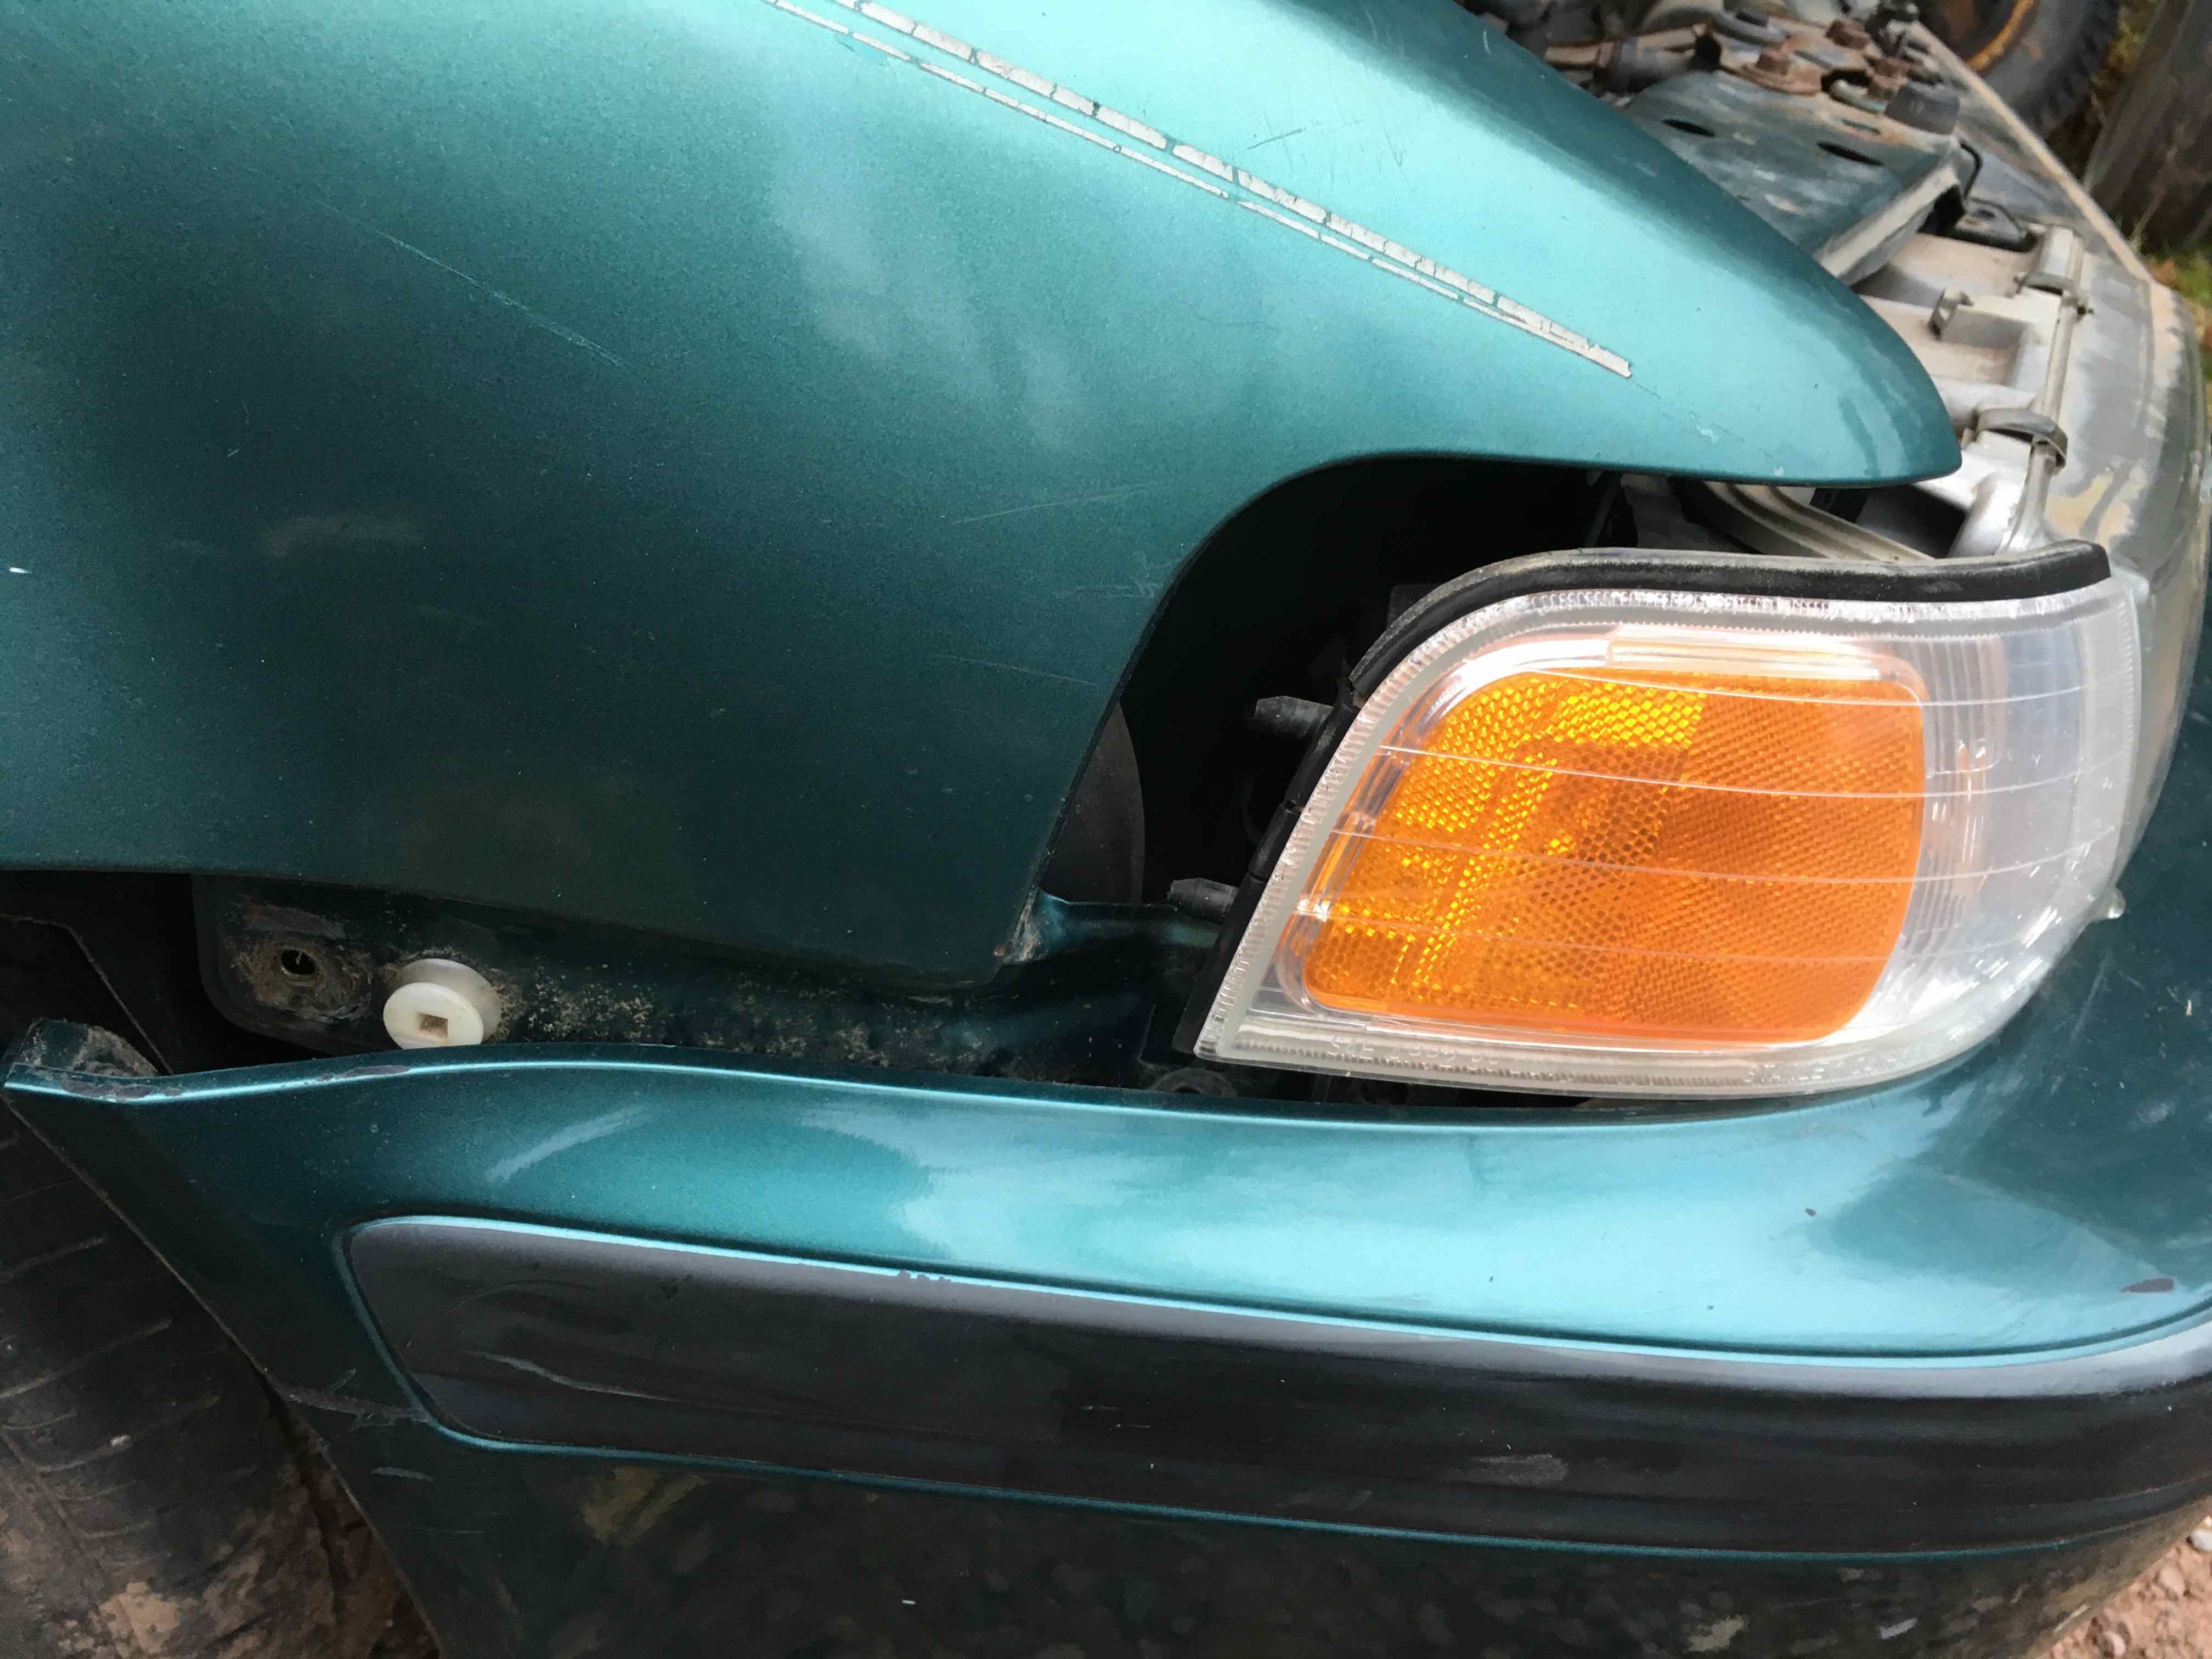
Slide the clip out between the bumper cover and fender

Pull the bumper cover down slightly just enough to expose the bolt head holding the directional to the fender 10mm
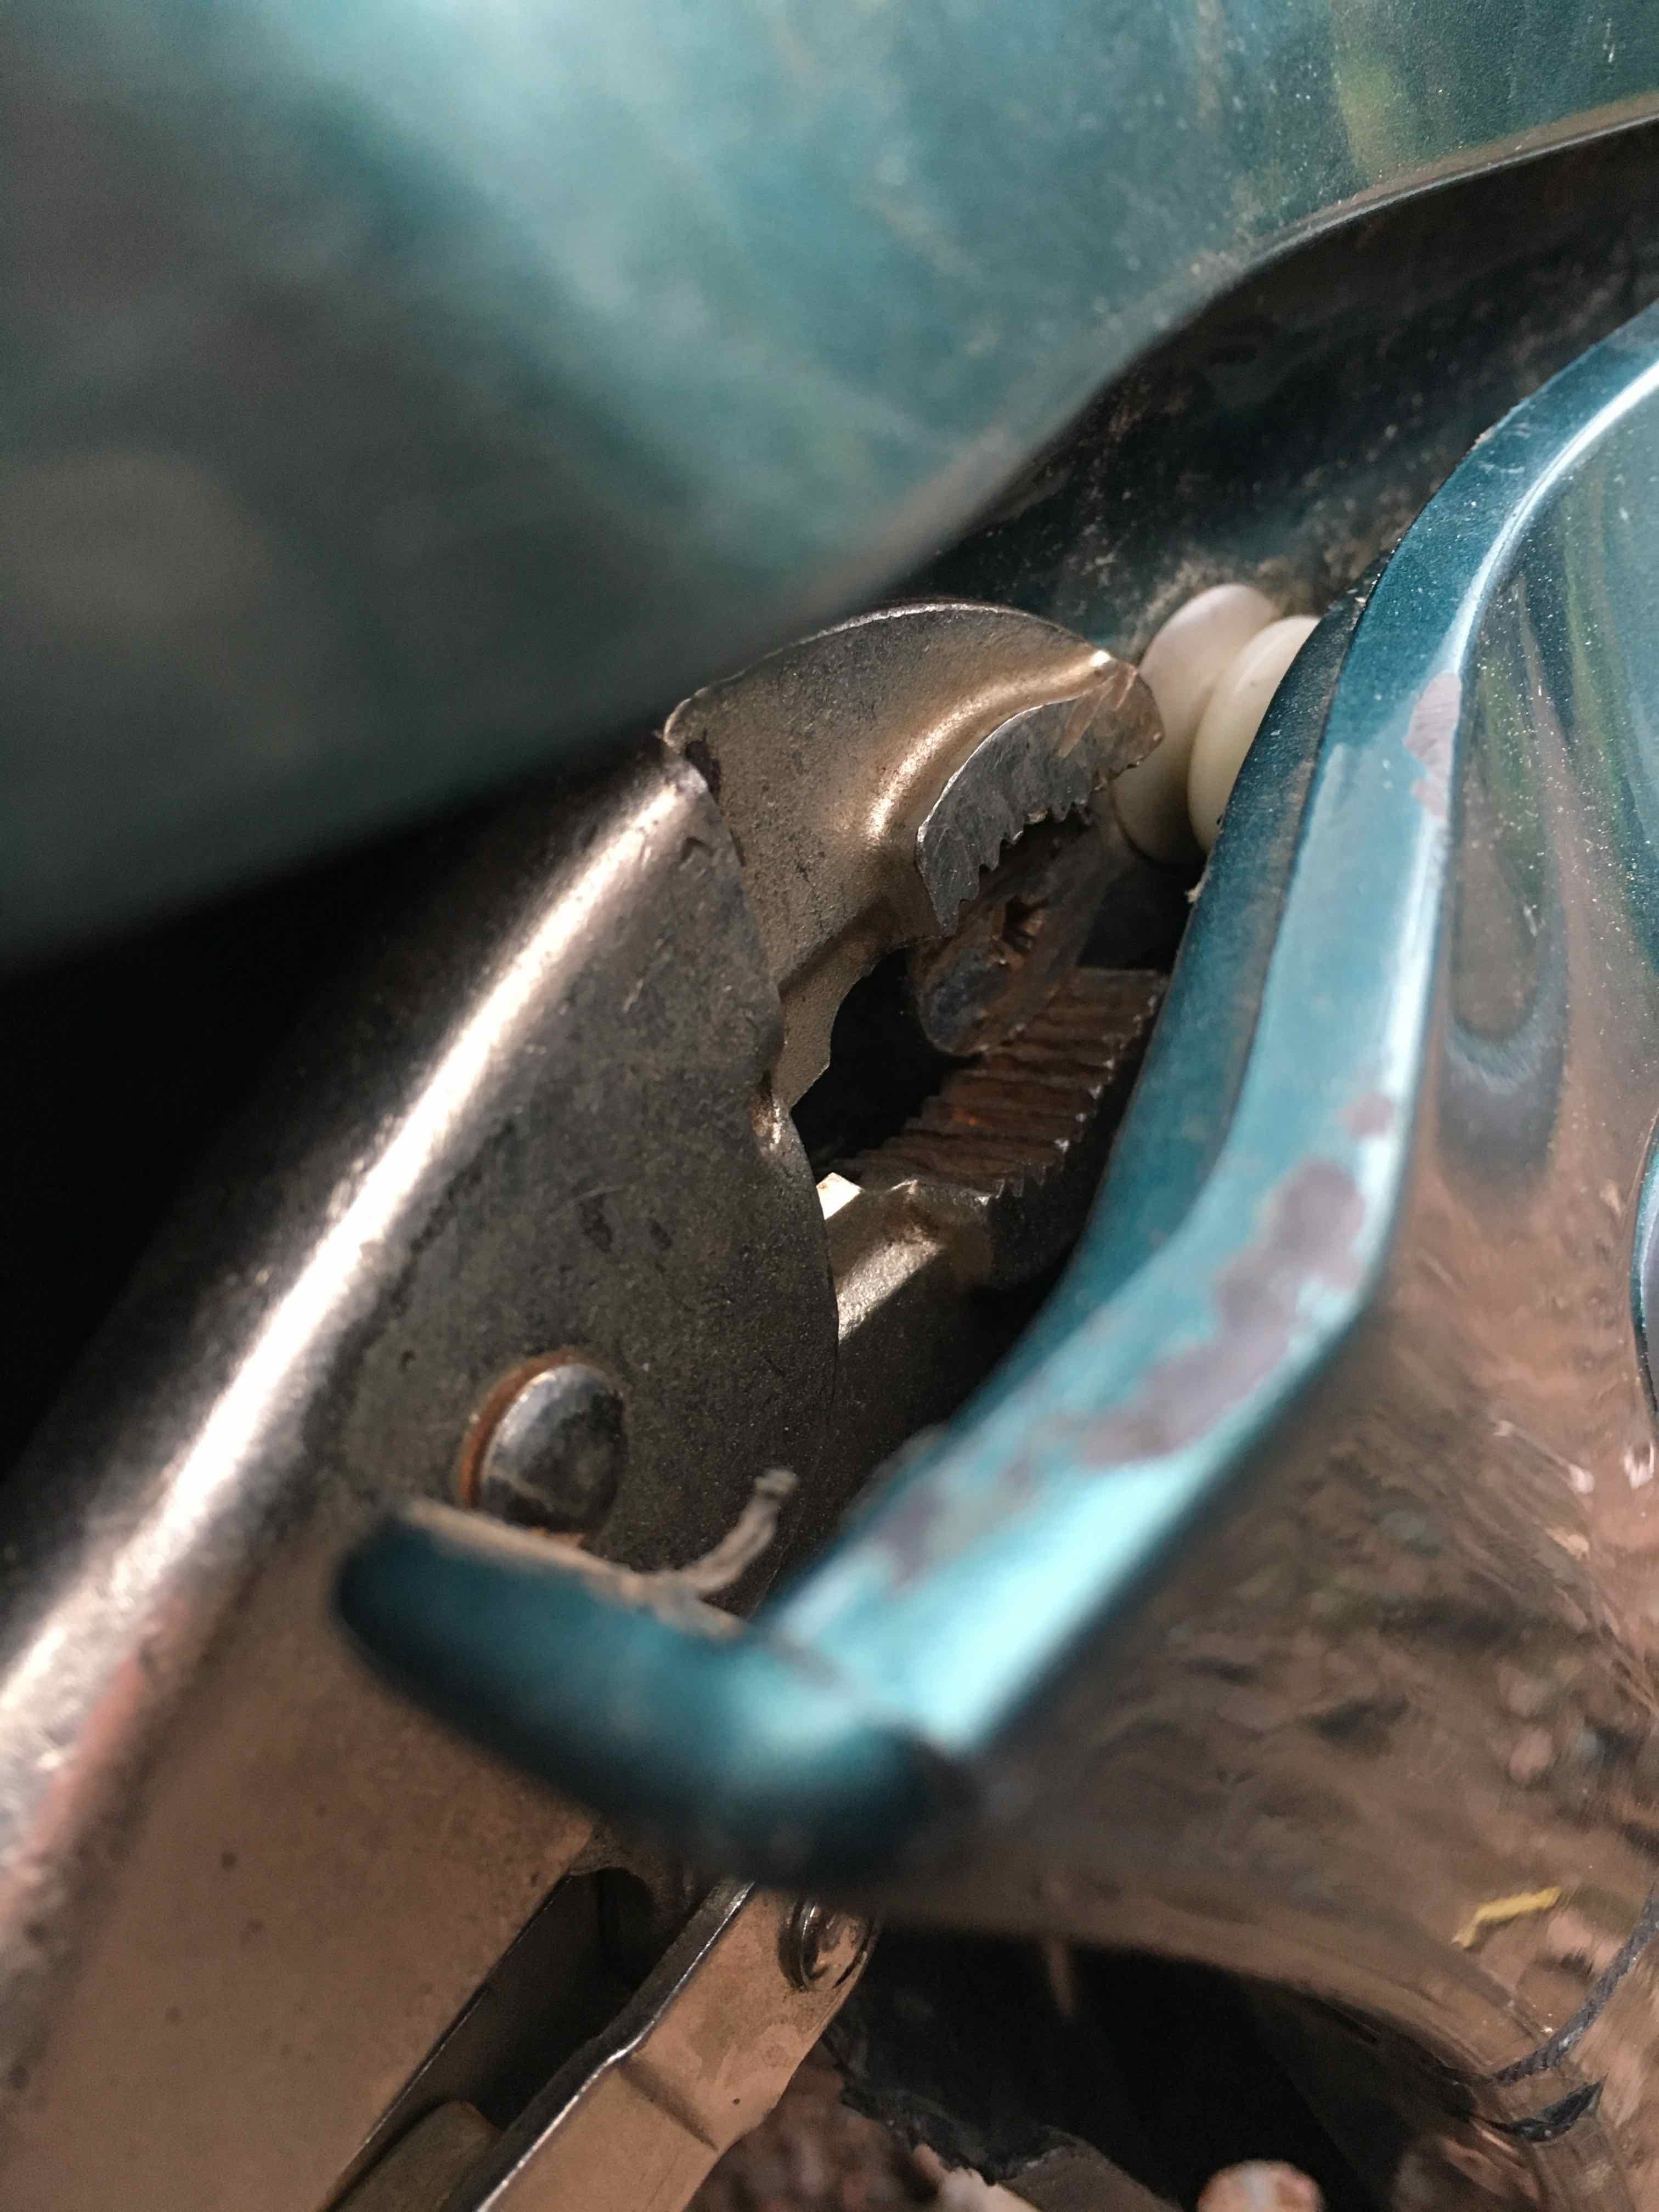
Fold back the inner fender enough to reach your arm in between the inner fender and bumper cover to remove the next bolt just underneath the last one, also 10mm
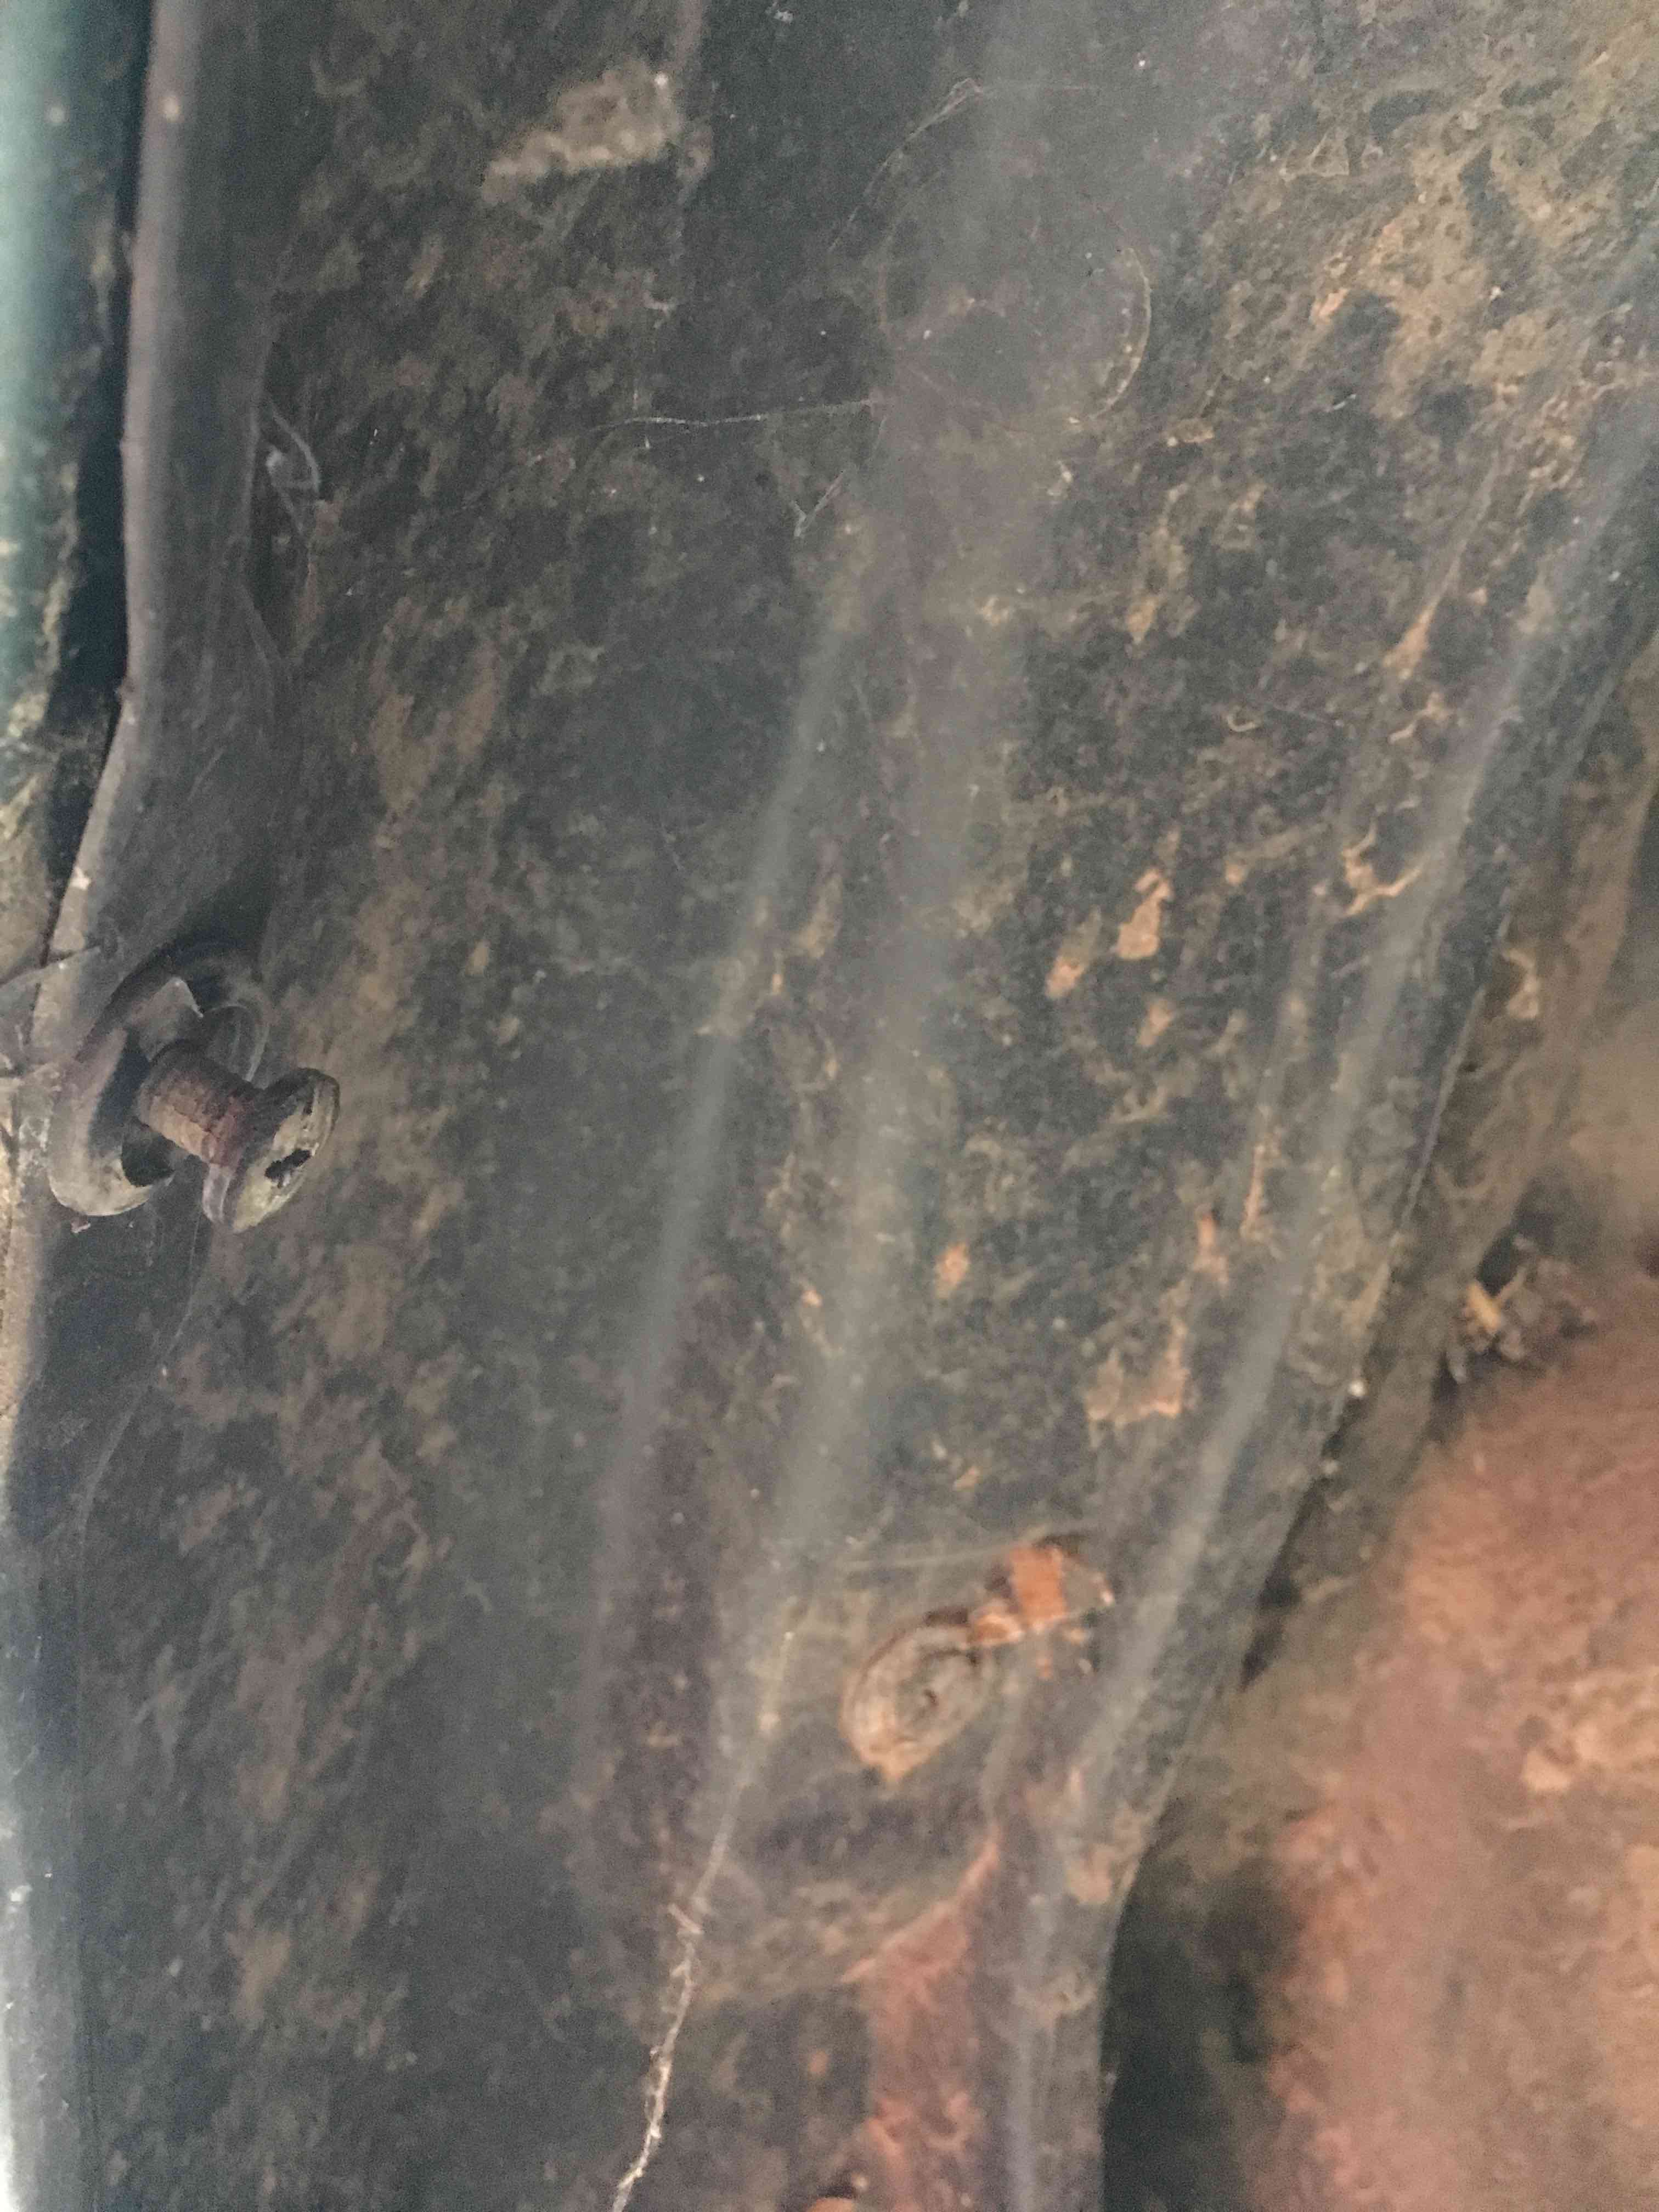
If you are in the rust belt like me, do whatever it takes to get this little bolt/screw out. I have one of those screw drivers shaped like a Z that would have worked if it wasn't so rusted in. There is a way to get to the other bolt that holds this bracket on, but you would have to either remove the air intake on the passenger side or make room behind the cruise control on the drivers side.
Then take out the easy to see 3 bolts along the top, 10mm
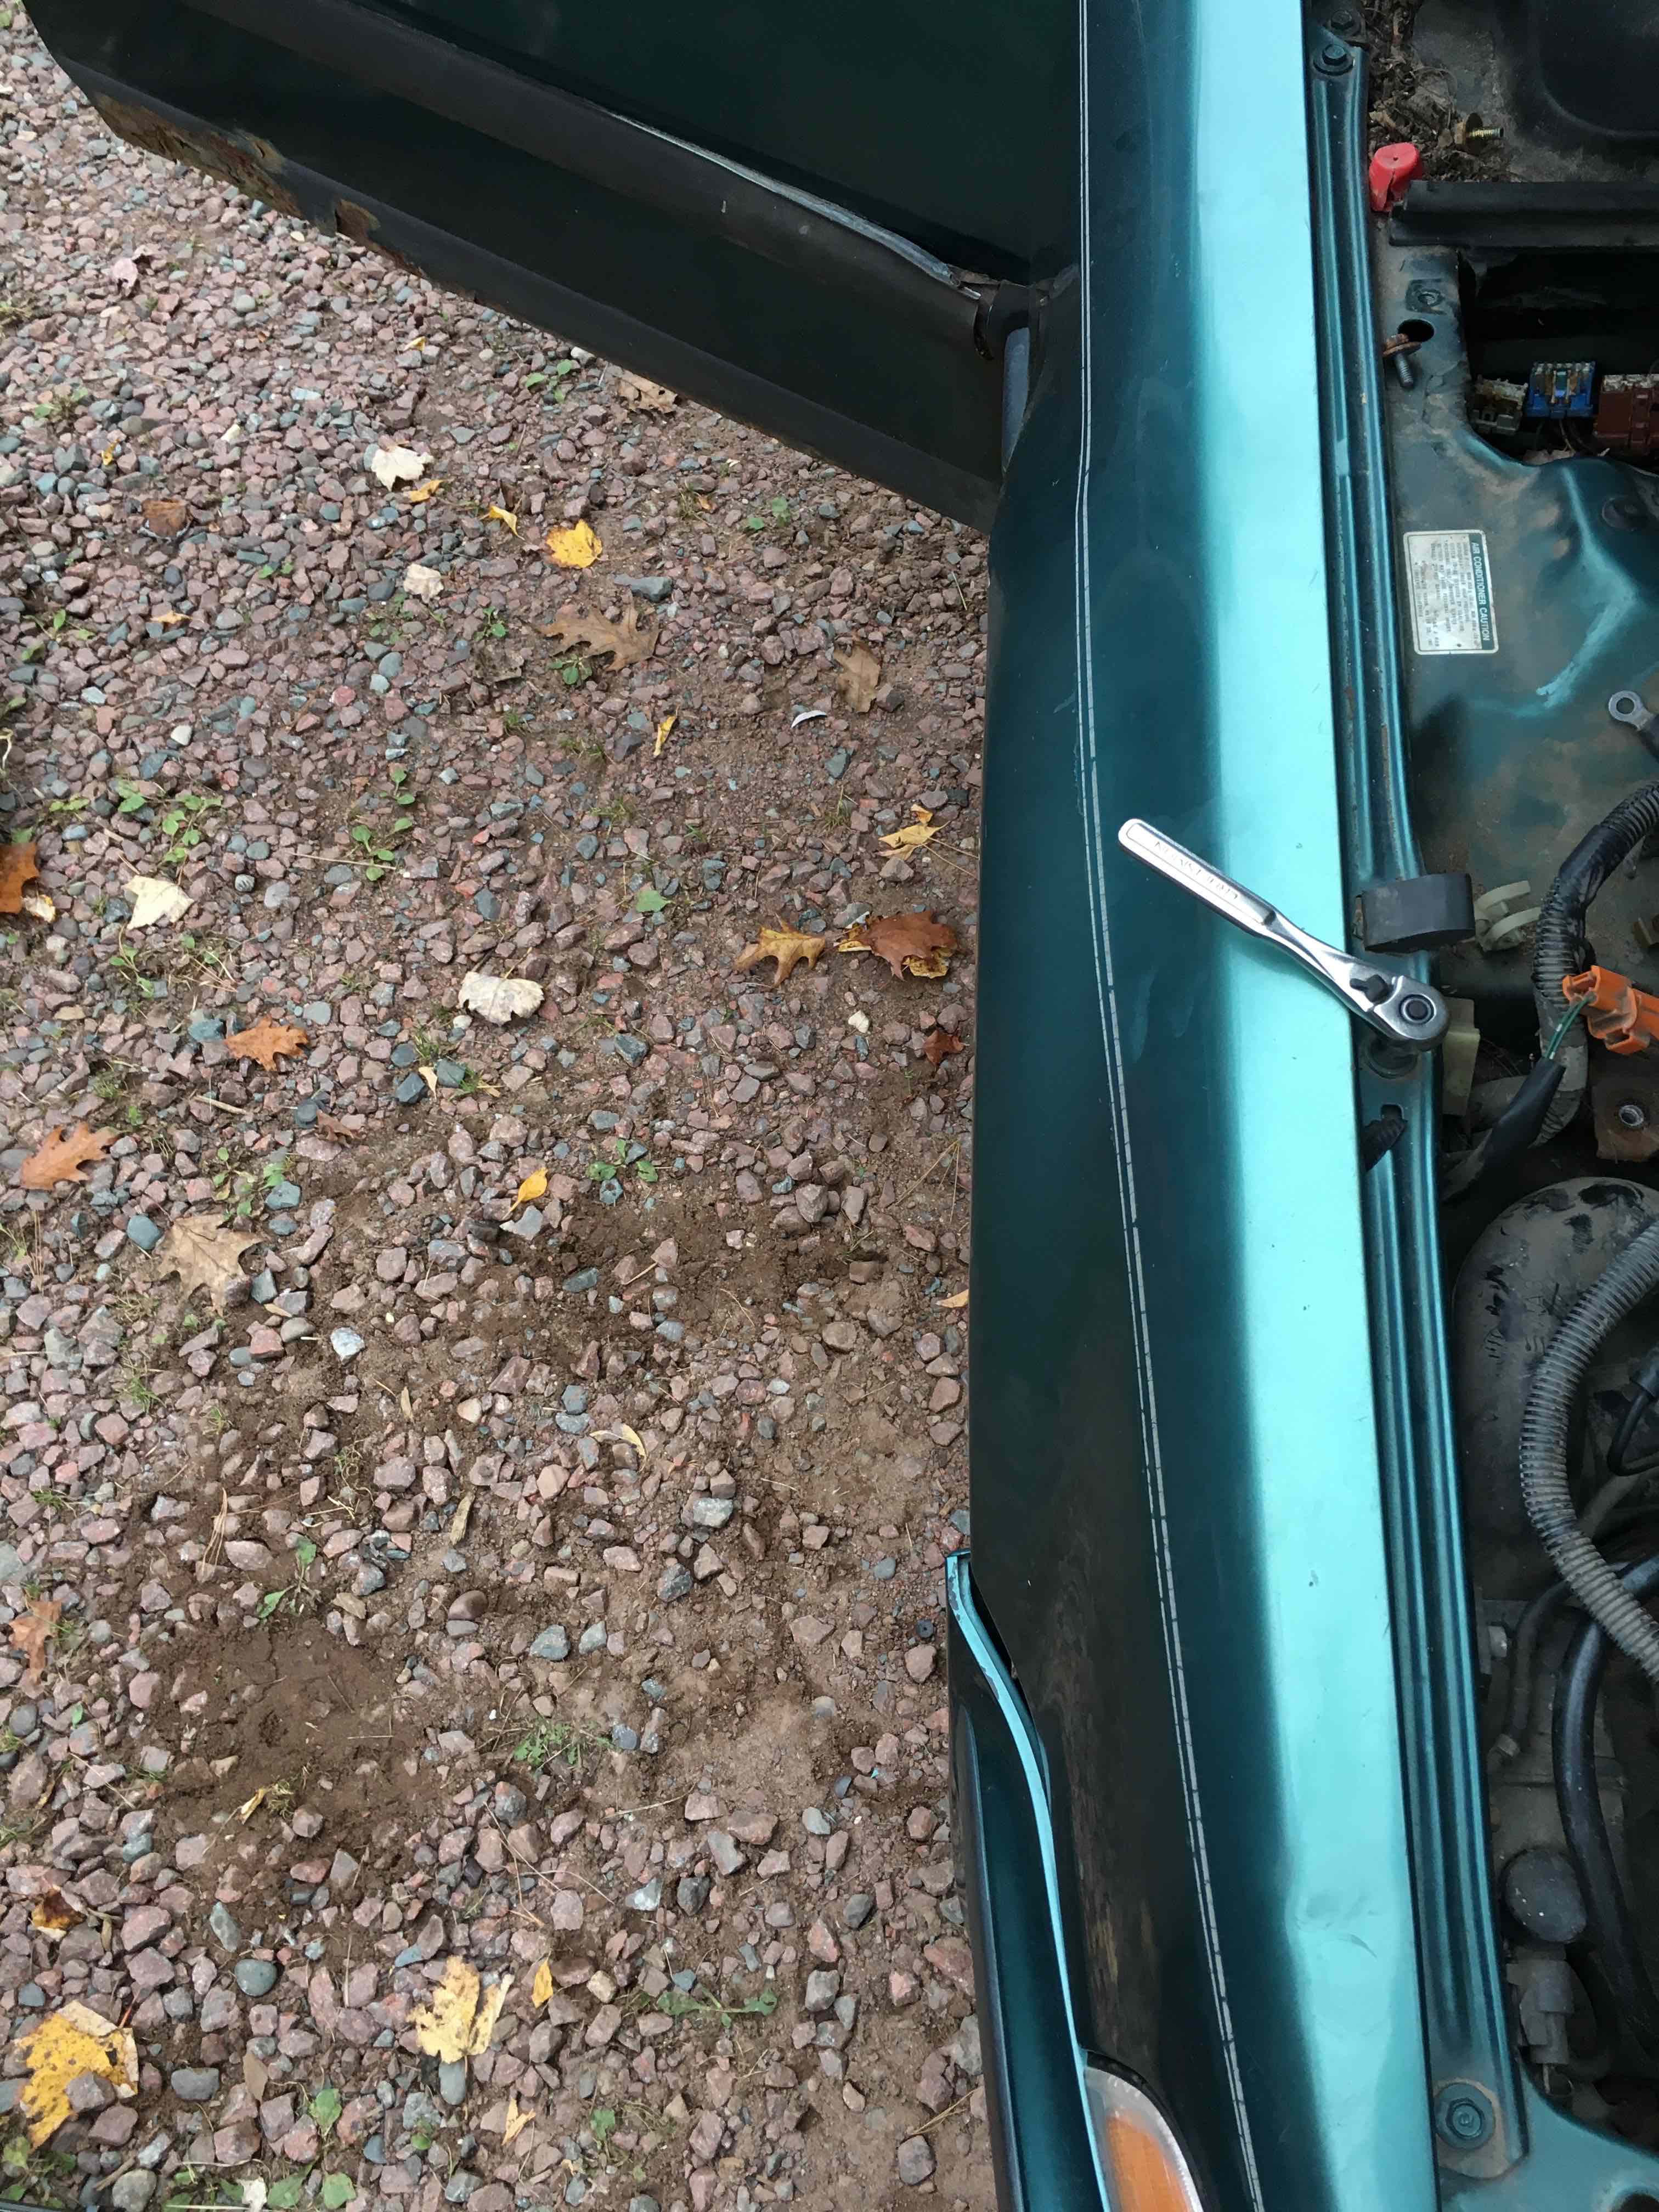
Open the door to get to the top fender bolt, I started this with the ratchet but only had enough room to remove it with an open end wrench 10mm
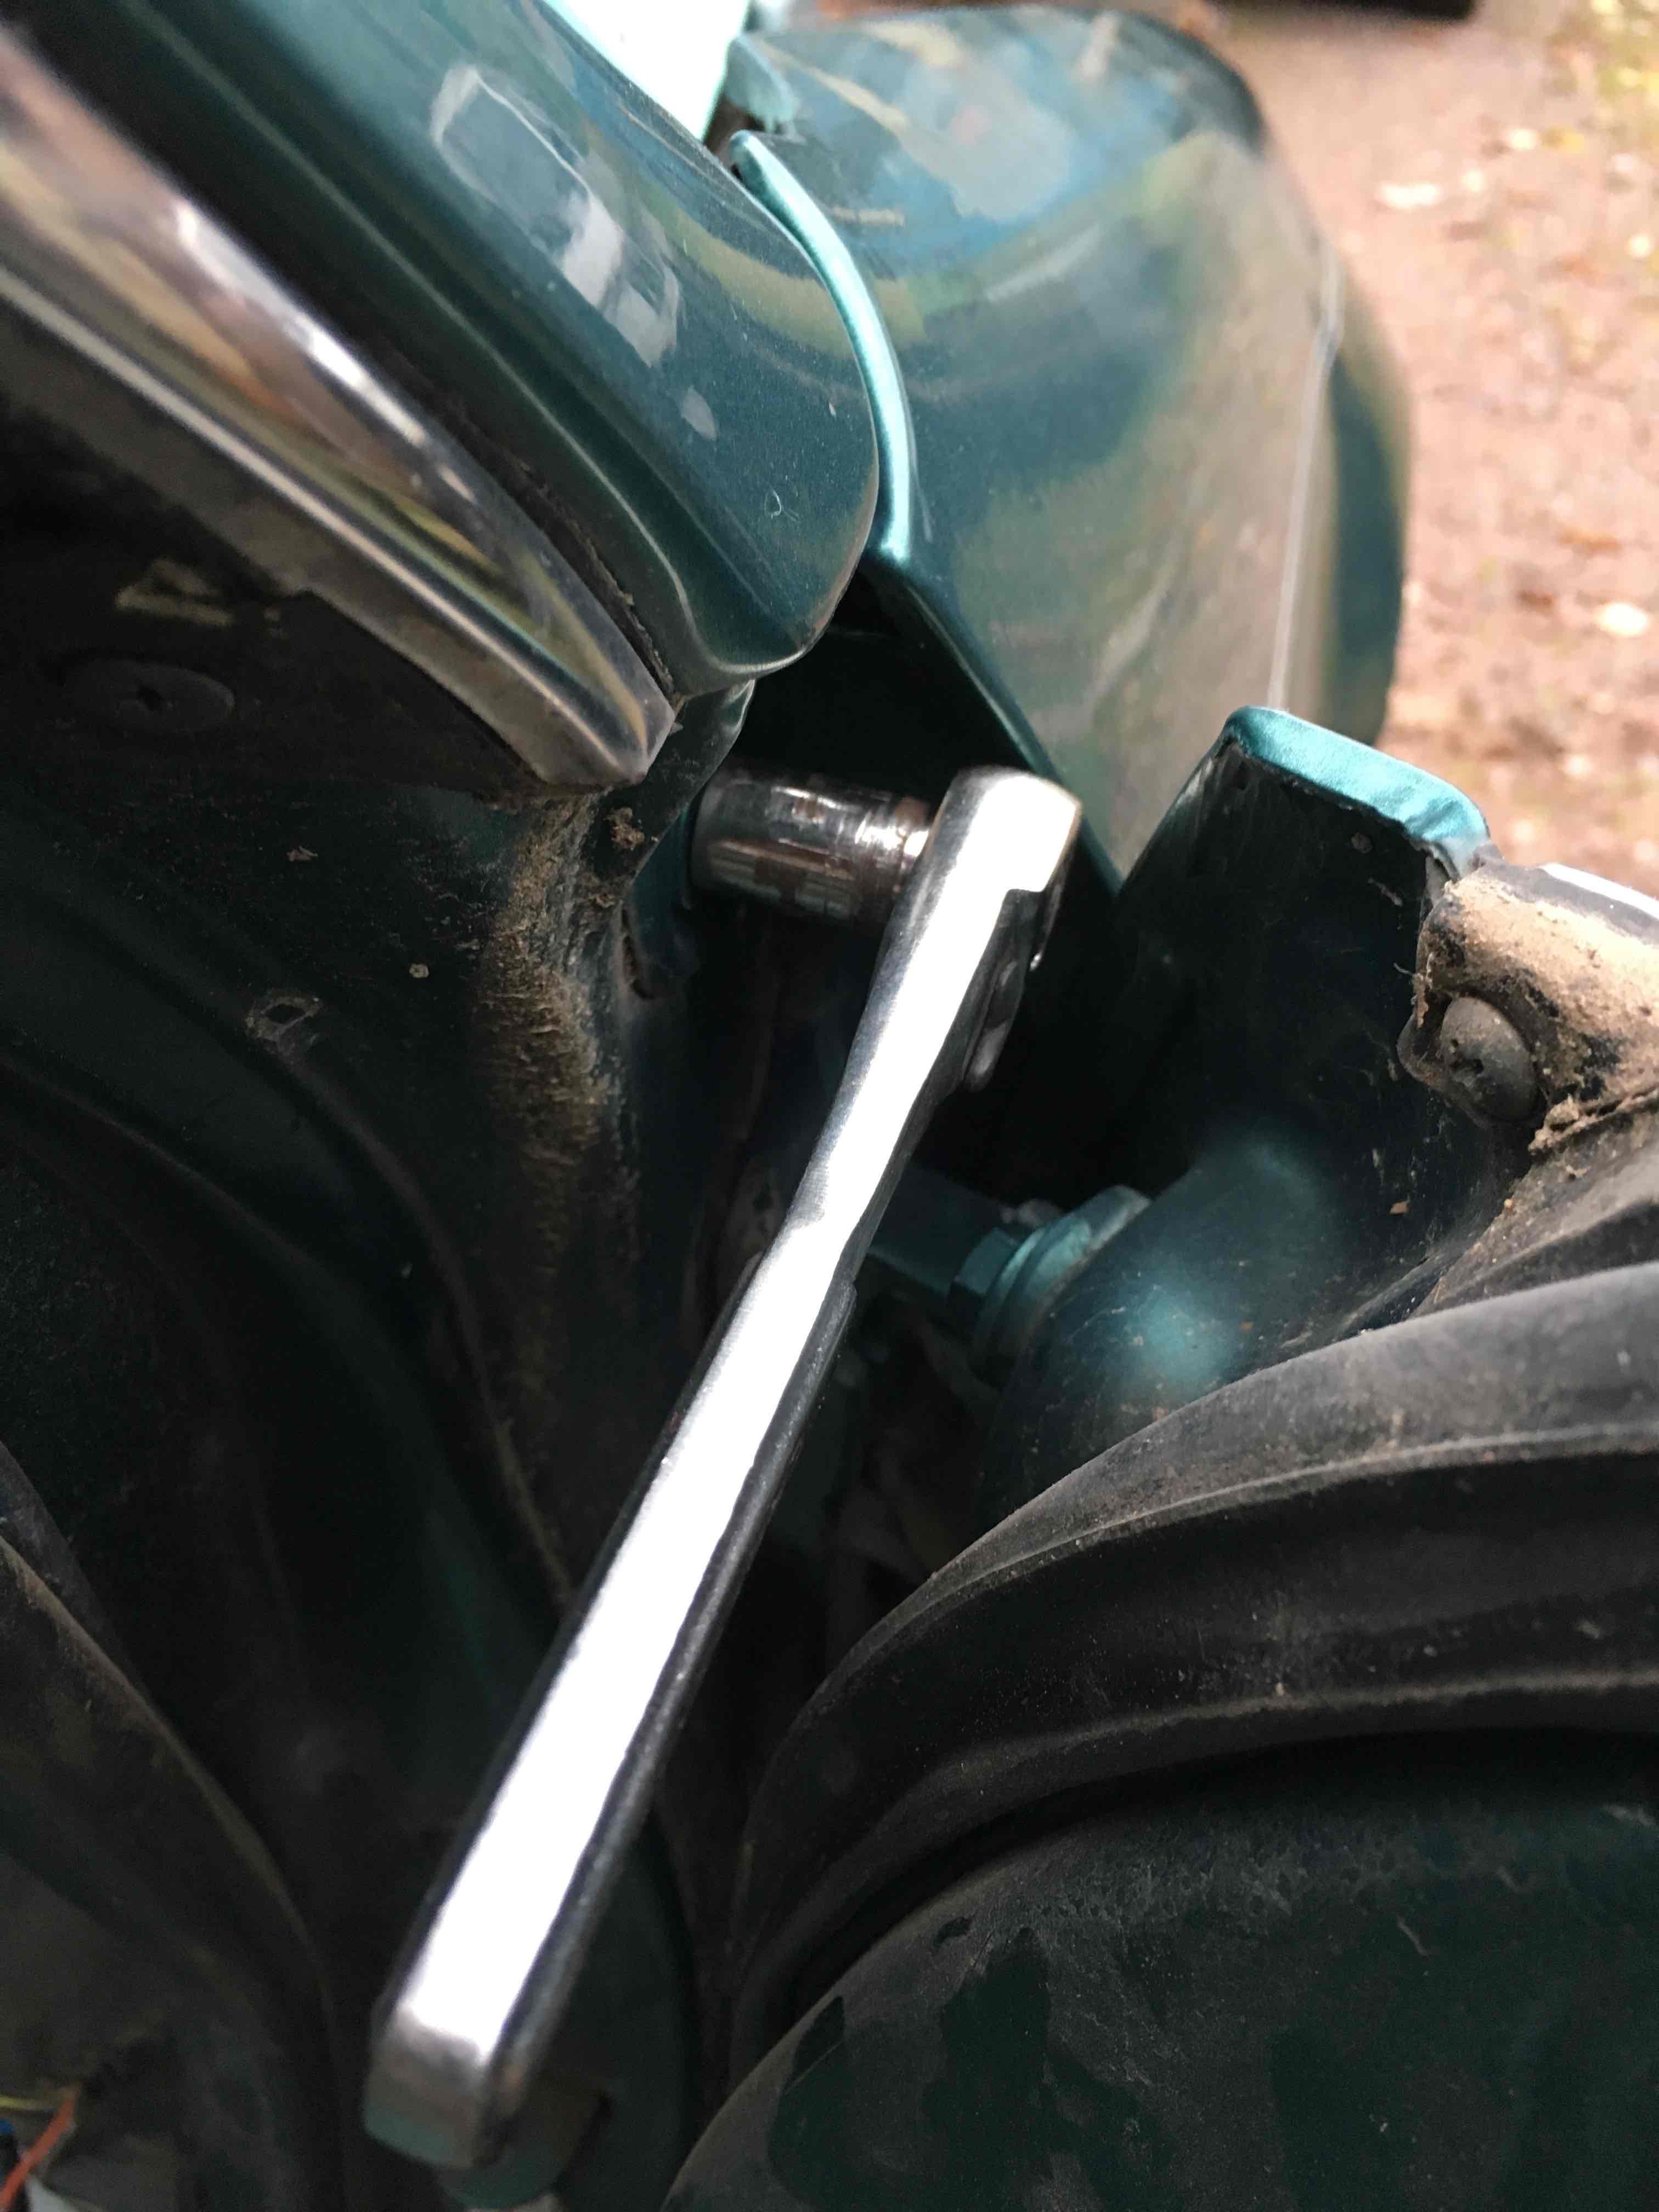
Lower fender bolt still with the door open but accessed from the front side of the door
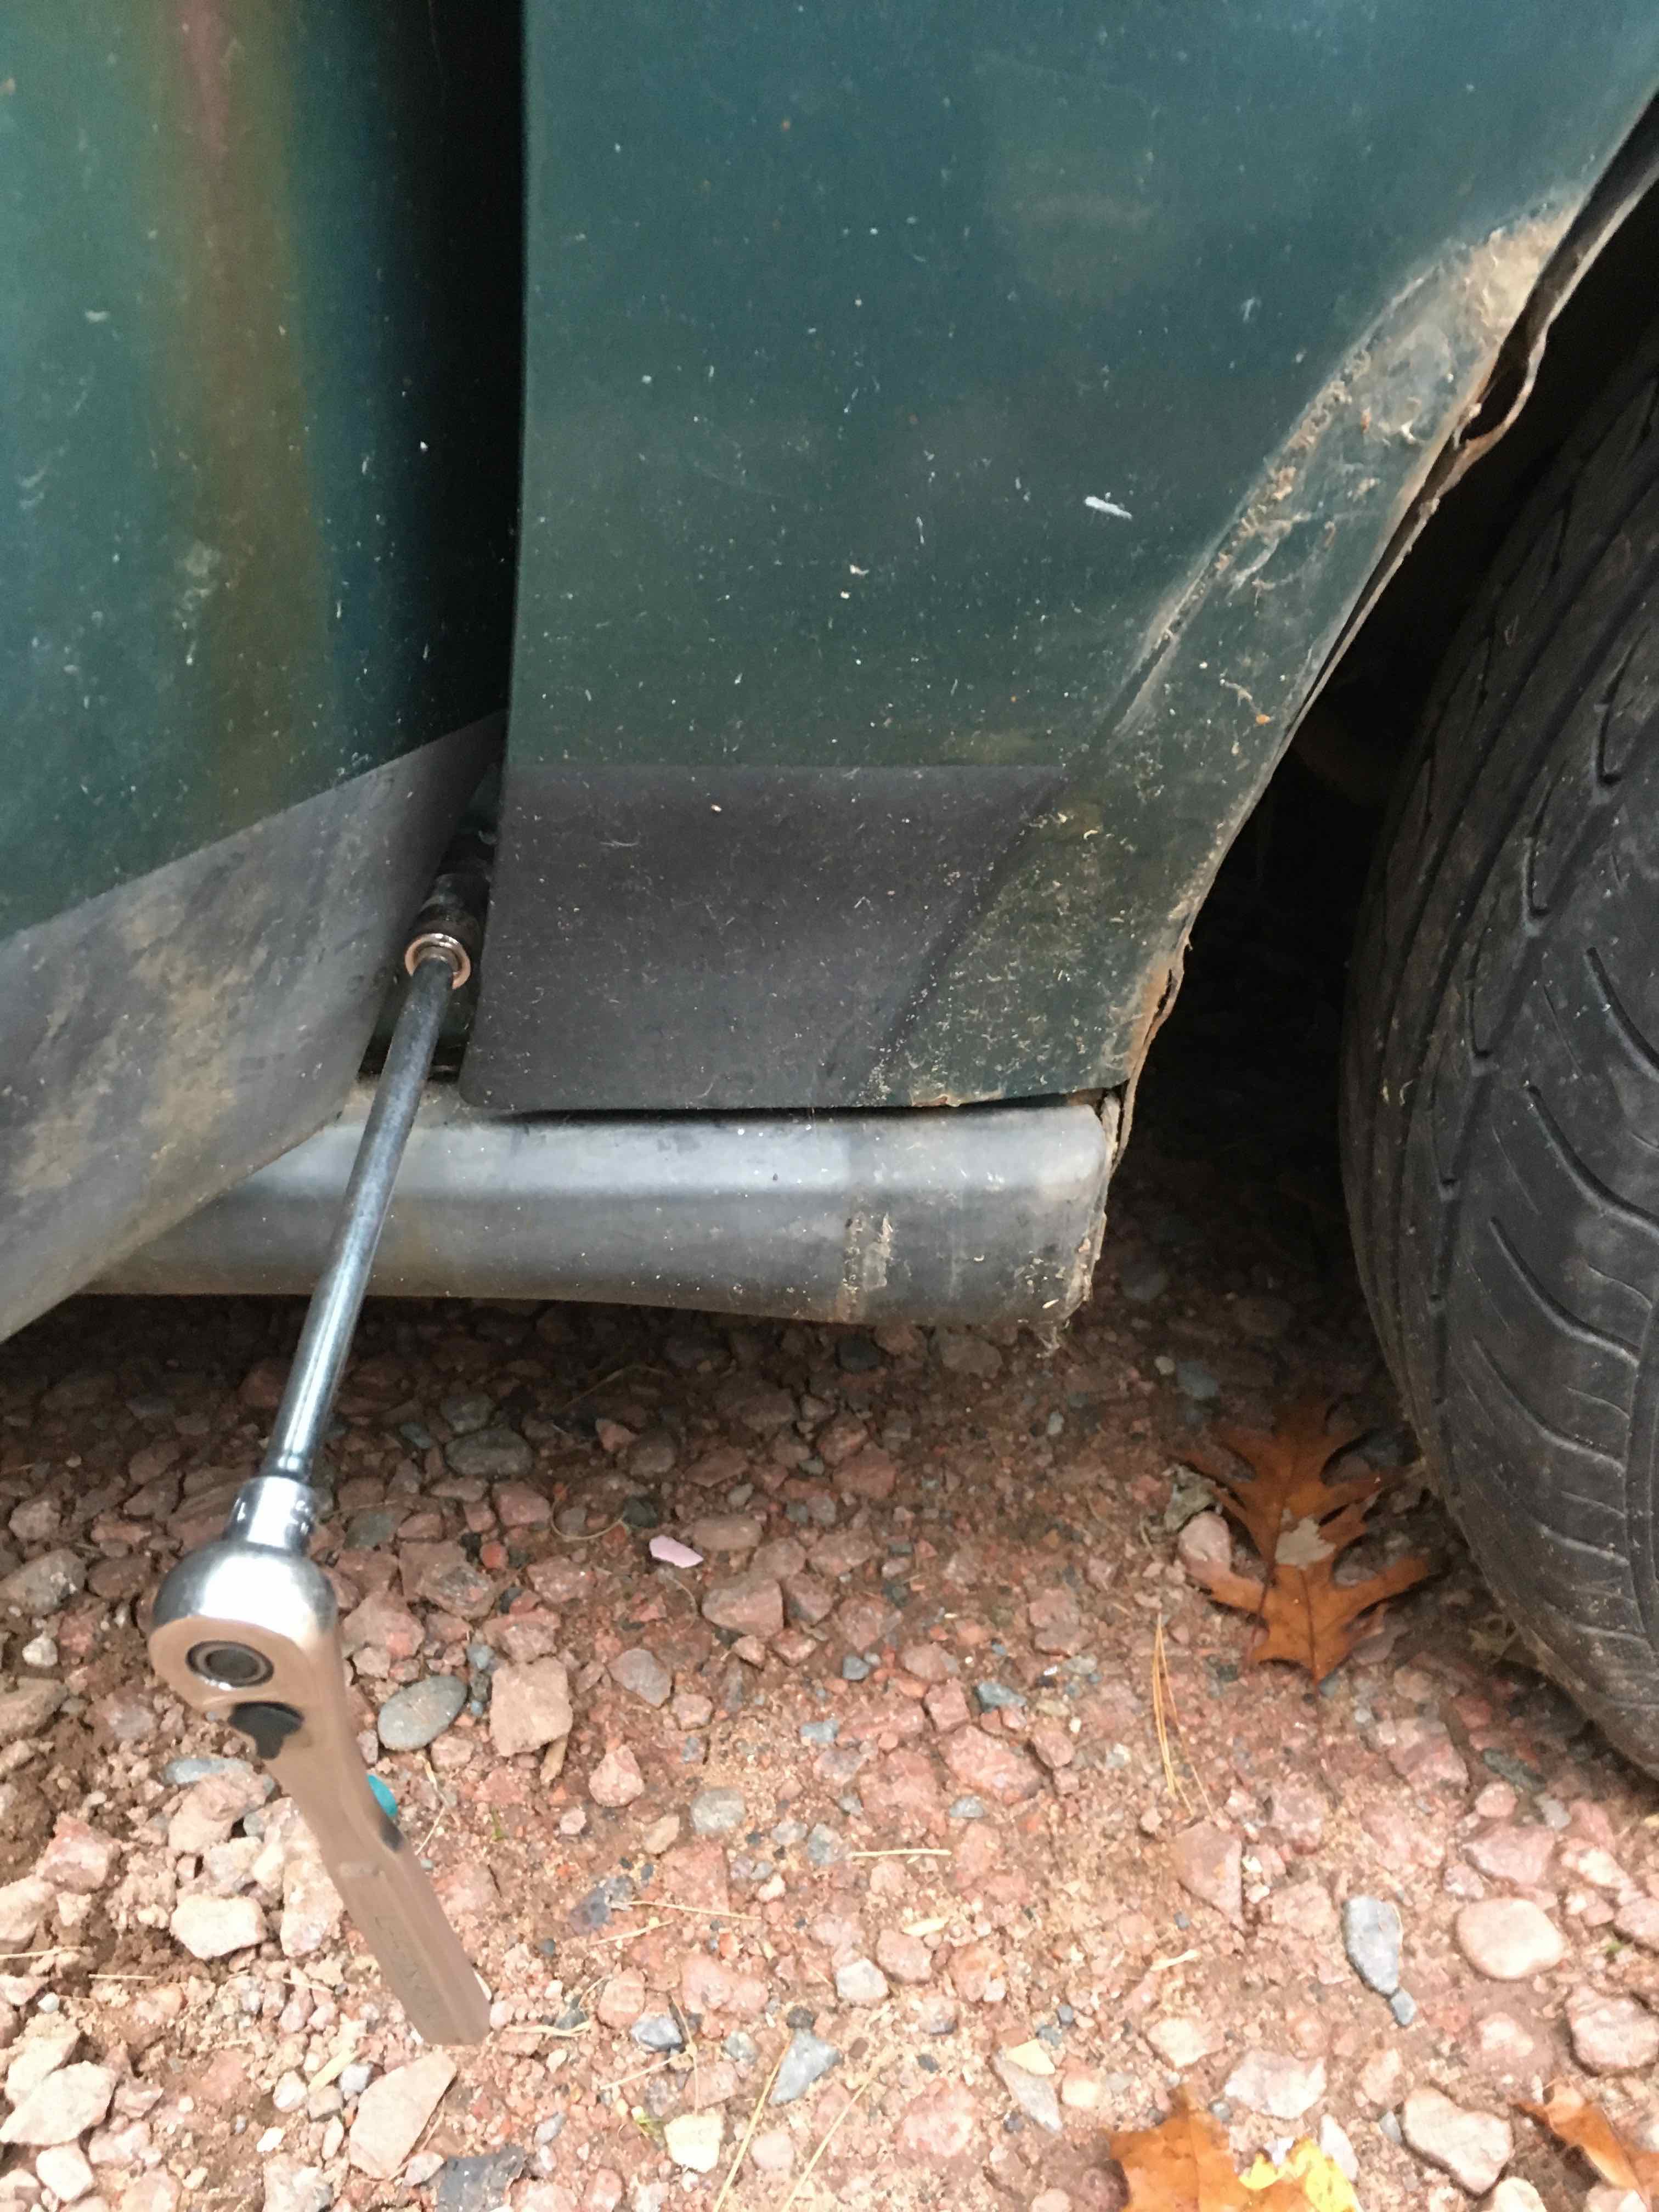
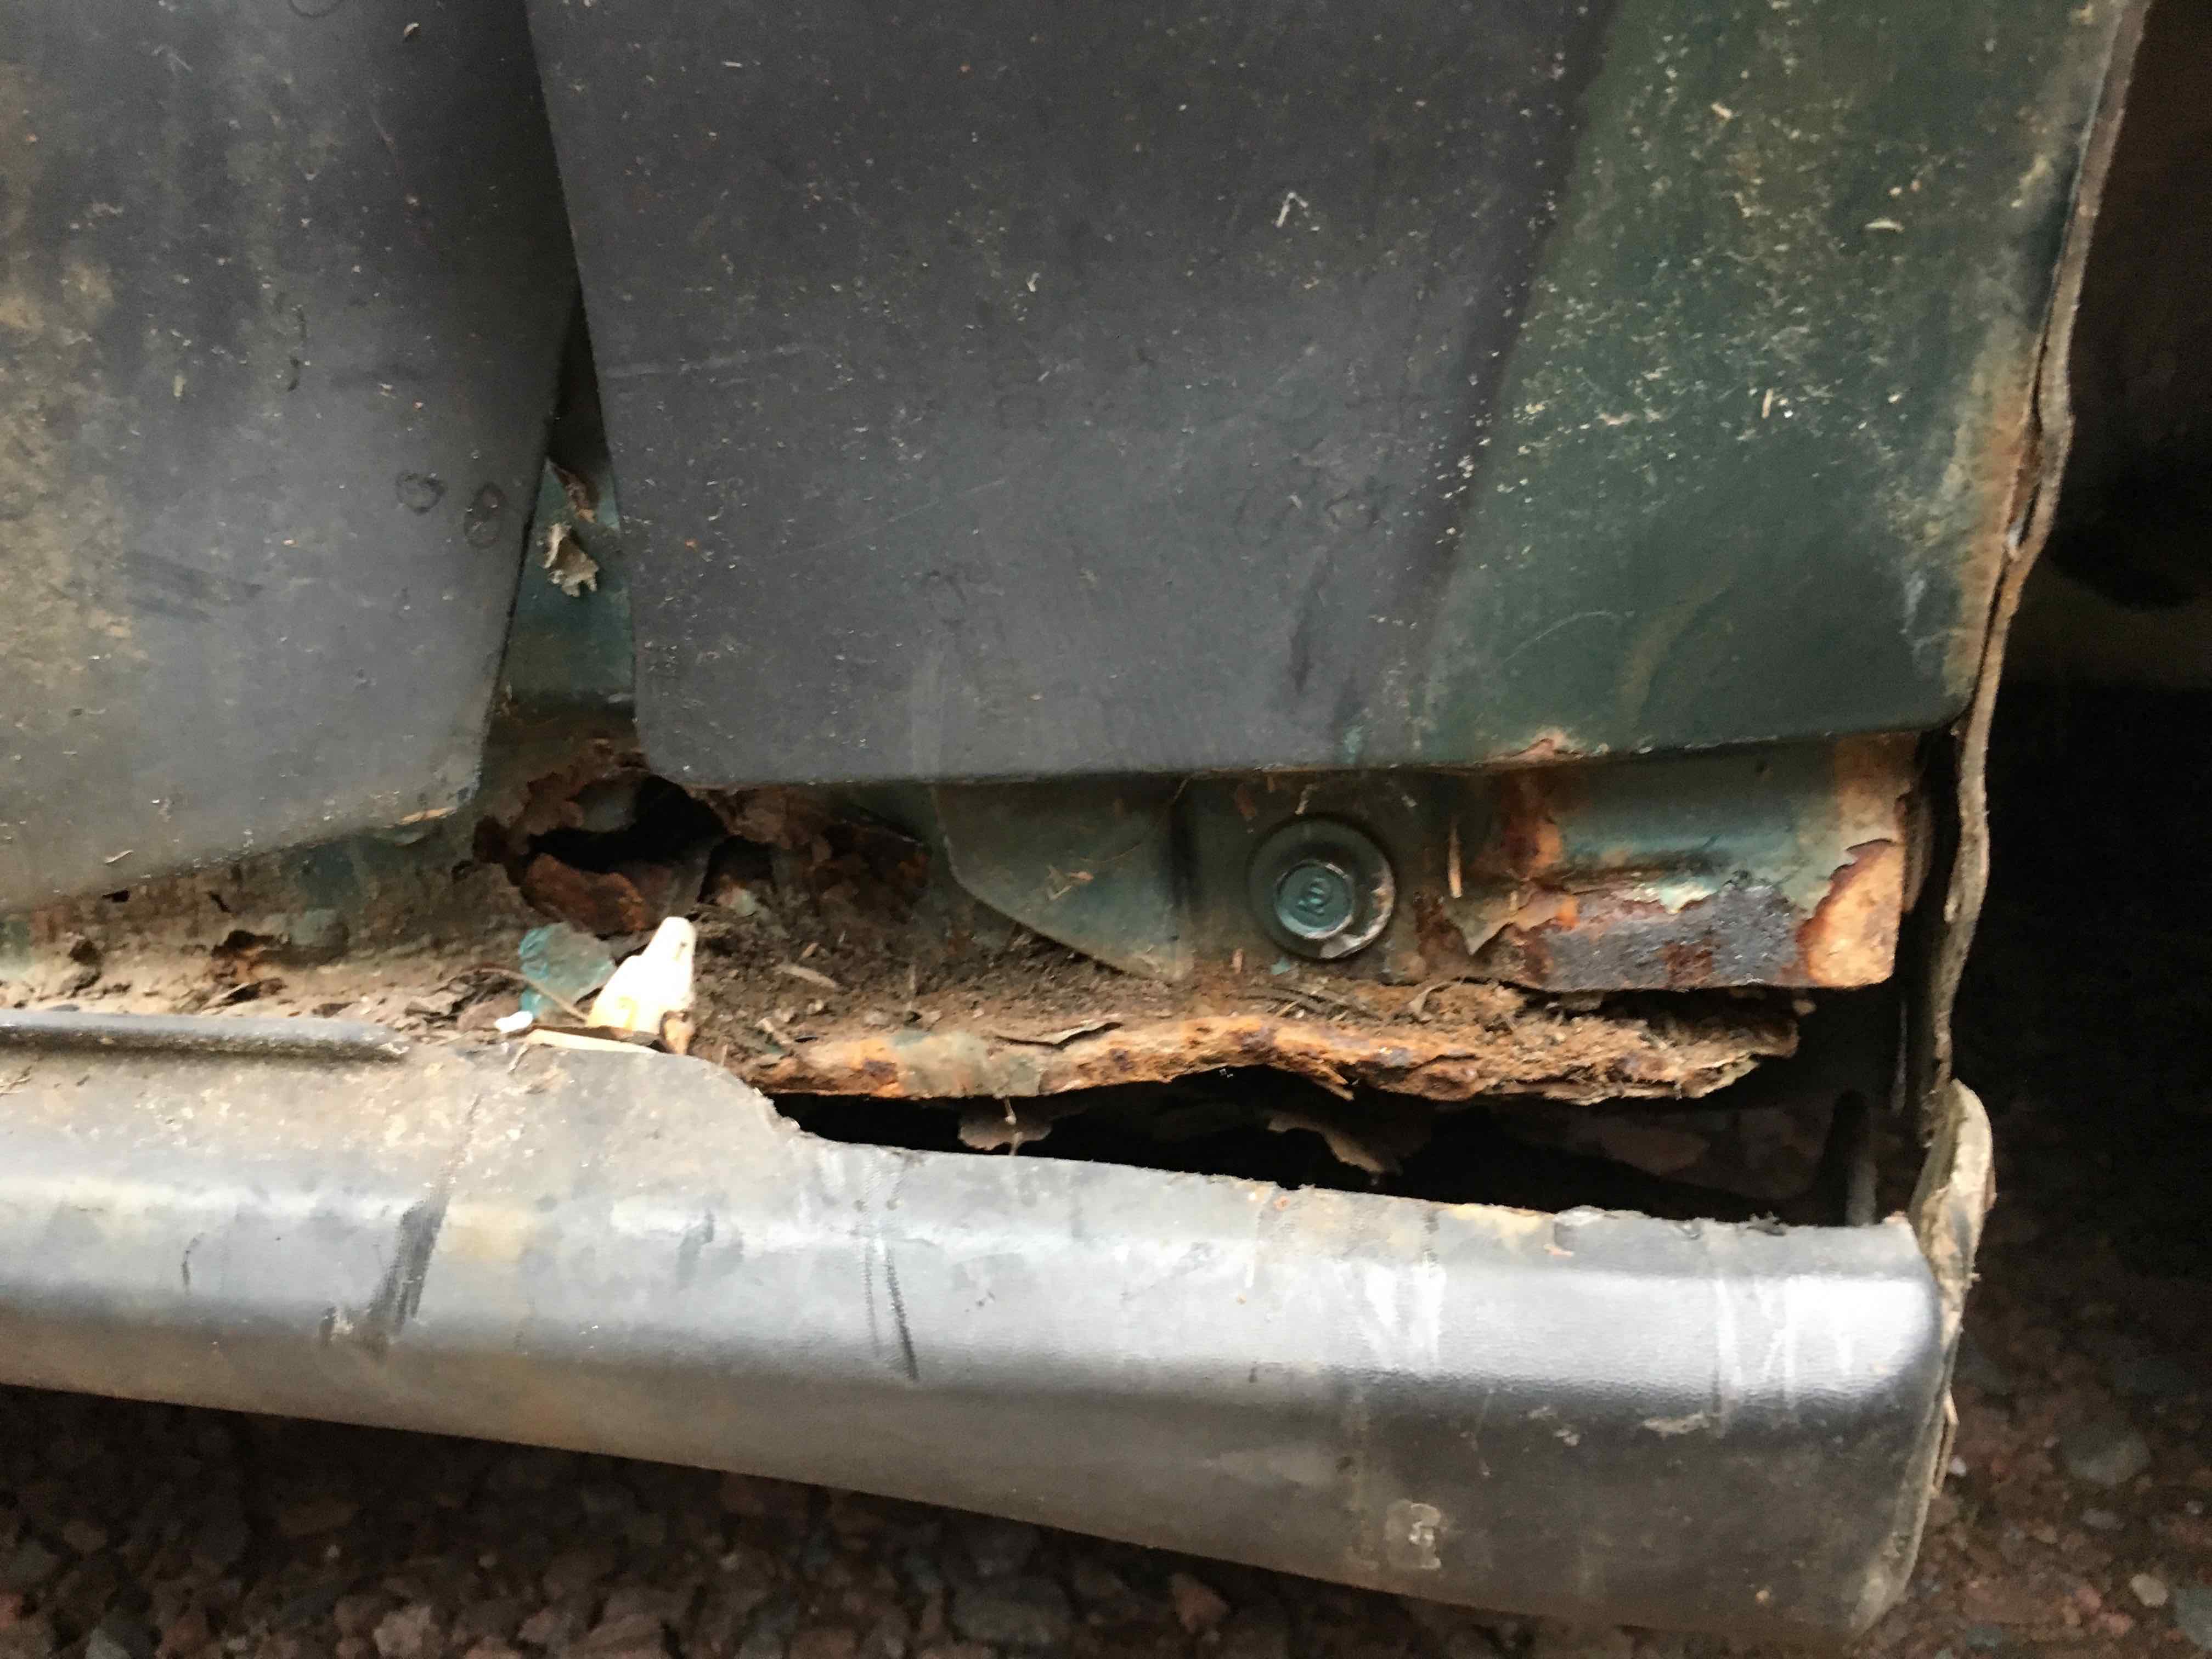
And the last bolt is under the rocker covers which might be hiding really bad structural rust if you are in the rust belt!
Start by pulling the back of the fender up
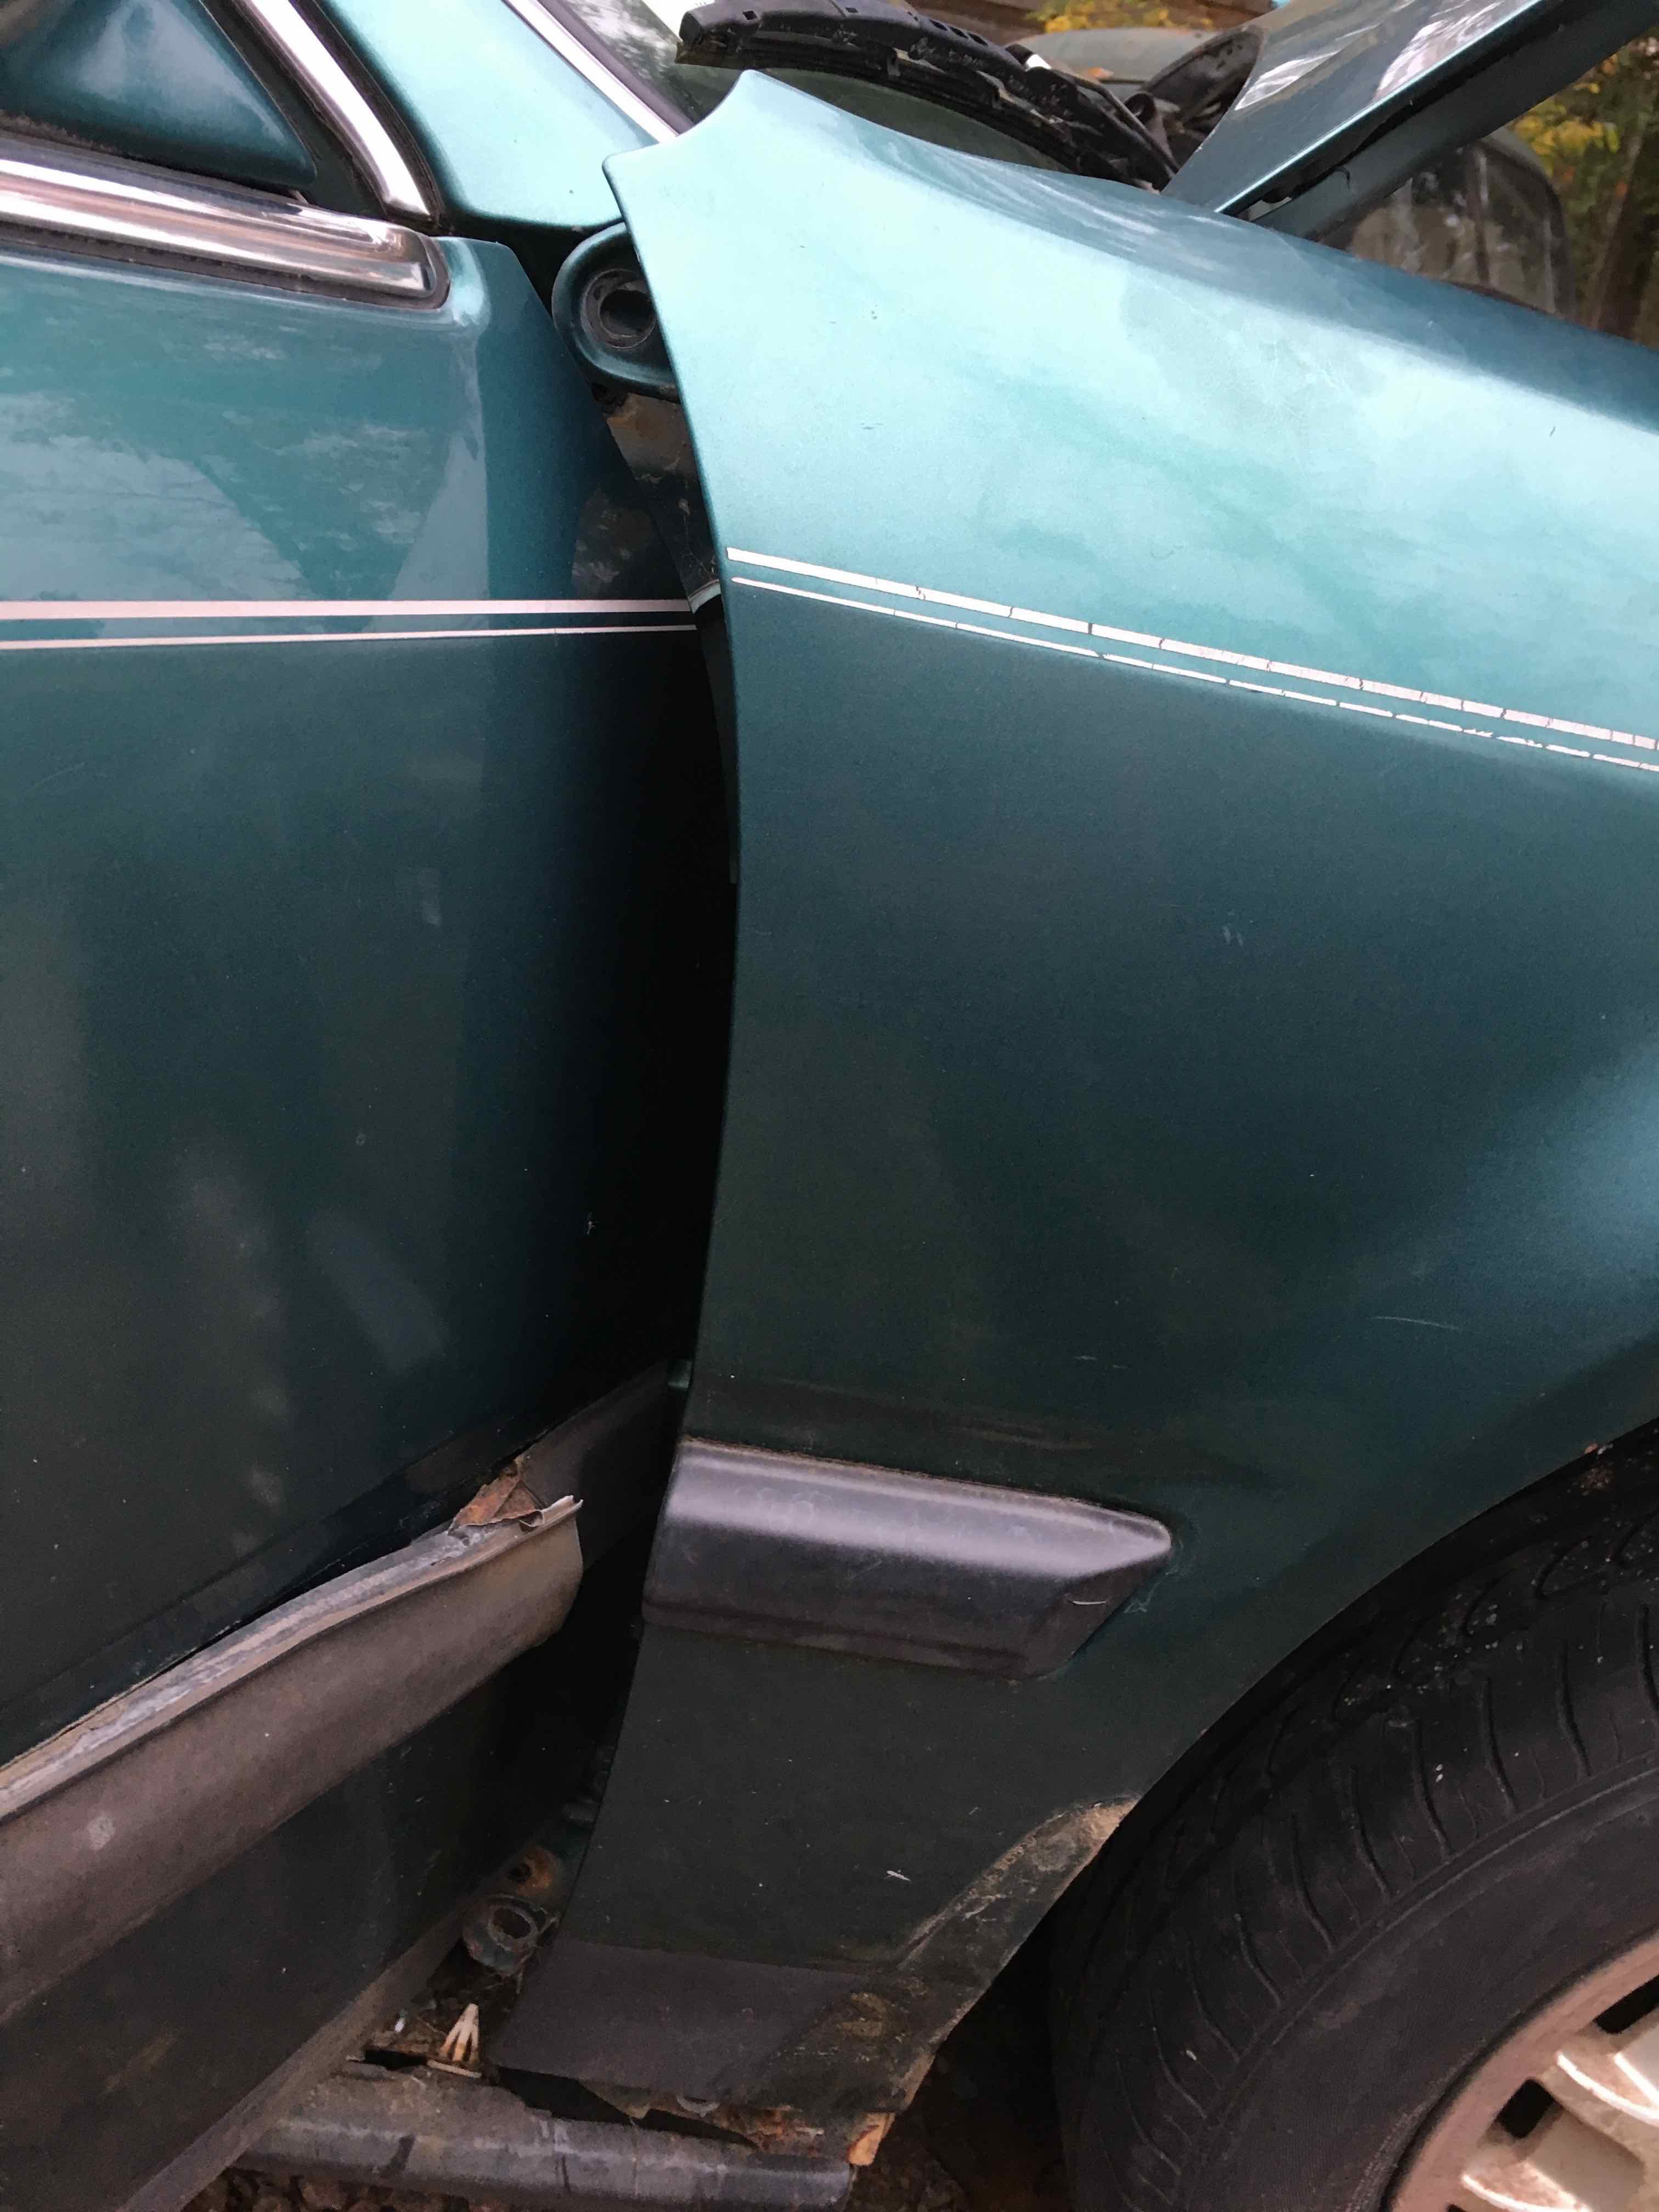
Then pull back on the front and up to separate it from the directional
There you have it!
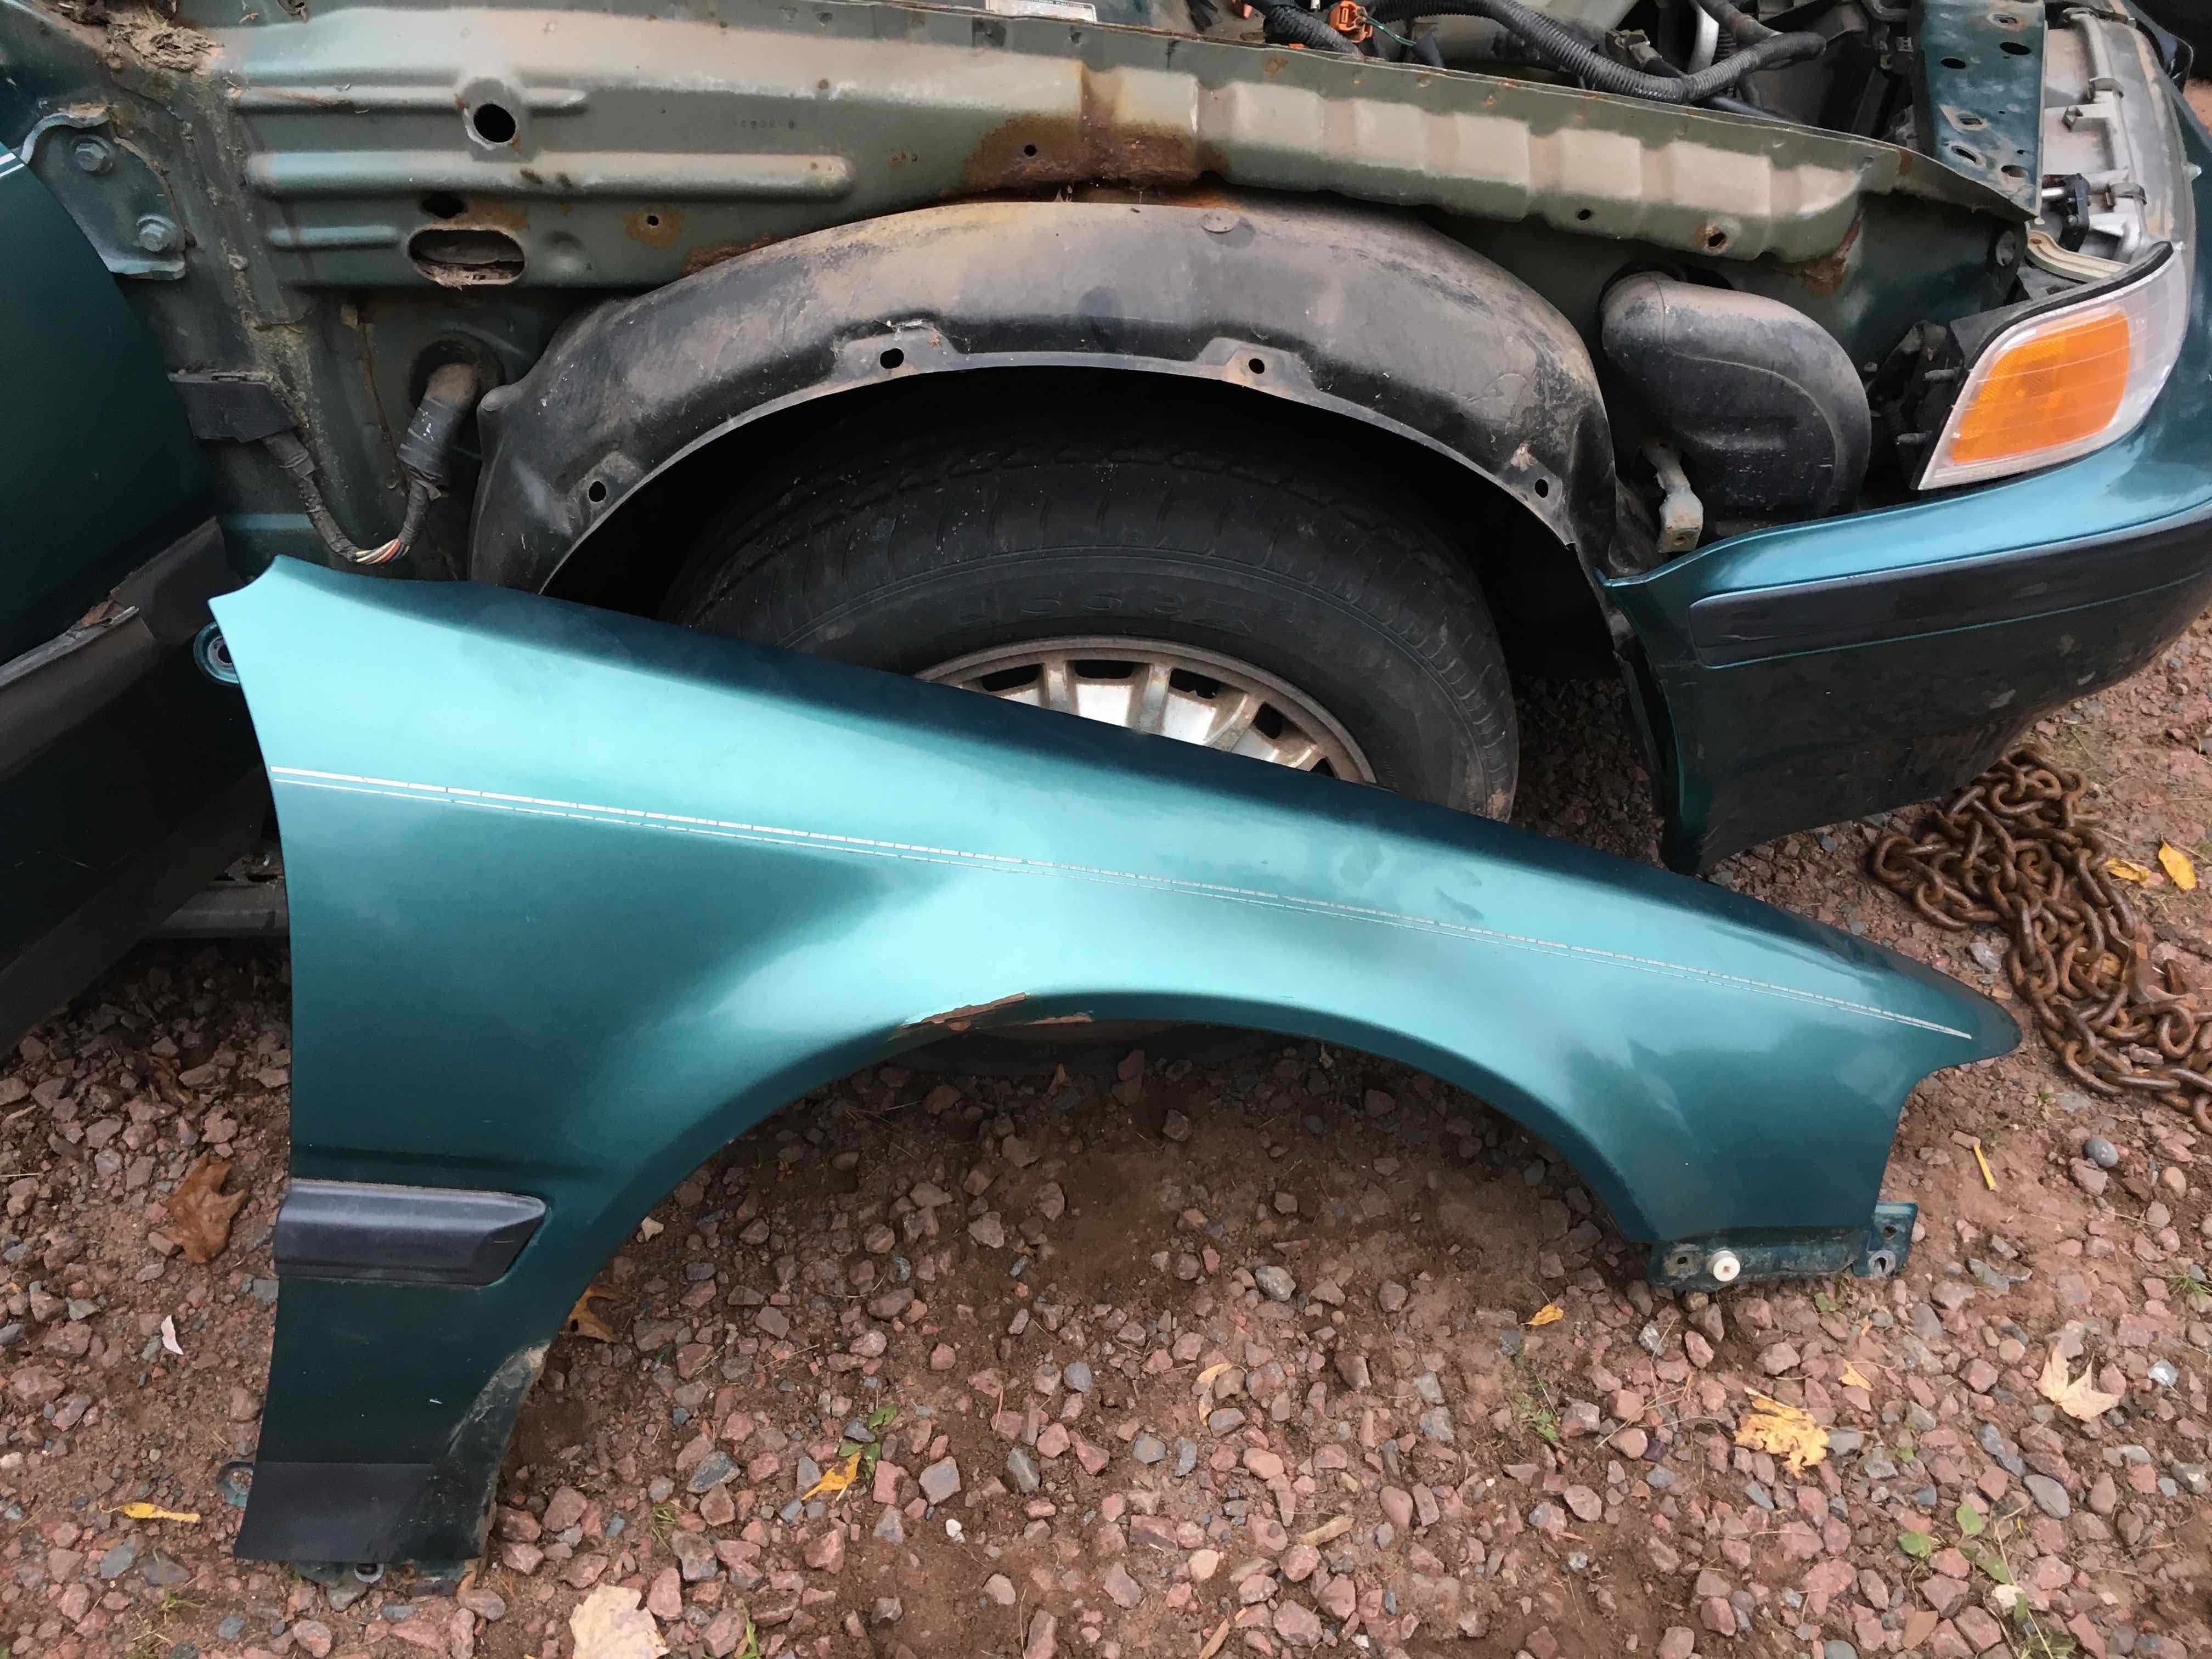
Happy wrenching everybody! Hope this helps someone
Sorry the pictures are so big Im not quite savvy enough to resize them.
Start by un-screwing the lower fender flare that is also attached to the rocker panel covers
Then separate the inner fender along the outside edge of the wheel well by unscrewing the plastic screws and then pulling the whole fastener out
Unscrew the 2 screws that attach the bumper cover to the fender
Slide the clip out between the bumper cover and fender
Pull the bumper cover down slightly just enough to expose the bolt head holding the directional to the fender 10mm
Fold back the inner fender enough to reach your arm in between the inner fender and bumper cover to remove the next bolt just underneath the last one, also 10mm
If you are in the rust belt like me, do whatever it takes to get this little bolt/screw out. I have one of those screw drivers shaped like a Z that would have worked if it wasn't so rusted in. There is a way to get to the other bolt that holds this bracket on, but you would have to either remove the air intake on the passenger side or make room behind the cruise control on the drivers side.
Then take out the easy to see 3 bolts along the top, 10mm
Open the door to get to the top fender bolt, I started this with the ratchet but only had enough room to remove it with an open end wrench 10mm
Lower fender bolt still with the door open but accessed from the front side of the door
And the last bolt is under the rocker covers which might be hiding really bad structural rust if you are in the rust belt!
Start by pulling the back of the fender up
Then pull back on the front and up to separate it from the directional
There you have it!
Happy wrenching everybody! Hope this helps someone


Thread
Thread Starter
Forum
Replies
Last Post

