
prjct92eh2's 92 Civic CX Hatch Weekend Warrior Build


 07-22-2010, 06:07 AM
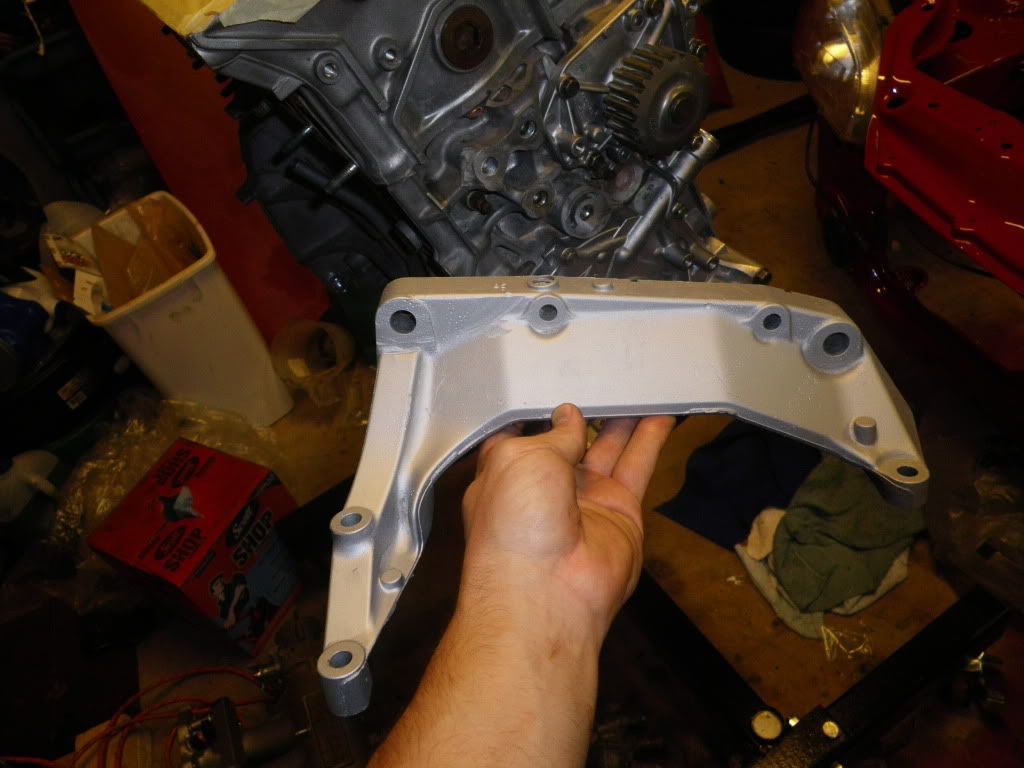
#53
Honda-Tech Member
Thread Starter
Thanks, will do!
It was in the Shaved, Tucked bay thread. Part # 91610-sf4-003
thanks!
Thanks!
hell yeah! Karma will catch up with them hopefully.
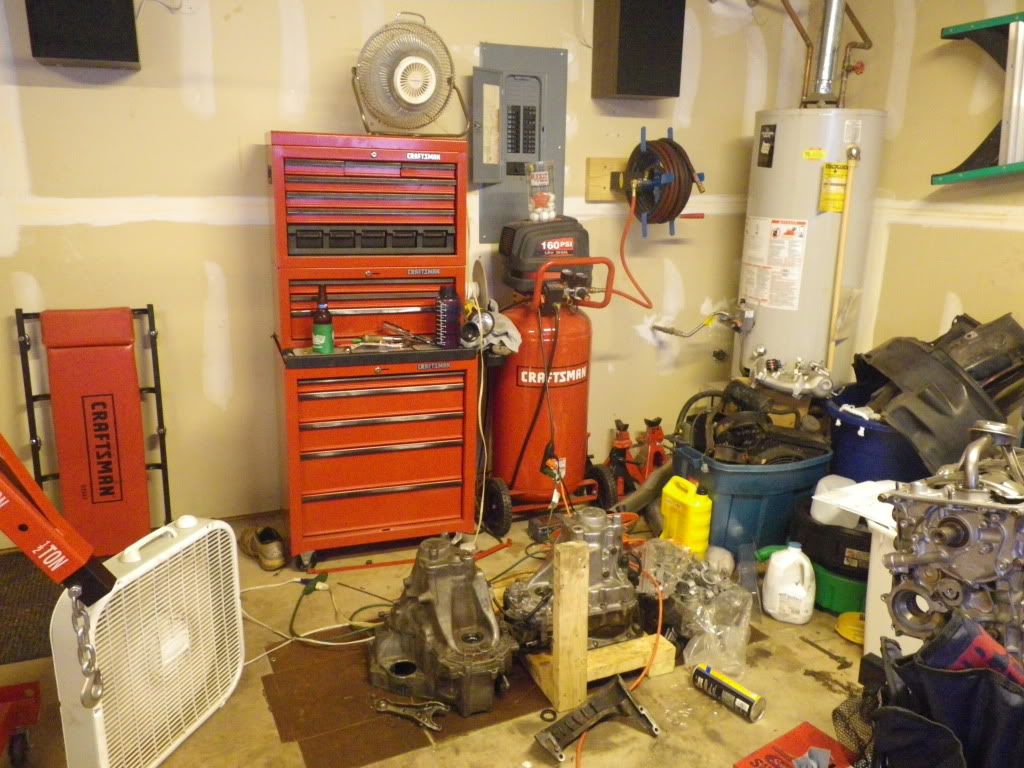
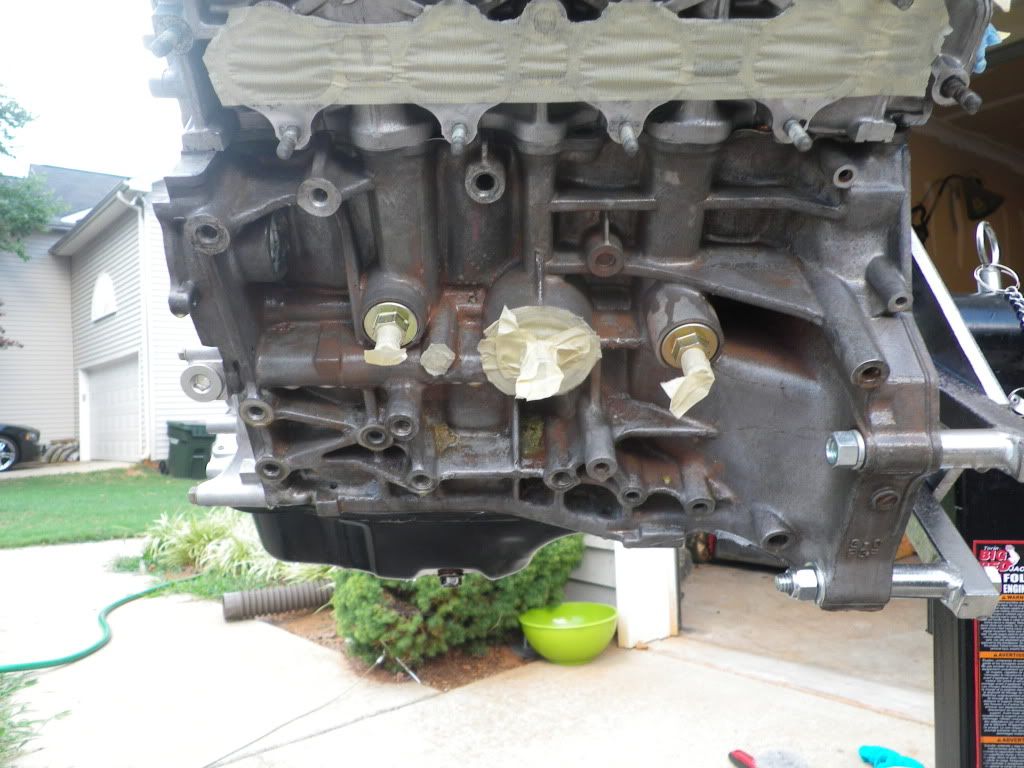
Made some more progress on the engine last night.
First set up fans cause it is hot as hell, even when the sun is down.
Bust out the almighty Hondabond
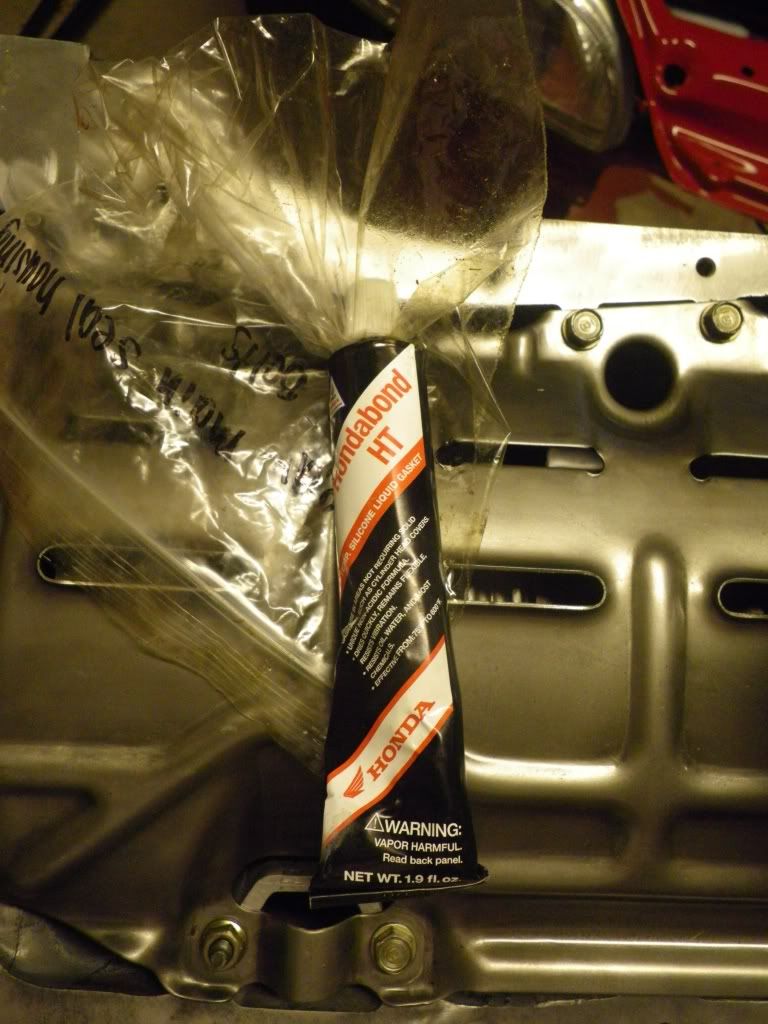
Put it where the oil pump and rear main meet the block
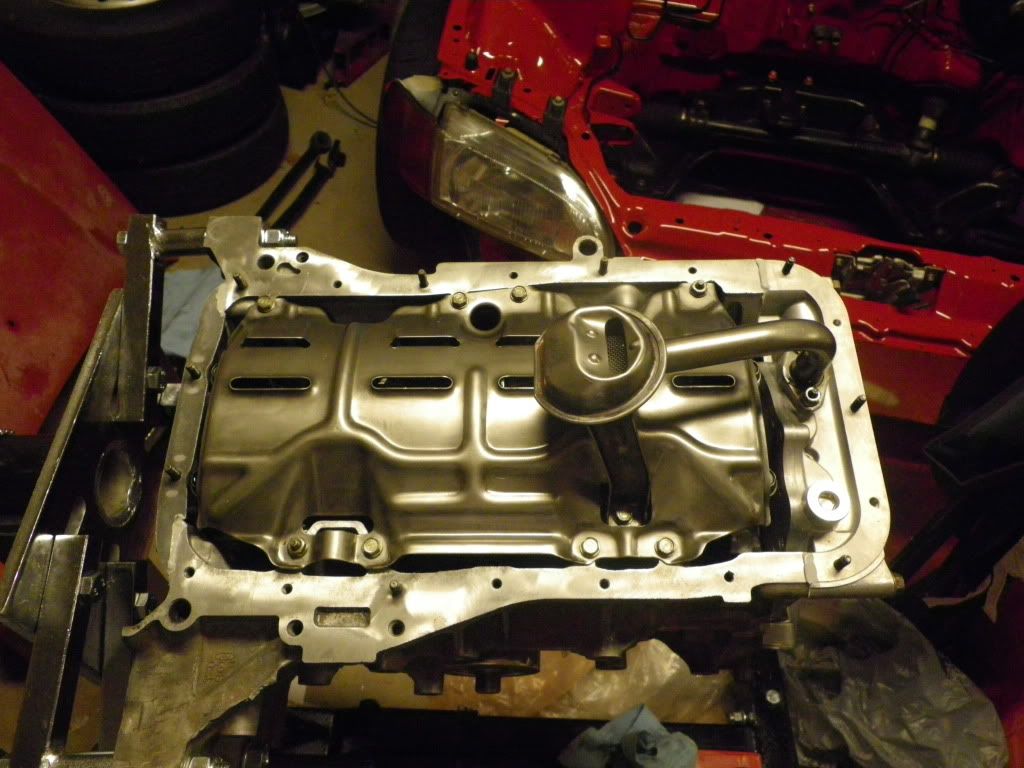
Lay the oil pan gasket down
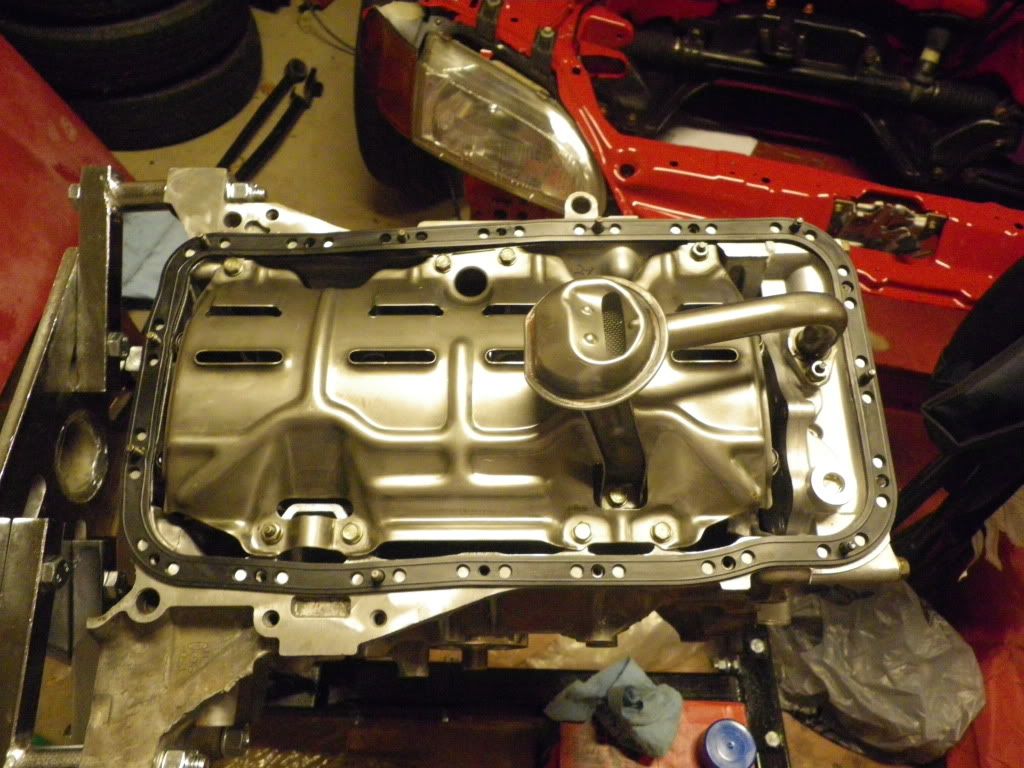
Then the oil pan. Tighten down the oil pan bolts/nuts in a clockwise direction, but not too tight or the gasket will squeeze out and leak.
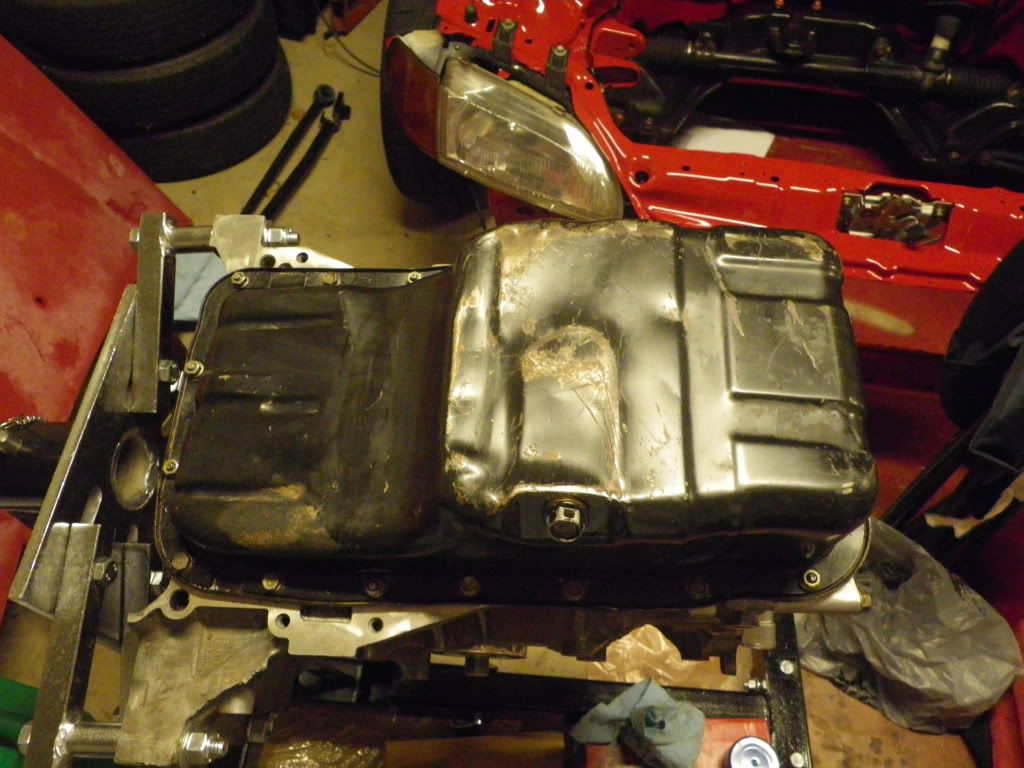
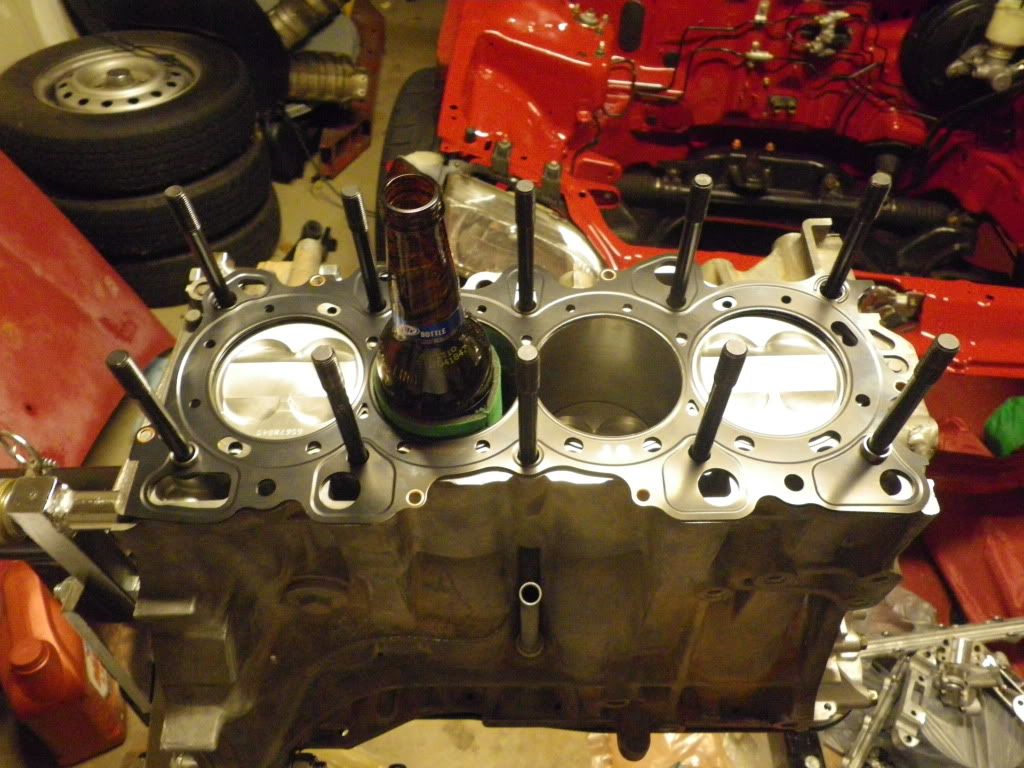
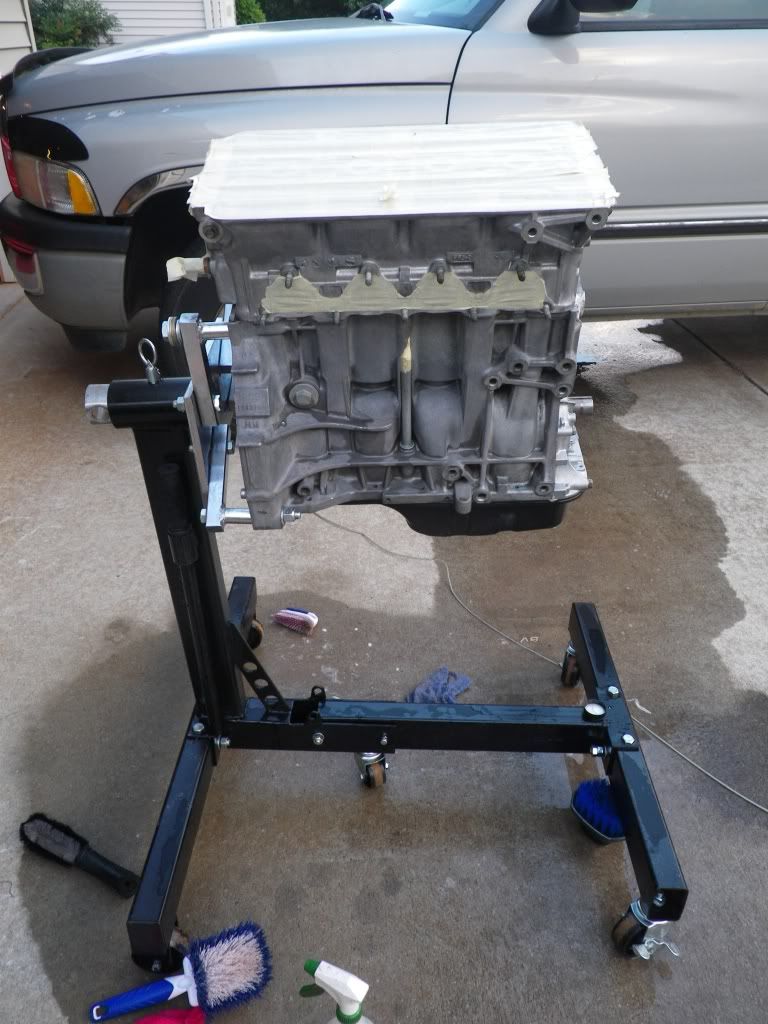
Flip the engine over and put the headstuds in finger tight. Now that the engine is right side up it can function as a beverage holder, too
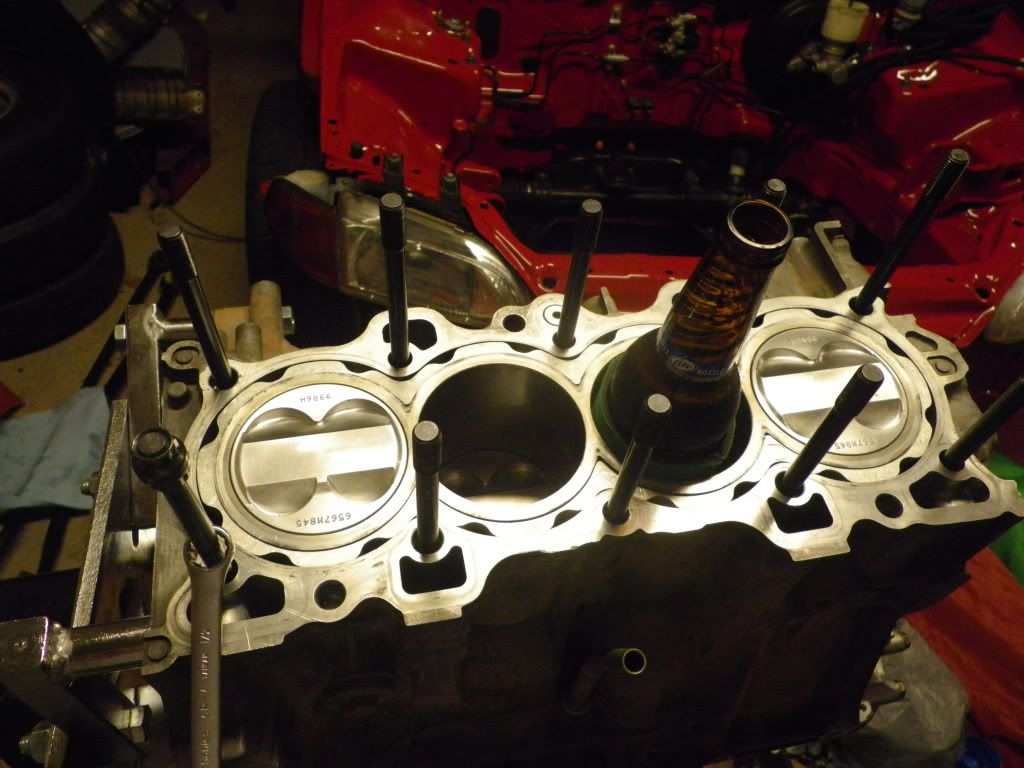
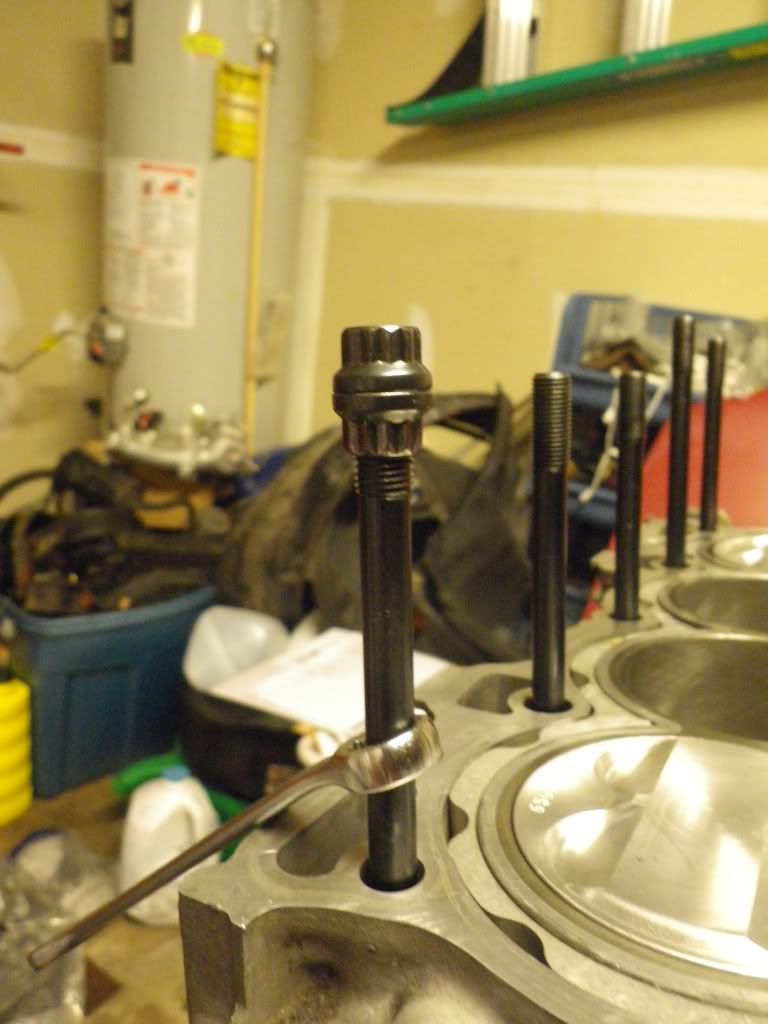
Evidently these are older style studs because they don't have a hole for an allen wrench. Instead you have to take two nuts and lock them together in order to tighten the studs in. Tighten the studs down until they bottom out, then back them out 1/4 turn.
Put in the Golden Eagle dowels (can probably do this before the headstuds, too)
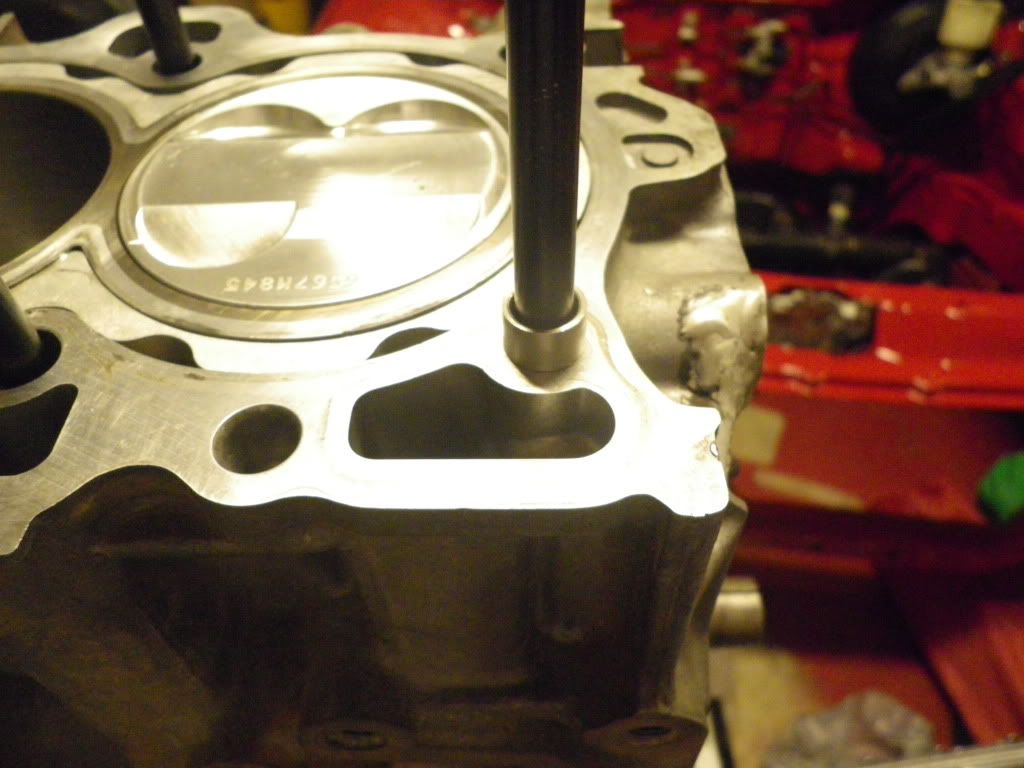
Put on the Golden Eagle head gasket. Honestly I thought this thing would be trimmed up more to clear the oil and water passages, but its been proven to work, so on it goes. Make sure that the side that says up is up, duh.
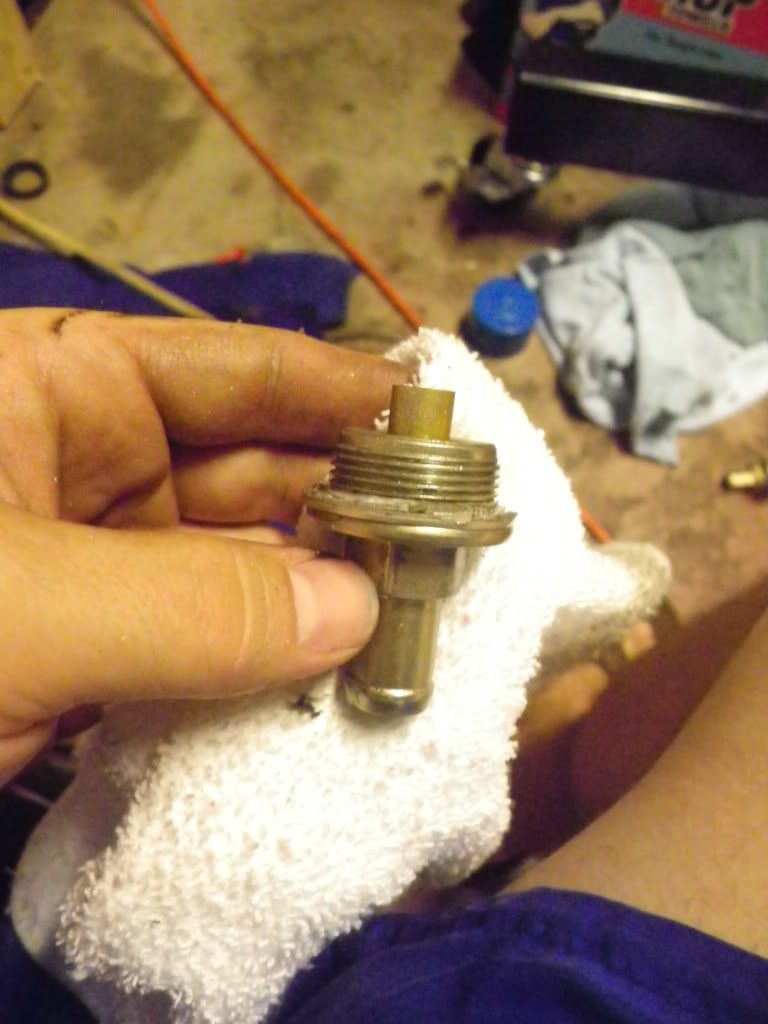
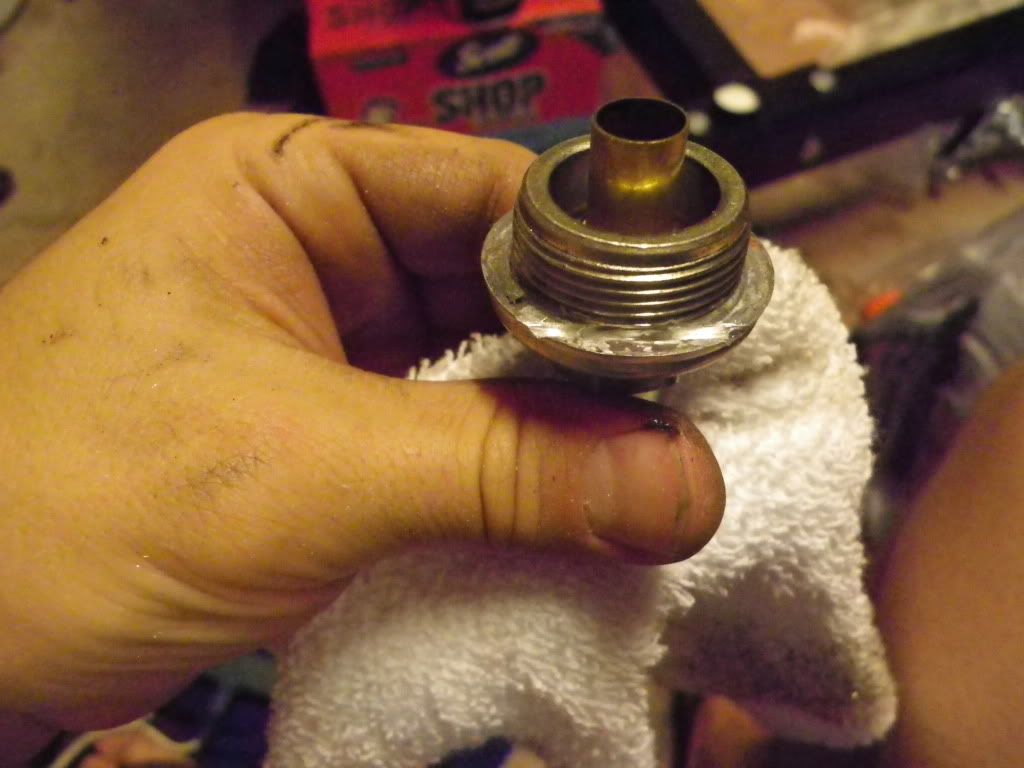
Tap the oil passage on the head, clean up metal shavings, wrap the plug in teflon tape and put it in
Then put the head on the block. Had to tap it some with a rubber mallet to get it to slide onto the dowels, but its on there.
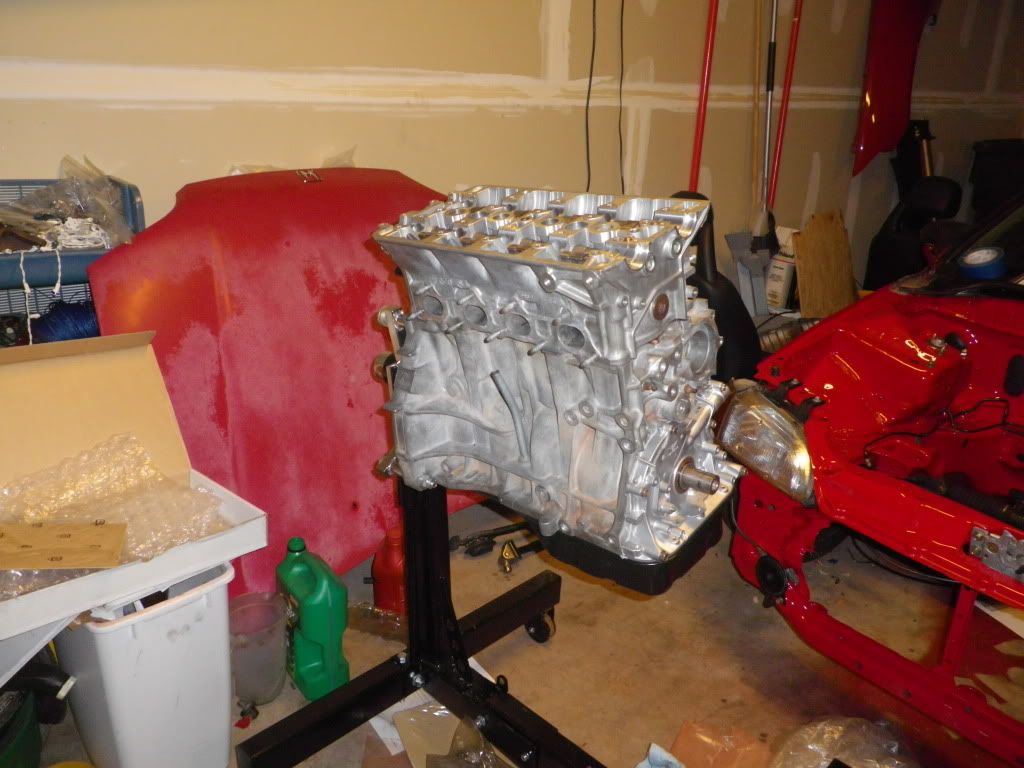
Its starting to look like an engine! Hopefully by the end of the weekend i'll have the head torqued down and maybe even the cams in.
It was in the Shaved, Tucked bay thread. Part # 91610-sf4-003
thanks!
Thanks!
hell yeah! Karma will catch up with them hopefully.
Made some more progress on the engine last night.
First set up fans cause it is hot as hell, even when the sun is down.
Bust out the almighty Hondabond
Put it where the oil pump and rear main meet the block
Lay the oil pan gasket down
Then the oil pan. Tighten down the oil pan bolts/nuts in a clockwise direction, but not too tight or the gasket will squeeze out and leak.
Flip the engine over and put the headstuds in finger tight. Now that the engine is right side up it can function as a beverage holder, too
Evidently these are older style studs because they don't have a hole for an allen wrench. Instead you have to take two nuts and lock them together in order to tighten the studs in. Tighten the studs down until they bottom out, then back them out 1/4 turn.
Put in the Golden Eagle dowels (can probably do this before the headstuds, too)
Put on the Golden Eagle head gasket. Honestly I thought this thing would be trimmed up more to clear the oil and water passages, but its been proven to work, so on it goes. Make sure that the side that says up is up, duh.
Tap the oil passage on the head, clean up metal shavings, wrap the plug in teflon tape and put it in
Then put the head on the block. Had to tap it some with a rubber mallet to get it to slide onto the dowels, but its on there.
Its starting to look like an engine! Hopefully by the end of the weekend i'll have the head torqued down and maybe even the cams in.
07-22-2010, 10:20 AM
#55
Honda-Tech Member
Thread Starter
haha yeah, i pounded it out with a mallet before i put it back on to make sure it cleared the pickup. All the machine shop work was $425
07-22-2010, 07:27 PM
#56
Not to be confused with "THE MAN"
Jimmy I have a extra pan at Joes, I'll go get it tomorrow. No need to run that beat up pan bro, you can have my extra one.
07-23-2010, 06:13 AM
#59
Honda-Tech Member
Thread Starter
Welcome aboard!
gracias!
Didn't do anything last night but take the head back off. Forgot to put ARP Moly lube on the top threads of the head studs
 Can't get to them with the head on there, lol. I'll be working on it tonight, though.
  07-23-2010, 06:25 AM
#60
Honda-Tech Member
Thread Starter
Also, do I need an O2 sensor if i'm running Crome? I don't think so since it will be closed loop, but figured i would check.
07-23-2010, 08:16 AM
#61
Honda-Tech Member
iTrader: (7)
Join Date: Apr 2005
Location: Between my mind and reality.
Posts: 7,680
Likes: 0
Received 0 Likes
on
0 Posts
Ask your tuner. It is to my understanding that O2 sensors can be disabled if you datalog and have afr adjustments made on the fuel maps. The ecu will operate within the proper parameters thanks to the info from datalogging.
07-26-2010, 07:33 AM
#63
Honda-Tech Member
Thread Starter
Alright, got a little done this weekend when i wasn't out of town in ATL. I managed to get past a Red Lobster induced food coma Friday night and worked until 1 am. Got some good stuff done and ran into some issues.
First i took the head off so i could get to the threads on the head studs. Busted out this stuff
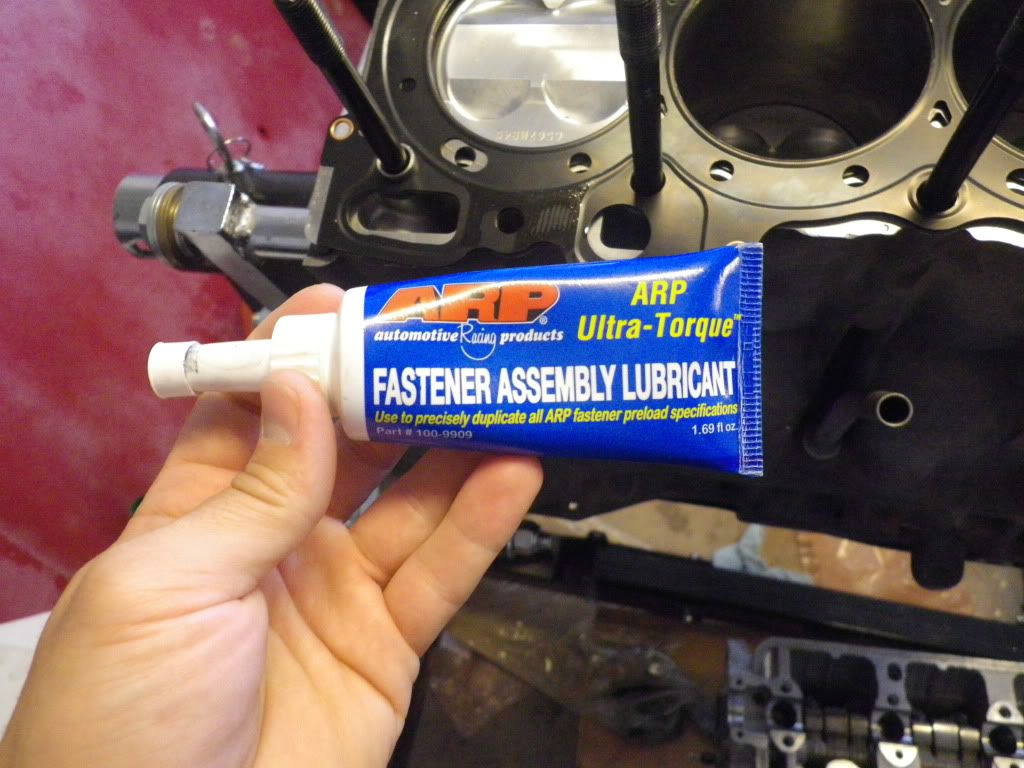
Put it on the head stud threads, top of the washers where the nut contacts them and, just for good measure, bottom of the nut. Had to break out the magnet wand to get the washers on and nuts started.
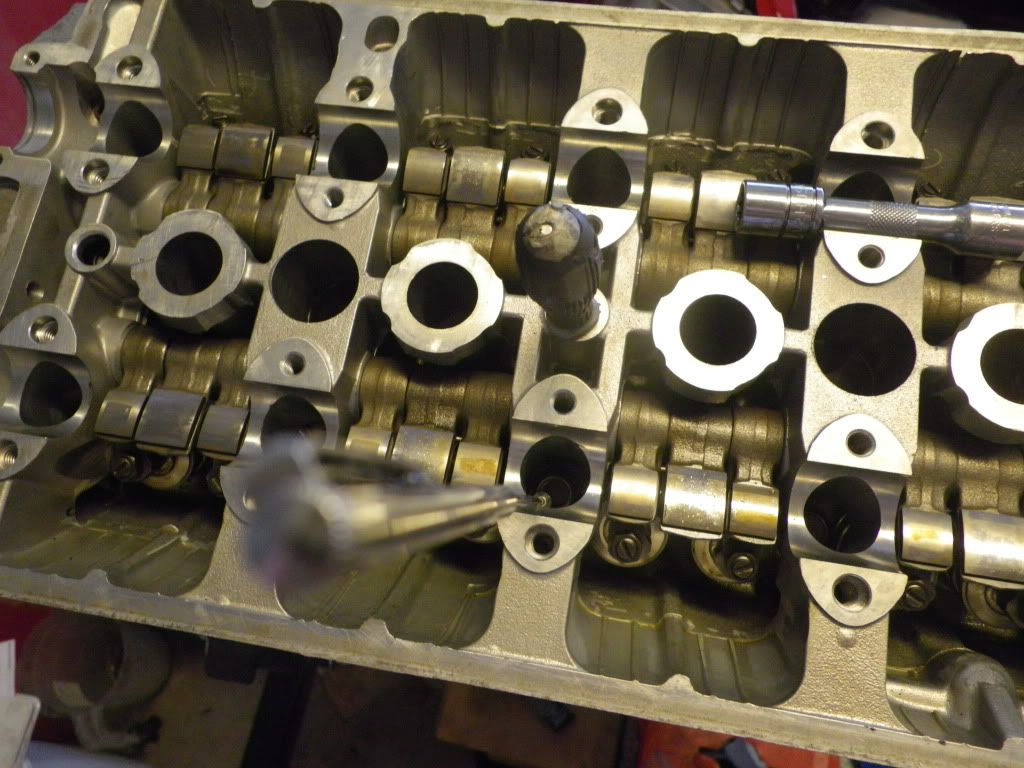
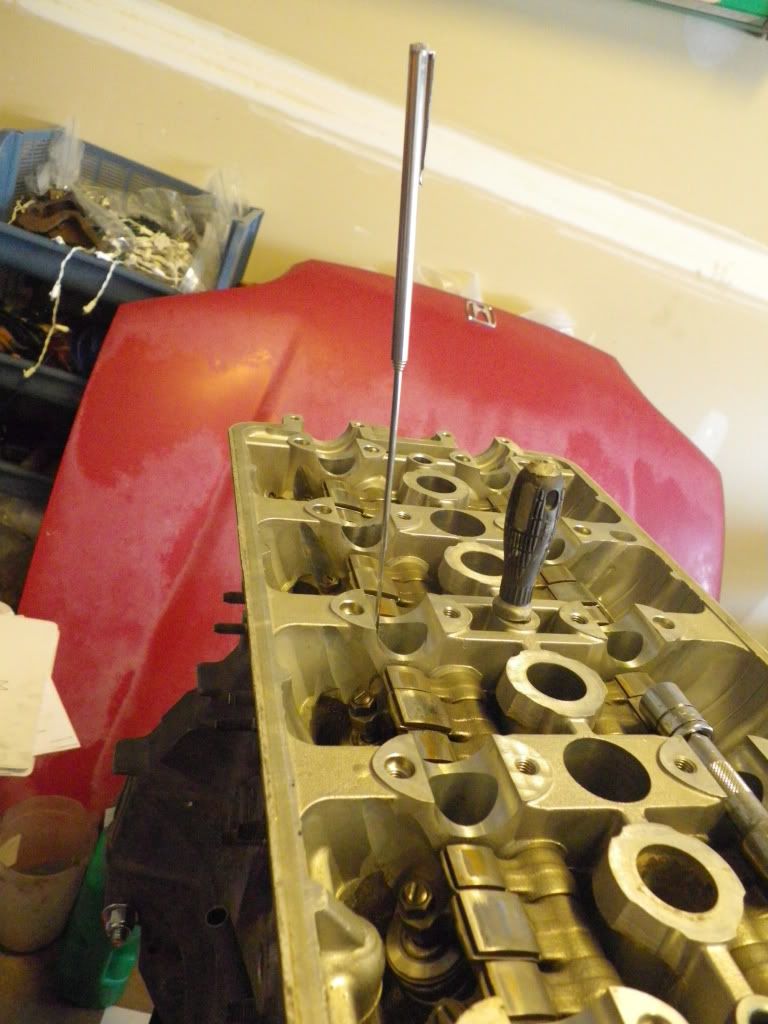
Then torqued the head down in the order shown in the helms manual (and LS/VTEC build thread)

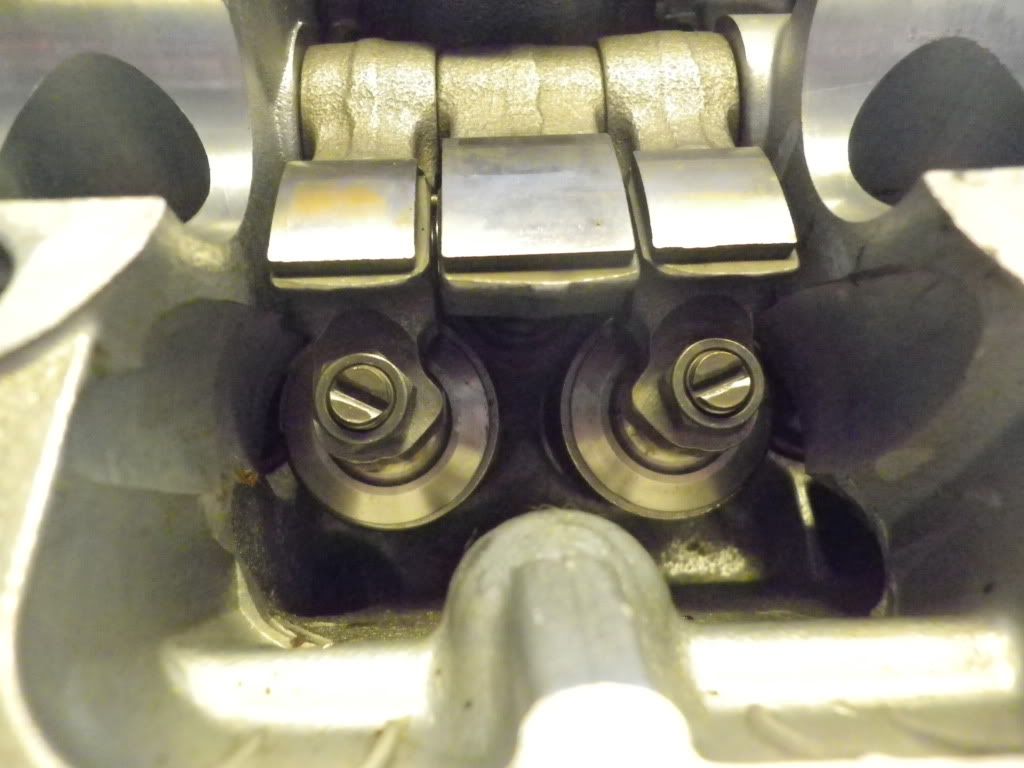
Quick shot of the supertech springs and retainers
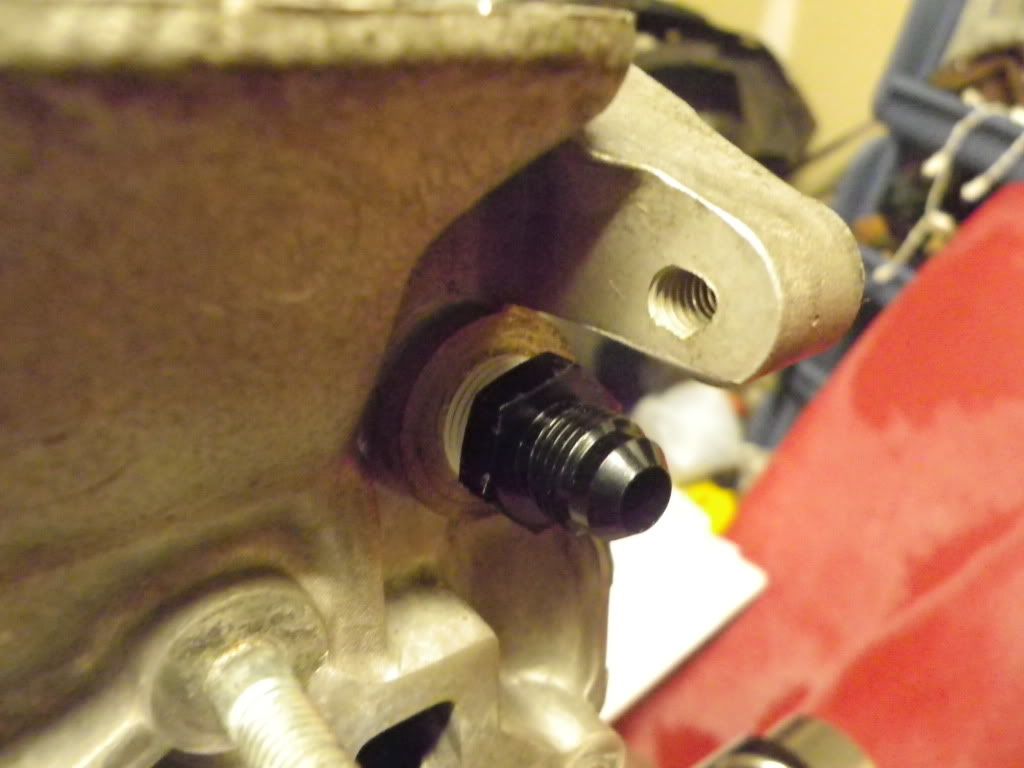
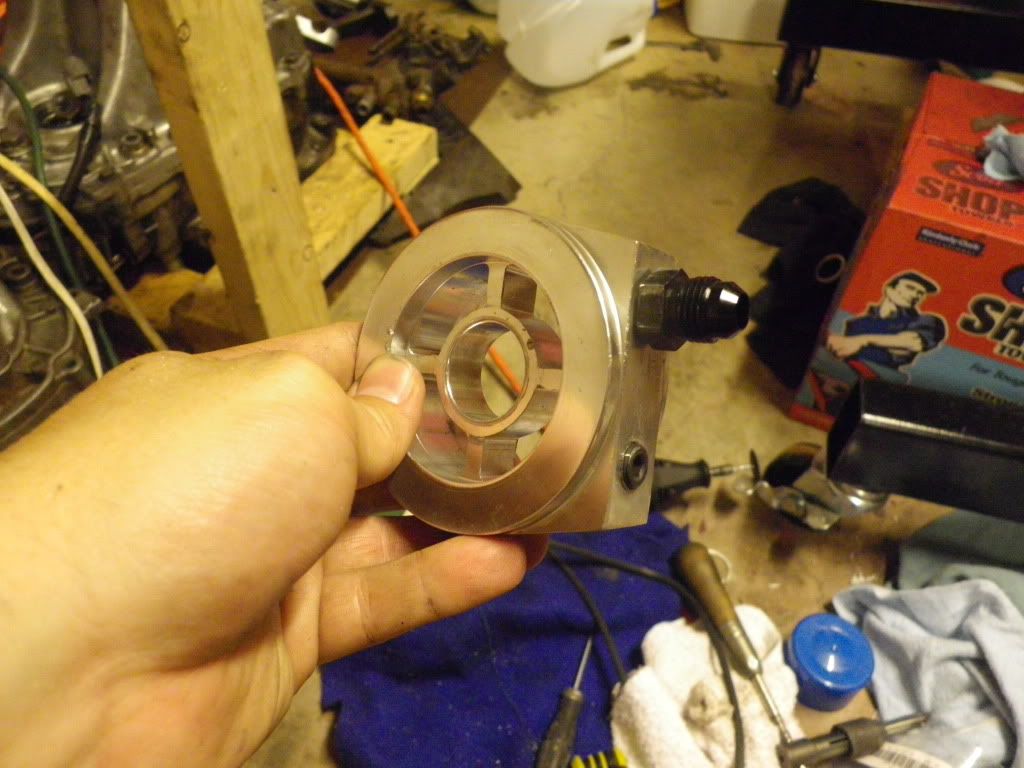
Also put in my fittings for the oil line to the head
Then i went to put on the breather fittings for the block. Of course dumbass before me had some washers on there for god knows what reason that were pressed into the threads.
Busted out the dremel and cut the damn things off
Teflon tape and install
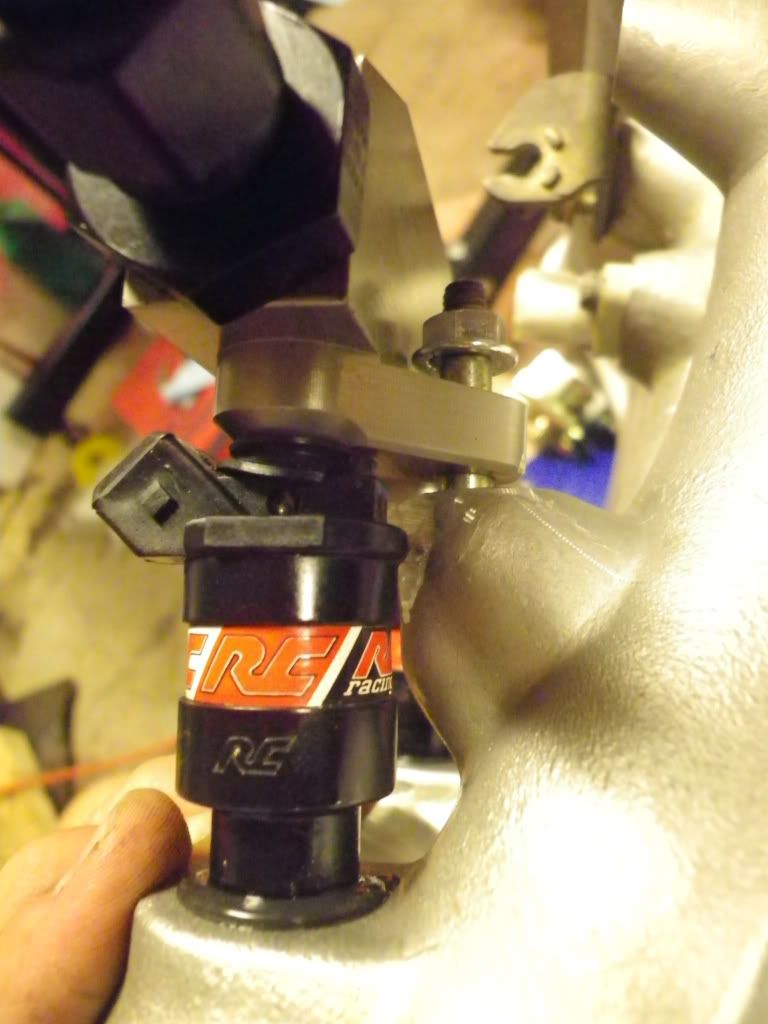
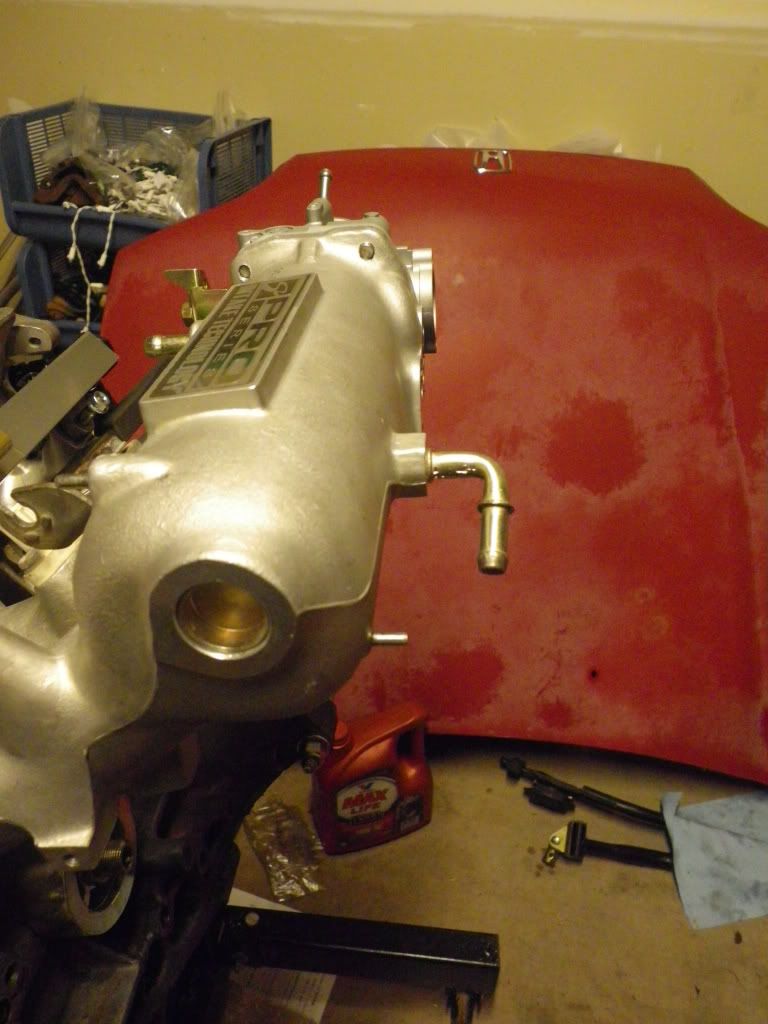
Moved on to the intake manifold. One of the injectors was hitting the fuel rail boss

Ground it down and put the injectors in
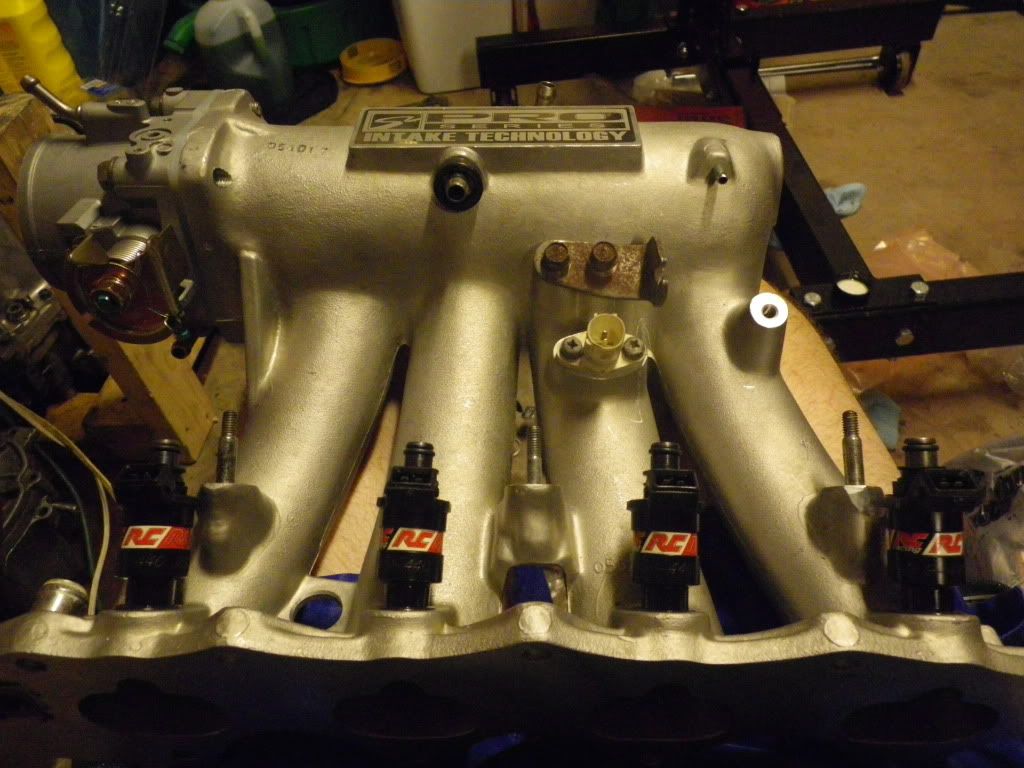
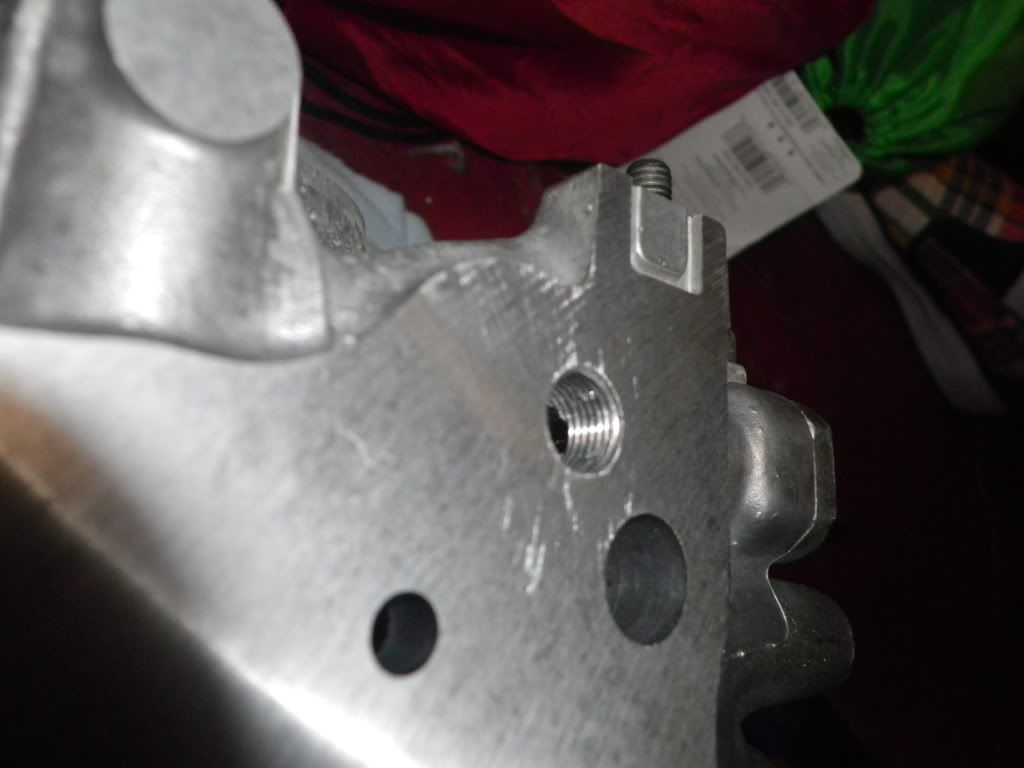
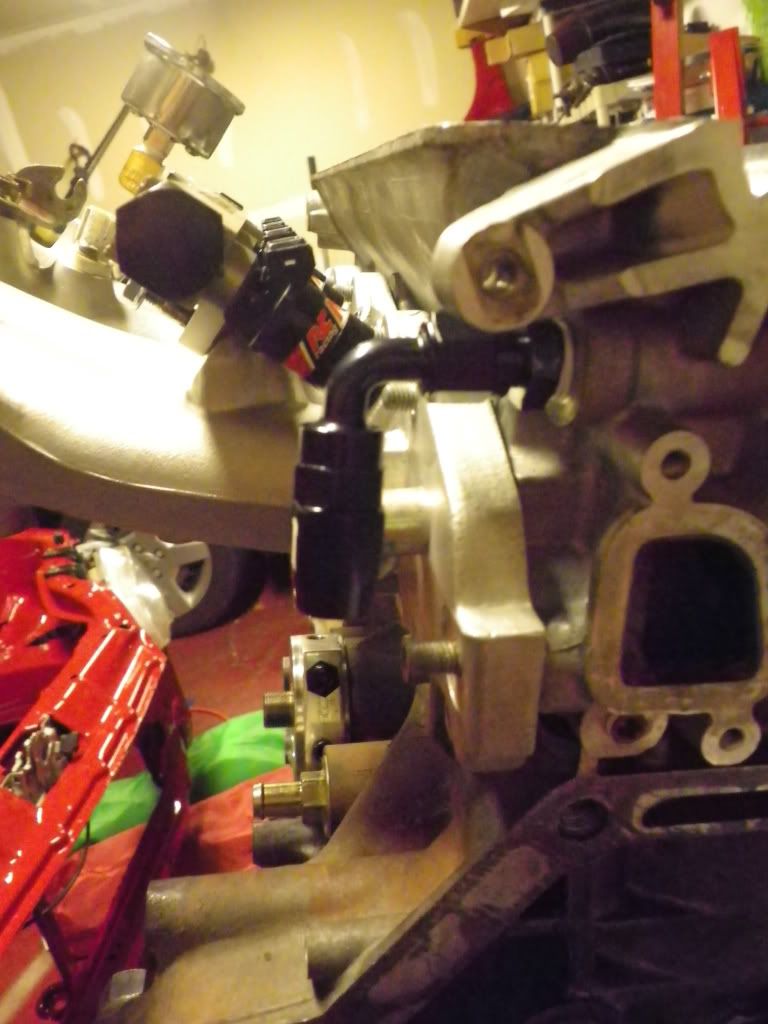
Next problem(s). FPR hits whatever this thread part on the IM is for.
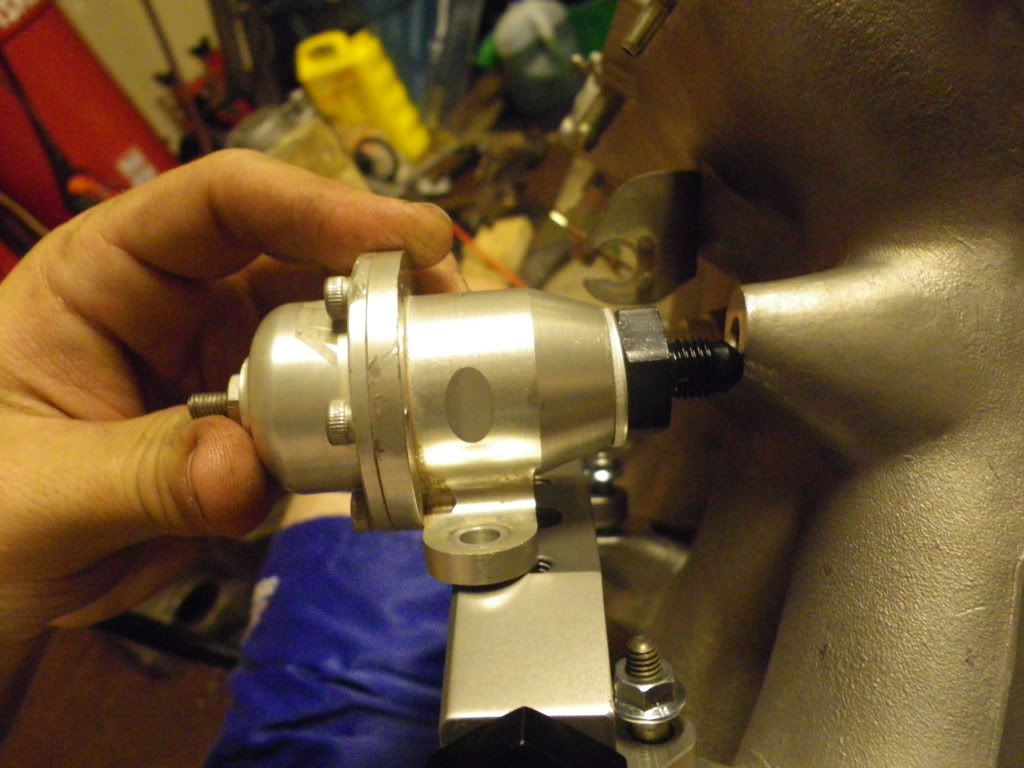
I've looked at some stock IM pics and can't figure out what that would be for. My only thought is some kind of throttle cable mount. I'll be using an ITR throttle cable, which uses the bracket shown in the injector pic above. Anybody have any idea what it could be for? I'll try and contact skunk and ask. If i don't need it, i'm going to cut it off. If i do, i guess i'm stuck ordering the $35 (after shipping) Golden Eagle piece that rotates the FPR

Next problem: the outer studs to mount the fuel rail aren't threaded far enough down. I don't know why the hell Skunk didn't make these threaded all the way to accommodate all fuel rails, but looks like ill be getting some nylon spacers.
Test fit the IM and turned the rear vacuum bung to "tuck" it. Also installed my brake booster upside down to try and hide this vacuum line
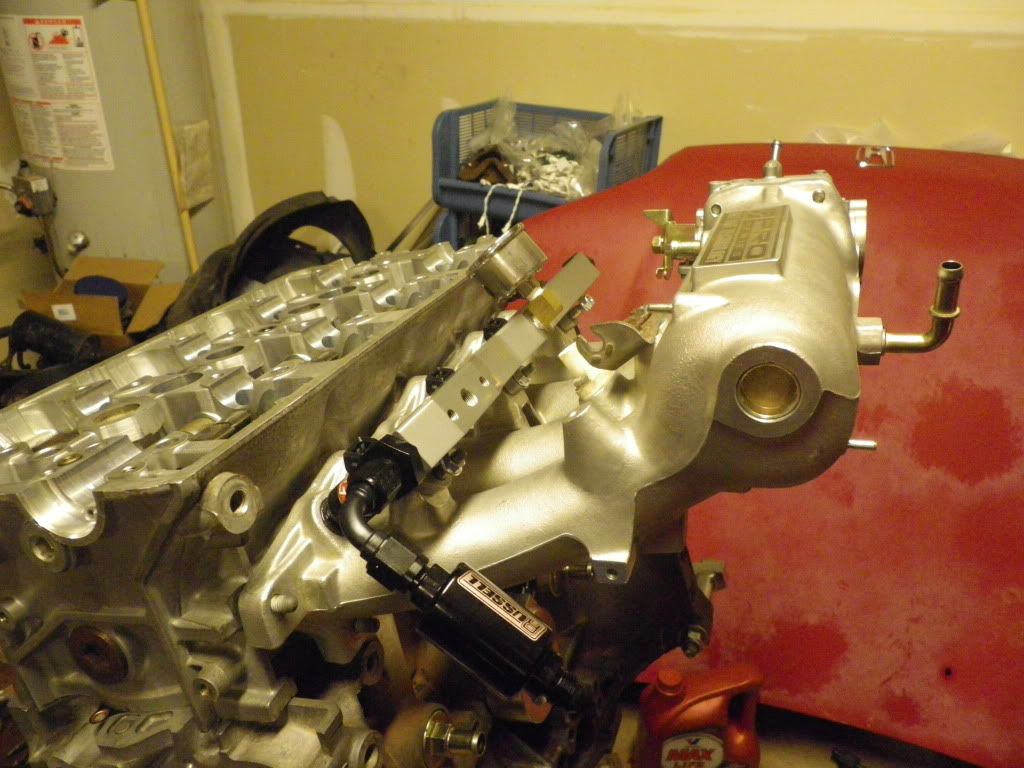
Tested out the 90 degree fitting for the head oil line. Looks like it should work going right by one of the coolant lines coming off the thermostat housing.
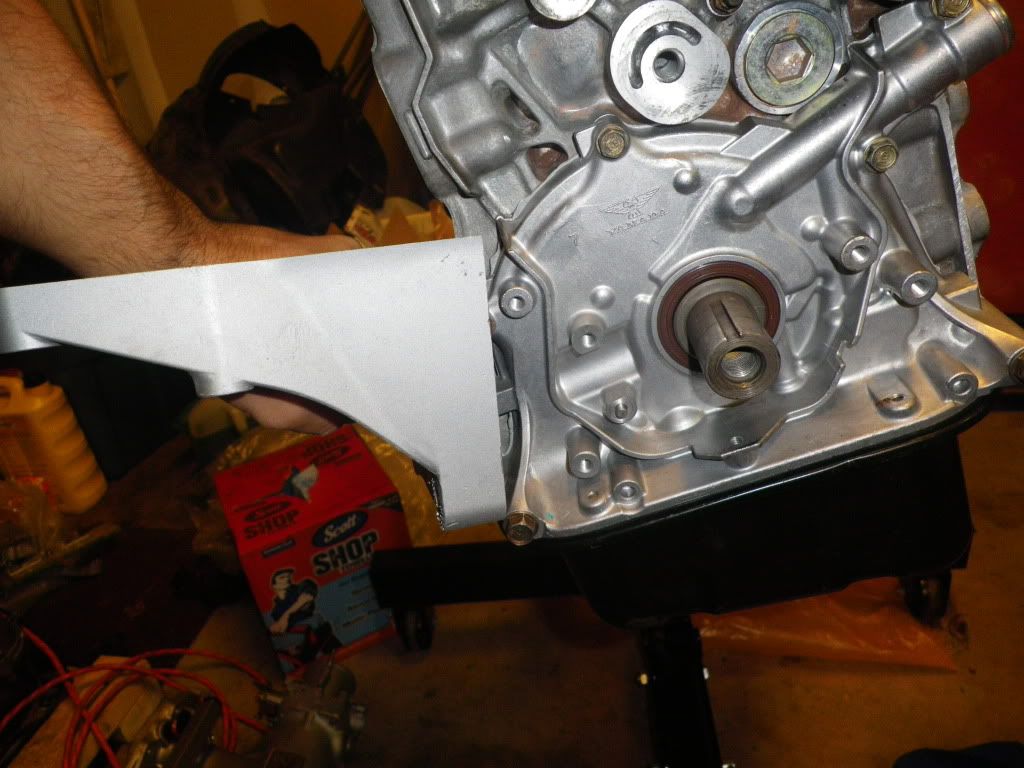
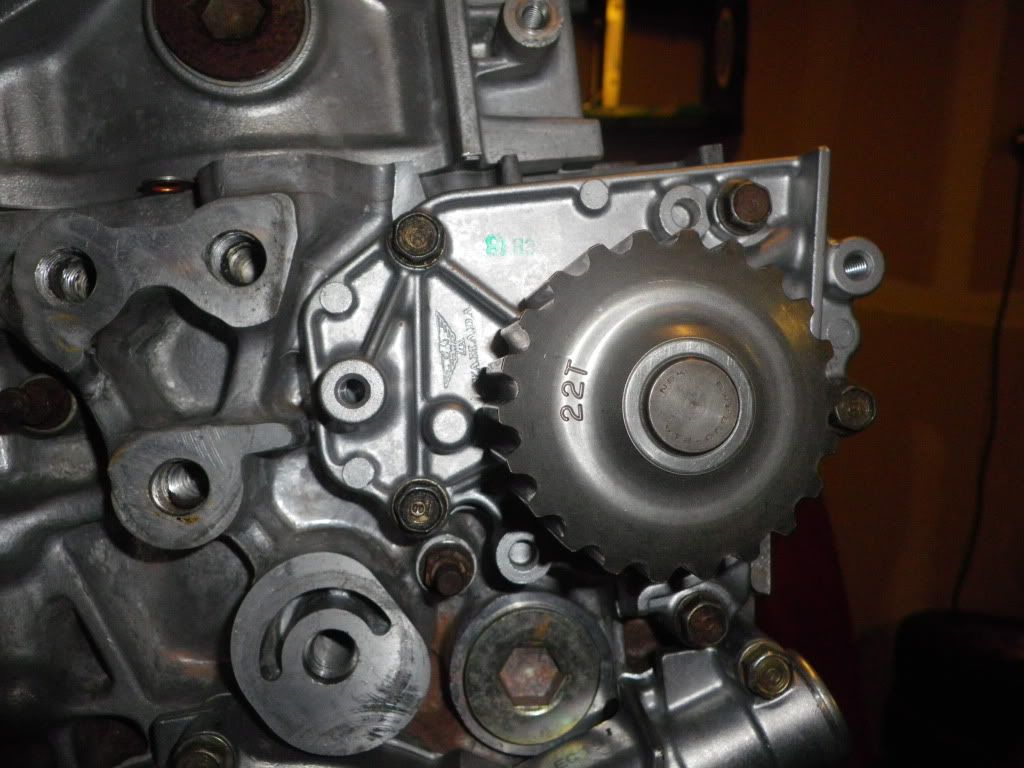
I spent sunday cleaning ****. I decided to clean the engine before i put the cams and stuff in so i could get behind the cam gears real good. While i wasn't going to be uncontrollably blasting the thing with water, i sealed off everything with masking tape to make sure zero water got in there.
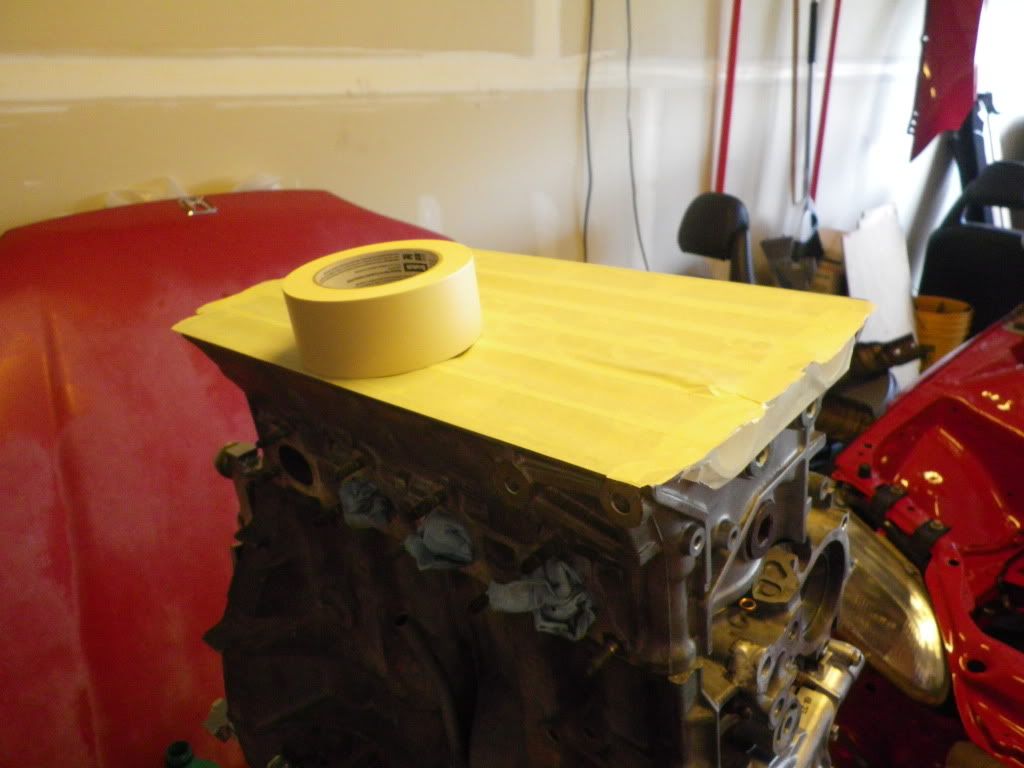
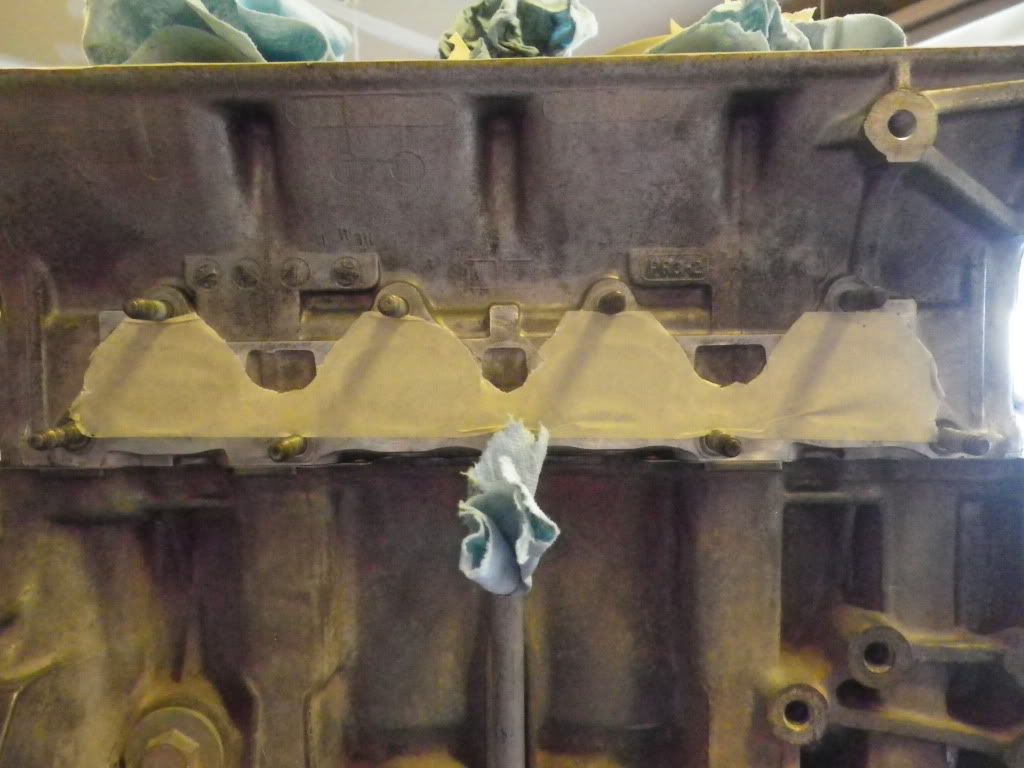
During
After
It doesn't look as good as I want, so i'll be picking up some engine paint to make it look fresh. Also cleaned up some brackets, water pipe, thermostat housing, etc.. Going to clean the tranny and rest of the brackets tonight and maybe get some painting done on these pieces. Hopefully more pics tomorrow!
07-26-2010, 09:20 AM
#65
Not to be confused with "THE MAN"
Jimmy the nubs are for mounting harness brackets. I had to cut the one off of the skunk mani i had before yours. But since I never got to put it onto a car I never did it to that one. I also removed the studs that SKUNK puts on there for the fuel rail and just used plastic spacers I got at lowes to properly space the rail and some 10mm bolts I had in the tool box. Still got a ton of random ones if you want to grab some.
07-26-2010, 12:24 PM
#66
Honda-Tech Member
Thread Starter
Cool, looks like i'll be busting out the cut off wheel again. I'm going to stick with nylon spacers, though.
07-26-2010, 12:48 PM
#67
Not to be confused with "THE MAN"
Word, I have a damn near brand new idle air control valve sitting here for you as well when you come over tomorrow. Came off a ITR Rob had with 18,000km he just got in.
07-26-2010, 07:32 PM
#68
Honda-Tech Member
Thread Starter
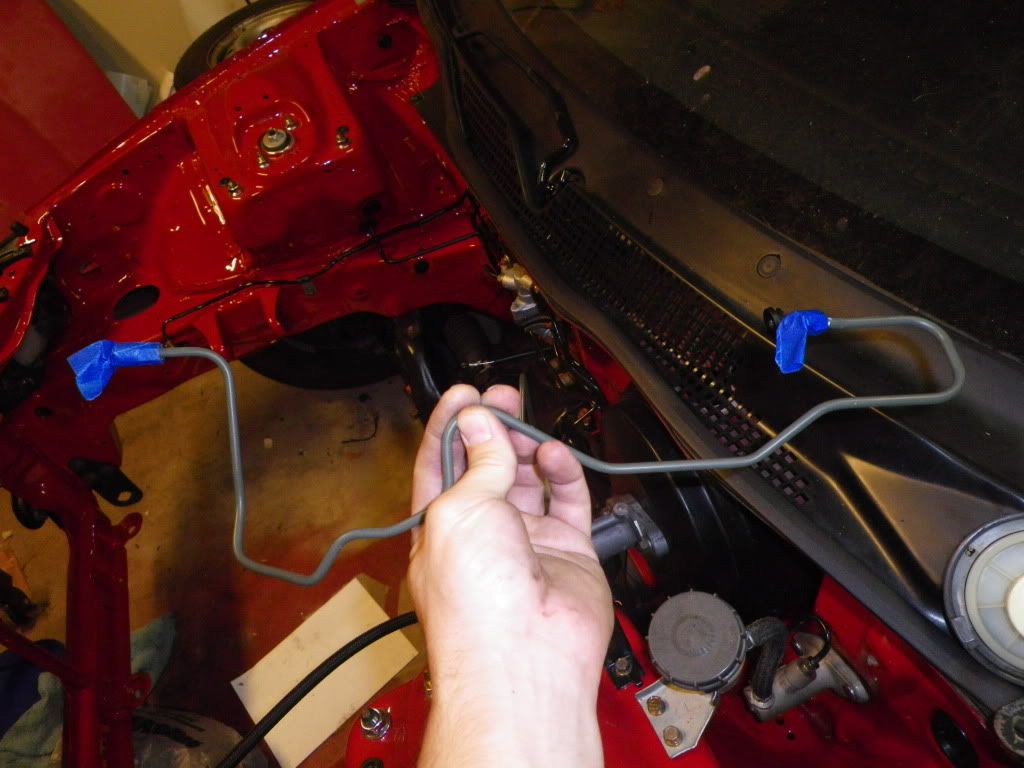
Well it was raining tonight so I didn't get to wash the tranny off. I did make a run to Autozone and pick up a front wheel bearing, brake fitting, engine paint and more brake and carb cleaner. Came home and got to flaring my last brake line for the 12X1.0 fitting at the master cylinder. I have the cheap $20 OEM brand double flare tool. If I ever tuck my brake lines I will definitely pick up a better flare tool because this one take forever to use and is very finicky.
Clamp hard line in with the right amount sticking over the top
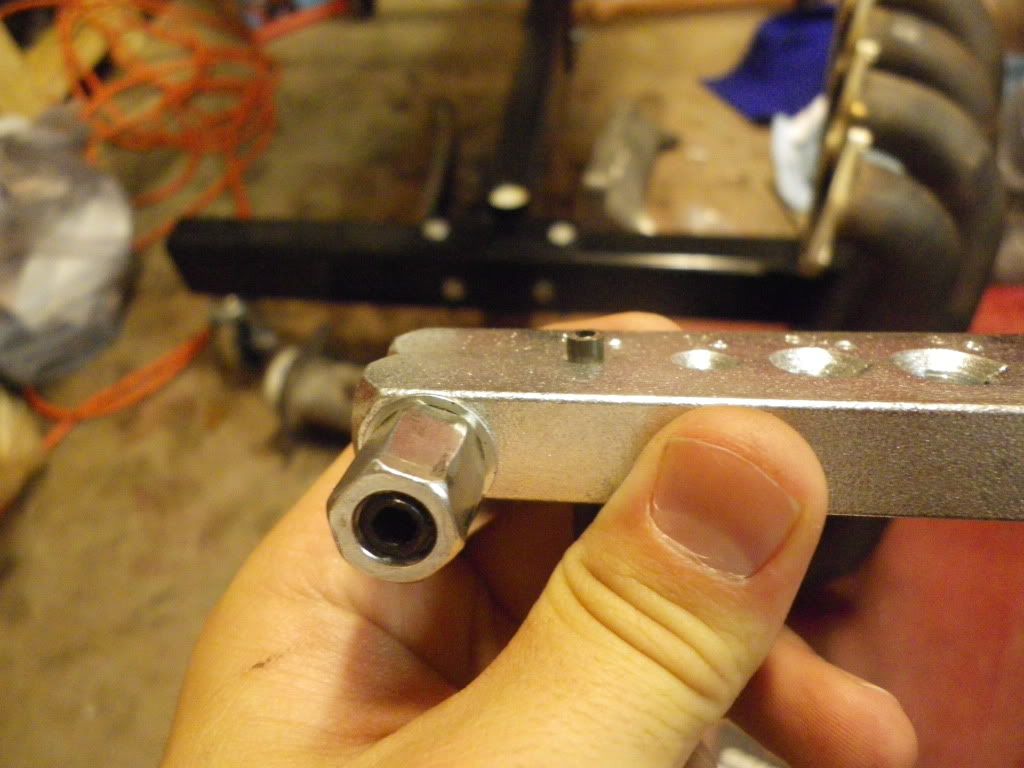
Put anvil on top of line and press down. This creates the flare where the brake fitting presses.
Then you do the same thing without the anvil to create the second flare that goes against the master cylinder. Luckily I had a couple extra lines to practice on before doing my oem hard lines. This one had too much sticking out the top and i pressed it down too much.
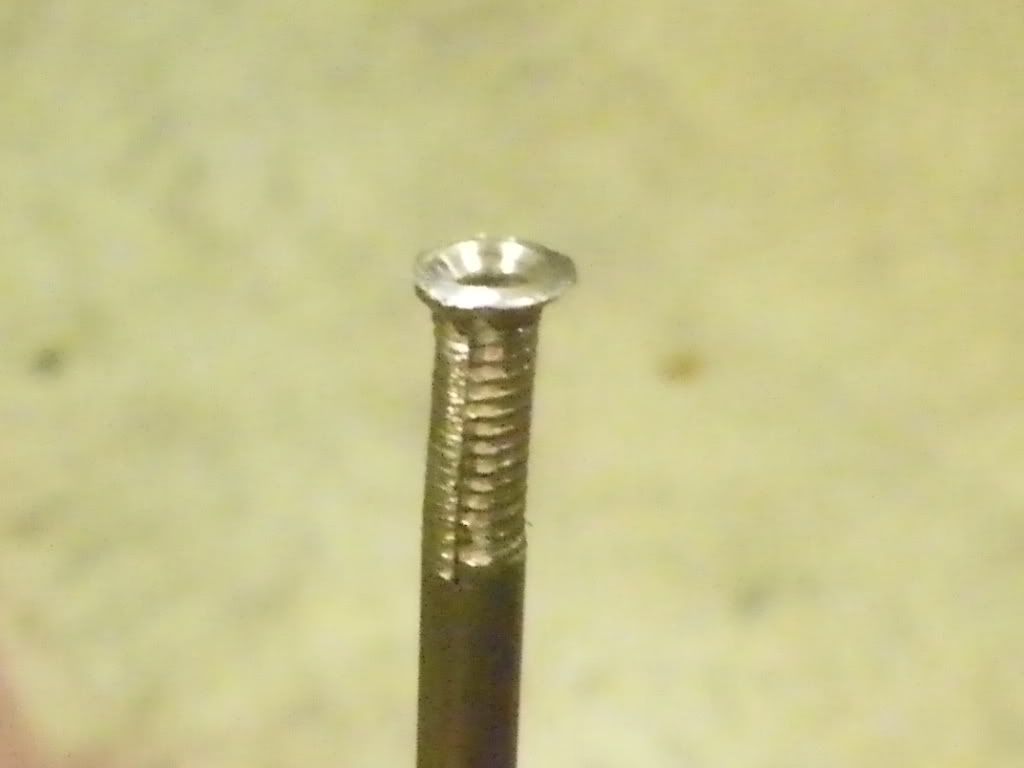
Here is the one for my new master cylinder bench bleeder line compared to an OEM flare. Not as pretty but it will work (hopefully).
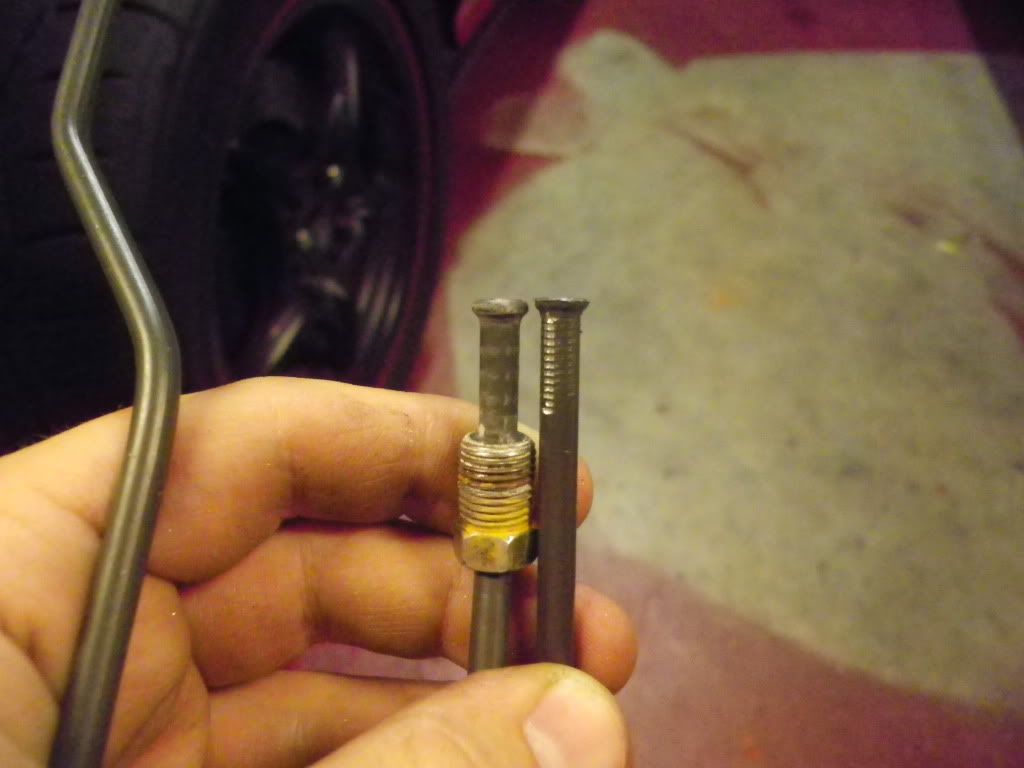
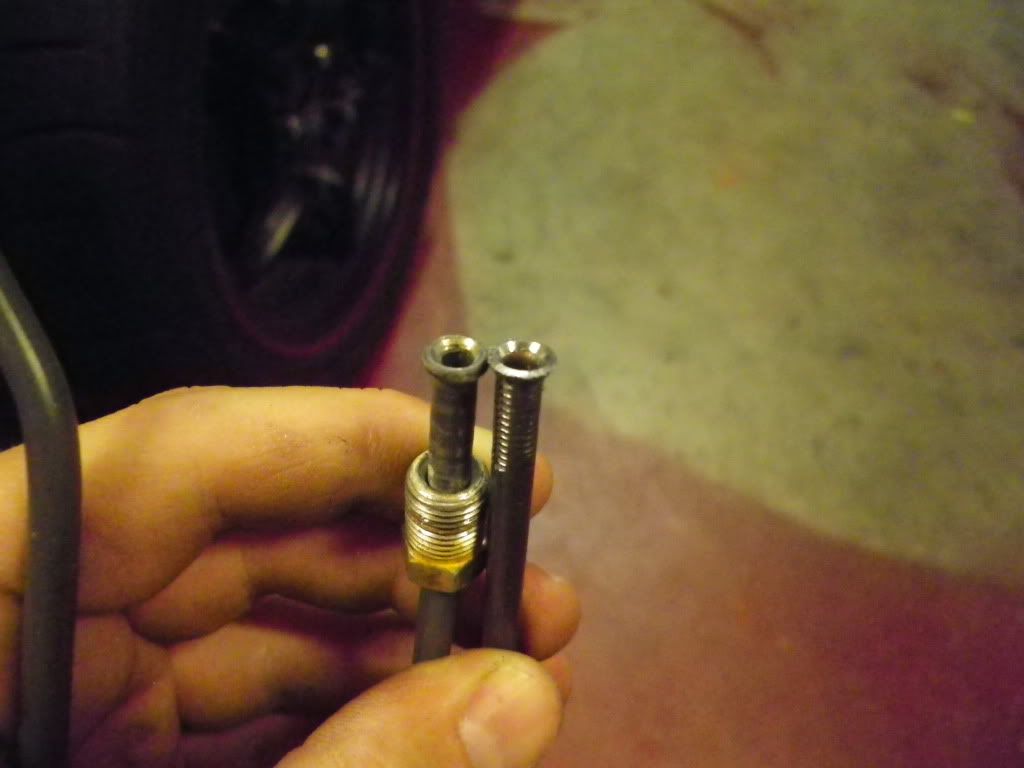
And with the new fitting from Autozone. Used the oem fitting THEGUY got me from the junk yard for the oem line.

Taped up the ends of my hard line in preparation for painting black to match the rest.
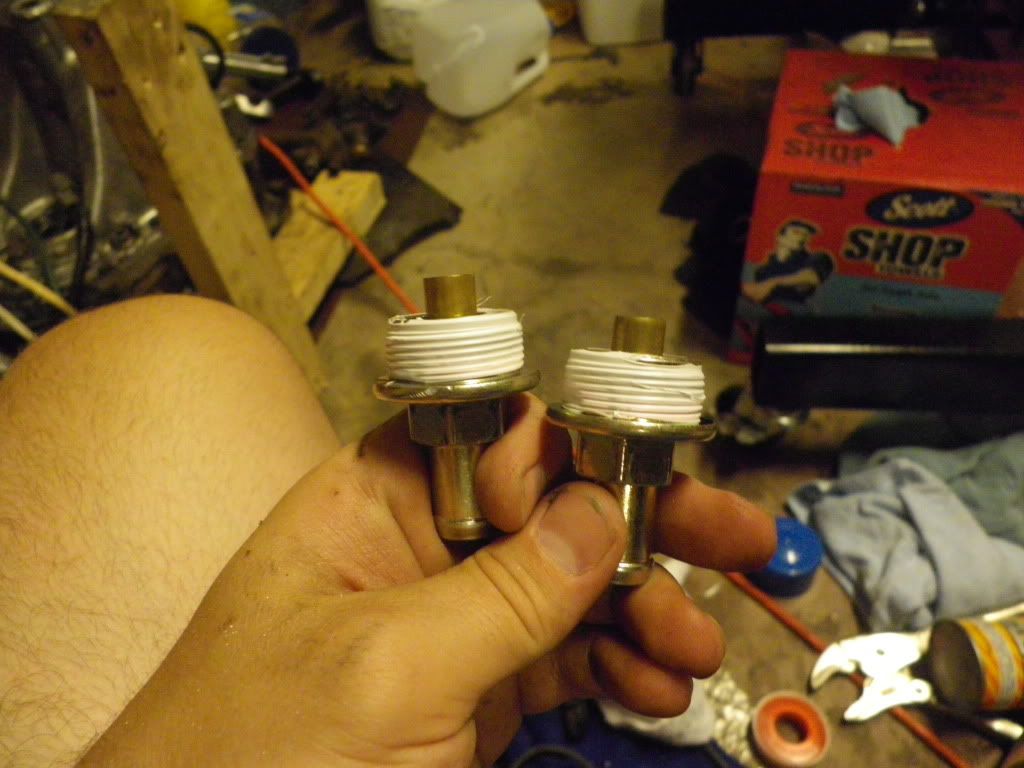
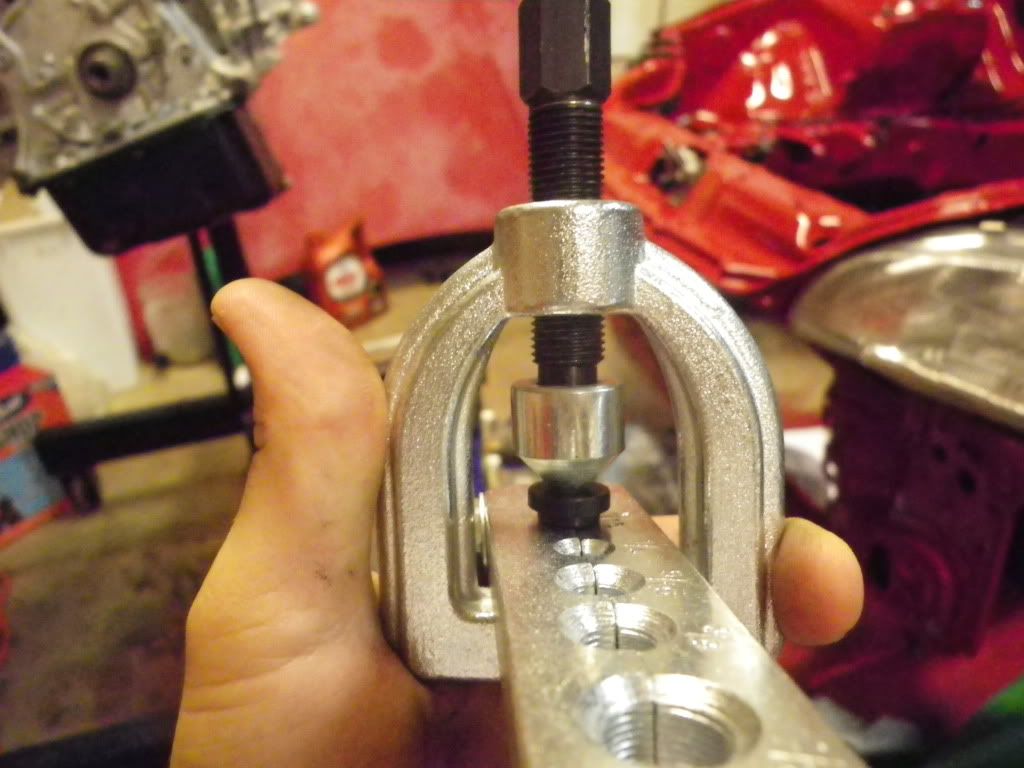
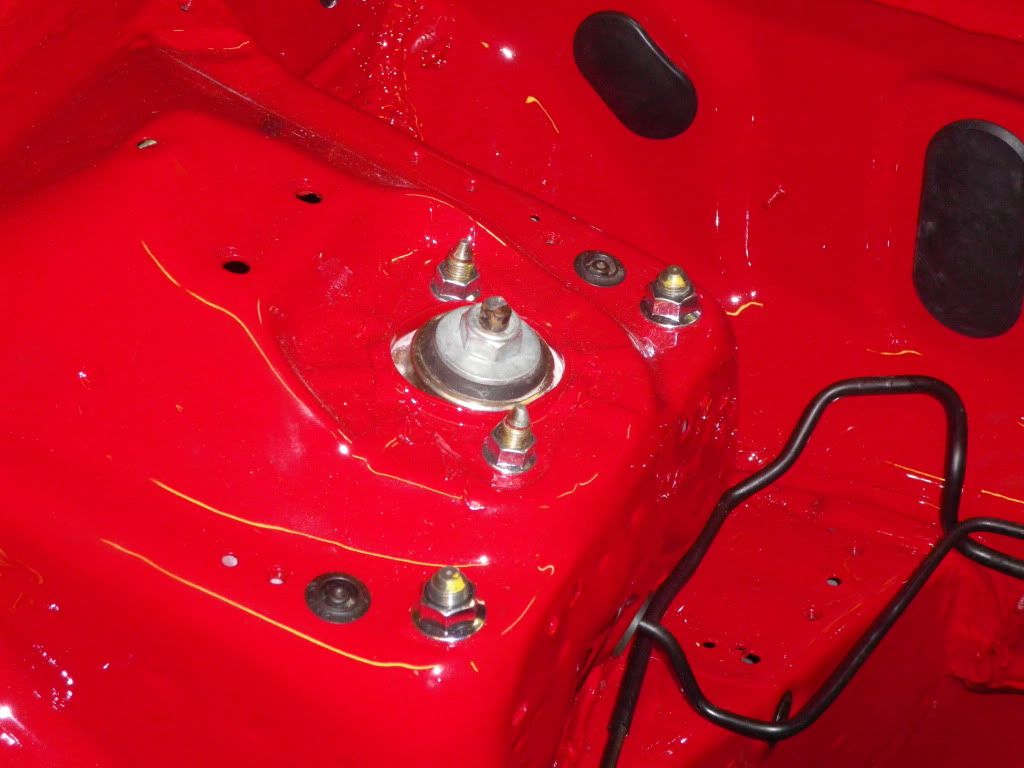
Then to cap off the night I played with my nuts
Clamp hard line in with the right amount sticking over the top
Put anvil on top of line and press down. This creates the flare where the brake fitting presses.
Then you do the same thing without the anvil to create the second flare that goes against the master cylinder. Luckily I had a couple extra lines to practice on before doing my oem hard lines. This one had too much sticking out the top and i pressed it down too much.
Here is the one for my new master cylinder bench bleeder line compared to an OEM flare. Not as pretty but it will work (hopefully).
And with the new fitting from Autozone. Used the oem fitting THEGUY got me from the junk yard for the oem line.
Taped up the ends of my hard line in preparation for painting black to match the rest.
Then to cap off the night I played with my nuts
07-26-2010, 08:20 PM
#69
Honda-Tech Member

Join Date: Feb 2008
Location: Summerville, SC, USA
Posts: 345
Likes: 0
Received 0 Likes
on
0 Posts
Looks awesome! Glad to finally see homies reppin SC. Engine bay looks imaculate! I might have to have you guys come to Charleston and paint my ef hatch...GL on the rest of the build!
07-26-2010, 08:52 PM
#70
Not to be confused with "THE MAN"
Too bad I couldn't get a second fitting, crap had me so frustrated hunting around. Glad youre getting practice with brake lines though, I need to re-do all of my hard and sprung lines for the jeep with the new axles. lol
07-28-2010, 05:51 AM
#74
Honda-Tech Member
Thread Starter
See below!
Thanks!
Thanks Shane!
Did a little work last night. My water hose decided to blow the fitting off. By the time i ran to Home Depot and got it fixed it was dark which means no tranny washing. I started to grind that nub off the IM so the FPR will fit, but decided against it. Even with it ground off I don't know if even a 45 degree AN fitting will fit. I decided to not risk it and will be ordering the Golden Eagle rotation piece today.
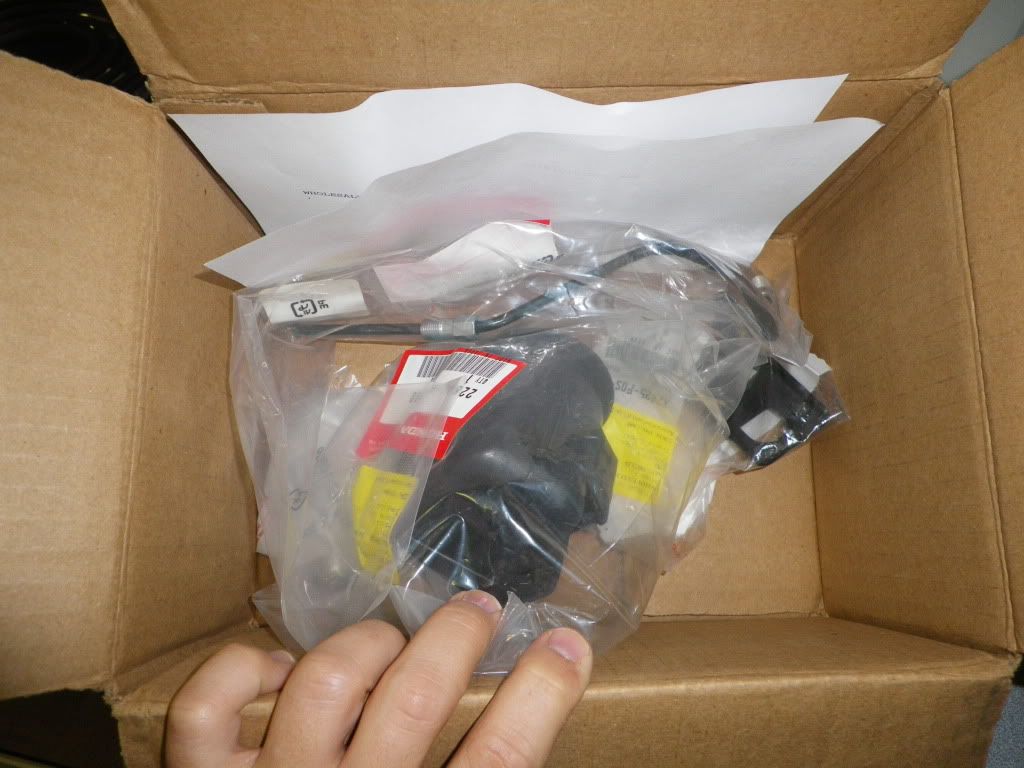
This was waiting for me when i got home. Mainly tranny parts: hard pipe coming off the slave cylinder, bracket for it, rubber boot for the slave, retaining clips and grommet for the cruise control hole in the firewall.
Painted the final brake hardline and tested the flat aluminum engine paint on the bottom tranny cover
Looks almost the same as the fresh oil pump color
Installed water pump
Then went to try and freshen up the header. Took the wire wheel to it first.
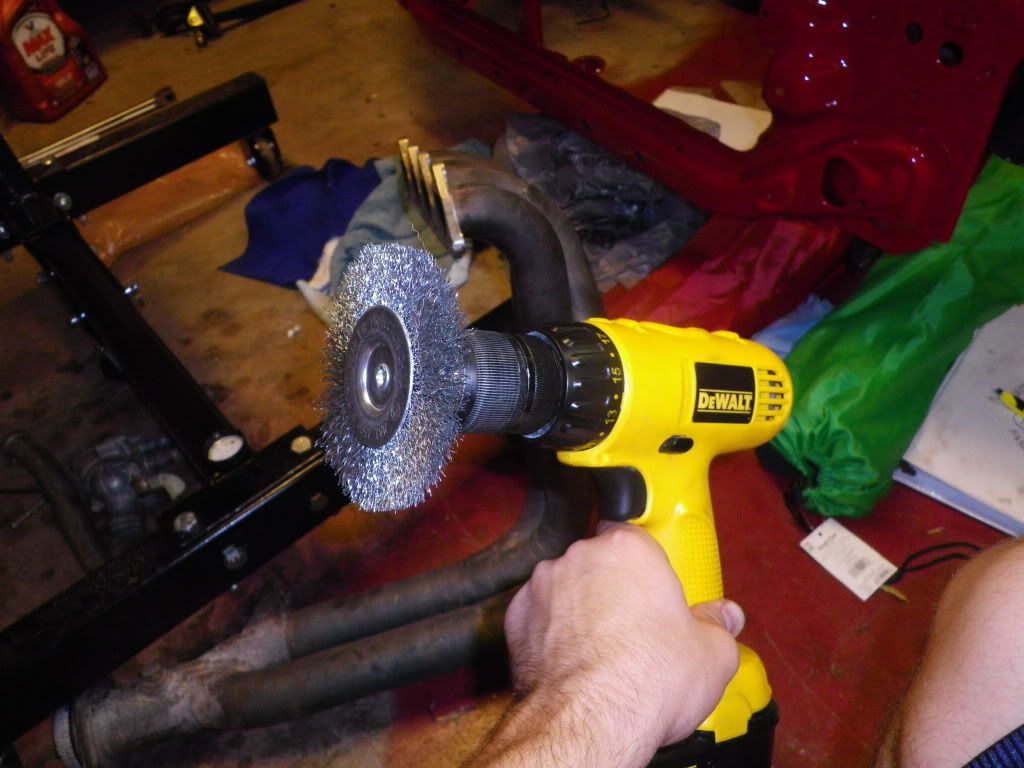
JUN plate and tab cleaned up quickly and easily.
The rest of the header....not so much. A couple places did easliy, but others just smoothed out with out getting to the bare stainless steel.
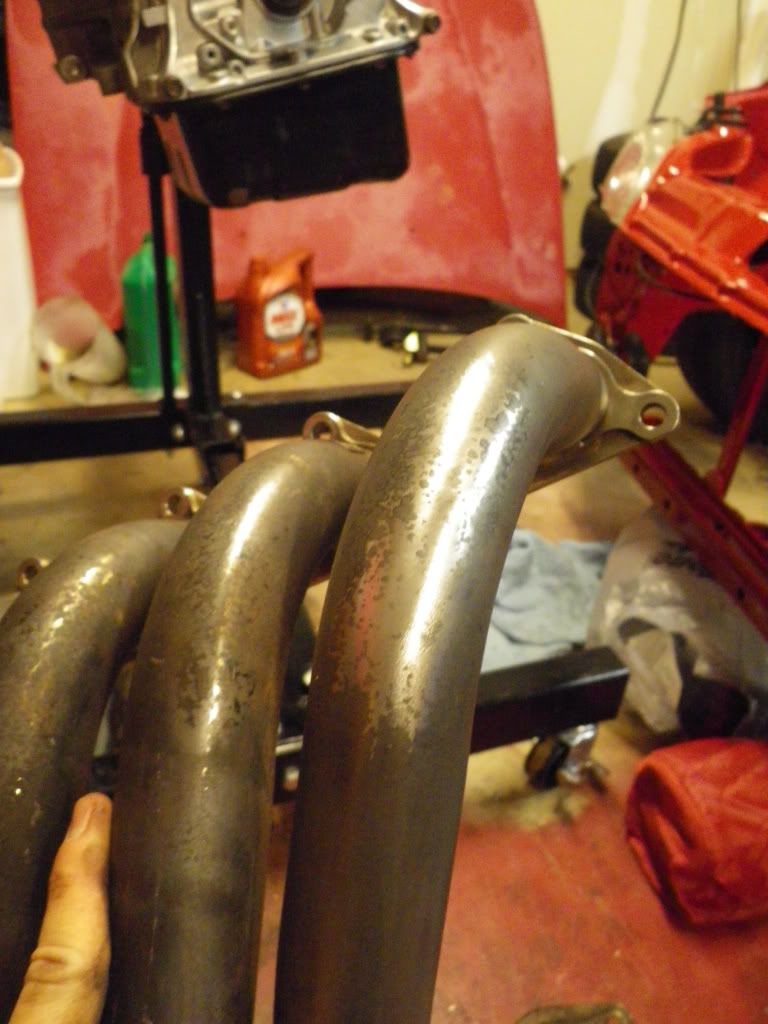

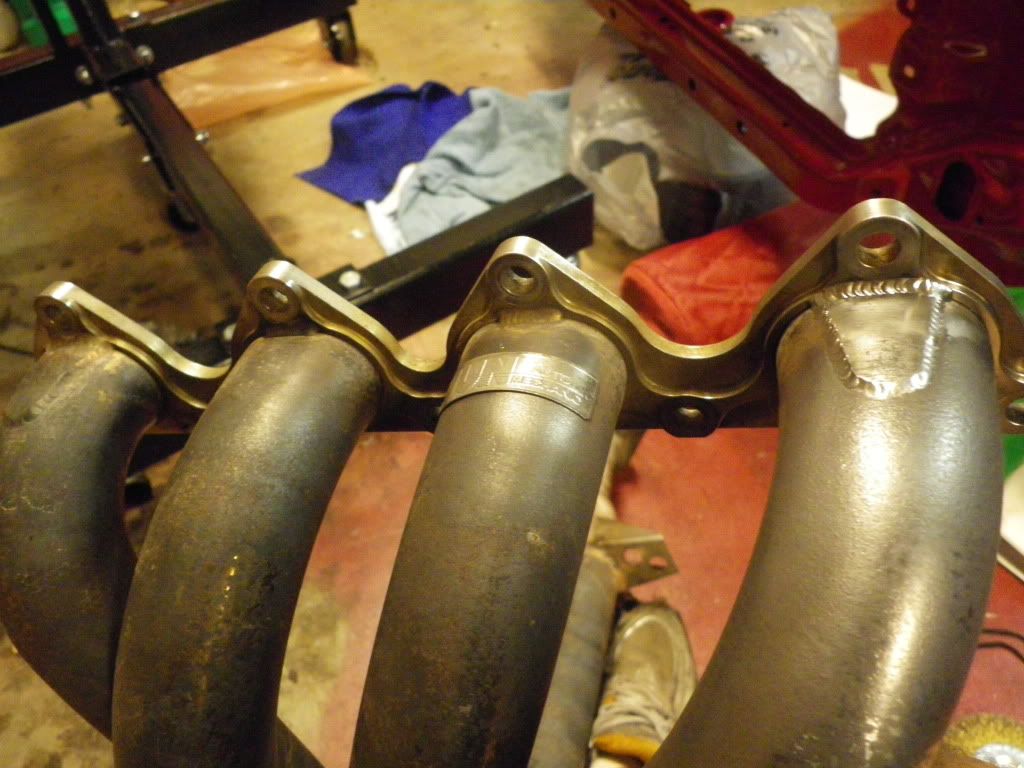
Here is a comparison. Left two runners had the wire wheel treatment. I would be happy with how the middle runner looks under the JUN tag, but since some parts are down to the bare metal i want it ALL like that.
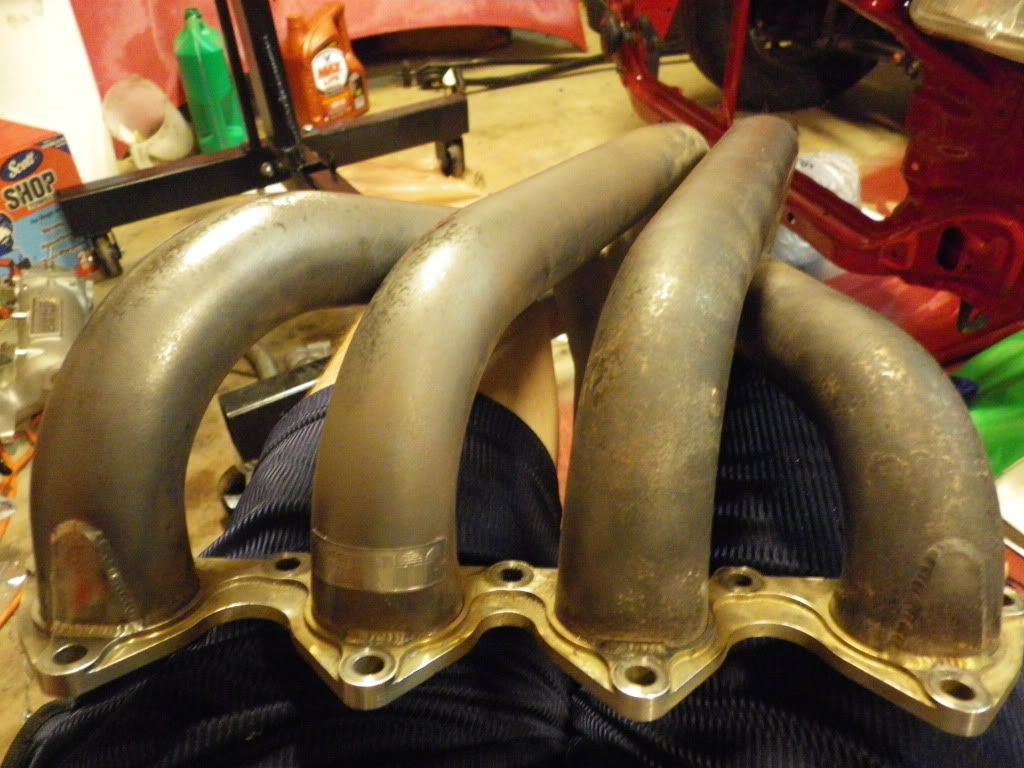
So if anybody has any ideas on a quicker way to get the whole thing down to bare metal let me know. I may go buy the machine shop and see if the can media blast it like i had those caliper brackets done. I'd be willing to pay $25 or so for media lasting instead of hours on end with the wire wheel and steel wool.
07-28-2010, 01:53 PM
#75
Not to be confused with "THE MAN"
ASk Joe if you can use the sand blaster at his work, though you'll need to get it ceramic coated again. There is a place iin Anderson called Apex that used to do coatings.