
Panchoek's build thread
 01-07-2015, 06:54 AM
#1
Honda-Tech Member
Thread Starter
So I got laid off a couple days ago and its -3 degrees with wind chills of -30 and I'm at home bored out of my mind so I decided to make a thread of everything I've done to my car so far. This is my first build thread and probably not going to be that great so bare with me. One thing I wish I would have done is taken more pictures of everything I've done, but here it goes.
First off here's a couple cars previous cars I have owned
1992 Civic SI, mint interior and wish I would have kept this car

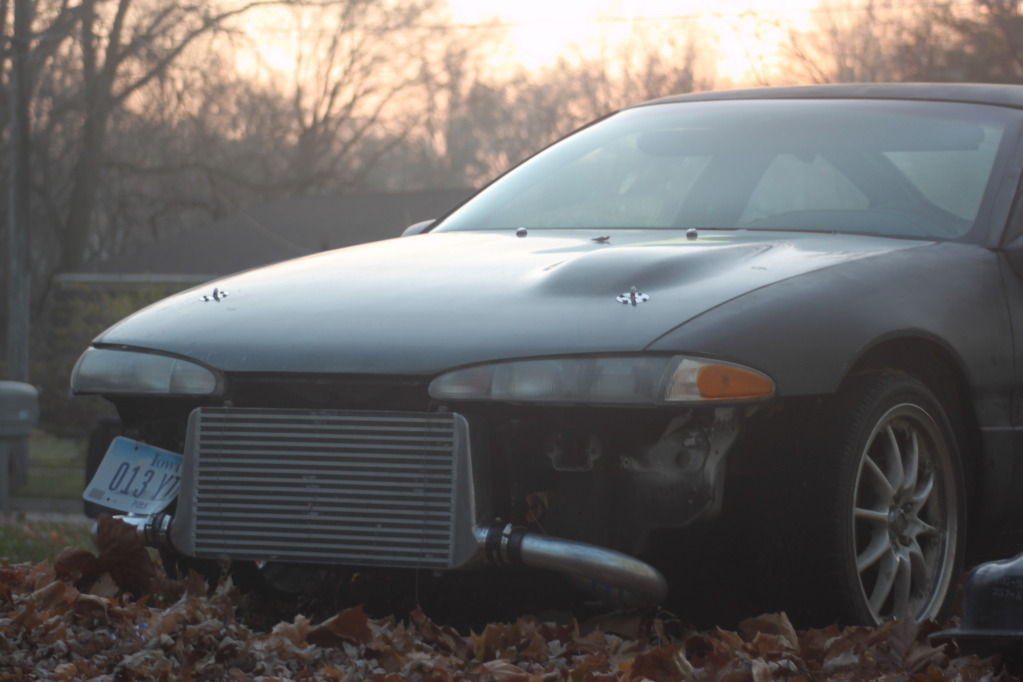
1992 Eagle Talon TSI, awd beast pushing 400hp, wiring issues and never ran the way I wanted it to, so I got rid of it

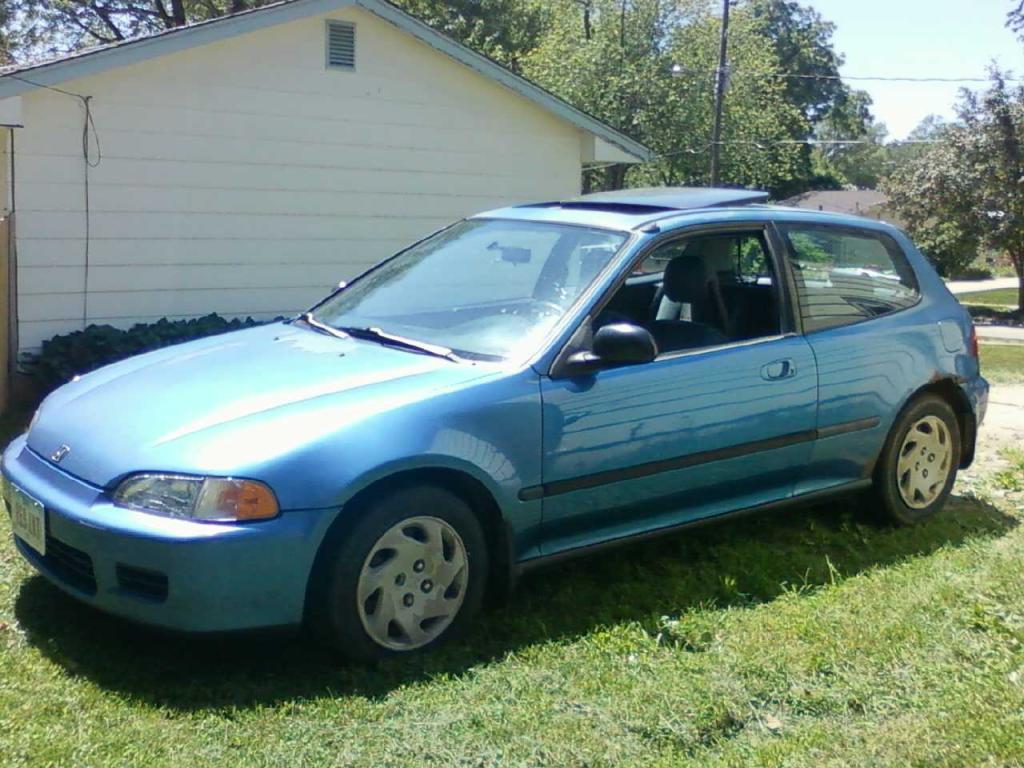
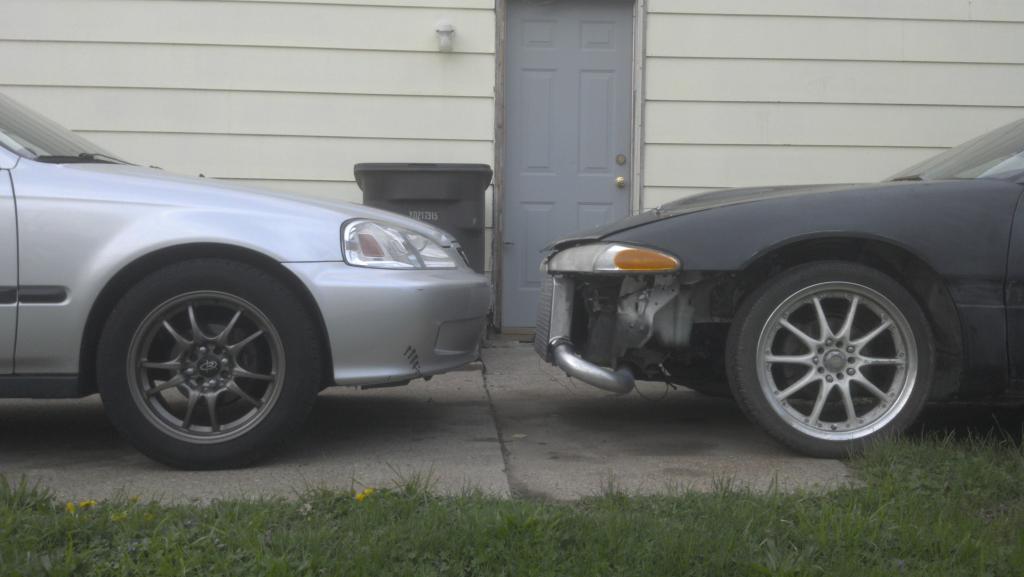
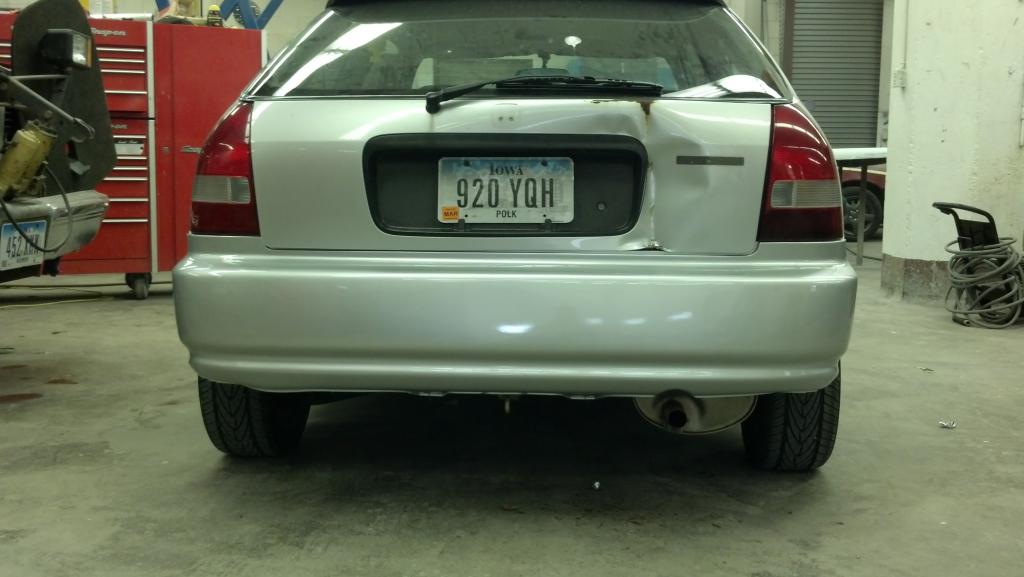
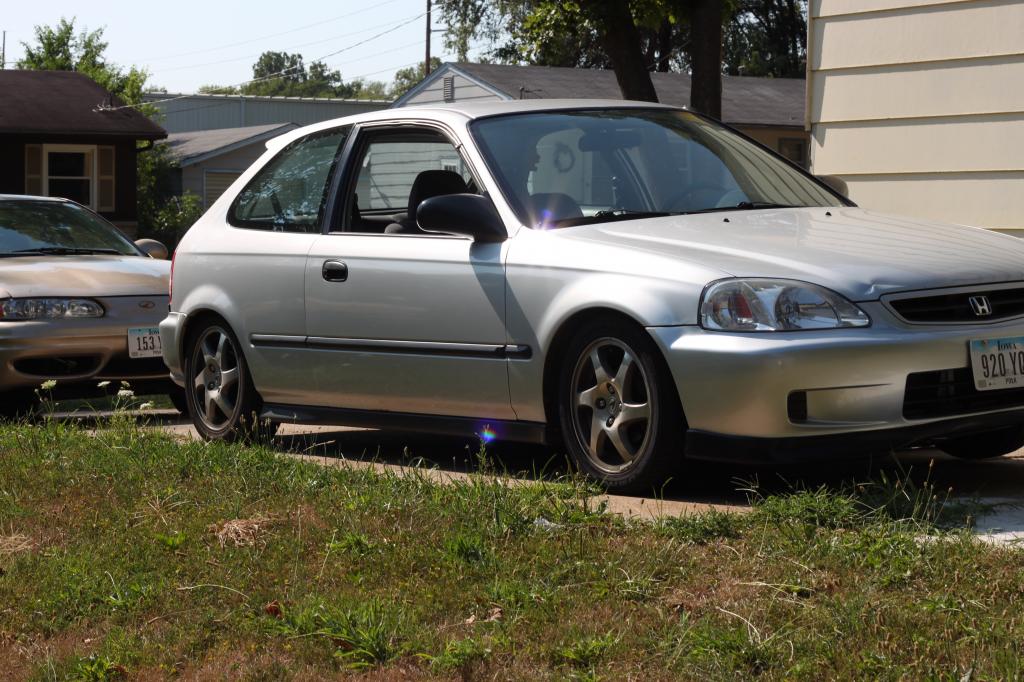
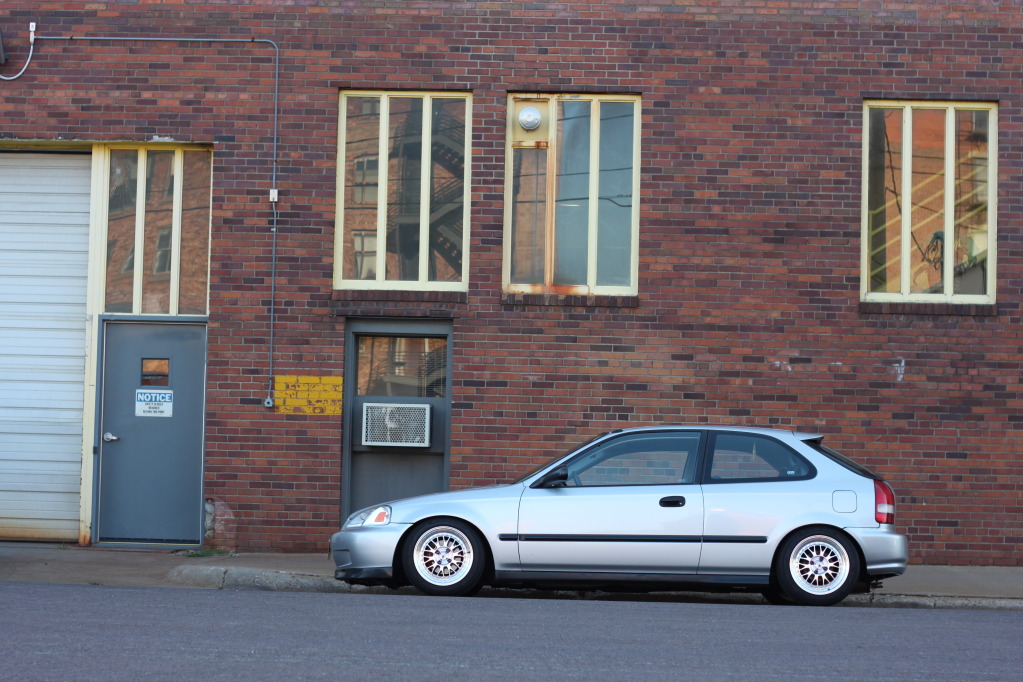
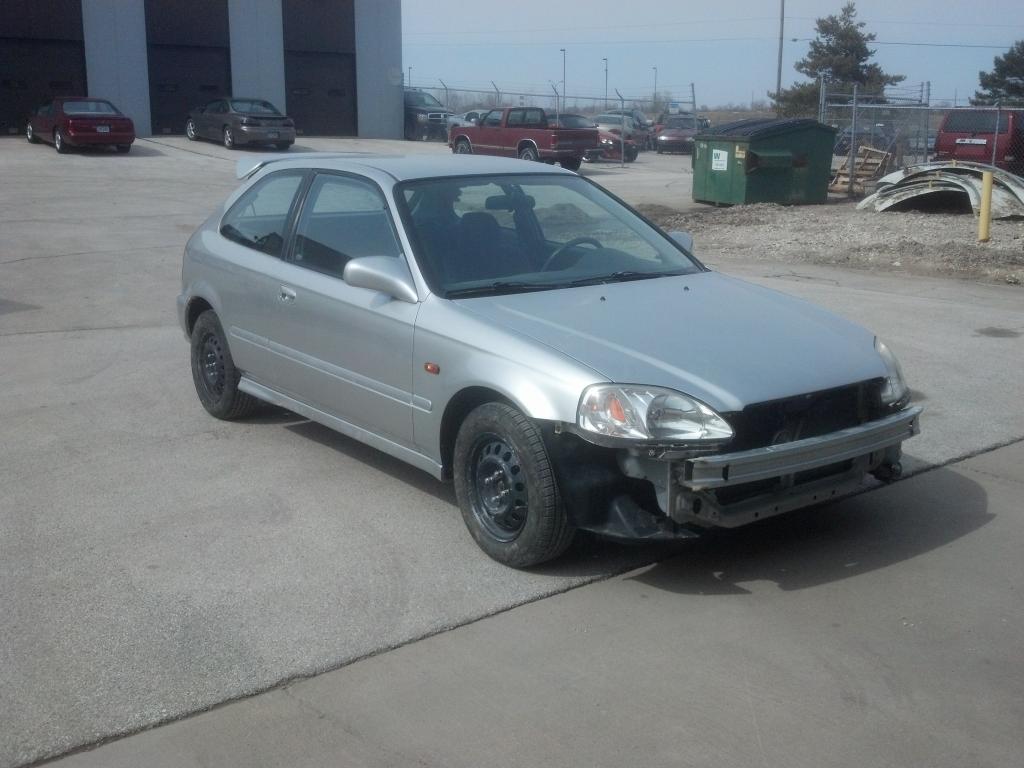
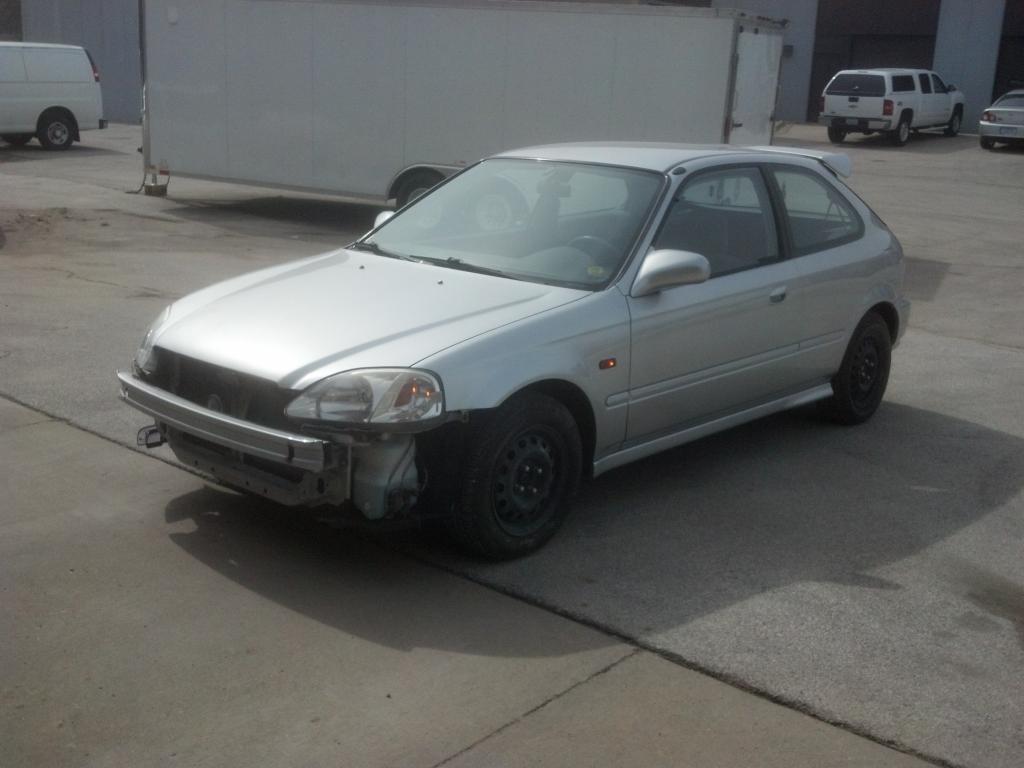
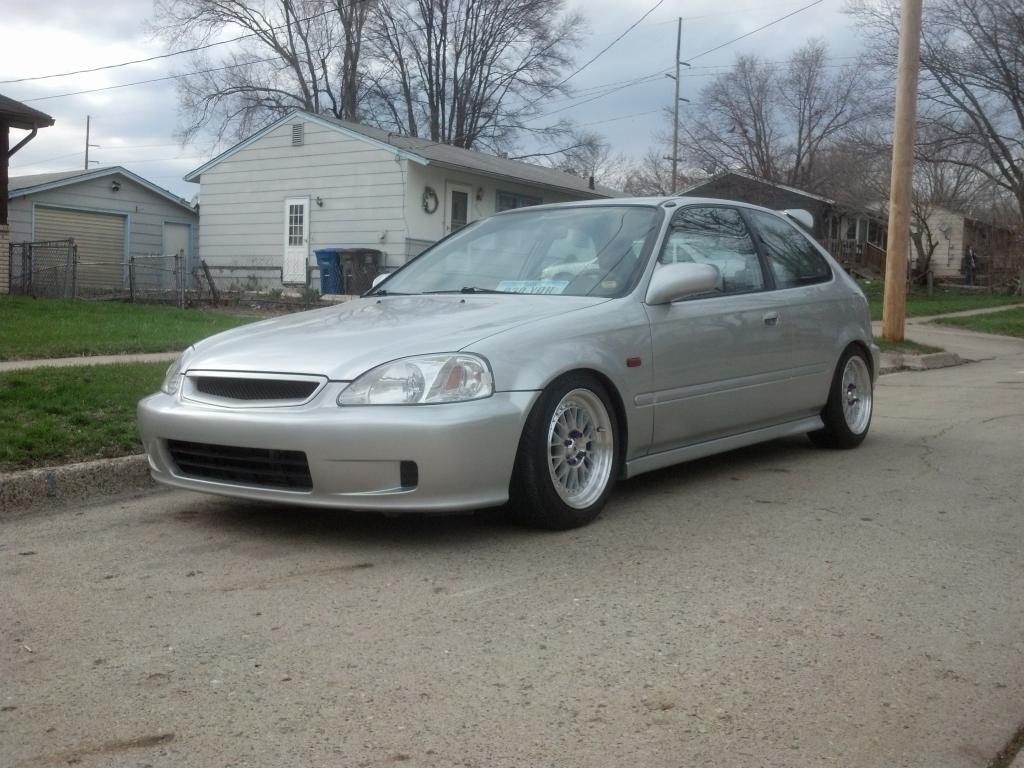
so now to my civic. I live in Iowa and while searching cars all over I found this in Minnesota. It was a Tuesday and I asked the owner that I would pay his asking price if would save me the car until Friday when I had a chance to make the trip to get the car. Surprisingly he agreed and off to Minnesota I went. He was a really cool guy and we kept in touch after I bought the car. As far as the car it had great interior and ran like a clock. Came with hid's and 16" rota c10's and besides the exterior damage it was in good condition.

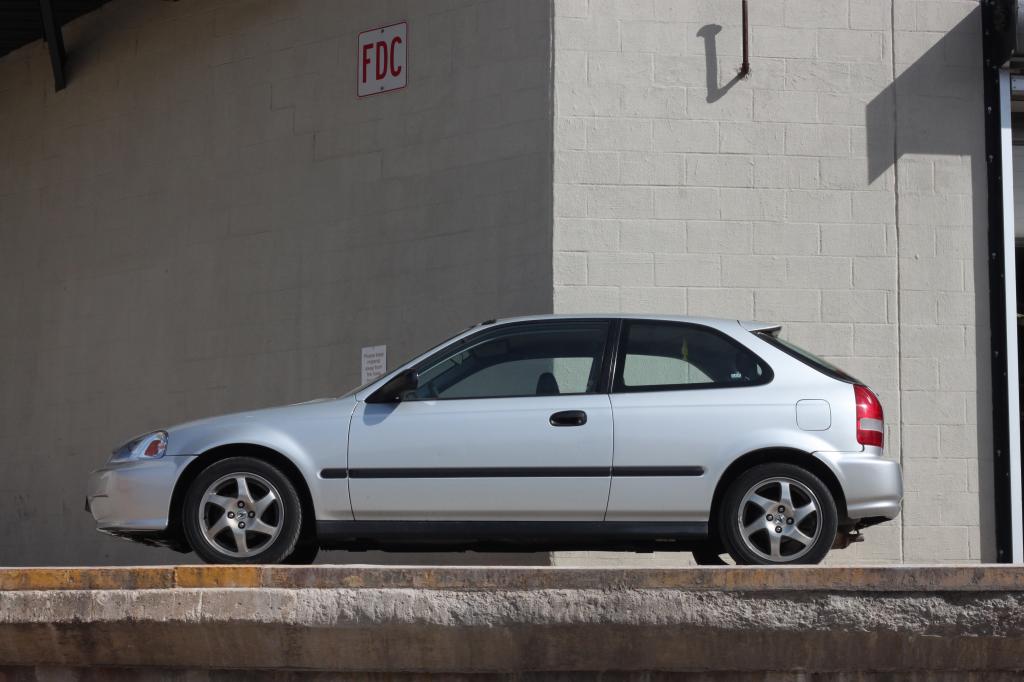
the first thing I did was I got rid of rotas and traded them for some gsr blades the next day, because I didn't like the rotas and they rubbed on the inside
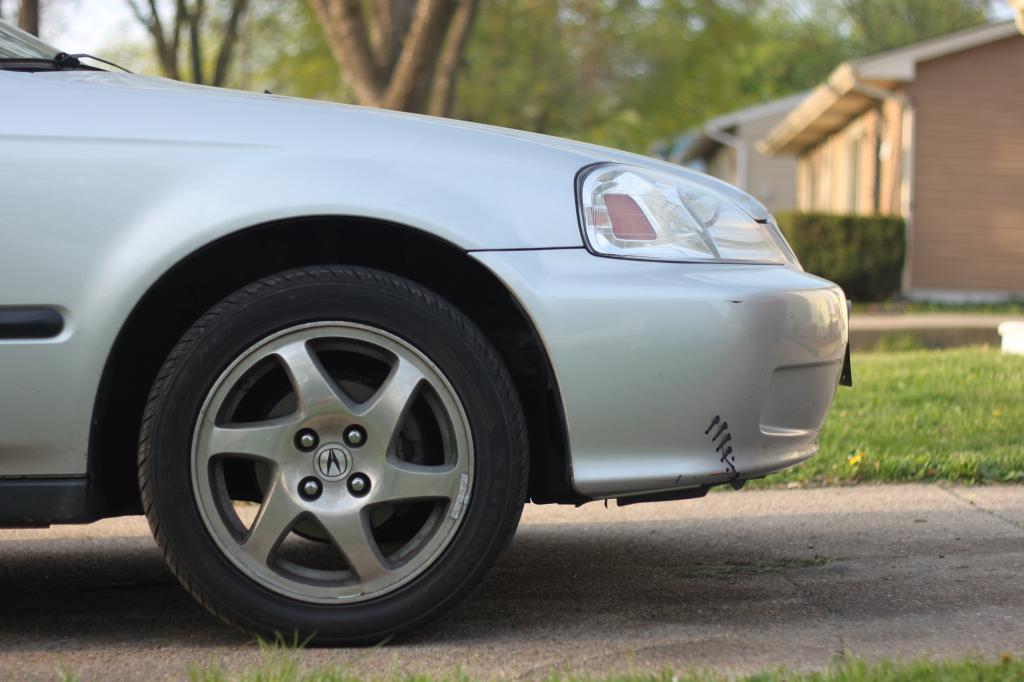
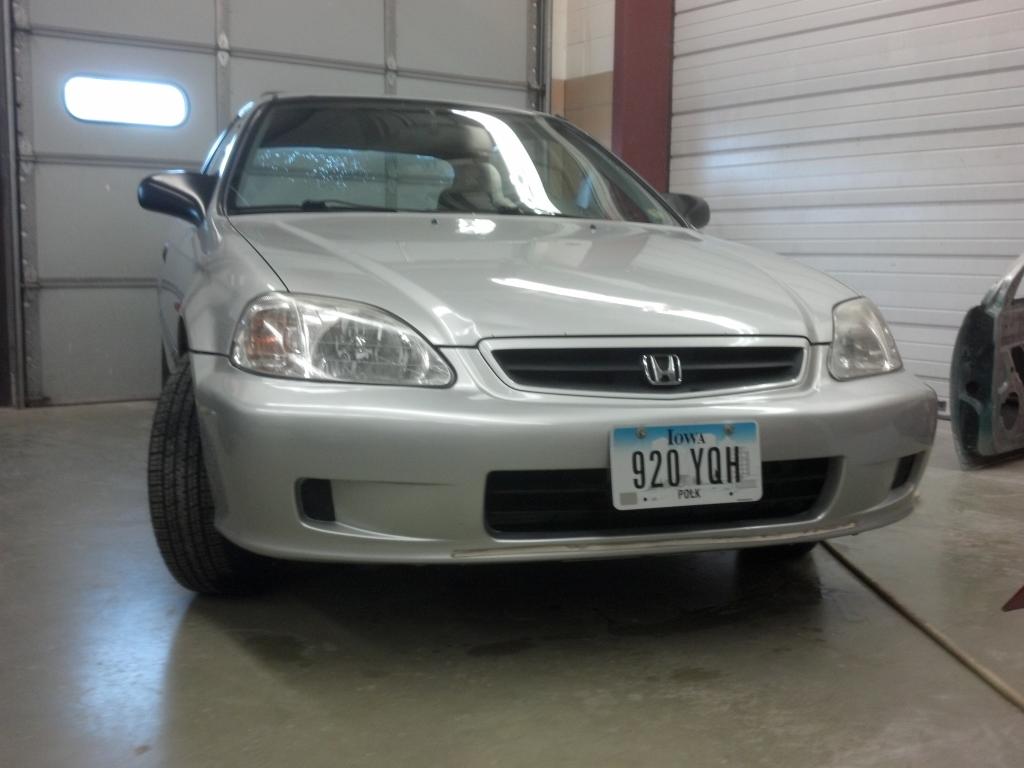
next came repairing the damage, I was in high school taking auto collision classes so I had a good advantage and all I had to do was pay for parts and materials. after searching for a while I finally got ahold of a hood hatch in a junkyard and I just got new aftermarket front and rear bumpers
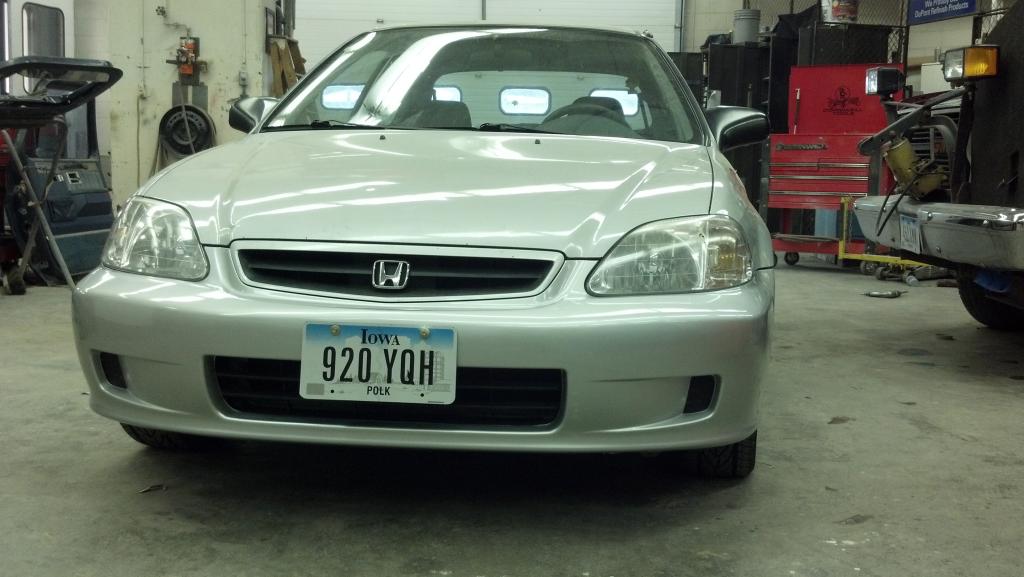
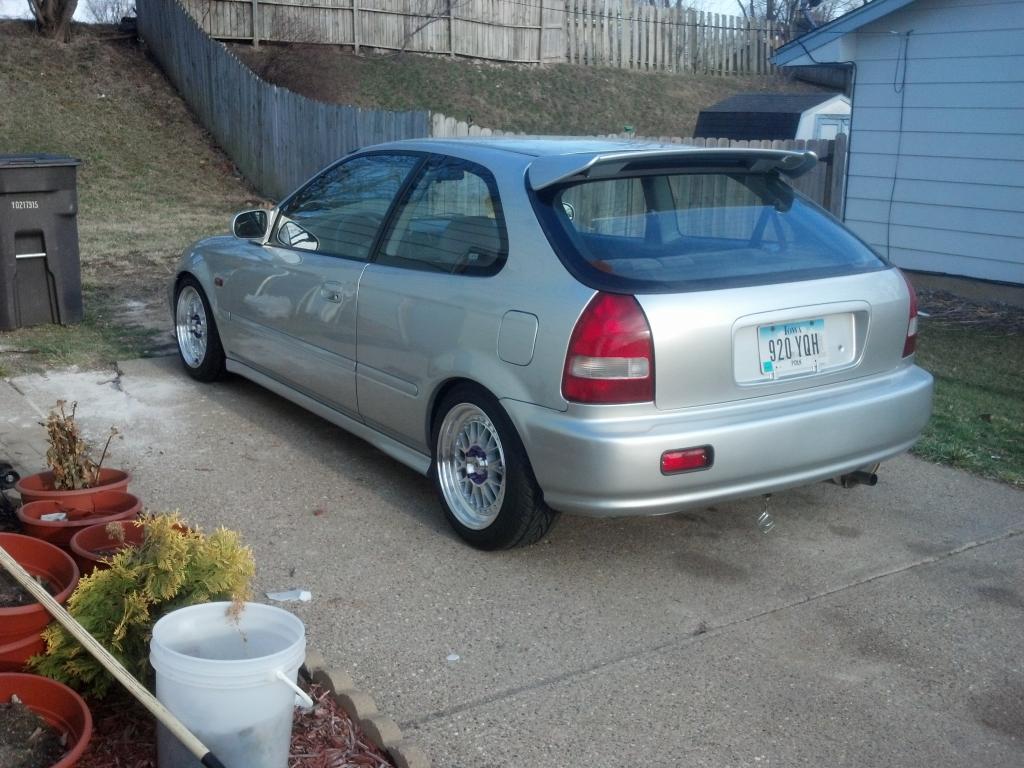
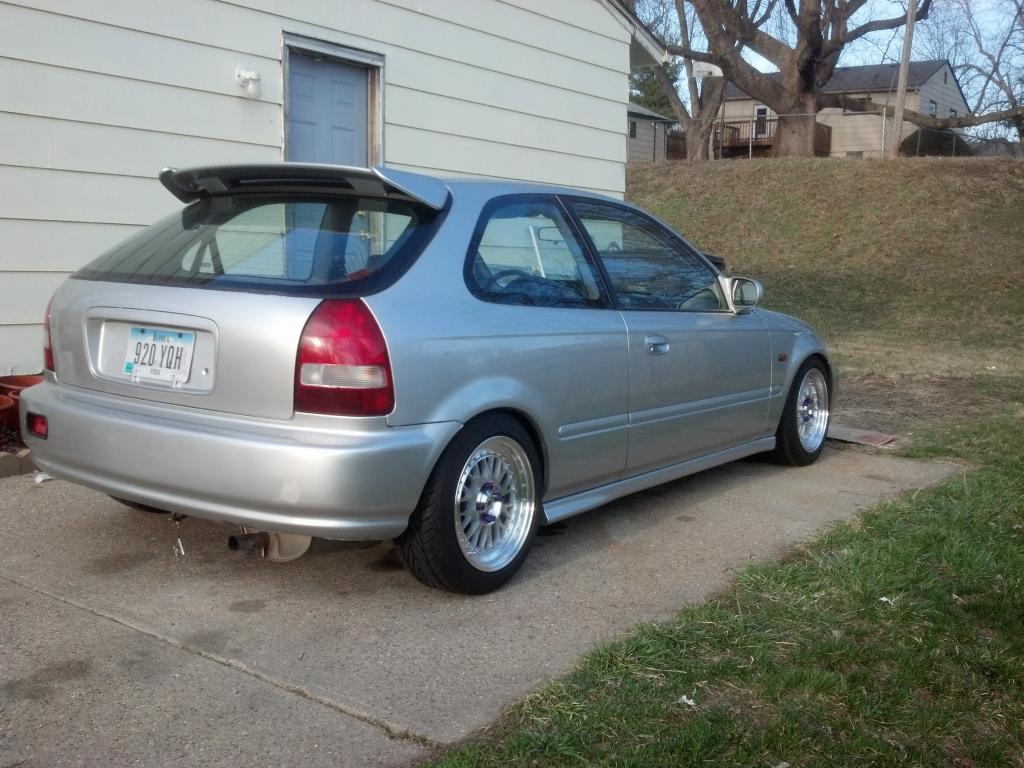
new front bumper painted and installed
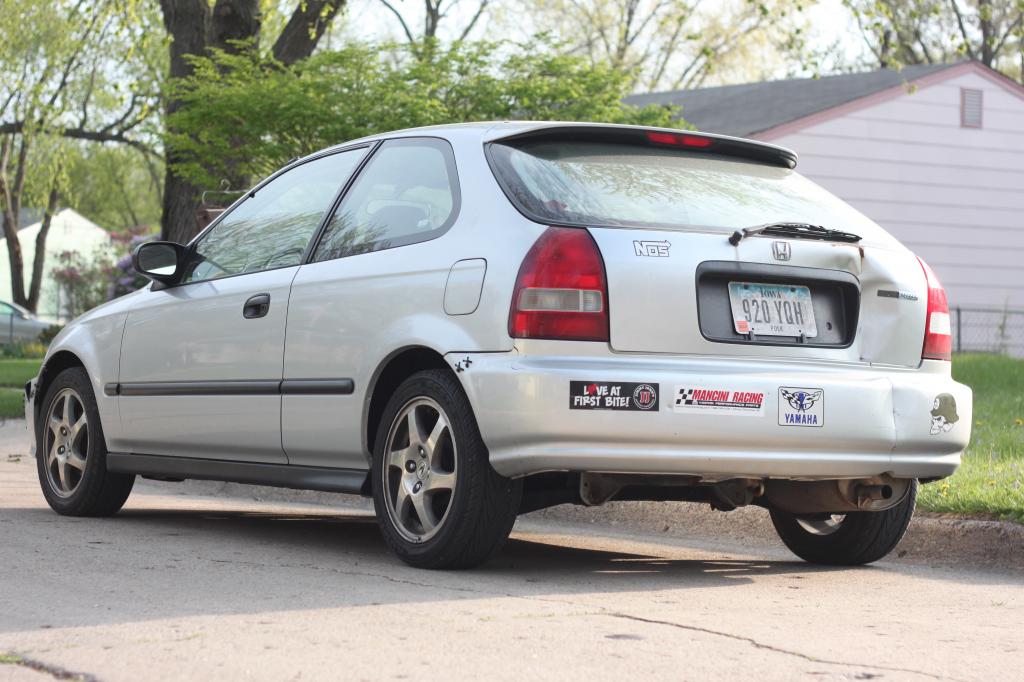
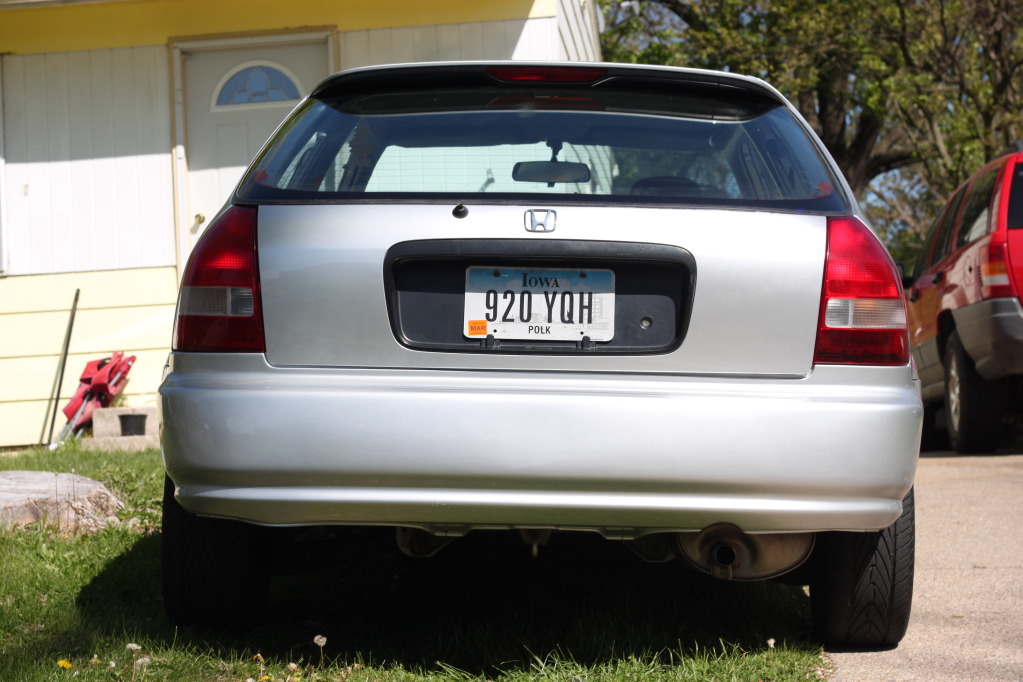
new rear bumper painted and installed
and finally new to me hatch painted and installed
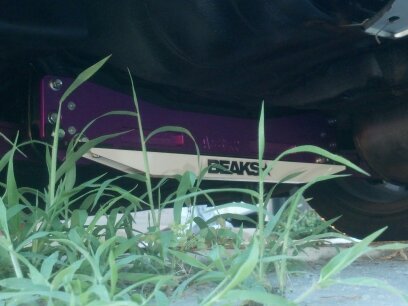
I then got some suspension parts: k-sports coilovers, asr subframe brace, and beaks lower tie bar
First off here's a couple cars previous cars I have owned
1992 Civic SI, mint interior and wish I would have kept this car


1992 Eagle Talon TSI, awd beast pushing 400hp, wiring issues and never ran the way I wanted it to, so I got rid of it


so now to my civic. I live in Iowa and while searching cars all over I found this in Minnesota. It was a Tuesday and I asked the owner that I would pay his asking price if would save me the car until Friday when I had a chance to make the trip to get the car. Surprisingly he agreed and off to Minnesota I went. He was a really cool guy and we kept in touch after I bought the car. As far as the car it had great interior and ran like a clock. Came with hid's and 16" rota c10's and besides the exterior damage it was in good condition.


the first thing I did was I got rid of rotas and traded them for some gsr blades the next day, because I didn't like the rotas and they rubbed on the inside


next came repairing the damage, I was in high school taking auto collision classes so I had a good advantage and all I had to do was pay for parts and materials. after searching for a while I finally got ahold of a hood hatch in a junkyard and I just got new aftermarket front and rear bumpers
new front bumper painted and installed

new rear bumper painted and installed

and finally new to me hatch painted and installed


I then got some suspension parts: k-sports coilovers, asr subframe brace, and beaks lower tie bar


 01-07-2015, 07:34 AM
#2
Honda-Tech Member
Thread Starter
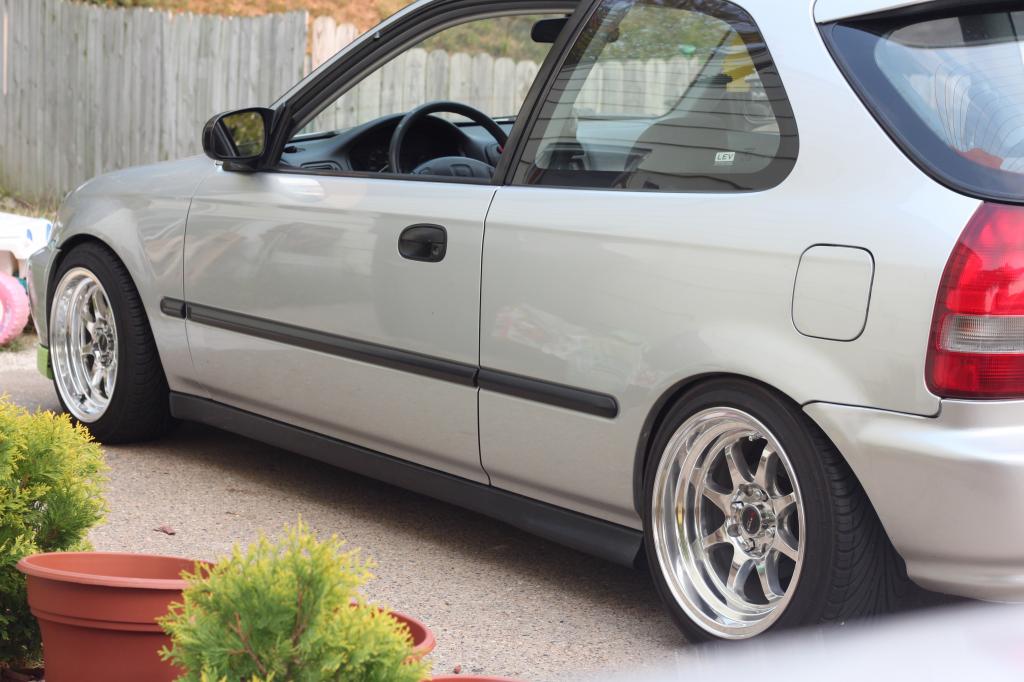
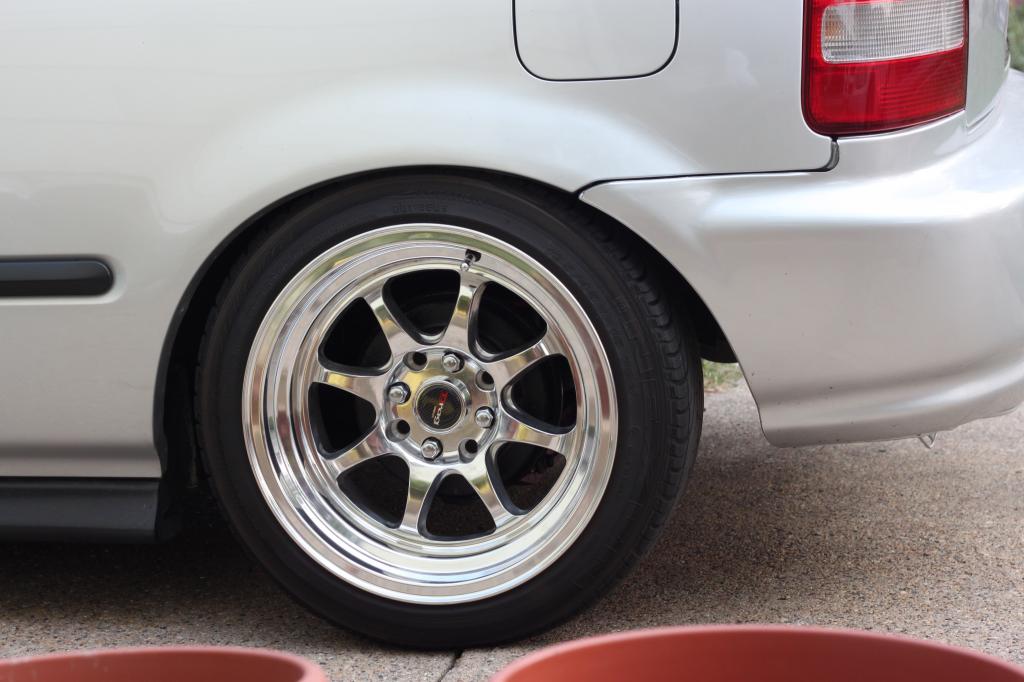
I then traded the blades for Konig Roller's, loved the way they looked on the car and I finally had a decent car that looked good

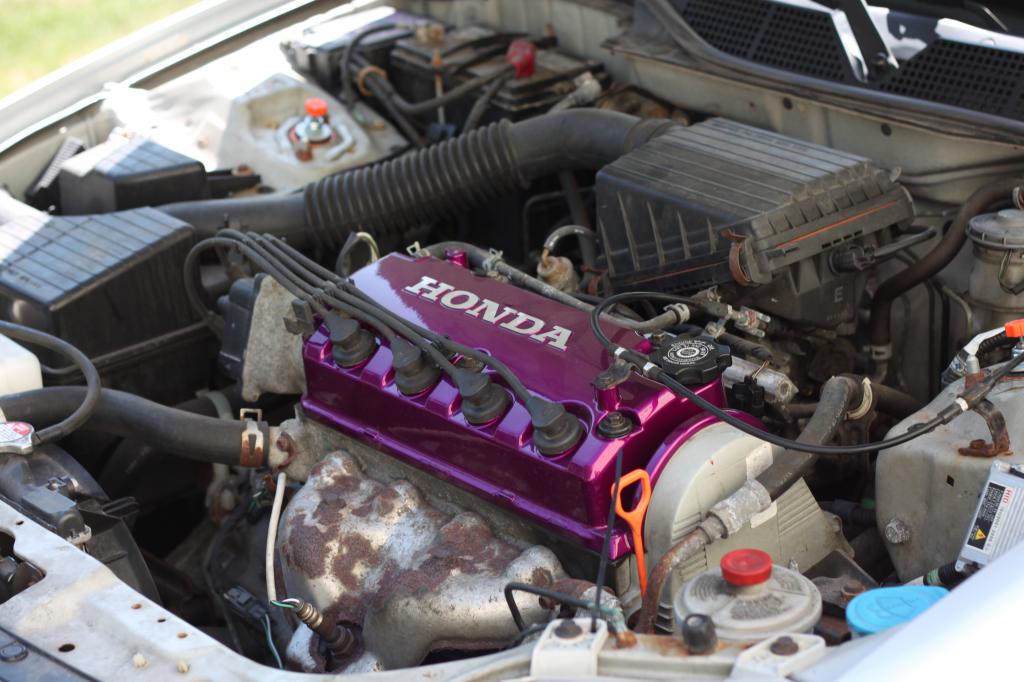
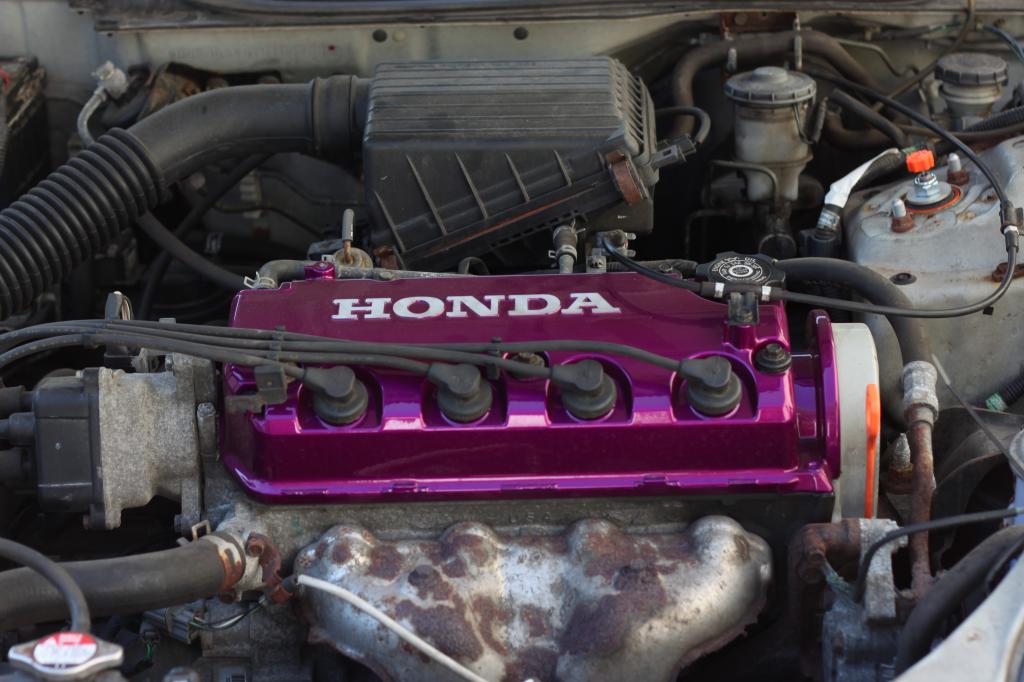
then I got a powder coated color that looked good off the car and not so much in the ugly engine bay
still had the rollers but got some dr-54 that I got rid of right away because they were too wide and rubbed like hell
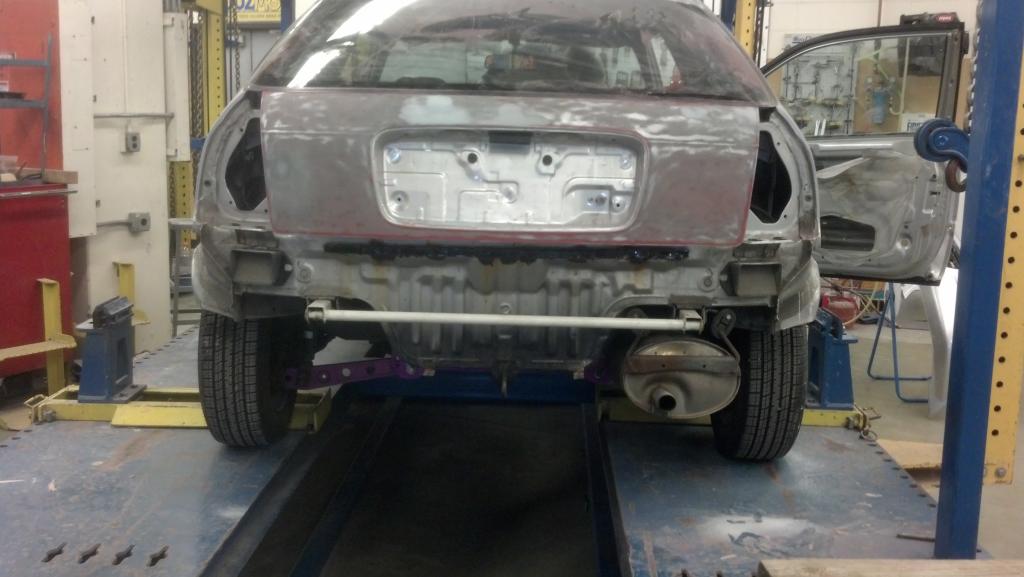
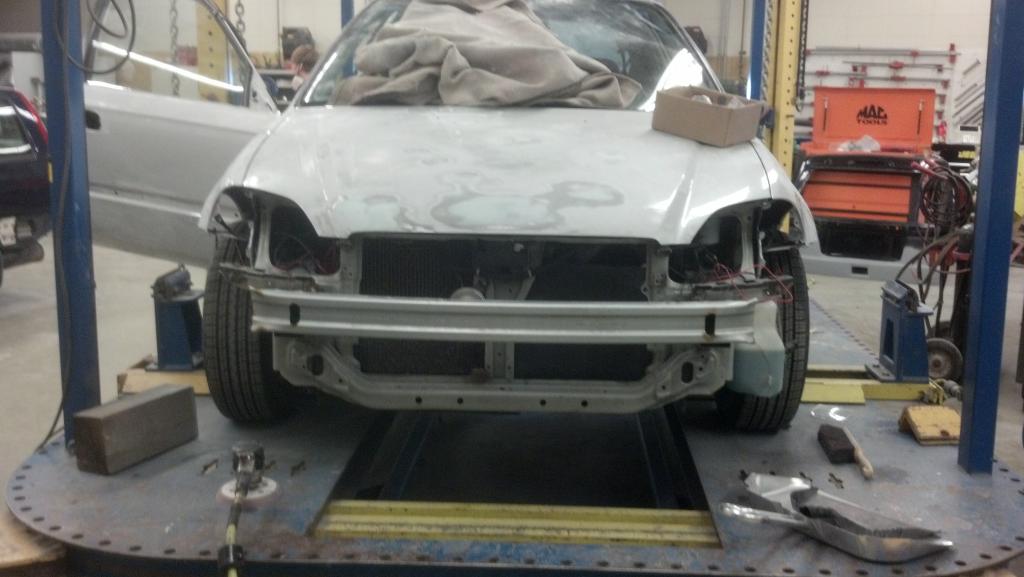
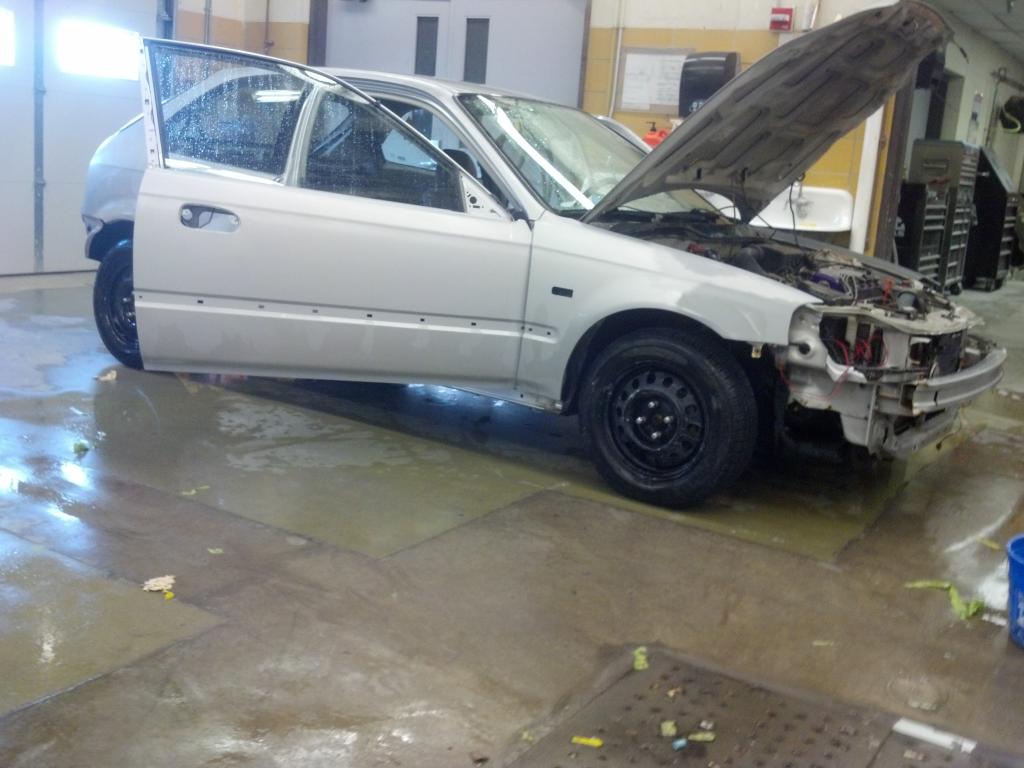
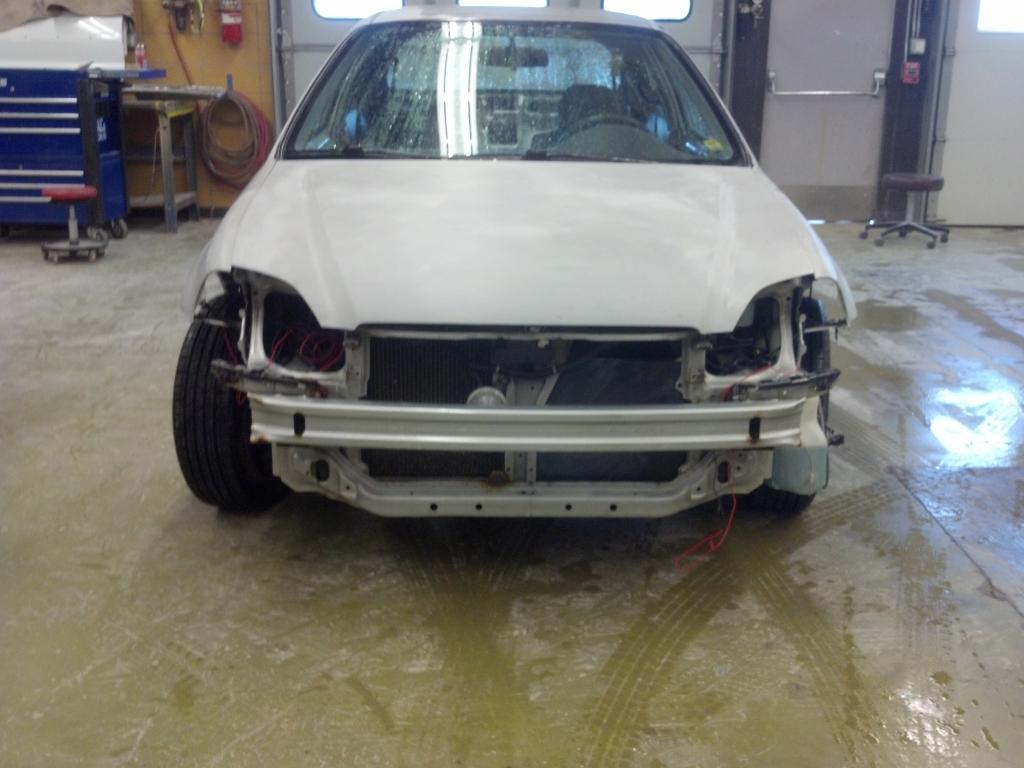
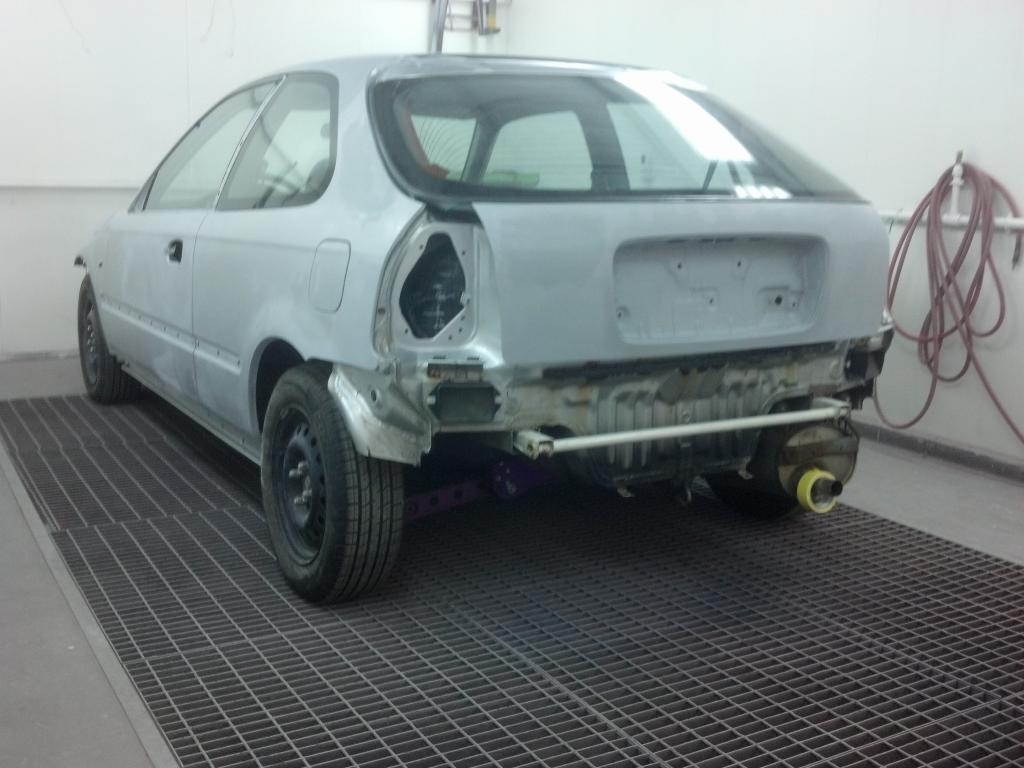
after high school I went to community college to continue auto collision repair and they gave us the great opportunity to work on your own car or project that you might have, so I got on that real quick and decided to re-do civic with a new paint job and fix all the dents and paint all the trim. here are some before pictures

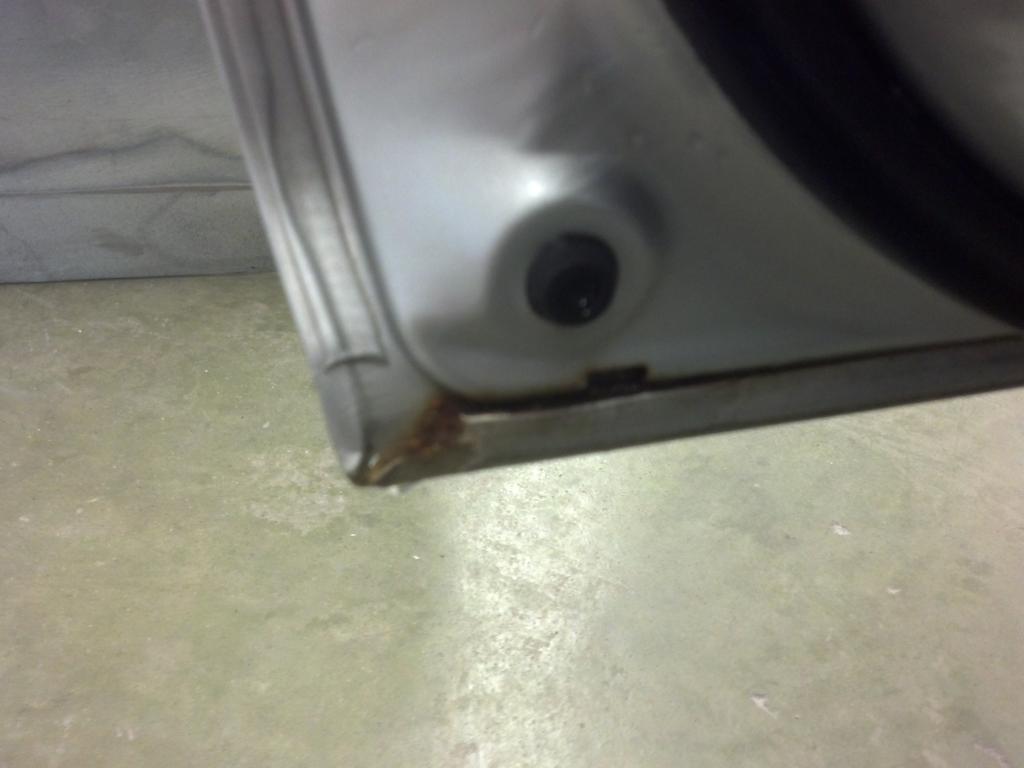
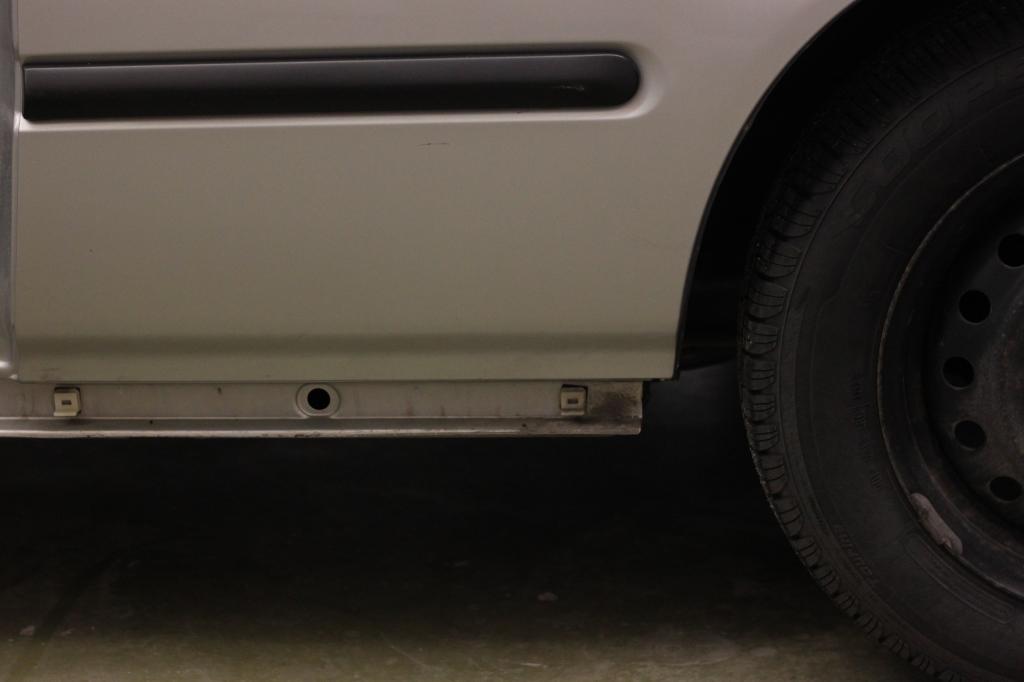
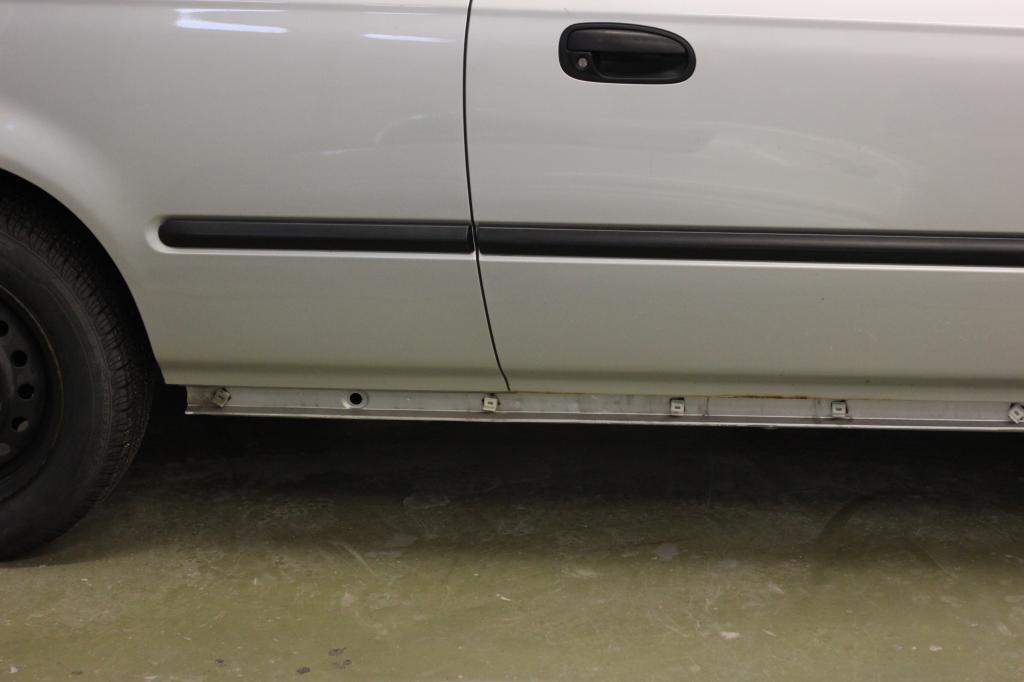
car was really clean of rust besides the inside of the doors, good thing they use sand instead of salt in Minnesota!
and now some progress shots
grinded down the back side of the doors and put some por15
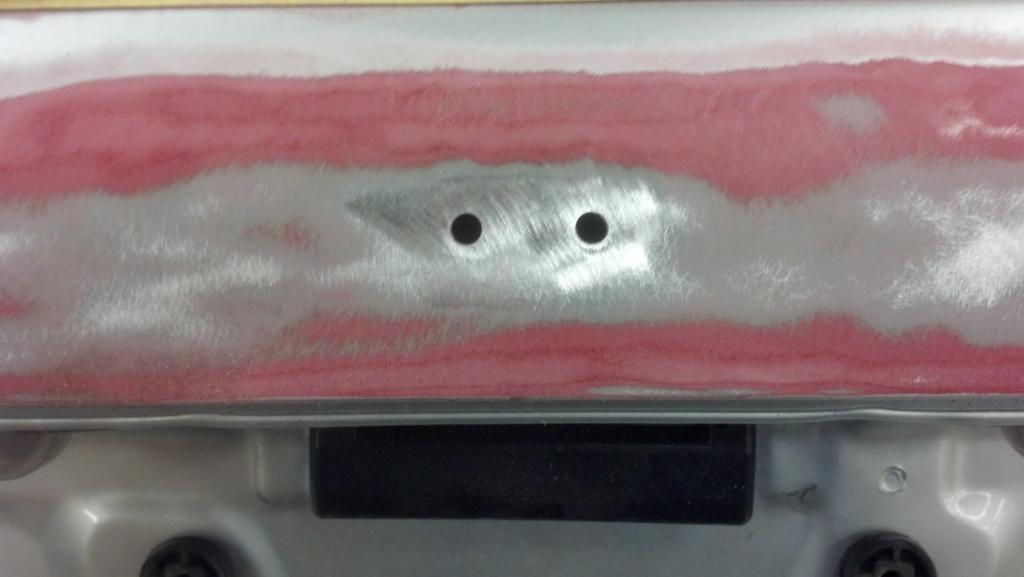
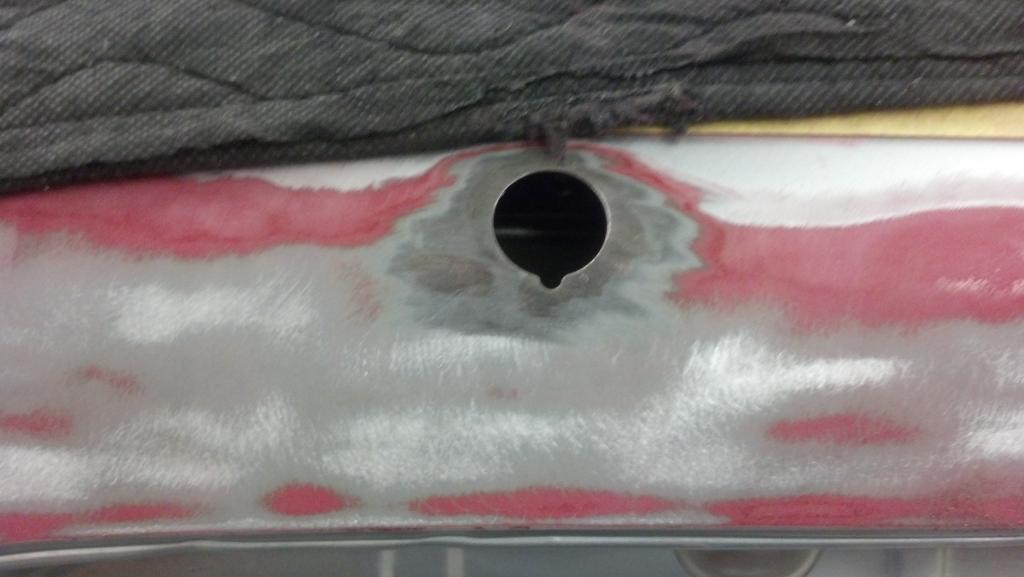
got an EDM rear fog light, also shaved the rear emblem and hole for wiper
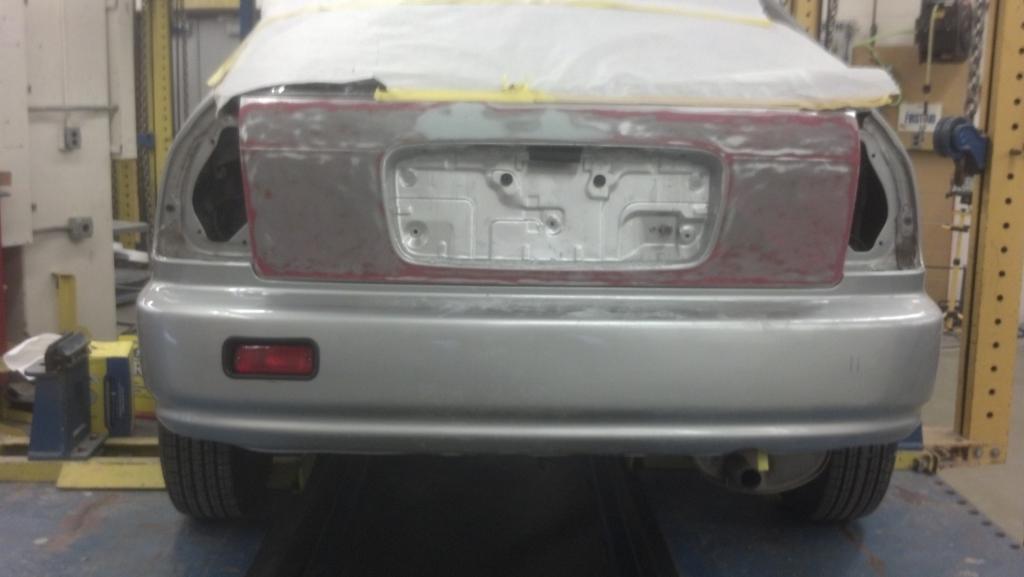
also having a CTR rear bumper support made the install of the fog light so much easier

there was a big dent there, you can kinda spot it and some previous pictures
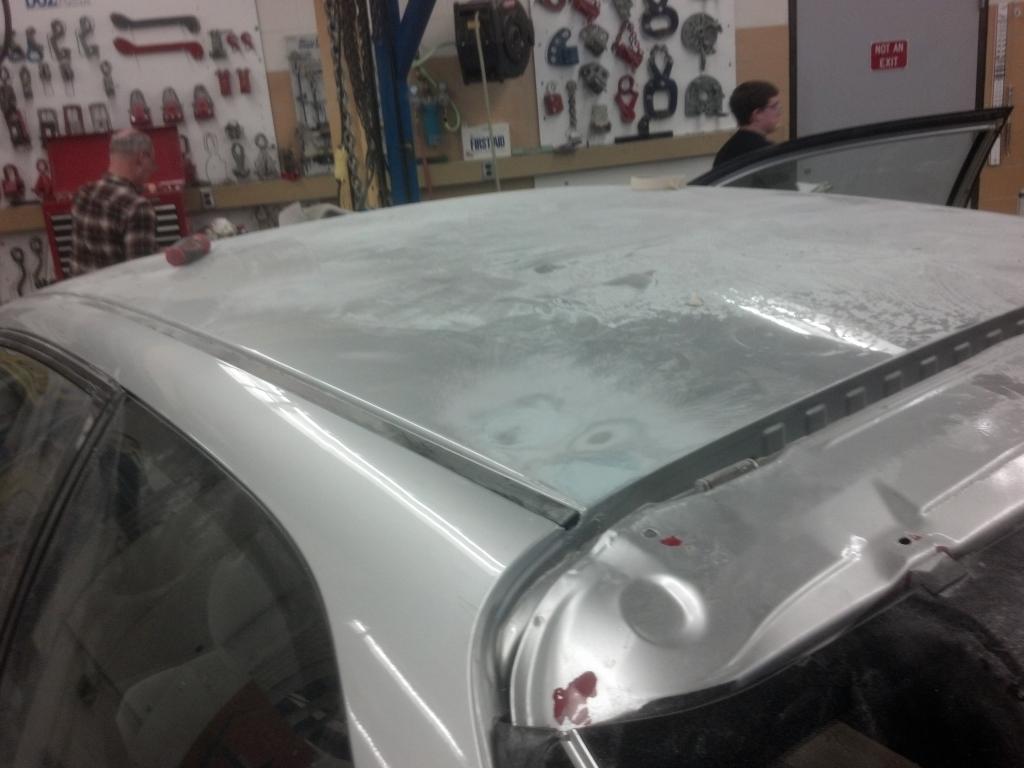
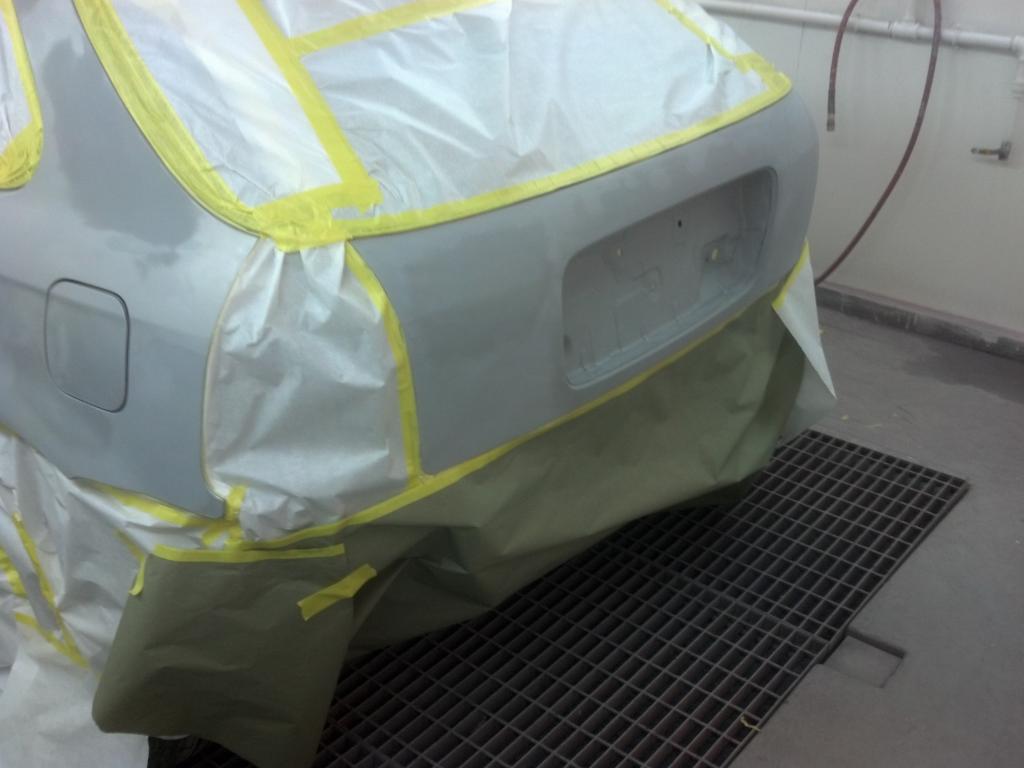
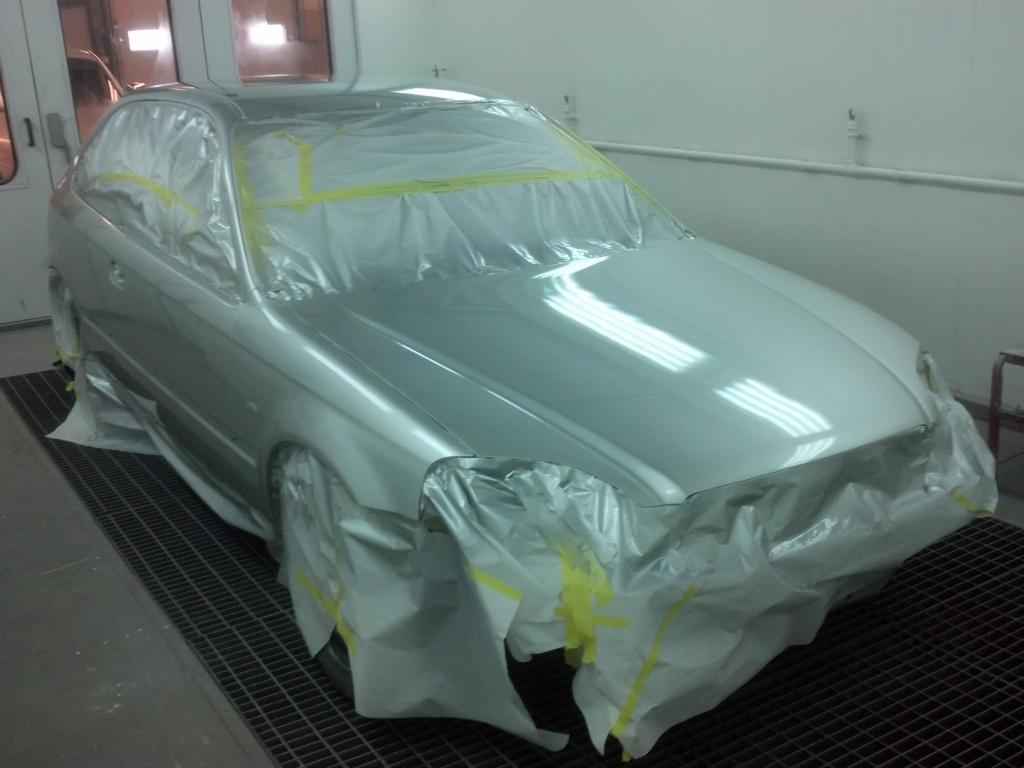
after a lot of prepping and sanding it was finally ready for the booth

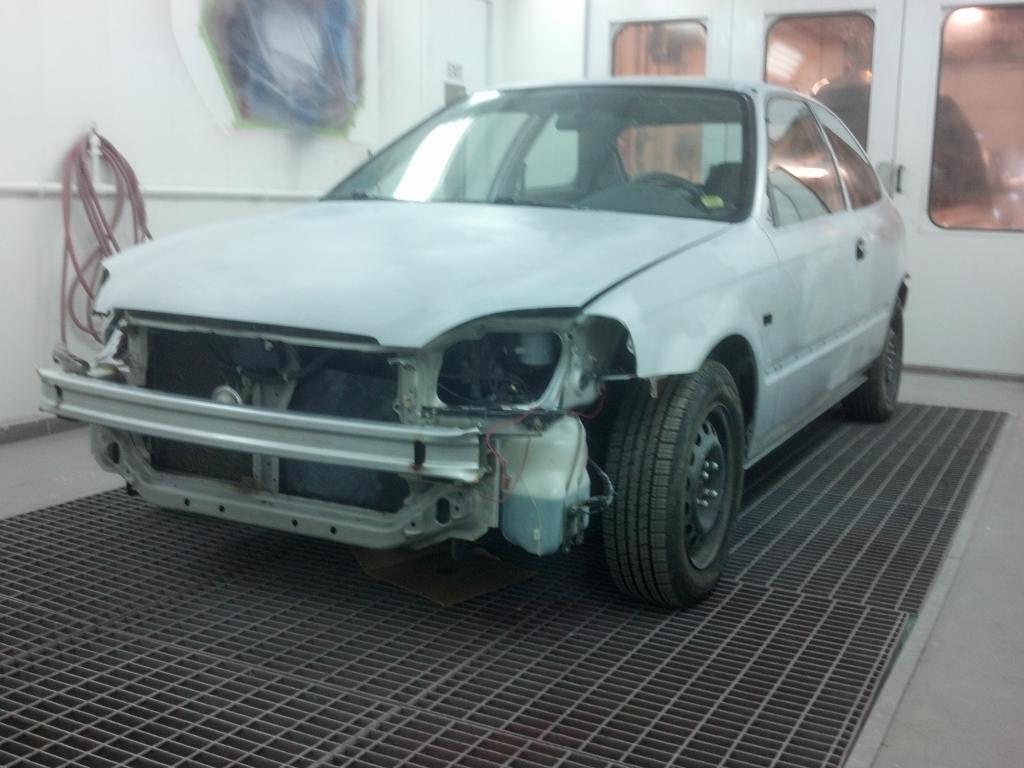

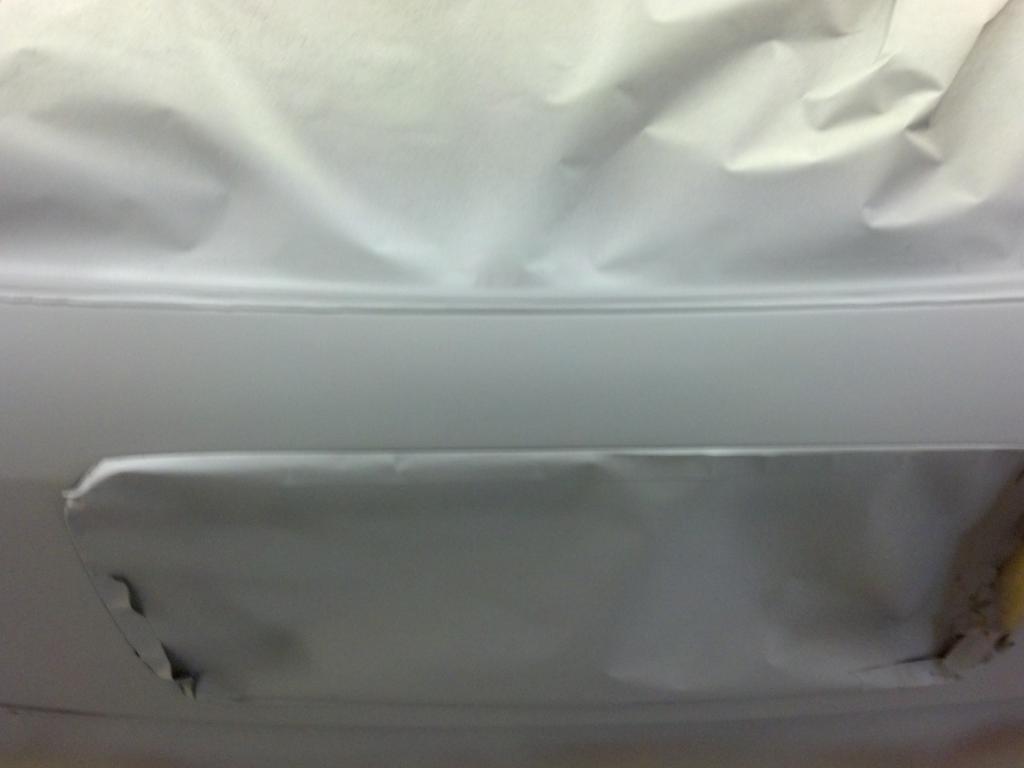
all taped up ready for some sealer and base coat
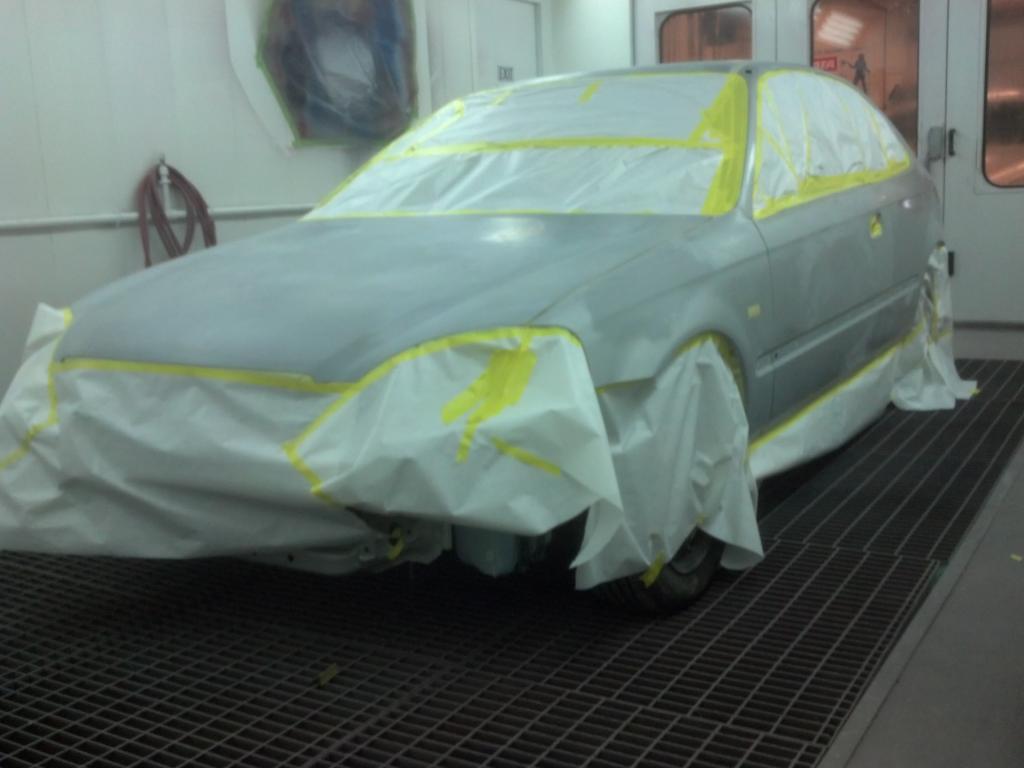
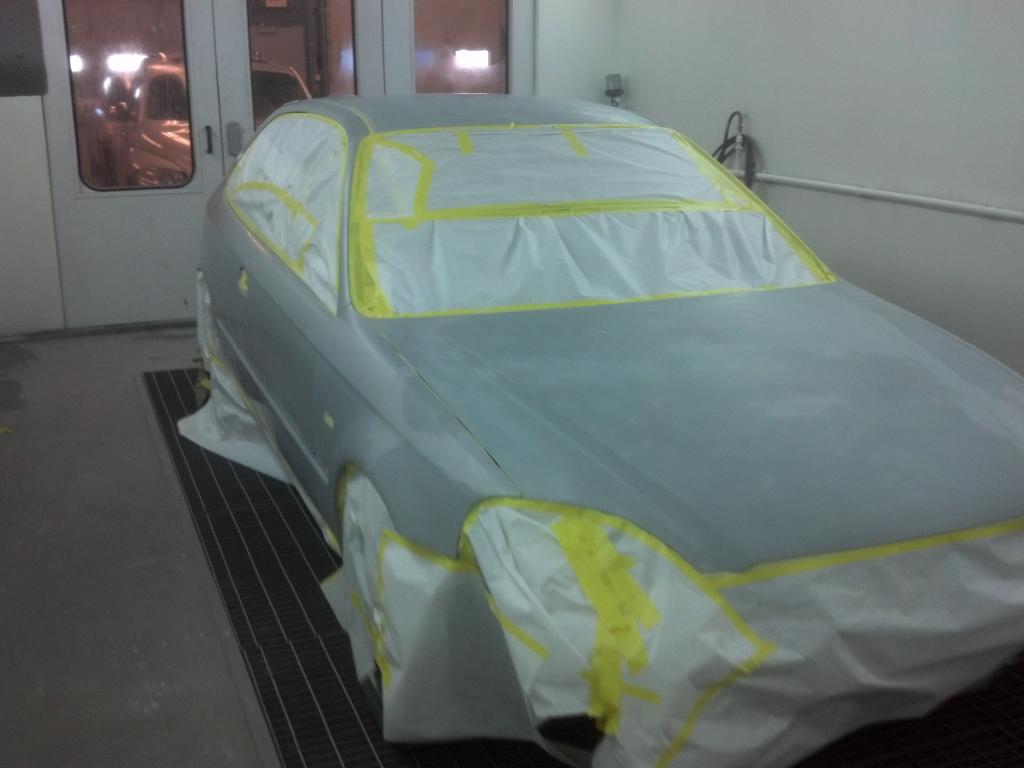
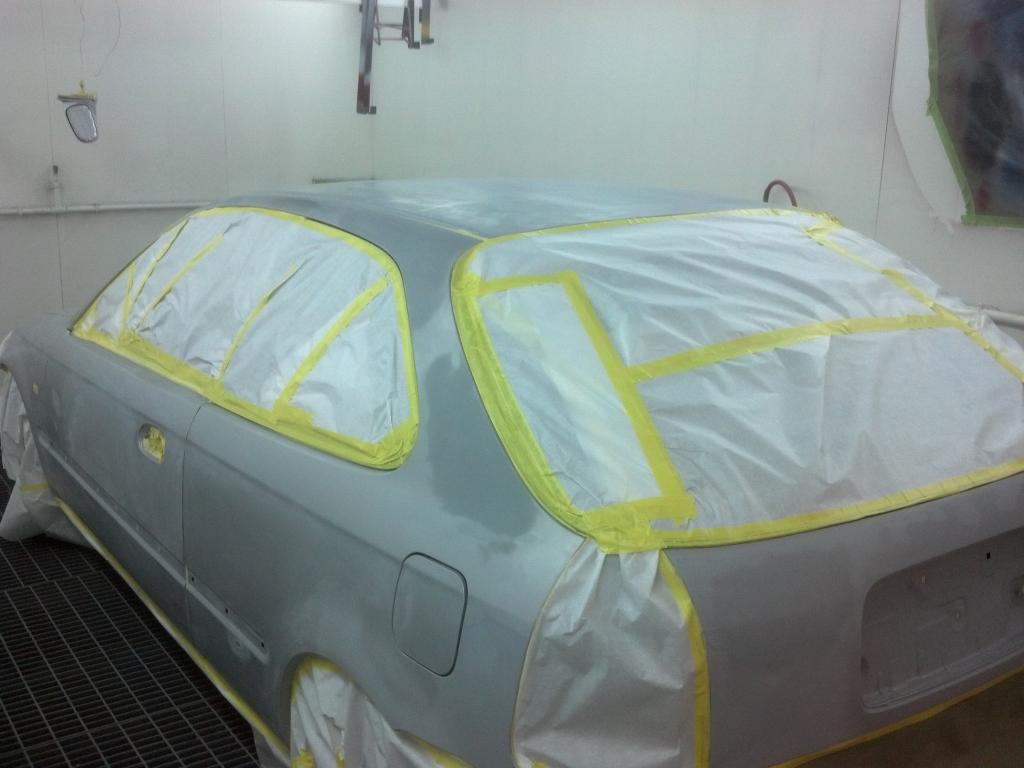
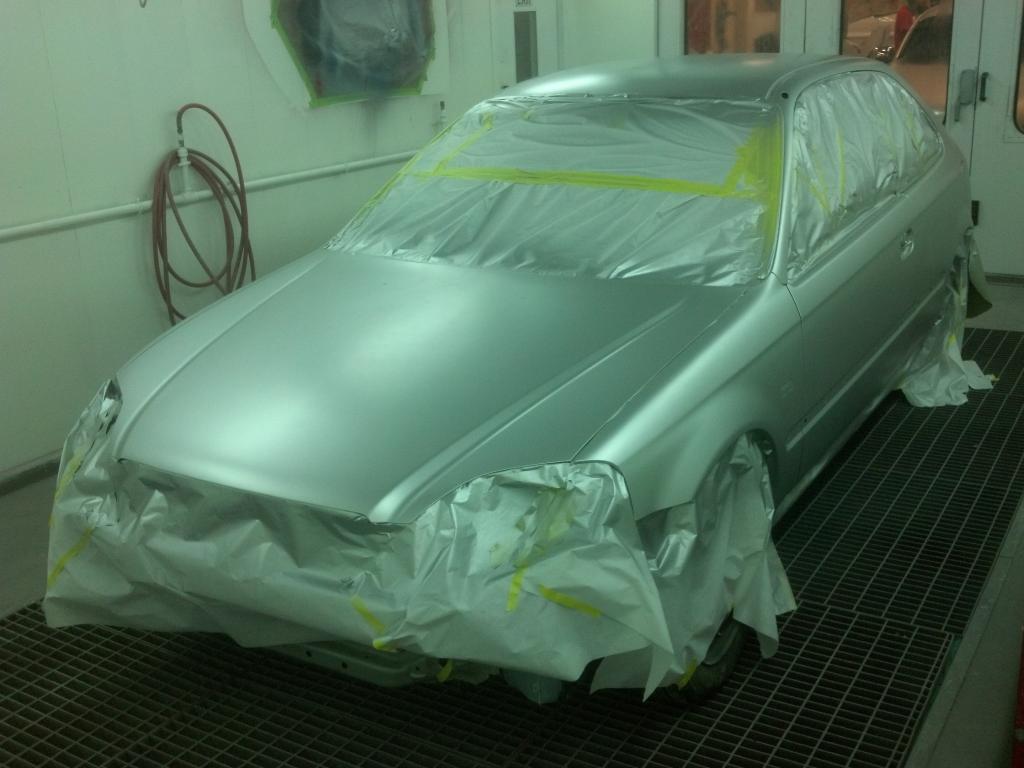
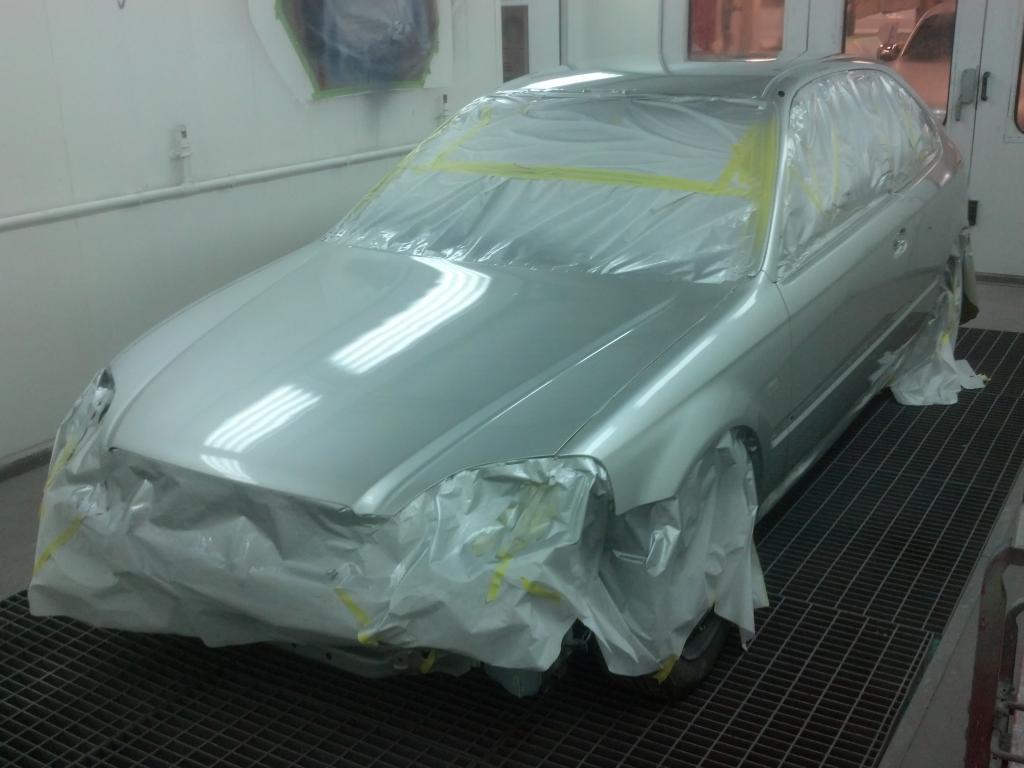
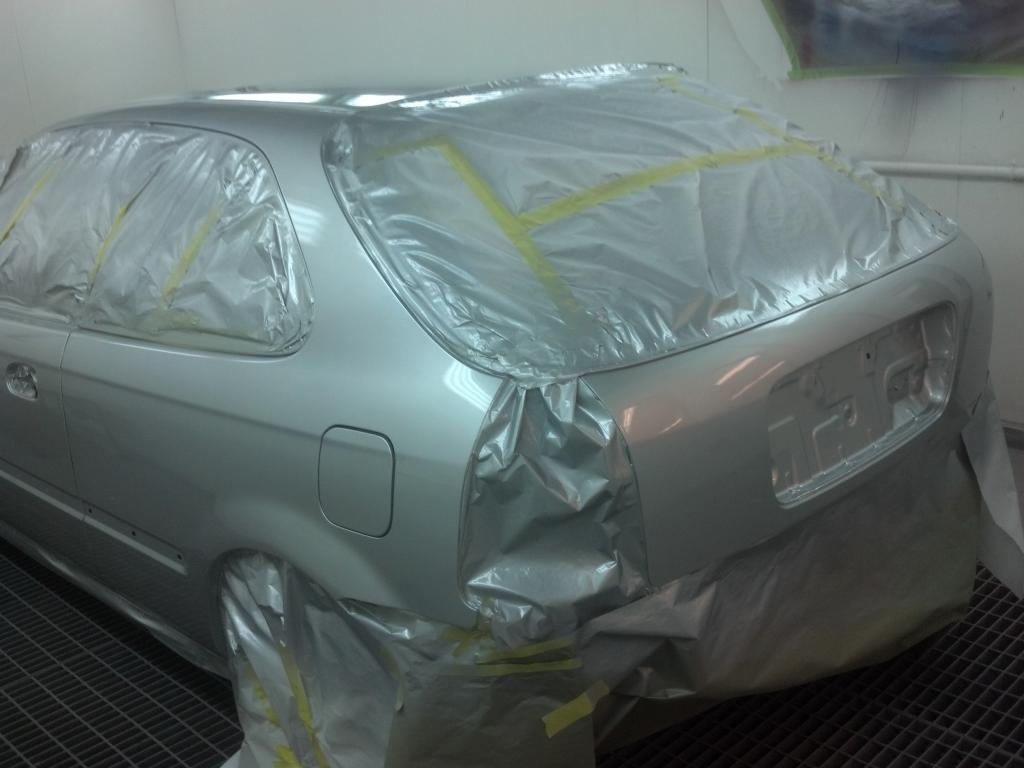
after some VSM base coat
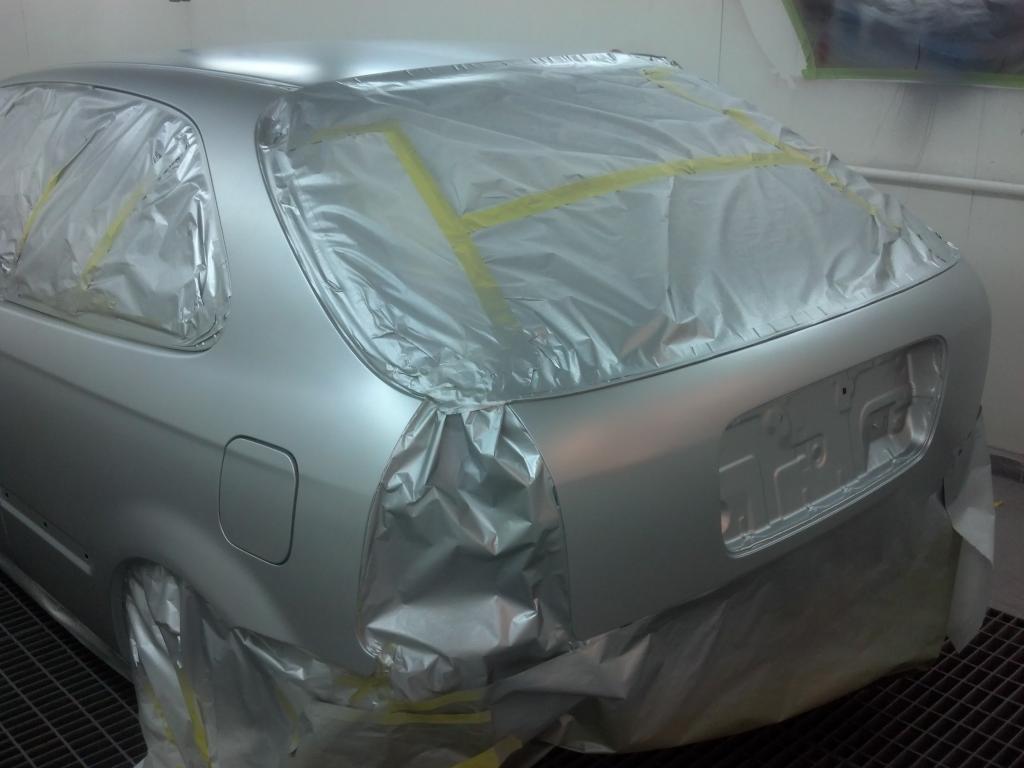
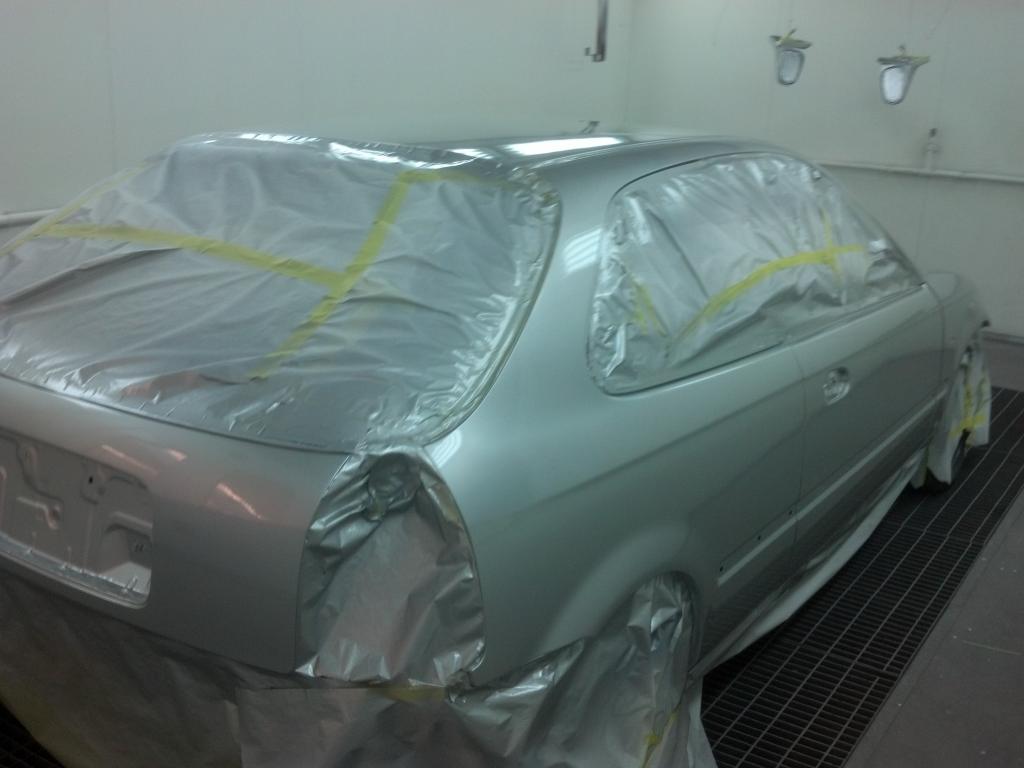
then some clear coat

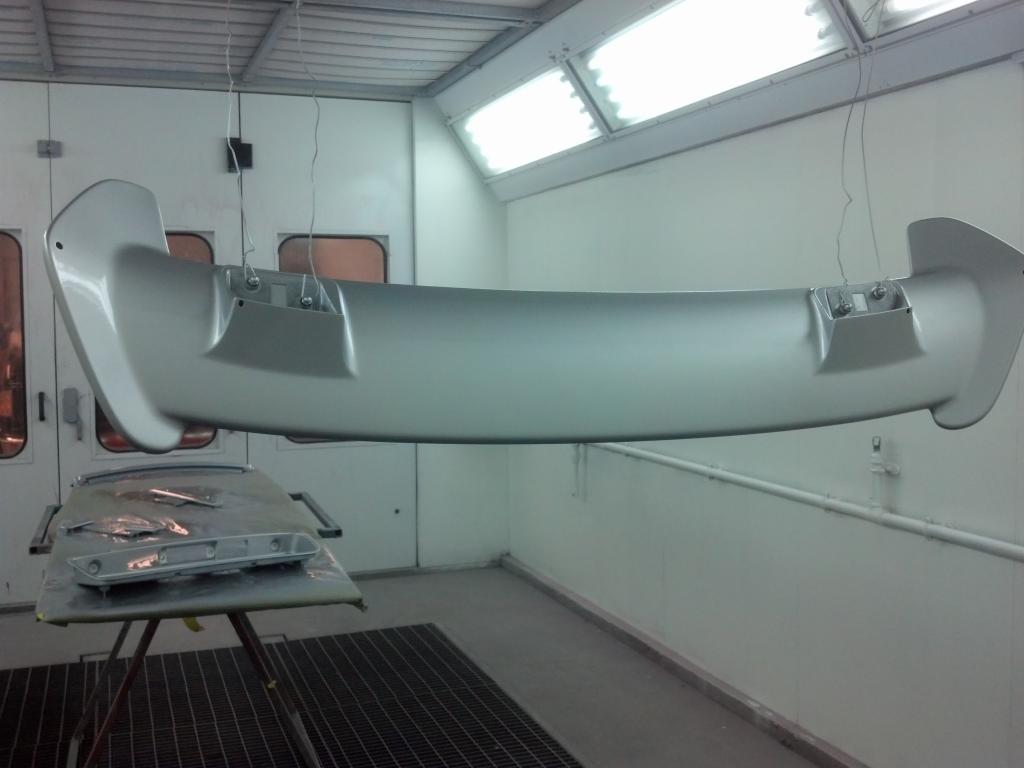
picture when I painted the CTR wing. other random things I got were the wing, si grill, CTR thin side moldings
so after a few days of cutting and buffing I finally put most of it together, it felt awesome to have my car the way it looked and knowing all the hard work I had put into it was paying off


then I got a powder coated color that looked good off the car and not so much in the ugly engine bay


still had the rollers but got some dr-54 that I got rid of right away because they were too wide and rubbed like hell


after high school I went to community college to continue auto collision repair and they gave us the great opportunity to work on your own car or project that you might have, so I got on that real quick and decided to re-do civic with a new paint job and fix all the dents and paint all the trim. here are some before pictures


car was really clean of rust besides the inside of the doors, good thing they use sand instead of salt in Minnesota!
and now some progress shots


grinded down the back side of the doors and put some por15


got an EDM rear fog light, also shaved the rear emblem and hole for wiper

also having a CTR rear bumper support made the install of the fog light so much easier


there was a big dent there, you can kinda spot it and some previous pictures

after a lot of prepping and sanding it was finally ready for the booth


all taped up ready for some sealer and base coat


after some VSM base coat


then some clear coat


picture when I painted the CTR wing. other random things I got were the wing, si grill, CTR thin side moldings

so after a few days of cutting and buffing I finally put most of it together, it felt awesome to have my car the way it looked and knowing all the hard work I had put into it was paying off


 01-07-2015, 08:43 AM
#4
Honda-Tech Member
Thread Starter
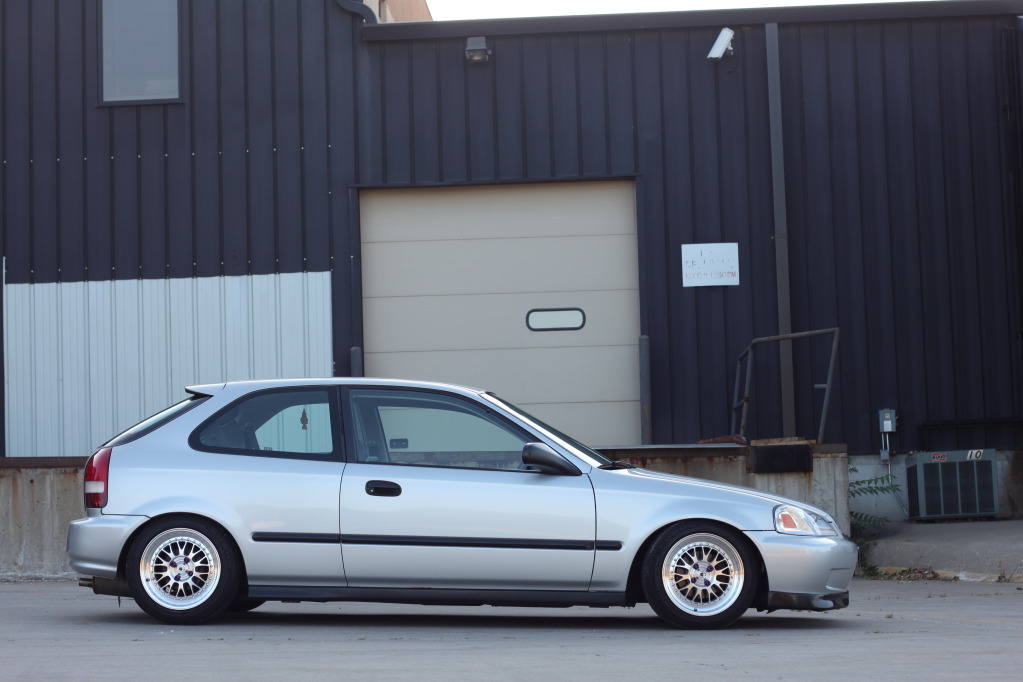
So took after the paint job I took off the stock suspension and put back on the k-sports and rollers and boy was I happy how it looked
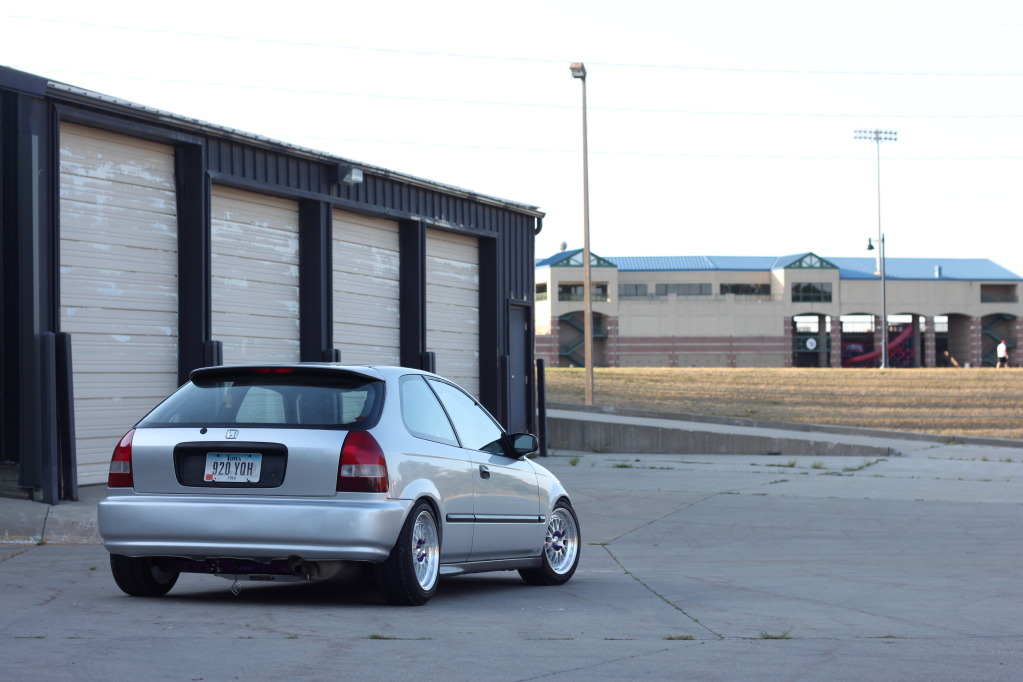
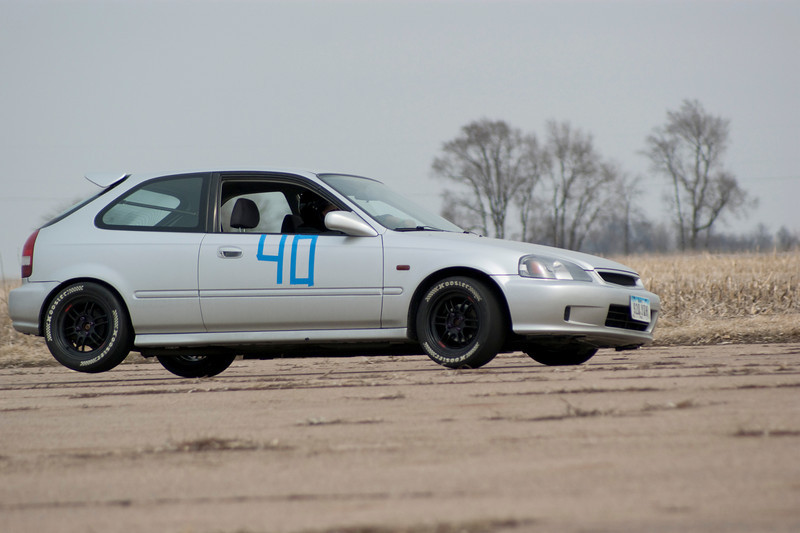
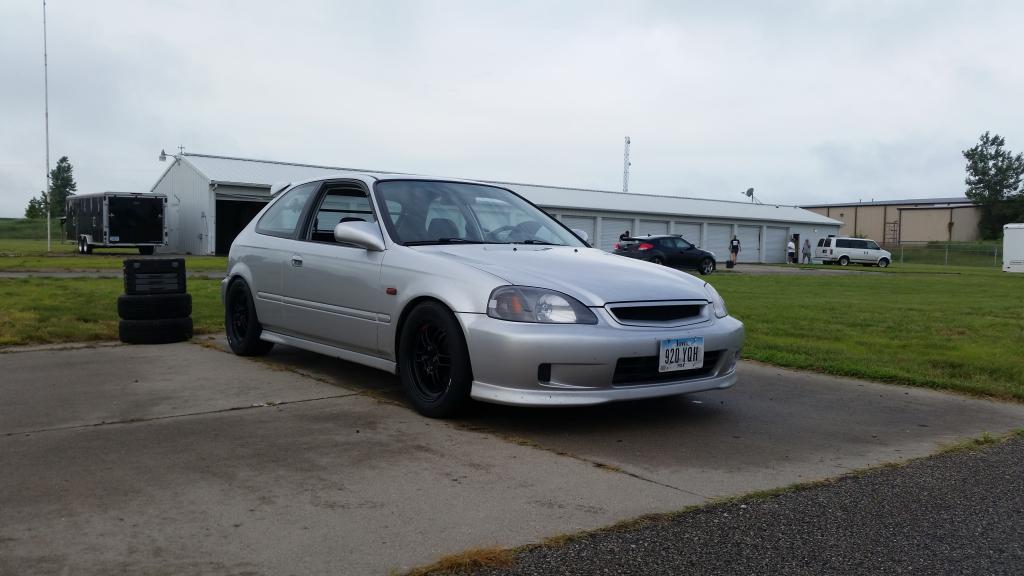
and then it was time for a real photo shoot
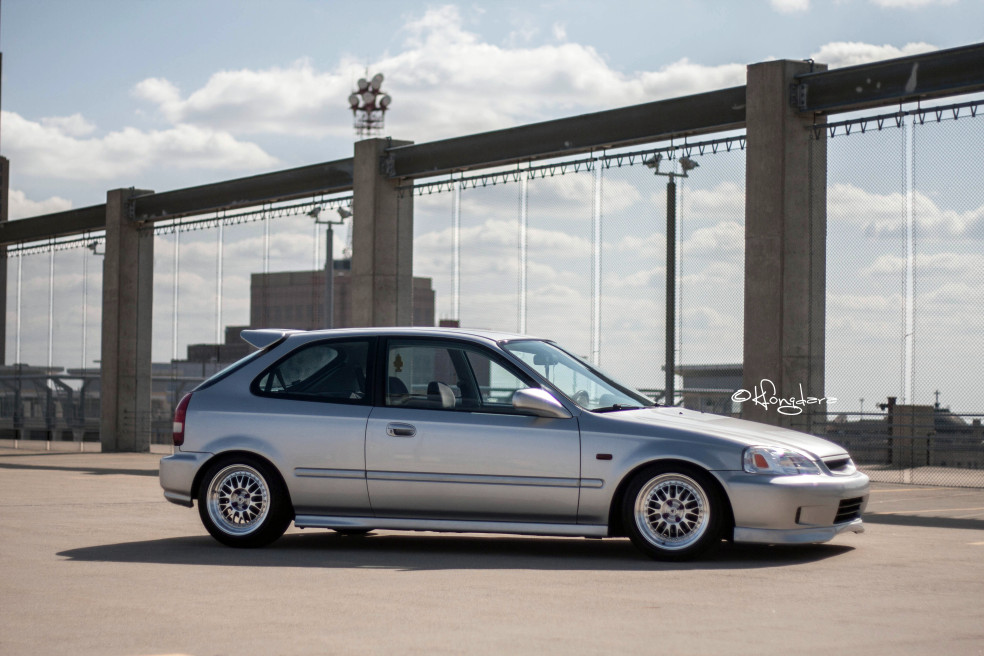
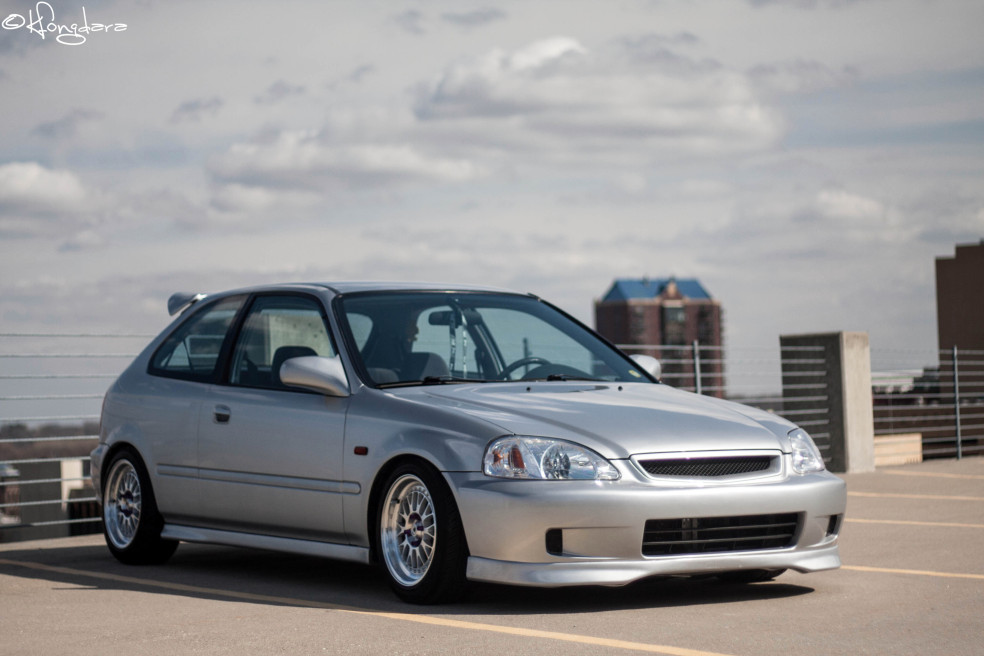
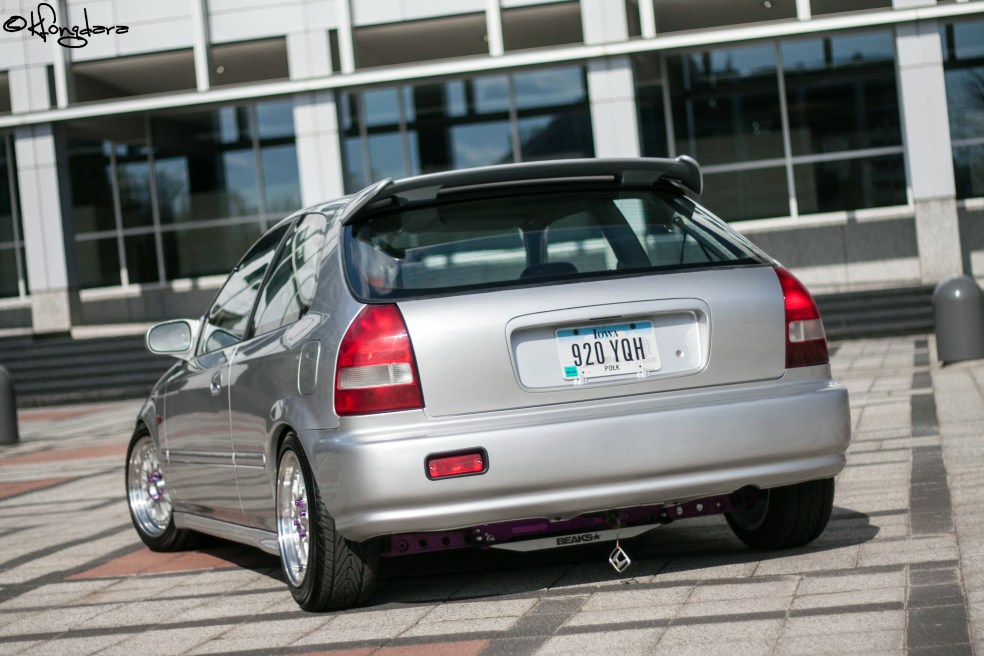
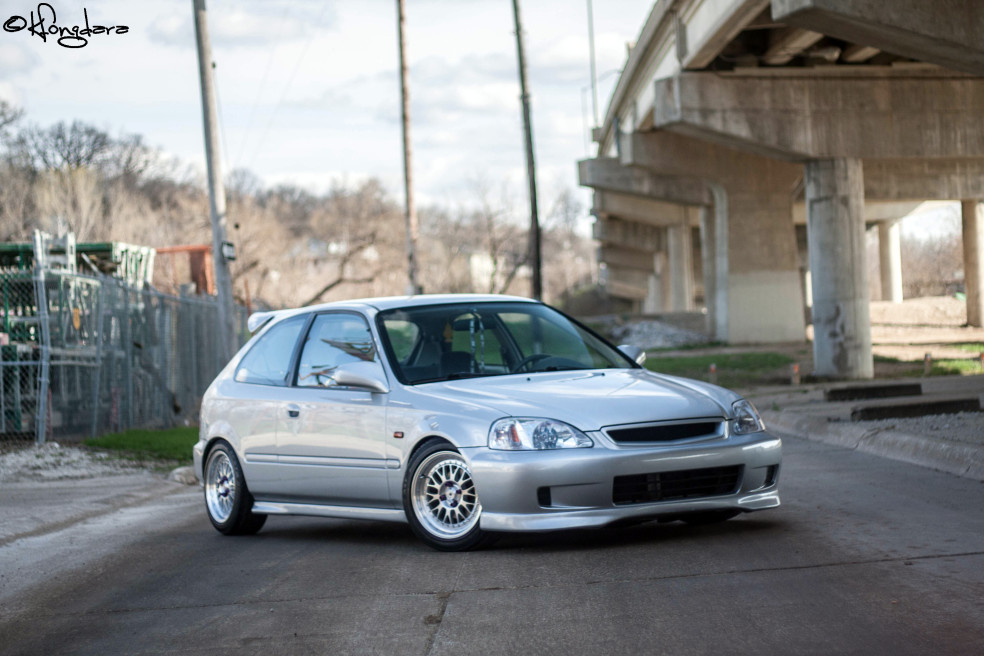
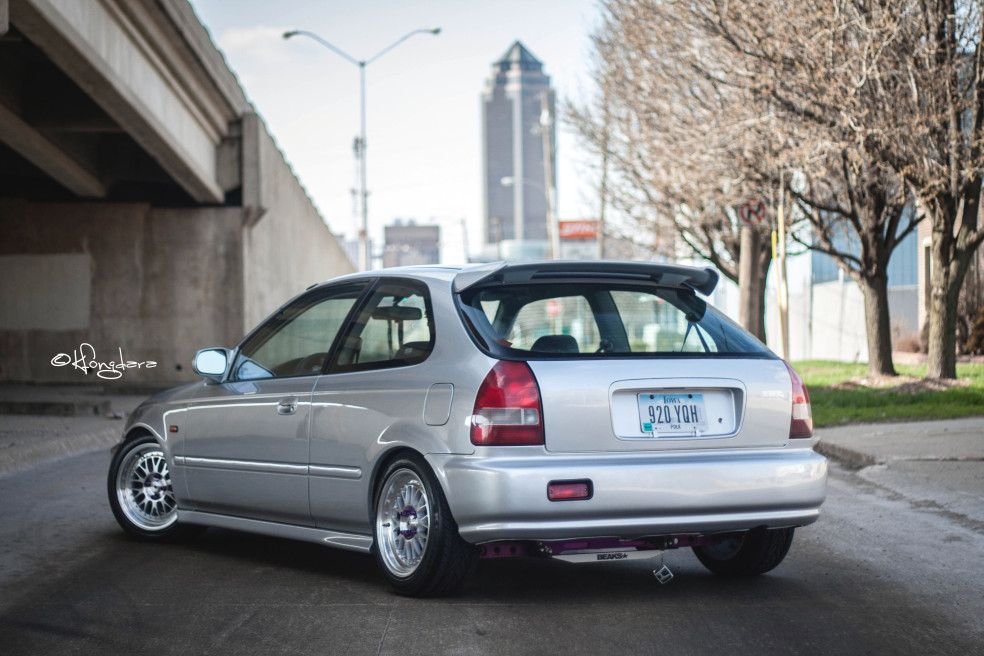
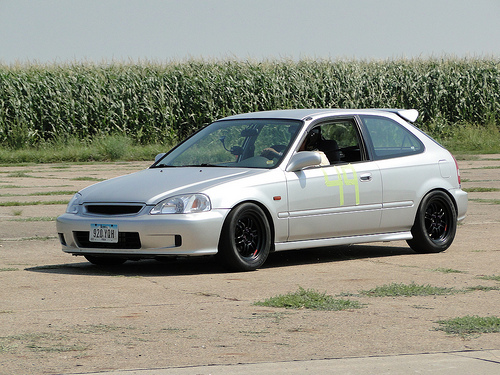
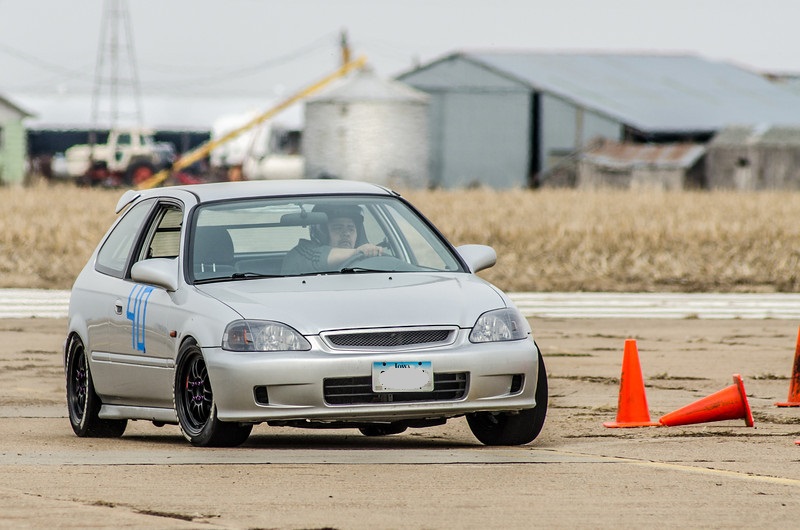
So this is where the build really takes a turn, decided to get out of the stance fad and really put the car to good use while still looking good, so Auto-x it was!!!
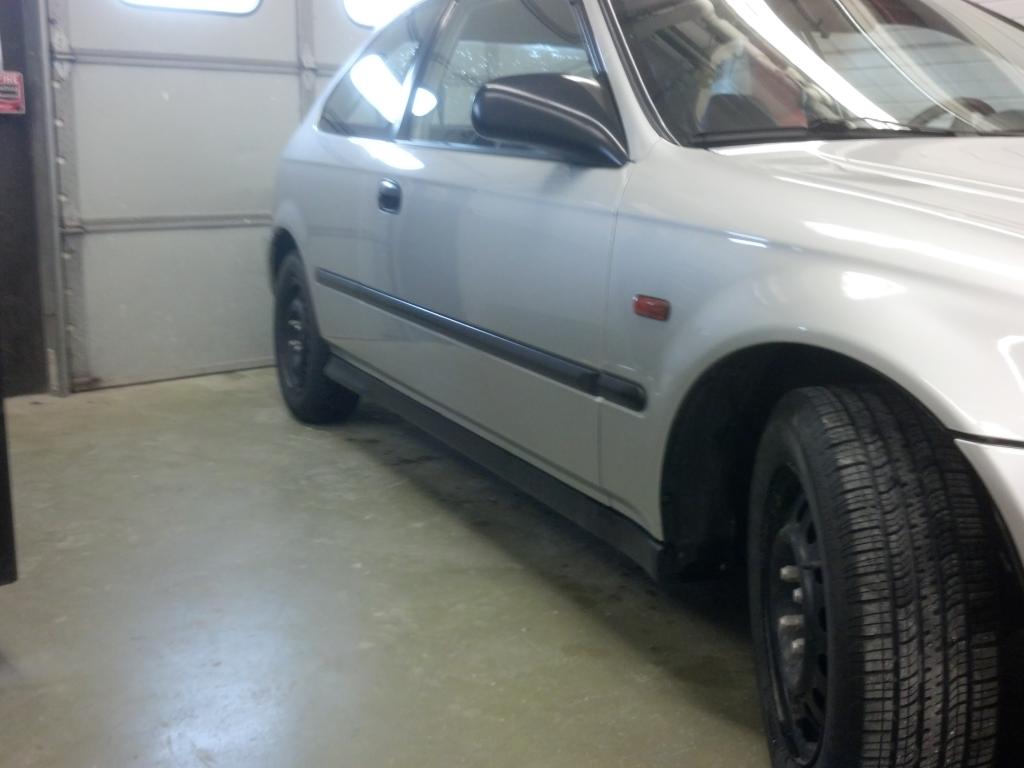
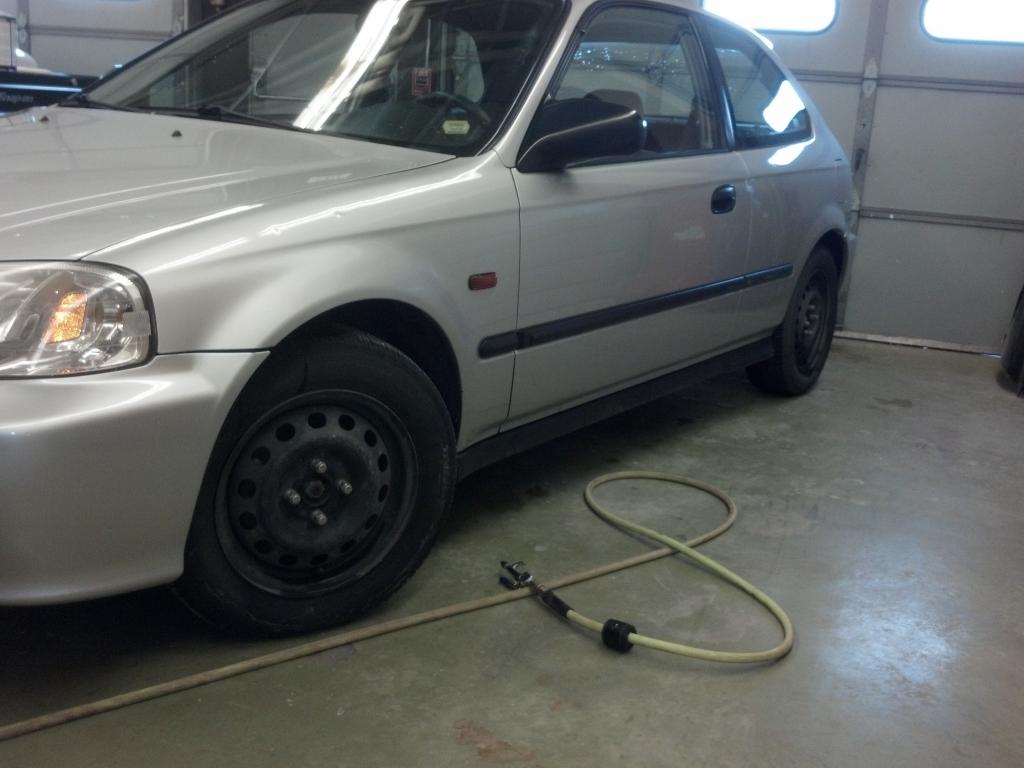
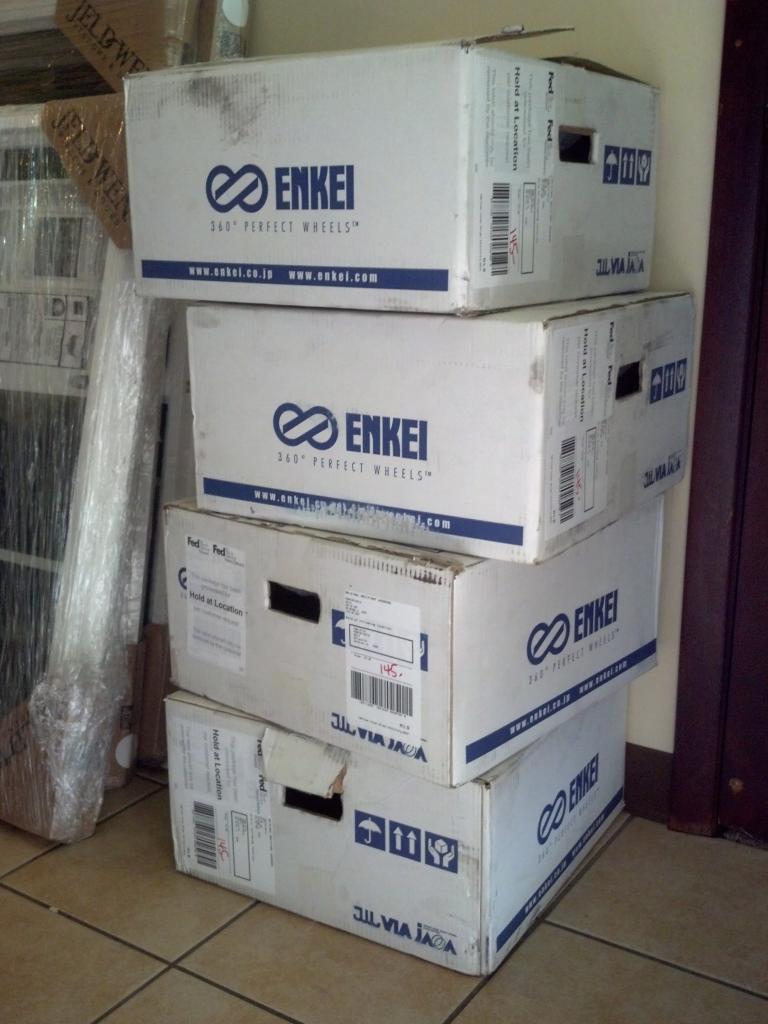
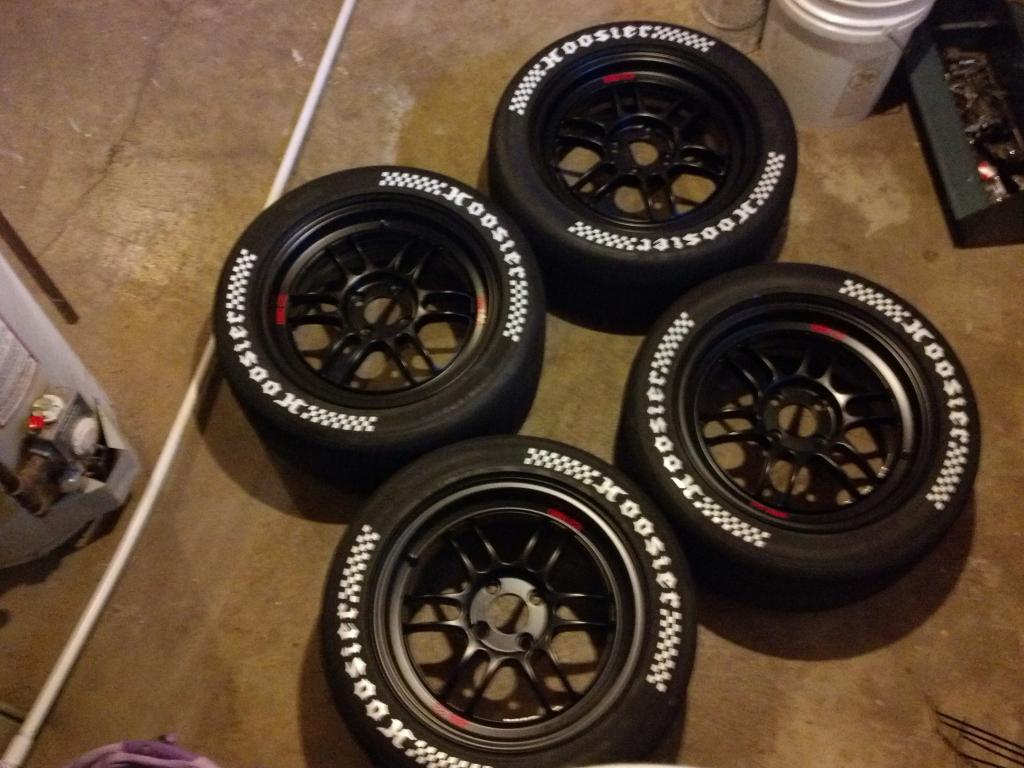
sold the rollers and was on steelies for a while and then saved up enough money for some wheels
black 15x7 +35 rpf1's
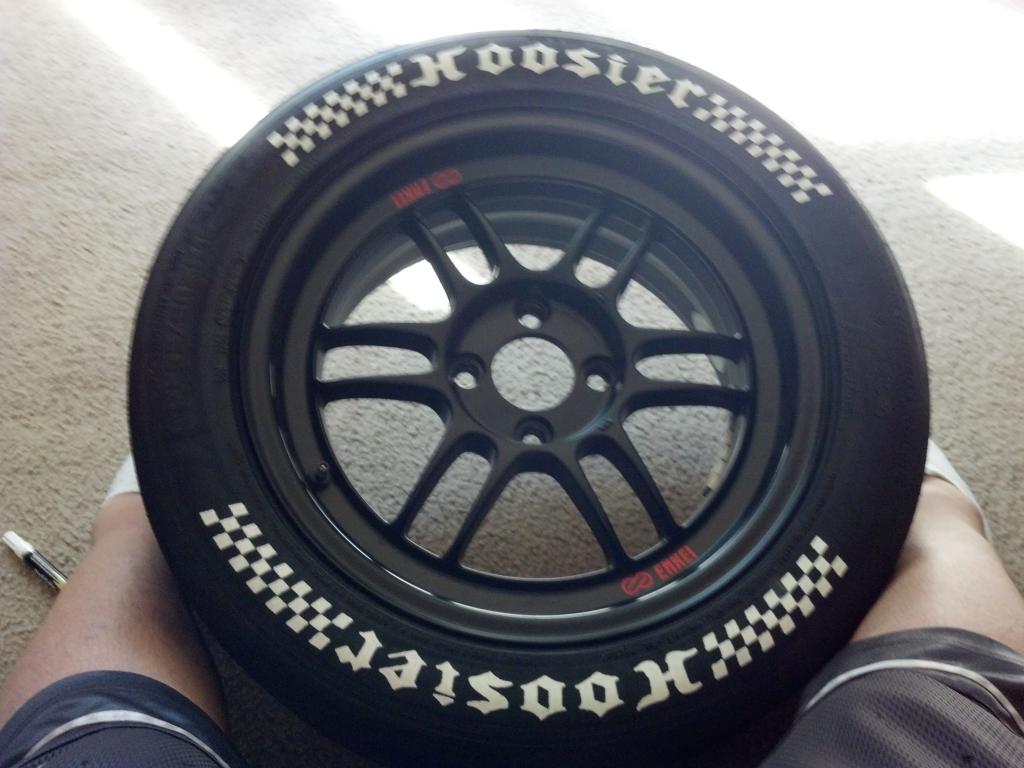
I then got a sweet deal for some sm6 hoosier tires and got those put on right away
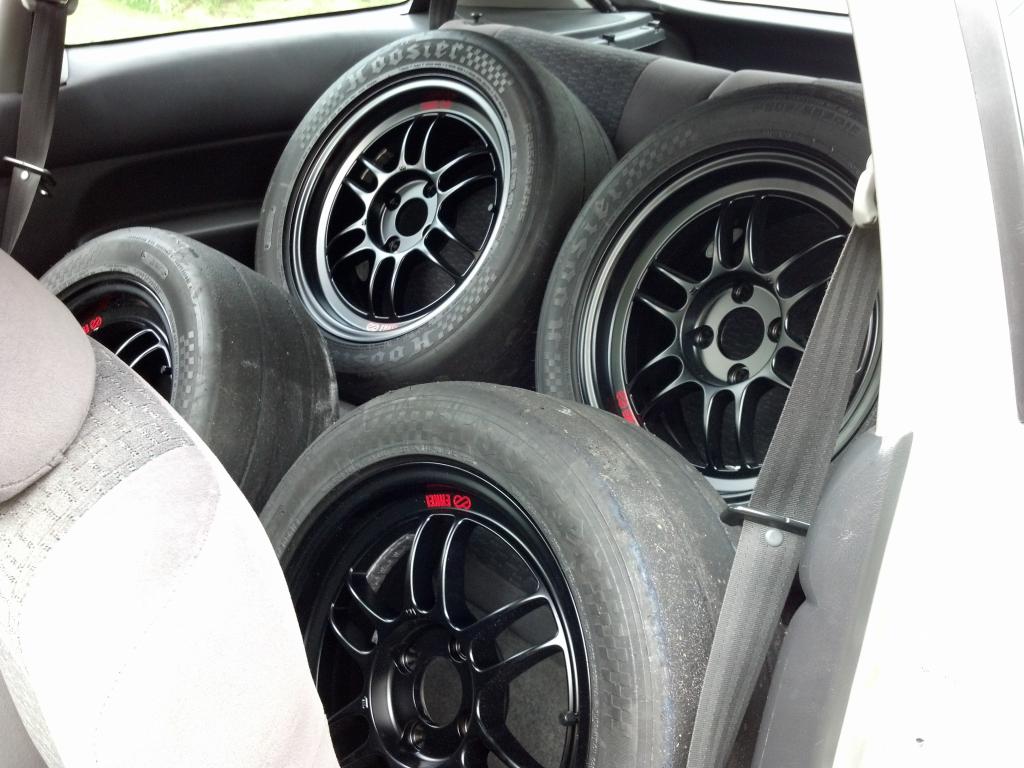

I got ahold of an ink pen and painted the hoosier letters on the tires
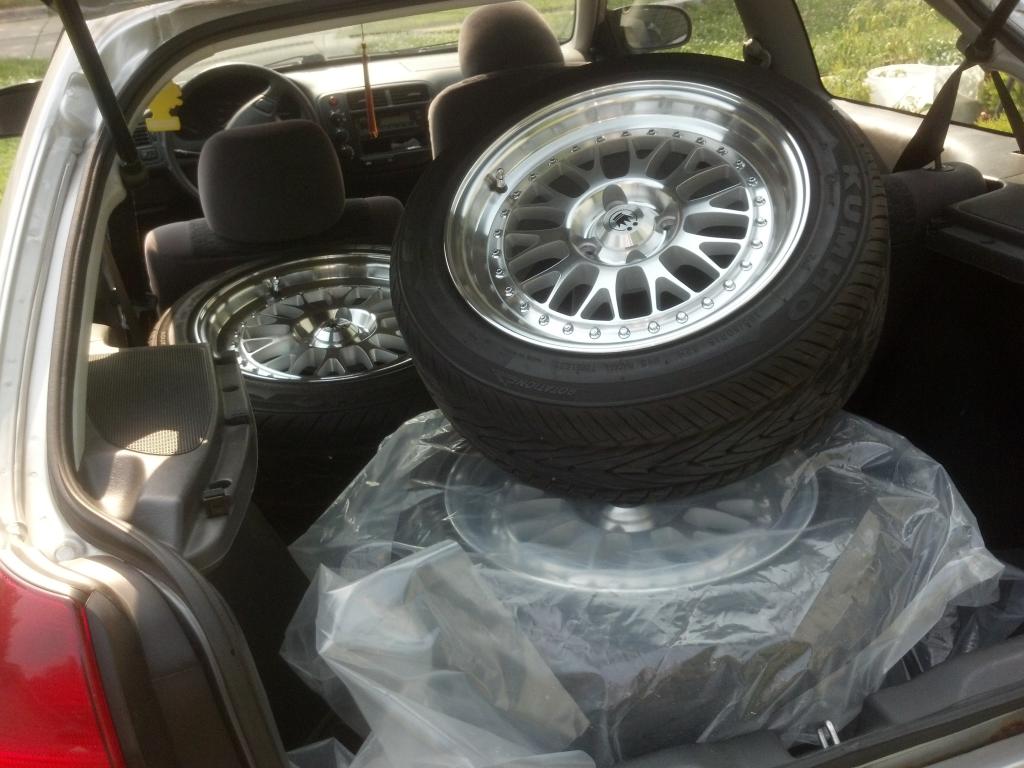
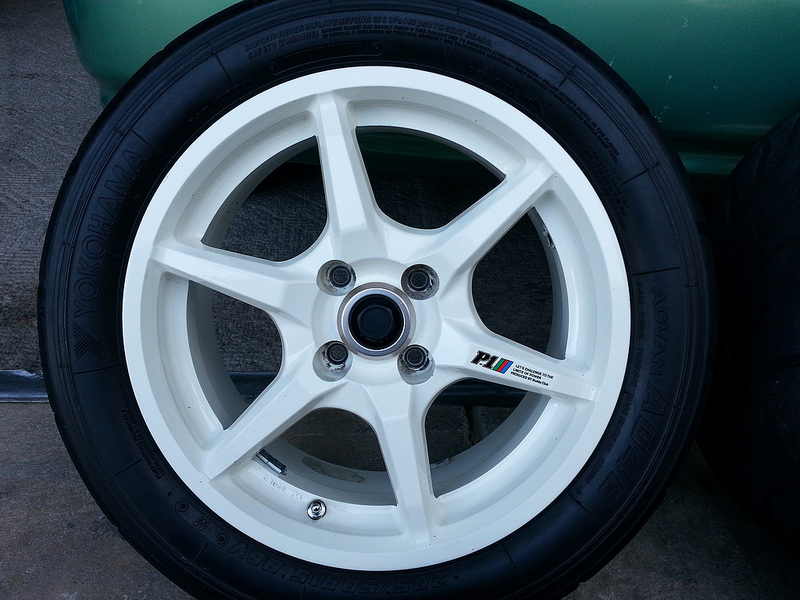
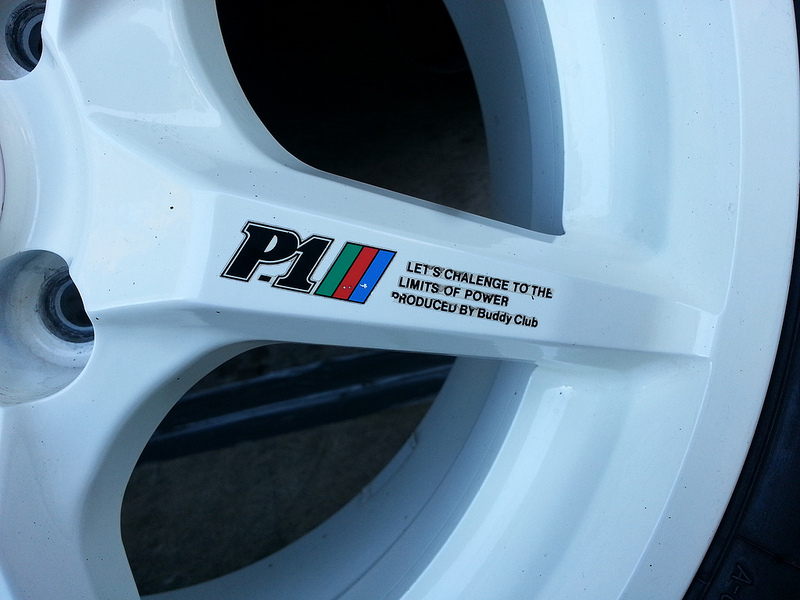
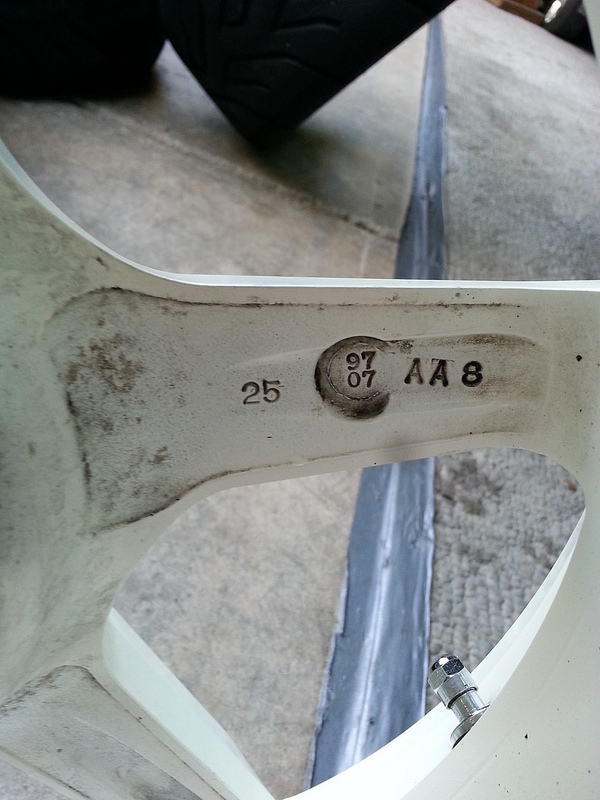
then I found some awesome wheels, original set of buddy club p1's from another member on here, wheels were in good shape for age and with original center caps and spoke decals
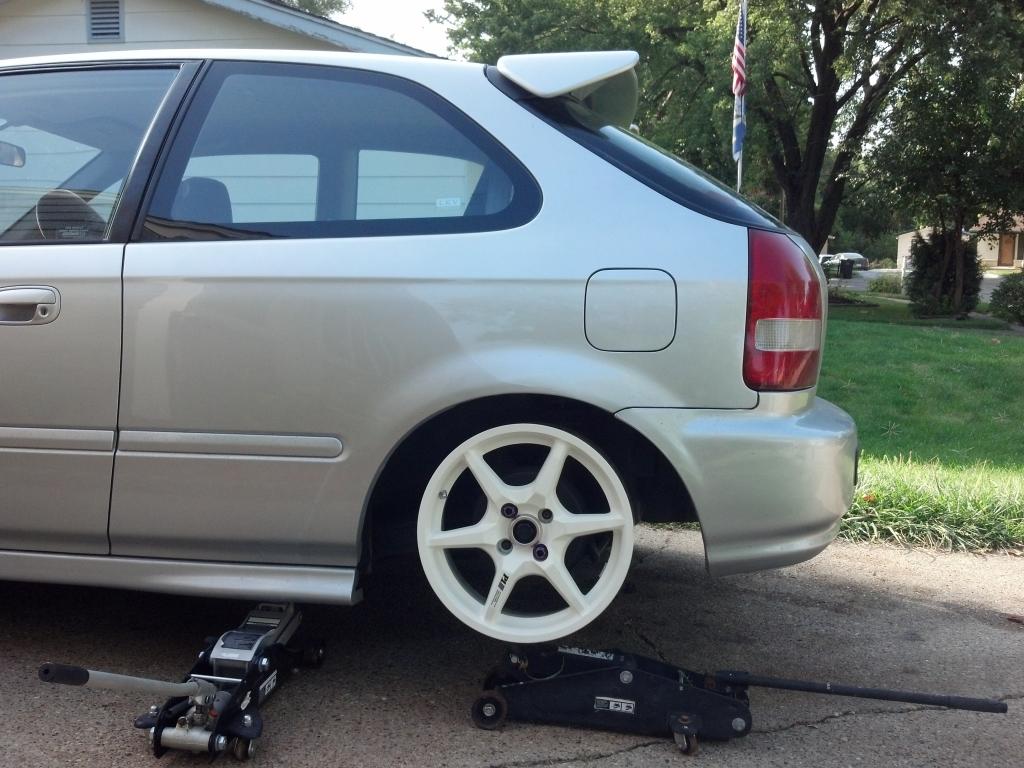

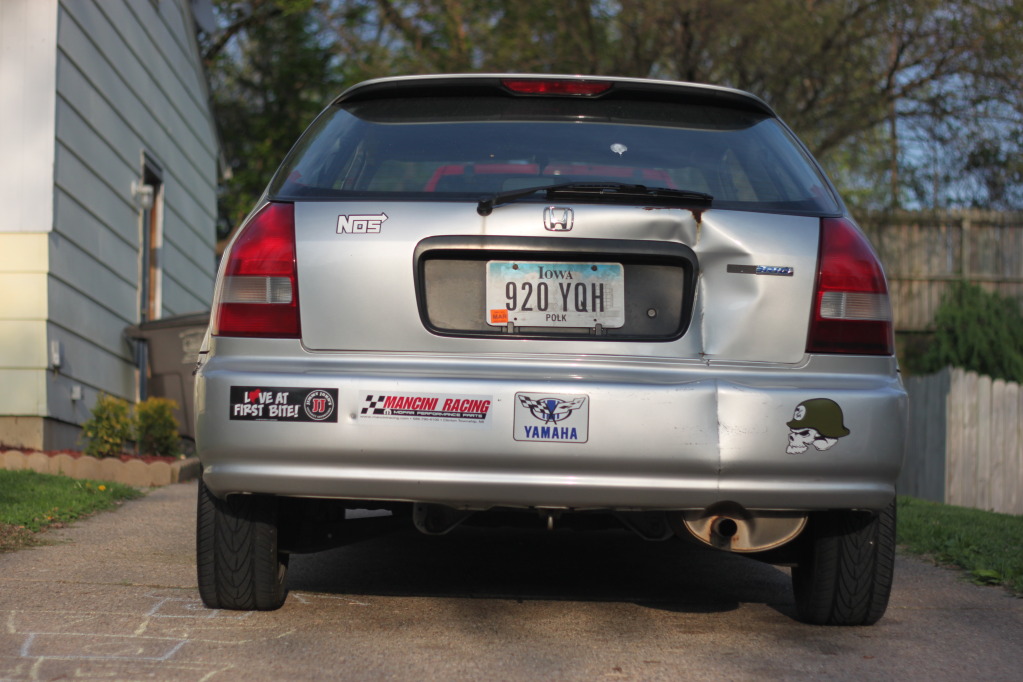
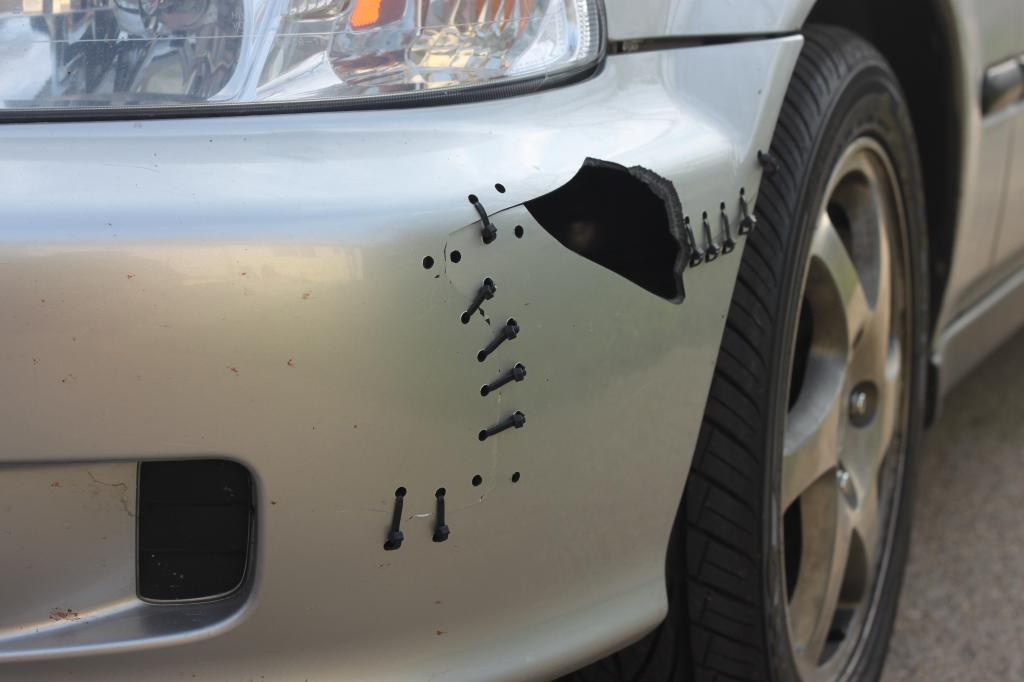
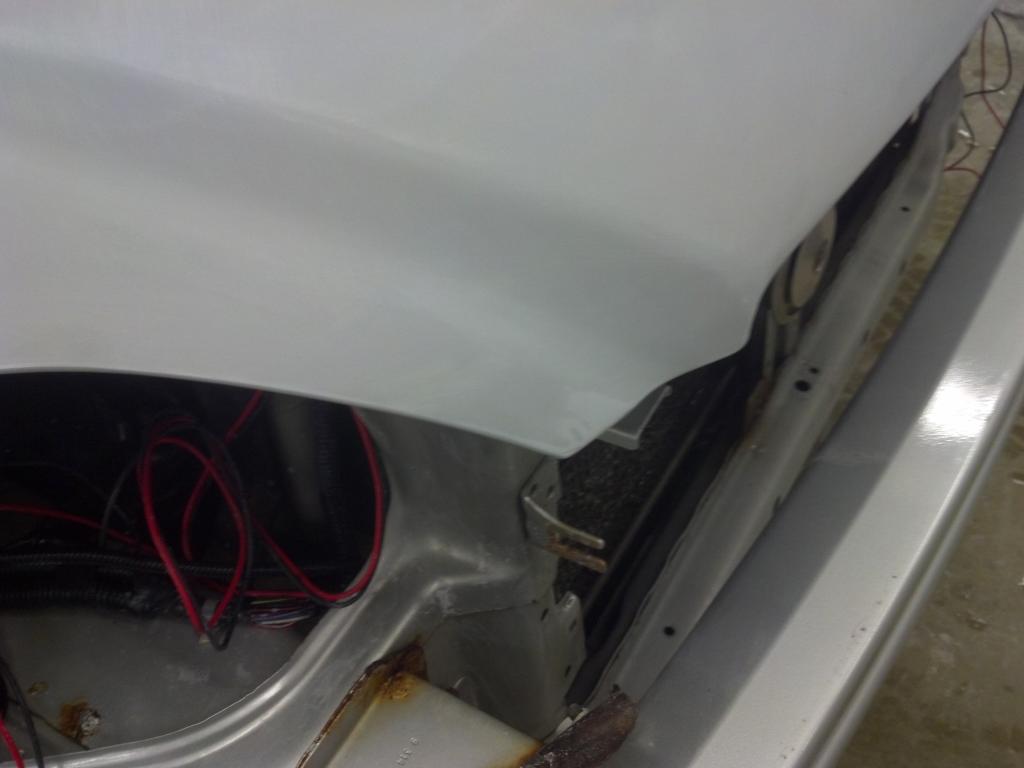
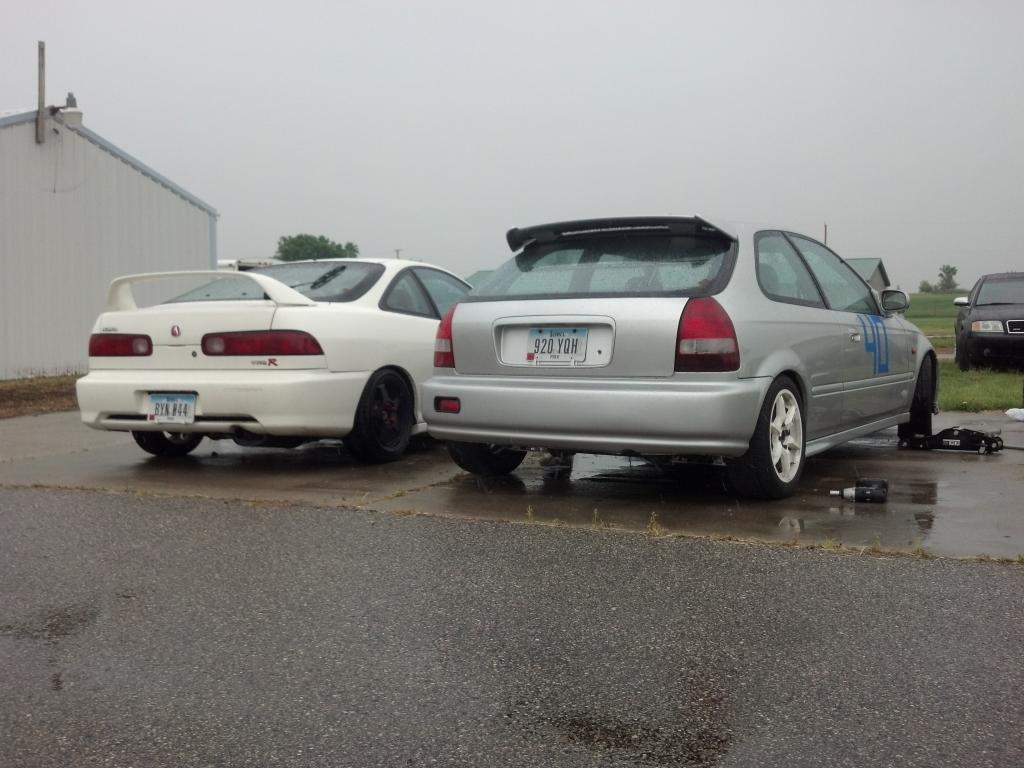
unfortunately I got into an accident where some d-bag ran into my quarter panel and damaged it and the rear bumper
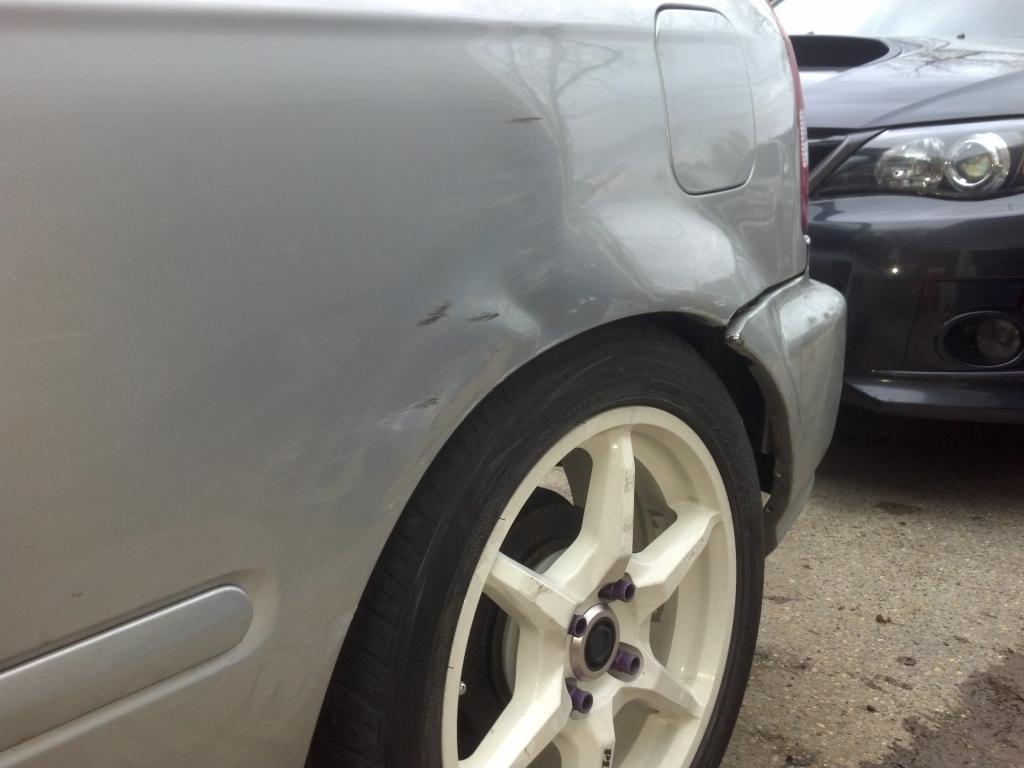
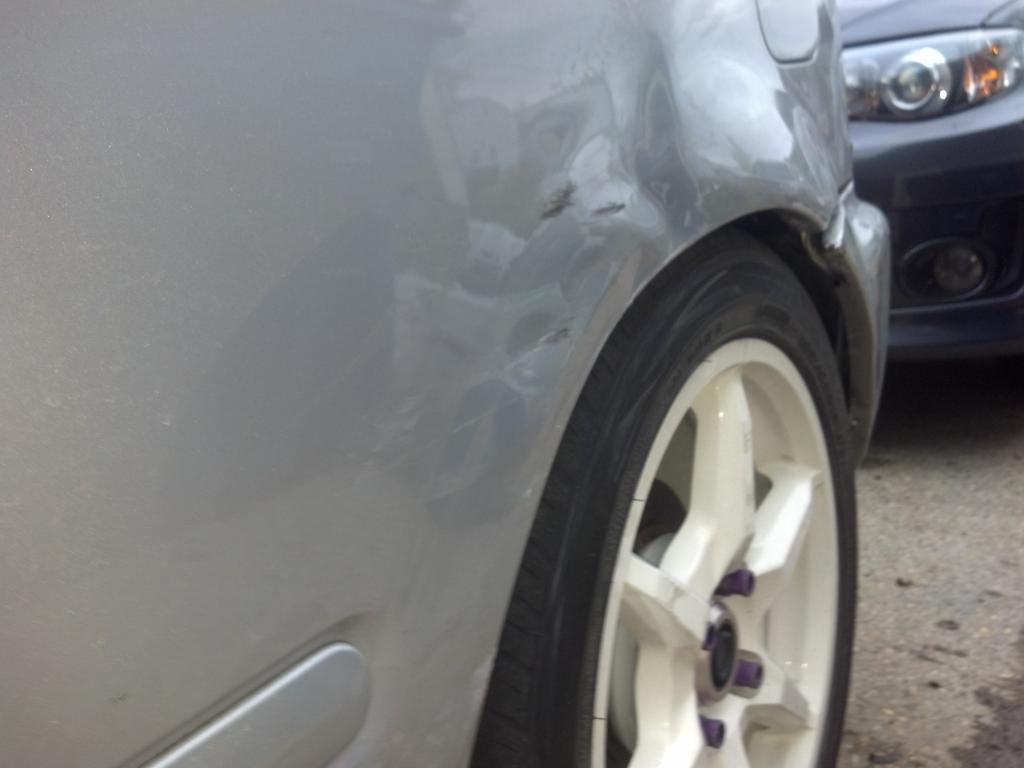
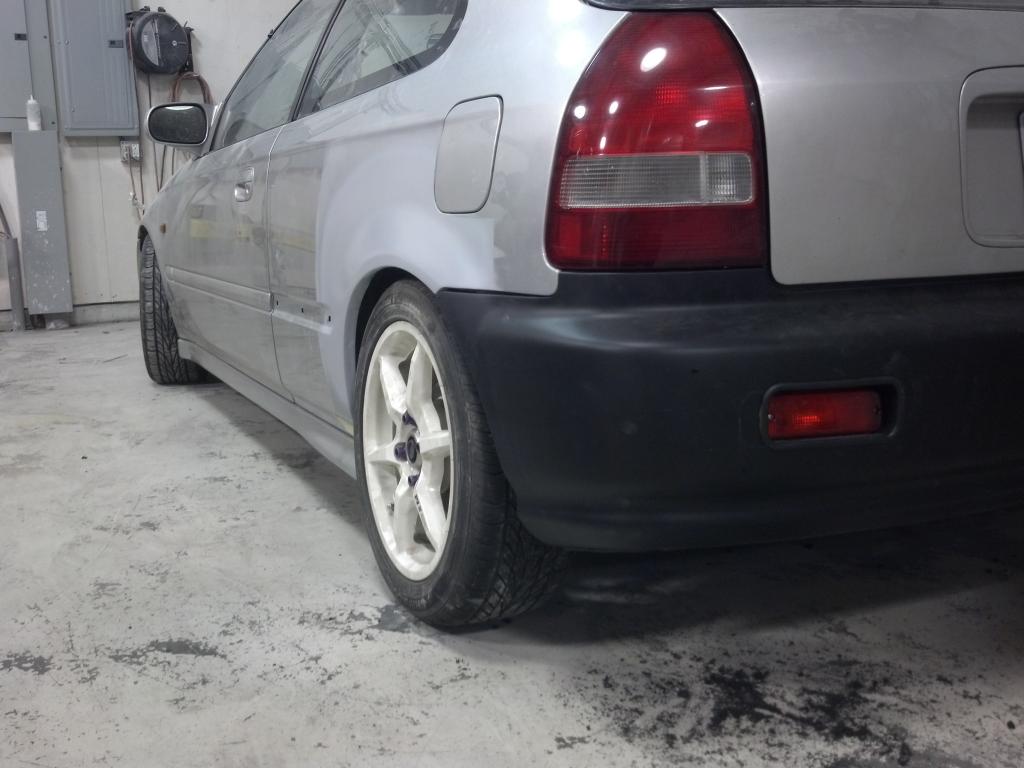
so I got to repairing it within the next couple days. had to repair the quarter and buy a new bumper
so while I was daily driving the civic to work I also autocrossed every chance I got trying to get more seat time
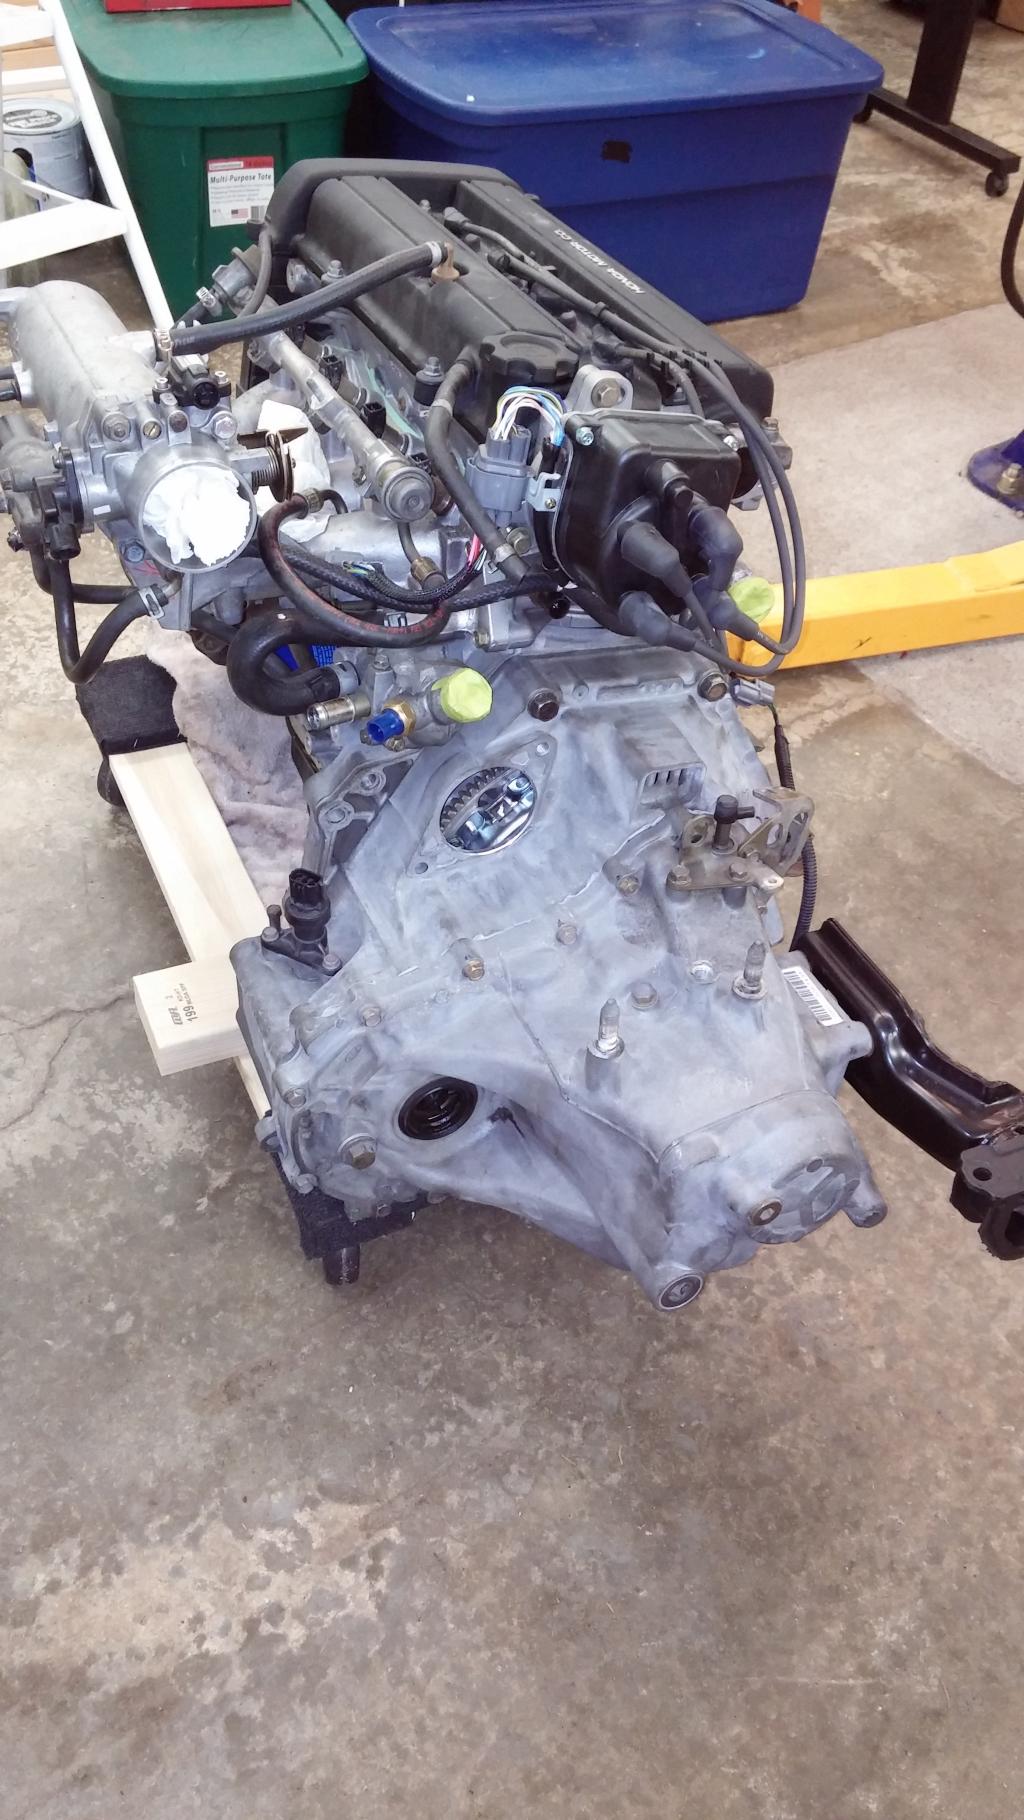
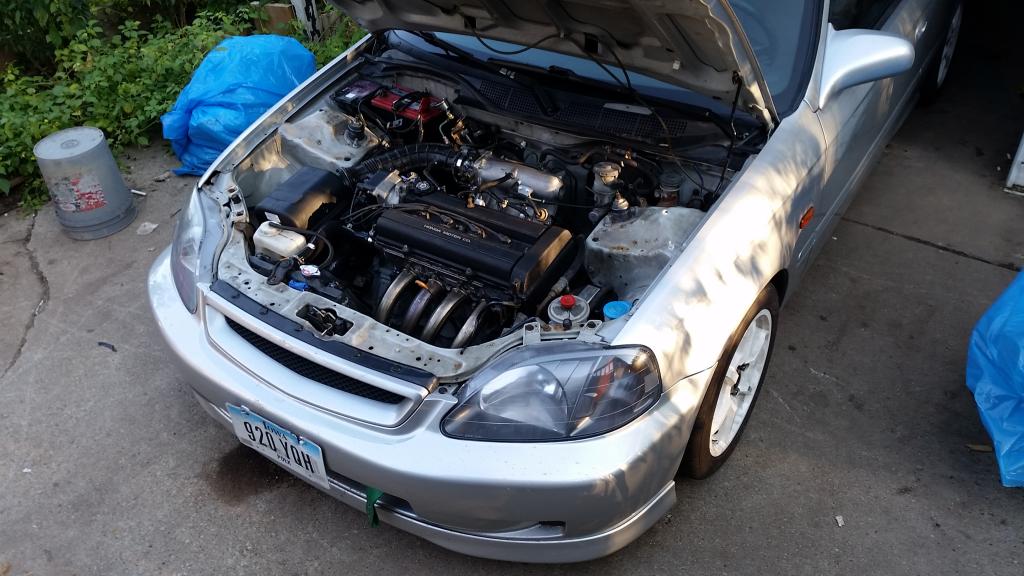
another thing that I was doing at the same time was gathering parts for a b20 swap so I started with a b20b that I got from a buddy of mine that he longer used for his build, it was an HMO b20 and he had already put an ls intake manifold on it so I got it on a stand and just started collecting parts, don't have pictures of everything I bought but heres the list
Hasport motor mounts
Hasport shift linkage
Hasport axles
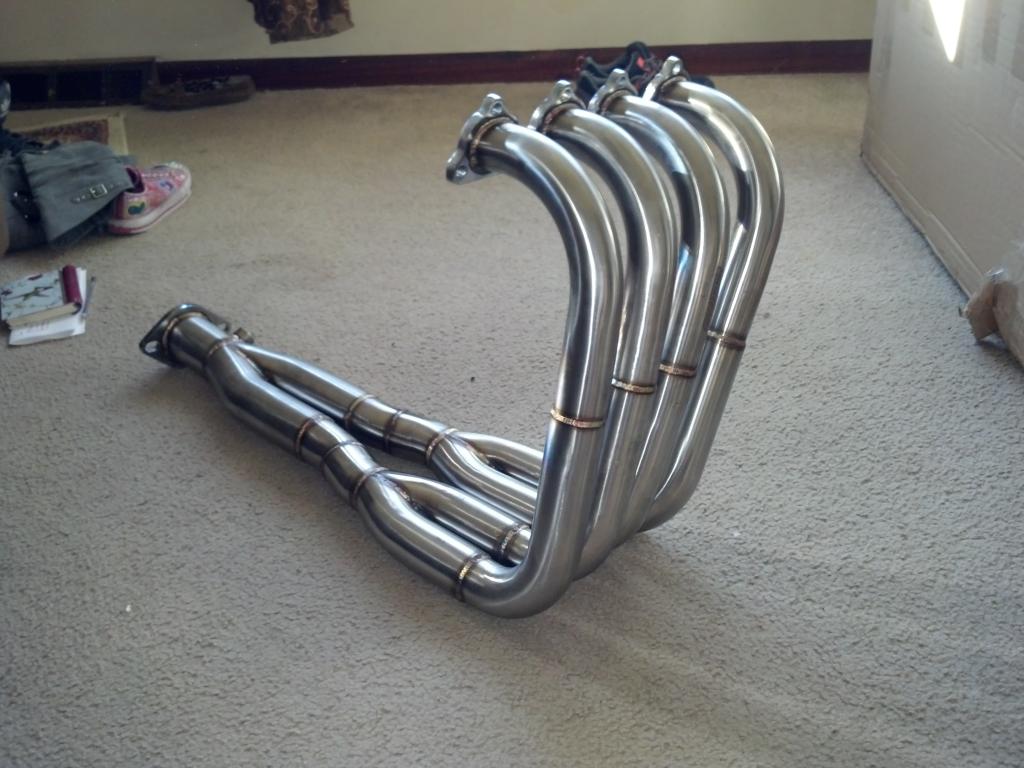
Highend autosports header
ct engineering ice box intake
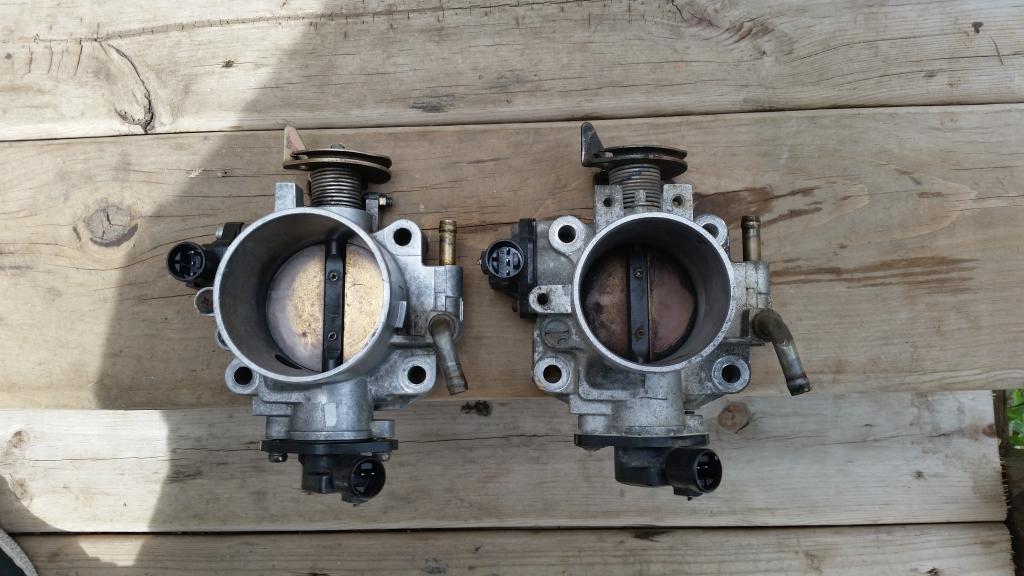
ITR throttle body
greddy Ti-C exhaust
koyo full size radiator
Mishimoto electric fan
chipped obd1 ecu
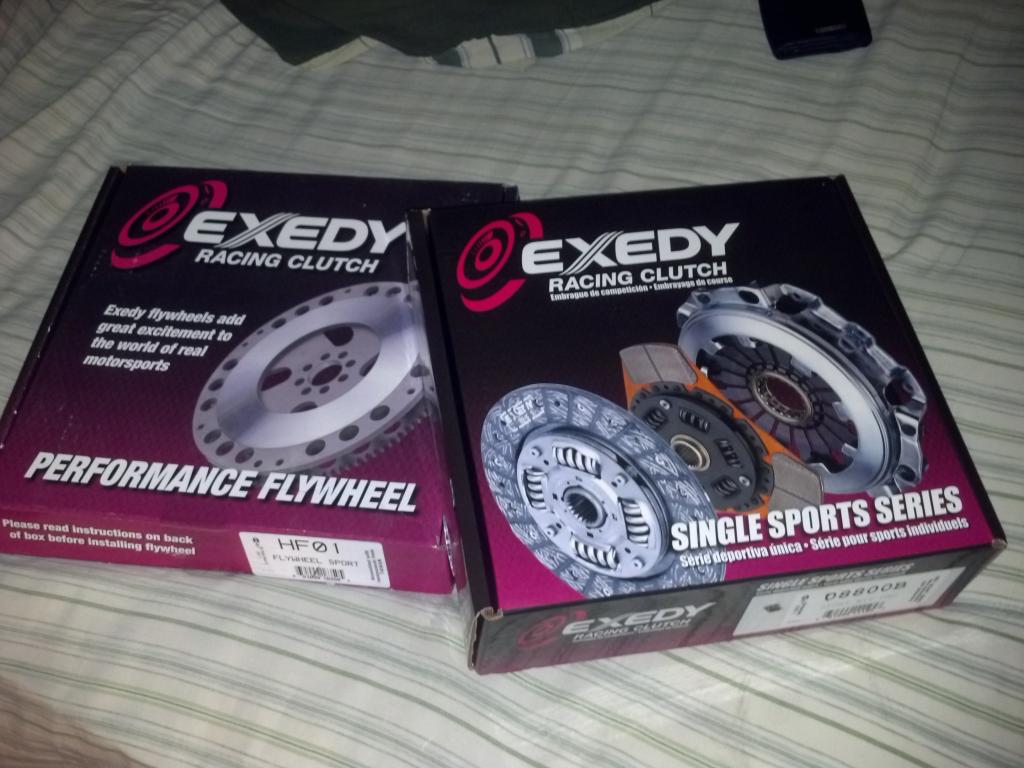
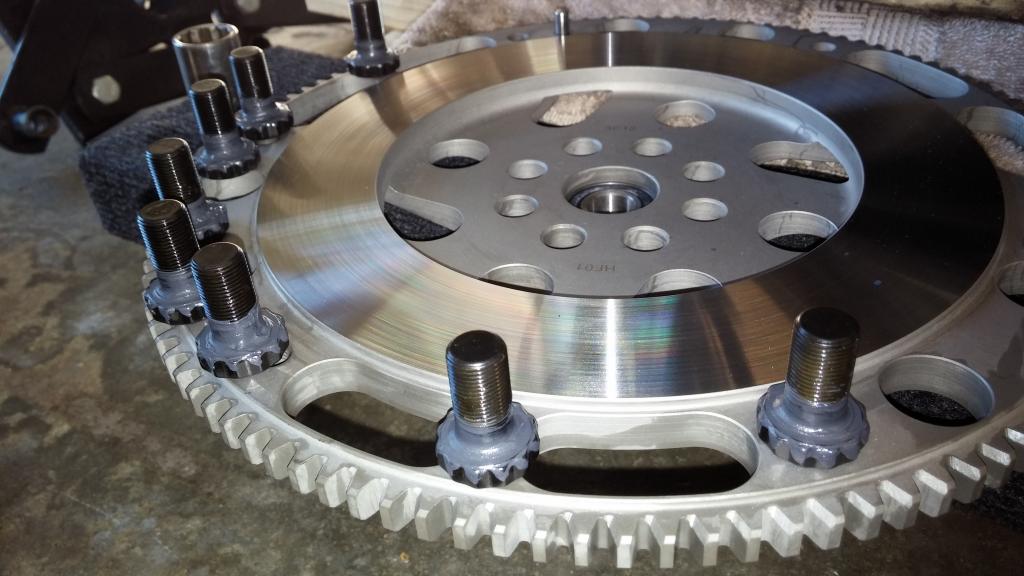
exedy stage 1 clutch w/ flywheel
and probably few more things that I can think of right now

ITR tb compared to the LS tb
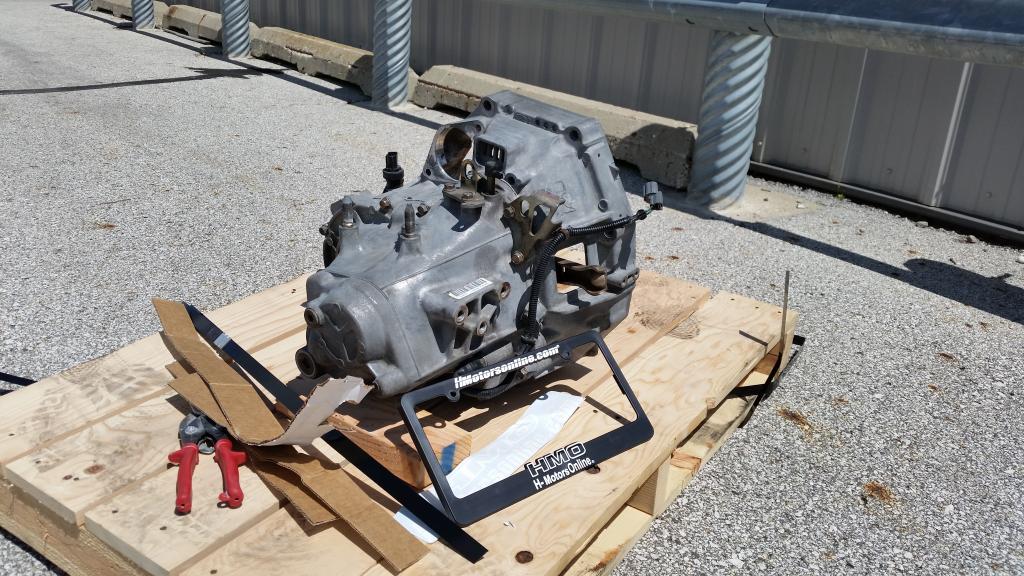
next big purchase that I had to make was an ITR transmission, so I call steve at HMO to see if had any available since he can't part with the tranny until someone buys the longblock so after 2 months of waiting and 2 weeks to get it shipped I finally got a 4.4fd lsd ITR trans
another thing that I wanted to add was that I sold most of old suspension and got better suspension more fitted for autocross i ended up getting
koni yellows
ground control coilovers (450f/380r) spring rates
22mm rear sway bar
function7 lca's
hawk hps pads
goodridge SS lines
brembo blanks
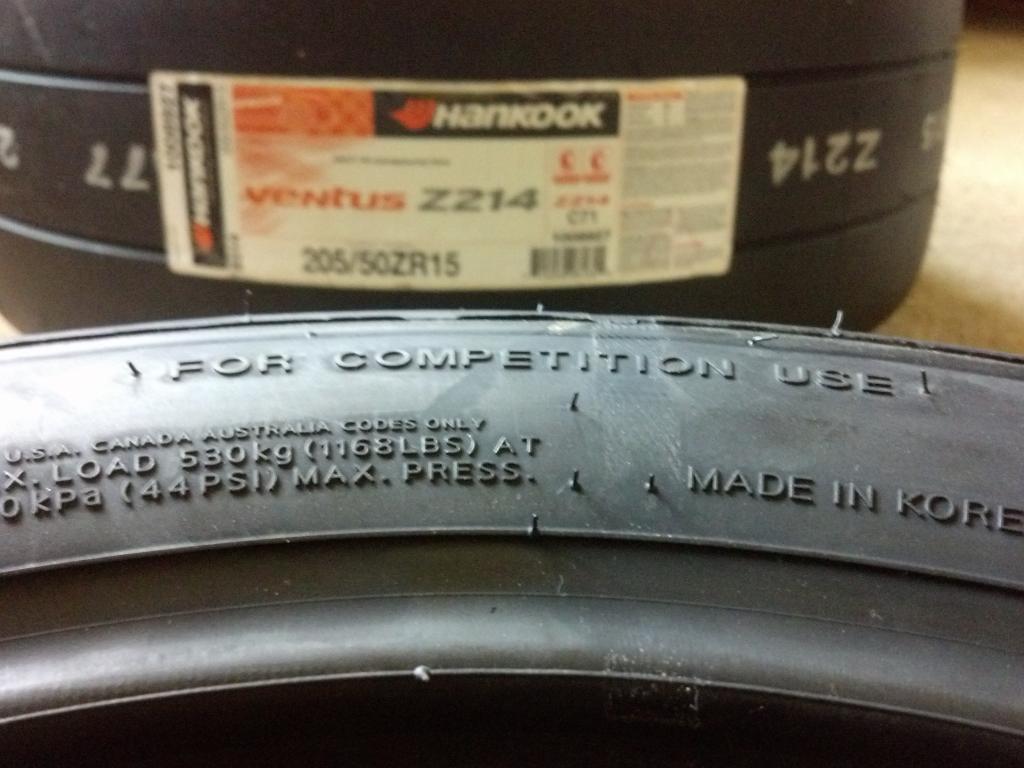
and some fresh hankook c71 tires


and then it was time for a real photo shoot


So this is where the build really takes a turn, decided to get out of the stance fad and really put the car to good use while still looking good, so Auto-x it was!!!
sold the rollers and was on steelies for a while and then saved up enough money for some wheels
black 15x7 +35 rpf1's

I then got a sweet deal for some sm6 hoosier tires and got those put on right away


I got ahold of an ink pen and painted the hoosier letters on the tires


then I found some awesome wheels, original set of buddy club p1's from another member on here, wheels were in good shape for age and with original center caps and spoke decals


unfortunately I got into an accident where some d-bag ran into my quarter panel and damaged it and the rear bumper


so I got to repairing it within the next couple days. had to repair the quarter and buy a new bumper

so while I was daily driving the civic to work I also autocrossed every chance I got trying to get more seat time


another thing that I was doing at the same time was gathering parts for a b20 swap so I started with a b20b that I got from a buddy of mine that he longer used for his build, it was an HMO b20 and he had already put an ls intake manifold on it so I got it on a stand and just started collecting parts, don't have pictures of everything I bought but heres the list
Hasport motor mounts
Hasport shift linkage
Hasport axles
Highend autosports header
ct engineering ice box intake
ITR throttle body
greddy Ti-C exhaust
koyo full size radiator
Mishimoto electric fan
chipped obd1 ecu
exedy stage 1 clutch w/ flywheel
and probably few more things that I can think of right now


ITR tb compared to the LS tb

next big purchase that I had to make was an ITR transmission, so I call steve at HMO to see if had any available since he can't part with the tranny until someone buys the longblock so after 2 months of waiting and 2 weeks to get it shipped I finally got a 4.4fd lsd ITR trans

another thing that I wanted to add was that I sold most of old suspension and got better suspension more fitted for autocross i ended up getting
koni yellows
ground control coilovers (450f/380r) spring rates
22mm rear sway bar
function7 lca's
hawk hps pads
goodridge SS lines
brembo blanks
and some fresh hankook c71 tires
 01-07-2015, 09:29 AM
#5
Honda-Tech Member
Thread Starter
FINALLY it was time get the old d series out fresh b20b in there, this is where i really wish i hadn't rush into to it right away and taken more pics

after i dropped it in there i noticed that it was leaning so found out that still had the old ls left motor mount, so i called HMO again and the correct one coming
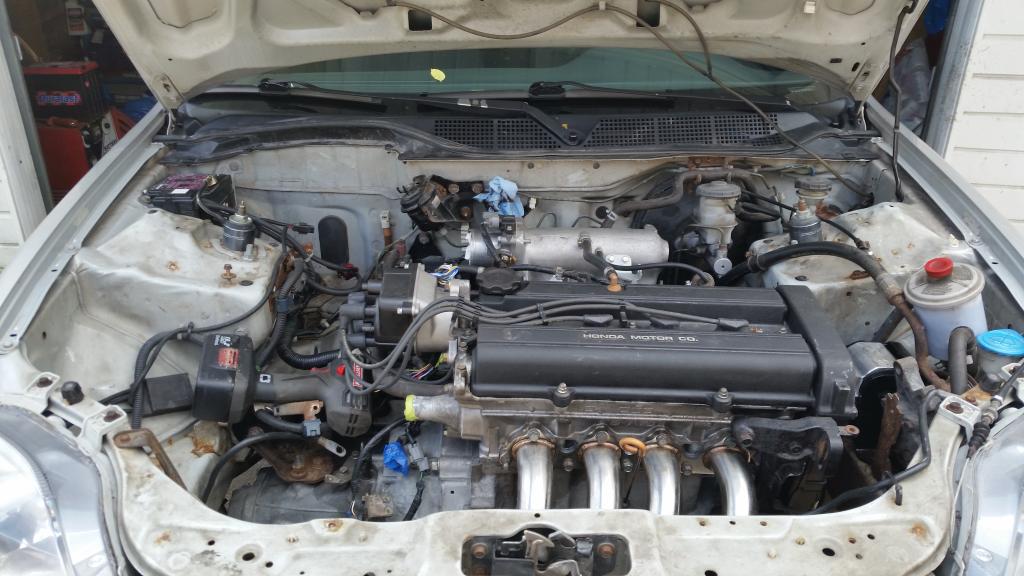
most of it put back together, that looks better now
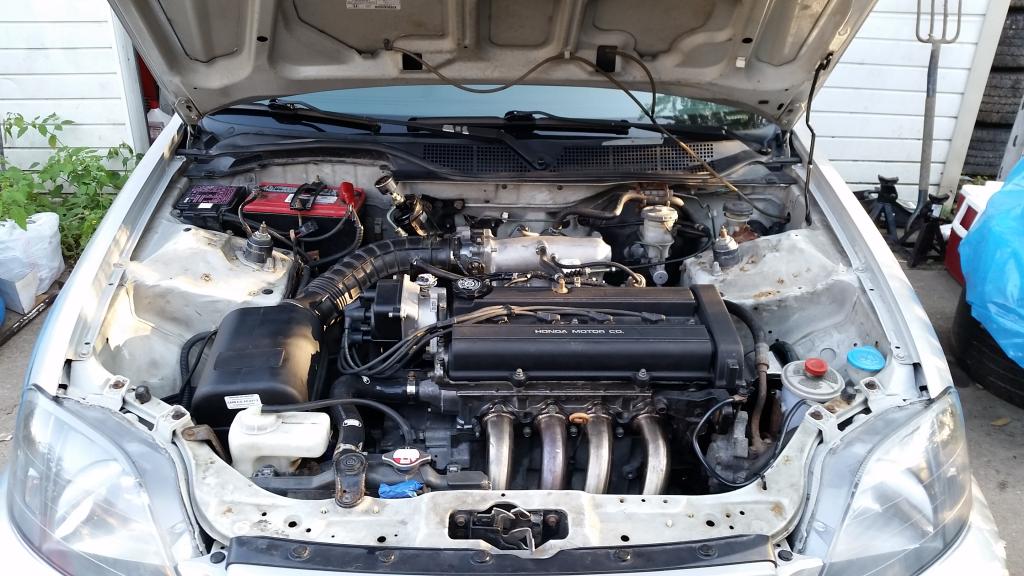
just love the fact that it looks like its suppose to be there
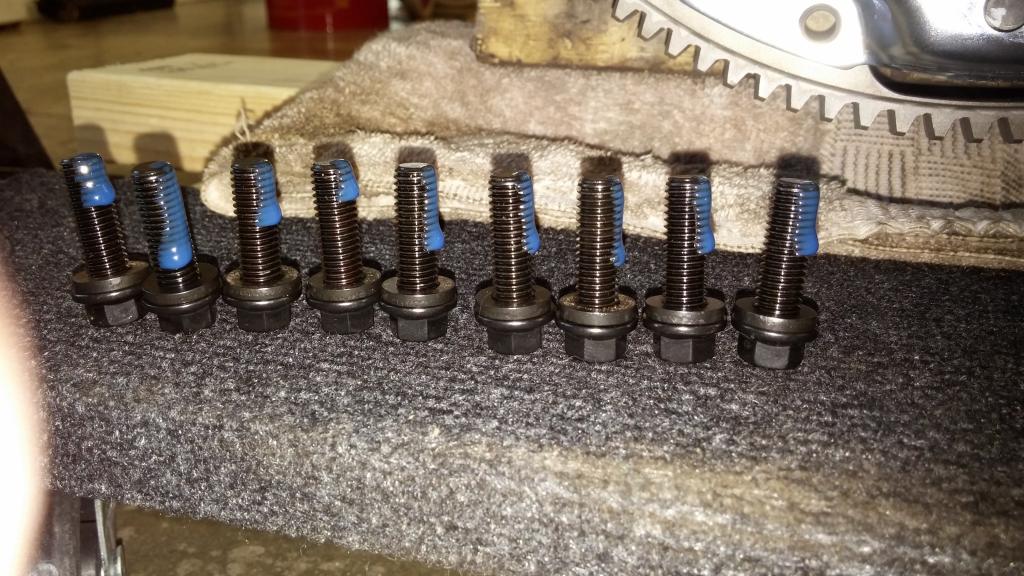
after motor was in, it was running like crap, first thoughts were that i really messed up it up because i had loosened up the tensioner bolt thinking it was a bolt for the timing covers so i had to basically make sure all the timing was on point before anything else

so i got the timing where it was suppose to be and still wasn't running right, had a vacuum leak and it seemed like it wasn't getting enough fuel and plus only exhaust i had on the car was the header so i went to get the exhaust fit since it was for a coupe so i could drive around town to get it diagnosed. did that and took it to a shop and turns it had mis matched injectors and ignition timing was a little off. after that ran great and been running great ever since
first impressions after the swap were WOW. Torque from the b20 matched with ITR tranny, it felt great!! couldn't wait to get it out and autocross with it
heres a video autorcrossing with the b20
ended up getting 6th in raw time!!
went to last autocross of the year to Kansas city

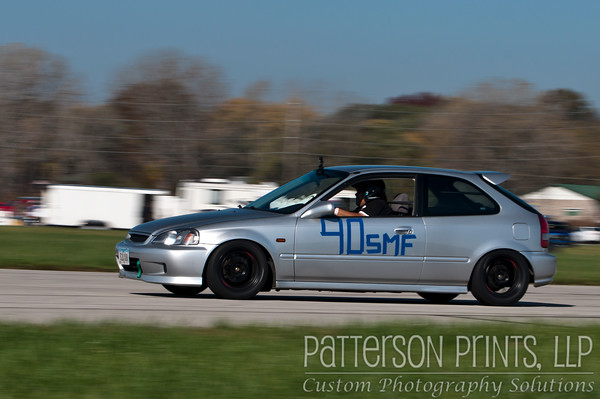
1st in SMF class
so now that 2014 autocross season is over it time to prepare for 2015
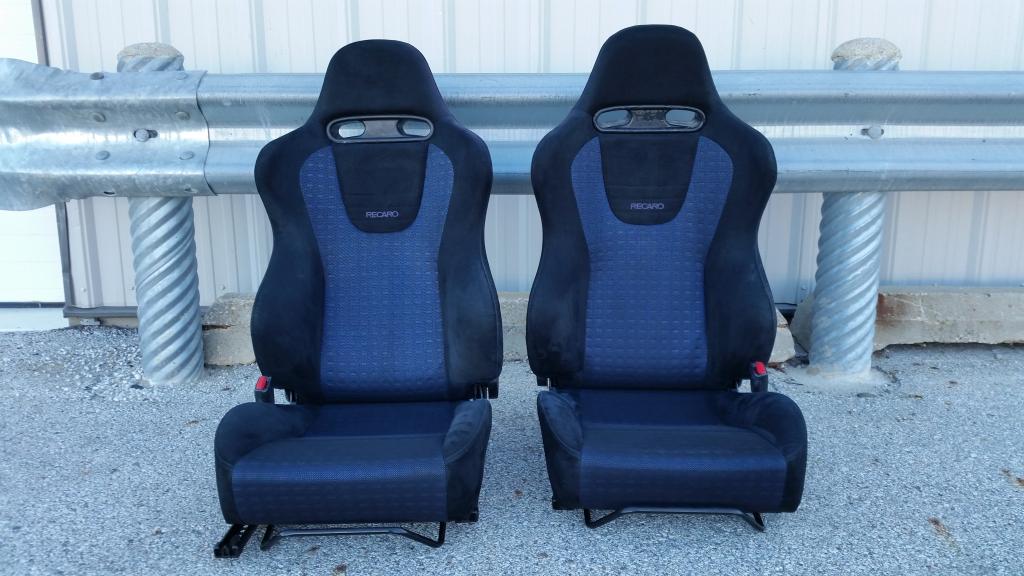
started with some evo8 recaro seats that i got from a buddy of mine, needed a good cleaning from all the stains and cat hair
before

after
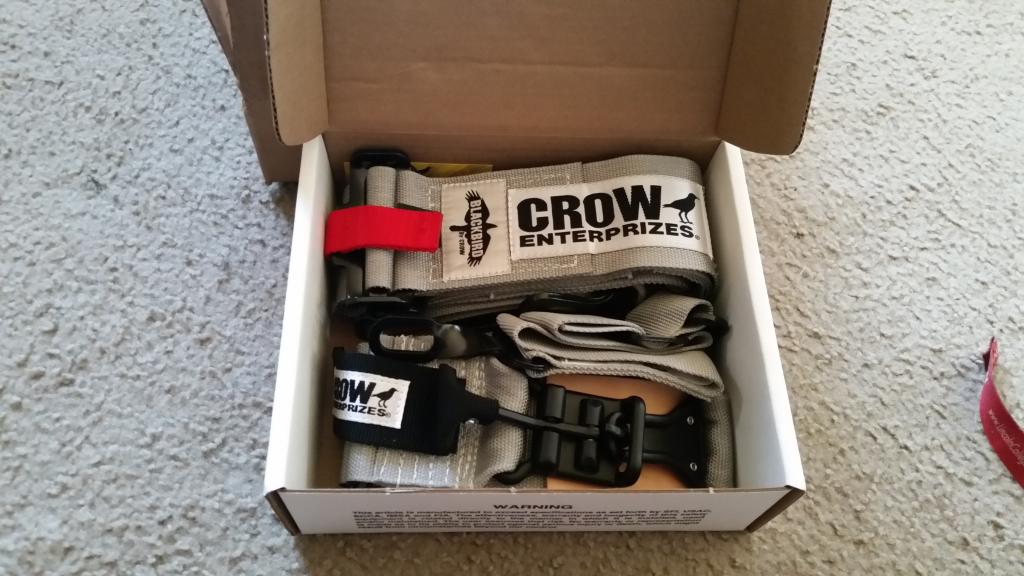
along with a driver side harness for now, going to get matching passenger side later in the year
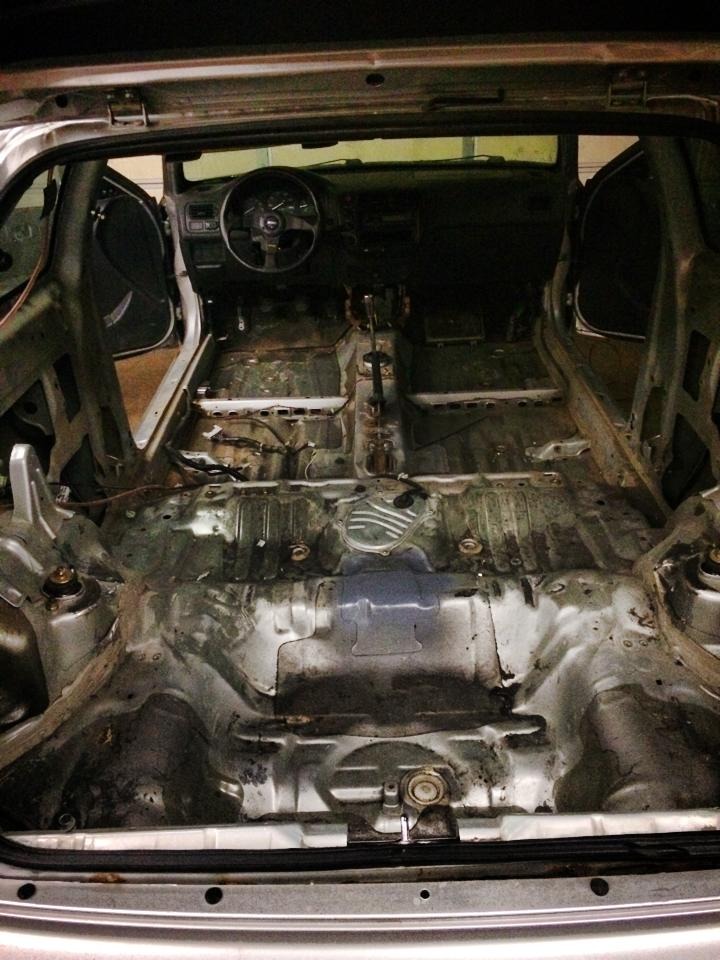
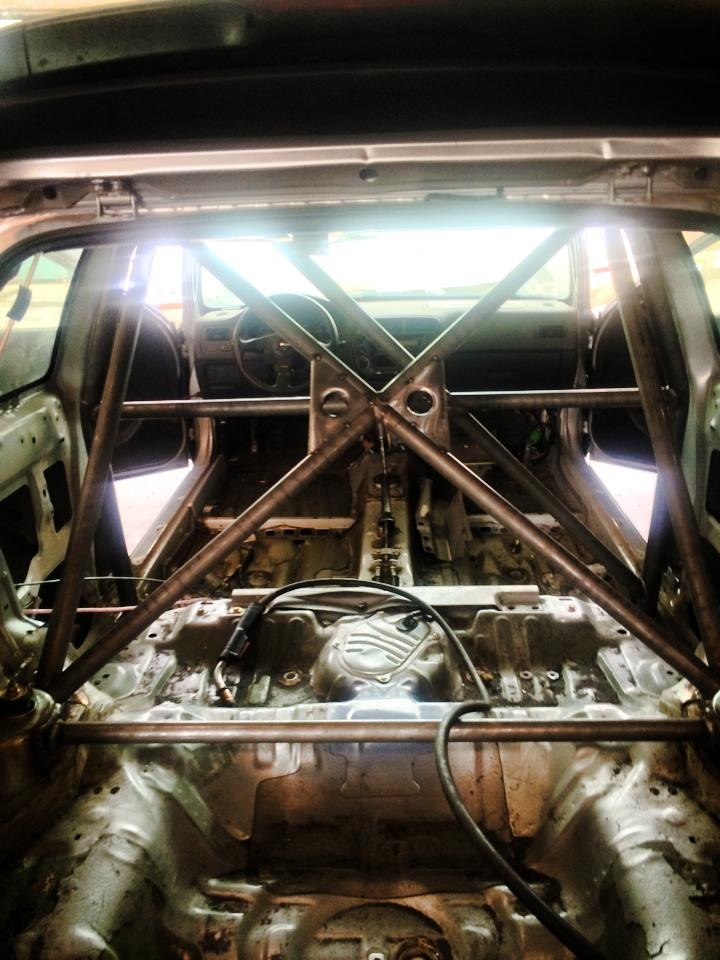
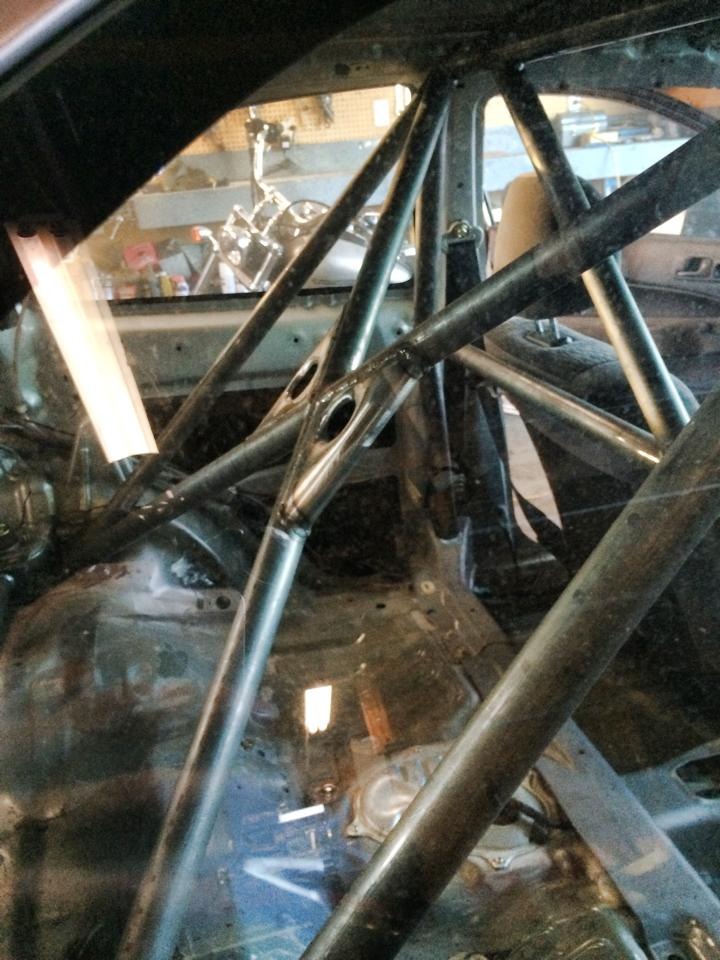
after I got that I knew that I had to secure the harness to the chassis, after i realized that i ordered them too short, instead of exchanging them, i was going to get some sort of b pillar and do that, after debating for a while i looked into autopower roll cage. it was a bit pricey for something kinda simple so i got a hold of Shiomi garage, local cage builder and fabricator. and we decided he would kinda replicate an autopower rollcage. later i decided to but a x in the middle and to like a half cage so heres how it came out
got the care stripped out of all the interior because i was going to put it all back in after and didn't want it to get damaged
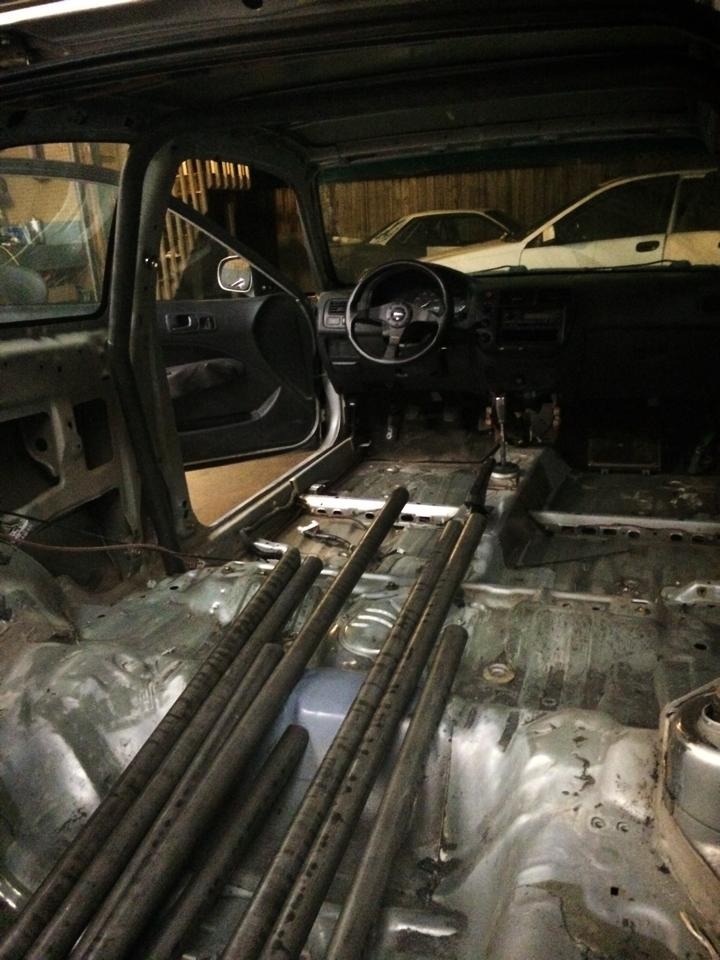
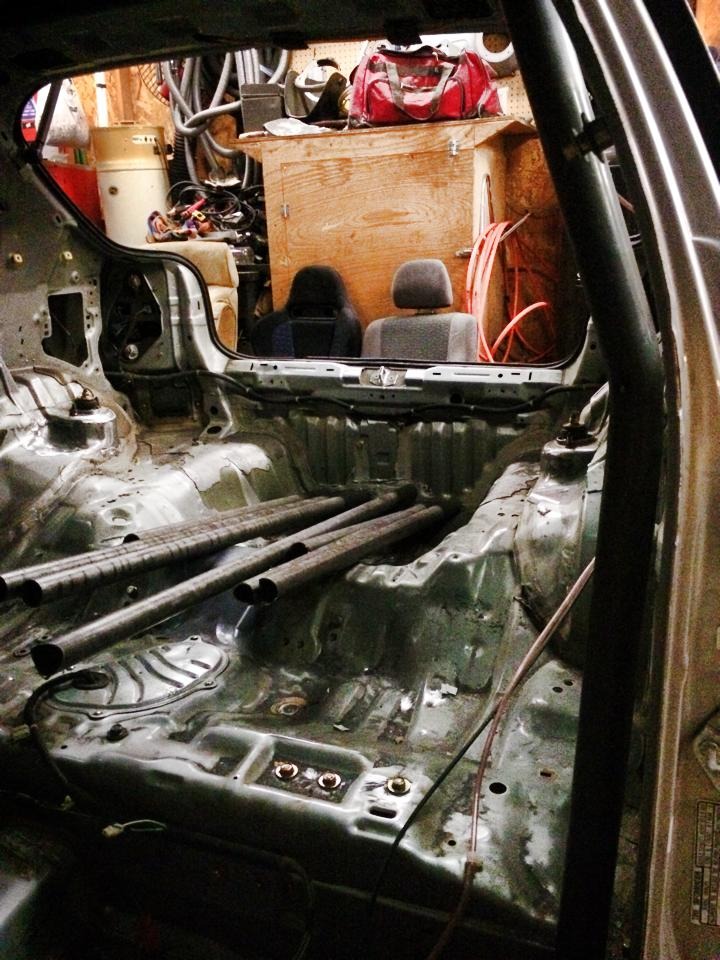
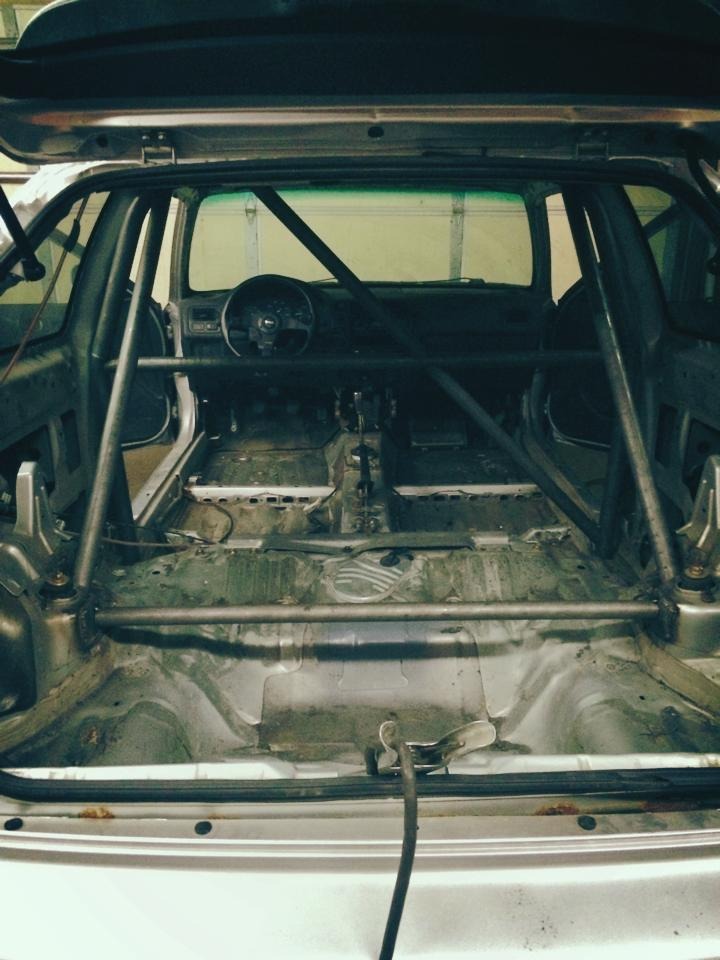
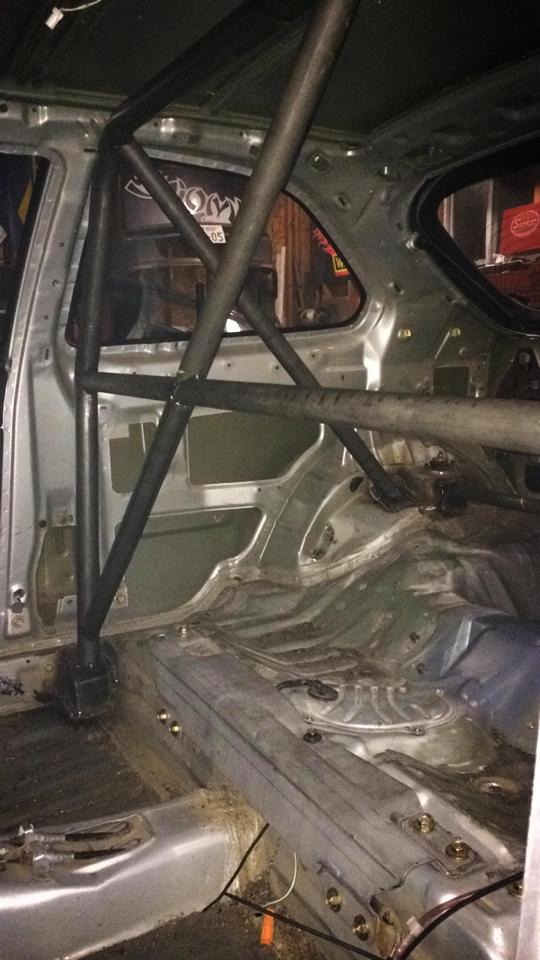
next came the x in the middle and told him to make 2 gussets so that it would break away from all the tubing inside
put in the seat and harness to see what it would look like
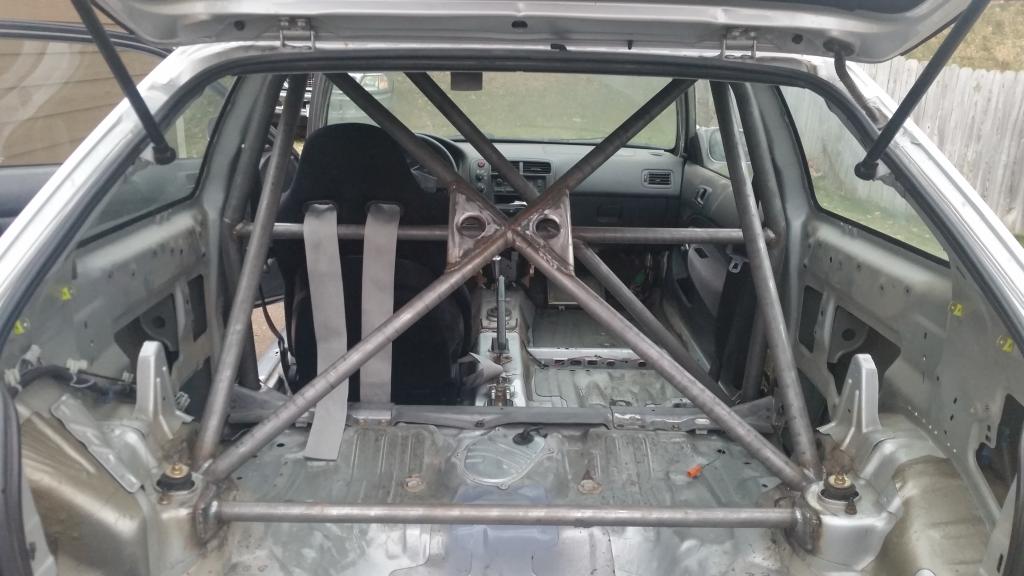
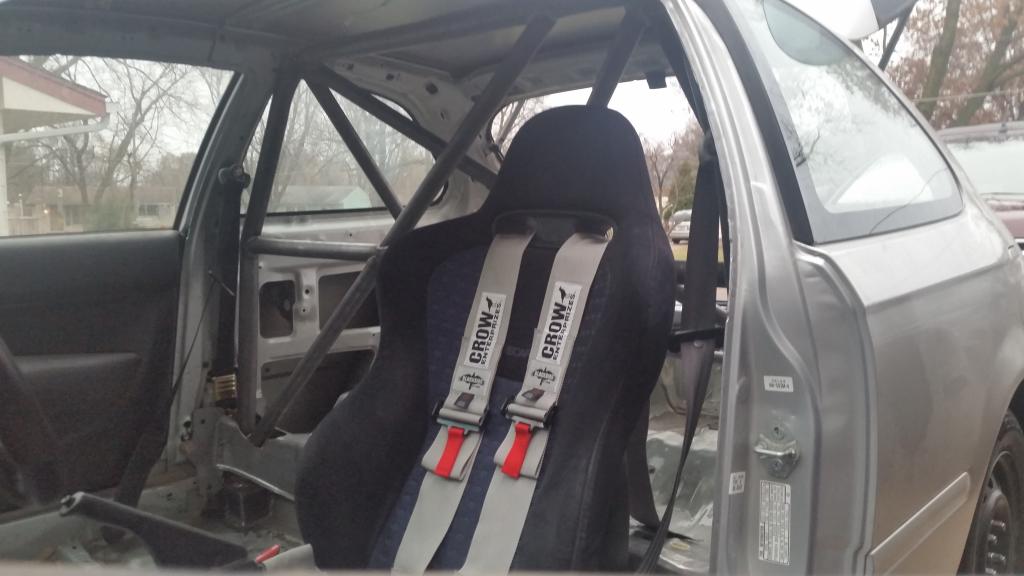
put all the interior back in except for rear seats
now just waiting on wedge seat bracket, should be here Friday
i was at work on a slow day and i mocked up rear diffuser, going to be making final product out of sheet metal
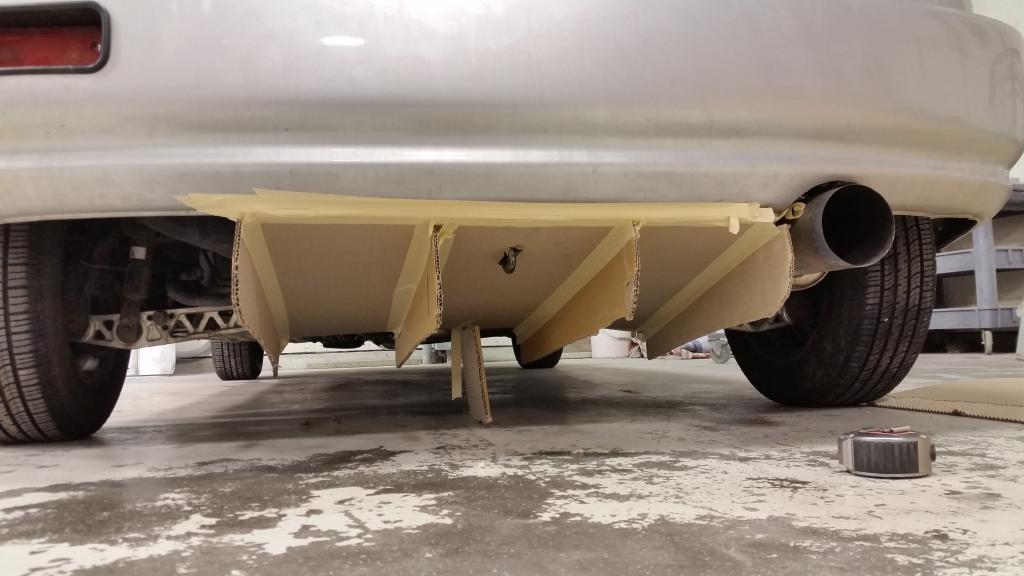

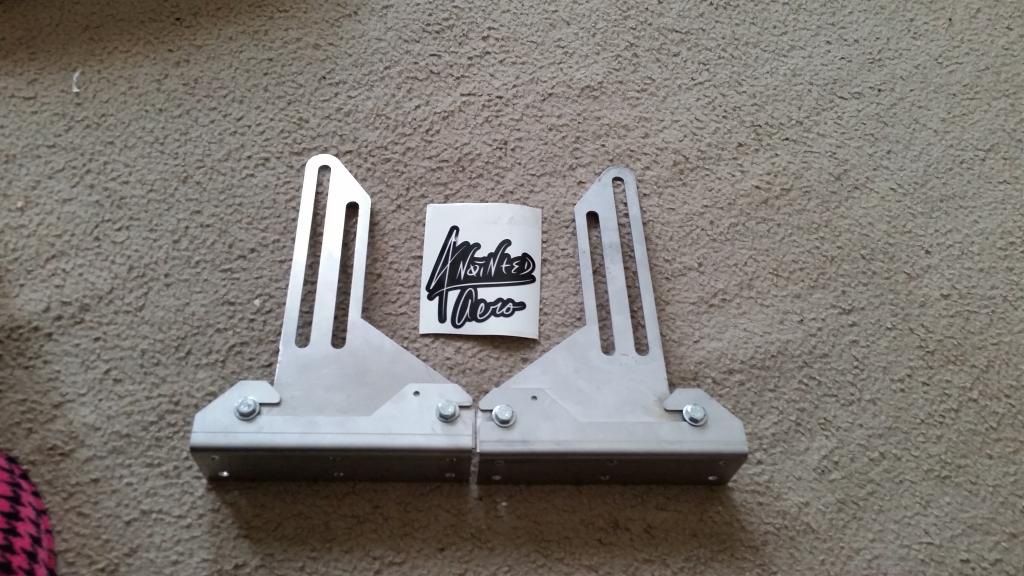
anointed aero and royal works were sponsoring a give away of free splitter brackets on instagram and i just so happened to win them, never win anything so i was super excited when i was chosen, now just have to make a splitter blade
lastly to finish up what ive done it all the parts that are going to be installed for 2015 season it all this
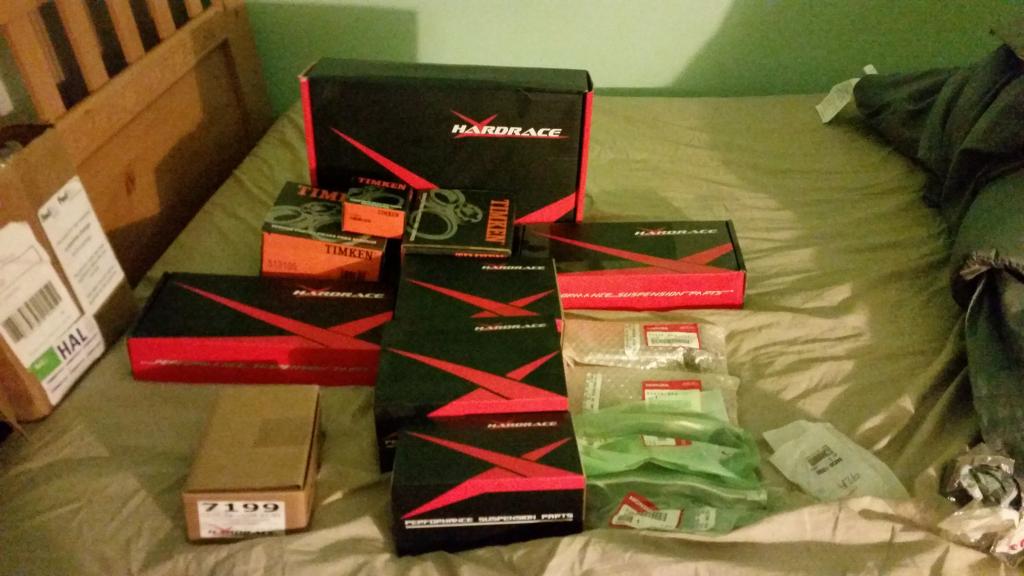
front and rear camber kits
front lca bushings
oem inner and outer tie rods
trailing arm and toe bushings
lower ball joints
front and rear wheel bearings
compliance bushings
and that's all i have for now, thanks and ill try and keep this updated
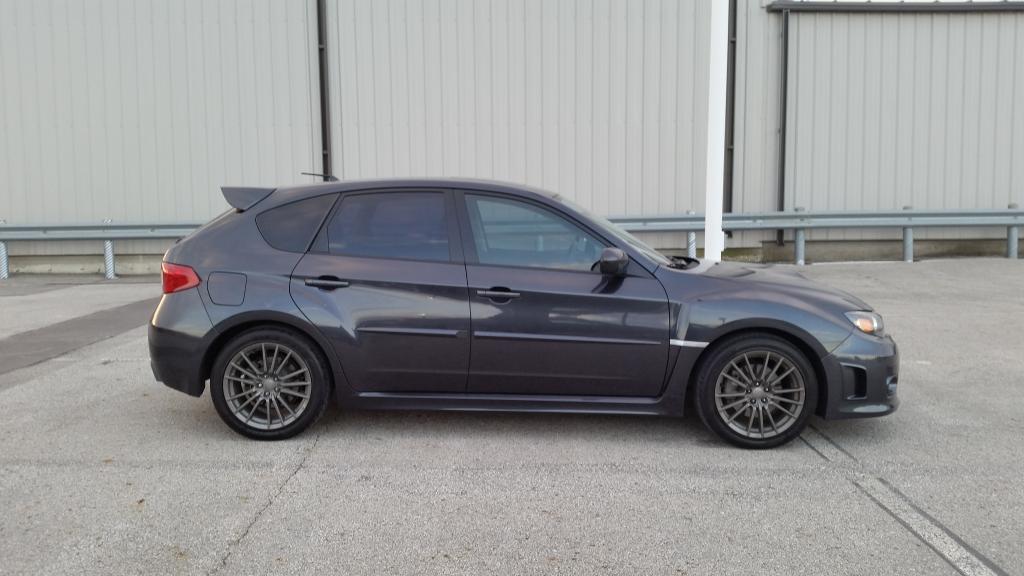
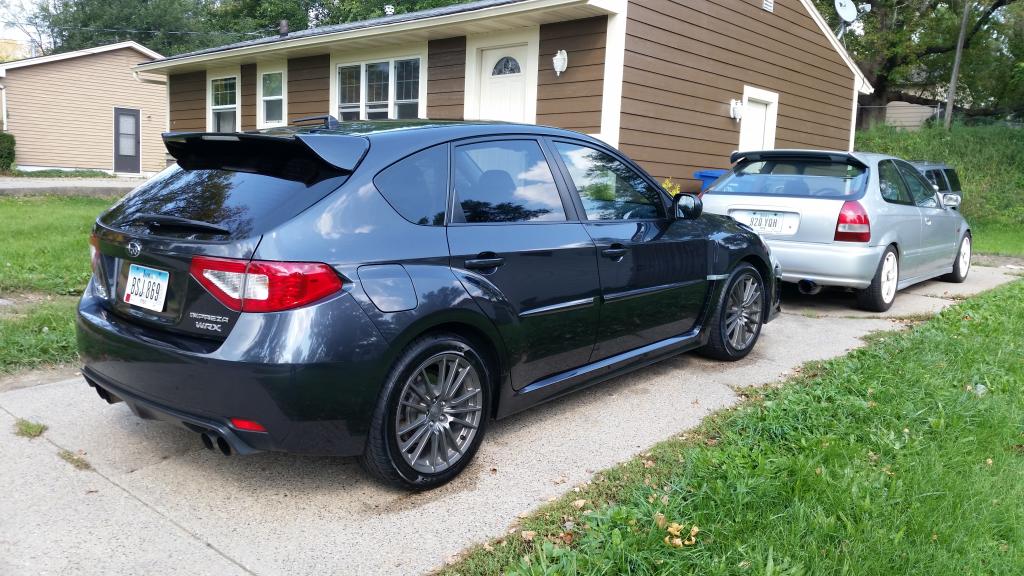
also got this thing, not a money pit yet but definitely not cheap
has invidia catless downpipe, perrin exhaust, DW 65c fuel pump and tuned


after i dropped it in there i noticed that it was leaning so found out that still had the old ls left motor mount, so i called HMO again and the correct one coming

most of it put back together, that looks better now

just love the fact that it looks like its suppose to be there

after motor was in, it was running like crap, first thoughts were that i really messed up it up because i had loosened up the tensioner bolt thinking it was a bolt for the timing covers so i had to basically make sure all the timing was on point before anything else

so i got the timing where it was suppose to be and still wasn't running right, had a vacuum leak and it seemed like it wasn't getting enough fuel and plus only exhaust i had on the car was the header so i went to get the exhaust fit since it was for a coupe so i could drive around town to get it diagnosed. did that and took it to a shop and turns it had mis matched injectors and ignition timing was a little off. after that ran great and been running great ever since
first impressions after the swap were WOW. Torque from the b20 matched with ITR tranny, it felt great!! couldn't wait to get it out and autocross with it
heres a video autorcrossing with the b20
ended up getting 6th in raw time!!
went to last autocross of the year to Kansas city


1st in SMF class
so now that 2014 autocross season is over it time to prepare for 2015
started with some evo8 recaro seats that i got from a buddy of mine, needed a good cleaning from all the stains and cat hair
before

after

along with a driver side harness for now, going to get matching passenger side later in the year

after I got that I knew that I had to secure the harness to the chassis, after i realized that i ordered them too short, instead of exchanging them, i was going to get some sort of b pillar and do that, after debating for a while i looked into autopower roll cage. it was a bit pricey for something kinda simple so i got a hold of Shiomi garage, local cage builder and fabricator. and we decided he would kinda replicate an autopower rollcage. later i decided to but a x in the middle and to like a half cage so heres how it came out
got the care stripped out of all the interior because i was going to put it all back in after and didn't want it to get damaged


next came the x in the middle and told him to make 2 gussets so that it would break away from all the tubing inside


put in the seat and harness to see what it would look like


put all the interior back in except for rear seats
now just waiting on wedge seat bracket, should be here Friday
i was at work on a slow day and i mocked up rear diffuser, going to be making final product out of sheet metal


anointed aero and royal works were sponsoring a give away of free splitter brackets on instagram and i just so happened to win them, never win anything so i was super excited when i was chosen, now just have to make a splitter blade

lastly to finish up what ive done it all the parts that are going to be installed for 2015 season it all this

front and rear camber kits
front lca bushings
oem inner and outer tie rods
trailing arm and toe bushings
lower ball joints
front and rear wheel bearings
compliance bushings
and that's all i have for now, thanks and ill try and keep this updated
also got this thing, not a money pit yet but definitely not cheap
has invidia catless downpipe, perrin exhaust, DW 65c fuel pump and tuned


Last edited by PanchoEK; 01-07-2015 at 11:40 AM.
Trending Topics
01-09-2015, 02:31 PM
#8
Honda-Tech Member
Thread Starter
thanks!
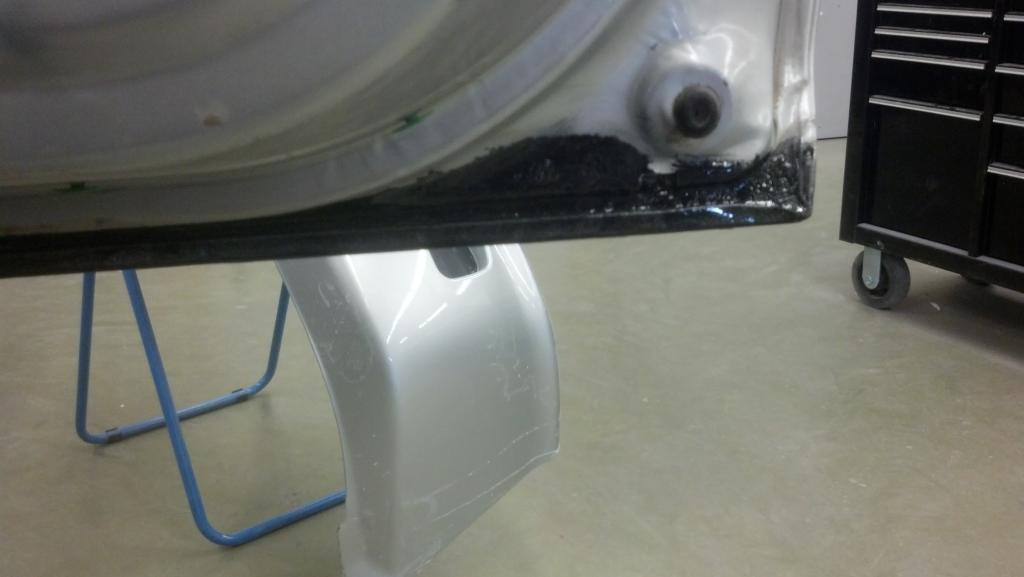
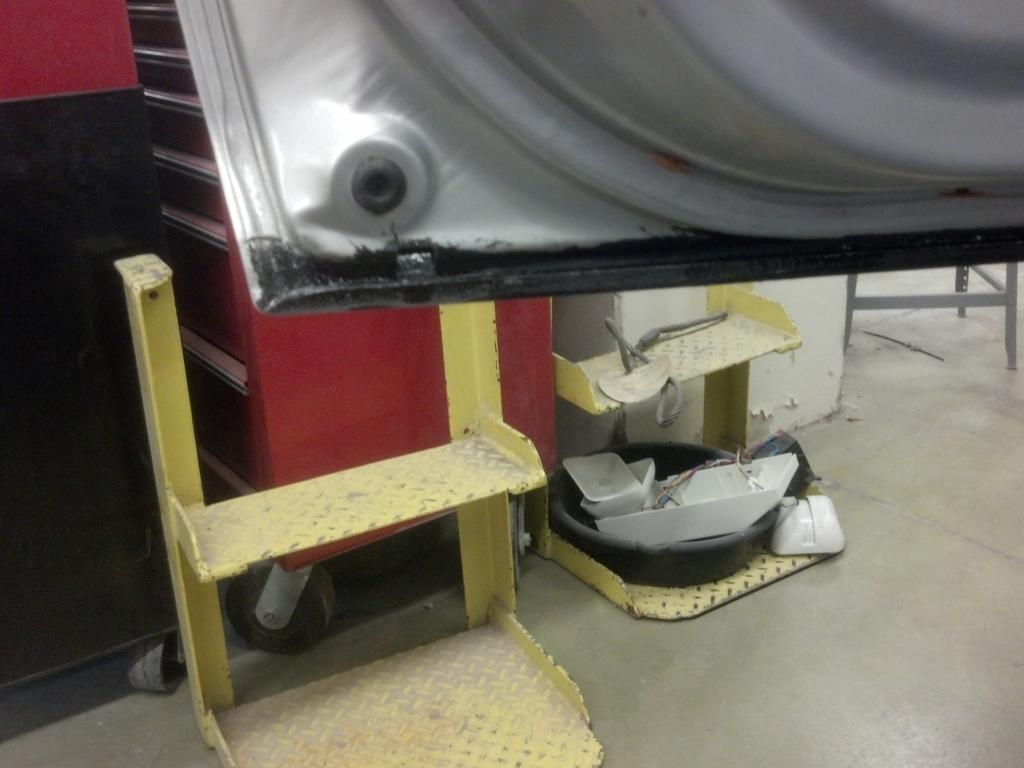
so a little update on the seat bracket from Wedge Engineering.
I got the seat bracket and its been about 2 years since the last time I ordered one from them. I like the wrinkle black finish and overall LOOKED good.
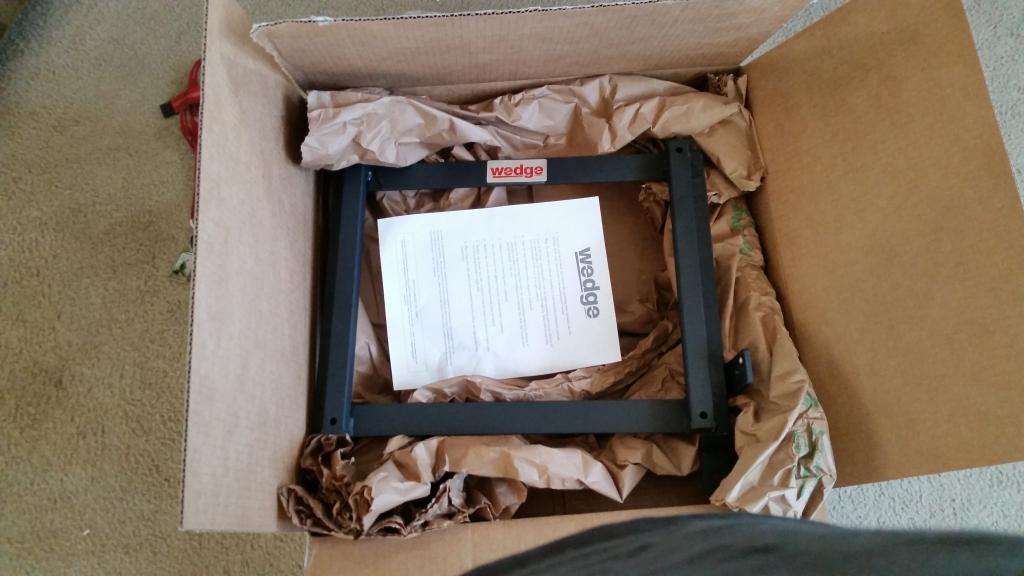
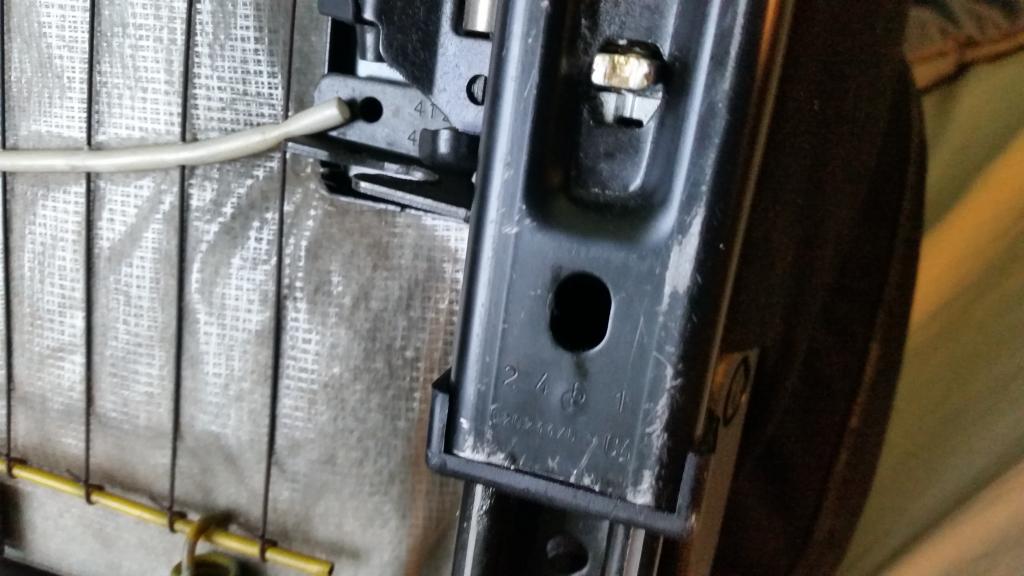
well here is where it goes downhill. hardware was ok but the washers were too big. They didn't even sit flush on either side, no biggie. Next I started putting it on and it fit in width but I kept trying to line up the bottom holes and they wouldn't go in.
notice how the holes don't line up with the sliders
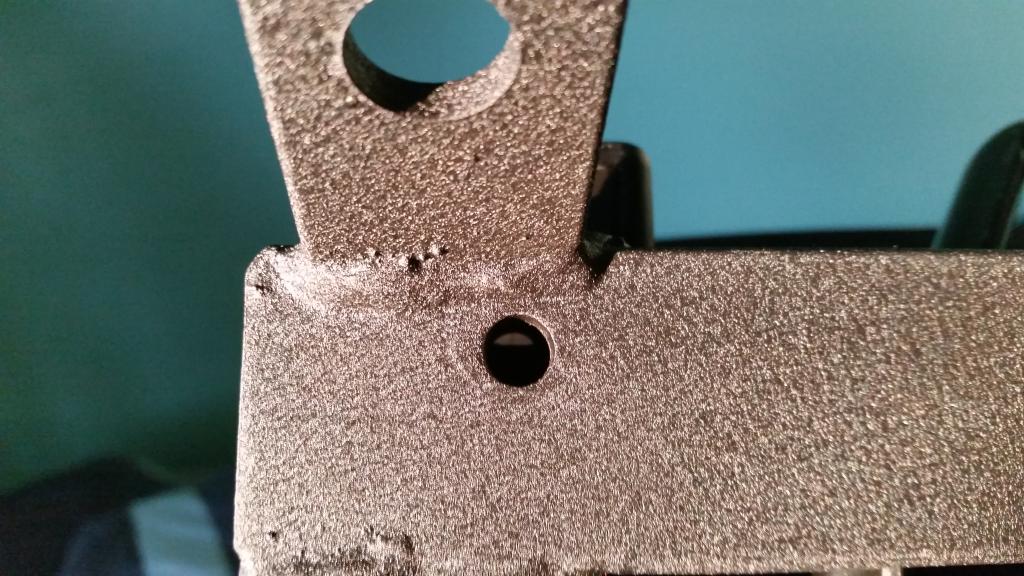
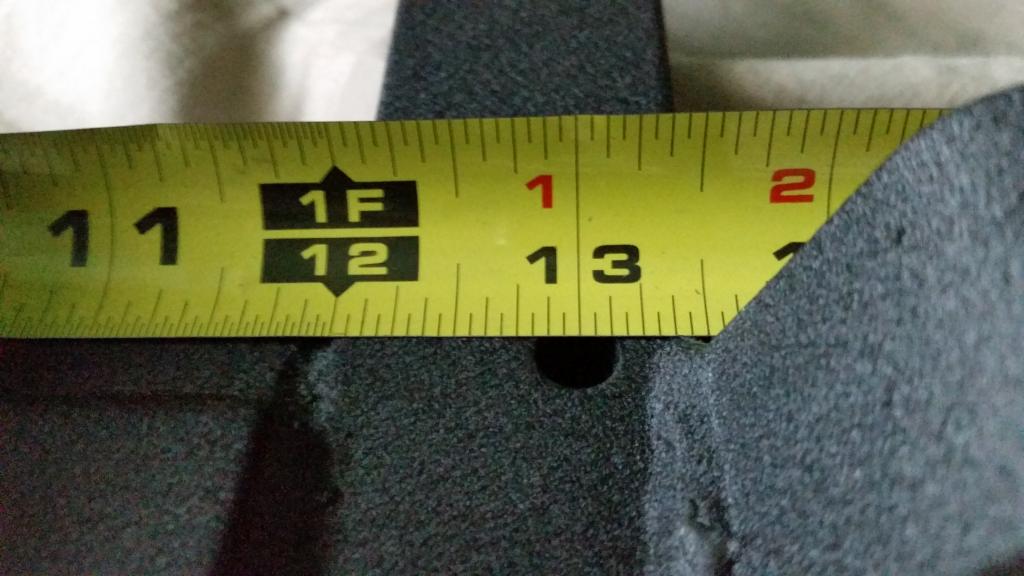
I got the old trusty tape measure out and sure enough it was off by 1/2 inch
so i called them immediately telling them about how they don't line up and their first solution is to tell me to drill my sliders so that they would line up with the bracket. I told them that i was not going to do that, so just send me shipping label and make me a new one. He then tells me that i should ship them my sliders and that they would drill the holes for me, once again i told them no. He tries once more to tell me to drill the holes and then i start to get a little angry because they are the ones that request the measurements and i sent them the correct, so now they're just trying to find a way not to make new brackets. Well sucks for them because they are making me a new bracket!
so a little update on the seat bracket from Wedge Engineering.
I got the seat bracket and its been about 2 years since the last time I ordered one from them. I like the wrinkle black finish and overall LOOKED good.

well here is where it goes downhill. hardware was ok but the washers were too big. They didn't even sit flush on either side, no biggie. Next I started putting it on and it fit in width but I kept trying to line up the bottom holes and they wouldn't go in.
notice how the holes don't line up with the sliders

I got the old trusty tape measure out and sure enough it was off by 1/2 inch

so i called them immediately telling them about how they don't line up and their first solution is to tell me to drill my sliders so that they would line up with the bracket. I told them that i was not going to do that, so just send me shipping label and make me a new one. He then tells me that i should ship them my sliders and that they would drill the holes for me, once again i told them no. He tries once more to tell me to drill the holes and then i start to get a little angry because they are the ones that request the measurements and i sent them the correct, so now they're just trying to find a way not to make new brackets. Well sucks for them because they are making me a new bracket!
Last edited by PanchoEK; 01-09-2015 at 06:56 PM.
 01-10-2015, 02:48 AM
#10
Honda-Tech Member
ya no way, don't modify things that are supposed to fit. you bought a bracket specific to your car, make them build you the CORRECT bracket.
also, sorry about the job situation - hopefully bigger better things ahead
also, sorry about the job situation - hopefully bigger better things ahead
01-10-2015, 06:30 AM
#11
Honda-Tech Member
Thread Starter
I was trying to explain to them that there wasn't more room to drill forward because the hole wouldn't be in a flat spot
 01-10-2015, 07:55 AM
#13
Honda-Tech Member
Thread Starter

I did the b20 swap but hopefully later in the year I'll get a vtec head!

 01-11-2015, 02:26 PM
#15
Honda-Tech Member
Thread Starter
For what im using it for, I would recommend it since it has awesome low end torque. I did all my research and collected parts over a period of a year, so in the end it was all plug and play and didn't take very long. It was my first b series swap and took me about a day!
01-13-2015, 03:33 AM
#18
Honda-Tech Member
Thread Starter
01-21-2015, 03:14 PM
#19
Honda-Tech Member
Thread Starter
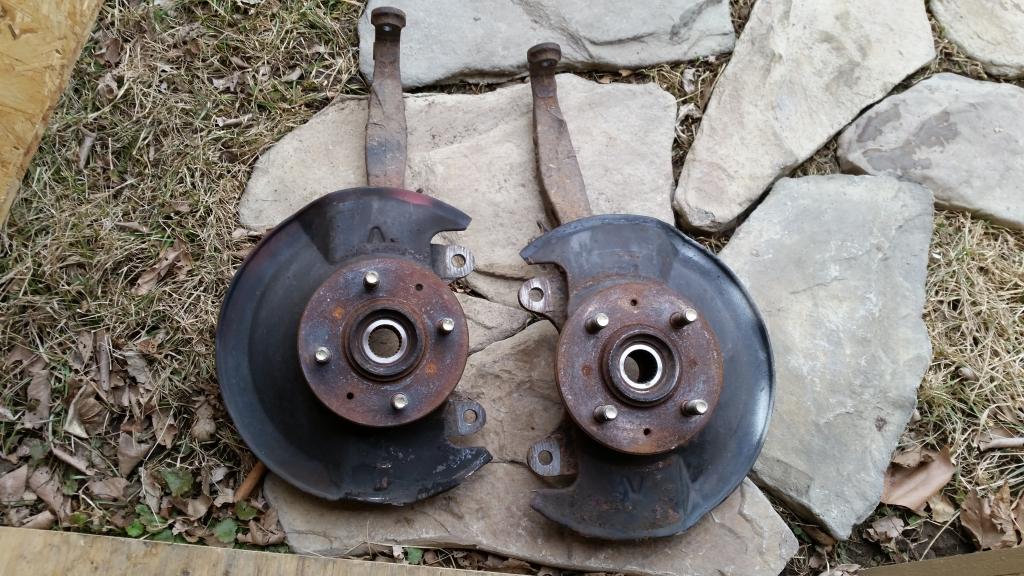
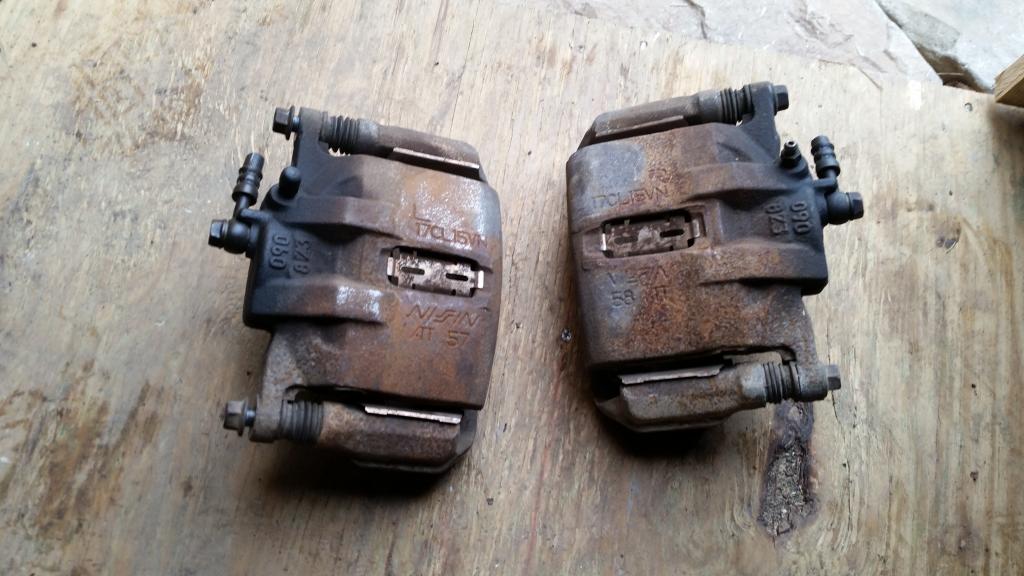
so today I picked up some ex knuckles. going to be doing a brake upgrade. had type R calipers for a while and finally picked up the knuckles to make it work. going to be freshening up the knuckles and rebuilding the calipers sometime soon. all I have left to get is 1" master cylinder, mini cooper 11" rotors, and brake pads


 01-23-2015, 03:35 PM
#21
Honda-Tech Member
Thread Starter
Thanks..
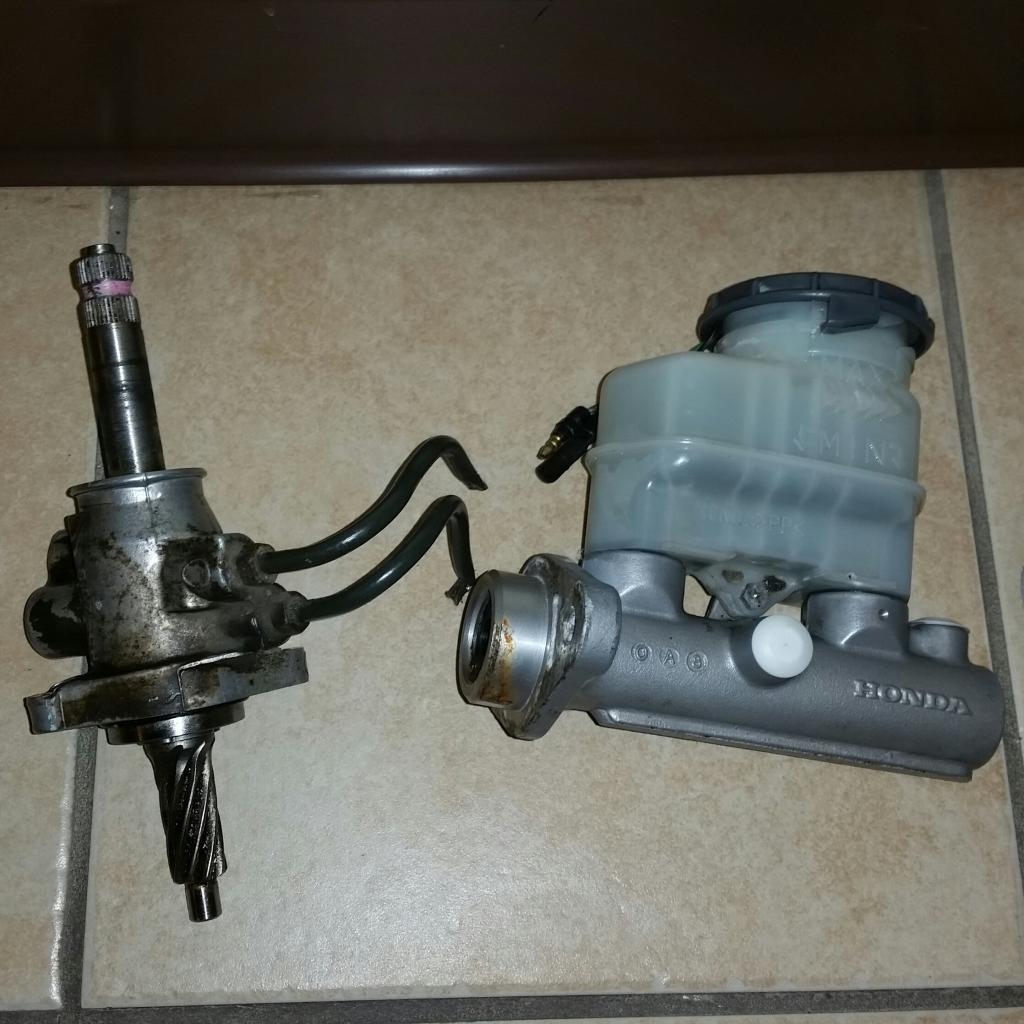
got a few more parts.. I had a buddy that was a parting out his integra and he gave me these parts for Free.99!!
1" Brake MC that will go great with my brake upgrade, and steering pinion gear. Especially excited for that because it will reduce my LTL down to 3. Cant wait to see how much better its going to be on the track and especially on the slaloms!!
 01-24-2015, 02:08 AM
#22
Honda-Tech Member
But but but wait... Where's the stanc'd and shaved look???
Thank you for building a functional car and actually making it better than the factory. I'm getting sick of seeing rolled-to-**** fenders and quarters to fit some **** knock off wheels and slam the car so low to the ground you can't even properly drive to. "But it looks mean", they say... WTF???
Old man rant over!
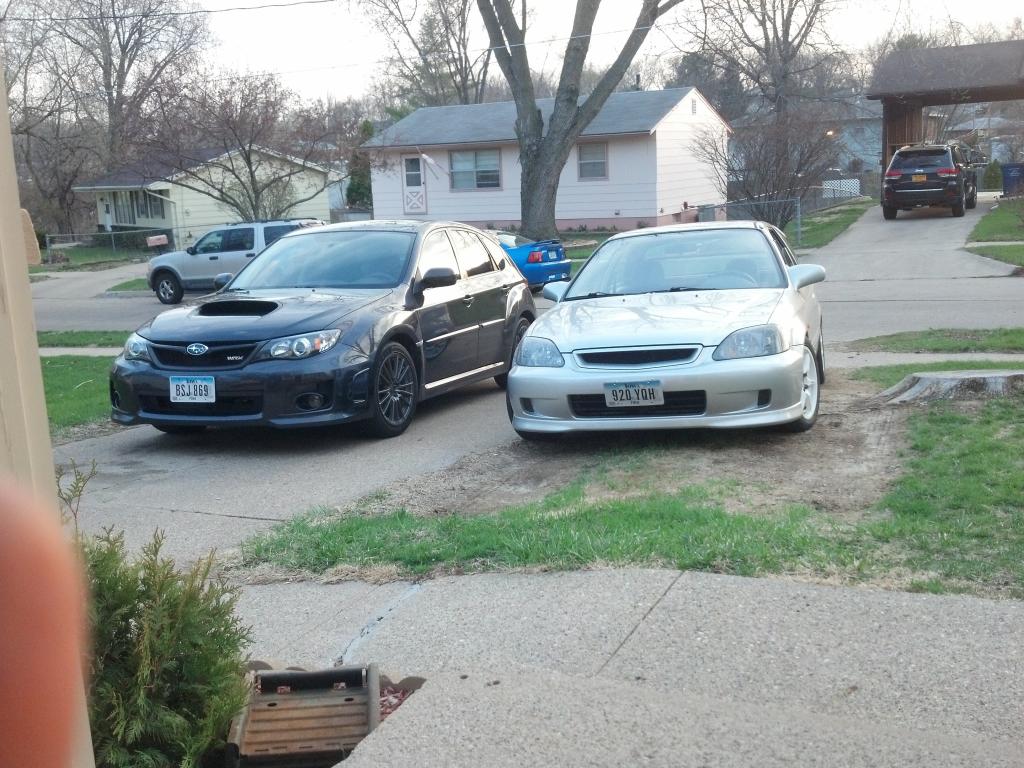
Nice hatch and wagon bro.
Thank you for building a functional car and actually making it better than the factory. I'm getting sick of seeing rolled-to-**** fenders and quarters to fit some **** knock off wheels and slam the car so low to the ground you can't even properly drive to. "But it looks mean", they say... WTF???
Old man rant over!
Nice hatch and wagon bro.
01-24-2015, 05:56 AM
#23
Honda-Tech Member
Thread Starter
Thanks, appreciate it. I'm still wanting to clean up the bay a lot more, but in the end it's always still going to be function over form
01-24-2015, 09:22 AM
#25
Swaggylicious
DUDE
sweet build
really awesome that you know how to do bodywork/paint on your own, that's a rarity and it looks great!
car looks great, glad you got rid of the ebay lip
sweet build
really awesome that you know how to do bodywork/paint on your own, that's a rarity and it looks great!
car looks great, glad you got rid of the ebay lip