When you click on links to various merchants on this site and make a purchase, this can result in this site earning a commission. Affiliate programs and affiliations include, but are not limited to, the eBay Partner Network.
Re: OG's VX Build: HyperMile Driving with some JDM Styling!
On a personal note, I am fascinated with hyper-milers. I enjoy reading about these vehicles as much as I do a built circuit car or something high horsepower. Your build thread is impressive.
Re: OG's VX Build: HyperMile Driving with some JDM Styling!
the 50+ MPG sticker actually makes people slow down around me, I assume they are thinking "WTF? i get like 12 MPG" and they tent to tailgate less.
I do hypermile below or at the speed limit often which is 55 MPH and people tend to fly past me like i'm standing still. But 50+ MPG + no speeding tickets is a win for me
Re: OG's VX Build: HyperMile Driving with some JDM Styling!
Update 10/8/2014: MPGuino wiring and Custom Housing; Part Two
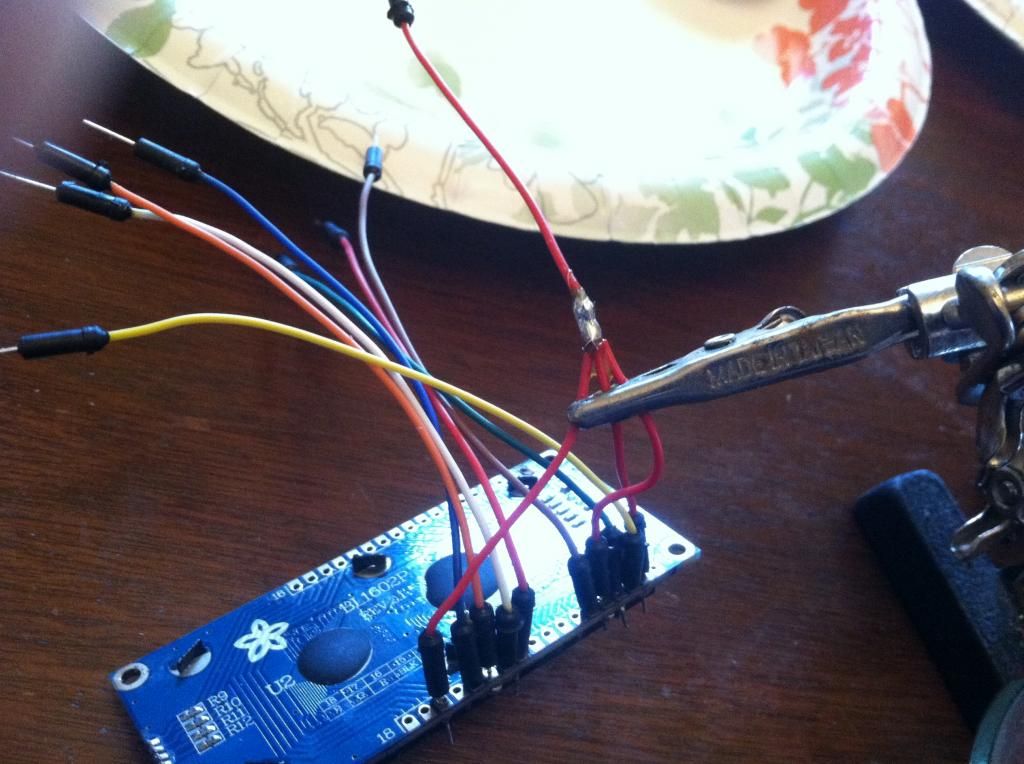
Work has been busy of late, but I have made some great progress on the MPGuino wiring and housing.
I’ll let the pics do much of the talking.
Still a bit to go, but almost there!
A BIG thanks to member Ecky who sold me this MPGuino. Great guy and answered, ohhh…about 50 questions (accurate stat) I had on small-board electronics/power/wiring/etc…
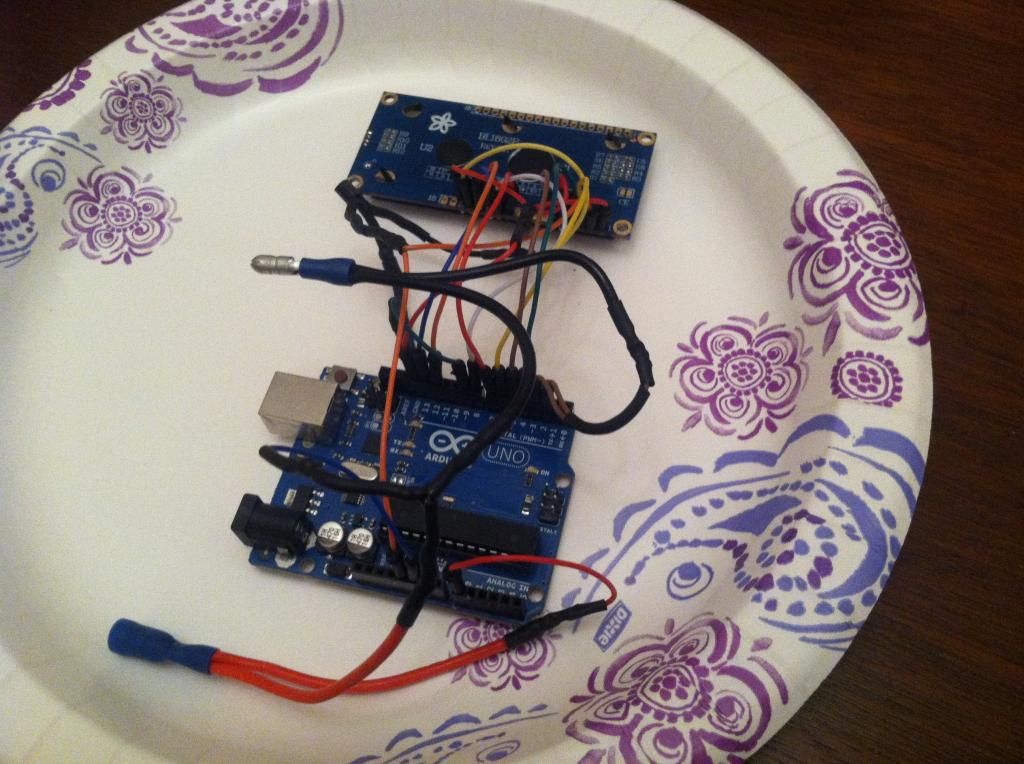
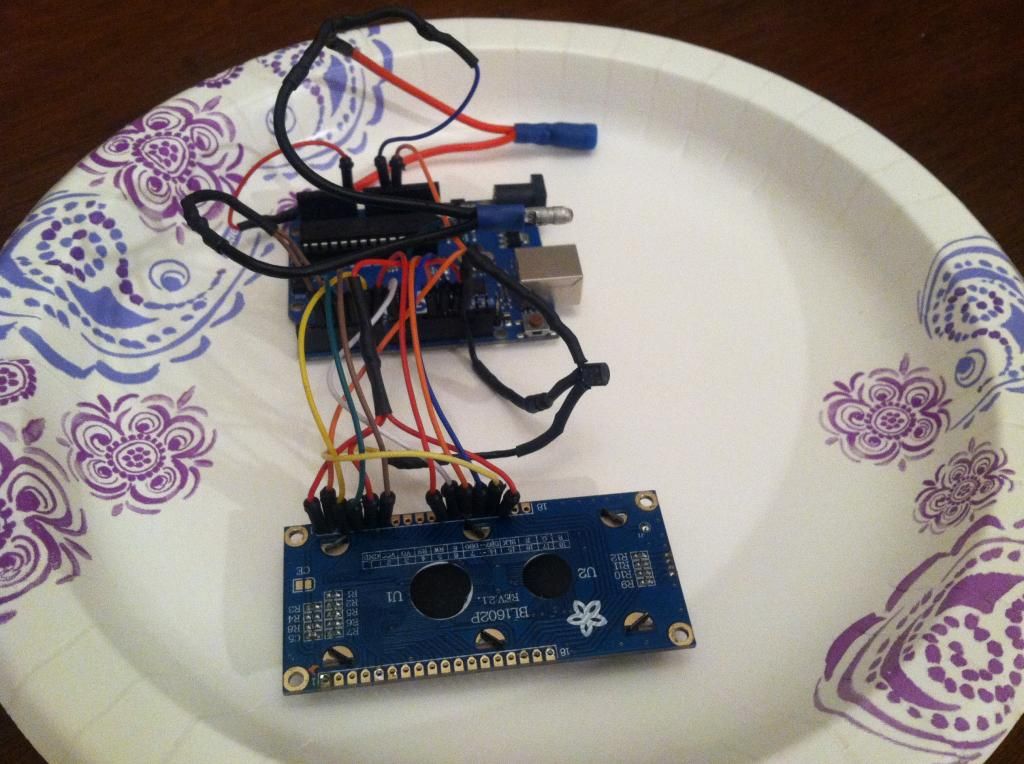
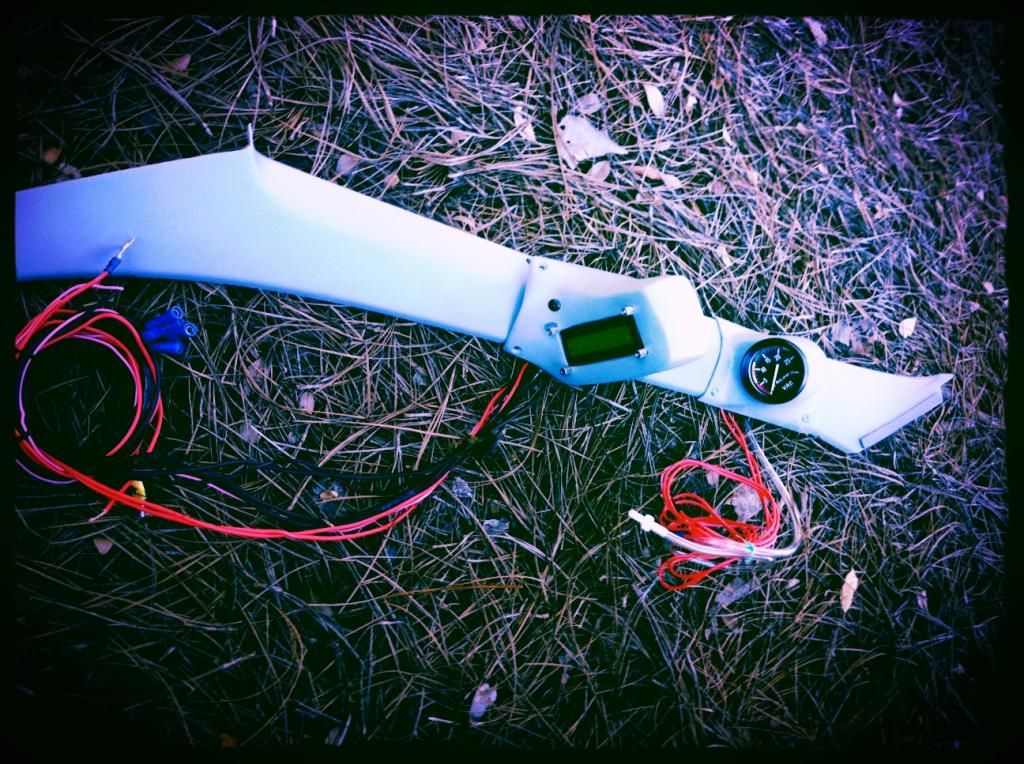
MPGuino Pics/Progress:
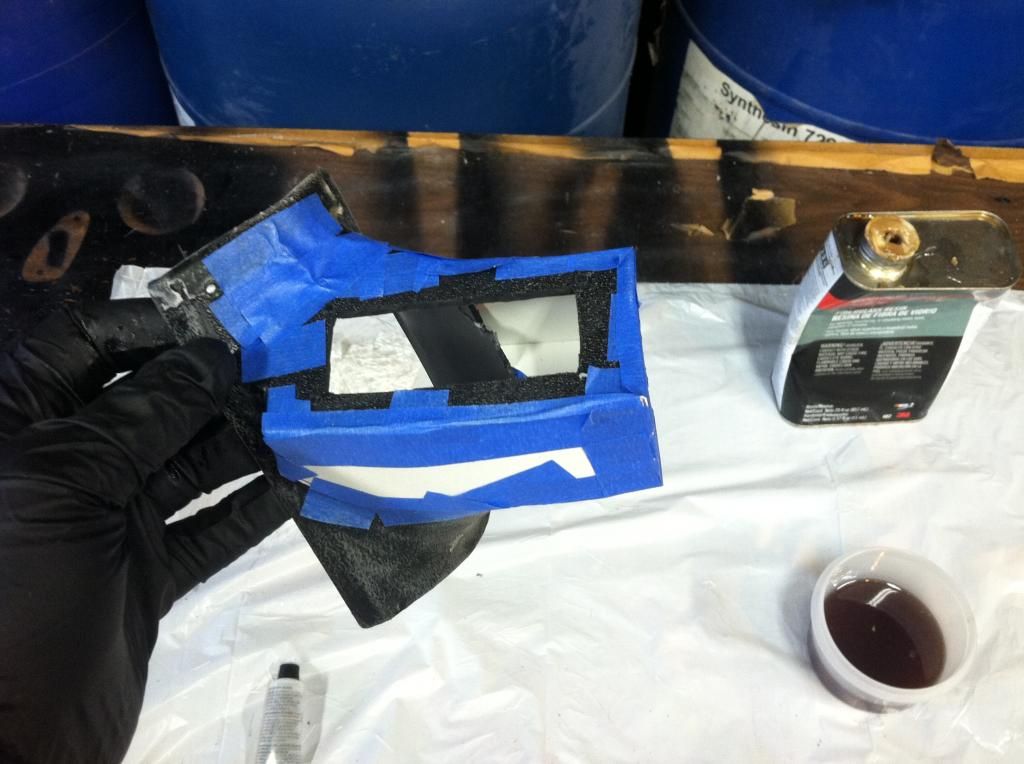
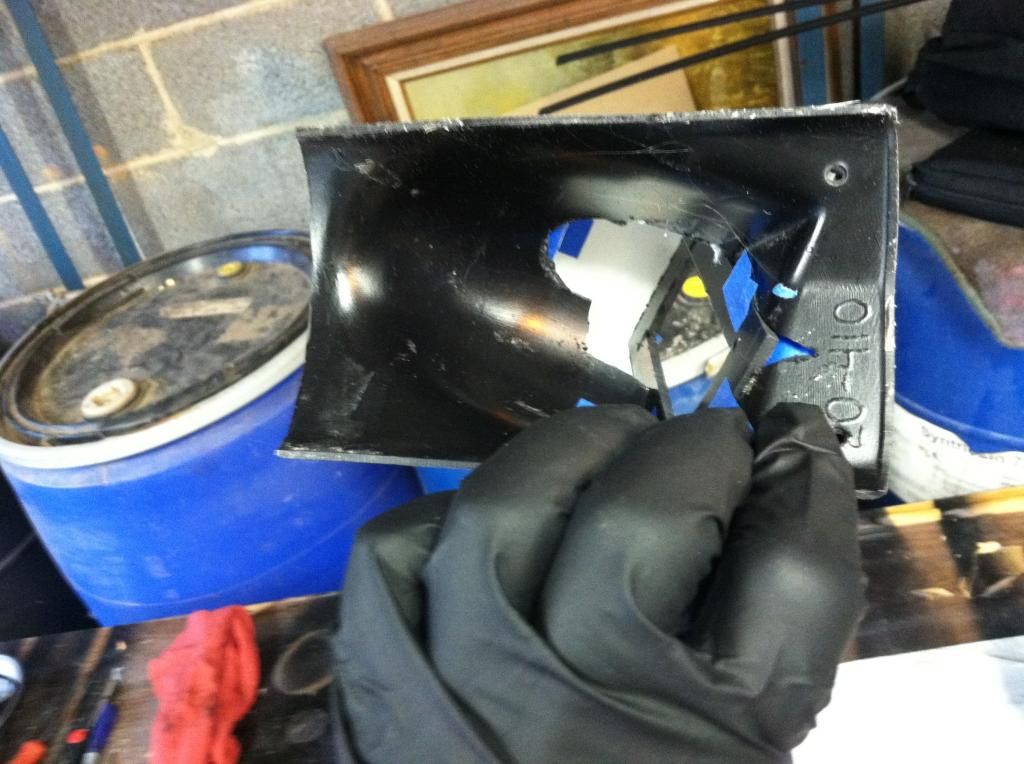
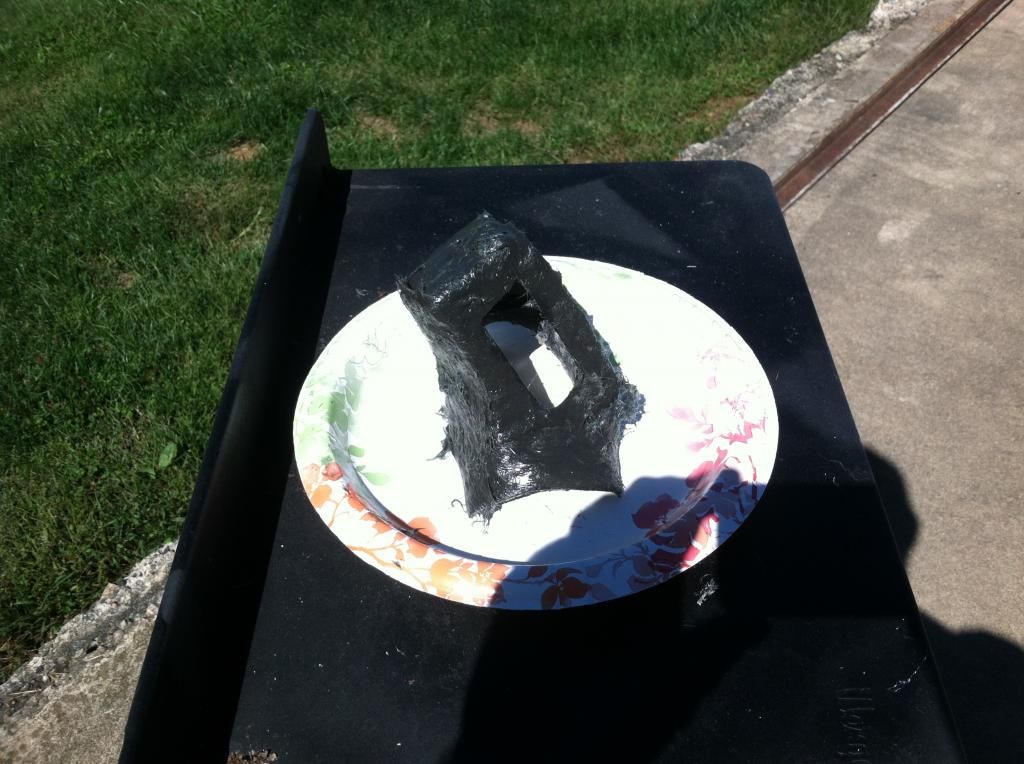
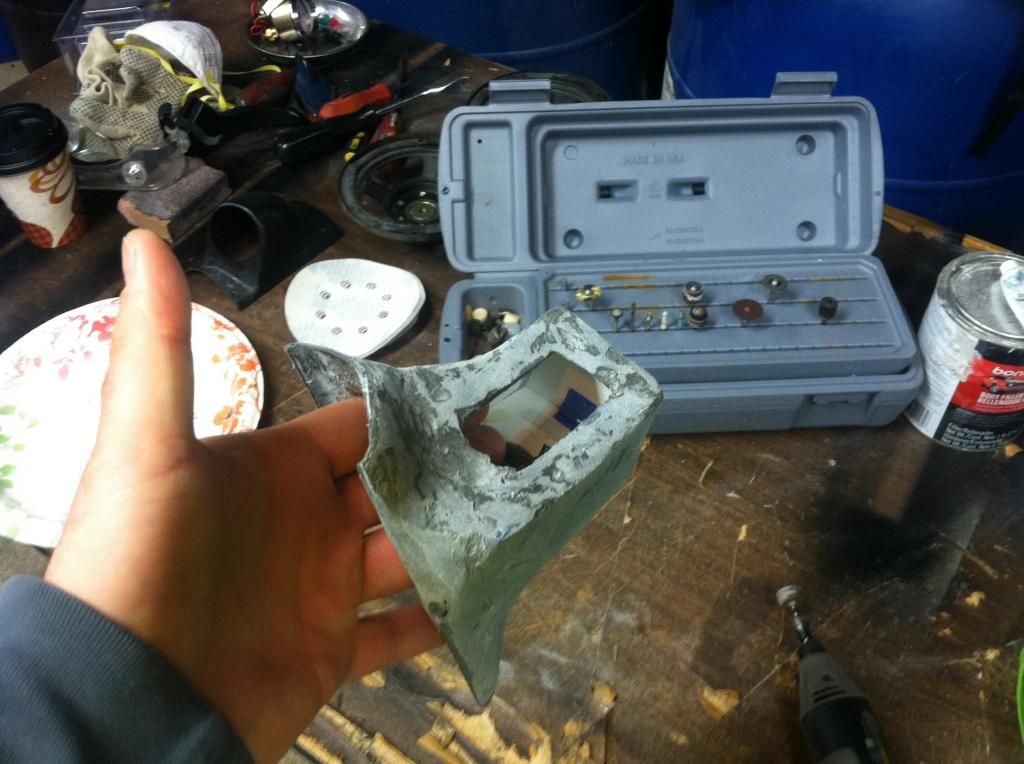
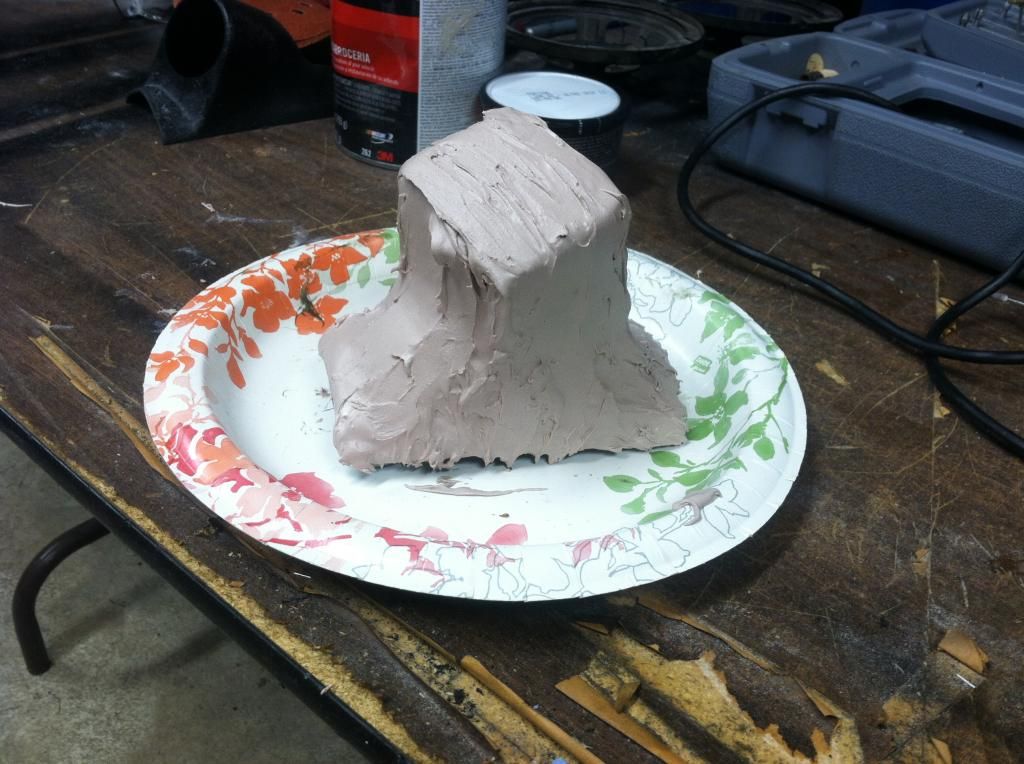
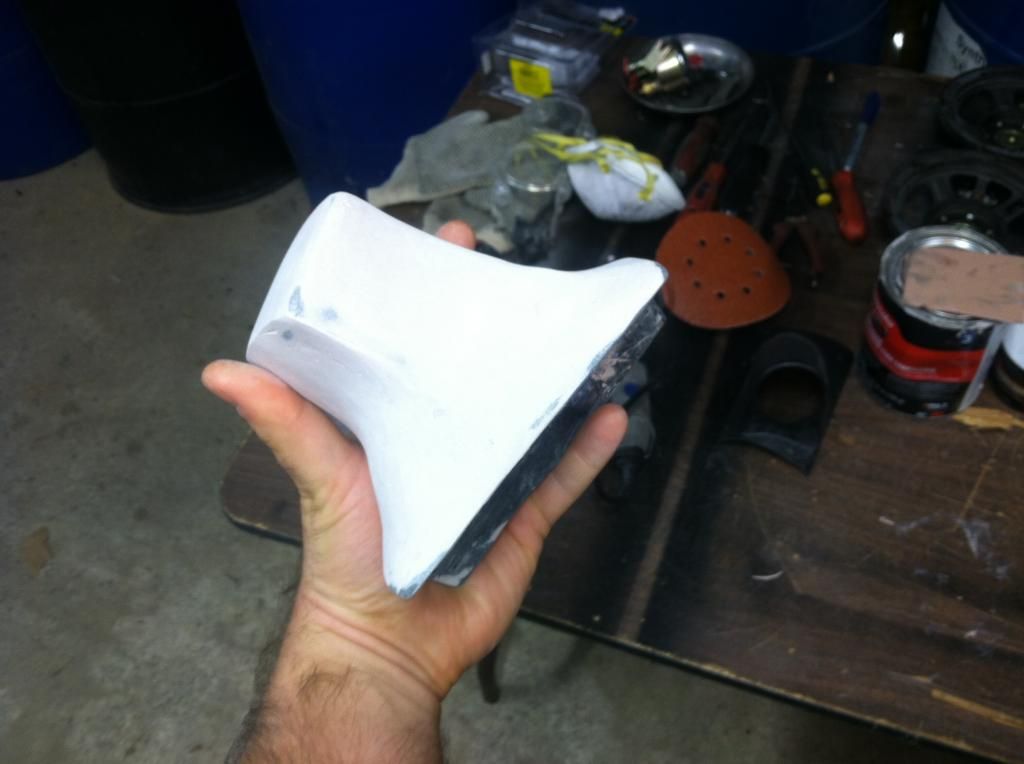
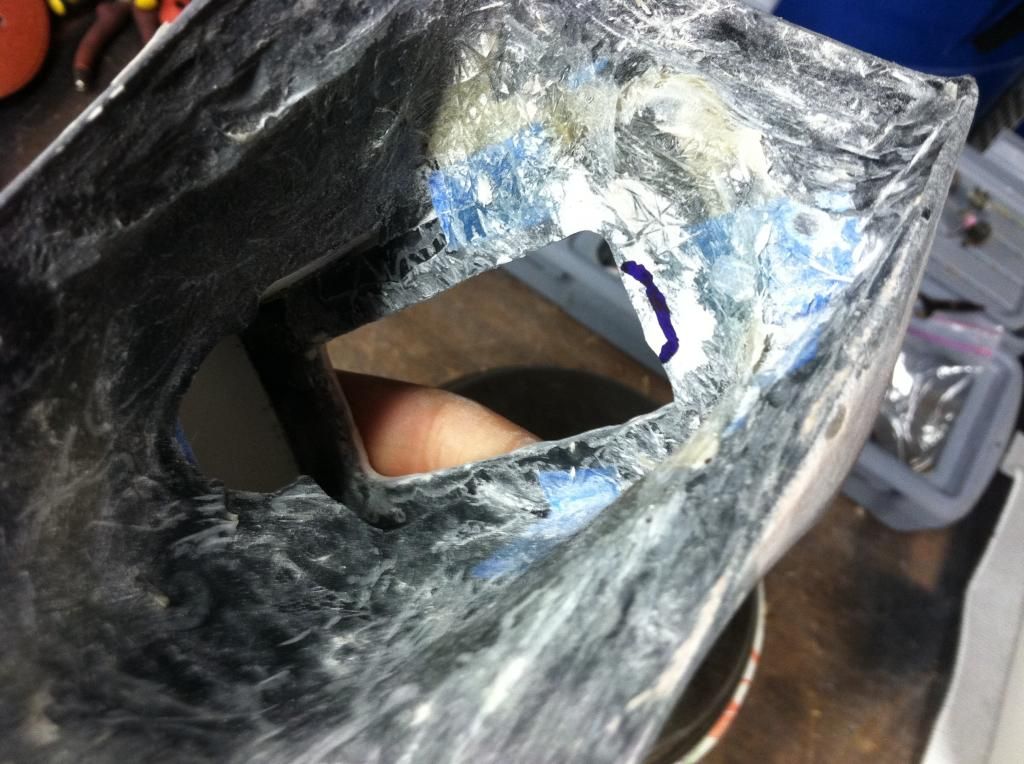
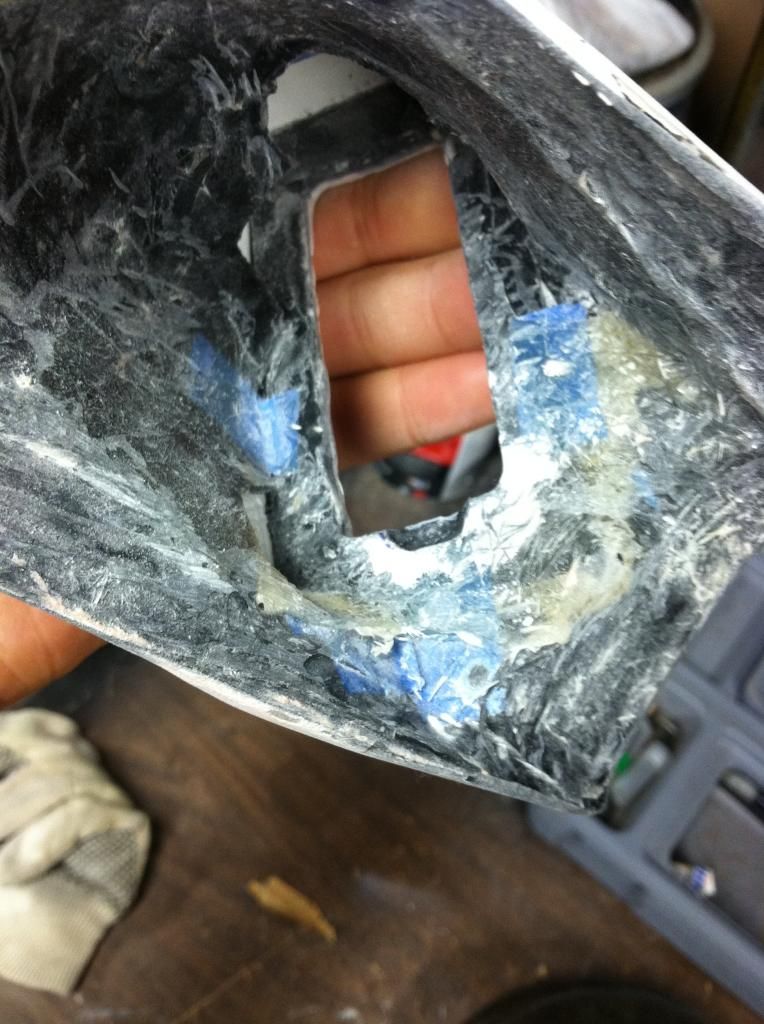
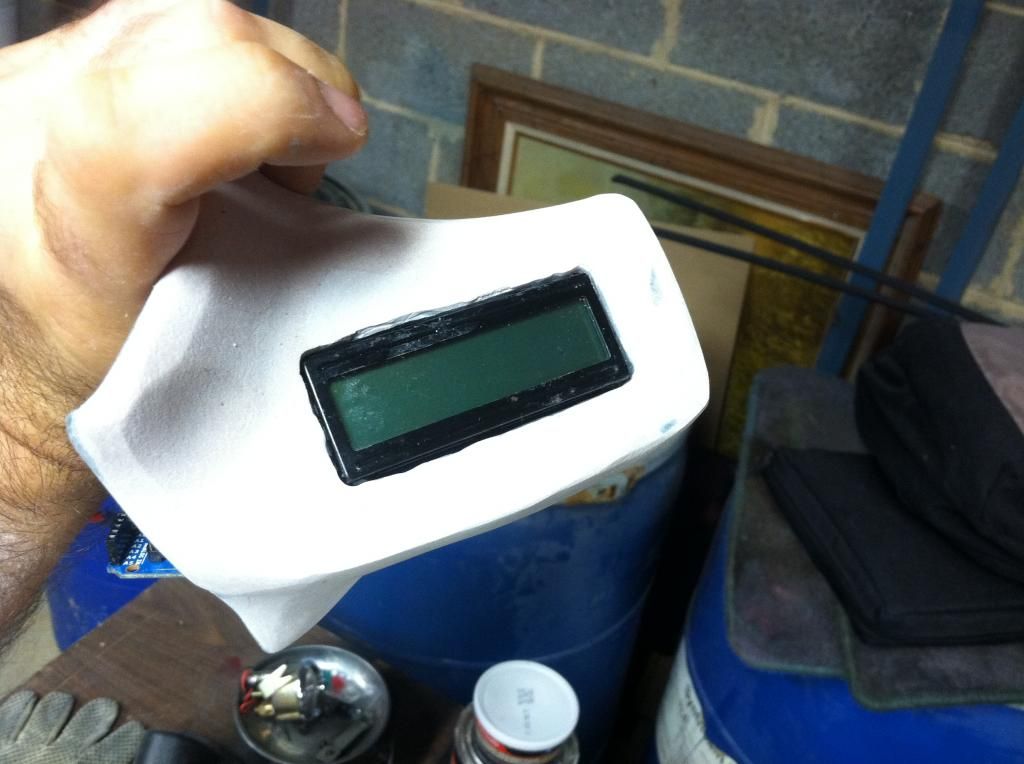
Custom Housing Progress: (Re-Designed Box Shape)
New box-type design gives the needed room inside for screen install and wires
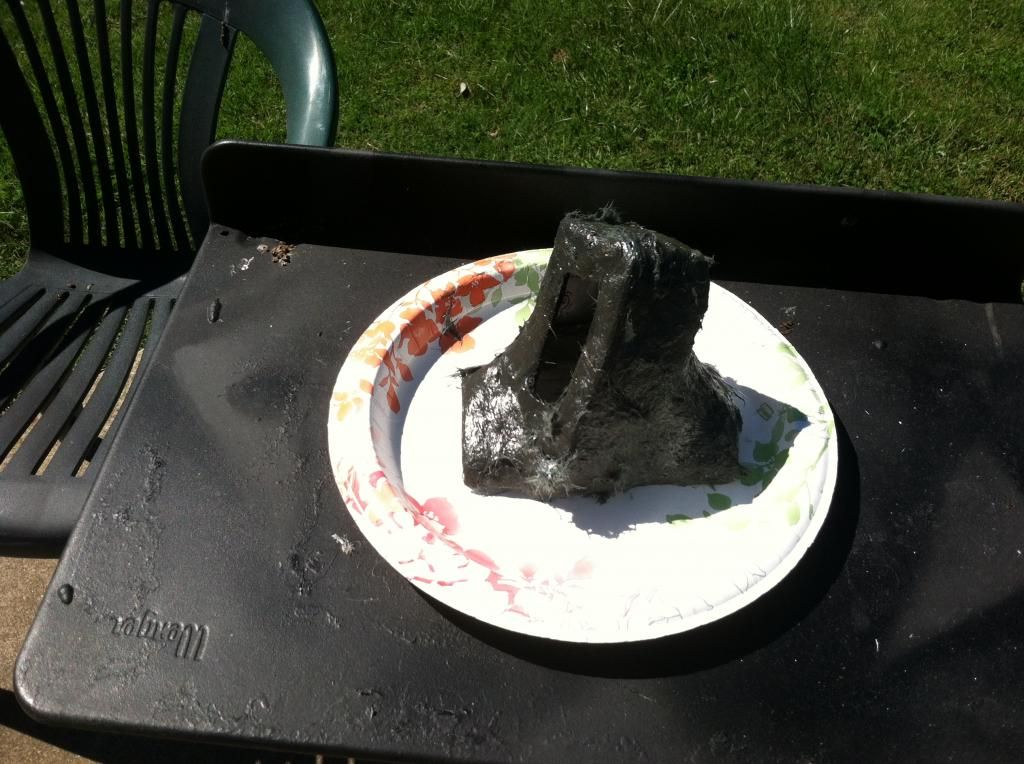
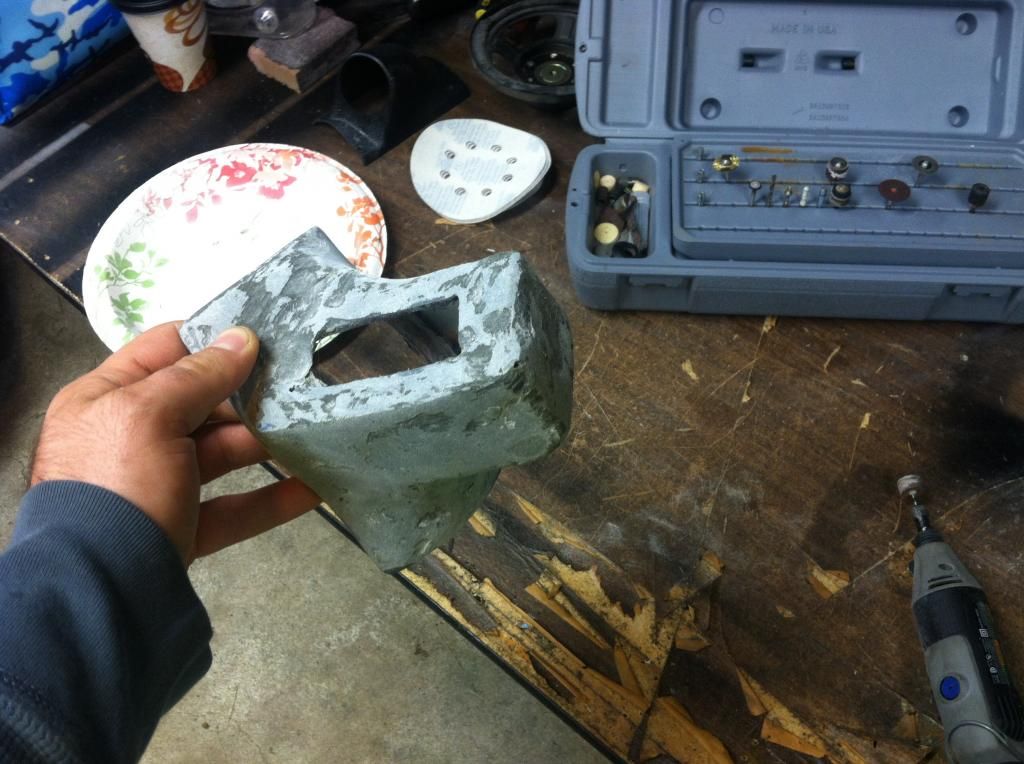
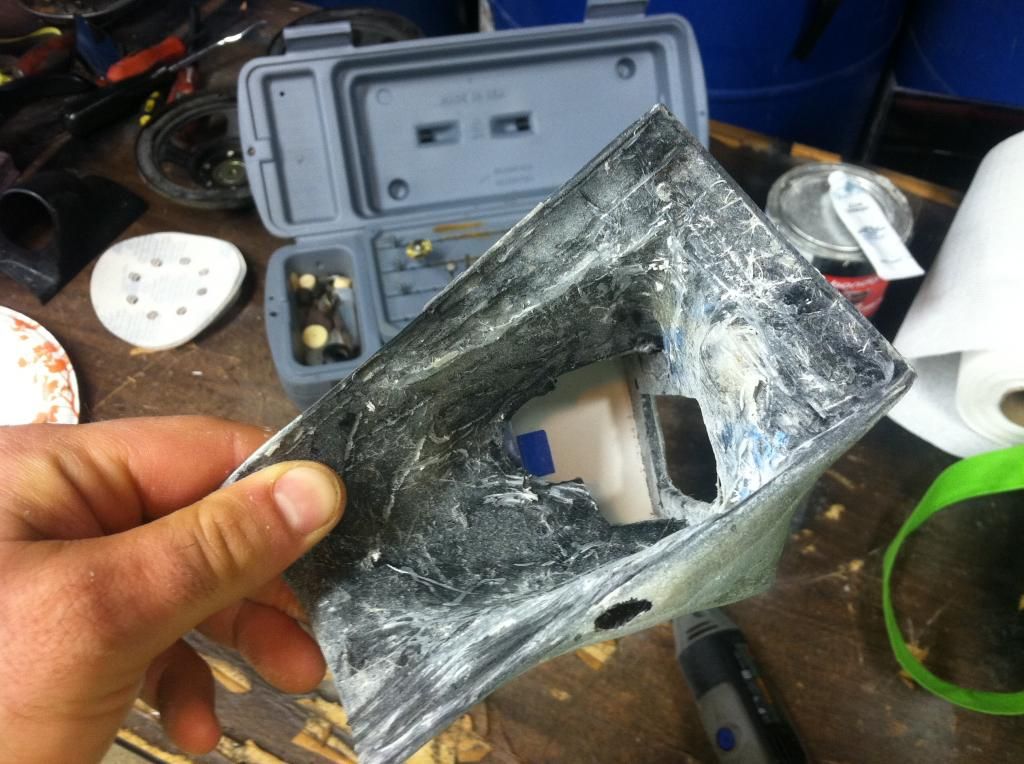
Fiberglass was then applied (no pics of that sorry), and then a thick layer of BondoGlass was added to build up the form and structural strength.
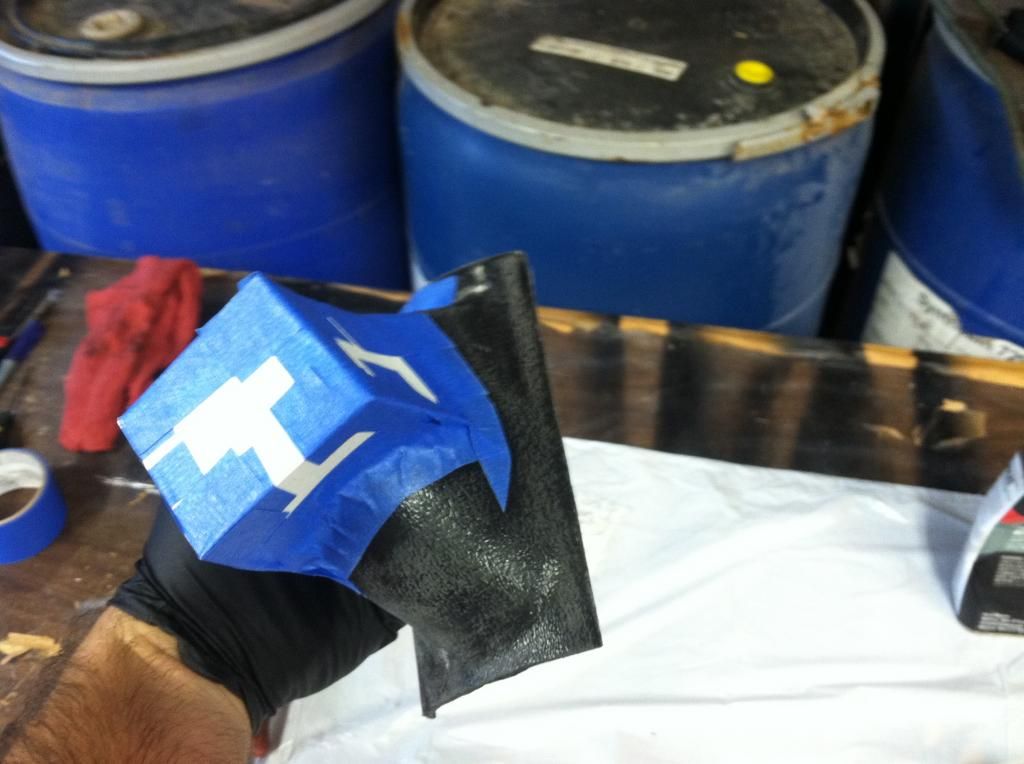
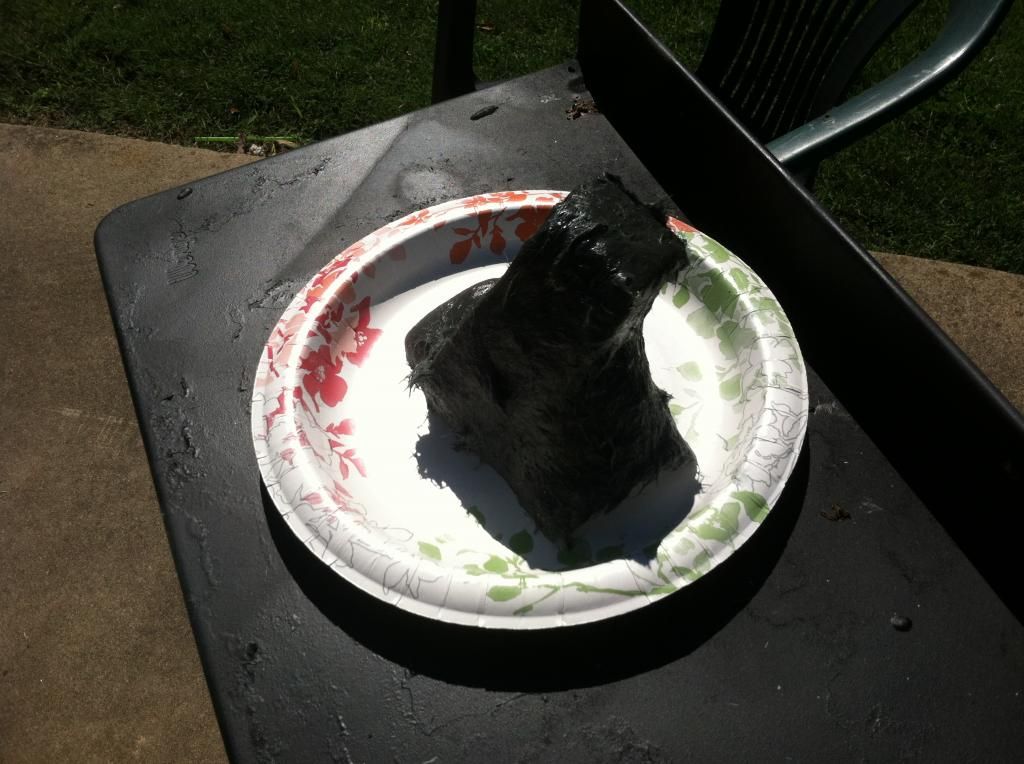
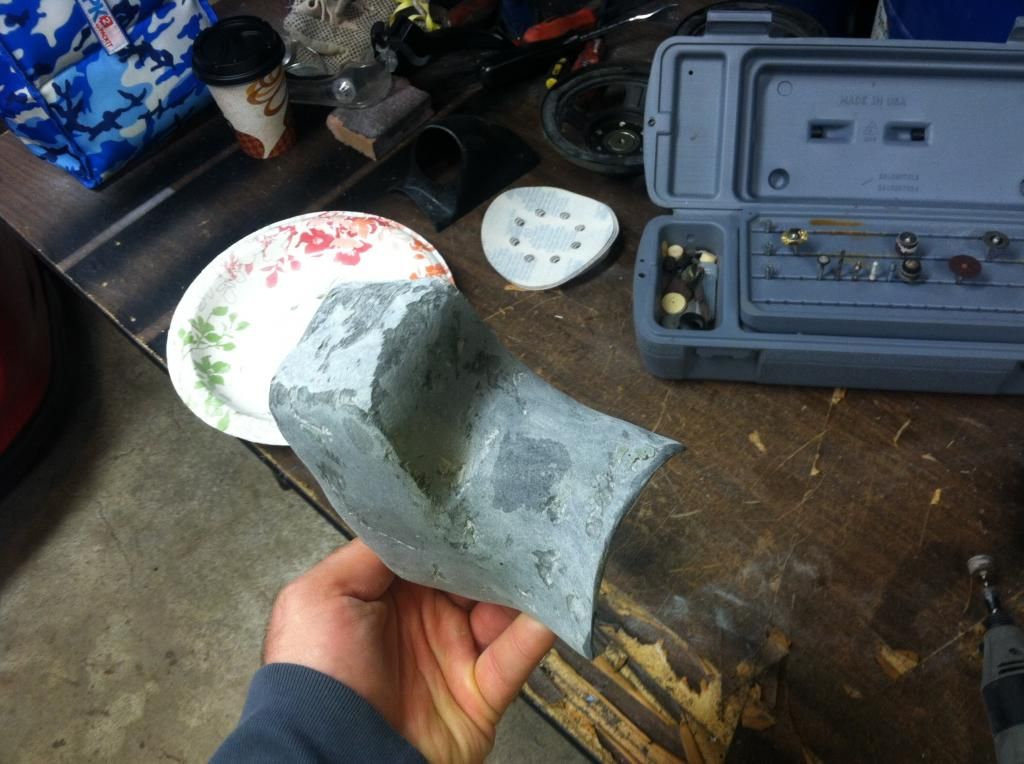
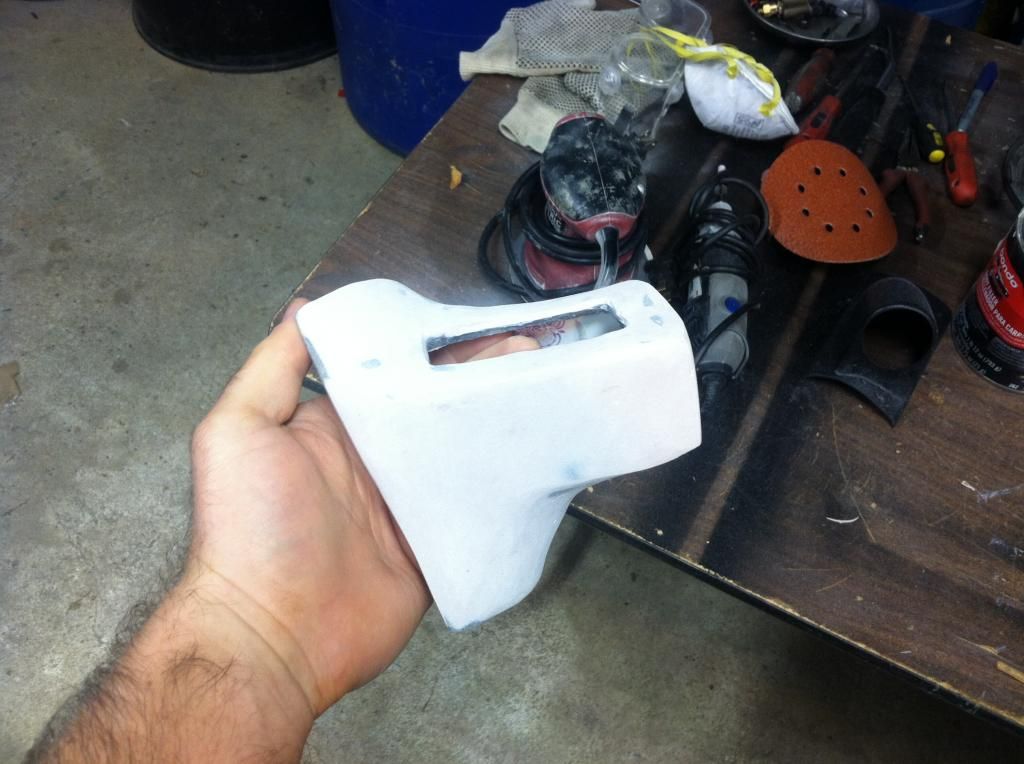
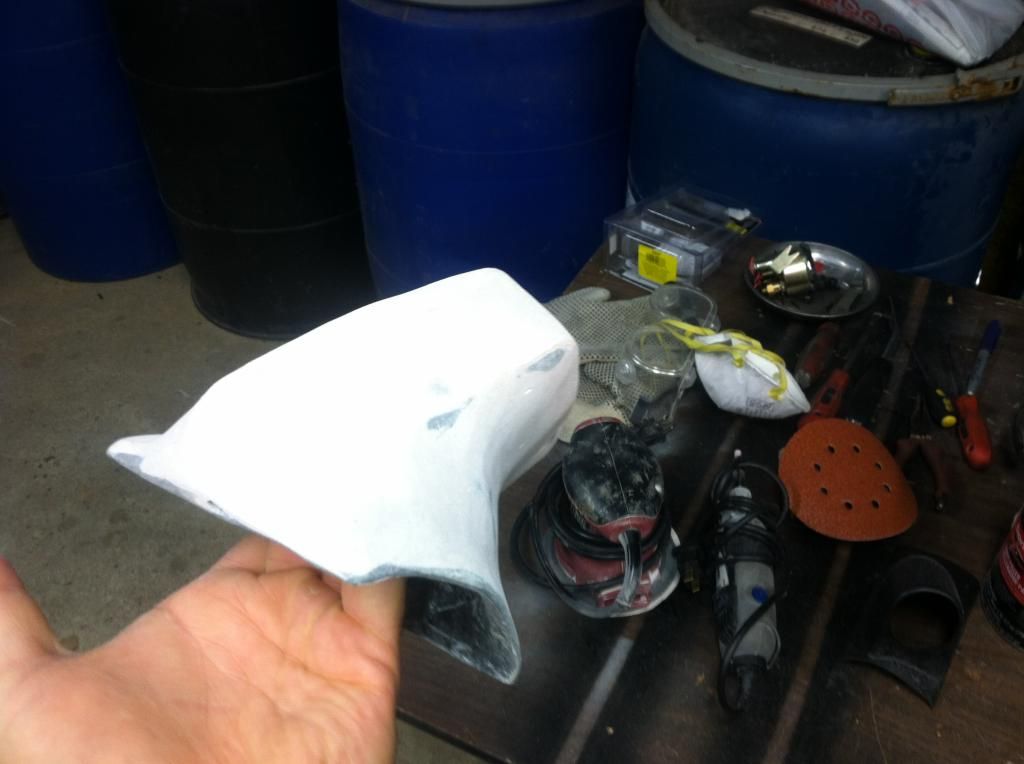
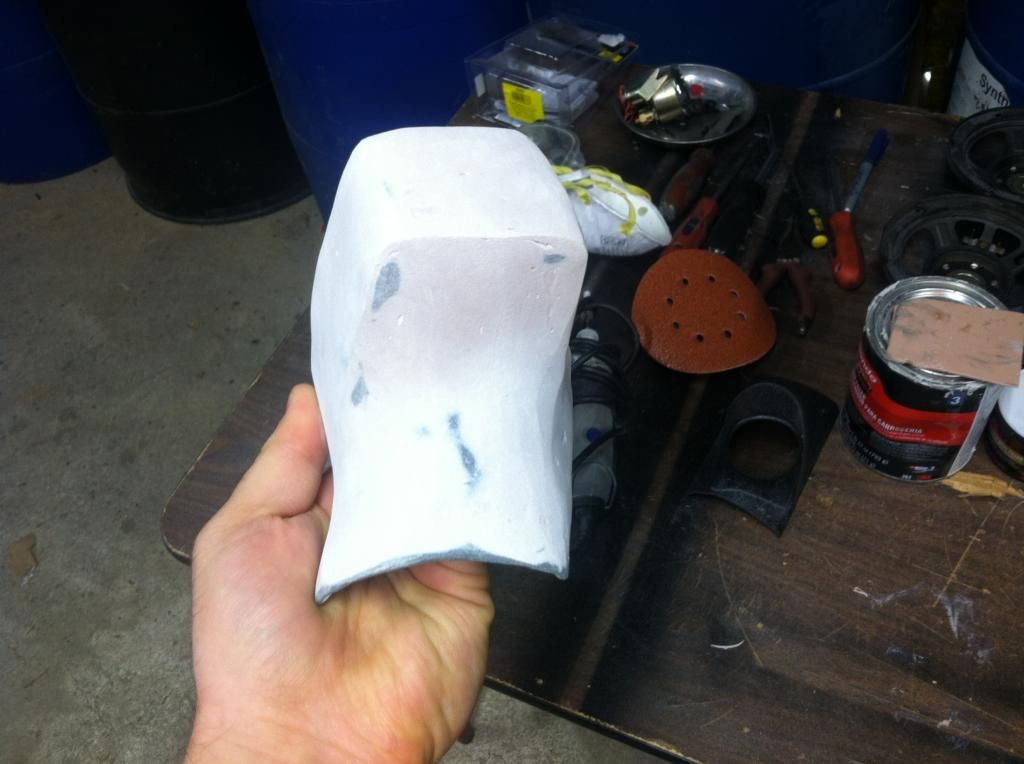
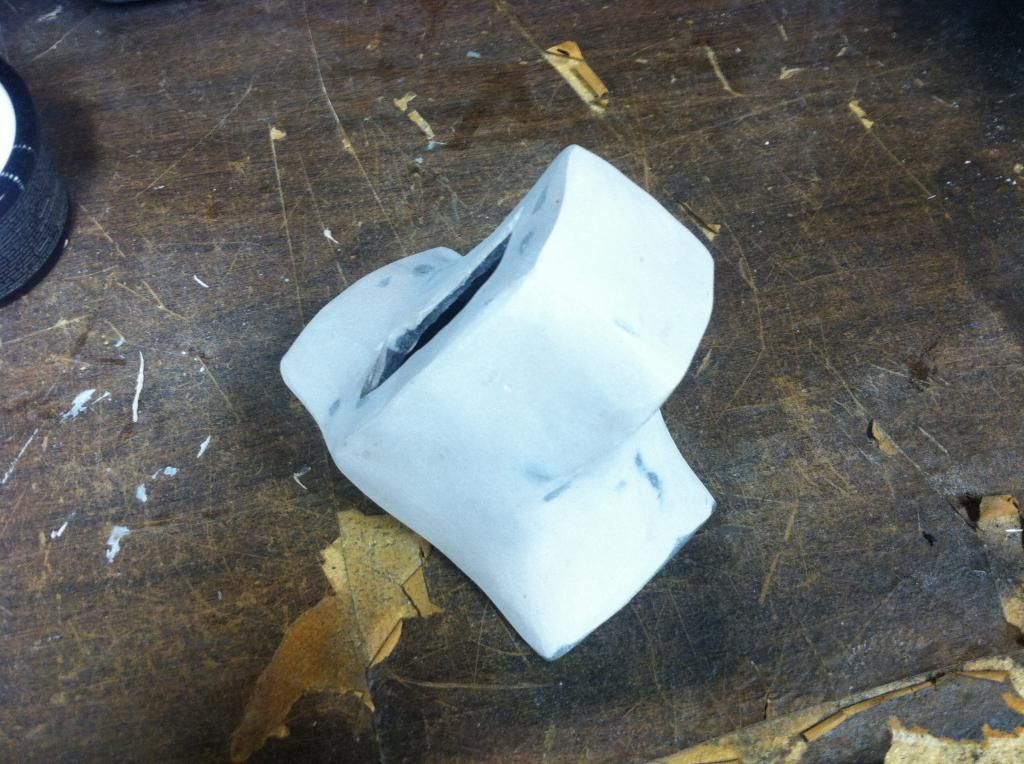
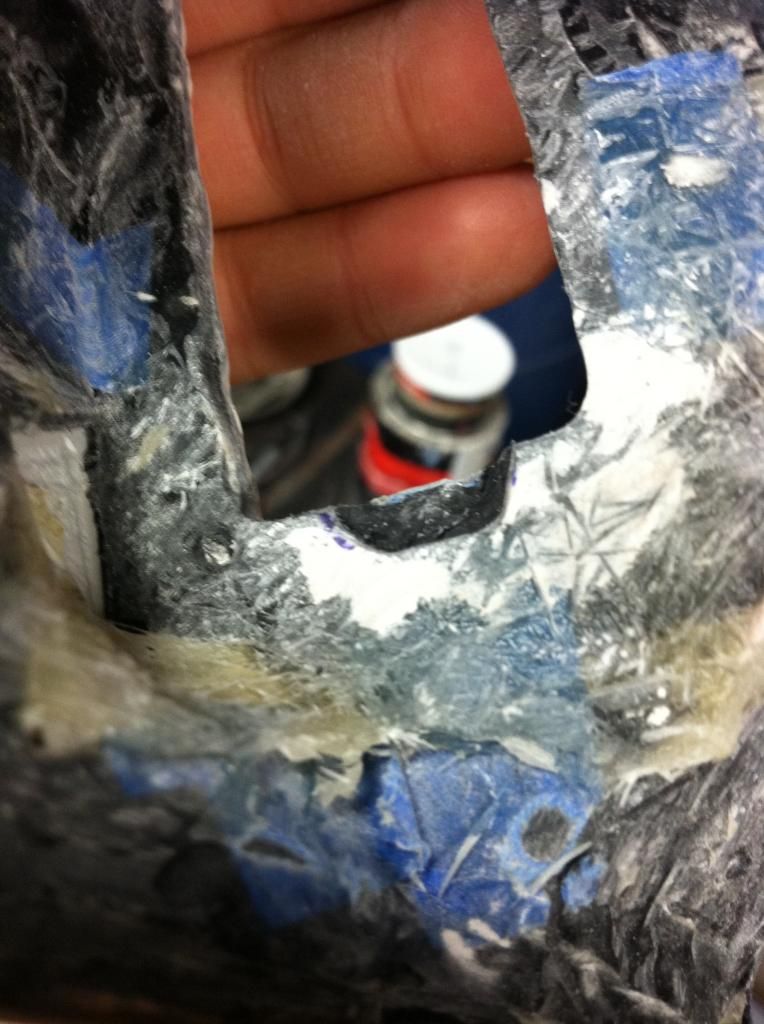
Once that dried, it was then sanded to shape:
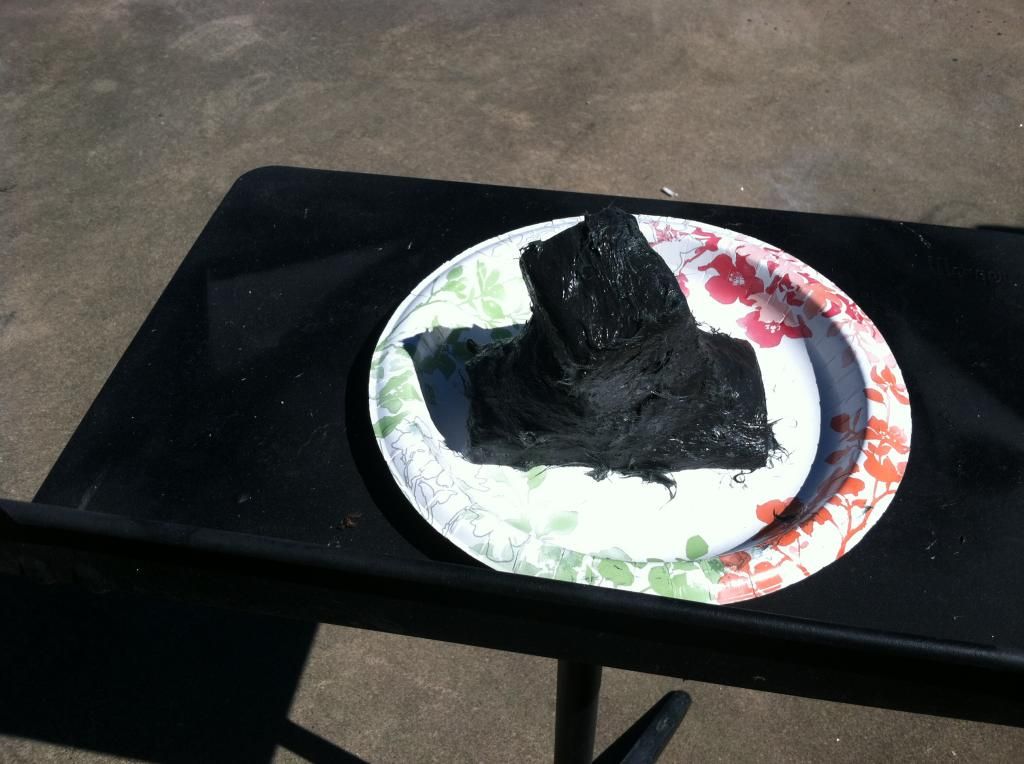
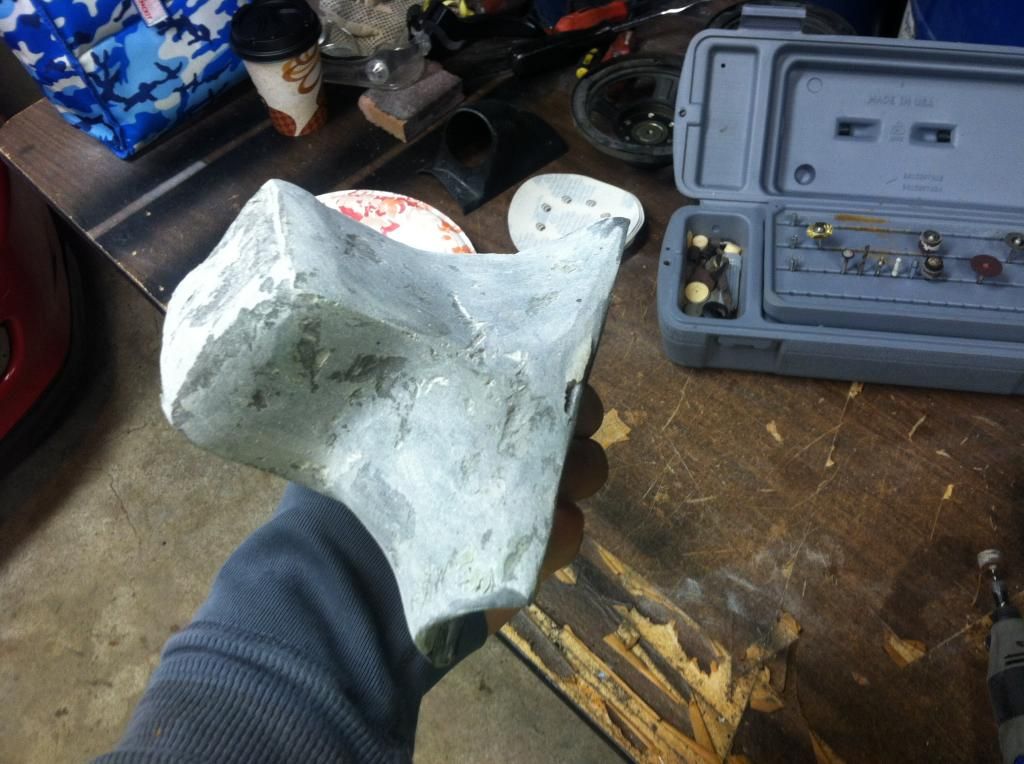
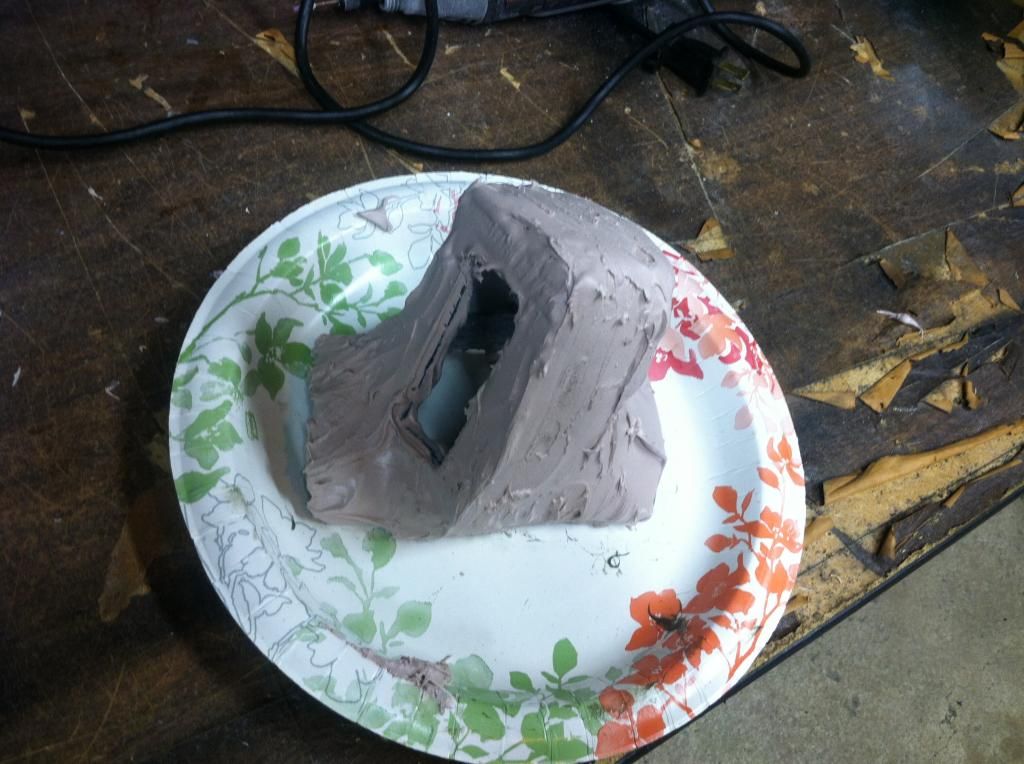
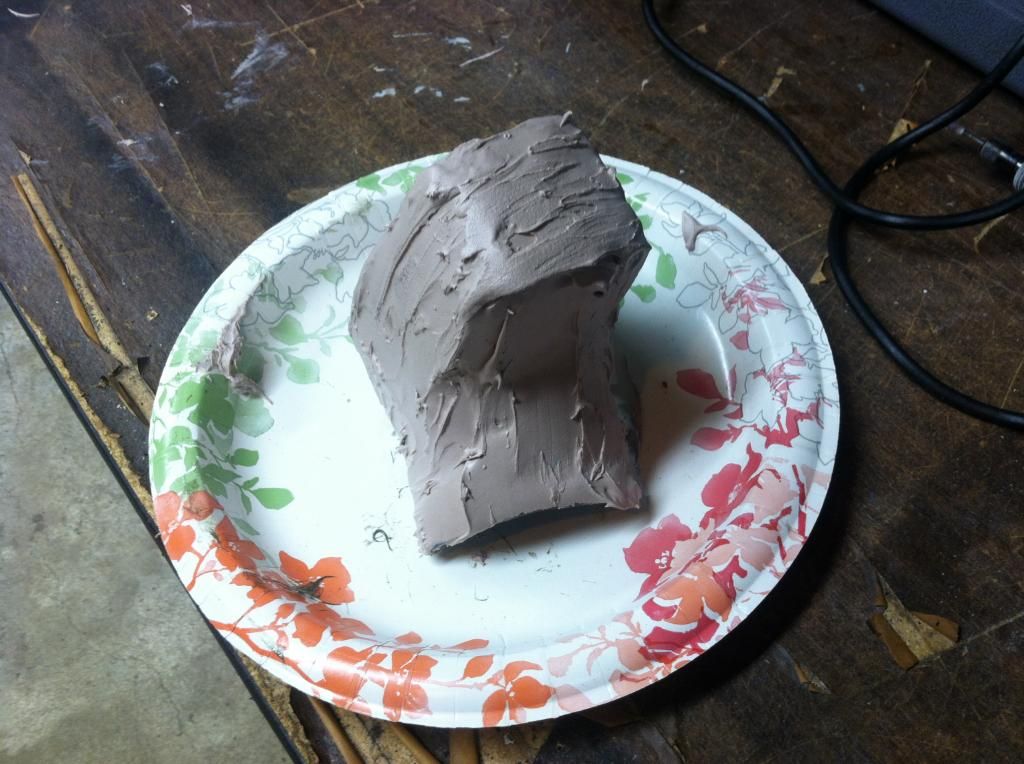
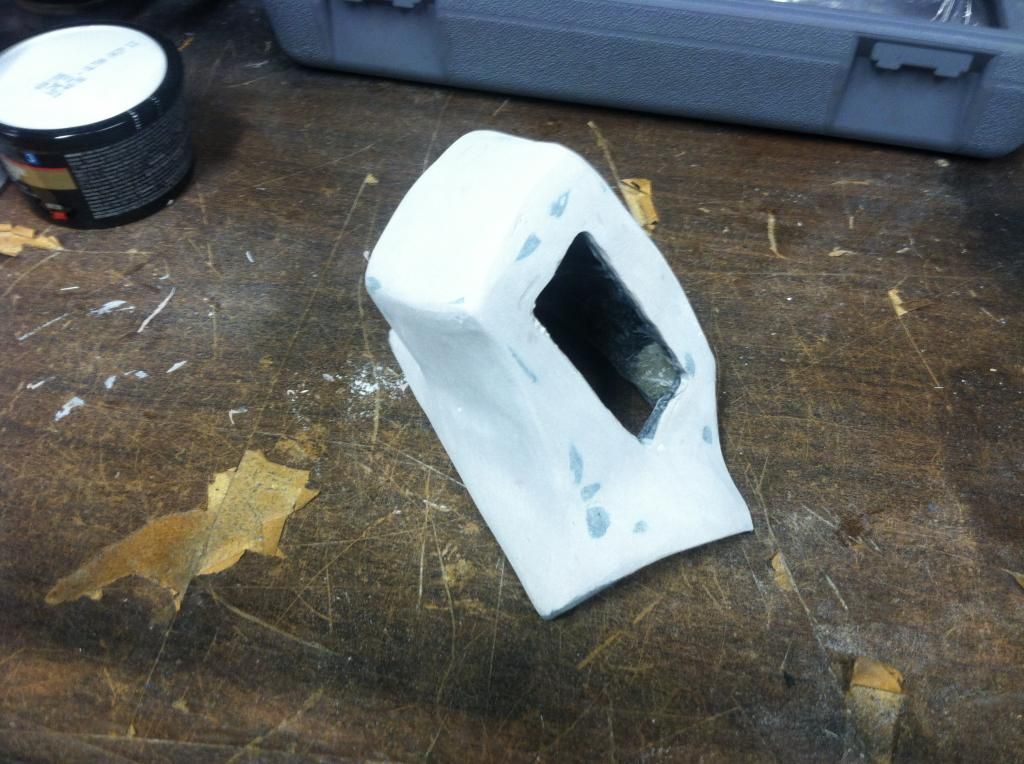
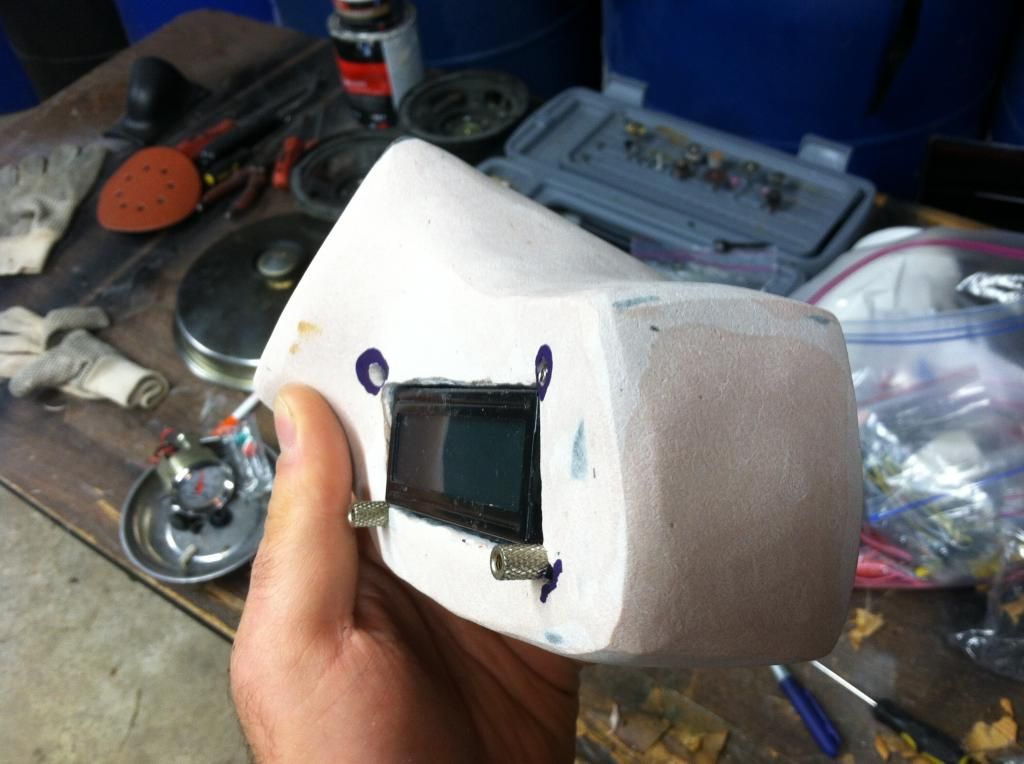
Then Bondo was applied, then sanded to the finished shape:
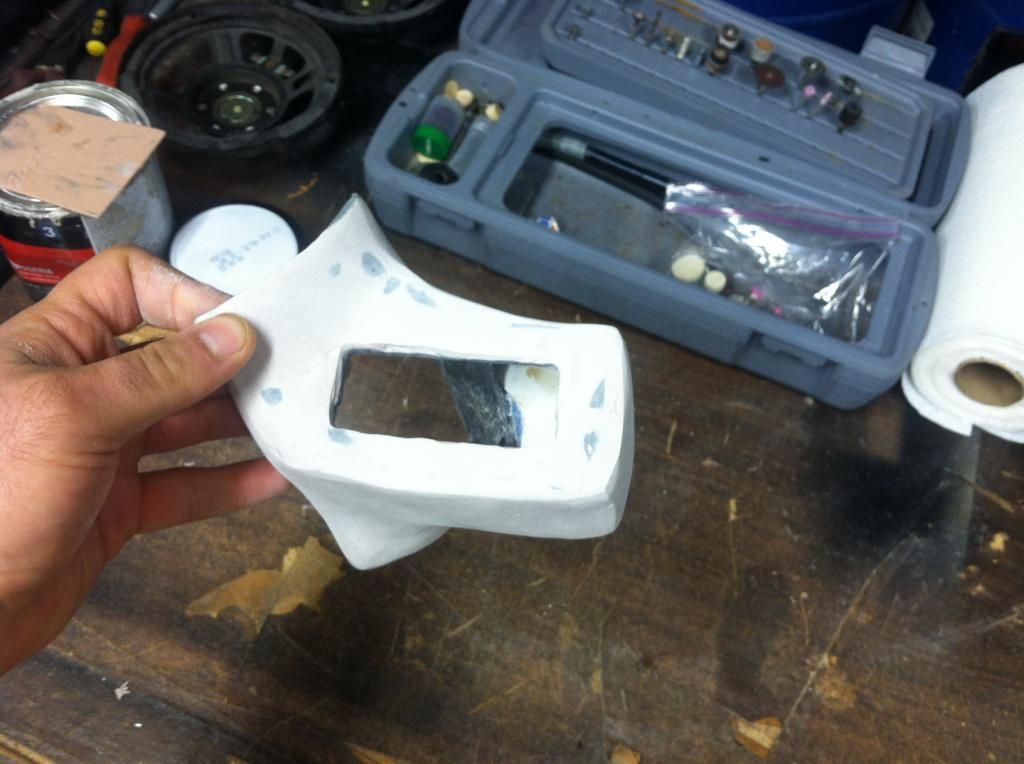
Final fitment of the screen, another Bondo layer or two, then prime/paint work can start.
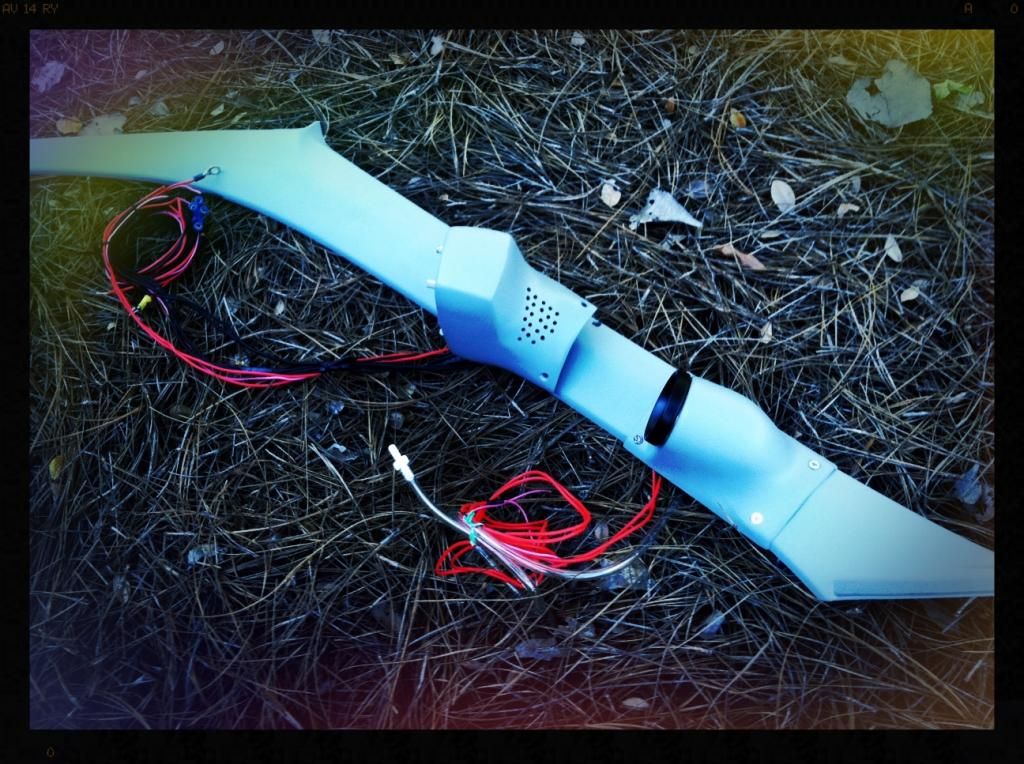
As you can see, after some deliberating, I opted to cut the dual pod in half, as I was having visibility issues to the lower pod (vacuum gauge) after switching to the revised boxed-in shape.
To connect the two pods, I would have had to cut them apart and then “stretched” the pods a good 2.5” apart and fiber-glassed in the stretch. I was afraid that the shape would have become distorted post-stretch, and that it would have turned out a hot mess. So, I’ll just mount them separately on the pillar. However, I don’t think it will be a big deal.
I think I’ll add a layer of “hammered” paint just prior to final color/top coat on the MPGuino pod, to give it a similar texture to that of the existing grain texture on the vacuum gauge pod and the OEM pillar.
That’s it for now. Be back soon with more progress.
MPGuino: in short, a fuel mileage diagnostic computer built for pre-OBDII cars. OBDII cars can simply install a ScanGuage or simliar. For our older cars, the MPGuino was built on the Arduino platform (thus the "uino" in the name of MPGuino). It measures a number of performance parameters. You can build them yourself from scratch, by parts and put them together yourself, or by a pre-built unit.
Re: OG's VX Build: HyperMile Driving with some JDM Styling!
So it is basically a ScanGuage/UltraGuage for non OBDII cars? I think I have heard of that before. Very cool to say the least!
As for the LED headlights, I'm on the fence about those. I know a guy who did a BMW projector retrofit for about $60. He sourced the lights from the junkyard and made the rear of the housing out of PVC and spare headlights from the junkyard. That may be a good option. But the ease of 'PnP' is definitely something to consider.
Re: OG's VX Build: HyperMile Driving with some JDM Styling!
^^ Correct on the MPGuino. It's a must have for eco-minded driving.
For VX owners, most notably, it helps us to know when the engine is in "Lean Burn" mode. Lean Burn is the VX's "Ace in the hole". The Vac gauge can help with this, but the MPGuino is the ultimate monitor for Lean Burn activity.
The LED's are REALLY cool. I like them. I don't have projectors for them, but really, they are not essential. They don't disperse massive amounts of light, but are very functional for daily driving, thanks to recent advancements in technology. The energy they use is minimal, and so far, I'm very impressed/happy with my purchase.
Re: OG's VX Build: HyperMile Driving with some JDM Styling!
OH?! You already have the LEDs? My mistake! I thought you were thinking of them. Foolish me didn't realize you were the OP in that other thread! LOL.
So, have you used HIDs before? Can you compare the LEDs to the HIDs? The HIDs absolutely need a projector housing regardless of what people on the internet say about the plug and play kits. That is my stance on them. If the LED plug and plays are similar, then I cannot condone using them for myself.
Also, on another note. I have a 4th gen civic. It has separate high beams and low beams. I would need a different part number than what you used. I'll look, but if you have a link handy let me know. I am interested in something more 'white' (5000k) and a little brighter (walmart bulbs at the moment).
Re: OG's VX Build: HyperMile Driving with some JDM Styling!
Originally Posted by Freemananana
OH?! You already have the LEDs? My mistake! I thought you were thinking of them. Foolish me didn't realize you were the OP in that other thread! LOL.
So, have you used HIDs before? Can you compare the LEDs to the HIDs? The HIDs absolutely need a projector housing regardless of what people on the internet say about the plug and play kits. That is my stance on them. If the LED plug and plays are similar, then I cannot condone using them for myself.
Also, on another note. I have a 4th gen civic. It has separate high beams and low beams. I would need a different part number than what you used. I'll look, but if you have a link handy let me know. I am interested in something more 'white' (5000k) and a little brighter (walmart bulbs at the moment).
Ha! no worries.
I have had about 10 HID kits in my day. HID's are brighter than LED's, a good bit, actually. However, as you mentioned, HID's need to be focused with a projector in order to provide accurate and safe lighting. Also, in less you go with a high-quality
LED's are different. Mine are the same output as a standard halogen bulb. High performance halogens offer a bit brighter lighting than my LED's. For this reason, a projector is not necessary.
LED's, however, have a neat color/look. I prefer the color for driving. It also "sticks out" and keeps me safe in my little gas-getter. Also, they are low voltage, which is less drain on the alternator, and (conceivably) may offer a few more sips of fuel each tank.
Re: OG's VX Build: HyperMile Driving with some JDM Styling!
Something to keep in mind for my next light swap. Since EF head lights are getting pricey and hard to find at the yard, this plug and play may be worth it. It is hard to justify ripping apart decent head lights to retrofit HIDs.
Re: OG's VX Build: HyperMile Driving with some JDM Styling!
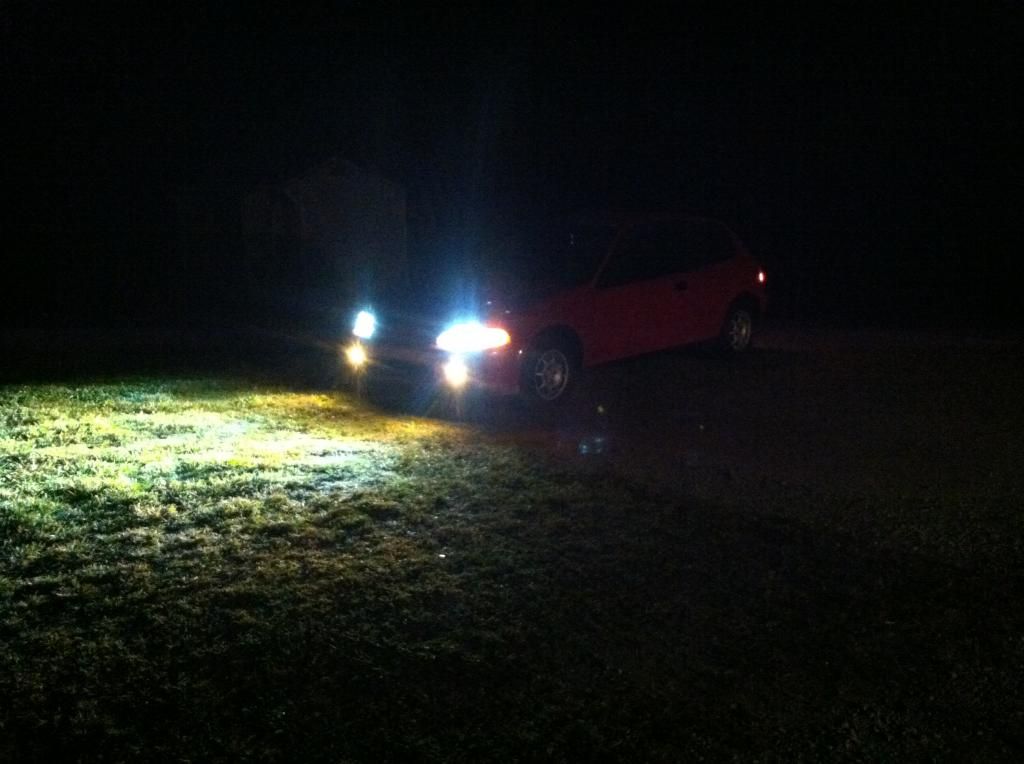
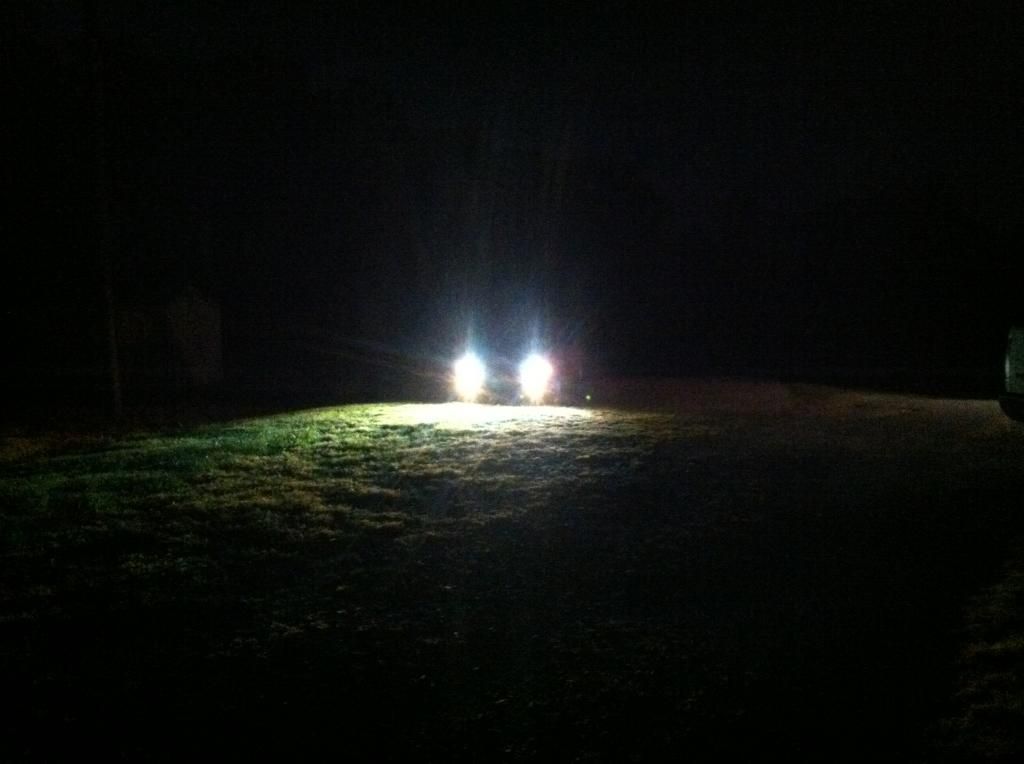
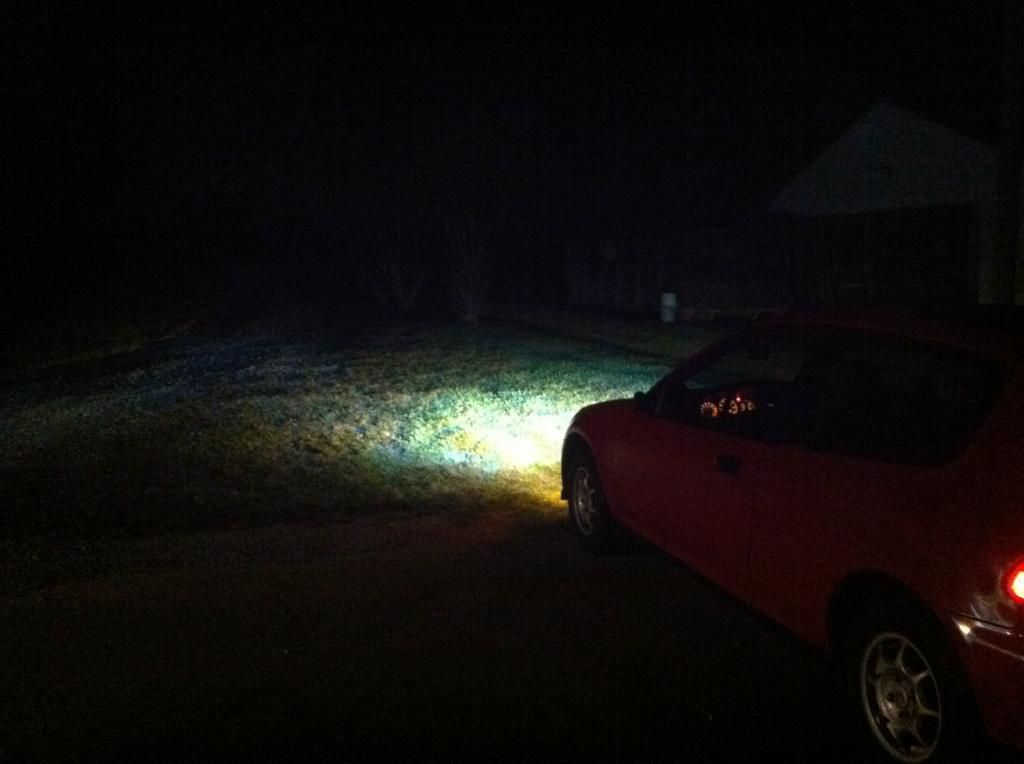
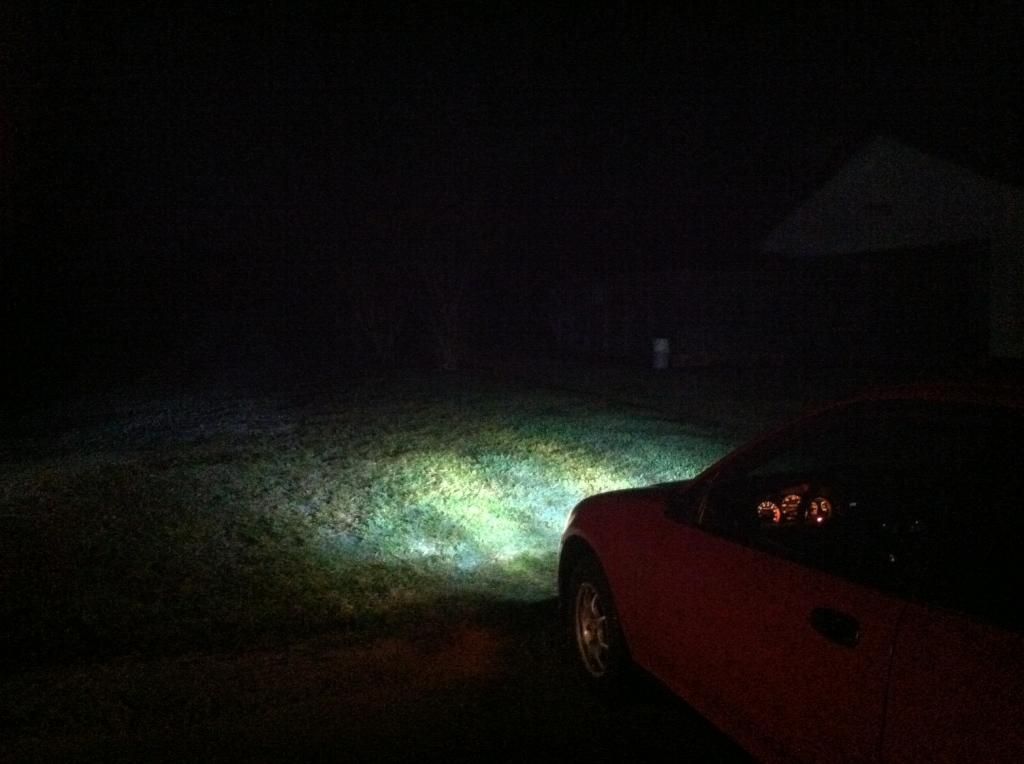
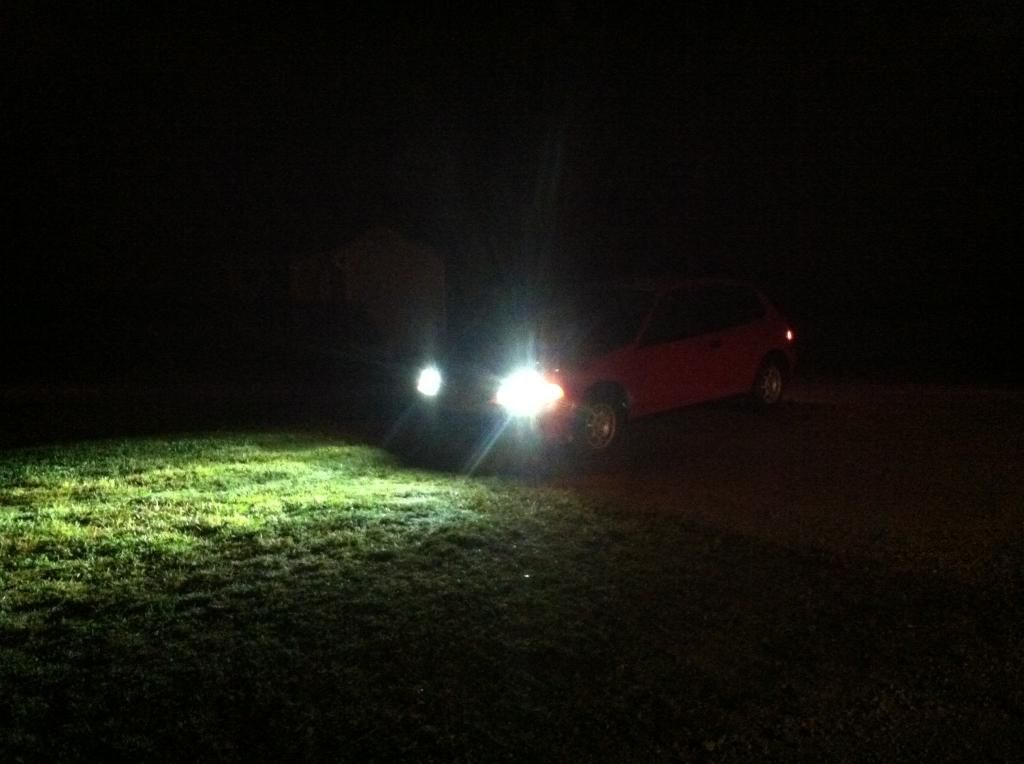
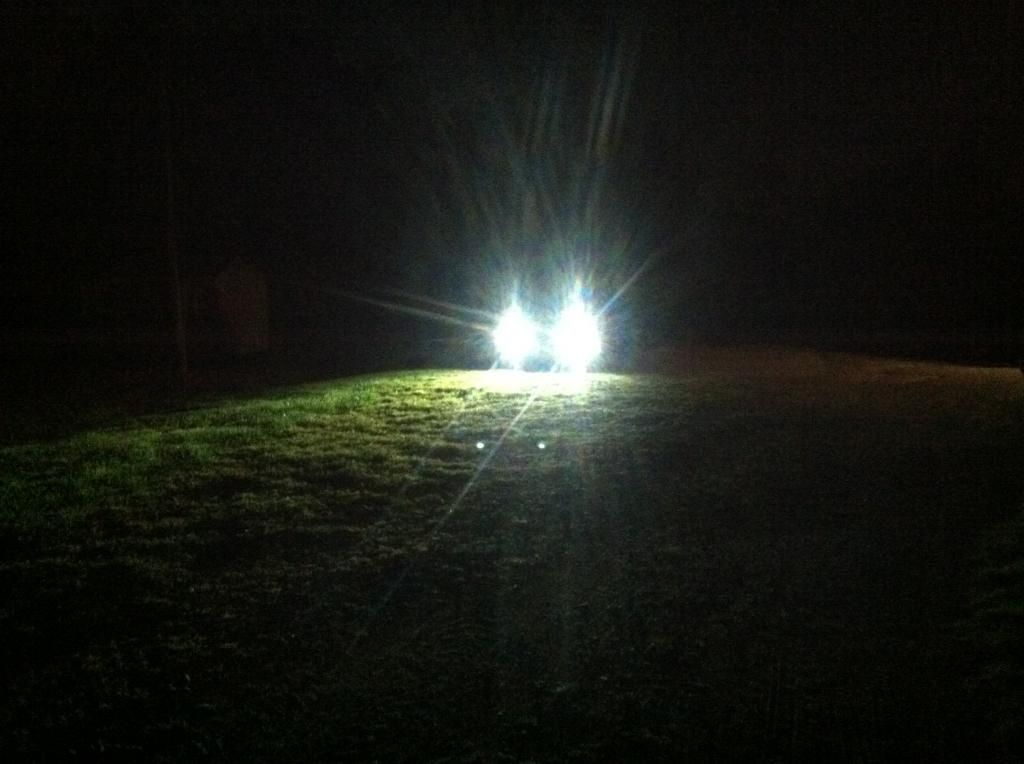
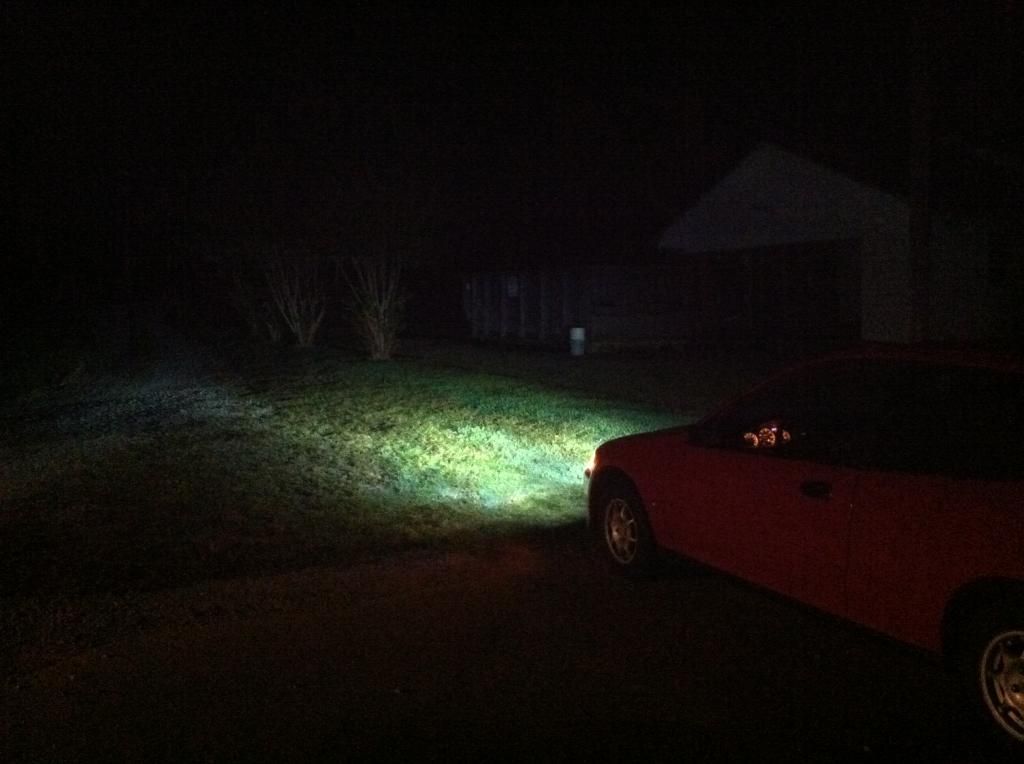
All, here’s a few pics to share of the LED headlamps, in case anyone was curious on their output.
I was about to paste all of this onto an LED thread elsewhere (Honda-Tech Lighting Section) and thought I would throw it here in my build thread as well. OEM USDM headlight housings and fogs used.
Low Beam (one LED activated per bulb) + Nokya Hyper Yellow (H3) fog bulbs
Re: OG's VX Build: HyperMile Driving with some JDM Styling!
Update 10/10/2014: Custom MPGuino Housing- Part 3
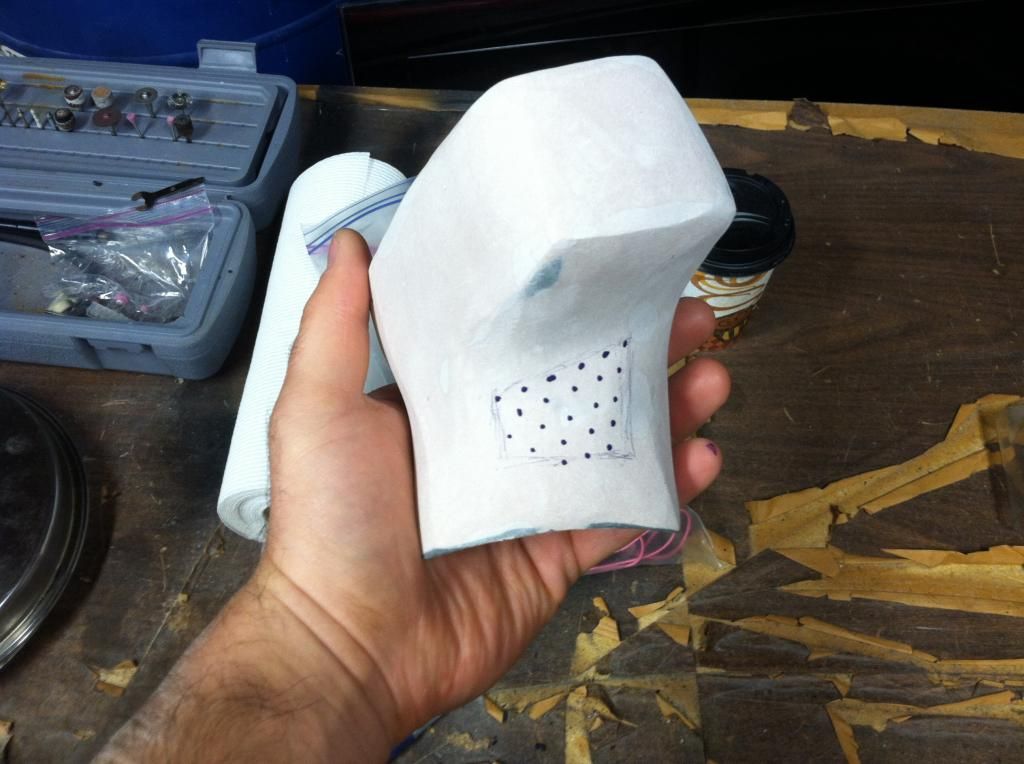
Since I was out of bondo, and I knew I was down to my last layer or two, I opted to go for the “Gold” Bondo. Good stuff! Seems to sand the same, but the mixing and application processes were much easier/smoother. The product also took longer to set, giving me more time to work it into shape. That was, particularly, helpful with this obscure shape I had to work with.
I had to dremel in a little “notch” inside for the plastic tab on the LCD board just next to the screen.
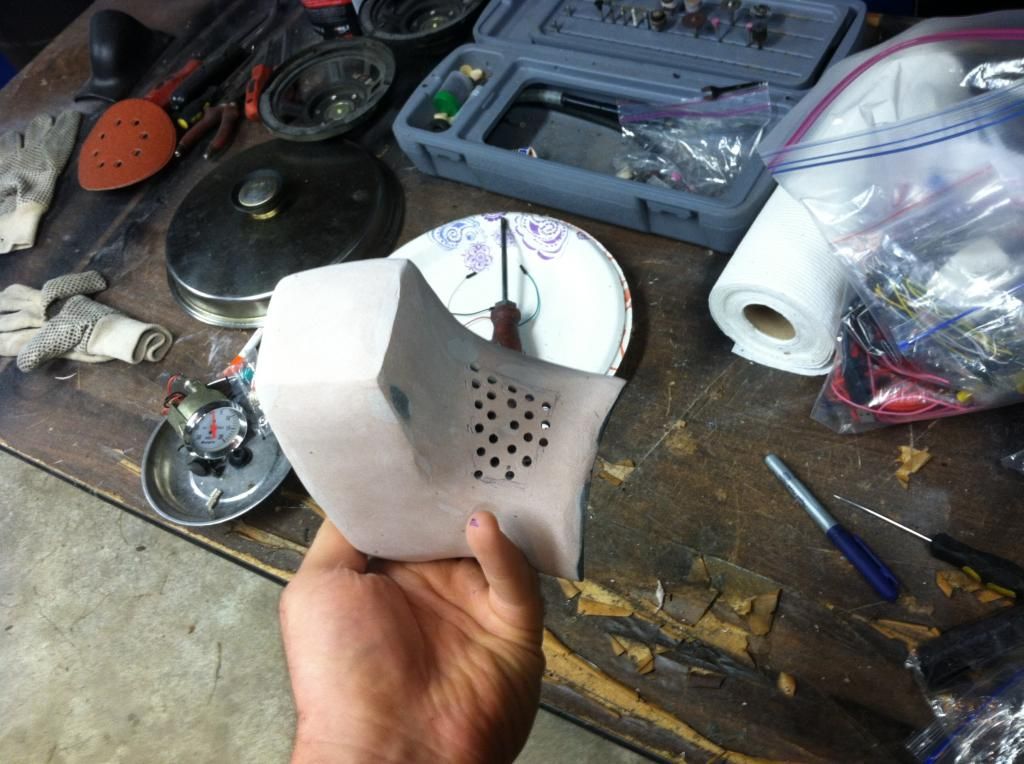
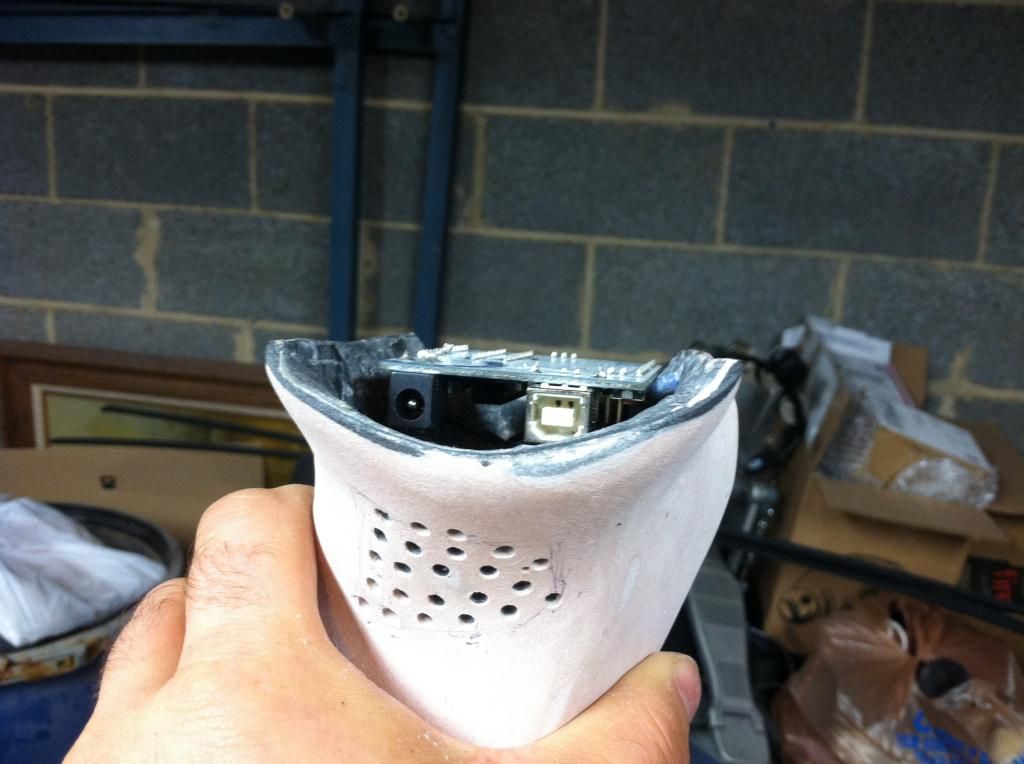
I then put my focus into drilling some holes. I made a grid-type design on the underside to help with heat dissipation. It is my understanding that the Arduino boards do run a bit hot. I hope that this will help some.
Drilling the holes for the front proved a bit tricky, but I slowly worked the holes with a drill bit until everything fit correctly. The screen now fits snugly and flush. (final hand sanding will cure the wavy-gravey's around the outline of the screen).
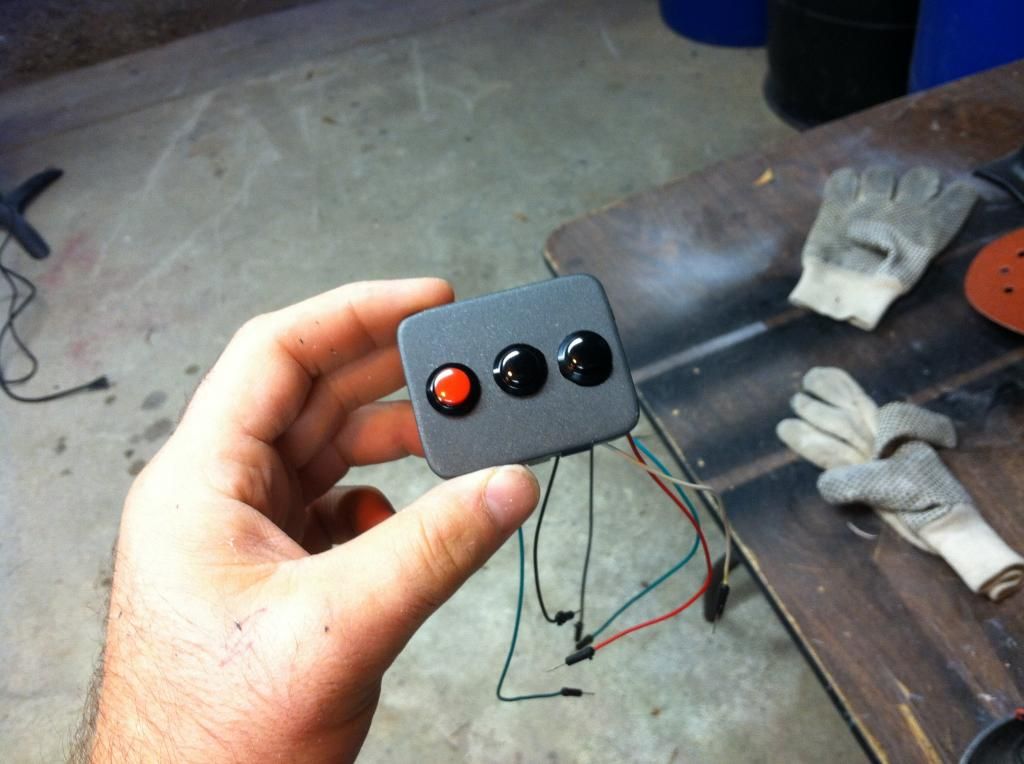
The housing for the buttons (formerly the power mirror delete-panel from the dash) is now drilled and they are mounted. Some bondo work and paint is needed, however. I got a bit over-zealous with my dremel while enlarging the holes. I’ll also straighten out the buttons, as they are not all yet perfectly linear either.
Re: OG's VX Build: HyperMile Driving with some JDM Styling!
I'm more for performance car builds but I must admit I read this thing right through. Love it and I respect you for being different by doing good looks and fuel economy
Good luck
Re: OG's VX Build: HyperMile Driving with some JDM Styling!
Originally Posted by bri09dac
I'm more for performance car builds but I must admit I read this thing right through. Love it and I respect you for being different by doing good looks and fuel economy
Good luck
Originally Posted by Freemananana
Glad to see some progress. This is on my 'check daily' tab.
Thanks fellas. This A-Pillar/Instrumentation job has been a beast, but I should finish up this week.
I appreciate the support. I'll post more pics/progress soon.
Re: OG's VX Build: HyperMile Driving with some JDM Styling!
Originally Posted by bri09dac
You did an amazing job on the pod man. But how has it been conducting/insulating the heat thus far? And what's next on the project?
Thanks for the support my friend. I�m having a blast with this build and saving some money (so far) while doing it. I�ve always been a closet-dork, so it�s been fun to �play the part� a bit on this one. My friends at the office are making fun of me. They get me talking about eco-modding, act like they are interested for a sec, then let me �go off� with the latest excitement I have on the build. Once I get to that point, they flip around and start laughing at me. It�s OK� it�s OK�deep down, they wish they were as big of a money-saving dorkus as me. I think my wife thinks it�s hot too. She�s yet to admit it, but I can feel it.
What�s up next? All kinds of stuff. Here�s the list of stuff for the near-future on this build�
- Interior restoration is still underway. Everything is getting OCD-cleaned right now.
- Rear hatch cleaning (bare paint exposed on floor; no rear seat carpet)
- Fabricate custom bracket to mount my WDM (Walmart Domestic Market) oscillating fan.
- Fog lights in Lamin-X yellow
- Front grille block (85%); matching Fog light cover overlay panels- �Seamless� with bumper
- JDM sidemarkers + wiring
- Amber Climate Control bulb swap
- Amber aftermarket radio + new speakers
- Custom safety sign (mostly for highway use)
What�s all that�s done, and we are in our new house, I can go a bit more extreme with body/paint work and some proper wheel covers as well.
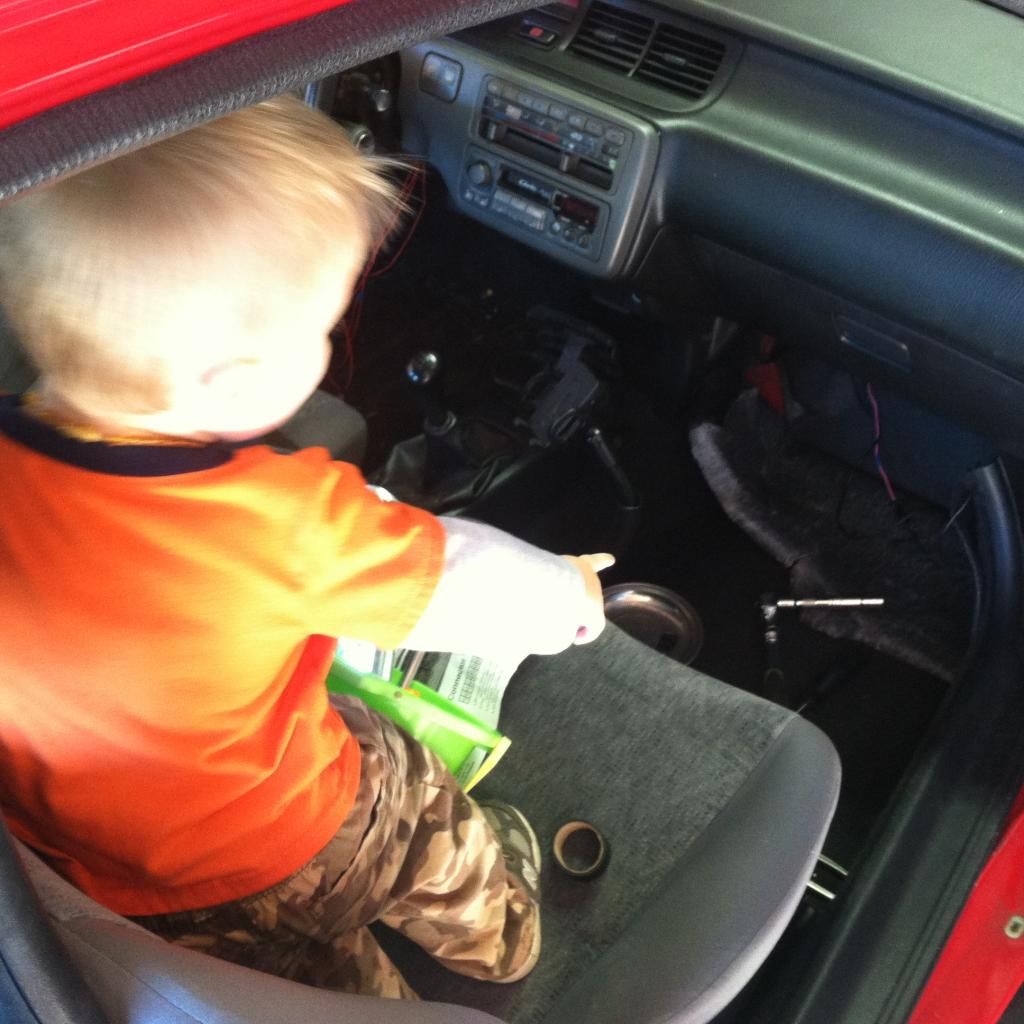
Hello all, here’s some updates! Install was completed on the MPGuino last weekend. It turned out to be a long weekend, and this project “fought back hard” (ever have one of those?), but we got it done. I won't go into complete details, but lets just say I made an SOS-call out to a fellow EcoModder, after the MPGuino display (once completely mounted and wired) displayed information upside down b/c yours truly mounted it that way. Yeah...
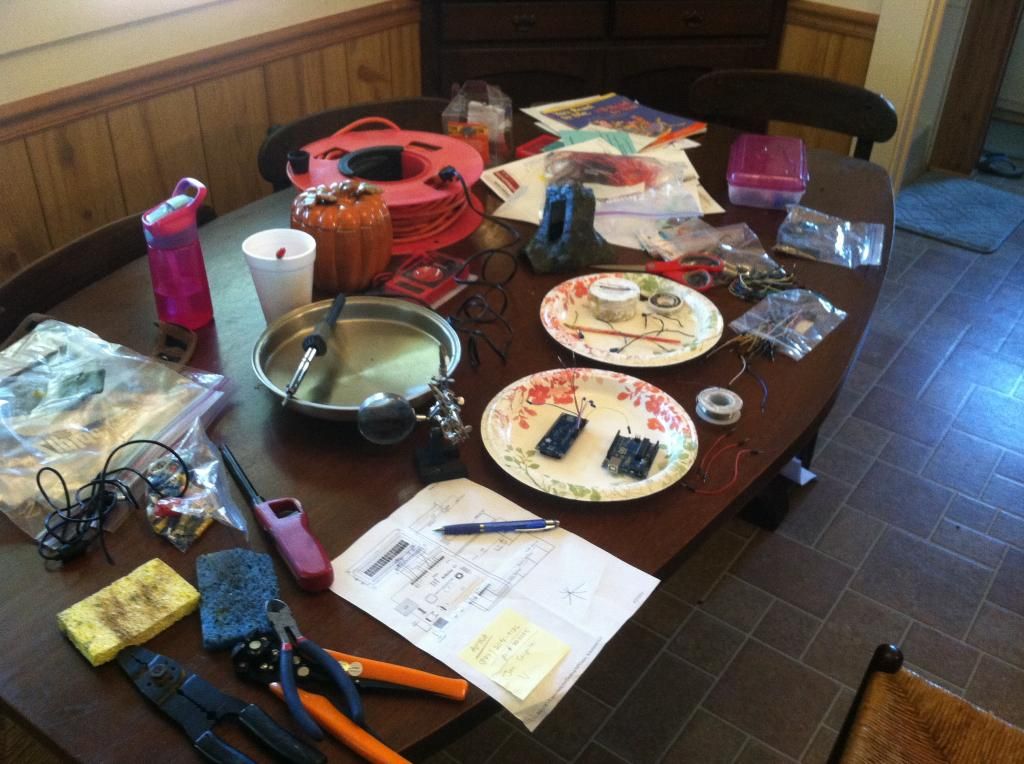
Here’s my son putting in some work, telling me where to find the VSS and Injector junctions within the harness at the ECU.
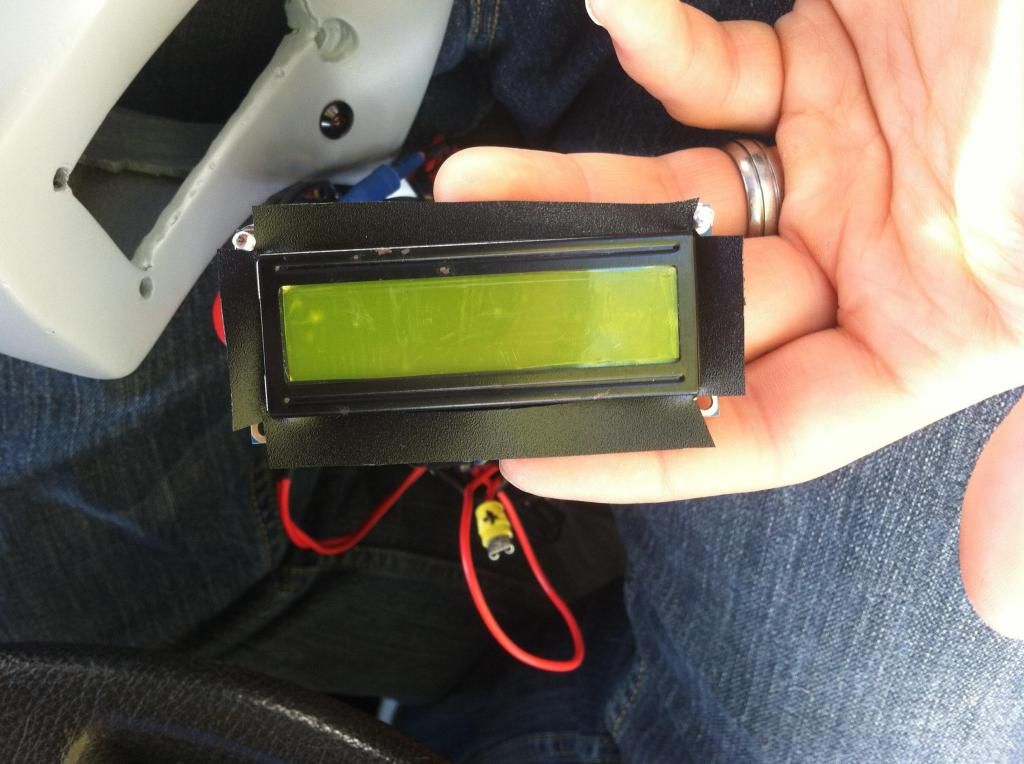
Here’s a cover that I made out of the vinyl from the back flap of a cheap Walmart binder. It covers up the LCD screen edges that were exposed behind the MPGuino panel opening. Cleans things up a bit, visually-speaking.
Here’s how I coated all of my bulbs to an amber color. This included the AutoMeter Vac gauge (left bulb in the picture; right bulb is a blue one for my F150 gauge), as well as all other dash bulbs, as I used the same translucent Tamiya-brand model paint to re-coat the amber bulbs I purchased from Autozone a couple of weeks back. They were always a pale orange hue, and getting worse daily. Since being re-coated with the Tamiya paint, they now REALLY pop; a nice red-orange hue. I like this paint a lot, as it coats on "thick", even when you do just one coat. I used several, of course, to ensure it lasts as long as possible under daily heat exposure. We’ll see how long it lasts. I just brush painted it on, and let it dry. In the model-kit world, this paint is used to paint tail lights.
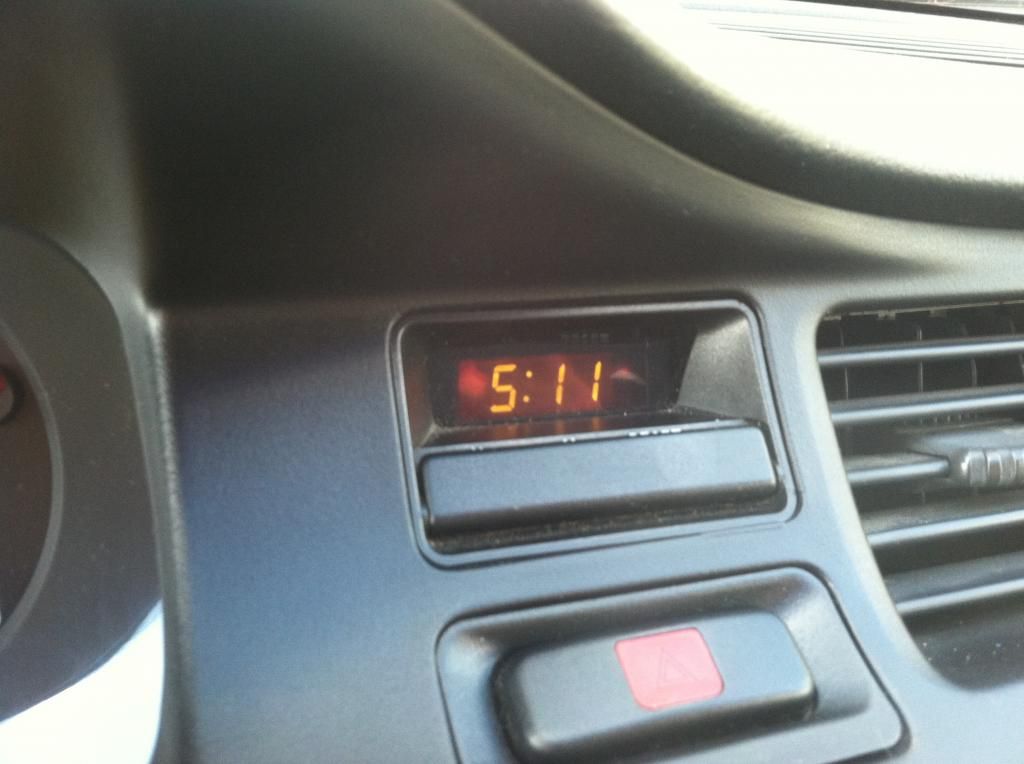
I also continued dash work, and used the same translucent Tamiya paint previously mentioned to paint the LCD screen within the dash clock assembly. I simply opened up the clock by prying at the tabs with a small screw driver, painted the screen, let it dry, and re-installed. Voila! “JDM Amber Clock” on the cheap.
Honda-heads, is this amber the correct color, or should I add a layer of translucent red on top as well? It’s a bit more of a “medium orange” hue than I have seen from other DIY “JDM Amber” clocks on the net. Others I have seen appear to be more of a orange-red hue. Which color is more accurate to the original JDM piece?
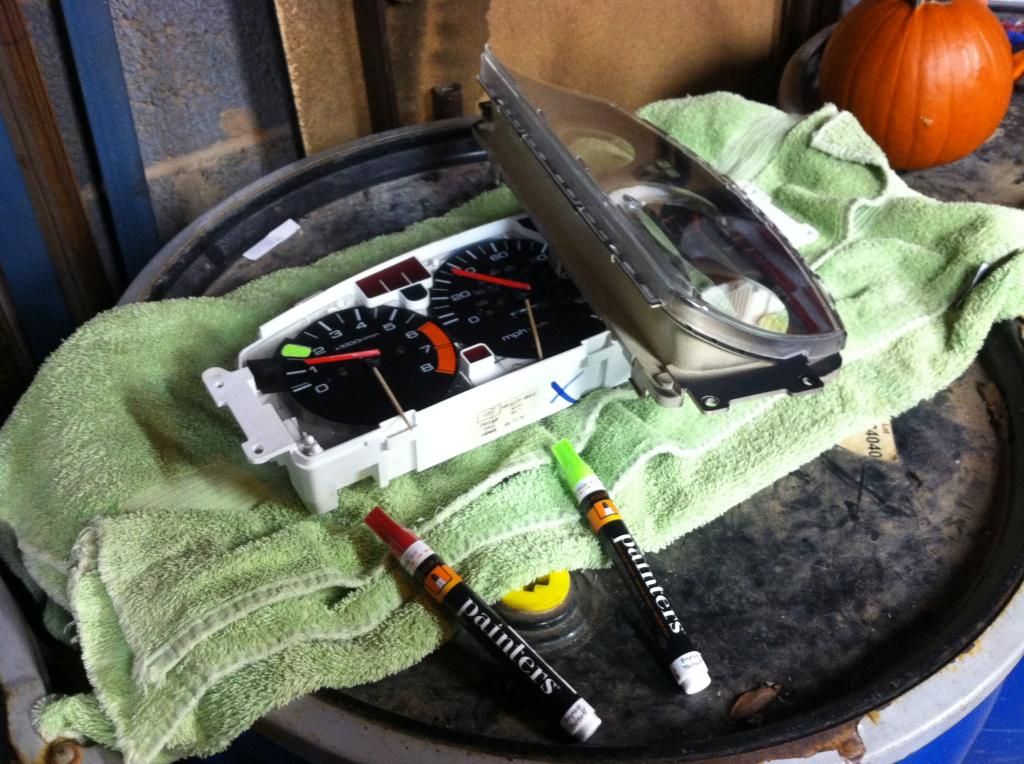
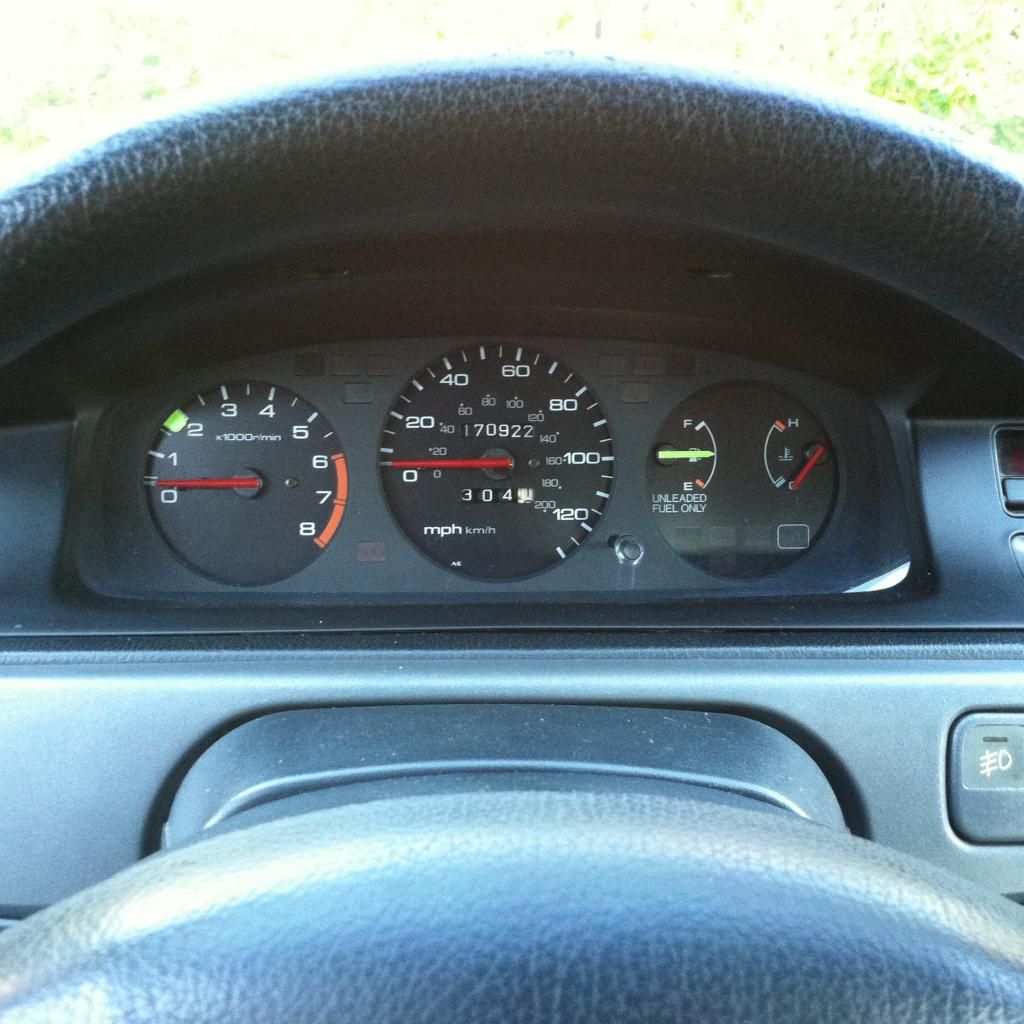
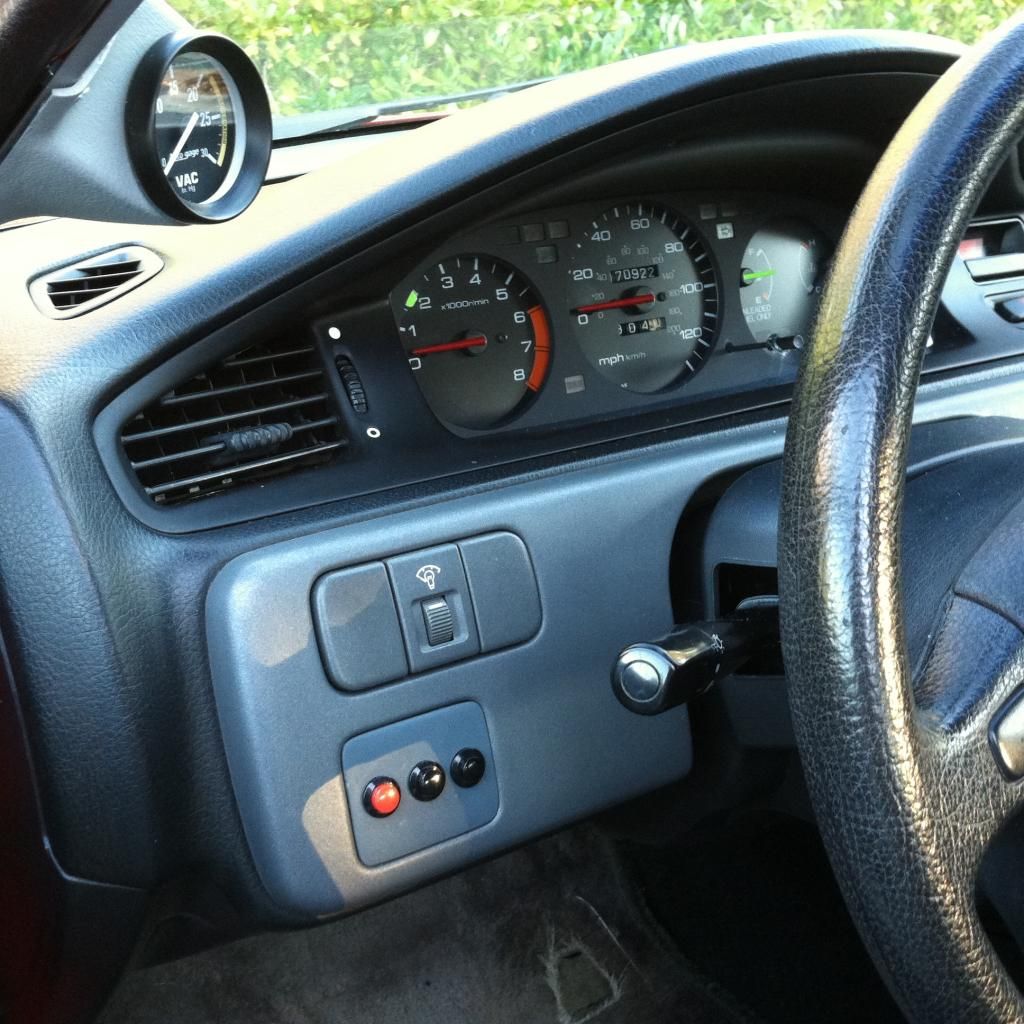
While I was on the interior-restoration path, I decided to re-do the gauge cluster, as I wasn't happy with the paint I used on the first go around. The original red paint I used was a lacquer-based model paint. It was too dark (more of a wine red) and didn't match well with the red line color of the tachometer and other OEM-red elements on the gauge face. More importantly, the lacquer paint would get “sticky” in hot temps, and the needles were sticking to the posts they rest on when the car is off. I’d have to bang the top of the dash like an old television to get them to “un-stick”. No sir! That ghetto-ness had to go.
Also, the green paint I used did not adhere well to either the gauge face or the needle. It actually retracted, shriveled up, and fell off the fuel needle. So, I went to Wal-Mart and got some Painters pens from their craft section. Man, I'm glad that I did! The colors are excellent. The red I chose is a closer match to OEM red-color found on the gauge faces, and the new neon-green color pops like crazy, and reminds me of the green hue used on the needles and face of the Spoon EK clusters. Pops very well, easy to see at dusk/dawn, and (IMHO) looks sick! Most importantly, proper adhesion is now made on the gauge/needles, and the nice satin-like finish looks both OEM and doesn't create any “sticky situations” on warmer days.
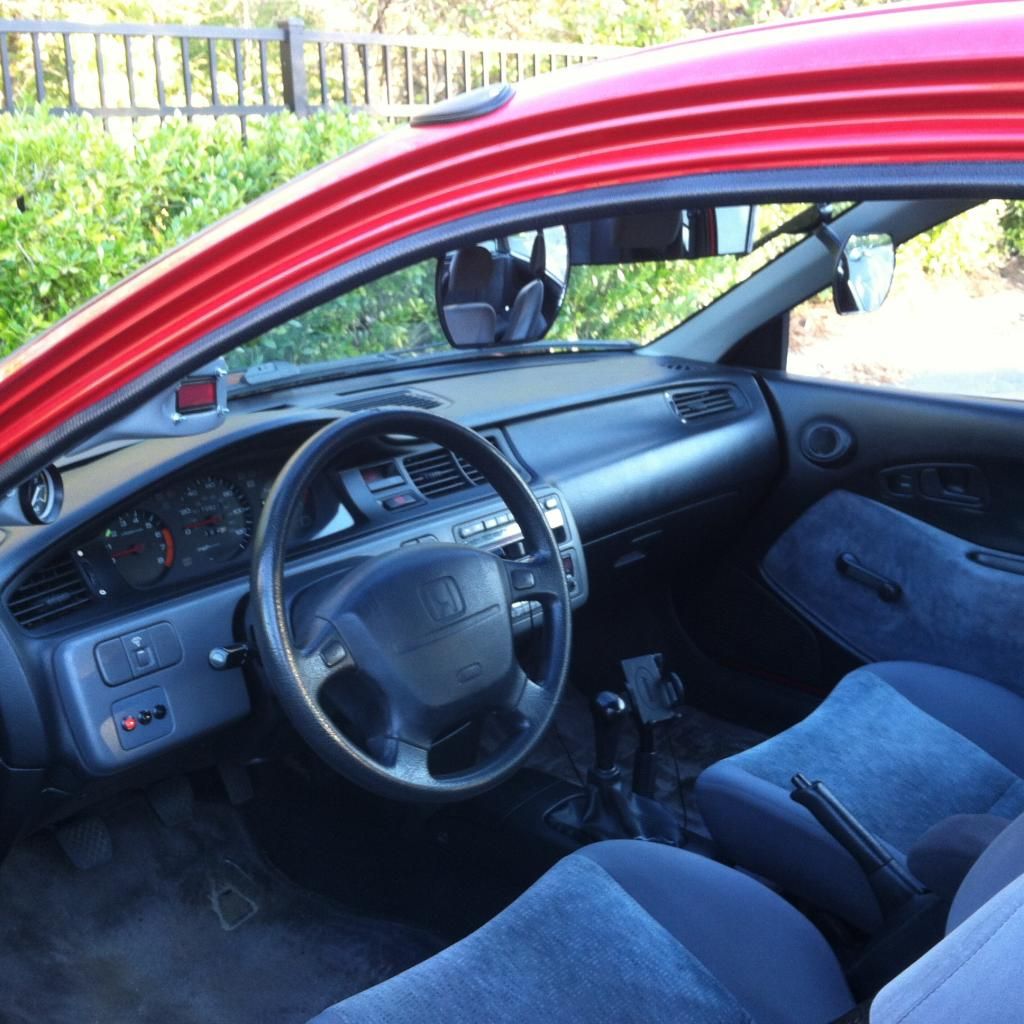
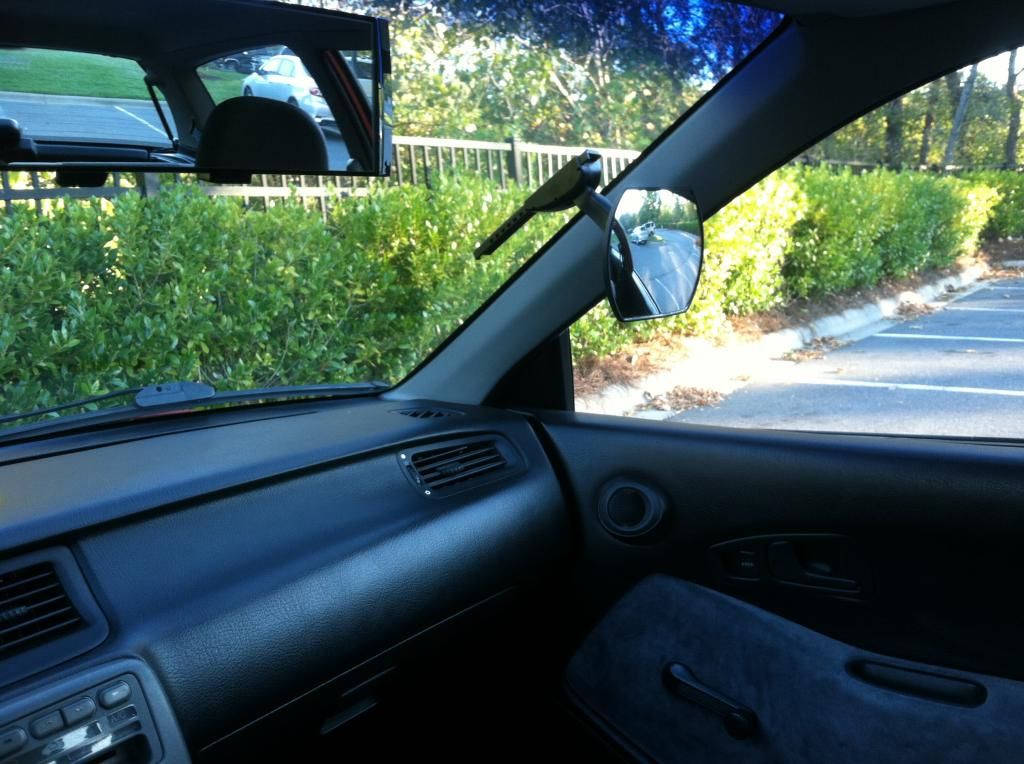
I also OCD-cleaned the interior. Things are starting to really come together inside the car now, I think. Pics below show my completed mirror set up also. I drilled in some set-screws to lock in the mirrors, as they like to fall due to the added weight of the large convex mirrors being taped to them. The small mirrors that come attached to the “Ultimate Blind Spot Mirror” units weren't large enough for my tastes/needs. Actually, the driver’s side worked well, but the passengers side wasn't large enough. I went ahead and “upgraded” both sides for visual-congruence.
And here’s the completed MPGuino button panel. Works great, and is easy to get to/manipulate. I used a red button on the far left, since it’s the one that toggle’s between the different screens on the dislply (Actually, it was initially more of an adaptive decision, as Radio Shack only had 2 black buttons, :D).
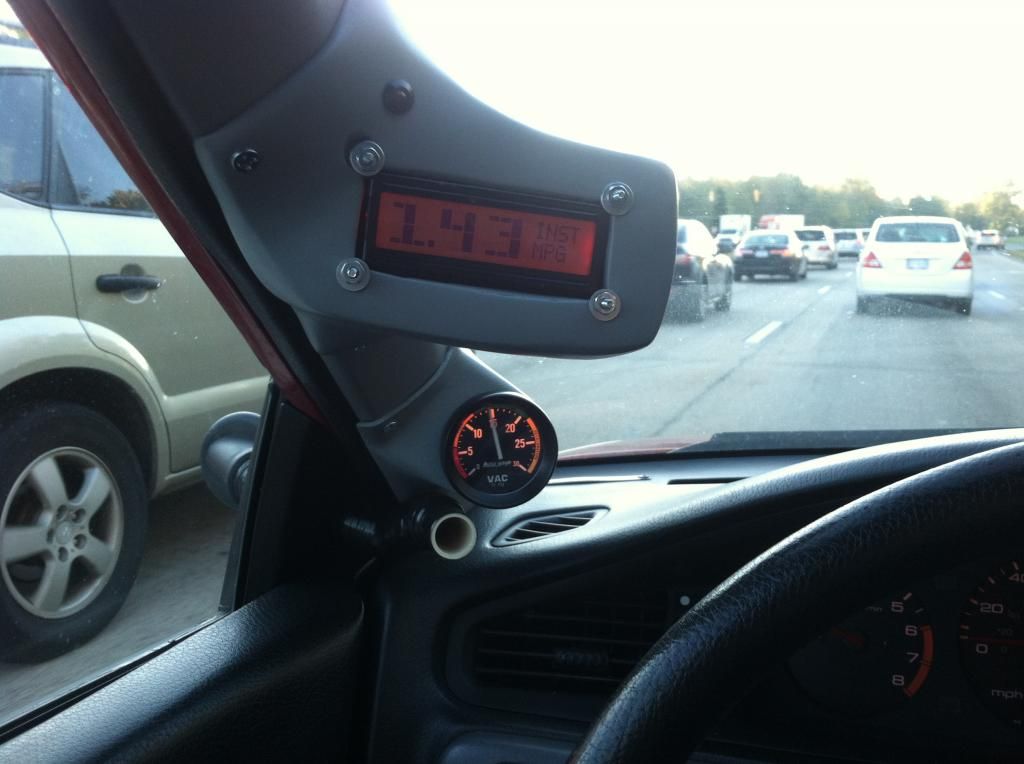
And here’s the MPGuino in action!
While not the most inspirational stats being displayed in this picture, on the contrary, the device is helping me greatly. It’s a whole new ball game for me now! I have a much more accurate monitor with which to make best decisions on engine rpm vs. gear selection. So many questions I had before are now being answered, and I’m learning more each day about what to do in different driving situations. The possibilities on the road are endless, due to traffic patterns/hills/etc… Now that I have this, I can’t possibly imagine trying to “extreme hypermile” without one. The MPGuino (or ScanGuage) tool is, simply put, a must for hypermiling. The vac gauge is very handy also, and the combo of the two is perfect. Please see my trip meter in the pic above. Iv'e never hit 300 miles before the needle got to the halfway mark before. My best so far (on 87 octane) is about 260 miles before the needle dropped below the halfway point. MPGuino is only giving me about 54 mpg so far for this current tank, but I have not fully calibrated it yet. I suspect (and hope) that number is going to be a bit higher when I refuel a few days from now. I’m hoping to hit close to 60 mpg on this current tank filled with 87 octane gas, with a goal of breaking 65 mpg using 100% E0 gas in the near future...before more intense aero mods are completed.
Given the wind resistance I'm currently fighting (especially in the morning commute), that’s a lofty goal, but I’ll let you guys know how it goes.
This weekend’s build time will focus on a custom safety sign for the rear hatch, and I may possibly dive into some lighter front-end aero work.

 10-08-2014, 10:50 AM


 So, I went to Wal-Mart and got some Painters pens from their craft section. Man, I'm glad that I did! The colors are excellent. The red I chose is a closer match to OEM red-color found on the gauge faces, and the new neon-green color pops like crazy, and reminds me of the green hue used on the needles and face of the Spoon EK clusters. Pops very well, easy to see at dusk/dawn, and (IMHO) looks sick! Most importantly, proper adhesion is now made on the gauge/needles, and the nice satin-like finish looks both OEM and doesn't create any “sticky situations” on warmer days.