
EJ1 Build
 09-01-2015, 08:05 PM
#1
Honda-Tech Member
Thread Starter
Join Date: Aug 2006
Location: Palmdale, CA
Posts: 167
Likes: 0
Received 0 Likes
on
0 Posts
My EJ1 has been through a lot since I got it in 2006.
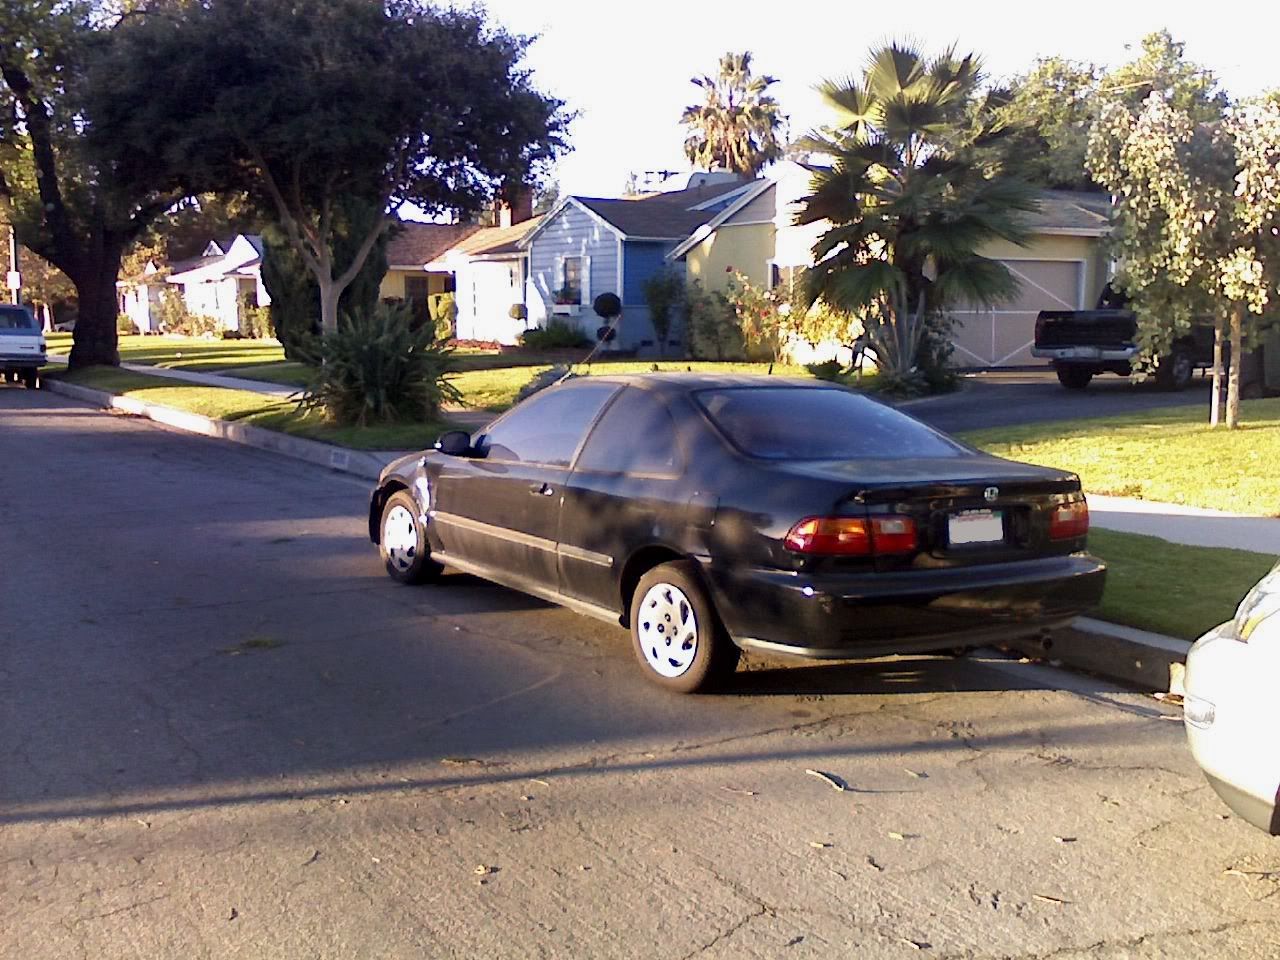
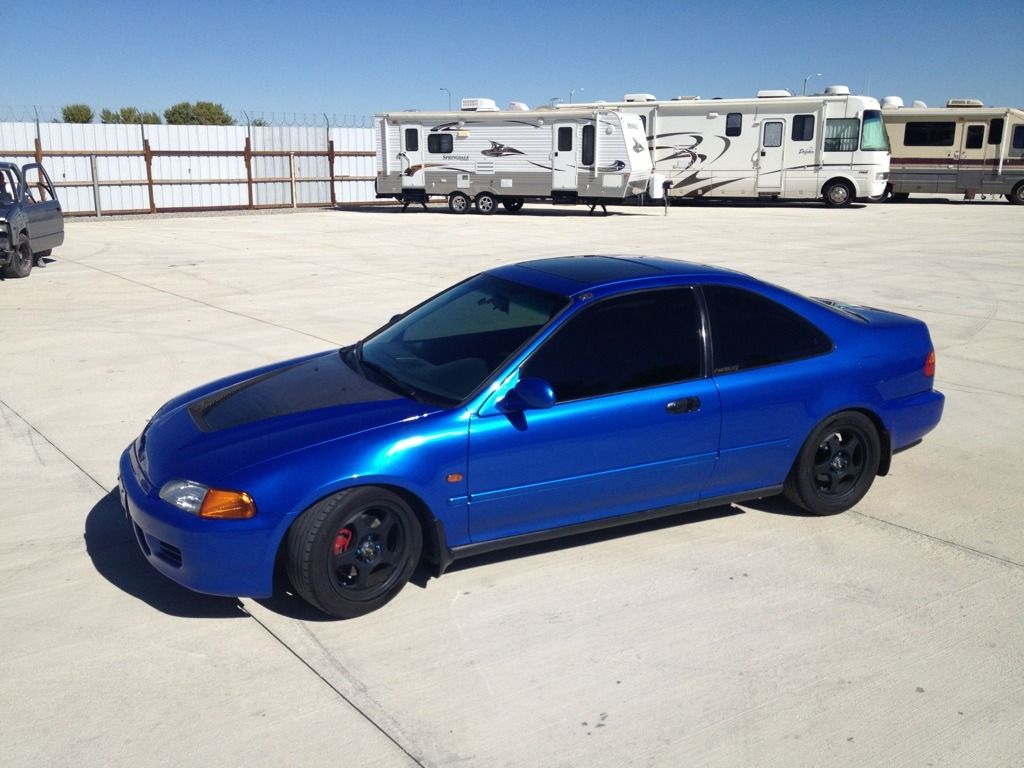
IT was supercharged...
Turboed...
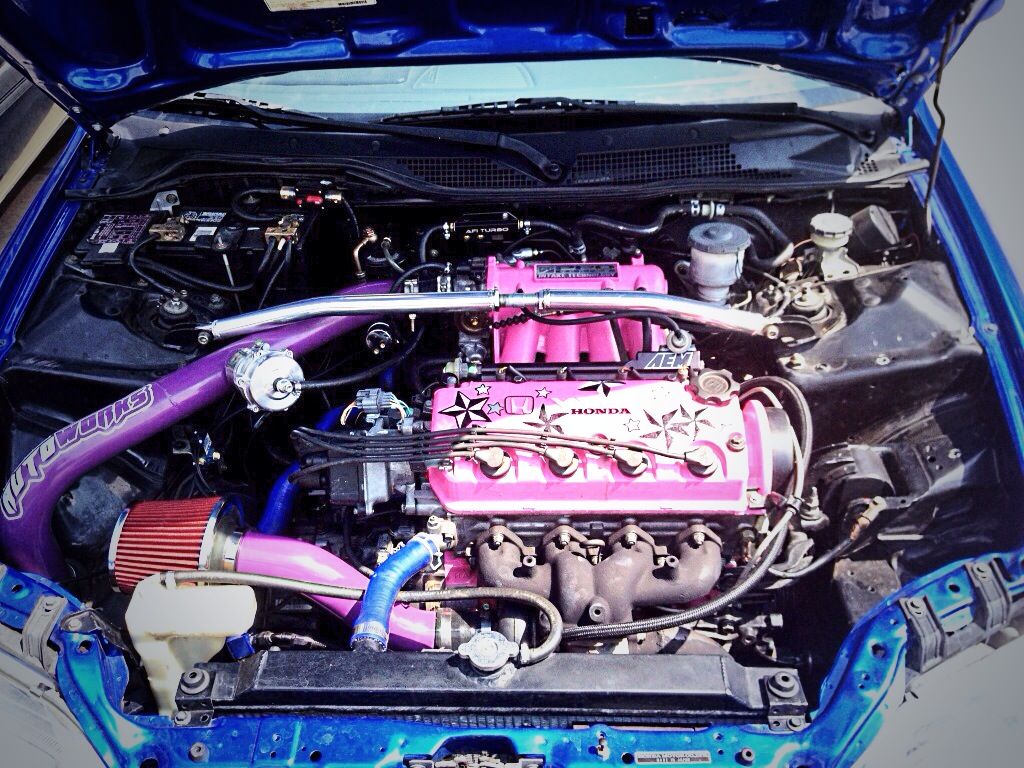
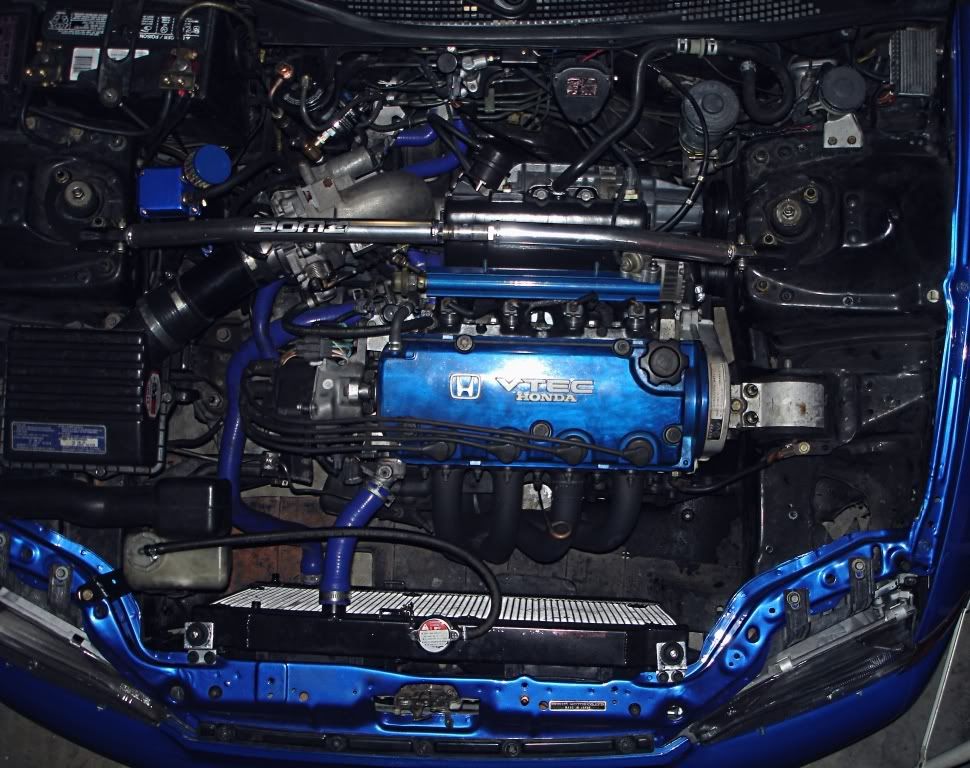
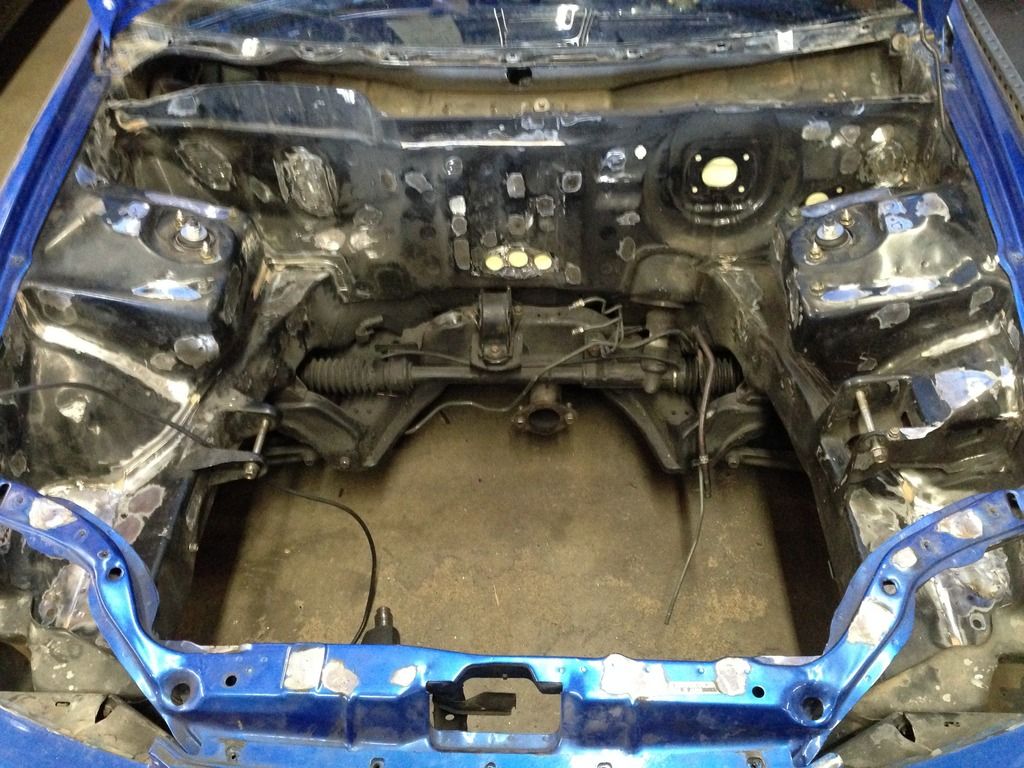
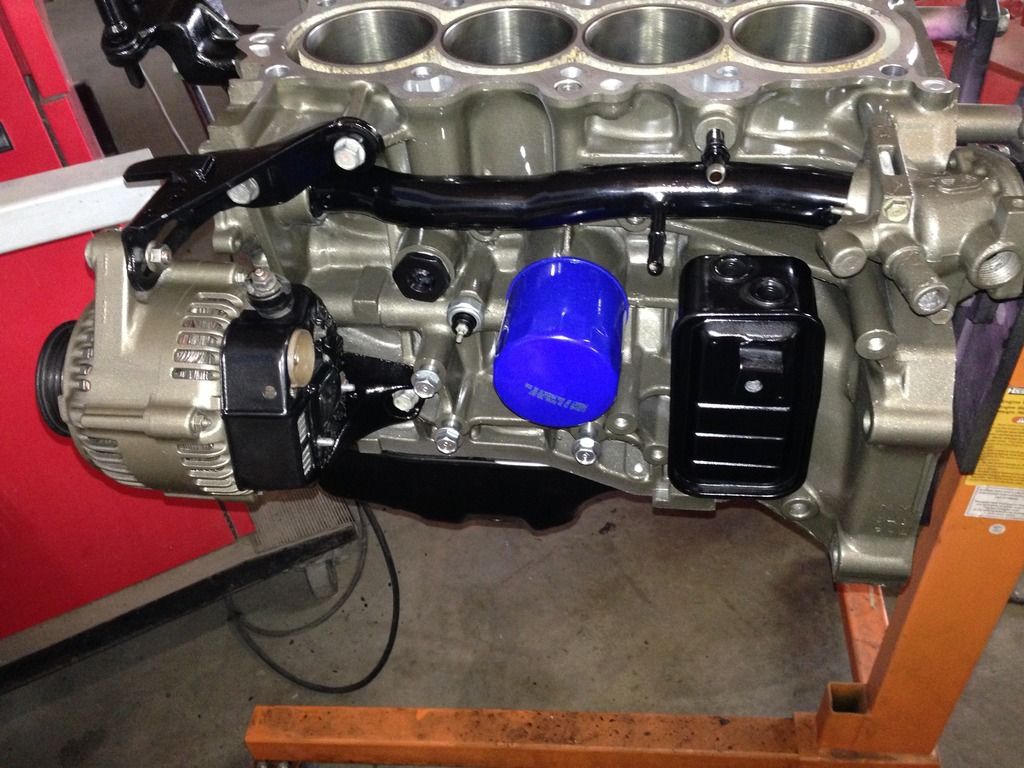
I blew the ring lands on cylinder #3. parted it out. Now I'm building a high compression B18B1. Going to convert to vtec later down the road. Also doing a complete tuck and shave job on the bay.
The build is as follows:
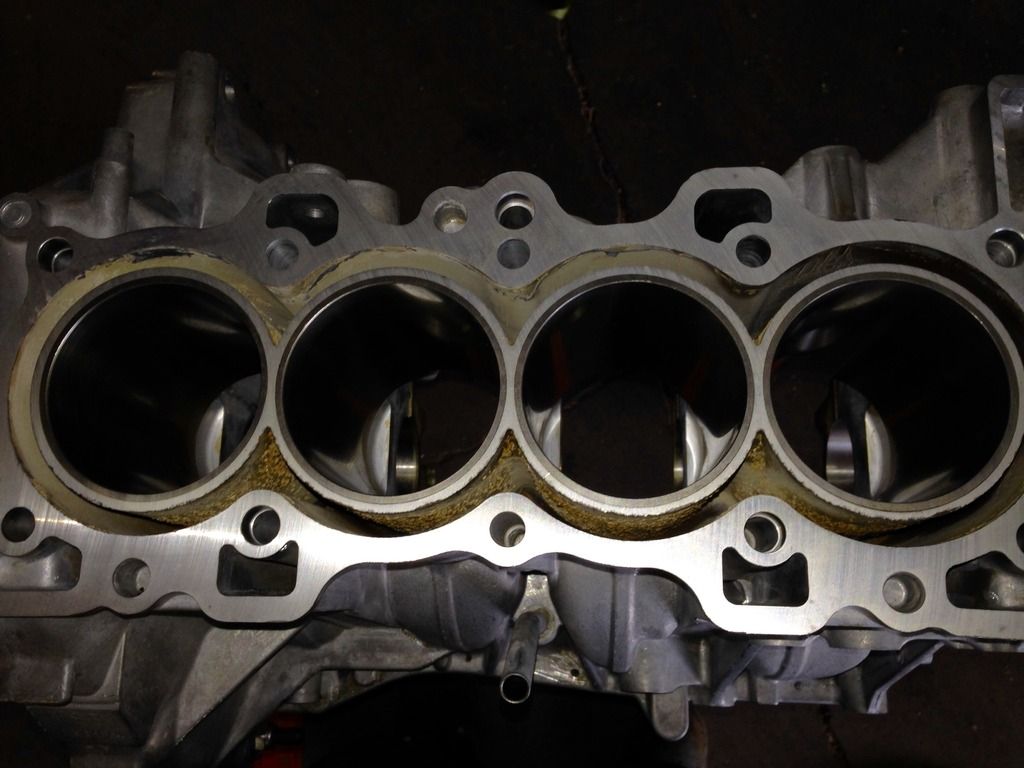
B18B1 block:
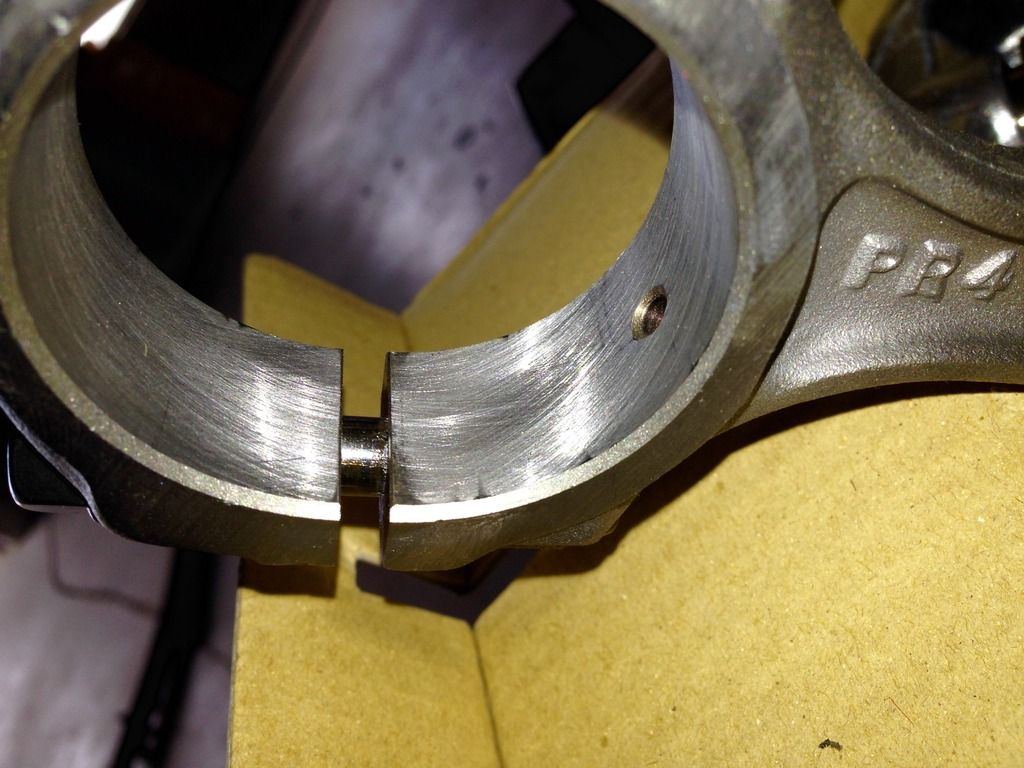
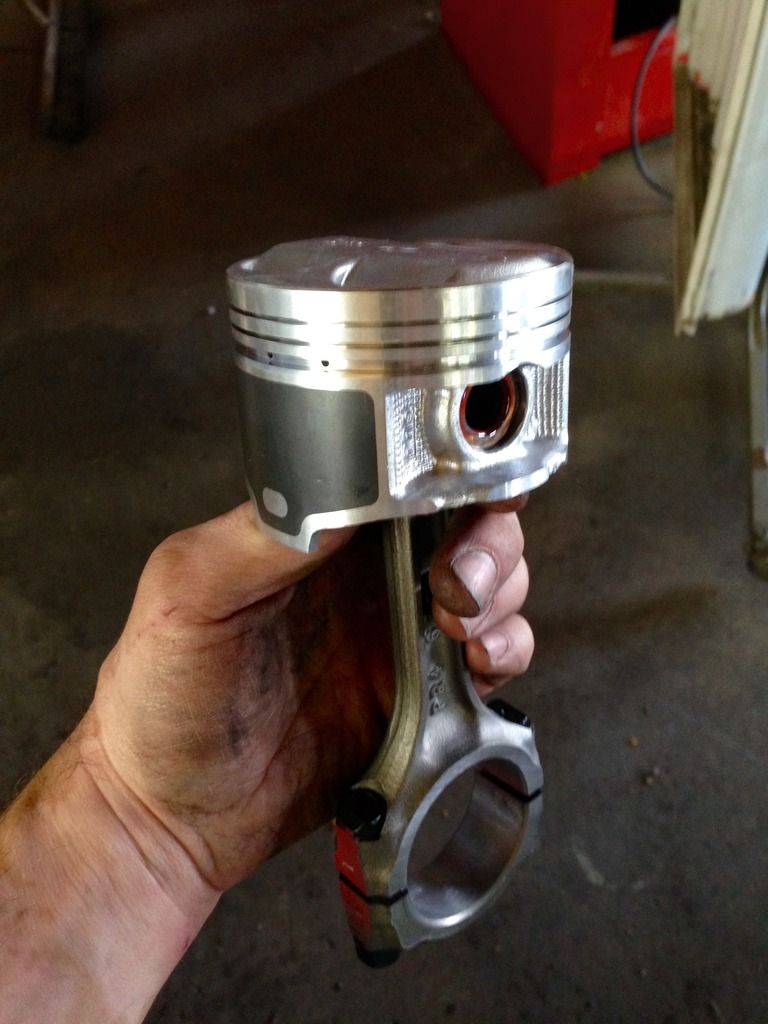
81.5mm PR3 teflon coated pistons
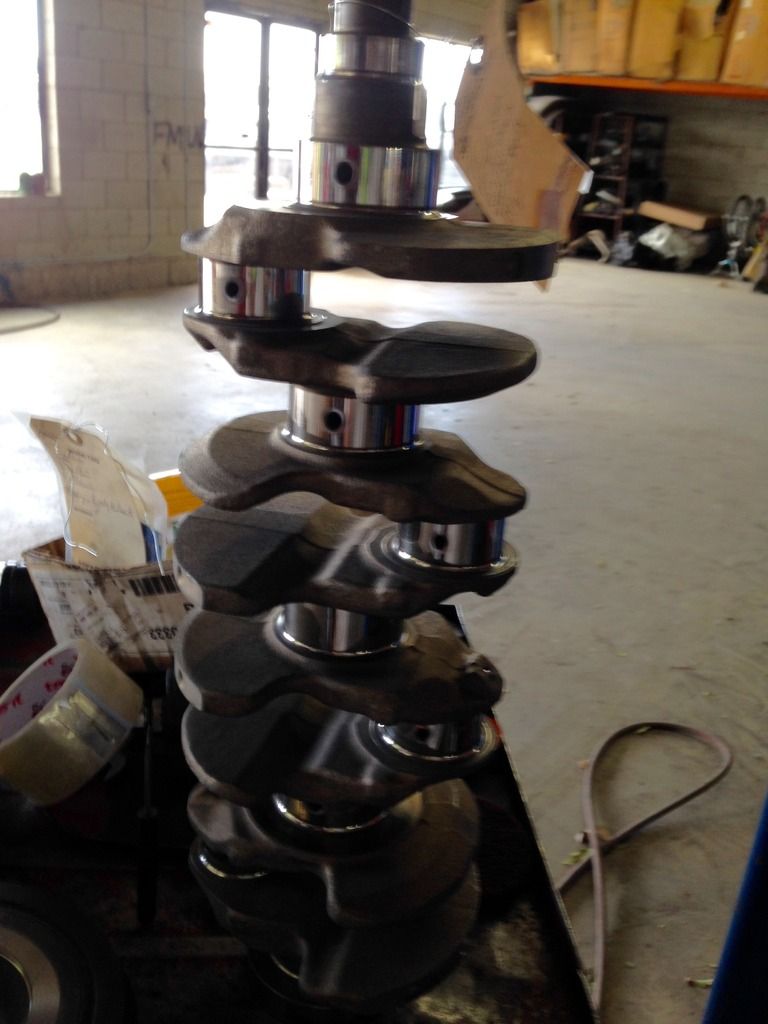
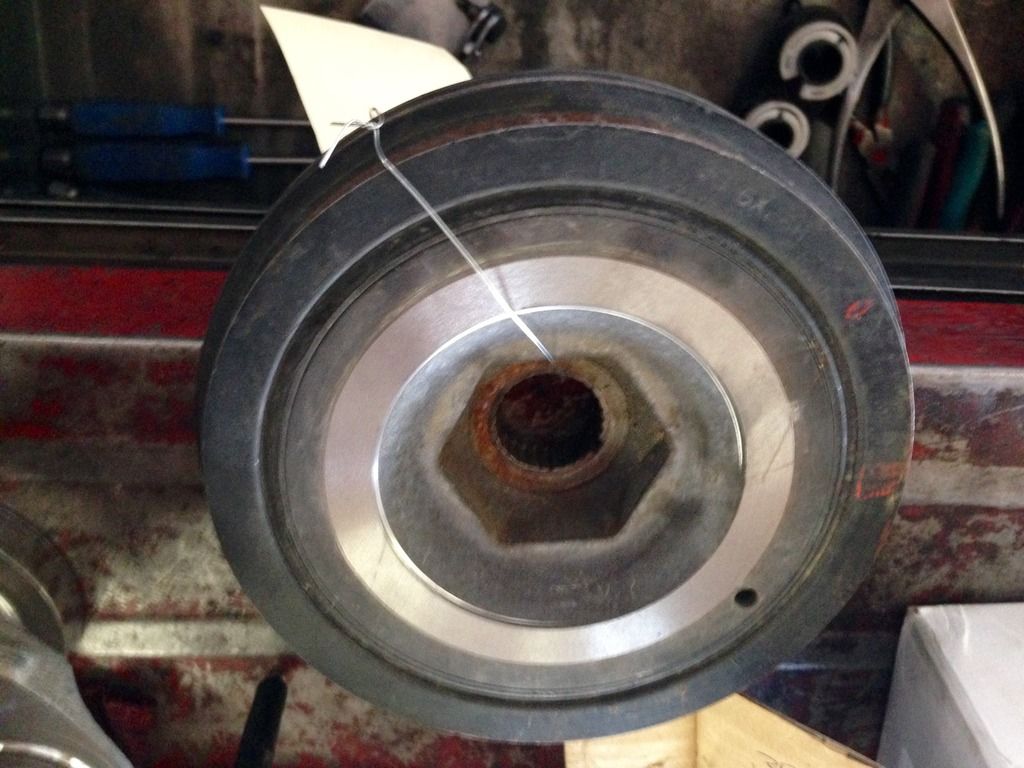
complete balance from flywheel to crank pulley
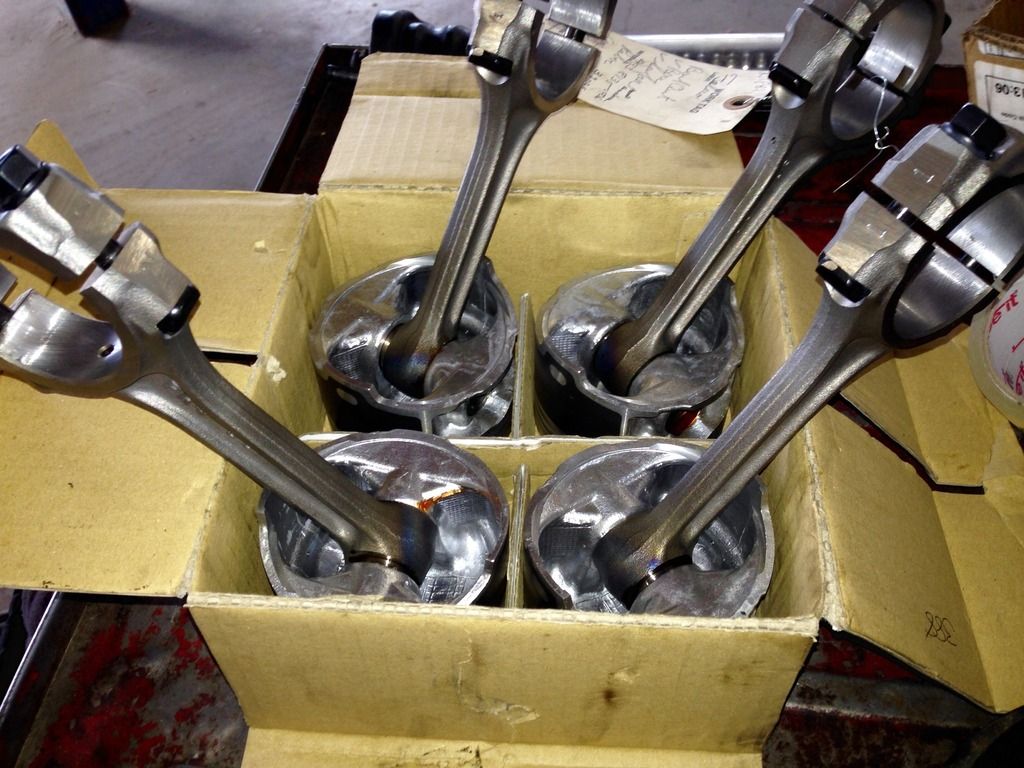
shotpeened rods with arp bolts
ARP head studs
ACL race bearings
all new seals & gaskets
polished crank
GSR water pump
GSR timing belt
HEAD:
stock P75 head (same as B18B1)
resurfaced and checked
LS transmission:
new synchros
new bearings
new seals
OBD1 P72 ECU Stock for now
going to chip it and run on crome
MISC:
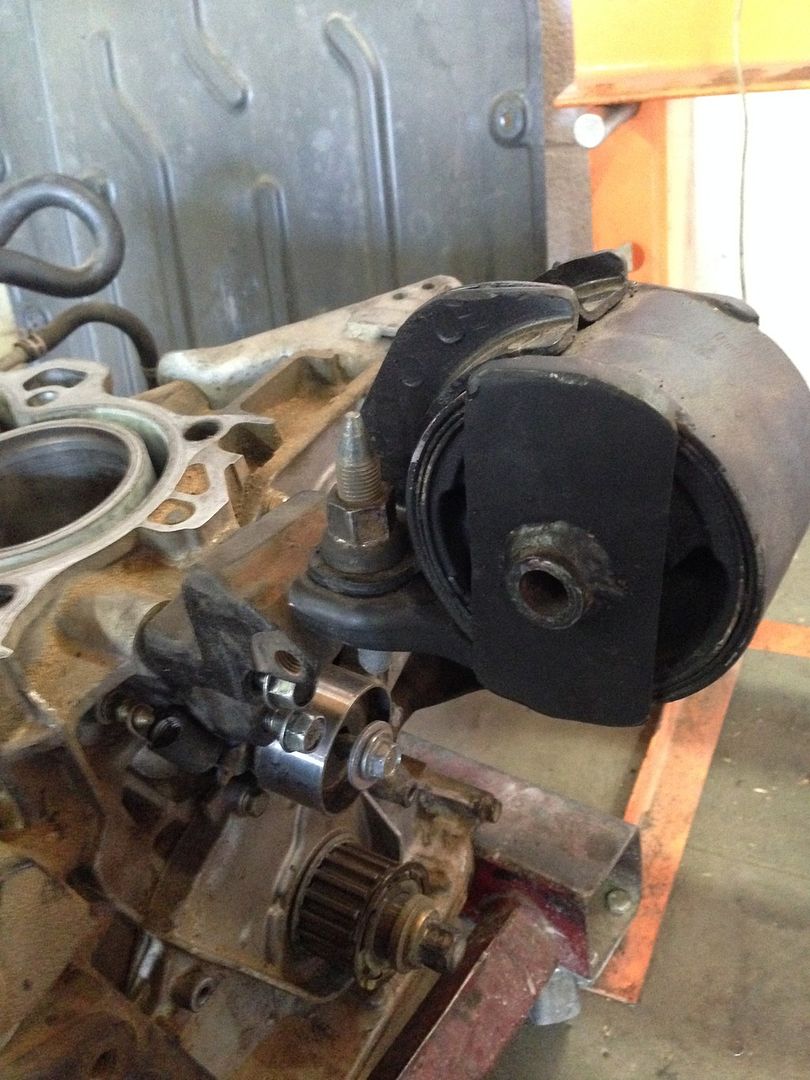
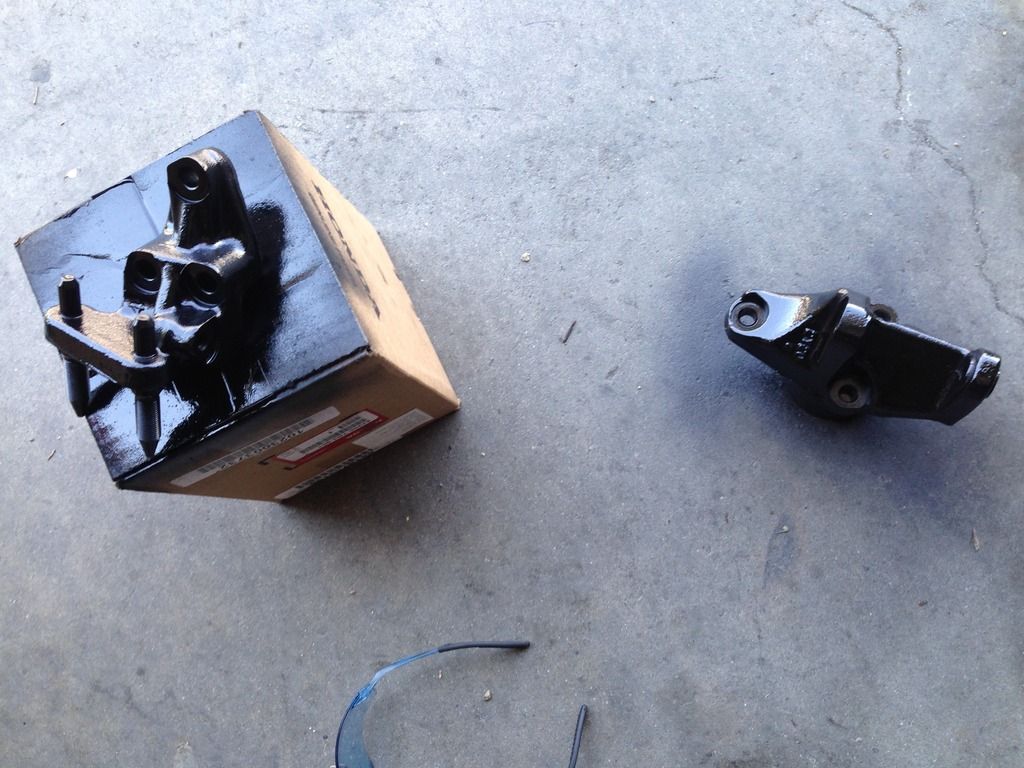
welded OEM mounts
Integra full aluminum dual core radiator with dual slim fans
silicone radiator hoses
2.5" mandrel bent exhaust with 18" louvered resonator and magnaflow performance XL muffler
DC header
Suspension:
PIC full coilovers
skunk2 pro series front camber kit
rear disc conversion
Engine Bay:
brake line tuck
steel braided clutch line
billet clutch reservoir
fuel line tuck
wiring harness tuck with MIL Spec connector
fill and smooth all unnecessary holes
paint concrete gray
battery relocated to trunk
fuse box relocated to glove box
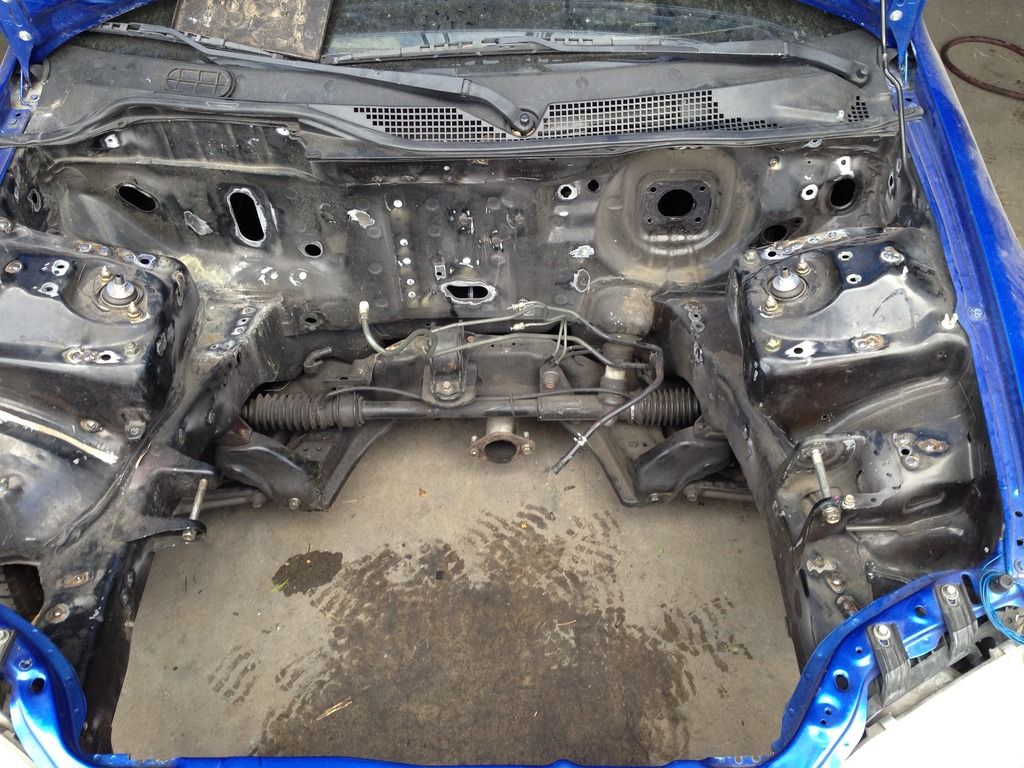
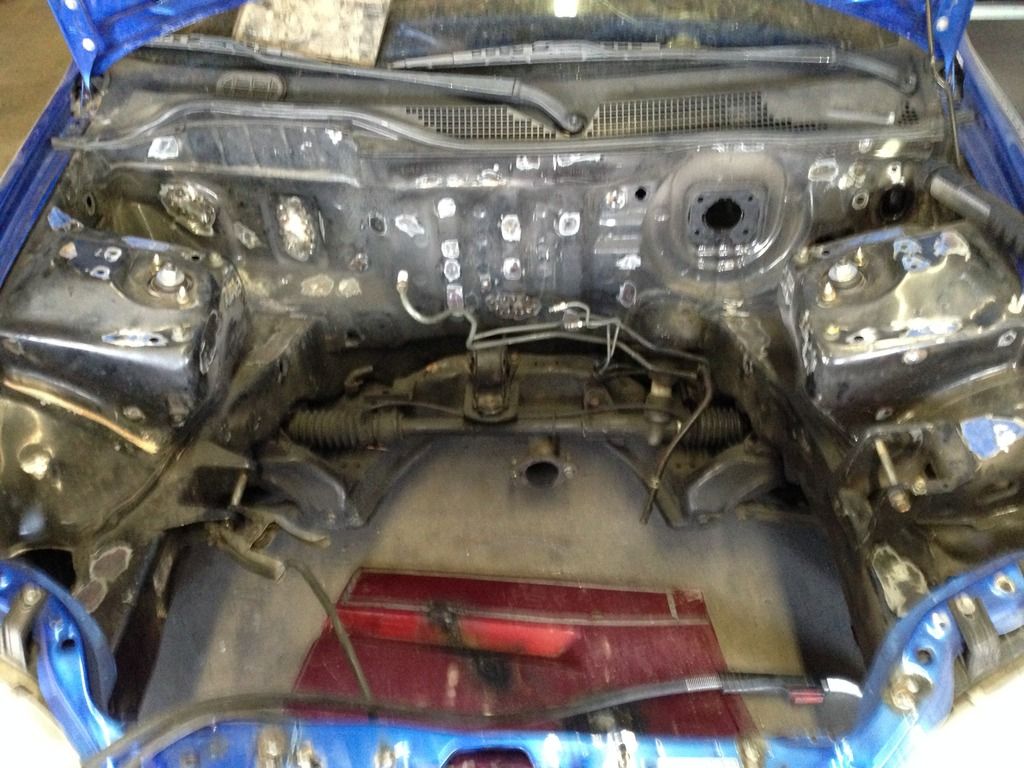
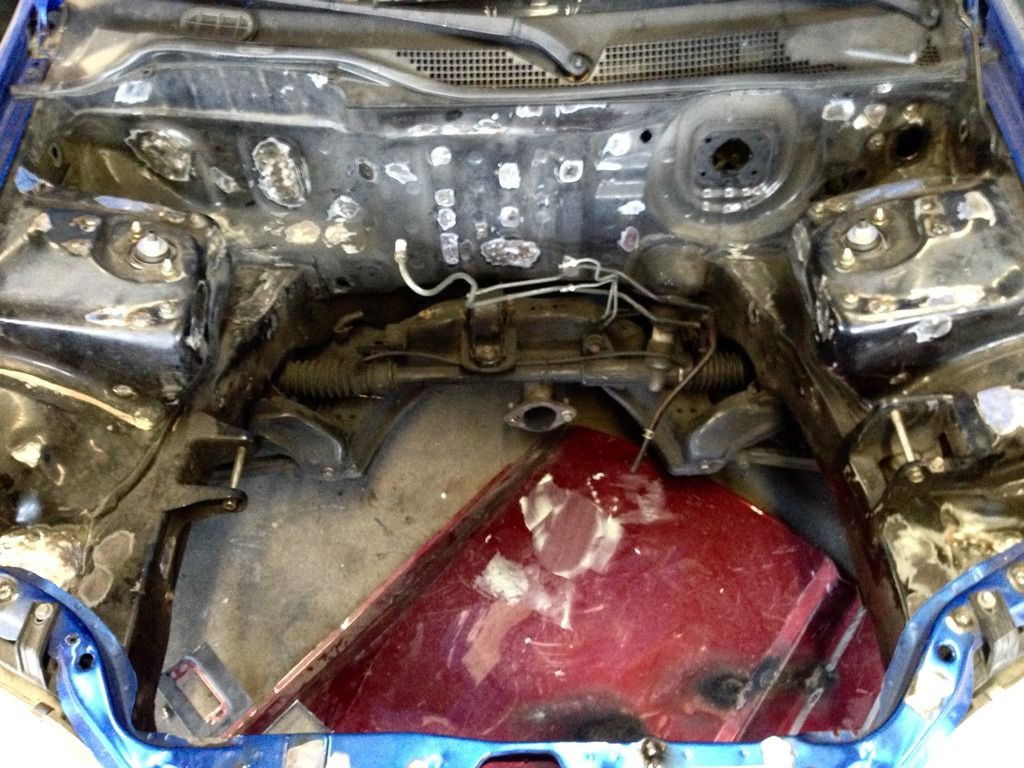
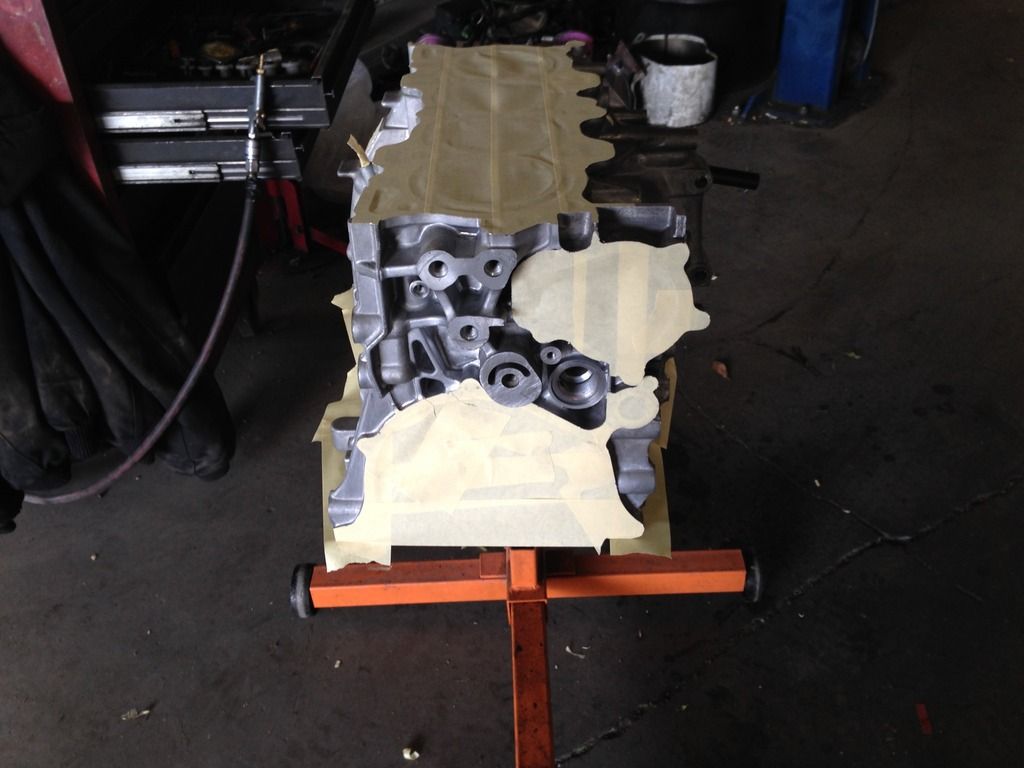
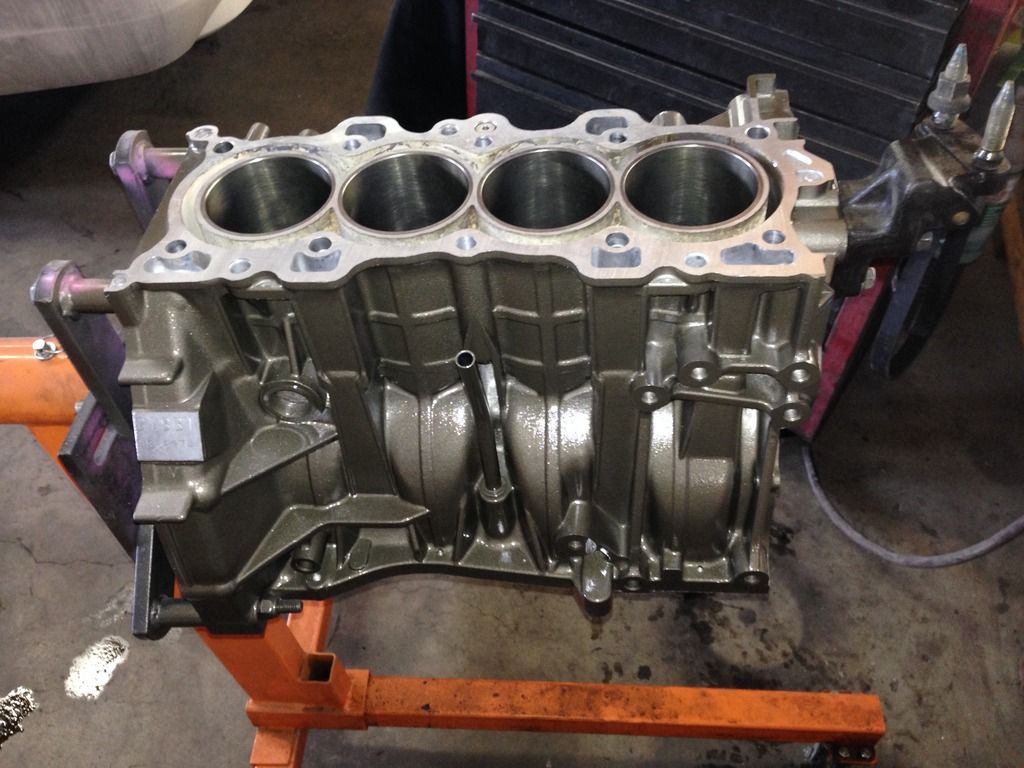
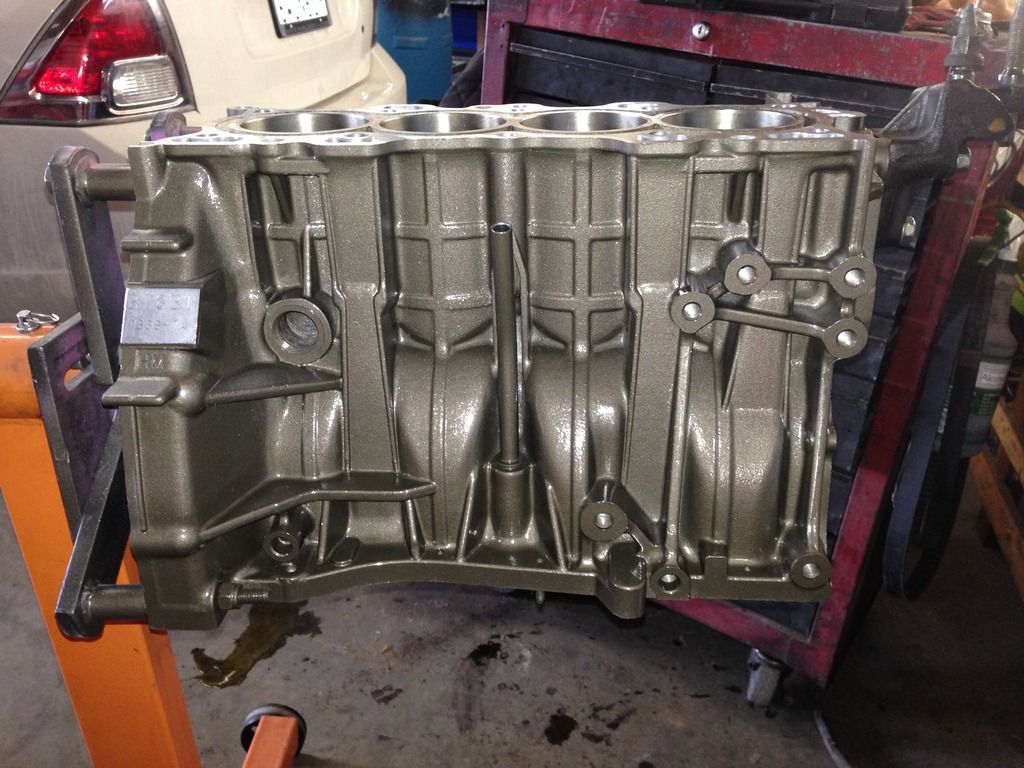
So far the block is at the machine shop with everything they need to get it done. I should head from them some time next week. I've been working on the engine bay in the meantime. removing the interior, climate control boxes, brake lines, fuel filter and lines, clutch lines, wiring. Welding and grinding holes in the bay. here's my progress so far...
IT was supercharged...
Turboed...
I blew the ring lands on cylinder #3. parted it out. Now I'm building a high compression B18B1. Going to convert to vtec later down the road. Also doing a complete tuck and shave job on the bay.
The build is as follows:
B18B1 block:
81.5mm PR3 teflon coated pistons
complete balance from flywheel to crank pulley
shotpeened rods with arp bolts
ARP head studs
ACL race bearings
all new seals & gaskets
polished crank
GSR water pump
GSR timing belt
HEAD:
stock P75 head (same as B18B1)
resurfaced and checked
LS transmission:
new synchros
new bearings
new seals
OBD1 P72 ECU Stock for now
going to chip it and run on crome
MISC:
welded OEM mounts
Integra full aluminum dual core radiator with dual slim fans
silicone radiator hoses
2.5" mandrel bent exhaust with 18" louvered resonator and magnaflow performance XL muffler
DC header
Suspension:
PIC full coilovers
skunk2 pro series front camber kit
rear disc conversion
Engine Bay:
brake line tuck
steel braided clutch line
billet clutch reservoir
fuel line tuck
wiring harness tuck with MIL Spec connector
fill and smooth all unnecessary holes
paint concrete gray
battery relocated to trunk
fuse box relocated to glove box
So far the block is at the machine shop with everything they need to get it done. I should head from them some time next week. I've been working on the engine bay in the meantime. removing the interior, climate control boxes, brake lines, fuel filter and lines, clutch lines, wiring. Welding and grinding holes in the bay. here's my progress so far...
 09-01-2015, 08:07 PM
#2
Honda-Tech Member
Thread Starter
Join Date: Aug 2006
Location: Palmdale, CA
Posts: 167
Likes: 0
Received 0 Likes
on
0 Posts
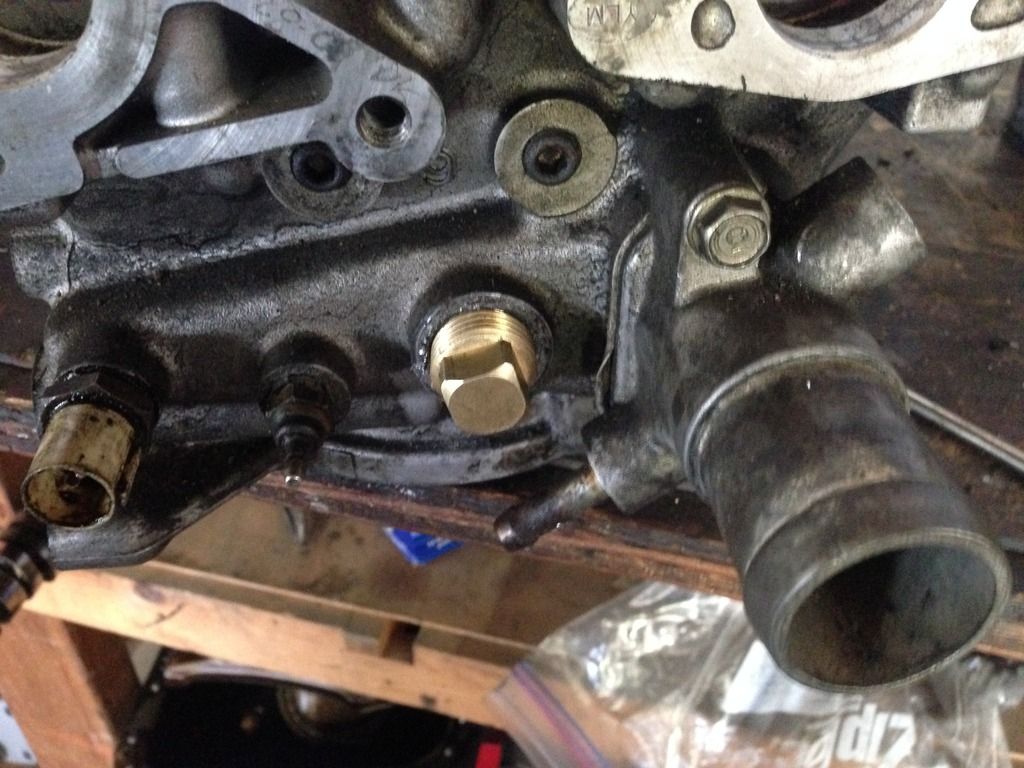
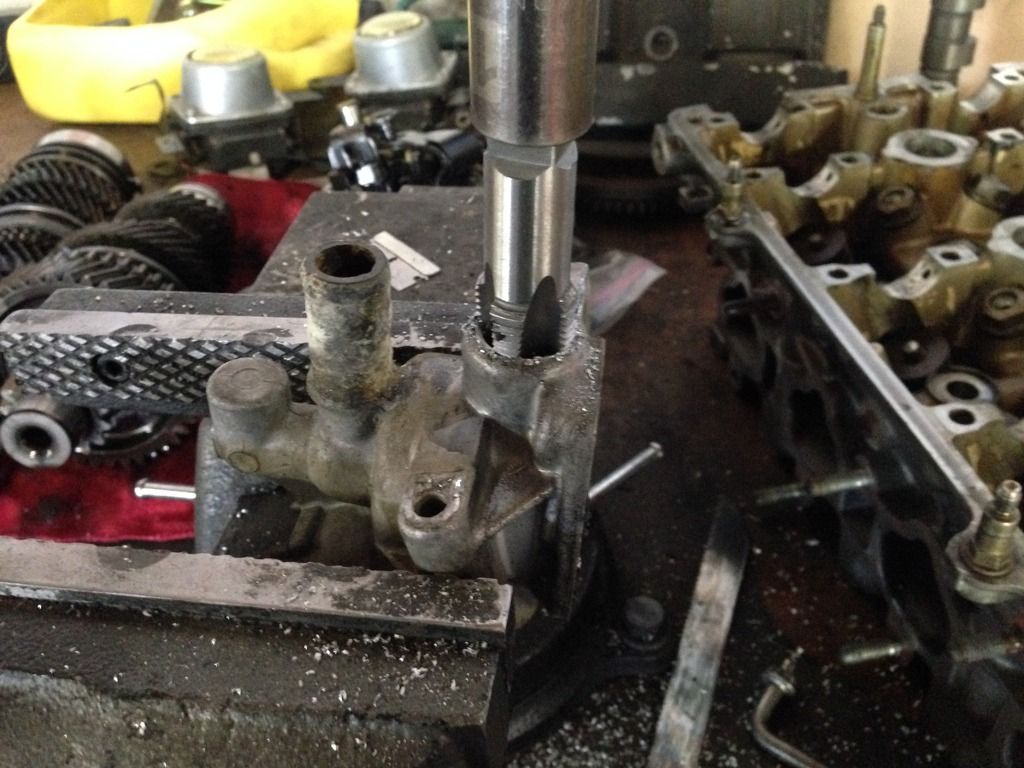
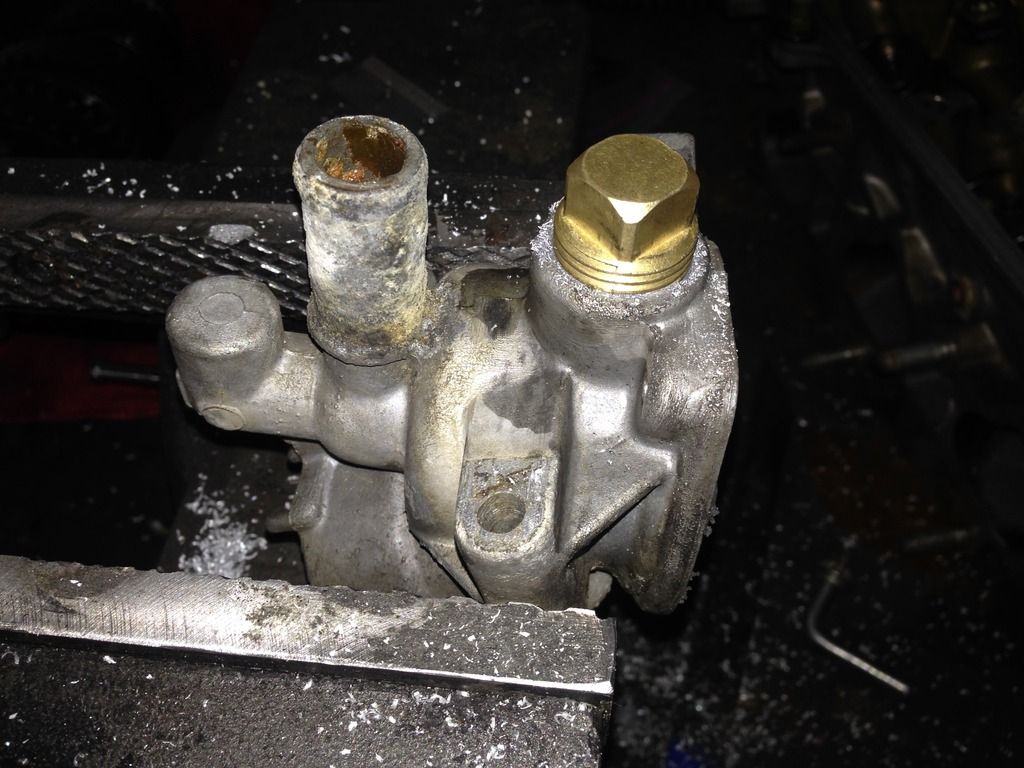
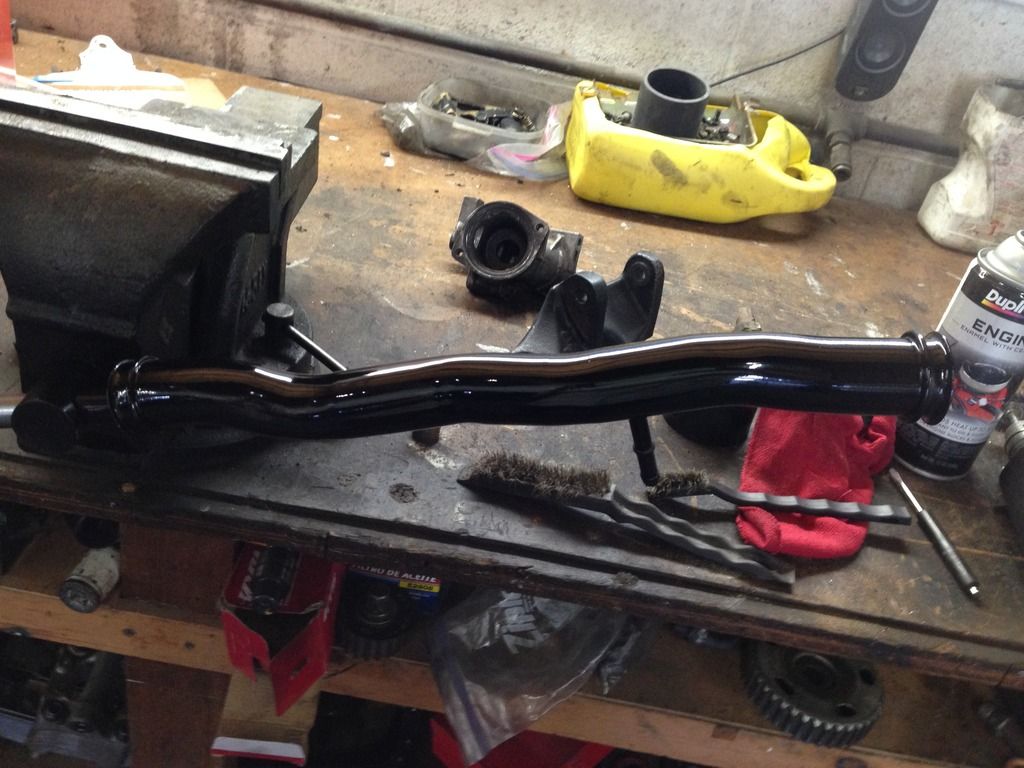
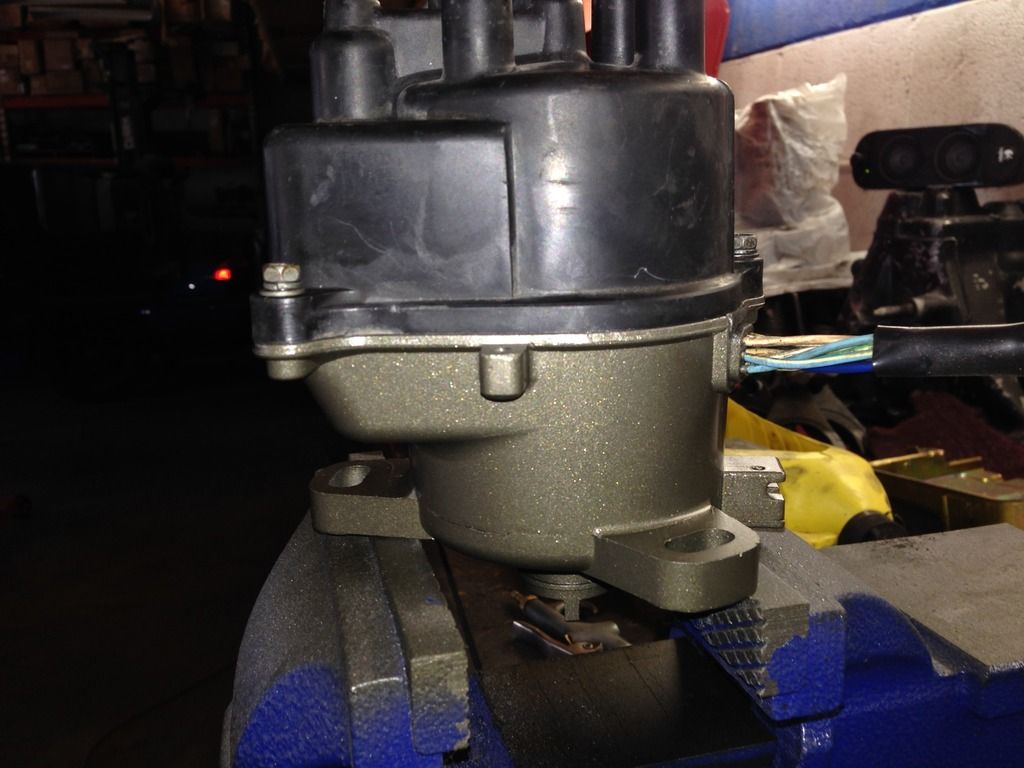
To delete the heater hoses on the block I removed the fittings on both the head and thermostat housing. Tapped it for 1/2" NPT and installed a brass fitting.
09-01-2015, 08:07 PM
#3
Honda-Tech Member
Thread Starter
Join Date: Aug 2006
Location: Palmdale, CA
Posts: 167
Likes: 0
Received 0 Likes
on
0 Posts
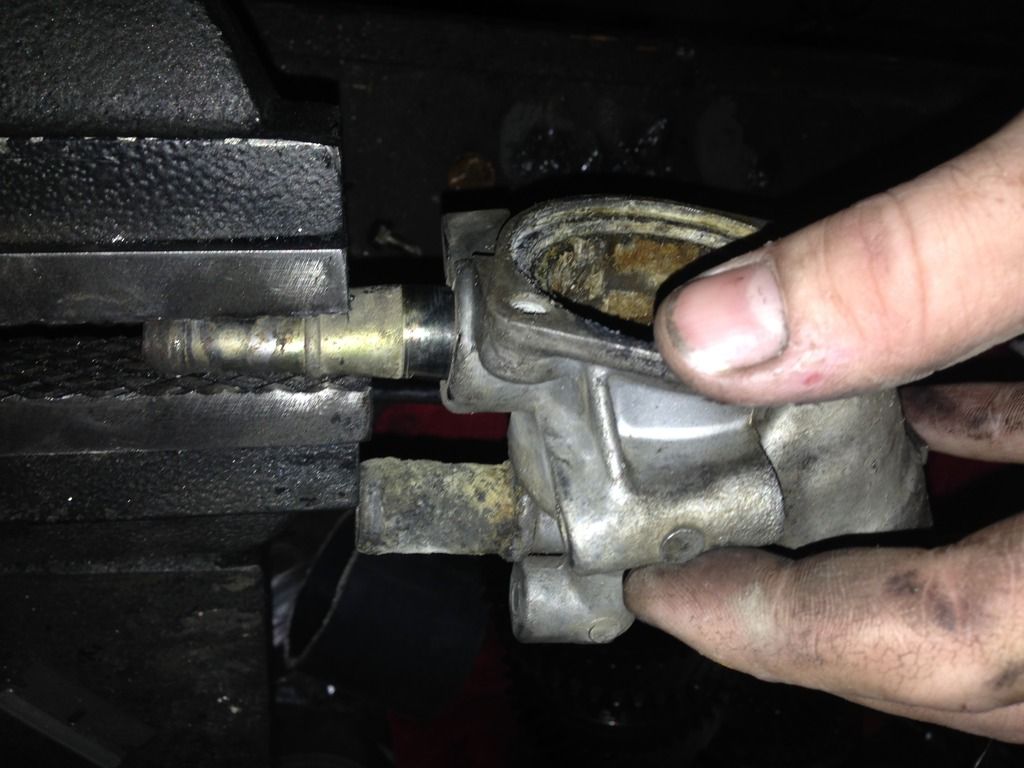
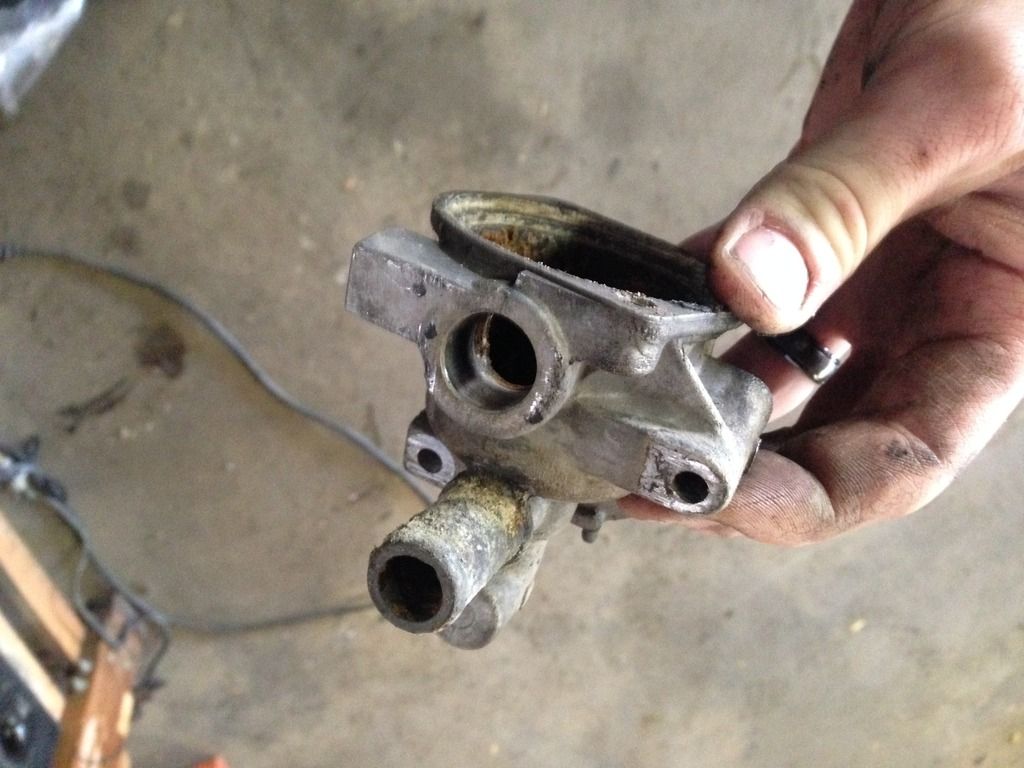
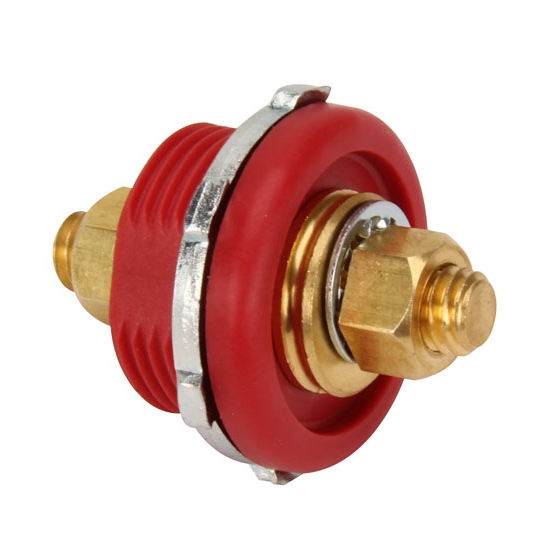
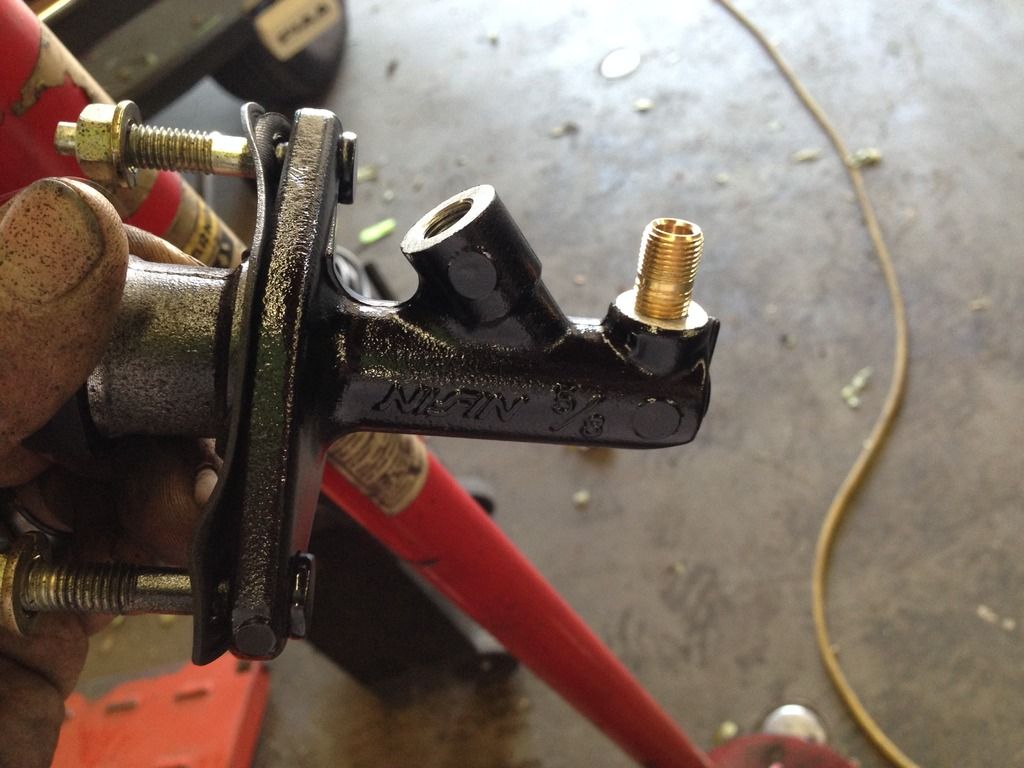
I also removed the nipple fitting on the clutch master cylinder then drilled and tapped it to 1/8" NPT. I'm going to install a male to male fitting.
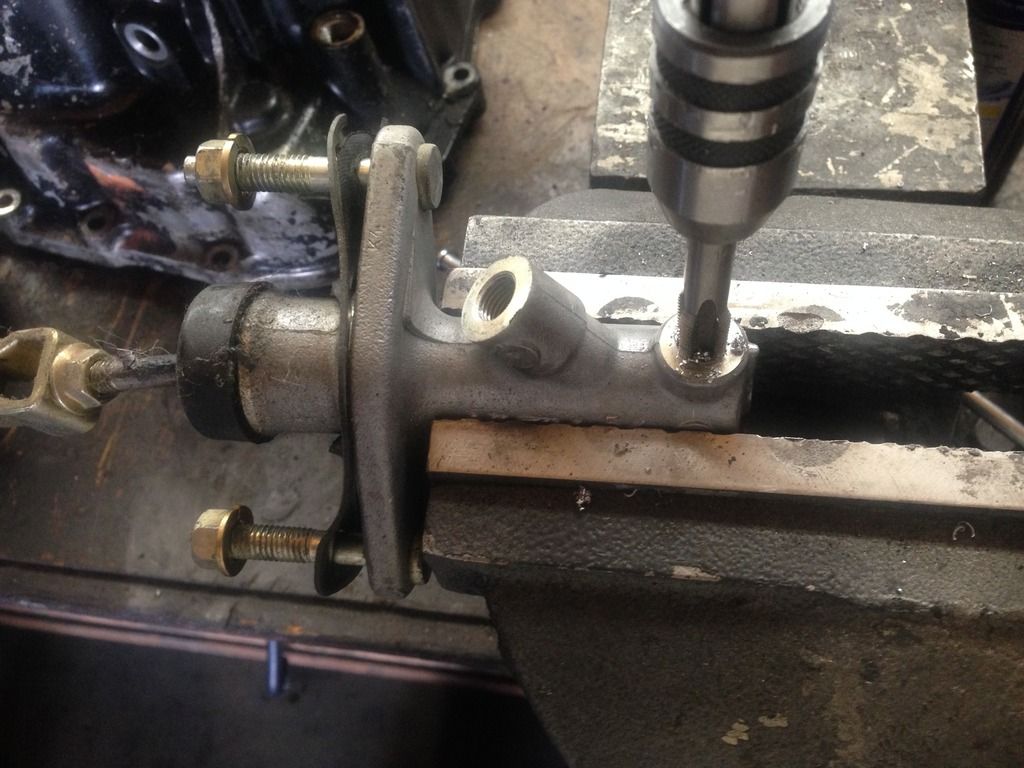
I plan to get a billet reservoir from a motorcycle. remove the nipple fitting and plug it. then drill and tap the bottom where the screw is to 1/8" NPT so it will thread onto the master cylinder.

I plan to get a billet reservoir from a motorcycle. remove the nipple fitting and plug it. then drill and tap the bottom where the screw is to 1/8" NPT so it will thread onto the master cylinder.
Trending Topics
09-01-2015, 08:10 PM
#8
Honda-Tech Member
Thread Starter
Join Date: Aug 2006
Location: Palmdale, CA
Posts: 167
Likes: 0
Received 0 Likes
on
0 Posts
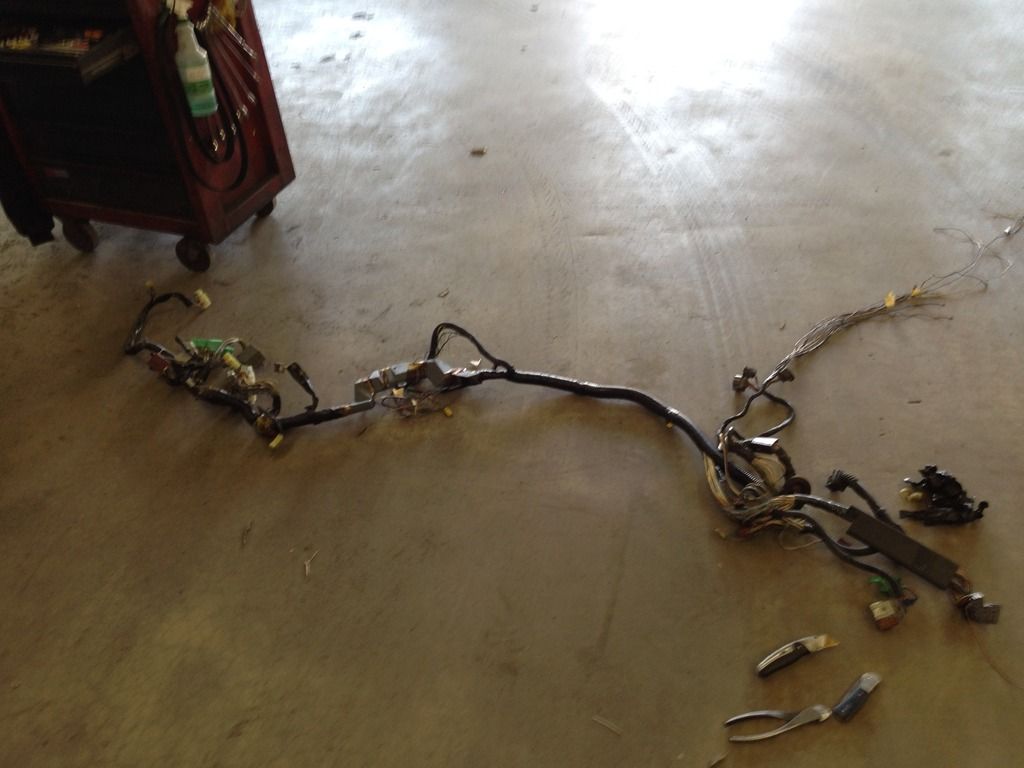
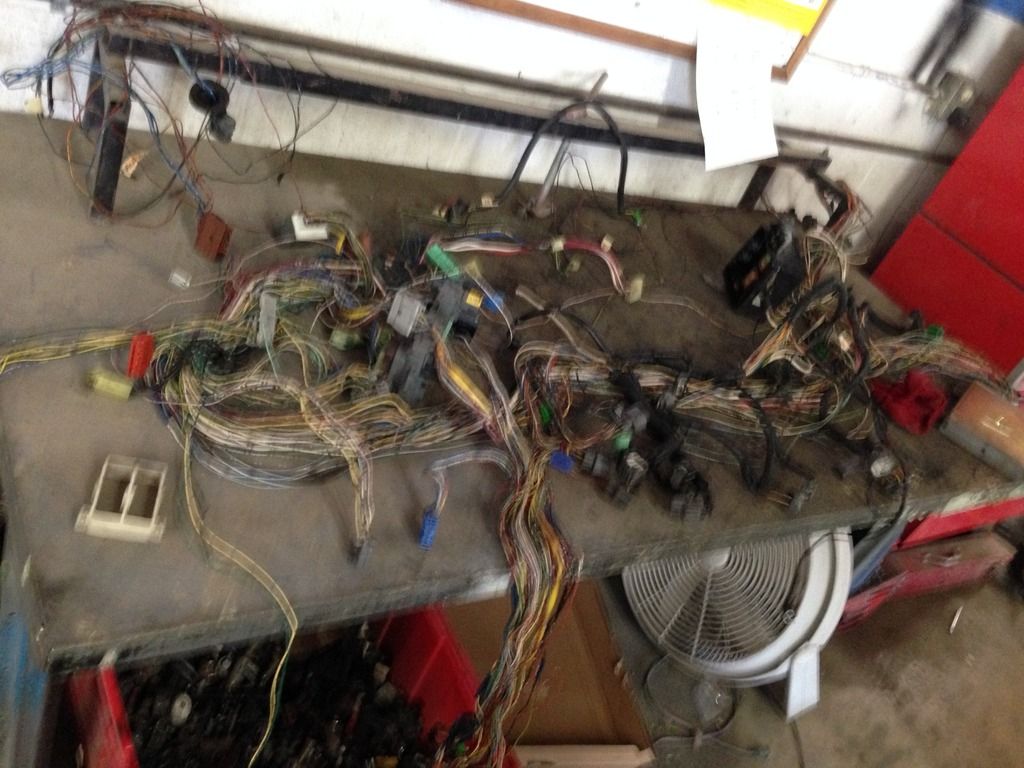
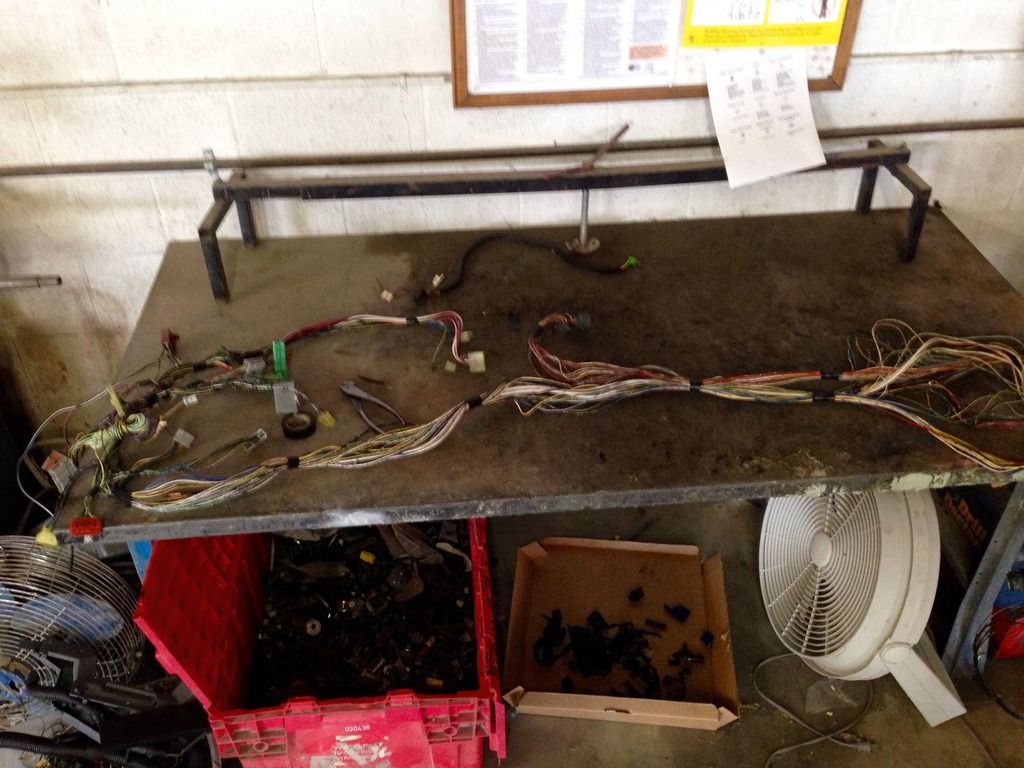
I was burned out on welding, grinding, and cutting so today I got into the wiring. Trying to eliminate any unused wires. the car was auto before so I started removing the auto wiring. Also removed the A/C wires from the right side fender area. also unnecessary wiring from the left fender area. It's just going to be the headlights and turn signals going through the fenders. and the radiator fan wires. I only cut the wires where it was spliced in the harness wrapped in blue tape. If it went to a plug I depinned it.
09-01-2015, 08:11 PM
#9
Honda-Tech Member
Thread Starter
Join Date: Aug 2006
Location: Palmdale, CA
Posts: 167
Likes: 0
Received 0 Likes
on
0 Posts
So more on the subject of battery relocation. I need 2 through firewall battery connectors...
Im going to run 1/0awg from the battery to one firewall connector then from the connector to the fuse box with 8awg. On the engine side ill use 4awg from the connector to the starter.
Then 8awg from the alternator to the other firewall connector. On the cabin side, 8awg from the connector to fuse box.
Also thinking about using a larger deep cycle sealed battery.
I believe that should be more than enough to hold all the amperage of the system. Any input or suggestions are appreciated.

 09-01-2015, 08:13 PM
#13
Honda-Tech Member
Thread Starter
Join Date: Aug 2006
Location: Palmdale, CA
Posts: 167
Likes: 0
Received 0 Likes
on
0 Posts
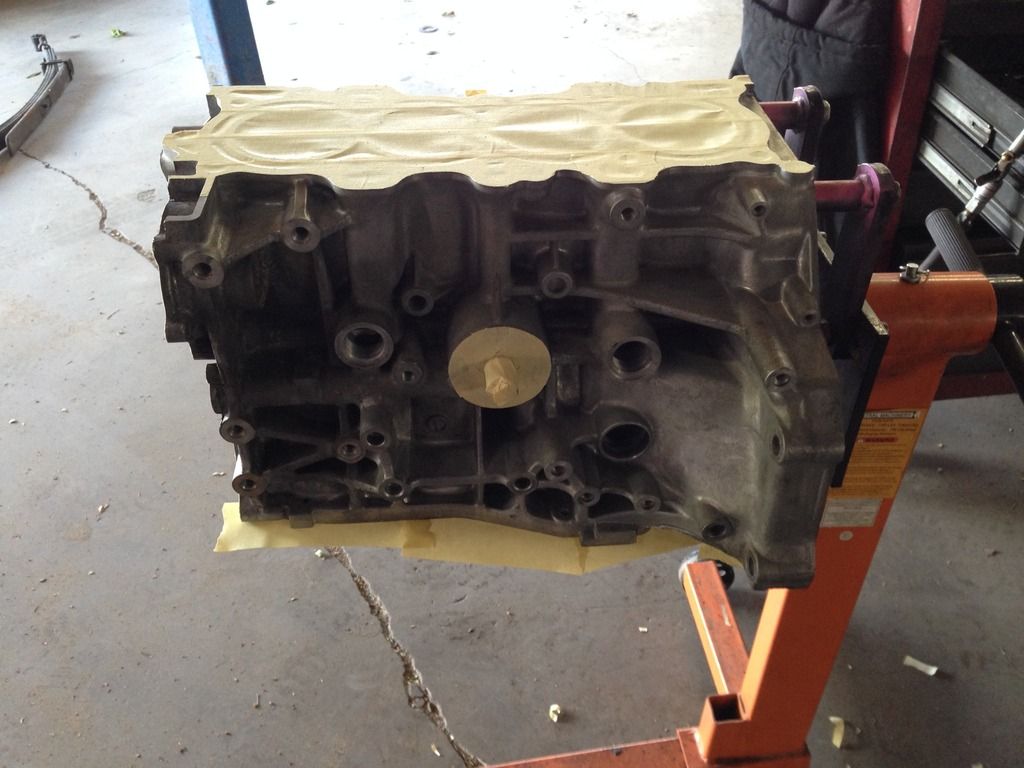
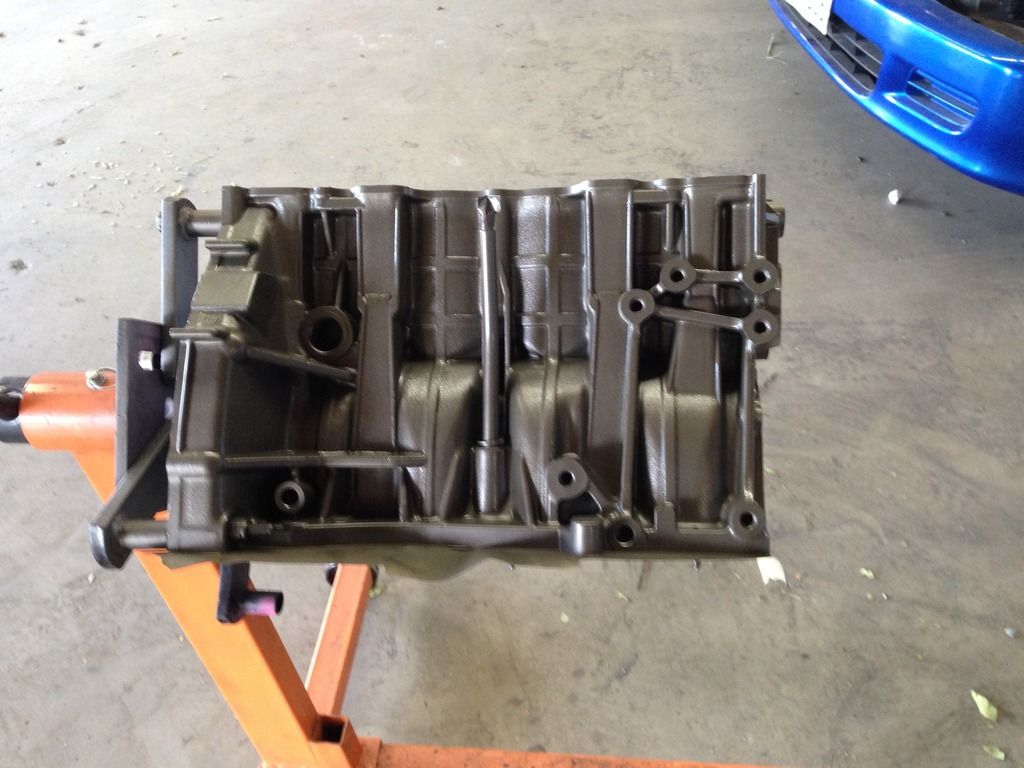
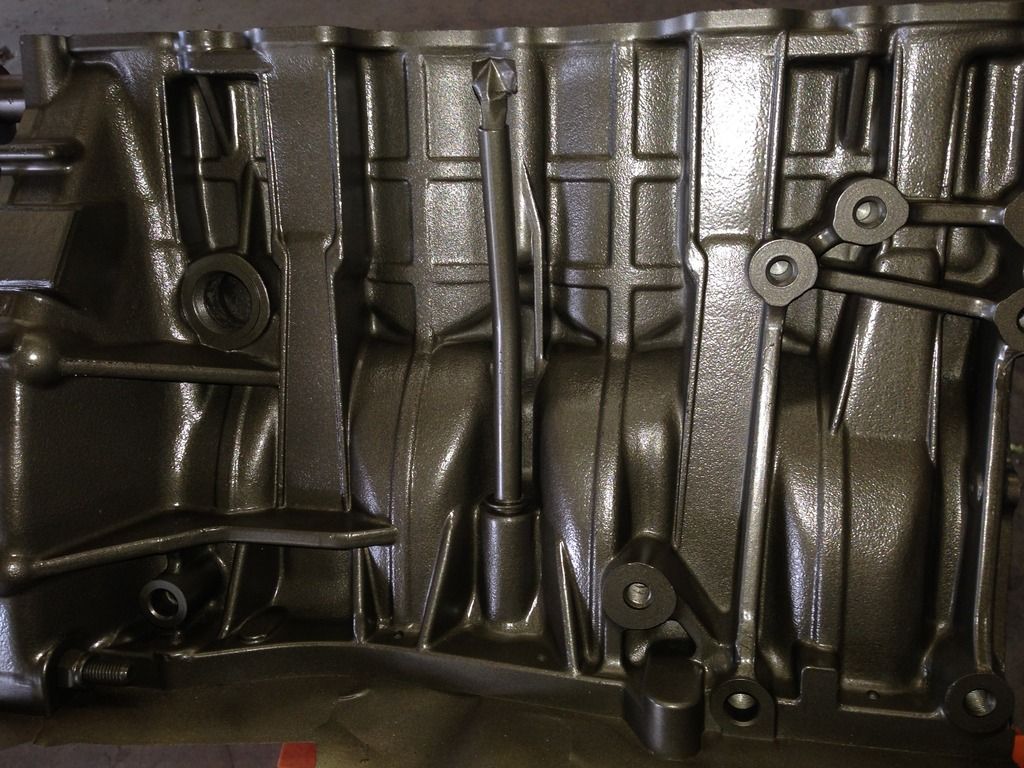
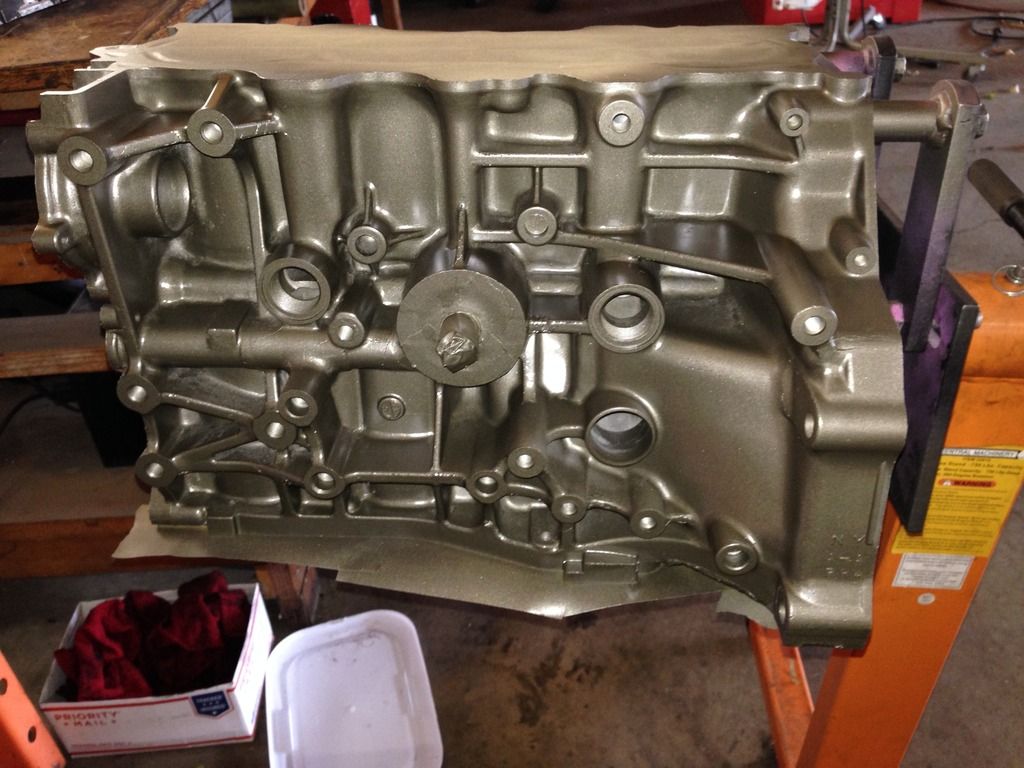
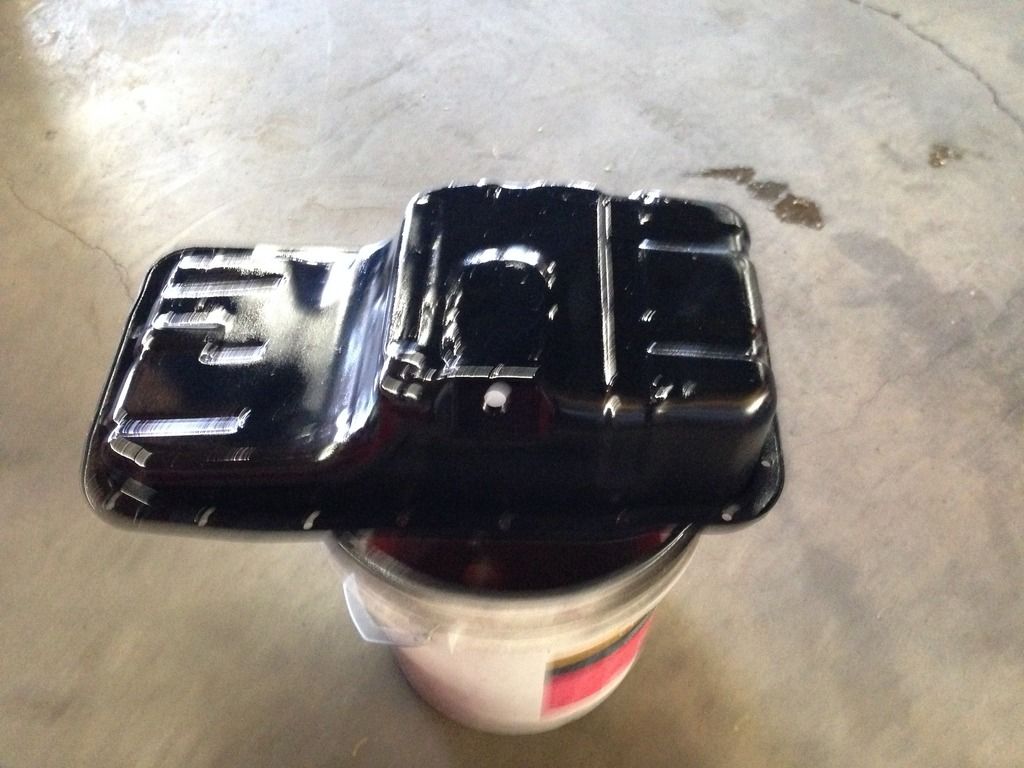
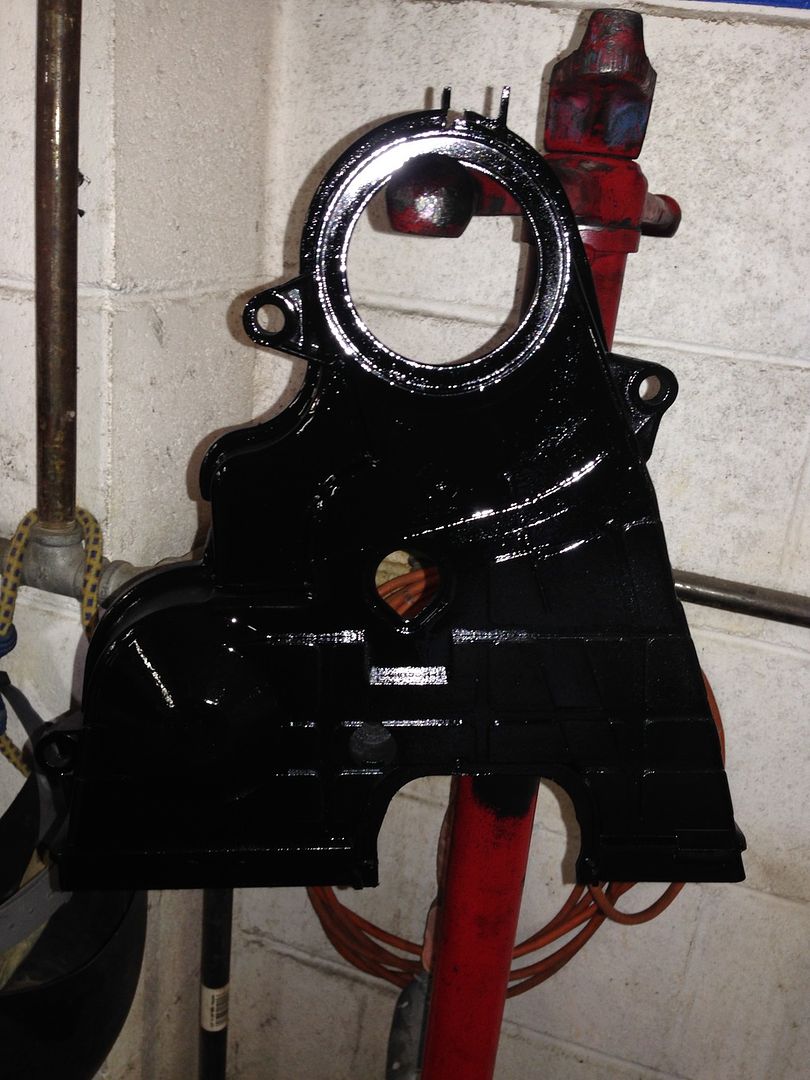
sprayed some clear on my block...
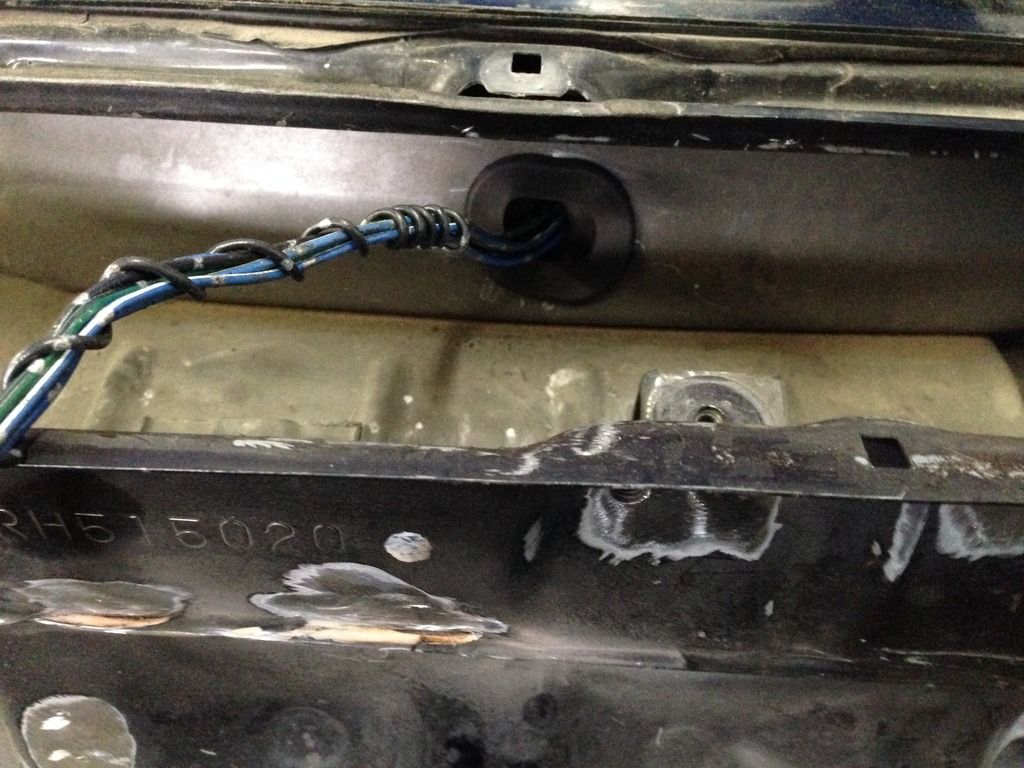
I've got the brake tuck bulkhead fittings on their way $13 from newegg for 6 90deg fittings and nuts. Also the battery bulkhead connectors. I put an offer in on the engine harness bulkhead connector. I really need to get the engine bay done, it's just so much work!
I've got the brake tuck bulkhead fittings on their way $13 from newegg for 6 90deg fittings and nuts. Also the battery bulkhead connectors. I put an offer in on the engine harness bulkhead connector. I really need to get the engine bay done, it's just so much work!
 09-01-2015, 08:14 PM
#15
Honda-Tech Member
Thread Starter
Join Date: Aug 2006
Location: Palmdale, CA
Posts: 167
Likes: 0
Received 0 Likes
on
0 Posts
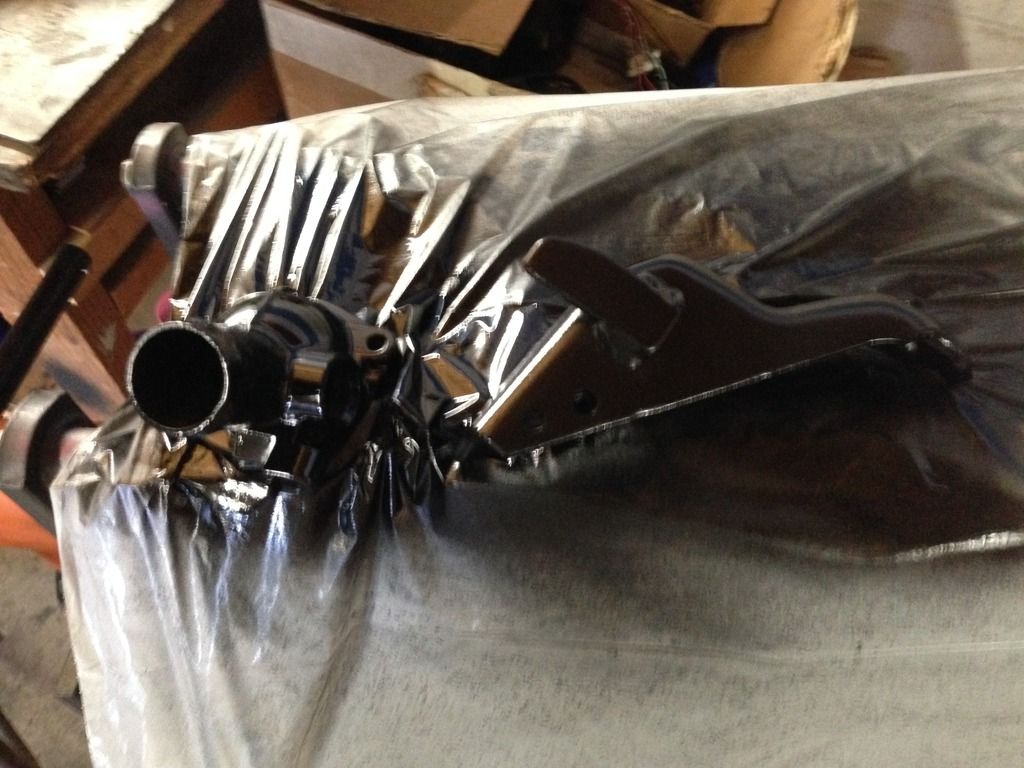
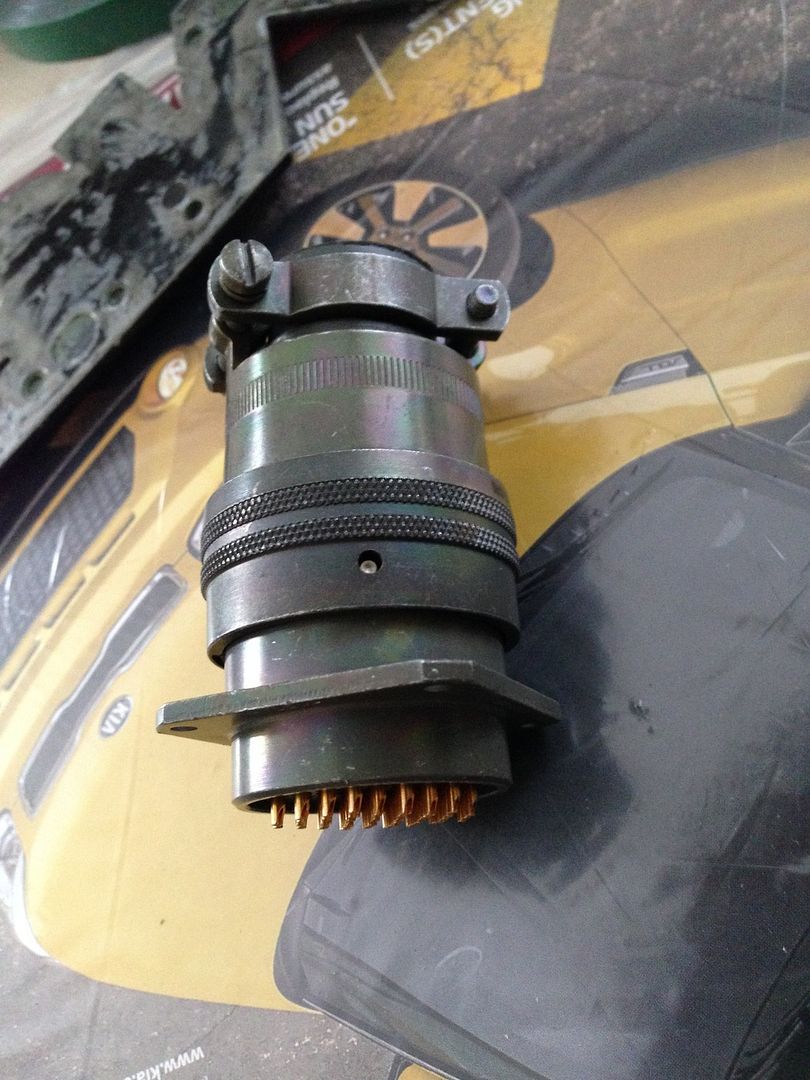
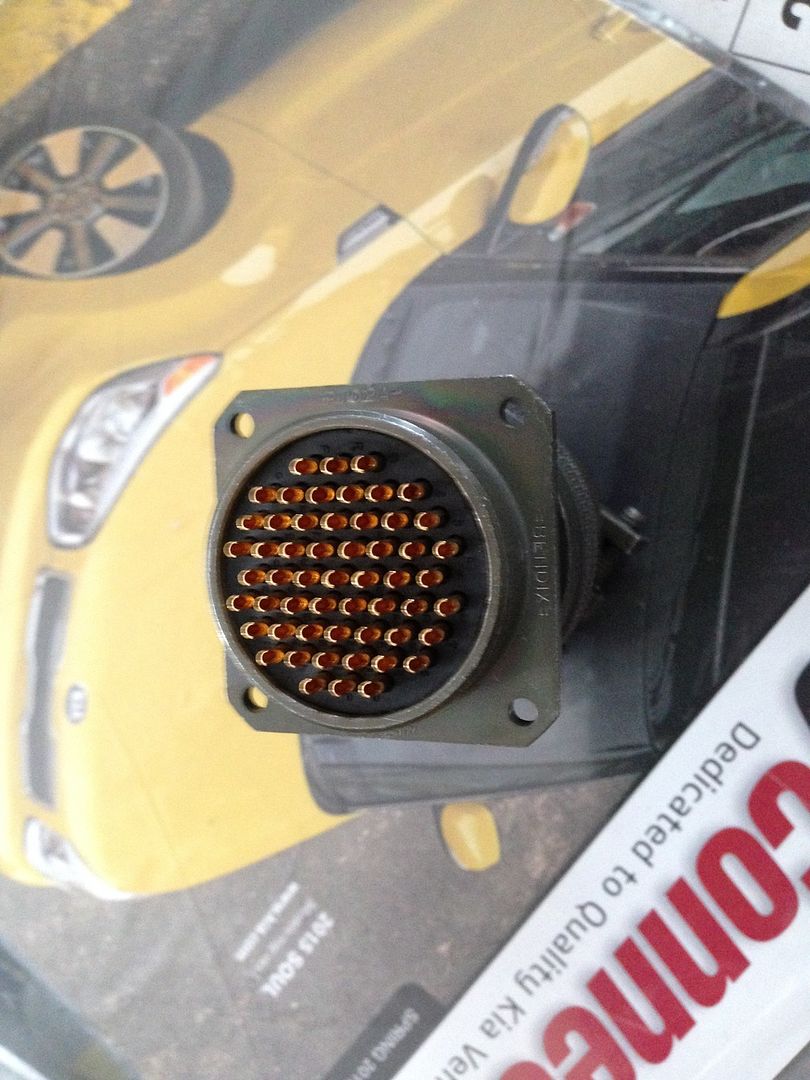
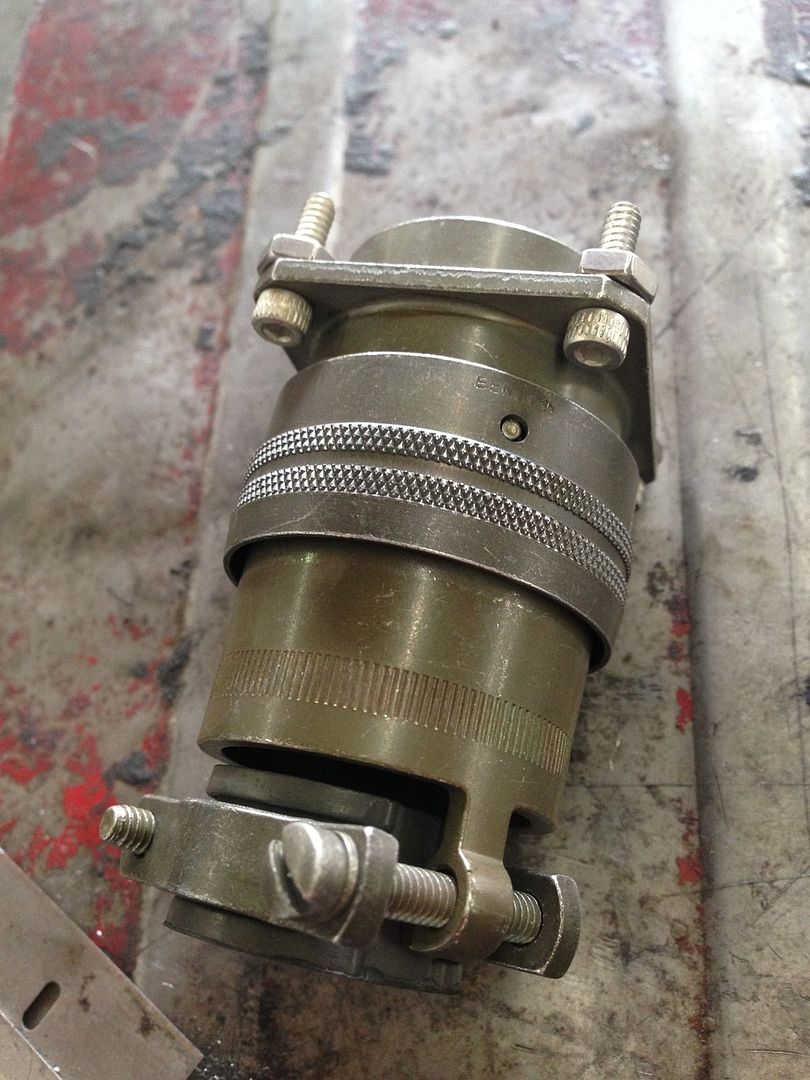
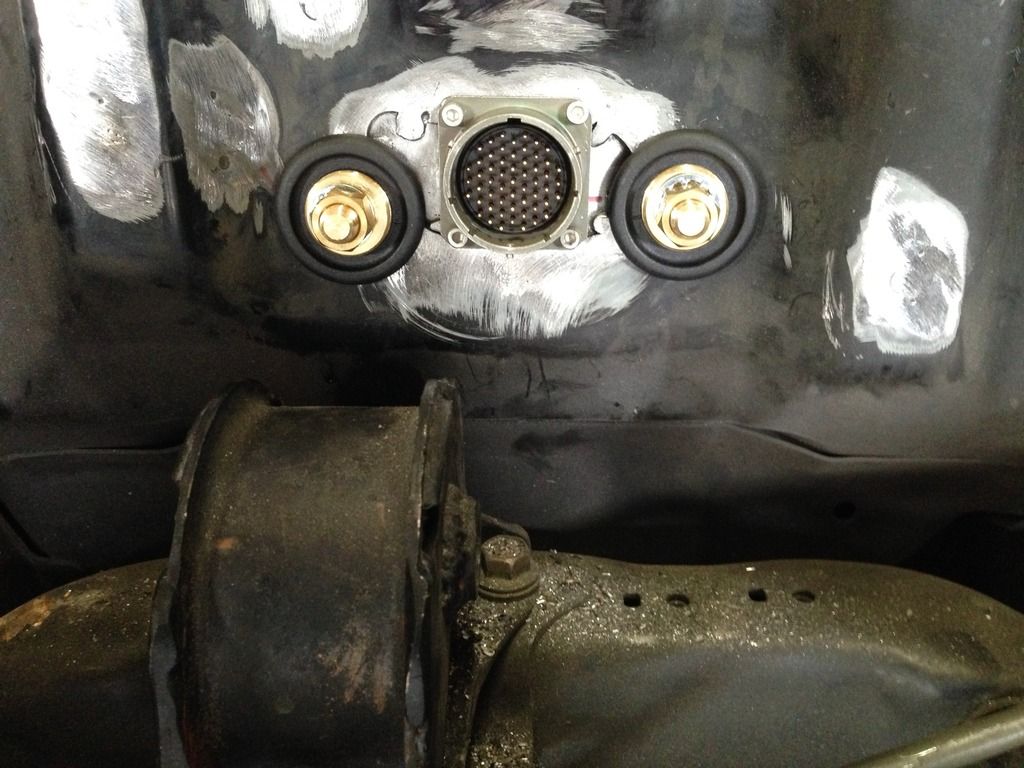
Got my engine harness connector in the mail today. 55pin 22awg. Found some nice aluminum bolts and nuts for it laying around the shop. 55pins should be plenty for the 40 22awg wires and ill split the larger gauge wires for the coil across 5-6 pins each.
09-01-2015, 08:15 PM
#16
Honda-Tech Member
Thread Starter
Join Date: Aug 2006
Location: Palmdale, CA
Posts: 167
Likes: 0
Received 0 Likes
on
0 Posts
I will not miss my old wiring harness plugs.
I cut a hole in the firewall under the cowl for the wiper motor wiring. Got the rest of the interior harness sorted out.
Got the battery terminals today. Drilled the holes for the harness plug and battery posts.
Hopefully tomorrow i can start applying body filler.
I cut a hole in the firewall under the cowl for the wiper motor wiring. Got the rest of the interior harness sorted out.
Got the battery terminals today. Drilled the holes for the harness plug and battery posts.
Hopefully tomorrow i can start applying body filler.
09-01-2015, 08:16 PM
#17
Honda-Tech Member
Thread Starter
Join Date: Aug 2006
Location: Palmdale, CA
Posts: 167
Likes: 0
Received 0 Likes
on
0 Posts
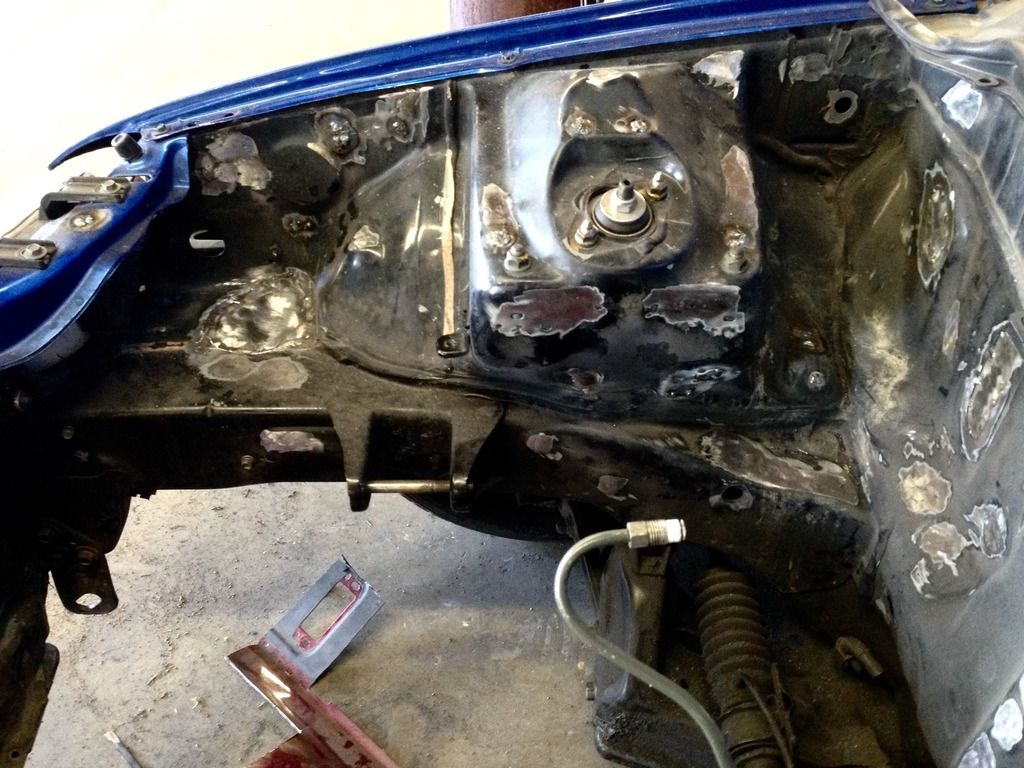
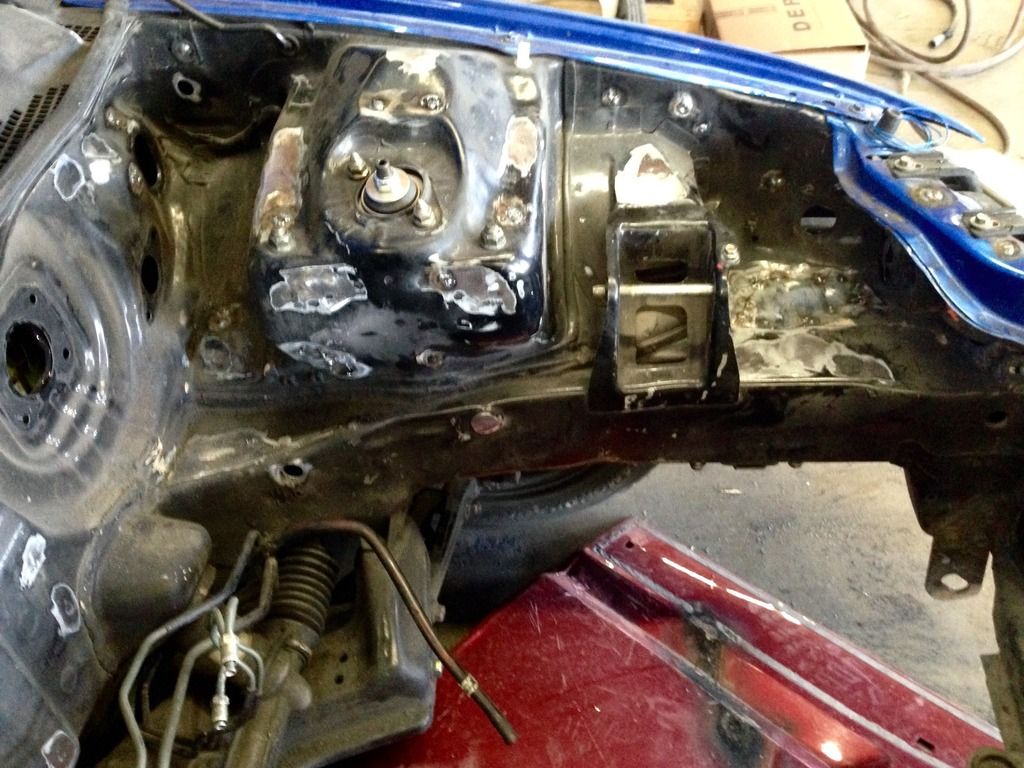
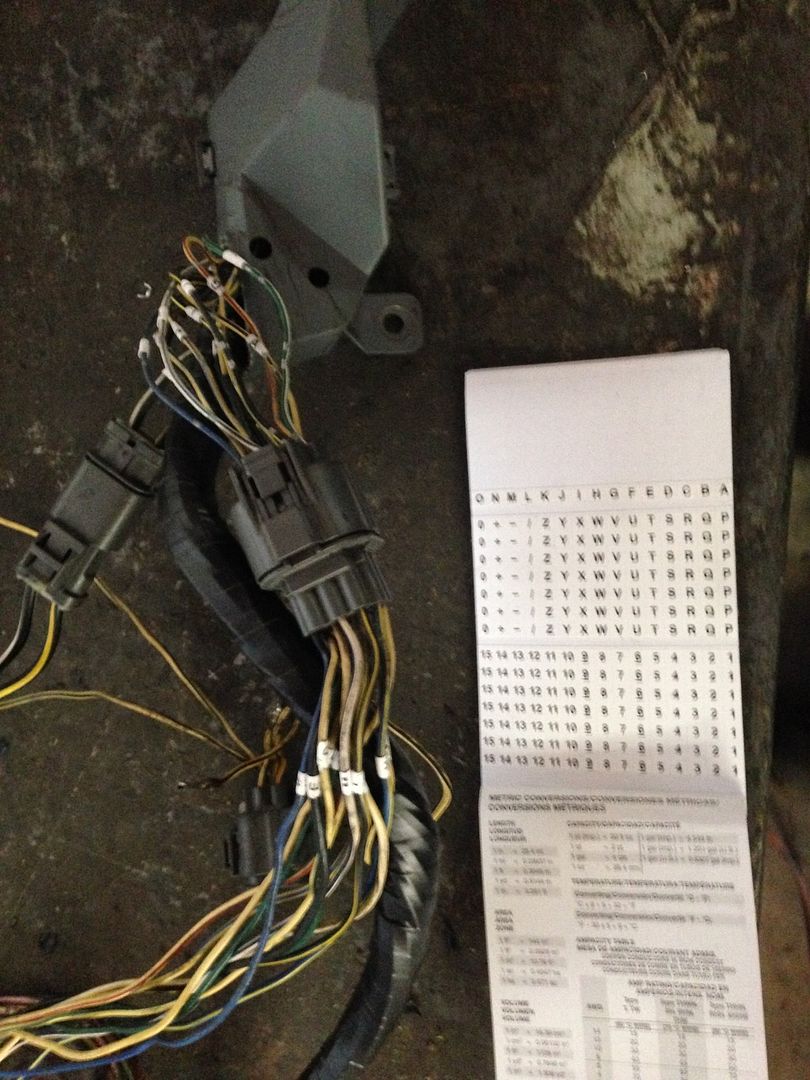
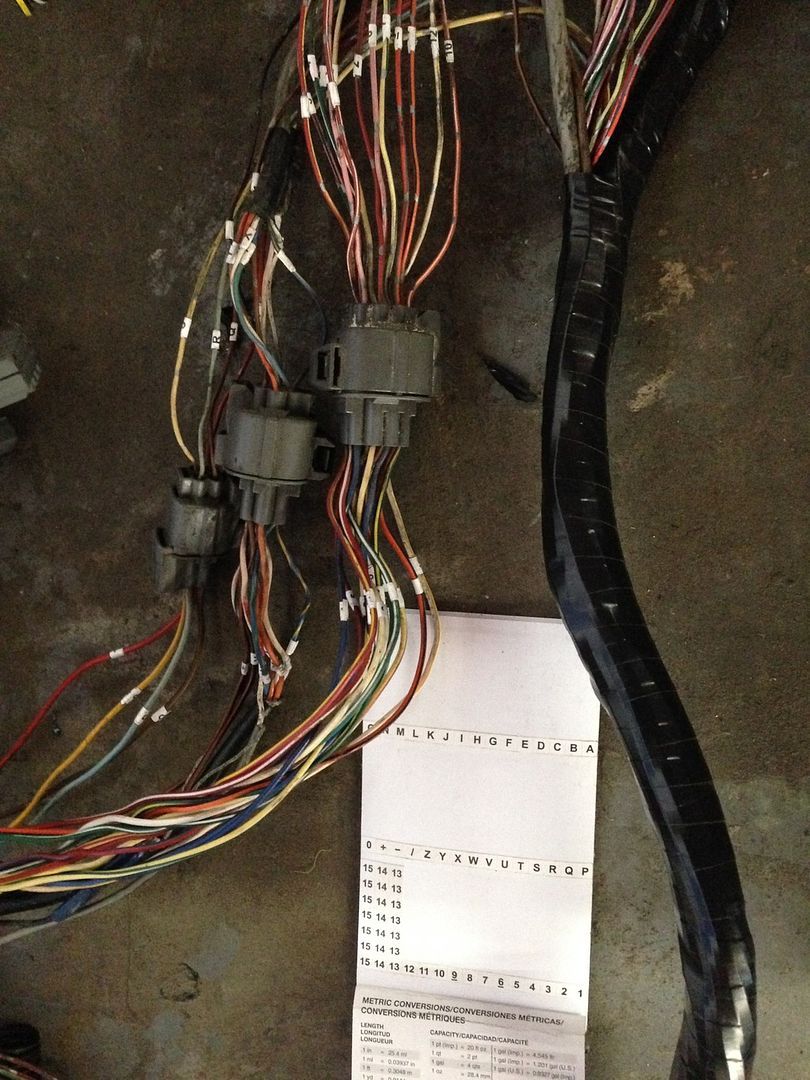
Got more work done today. Labeled all the engine harness wires so i can solder in the connector later. I am very glad to say i am done with welding and grinding on the engine bay. I started removing the nasty *** seam sealer. Once its all off ill sand blast everything and start applying body filler.
09-01-2015, 08:17 PM
#18
Honda-Tech Member
Thread Starter
Join Date: Aug 2006
Location: Palmdale, CA
Posts: 167
Likes: 0
Received 0 Likes
on
0 Posts
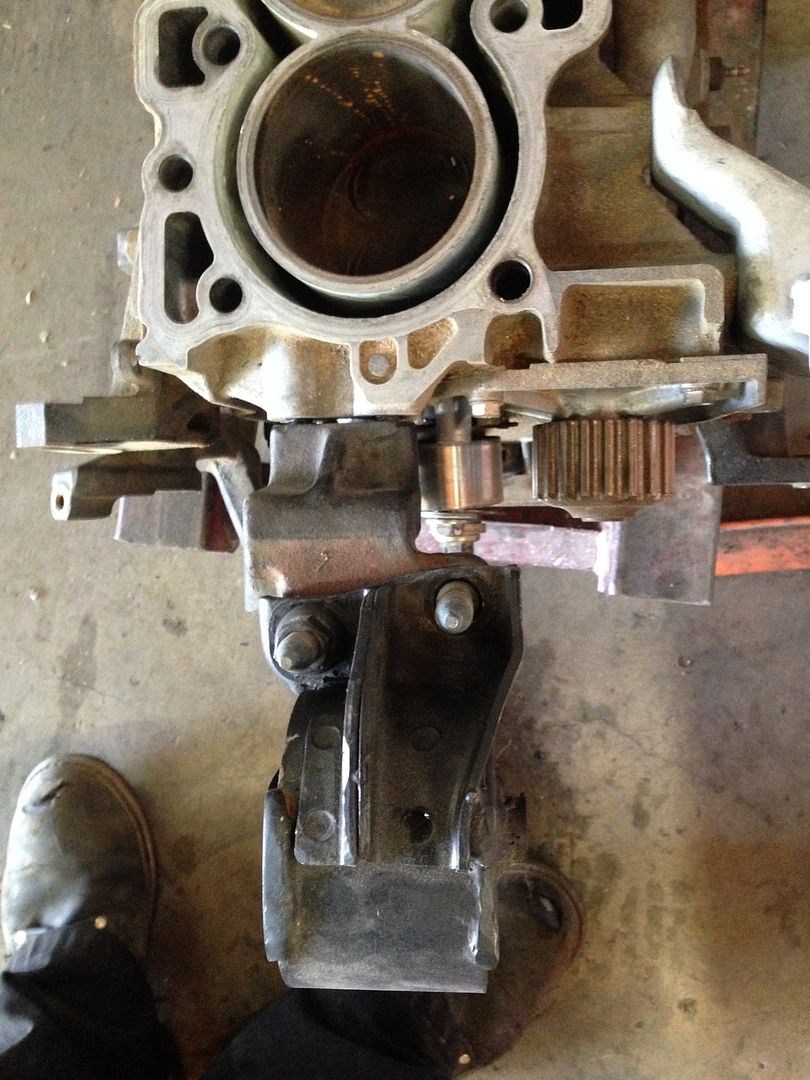
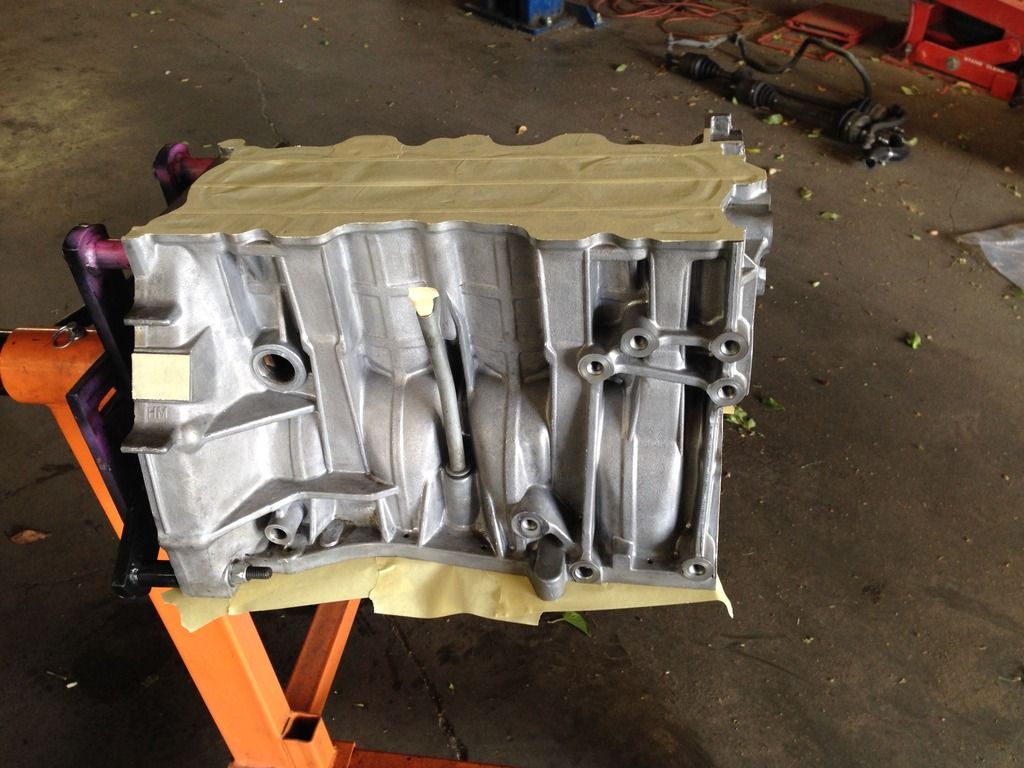
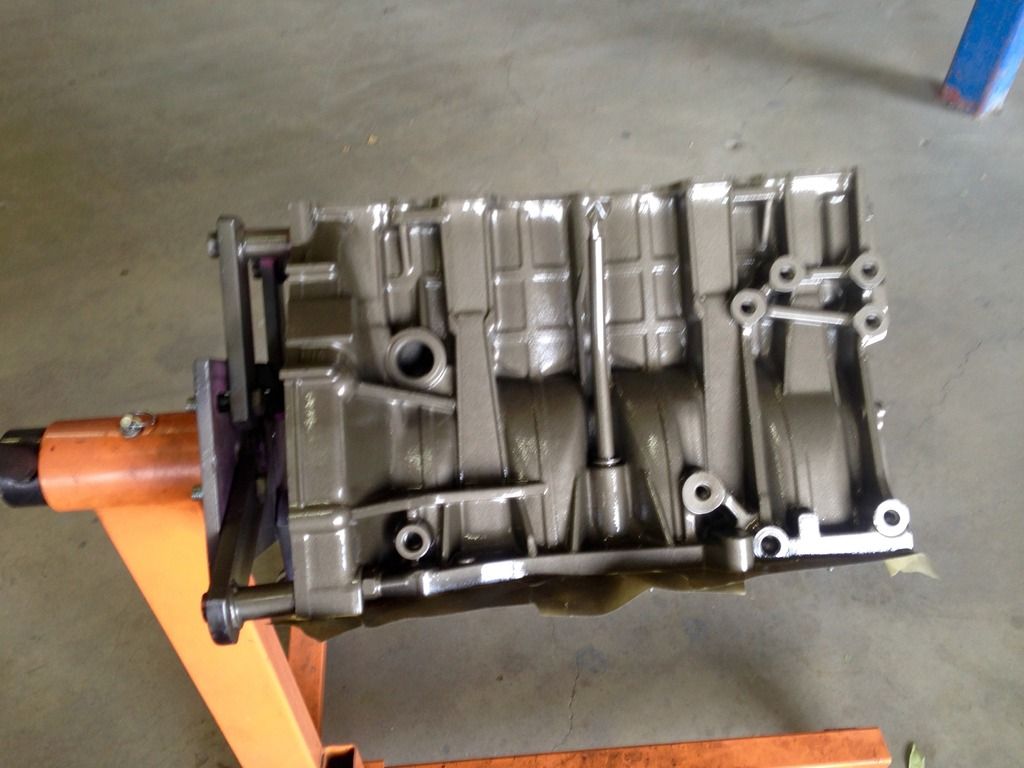
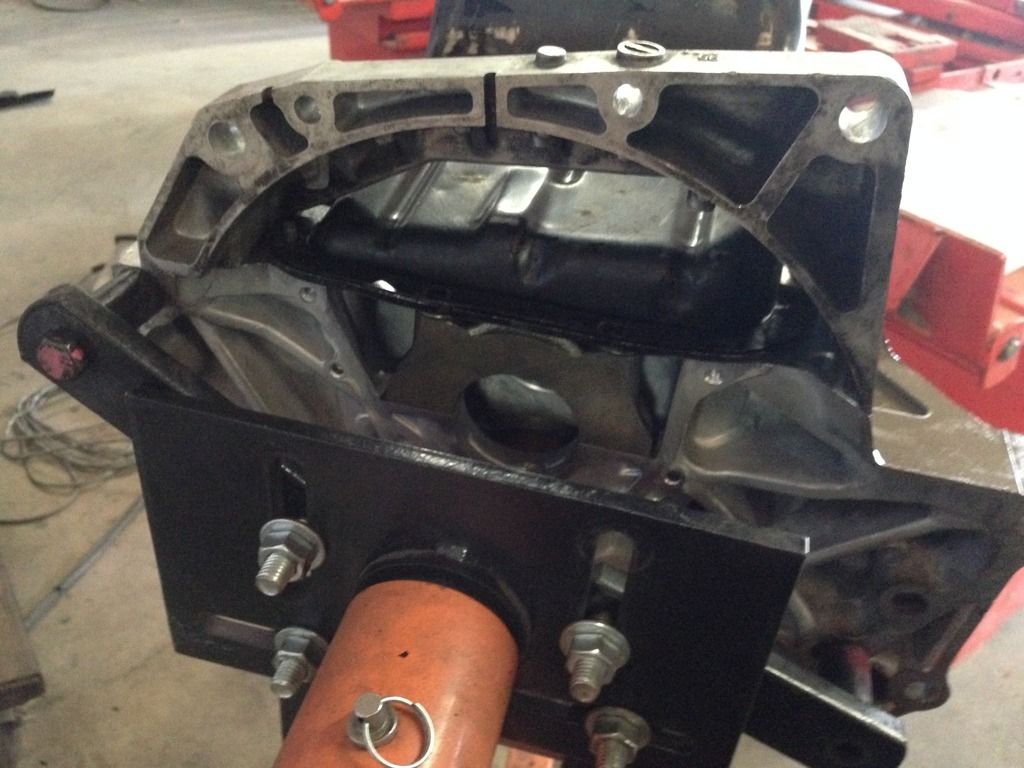
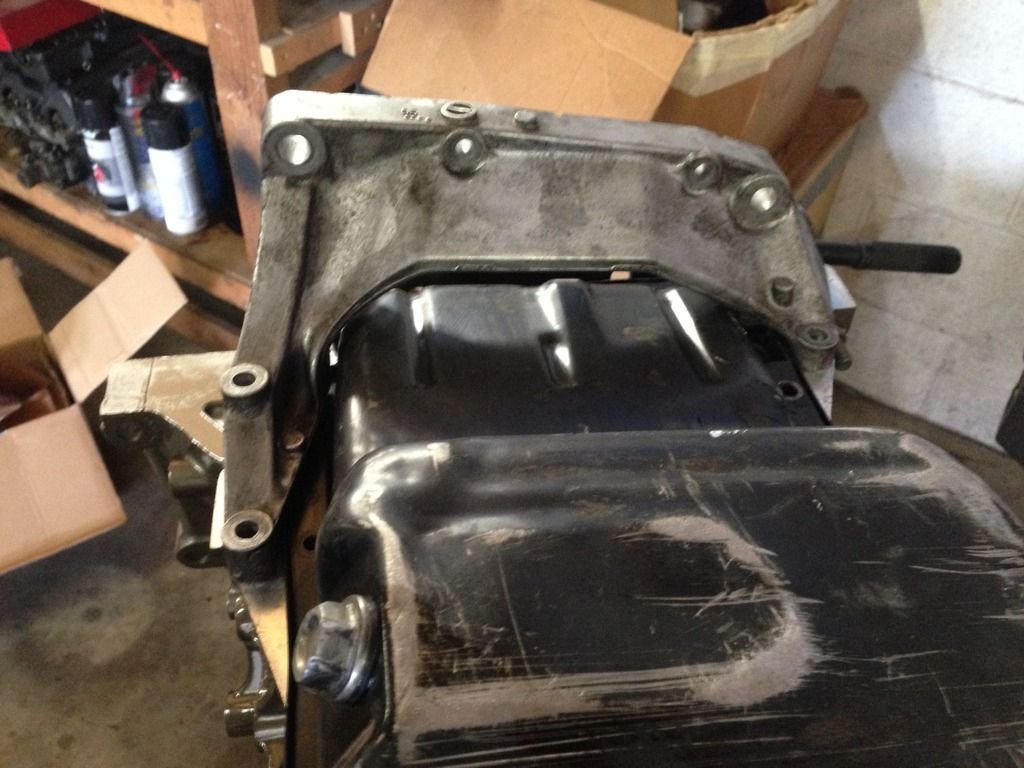
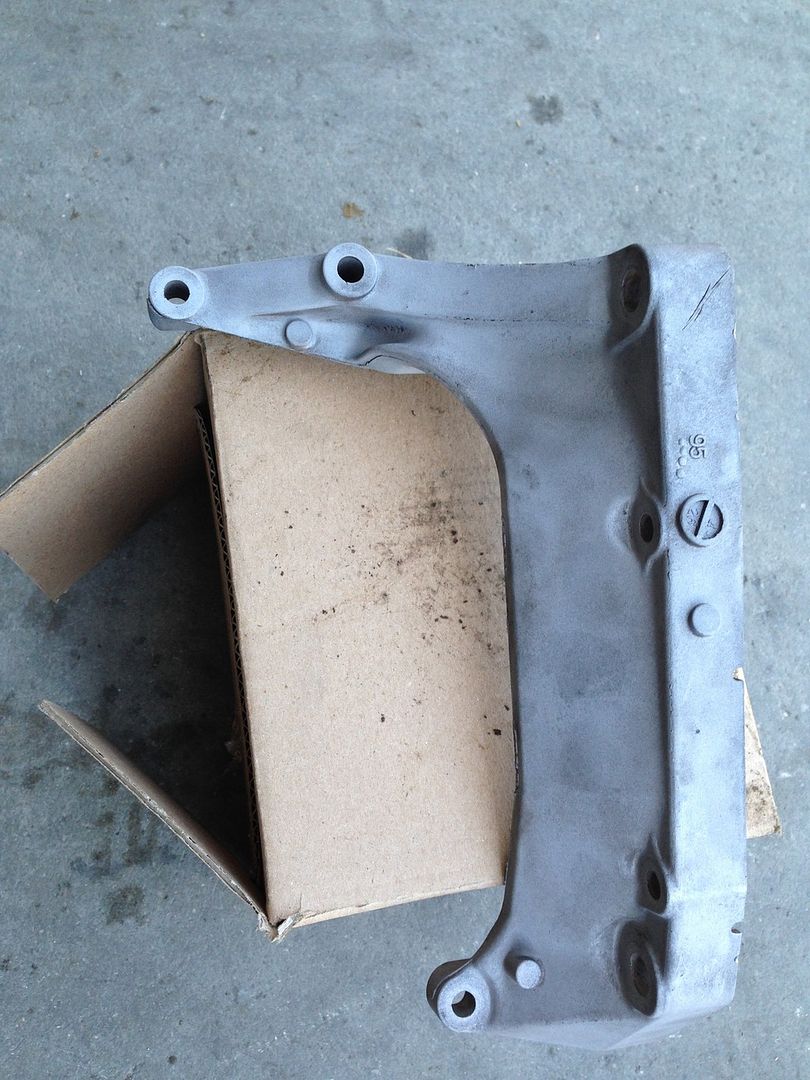
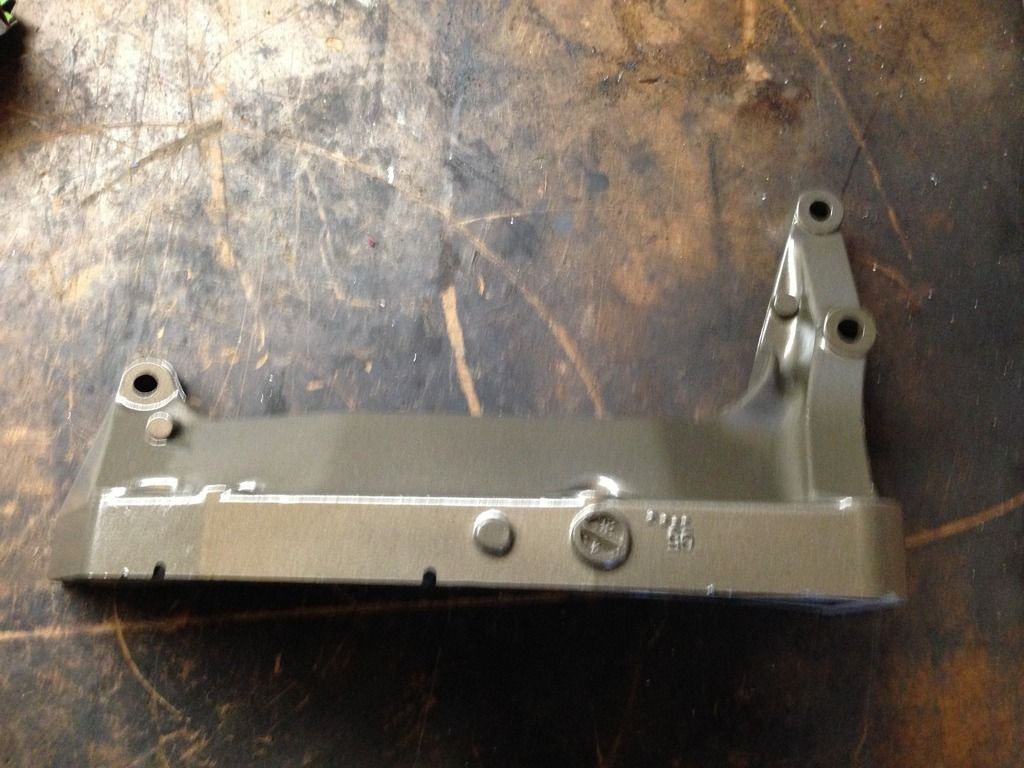
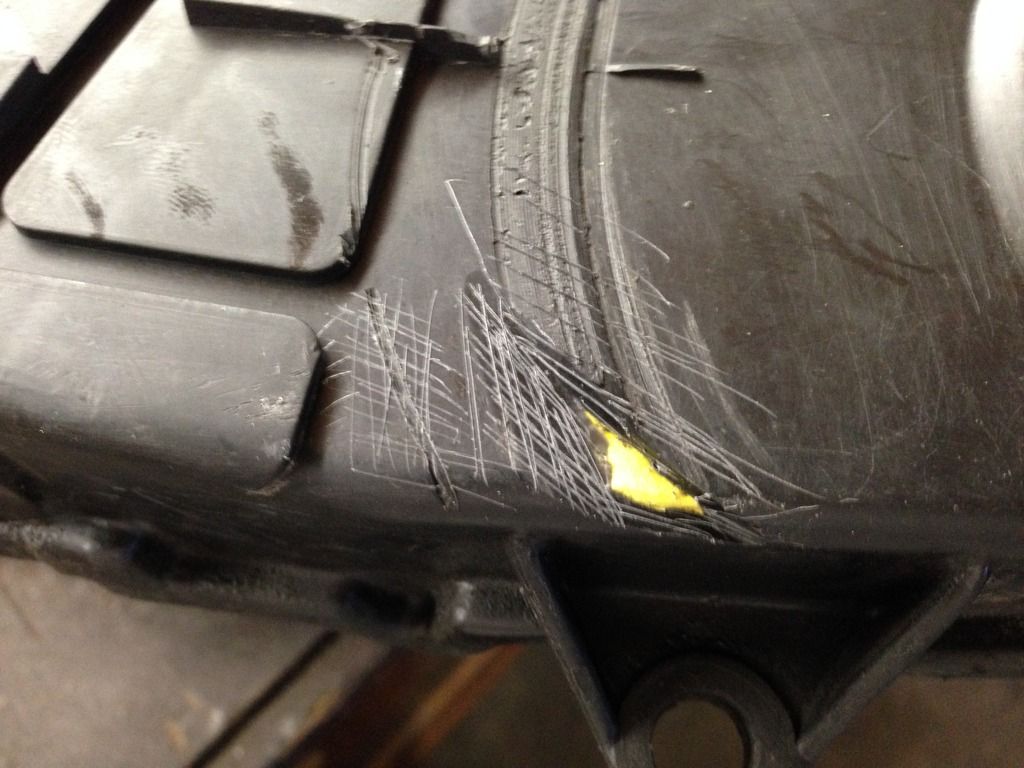
So the vtec oil pans are a bit different. This became apparent when i mocked up the ITR trans brace i got today. I may try to track a vtec oil pan down now.

 09-01-2015, 08:18 PM
#20
Honda-Tech Member
Thread Starter
Join Date: Aug 2006
Location: Palmdale, CA
Posts: 167
Likes: 0
Received 0 Likes
on
0 Posts
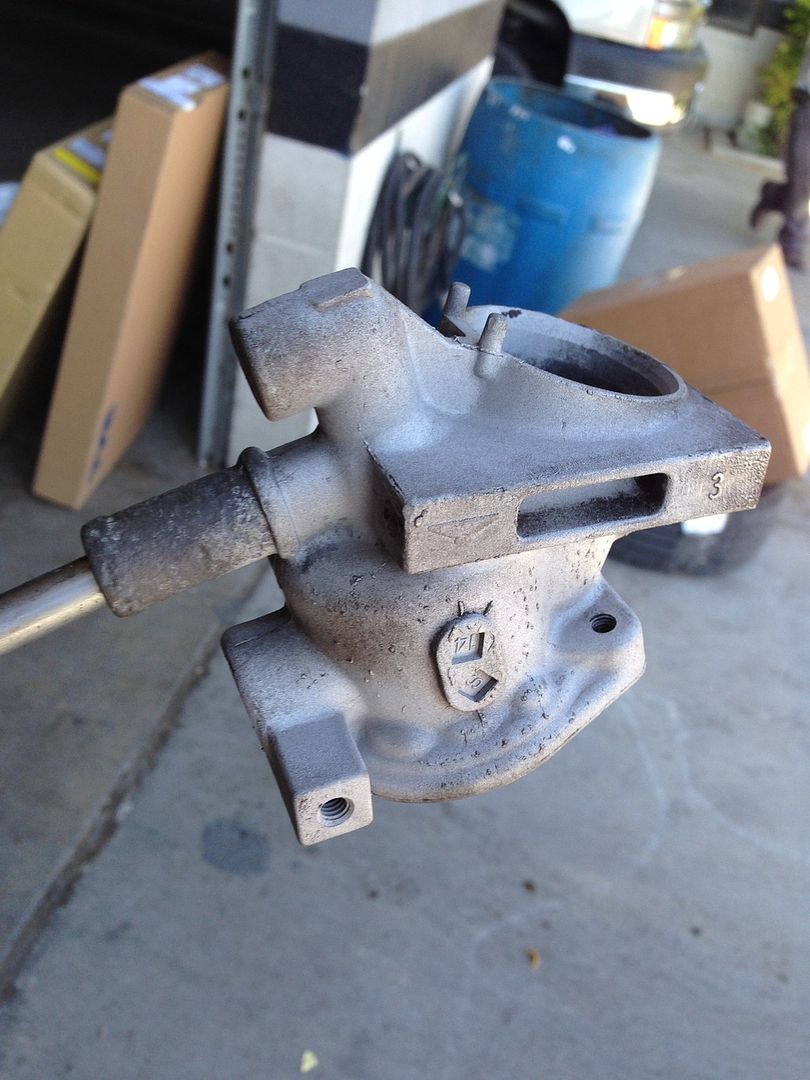
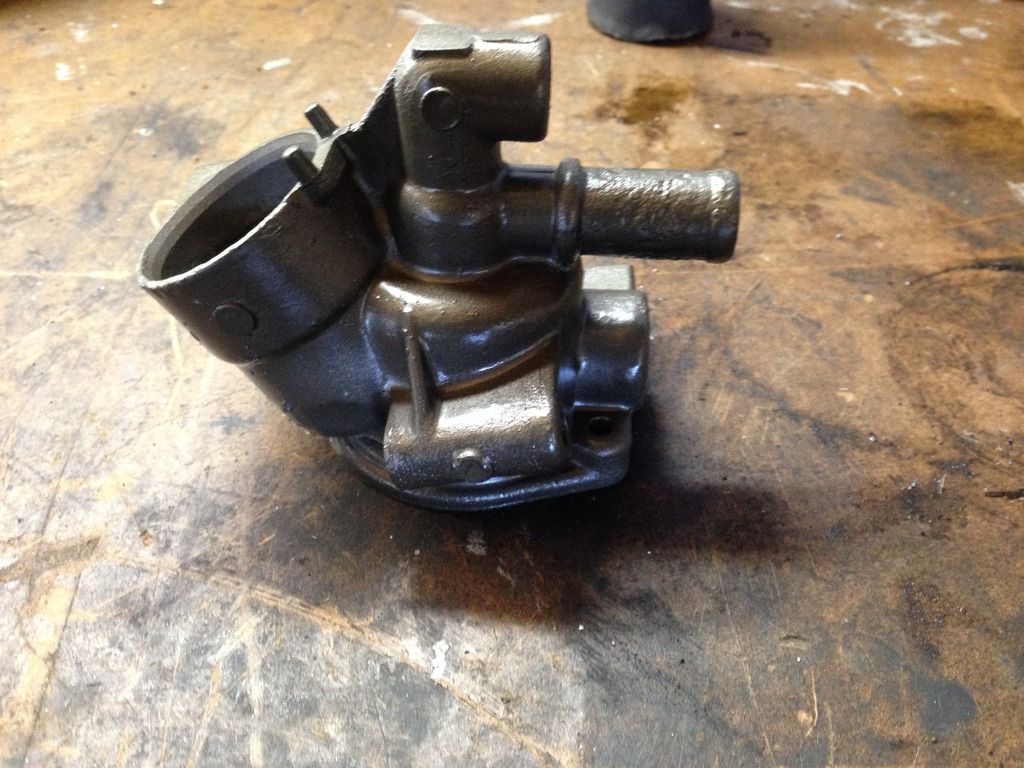
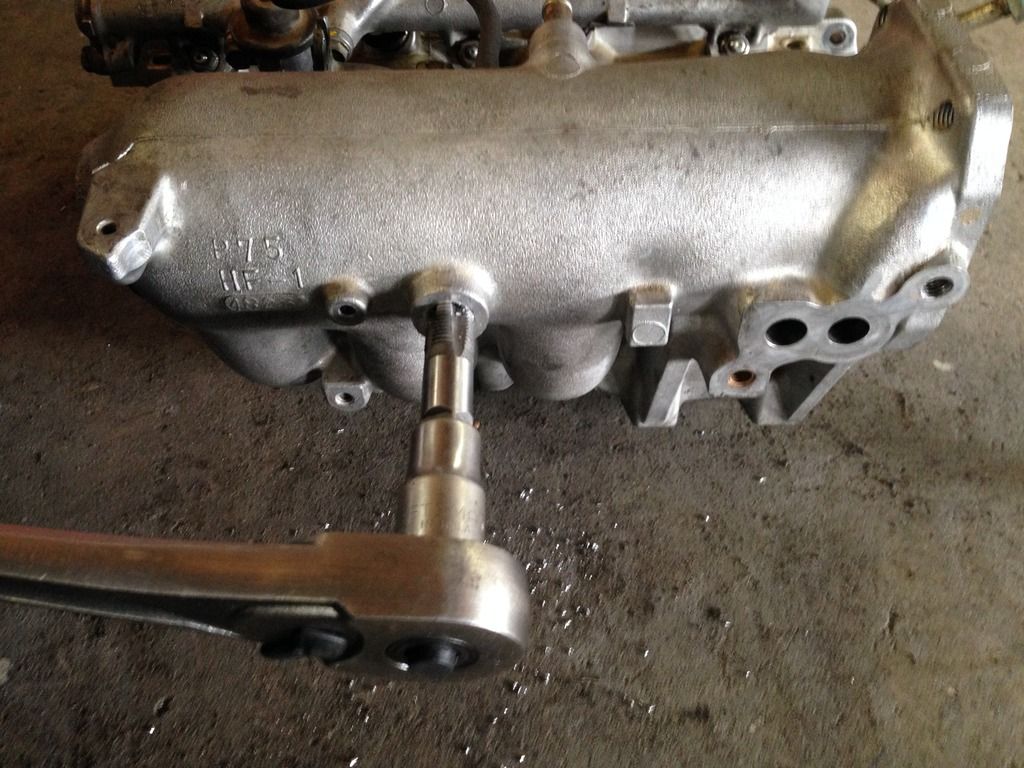
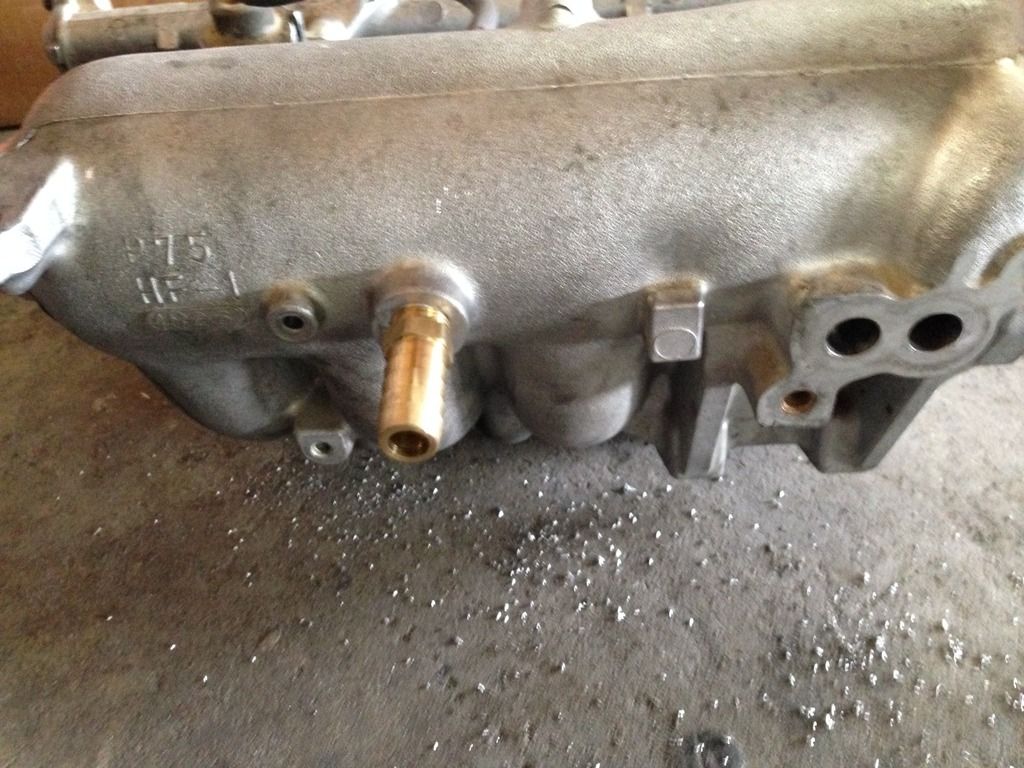
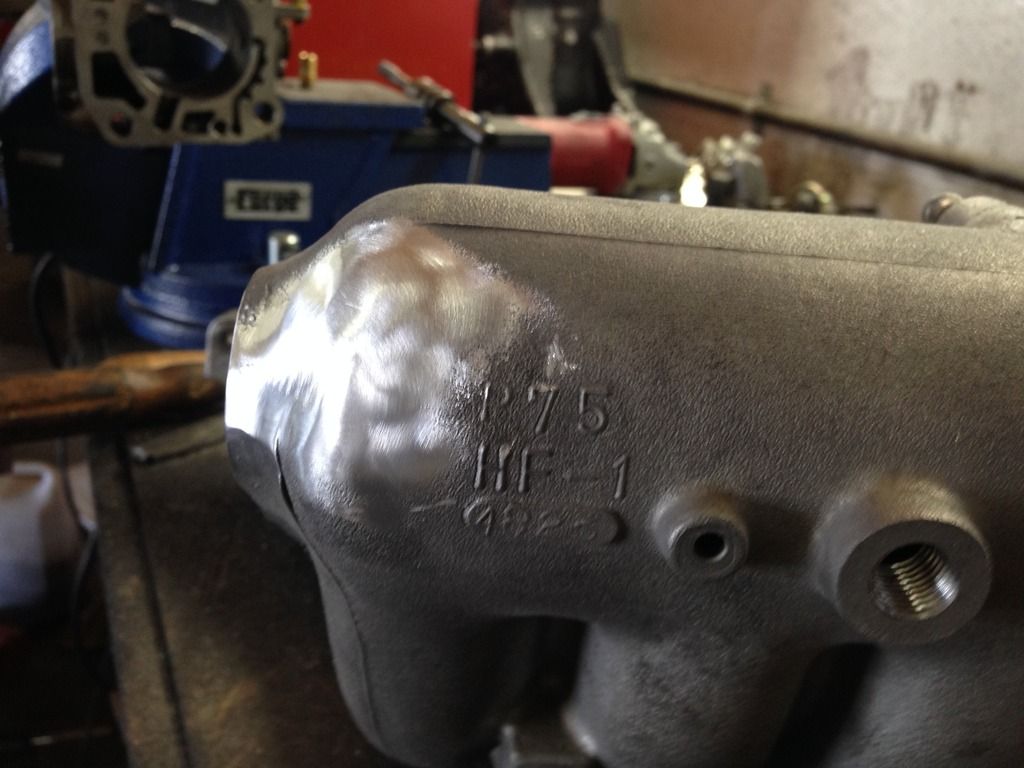
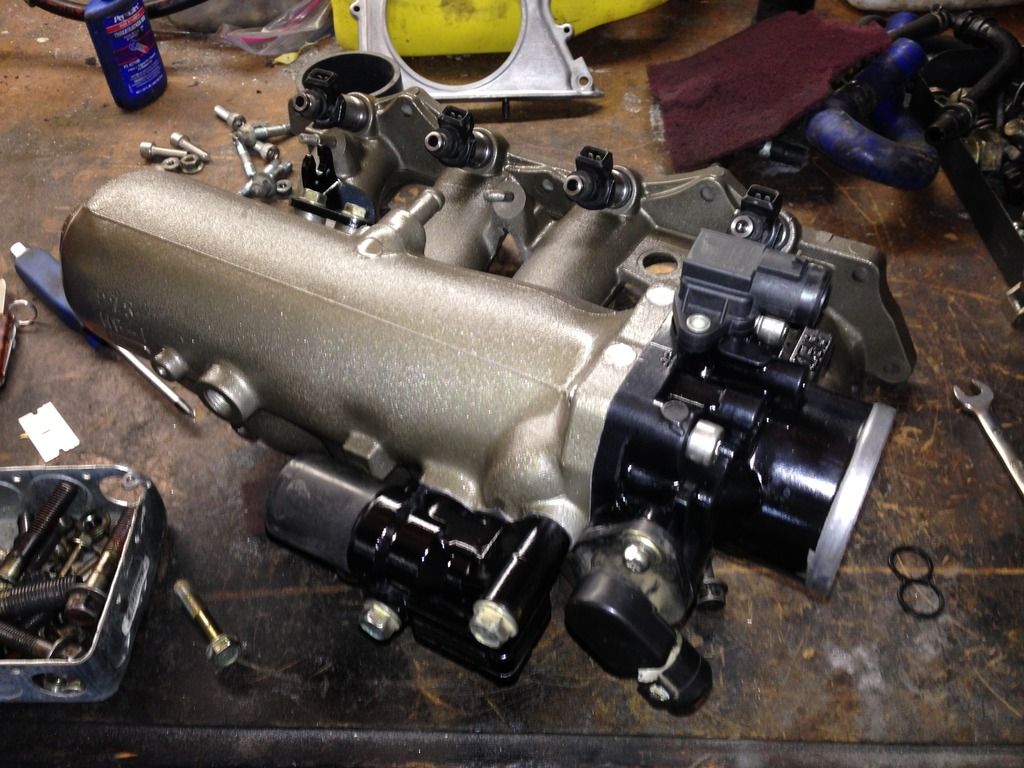
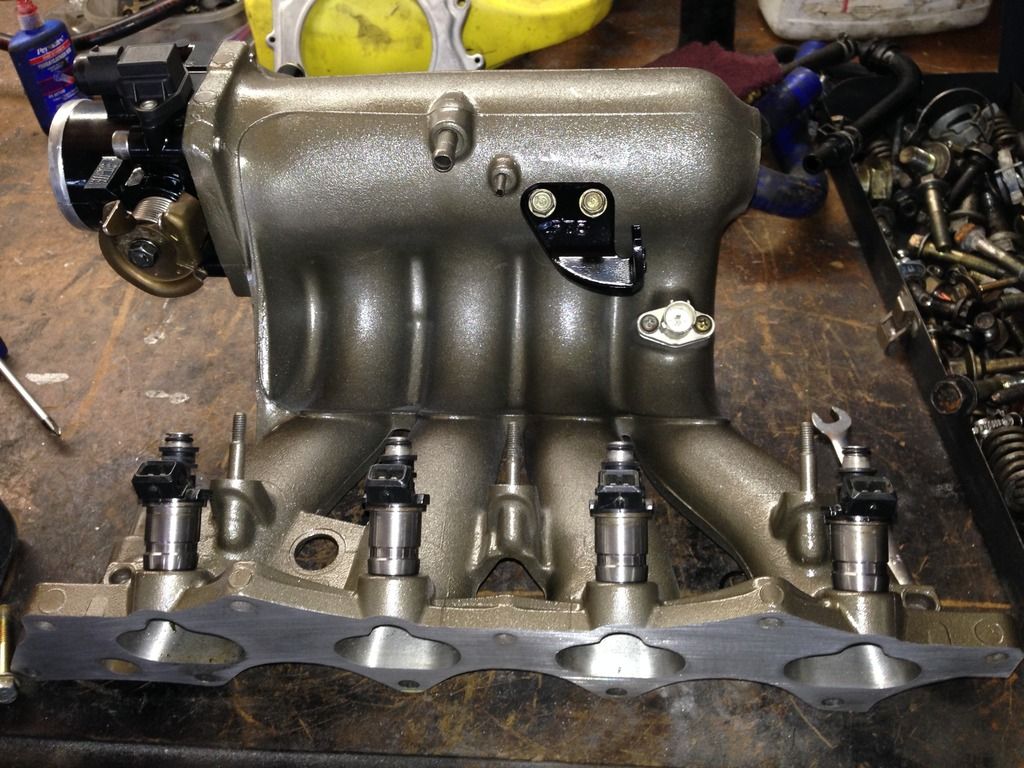
I started getting into the intake manifold today. Planning on plugging the pcs fitting. Also i drilled and tapped the booster fitting for 1/4NPT i am going to install a 90 fitting pointing down so its cleaner. I removed the coolant lines from the throttle body.
09-01-2015, 08:19 PM
#21
Honda-Tech Member
Thread Starter
Join Date: Aug 2006
Location: Palmdale, CA
Posts: 167
Likes: 0
Received 0 Likes
on
0 Posts
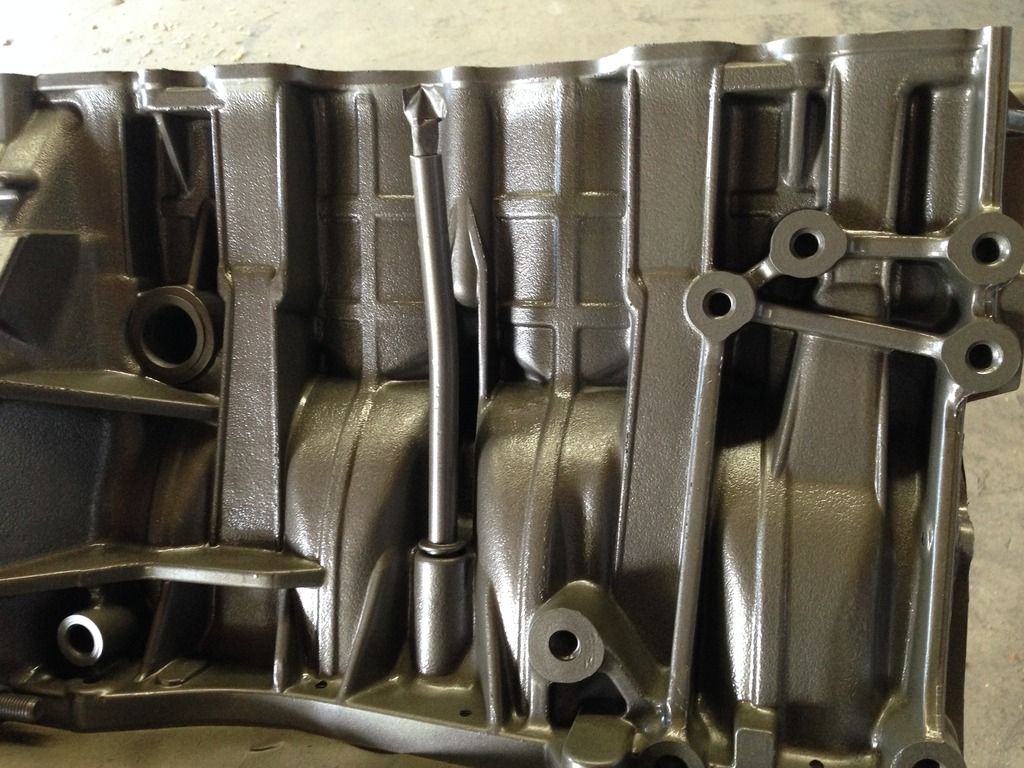
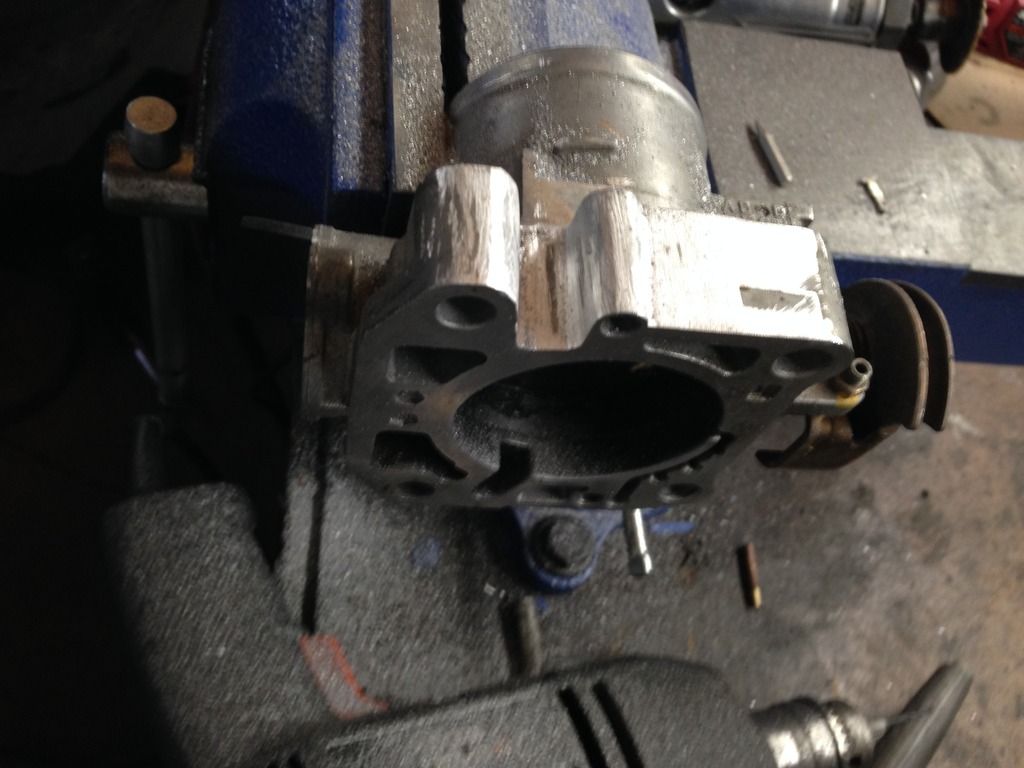
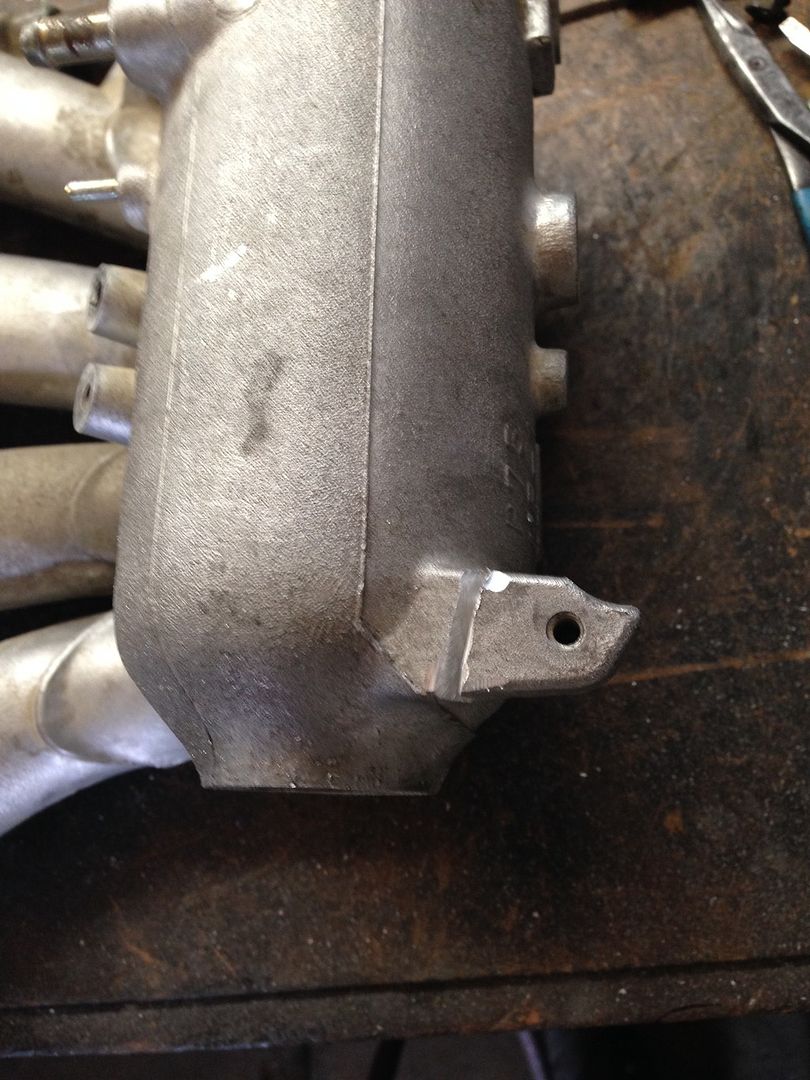
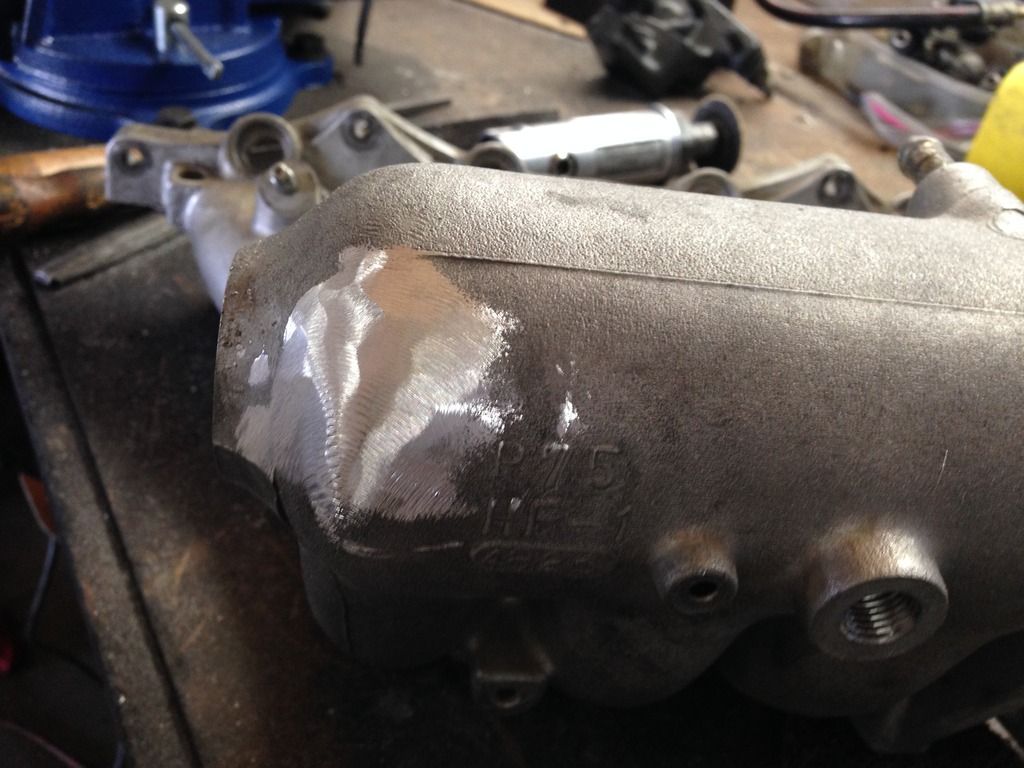
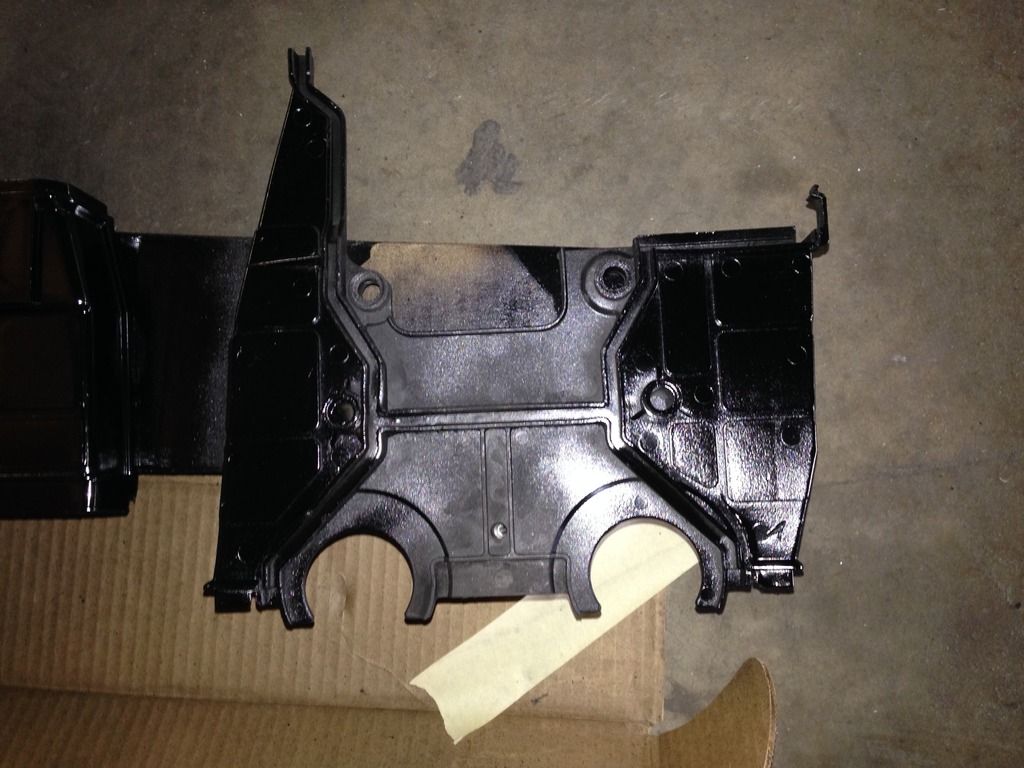
Painted more parts. Picked up the 1/8npt fitting for the clutch master cylinder. Almost finished removing seam sealer from the bay. Shaved a chunk from the intake manifold that holds the PCS valve.


 09-01-2015, 08:20 PM
#23
Honda-Tech Member
Thread Starter
Join Date: Aug 2006
Location: Palmdale, CA
Posts: 167
Likes: 0
Received 0 Likes
on
0 Posts
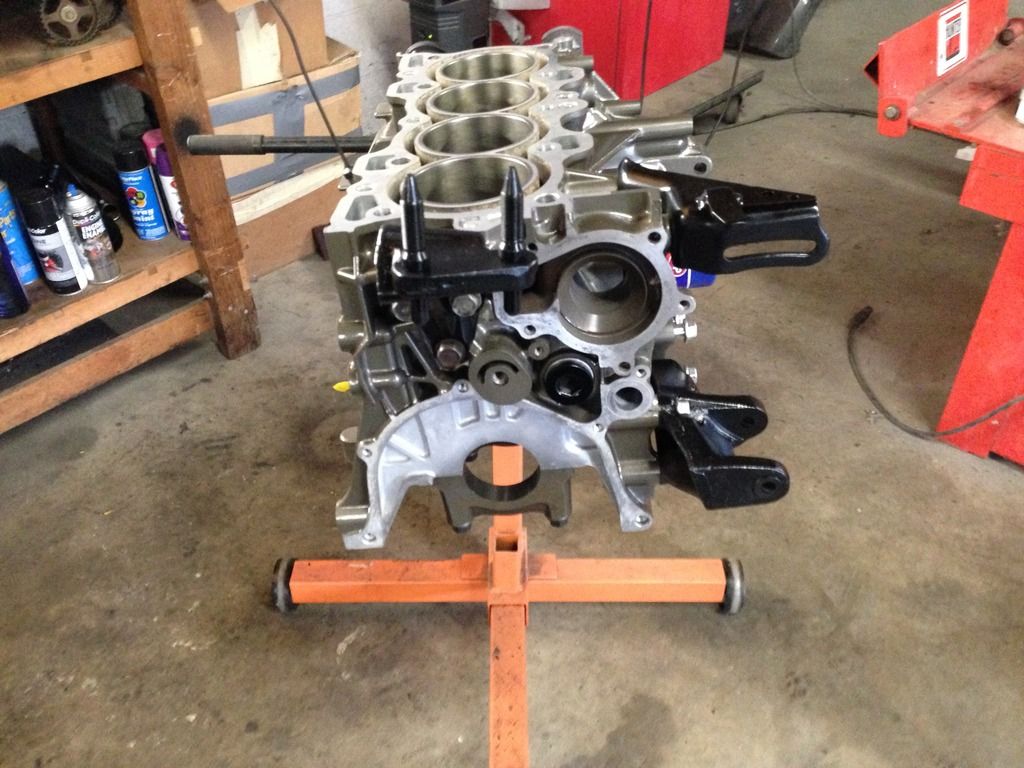
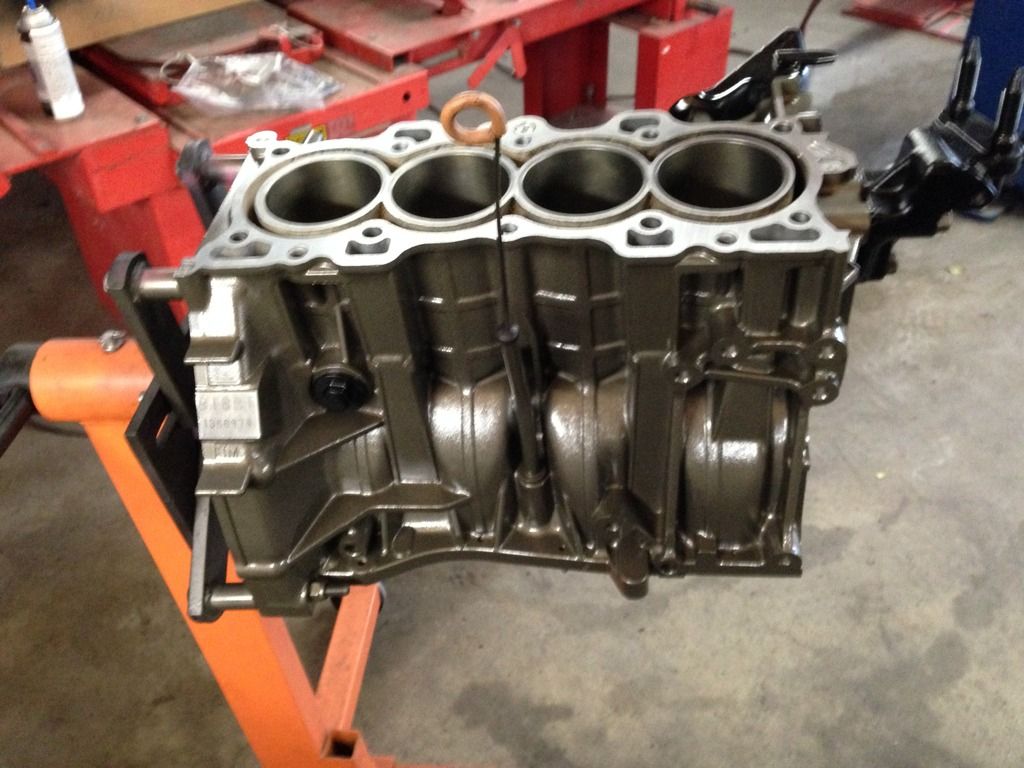
More parts painted. Just waiting on the bearings. If the clearances check out good i can move forward with the oil pump, gasket set, timing belt, tensioner, and water pump. That way at least the block will be done.

 09-01-2015, 08:20 PM
#25
Honda-Tech Member
Thread Starter
Join Date: Aug 2006
Location: Palmdale, CA
Posts: 167
Likes: 0
Received 0 Likes
on
0 Posts
More paint. Waiting for bearings apparently they should be here today. Its 4:10 mail came already... I plugged the pcs port.

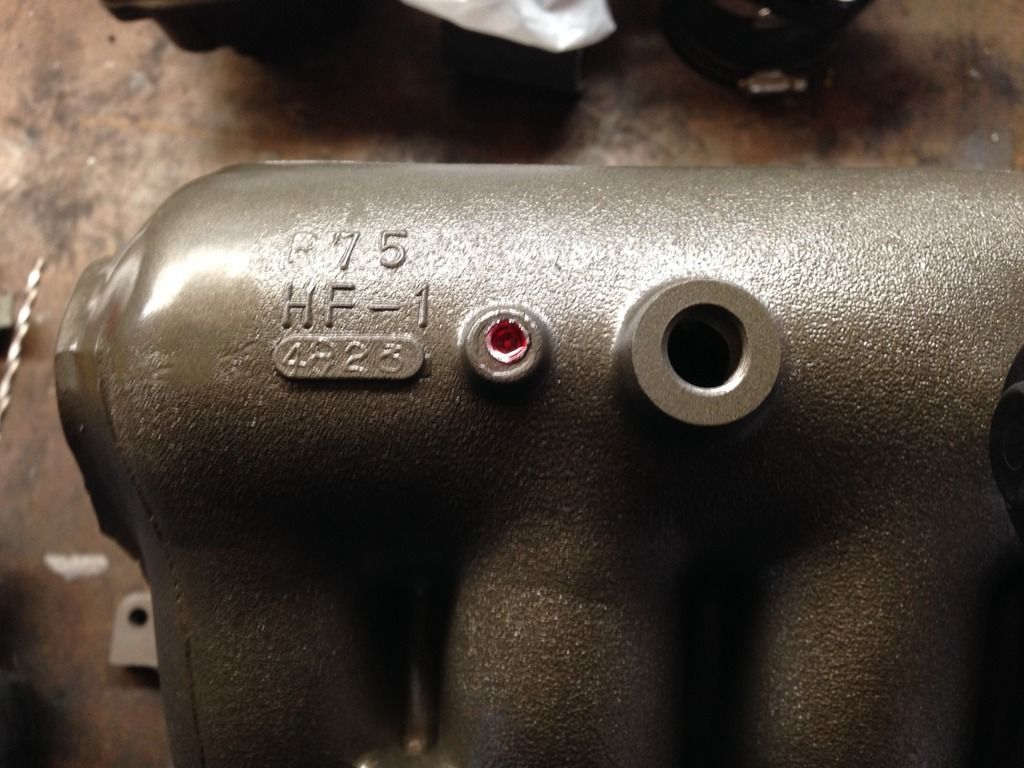
the plug is an M6x1.0 allen set screw covered in red thread locker.
the plug is an M6x1.0 allen set screw covered in red thread locker.