When you click on links to various merchants on this site and make a purchase, this can result in this site earning a commission. Affiliate programs and affiliations include, but are not limited to, the eBay Partner Network.
Introduction
3rd Gen Integra (non-R and R) has an electronic rear trunk release with a little black rubber slider at the trunk, instead of pulling the latch from the front driver seat. This is a convenient design, since you can open the trunk (if door unlocked) by standing at the trunk instead of walk back to the seat.
Problem Description
However, this electronic actuator degrades and most likely stop working completely after 10 yr or earlier. When the electric motor getting too weak to turn the actuator, sliding the level at the trunk will not able to open it anymore, and you have to fall back to the car key (black key, not the gray key) to open it.
Inside the actuator, there is a high torque electric motor, which its carbon brushes worn off due to usage. This pot describe how to get another new carbon brushes to replace it.
Replacement Part & Cost
There is no aftermarket cheap actuator unit, while a new unit cost ~ CAD$120 - $150 in Canada, and it is a special order unit which you can't return if it doesn't work. This is a $600 dealer repair, inclusive of labour.
Luckily the Acura uses Mabuchi FC-280PC 22125 motor, which is easy to source from eBay and Amazon. China made motor cost as little as ~ CAD$3, while authentic Mabuchi cost ~ CAD$13. You can make the decision base on how long you would like to keep the car.
Following is the specification from Mabuchi homepage: FC-280PC/SC - high torque, non-continuous used 12V motor
Mabuchi is produce one of the best car electric motor to use for door lock, folding side mirror, and trunk. I highly recommend choosing Mabuchi, if you have any doubt. Toyota and Lexus are using this exact motor model as well.
When picking other cheaper option, please ensure to pick one that is high torque. Continuous use is optional, as non-continuous will be smaller.
Cause of failure
This Mabuchi motor is designed to lock/unlock door/trunk/mirror with high torque value. For this kind of high torque motor, it is not design to turn on for long period of time, and will degrade (carbon brushes) sooner if car owner slide the level (to open the trunk) for extensive length of time.
The design of Integra trunk is such that you have to slide the level (turn on the motor), and lift up the heavy trunk at the same time. The longer the motor run, the sooner it degrades and
Following are several scenarios where I think it could degrade its life:
1. Turn on the motor for extensive time while lifting the trunk
2. Rust on the level which causing the level have to manually slide back to off position manually. This indirectly causing the motor to turn on longer than usual
3. Rust build up on the sliding level which causing it stuck in the on position. The electric motor turns on and run for extensive period of time, and wear off earlier
When the carbon brushes worn off, we can order another new motor for few dollars, and get the motor working again. This is the same technique we repair the brushes in electric blenders, and power tools.
Part Ordering Description
Search for "Mabuchi FC-280PC" in eBay or Amazon to look up this part
For this repair, you can get either 11.45mm short shaft, or 20mm long shaft. We are only going to replace the carbon brushes, which is the whole plastic cap assembly.
Integra glue the gold metal gear to the shaft very tightly in this motor, and it is very hard to remove. Toyota & Lexus uses plastic gear which is easier to remove and install into new motor. Luckily there are many owner are able to replace the carbon brushes cap successfully, and proven that this fix resolved the issue. Therefore, I do not buy additional gear removal and installation tools to do this job.
Steps
Remove 3 screws as indicated mounting the electric truck actuator assembly to the metal bracket
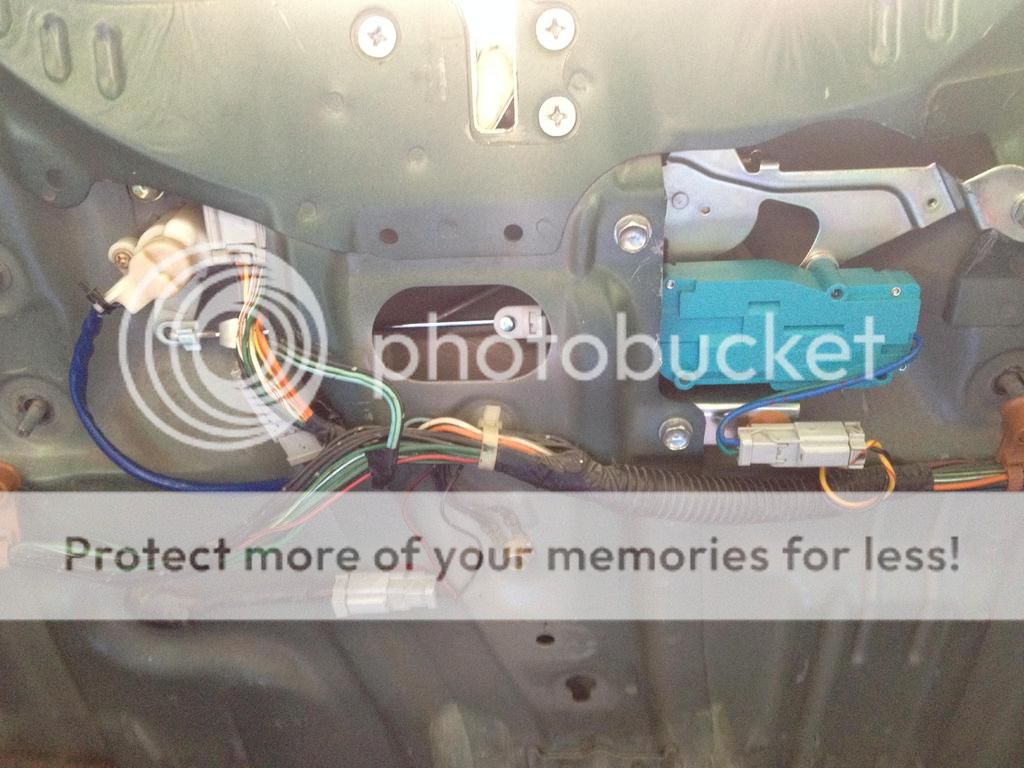
Remove the connector
Electric truck actuator assembly with the lock latch
Electric truck actuator assembly
Inside of the actuator
Uses flat head screwdriver to lift up the motor
Slide under the round cap to lift up the motor
Gold color metal screw in the Mabuchi motor. Beware of the small white plastic cap at the end
Actuator with the motor removed
White plastic cap which we are going to replace, and carries the carbon brushes
Uses 3mm wide flat head screwdriver to open the cramp holding the plastic cap
Slide the screwdriver into the hole to remove the metal latch. Just remove 1 side, so that it holds better when we re-assemble
Double check you keep the small plastic end cap
Uses small cramp or adjustable wrench to remove the rubber cap. You need to squeeze the rubber cap to deform a little in order to remove it
You can test the old and new motor by connecting them into 12V battery or power supply. You will see the old motor still turns, while the new motor spin much faster
Install carbon brushes (rubber cap) from new unit into old motor
Showing both old and new motor with carbon brushes swapped
Install motor back into actuator
Ensure the white plastic end cap is attached
Before covering it back, double test with 12V power supply to ensure the motor turn. I accidentally bend the contact metal point and causing it not to turn
Put the cover back
Install 4 screws
Apply 12V power again and ensure this latch turn from right to left. Push it back to right to repeat the test if needed
Connects the connector, and slide the actuator back into the mounting bracket. Ensure that the pin is in the hole, else it won't open the trunk
Install 3 screws to mount back to the metal bracket. You can test it with just 1 screw to ensure the hole align correctly. Realign if needed
Great writeup, I just used a DEI 524N actuator to replace mine though.
how did you do that? The motor on mine was completly missing when i got it and the only key i have doesnt work in the hatch lock, but works in the doors and ignition.

 04-28-2016, 06:58 PM