
DB8 Jdm Type R Carbon Switch install
 11-02-2013, 05:33 PM
#1
Honda-Tech Member
Thread Starter
Join Date: Dec 2007
Location: St Peter, mn, us
Posts: 318
Likes: 0
Received 0 Likes
on
0 Posts
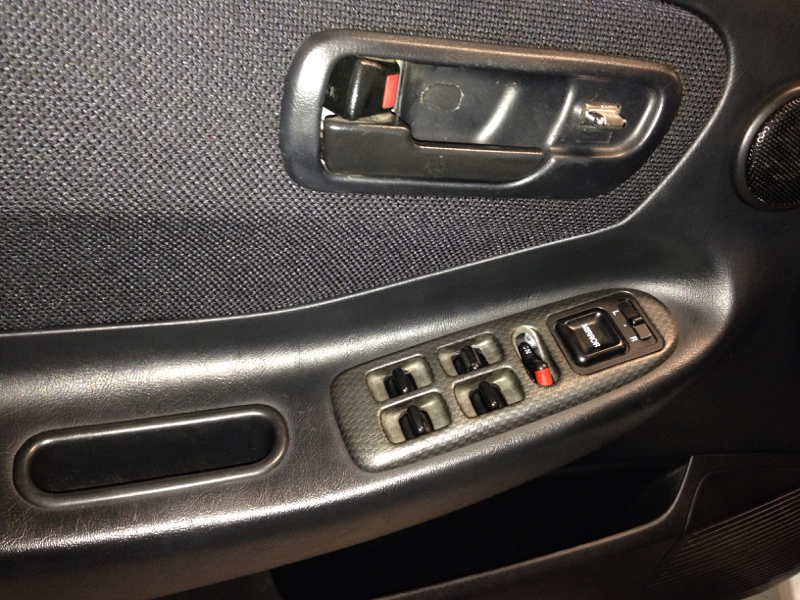
Here is my first DIY post here that I can remember. I couldn't find many posts on this so I thought I would try a different way to do this since it sounds as most people zip tie this stuff together. I wanted something that was done more professional and looks stock.
Here we go.
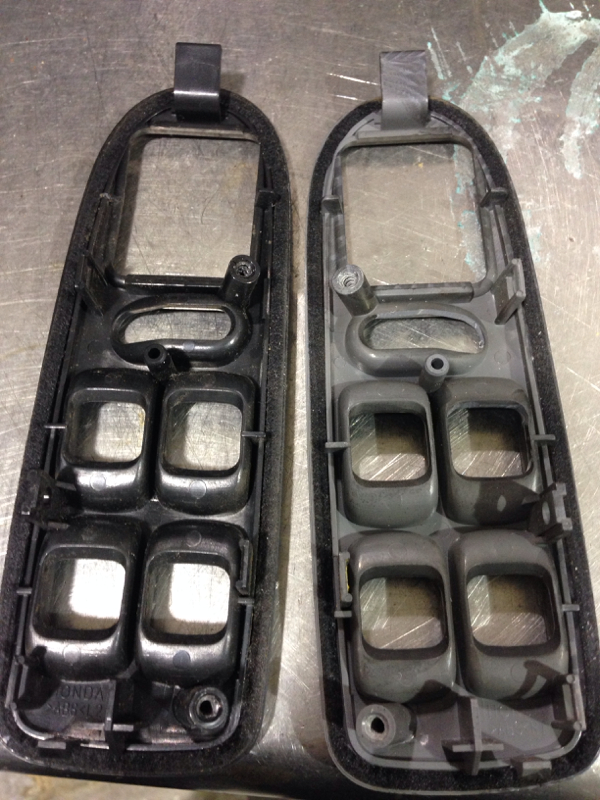
Get some good used 4dr Jdm rhd type r carbon switches.
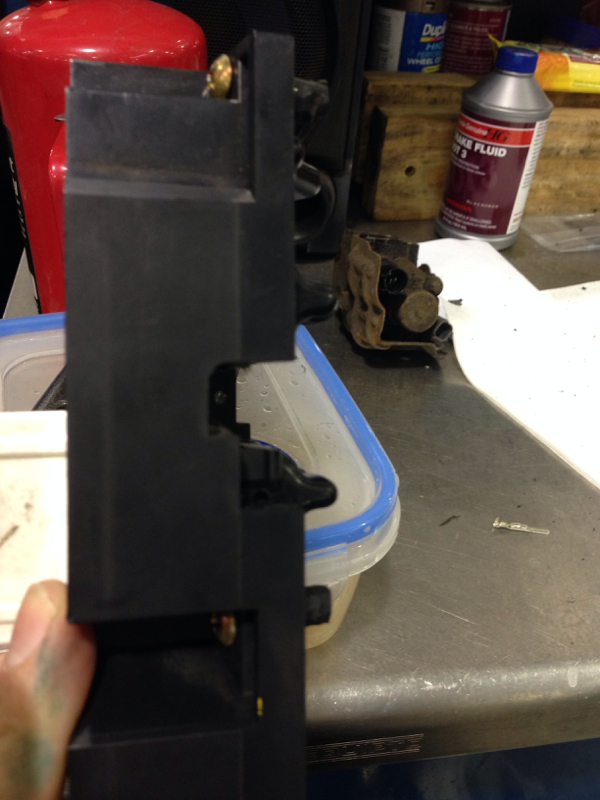
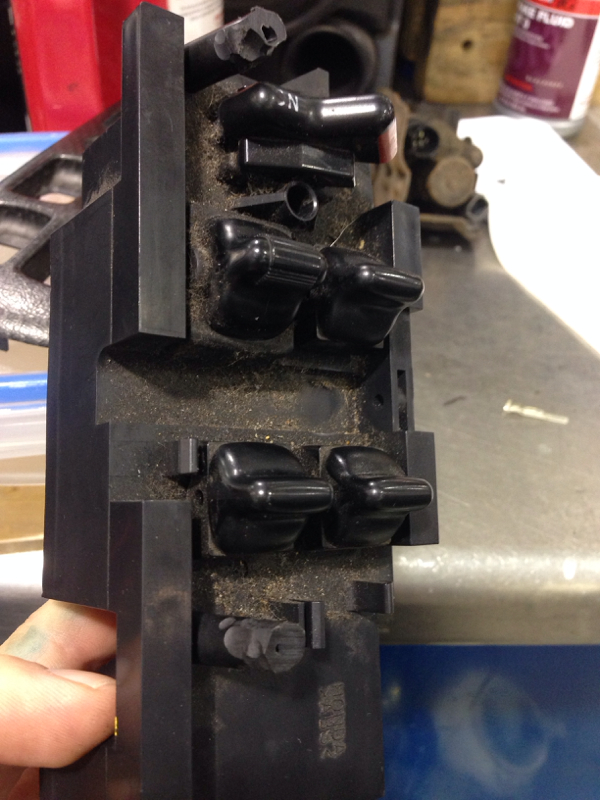
1. Take the window switch and carbon cover apart. Throw the Jdm switch away as you are going to use the usdm one due to wiring issues.
2. Using a pencil grinder cut off all the tabs from the Jdm carbon cover. Slow and steady..you want it done clean and flush because you will be gluing the usdm tabs on your Jdm switch.
3 take a picture of your usdm switch cover so you have something to reference where the tabs are and the positions they are.
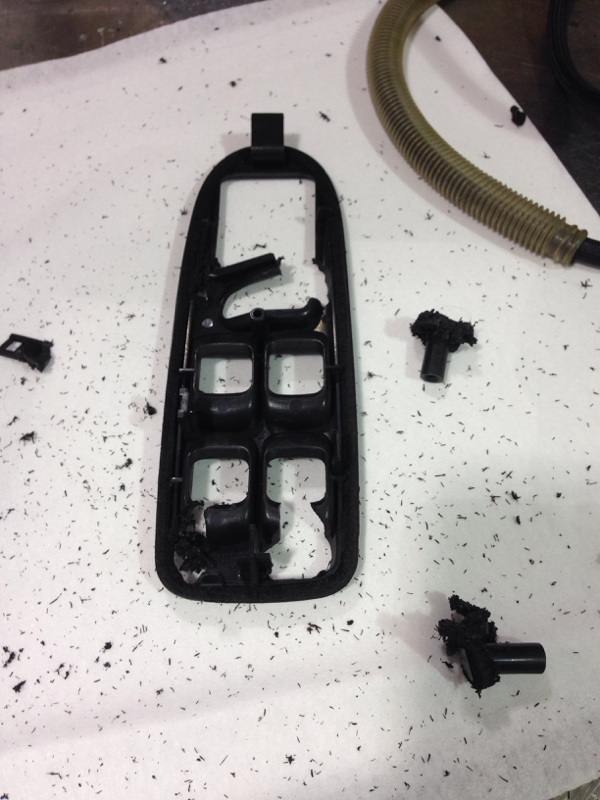
4. Using a pencil grinder cut the two screw tabs off the switch. Note you will basically be cutting around your tabs and destroying your switch cover.
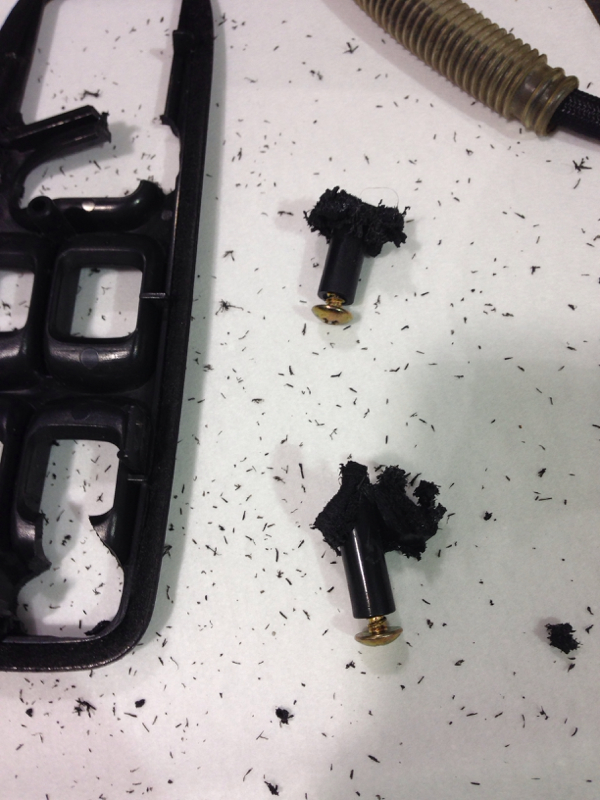
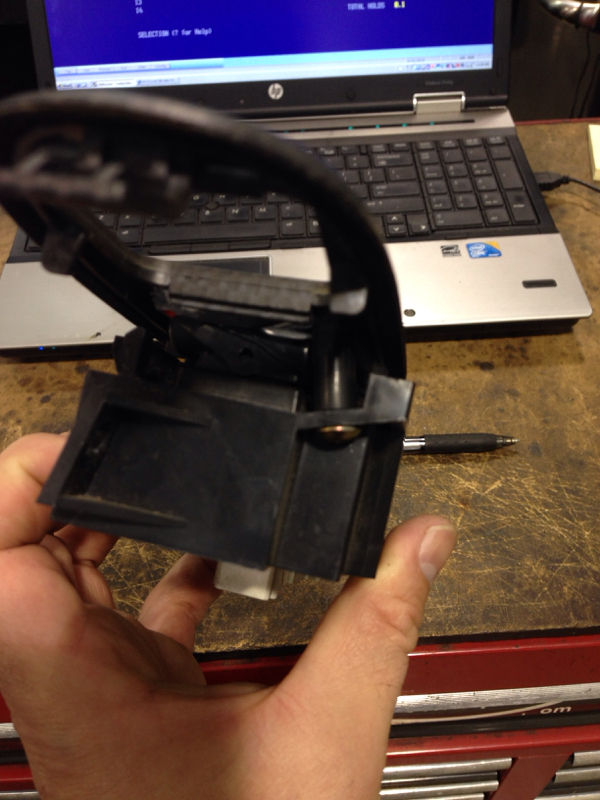
5. Now put a screw into the tab you just cut off. Put it in a vice and trim down the tab so it will sit flush with your Jdm panel. Note you will only be trimming about 4mm. Don't trim it too short to this will not work.
6. Attach the tabs with screws to your usdm window switch and set it up to your carbon switch cover. See how much you need to shave off your tabs or angle them to make the cover fit correctly
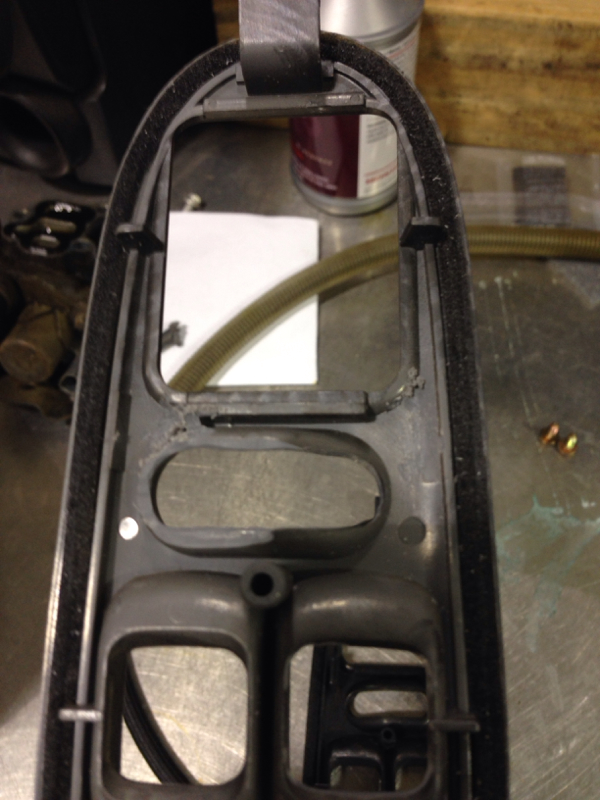
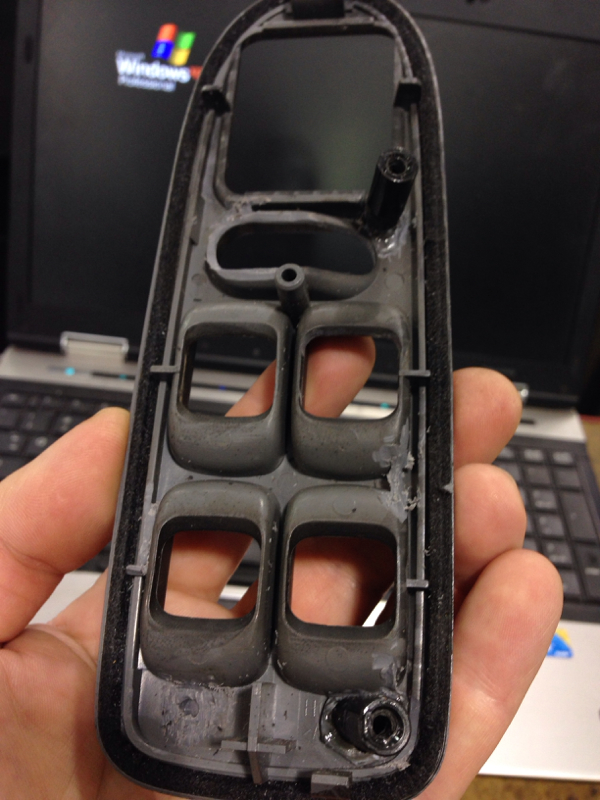
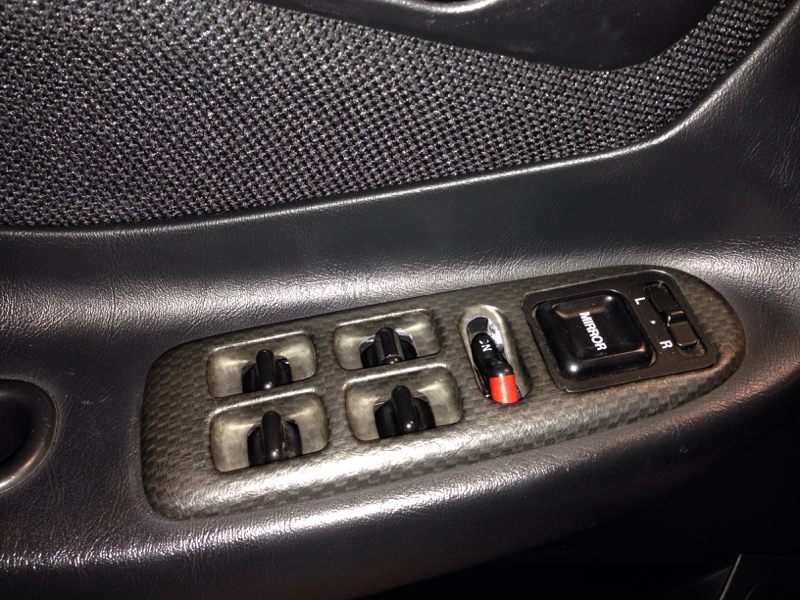
NOTE you will need to trim the Carbon cover in two spots. You need to trim around the on/off switch area and the drivers front window area because in the Jdm version the drivers window is obviously our passenger window and that is the bigger **** with auto down.
7. Once you got the tabs all trimmed up and your cover fits good get the super glue (gel version) or plastic epoxy ready.
8. Glue the two areas on the switch cover and on the tabs and put the two together.
9. Let's sit at least 24hrs and re install

Here we go.
Get some good used 4dr Jdm rhd type r carbon switches.
1. Take the window switch and carbon cover apart. Throw the Jdm switch away as you are going to use the usdm one due to wiring issues.
2. Using a pencil grinder cut off all the tabs from the Jdm carbon cover. Slow and steady..you want it done clean and flush because you will be gluing the usdm tabs on your Jdm switch.
3 take a picture of your usdm switch cover so you have something to reference where the tabs are and the positions they are.
4. Using a pencil grinder cut the two screw tabs off the switch. Note you will basically be cutting around your tabs and destroying your switch cover.
5. Now put a screw into the tab you just cut off. Put it in a vice and trim down the tab so it will sit flush with your Jdm panel. Note you will only be trimming about 4mm. Don't trim it too short to this will not work.
6. Attach the tabs with screws to your usdm window switch and set it up to your carbon switch cover. See how much you need to shave off your tabs or angle them to make the cover fit correctly
NOTE you will need to trim the Carbon cover in two spots. You need to trim around the on/off switch area and the drivers front window area because in the Jdm version the drivers window is obviously our passenger window and that is the bigger **** with auto down.
7. Once you got the tabs all trimmed up and your cover fits good get the super glue (gel version) or plastic epoxy ready.
8. Glue the two areas on the switch cover and on the tabs and put the two together.
9. Let's sit at least 24hrs and re install
 11-03-2013, 05:10 AM
#2
Honda-Tech Member
Join Date: Oct 2007
Location: Dub Caesar, PA
Posts: 1,644
Likes: 0
Received 0 Likes
on
0 Posts
nice. I have a 4 door CF set (both fronts) if anyone is interested. PO cut all the pieces off the bottom like you did in the guide, but I didn't feel like messing with it, so I bought a black set.

Thread
Thread Starter
Forum
Replies
Last Post