
Byron's Official DC2 Build Thread

 12-31-2012, 08:30 PM
#28
Honda-Tech Member
Thread Starter
iTrader: (1)
Join Date: Apr 2011
Location: Wisconsin
Posts: 199
Likes: 0
Received 0 Likes
on
0 Posts
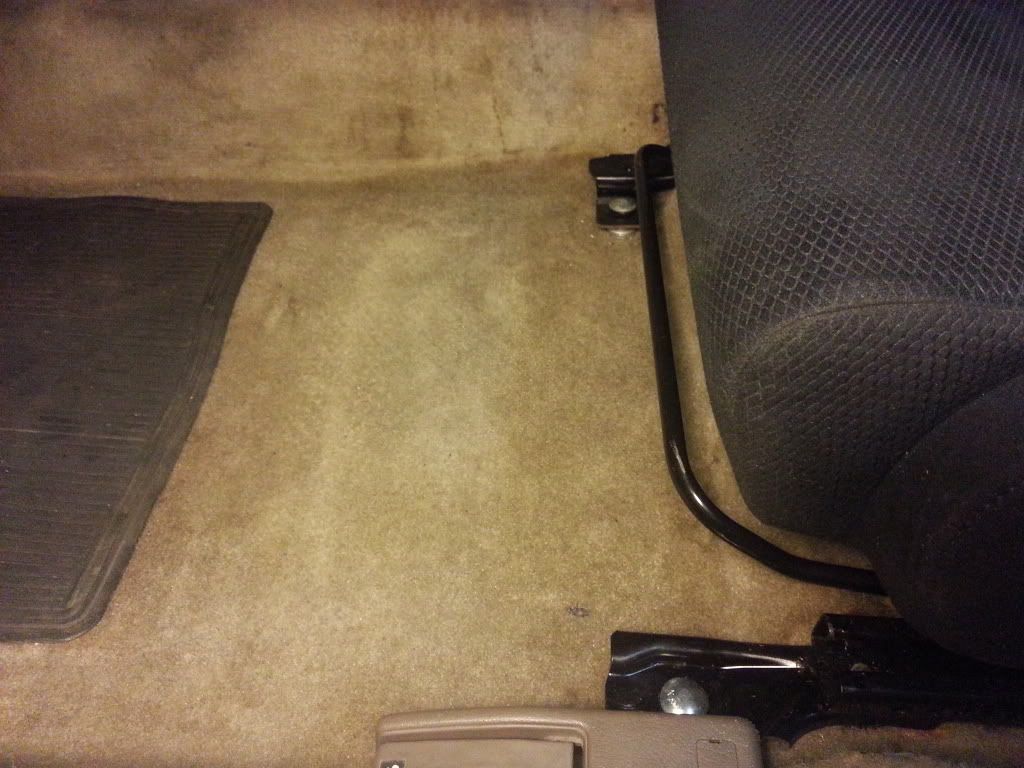
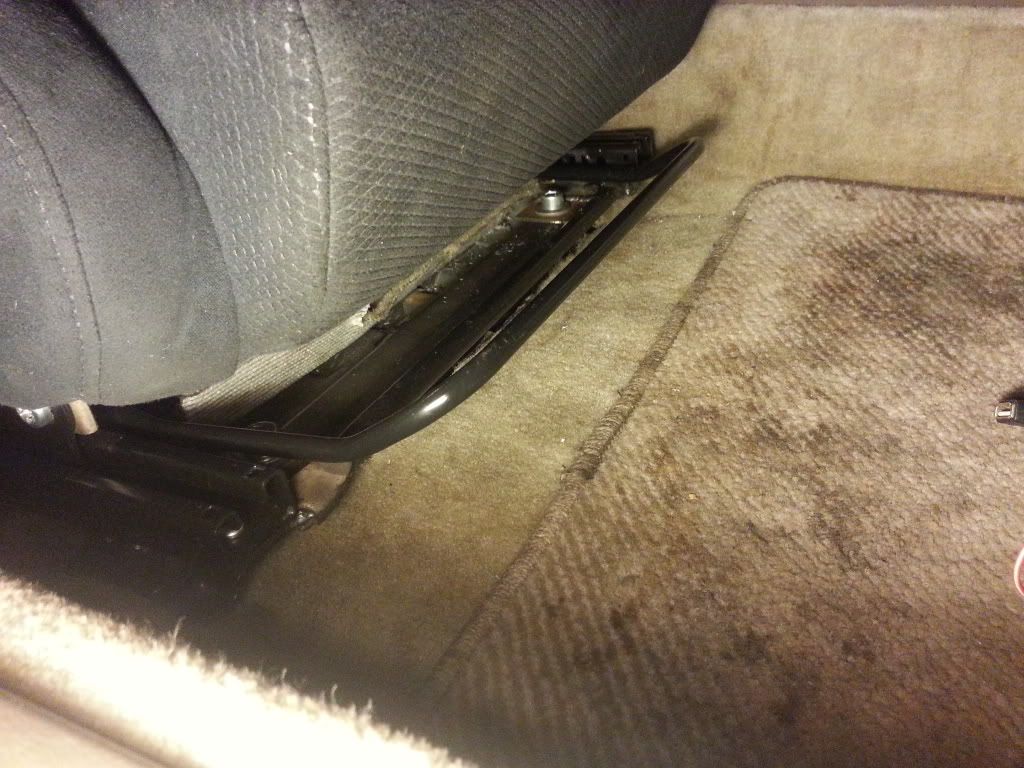
Gonna upgrade to 8.8 bolts and bigger plates underneath, but you get the idea. This metal is really thin, so the more surface area you can get for a washer the better. The bracket closest to the door has to be notched to clear the trunk release, and the one furthest from the door has to be notched on the tunnel side. The bolt hole had to be relocated about 1.5" further from the console. I just plug-welded a tab running perpendicular to the rail to relocate the bolt. I made sure to MEASURE this out very carefully because there are fuel/brake lines under there.

And trimmed the door panels out in black alcantara or microsuede. Sorry bout the grainy pics, photobucket screws them up somehow.
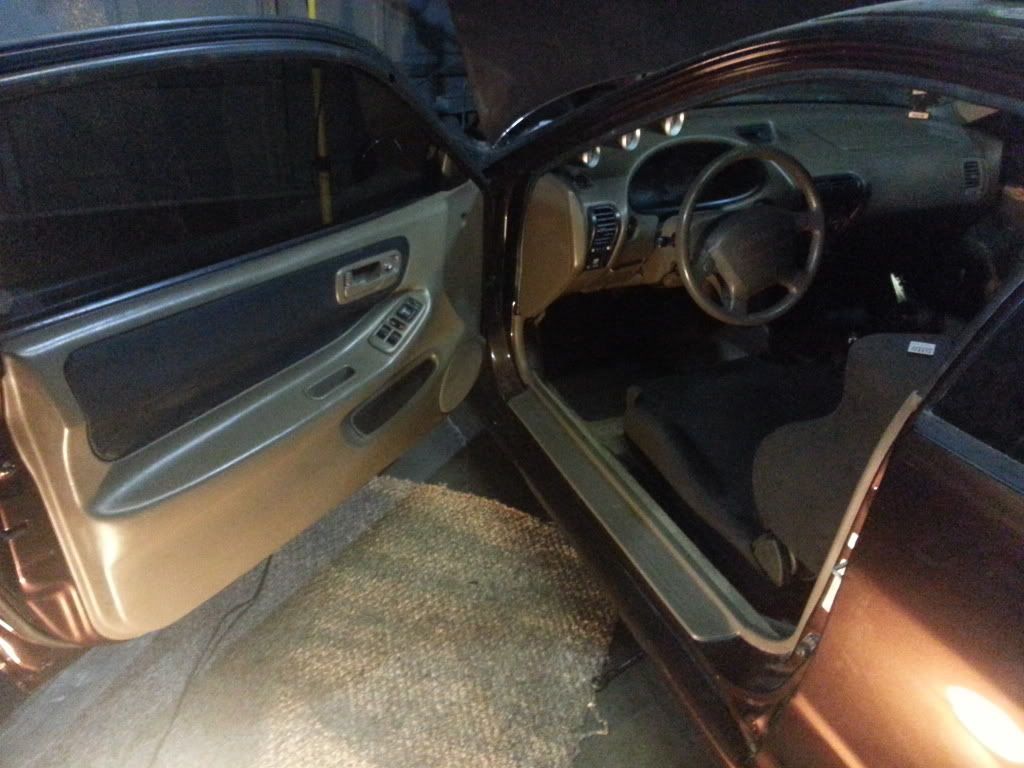
And trimmed the door panels out in black alcantara or microsuede. Sorry bout the grainy pics, photobucket screws them up somehow.
01-01-2013, 03:15 PM
#29
Honda-Tech Member
Thread Starter
iTrader: (1)
Join Date: Apr 2011
Location: Wisconsin
Posts: 199
Likes: 0
Received 0 Likes
on
0 Posts
Same story as yesterday for the pass side: Cut out the crossmember, weld some crass braces and tabs, rip all the weight sensors and crap off the seat rails. Install.
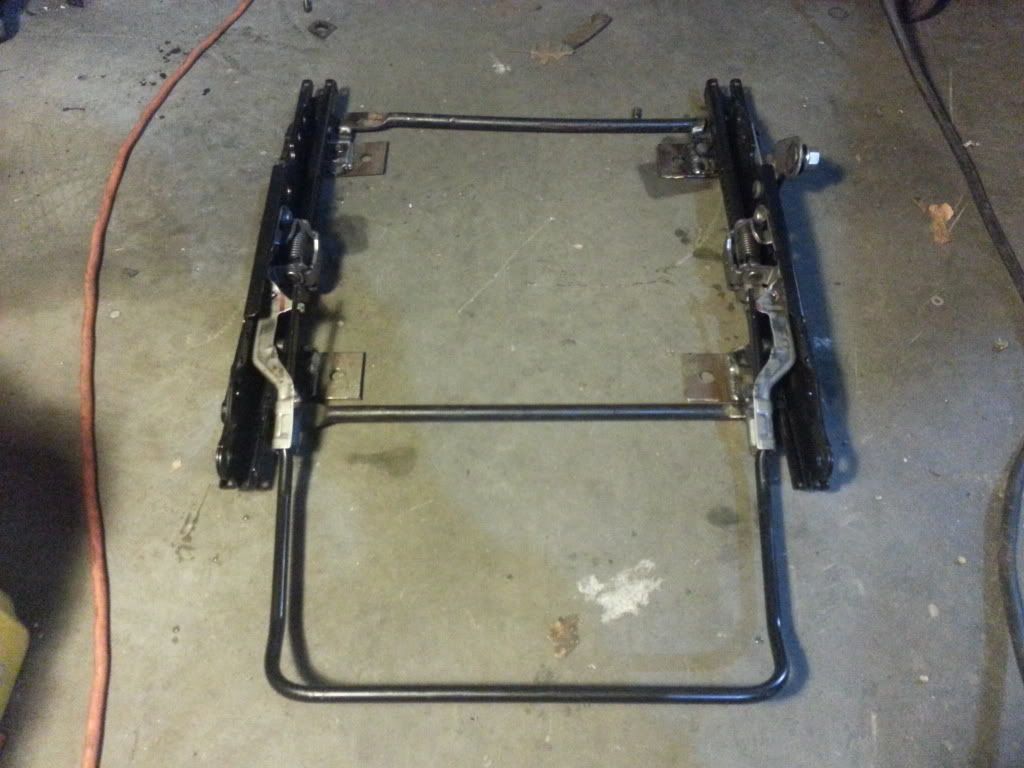
So the cross member I removed is what is commonly referred to in engineering as an "economic section". This means (very basically) that it is crucial for side impact rigidity. The old man and I are running some calcs to design a new crossmember that works with the space I have, while maintaining a reasonable factor of safety. More in a couple days.
So the cross member I removed is what is commonly referred to in engineering as an "economic section". This means (very basically) that it is crucial for side impact rigidity. The old man and I are running some calcs to design a new crossmember that works with the space I have, while maintaining a reasonable factor of safety. More in a couple days.
01-01-2013, 09:51 PM
#30
Honda-Tech Member

Join Date: Jul 2012
Location: Central Florida/N.FL
Posts: 227
Likes: 0
Received 0 Likes
on
0 Posts
so far a great build. Was wondering if you can you go into detail as to how you did a "makeshift pv2 check". Not to thread jack but im doing a stock rebuild and was just curious how you did it. Ive read about using your old hg and claying while holding the rockers in vtec but just seeing if theres another plausible way. Thanks
01-02-2013, 07:51 AM
#31
Honda-Tech Member
Thread Starter
iTrader: (1)
Join Date: Apr 2011
Location: Wisconsin
Posts: 199
Likes: 0
Received 0 Likes
on
0 Posts
https://honda-tech.com/forums/showth...hlight=P2V+V2V
01-03-2013, 07:07 AM
#32
Honda-Tech Member
Thread Starter
iTrader: (1)
Join Date: Apr 2011
Location: Wisconsin
Posts: 199
Likes: 0
Received 0 Likes
on
0 Posts
So I mentioned earlier that this cross-member is really important. We plugged some numbers into Autodesk Inventor and found some other materials that are equivalent in compressive strength. Got some 1-1/4" OD square tubing (1/8" wall). It'll be about 2x stronger than the stock cross-member and doesn't add very much weight.
01-05-2013, 08:44 PM
#33
Honda-Tech Member
Thread Starter
iTrader: (1)
Join Date: Apr 2011
Location: Wisconsin
Posts: 199
Likes: 0
Received 0 Likes
on
0 Posts
Just hit the floor with a flap disc otherwise you'll get porosity trying to burn through the paint, and you want those welds strong even though they are just stitch welds. I used 1-1/4" square tubing, 1/8" wall. The rails sit right on top of this in the front and the seat height is perfect. I'm like 5'8". I don't know what's better, the *** hugging seats or the easy to find adjustment lever.
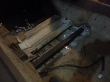
Here's some 1/8" drop from work for the bottom side. Used 8.8 bolts and lock nuts so it's plenty strong. These seats are not going anywhere.
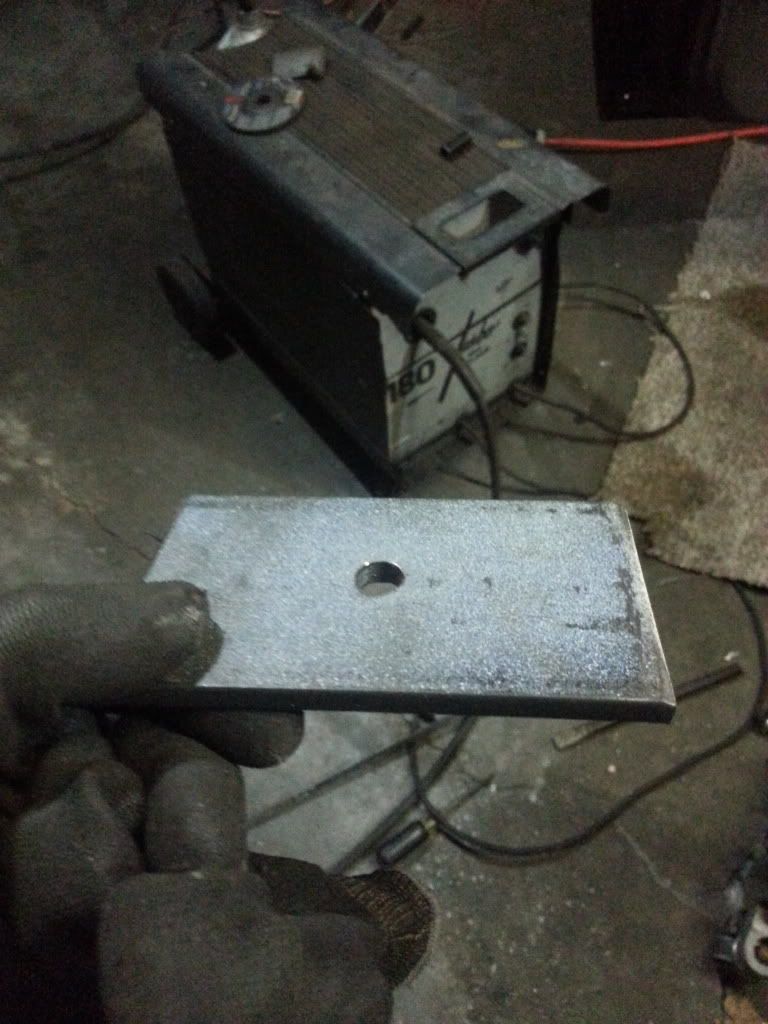
Well I think that about sums it up. The only real reason I did this is because I couldn't find a single write-up on it. Sure I could have sold them and bought some OEM Recaro's, but where's the fun in that? Having completed it now, I can see why more people haven't done this. It is a lot of fab work. But I really like the adjustment lever, the seats are incredibly supportive, and the lumbar is just awesome. Let me know what you guys think!
Here's some 1/8" drop from work for the bottom side. Used 8.8 bolts and lock nuts so it's plenty strong. These seats are not going anywhere.
Well I think that about sums it up. The only real reason I did this is because I couldn't find a single write-up on it. Sure I could have sold them and bought some OEM Recaro's, but where's the fun in that? Having completed it now, I can see why more people haven't done this. It is a lot of fab work. But I really like the adjustment lever, the seats are incredibly supportive, and the lumbar is just awesome. Let me know what you guys think!
01-05-2013, 09:25 PM
#34
Honda-Tech Member
Thread Starter
iTrader: (1)
Join Date: Apr 2011
Location: Wisconsin
Posts: 199
Likes: 0
Received 0 Likes
on
0 Posts
Now that I finally got paint and interior out the way, here's a list of stuff I have for the new motor.
Gsr block (another one for sale), 81.5mm bore
Wiseco K541M81.5 (another complete set for sale) Turbo pistons
Eagle rods
aftermarket B16 head casting, looking at P&P
Ferrea bronze guides
S2 Titanium retainers
S2 Pro1 cams
S2 Pro Cam Gears
Holset Hx35
Acl race bearings
Fidanza 7.5lb flywheel
Ls trans
S2 Pro intake
S2 70mm TB
Hondata S300 with boost solenoid
1000CC injectos
BDL Fuel rail
SX FPR
Gates blue Timing Belt
MSD Ignition
There's a couple things I need yet but It's coming along slowly but surely. Just wanted to get the paint and interior done first or it never would. I hope to have the motor assembled and installed in the car before next semester in 20 days.
Next I plan on ordering valves and springs. Apparently the S2 pro springs are not strong enough for FI setup so I'm selling those if anyone is looking.
So here's the thing, I have a complete set of forged internals for LS and for GSR, so what would you guys build? I was thinking Gsr crank so it'd rev a little higher with that big Holset turbo, but I'm open to suggestions. I'm also taking offers on some extra parts too.
 01-06-2013, 04:27 PM
#36
Honda-Tech Member
Thread Starter
iTrader: (1)
Join Date: Apr 2011
Location: Wisconsin
Posts: 199
Likes: 0
Received 0 Likes
on
0 Posts
Guess I wasn't really done after all.. One last installment. The passenger side I ran the bolts through the crossmember and the tabs are hidden under the seat for a cleaner look. This was a little harder to bolt in, but totally worth it.

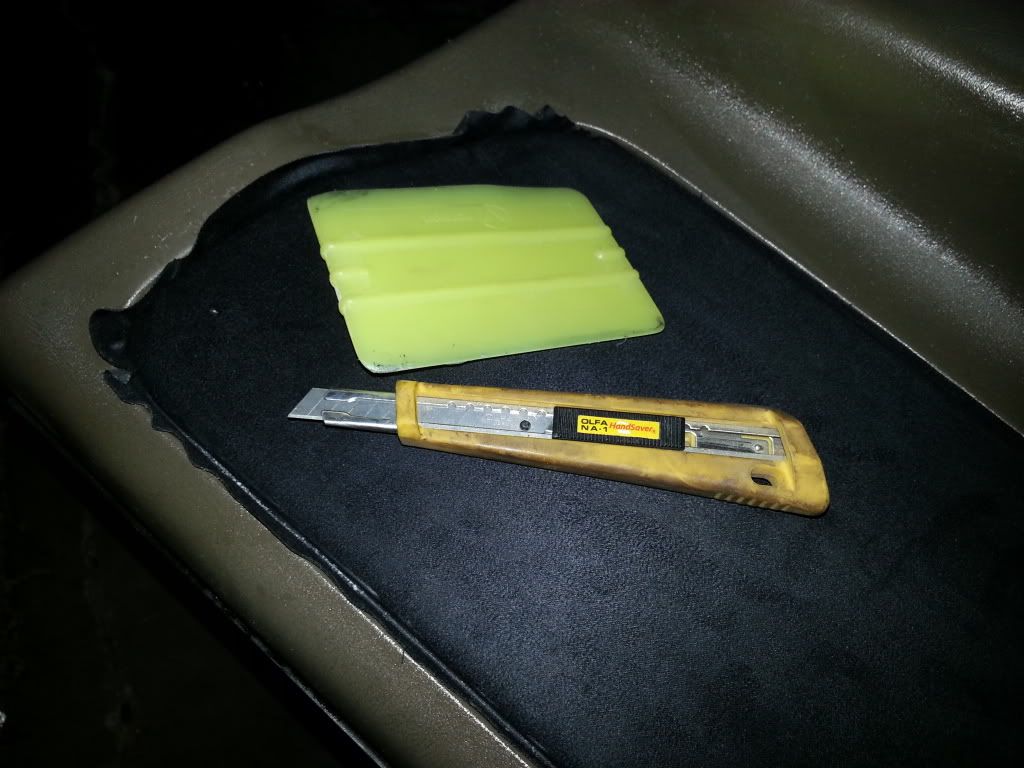
The glue on the door panels is a pain. The only solvent that will take it off is lacquer thinner and scraping it with a razor blade. Really tedious.
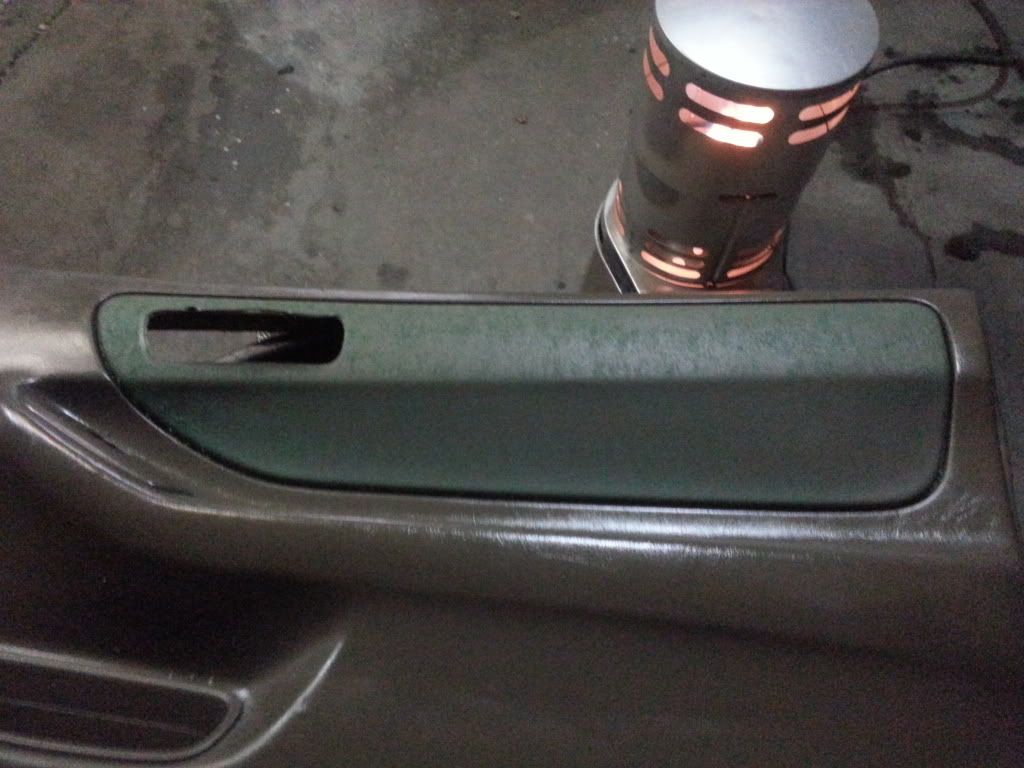
Just used that headliner adhesive stuff.
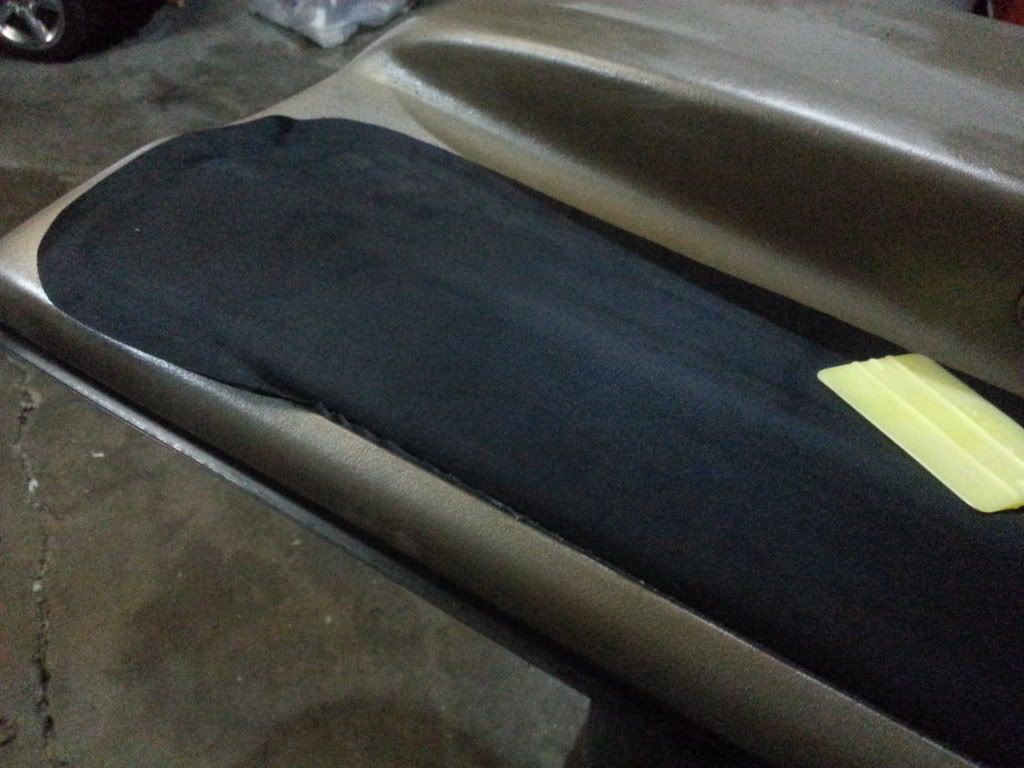
And trimmed the excess.
The glue on the door panels is a pain. The only solvent that will take it off is lacquer thinner and scraping it with a razor blade. Really tedious.
Just used that headliner adhesive stuff.
And trimmed the excess.

 01-20-2013, 06:00 PM
#43
Honda-Tech Member
Thread Starter
iTrader: (1)
Join Date: Apr 2011
Location: Wisconsin
Posts: 199
Likes: 0
Received 0 Likes
on
0 Posts
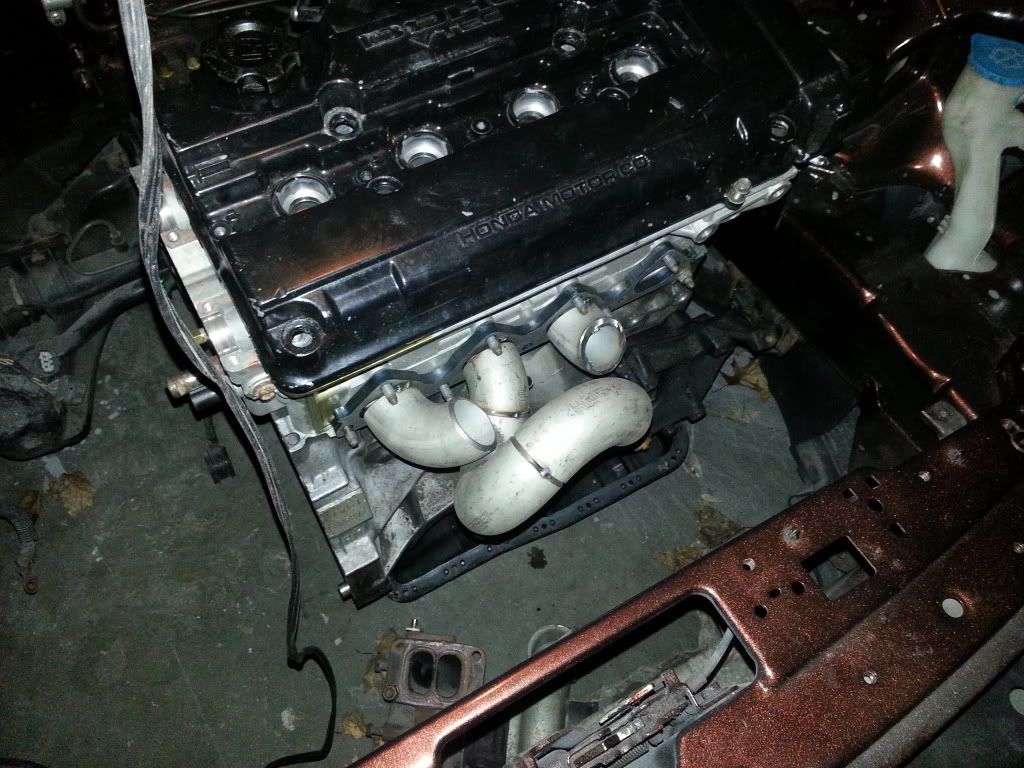
I don't tig weld so I traded labor painting a friend's car to weld my header. More on that later
Last edited by HalFastTeg; 02-16-2013 at 11:37 PM.
01-22-2013, 11:02 AM
#44
Honda-Tech Member
Thread Starter
iTrader: (1)
Join Date: Apr 2011
Location: Wisconsin
Posts: 199
Likes: 0
Received 0 Likes
on
0 Posts
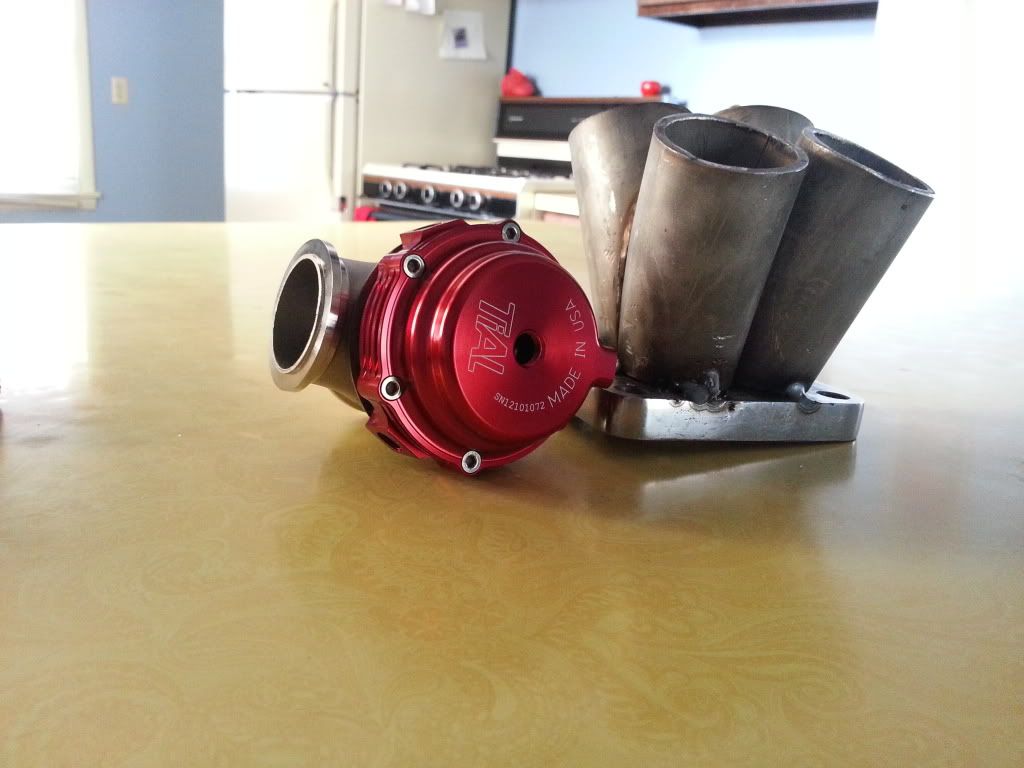
One of my Tial Mv-s wastegates came in the mail today, and I finished the merge collector last night at work.
01-25-2013, 05:19 PM
#45
Honda-Tech Member
Thread Starter
iTrader: (1)
Join Date: Apr 2011
Location: Wisconsin
Posts: 199
Likes: 0
Received 0 Likes
on
0 Posts
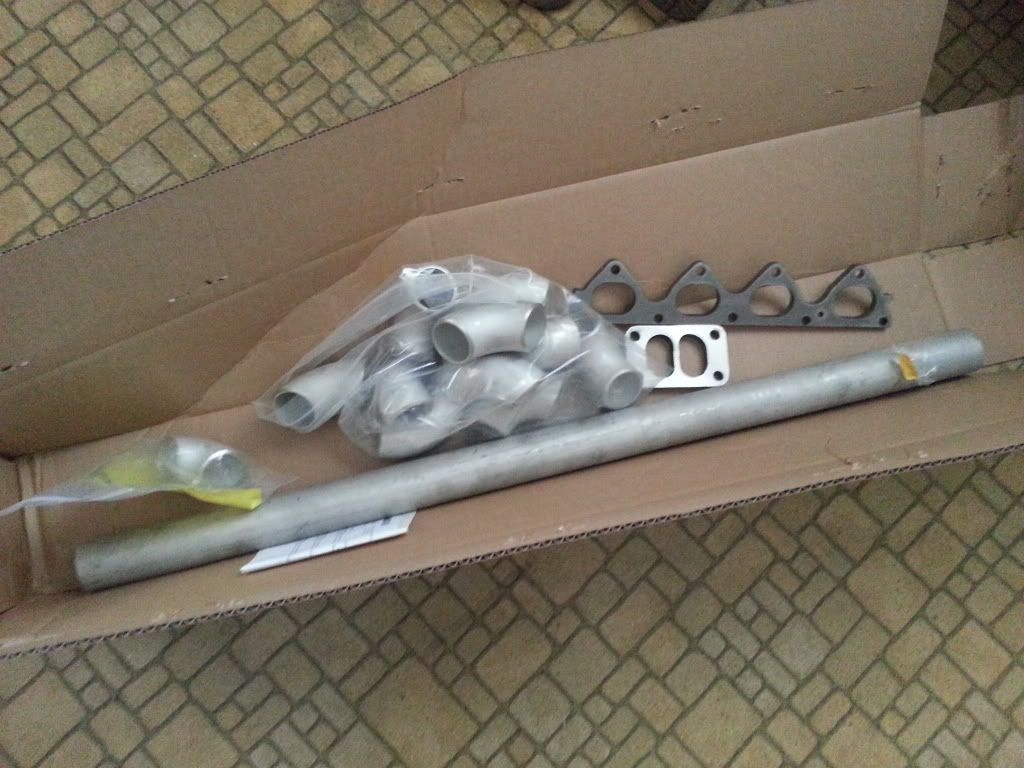
Laid up with the flu for awhile, but it's time for another update. The header is at least started.. this is what I've got so far.
02-01-2013, 07:45 PM
#46
Honda-Tech Member
Thread Starter
iTrader: (1)
Join Date: Apr 2011
Location: Wisconsin
Posts: 199
Likes: 0
Received 0 Likes
on
0 Posts
Well I just got a full scholarship to the University of Wisconsin Platteville for Mechanical Engineering!  On a similar note I'm very happy to be 1/4 done with almost 3.5 gpa, and will continue to post updates as I stockpile parts and occasionally wrench on stuff to get a break from the math haha.
On a similar note I'm very happy to be 1/4 done with almost 3.5 gpa, and will continue to post updates as I stockpile parts and occasionally wrench on stuff to get a break from the math haha.
02-01-2013, 07:57 PM
#47
Honda-Tech Member
Thread Starter
iTrader: (1)
Join Date: Apr 2011
Location: Wisconsin
Posts: 199
Likes: 0
Received 0 Likes
on
0 Posts
I finally found a good deal on some 98+ headlights, and he threw in some 98+ mirrors which I am looking forward to painting and installing. I also got some clear lens rx330 projectors for the hid conversion to round out the facelift.
02-10-2013, 02:20 PM
#48
Honda-Tech Member
Thread Starter
iTrader: (1)
Join Date: Apr 2011
Location: Wisconsin
Posts: 199
Likes: 0
Received 0 Likes
on
0 Posts
I started on the headlights. Baked them, separated the cover. I used a philips screwdriver on the back to unscrew the adjusters 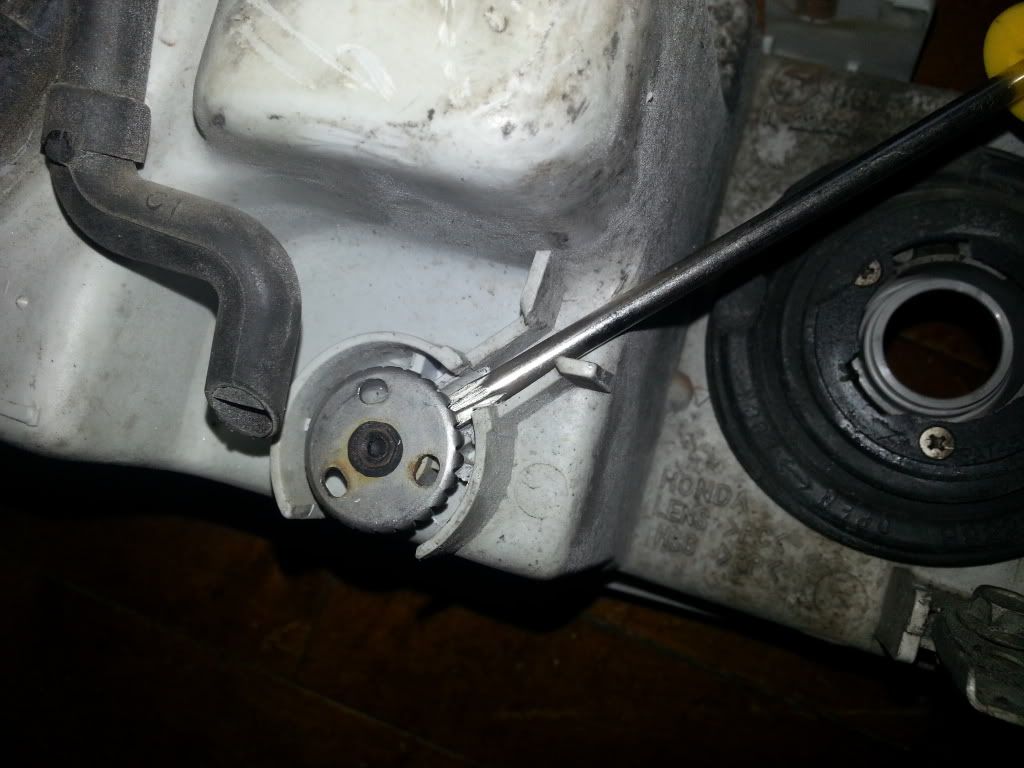
Did a lot of cutting that powdered metal crap to make it fit
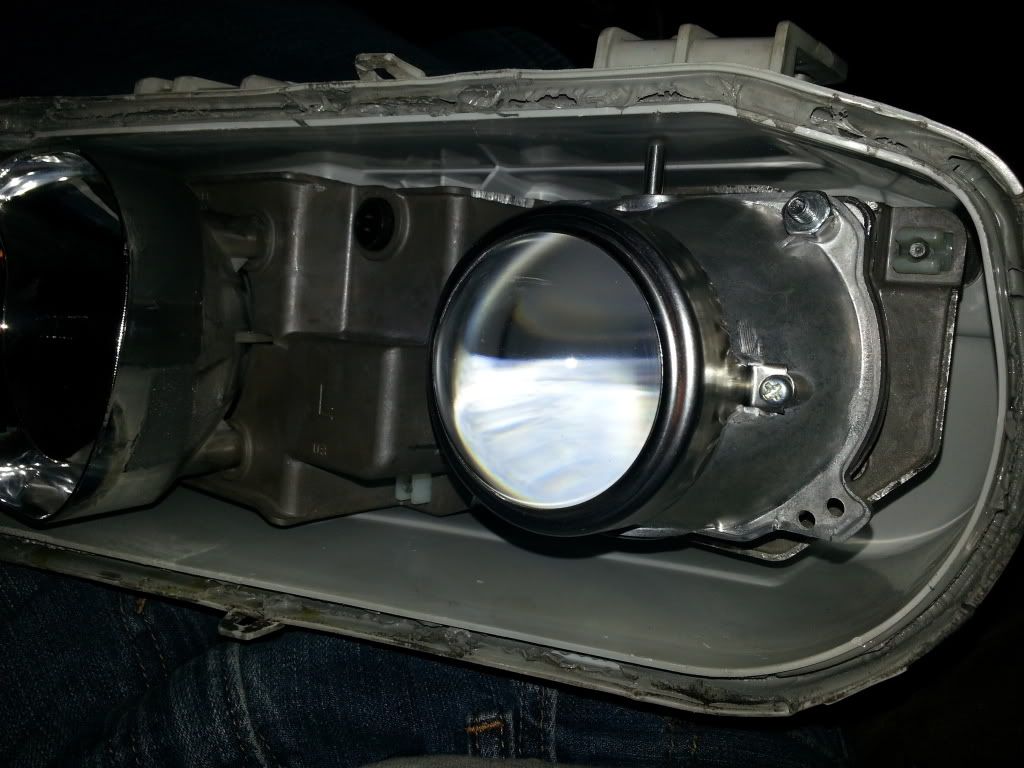
Did a lot of cutting that powdered metal crap to make it fit
