When you click on links to various merchants on this site and make a purchase, this can result in this site earning a commission. Affiliate programs and affiliations include, but are not limited to, the eBay Partner Network.
Just an idea but for those tough to reach spots I use a soda blaster it's easier than trying to cram in tight spaces, since you'll use it in the open if you use it sparingly you can reduce the mess, and they sell them pretty cheap and baking soda is fairly cheap too. Just a suggestion.
Yeah that's probably the best route. I may have to look into that as a more long term solution.
Originally Posted by B_Swapped93
That looks really gone I didn't see holes at first but there's no stopping that, you can buy some time with por-15 but it will start to show through the new paint you apply after a few rainy drives. If a car was that rusted I wouldn't even keep it, the whole idea of por15 is to protect non-rusted areas like the wheel wells before they even begin oxidization or buy some time but a few drives on salted roads/rain it's pointless. That's just the truth of it
Yeah I didn't discover those until I pulled the bumper cover. I already have the supplies so I might as well give it try this time. This isn't my daily driver so I really won't drive it this winter which will help. I'll probably have to store it outside but I'm trying to come up with solution to keep the weather off of it.
Originally Posted by mr_y82
Nice progress... Looking forward to seeing where it goes... I miss the prelude I sold (as I am sure you understand with the civic...). I had neuspeed sports... I think you will really like them.
Thanks! I know its a different application but can I ask what struts you were running on your prelude? I'm still undecided what I want to go with.
I was able to get out this weekend and spend a little time working on the quarter panel. Since my last update, I have put about 3 coats of por15 on the inner and outer sides, along the seams, and over any exposed edges of the panel so we'll see how that holds up. I'm not expecting any miracles but I feel a little better looking at it now compared to before.
Filled the pin holes with body filler. After sanding the filler down, I used body glaze to smooth out any remaining imperfections.
Primered
First coat of color
I put on 4 coats of color. It looks like a pretty good match on the paint so thumbs up to Napa for mixing this up for me.
Next step is to wetsand then clear coat.
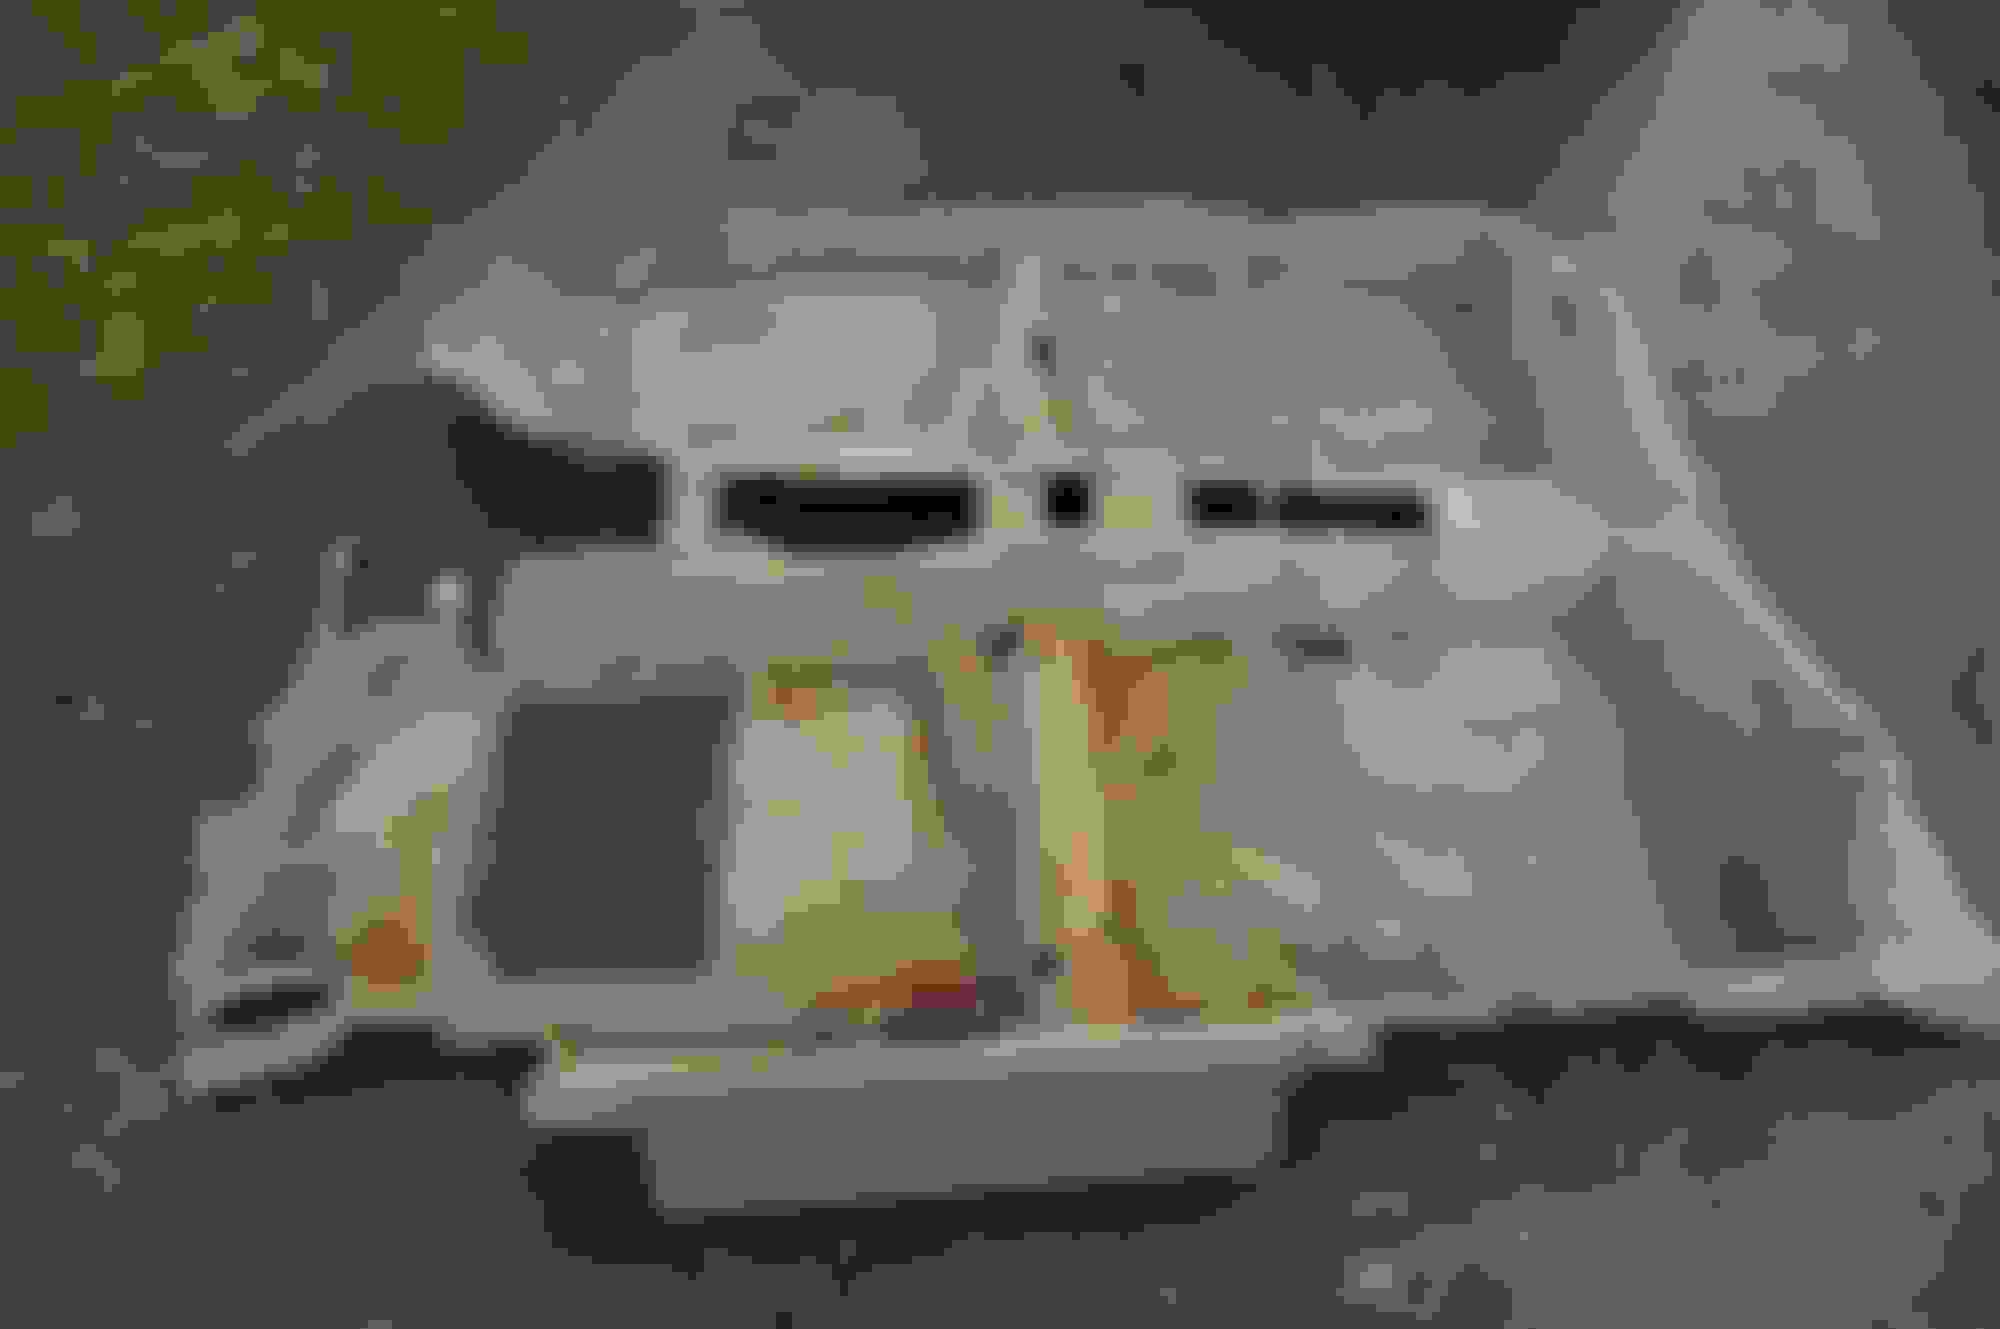
While waiting for primer to dry, I was able to strip all the undercoating from the trunk area. It will eventually get a couple coats of black paint to finish it off.
You'll be just fine with the rust, don't listen to that idiot above. Let him scrap his own ****. Keep up the good work, lets get some pictures without the tape on it!
I think it turned out pretty well. There is some orange peel and there is a tape line there but I'll let this dry and finish by wetsanding, buffing, and polishing to take care of those imperfections.
Next time just tape off the windows and whatnot and blend it right away. You'll be able to get looking ok, but that tape line is going to be a BEOTCH to blend. It looks good though! Keep up the good work, man.
Next time just tape off the windows and whatnot and blend it right away. You'll be able to get looking ok, but that tape line is going to be a BEOTCH to blend. It looks good though! Keep up the good work, man.
I thought about this as I was doing it. Once I started spraying I realized that I needed a larger work area but I wanted to try to stay on that body line. It will blend, its just going to take some extra work. Body/paint work isn't my favorite thing to do so I'm looking forward to getting this finished. Thanks for the feedback!
If do any more paint or rust fixes try doing the least amount of sanding and spray paint in a cup then dip a q-tip to dab over bondo, let it dry then do another layer with q-tip. Keep as much of the origanally paint as possible. This tecnec won't need tape or leave lines and makes the body repair less noticeable. Try it out would have to do 4 layers iv done it before it's less prep and won't see as much 2 different shades of green. I had a dc2 forest green Canada tire had the closest look alike colour. Keep up the good work
Body work is done. I hand buffed/polished the area because I didn't feel like dragging out the buffer for a small area. The whole car will get a polish at some point when it warms up again.
I'm pretty happy with how it turned out. We'll see how it holds up I think I'm going to color match the side moldings too since I have plenty of paint left.
In other news, I took the car out for a quick spin to check on the clutch and...no slipping. I tried to replicate the symptoms I had before and it seems to be holding fine.
Could an air bubble in the hydraulic system cause the clutch to slip? I ask because I replaced the master and slave cylinders a couple months ago. I bled the system and it was working well but maybe there was a small bubble still trapped in the system somewhere?
Update 12/22/2015
I've been driving the car for the past two days keeping an eye on the clutch situation and so far I've had none of the issues with slipping I had before. I'm glad but also a little perplexed about what would have caused it before. It seems like it was an isolated incident so I have to believe it was some type of engagement/disengagement issue associated with the hydraulic system. It seems to have resolved itself though, fingers crossed.
Next project will be the interior. I'm going to finish stripping the sound deadening and dye the carpet black. I also need to re-do my headliner repair. I need to invest in some better spray adhesive this time.
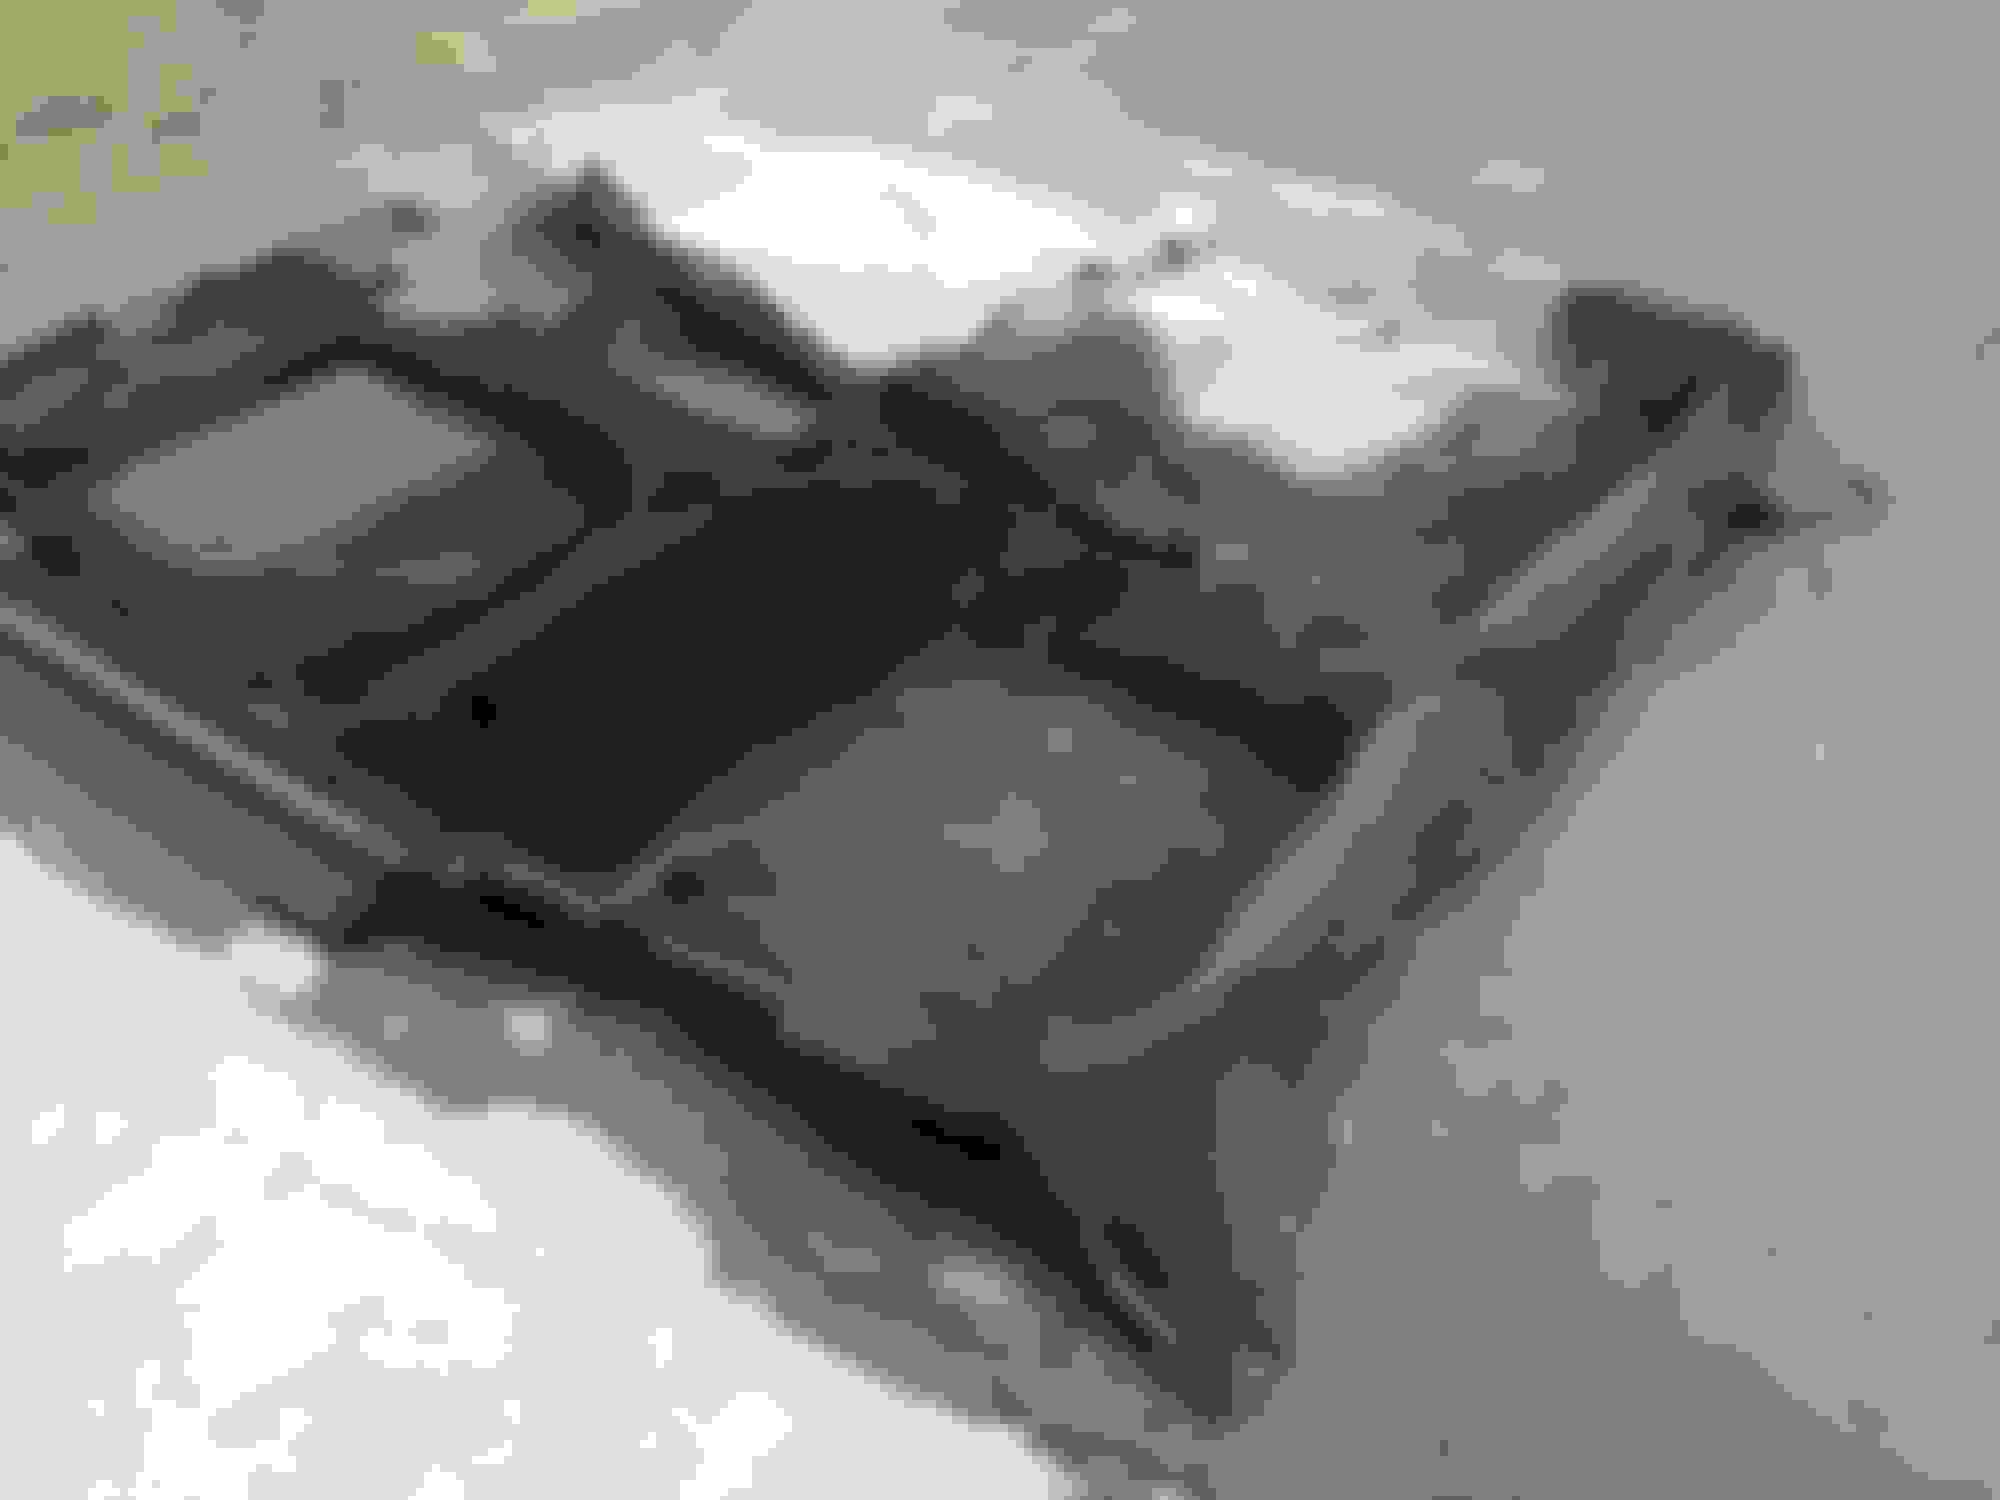
You can see the carpet isn't in great shape. I need to clean it then its getting dyed black. I've seen mixed results with dying but its worth a shot before I spend money on new carpet.
Update 2/7/16
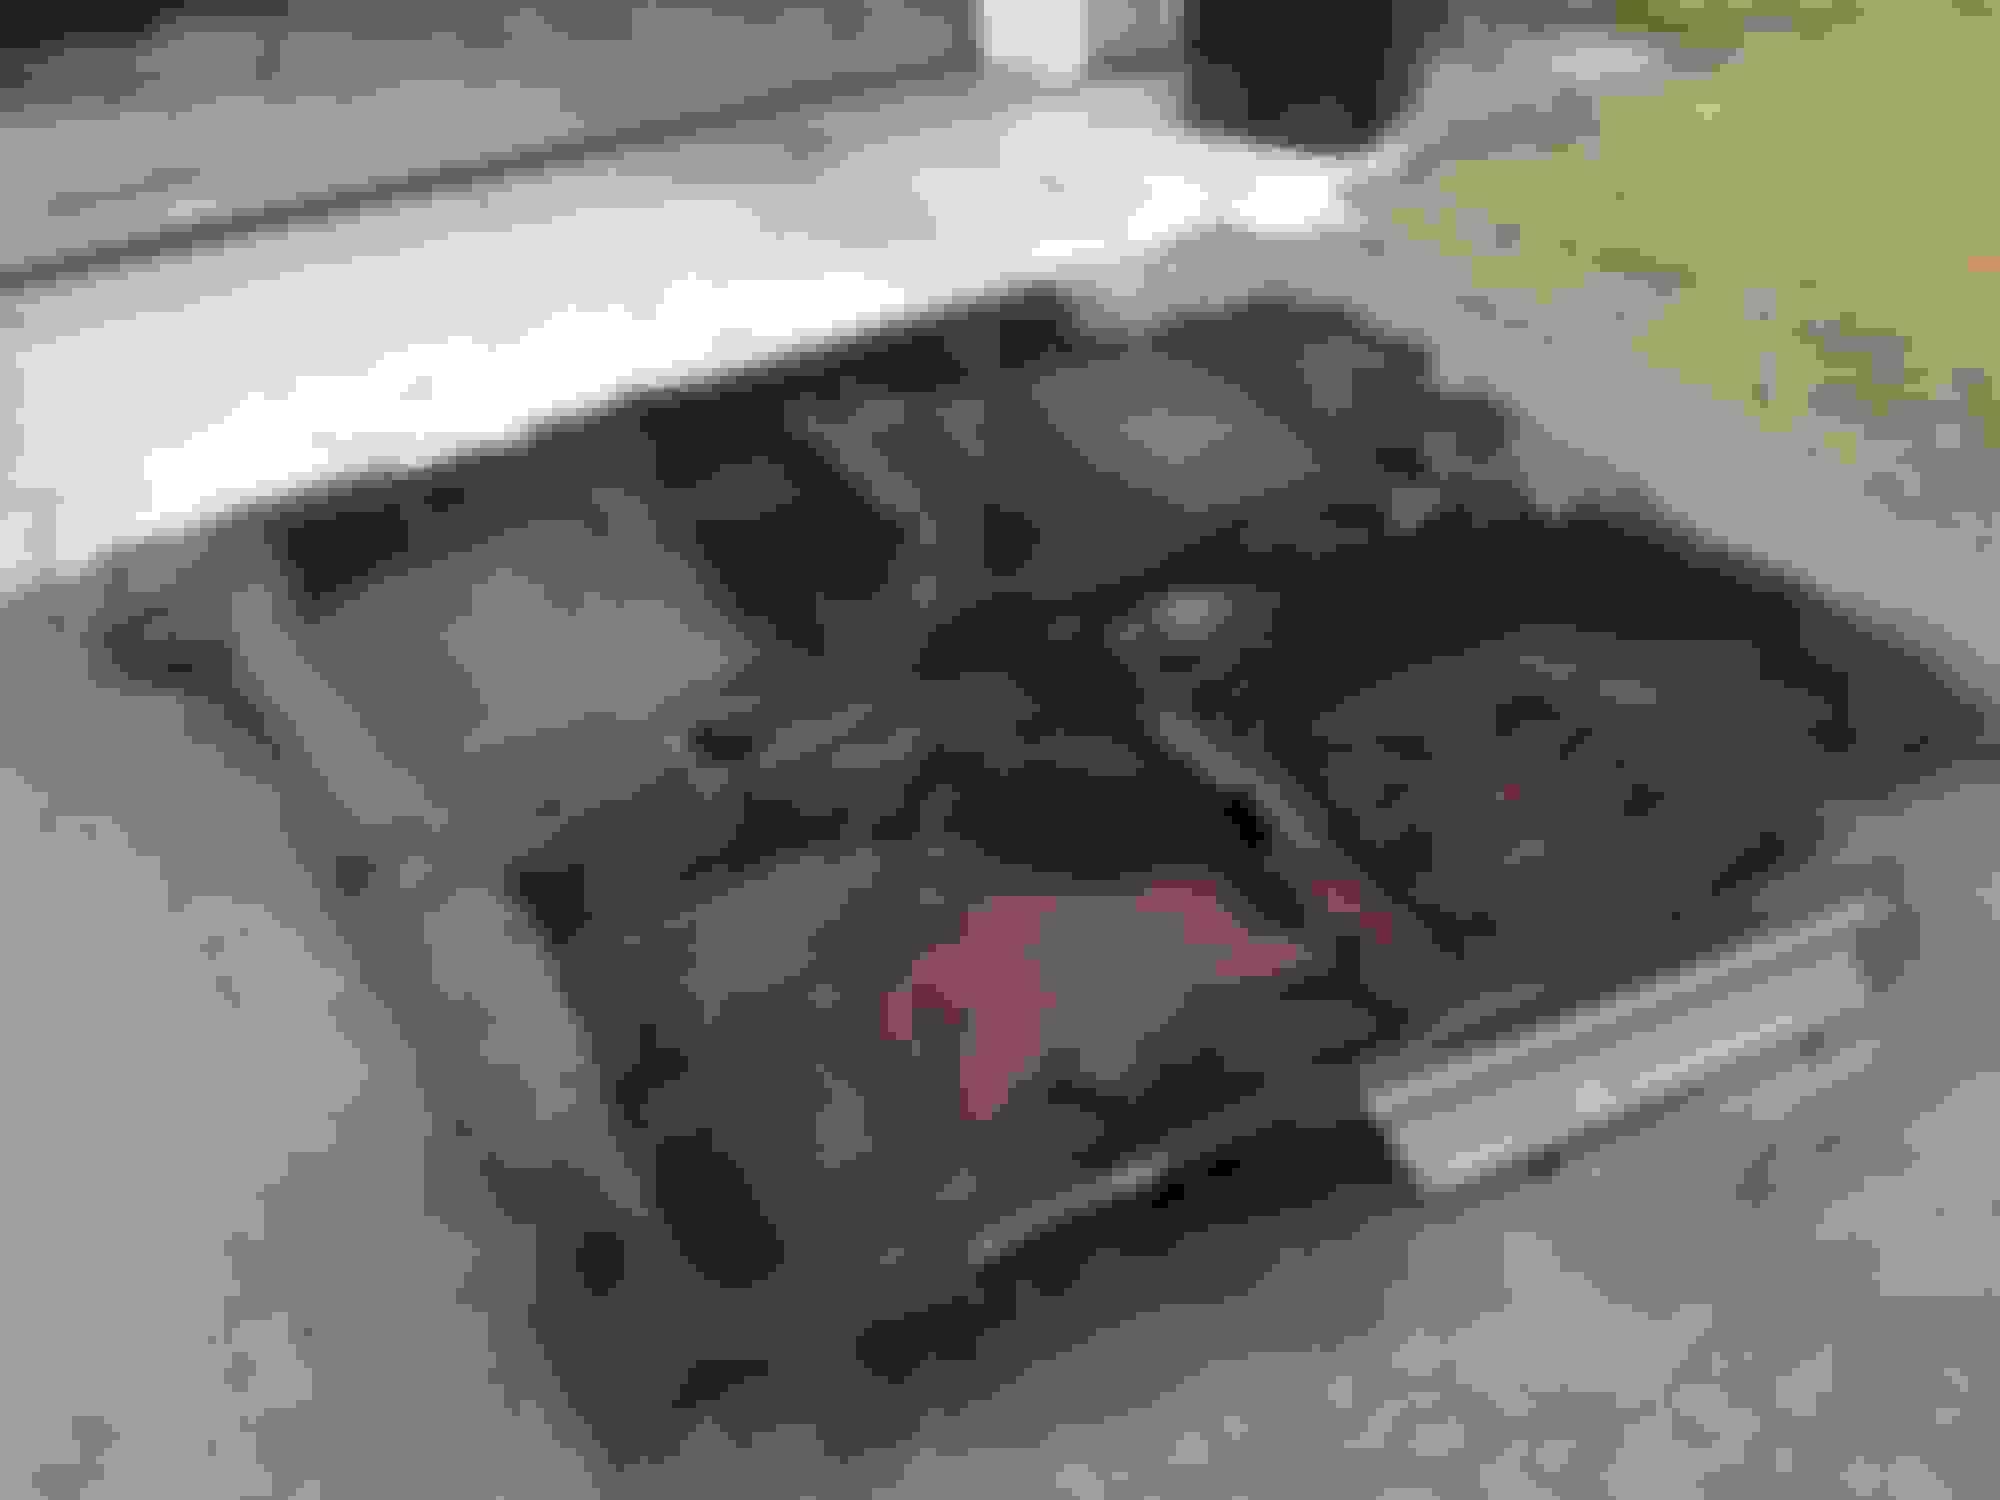
Its been a while but I was finally able to clean and degrease the carpet and I started dying it black.
I used RIT dye and decided to apply it using a spray bottle rather than soaking it.
I did the front drivers side first and realized I would need a lot more dye so that's why that section looks a little different. The bottom pic is right after I finished spraying it and it has darkened now that its had a chance to dry. I am going to mix up another bottle of dye and do a second application to even it out and darken it up a little more. I will also be doing the sills black to match.
Once you are done be sure to vacuum the whole carpet. I've used that stuff before (works extremely well) but if you don't want the dye jumping onto other things that touch the carpet make sure you give it a vacuum to lift all the dye particles.
Once you are done be sure to vacuum the whole carpet. I've used that stuff before (works extremely well) but if you don't want the dye jumping onto other things that touch the carpet make sure you give it a vacuum to lift all the dye particles.
Thanks for the heads up. I will be sure to do that!
2/16/2016
It's been too cold for me to get much done on the car so I thought I'd at least post a picture of a few things I've gotten in the mail in the past week. Weather looks pretty good for this weekend and I don't have much going on so I'm hoping to get this stuff installed and my newly dyed carpet vacuumed and back in the car.
2/19/2016
Temps were in the 50's today and I took the day off work so I was able to get quite a bit done today.
I put the carpet back in the car. It looks decent. Not quite as black as I was hoping for but not bad. It looks better than the stained tan carpet I had before.
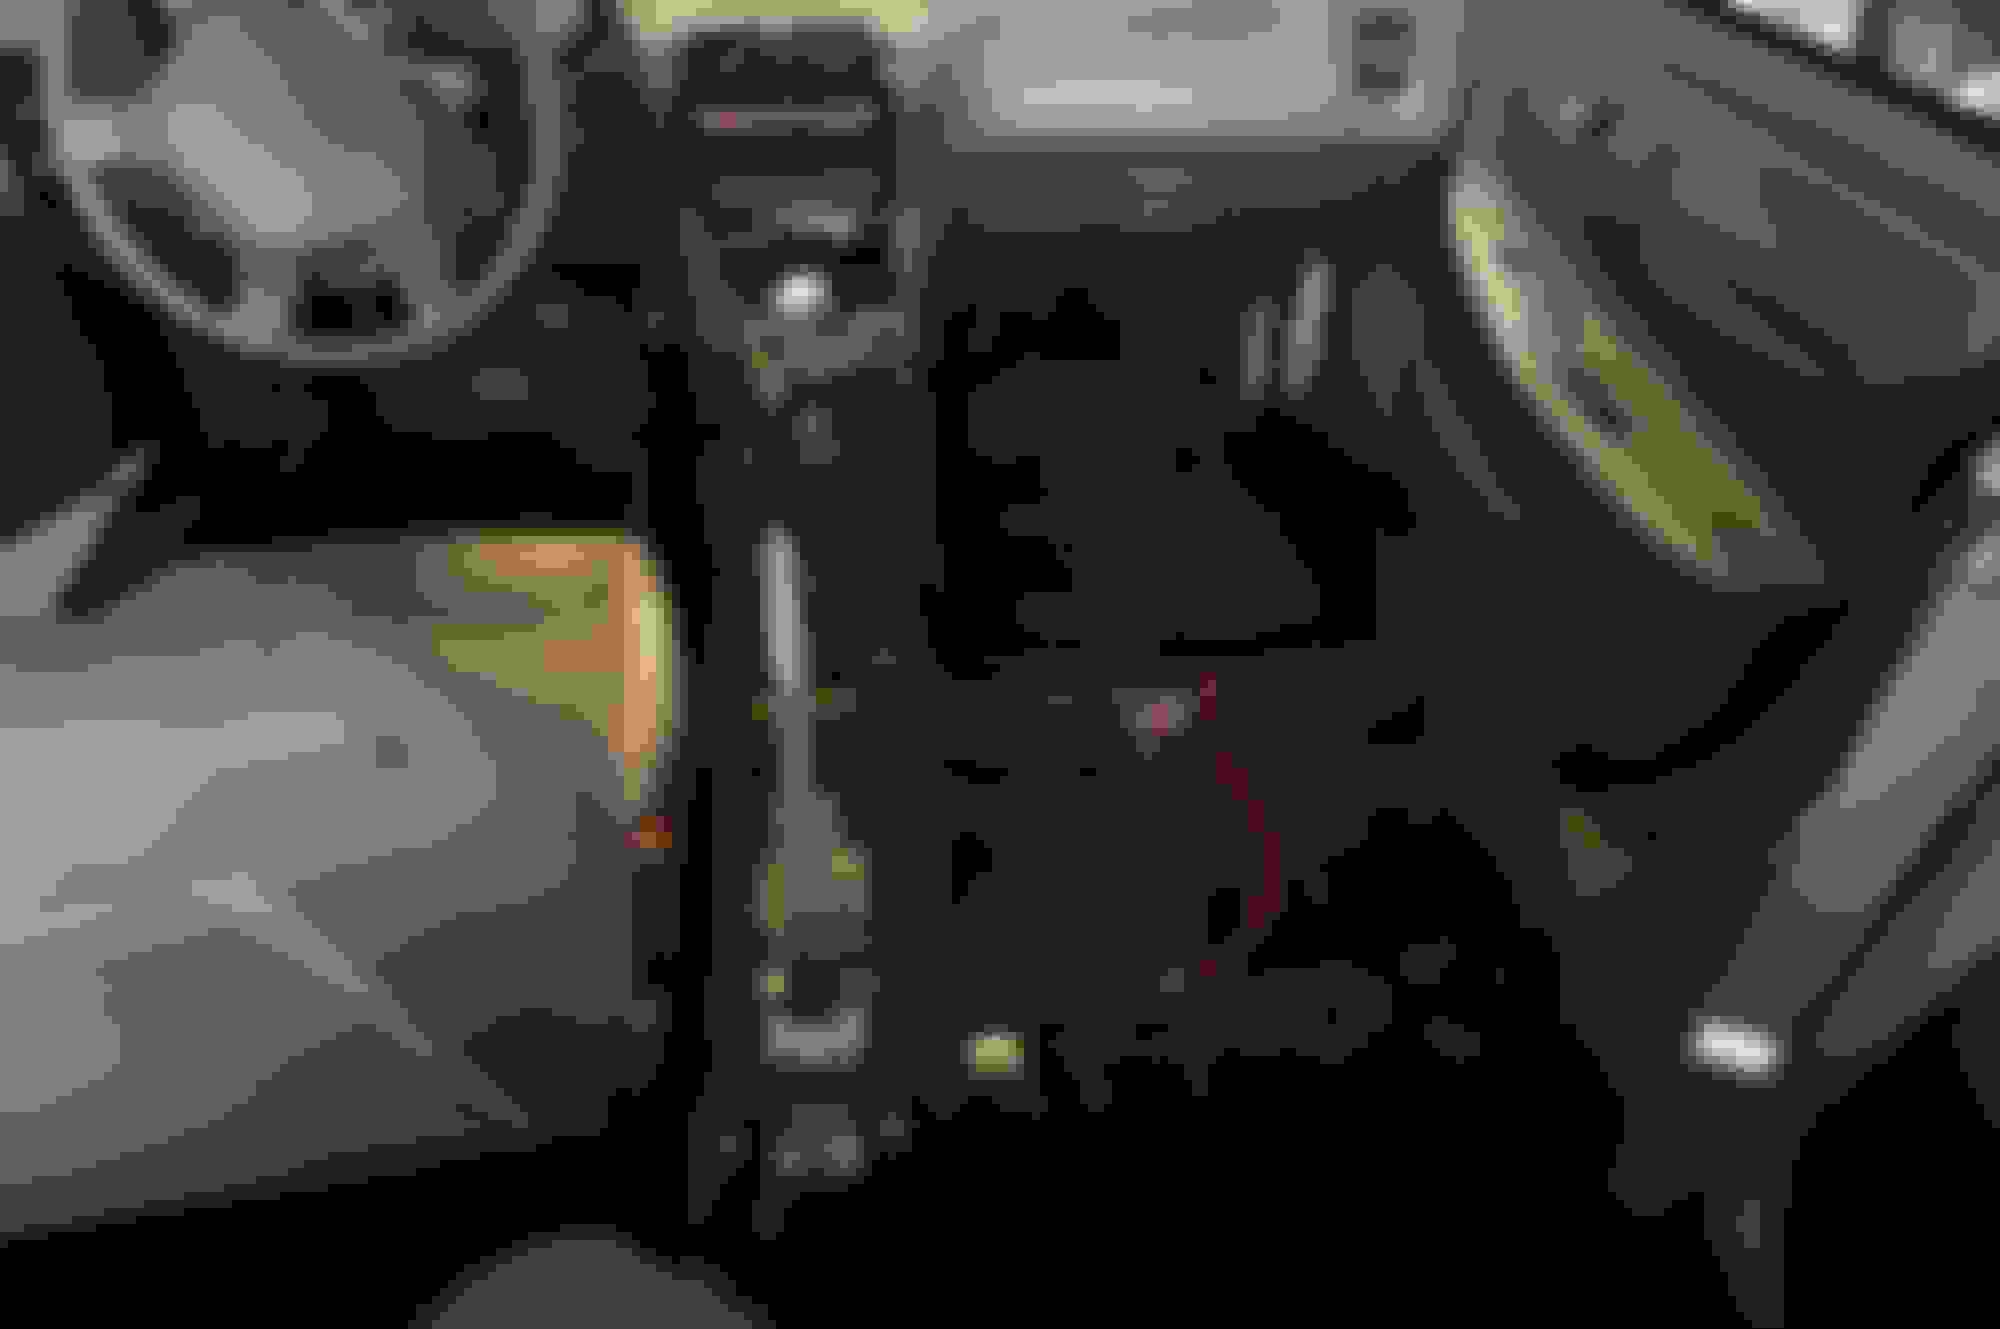
I removed the old aftermarket CD player that was there before and I plan on installing a block off plate in its spot. However, I have installed a small amplifier I had laying around and connected it to an AUX input so I will still have some form of audio in the car. I had it installed under the seat before but was hoping to do something a little stealthier. With the stereo removed, I was finally able to find a configuration that would allow me to conceal the amp in the dash. After I install a block off plate there will be no sign of any stereo in the car. Amp fits perfectly in the dash
My valve cover has been leaking bad partially because of a stripped stud not allowing me to tighten it all the way on one corner. I had bought a couple more studs a while ago I just haven�t got around to replacing this one until now. I always like to have an extra one or two on hand as I seem to have trouble with stripping them.
I also took the time to thoroughly clean the surface this time and removed every bit of dried sealant that was on there before. I cleaned the gasket as well and applied fresh permatex grey to all the corners. I�m feeling good about the install this time so I�m hoping for no leaks.
Another source of oil leakage was the old cam seal so I went ahead and replaced that as well with a Blox machined aluminum seal. I�ve read mixed reviews on the aluminum cam seals but I decided to try one anyway. I�ve heard conflicting views on whether you should or shouldn�t use sealant on the cam seal. I understand that a proper seal shouldn�t NEED any extra sealant, but I used it anyway hoping it will eliminate any possible leaks. Blox cam seal installed
I also put in some new NGK plugs and installed my new NGK wires. New NGK plugs and wires installed
I�ve mentioned before I�ve been having issues with my clutch slipping but I think I�ve finally resolved that issue as well. It would only slip after the car got warmed up and I recently installed a new CMC and SMC so I was suspecting it was some sort of issue with that and not the clutch itself. I bled the clutch again and topped off the fluid. I then followed instructions I found here for adjusting the clutch pedal. After bleeding and readjusting the clutch pedal my issues seem to be solved for now.
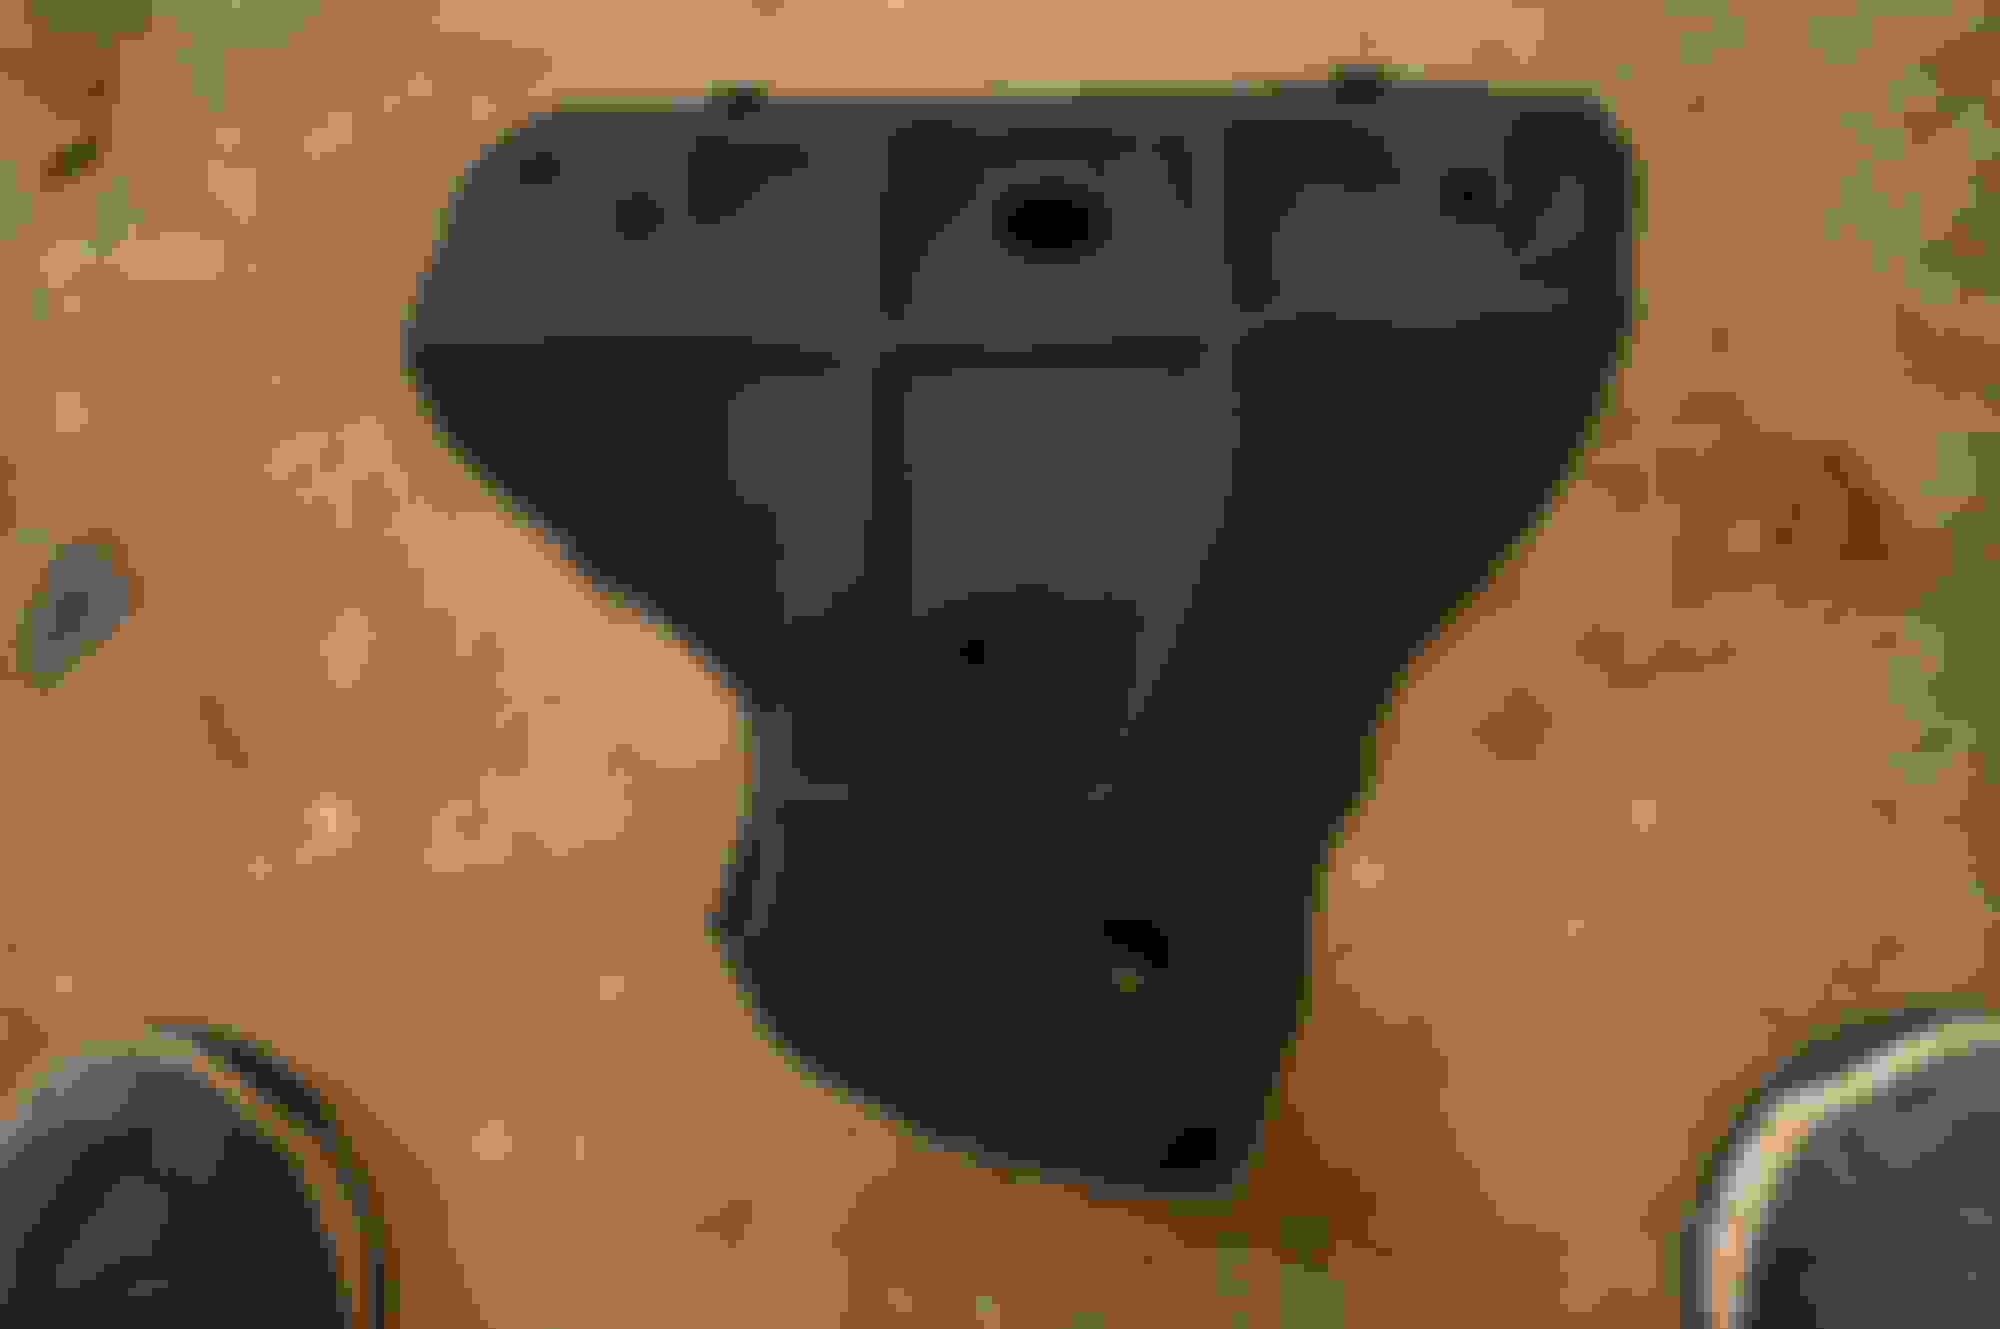
Last but not least, I pulled the old heatshield and gave it a fresh coat of VHT high temp flat black. Freshly painted heatsheild
Heatshield installed
Pretty happy I was able to cross a lot of little things off my list today. I still need to put the rest of the interior back in the car but that should take too long. I may get into the suspension yet this weekend and install my Neuspeed Sport springs. Not sure if I want to tackle that yet or not though so we'll see. I have a few things I need to take care of on my Forester and I always try to leave myself with one driveable vehicle at all times.
That carpet looks good.
Do you have any close up pictures of it?
And where did you buy that paint?
I'm going to painting my tan carpet black also and I'm not sure what to use.
That carpet looks good.
Do you have any close up pictures of it?
And where did you buy that paint?
I'm going to painting my tan carpet black also and I'm not sure what to use.
I used black RIT Dye in a spray bottle. I've heard of people soaking it but I didn't have anything large enough to fit the whole carpet in so I just sprayed it on. I used 1 box of dye per spray bottle. I mixed it with very hot water and some vinegar per the dye instructions. I'd probably try the liquid dye if I was going to do it again. I got the dye at wal-mart in the laundry detergent section. If you look up a couple posts there is one close up picture.
3/20/2016
A few updates from the past few weeks. I've gotten a few small things accomplished with the car.
I did some final fitting and installed my radio delete plate. I am working on putting the rest of the interior back into the car. I've painted some of the plastic pieces black and I'm still deciding which parts to change to black and which to leave tan. The majority of it will probably end up staying tan.
I've been shopping the Drag wheels locally on craigslist looking for some other options but no one has come through with anything worth trading. They're in good condition so I'm just going to keep them and paint them. The gold and polish combo doesn't really fit the look I'm going for with the car. The tires are pretty much shot so I'm going to get those removed so I can do a thorough job of painting them. I did start prepping them this weekend though.
Since I'm no longer using the radio, I removed the antenna. A quick search revealed that there is a plug on the firewall near the battery that fits that opening. Popped it out of the firewall and sure enough, it fits!
I picked up a GSR strut bar as well. I'm preparing to buy struts in the next week or two so I can finally get my Neuspeed springs installed.
I also need to replace the rear trailing arm bushings so I'll be ordering those soon so I can install them at the same time as the springs/struts. I've been enjoying the handling of the Integra in stock form, but I'm really looking forward to doing a few upgrades and having something a little more performance oriented. I plan on doing an upgraded rear sway bar and brace in the future as well. Add some summer tires and it should be a pretty good handling car comfortable enough for the street.
3/24/2016
Almost finished with the preventative maintenance. Put on a new distributor cap today and also bought a new fuel filter that I should be able to get on this weekend. Engine bay looks much cleaner with the black cap on there too.
Also picked up a Karcepts delrin shift ****. I bought one of their "blems" off of ebay for half price and its in perfect condition. No blemishes that I can find. I really like the feel of it. It sits a little higher than stock so its puts the shifter in a great position. Its light though, so if you like the feel of a weighted ****, this probably isn't for you.
You can see the radio delete in that picture too. As you can see, the interior is still a work in progress. Next up there is a new steering wheel and driver's seat. I've been contemplating a lot of options on both of those but haven't decided what to go with yet. Suggestions welcome!

 12-06-2015, 02:48 PM


 I think I'm going to color match the side moldings too since I have plenty of paint left.